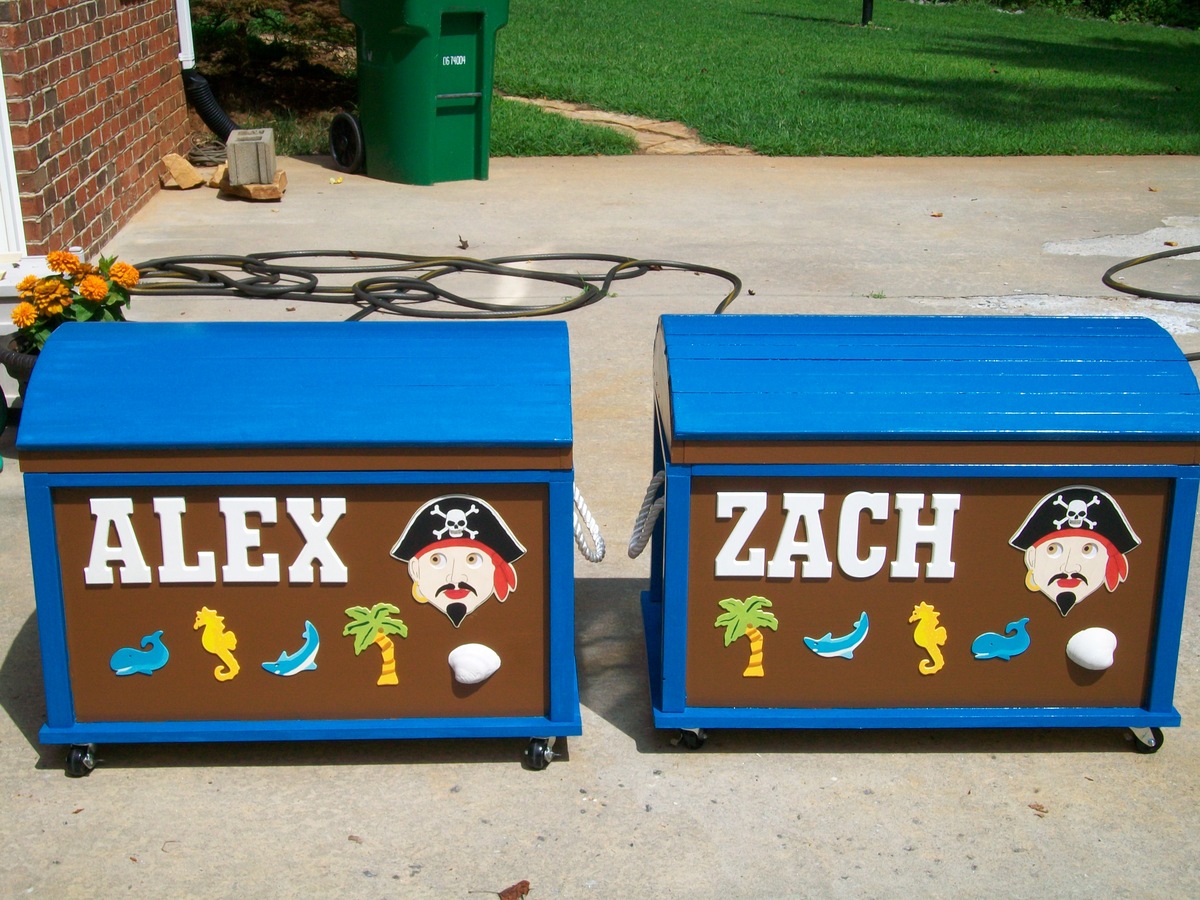
After my Daughter had twin boys in December 2012, I decided I would expand on my woodworking experience by making them this Pirate Chest toy box. Since there were two of them, my 'work' was doubled.
I DID learn some new things with this project. I had never used Pocket Hole joinery before and I was a little timid about doing it. I found that it's really pretty easy.
I also learned that when cutting on the table saw, I could NOT cut on the line drawn on the wood. As a result, some of the cuts were a bit short (but wood filler helped there).
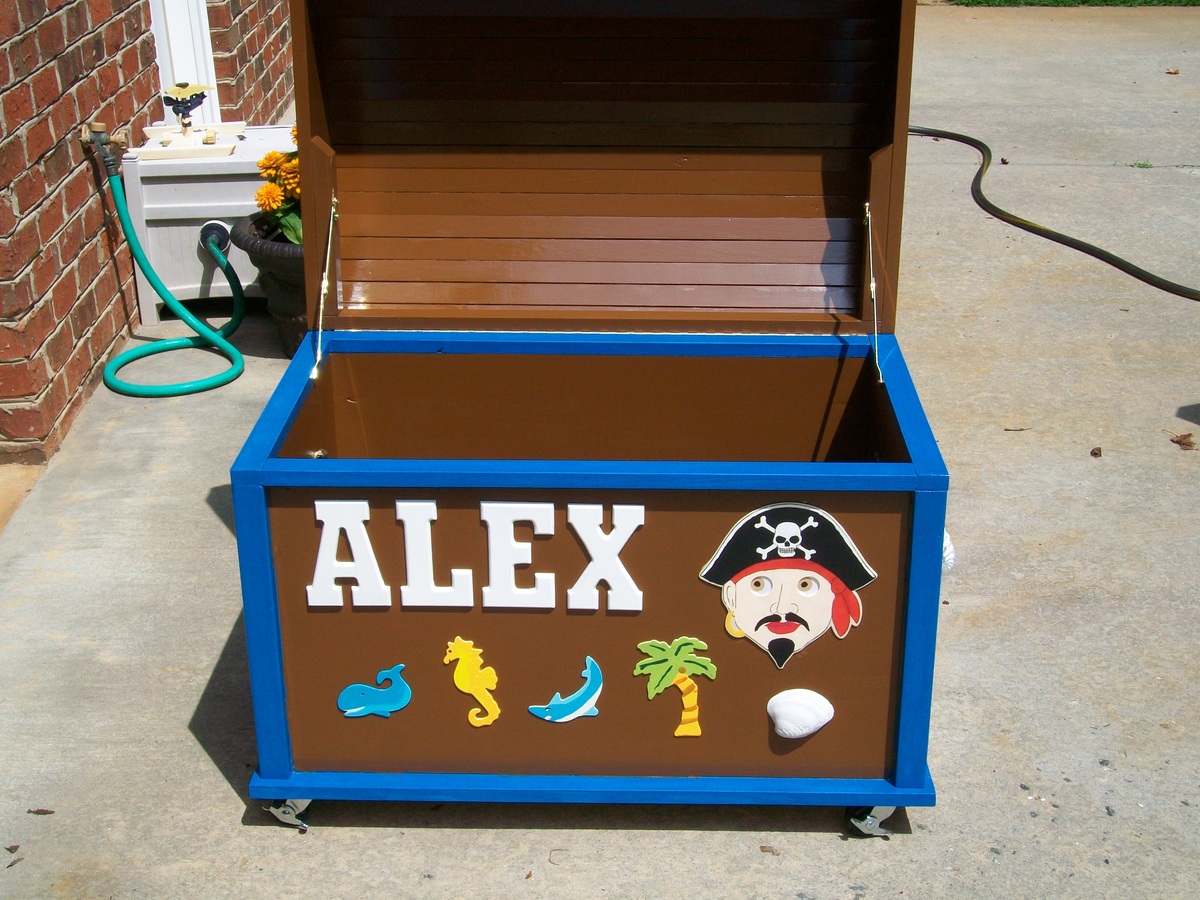
My biggest problem was cutting the radius on the box tops since I don't have a band saw. It was difficult cutting the curve with a Jig Saw, so the Rasp, Plane and sandpaper came in handy.
The other problem I had was getting the slats on the top to meet up tightly. I found I had to cut a slight bevel on each edge so that the top of the slat would meet the next one.
I presented the boxes to the Boys at their First Birthday party just after Christmas and received a number of compliments. There was one woman that may want me to make one for her son. Needless to say I was a bit proud of myself.