Son's Christmas gift
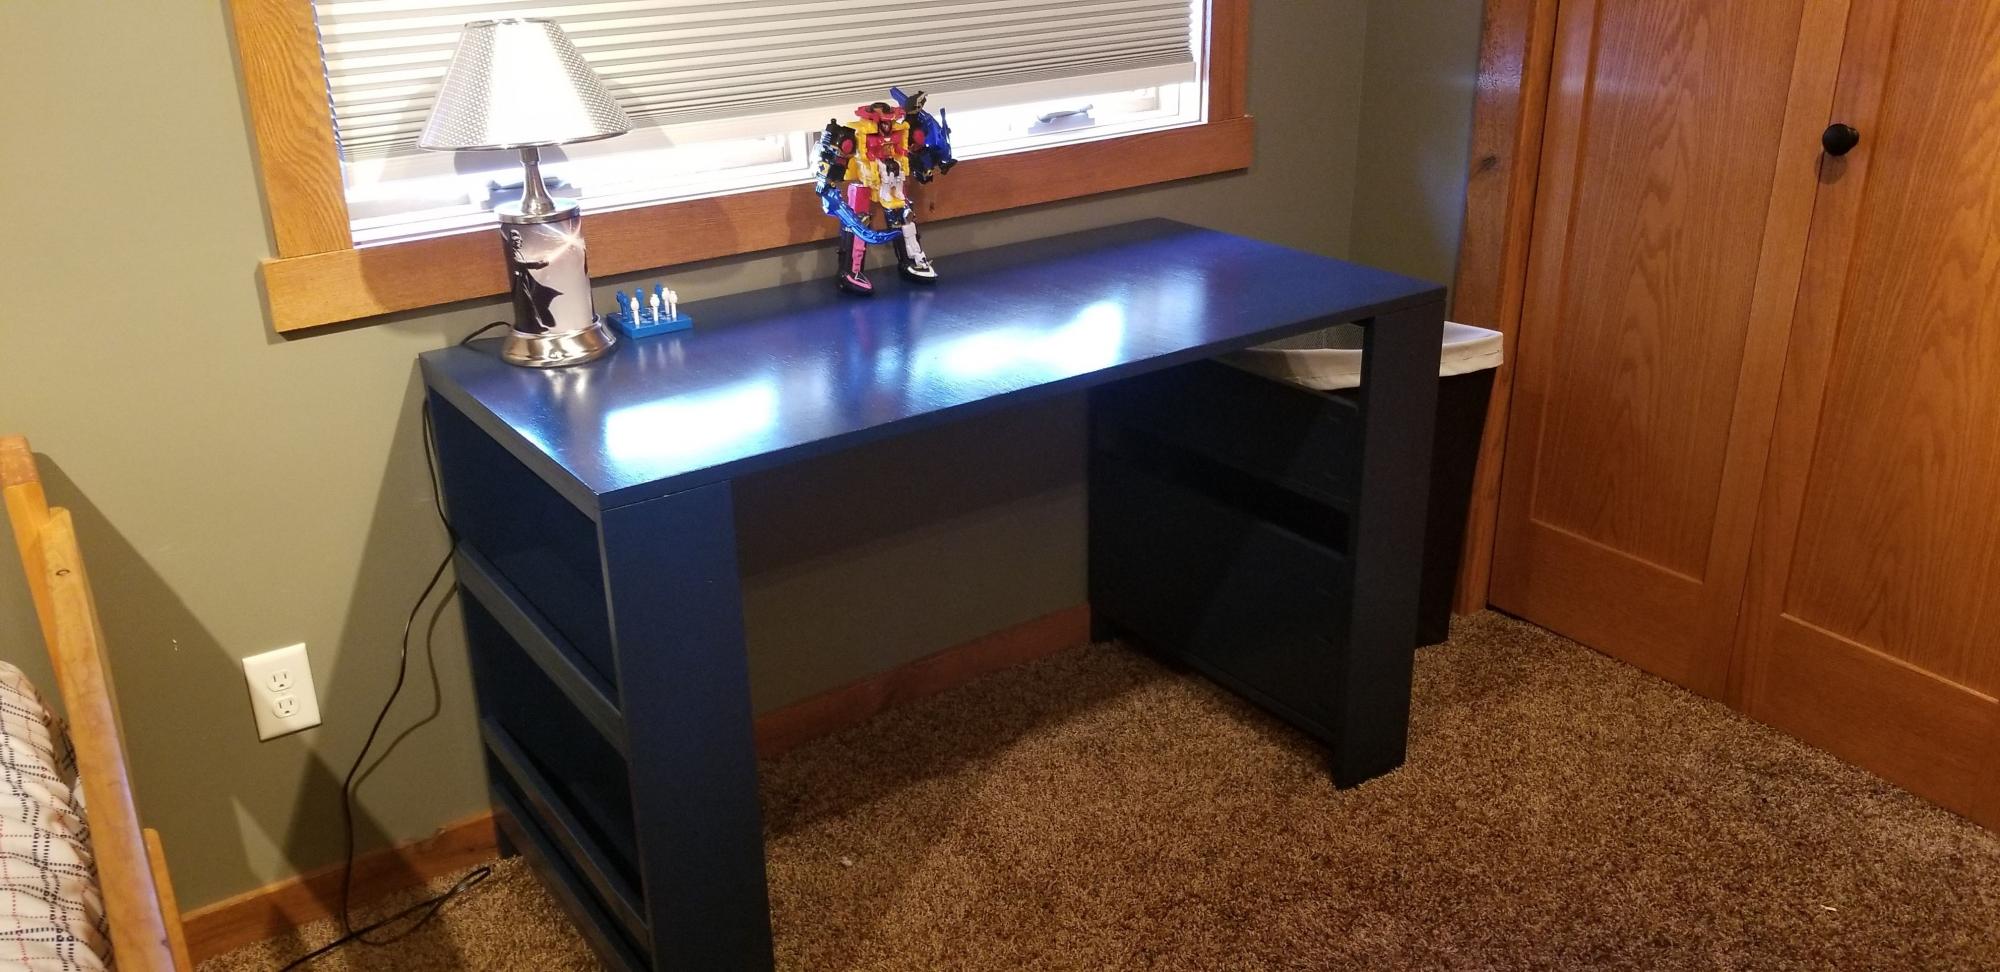
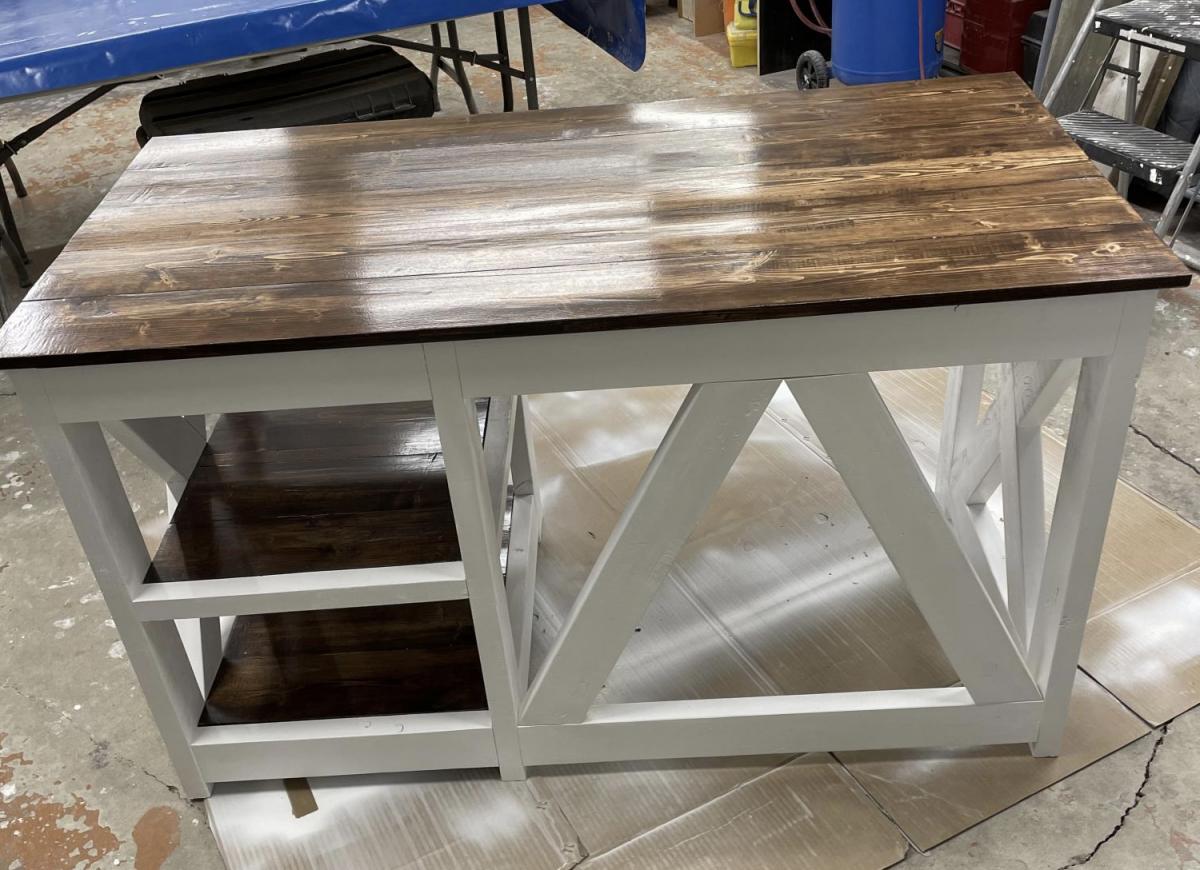
My son requested a desk for Christmas, this was an easy to make plan for a simple desk for a child.

My son requested a desk for Christmas, this was an easy to make plan for a simple desk for a child.
This is my first time attempt at building a piece of furniture. There are definitely some mistakes but, think it still came out okay. Guess it is a learning experience.
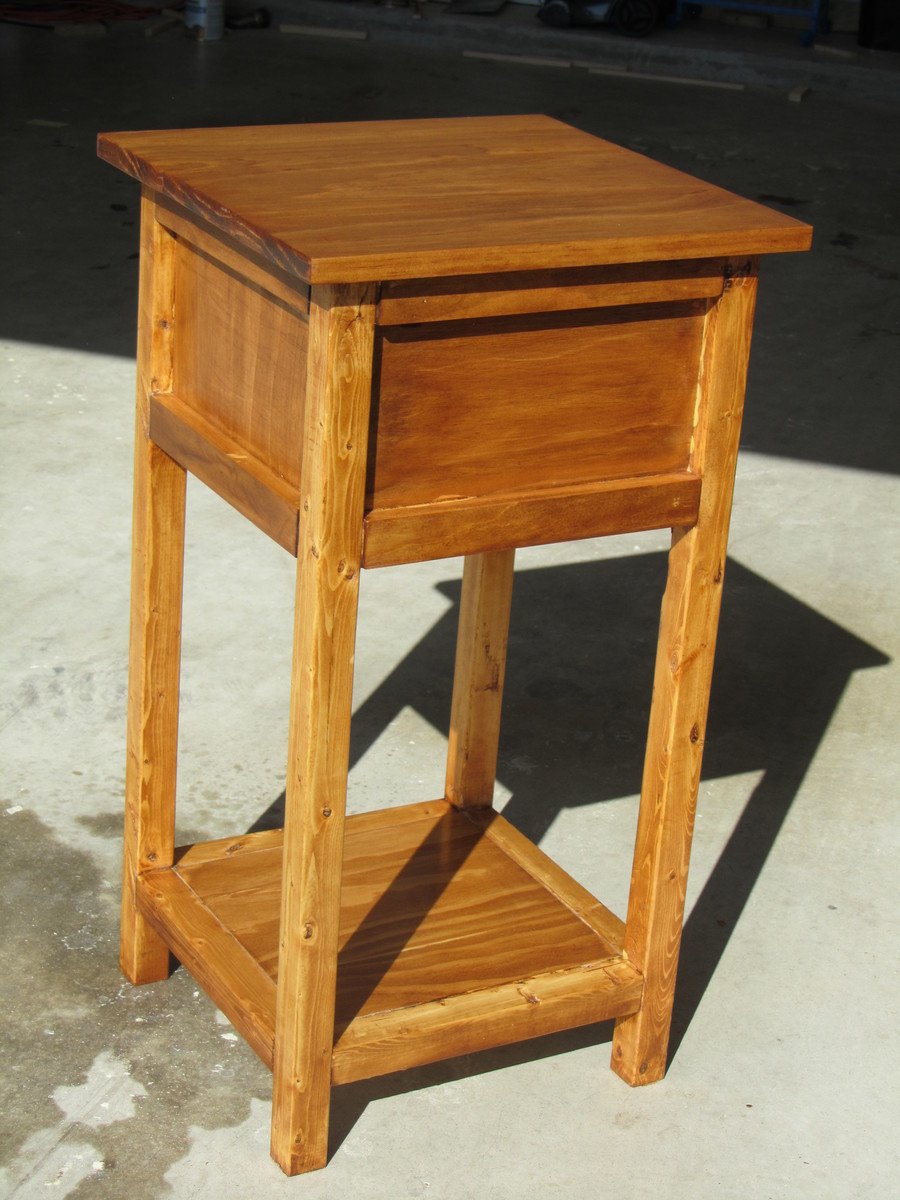
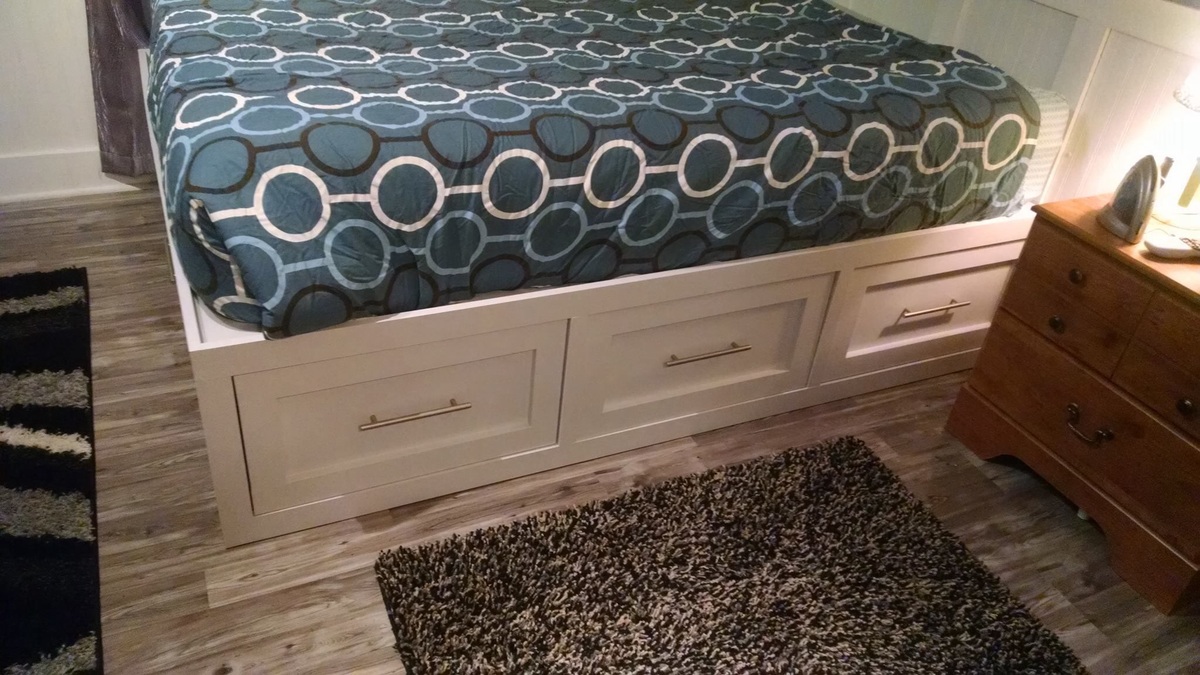
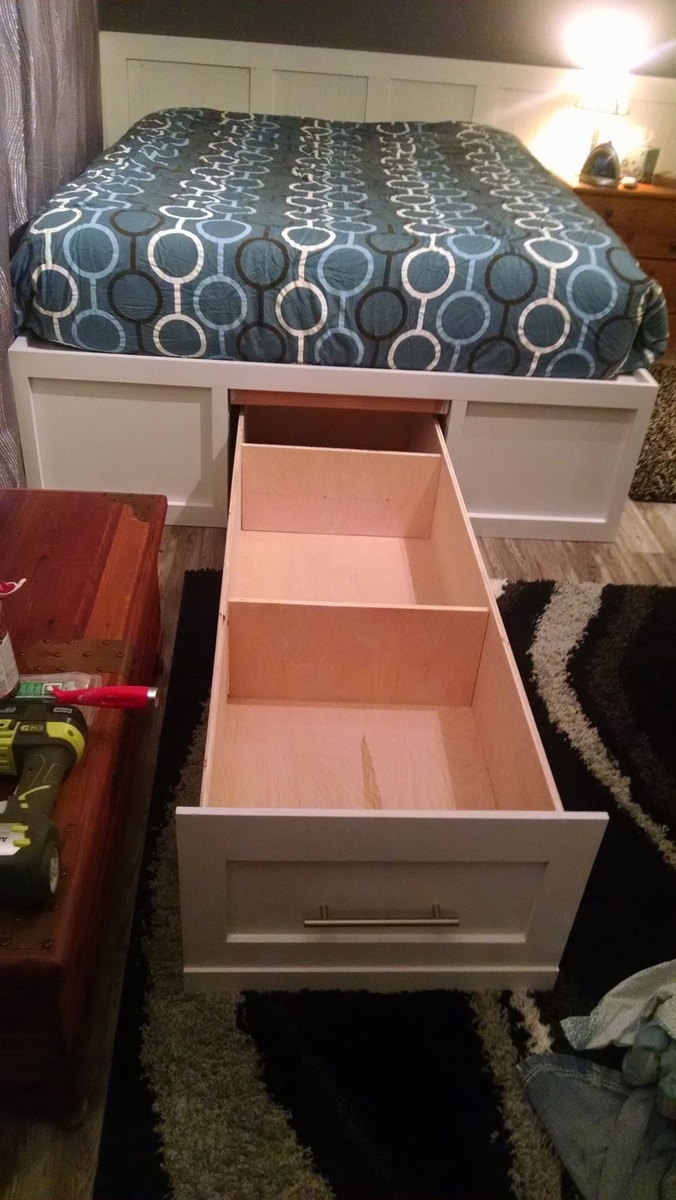
I used two benches on each side attached the two with 2x4s and built a drawer on wheels for the middle
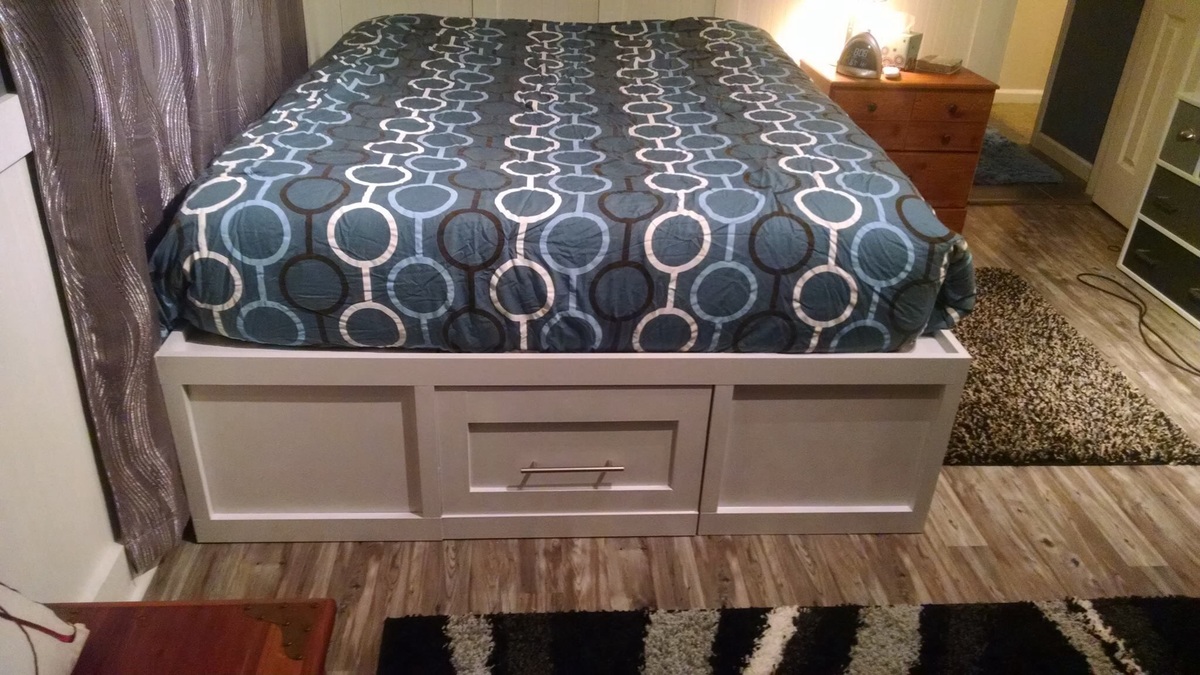
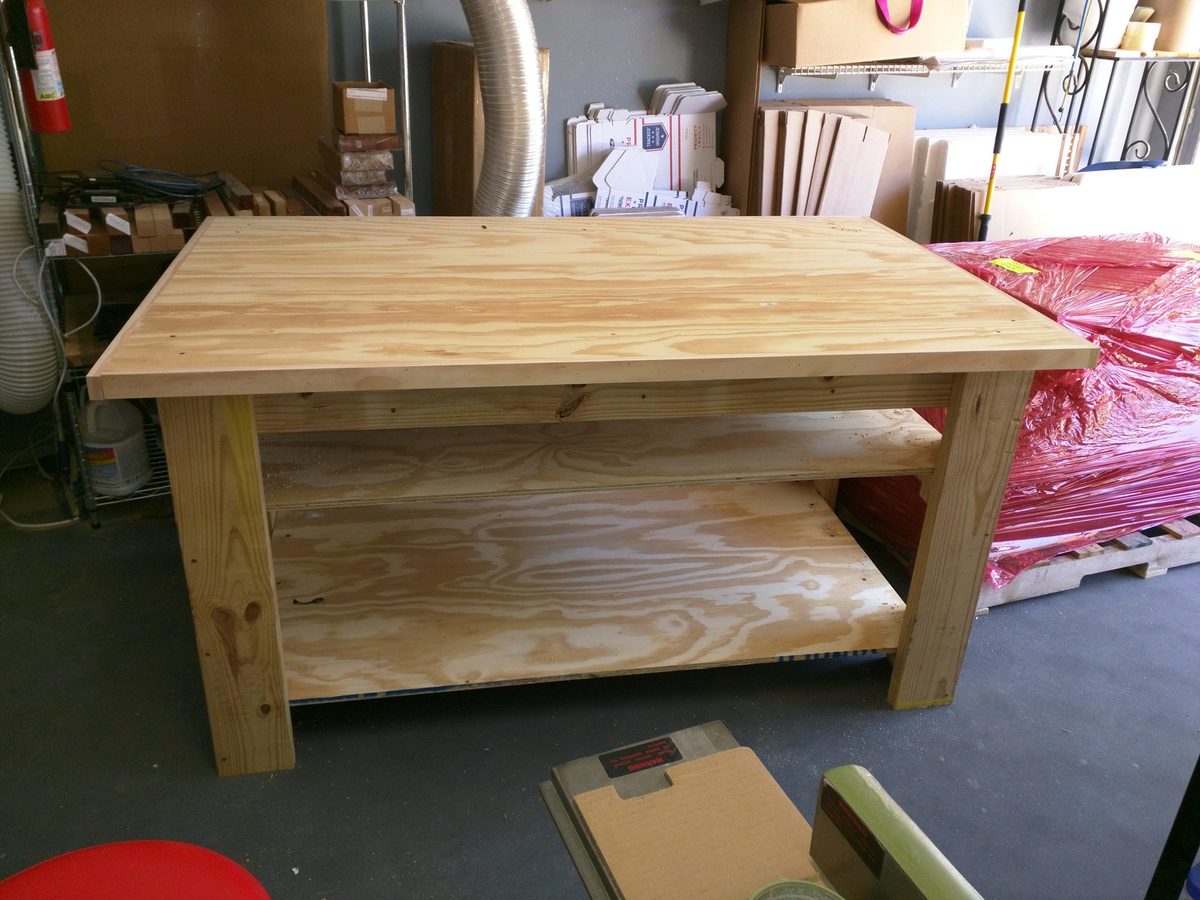
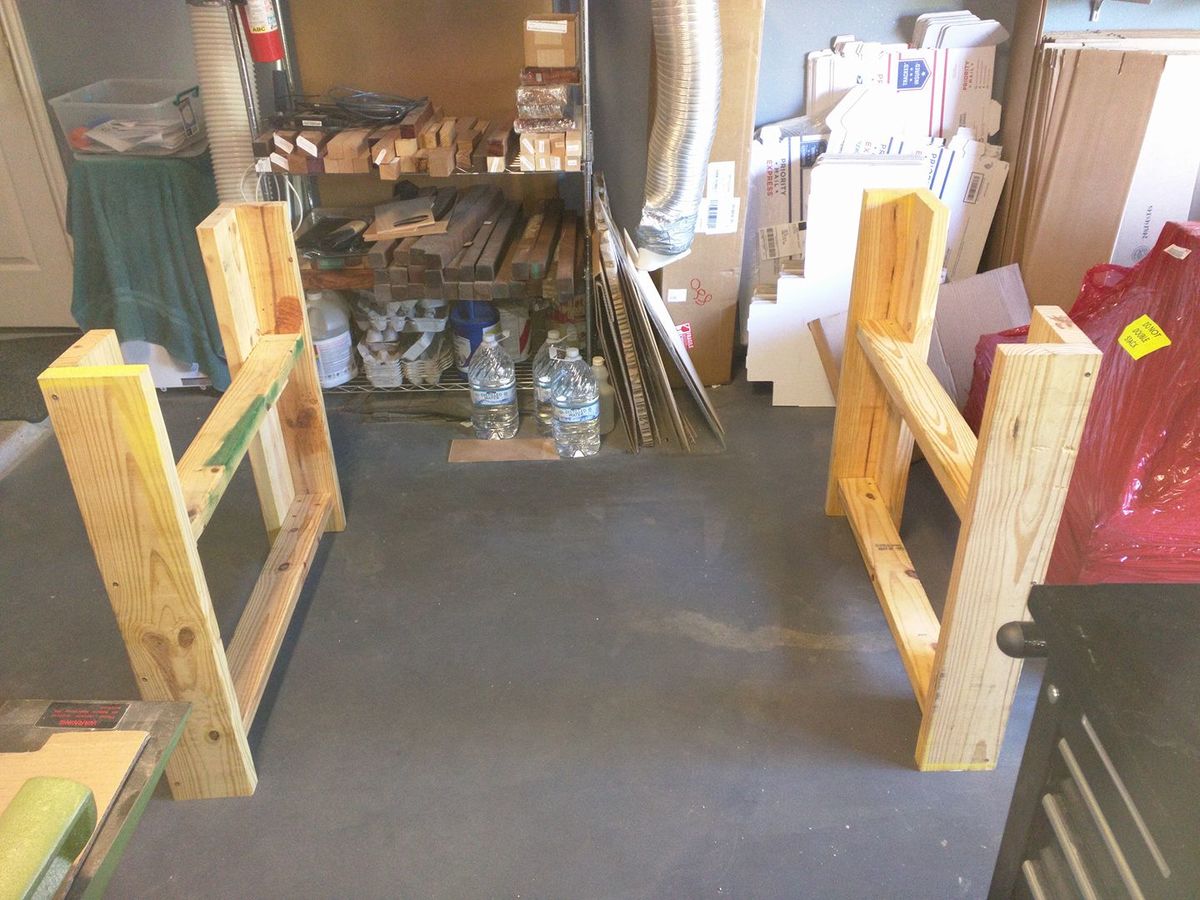
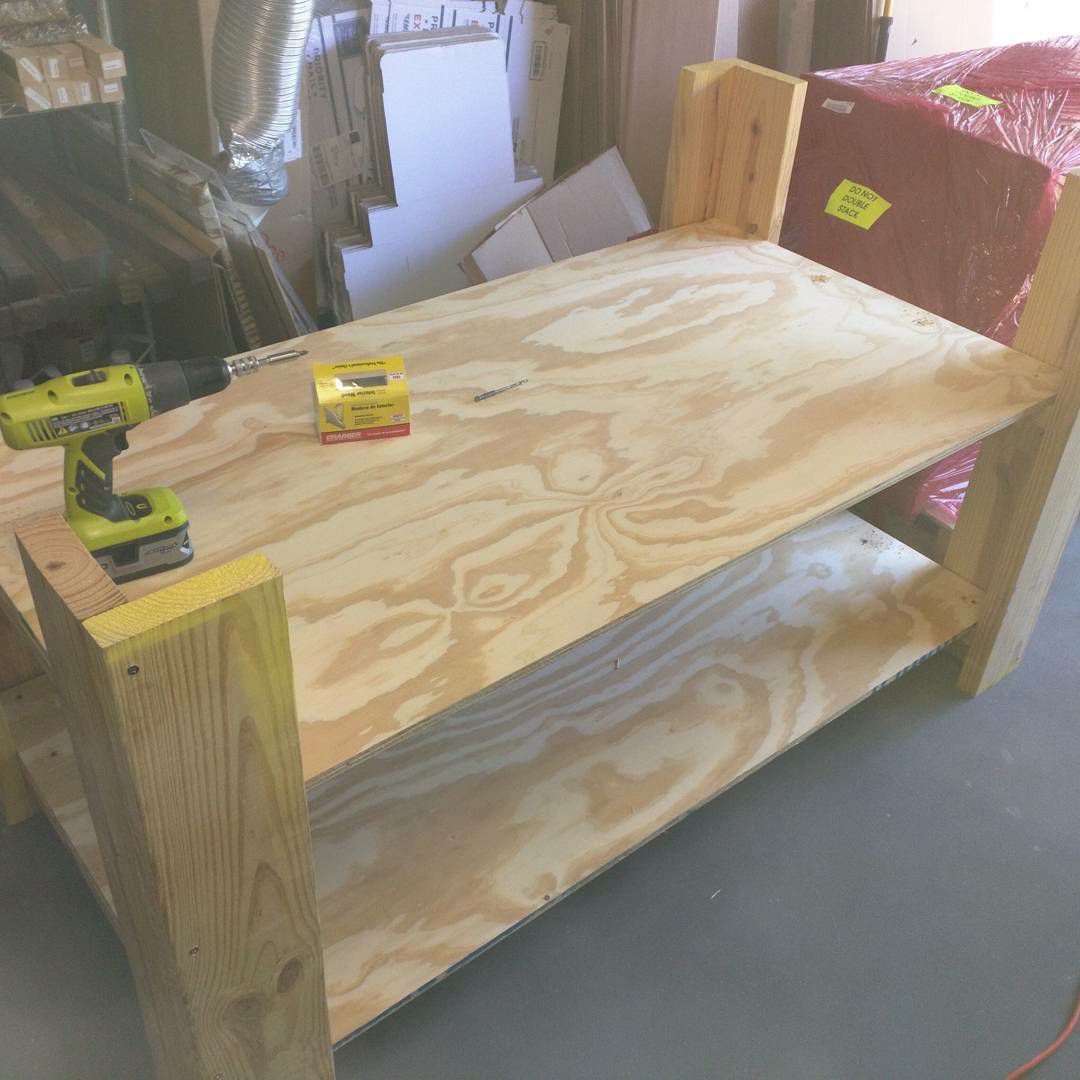
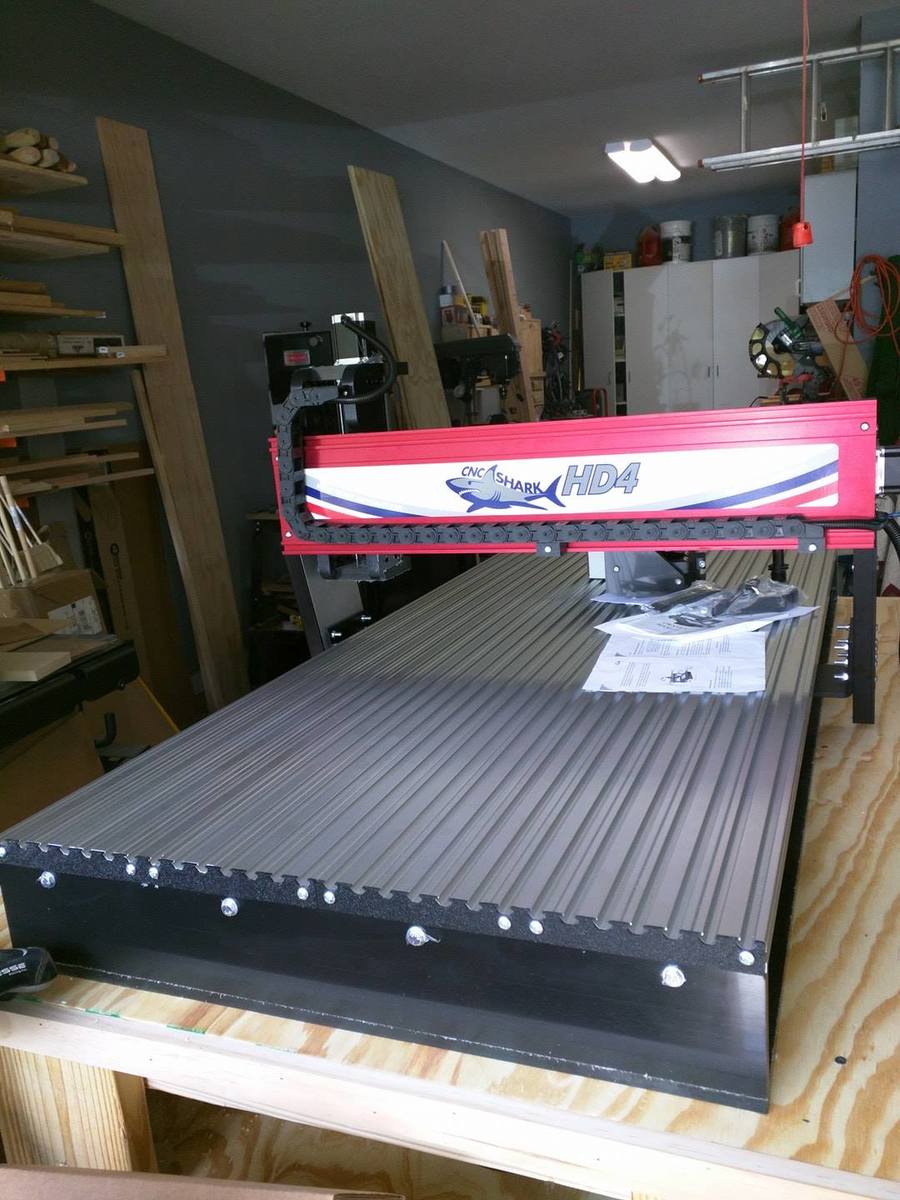
I started with the sturdy workbench plans ( http://www.ana-white.com/2011/03/sturdy-work-bench ) but enlarged it to 38x64x33 to accommodate my new CNC machine. The plans give you enough enformation so that making a size change it very easy. I used scrap wood I had and Plywood so the project only cost $85.00 to build. I didn't have many 2x4's so I used the 2x6's I had instead. Very sturdy table that took about 4 hours to build.
Thanks,
Janet Fox

Had to add leg supports for the none drawer side and added a back for the entire unit. Fun Project. 15th birthday present.

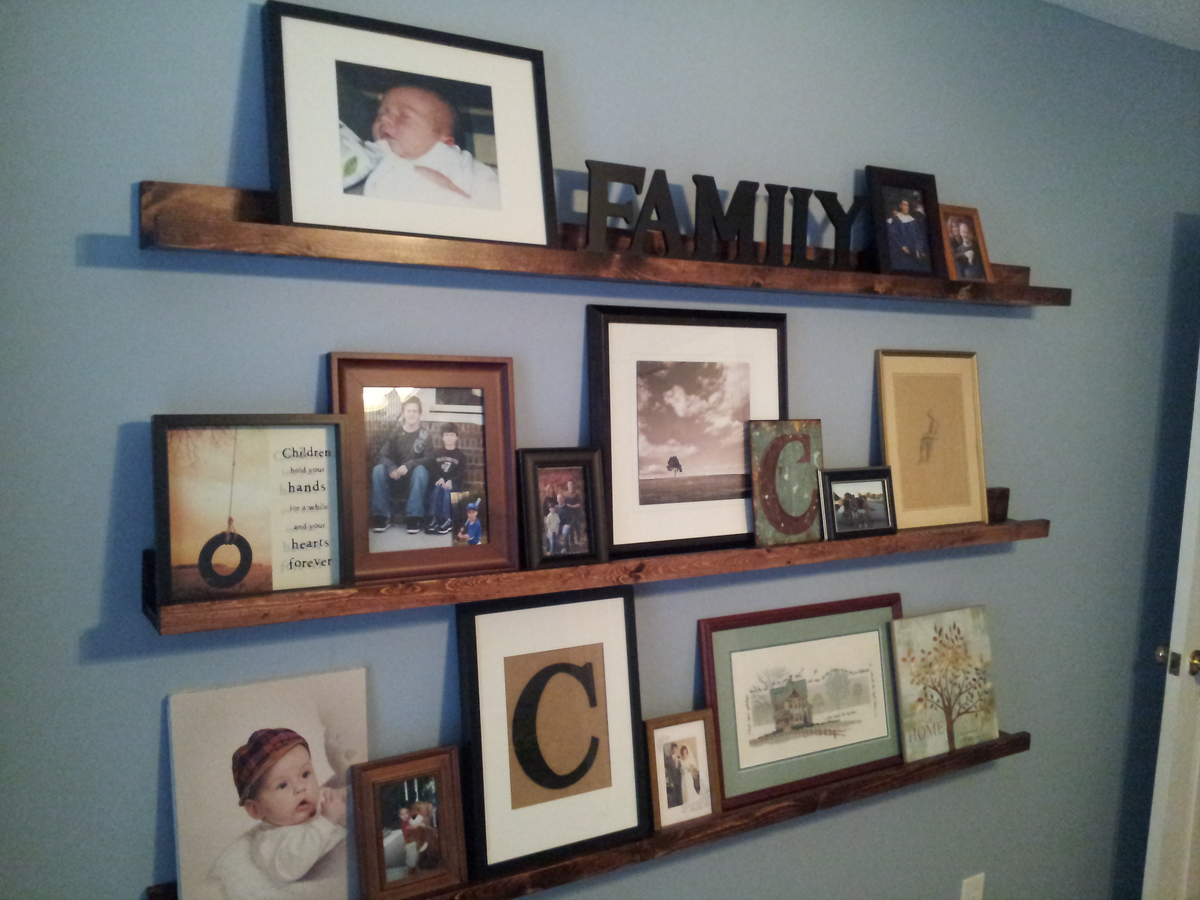
6 feet long gallery shelves using Ana's plans! They were built in 10 minutes! Total cost was about $30 for all three.
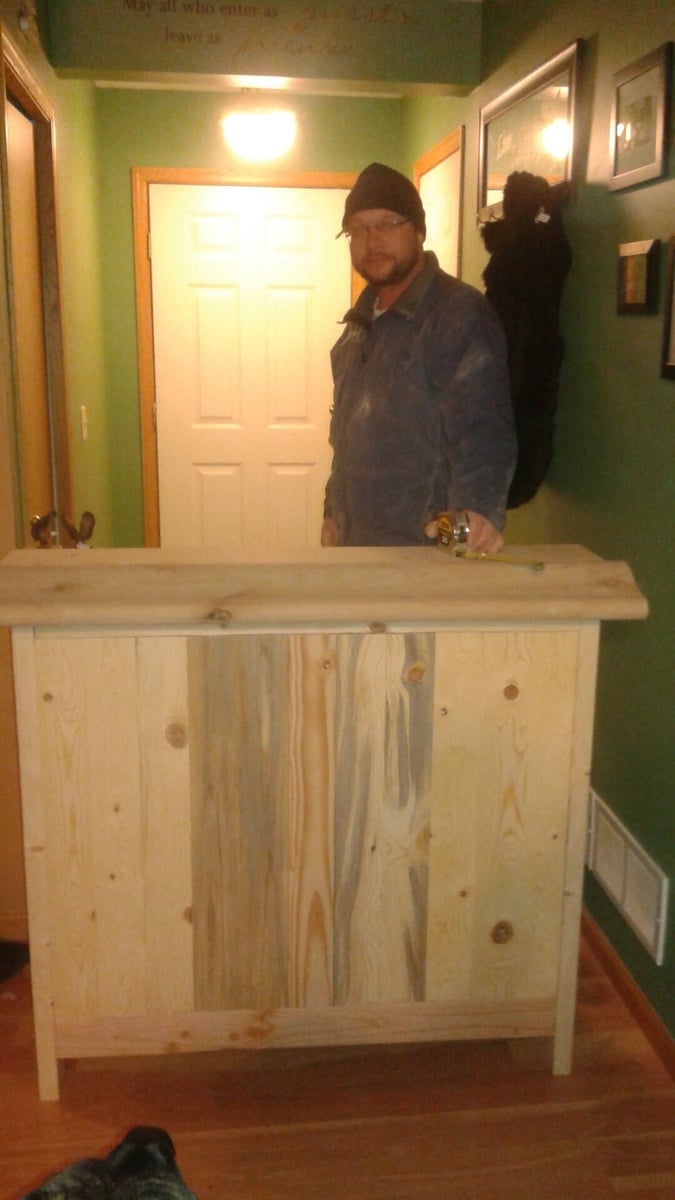
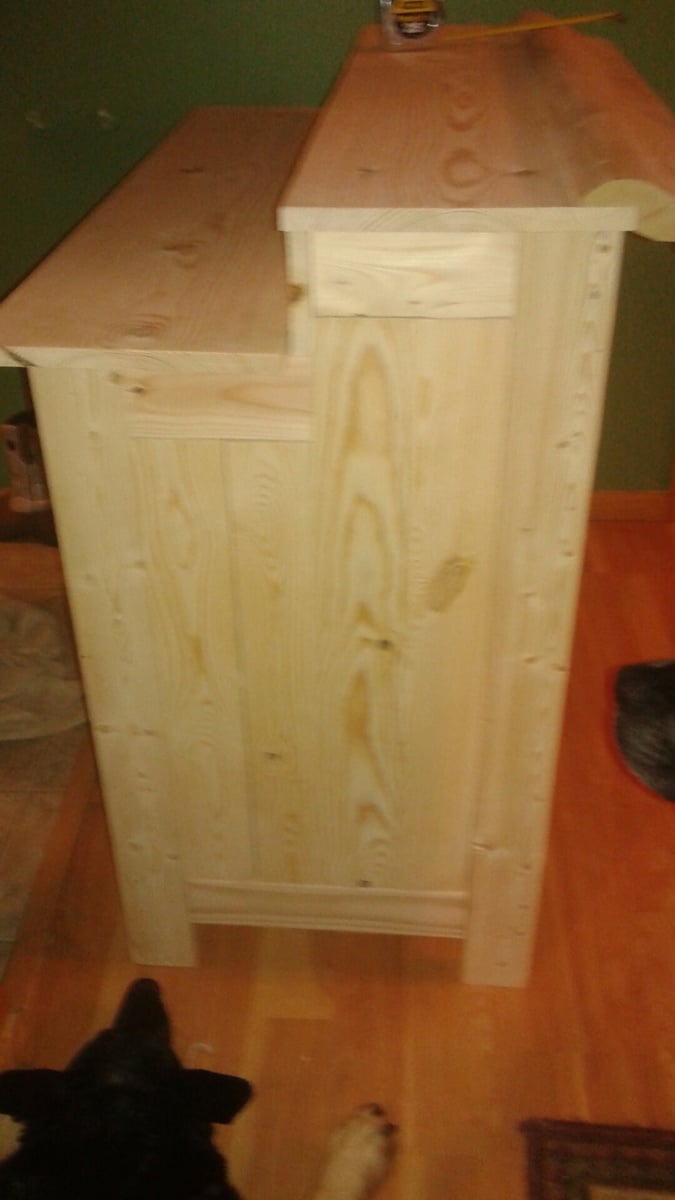
We built this bar from two separate sets of plans. One was from Shanty 2 Chic and their outdoor bar. Because I don't like the flat top design and prefer to have two separate levels for bars (one for mixing drinks and one for drinking them), we used a tutorial from Pinterest as well. I essentially looked at pictures and evolved our own take on it. We decided to use 1X12 and 1X4 that I have stocked up. We also had an alder bar rail left over from our own bar that we attached. It fits well through doors and fit perfectly in our minivan for transporting.
We gave this to my husband's cousin and his wife because they were hosting their first New Years Eve party. We are waiting for their instruction as far as shelving on the inside (they are still discussing for how many glasses and whether or not they want a refridgerator/kegorator installed) and the finish.

Instead of the 2X6, we used an additional cedar board to complete the sides and the ends of the planters. This was more cost effective and still provides enough support to hold the planters. This is a great alternative to the more expensive items we found online. We will be building multiple to put in an unused space in our yard. Great project!!
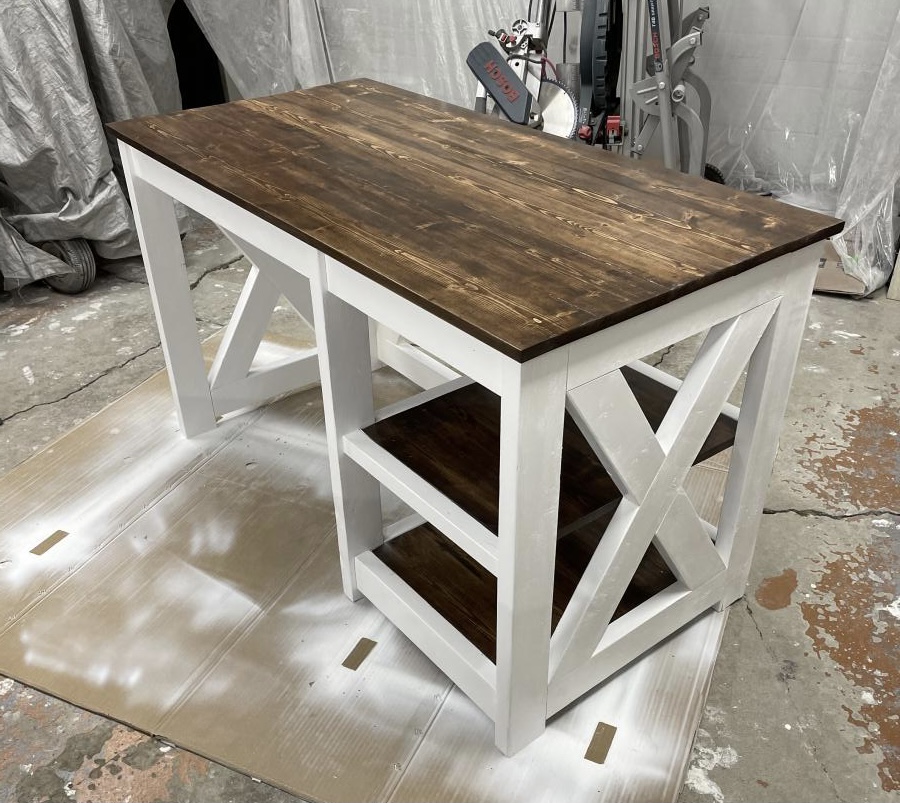
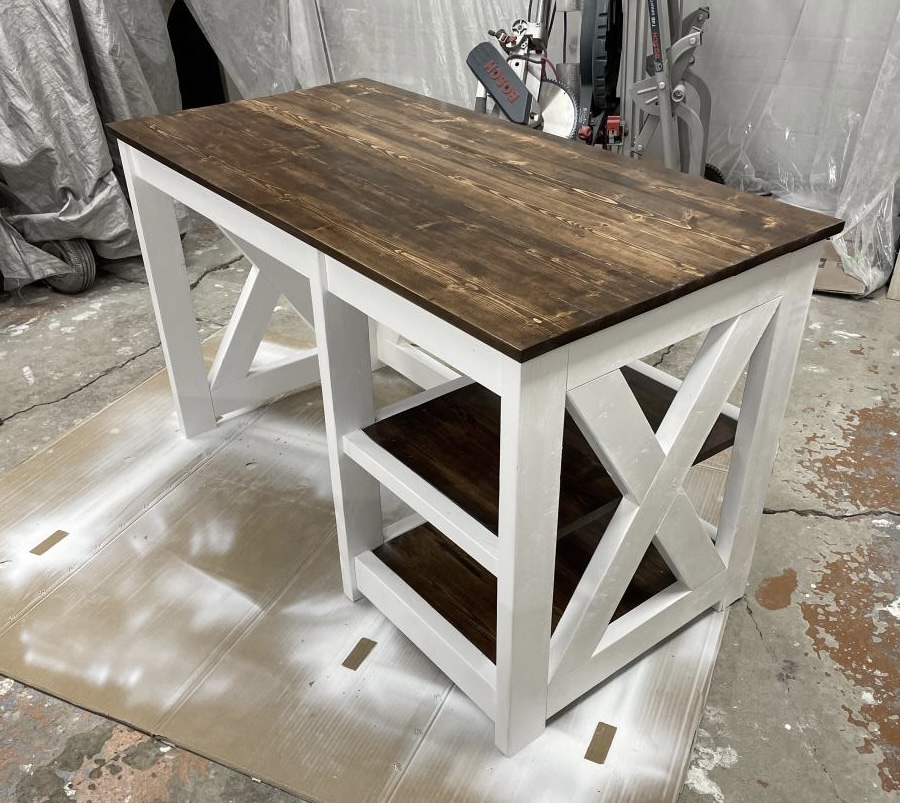
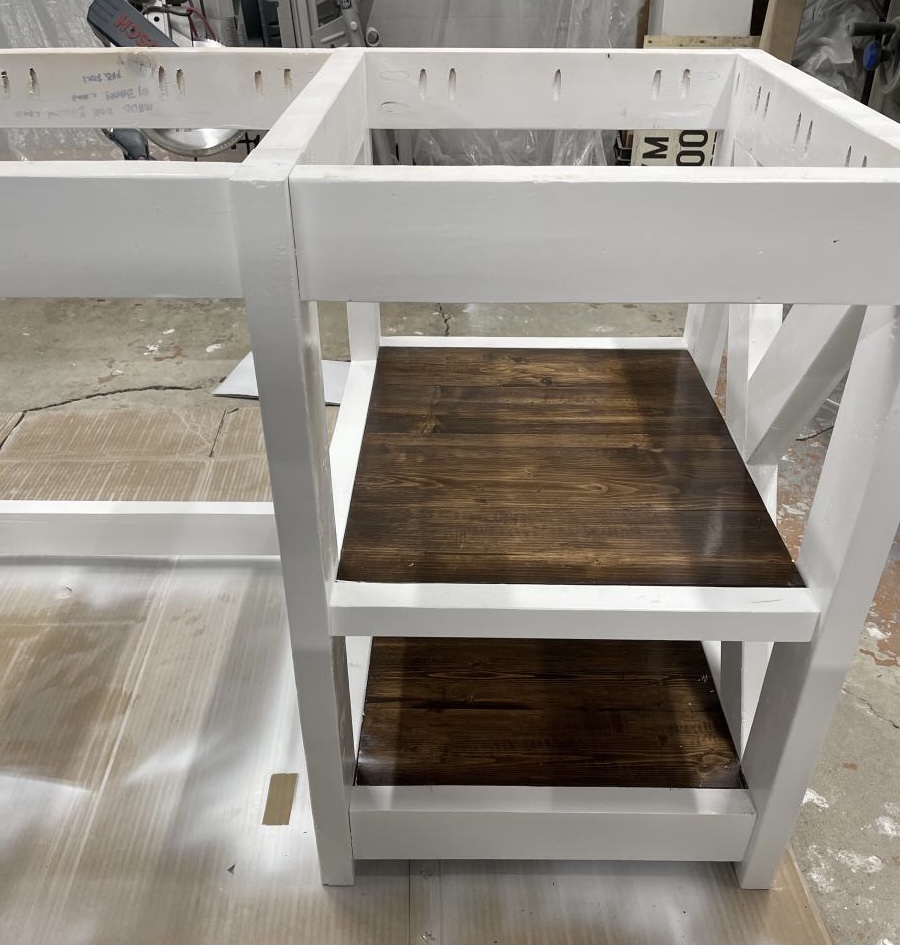
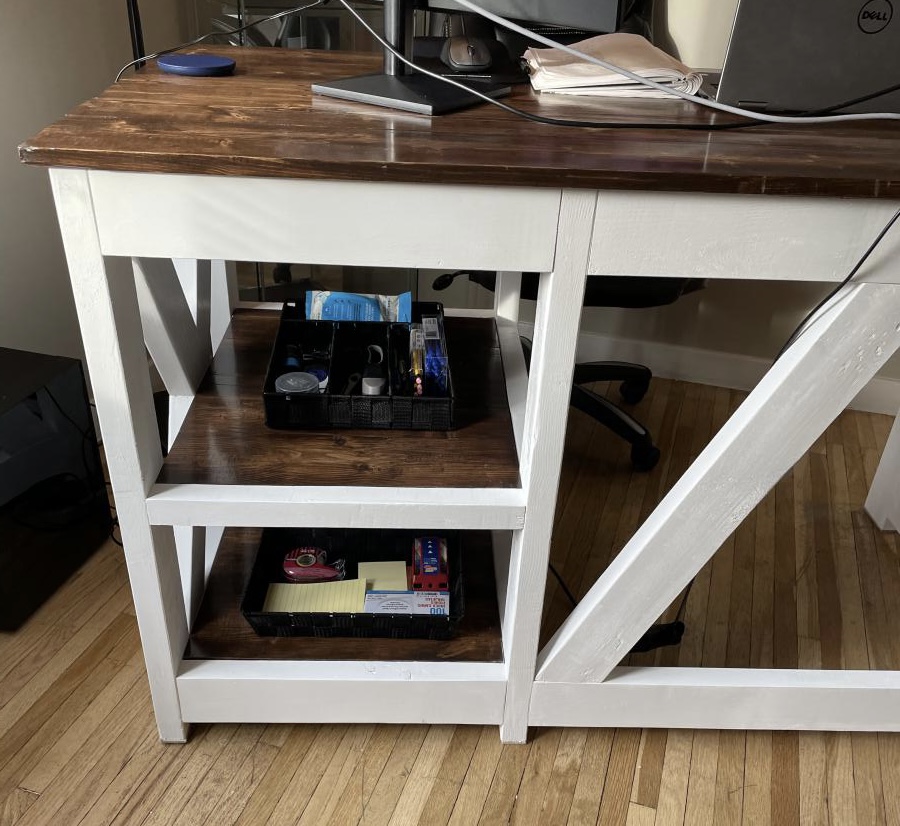
Used the DIY Plans but my son wanted the shelves to match the desktop. Very happy with result
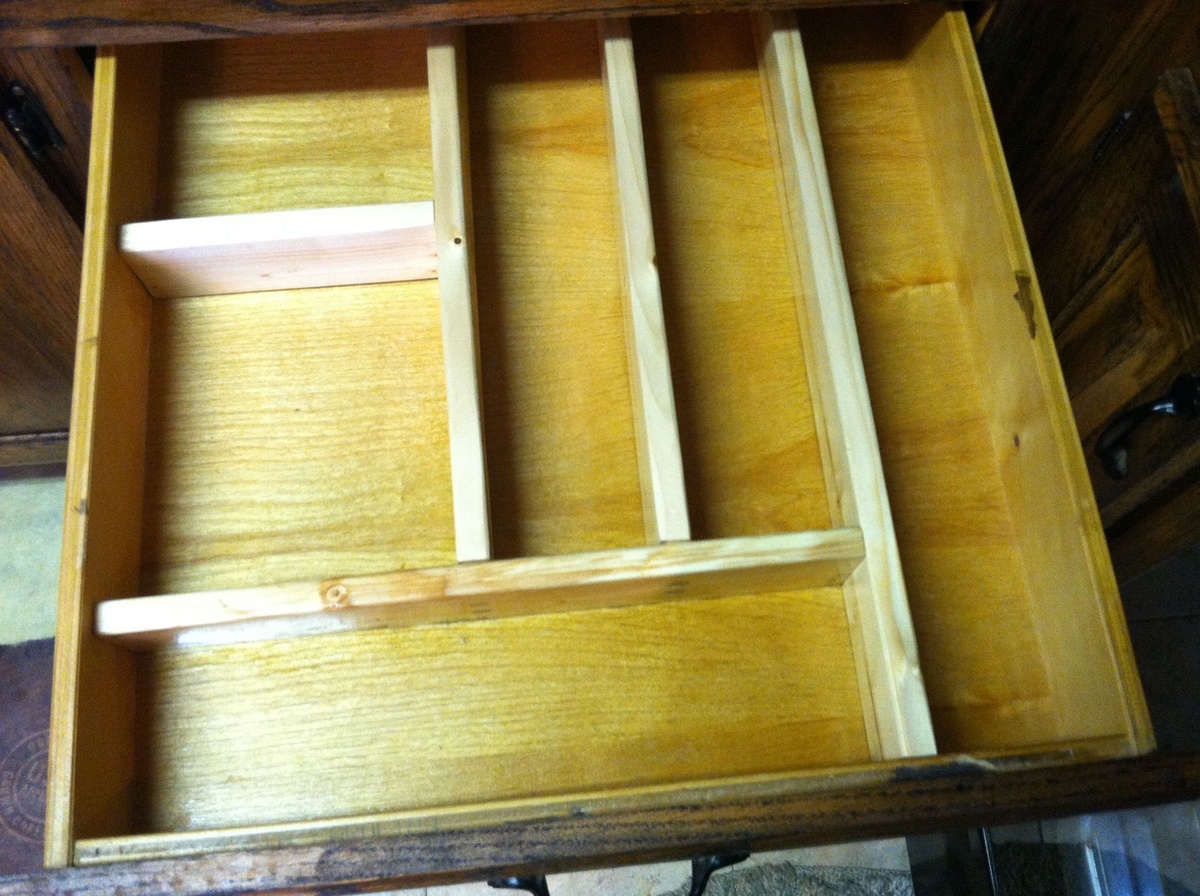
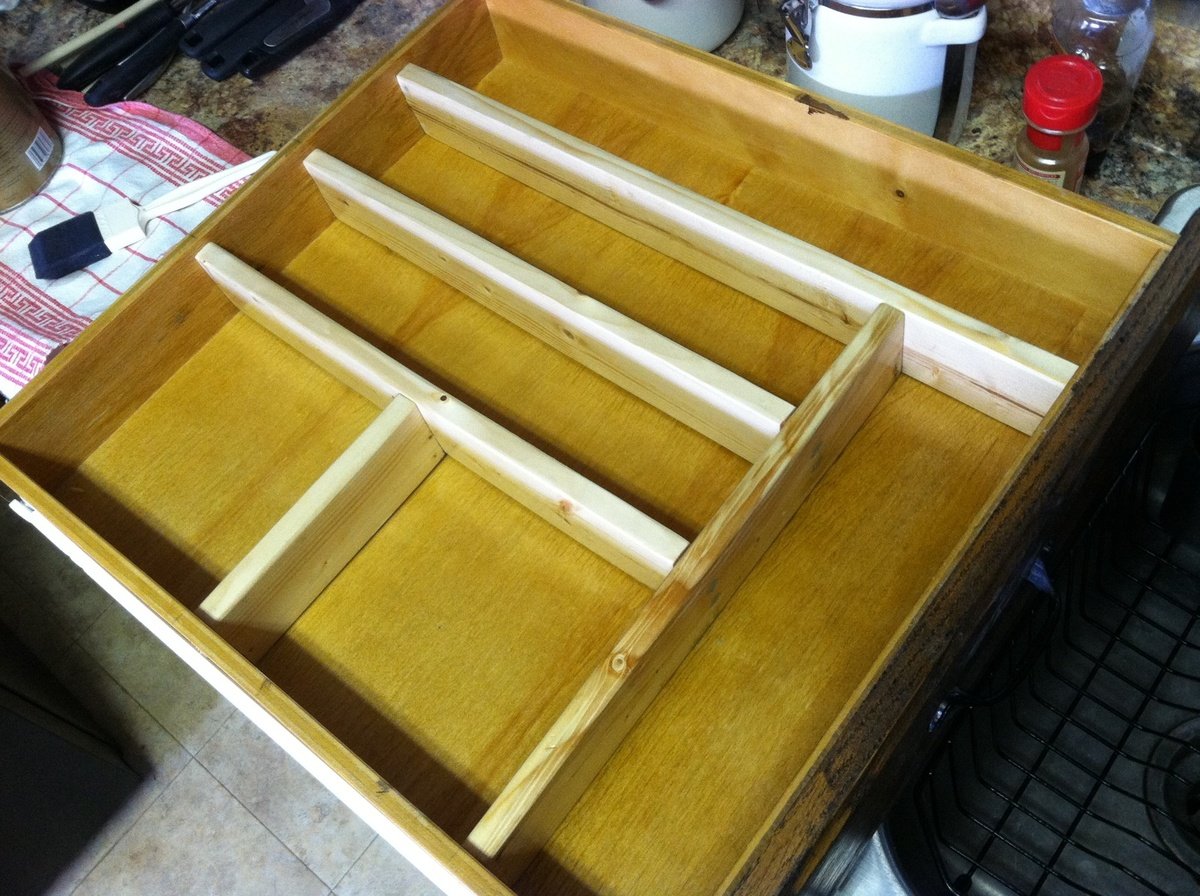
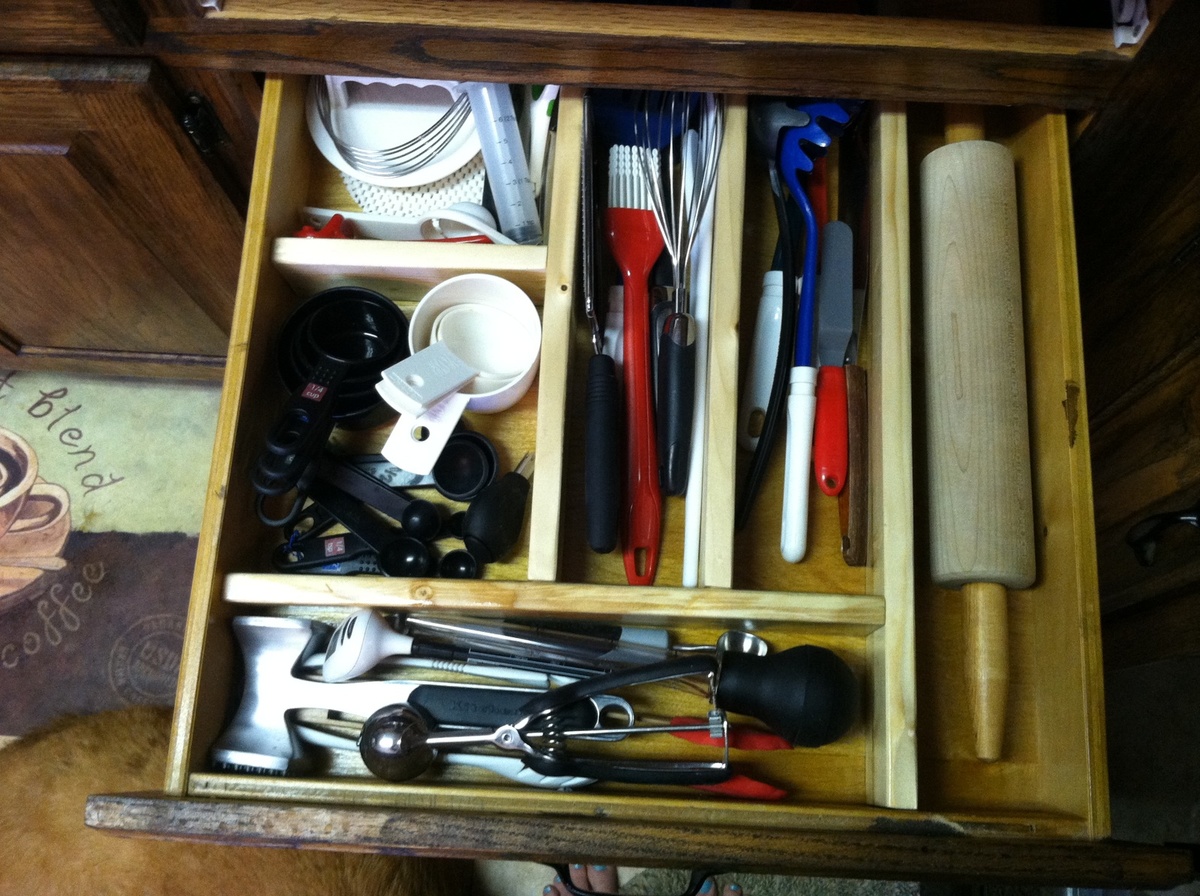
This is for my cooking tools drawer. It's still a bit cramped, but it's much easier to find things now (and I don't have room in my tiny kitchen to expand)! I used a pine 1x3, which was sanded and sealed with a Minwax stain/poly blend. I used a countersink bit to drill the pieces together and used Elmer's stainable wood filler, but it didn't take the stain well. I'm not sure if it was the wood filler or the sealant. Next time I might try a stain and then a poly coating instead of a combination. This was my very first project so I'm pretty excited about it. I will post pictures of my utensil drawer soon.
I made this as a Christmas present for my little cousin. I was looking for something fast and last minute and found this. The plans were super easy to follow. The only change I made was the headboard is a little shorter than the plans because I used all scrap wood for this. It was a hit at Christmas! Thanks Ana!
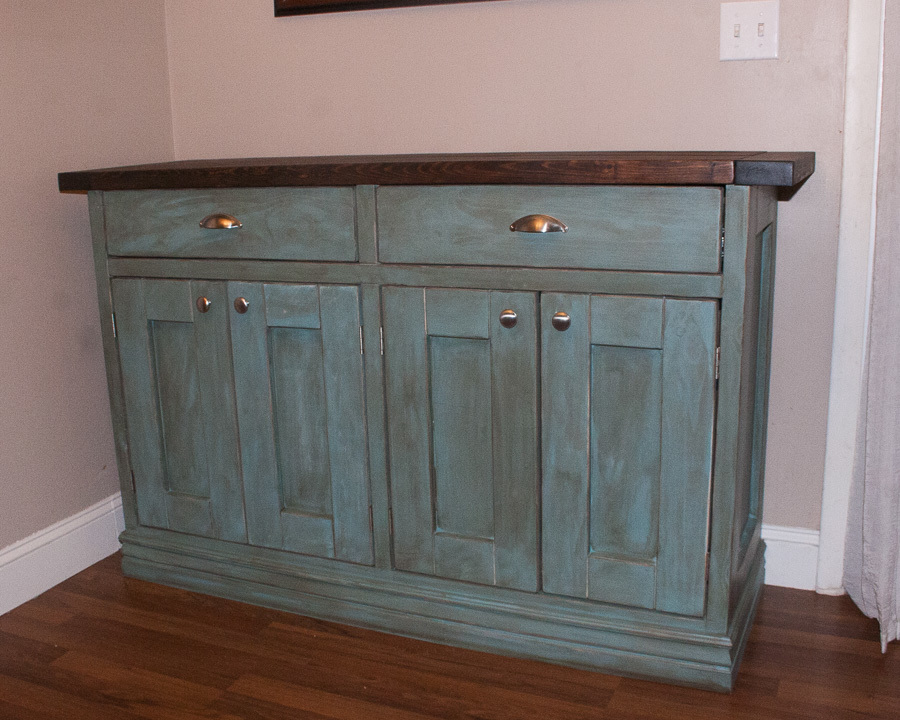
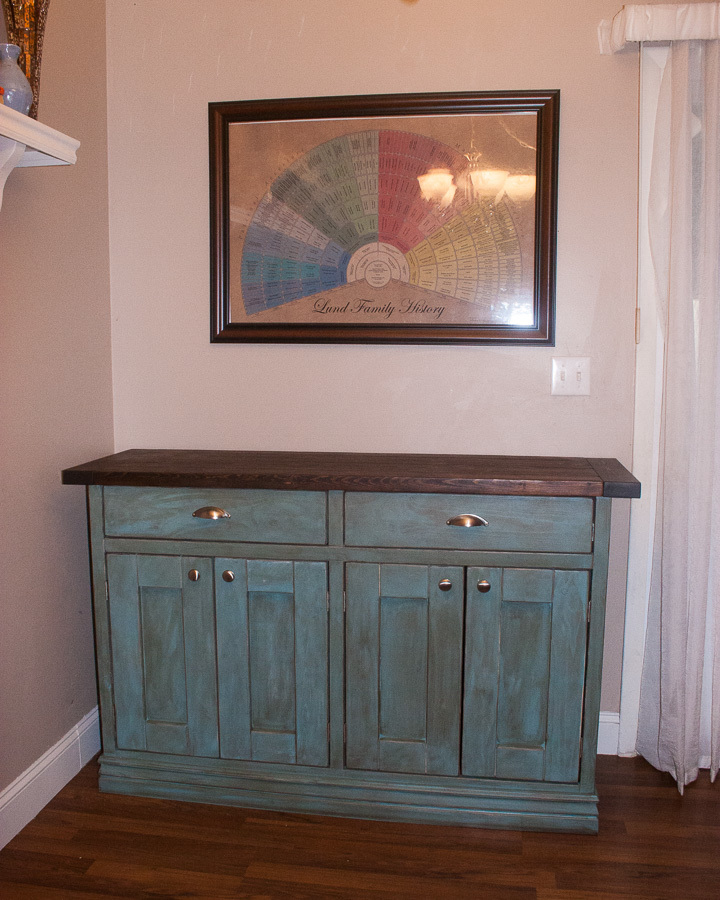
My husband did the build and I did the finishing. This would have been much easier with the correct tools such as clamps and squares but he got by. We did have a Kreg jig that made the assembly much easier. This took about 15-20 hours over the course of a week long spring break.
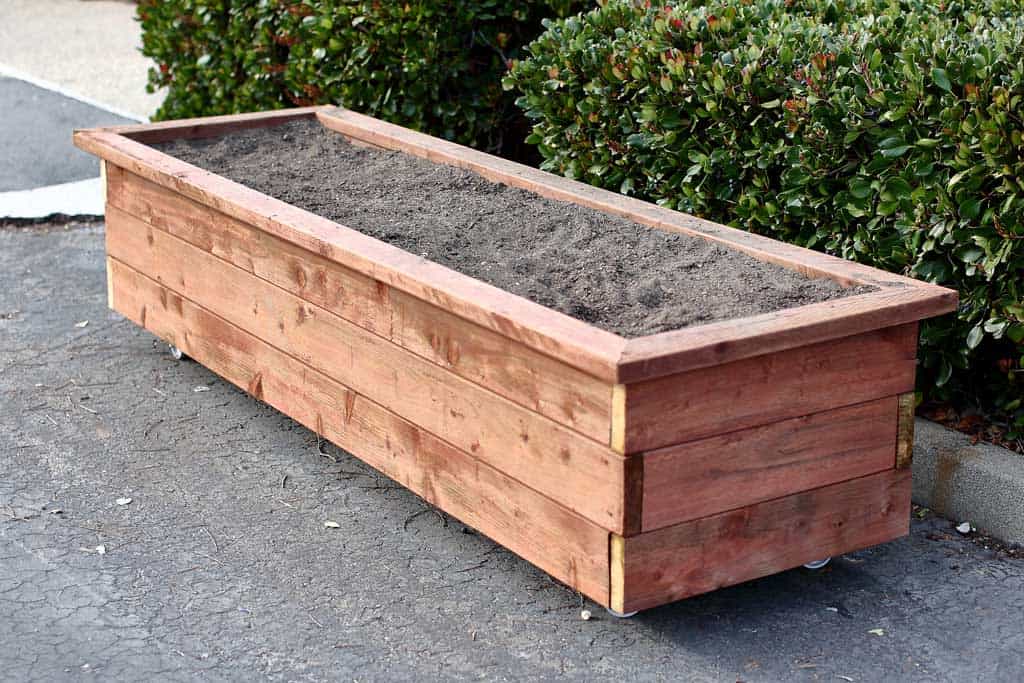
Have you ever wondered how to get your kids to eat more vegetables? If you get them involved in growing their own plants, they tend to take a much bigger interest in eating their leafy greens. But before planting, you need to get a planter and fill it with dirt. To save money, why not build your own DIY Planter Box on wheels? You could even have kids help you, just like we did with a school that our kids go to. Follow this simple plan that I’ve made with step-by-step instructions on how to build it.
We were asked to build a project for two classes, so we decided to build a couple of planters that will allow them to grow their own vegetables. I pre-cut the boards and drilled the pocket holes at home. Then as a class, we assembled the planters together and filled them with dirt. It was a fun project to build as a class and to see kids get hands-on experience, building something out of wood.
See my website for additional pictures and how I've built it, TheDIYPlan.com
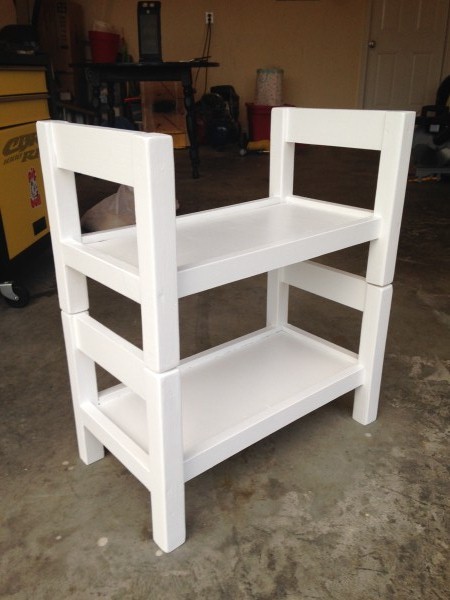
I made this bunk bed for a friend's daughters. I modified the plans by using 2x2's for the bed posts instead of 1x2's. It made it harder to hide the screws but in the end I think it looks better.
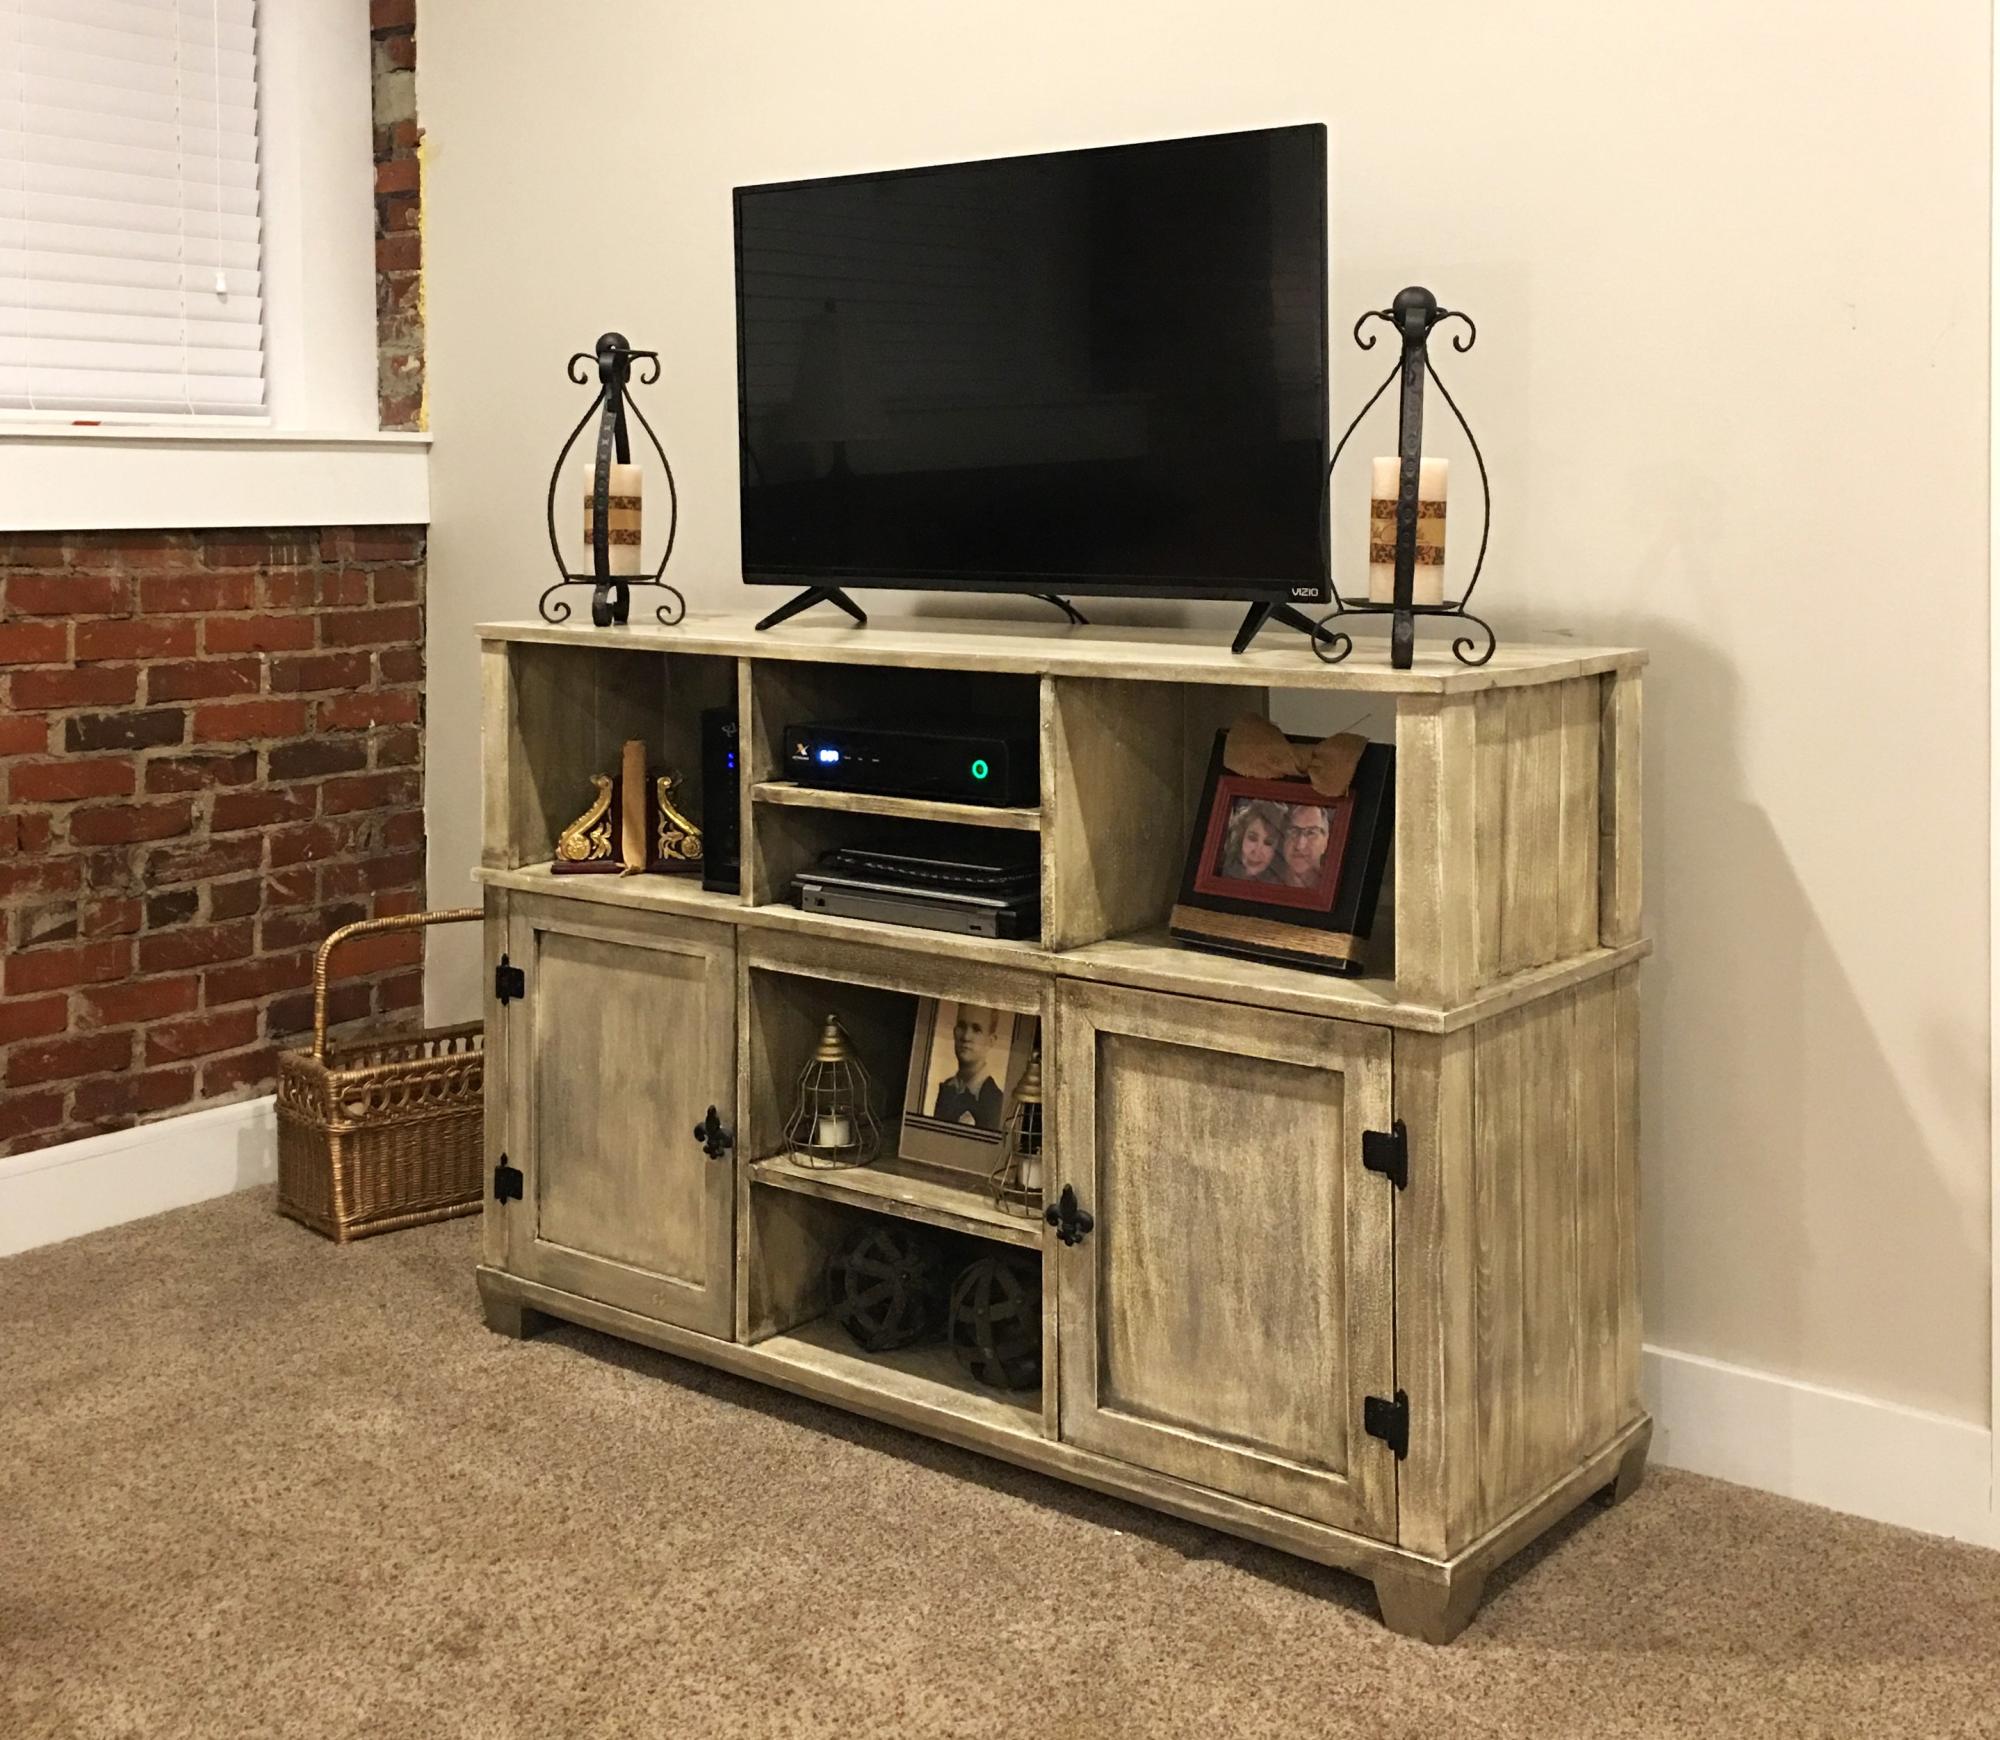
I had an idea of what I wanted and this plan helped me get started.
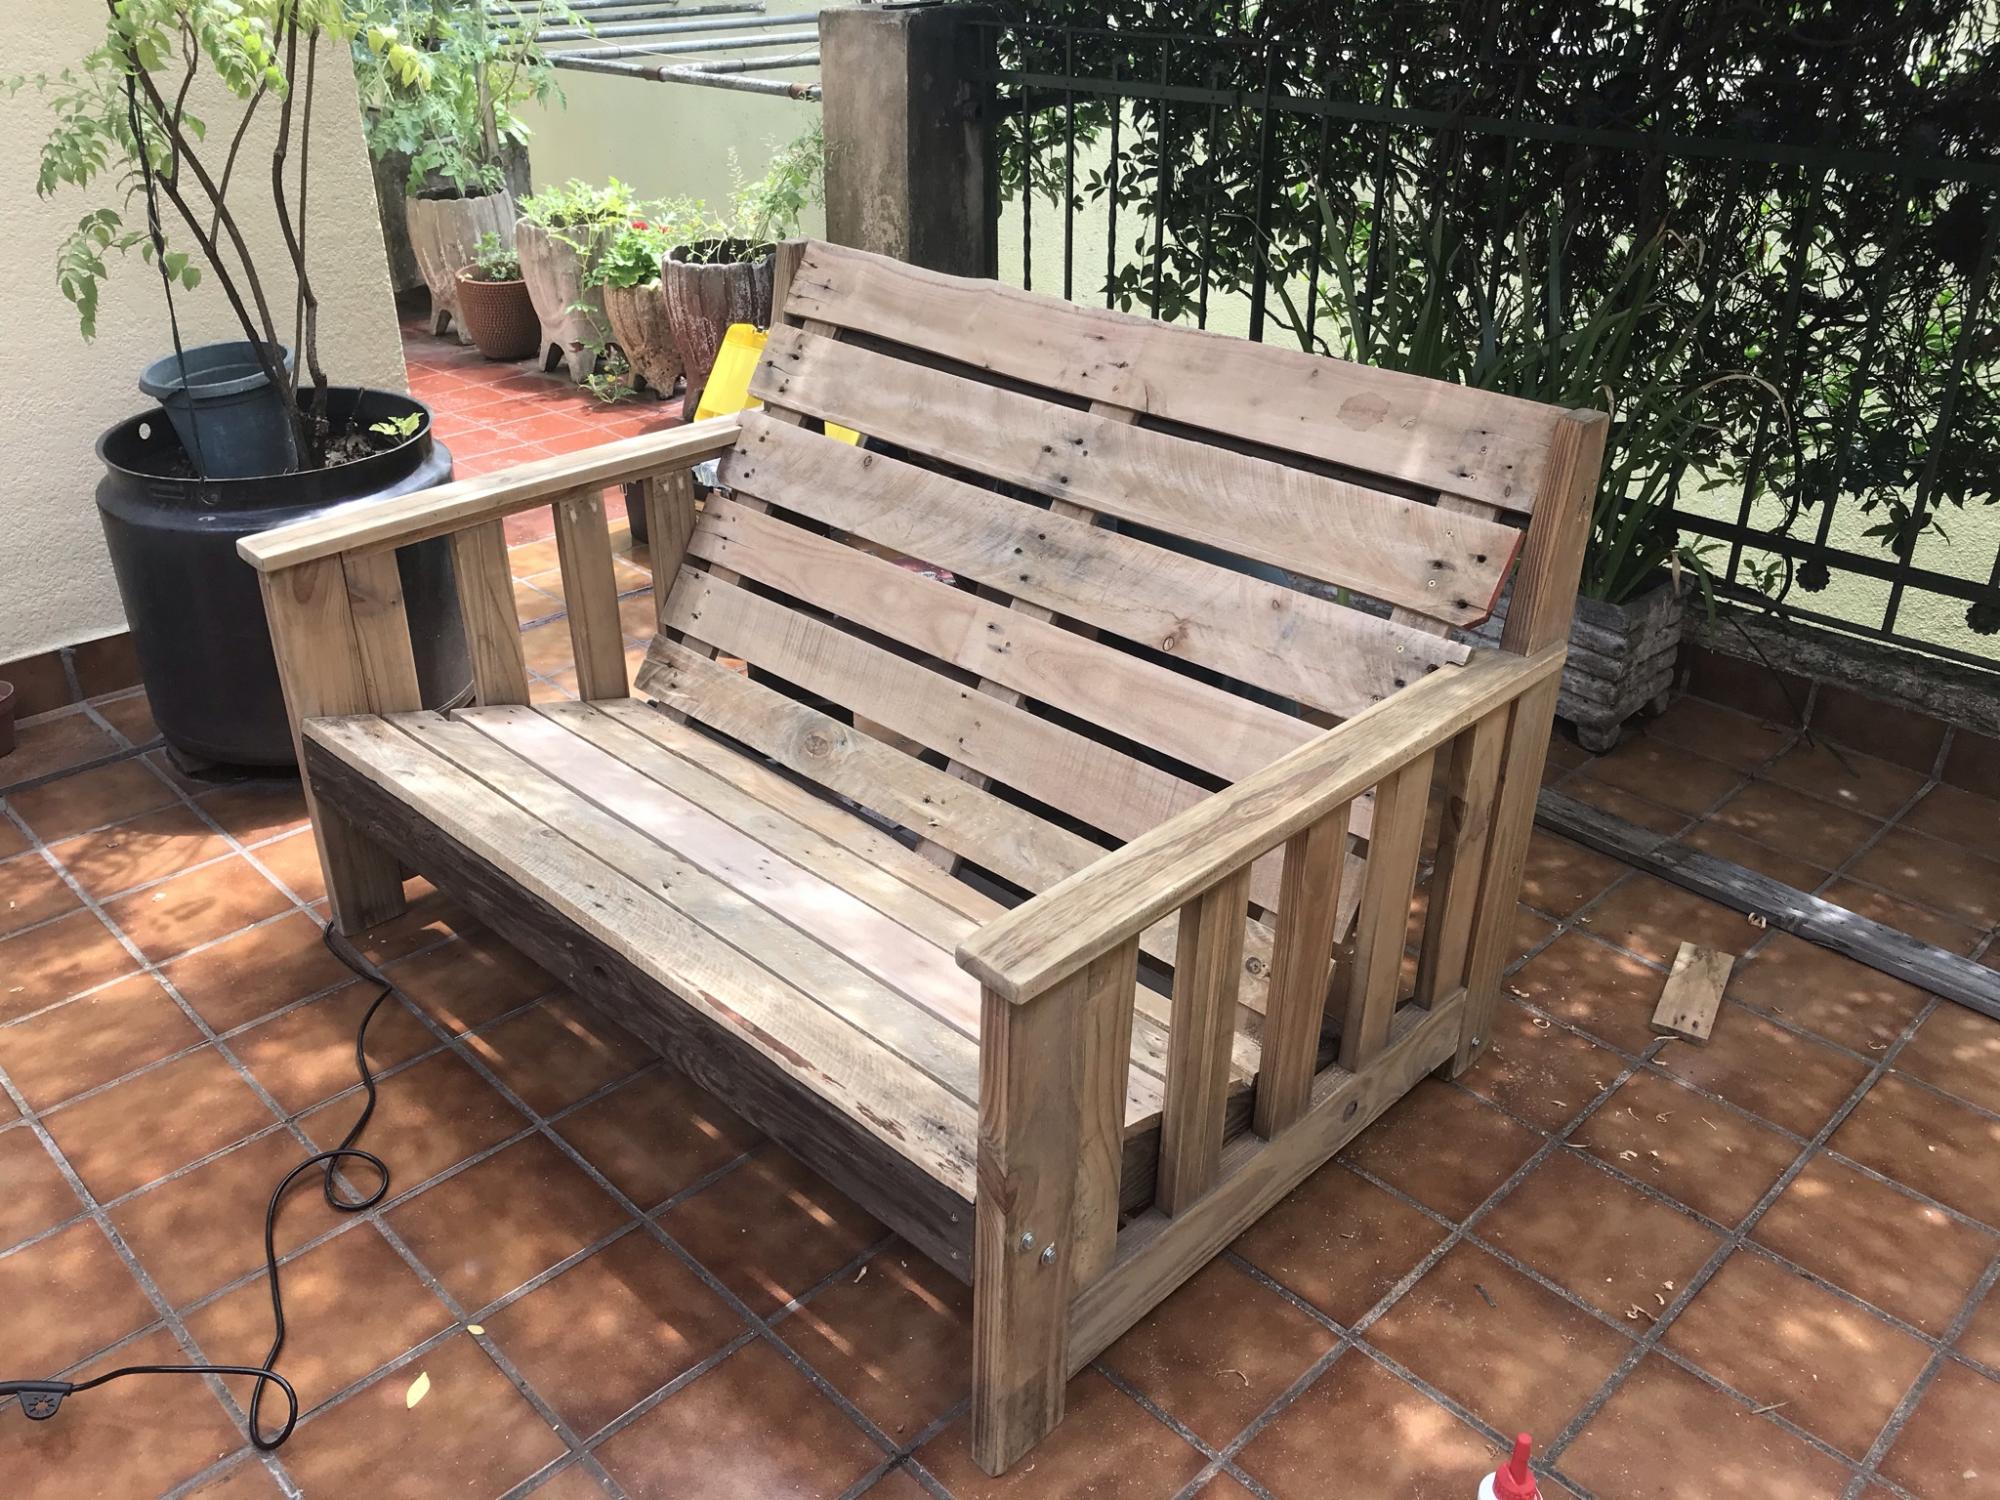
Using the plans for the adirondack chairs we made a super comfy double seater from recycled sofa arms and pallet wood, put an extra diagonal support leg in the middle. Thank you for making these plans available!
I love how this turned out!
This was my first project ever. My goal was to finish it before my husband came home. The self tapping screws were wonderful to use. My husband thought I bought it. He was very impressed and proud of my new hobby. I cannot wait to build the planters next. Thank you Ana for the video and plans. It is amazing what you can do with great directions.

My wonderful husband built this for our rather large family. He made it long enough to sit 4 comfortably along each side with one on each end (total of 10) but we can squeeze up to 14 if needed. Per my request, he omitted the cross bar at foot level since I didn't like how it looked. We also used 4x4s for the legs instead of 2x4s. It was a little trickier to get the cut just right, but we managed ;) Start to finish, this table was completed in 3 days with a lot of hard work. We still need to figure out some kind of finish since stuff tends to get stuck in the cracks between the boards. Just haven't had time to work on it. All in all, VERY happy with the results. Now time for some matching benches and chairs!
This console table was built using Alder lumber. I modified Ana's plans slighly by removing the center, vertical brace, and changing the thickness of the top. I also altered the top by making it a "breadboard" style top. The finish I created was unique in that fact that it was a 5 layer process. Because Alder wood is a "blotchy" prone wood, I sealed it with shellac first, applied 1 coat of antique walnut gel stain, sprayed a toner (dye mixed in shellac) to darken the wood, and then applied 2 coats of poly.
Wed, 01/21/2015 - 12:00
I love the color of your piece. I also like the center support delete as I feel like it helps lighten the piece. Well done.
I love using recycled and refurbished wood. I saw some Cedar leftovers and made this project. @theshopbycecilia