Community Brag Posts

Larger closet / armoire

Submitted by Mfitz08 on Tue, 07/22/2014 - 20:23

I increased the size of the original pLan per the customers request. 45" wide x 72" high x 22" deep. Had to build it in my garage and the dismantle it and build it again at their house as it wouldn't fit up the stairs all together.

Estimated Time Investment
Week Long Project (20 Hours or More)
Finish Used
I used minwax provincial on the main body- the customer is finishing the trim pieces and putting a coat of flat poly on it.
Recommended Skill Level
Intermediate

Hailey Platform Bed - Queen

Submitted by sdelmastro on Tue, 11/01/2016 - 14:45

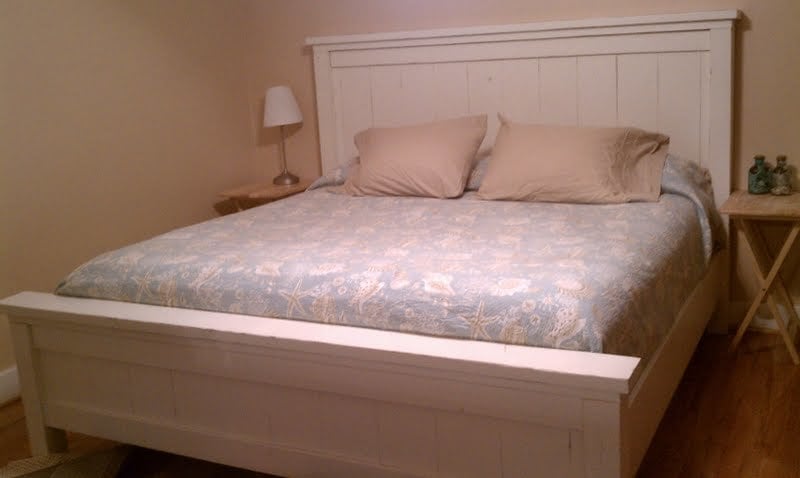
More than happy with how this turned out. Hoping to do the headboard soon after a few orders. Decided to use ash and match a dresser I made. Used pine 1x6s and attached ash 1x6s on the outside for the frame. Used ash for the trim, as well. Assembled with pocket holes and wood glue. Decided to raise the legs 1" and turn then on the lathe. Used 4x4 douglas fir for the legs instead of a 2x4. Attached the legs with carriage bolts. Not shown are plugs to cover the bolts. Finished with a golden oak stain and semi-gloss polyurethane.

Built from Plan(s)
Estimated Cost
$100
Already had the ash.
Estimated Time Investment
Week Long Project (20 Hours or More)
Finish Used
Varathane Golden Oak - Fast dry - 1 Coat
Varathane Polyurethane - Semi Gloss - 3 Coats
Recommended Skill Level
Intermediate

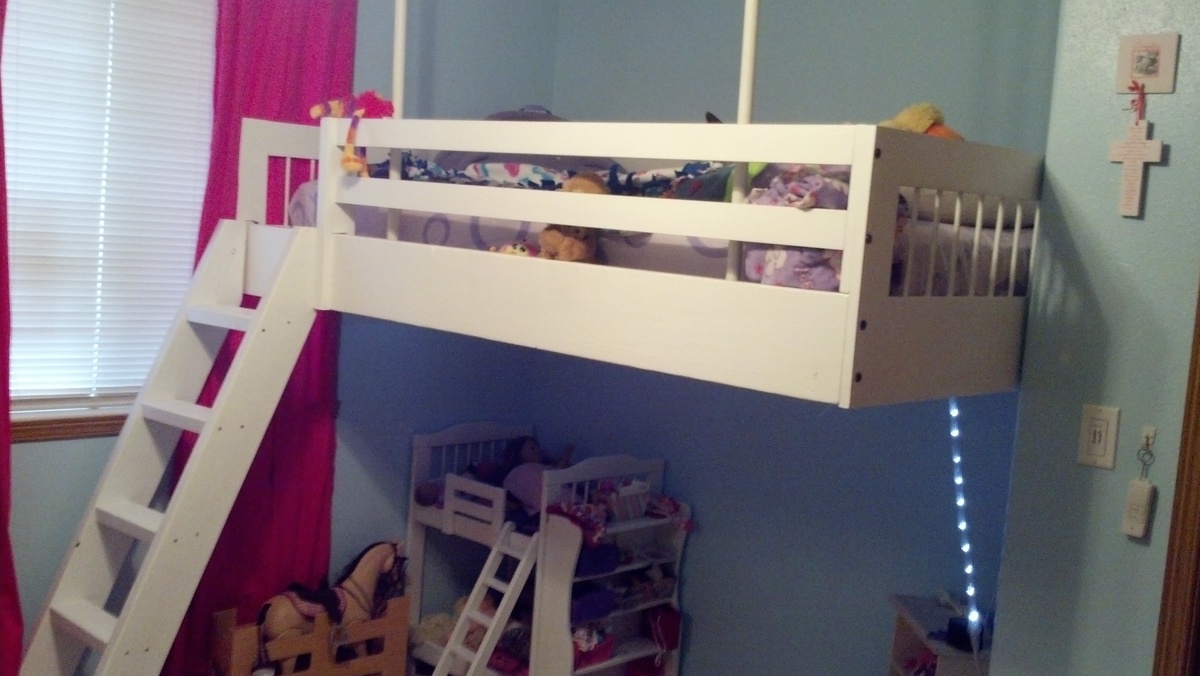
Doll Bunkbed mattresses

Submitted by ewebrat on Fri, 07/24/2020 - 13:28

Not a great pic. Made two to go on Bunkbed. Plans were perfect. I did not use buttons as there is a 13 month old eating machine in the house, but instead used heavy craft thread and sewed an X in eight spots, leaving a small tuft of cut thread. Worked just fine.

Estimated Cost
Zero - already owned materials
Estimated Time Investment
An Hour or Two (0-2 Hours)
Finish Used
n/a
Recommended Skill Level
Starter Project

Big Egg Table

Submitted by Anonymous (not verified) on Sat, 06/22/2024 - 16:11

This is a variation of the green egg table to fit my husband's homemade smoker project. He loves the table!!

Jill Lagman

Farmhouse Nightstand

Submitted by Kimbers on Tue, 10/02/2012 - 13:42

I wanted a nightstand to match my farmhouse bed. I used the cheapest pine boards I could find to build this and it turned out great!

When I first built it I just used a scrap of fabric tied in a knot for the handle but added a real drawer pull when I built the matching dresser.

(sorry the pictures are crappy cell phone shots)

Built from Plan(s)
Estimated Cost
$40
Estimated Time Investment
Afternoon Project (3-6 Hours)
Finish Used
I used Kilz 2 Primer then painted with Behr Silk Pillow. I sanded down all the edges then wiped on a coat of Minwax English Chestnut and sprayed with krylon matte clear sealer.
I totally stole the finish idea from boxermum here http://ana-white.com/2011/04/king-farmhouse-bed-1
Recommended Skill Level
Intermediate

DIY Printer's Cabinet

Submitted by Anonymous (not verified) on Sun, 11/06/2016 - 13:54

Really enjoyed making this.  It turned out to be a perfect Entertainment Center.  Will be using the same idea to make a bar piece that will accompany this in our recreational room.  

Built from Plan(s)
Estimated Time Investment
Week Long Project (20 Hours or More)
Finish Used
Homemade Stain
Recommended Skill Level
Intermediate

Comments

Kid's Storage Step Stool

Submitted by Anonymous (not verified) on Mon, 07/27/2020 - 07:54

I'm a beginning wood worker enthusiast. I've been slowly collecting plans, tools, supplies and I'm certainly not efficient when it comes to projects- even "beginner" projects like this.

While there's still more finishing to do, I cranked these out over the weekend with a myriad of interruptions - so it's hard to say how long these would really take. I didn't have 12" boards, so glued 1 x 6" pieces together into the shape I needed. Then assembled each with 1 1/4" screws, routed the sides, sanded and cleaned them. The kids will paint them their favorite colors and then I'll put a clear coat on top to finish them up. Once painted and ready, I'll add hands to each side as well as rubber runners to the bottom for stability. These are really nice for toddlers to use while they put on or take off their shoes and put into the storage bin.

Built from Plan(s)
Estimated Cost
~ $30/stool
Estimated Time Investment
Weekend Project (10-20 Hours)
Finish Used
A few things:

1) Assembly of the stool- I assembled mine by fitting them together and using 24" clamps to hold them in place, adjusting each part so it was square to the other parts (sides to front/back pieces, etc. then pre-drilled and assembled with 1 1/4" screws placed at even intervals. Many of the brag posts look like people glued them together. Wood gluing is great which is often stronger than screws- the wood itself will give way before the glue does, I've seen proof of it. At the time of my construction, I needed to assemble them and use them right away so I opted for screws instead.

2) Adding the hinge- Duct-taping it to test out the best fit works really well, but there are at least 3 ways to attach this:
a) hinge on the inside of both the stool and top step
i) non-flush - allows for a felt stopper to minimize wood to wood noise when closing.
ii) flush - mortise or rout out the 1/8" (or whatever the depth of your hinge is) space for the hinge by tracing the hinge location and using a short depth mortise bit OR using a set of wood chisels- not everyone has a router (I had to borrow one from the in-laws...)
b) hinge on the back side- no mortise needed, but be aware of how far back you want the step lid to be able to go, full or 90 degrees from the start.
c) hinge on the inside of one side- i.e.: have the hinge on the outside of the stool and the inside of the step or vice versa.
3) The finish- Mine is still a work in progress- My kids are going to do a family project day with me and paint them their favorite colors. Once they finish painting (with touch-ups by Dad) I'll finish it with a top coat to seal/protect the paint.
Recommended Skill Level
Beginner

Providence table

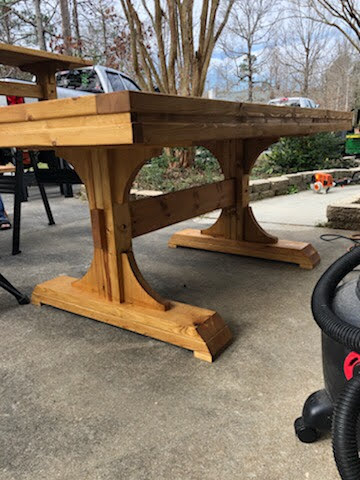
I really like how this table turned out. This table is a beast its very heavy but very sturdy also. I used a 4x4 on the bottom so i could cut a hole out for the umbrella which worked great all I used was a spade bit for the hole.

Built from Plan(s)
Estimated Cost
$75
Estimated Time Investment
Afternoon Project (3-6 Hours)
Finish Used
Im thinking about leaving it unfinished because it is pressure treated and that way i wont have to keep staining it every year or two
Recommended Skill Level
Intermediate

distressed mini mod bar

Submitted by emillia on Mon, 07/28/2014 - 20:43

First project I have done and loved it! Building it I got it done pretty fast it was the polyurethane layers that took the longest.

Built from Plan(s)
Estimated Cost
50
Estimated Time Investment
Weekend Project (10-20 Hours)
Finish Used
Ebony stain, and topped with polyurethane.
Recommended Skill Level
Beginner

Modified Grandy

Submitted by Anonymous (not verified) on Tue, 11/08/2016 - 08:02

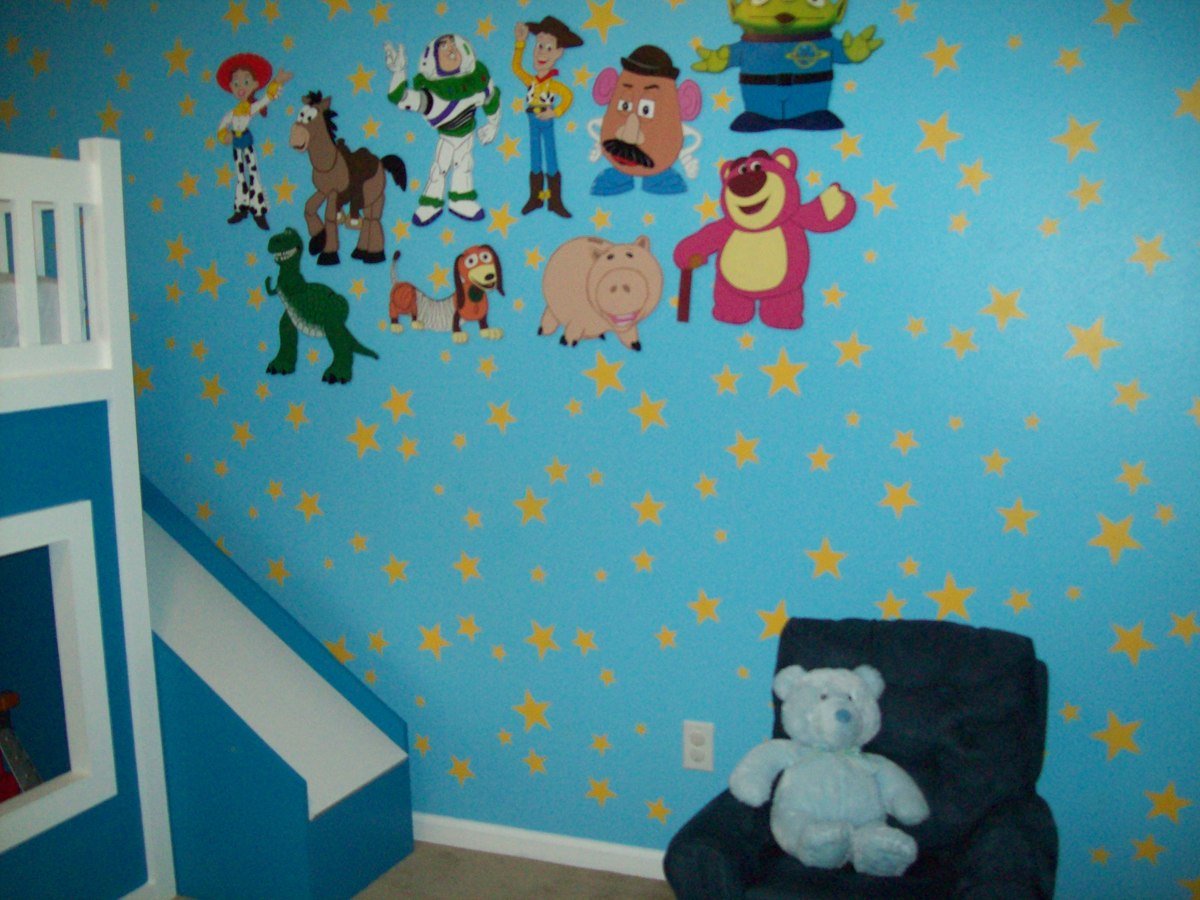
Modified the Grandy Sliding Door to be three doors only. Stained top and doors, added polyurthane, and painted the rest with chalk paint. We couldn't find the hardware ourselves so we made it based on the website recommended in Ana's plans.
Built from Plan(s)
Estimated Cost
$150-200
Estimated Time Investment
Weekend Project (10-20 Hours)
Recommended Skill Level
Intermediate

Nice little coffee bar for my wife

We are running low on counter top space so I built this little coffe bar to house all things coffee for my wife!

Built from Plan(s)
Estimated Cost
$40
Estimated Time Investment
Afternoon Project (3-6 Hours)
Finish Used
Minwax provincial 211 stain and a couple coats of Minwax clear gloss poly.
Recommended Skill Level
Beginner

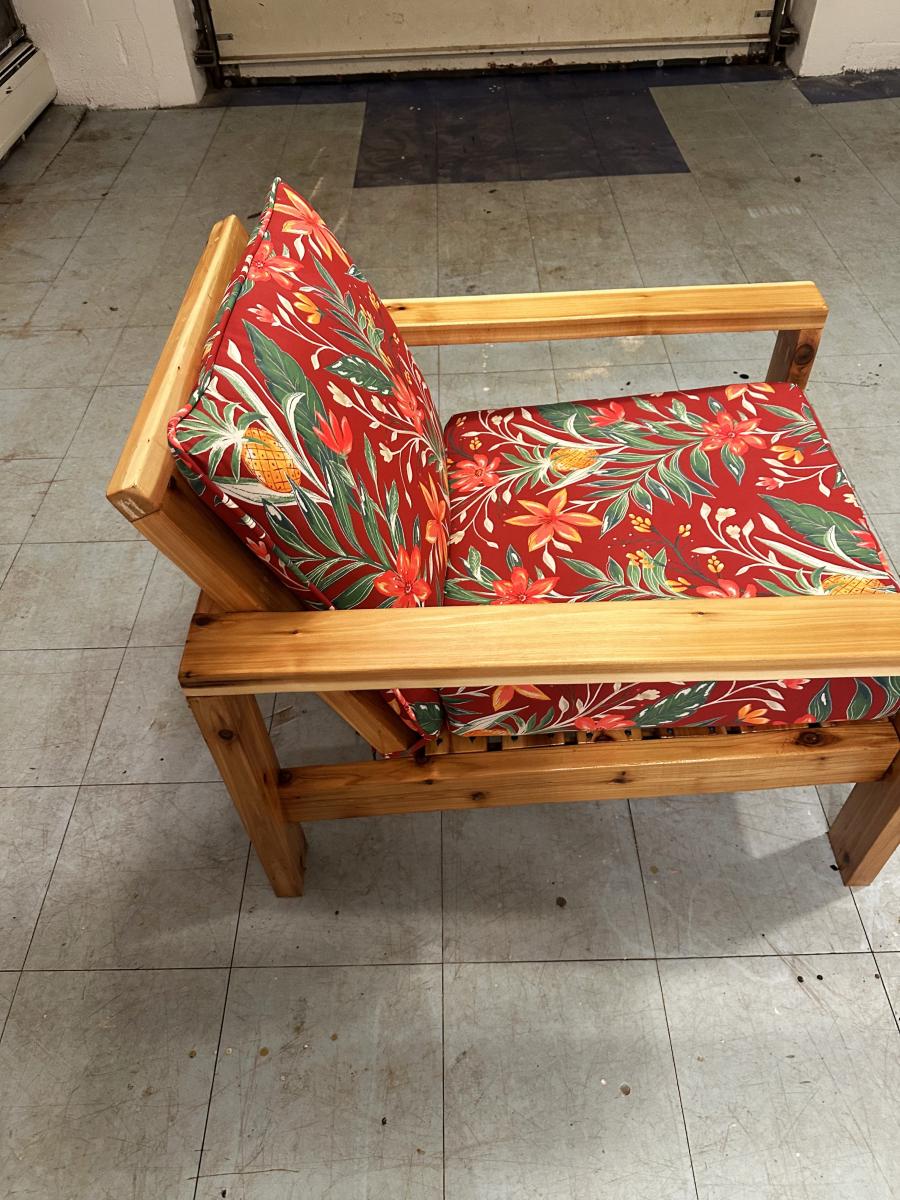
Bristol Outdoor Lounge Chair

Submitted by monkeyboy on Mon, 10/08/2012 - 15:36

I am a computer programmer by trade, a husband/father/cook/baker by avocation. I can read and write music. I am new to woodworking, and look forward to building with Ana's excellent plans.
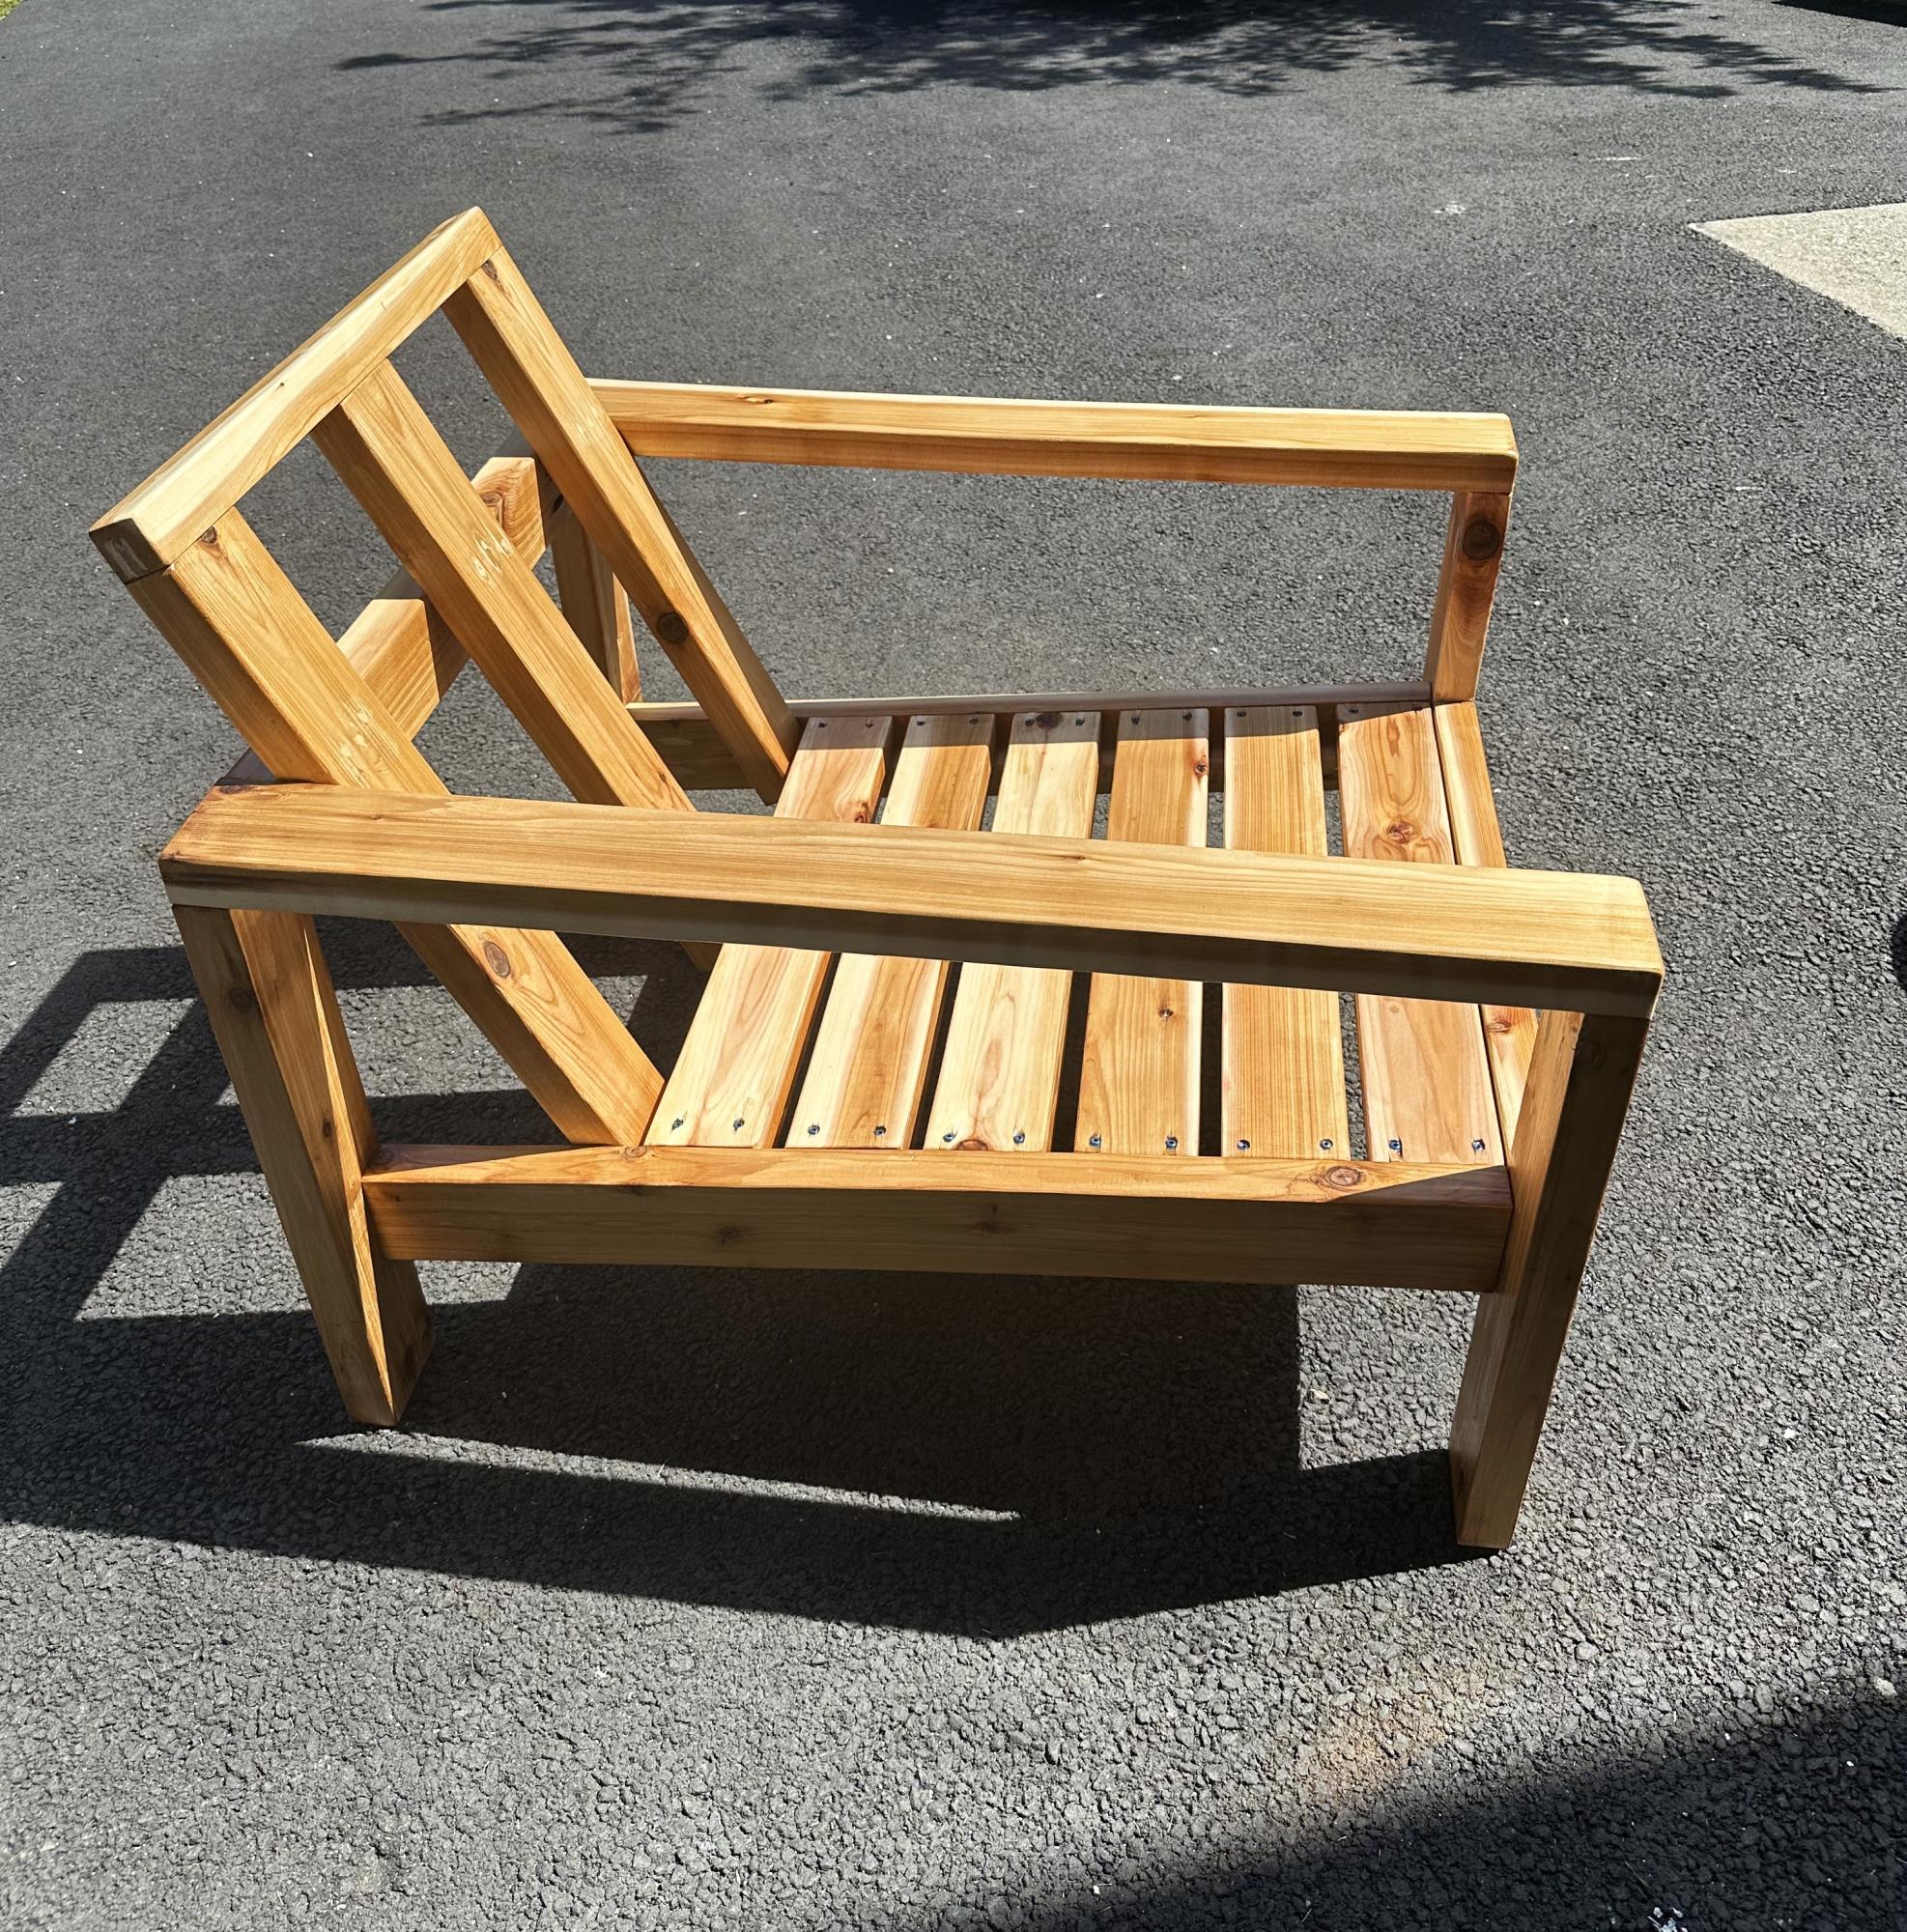
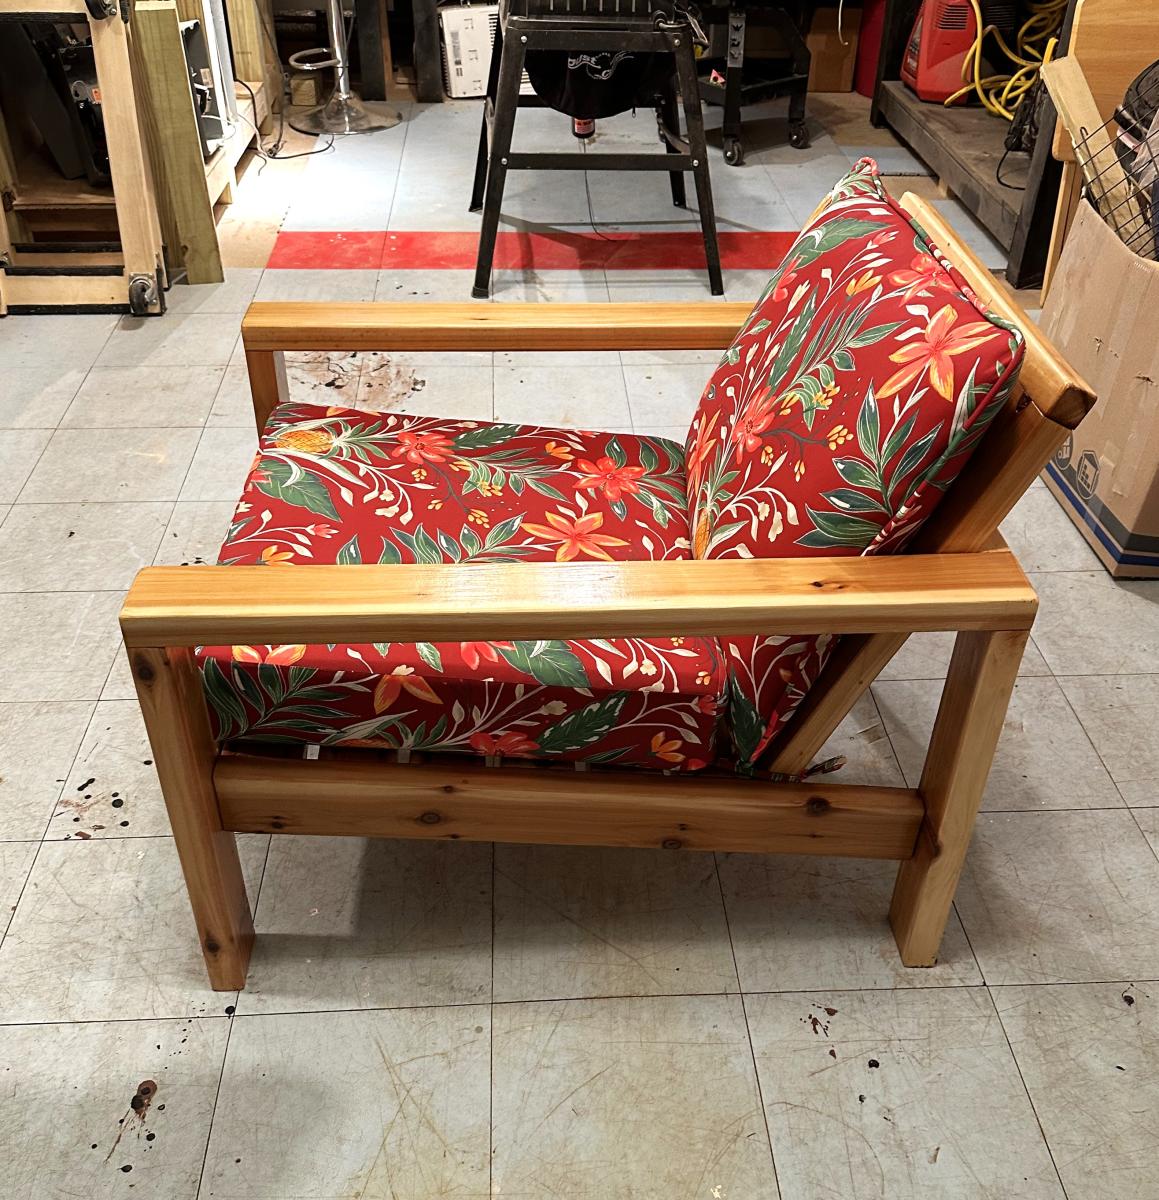
Bristol Outdoor Lounge Chair

Friends,

This is my first woodworking project in a long time. When I found the plans from OPD at Ana's site, I thought, I can do that! It turns out I was both right and wrong.

I bought the wood; I ordered a Kreg Jig from amazon; I searched for inexpensive pillows. My wife is a terrific seamstress, and we looked for fabric and foam. Yikes, is foam expensive!

Anyhow, I measured everything twice, made my cuts and figured out how to cut the 15º angled cuts. Then I drilled all of the pocket holes - what a chore.

My good friend has a complete wood shop. He has more power tools than Sears. Me, I've got a hollow-core door on two plastic sawhorses, a jig saw, chop saw, power drill and screw gun. I wanted to do this myself, so I did not use any specialty tools.

I built the chair without glue. Since this is a prototype, I wanted to be able to dismantle it. I built it to the specs provided, and discovered three things:

1. Attaching the back as a separate piece at a 15º angle is weak. "Weak as water," someone has said.
2. Butt joinery is an imprecise science when soft wodd is used.
3. The chair was too dang big!

So I took it apart. I changed the width of the front and back panels to 20 1/2", and re-used the arm supports.

I cut one end of each side panel to 75º.

The two back supports are a single piece of 1" x 4", 32" in length. This, coupled with the angled cut on the side panels, eliminates the weak joint at the back.

I shortened the depth (from front to back) by about 3", but the box for the bottom cushion is still too big. Next time the box will be 25" square.

In using butt joinery, I found that the back supports and side rails and the front apron all went together well. Perhaps I set the depth gauge incorrectly on the Kreg drill bit, because the 90º joints are not as clean as the flat joints. Then again, the more I do this, the better at it I will get.

I know that some of the joint holes are too deep, and this let the screw penetrate through the joint. Careful measurement before drilling all of the holes is crucial, and demands one's attention. I found myself checking the stop ring on the drill bit several times as I progressed, to make sure it was still set properly.

Using the Kreg Jig is not hard; it takes a bit more effort than they lead you to believe. I found myself wishing for three hands when joing 90º joints.

When the chair was assembled, I rounded the edges with a 3/8" router bit, followed by a thorough sanding. We found very inexpensive 4" foam pillows at Wal-Mart, and you can see the result.

I think the chair looks good, it is really comfy, and there will be more projects before the leaves fall this autumn.

Built from Plan(s)
Estimated Time Investment
Day Project (6-9 Hours)
Finish Used
None - it's a prototype ;-)
Recommended Skill Level
Beginner

Roxie's Crate/End Table

Submitted by laurenkmed on Thu, 07/31/2014 - 18:13

This was my first project ever. I did it around April 2013. I worked with my boyfriend on it, and I think it turned out really well. I plan on making more for friends and family. I didn't use finishing nails the first go round, so I am going to make sure to do that this time. Also, I bought the cheap pine from Home Depot, but it split terribly, and the bowing made for inconsistent cuts. I ended up going back and getting red oak to finish it up, so about 75% of the box is pine and the rest is red oak(not including the MDF board, or plywood, etc). I did an MDF board on top and plywood on the bottom.

We ended up painting the crate instead of staining, and we did a polyurethane coat on the top to help protect from the eventual spills that will occur. I didn't paint the inside of the crate, mostly because you don't notice it is unfinished and I was a bit lazy. Originally I did line the bottom of the crate with cushioning and fabric and stapled it to the bottom (pictured) as a bed for Roxie; but, with the "Snowmageddon" this past winter here in Birmingham, I was stuck out on the road all night and while my apartment manager came and fed her and took her out, she did decide she was going to pitch a fit by eating the handmade bedding. Not a big deal though, now she has a bed from TJ Maxx that works perfectly.

Roxie is a border-collie/lab mix, and she tends to be more border collie in size (50 lbs, about knee height). I went directly from the specifications here on the site and Roxie fits in this well with plenty of room to stretch out. I work and go to school, so she is in the crate for about 8 hours a day, give or take, and she has been doing just fine with it.

I should note that my dog did not really like her original wire crate. We trained her with it, and she would go on command, but she never liked it. After this was built and the first time we let her check it out, I was amazed. She went straight in and laid down. Now it's her favorite spot in the house (other than on my bed of course).

I have received more compliments on it than I can count, and I have people begging me to make one for them. This was definitely worth it! Great plans!

Estimated Time Investment
Weekend Project (10-20 Hours)
Finish Used
Espresso colored paint.
Recommended Skill Level
Starter Project

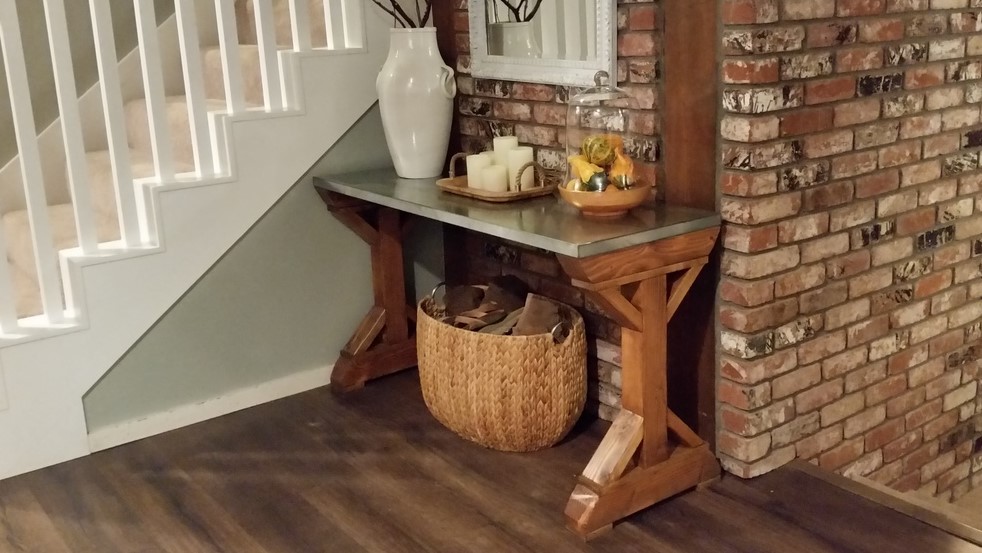
Console table

Submitted by Anonymous (not verified) on Sun, 11/13/2016 - 20:07

We enjoyed building it and it looks amazing

Estimated Cost
$90
Estimated Time Investment
Weekend Project (10-20 Hours)
Finish Used
Grey and walnut minwax stain, plus a white wash and poly wipe on
Recommended Skill Level
Beginner

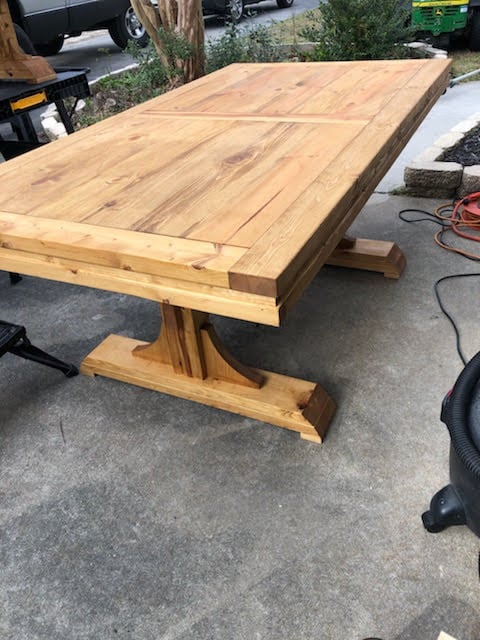
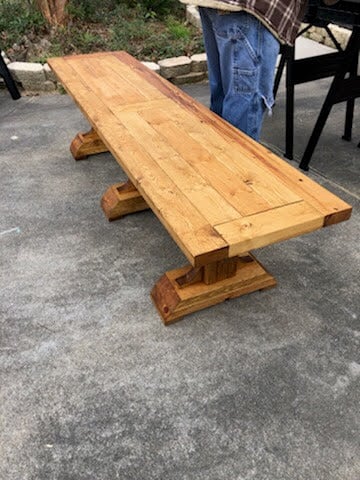
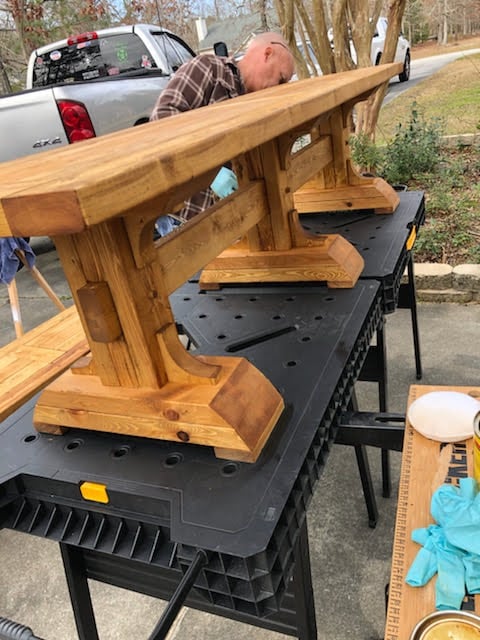
Fancy X Farmhouse Table

Submitted by Jbyrd09 on Thu, 10/11/2012 - 20:59

Fancy X table and bench

Built from Plan(s)
Estimated Time Investment
Weekend Project (10-20 Hours)
Finish Used
Minwax ebony
Deft semigloss clear coat lacquer
Recommended Skill Level
Beginner

Comments

Unique Bookshelf

Submitted by Lalauren42 on Mon, 08/04/2014 - 08:48

I was in need of a new bookshelf so I searched online and all I could find were cheap, plain bookshelves at a pricey cost. So I decided to make my own. This was my first piece of furniture I have ever made. I love it! Super easy and the Kreg Jig will quickly become your new BFF!!

I did shorten the bookshelf so that top was accessible.

Estimated Cost
$150
Estimated Time Investment
Day Project (6-9 Hours)
Recommended Skill Level
Beginner

Emme Twin Bed

Tips:

  1. Bed Frame: runners attached with bed connectors from Rockler to make it easy to breakdown and move.
  2. Slats: made removable slats again for ease of move. Made with nylon rope stapled to 1x3. Pin the first and last slat by putting a screw on the inside of the first and last slat to keep it in place.
Estimated Cost
less than $100
Estimated Time Investment
Day Project (6-9 Hours)
Finish Used
General Finishes Gel Stain Java
Recommended Skill Level
Beginner

Rustic Farmhouse Console Table

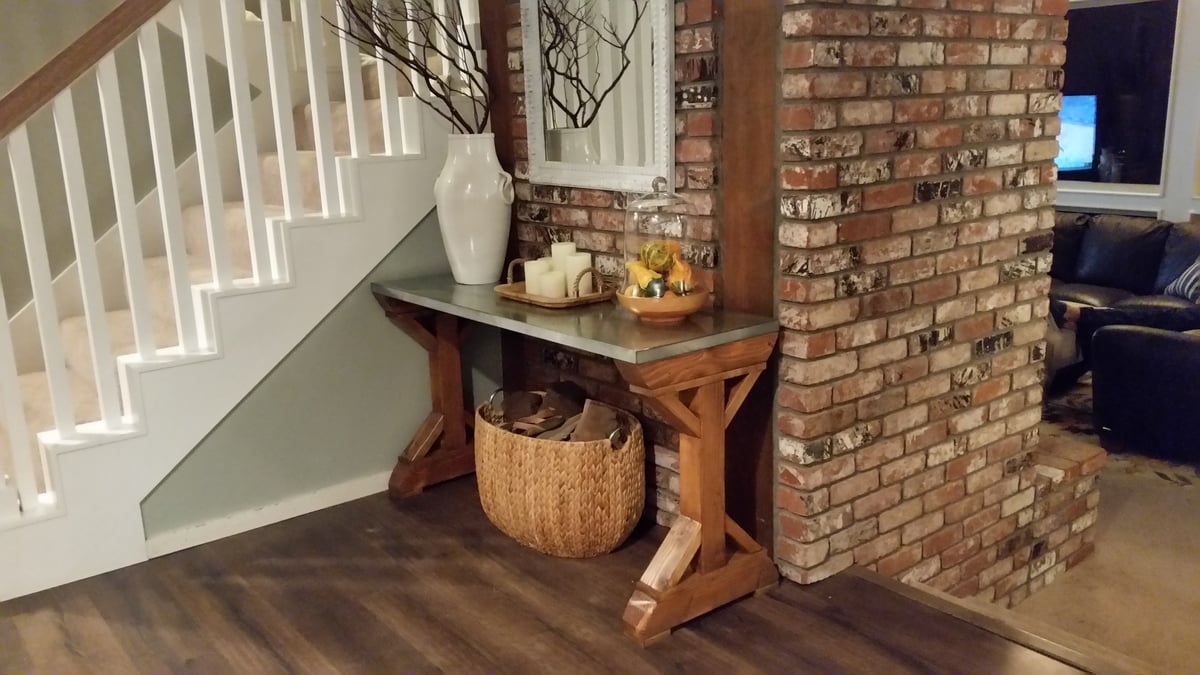
Building this console table was built over two weekends. Cutting the wood and assembling the pieces was fairly easy but choosing the right colors for the stain was not. We finalized on hickory for the frame and mocha for the top and X's. We decided to build it 6 inches taller then the plan and als to trim the inner edges of the 2x6's to eliminate the crumb catchers. We also rounded the feet because they were chipping on the garage floor during the build.

We loved the final result!

Back