Our Lemonade Stand
This was a fun project... i really enjoyed it! It was my first time staining, so I learned some things, and it got a lot of compliments from customers!
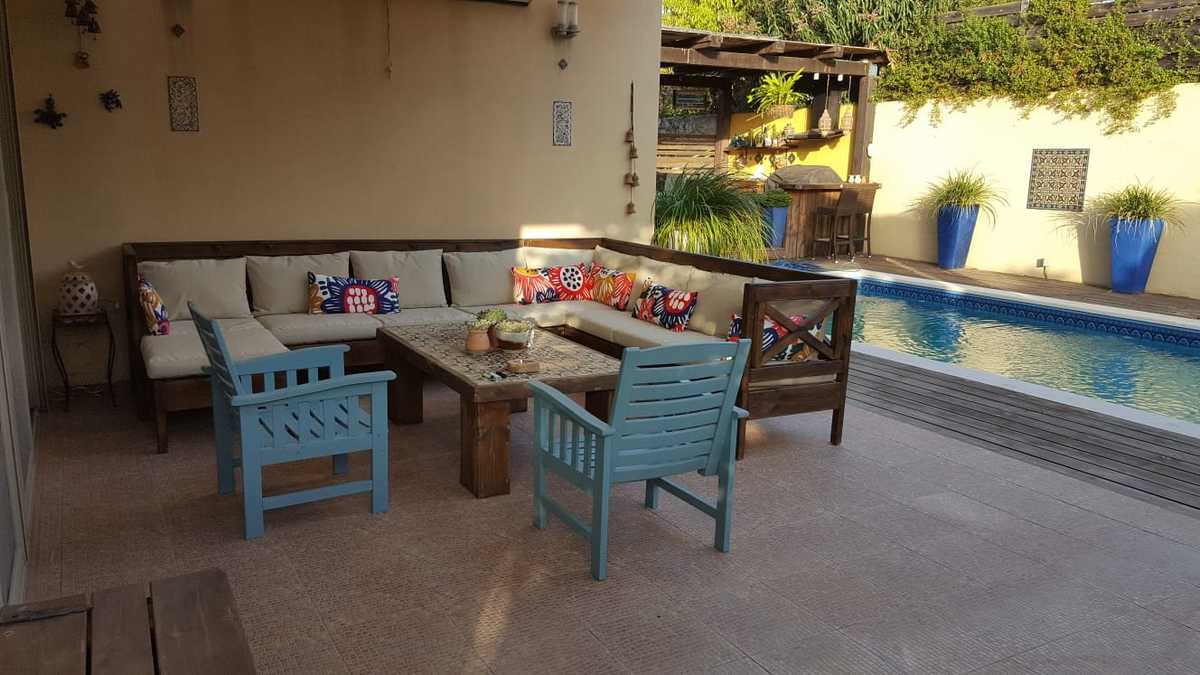
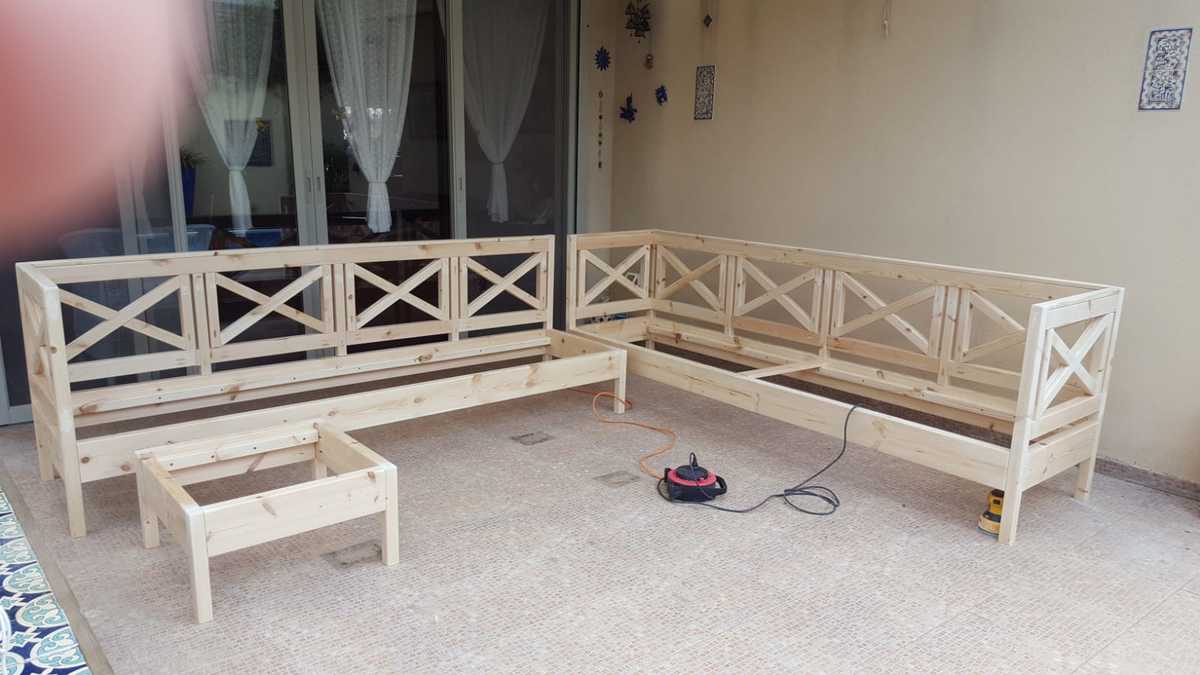
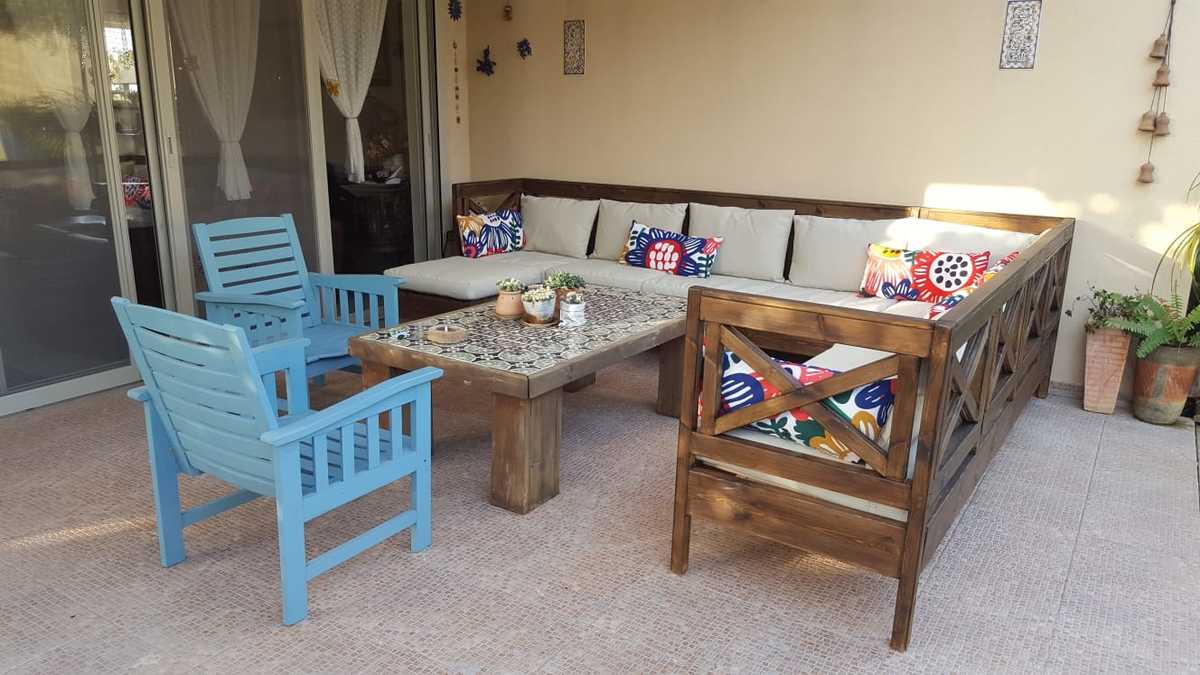
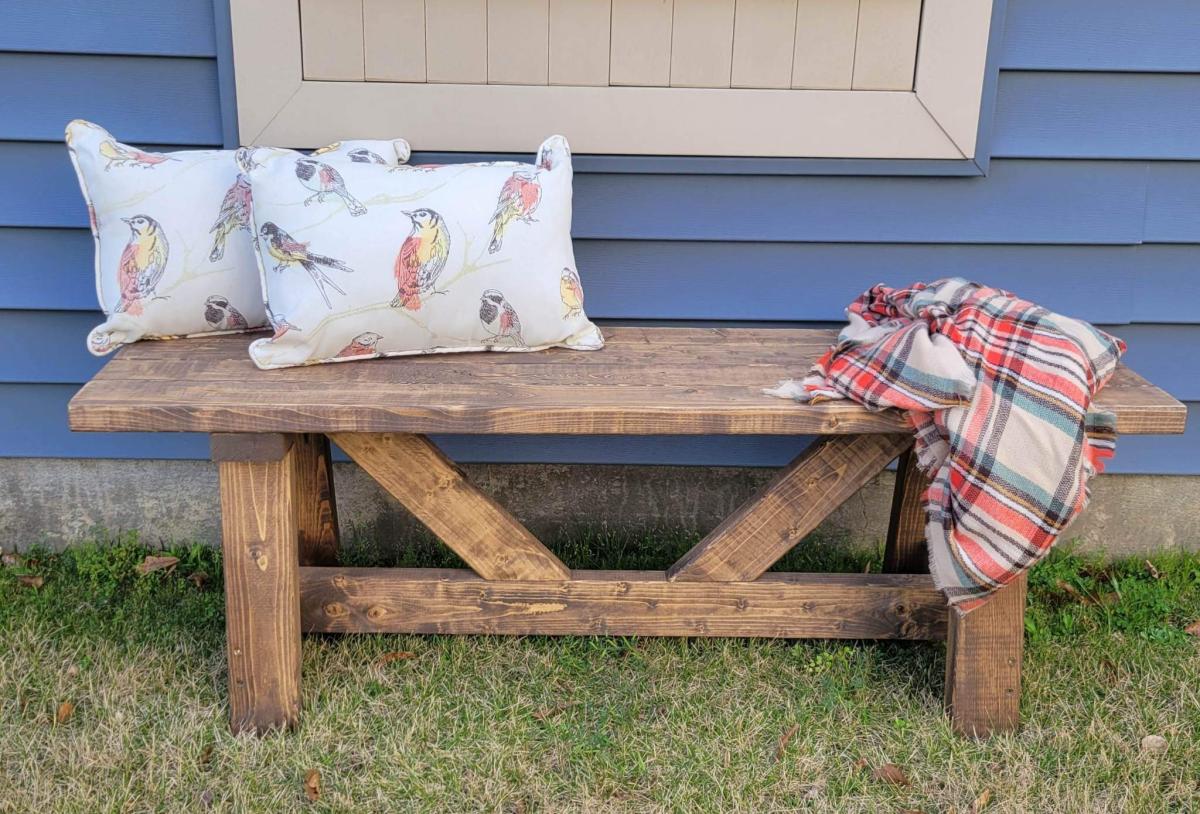
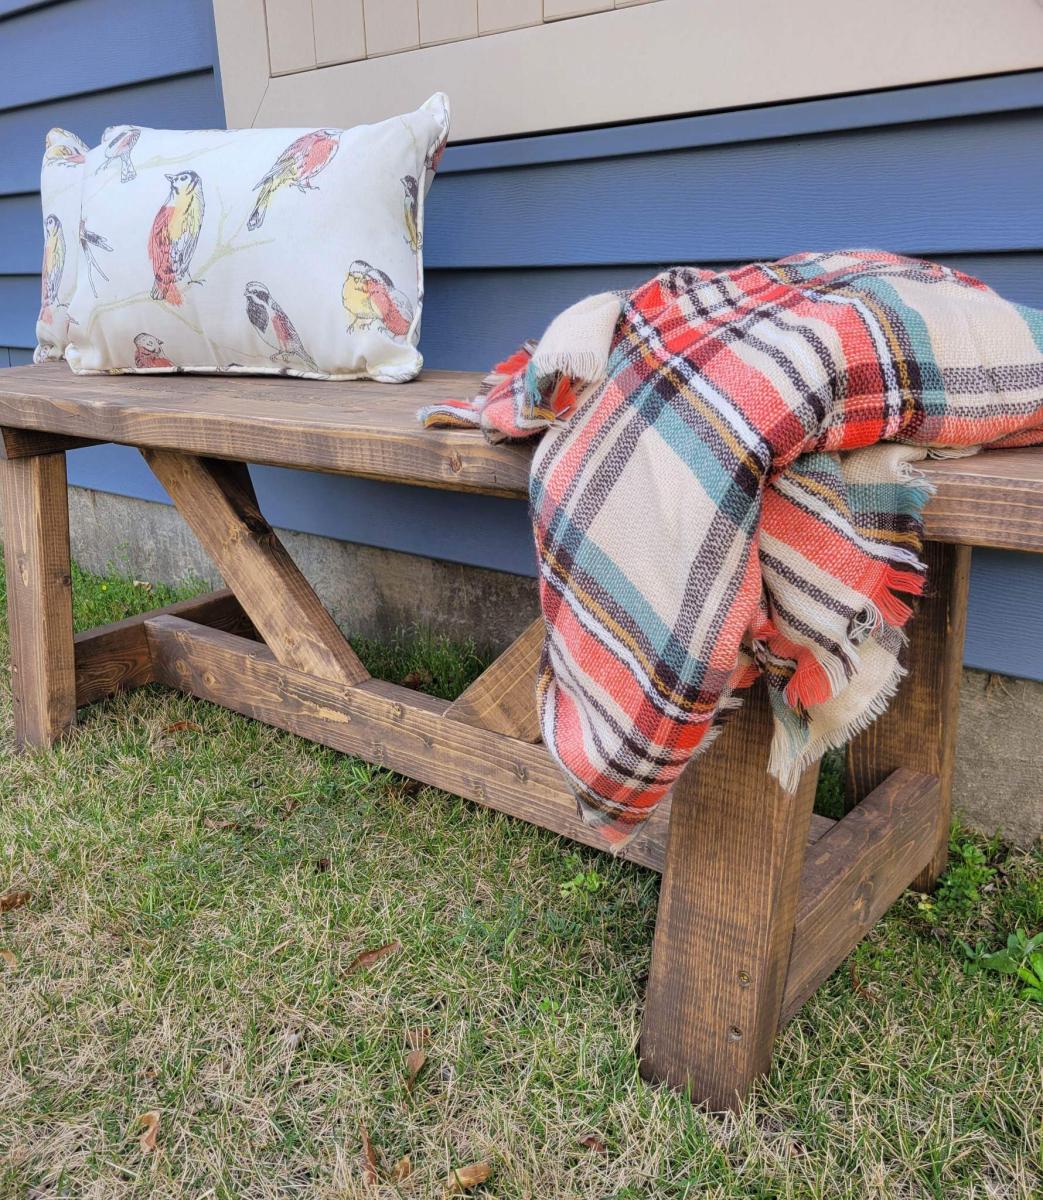
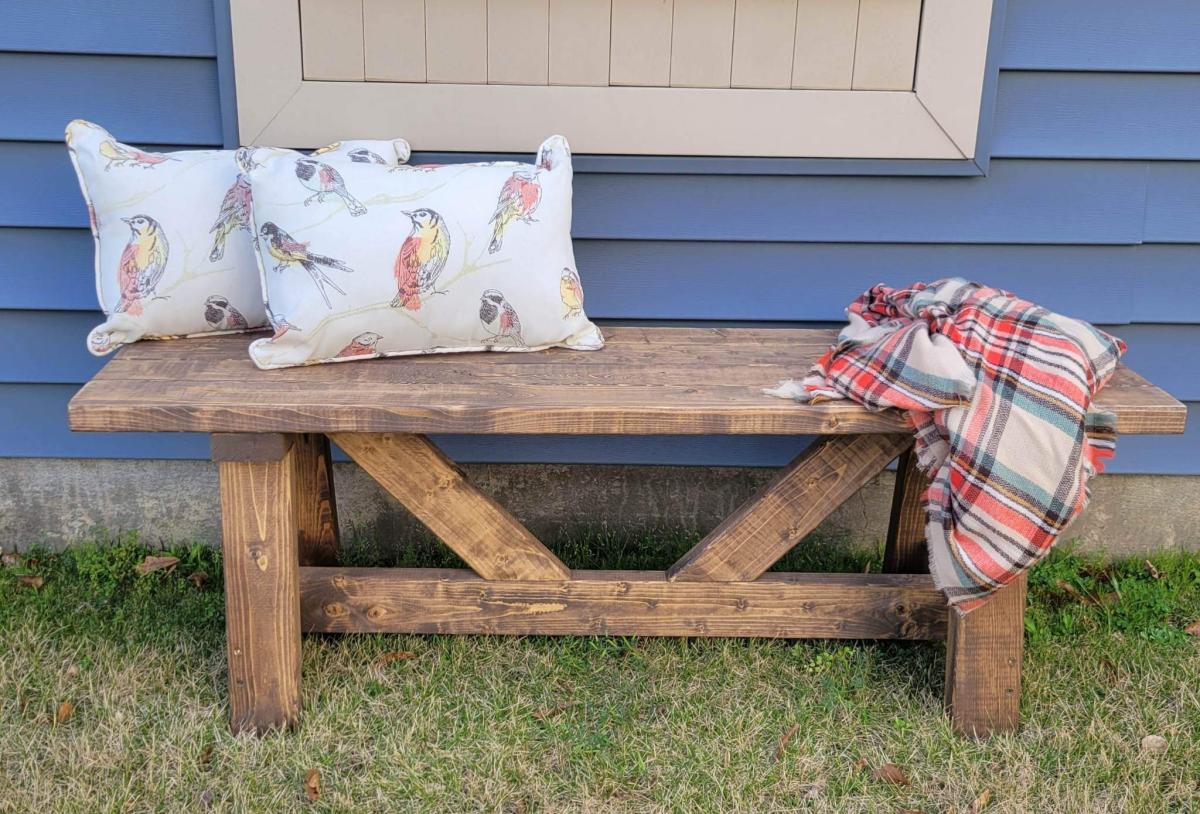
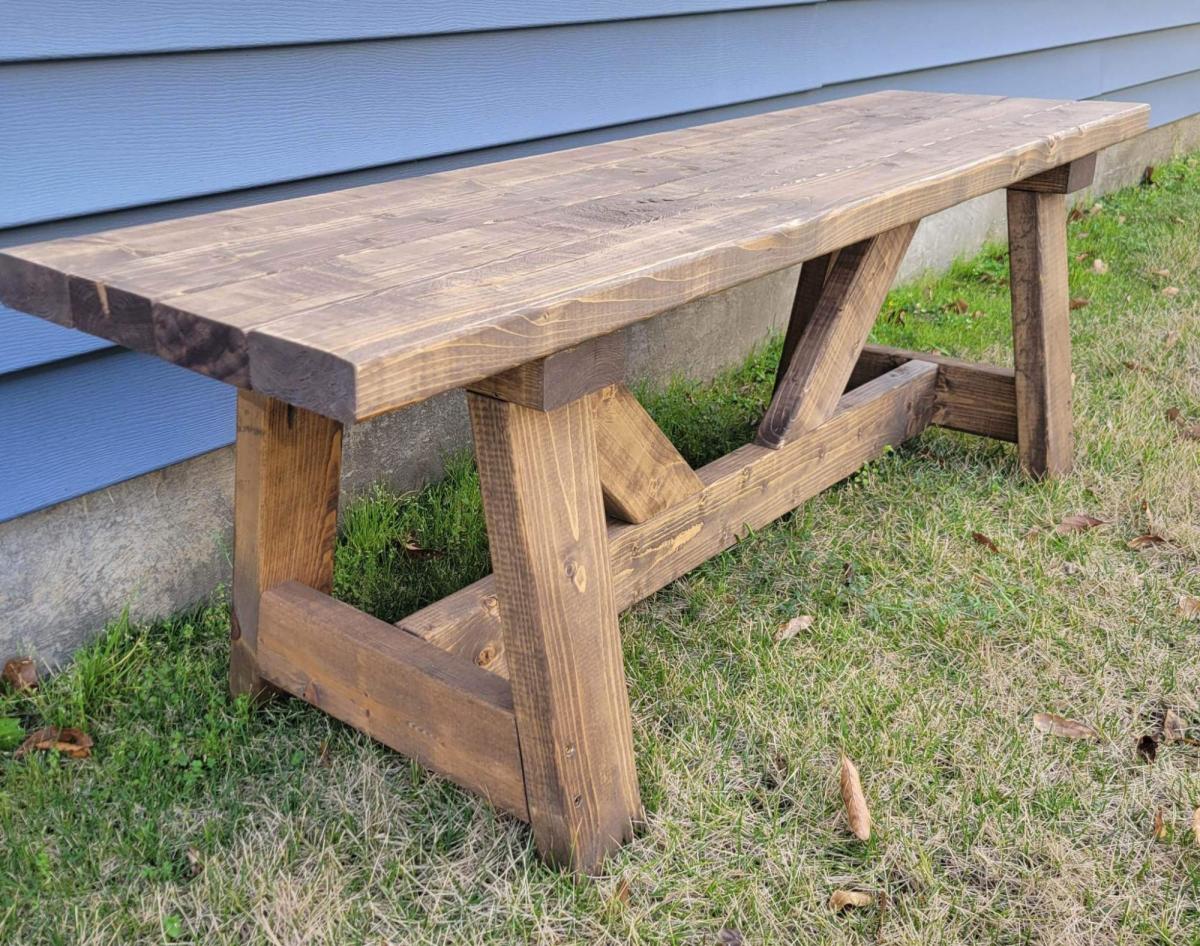
I used the 2x4 outdoor sofa plans. Finished with a Shou sugi Ban and few coats of outdoor finish. The build was pretty simple for a rookie wood worker! Thanks 🙏🏾
Tue, 10/05/2021 - 11:05
Way to go, looks very professional, thank you so much for sharing!
I wanted to build a cleaning caddy. Normally when I go to clean – I want to do it all at once. We have a bigger house – so I’ll be upstairs in the kids room – and realize I left the Windex downstairs – get upstairs – I left the paper towels downstairs….SERIOUSLY. So – hopefully this will stop that from happening!!!
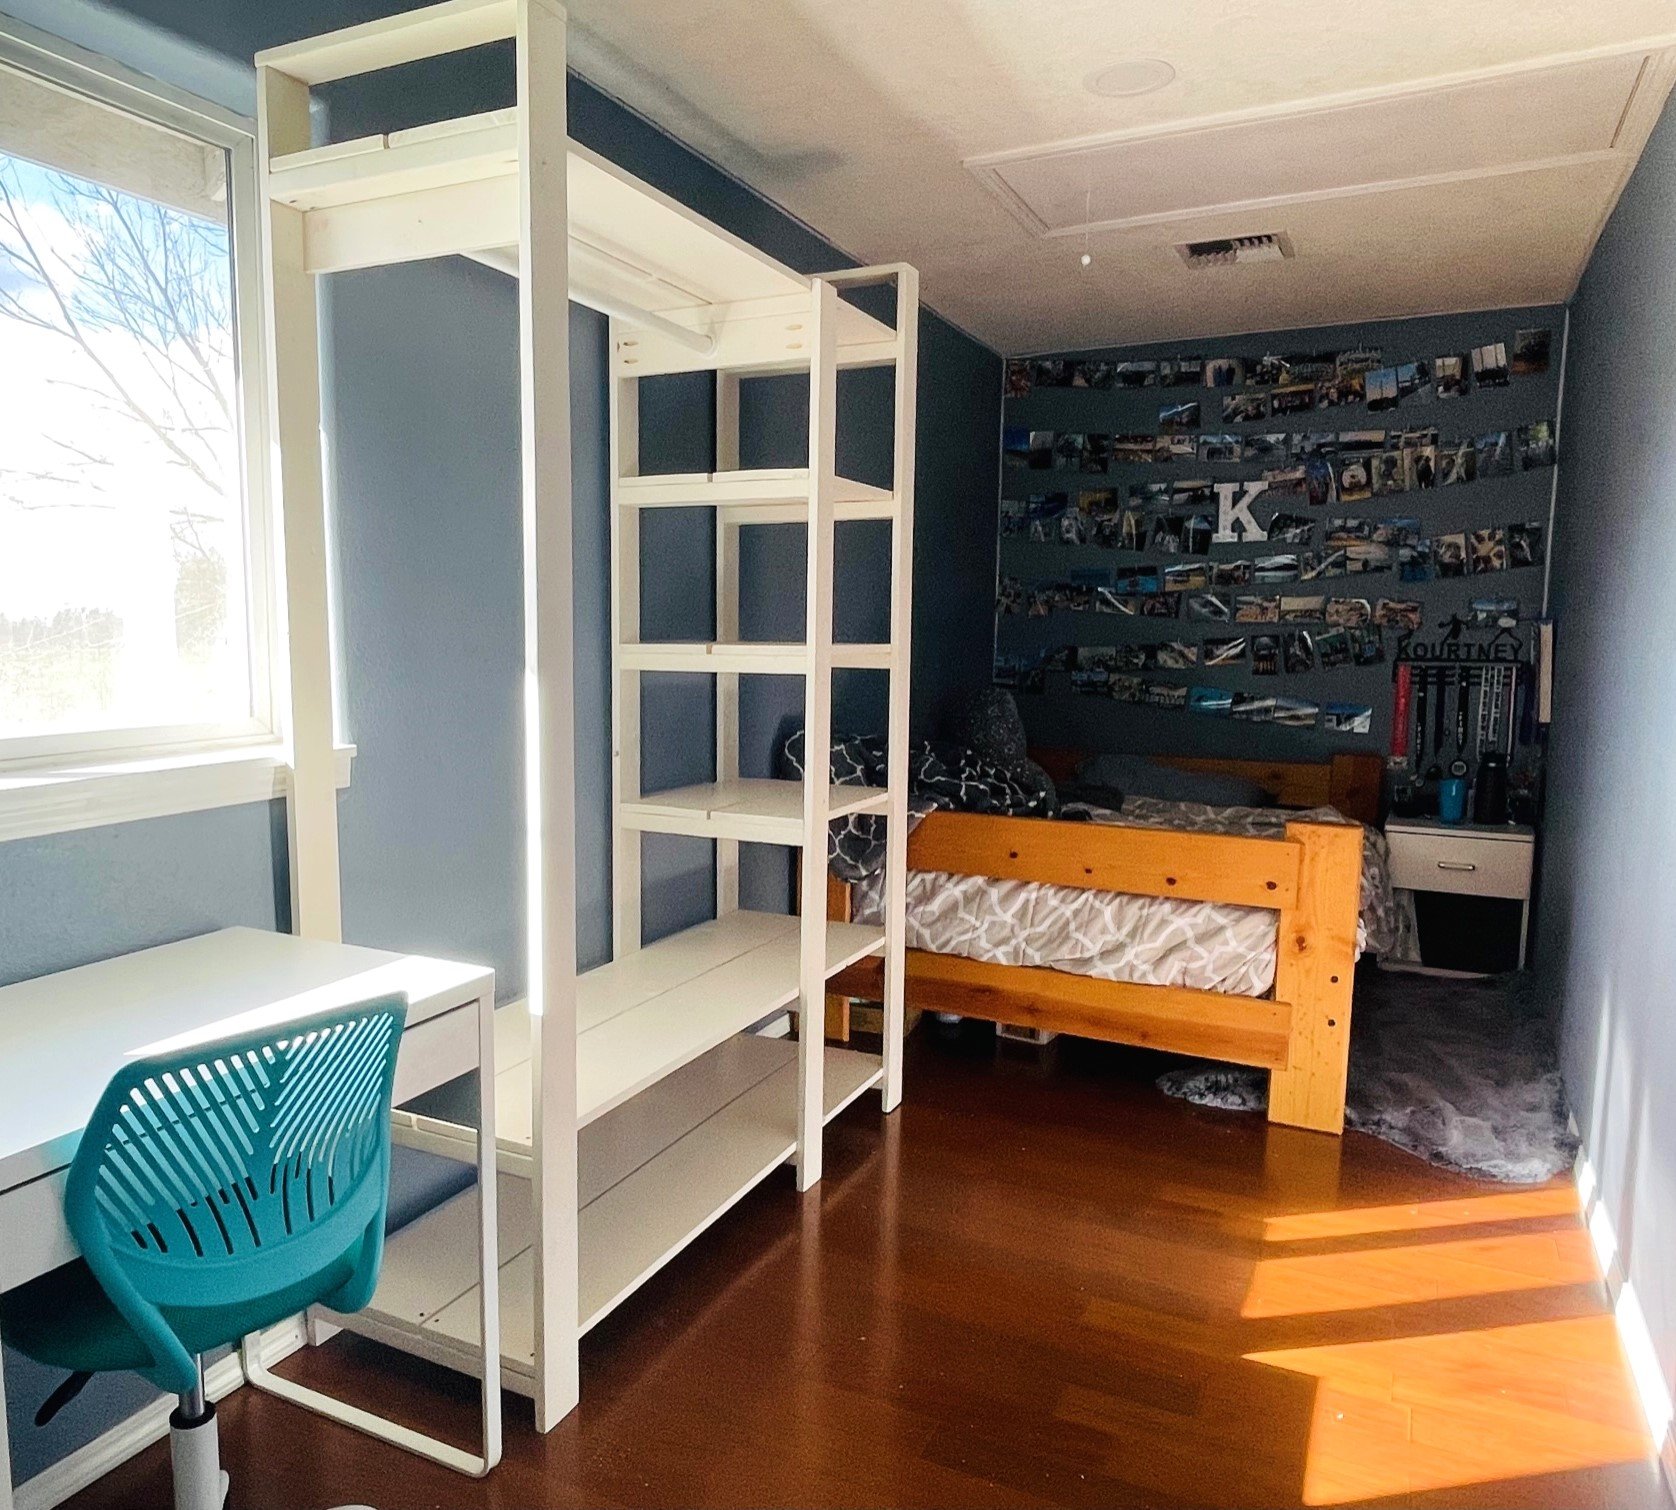
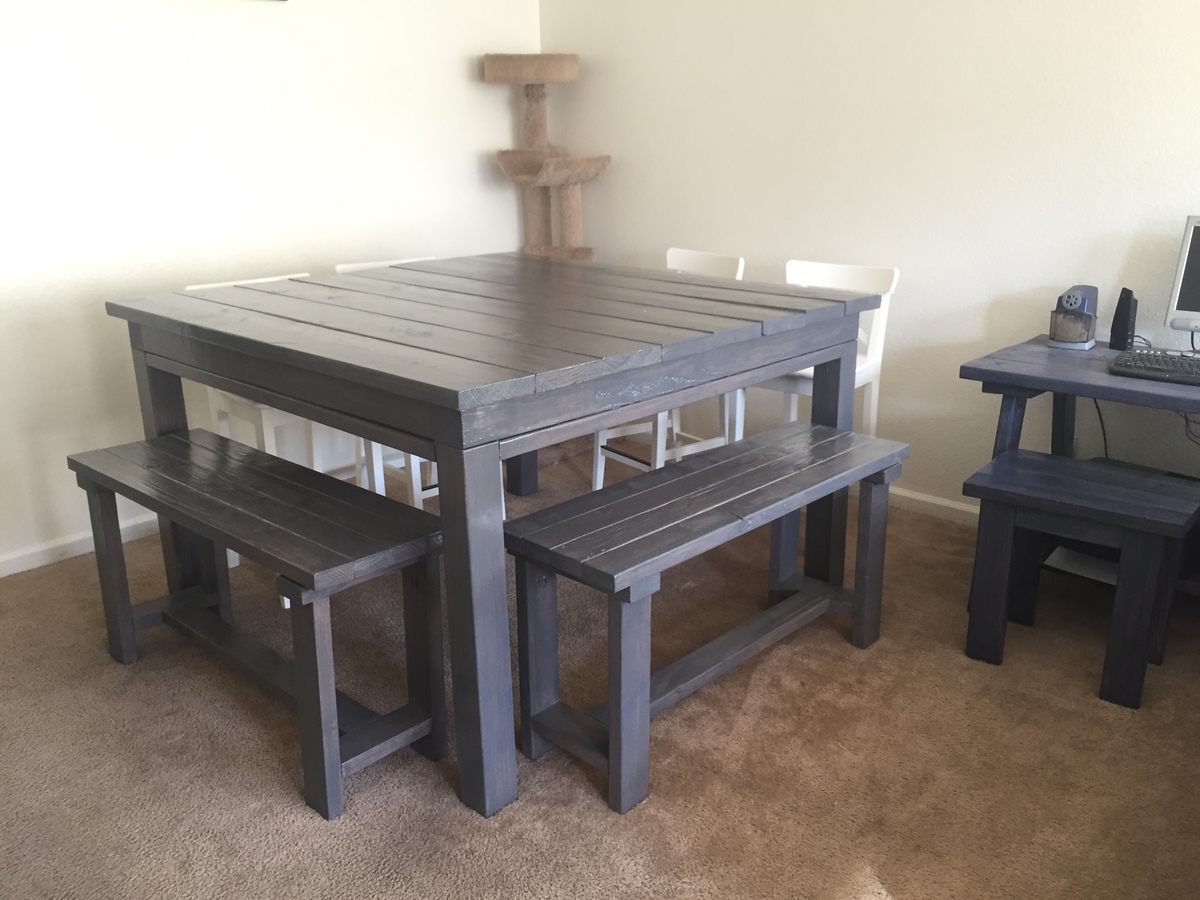
So – here we have my Cleaning Caddy!! It was actually pretty easy to build. I had everything on hand. I had the dowels from another project – so that is how I based everything.
I took two left over pieces of MDF and made a design, cut it out with a Jig Saw. I wanted to make sure it was tall enough for the cleaning bottles.
Then I screwed the dowel to each side of the MDF sides.
I then measure the length I needed for the sides – I used scrap base molding we had laying around – I don’t even know where it came from!
Then came the bottom – I measured out the sides – and then I wanted it long enough to hold a roll of paper towels.
Glued and nailed everything in with the nailer (always use glue too – this thing is kind of heavy with all the cleaning supplies)
I screwed the dowel in from the bottom for the paper towels.
I painted it many times with white trim paint – used many different types of wood so I wanted it to look uniform.
Then for the finishing touches – I went to my abundant scrapbook paper collection – Mod Podged it all up. Love that stuff!!! On the front – I cut out “Cleaning Caddy” with my Cricut. And on the sides I trimmed it out with cording I had on hand, just used hot glue and did about a 6 inch section at a time. I hot glued buttons where my screws were on the outside tops. My counter sink bit was the wrong size, so they stuck out a little. Now it’s a nice decorative element.
We needed extra garden space this year and I thought adding one of these planters would be a great addition. So far it has. It allows me to easily weed, which is my most despised gardening job. Added bonus that the dog can't dig it up, and bunnies can't nibble on my plants. It also makes a great art canvas for my son's chalk drawings.
Wed, 04/20/2016 - 12:55
Hi I live in north Dakota we get about 10 ft of snow every January, I am planning on making the counter height garden boxes, but how do I keep the snow in winter from crushing them. Patty
Wed, 04/20/2016 - 12:55
Hi I live in north Dakota we get about 10 ft of snow every January, I am planning on making the counter height garden boxes, but how do I keep the snow in winter from crushing them. Patty
I really didn't have a plan for this, but looked around on this site and on the internet and found something like what I wanted to do, so just made a simple frame out of scrap 1x2s. I made a groove in the center of each 1x2 with my table saw before assembling. I found this pretty punctured metal at Lowes and cut it to size, slid it into the grooves then attached the bottom of the frame and the little shelf. I added a 3/4" bead and sausage trim piece around the whole thing to finish it off nicely. The bracelet holder is a dowel rod that I painted purple and attached with eye hooks and cup hooks to the bottom of the little shelf. Since it was hard to put earing studs in the center (with the backs on), I also cut another piece of the metal, filed down the edges and attached a llittle ring clip, that can hang from one of the cup hooks if needed. I'm happy with how this came out and I hope my Daughter-in-Law will enjoy this birthday gift.
Wed, 04/01/2015 - 15:58
How cute & clever! What if you just cut a sort of flap in the metal backing? Then it could fold up for closed back earrings. Awesome design. Thank you for sharing.
In reply to Love this! I can't wait to make my own by mommyof2cuties
Wed, 04/01/2015 - 18:23
Yes, I was trying to imagine some way to do what you suggested, but just couldn't make it work. I didn't want to make a door - which would be the ideal solution. Also, fiddling around with the frame may make it unstable on the wall, so I just thought this would be easier. She can lift the whole thing off and add and remove studs at a comfortable height without worrying about removing necklaces, etc.
In reply to Stud Earring holder by CSaintD
Wed, 04/01/2015 - 18:24
And forgot to say thank you!
Instead of the double handles I went for a center handle. Little darker stain than what's posted.
I wanted a 72” round dining’s table for my new home and found your video online. It was not easy to cut a circle, but it was easier than I thought it would be! I’m so happy with the finished product. I used turned legs with a square base instead of the pedestal shown. Have had so many compliments already and it looks fantastic in the space.
This was my very first project I tackled from Ana's site. I wanted to see if I could do it, so started with something easy. I think it turned out great and looks great in our flower bed in front of our house.
I built these side tables with a friend. We under estimated the time it would take by a long shot! We estimated that with the both of us it took 15+ hours to complete. We spent $120 on all the wood, paint and hardware for both. It was a lot of work and the most time consuming part was the finish (sanding, painting, sanding, painting, clear coat, sanding, clear coat, sanding, clear coat). In the end, it was worth it! They turned out so cute!
Tue, 05/14/2013 - 08:31
The Ebony finish really sets these tables off. Great job! This plan will go on my to do list≥
I hope everyone is having a fun summer! I decided to take advantage of the long 4th of July weekend and tackle my 2nd woodworking project: a custom-built cabinet to house all of my nail polish! While I don’t consider myself a “girly-girl”, I have always enjoyed painting my nails and thus have accumulated quite the collection over the years. The building process went fairly smoothly. I began by cutting all of the pieces to size (hooray for using a miter saw for the first time!) and pre-staining them a trendy weathered grey. After that, the piece came together quickly. I constructed the cabinet and door separately, added the stainless steel handle and glass inset, and finished the piece off by attaching the door with 2 profile hinges.
The Anna White patio set (2 chairs & love seat combo).
I added seat backs for comfort, painted them white and distressed the edges…
They are perfect for lake front-windy areas… They are heavy duty and will never blow away!
Tue, 10/05/2021 - 09:52
Love the curved backs, looks like a wonderful relaxing spot to be! Thank you for sharing:)
Thu, 02/29/2024 - 07:29
I absolutely love the curved backs! I live in a semi-windy area and really like this look and the idea of more durability. Did you just add three vertical 1x6's and use a jigsaw to round them? Please advise as I would love to use this technique.
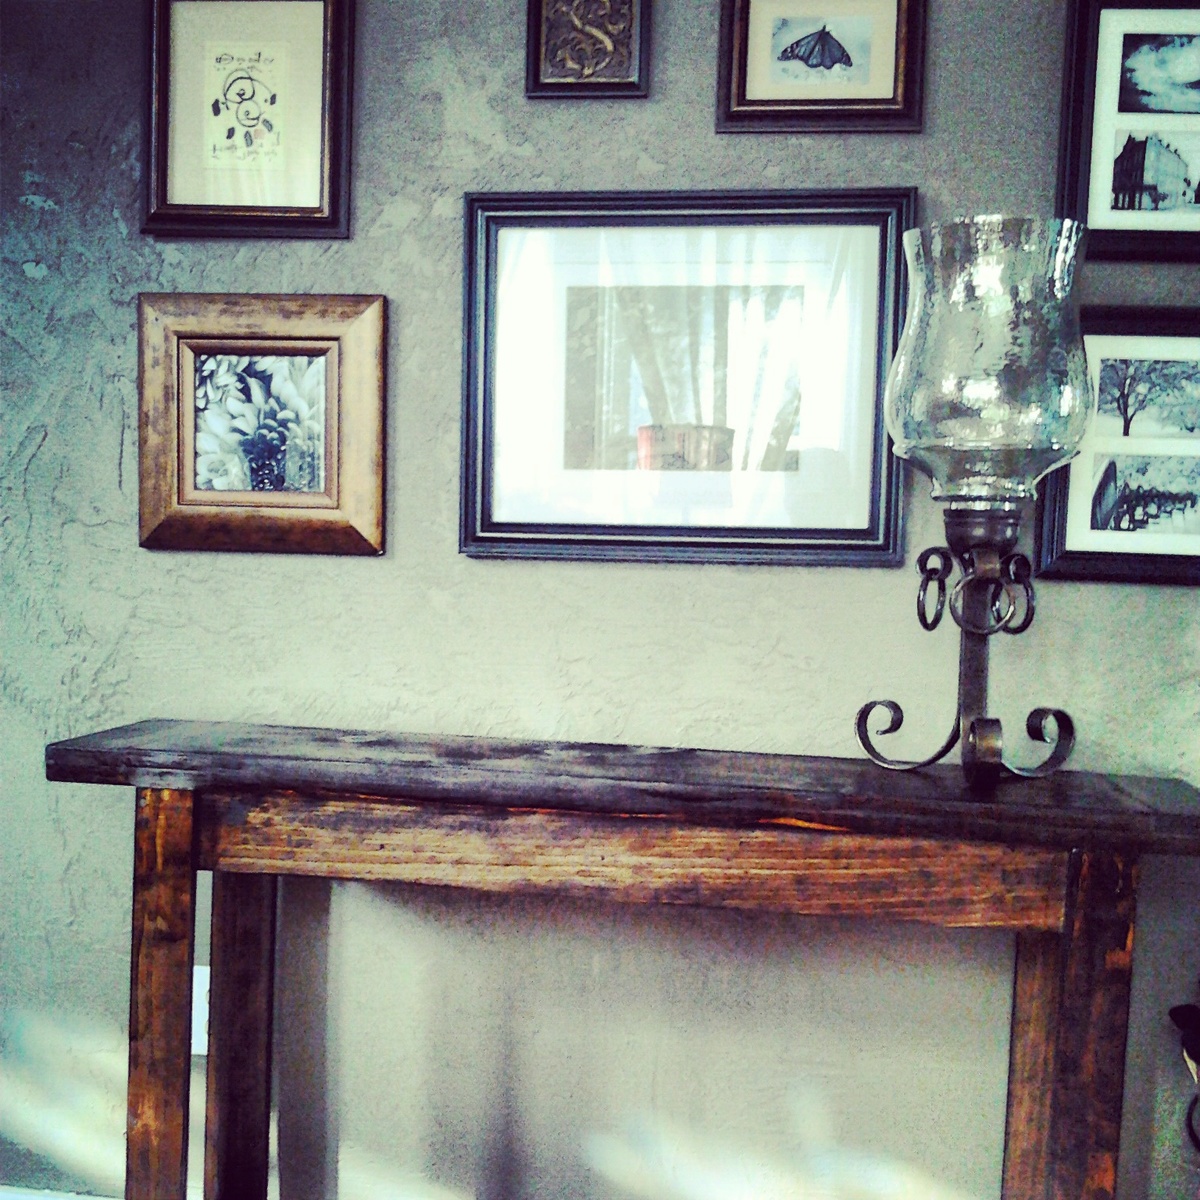
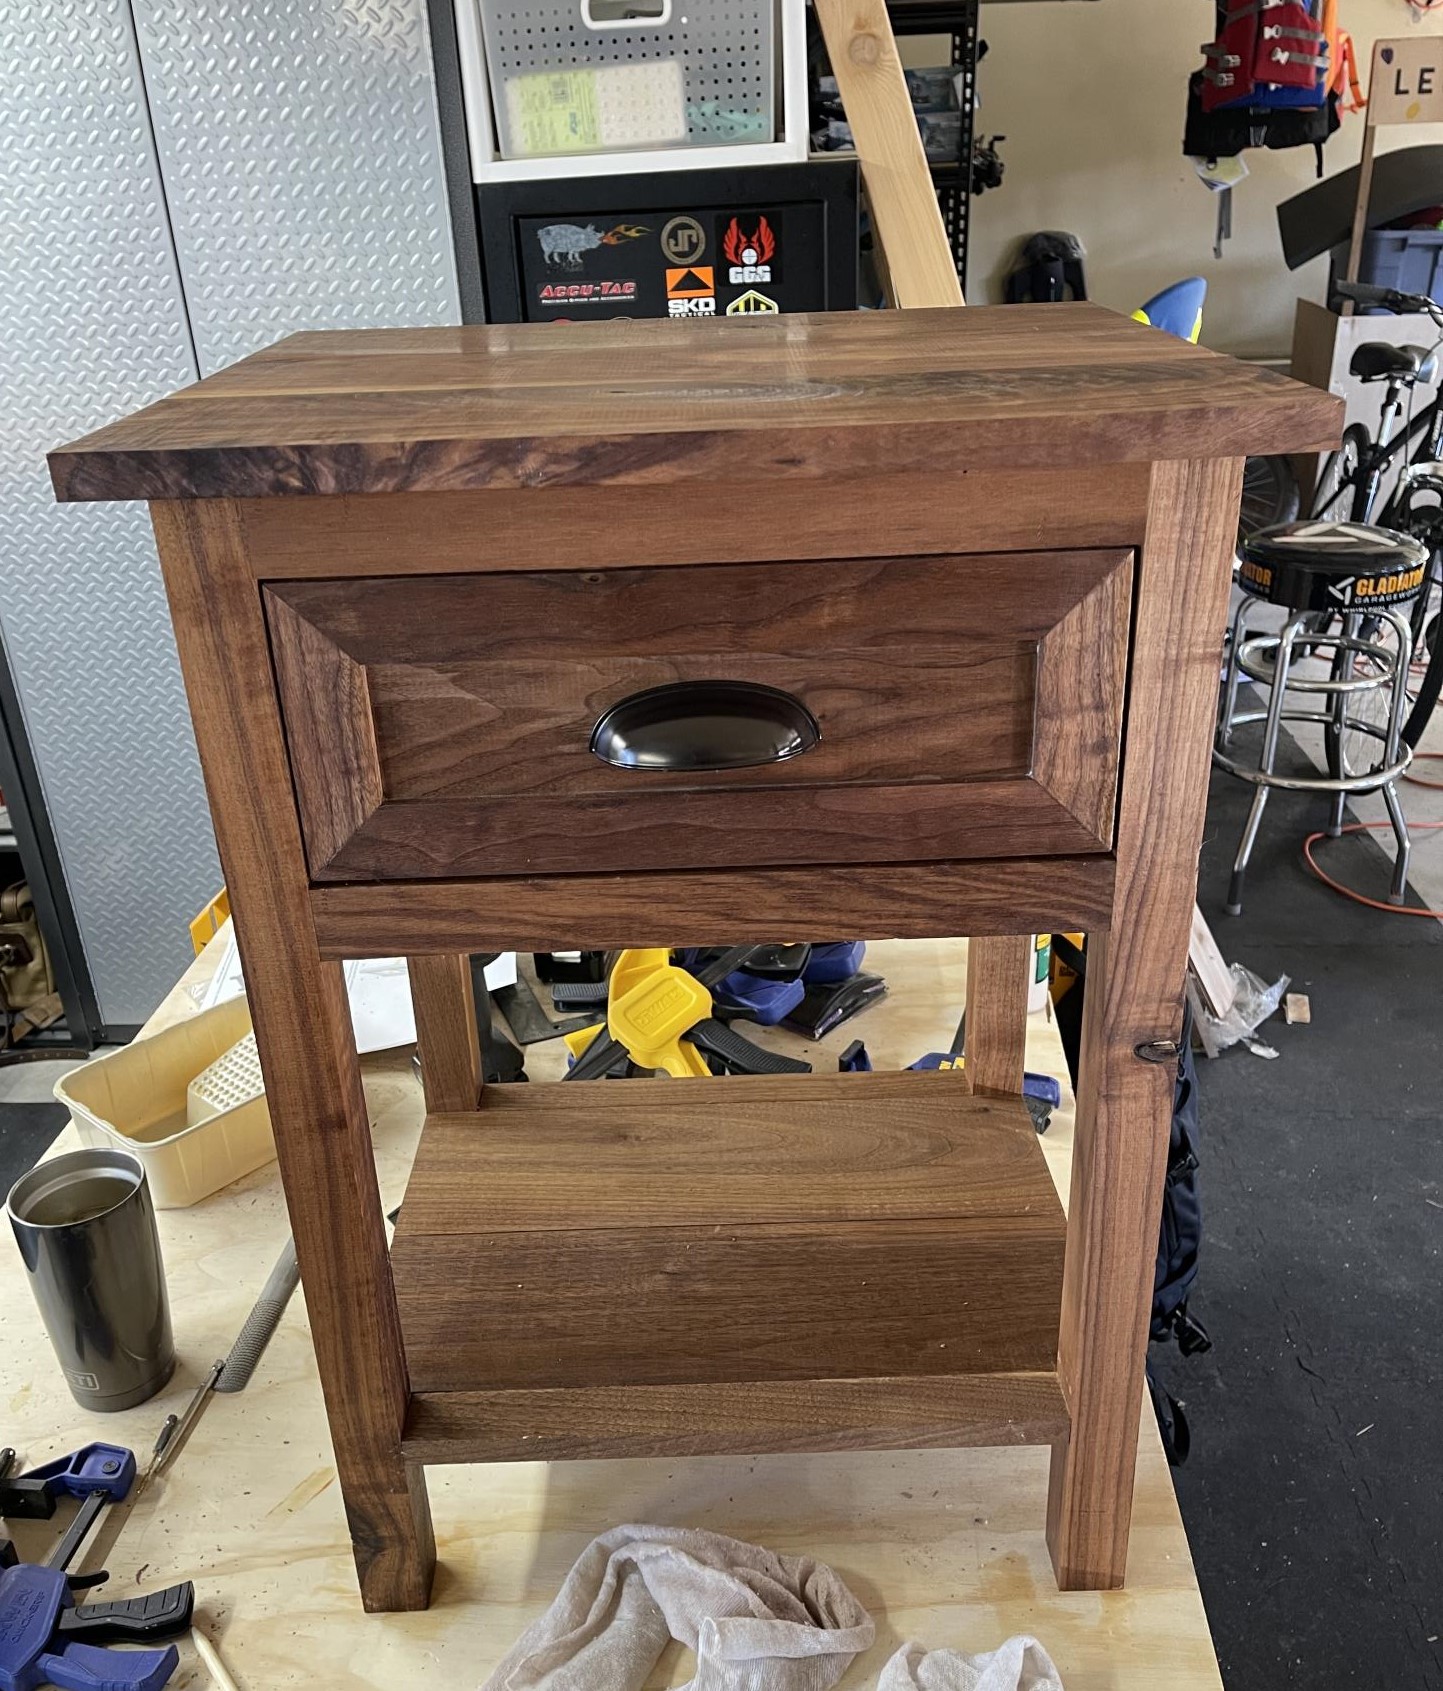
This is a variation of the cabin collection nightstand, I have a wall that needed a catch all, so we throw keys on top of it and junk in the drawers!
X- console
Sat, 05/18/2013 - 05:23
My first Ana White build. After this one,mi was hooked. I built the matching coffee and end tables too! I'll post those pics soon.
I built this coffee table from the Taylor's Coffee Table plans (http://ana-white.com/2014/02/plans/taylors-coffee-table) with a few "artistic"/necessary liberties. For the top, I used a slightly different pattern than shown on the plans. Starting from one side to the other, my plan includes a 1"x2", a 2"x6", a 2"x2", two side-by-side 2"x6", a 2"x2", a 2"x6", and finally a 1"x2". I liked the extra overhang that the 1"x2" included on the outside edges of the table.
I do not own a jigsaw, so instead of making the entire bottom shelf out of plywood, I made a "border" with 1"x4" boards with the adjoining corners cut at 45 degrees so that each side of the border matched up nicely. This allowed me to use a standard rectangular piece of plywood for the shelf "inlay."
As a first attempt at any sort of table, this turned out much better than I could have hoped!
I have had this space under my television that I never knew what I should do with it. There is a baseboard heater on the wall so I always figured I could put anything against it. I also have a lot of shoes. When I saw the plans for the vegetable bin I figured I could convert it to hold my shoes.
I used 1x8s for the middle legs allowing the cabinet to sit over my baseboard heater. I adjusted the height of each cubby to fit the various sizes of shoes I own. I put 1x4s along the back so as to allow everything to breath. It took me about 2 days to complete.
Still in process, just waiting for the cabinet doors to match my kitchen. I got the car us from shelf help. Learned how to make the pocket holes and the face frame! Saved me about $3,000!
Mon, 09/12/2022 - 11:32
Thanks for trying Shelf Help, can't wait to see finished project!
I made 3 crates using Ana Whites Chalkboard Produce Crate plan. It was my first woodworking project, was totally doable, and has created a monster. The middle crate in the photos was the first one, and I added extra 1x3s on the sides because I thought I didn't want the gaps between the side boards. Changed my mind for the second 2. I wanted a chippy finish so I stained with glaze and burnt umber by Golden, followed by a topcoat of dry brushed Titan Buff. I sealed with CeCe Caldwell Aging Wax.
Thu, 08/29/2013 - 18:29
These are beautiful. :) You did a fantastic job!
Super easy. Done in less than one hour. Used Target's Black-Out curtains.
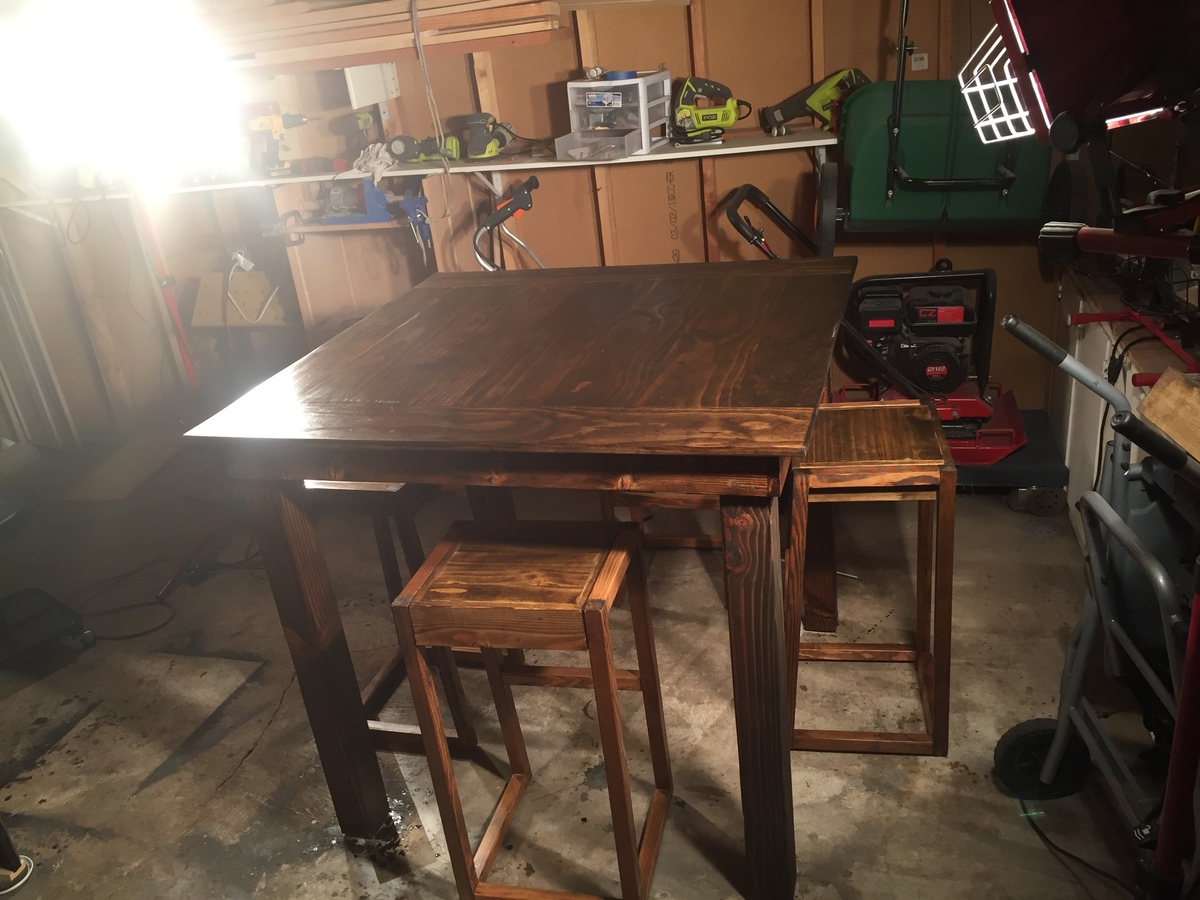
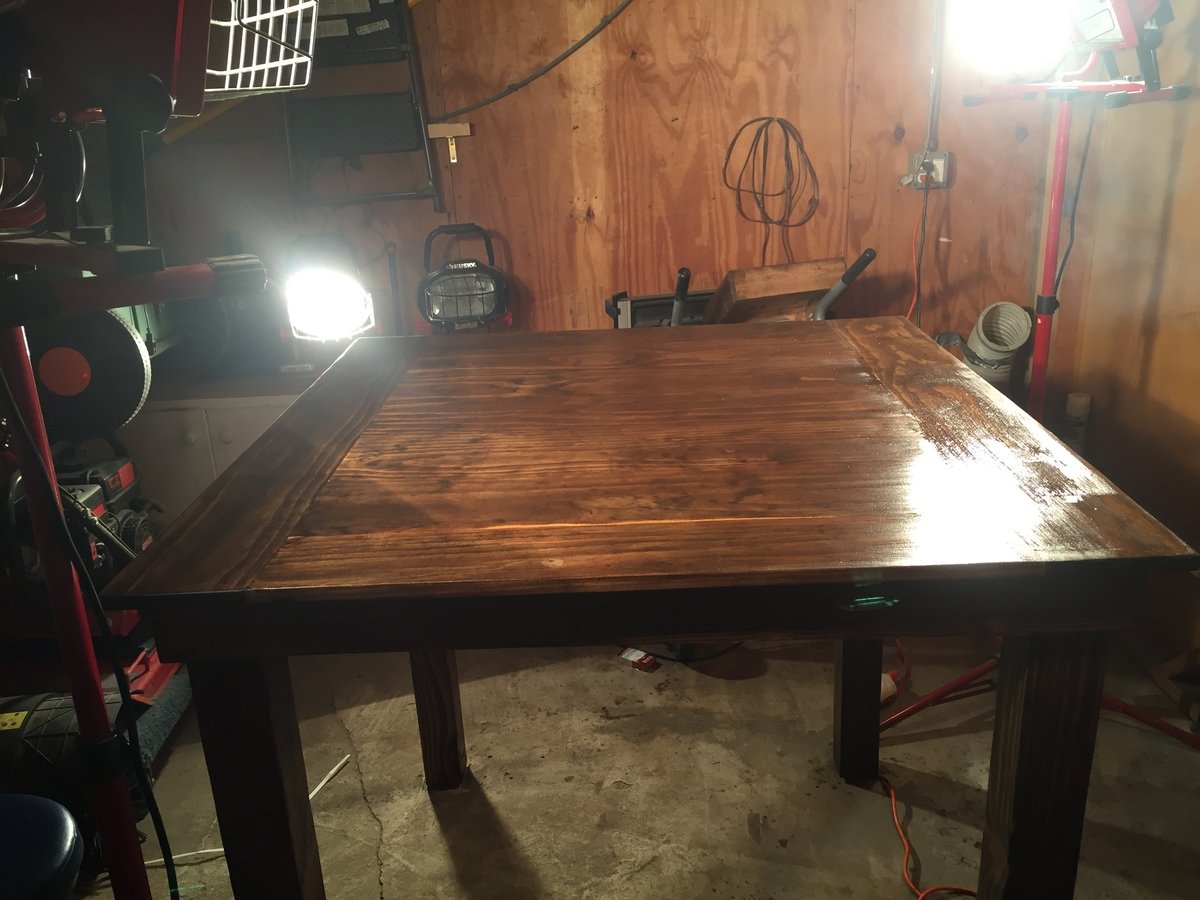
We used the least expensive pine at Lowe's because I really like the variation in the wood. I think it adds character. This was the first time I've used Weathered Oak and boy is it sheer! You can hardly tell it's there over the dark walnut but it did seem to lighten it just a little and give a slight grey to the very dark areas. Really liked the outcome!
Built for my Daughter and Son-in-laws new home
Tue, 10/05/2021 - 09:19
That is very sweet and looks amazing! Thank you for sharing~
This was my first project with drawers, and I learned through sad experience how important it is to have ULTRA straight boards to begin with! I am grateful for things like itty-bitty washers to help correct things that aren't quite straight enough. More info on my blog!
Mon, 10/21/2013 - 10:47
I had to use Full Extension slides instead of regular euros because of the seam for the drawer bottom being right in the middle of the mounting holes. Now my drawers are not quite mounting the correct way. I have learned a lot of painful lessons on this one. Man.