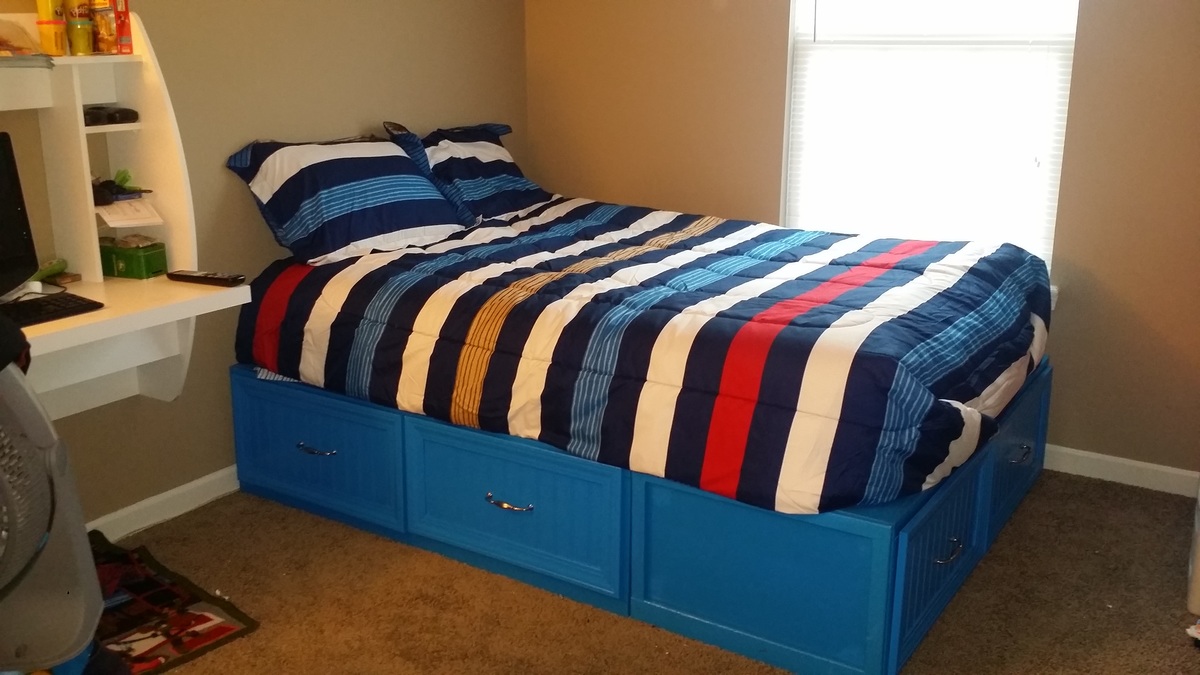
Bed frame and headboard upgrade!
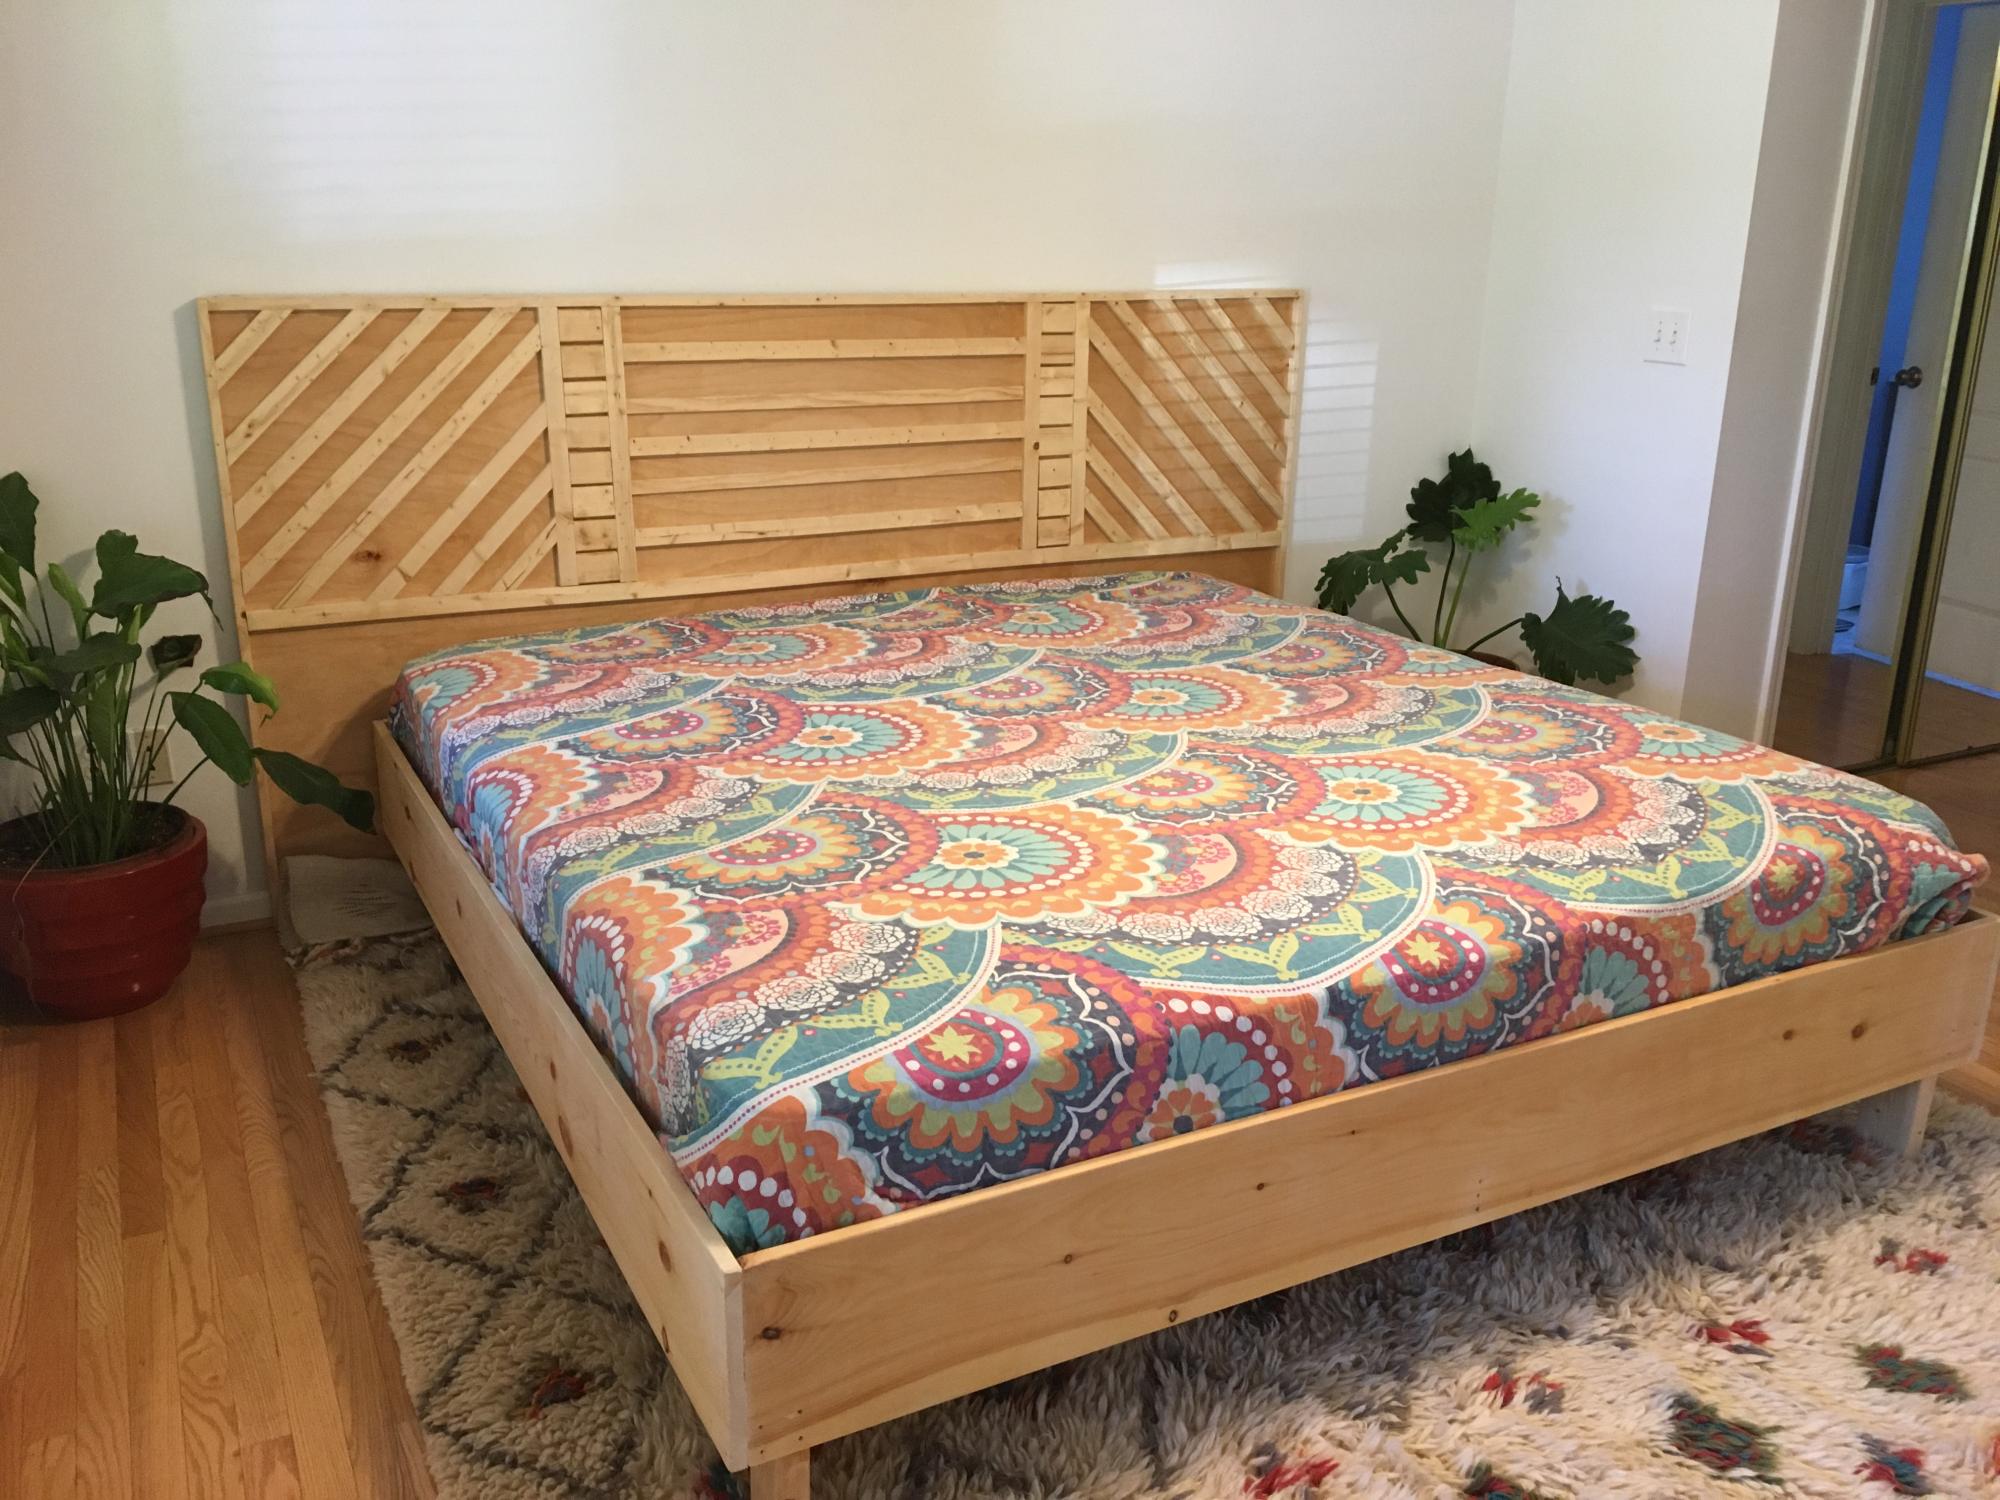
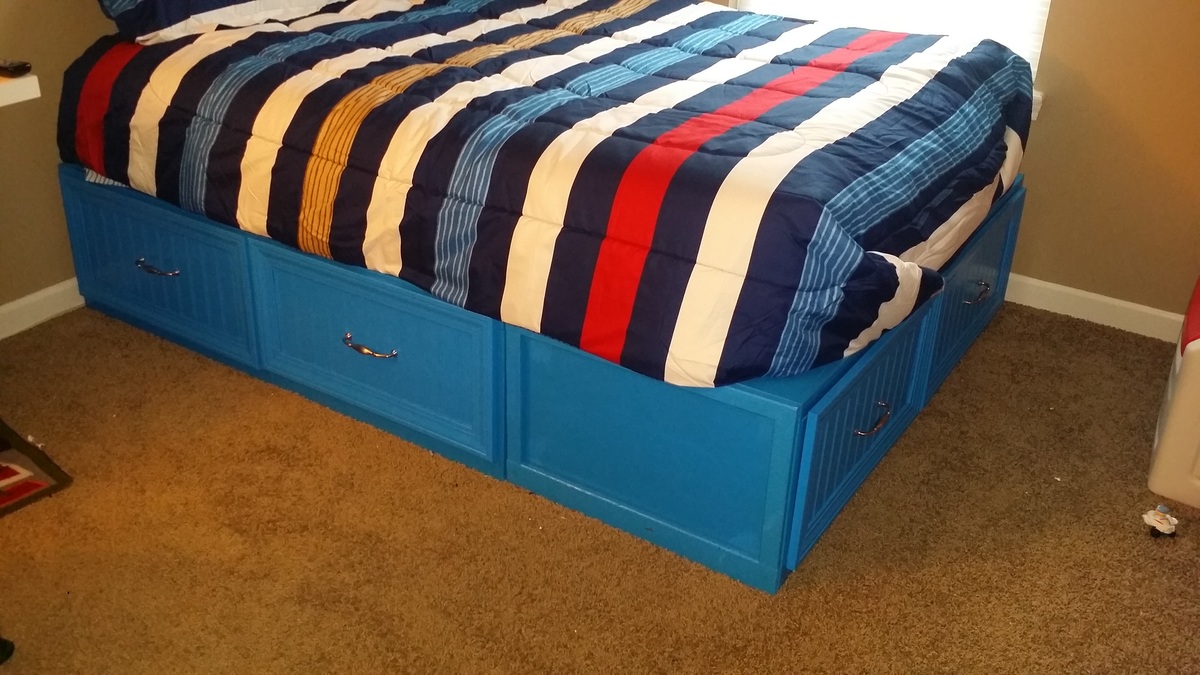
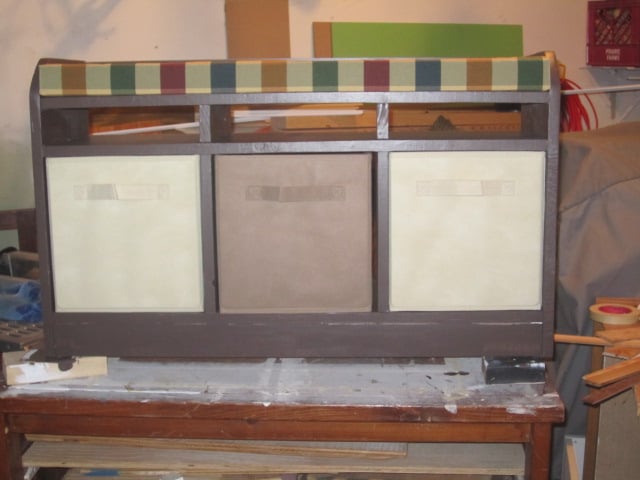
We decided to upgrade to a king sized bed and so my queen sized bed frame and headboard had to go. I based the whole idea off of Ana White’s modern headboard plans. Just using one sheet of plywood and some common board was super easy and made the geometric design fun and quick.
Built from Plan(s)
Estimated Cost
$150
Estimated Time Investment
Weekend Project (10-20 Hours)
Finish Used
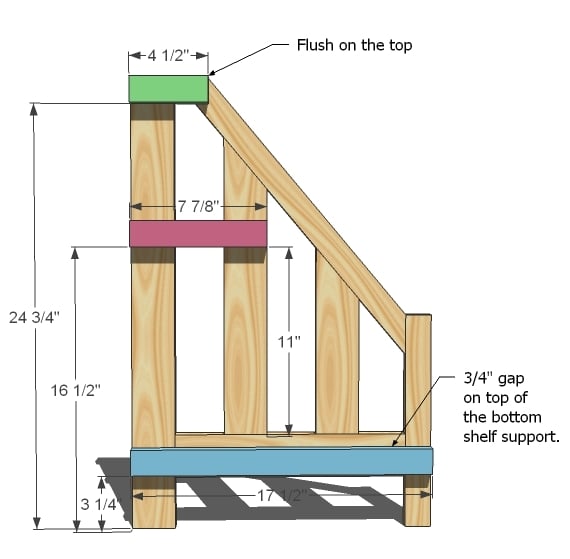
I used just satin clear poly to finish the wood but it could easily be stained. I did have to rebuild the entire project and make the gap between the mattress and the wood smaller. I changed it to a 3/4 “ gap around the entire mattress which looks good and still allows you to make the bed. I just used sanded 2x4 legs but may upgrade to hairpin when my budget allows.
Recommended Skill Level
Beginner