First Build - Redwood Adirondack Chairs
Love the results of my first building project.....a pair of redwood adirondack chairs. Angled cuts were a great way for a beginner to learn to use the miter saw.
Love the results of my first building project.....a pair of redwood adirondack chairs. Angled cuts were a great way for a beginner to learn to use the miter saw.
I made these shelves for the top of my work bench to keep from going insane,,,,they are 57" tall with shelves every 14", 8 feet long and 16" deep. I had to loose 2-18" deep shelves to accomodate my drill press. , I used 5/8" plywood for the shelves and 1 by 12 and a 1x4 for the top shelf. Everything is glued and screwed. STURDY like a rock! I took a long time to over engineer these shelves, should have taken about 3-4 hours or less but I took my time...warped pine makes life ugly use the best wood you can afford.- See more at: http://ana-white.com/2014/09/free_plans/easy-economical-garage-shelving…
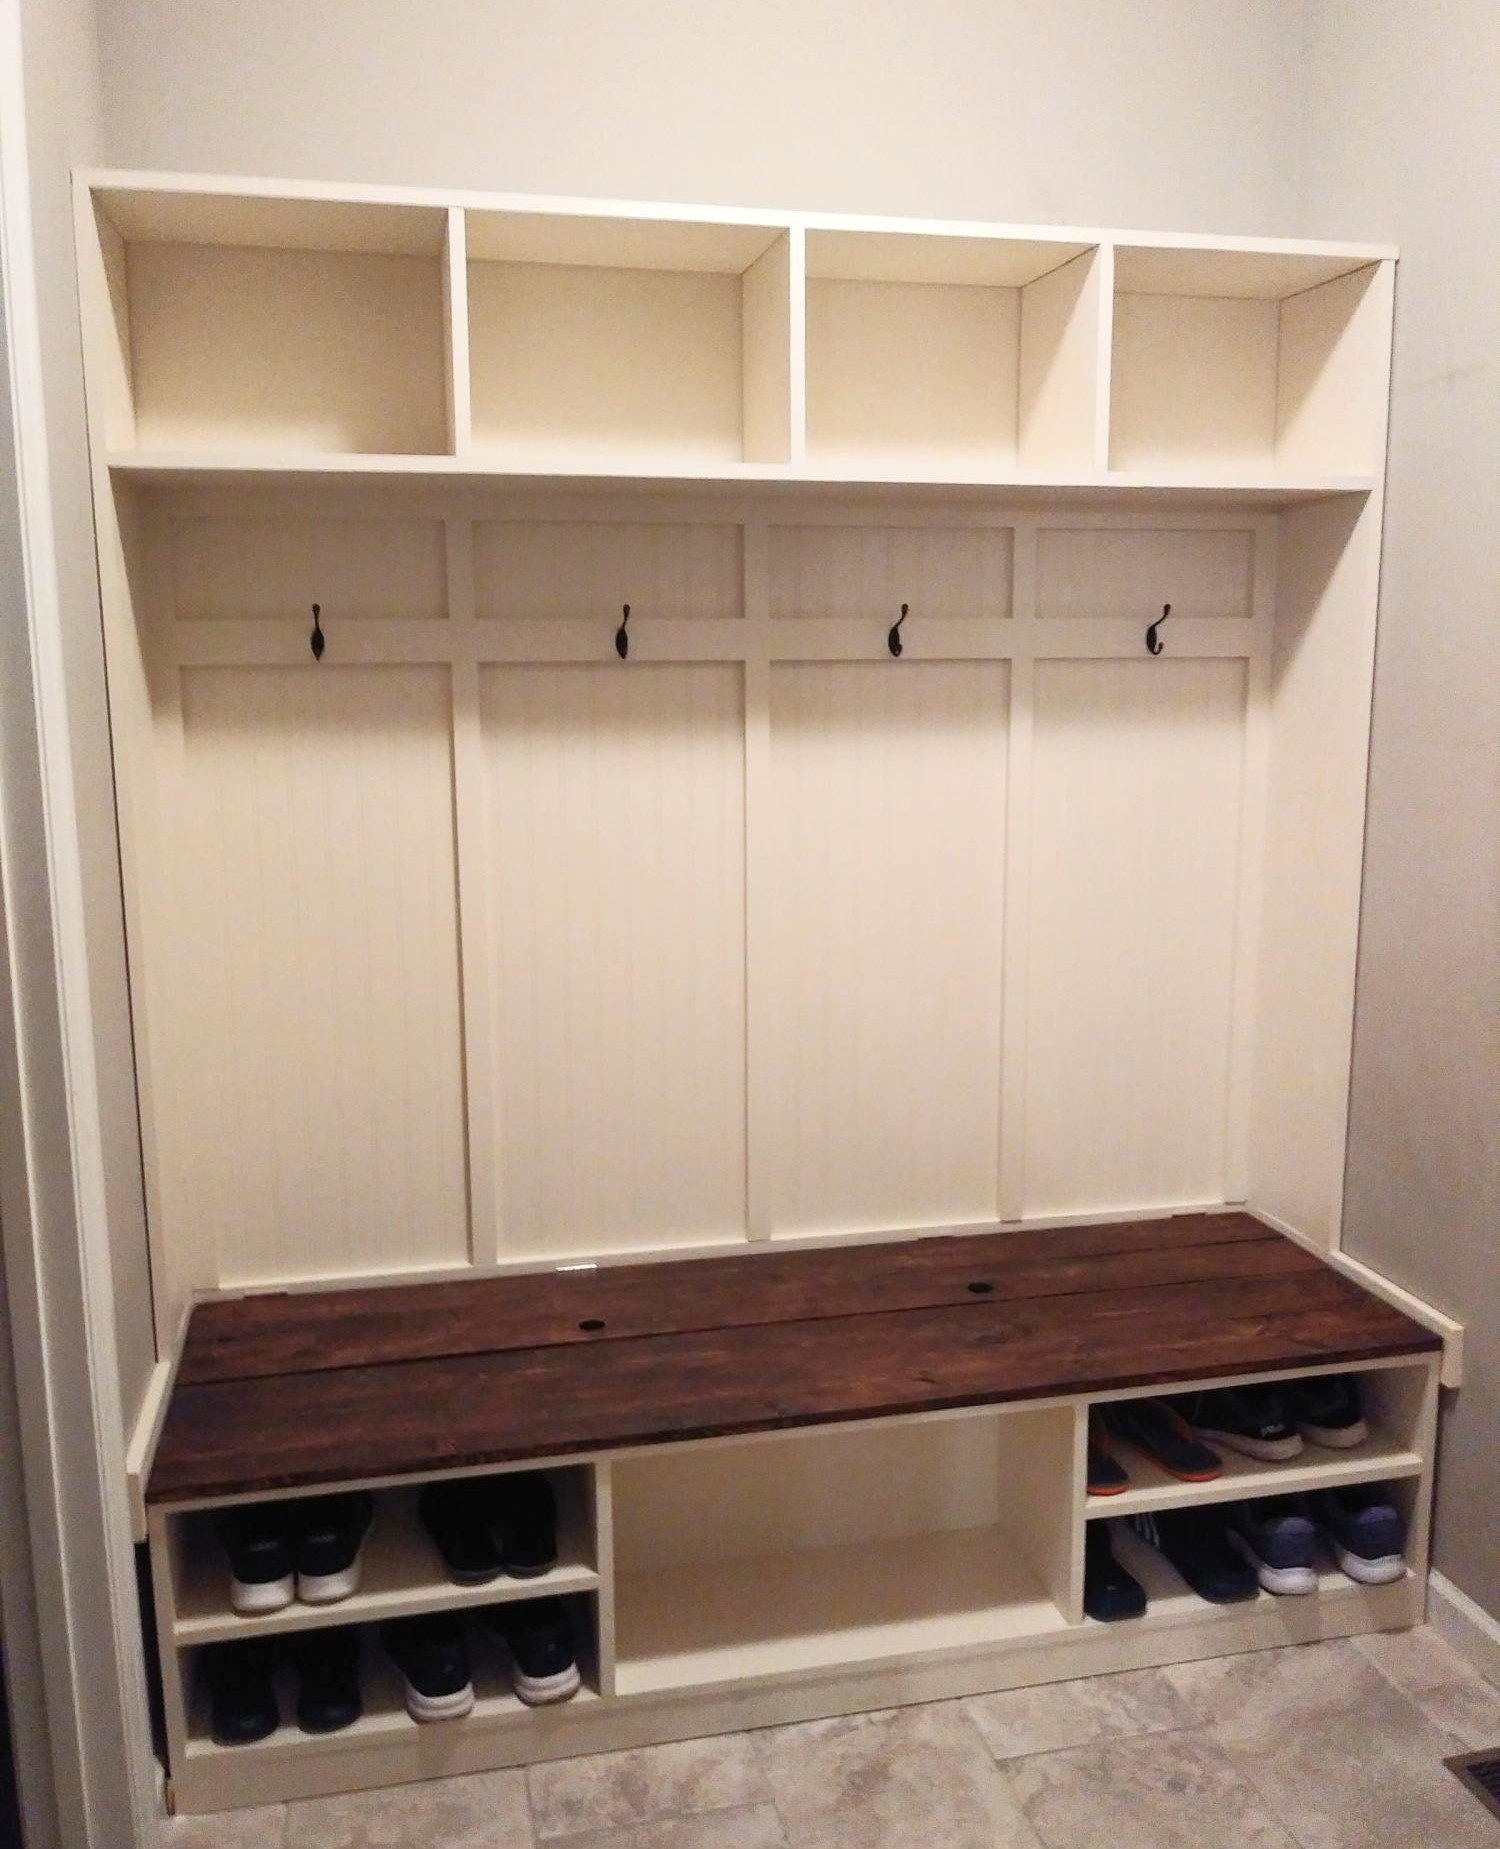
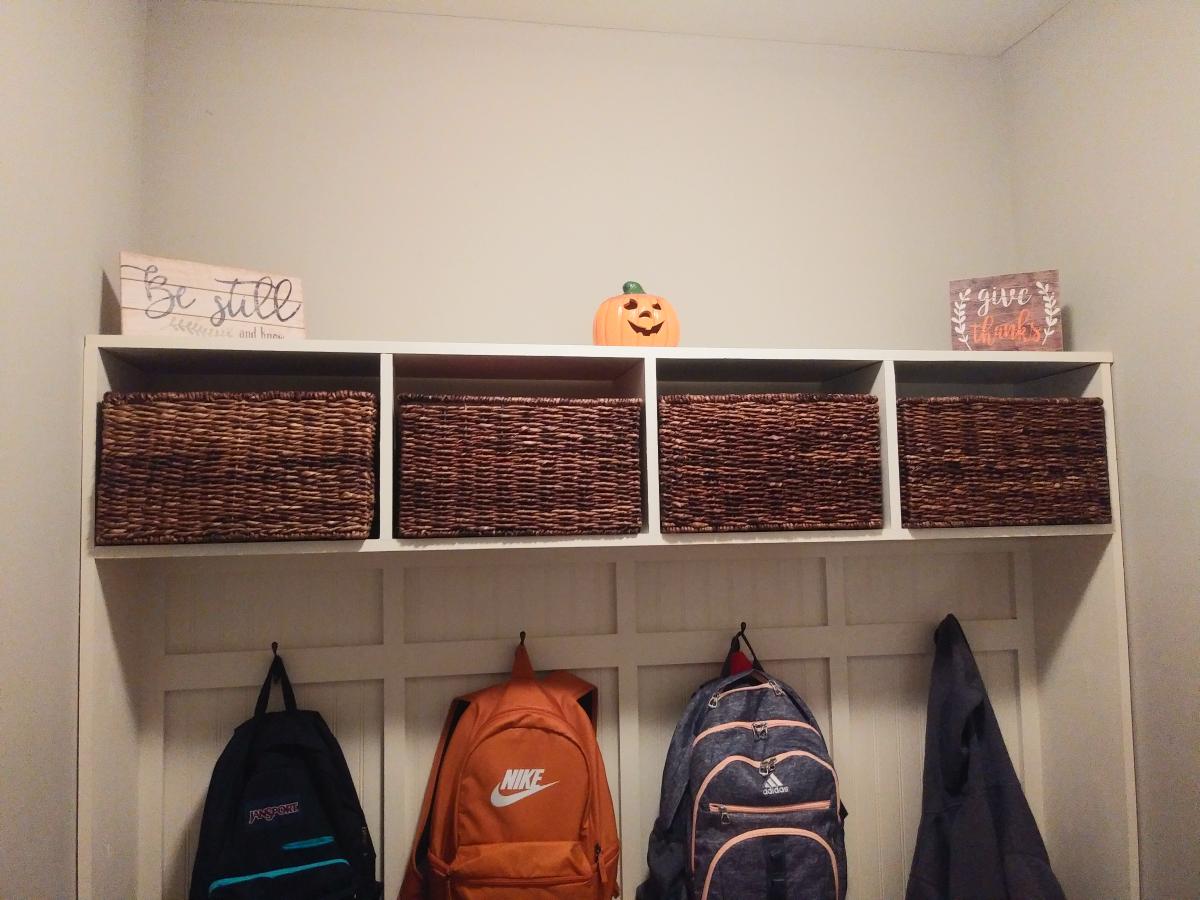
This mudroom bench is my favorite Ana White build! Everyone has a place for shoes, backpacks and boots can be stored in the bench. We added baskets to keep gloves, hats and other small items organized.
We used MDF, drop-leaf lockable hinges for the leaves, and piano hinges. I wouldn't recommend MDF because it wasn't strong enough for the screws and we ended up having to add bits of plywood to reinforce the areas for the hinges. We also put pegboard on the back to avoid things popping out the other end, and I'm planning on getting some hooks to hang crafty things like scissors and glue guns.
Despite the modifications we had to make, I love my little sewing table! It fits perfectly under our dining room table and but has tons of workspace when it's folded out. Perfect for a small, cramped house! The finished project isn't quite as bright yellow as the flash made it seem, but it is still bright and happy!
Thu, 08/18/2011 - 20:23
Looks great! I agree that plywood just holds together better.
I noticed that there's room to add 2.5" of length (when hanging down) or width (when in table configuration) to the side pieces. If you do, then when you fully open the table, you can open up even 60" fabric completely and cut pieces such as chair backs easily.
I think it might be a modification worth making.
Thu, 01/21/2021 - 12:21
Great idea!!!!! If you did this it would require more than 1 piece of plywood though.... I think that's why it's the dimensions it is. I plan on making one soon. So excited!
Tue, 10/04/2011 - 19:49
That's it. Can you sew on it, or does it shake too much?
Wed, 09/05/2012 - 21:24
It is sturdy enough to sew on - I usually put it on a rug we have, which may stabilize it. The table did shake a bit, but it didn't affect the sewing very much. I'm not sure how it would do on the tile - the sewing machine might move it a bit because of the wheels. But, I also don't use it much for my sewing machine and use it more for my cutting mat and measuring since I don't have a large flat table at my house.
Rapunzel - I agree, there is room to make the table bigger. I think if/when we make another, we'll do that. It's surprisingly big now, but there's always room for more table sewing space!
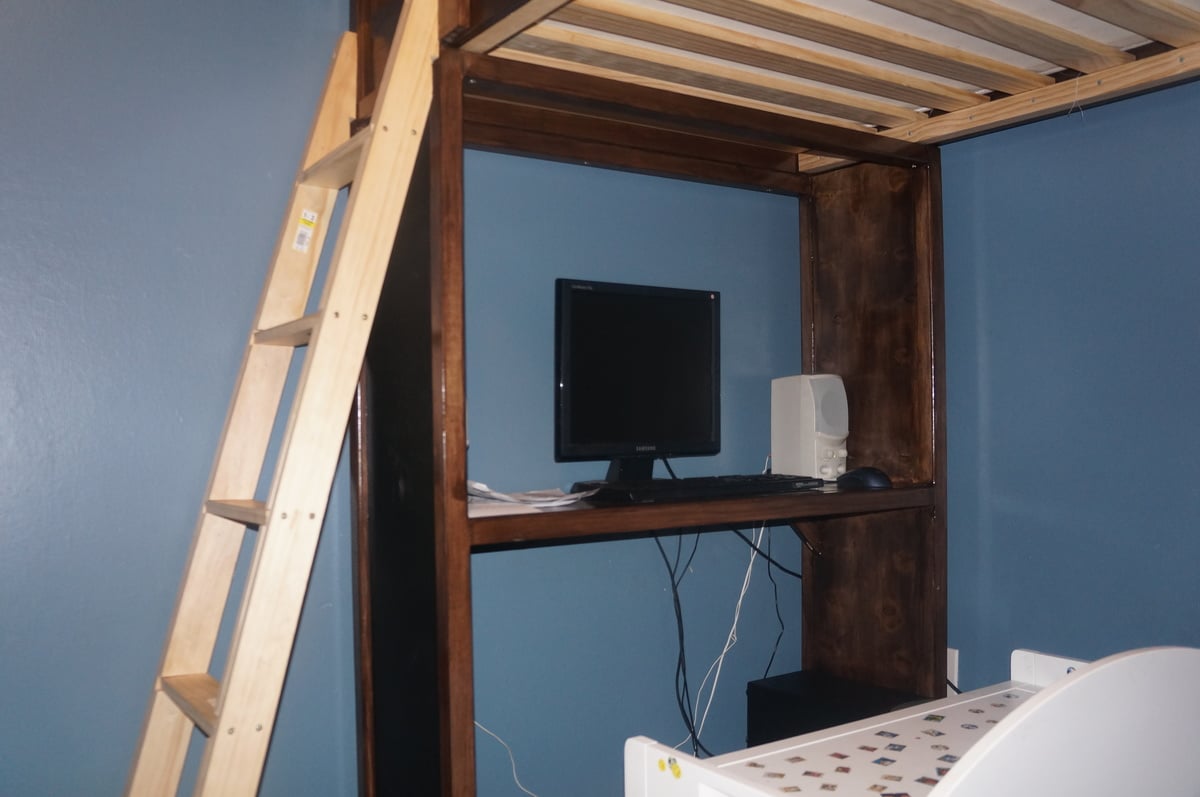
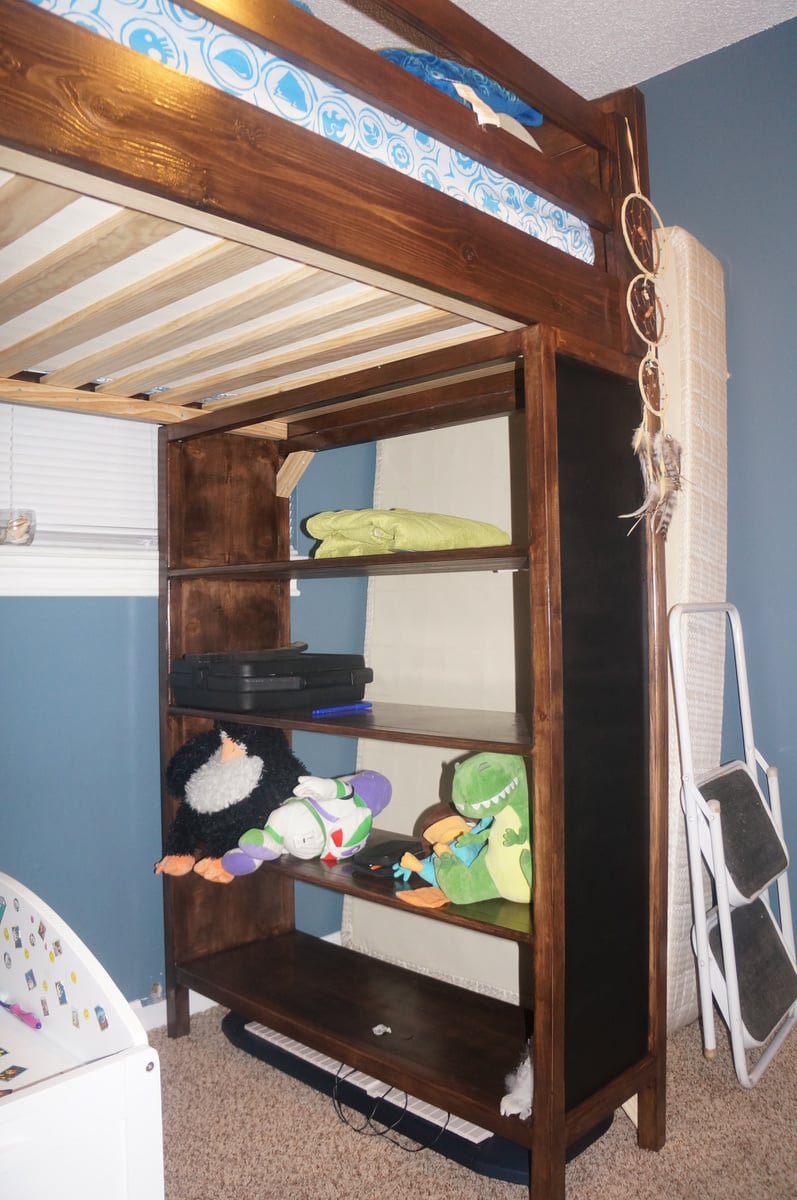
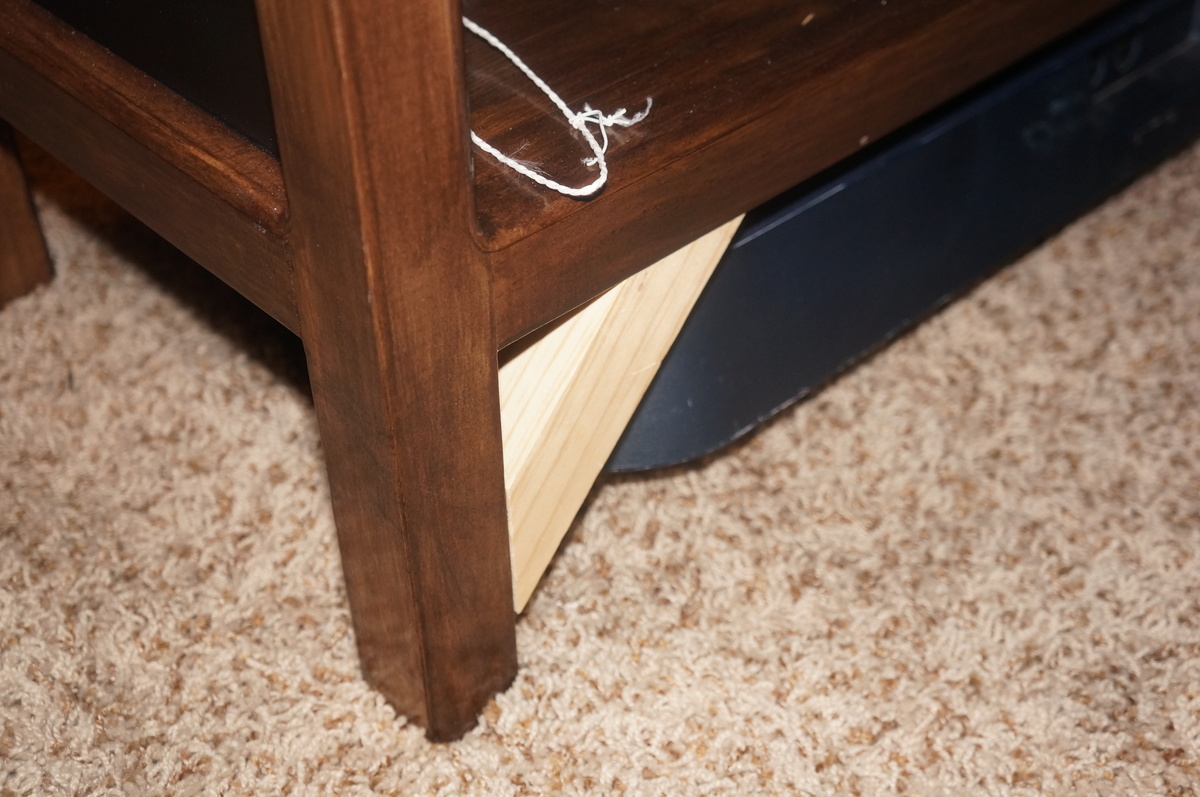
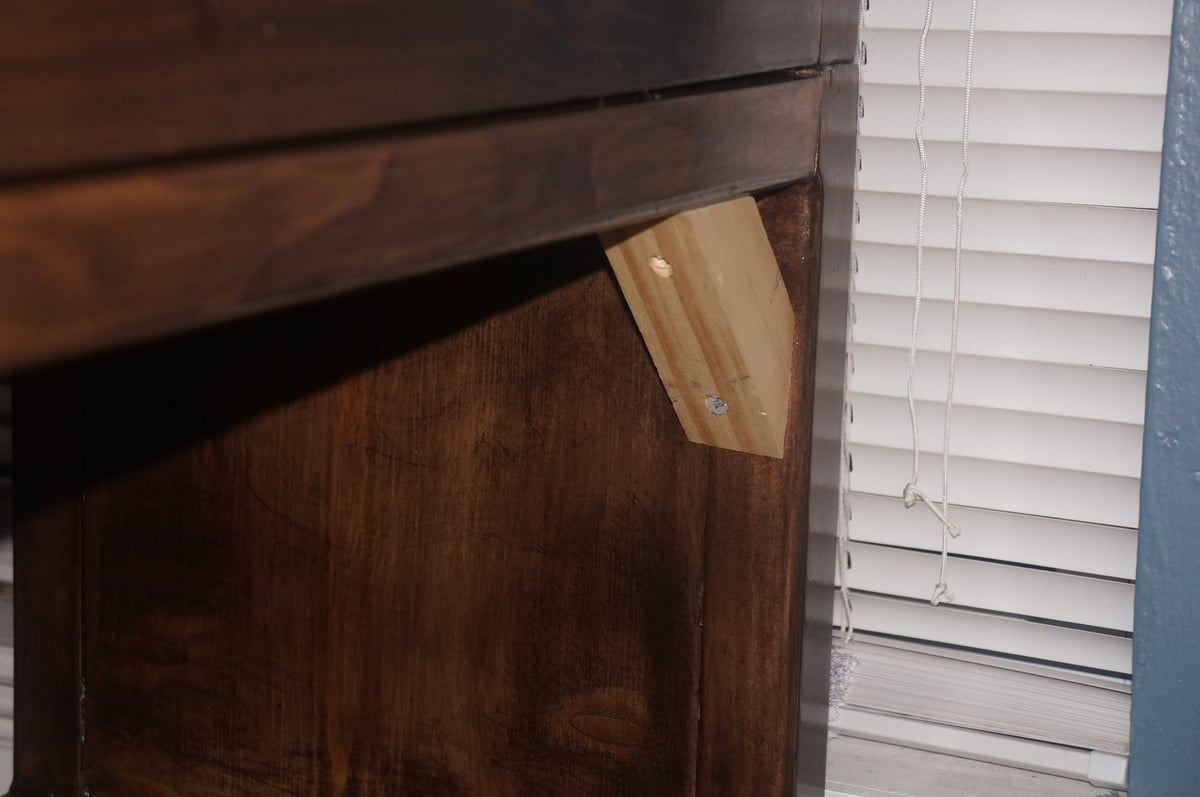
It was time that my son finally got a real bed. Additionally, he needed a desk as well. This is why I chose the Chelsea bunk system plans. I had to make some modifications that you can see in the pictures. The first modification was taken from GROOVYMOM2000, the chalkboards. I don't have any chalk at the moment so it looks like black paint from the picture but its the spray on chalkboard stuff. The subsequent modifications were made for stabilization. I added supports to the desk before I started finishing the wood with stain and polyurethane because it was WAY too unstable. I thought that the bookcase was going to be okay but once the bed was on top it had more wobble than I felt comfortable with. This is why I added the 45 degree 2x2s to the bookcase corners. I will have to remove them and add some better looking ones in the future but they REALLY made a difference; the bed is rock solid now. The ladder was thrown together last minute with a rather advantageous plan that didn't work out. I tried to incorporate hangers into the cut so it could be removed easily but my jigsaw blade was too dull and ripped the wood to pieces. At this point I just slapped the pieces together and screwed it into the side of the bed. He might have to go a couple months before I decide to build a new one the right way. This honestly turned out to be a lot bigger project than I planned at first. Building the bed was fairly quick and easy but sanding, conditioning, staining, and protecting the wood took almost a week. I am pleased with the outcome but painting the bed would have made a significant time difference. If you do go with stain then let me suggest you stain the guardrails before assembly.
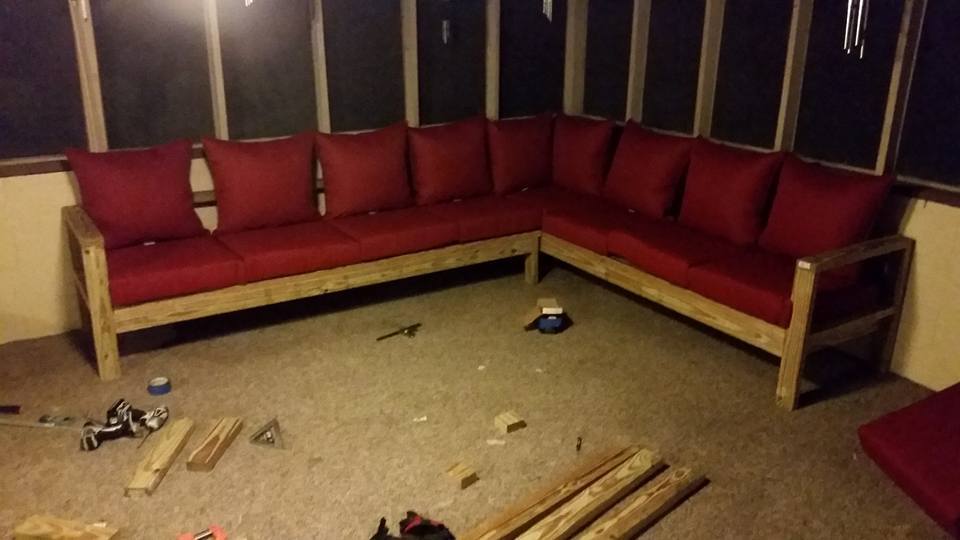
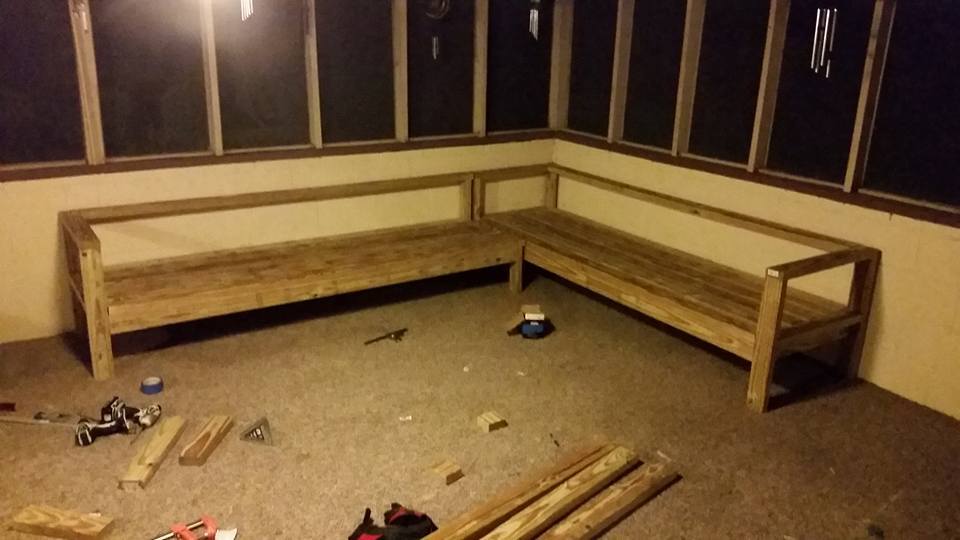
Our new home has a 21'x17' screened in porch that needed somthing, anything to occupy it! We looked for sectionals from online retailors and could not believe how much money they were demanding for them. Being new homeowners we could not afford/justify spending that amount. I found Ana-white.com while looking for shoe bench plans and found these 2 plans for the sectional. It was time to justify all of my tool purchases! lol
I took the 2 plans for the sofa and armless sectional and increased the size on the armless sectional by 1 seat to fill the area better. Future plans also include a bar, serving area and coffee table in the space. I bought (30) acq 2x4x8's and, not including scrap pieces, had 3 reamaining full pieces after completing the project. Total for the wood materials was $130 and I also had to buy a Kreig Jig ($37) and 2-1/2" ext deck screws so all in all about $180 for the materials
For the cushons I searched local retailors and found since we were going into the winter season a lot of local stores were selling off their patio supplies at big discounts. I found a local Home Depot selling Hampton Bay deep cushions for 75% off (normally $49.98 on sale for $13.xx). I needed 8 seats and since one was a corner I ordered 9 sets (9 backs, 8 seats).
Project took me less than 5 hours pick up the wood, set up on-site shop, make all the cuts and assemble. That 5 hour timeline also included a break for dinner. The sofa sections are heavy when put together, if you plan on moving them more than once or twice a year I'd suggest putting some caster wheels on the base with locks to keep it from rolling away when being used.
Tue, 11/17/2015 - 17:58
Looks like some nice pieces of furniture you have here! I actually built the same sofa from that same plan as our outdoor furniture, along with some chairs built with the same style to match. Mine is a few months old and I'd like you give just a tiny bit of advice (if you'll accept it lol) so yours doesn't end up like mine... On the back, top horizontal support (the ones that traverse the entire length of the sofa) I would put 1-2 vertical support posts spaced evenly. After just a month of having mine I started to notice a slight sag in the board :( No doubt after 6 months to a few years it would become pretty bad. Its just a matter of cutting a couple scraps and screwing them in, so its a pretty simple fix! I hope it helps, and keep up the tool collection and builds!
-Jeremy
In reply to I like your style! by kbdesigns
Wed, 11/18/2015 - 04:09
Funny you should mention that, I was thinking it while showing it off to the in-laws a few nights ago. I'm a big guy and leaned back on it and naturally it had movement. I was torn between a 2x4 on end running under the rear piece or horizontal supports... I didn't want there to be any undesirable spots to sit in if my guests leaned back. So, since you did this addition does it effect the seating area?
Good call though and something I'm going to do!
Thanks!
In reply to Great minds think alike... by mdj1281
Wed, 11/18/2015 - 04:11
I was torn between a 2x4 on end running under the rear piece or horizontal supports... - See more at: http://ana-white.com/comment/68564#comment-68564
Sorry, I meant to say vertical supports
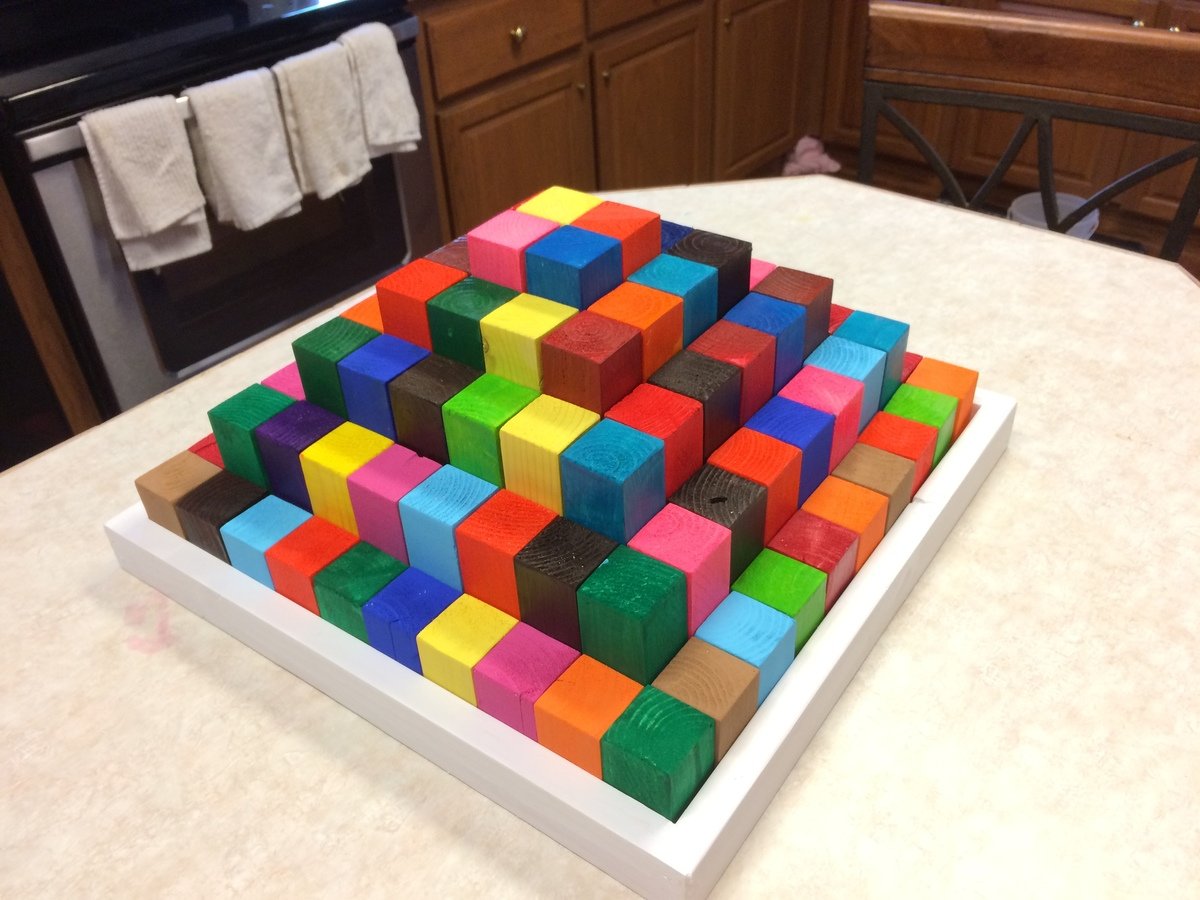
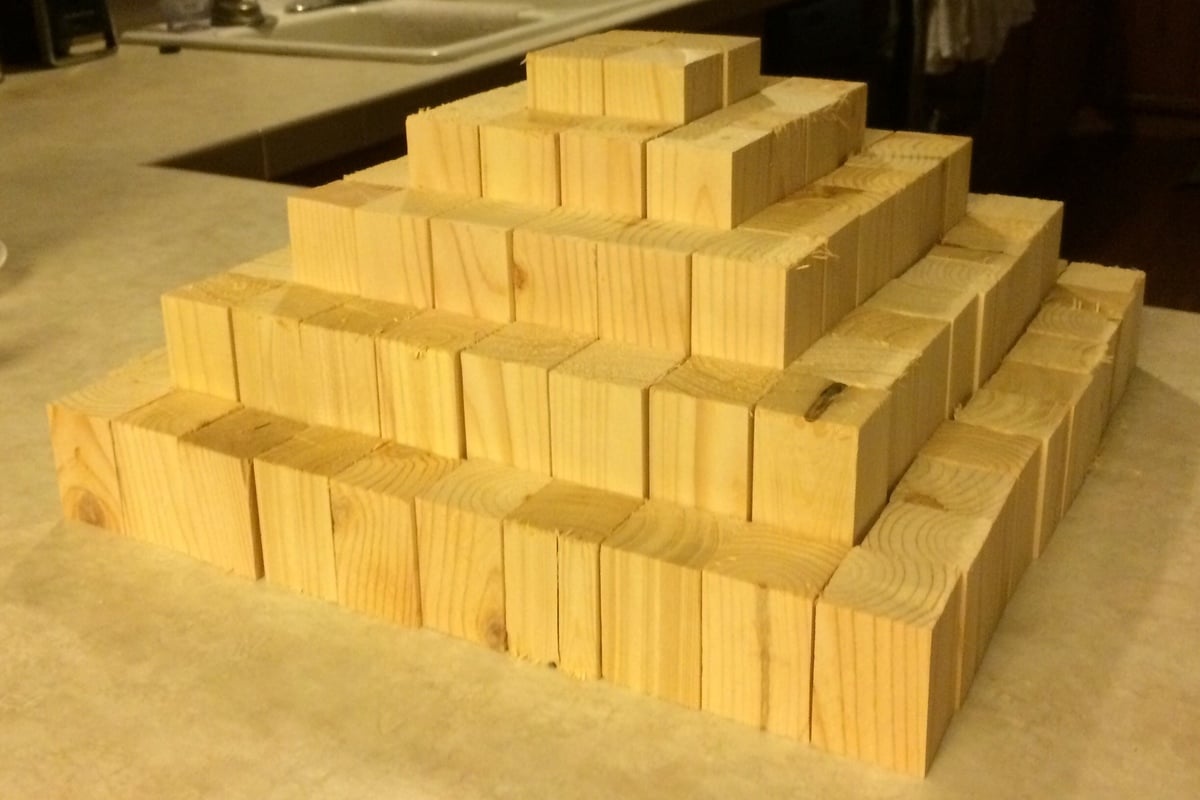
I used the homemade holiday plans to make this as a Christmas gift for my 2-year-old great-niece and it worked out really great!
Fri, 01/04/2019 - 13:21
What a beautiful set!!! This will be treasured for sure! Thank you so much for sharing a photo, it is much appreciated. Happy New Year, Ana
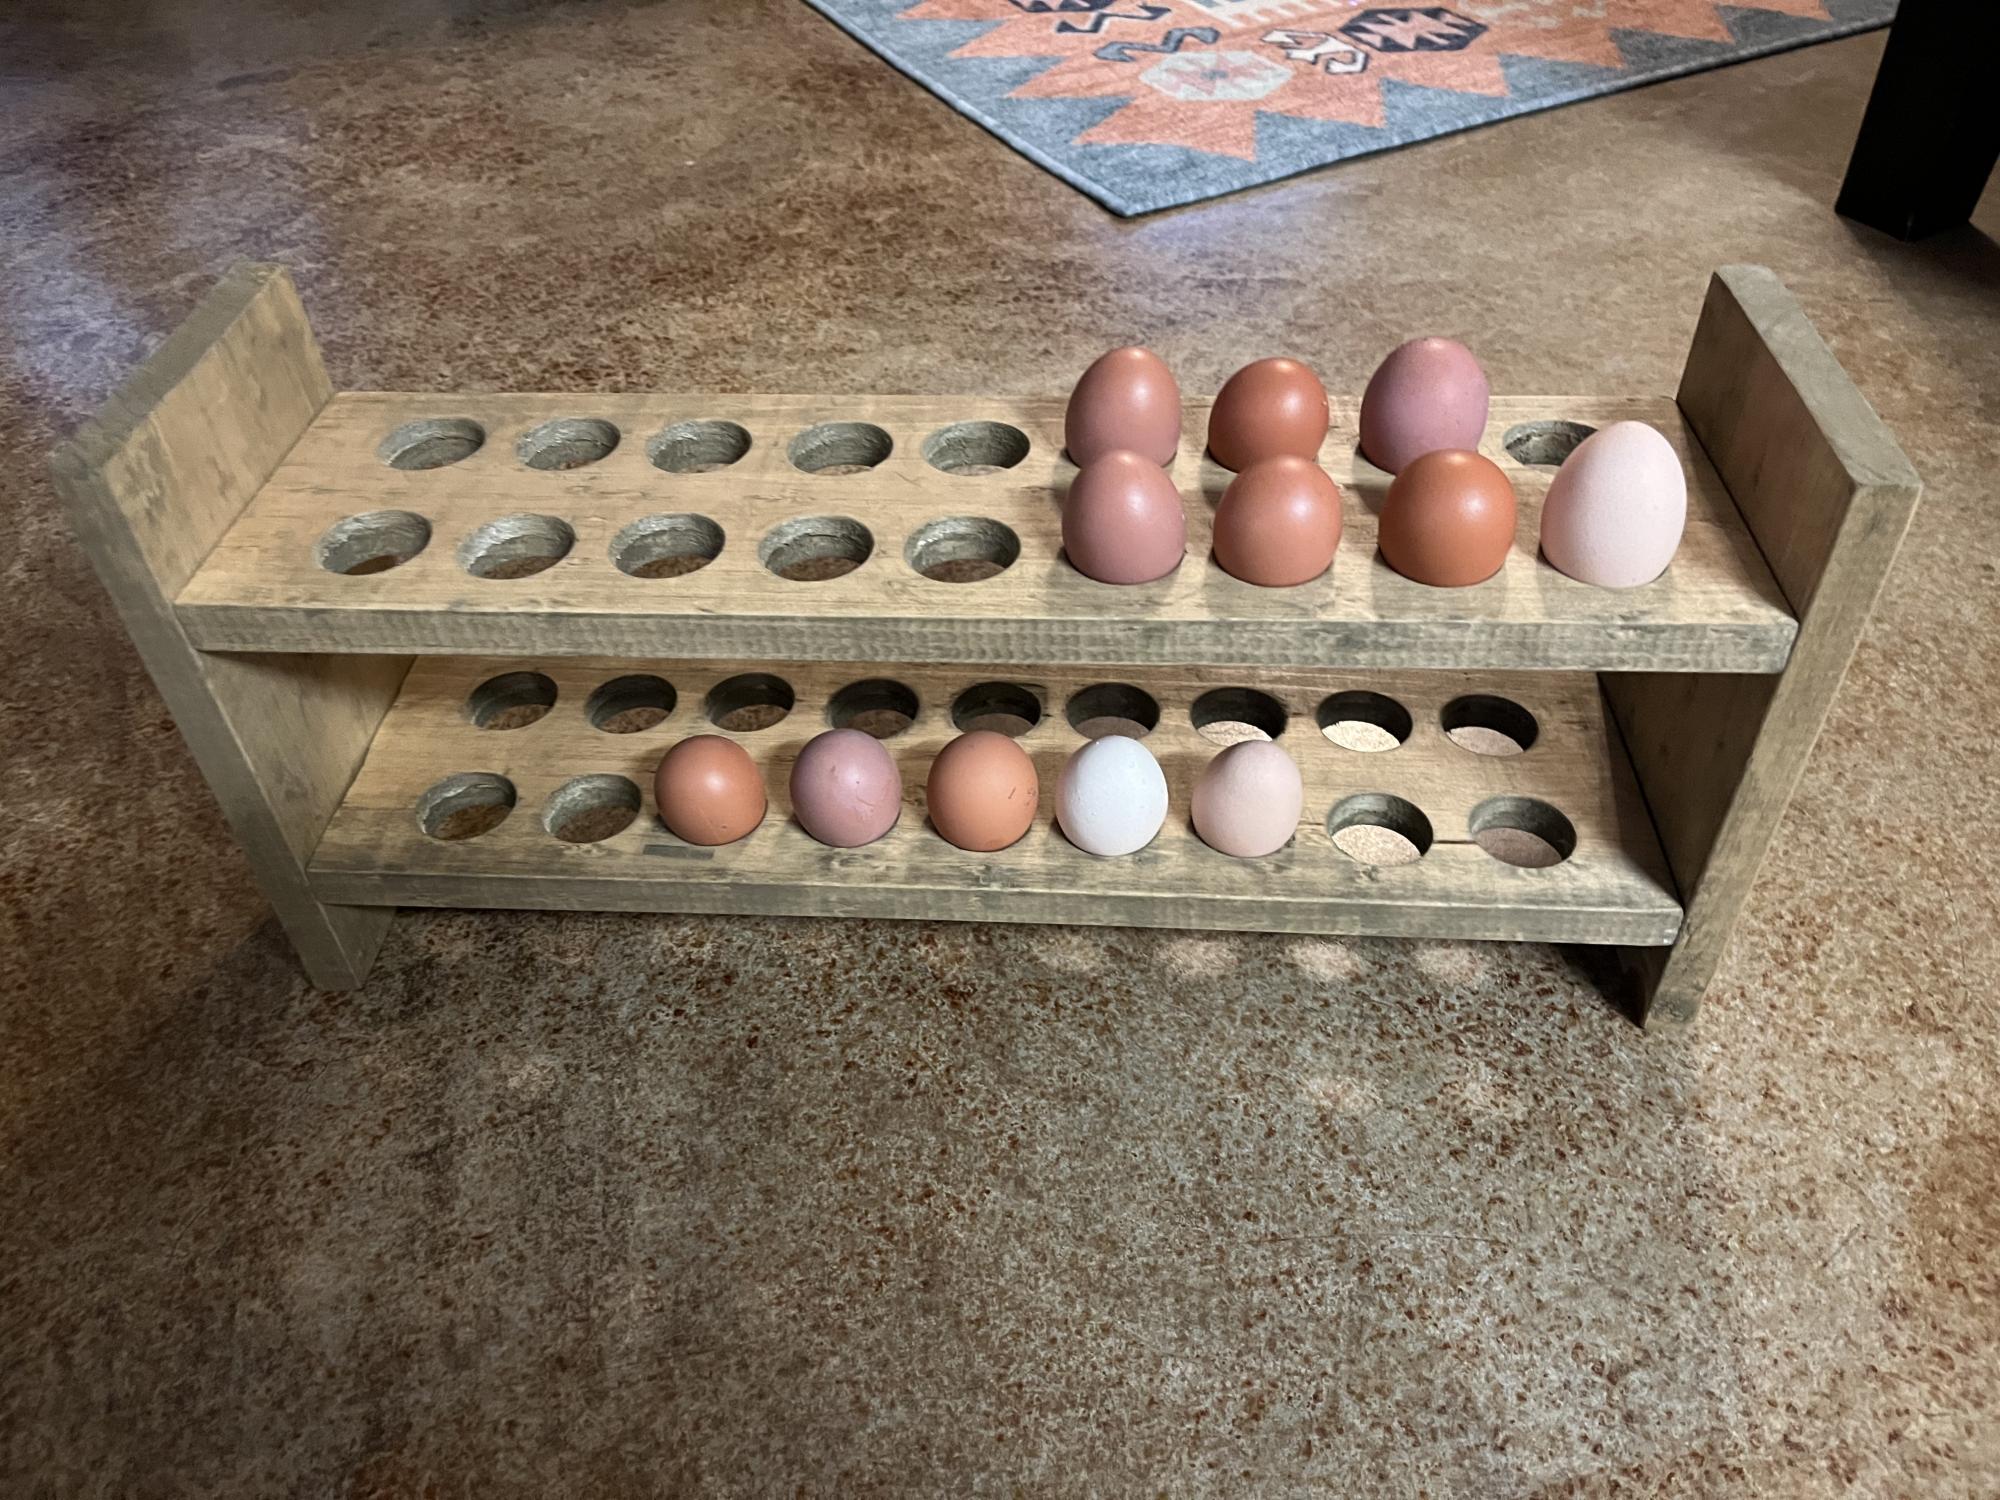
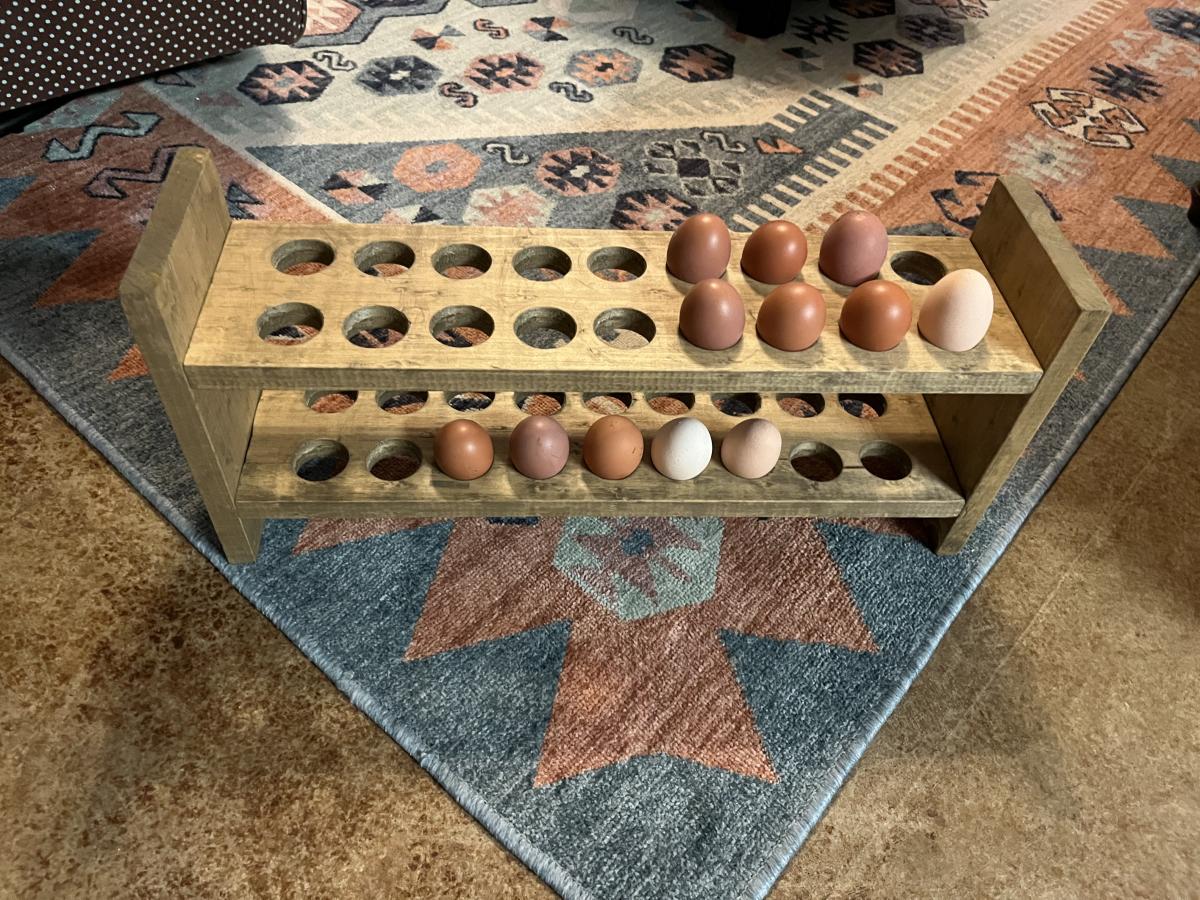
This was very easy to make and I love how it turned out! It was a fun gift to give to our chicken-loving friends:-).
Sat, 10/01/2022 - 15:47
This looks great, I'm sure you're friends loved it! Thanks for sharing.
So much fun to make & great for entertaining.

Love this project! I used cedar boards with red mahogany stain. I did adjust the gaps to a 1/4 inch.
This table is very solid and the plans are very well written and easy to understand and follow.
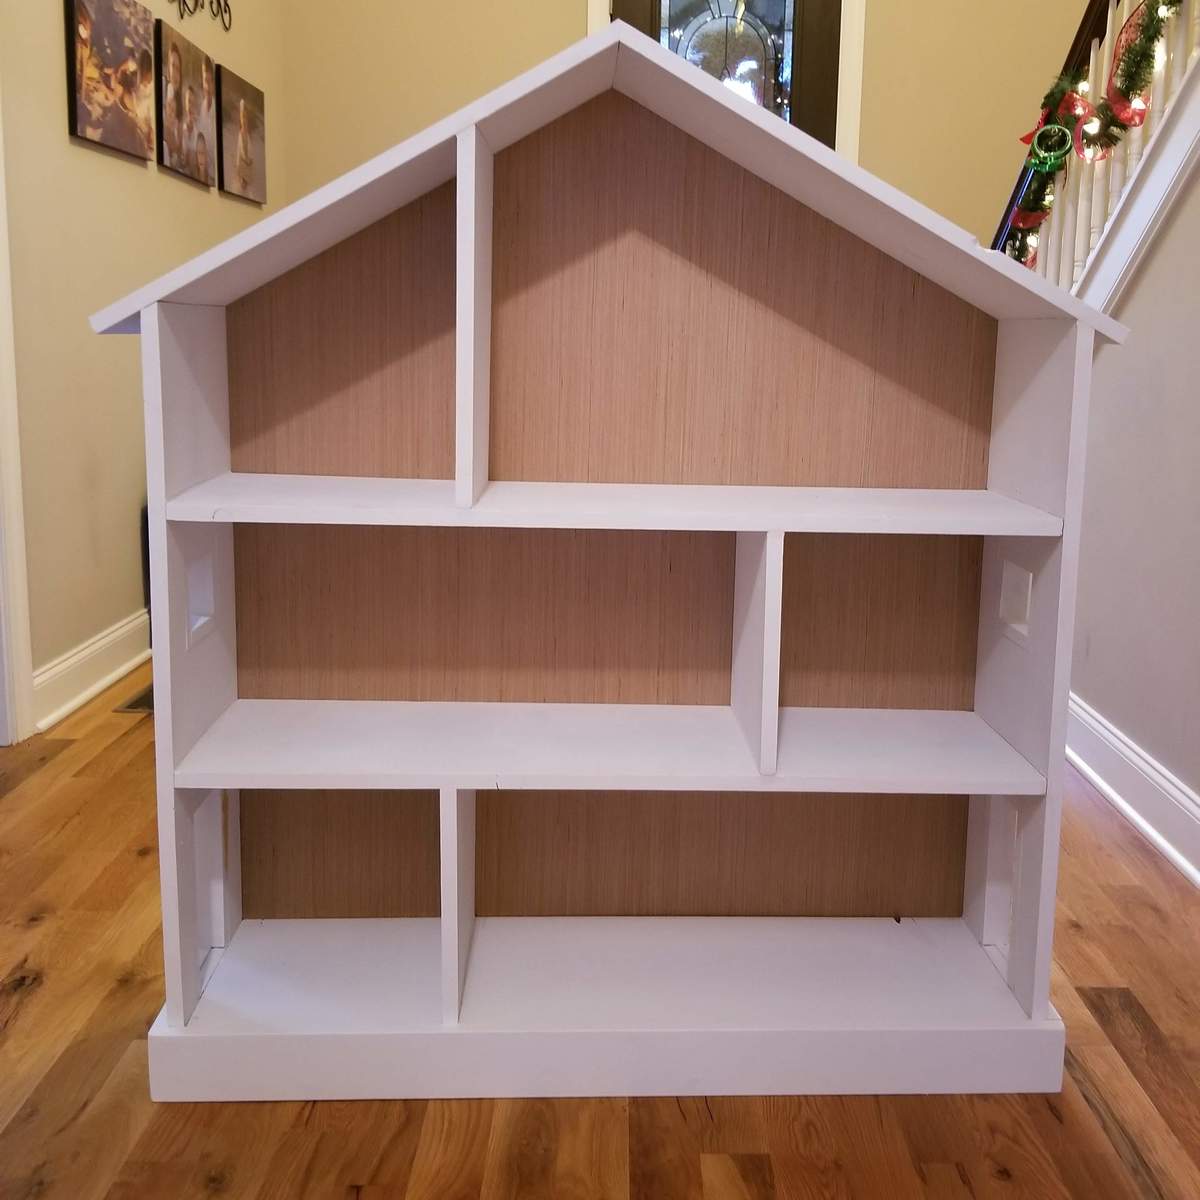
My aunt wanted to get her grandaughter a dollhouse for Christmas. I came to Ana's website and found this plan. It was tedious and time-consuming, but it was worth it. This was such a great confidence builder and has led me to build a lot more things for other people. I can't wait to see what the future holds. Used these plans...http://www.ana-white.com/2012/07/bookcase-dollhouse
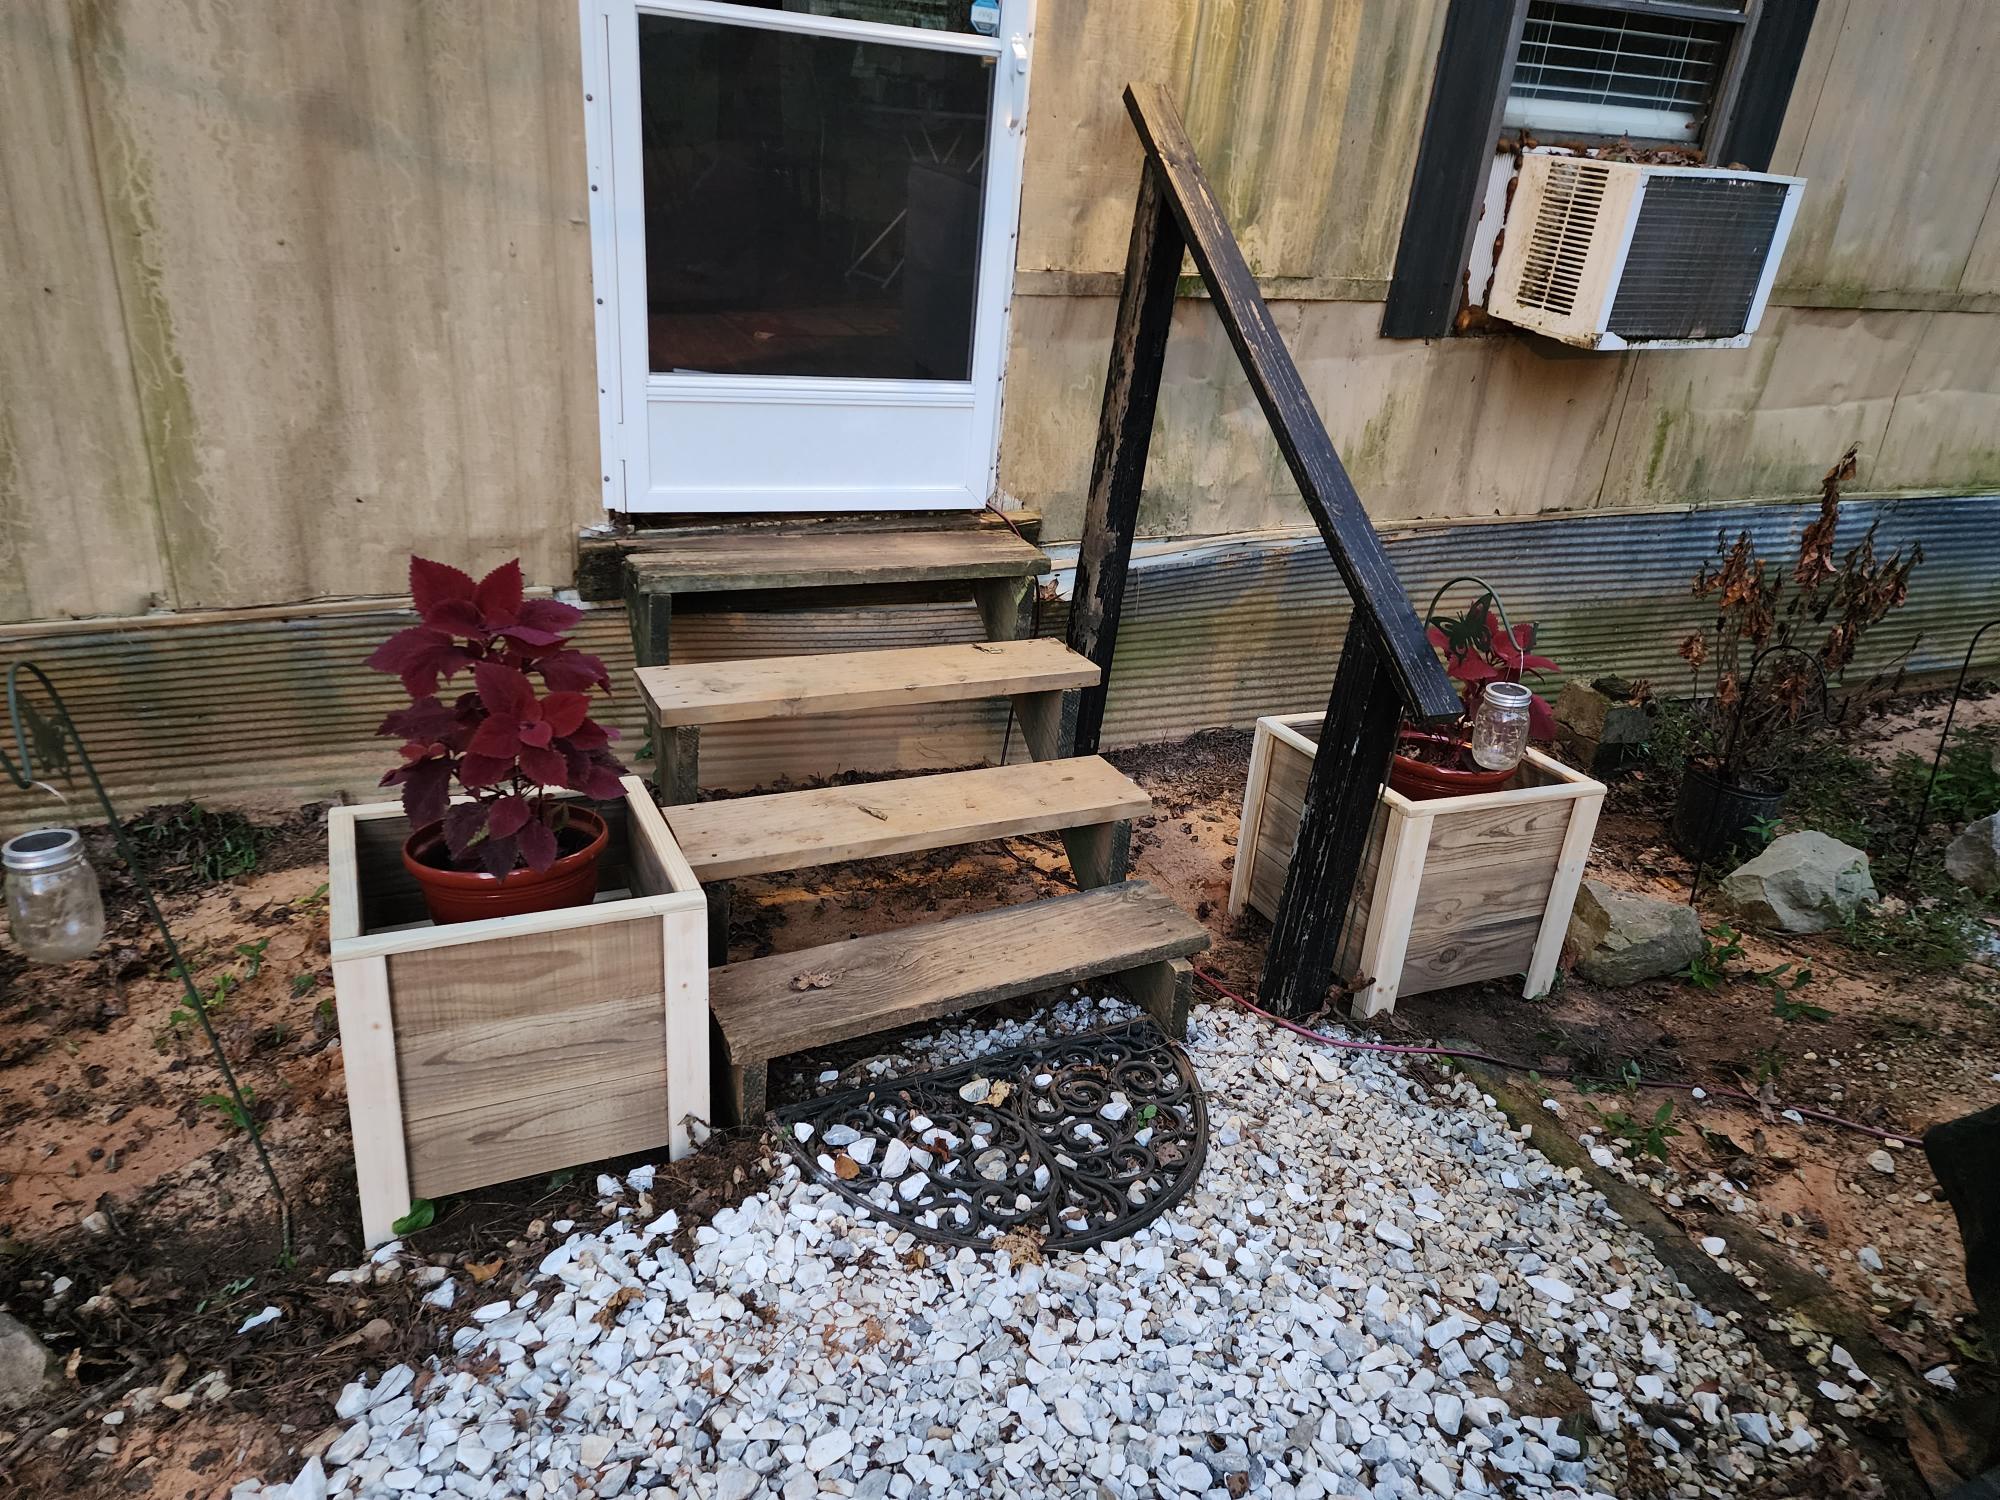
Just made these planters. I haven't painted them yet but I had to post it. They came out perfect. Thanks Ana for easy to follow plans.
This was my first ever build and I did it on my own, so I'm super proud, but there are admittedly some things I'd like to learn from. The top trim piece is missing because the board was too crooked to attach and I was too impatient to wait to go to the hardware store again! It also stands crookedly. Not really sure why, but if you have any idea, I'd love to hear because I had a great time building it and look forward to my next build, but want to learn from that mistake first! Thanks Ana, I really didn't even know how to use a drill before hand, what an inspiration you are!

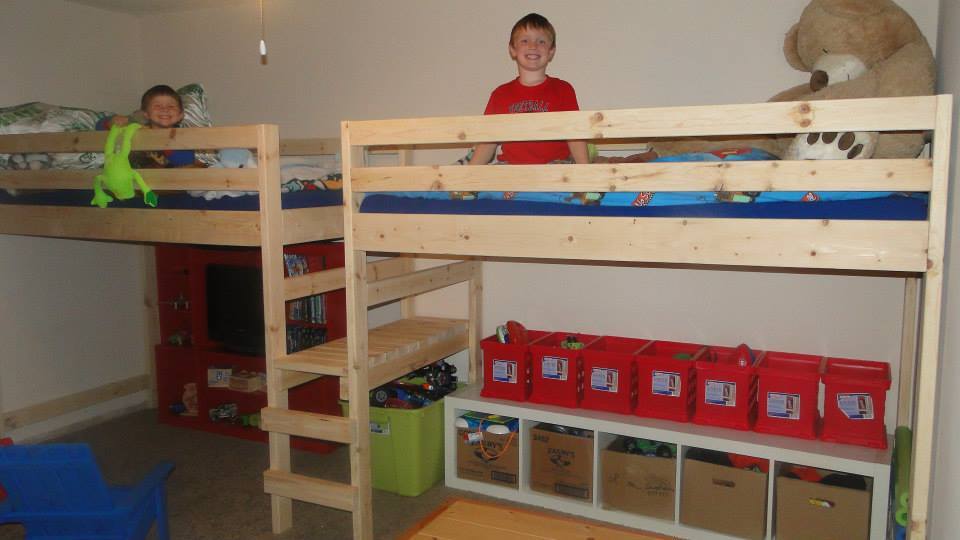
Camp Loft Bed modified to fit two twin loft beds in the bedroom with a shared platform step.
Age of boys in bed: 6 and 4
The boys have yet to agree on a stain color...awaiting their decision.
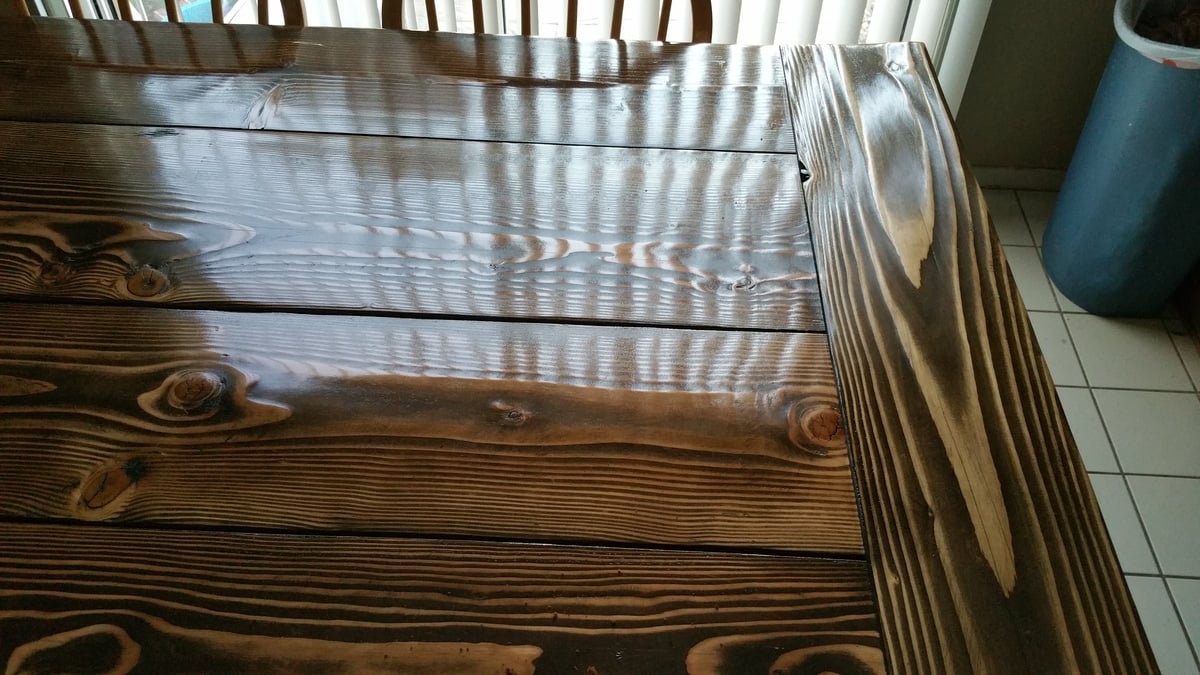
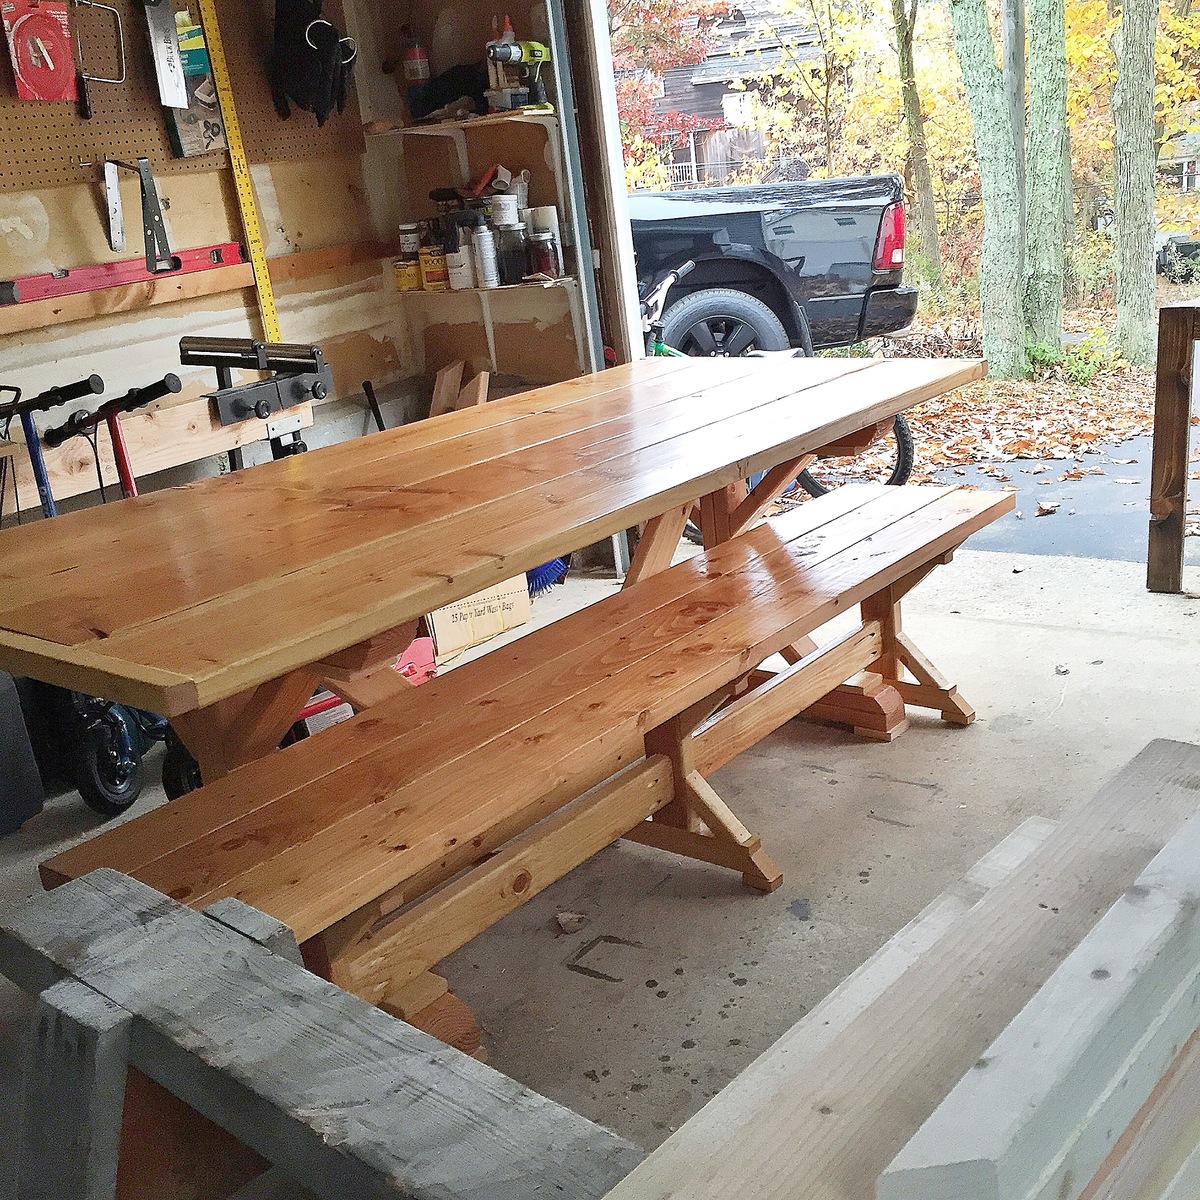
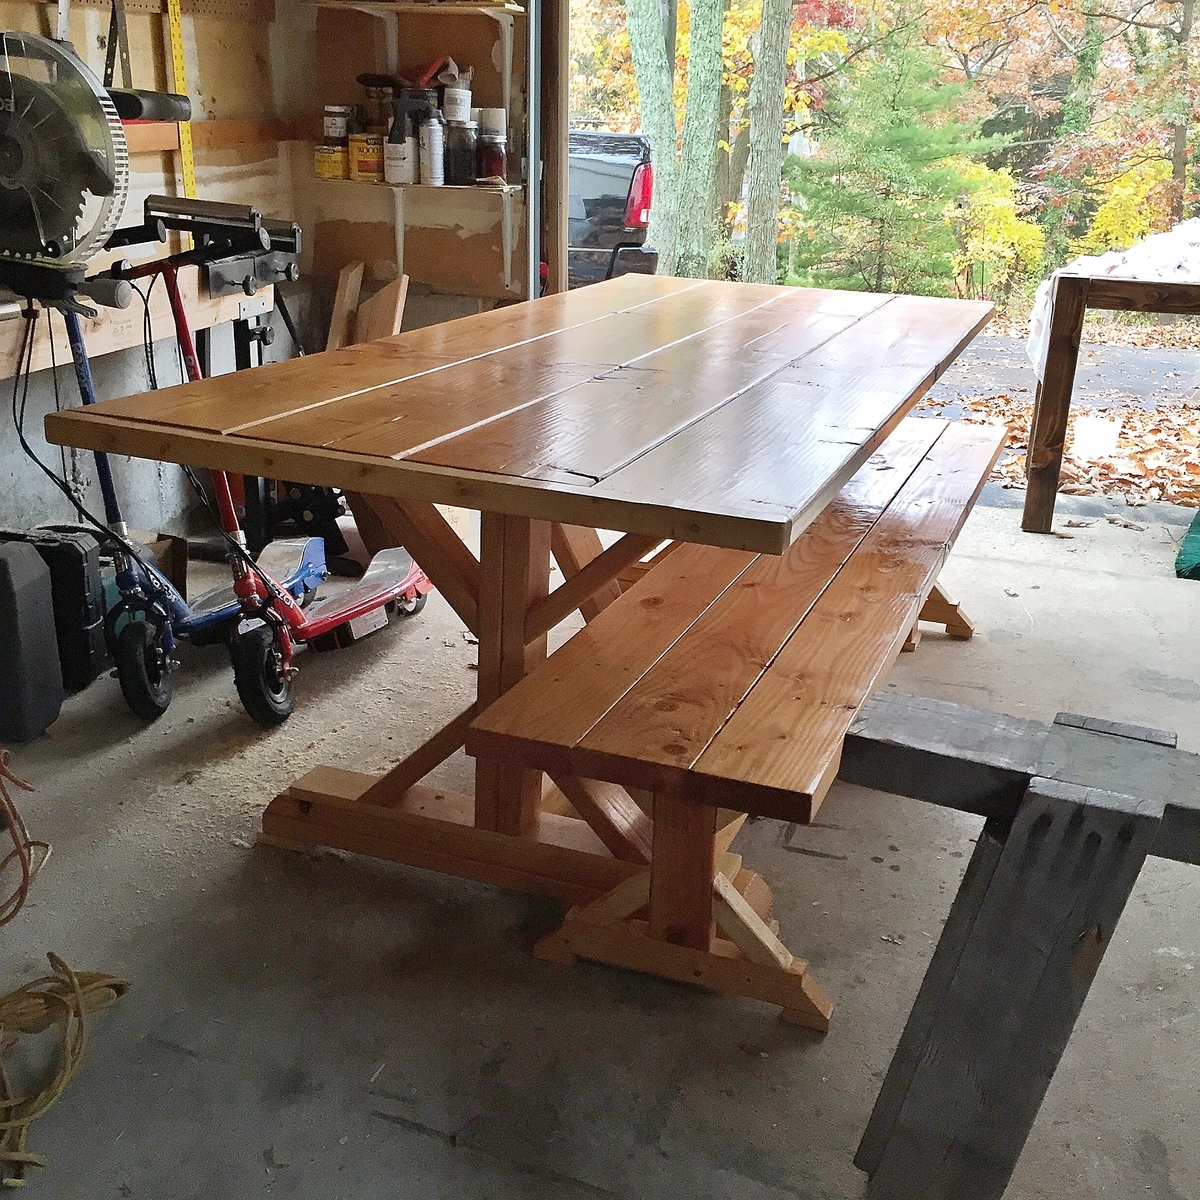
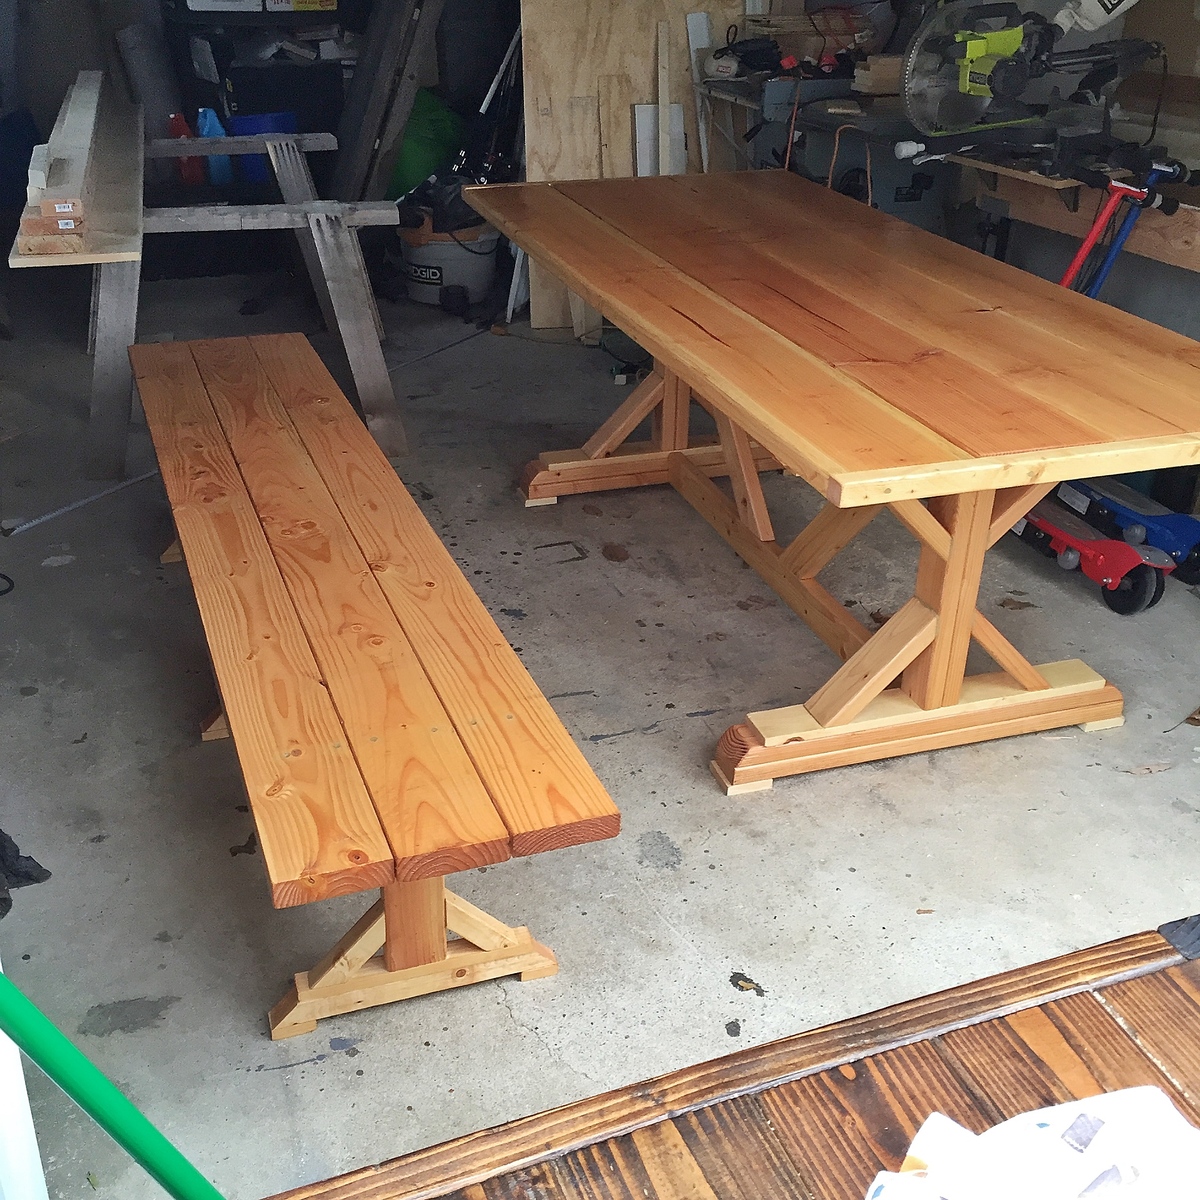
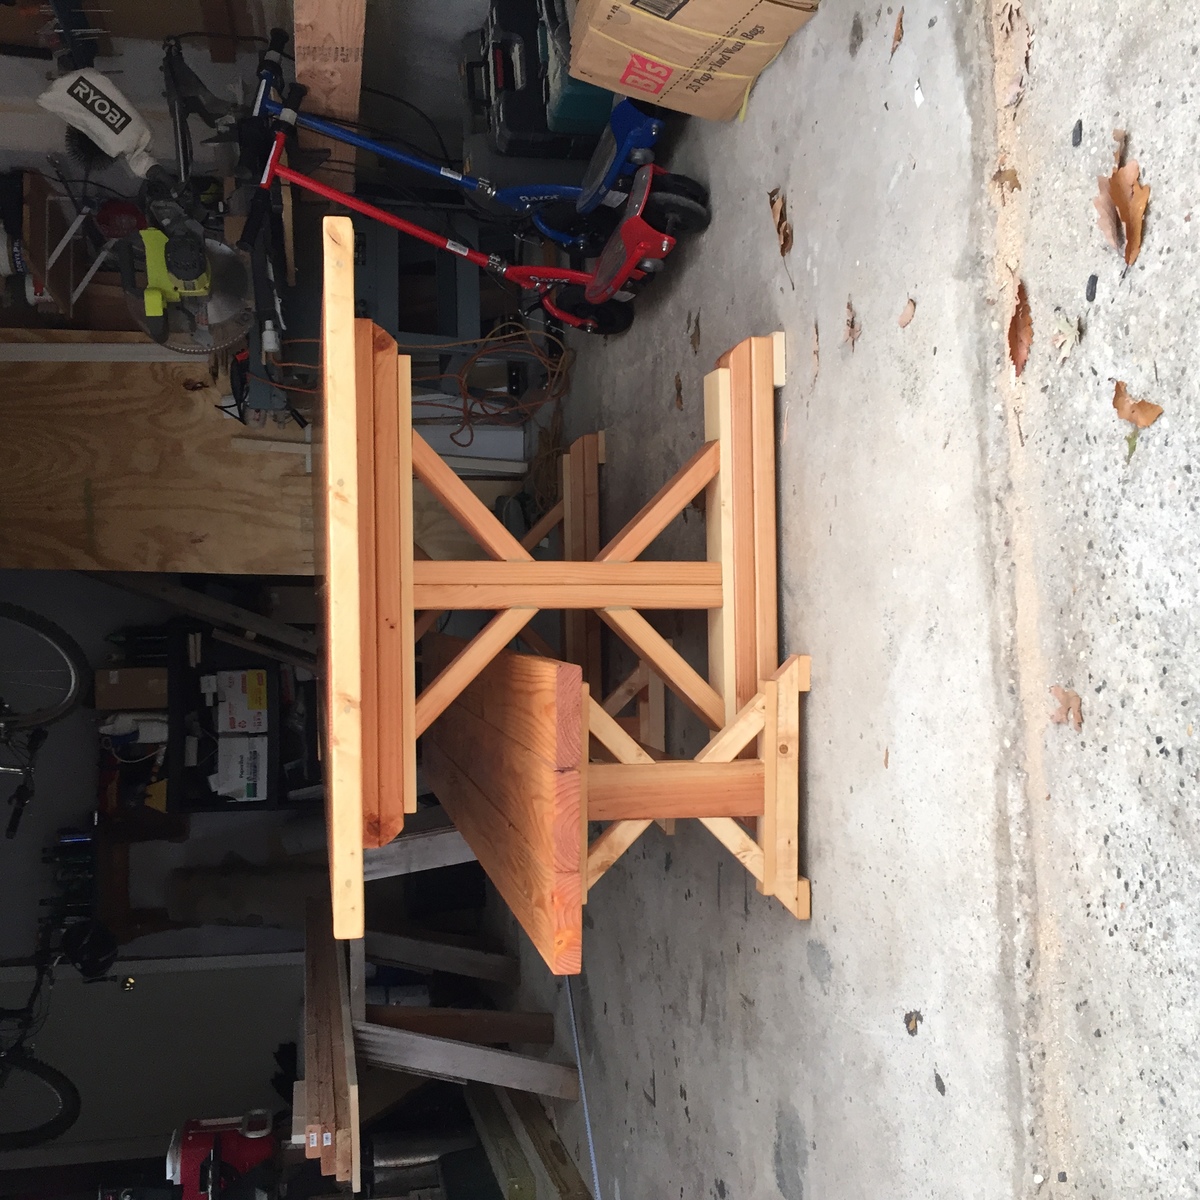
This is 84" long and 41" wide. I built this to fit our family. We are a family of 7 and our old table was just too small. It would not hold the food or all the people, so we came up with this. It has plenty of room and there is no more buffet style eating.
The build was pretty easy, the finishing took some time. All in all happy with the results. Looking forward to building the bench and chairs. This entire build is made from constuction grade pine off the shelf at the big orange box store.
Cost was under $100 for just the wood but the finishing items I did not ahve so I had to purchase. The finsih was a 80/20 mix of gloss minwax poly and miniral spirts. It worked very well and I am very happy with the outcome. I did learn a few things along the way, 1) off the shelf cheap lumber is not very stable and 2) this thing is HEAVY
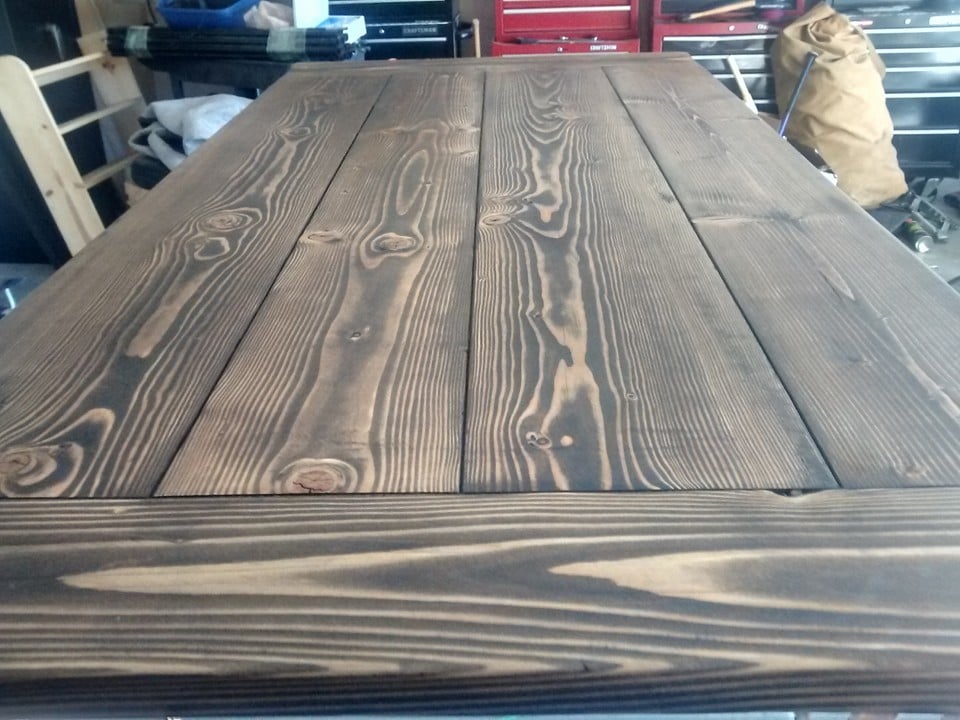
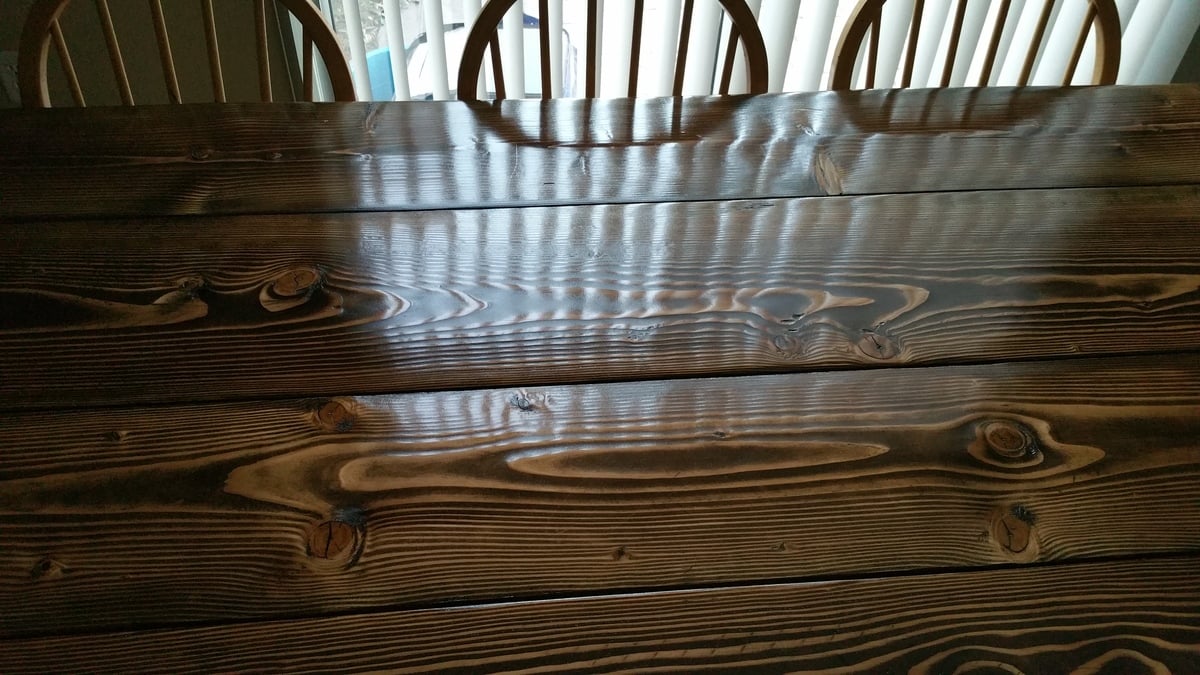
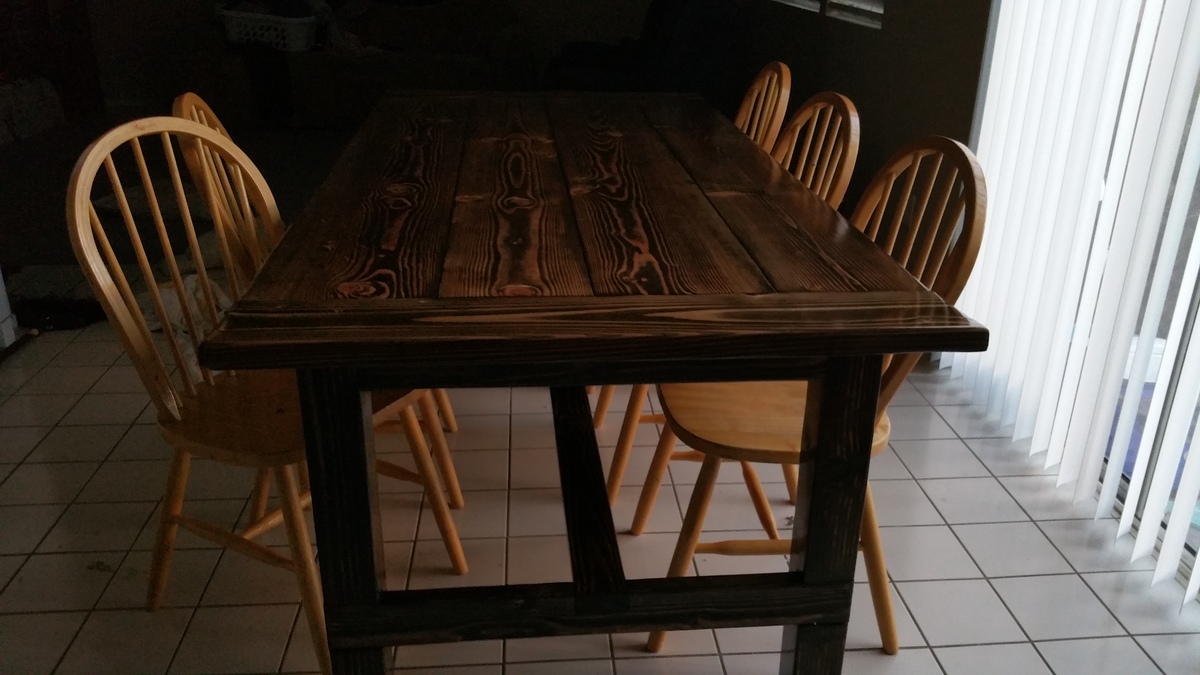
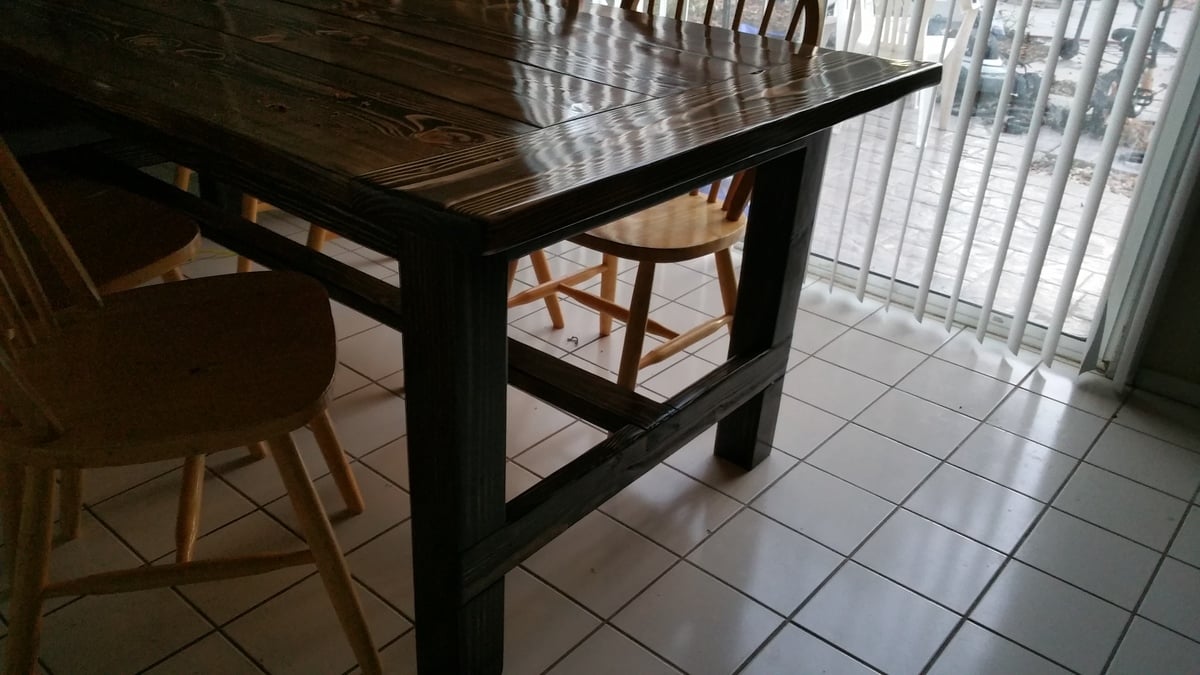
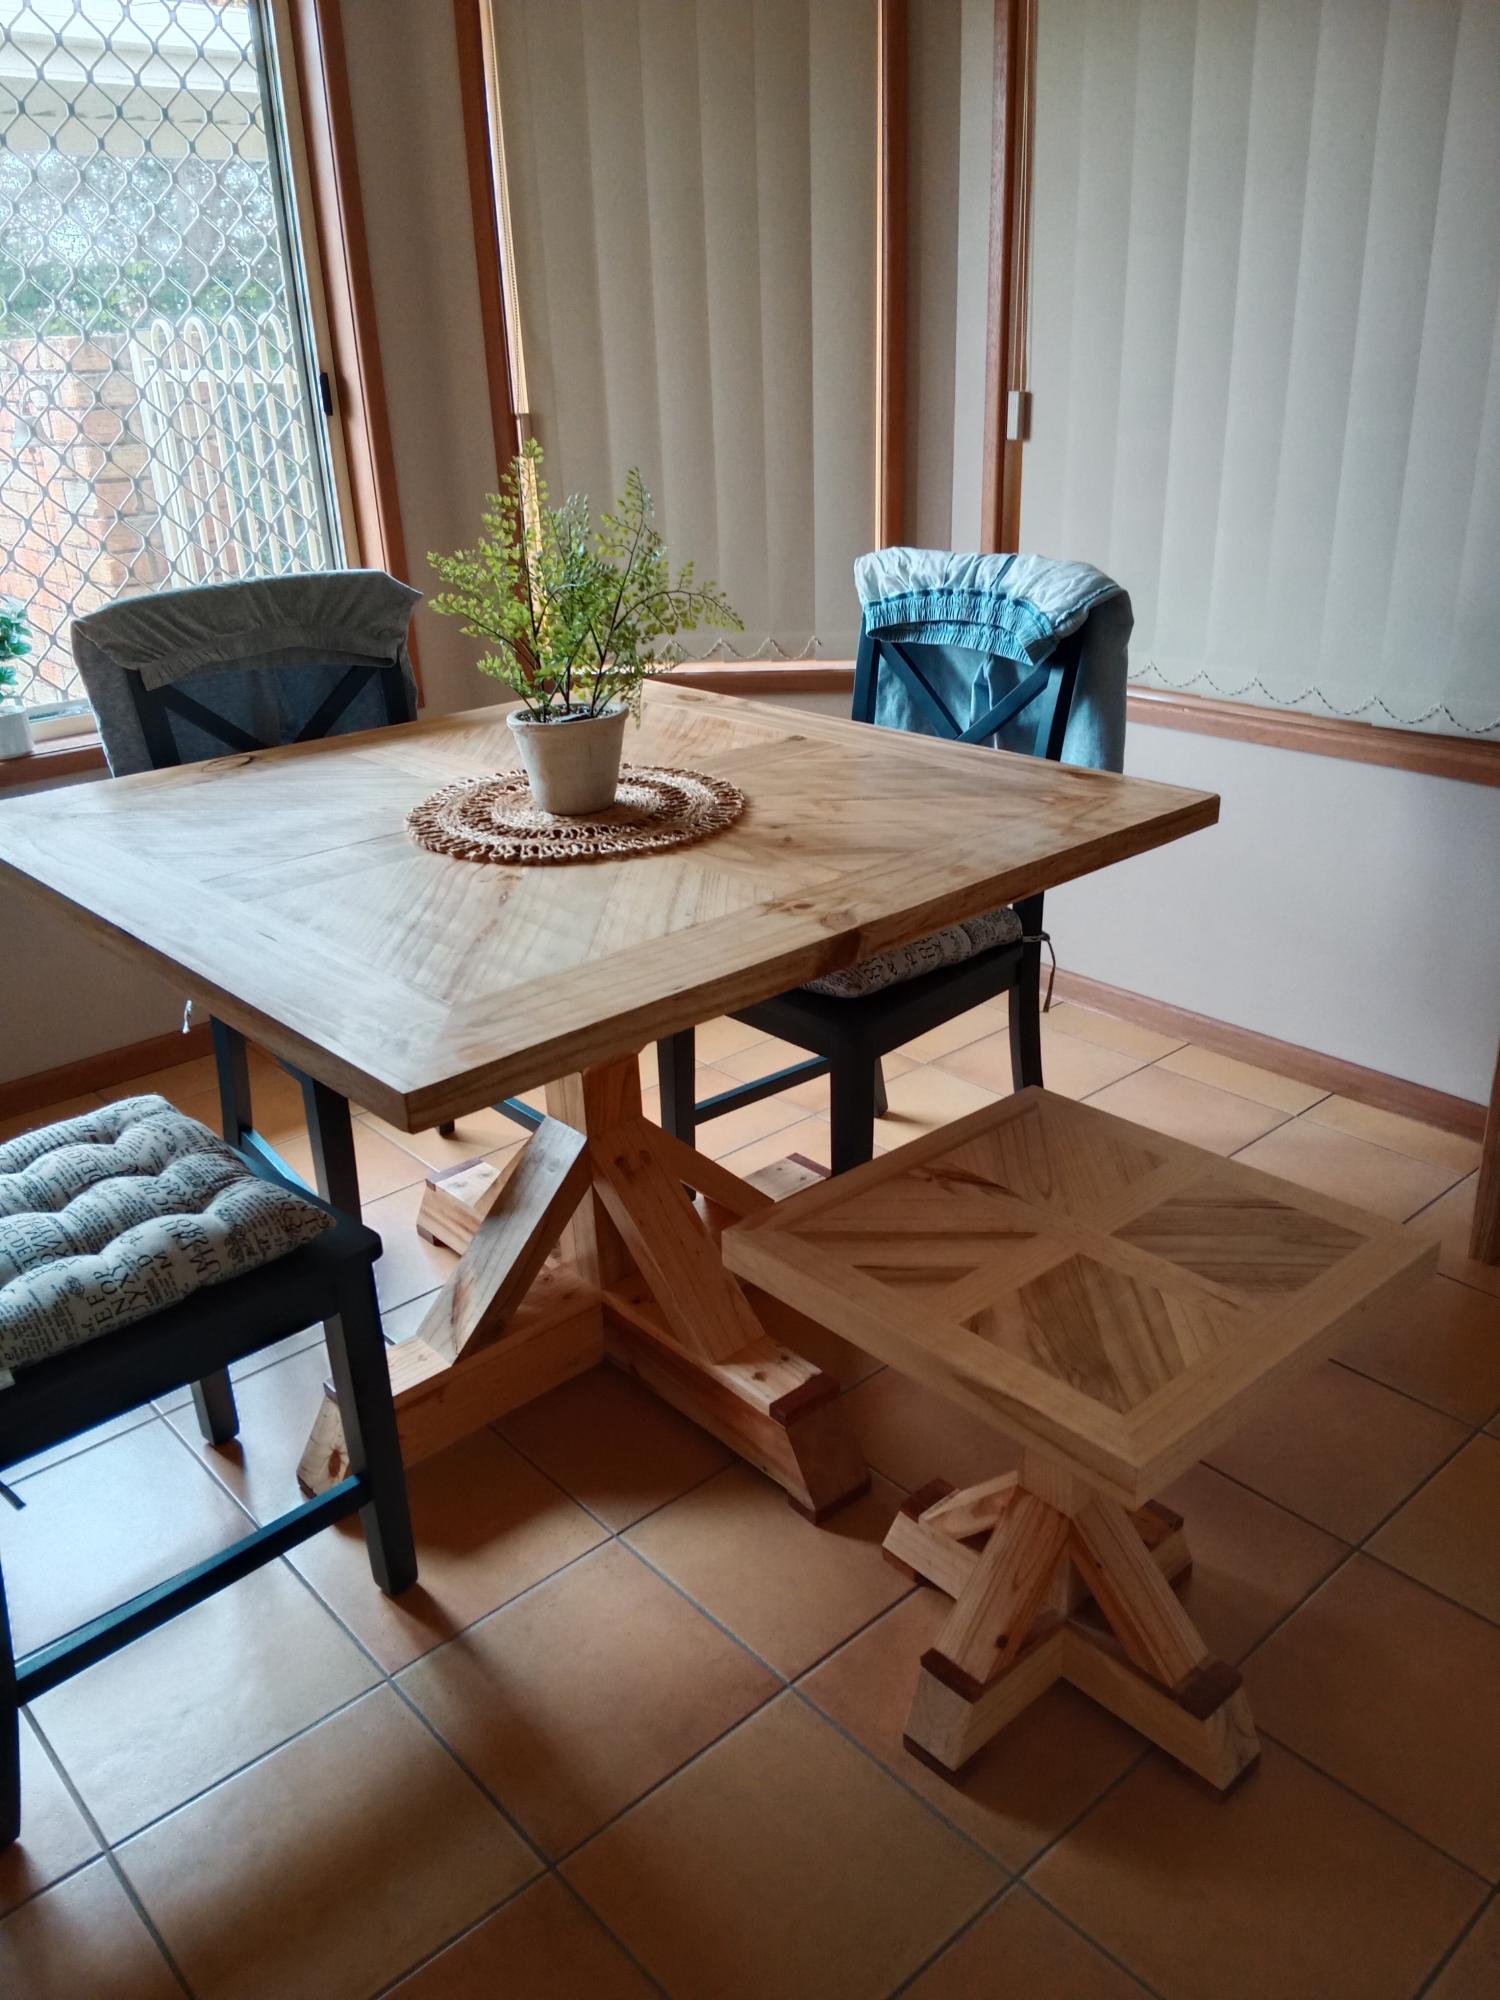
I was so impressed with the dining table i decided to make a lamp table as well
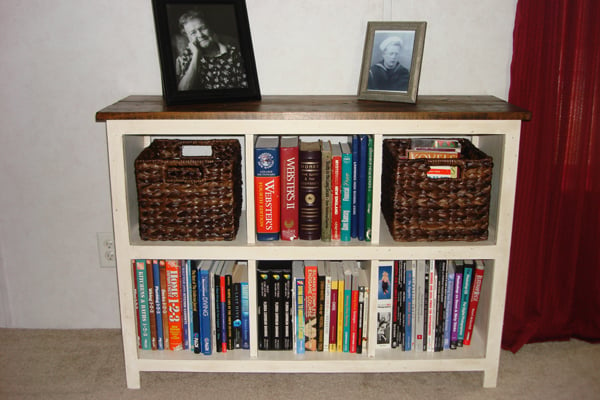
I love this bookshelf! It was quick and easy to build, the finishing took the longest. I decided to add a contrasting top with pine boards stained with dark walnut. I love how it came out! Now, on to my next Ana White project...
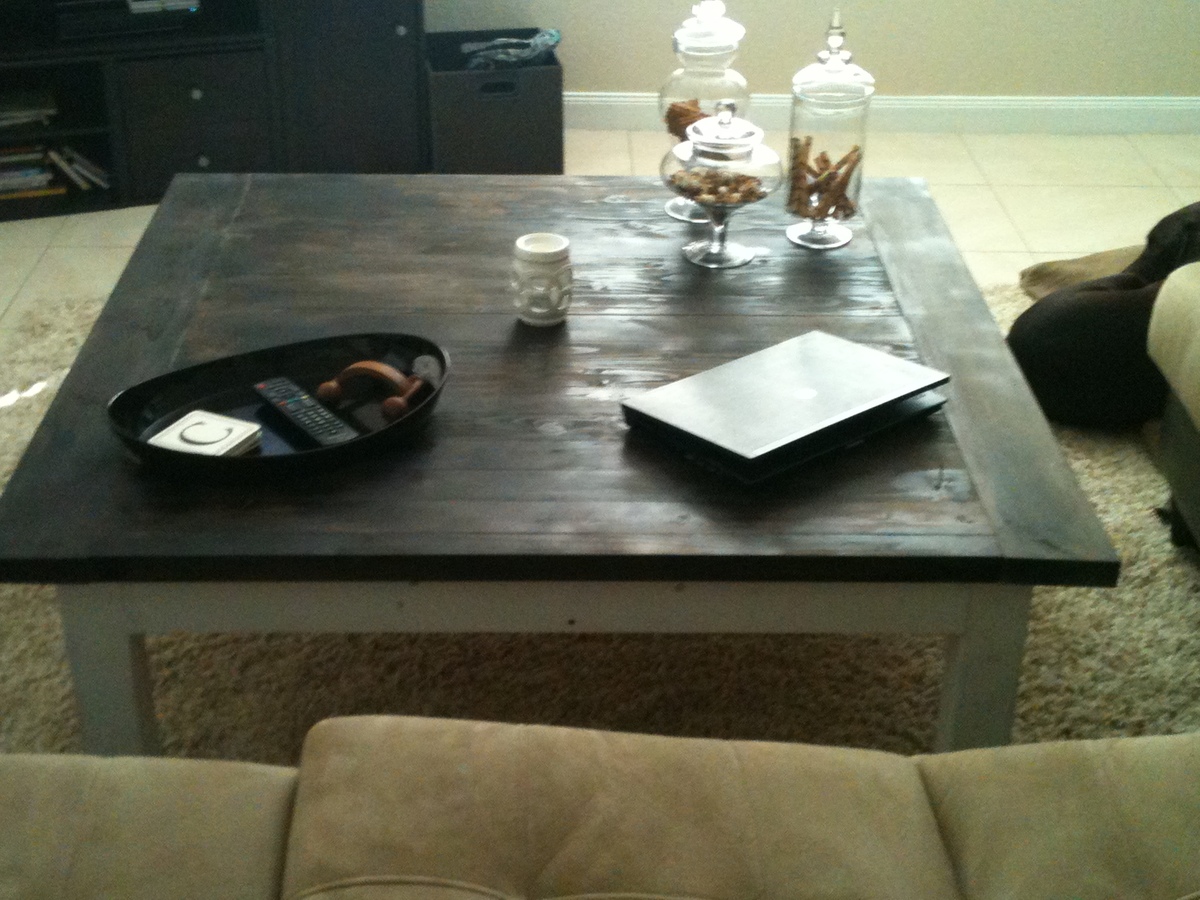
modified the plans by making the top from 4 1x6s and adapted the legs to use 1x6s instead of the 2x4s. The wood I used was higher grade pine than what is called for, but because of the reduced size (2' x 4') I came in at the same price.
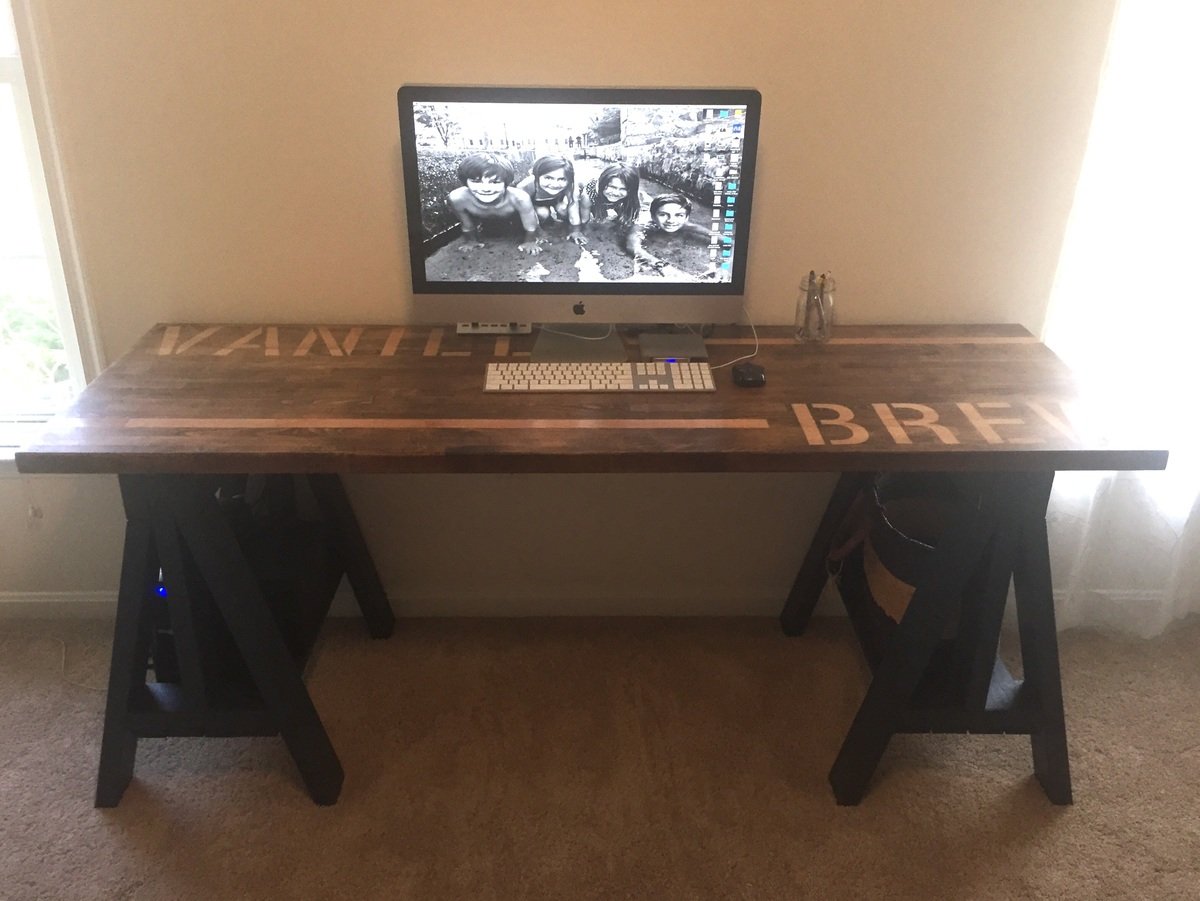
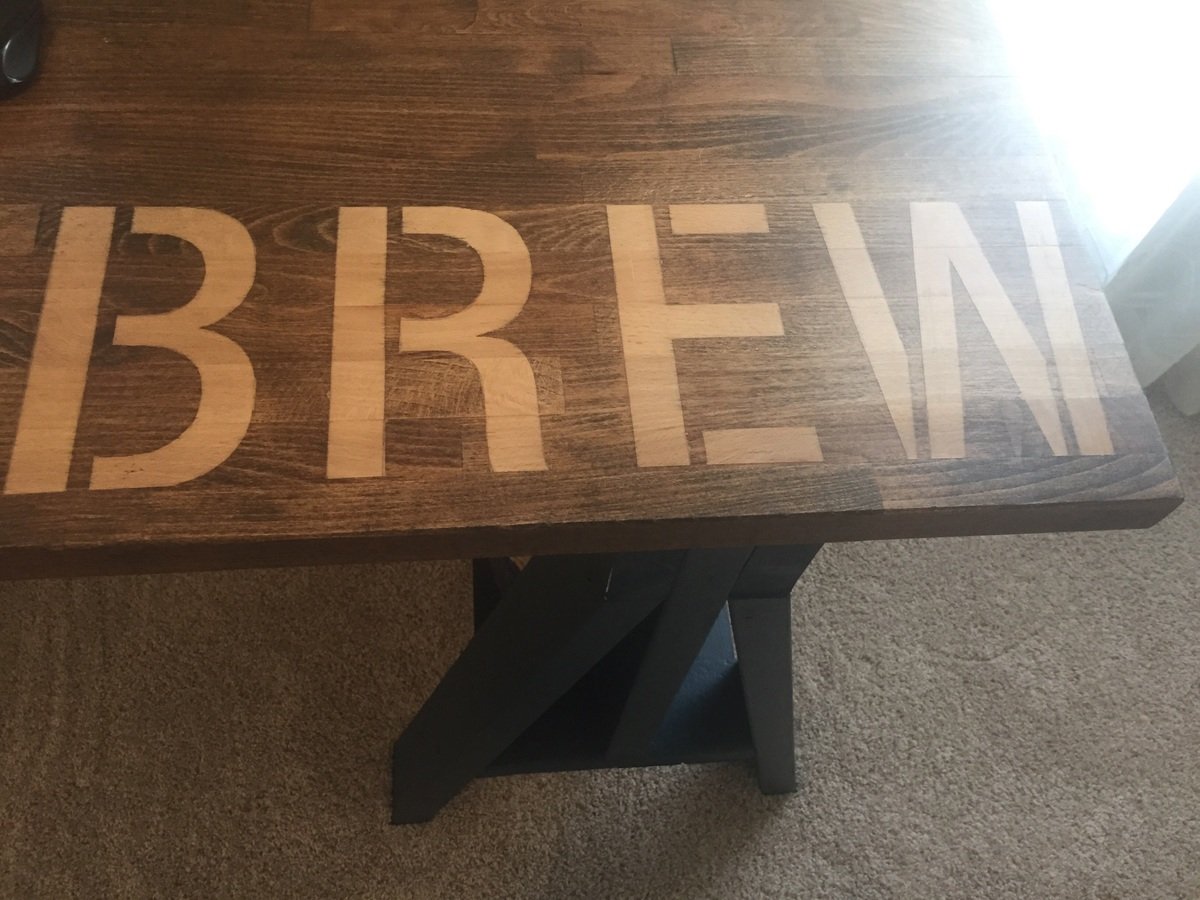
I build these from the plan for Heavy Duty Sawhorses. I preferred these for the thickness to match my butcher block desktop.
Comments
JoanneS
Sat, 09/07/2013 - 19:59
Fabulous!
Love these gorgeous redwood chairs! The color and grain on that wood is awesome, and the clear coat is perfect for it. You did a great job on this build! I popped over to your blog and I enjoyed your post on this build very much. Well done!