Community Brag Posts

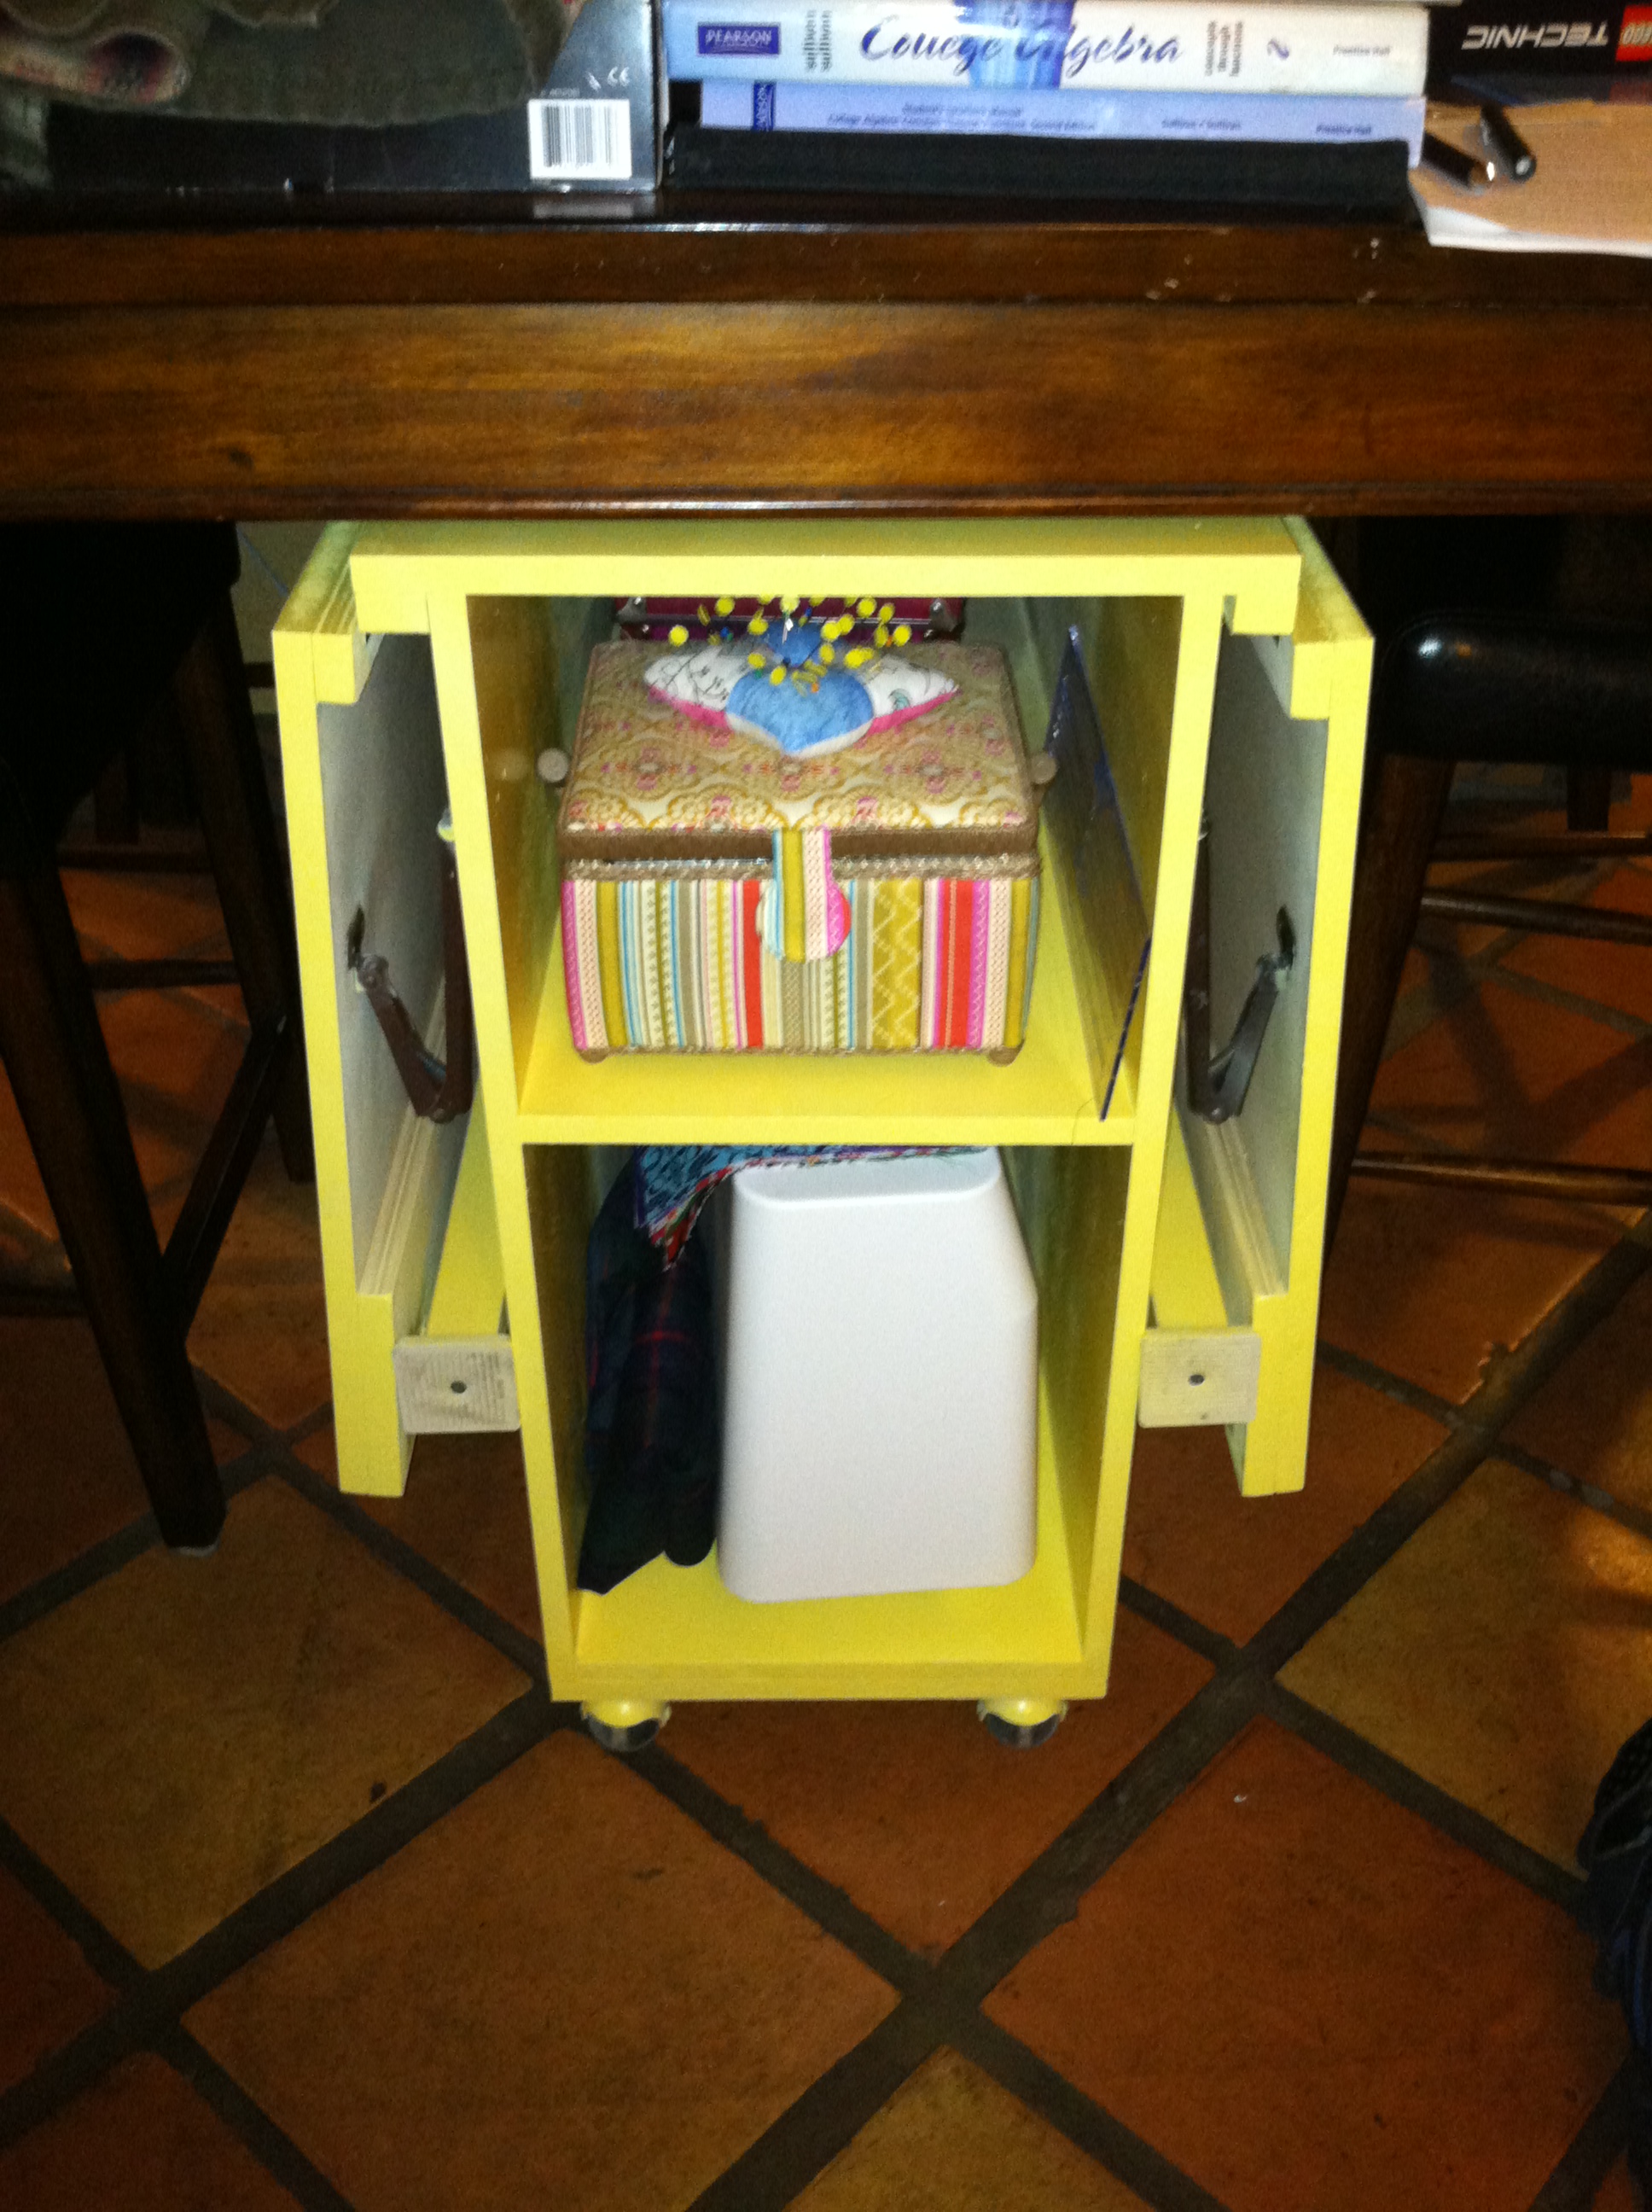
Yellow Sewing Table for Small Spaces

Submitted by kjshaw on Thu, 08/18/2011 - 12:25

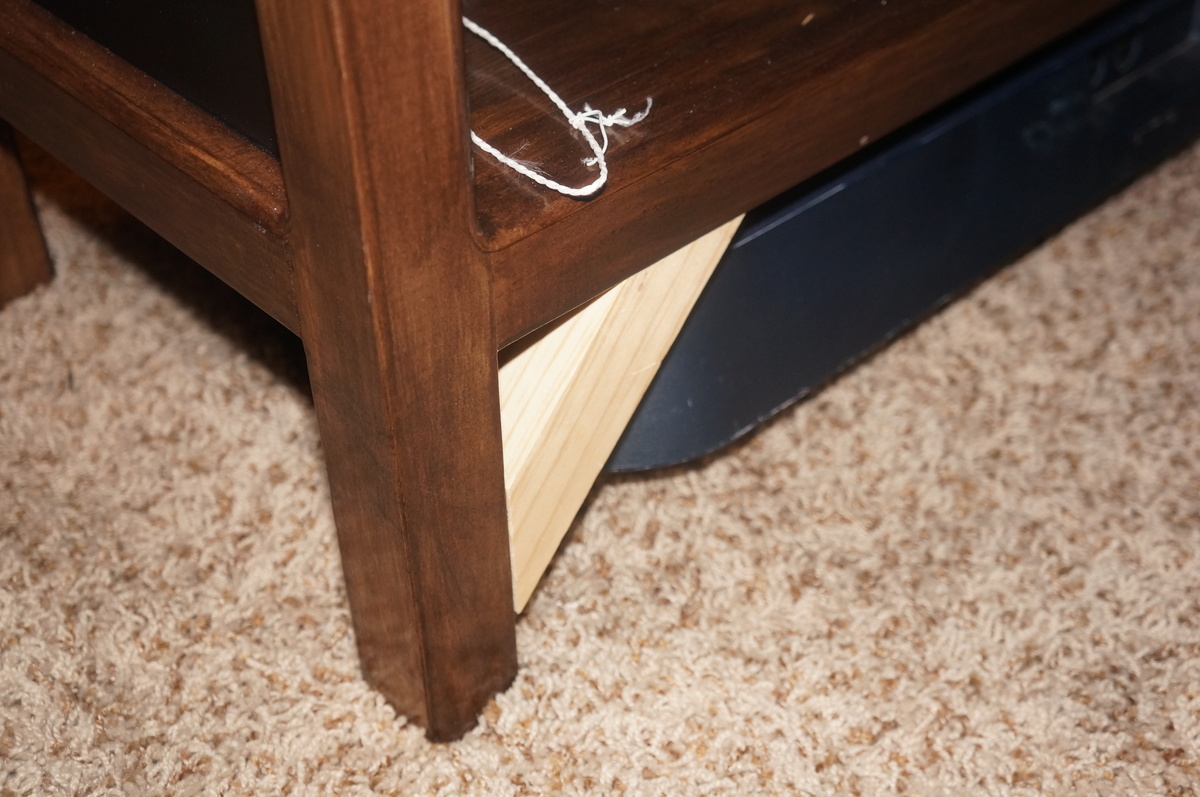
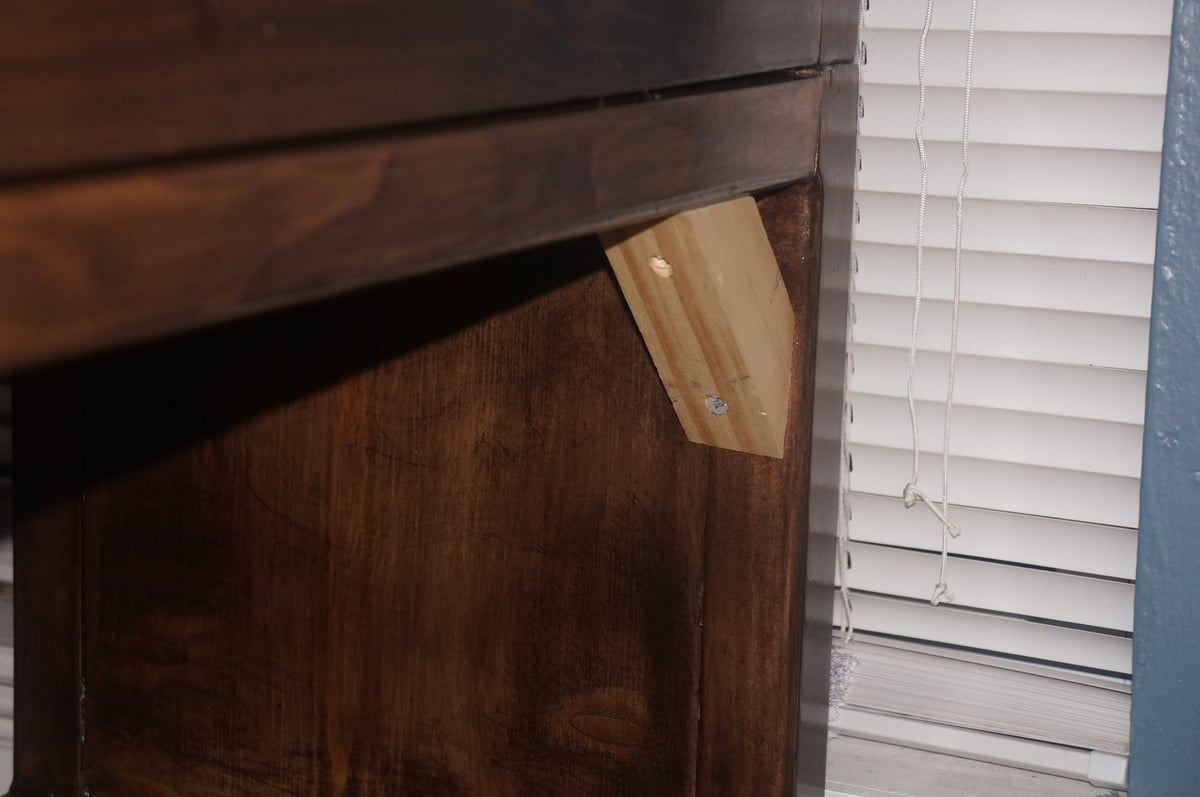
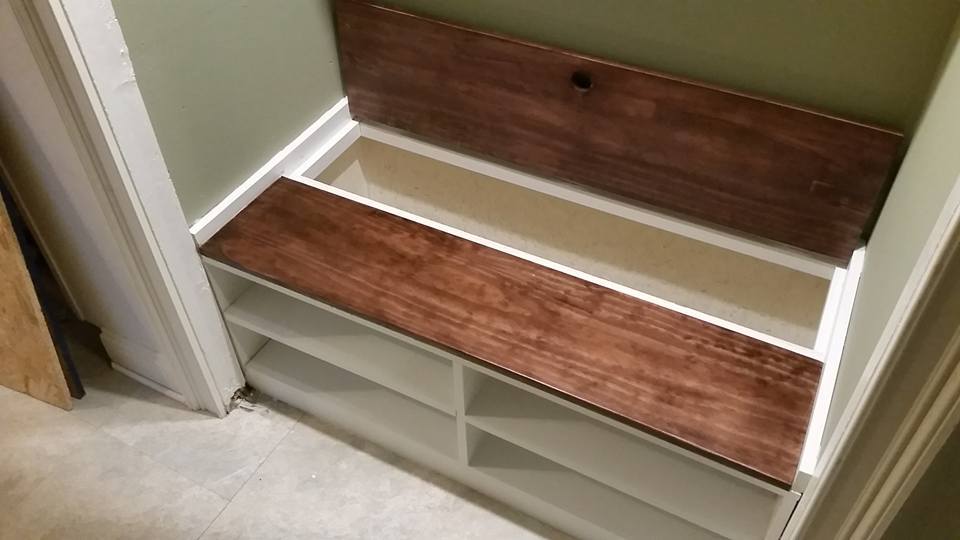
We used MDF, drop-leaf lockable hinges for the leaves, and piano hinges. I wouldn't recommend MDF because it wasn't strong enough for the screws and we ended up having to add bits of plywood to reinforce the areas for the hinges. We also put pegboard on the back to avoid things popping out the other end, and I'm planning on getting some hooks to hang crafty things like scissors and glue guns.

Despite the modifications we had to make, I love my little sewing table! It fits perfectly under our dining room table and but has tons of workspace when it's folded out. Perfect for a small, cramped house! The finished project isn't quite as bright yellow as the flash made it seem, but it is still bright and happy!

Estimated Cost
$55
Estimated Time Investment
Weekend Project (10-20 Hours)
Finish Used
Sanding, primer and spray paint. I ended up needed four cans of each - that MDF really soaked up the paint!
Recommended Skill Level
Beginner

Comments

rapunzel

Thu, 08/18/2011 - 20:23

Looks great! I agree that plywood just holds together better.

I noticed that there's room to add 2.5" of length (when hanging down) or width (when in table configuration) to the side pieces. If you do, then when you fully open the table, you can open up even 60" fabric completely and cut pieces such as chair backs easily.
I think it might be a modification worth making.

sarydon

Thu, 01/21/2021 - 12:21

Great idea!!!!! If you did this it would require more than 1 piece of plywood though.... I think that's why it's the dimensions it is. I plan on making one soon. So excited!

kjshaw

Wed, 09/05/2012 - 21:24

It is sturdy enough to sew on - I usually put it on a rug we have, which may stabilize it. The table did shake a bit, but it didn't affect the sewing very much. I'm not sure how it would do on the tile - the sewing machine might move it a bit because of the wheels. But, I also don't use it much for my sewing machine and use it more for my cutting mat and measuring since I don't have a large flat table at my house.

Rapunzel - I agree, there is room to make the table bigger. I think if/when we make another, we'll do that. It's surprisingly big now, but there's always room for more table sewing space!

My son LOVES it!!!

It was time that my son finally got a real bed. Additionally, he needed a desk as well. This is why I chose the Chelsea bunk system plans. I had to make some modifications that you can see in the pictures. The first modification was taken from GROOVYMOM2000, the chalkboards. I don't have any chalk at the moment so it looks like black paint from the picture but its the spray on chalkboard stuff. The subsequent modifications were made for stabilization. I added supports to the desk before I started finishing the wood with stain and polyurethane because it was WAY too unstable. I thought that the bookcase was going to be okay but once the bed was on top it had more wobble than I felt comfortable with. This is why I added the 45 degree 2x2s to the bookcase corners. I will have to remove them and add some better looking ones in the future but they REALLY made a difference; the bed is rock solid now. The ladder was thrown together last minute with a rather advantageous plan that didn't work out. I tried to incorporate hangers into the cut so it could be removed easily but my jigsaw blade was too dull and ripped the wood to pieces. At this point I just slapped the pieces together and screwed it into the side of the bed. He might have to go a couple months before I decide to build a new one the right way. This honestly turned out to be a lot bigger project than I planned at first. Building the bed was fairly quick and easy but sanding, conditioning, staining, and protecting the wood took almost a week. I am pleased with the outcome but painting the bed would have made a significant time difference. If you do go with stain then let me suggest you stain the guardrails before assembly.

Estimated Cost
$450 - almost $100 was the stain/supplies
Estimated Time Investment
Week Long Project (20 Hours or More)
Finish Used
Cabot Espresso Stain for color and Polyurethane for protection/shine.
Recommended Skill Level
Intermediate

Modified shoe bench

Submitted by mdj1281 on Mon, 11/16/2015 - 05:06

In our new home there was a 46" wide coat closet at the entrance. My wife wanted a place to sit down, take off shoes and put our coats and backpacks when we were home. I found Ana White's plans for this shoe bench and modified it to fit our space. The project took 3 days to complete due to the painting, staining and polyurethane, construction of the bench itself was quick. Previously I added a light switch and two 3" LED recessed lights in the ceiling. The project came out wonderful and I am very pleased. Thank you for the inspiration!


-Mike

Estimated Time Investment
Weekend Project (10-20 Hours)
Finish Used
White semigloss paint (2 coats), Minwax Red Mahogany 225, Varathane Polyurethane semi-gloss (3 coats)
Recommended Skill Level
Beginner

Comments

Rustic X Coffee table

Submitted by Anonymous (not verified) on Thu, 01/03/2019 - 17:45

These were my first Ana White pieces of furniture. I was so pleased at how fast they came together and how clear the instructions were. These were a Christmas present for my son and after taking a look at your website, he is full of enthusiasm to start building his own pieces. Thanks Ana.

Estimated Cost
$150 for both including stains
Estimated Time Investment
Weekend Project (10-20 Hours)
Finish Used
Weathered grey stain over Walnut stain
Recommended Skill Level
Beginner

Comments

Ana White

Fri, 01/04/2019 - 13:29

This is such a beautiful first build!  I bet your son was delighted!  Can't wait to see more from you guys!  Thank you for using my plans and sharing a photo - it is much appreciated.  XO Ana

Adirondack chair

Submitted by Anonymous (not verified) on Fri, 09/30/2022 - 17:14

I just started building when I found Ana’s site. This chair was the second thing that I’ve built. I can’t believe how comfortable it is and how easy for a novice like me to put together.

Comments

Simple Outdoor Dining Table

Submitted by robindres on Fri, 09/13/2013 - 18:48

Love this project! I used cedar boards with red mahogany stain. I did adjust the gaps to a 1/4 inch.

Estimated Cost
Less than $100.
Estimated Time Investment
Weekend Project (10-20 Hours)
Finish Used
I used a pre-stain from Minwax and waited 15 minutes. I followed with one coat of red mahogany stain from Minwax. The final stage was three coats of high gloss Helmsman Spar Urethane (Minwax) with a light sanding using 220 grit sandpaper in between coats.
Recommended Skill Level
Beginner

Hose Post

Submitted by KG1000 on Thu, 11/19/2015 - 13:42

We built this from a 4 x 4 left over from another project and 2 - 4 x 4s 36" long from a pallet I rescued from work.  The middle post is 78" long with 3 feet buried in the ground.  The "Fancy Iron Hose Holder" was purchased from Amazon for about $20.  The post cap was a used one rescued from my husband's woodshop.  We layed out the 4x4s on the garage floor and screwed them together, added the hose holder and end cap, and spray painted the project black.  I am going to remove the hose holder and paint it a different color so it will stand out better.

Estimated Cost
Less than $30
Estimated Time Investment
An Hour or Two (0-2 Hours)
Finish Used
Spray paint rated for outdoors, less than one can.
Recommended Skill Level
Starter Project

Reclaimed Wood Headboard- First Ever Build!

Submitted by KaylaM82 on Wed, 08/24/2011 - 19:43

This was my first ever build and I did it on my own, so I'm super proud, but there are admittedly some things I'd like to learn from. The top trim piece is missing because the board was too crooked to attach and I was too impatient to wait to go to the hardware store again! It also stands crookedly. Not really sure why, but if you have any idea, I'd love to hear because I had a great time building it and look forward to my next build, but want to learn from that mistake first! Thanks Ana, I really didn't even know how to use a drill before hand, what an inspiration you are!

Estimated Cost
$150, but that includes some tools I needed to buy to make it.
Estimated Time Investment
Day Project (6-9 Hours)
Finish Used
Black paint
Recommended Skill Level
Starter Project

Double Twin Camp Loft Bed

Camp Loft Bed modified to fit two twin loft beds in the bedroom with a shared platform step.
Age of boys in bed: 6 and 4

The boys have yet to agree on a stain color...awaiting their decision.

Estimated Cost
$100
Estimated Time Investment
Day Project (6-9 Hours)
Recommended Skill Level
Beginner

Comments

Slightly taller version

Submitted by Anonymous (not verified) on Fri, 01/11/2019 - 08:34

A little taller, and a different finish, but built from scratch inspired by your design.   Thanks so much.

Estimated Cost
300
Estimated Time Investment
Weekend Project (10-20 Hours)
Finish Used
Vinegar and steel wool, then whitewash, then stain wash
Recommended Skill Level
Intermediate

Cube Bookshelf

Submitted by Anna H on Sat, 08/27/2011 - 08:35

I love this bookshelf! It was quick and easy to build, the finishing took the longest. I decided to add a contrasting top with pine boards stained with dark walnut. I love how it came out! Now, on to my next Ana White project...

Built from Plan(s)
Estimated Cost
$50
Estimated Time Investment
Afternoon Project (3-6 Hours)
Finish Used
Behr Ultra in Bone distressed then antiqued with Valspar mixing glaze mixed with dark walnut stain. Top is dark walnut stain and sealed with wipe-on poly.
Recommended Skill Level
Beginner

Comments

Guest (not verified)

Wed, 10/19/2011 - 18:20

Did you use the Bone distressed paint then put a glaze over top of it? The top dark walnut looks amazing.

ehansen25

Wed, 07/17/2013 - 12:23

I love love LOVE the look of your version of the cube shelves. I have a question for you though. How did you attach the pine boards on top?

First project

Submitted by reidev275 on Wed, 09/18/2013 - 20:31

modified the plans by making the top from 4 1x6s and adapted the legs to use 1x6s instead of the 2x4s. The wood I used was higher grade pine than what is called for, but because of the reduced size (2' x 4') I came in at the same price.

Built from Plan(s)
Estimated Cost
$80
Estimated Time Investment
Day Project (6-9 Hours)
Finish Used
Minwax Early American with clear semi-gloss poly
Recommended Skill Level
Starter Project

Floating Bunk Beds and Desk

This little girls room needed a little happy birthday!  I planked the wall with birch veneer, made simple box frames for the beds and desk, and attached them to walls with heavy duty cable.  Then my friend added her designer touch, and made it cozy and  girl CHIC!

Built from Plan(s)
Estimated Cost
$500
Estimated Time Investment
Week Long Project (20 Hours or More)
Finish Used
white paint
Recommended Skill Level
Intermediate

Fire Station Loft Bed

Submitted by Anonymous (not verified) on Mon, 01/14/2019 - 09:53

Fairly easy and fun build! We followed the plans almost entirely and spent a few hours each day throughout a week working on it, painting it was definitely the most time consuming part. It came together very easily in the bedroom and was done just in time to surprise our 3 year old for Christmas, he loves it! And I love that we can fit another twin bed underneath to turn it from a loft to bunk beds in the future.

Built from Plan(s)
Estimated Cost
$200
Estimated Time Investment
Week Long Project (20 Hours or More)
Finish Used
Gray primer, Red door&trim paint, White paint
Recommended Skill Level
Beginner

Clubhouse Bunkbed w/Climbing Wall

Submitted by Anonymous (not verified) on Tue, 11/08/2022 - 12:08

This is my first Anna White project that I built almost 10 years ago when I was a new grandma. Much to my surprise, it has endured and is still a fun place for 4 grandkids. I revised the Clubhouse bed plans by raising the loft and building it into a bunk bed (I have 10 foot ceilings making this possible), with one end covered by a 4x8' 3/4" plywood climbing wall (with toddler climbing set hardware) painted in seascape that allows them to climb up and over rather than using the removable ladder. I also added a tri-fold latching "baby gate" to the loft for safety if I was called out of the room while the littlest ones were up in the clubhouse. I also added a bucket on a pulley system to let the kids "deliver" items to the clubhouse window from the ground and a "flood level" measuring stick to let them measure their growth progress. To cover the backside of the plywood climbing wall and the hold screws and make sure all was nice and smooth, I added a 1/4 MDF sheet on the inside and painted with a porthole to simulate a submarine when the curtain is closed.

Built from Plan(s)

Comments

Ana White Admin

Wed, 11/09/2022 - 10:11

You have to be the sweetest grandma around, this is so awesome! Love all the added details and growth chart, thank you for sharing.

Double pedestal breakfast table and bench

Submitted by Lschnell19 on Sat, 09/21/2013 - 09:24

Thank you Ana for yout amazing plans for the triple pedestal table and bench! I modified it to work for the dimensions that I needed which brought it down to a double pedestal table and bench. It ended up as a 3'x5' table. I attempted the antique coffee stain technique but it wasn't taking so I just used the stain that I used on the table top instead of the coffee. I LOVE how it turned out!

Leah

Estimated Cost
$150
Estimated Time Investment
Weekend Project (10-20 Hours)
Finish Used
Primed the legs and then added two coats of latex paint. Sanded the edges and corners and then applied dark walnut minwax stain over the entire surface wiping it off quickly! For the top, I did two coats of dark walnut minmax stain. I finished everything off with two coats of polycrylic.
Recommended Skill Level
Beginner

Reclaimed Wood Look Bedside Table

Submitted by PhilCo on Sun, 11/29/2015 - 12:08

Having recently completed the Californian King size Bed, I needed matching bedside tables, these were an obvious choice, but due to the size of our bedroom, I had to downsize on the plan. Although I kept to the spirit of the plan, I made a few changes, other than just size. I made up the table tops and side panels, prior to assembly, much as I did with the bed, I pocket holed and glued the planks together to ensure they stay that way. I also decided to use hardwood runners, and not buy metal slides, because I had plenty of mahogany scrap, and the drawers are small, so it was easy to do. The drawer knobs were obviously bought, but to ensure they never come off, which is usually my problem with store bought knobs, I fixed them to the drawer face, using epoxy to glue the knob to the bolt, before attaching to the drawer carcase. I built these from pine and used a matt oak varnish to match the bed. The full build and more photos are on my Blog

Estimated Time Investment
Week Long Project (20 Hours or More)
Finish Used
Matt Oak Varnish
Recommended Skill Level
Intermediate

Rustic X coffee table

Submitted by Anonymous (not verified) on Sat, 01/19/2019 - 15:40

First coffee table build. Plans were perfect! Built for $50, sold for $255

Built from Plan(s)
Estimated Cost
50
Estimated Time Investment
Day Project (6-9 Hours)
Finish Used
Chalk paint
Recommended Skill Level
Beginner