Farm bench and Adirondack chair
Had already posted the truss bench but since I was staining both it and the Adirondack chair together thought I’d share both side by side. Thanks for the wonderful, simple plans!
Wood Organizer for Desk by Linda G
I was so excited to see the plans for this on Ana's website. I knew that it would be on my list of things to one day do. That day finally came about 6 months ago. I know it's not suppose to take that long but I work full time and go to school at night so they only time I had to work on this was on the weekends (if I was lucky). After the build, I stained with a Chestnut color and used a color by Sherwin Williams named Greek Villa. I distressed it with a sanding block and finished with 3 coats of a poly satin finish. I finally finished this project about 4 hours ago and I could not be happier with the outcome!! Can't wait to start on the nightstands to match!
I saw Ana Whites video for this project on YouTube and thought it would be perfect for this space in my half bath.
This was by far the easiest project. This planter is HUGE as well and makes a great focal point for your curb appeal. I didn't extend the sides but rather created a mitered edge for the top creating a nice clean finish.
Mon, 10/29/2012 - 23:02
This looks beautiful! I just made one too, I will have to do the top like yours it's pretty that way. I love how the stain too!
:) Valerie
Sun, 09/22/2013 - 20:25
how exactly did you attach the mitered top?? Finish nails or is there a way to use the kreg jig to hide joinery? These are beautiful, BTW. Thanks :)
With all my left-over oak plywood laying around from a previous project and the need for a new coffee table, I decided I could easily utilize what I had on-hand to build the iTable (we've begun referring to our breakfast nook as the "indoor lumber yard", as it's full of scraps that I KNEW would be useful :) ). I rip cut the plywood to 5 1/2"-wide boards and cut to size for the center of the table. All I had to buy were the oak boards for the four trim pieces on top and the 6' 4x4's for the legs (I also used the rip-cut oak plywood for the skirts since the edges are not visible).
I sanded the project down with 80-grit and then 120-grit sandpaper. I used Rustoleum Kona stain (this was my first time using a non-Minwax product, and I have to say that Kona from Rustoleum is my new favorite color). I sealed the project with two coats of Minwax Polycrylic Semi-Gloss on everthing but the top of the table, where I applied three coats.
I needed a loft bed for my daugher as her room is small and she could use the floor space for playing. Bed is made of pine & whitewood. Back is lag bolted to the studs and front is supported by steel rod from the rafters. Project
This was a great plan to follow. I made a few modifications such as adding a back wall that I painted with chalk paint so my daughter can draw to her hearts content. I also added a bit above the door so we can post messages such as her name or "girls only". I decided to skip the stairs being storage thinking it would simply be a junk collector and added a small step at the top as she found it a bit too high to get into her bed. Finally the painting took sometime as I used cabinet quality paint for durability but it's a bit tricky to work with. As a final touch I installed LEDs from Costco on the interior ceiling and back top rail all controlled by a remote with over 20 colors to choose from and adjusting brightness. Can't wait for my next project.
I started with the intentions of making the exact rustic X console shelf, but when I was looking at all the brag posts, I found one that had the two tone color. The individual used doug fir and only stained the shelves. Once I saw that, I knew what I wanted to do.
I purchased all doug fir 2x6s and 2x4s and ripped down the 2x4s. Built the same way, except when I was done I like the way it looked without the Xs, so I decided to keep it that way. Once thing I'm very glad I did was stain the shelves prior to building the shelf. I did all of my cuts, drilled all my PHs, sanded my shelf pieces, assembled my top, and stained the top and shelves. Once that was done I sanded all of the other pieces and started buliding the frames. When it came time to install the shelves, they were dry and it worked perfect.
After it was all built, I used a varathane satin clear coat over everything. The stain used was Minwax Espresso, 1 coat, let sit for no more than 3 minutes (just the time it took to brush it on).
Followed the design on Ana's website, made the desk slightly taller. Put a pecan color coat on it and pink drawer fronts.
This was my first project which was at our daughter’s prompting with a gift of a Kreg Jig. With her marriage and husband joining the military it has been moved several times. The great thing is that it structurally it is as solid today as when built. Even though I don’t like painting I could not turn the request to sand and repaint. Now I have added a miter saw and installing a dust containment system to our garage along with a side yard full of pallets. I used http://ana-white.com/2011/12/plans/hillary039s-locker-cabinet-charging-… to make the project.
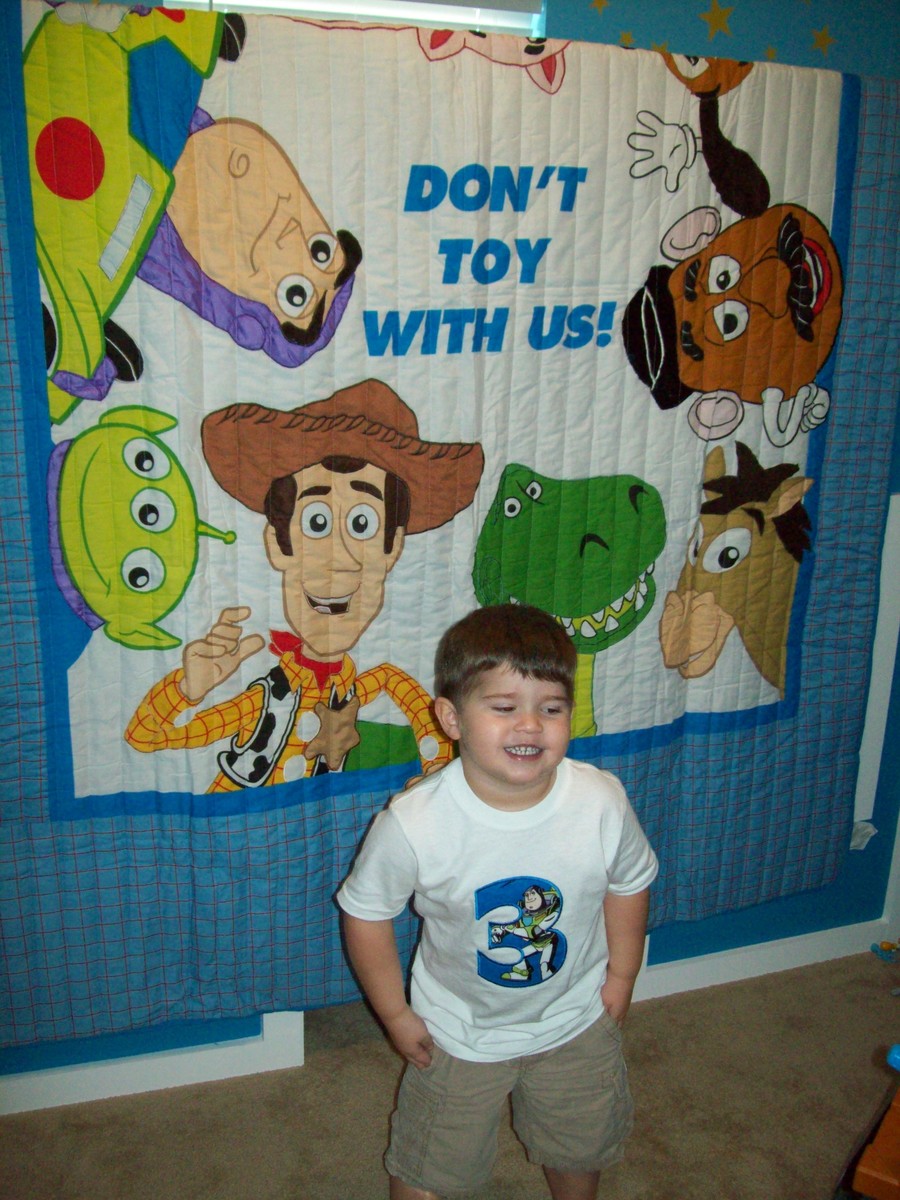
My son was about to turn 3 and I really wanted to redesign his bedroom as a birthday surprise. We went with a Toy Story themed room, he just loves Toy Story.
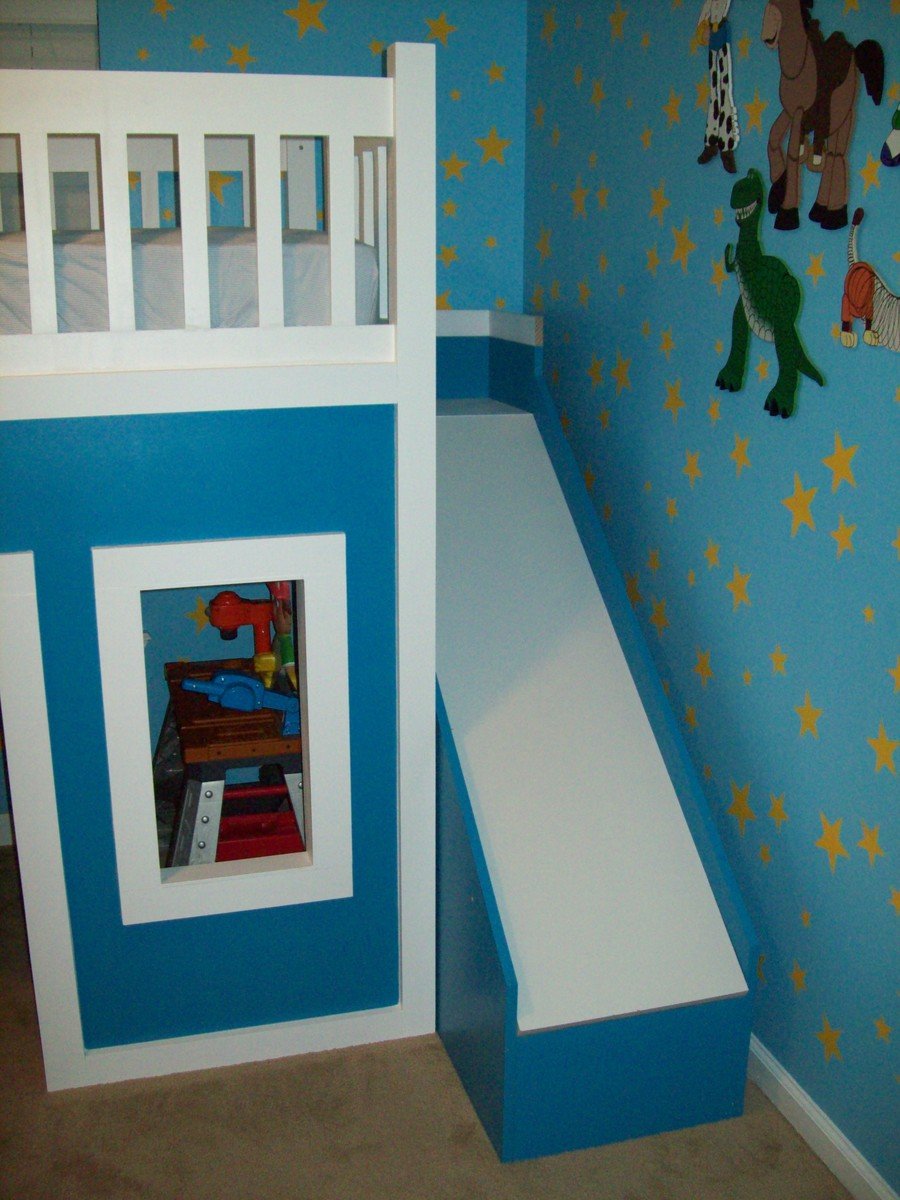
I started off by painting the walls blue with yellow stars like Andy's room in the movie. I added some custom painted art work and then it was off to find a cool playhouse bed. My husband and I were shopping around and we could never really find what we were looking for in the store. So we decided to build one ourselves using plans from this website.
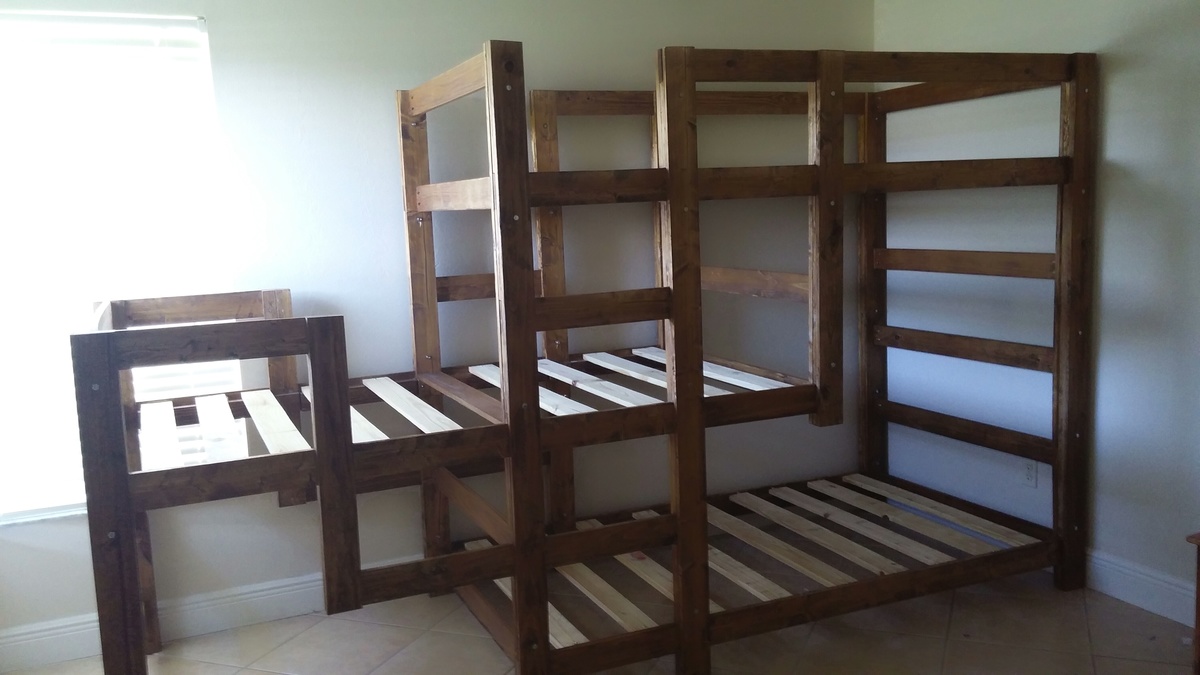
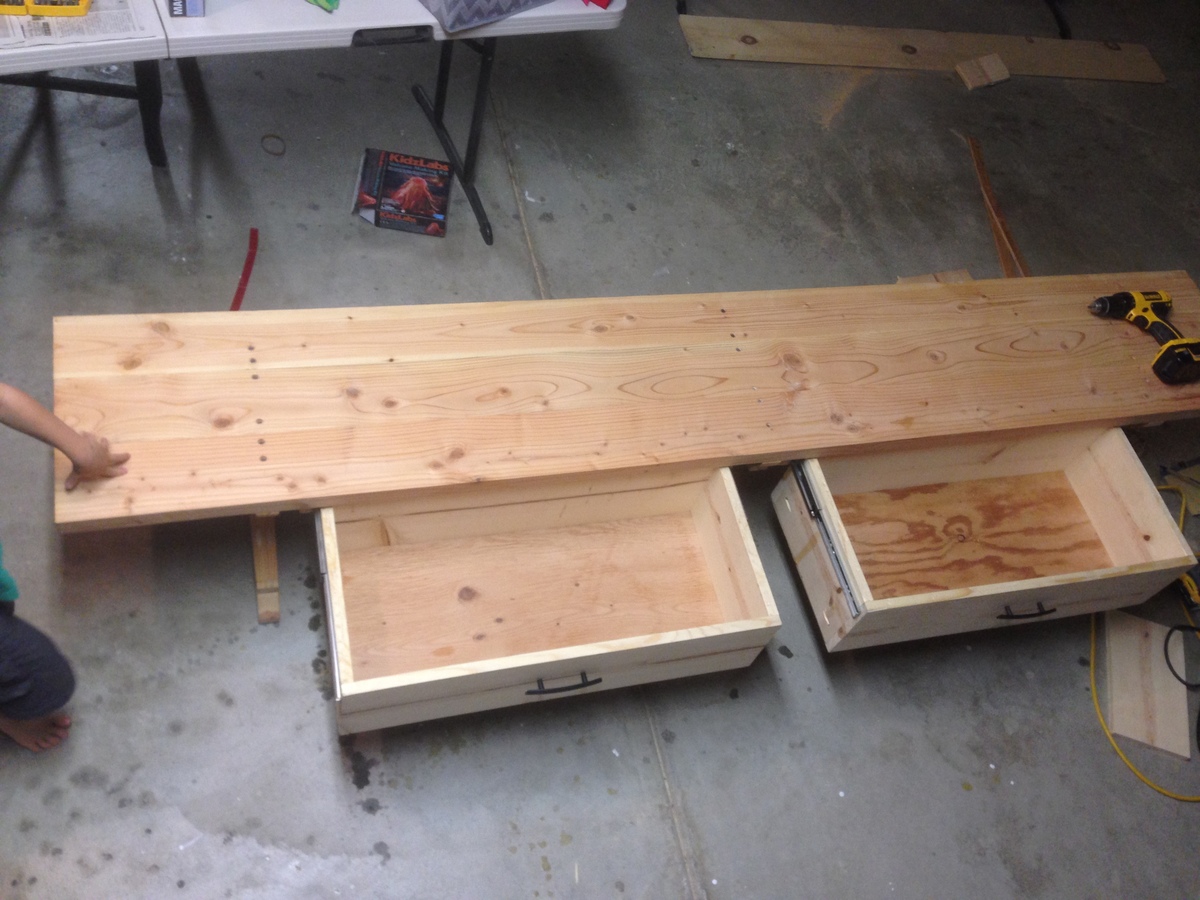
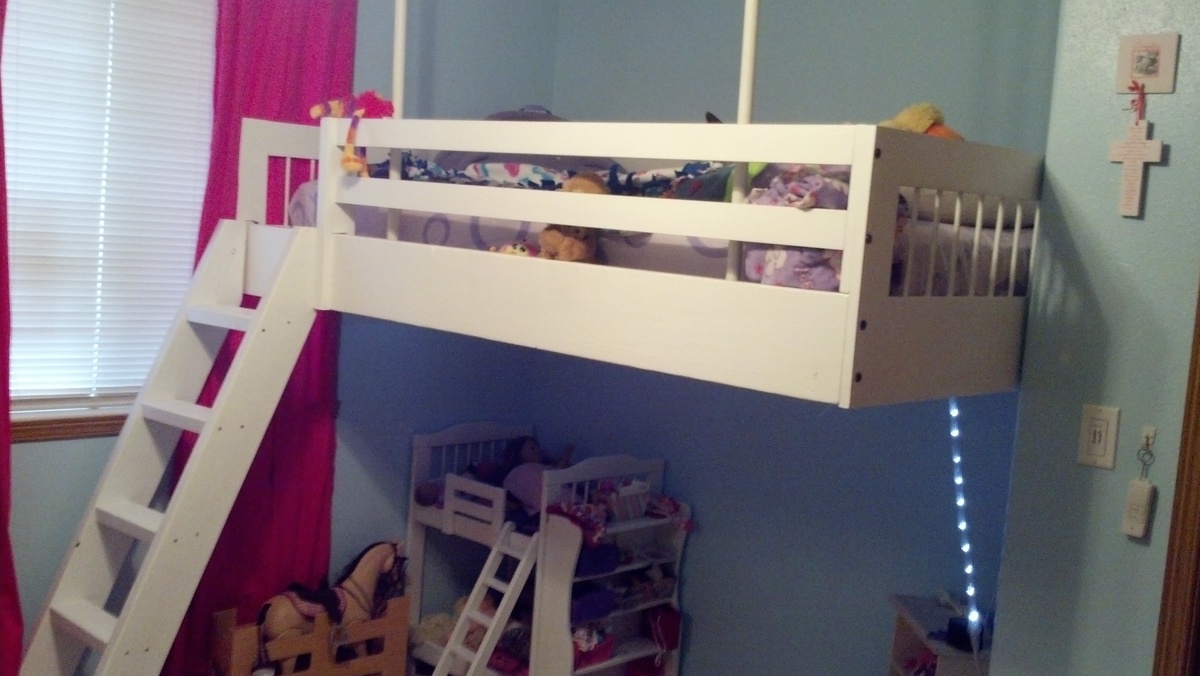
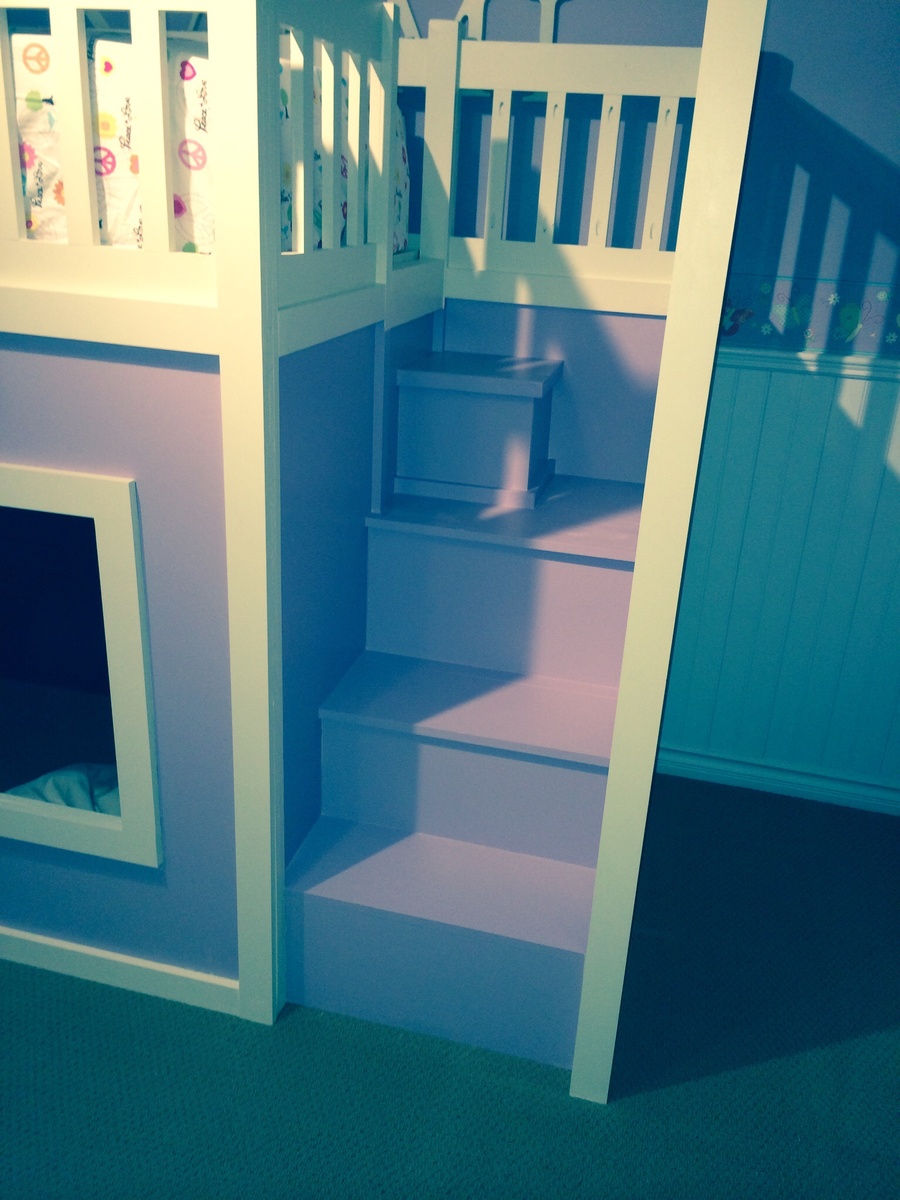
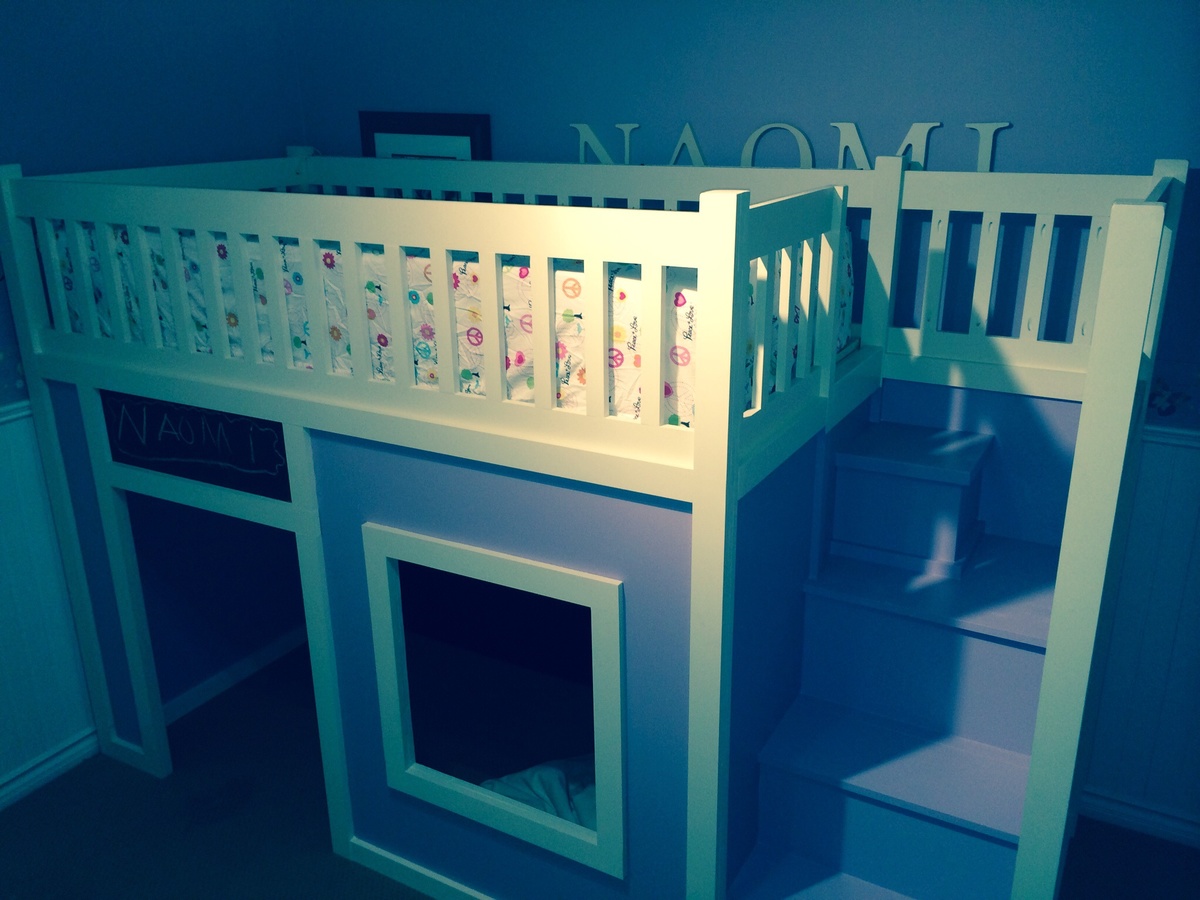
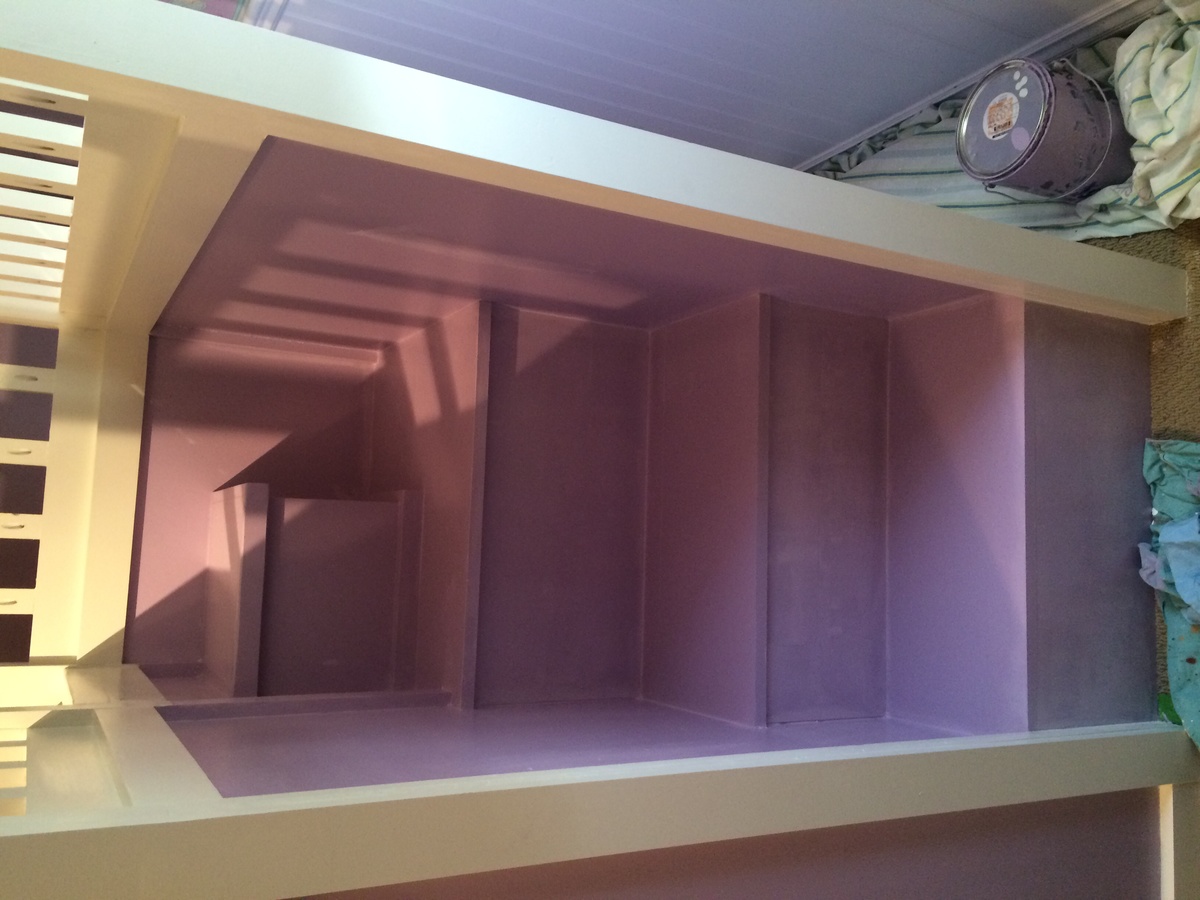
I used the playhouse loft bed and the playhouse loft bed stair plans, for the bed and the stairs. I used the castle loft bed plan as inspiration for the slide. The project took us about 5 weeks from start to finish. We both have full time jobs and we did most of the work on the weekends. I looked at each plan very carefully and made notes. I had to modify the stair plans slightly to fit the space where we wanted to put the bed. The stairs look narrow, but they work just fine. My husband and I can both use them to get up in the bed. The stairs feature hinged stair tread with built in storage. We built them like that at first, but then later decided to make them stationary stair treads, with plywood. I didn't like the way the hinges looked and the top stair was so deep that I was worried my son would fall in there and get stuck. The storage idea was neat, but his safety was more important to me. The bed turned out really nice and VERY sturdy. Both my husband and I are able to get up there with my son (not at the same time).
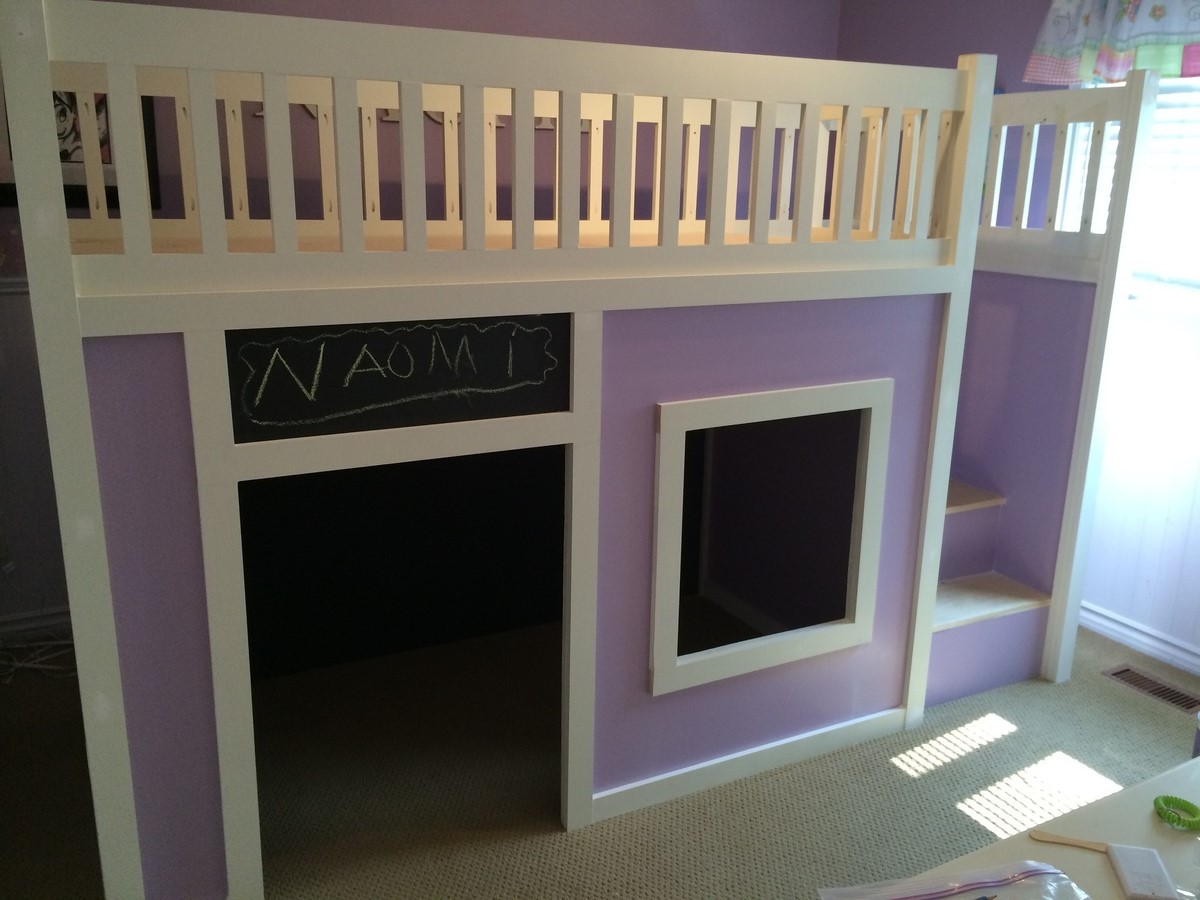
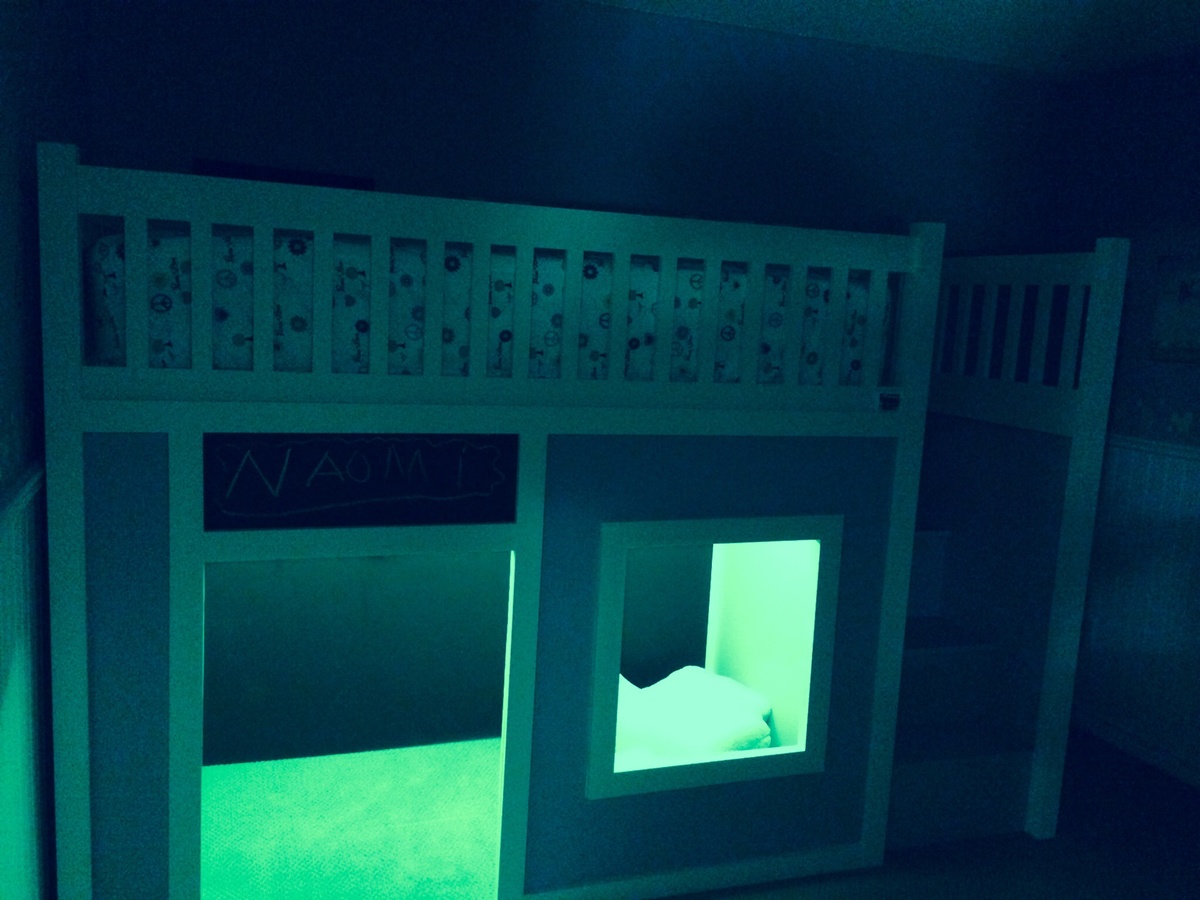
Another modification that I made was instead of slats to hold on the mattress, I used a piece of plywood. I wanted the roof in the playhouse to look finished, and I didn't want to see his bedding hanging down from the slats. I painted the top of the plywood white, where the mattress goes to blend in with the slats, and the other side was painted blue to match the walls inside the playhouse.
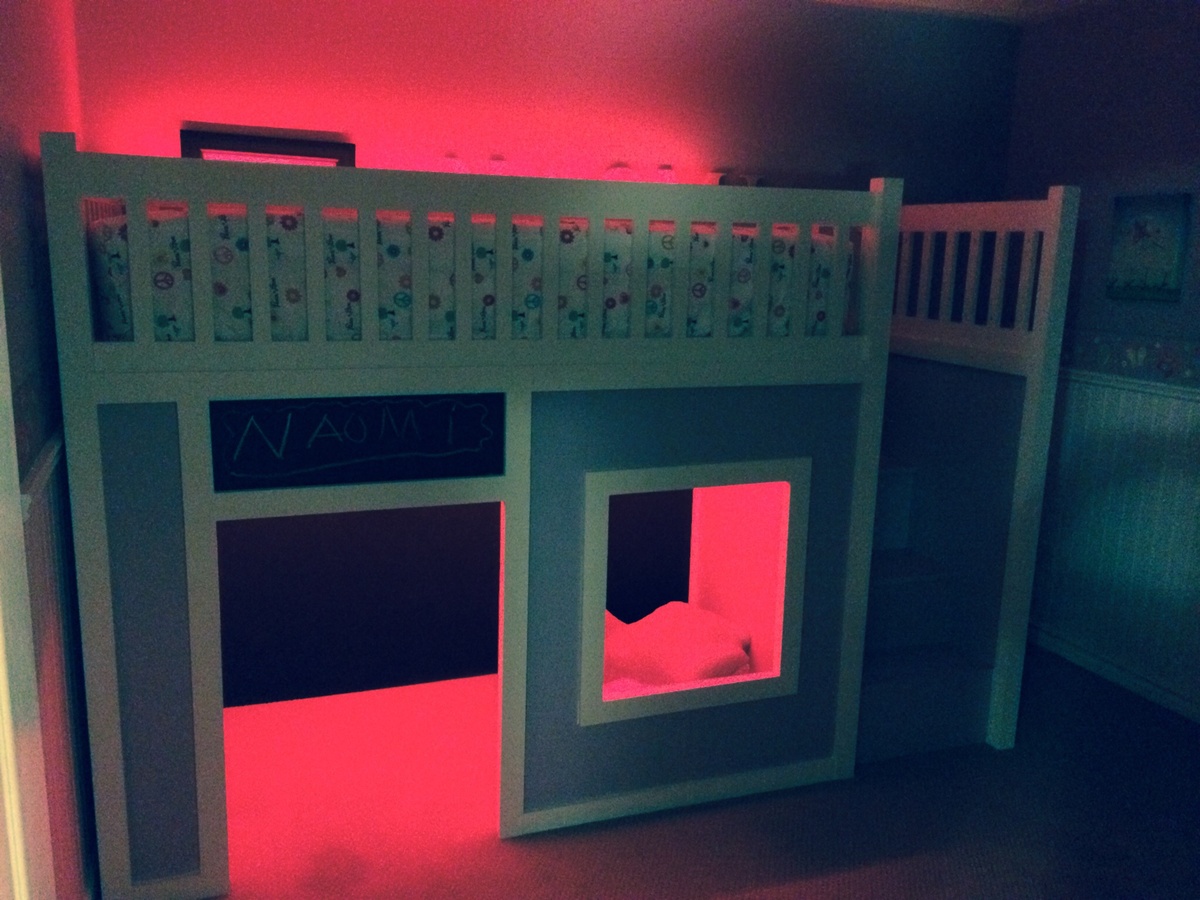
I did modify the playhouse front facade to have 2 windows and one door. I like the symmetrical look. The total project cost about $400. I used birch plywood and select pine boards, and about 6 quarts of paint. I noticed AFTER we had finished the bed using the birch plywood, that Home Depot had cabinet grade plywood on a random end cap, that was just as nice for $12 less a sheet. If I could do it all over again, I would definitely use that!. I wanted the paint to have a nice smooth finish, without having to do a lot of sanding or patching.
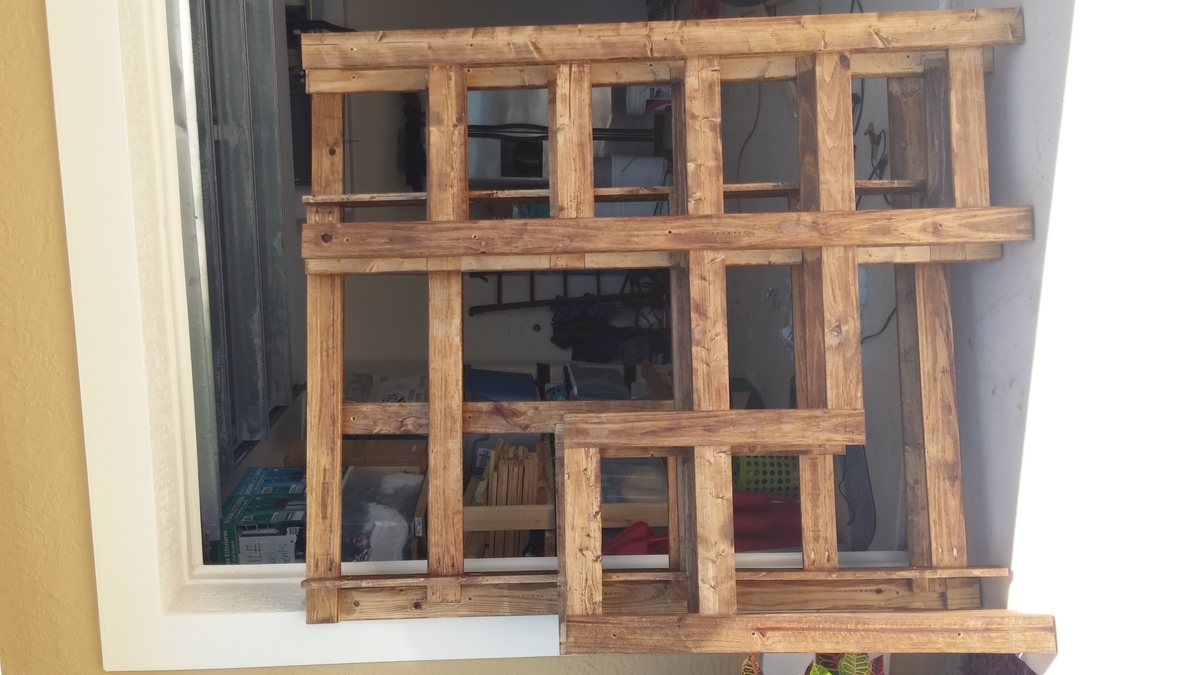
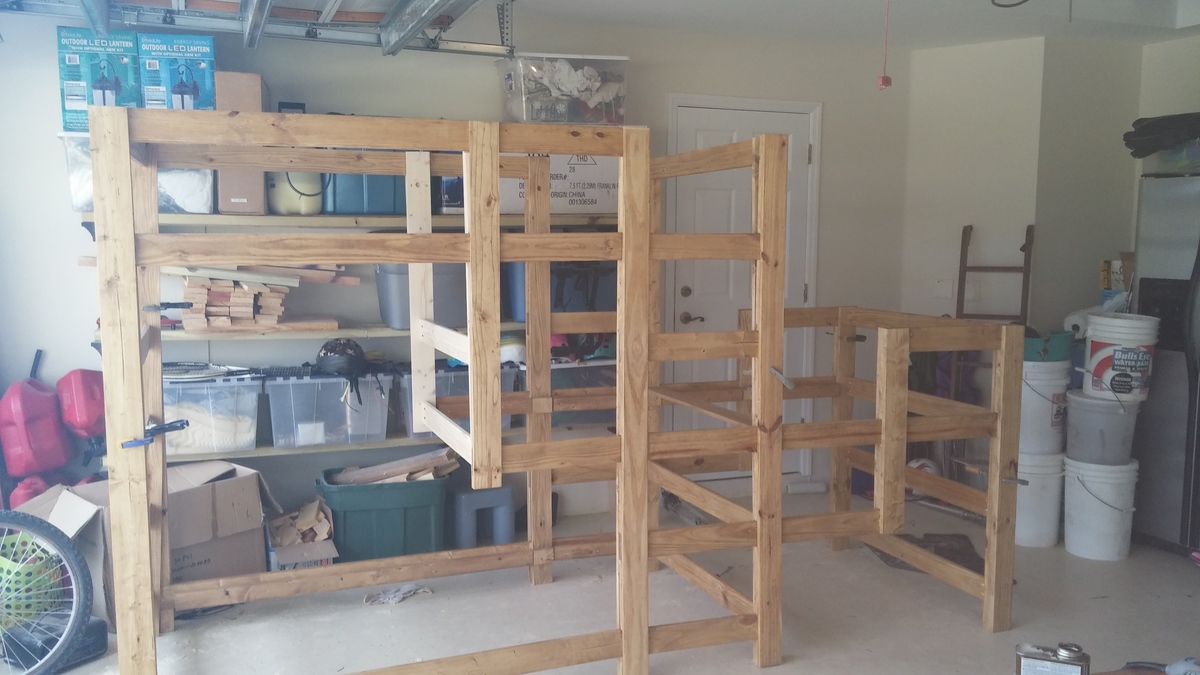
We had Home Depot cut the plywood to the dimensions we needed. I had my husband cut the rest of the wood dimensions listed in the plans, and then I painted all of them before we put the pieces together. I used a small roller and self priming paint. The paint finish looks great. After assembling the bed I can not imagine what I would have gone through trying to paint it after the fact.
The slide was a bit tricky, I looked at the plan for the castle loft bed and attempted to use those dimensions, and for the most part they worked. But when we went to assemble the slide, we did end up recutting some of the wood to different dimensions. I used a piece of the melamine coated closet shelf material for the slide.
It is already finished in white and its nice and slick, like a slide should be! I hate MDF, but for this it seemed the best fit. We cut the top edge at an angle to meet up with the slide platform. PLEASE BE CAREFUL with this material. After it was angle cut the edge was razor sharp and I sliced my fingers up. Once it was installed it butted up perfectly to the slide platform, and the edge was hidden and not a danger. But use caution during the install.
Clamps are your friend! We used Kreg clamps for everything. They kept the wood in place while we were screwing the parts together. The coolest thing that my husband came up with was clamping two identical pieces for plywood together, and drawing the template for the slide support walls. Then he used his circular saw to cut them out. We ended up with two mirror image pieces. They looked awesome. I left them clamped together when I sanded the edges as well.
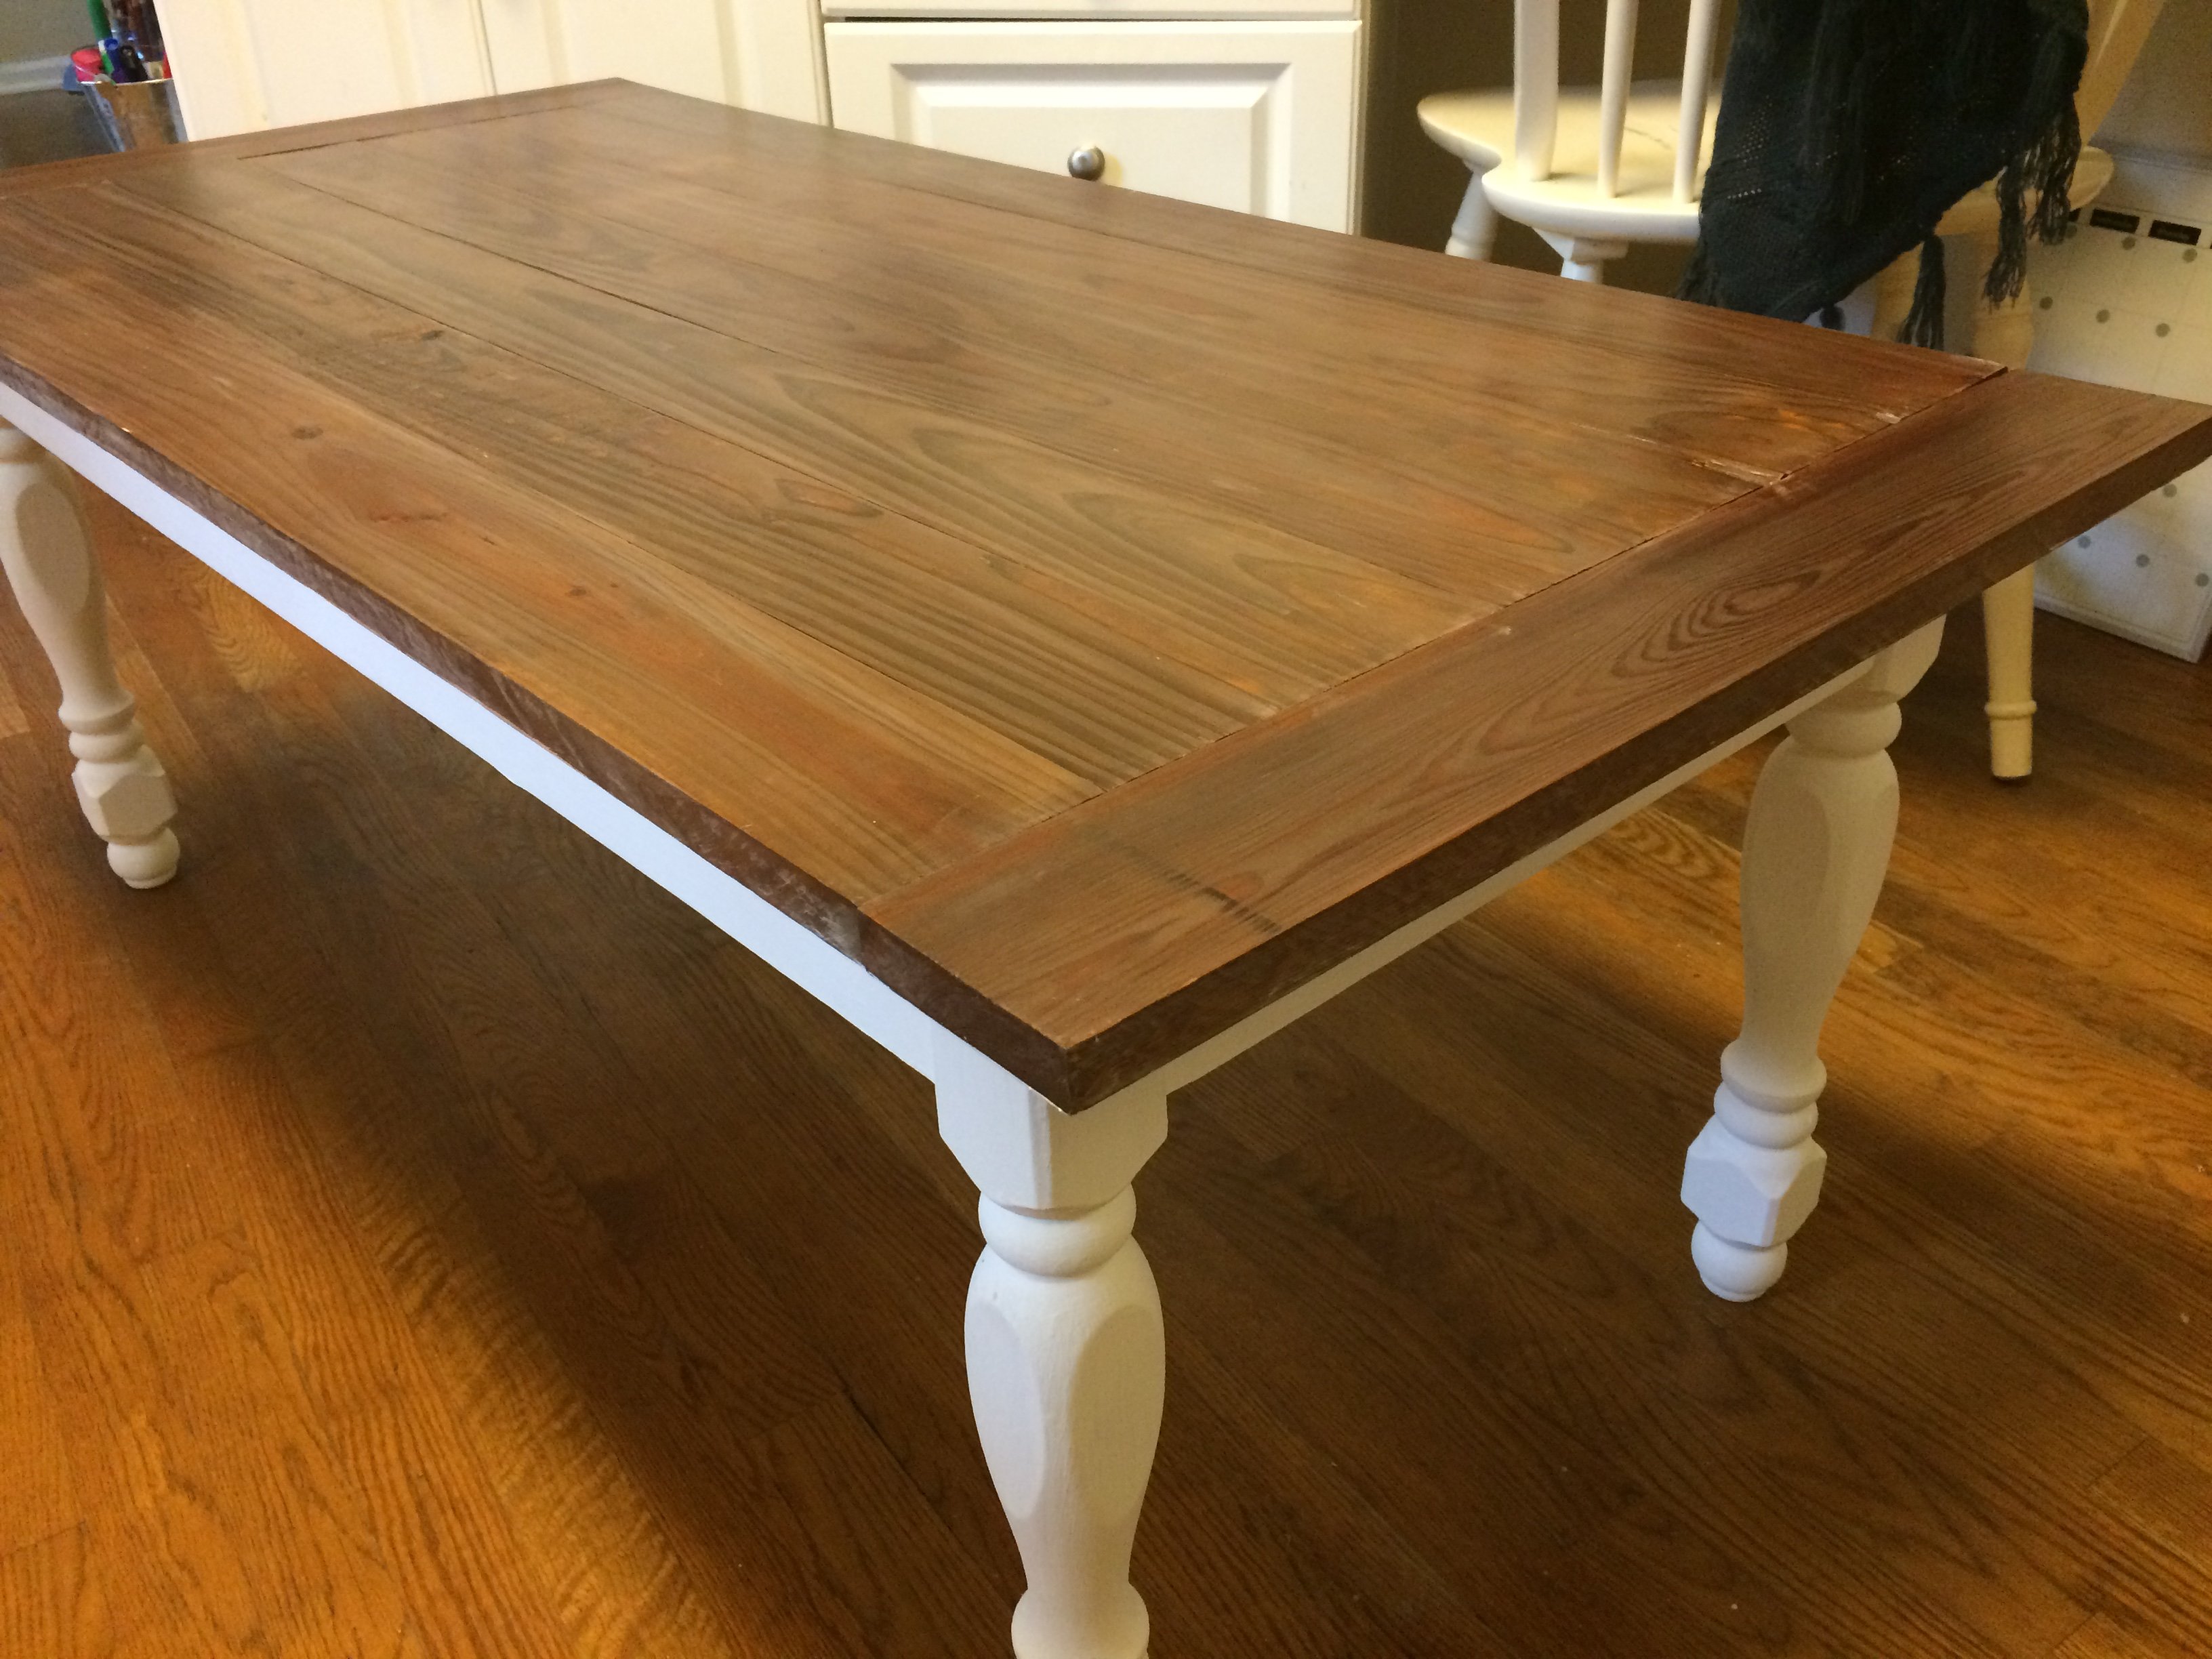
We really didn't have any building experience other, than building tables and chairs for children, We got the deluxe Kreg jig kit and a miter saw on Craigslist for $50 each and they were both practically brand new. This was the first time we had ever used a Kreg jig and we are both addicted. That thing is the bomb.
We locked my son out of his room for a week while we assembled everything. We had the big reveal at his birthday party and all of the guests were excited to see it after seeing my facebook teaser posts of our progress. There were 8 kids up there at one time and the bed did not budge. They all enjoyed the slide. I did the planning and paint and my husband did an awesome job making all of the cuts and sanding everything. We are both very proud of the final product. My son love his new big boy bed.
DISCLAIMER: This bed is not recommended for a child under 6 years old. My son is mature for his age and we monitor him carefully.
Mon, 01/21/2013 - 12:41
This bed is awesome. My boyfriend and I want one just like this for are son. Did you happen to write out all your dimensions? I would love to make this bed for my son.
Mon, 10/20/2014 - 03:10
I also would like to know the finished dimensions of your project. What is the hight, length, and depth?
This project was super easy to follow the instructions. We did have to rip a couple of the boards for the paneling on the back to make everything fit together with no gaps but it turned out beautiful!
I wanted a bright and fun toy box to give to my nieces for Christmas because they are so bright and fun. I opted for fun little ball feet instead of continuing the sides down. Thanks for the great plans!
I did this this spring in preparation for my summer garden flowers
My neighbor found this>50 year old barn wood and thought I could use it.
Furring strips were from a garage pile
used stock of nails
paints extra
cost almost nothing
enjoyed my time with this
This is my version of the washer/ dryer pedestal. I changed a couple of things and made it smaller to fit in my closet but I am very pleased with the outcome. This is my very FIRST project to do in my home and although it brought tears a couple of times, it is very sturdy and extremely useful. It definitely makes a difference and my husband hasn't stopped doing laundry since we put it in so I am SUPER happy!
A few things about the project, it took me much longer because I am a beginner but it was definitely worth taking my time. It is not completely perfect but it goes in a closet and it for laundry so the main thing was sturdiness for me. I spent quite a bit of time painting it and researching and trying different techniques. I believe she used MDF cover for the final touch so hers looks more flawless. I need to go back and fill in a couple of scratches from where we knicked it with the dryer but it serves the purpose.
Fri, 11/09/2012 - 19:39
I too started my first project and hand many moments of sweat, tears, and soreness( mostly the day after) but we finished it an although its not perfect it slowly started to look better...lol I just had to give you some kudos because I think it looks great and its even better because you made it. Hope to see more!
Loved this project, it gave me a chance to work on angled cuts. For the finish I used Minwax Express Color in Walnut.