New Dining Room
New dining room with a board and batten, farmhouse table and six parson chairs.
Thanks Ana!
New dining room with a board and batten, farmhouse table and six parson chairs.
Thanks Ana!
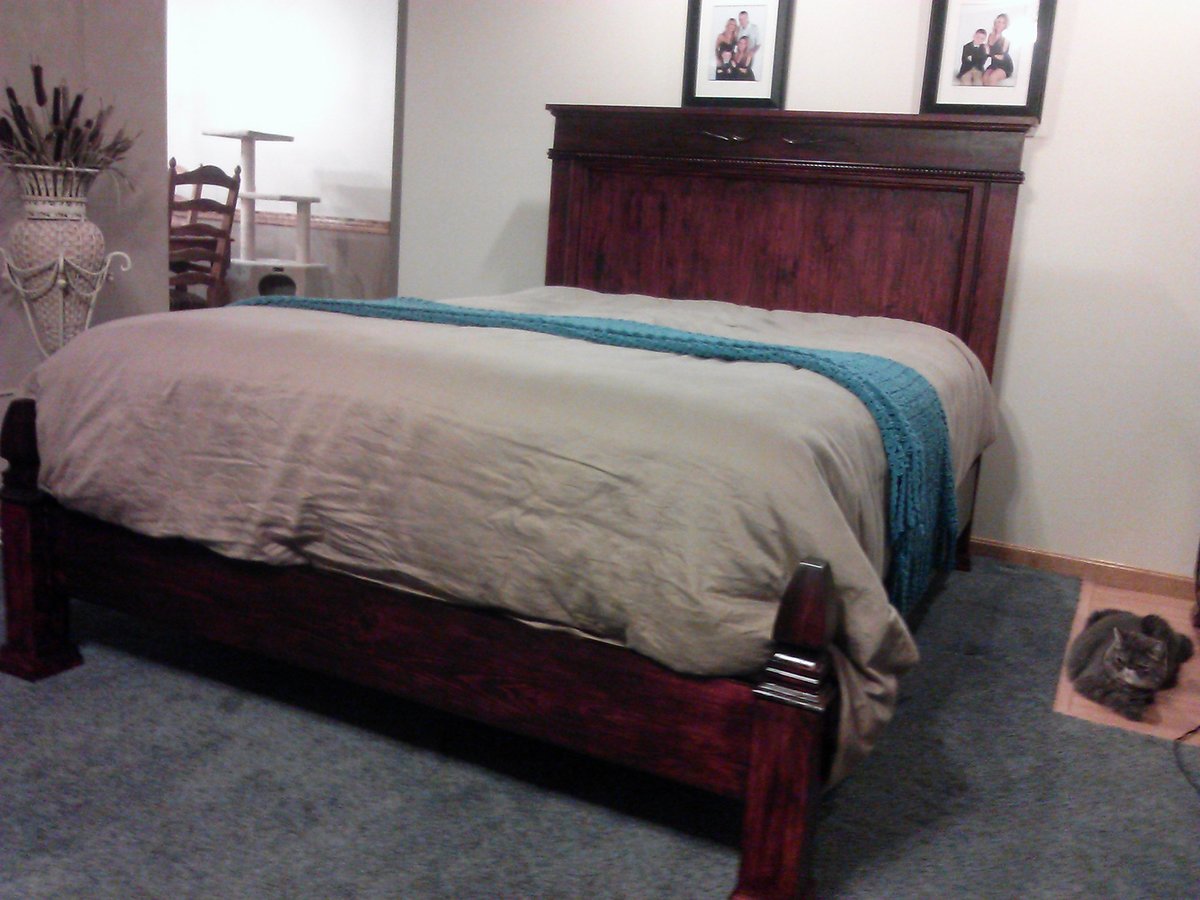
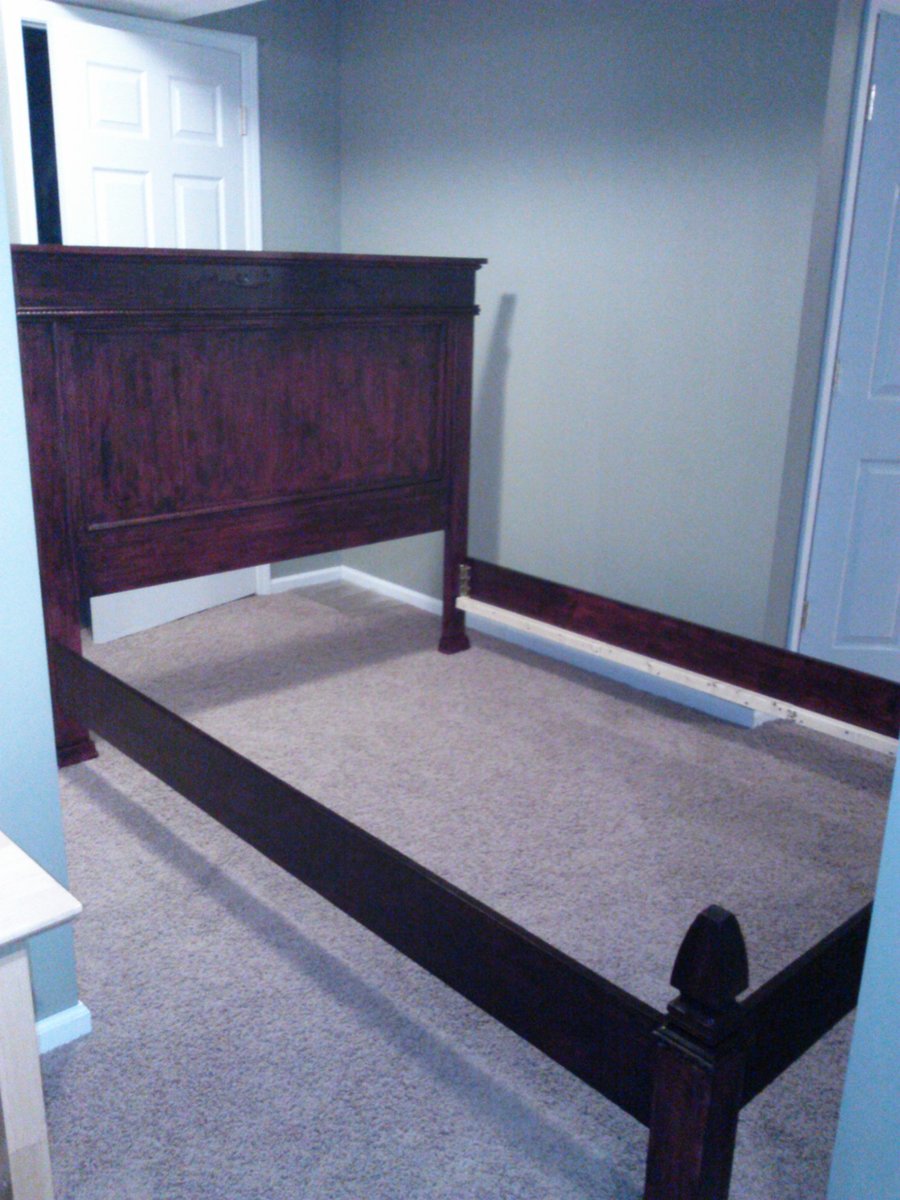
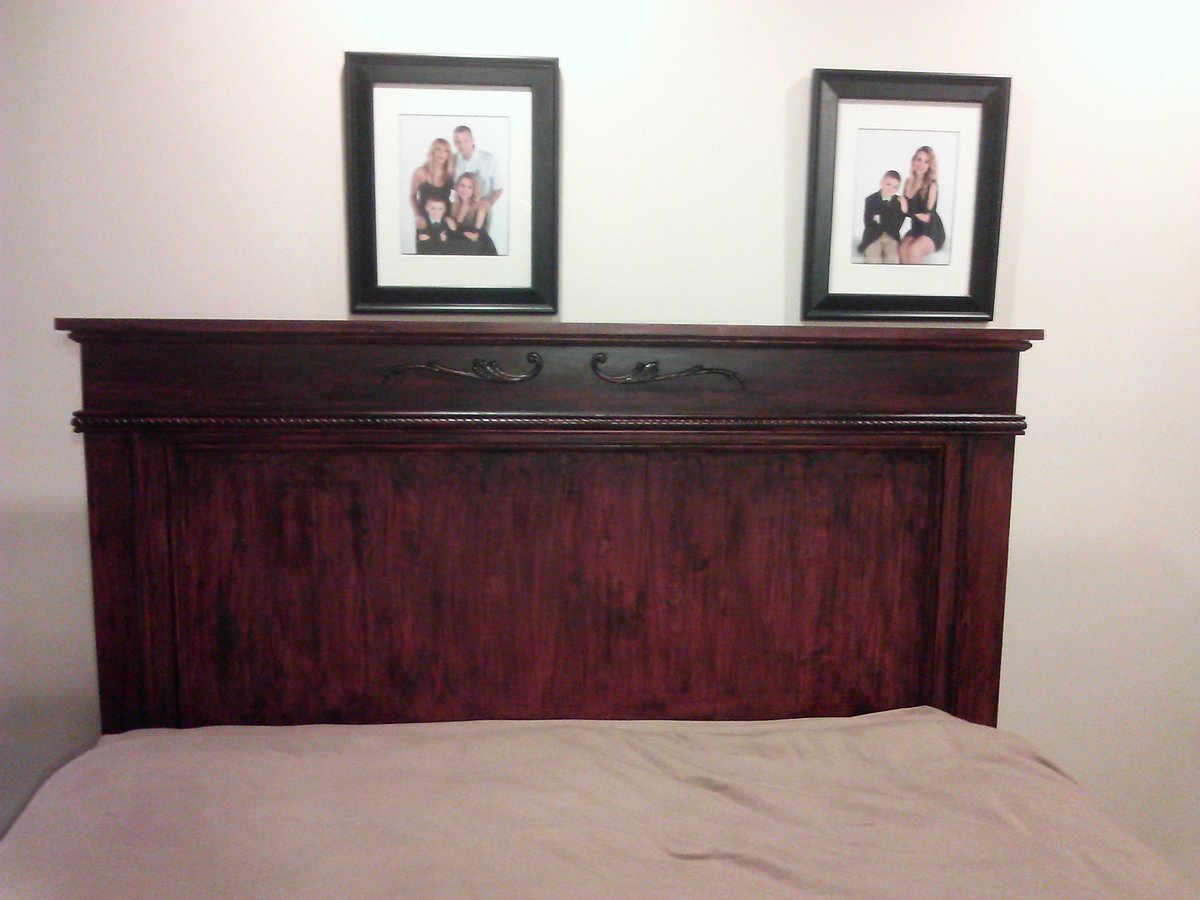
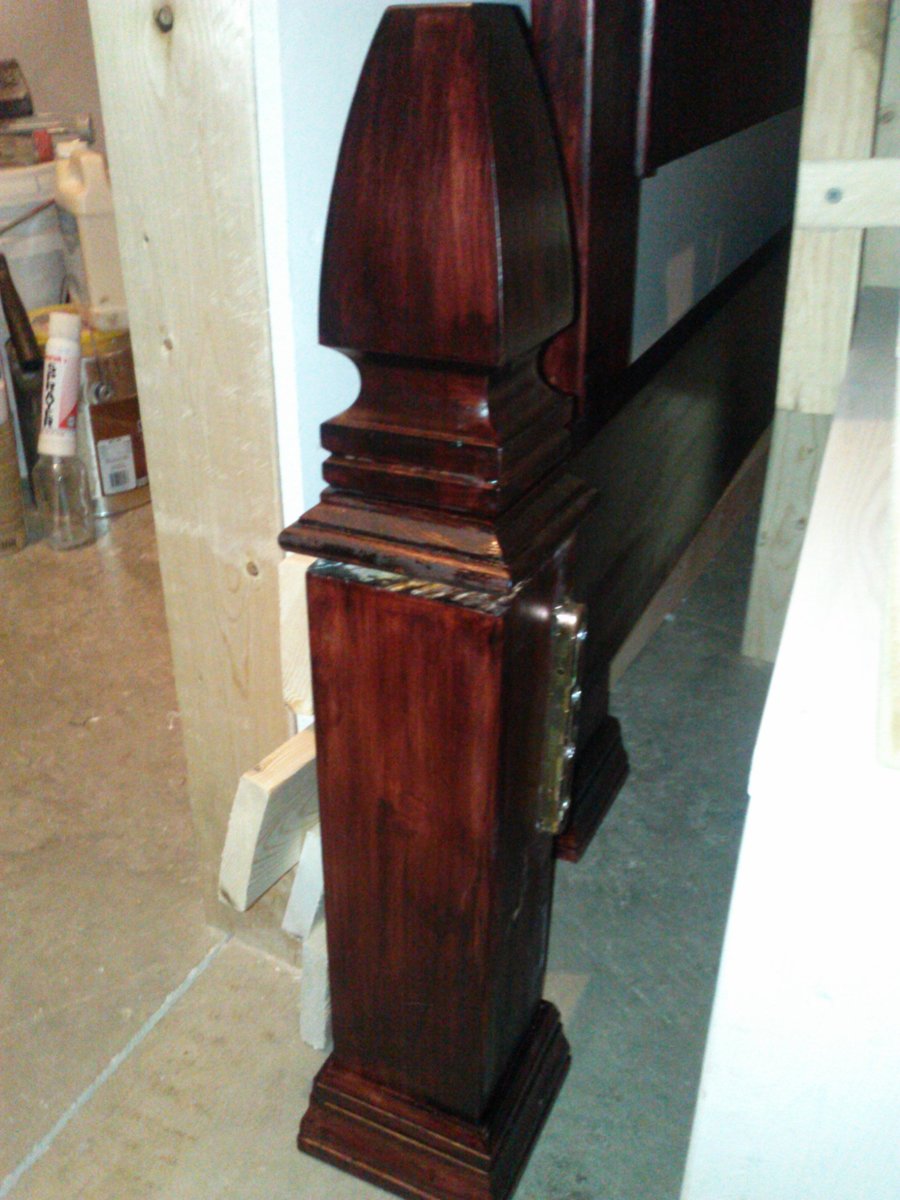
I followed the plans exactly except I used 4X4's for the "footboard' legs. I added molding to all the feet. I also added screw in fence top posts to the footboard legs. I had a small blemish I wanted to hide on the headboard, so I added wooden appliques to cover the mark.
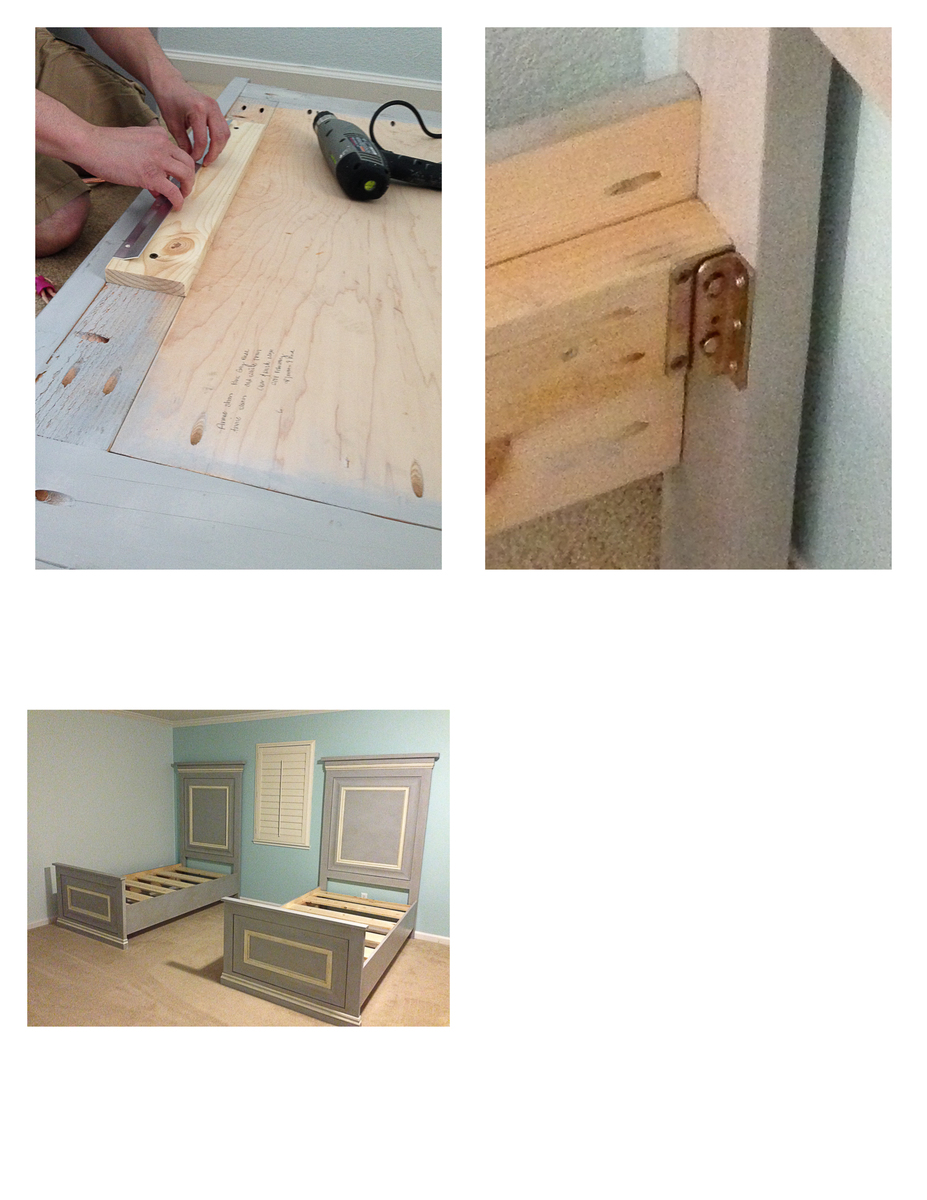
To make the bed easy to move and store, I bought bed rail fasteners from this site http://www.wwhardware.com/wood-technology-bed-fittings-wt8056.
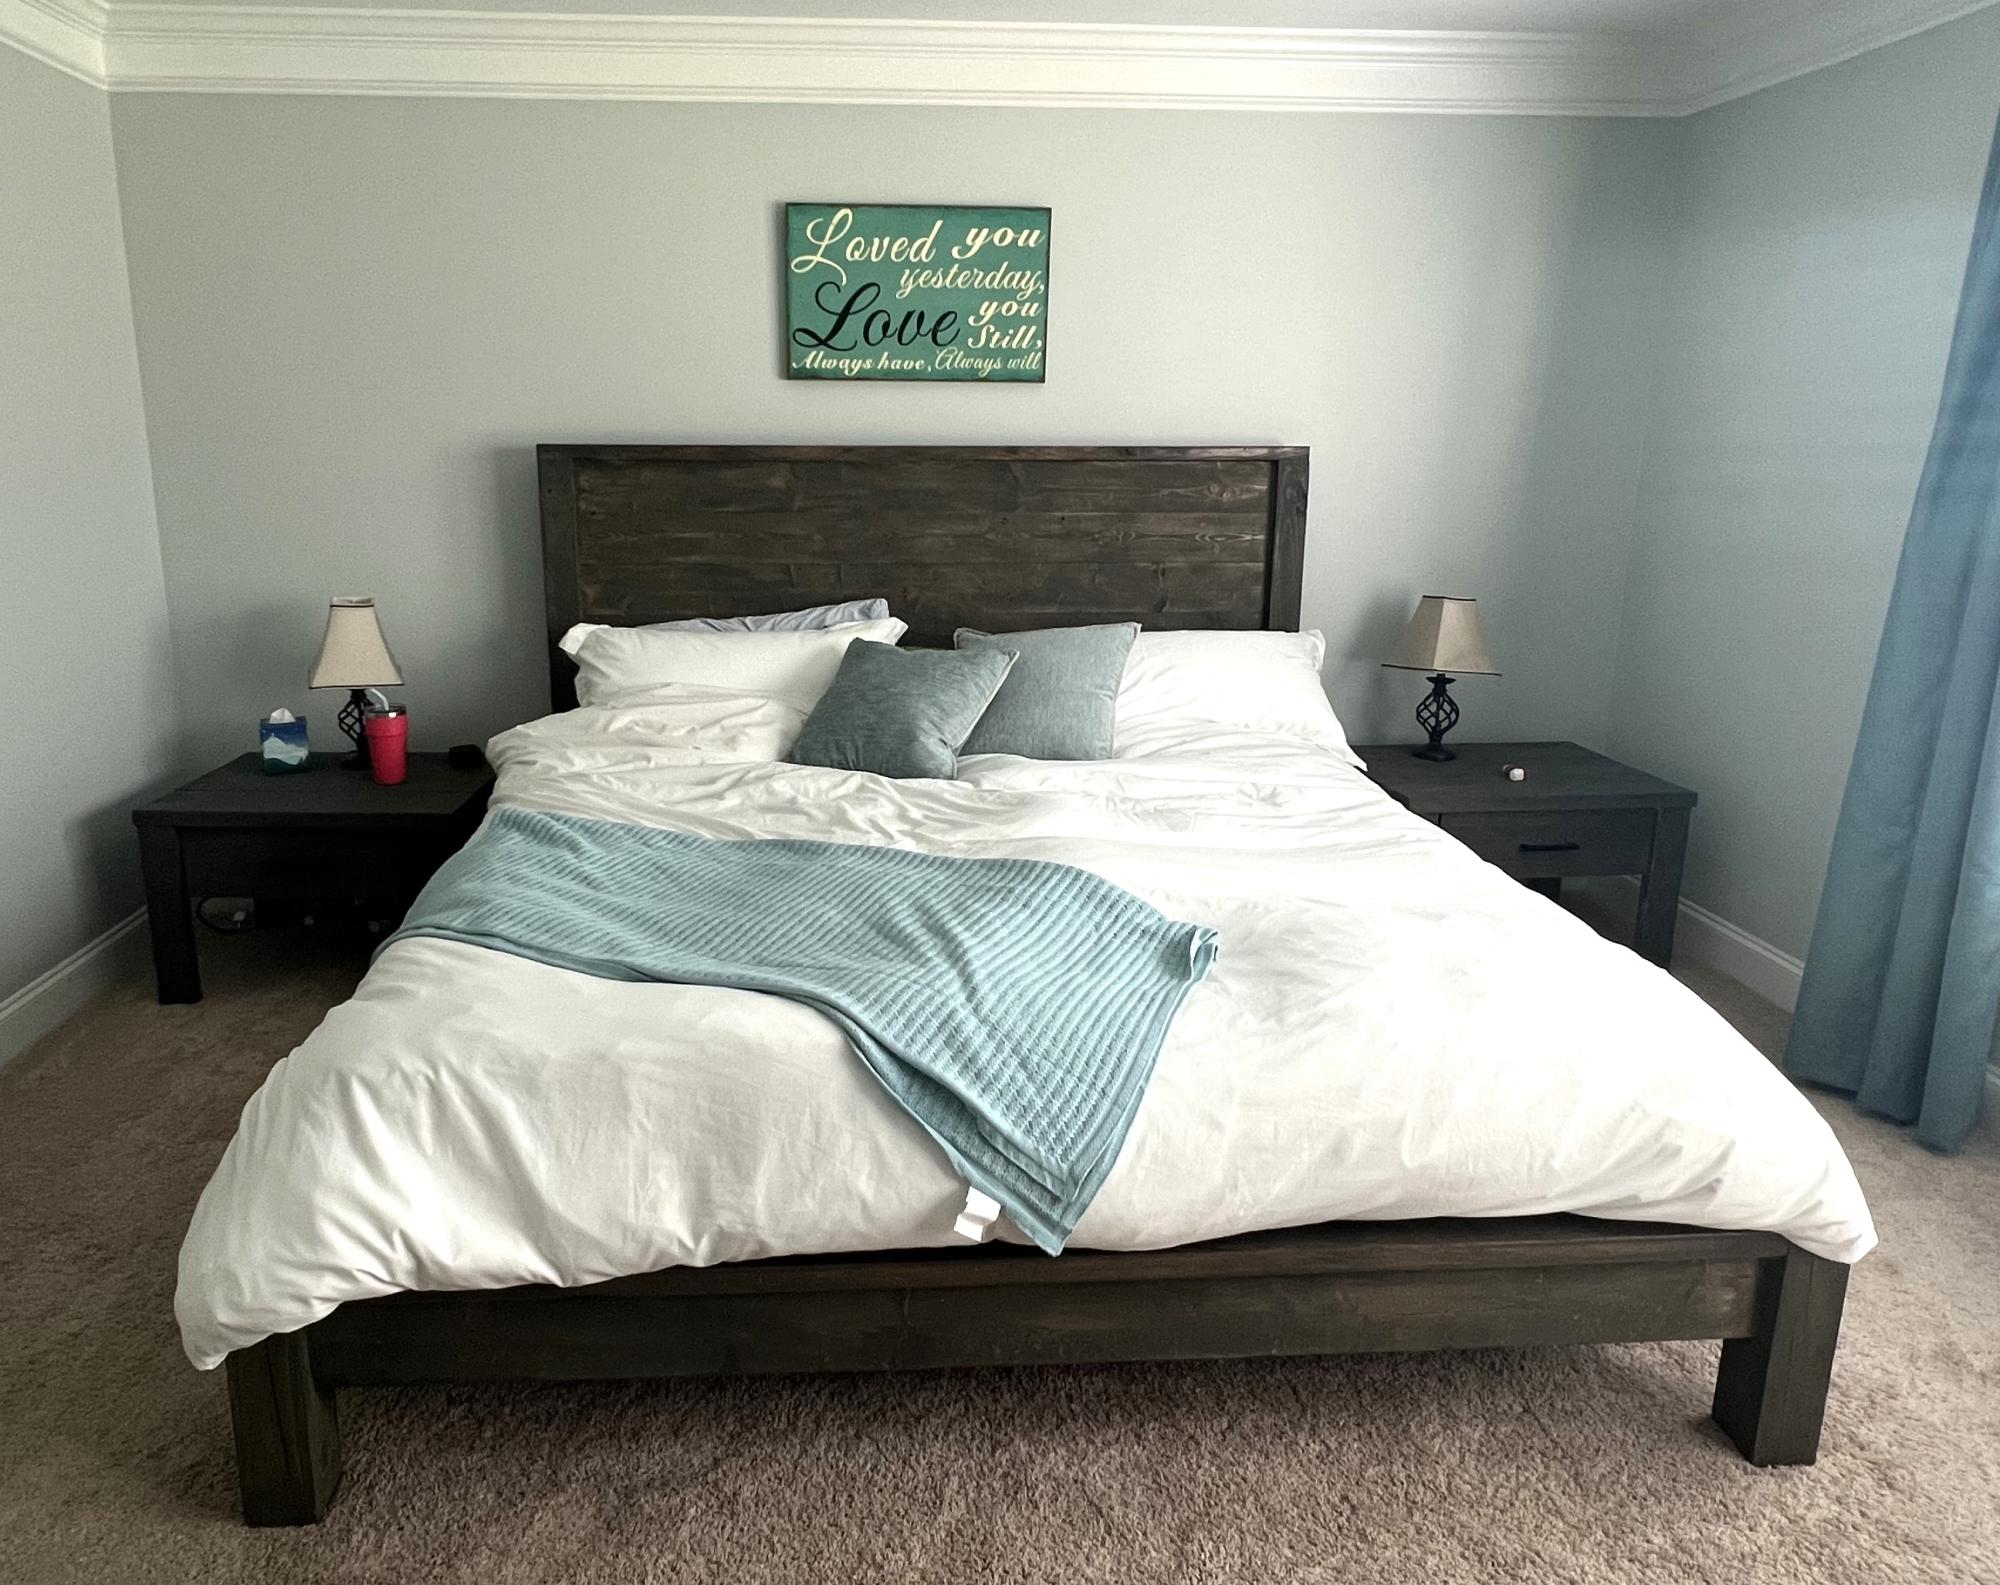
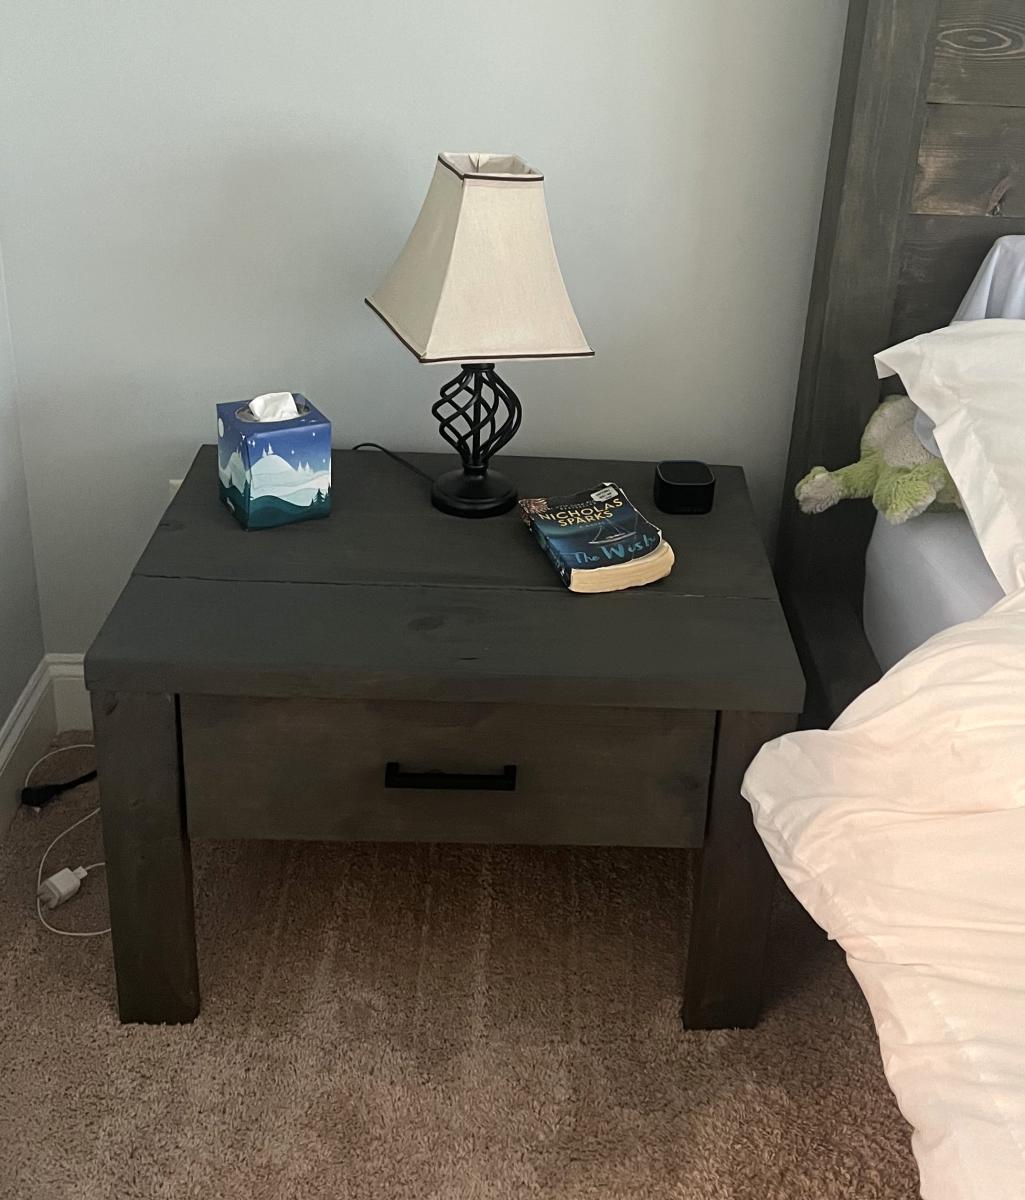
Awesome Bedroom Set by Jamdun74
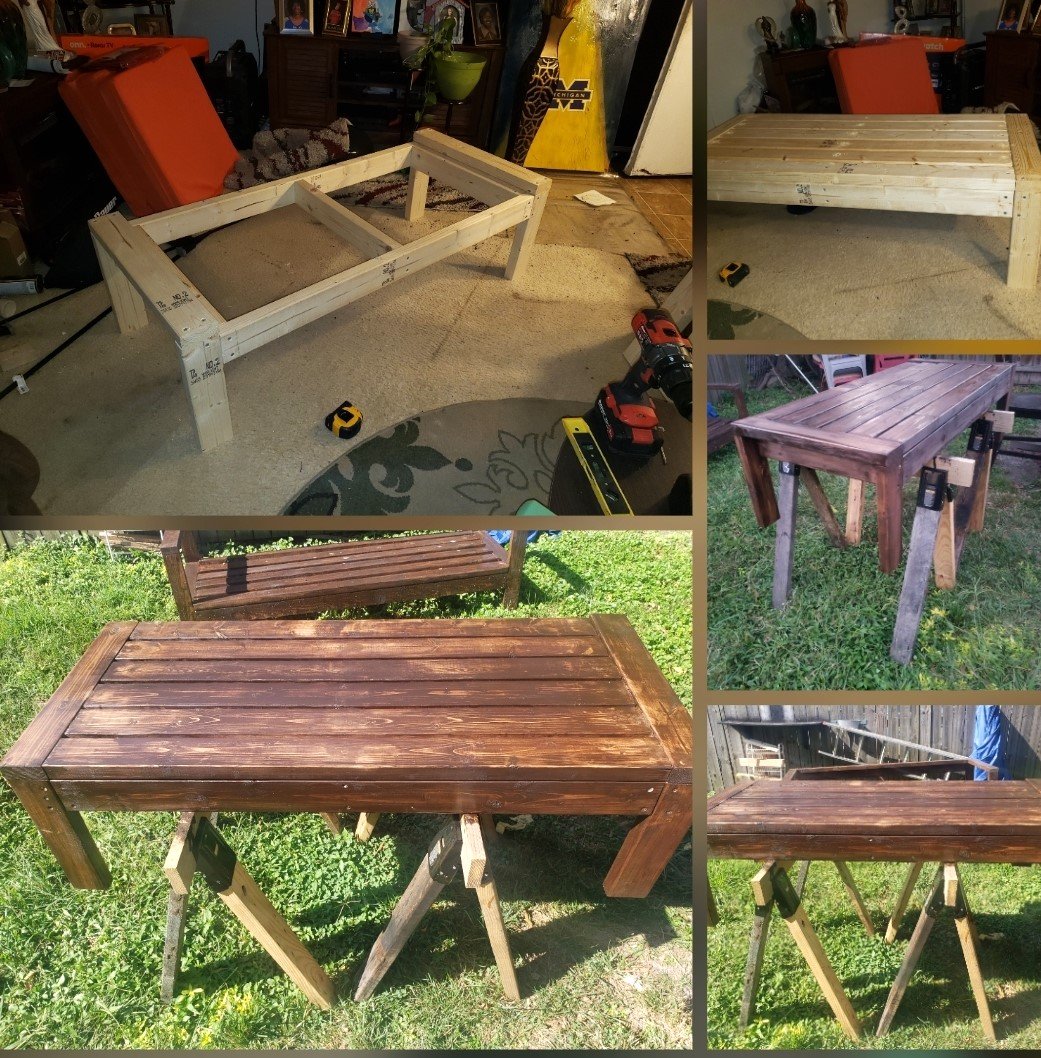
Elite Motionz Buildz

This might be my favorite build yet! We made some minor modifications to the plan since we only needed a 2’ x 3’ table. The legs were ordered from Osborne Wood - delivery was super quick and they make the table! The plan was easy to follow. I still can’t get over how much I love the final product!


I did this project 99.97% alone (if you call "alone" with a 1-year old and 3-year old nearby). This was a challenging project that took longer than expected (one full week, working well into the night after the kids went to sleep). I used furring strips for the 1x3s and 1x4s. They cost about $2 less per board! Total cost of this project includes paint, screws, etc.
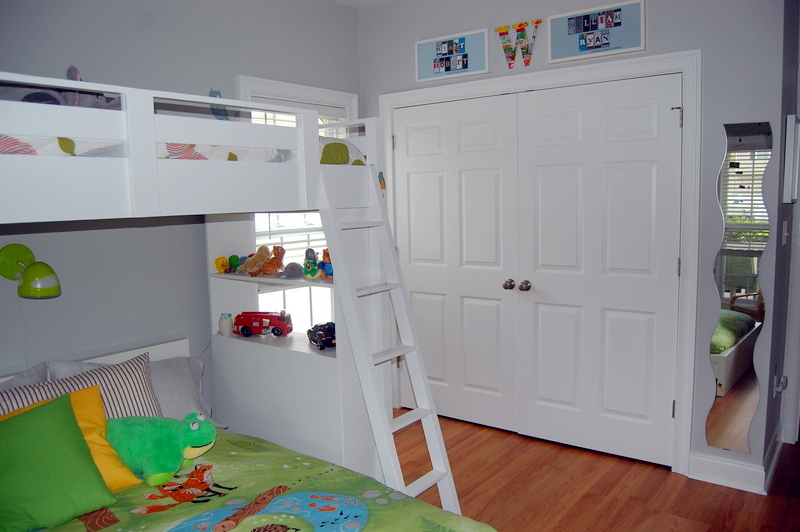
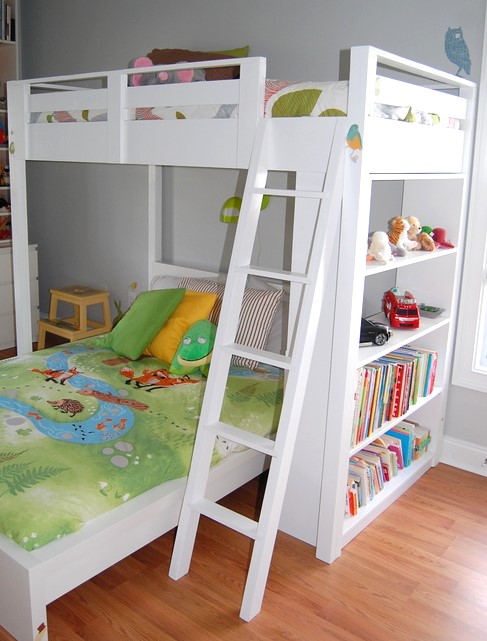
Tue, 05/29/2012 - 03:00
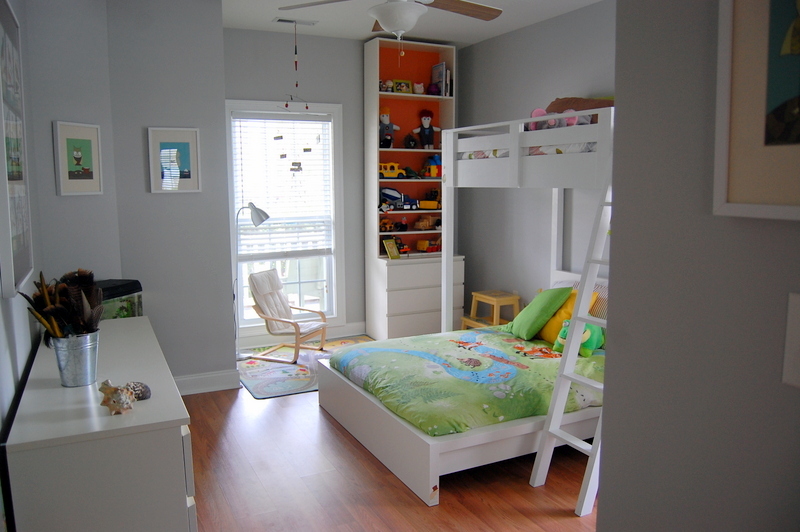
What a beautiful room. The bed looks just perfect in there. I love everything from the bed, to the bedding, to the wall color!
Mon, 10/22/2012 - 20:40
I have been looking for something similar to this but with a futon in the bottom. Anyone seen plans for such a critter?
Thu, 06/20/2019 - 11:46
AMAZING! I can't believe you tackled this with toddlers!
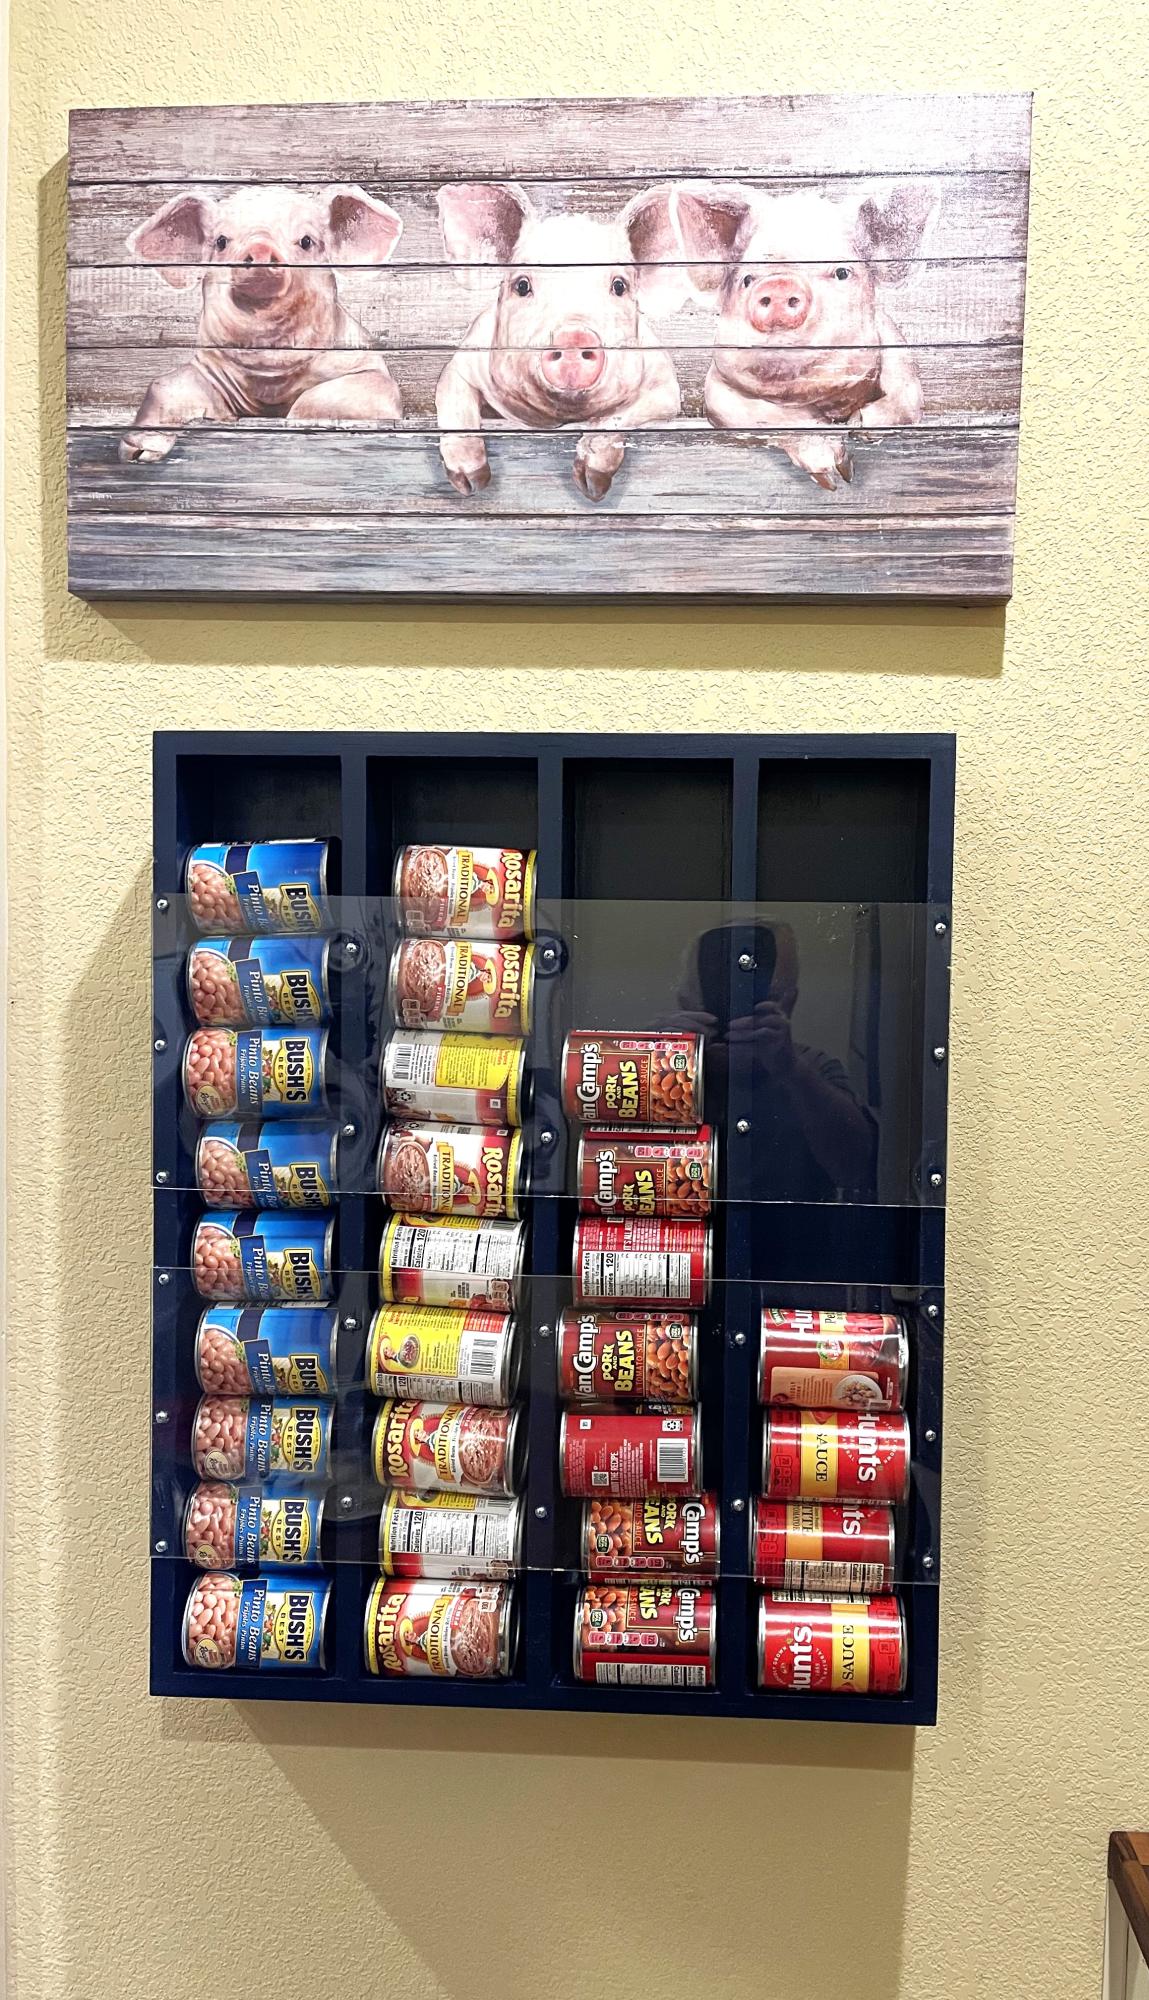
Pork and Bean Wall Storage
John
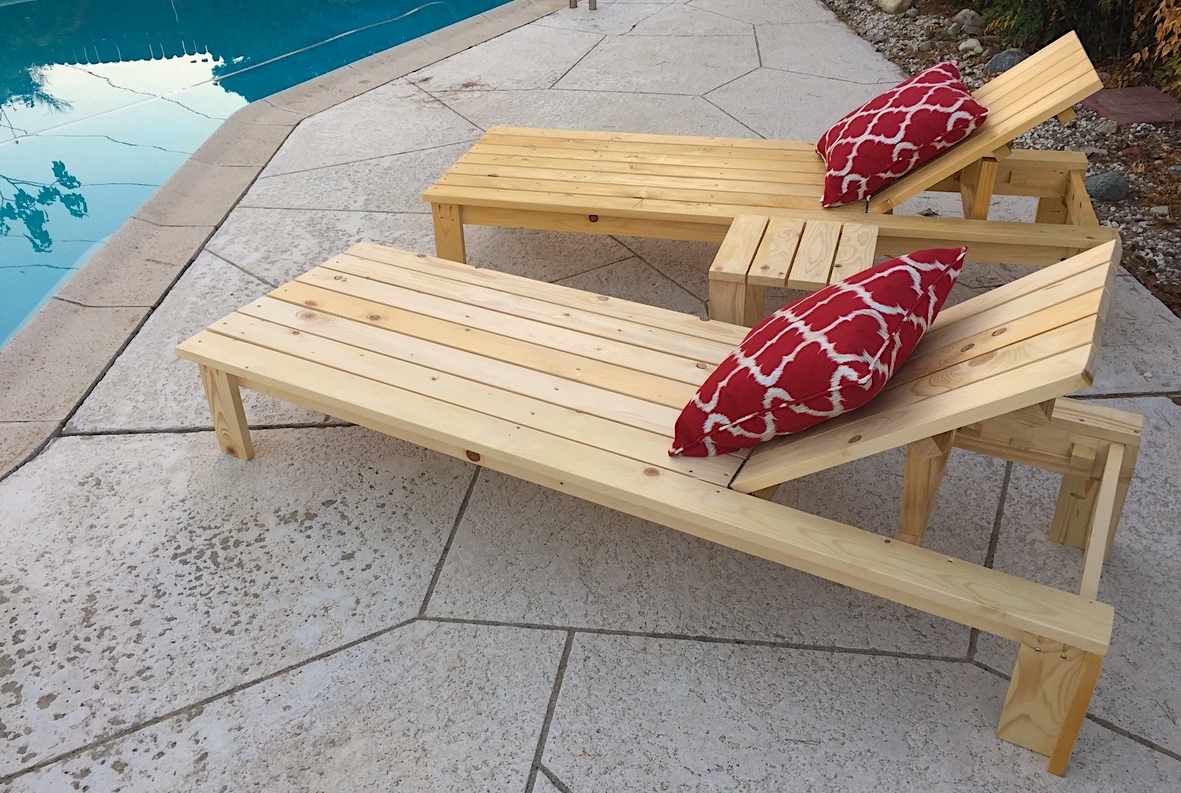
THANK YOU ANA FOR ALL THE GREAT PLANS!!
I am in southern california (mild weather) so i just used pine and coated them with urethane.
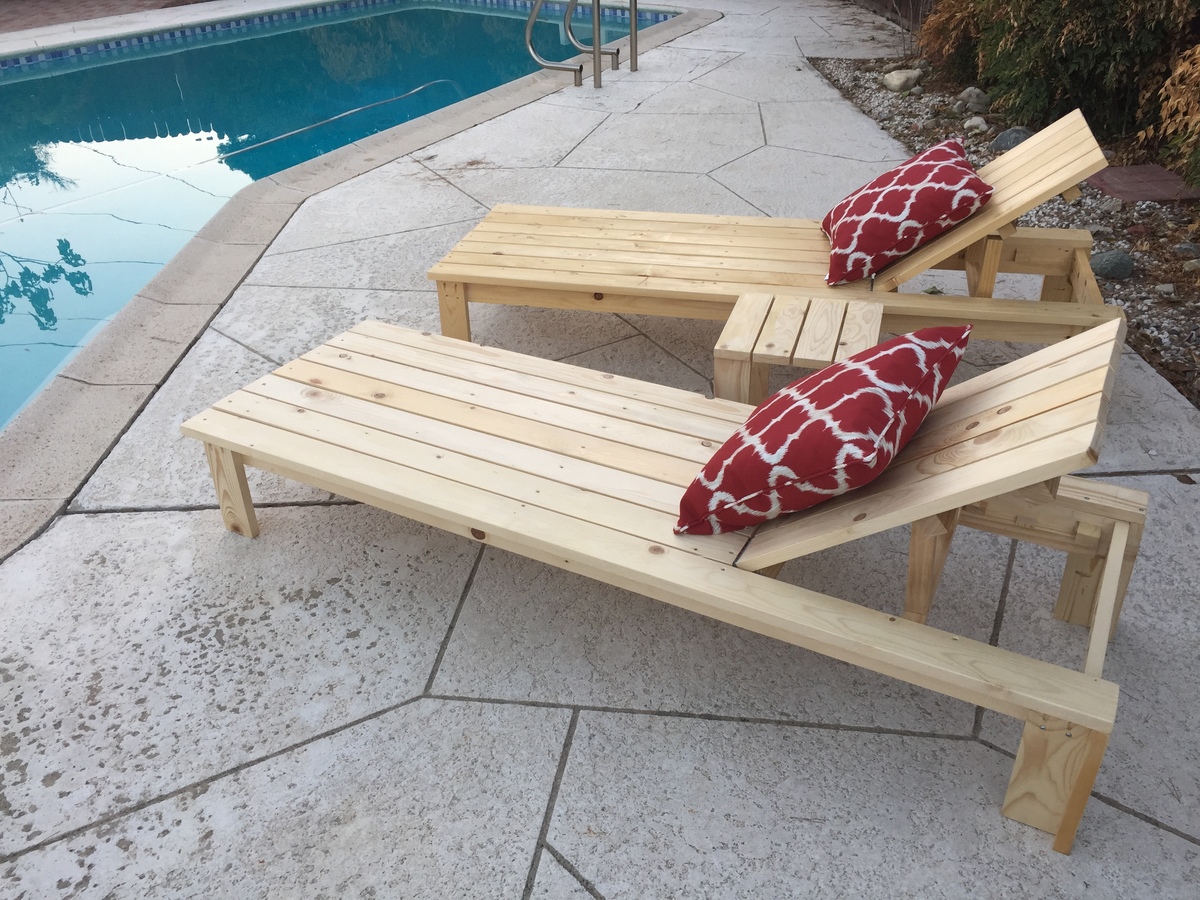
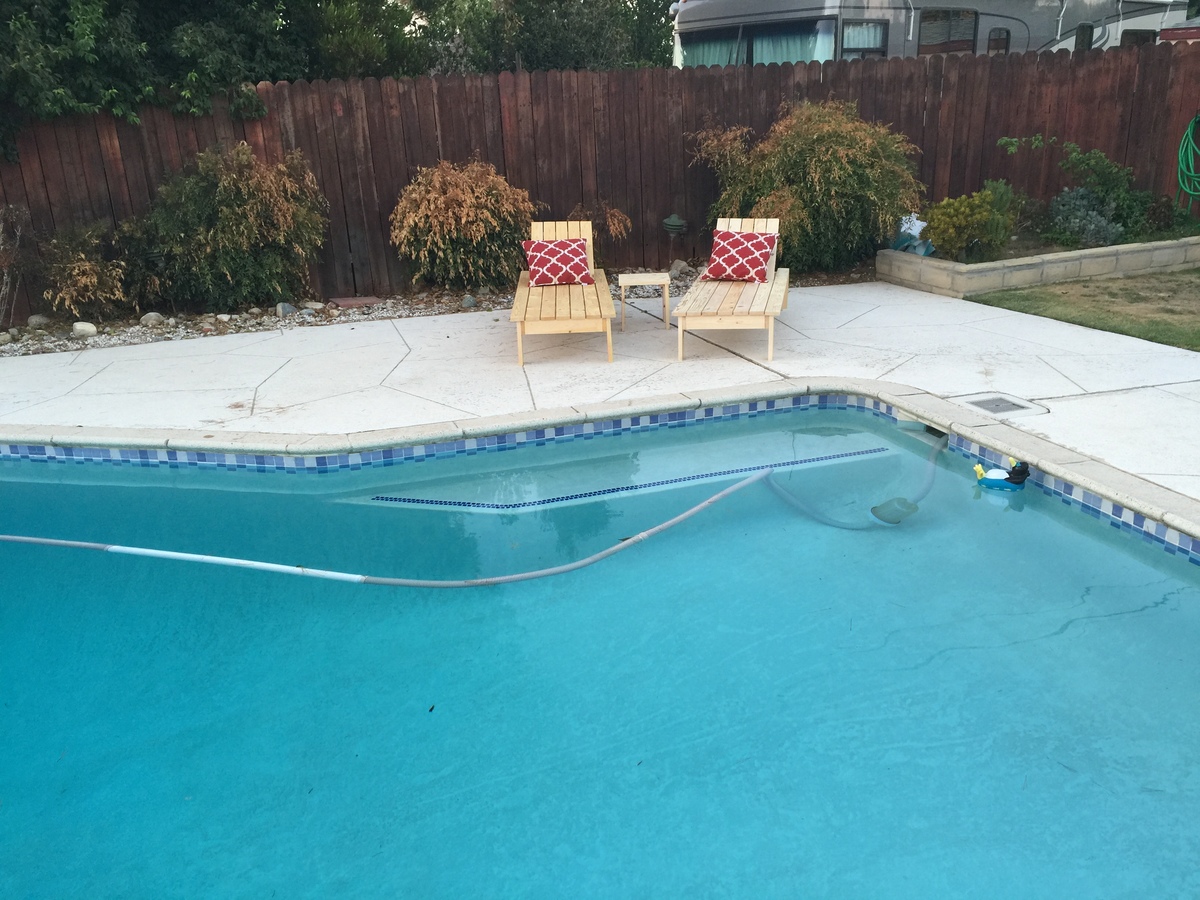
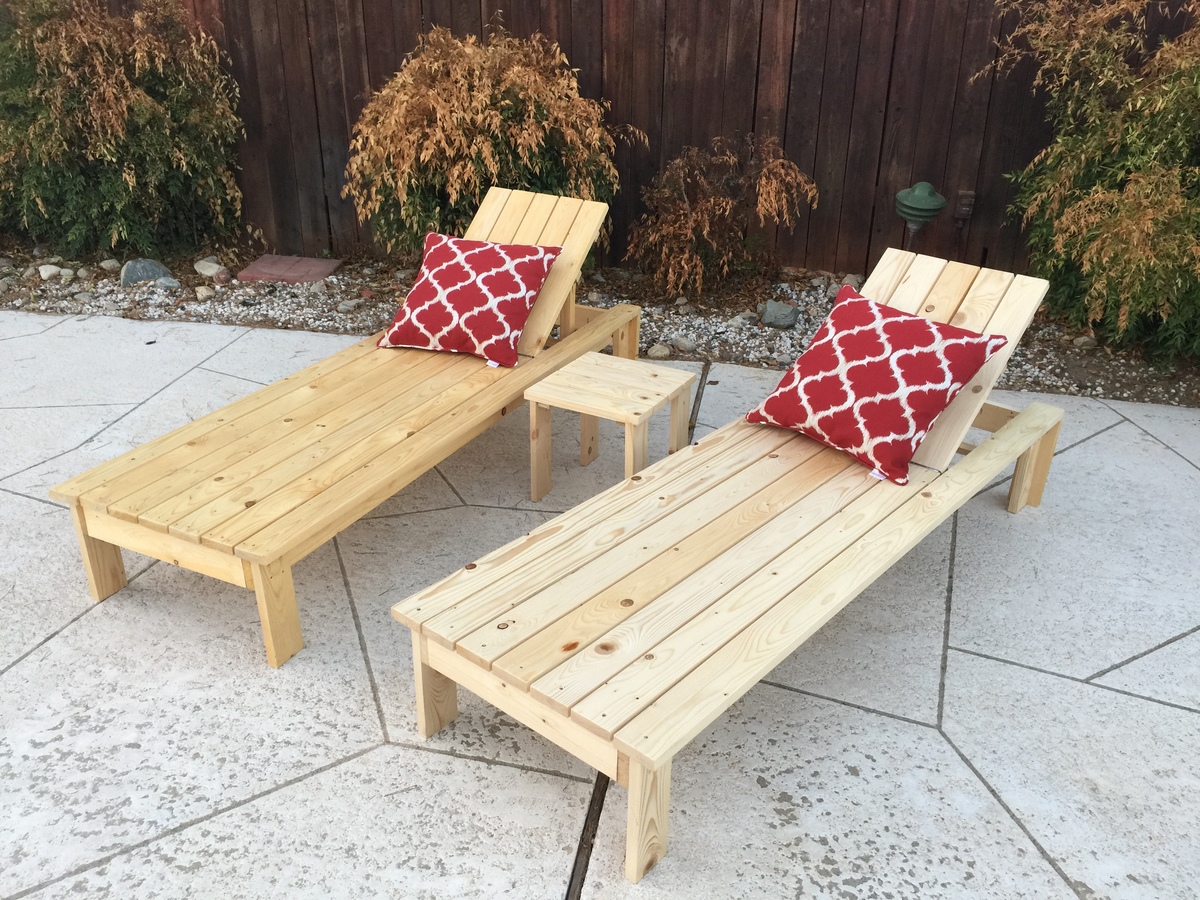
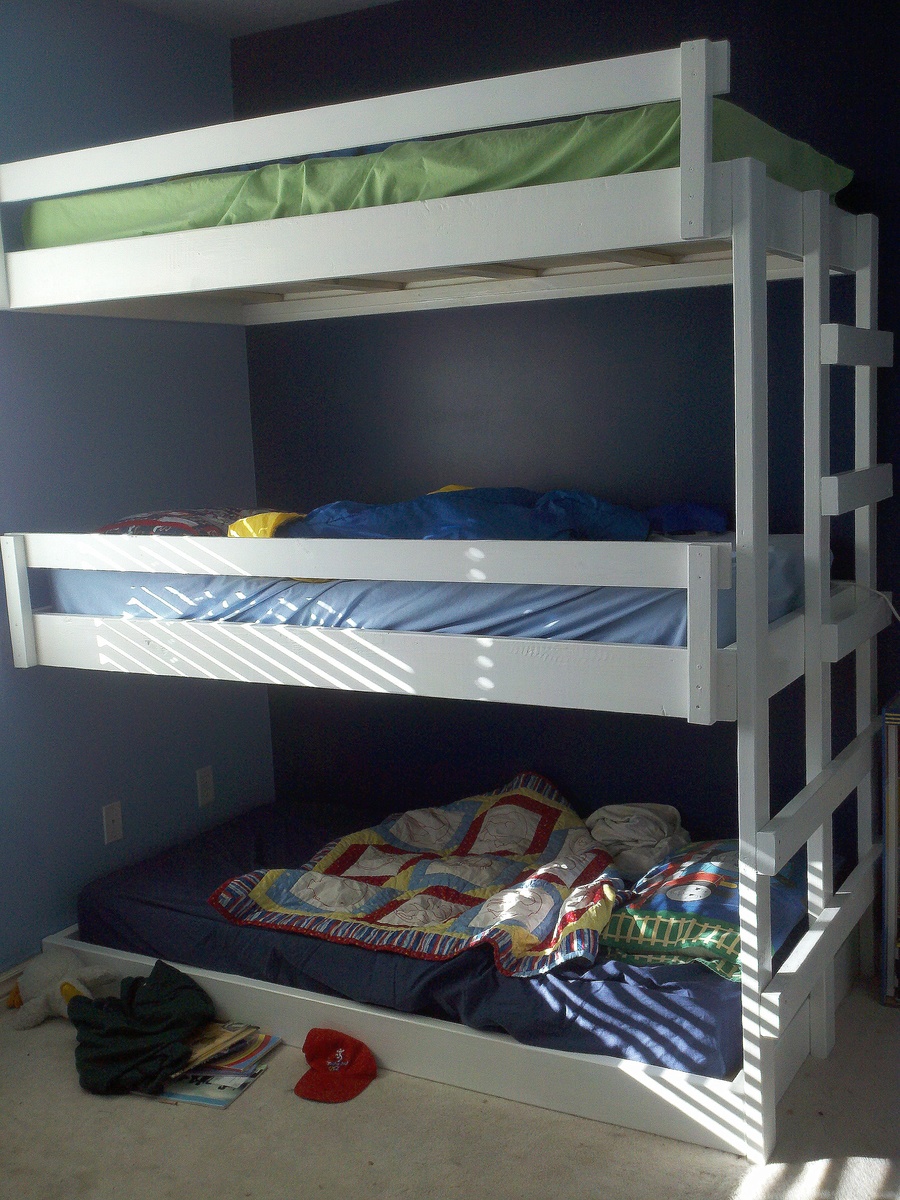
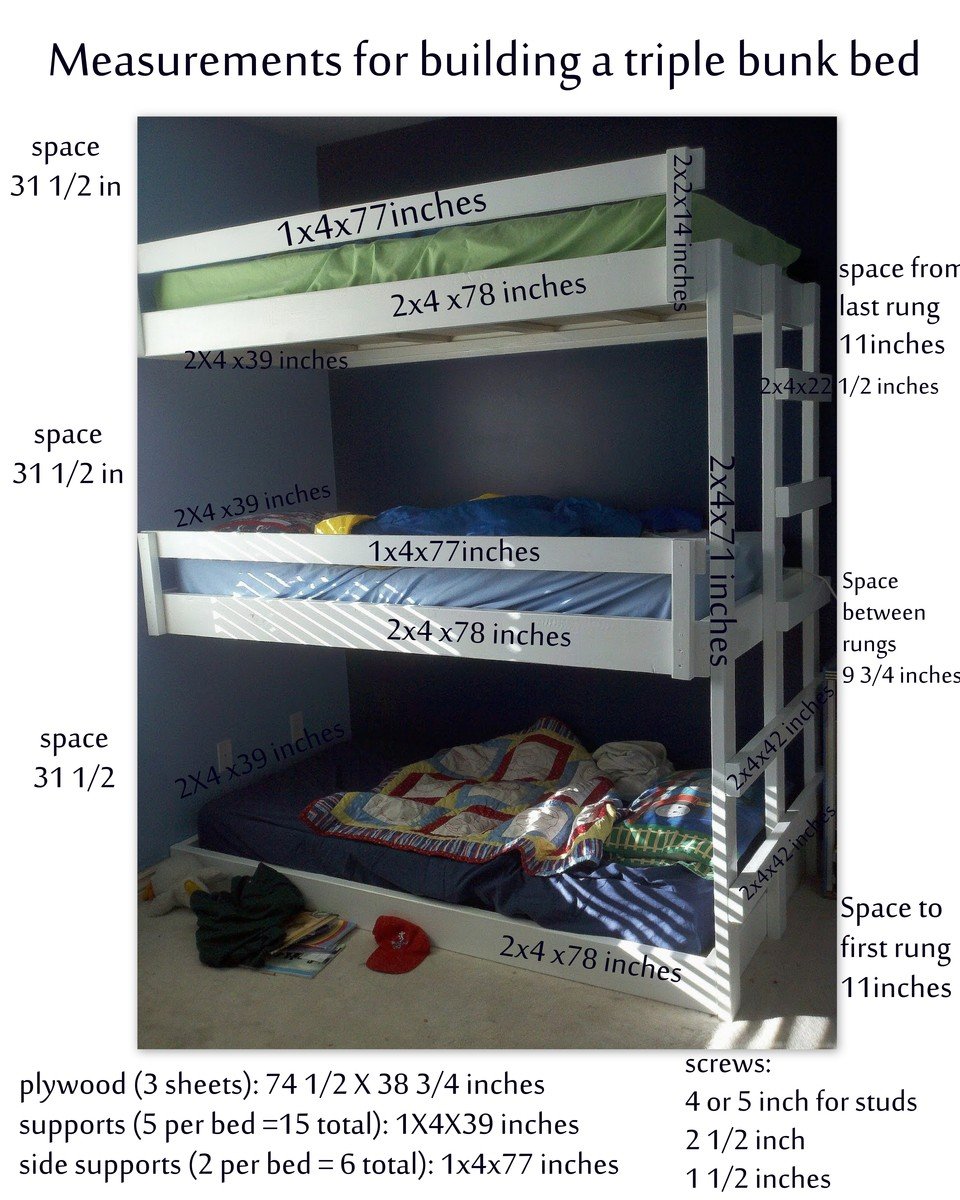
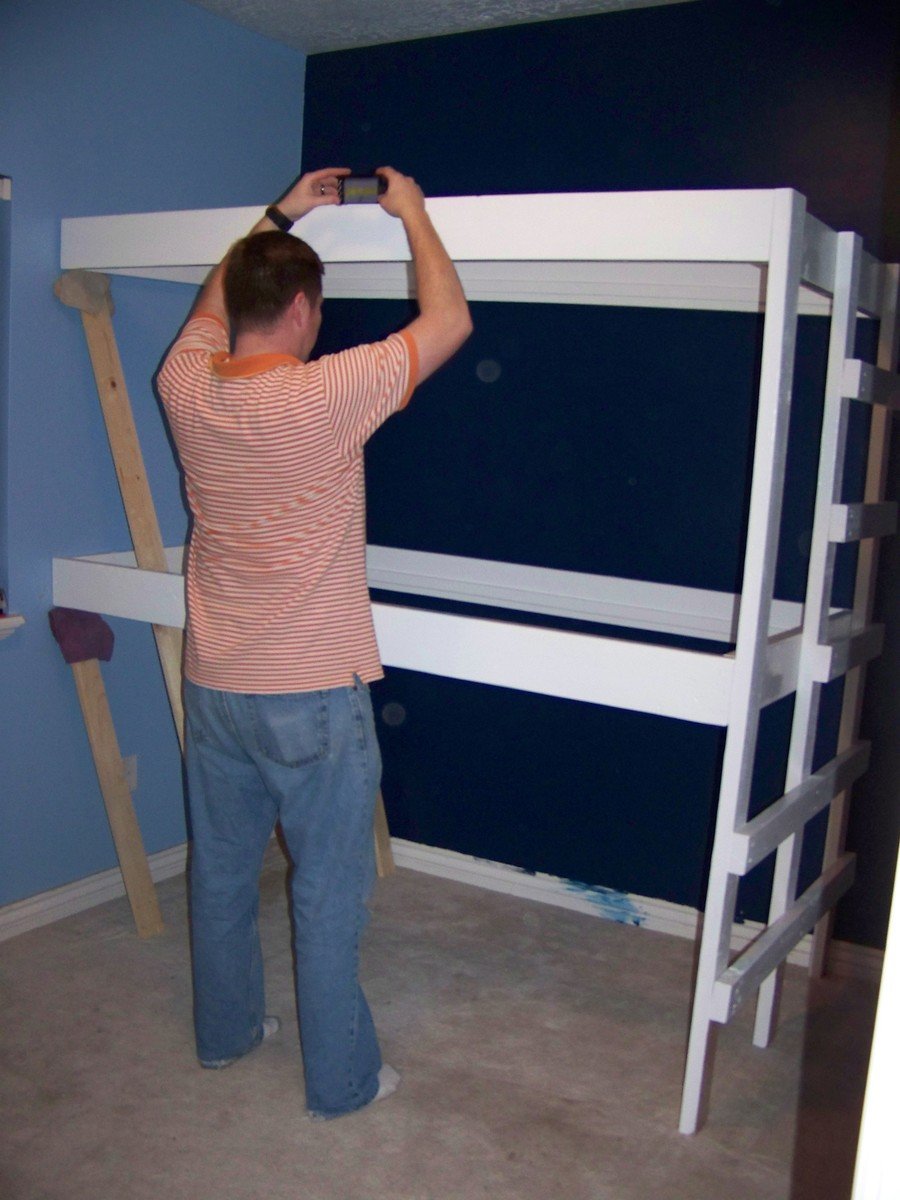
More info on these Triple Bunk Bed Plans on my blog: http://myhomedonemyway.blogspot.com/2013/03/triple-bunk-bed-finished.ht…)
1. Build the Bed Frames: (I will explain the process for one bed...do it three times if you want three beds)
2. Add Side Supports: ( Also do this step three times for three beds. We did it later but would be easier to do now)
3. Add Roll Guard: (do twice...once for each top bunk. We did this later but can be done now)
4. Build Ladder:
5. Paint desired color (you don't have to paint the sides that will be screwed into the wall).
6. Install into the wall in desired bedroom
7. Add Supports (do three times for three beds)
8. Add Plywood (do three times for three beds) 9. Finish
Mon, 04/28/2014 - 13:28
I hope you all enjoy these triple bunk bed plans. The instructions should be easy to follow to make your own!
In reply to Easy Built in Triple Bunk Bed Plans by myhomedonemyway
Sun, 01/22/2017 - 11:06
Thank you so much for sharing your plans! This is great, well built, but still easy to do!
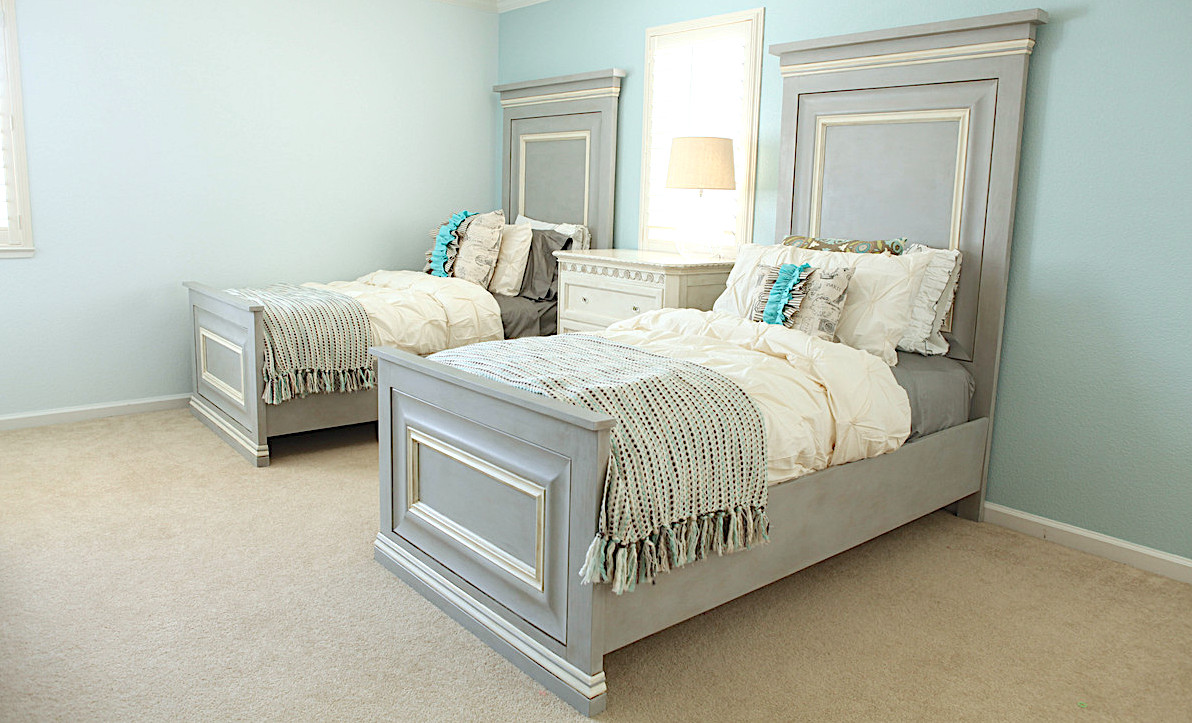
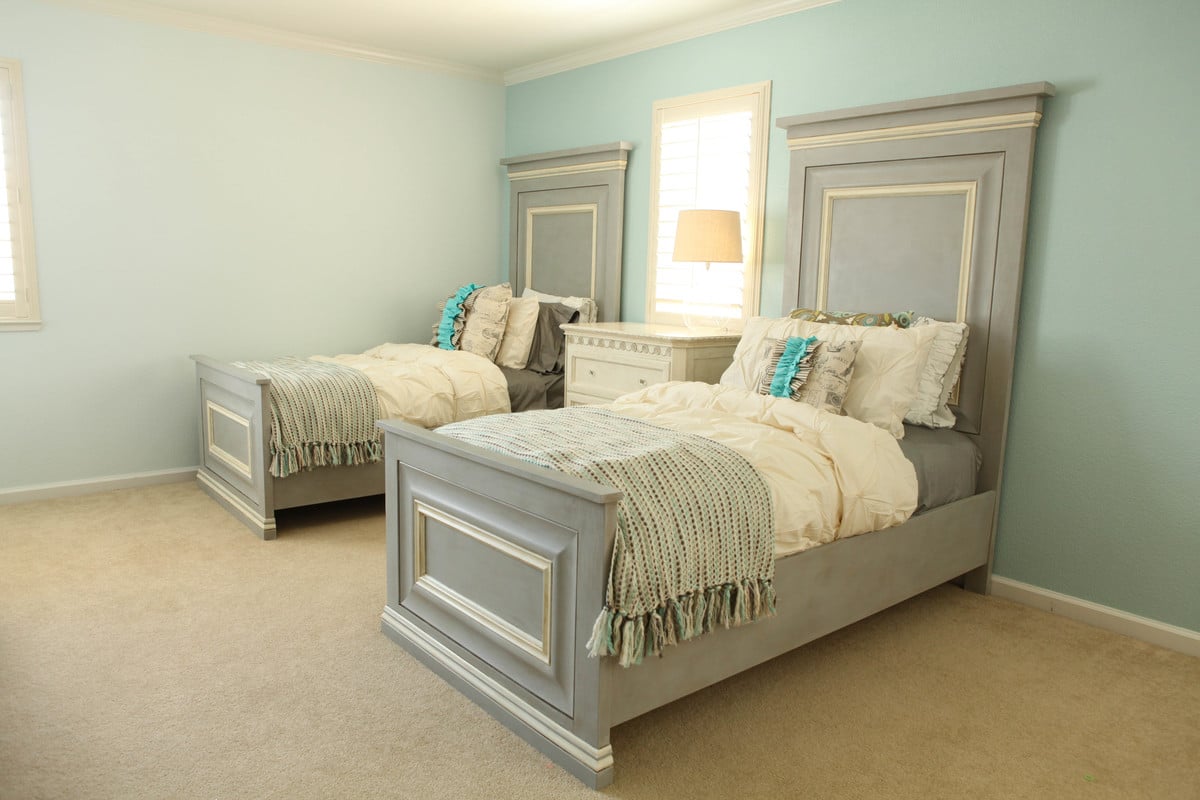
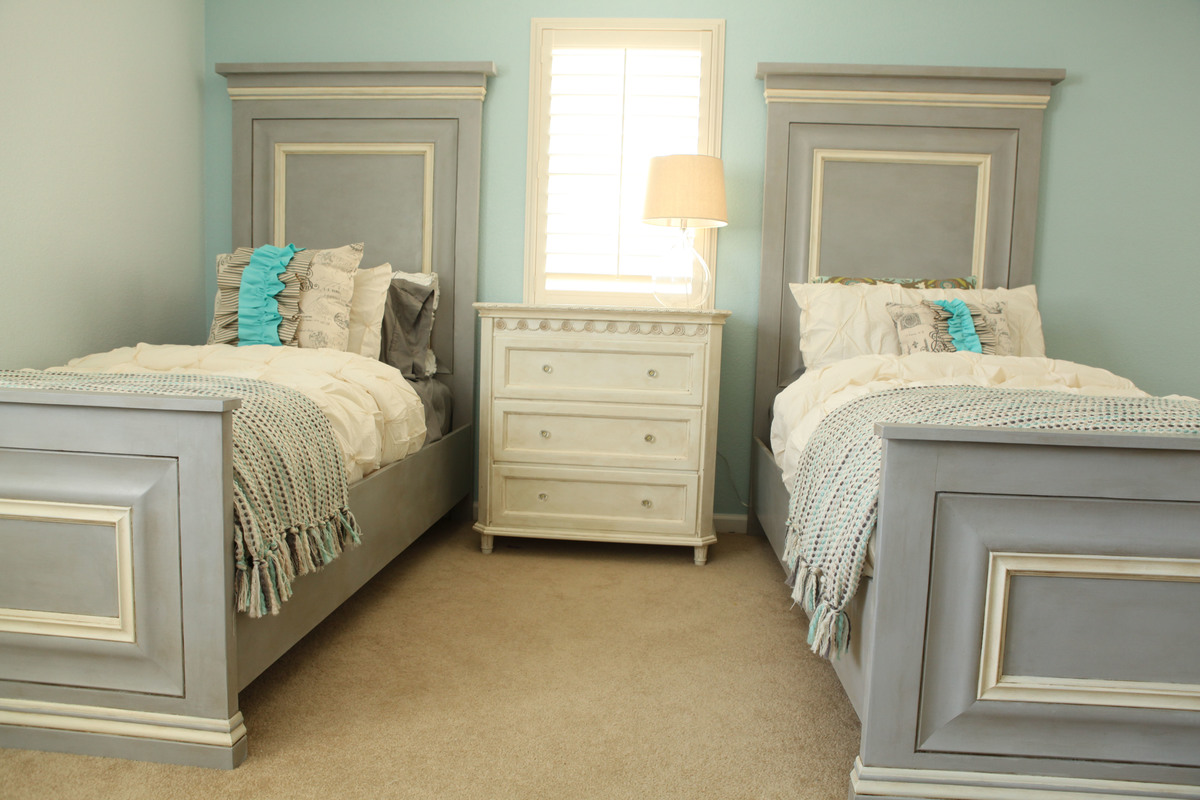
Thank you so much for these awesome plans. When I saw the original twin panel bed, I knew this was exactly what I wanted to build for my two daughters. I love super high head boards, and these are exactly that. I am in love. I did make some changes to the plan. I went with taller side rails, and used metal bed rail brackets. The brackets were super important. We move every few years being in the military, and I wanted something that would with-stand time and moves. I am also quite impressed how solid these beds are. I could never find anything this amazing in a store. I would also like to thank my husband for his help. It was our first build, but definitely not our last. Thank you!
Wed, 06/11/2014 - 17:27
Thank you for your very nice comments:
Here is some info, let me know if I can help further more.
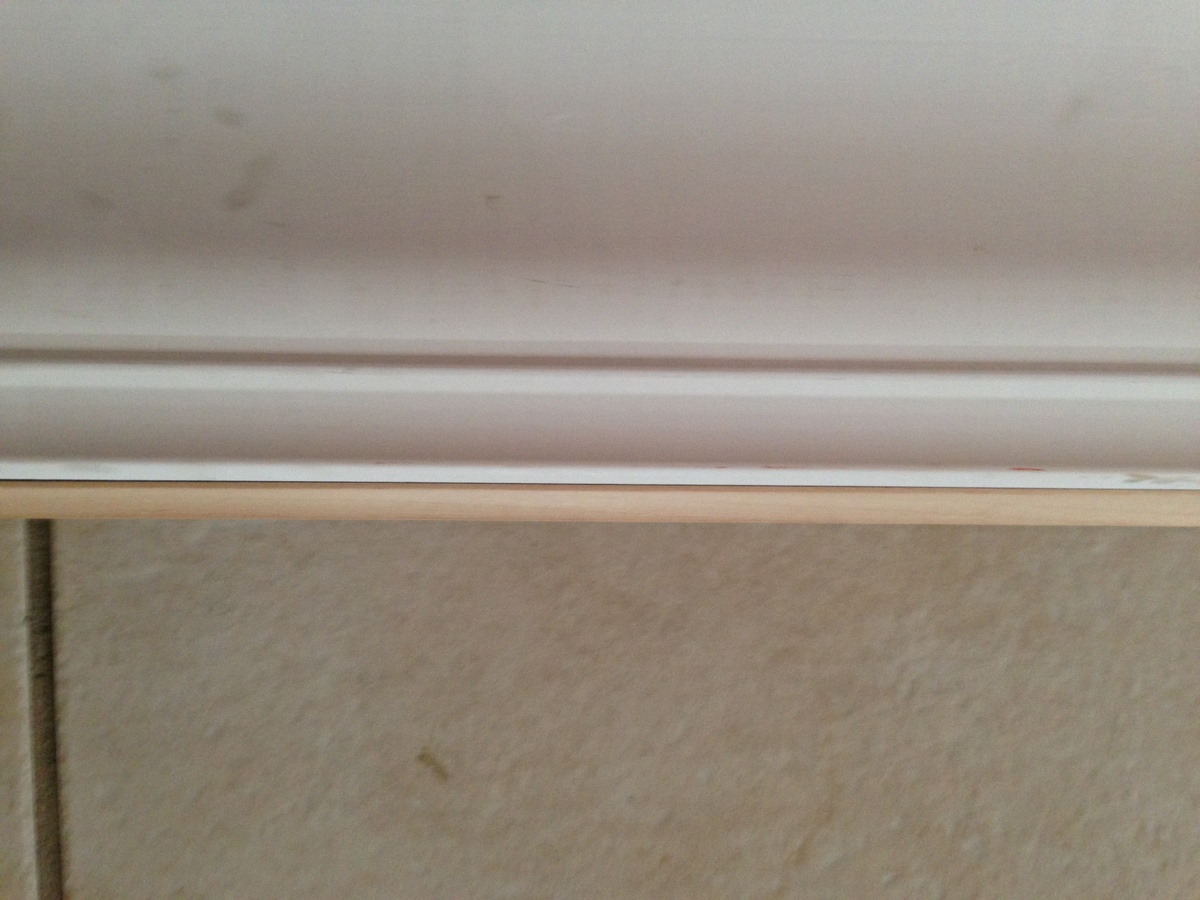
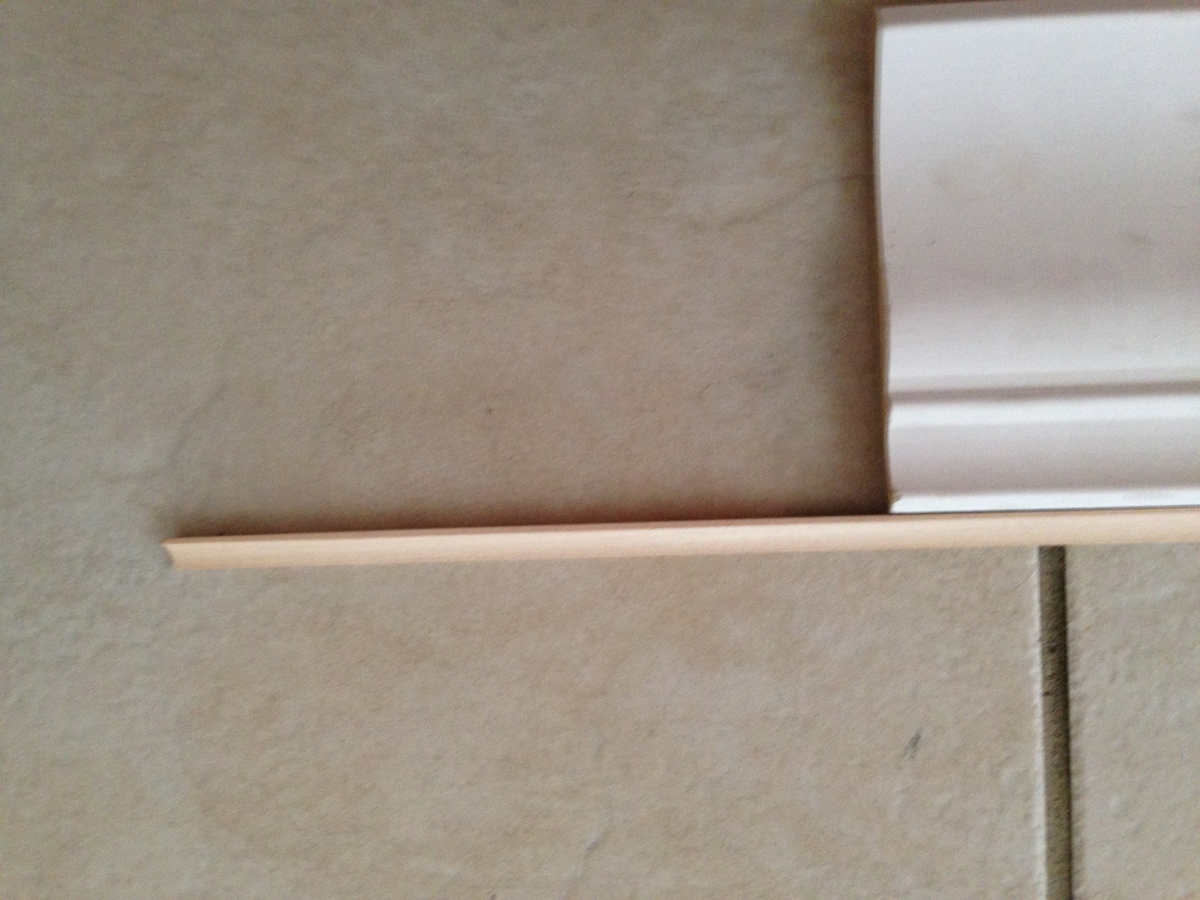
This is what we used for the base molding and the headboard molding at the top. http://www.homedepot.com/p/House-of-Fara-5-8-in-x-4-in-x-8-ft-MDF-Base-…
For the the inner molding we used two pieces of molding: This is the style (link below) we used, but ours was a little bigger, 5 1/4 inches. Couldn't find it on the home depot website, but this is exactly the same style.
The addition molding below is a finishing molding that we had to use since the above molding was not flush to the back board. It finished really nice. Glad we added this addition dimension. You can easily skip using it with different "above" molding.
http://www.homedepot.com/p/American-Wood-Moulding-LWM47-9-16-in-x-4-1-4…
http://www.homedepot.com/p/American-Wood-Moulding-WM100-11-16-in-x-11-1…
For the side rails we also used 10 inch boards. I thought it made the bed look more proportioned. I will add additional pics of the molding, so re-check pictures. Again, let me know if you have further questions.
Mon, 07/20/2015 - 18:51
I'm in awe!! Thank you so much for sharing, I just saw your beds and had to comment and say thank you for sharing and beautiful job! Ana
In reply to Your Bed is Beautiful!!! by Ana White
Sat, 11/28/2015 - 15:53
Thank you! You are the one made it possible. We truly feel inspired when we look at your page. Thank you for sharing all your plans. You are the best.
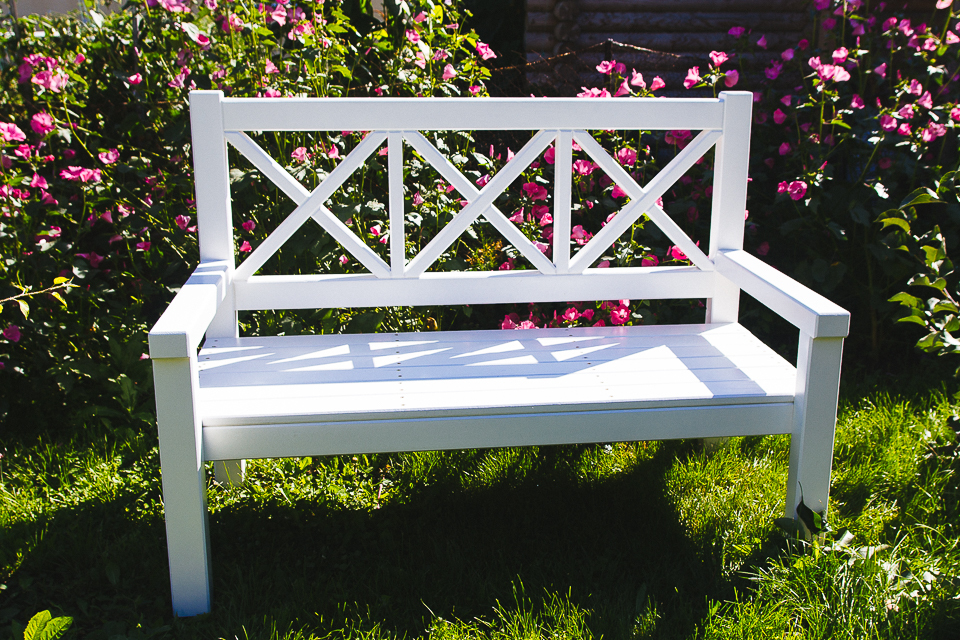
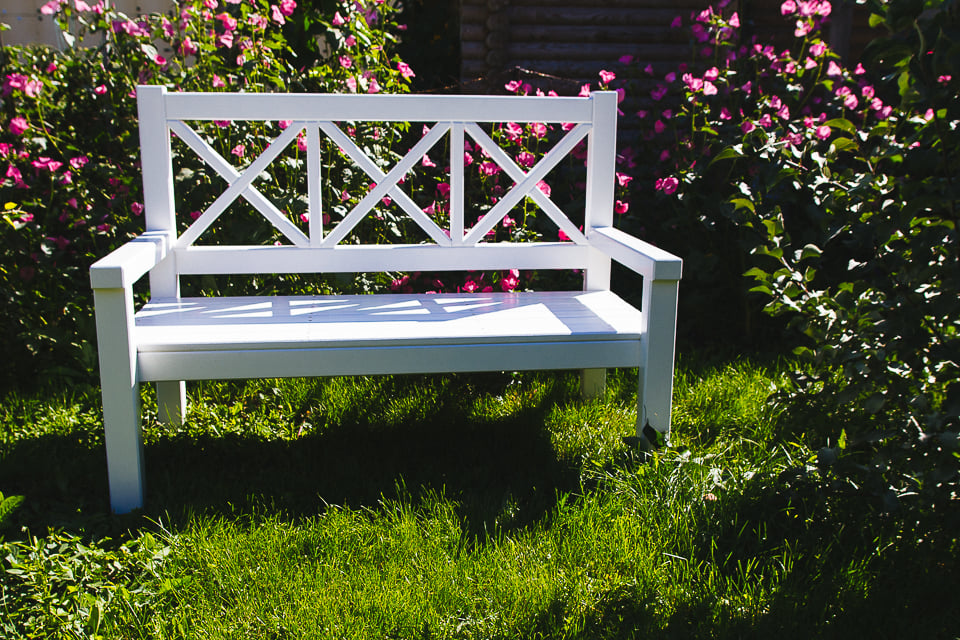
Inspired by Ana White project, but assembled with tencions and mortises, without screws.
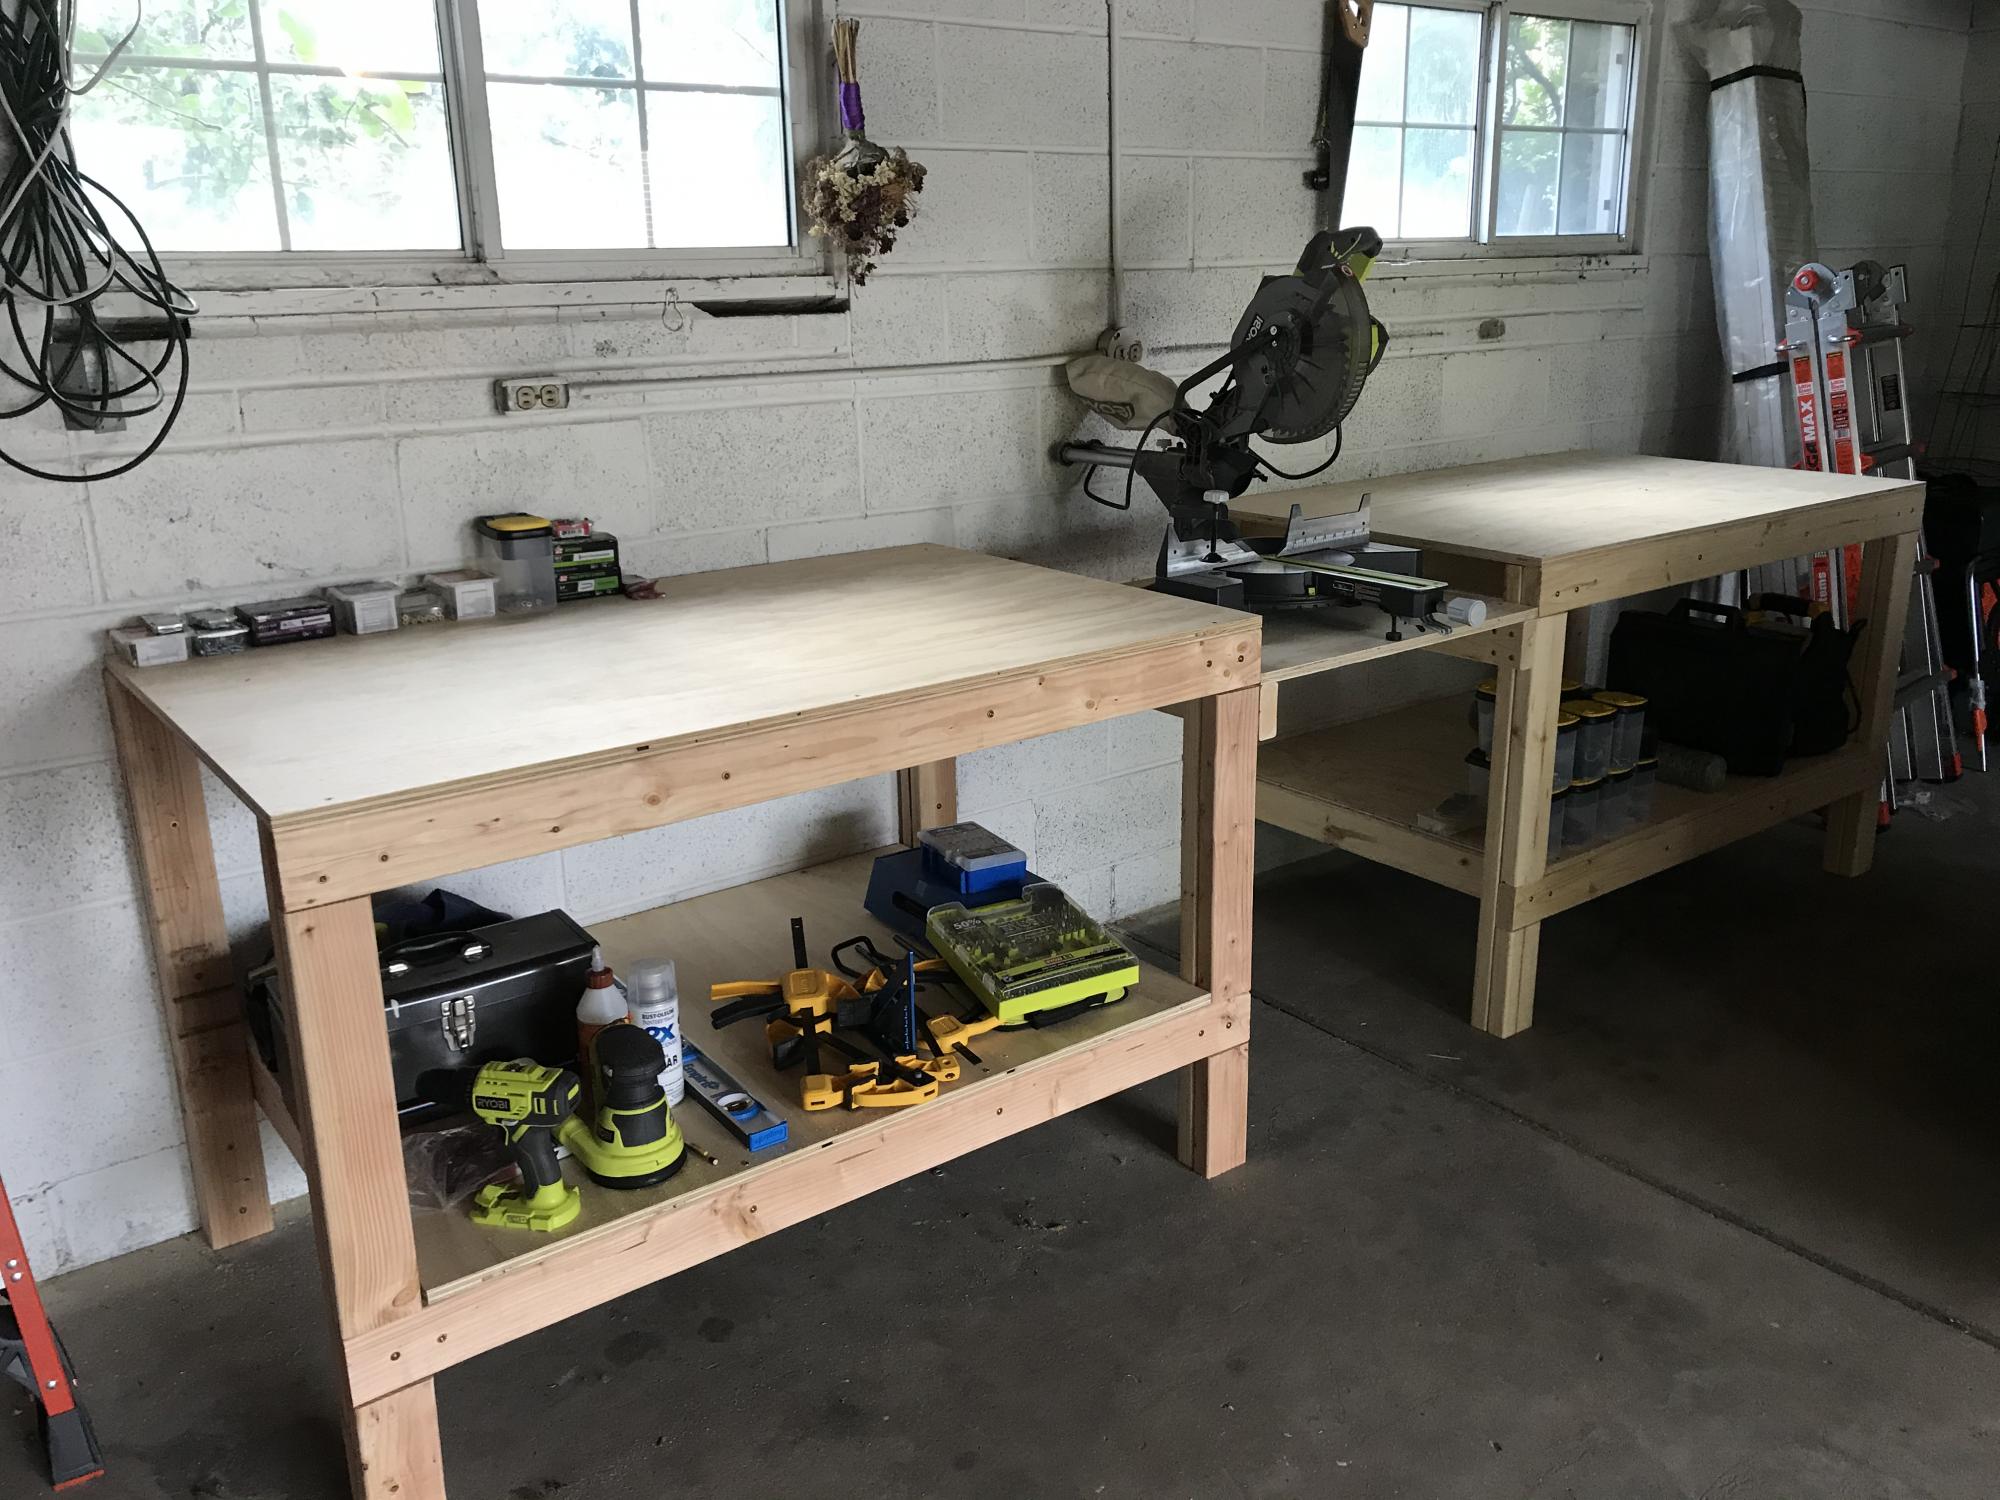
Built 2 of the workbenches for our garage. The plans made assembly very easy and quick. We had Home Depot cut the plywood to size.
Inspired by Ana's Flip down wall art desk. It has different dimentions since wall space was limited. I used a magnet as a lock, added upholstered back, dowel for storage and extended the bottom part to add some strength. It is very handy!
Thu, 09/22/2016 - 09:06
Very cool, love the upholstered back! Thanks for bragging your project!
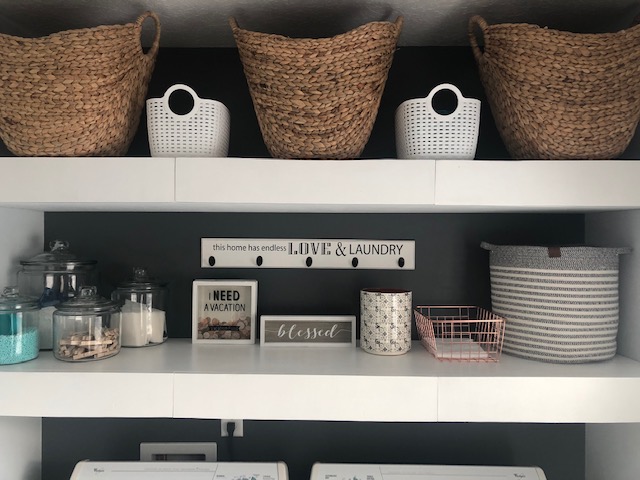
Shelves added the right touch. Laundry room complete!
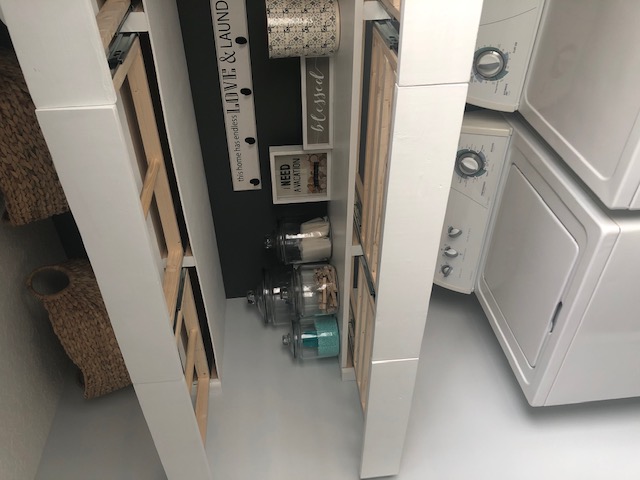
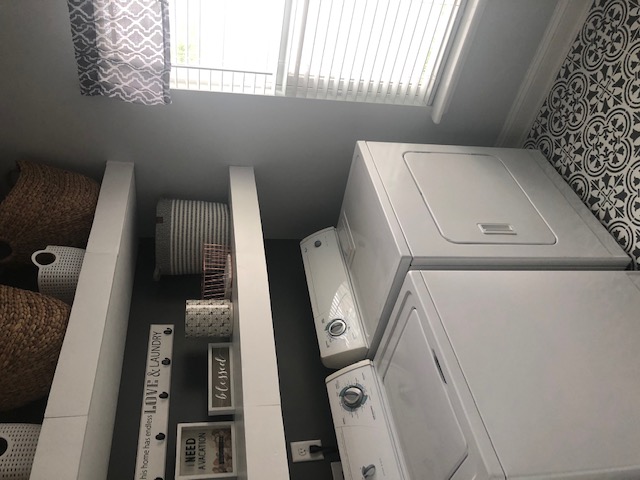
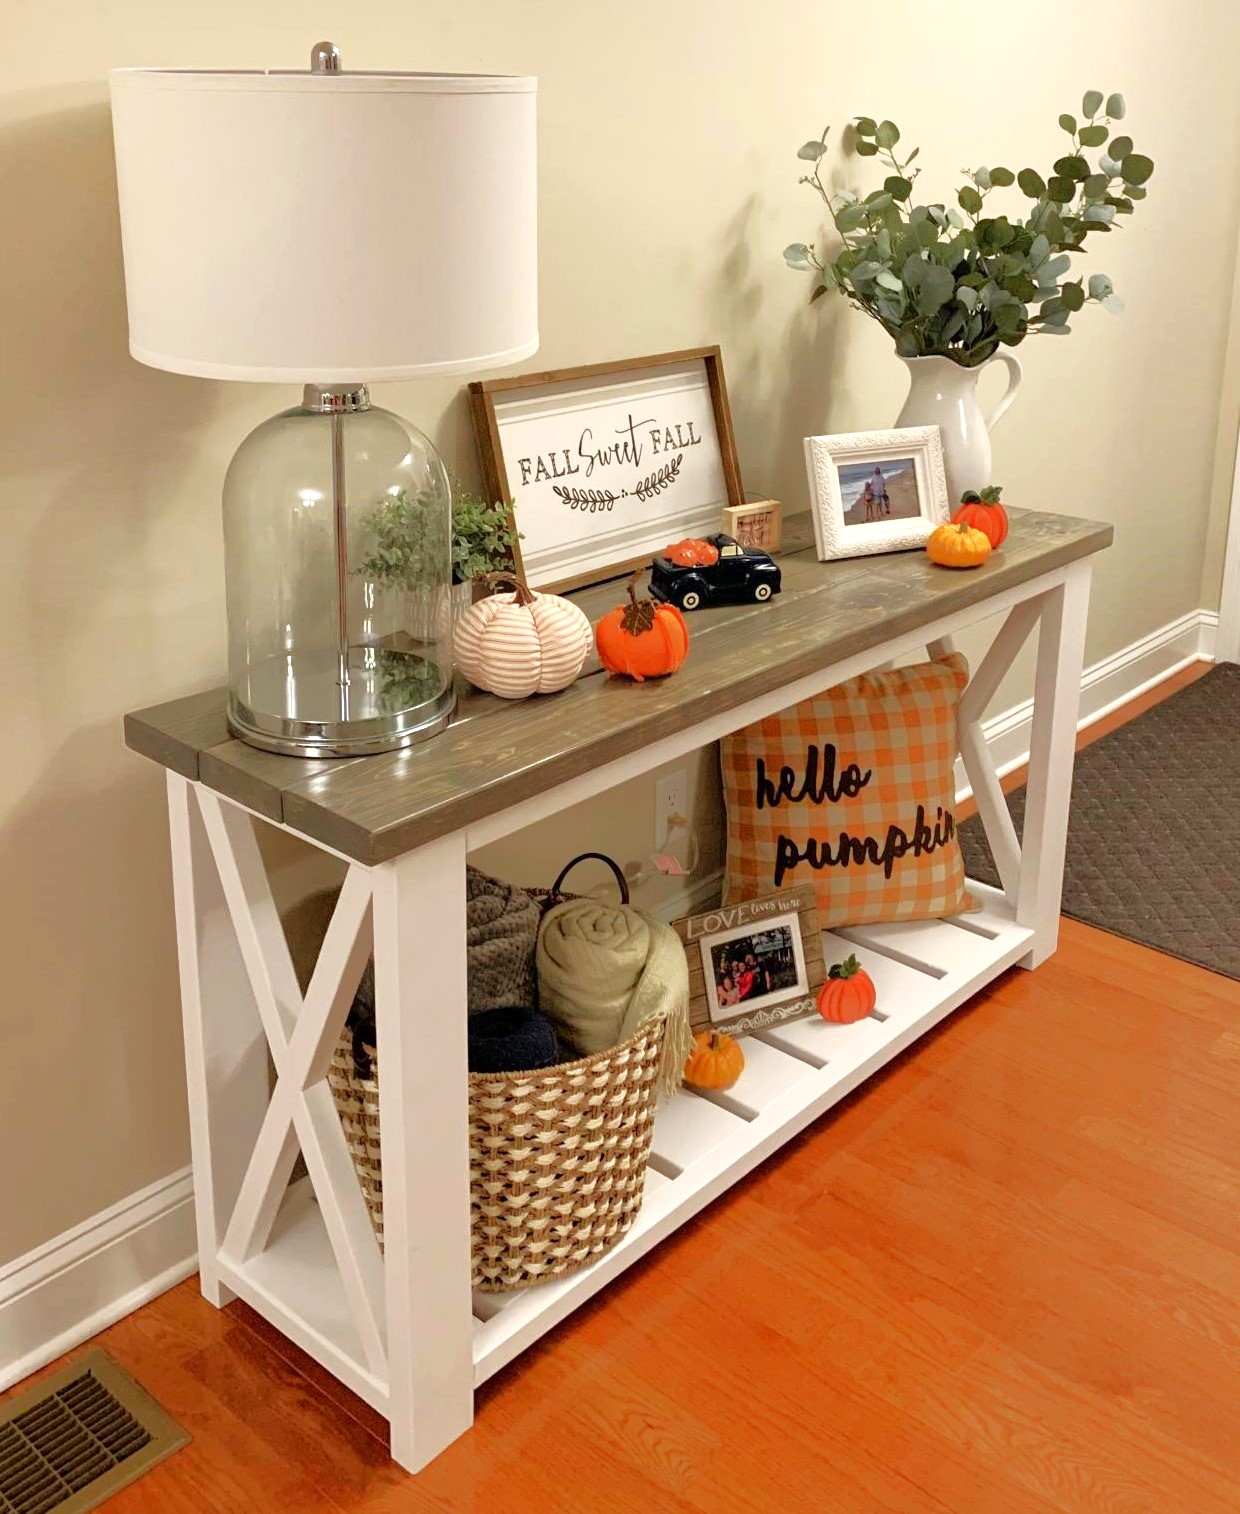
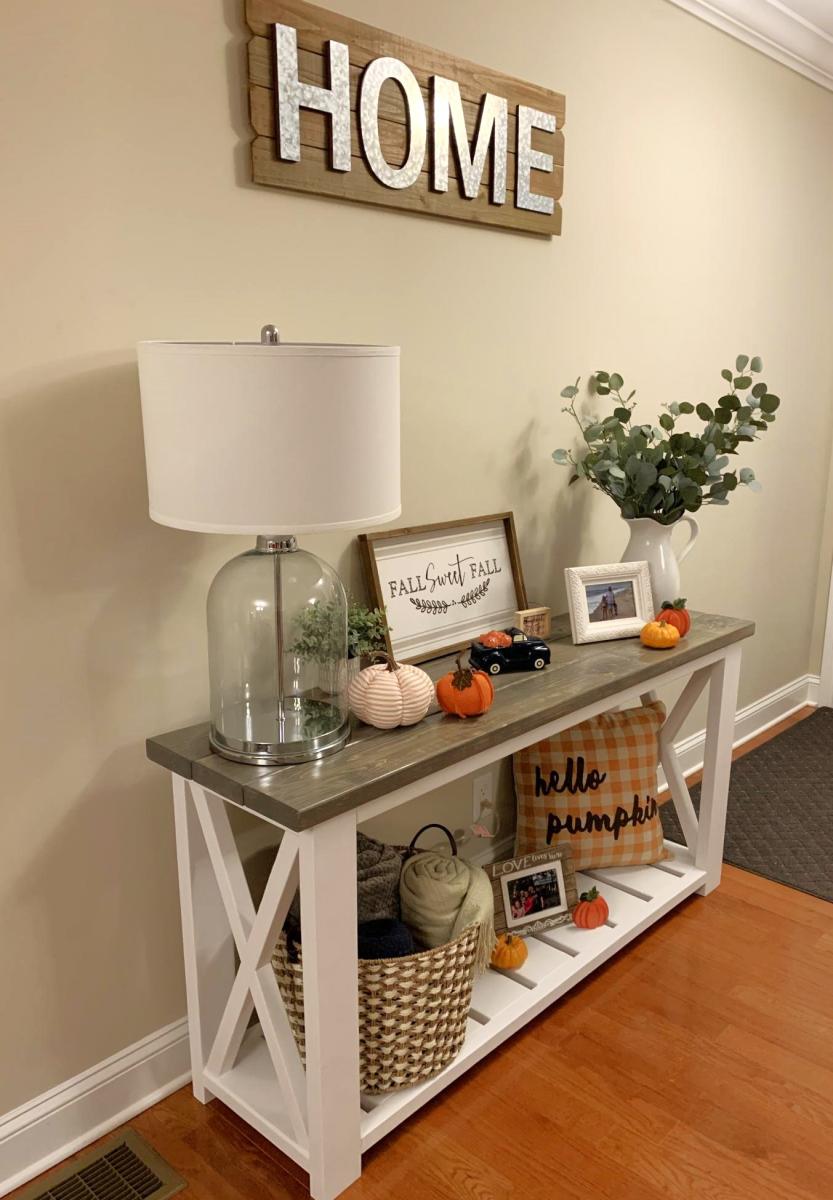
Happy Fall Y’all. Love the Gray / White Farmhouse Colors. I can share the plans I modified for this build if anyone wants to build their own .
Sat, 08/22/2020 - 08:33
Hello could you please share the plans for me. Want to duplicate your awesome work.
Sat, 08/29/2020 - 12:33
I believe this is JUST what I came here looking for! Please share the plans and dimensions. :)
Sun, 10/25/2020 - 14:31
Hello! I’d like the plans & dimensions for this as well! Thank you so much! Turned out AMAZING!
Thu, 06/17/2021 - 17:40
This is exactly what im looking for. Can you please share your plans 😍
Sun, 08/08/2021 - 15:36
Hi Ana can you please share your plans for this with me? Thank you
Wed, 10/13/2021 - 19:36
Can you please share the plans with me? Thank you!!
Mon, 01/31/2022 - 03:50
Lovely build. I would love to receive the plans for this particular project please? Thank you!!
Wed, 09/11/2024 - 13:07
I absolutely love this console. Would you please share your plans with me? I'm hoping to build this project with my dad.
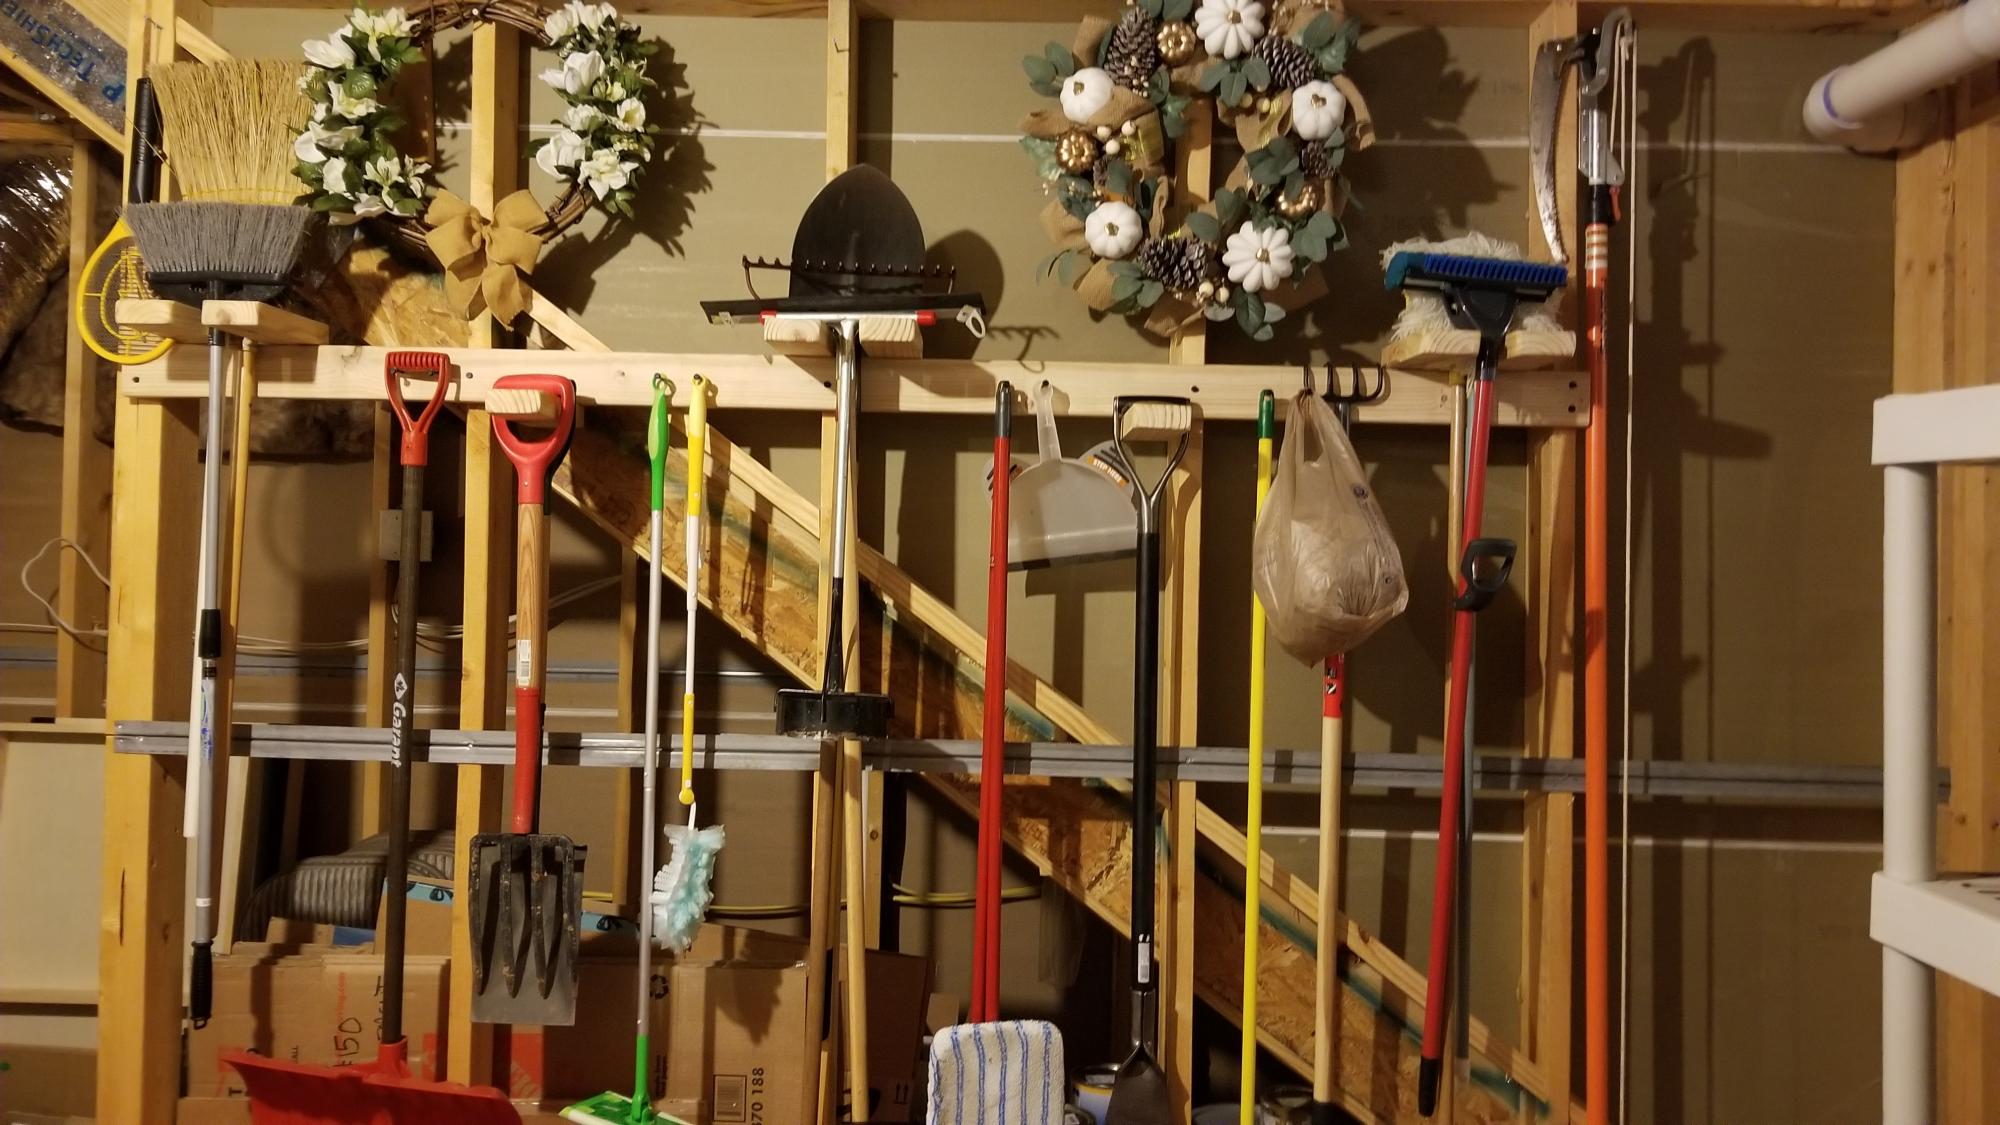
Super easy and useful project. I made mine 8 ft. long because my studs are on 24 in. centers and I had a lot of tools to hang. It was fun building it and even more fun getting all those tools and things off the floor.
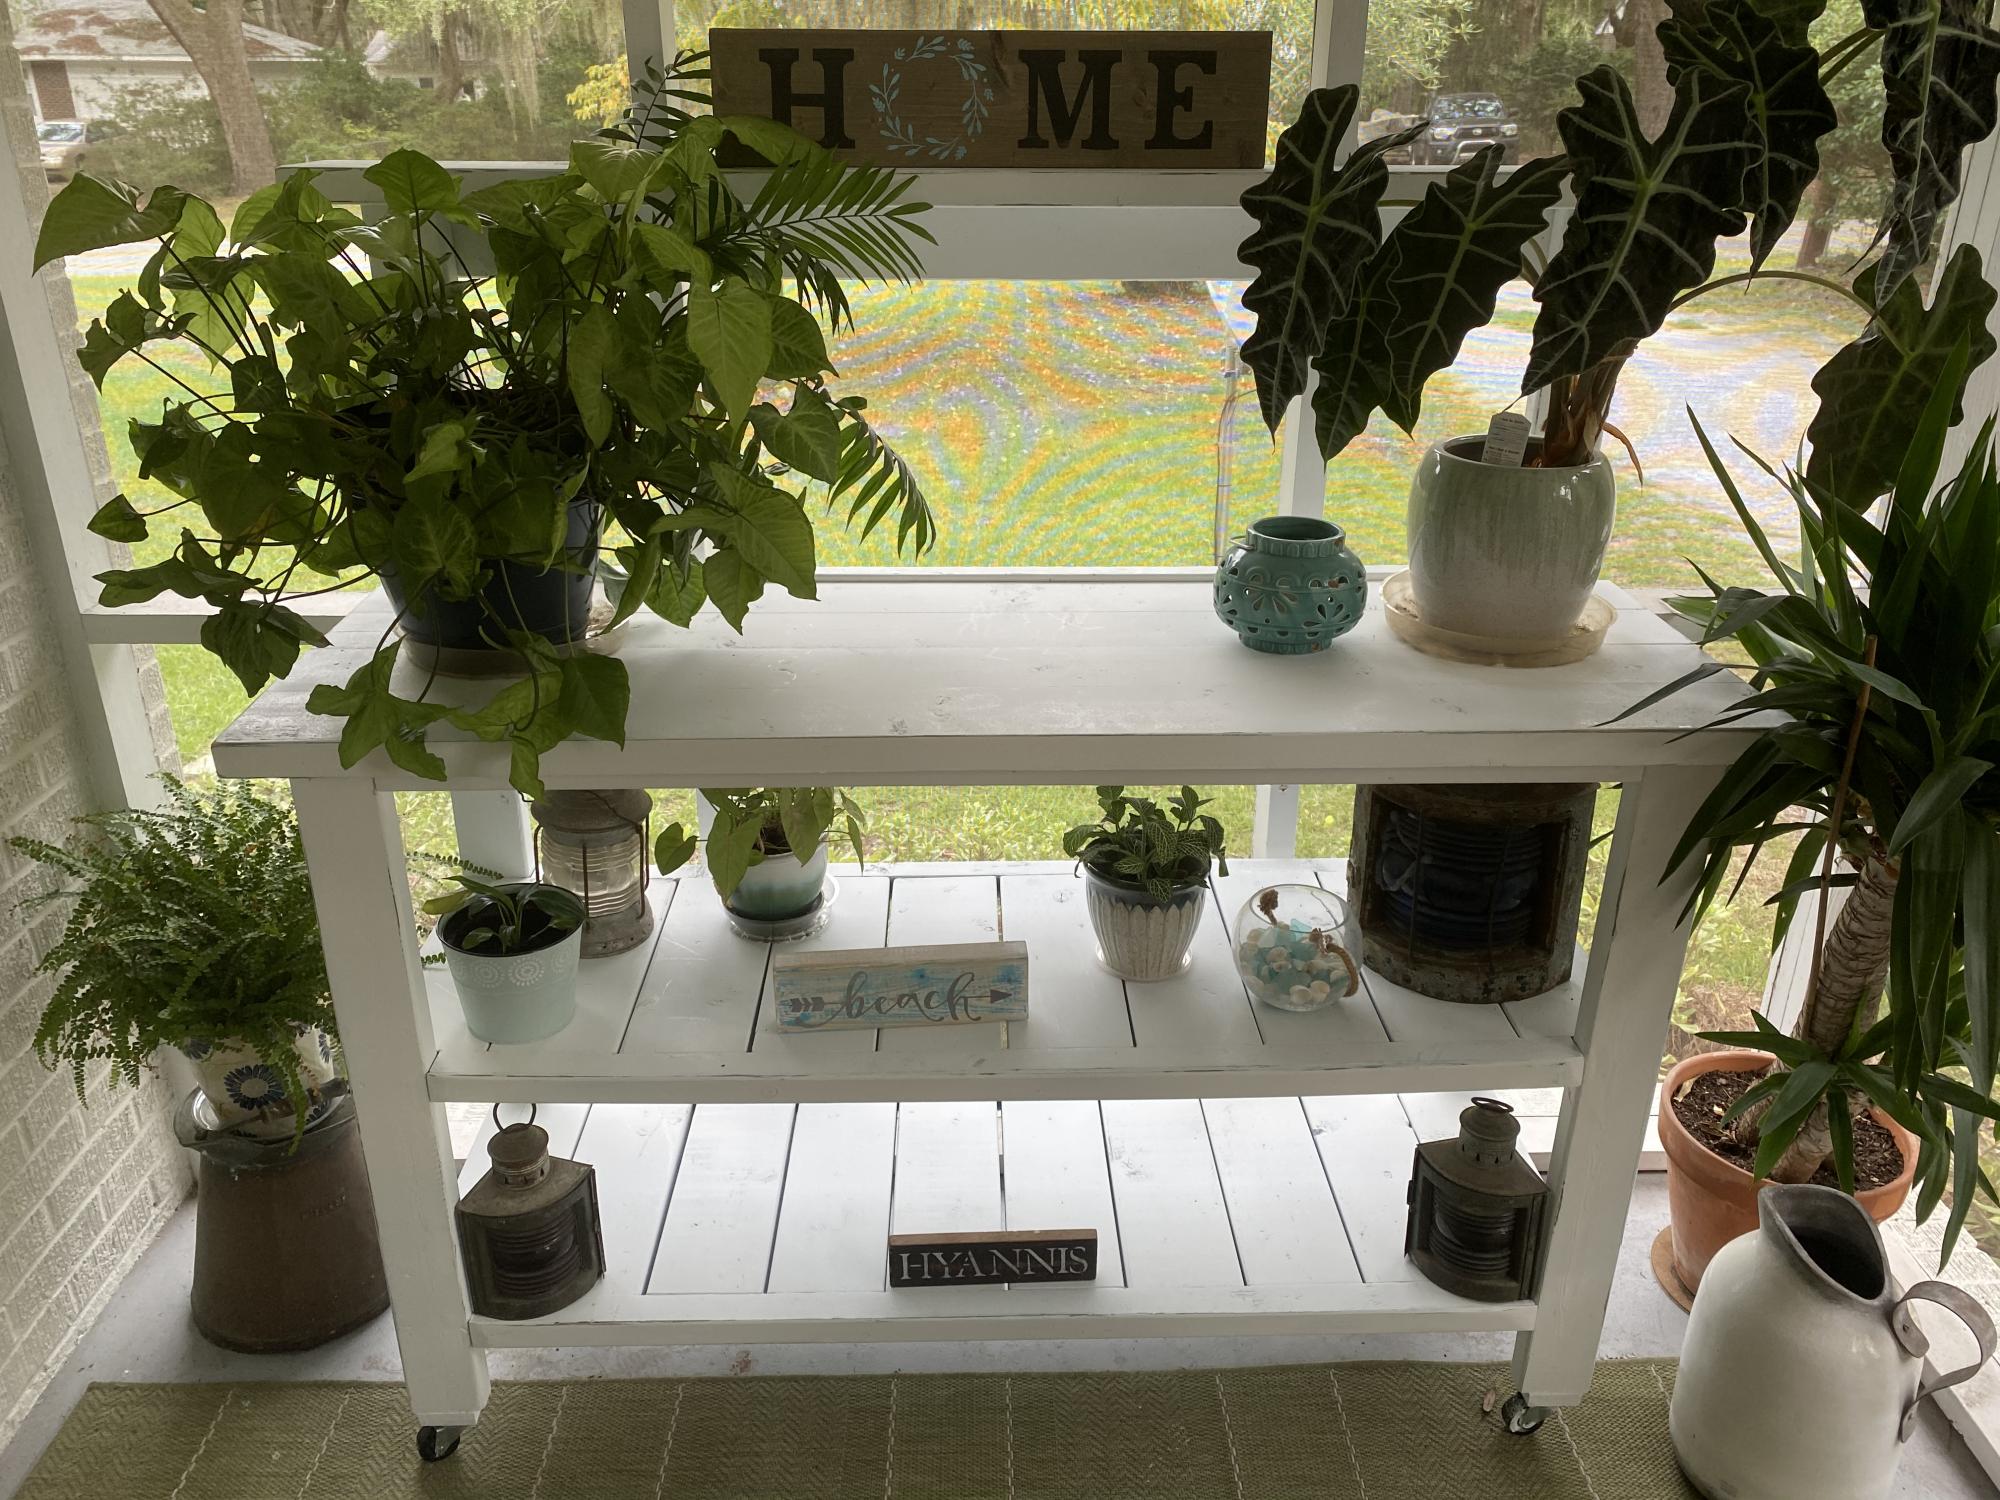
Made it a bit wider, added a shelf and wheels.
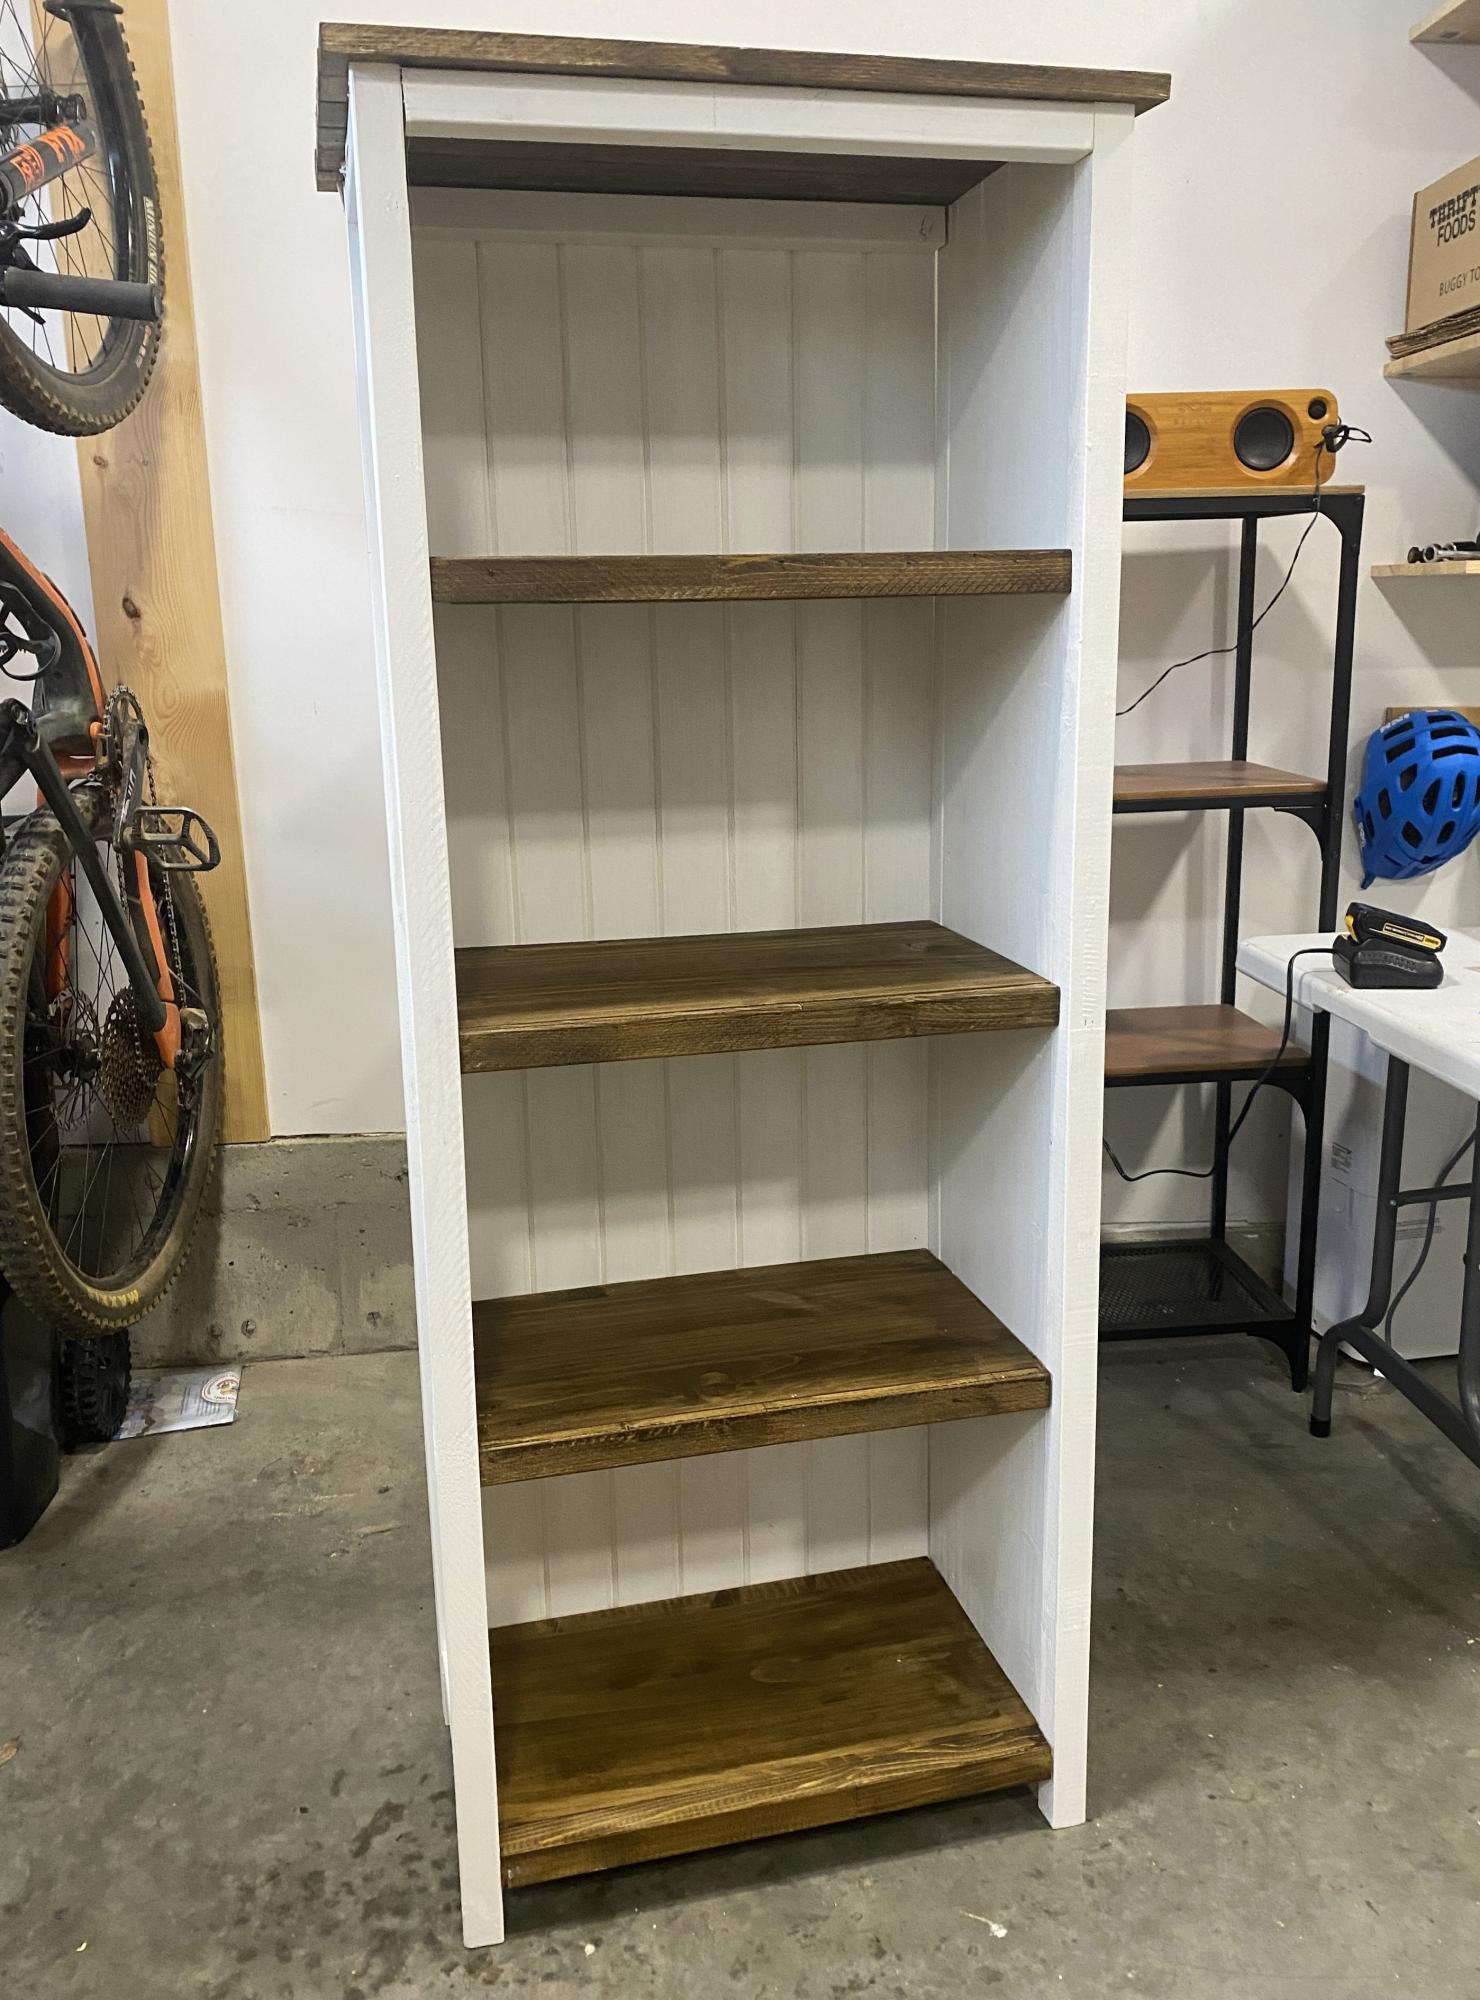
DIY Rustic Bookshelf
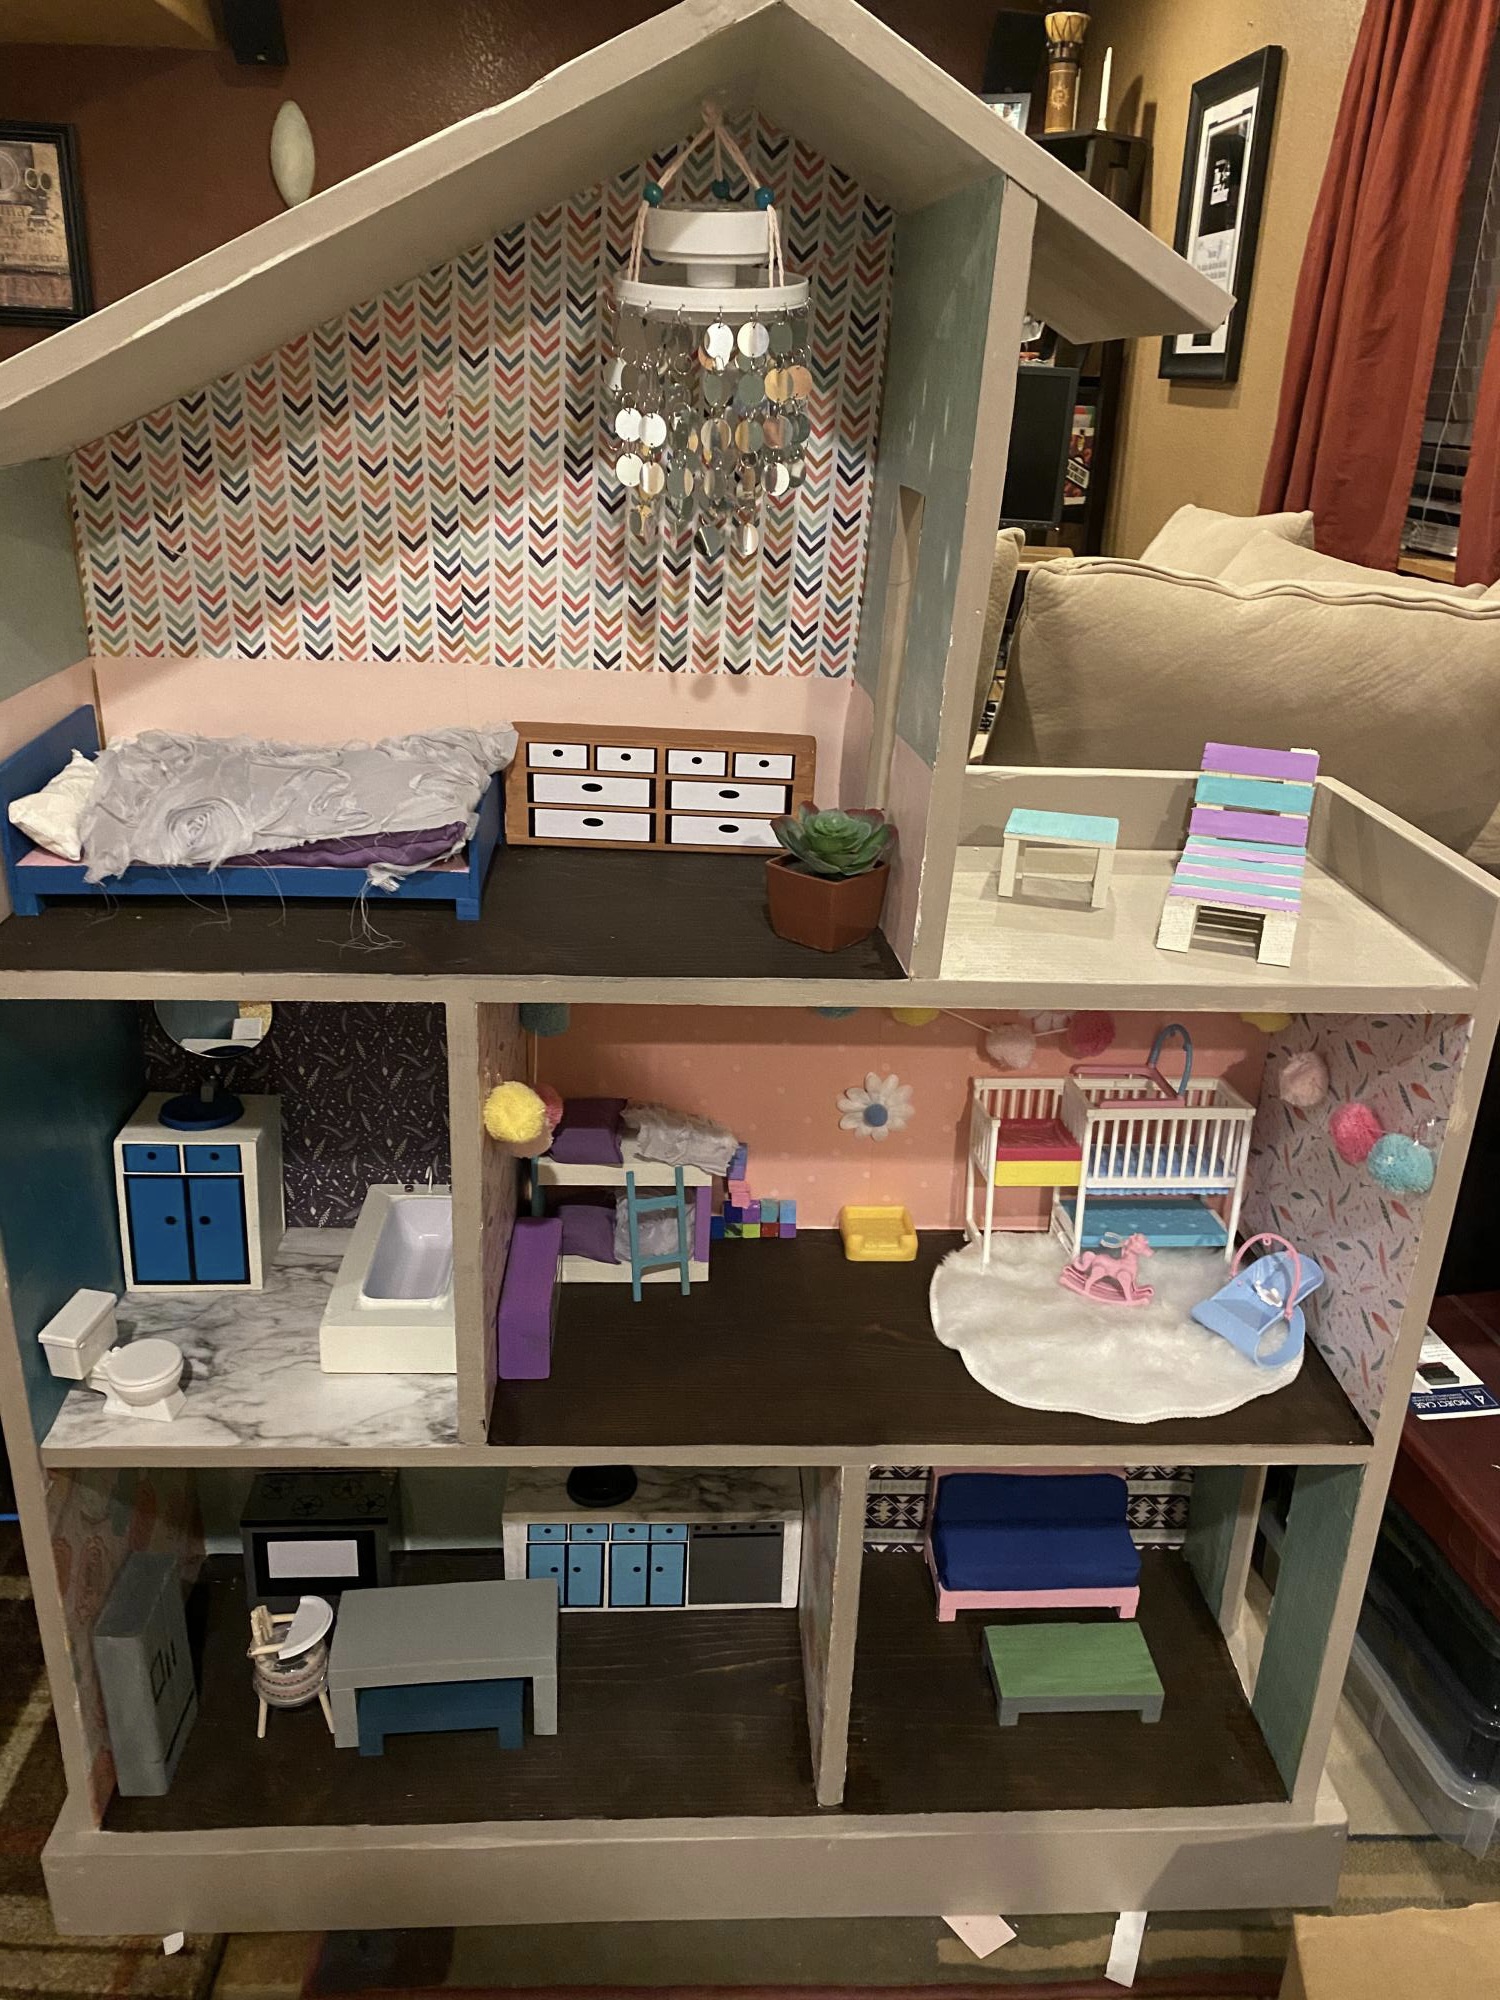
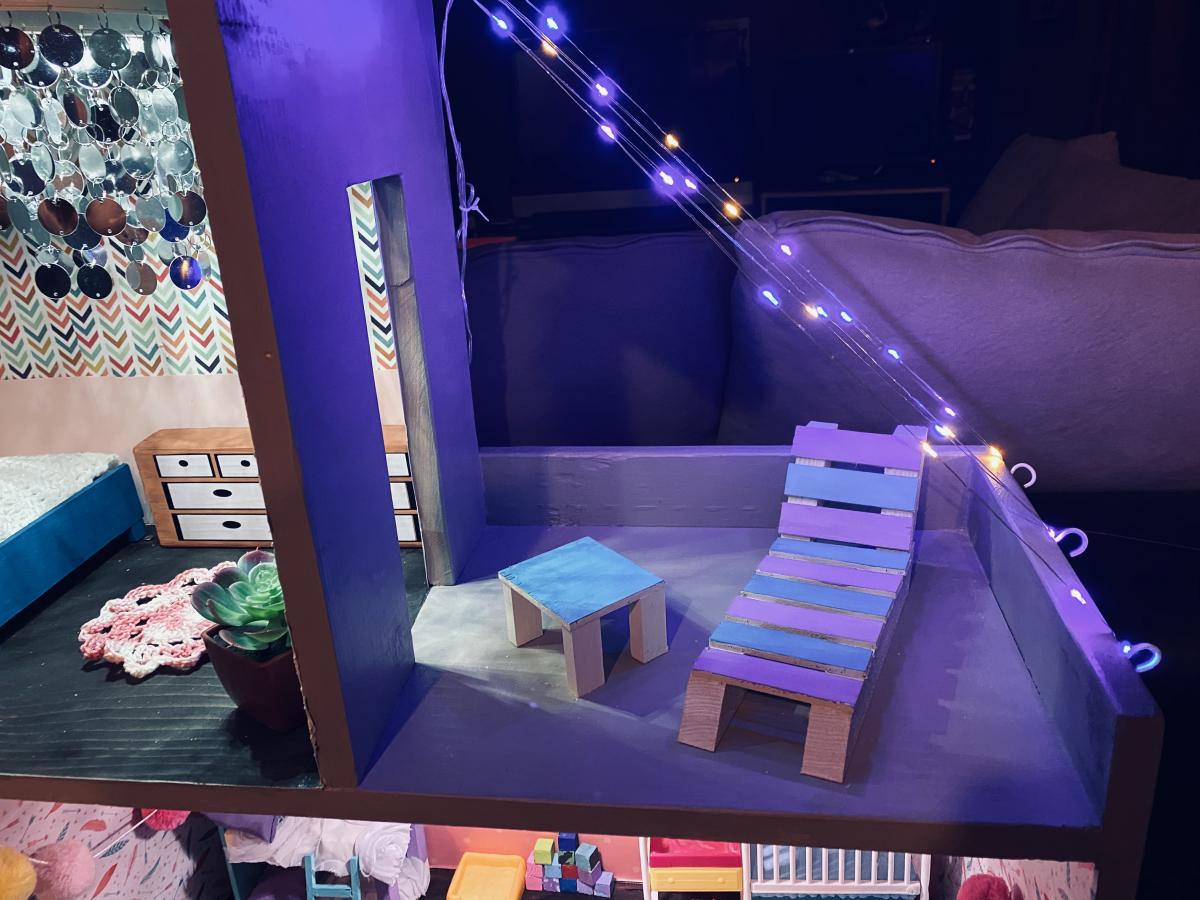
I made this dollhouse for my daughters birthday and made all of the furniture from scrap wood.
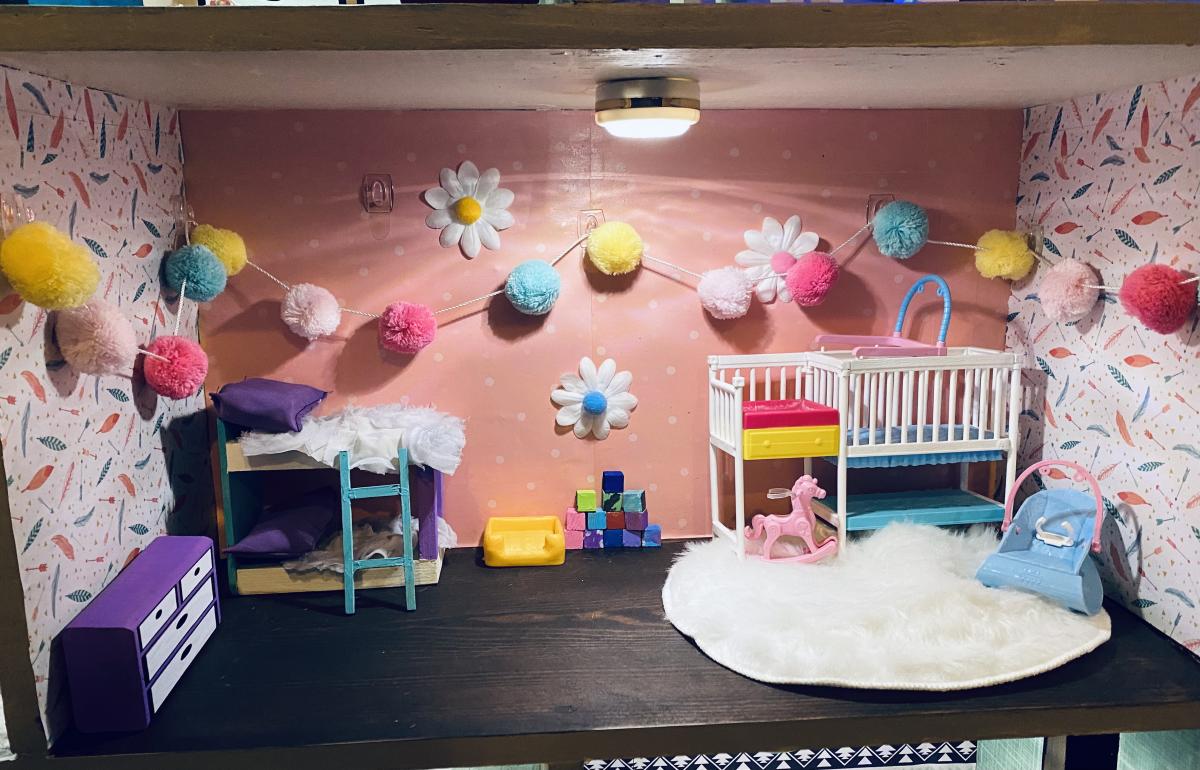
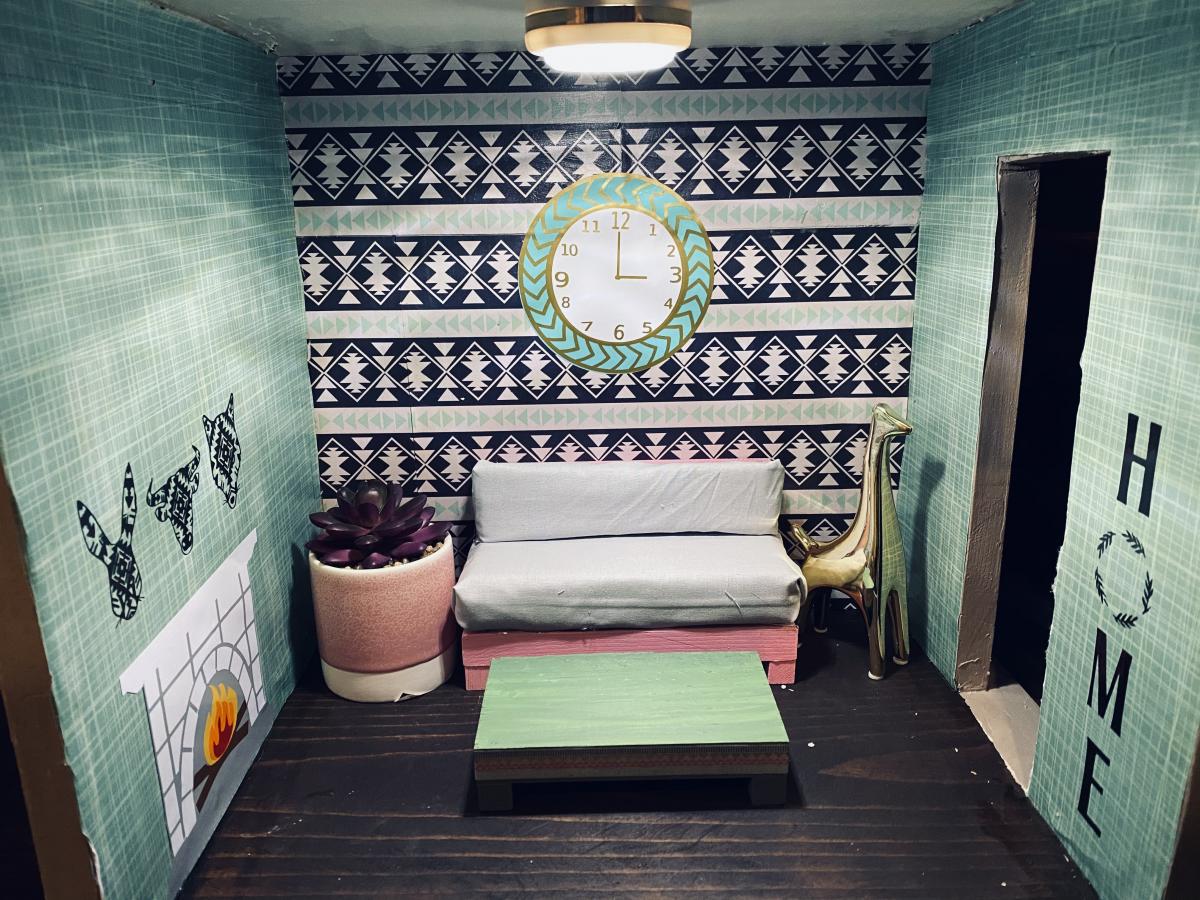
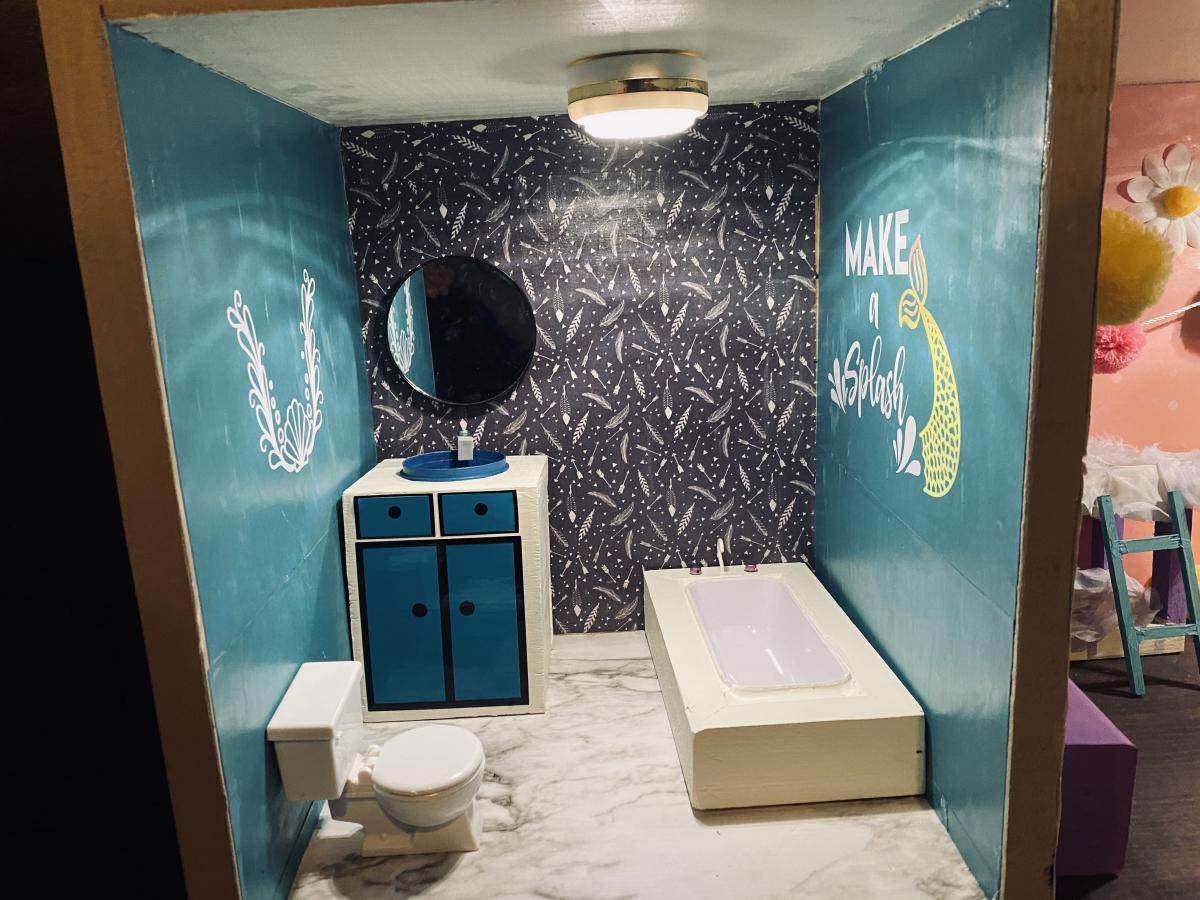
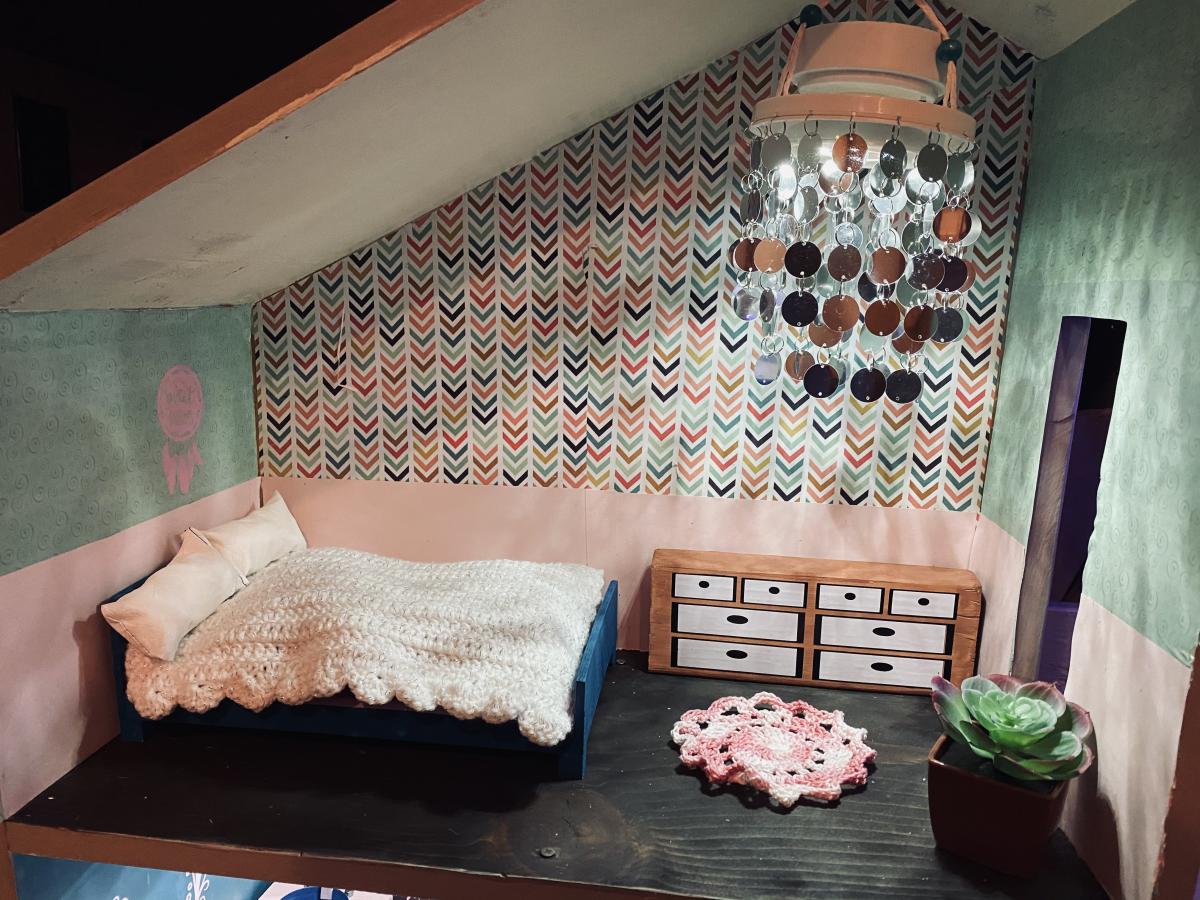

Built this from the plans on this site. I beefed up the top frame with 2 extra 2x4's

Love this plan and the table and bench turned out exactly as I hoped. I did it by myself except for a little heavy lifting from my sweetheart. I researched the finish online and I am so happy with the results.
Tue, 02/10/2015 - 08:19
We have been shopping for tables and cannot find anything we like for a good price. I keep going back to building one myself. Your table top looks great .. nice and flat. Did you follow the plans to a T, did you use a kreg jig?
Tue, 02/10/2015 - 22:13
I did change the dimensions of the top a little. I wanted a wider surface. I did use a kreg jig, it made it a breeze to build. I spent a lot of time on the finish, sanding, using steel wool, and several coats of polyurethane. Thank you for the compliment !
Comments
JoanneS
Mon, 03/19/2012 - 18:15
Awesome job!
This room is absolutely gorgeous! You did an awesome job- love all the finishes and colors, and the fantastic chairs!
alamanda973
Mon, 03/19/2012 - 18:31
Thank You!
Thank You! I am very happy how it turned out.
Guest (not verified)
Tue, 03/20/2012 - 05:31
Gorgeous! Your place looks so
Gorgeous! Your place looks so inviting!
Cindy from Indiana (not verified)
Tue, 03/20/2012 - 12:43
Looks fantastic!
Wow! This room turned out great - really fantastic job!
Ana White
Tue, 03/20/2012 - 23:19
Agreed! Huge accomplishment!
Agreed! Huge accomplishment! I can't believe you made 6 chairs! And they all look so nice and well made! Thanks for sharing, it's a lovely room!
birdsandsoap
Wed, 03/21/2012 - 01:54
I love the painted
I love the painted chandelier! This is a cool room, and you made the whole thing. wow.
claydowling
Wed, 03/21/2012 - 05:14
Chairs
I'm with Ana on the chairs. That's really amazing. The last time I made a chair it took a very full and tiring day to build the frame, and another evening to build the seat. Do you have tips for speeding the process up?
alamanda973
Wed, 03/21/2012 - 09:16
Thank you!
Thank you for all these compliments. I don't speak English very well because I'm french but I will try to make me understand. I built a chair with the modifications to see the result, then, I made all the cuttings with my miter saw for the 5 other chairs, then I made every chair within half an hour. I cut all that it was necessary foam and fabric in one step and I sewed everything for covers. To make covers, I made a paper pattern, then I sewed them in 10 minutes.
I am very happy I found this site with all that wonderful projects. It's my favorite site . Thank you Ana, you changed my life!
alamanda973
Wed, 03/21/2012 - 09:21
The frame
I built every frame within half an hour not the whole chair.
Milca (not verified)
Fri, 06/15/2012 - 07:44
Superbe!
Je suis impressionnee :)
kaytrishjr
Tue, 08/21/2012 - 13:16
Wow!
I'm totally amazed, talk about getting busy! Your room is beautiful!
Angela Kempf (not verified)
Thu, 11/29/2012 - 14:24
great job
Does your slip cover come off? I would like to make a couple of these to use as accent chairs in my living room. Yours look amazing.
I have one little boy, two cats, a large dog and a ferret. I need something that is WASHABLE =)
alamanda973
Thu, 12/13/2012 - 17:48
Slip Cover
The covers of the chairs come out. I used ana's plan to make chairs and covers. I modified the cover's plan to fit the chairs because I made them taller. It is very practical because I have a four-year-old girl even if I have no cat and no dog =)
http://ana-white.com/2010/11/plans/drop-cloth-parson-chair-slipcovers
sugarhigh1605
Thu, 07/18/2013 - 12:37
Beautiful!
I love your chairs and especially like the extra height. How tall did you make the backs of the chairs?
alamanda973
Sun, 07/28/2013 - 07:32
Height of the chairs
The back of chairs is about 60 cms from the seat.