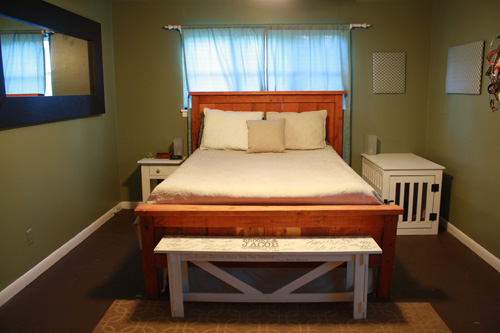
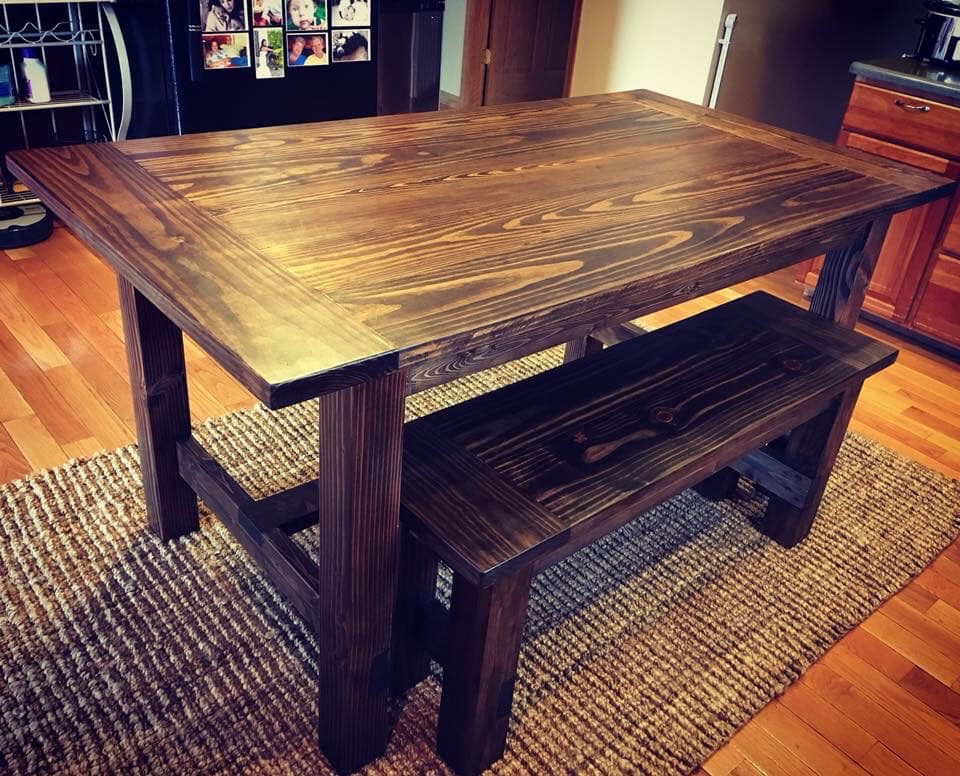
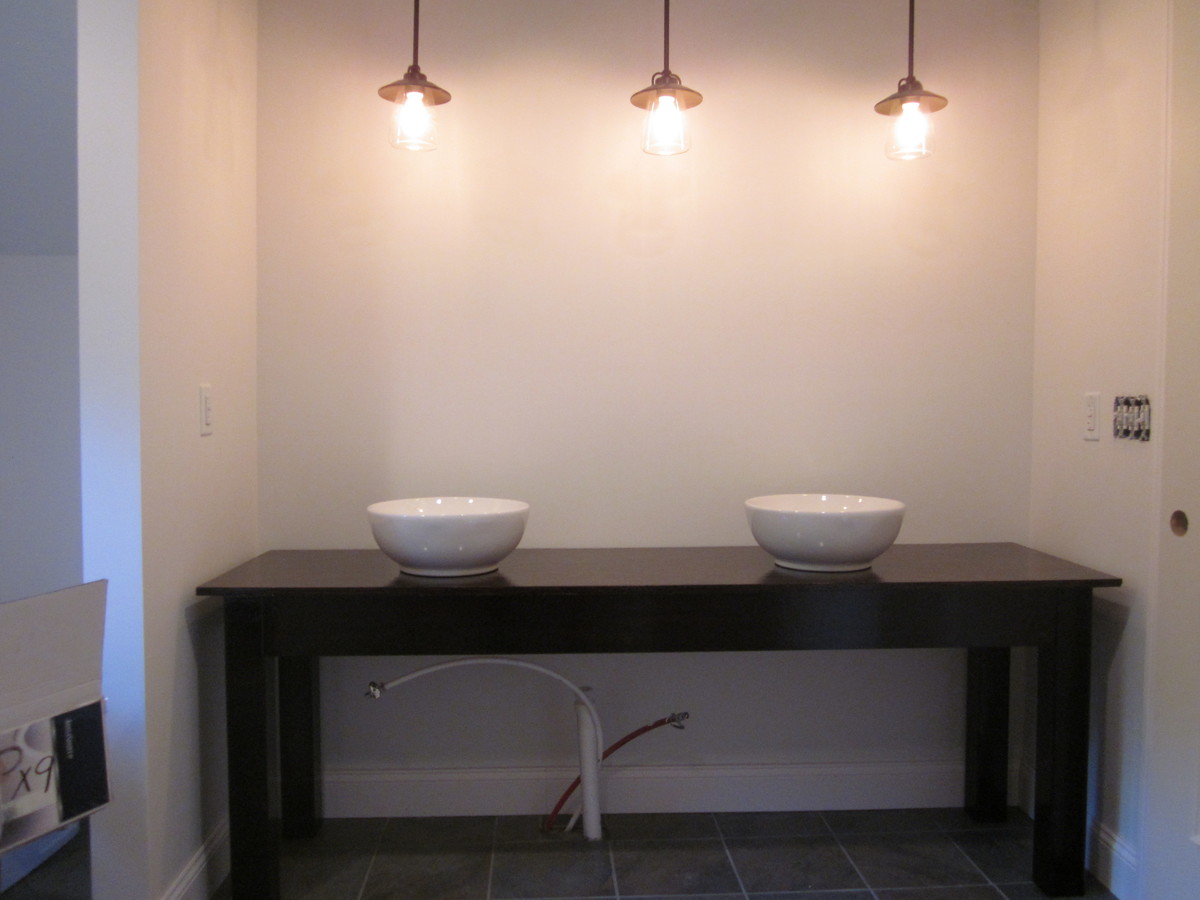
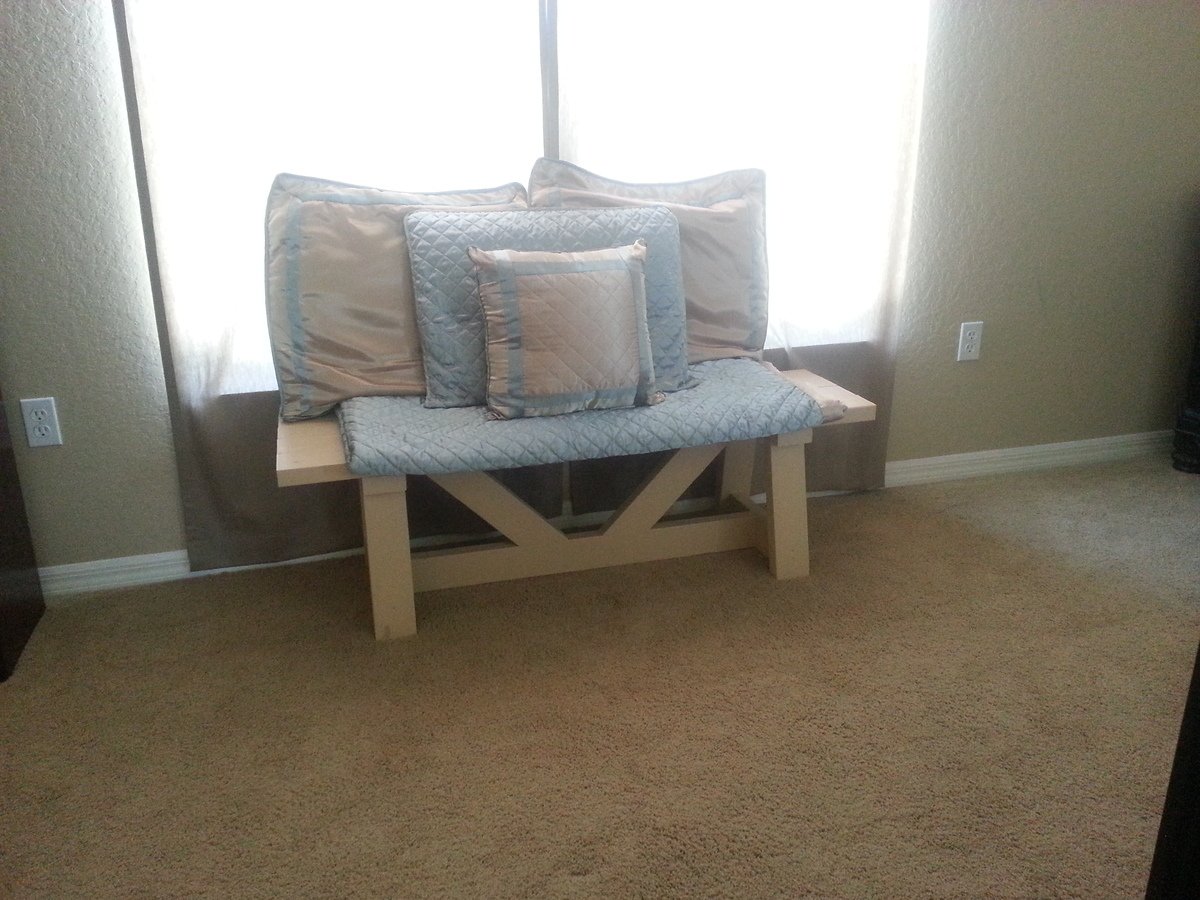
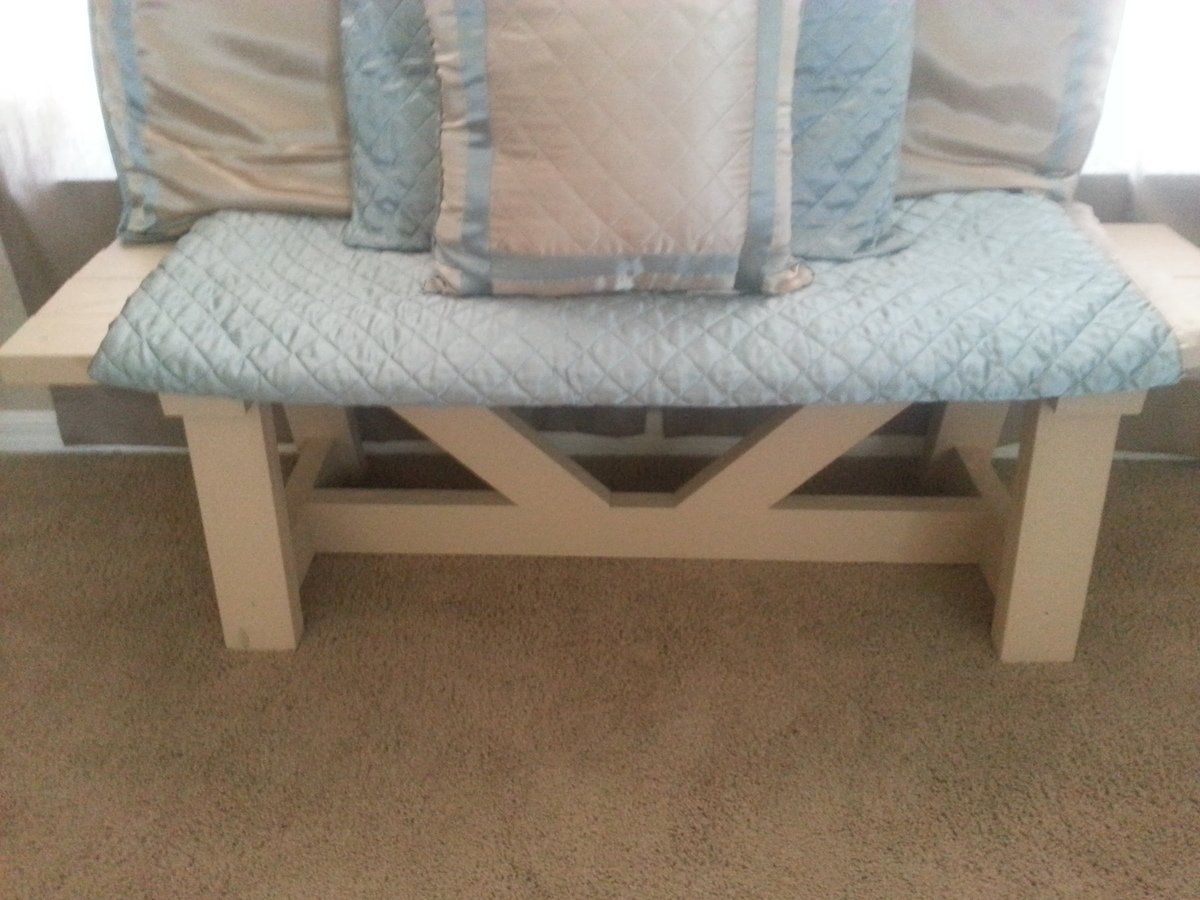
Dining Table

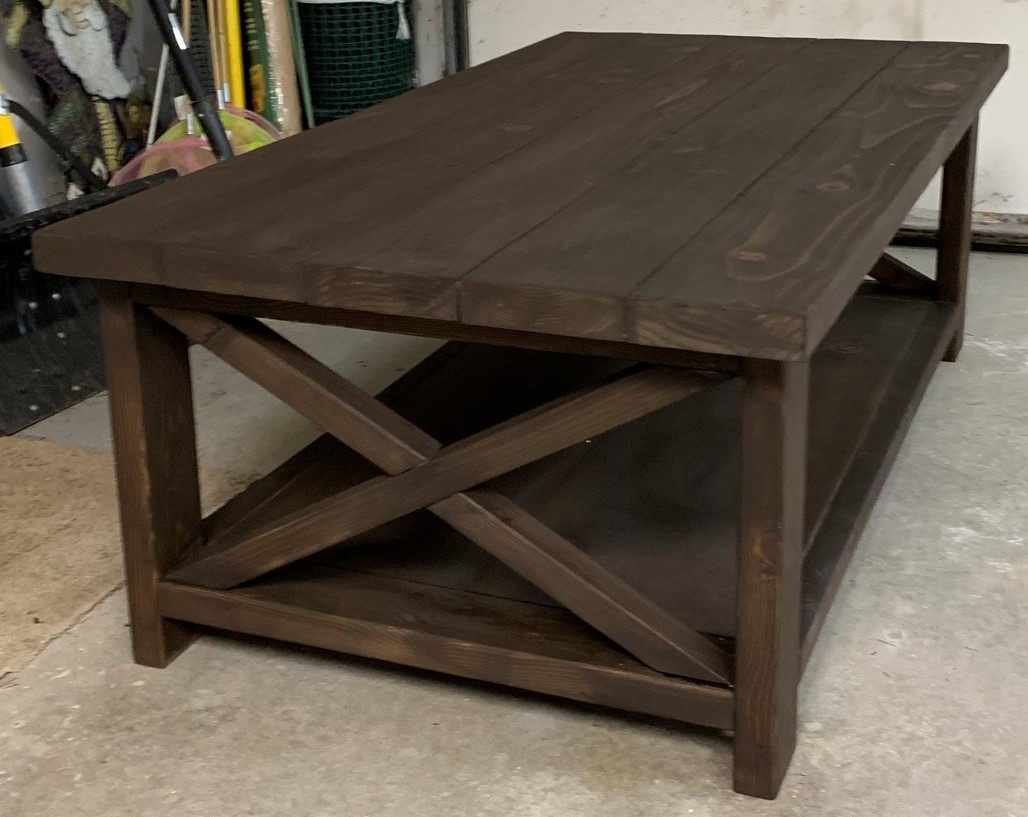
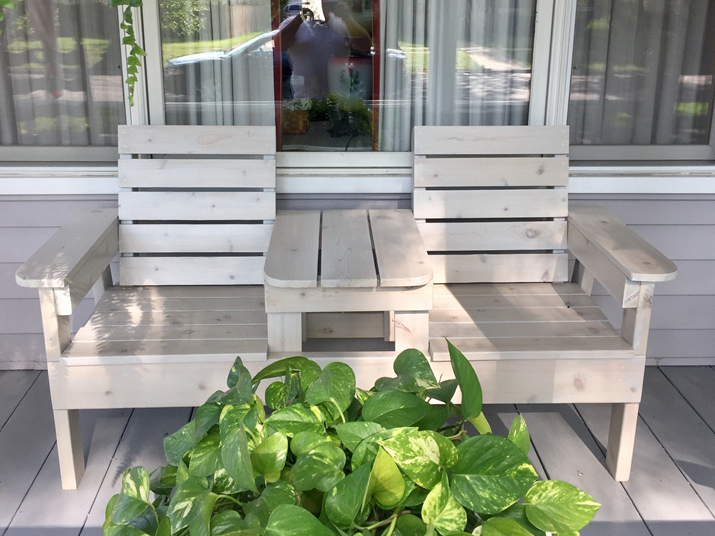
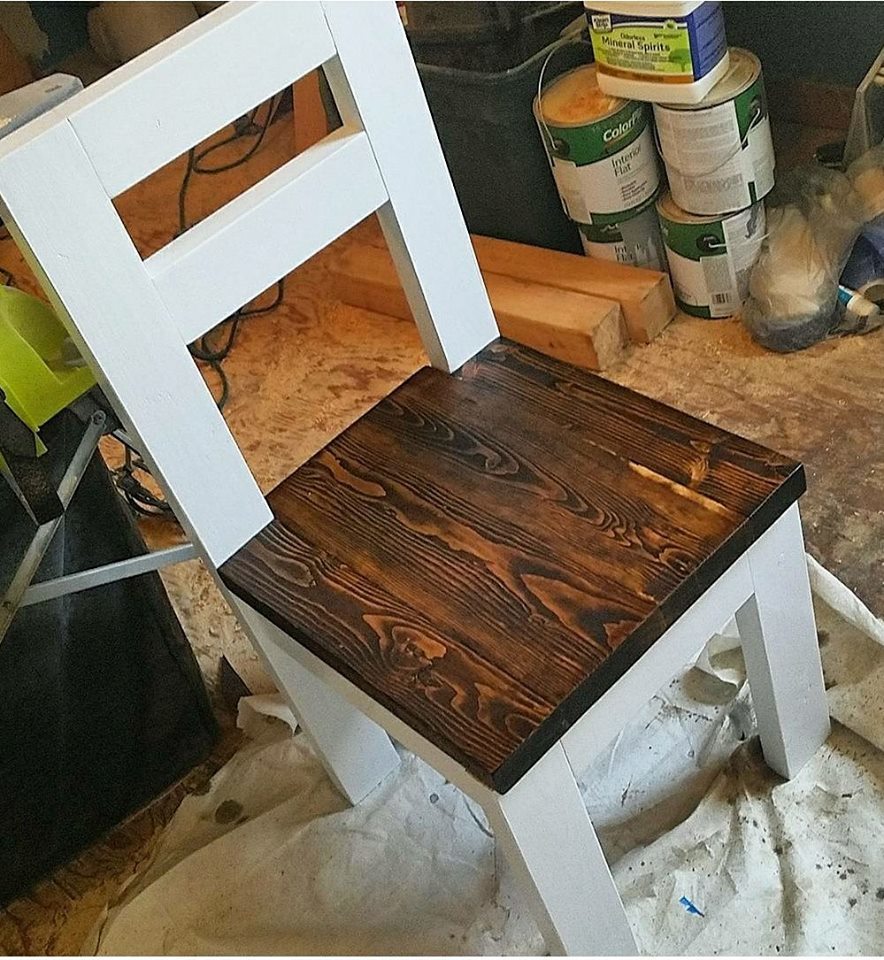
Used the pub table plans, but went regular dining table height so as to make matching dining chairs. Painted in Rustoleum Latex Ultra White, and Stained in Minwax Espresso. Built using Douglas Fir lumber. Table top and chair seats are 2x4's and 2x6's that were biscuit joined. Table has adjustable leg levelers drilled into bottom of legs.
Built from Plan(s)
Estimated Cost
$200 for Table and 4 matched chairs
Estimated Time Investment
Weekend Project (10-20 Hours)
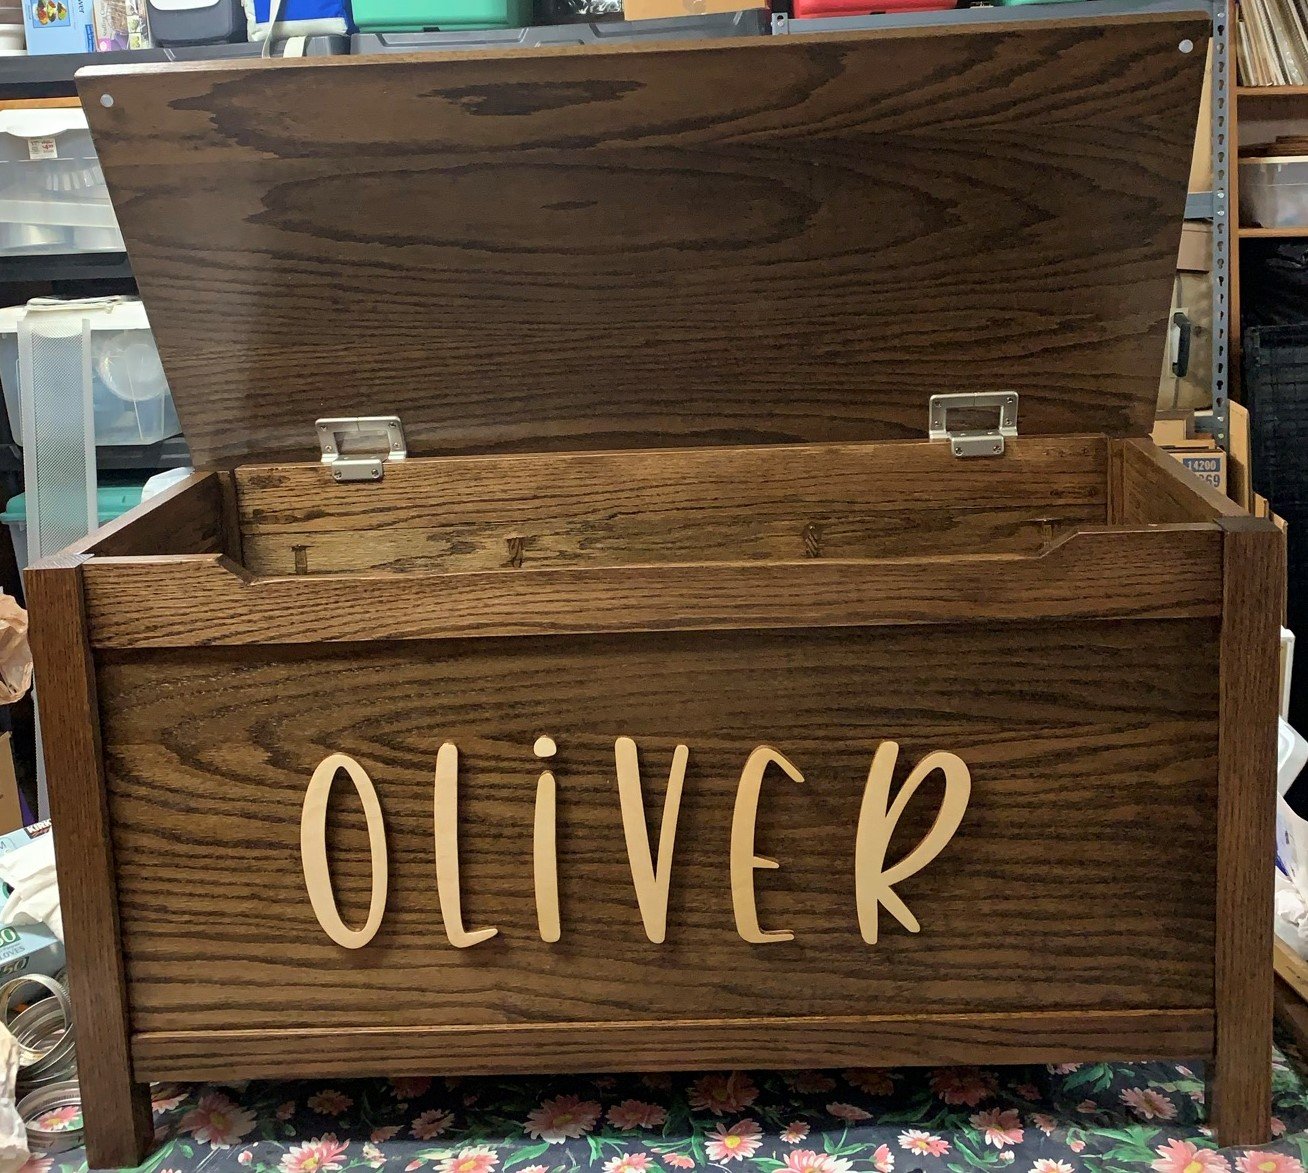
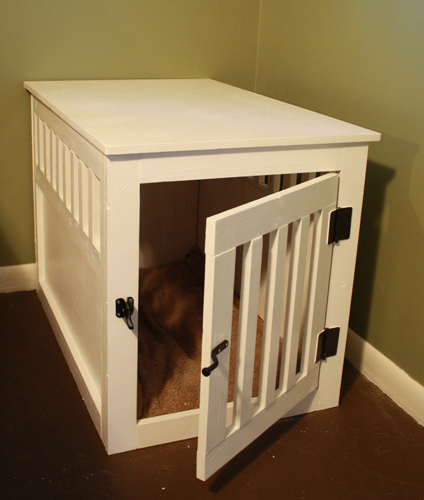
Finish Used
Rustoleum Ultra White paint, Minwax Espresso stain, Minwax Gloss Fastdry poly
Recommended Skill Level
Intermediate