Community Brag Posts

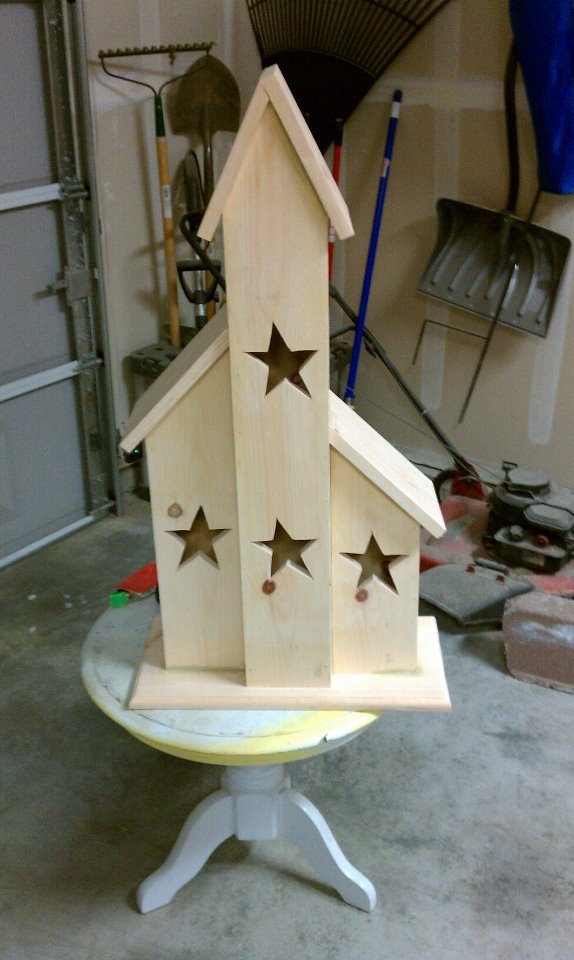
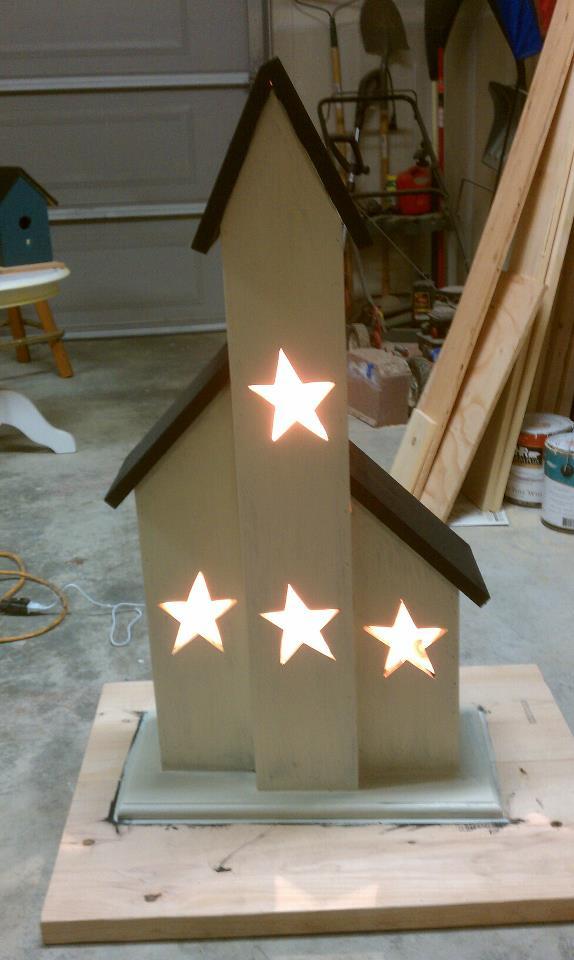
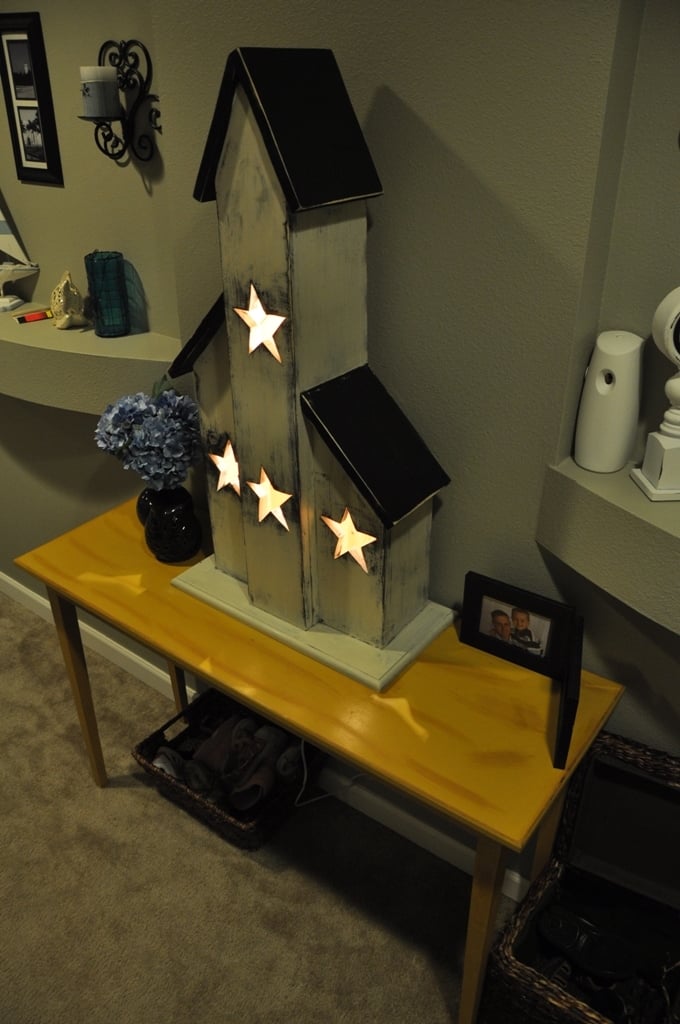
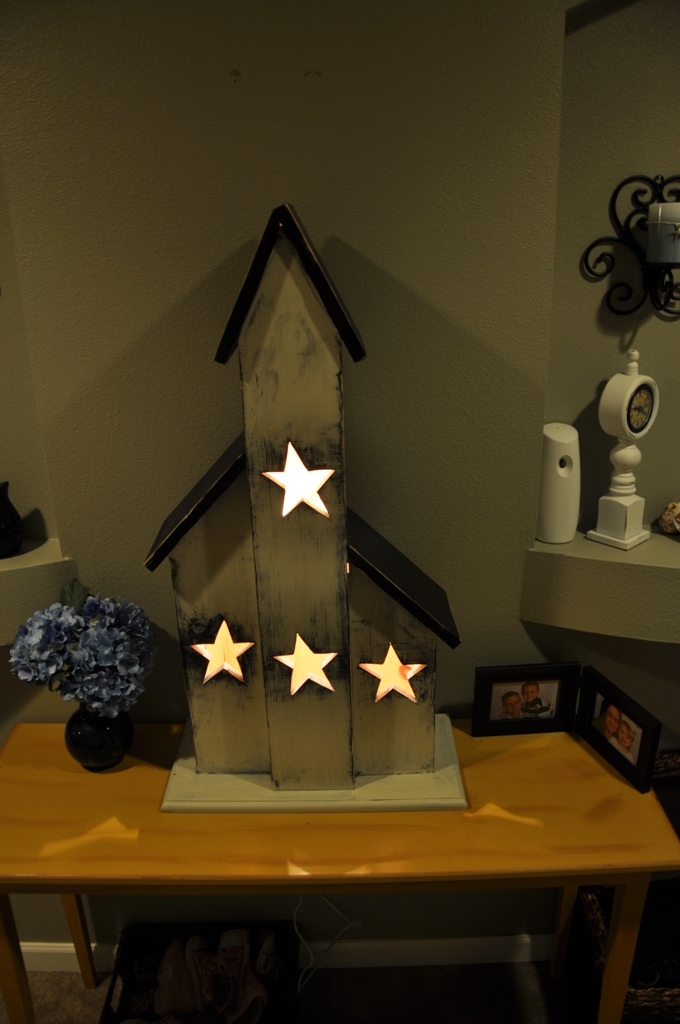
Lighted Saltbox House

My wife went shopping one day in a primitive furniture shop and found this saltbox house that she loved. So I decided to get a picture of this house and build it myself. This project was a lot easier than I thought it would be. Hope you enjoy.

Estimated Cost
$18.00 for wood and left over paint sitting around.
Estimated Time Investment
Day Project (6-9 Hours)
Finish Used
One layer of black paint, covered with one layer of cream paint, distressed and clear coated.
Recommended Skill Level
Beginner

Comments

candrea1402

Sun, 08/12/2012 - 13:45

Love this one could you possibly give me the dimensions ? would love to try building this

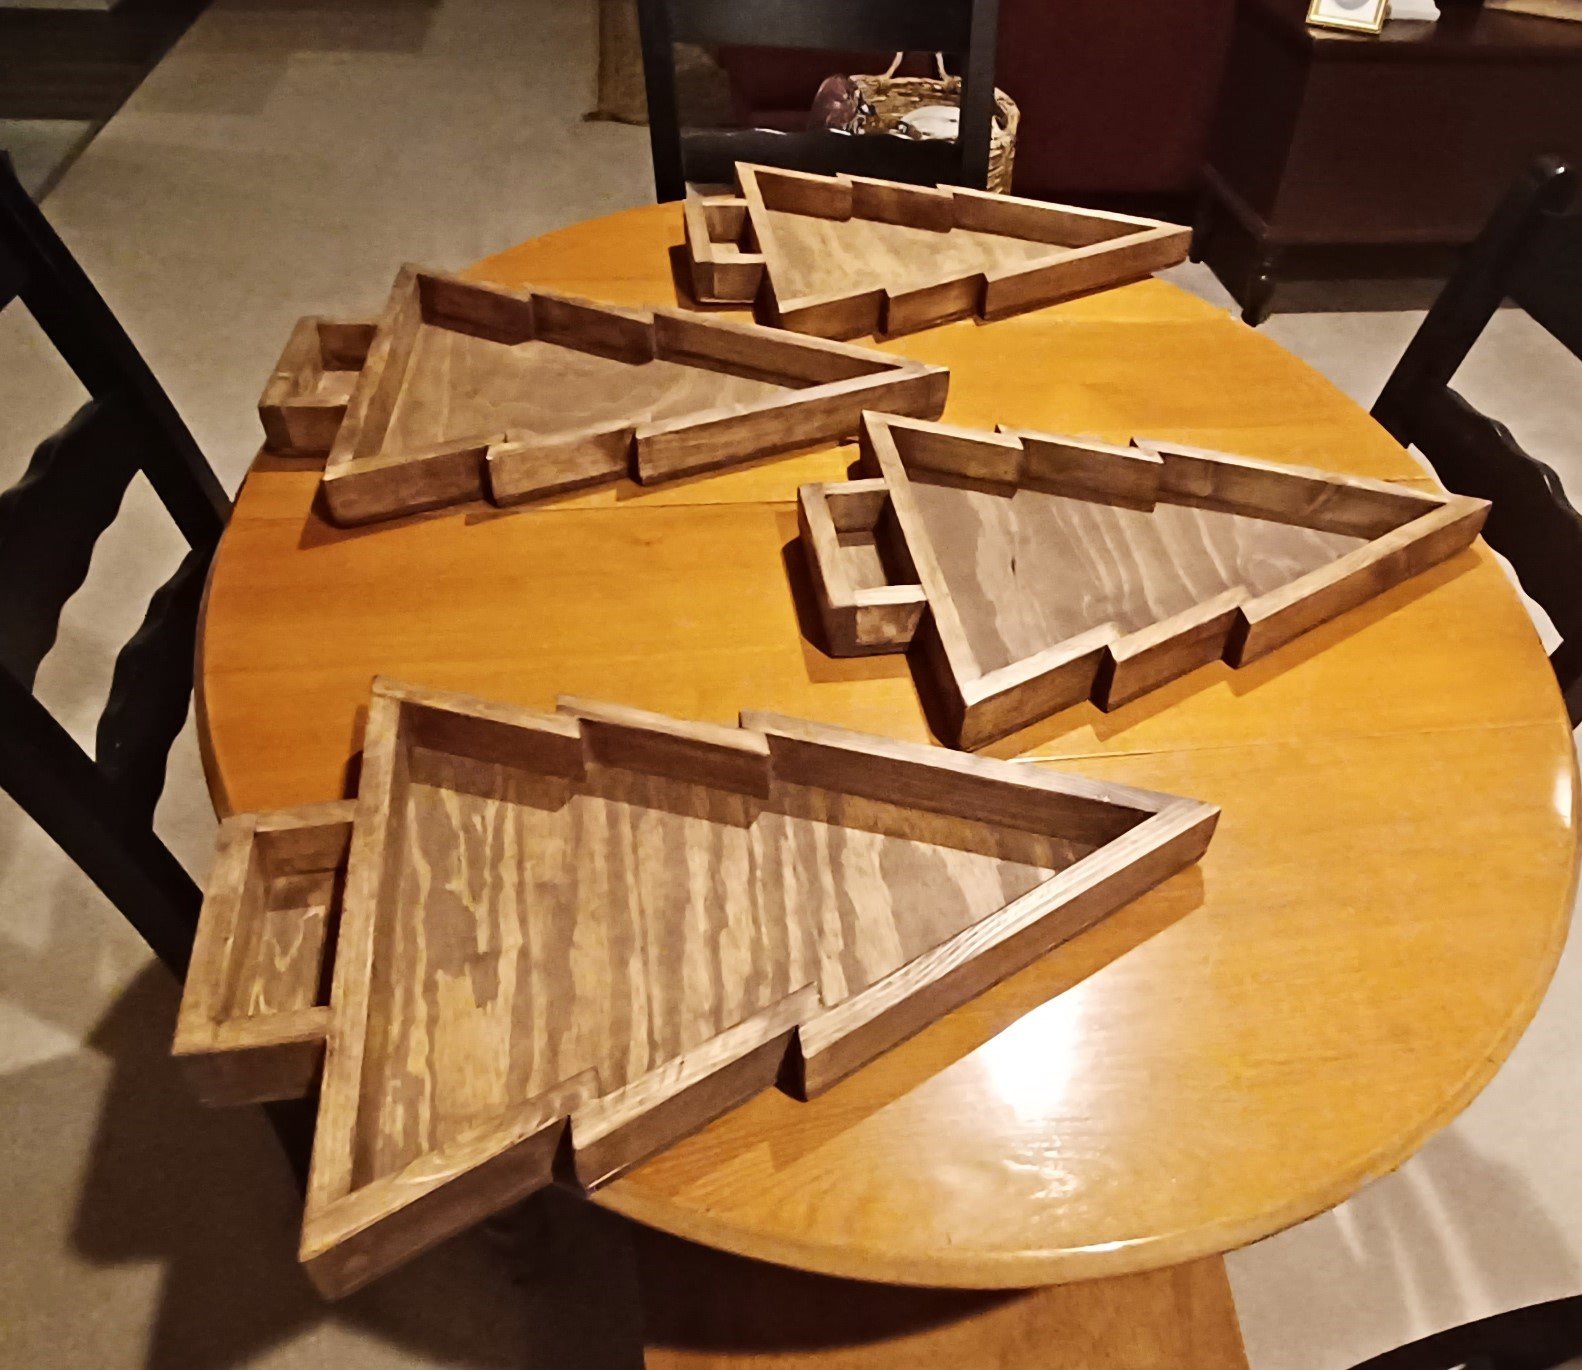
DIY Christmas Tree Trays

Submitted by Anonymous (not verified) on Thu, 11/21/2024 - 08:40

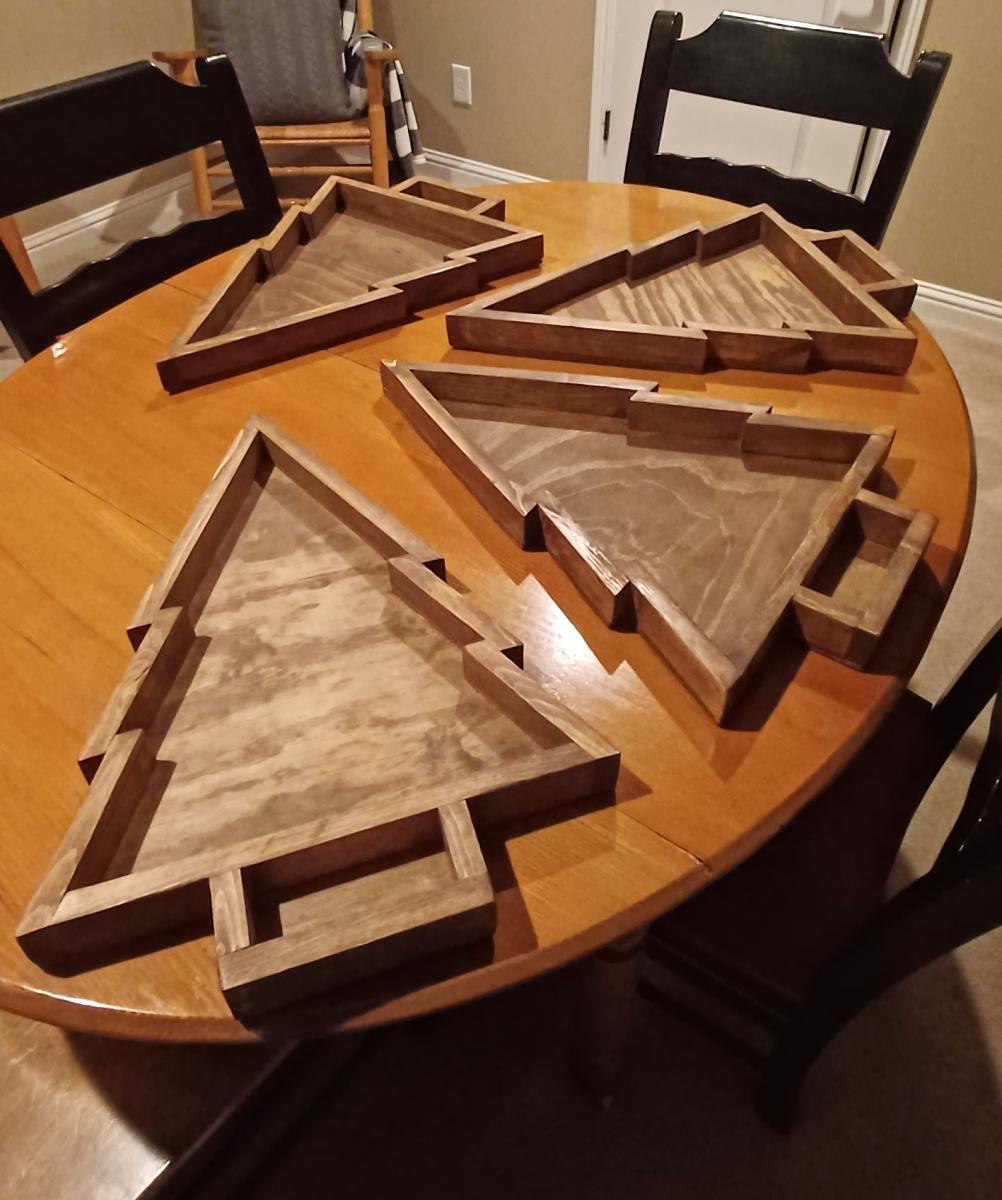
Christmas Tree Trays . Made these for my wife to give away as gifts as Hostess gifts to fill with food or other items. Also can used as a decoration. Easy to make and all wood user was scrap. Used Butcher Block stain. - Wfisk

Built from Plan(s)
Seasonal And Holiday

Pantry Wall

Submitted by amiles573 on Tue, 03/28/2017 - 13:41

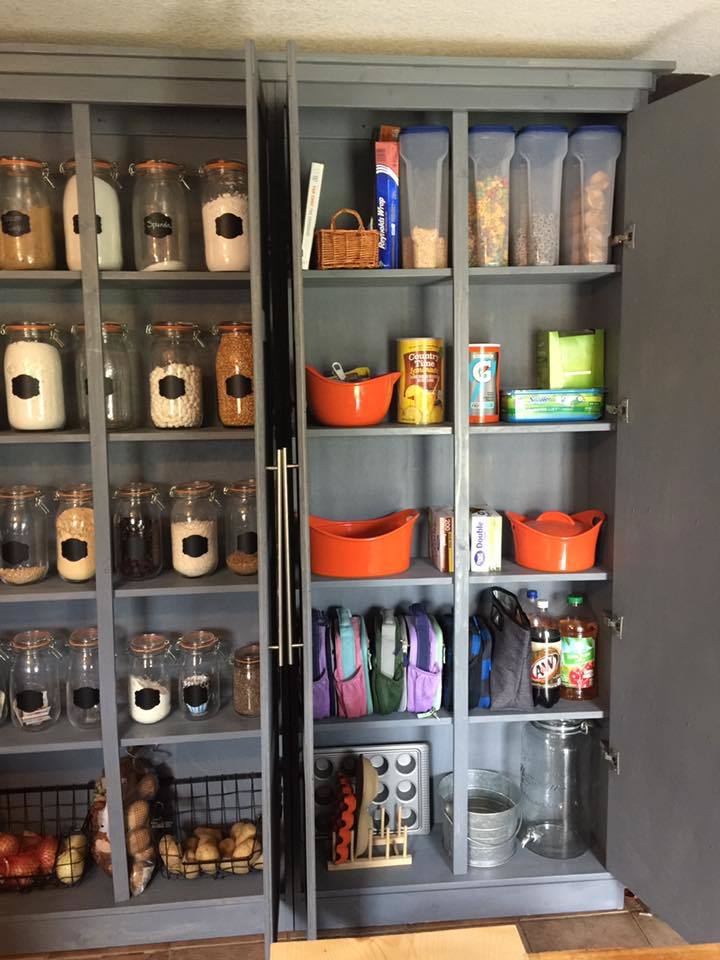
I modified the origianl plans by making the cabinet taller.  I also built 2 cabinets and trimmed them both together to make it appear as if it is 1 giant cabient.  It measure over 7 feet tall and just over 6 feet wide.  I did add an additional 1x2 brace in the center of the cabinet to help support.  I also cut an additional 1x4 to use a brace when anchoring it to the wall.  I also chose to add an additional 2 trim pieces to each door because they are much taller than the original plan doors.  

Built from Plan(s)
Estimated Cost
$400
Estimated Time Investment
Weekend Project (10-20 Hours)
Finish Used
Varathane Stain, Weathered Grey
15 7/8" center to center cabinet pulls
Fully Inset, Frameless Hinges
Recommended Skill Level
Beginner

Comments

Playroom Stage!

Submitted by kdins31 on Thu, 01/02/2014 - 09:48

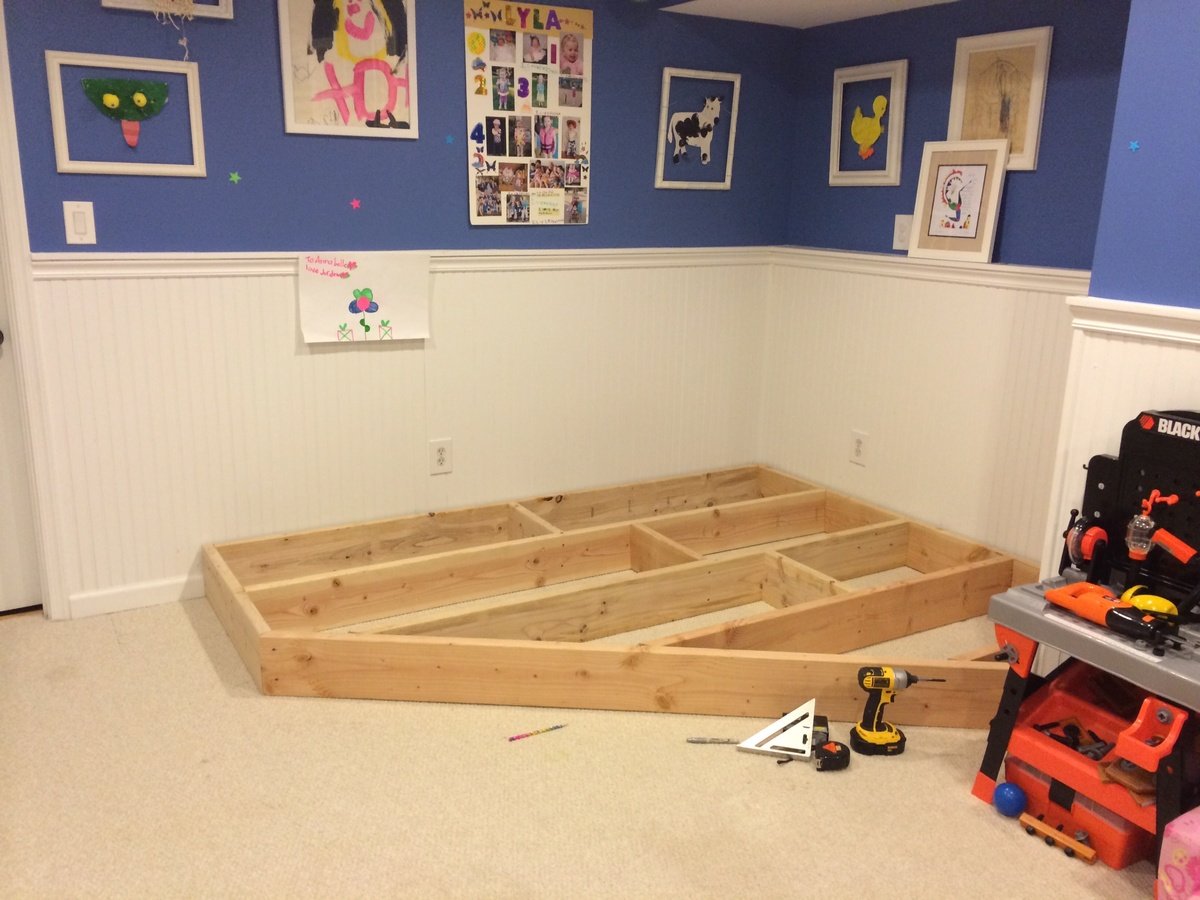
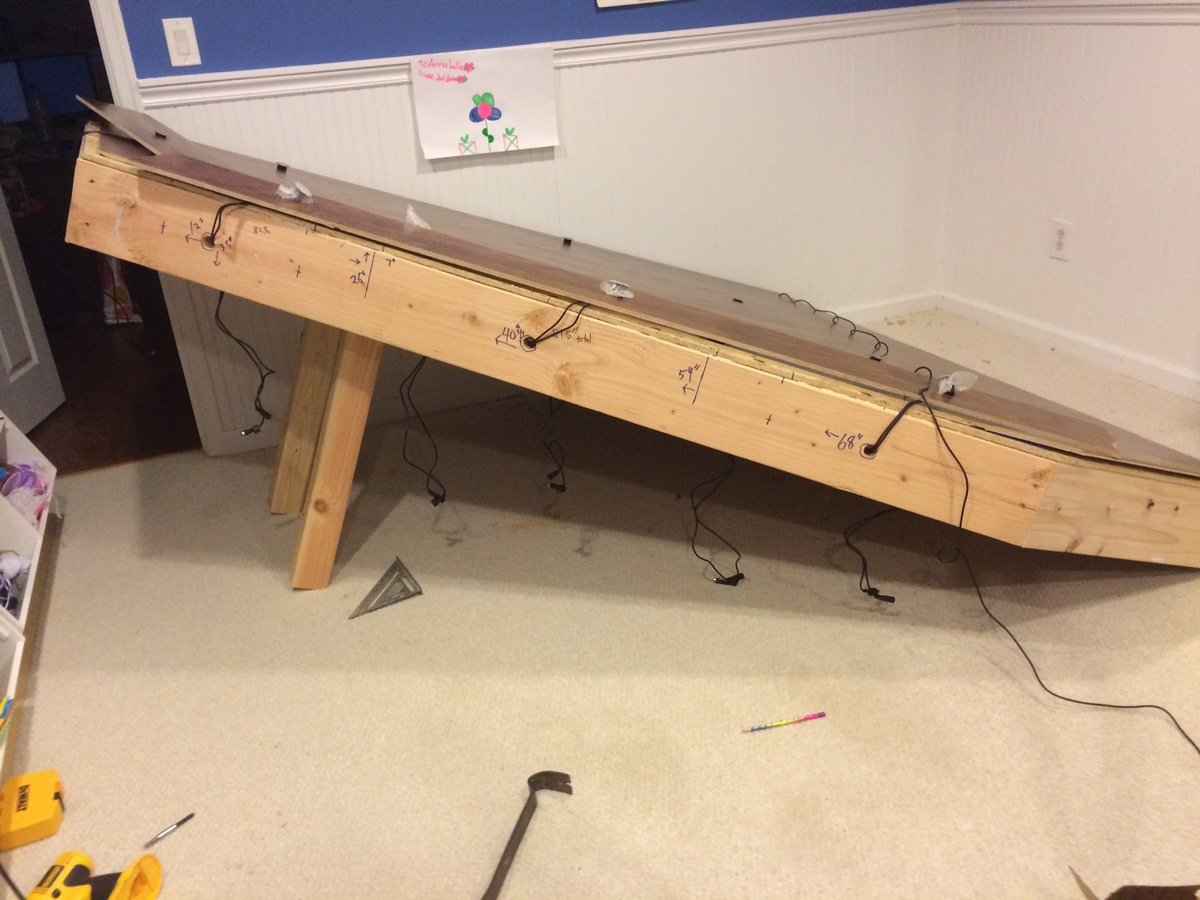
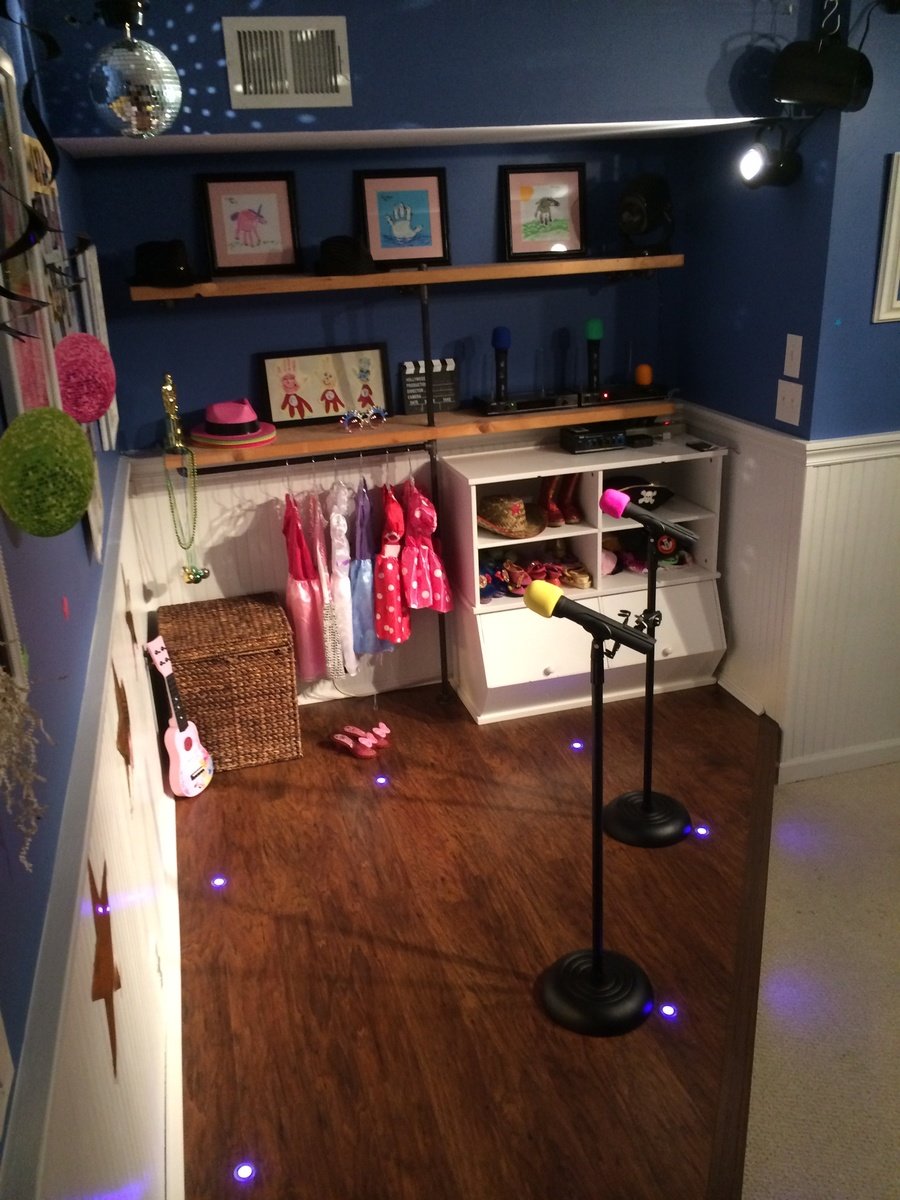
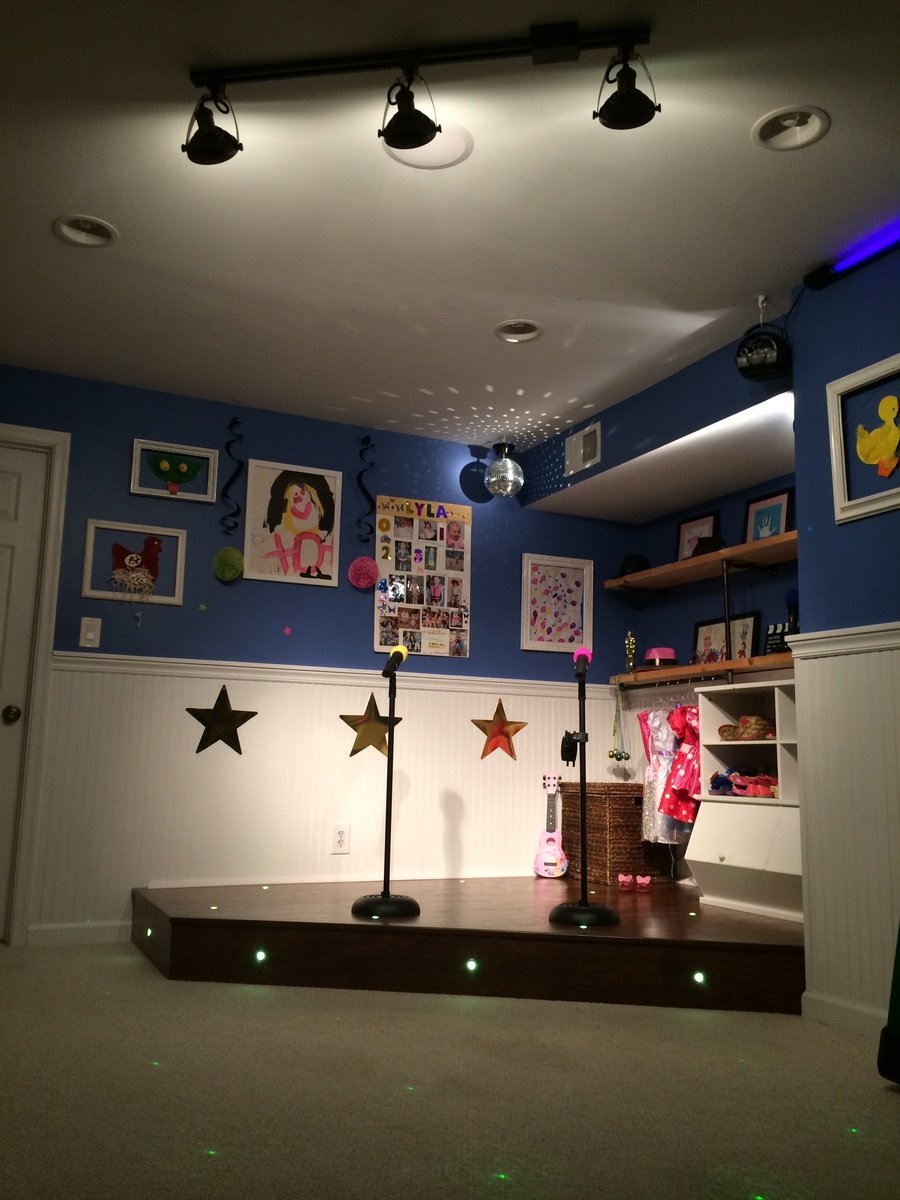
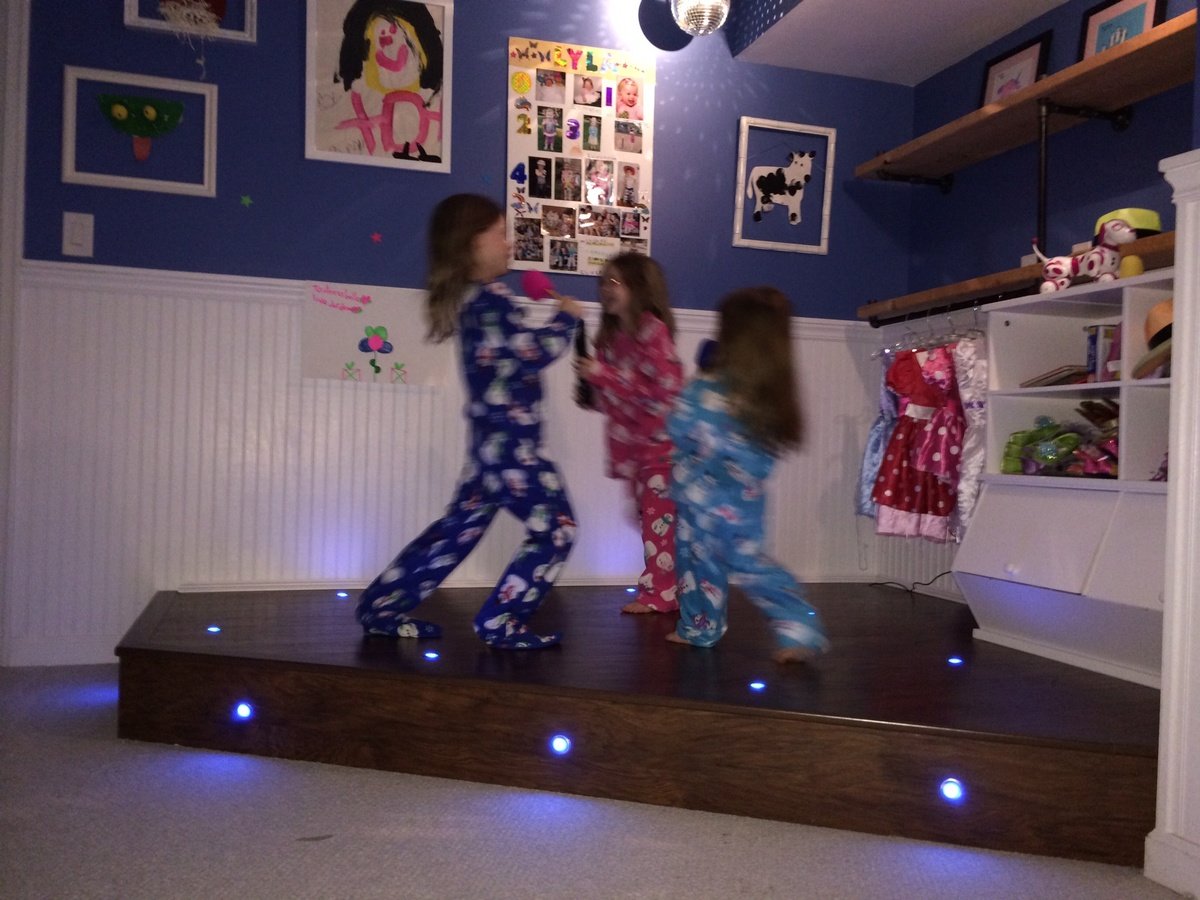
I had a perfect corner in our playroom that was reserved mostly for clutter and always wanted to do something fun with it. The base is made with 2x8"s topped with Handscraped Hickory laminate flooring. Bored holes into the floor and installed 1" diameter color-changing LED decklights. Added theatre-style tracklights, disco ball and other dance floor lighting for extra effect. Of course the stage wouldn't be complete without wireless microphones for karaoke and mic stands hooked up to a small amp and speakers in the ceiling. I made the shelving on the right side with 1/2" black pipe and used leftover 2x12" shelves from an old garage shelving install from 7 years ago! The kids were ecstatic on Christmas morning for the reveal!

Estimated Cost
$125-150 for wood, flooring and moldings. Black pipe is very inexpensive.
Estimated Time Investment
Weekend Project (10-20 Hours)
Finish Used
Send me message if you'd like to know which products I used, e.g. mics, speakers, lights, etc.
Recommended Skill Level
Intermediate

Comments

Garofola2013

Wed, 04/16/2014 - 11:53

I would like to know which products you used...e.g. mics, speakers, lights, etc. We want to do this is in our basement =)

THANKS!

Snix26

Sun, 07/27/2014 - 15:52

This is great! I was just wondering what your dimensions were? I've been looking for something like this to do for my niece but have been struggling to find a plan and figure it out myself LOL.

kdins31

Tue, 08/05/2014 - 05:58

Hello, the back wall is 8' and side wall is 6.5'. The stage comes out about 2.5' on each side then the front is around 7'.

Hope that helps, good luck!

atilley

Tue, 11/18/2014 - 19:37


Great job!! can you tell me where you got the microphones and mic stands for this?


dmbphoenix

Sun, 04/10/2016 - 14:44

Actually, I was wondering ,what lights did you use? I'm working on a very similar project and was curious to the lights your used please.

Mls4460

Wed, 11/13/2019 - 09:53

Do you have the actual plans to build this?

I would love to copy this idea for my 4 year old!

pixelpusher67

Sat, 09/28/2024 - 11:01

I would love to build this for my kids! Can you send me the details for everything? (dimensions for the stage, lighting, microphones)? Amazing job!

AP - Play Kitchen

Submitted by Anonymous (not verified) on Sun, 05/31/2020 - 19:20

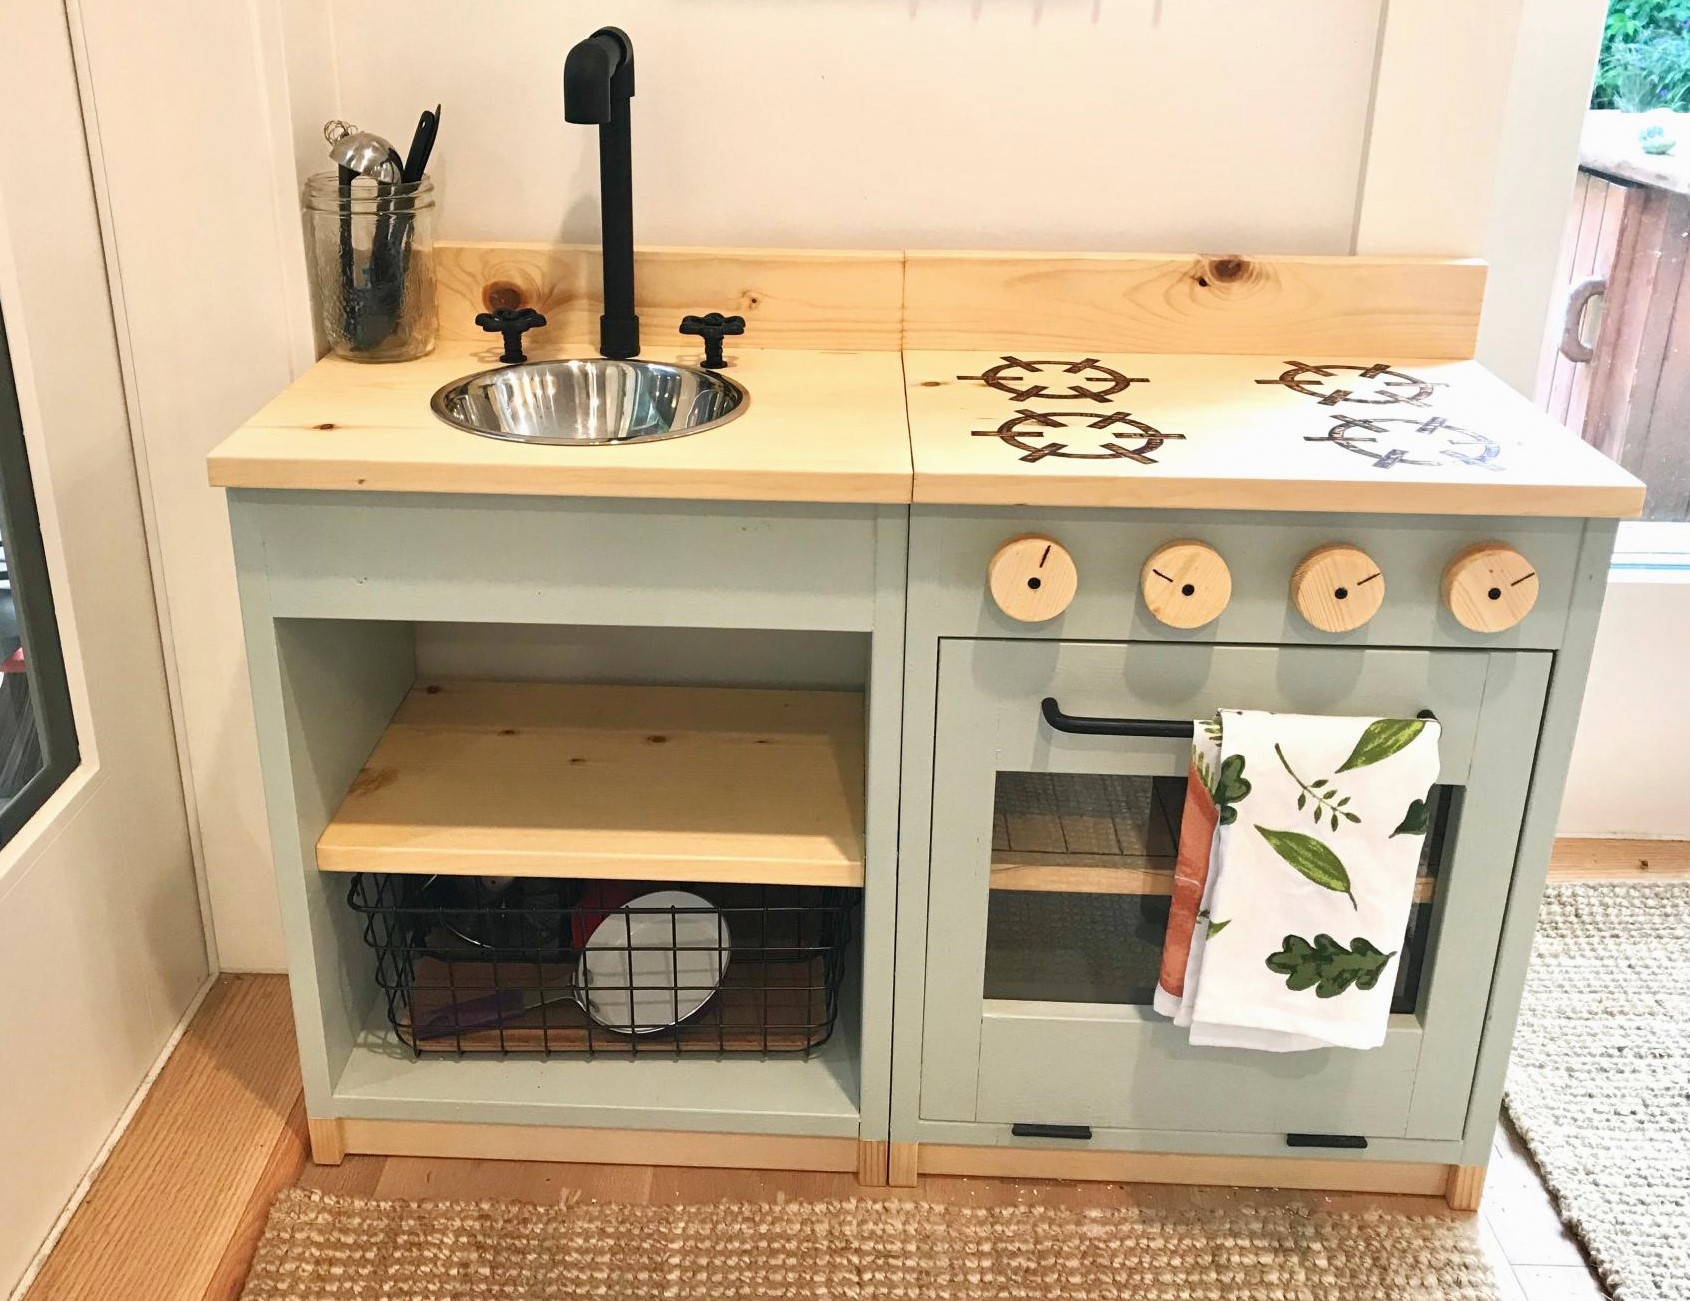
Loved the plans from the site Ana! I got inspired seeing all the lovely play kitchens that everyone had created! Thought I'd share the one I've made for my little one as well, she loves it!

Gate-Leg Sewing Table

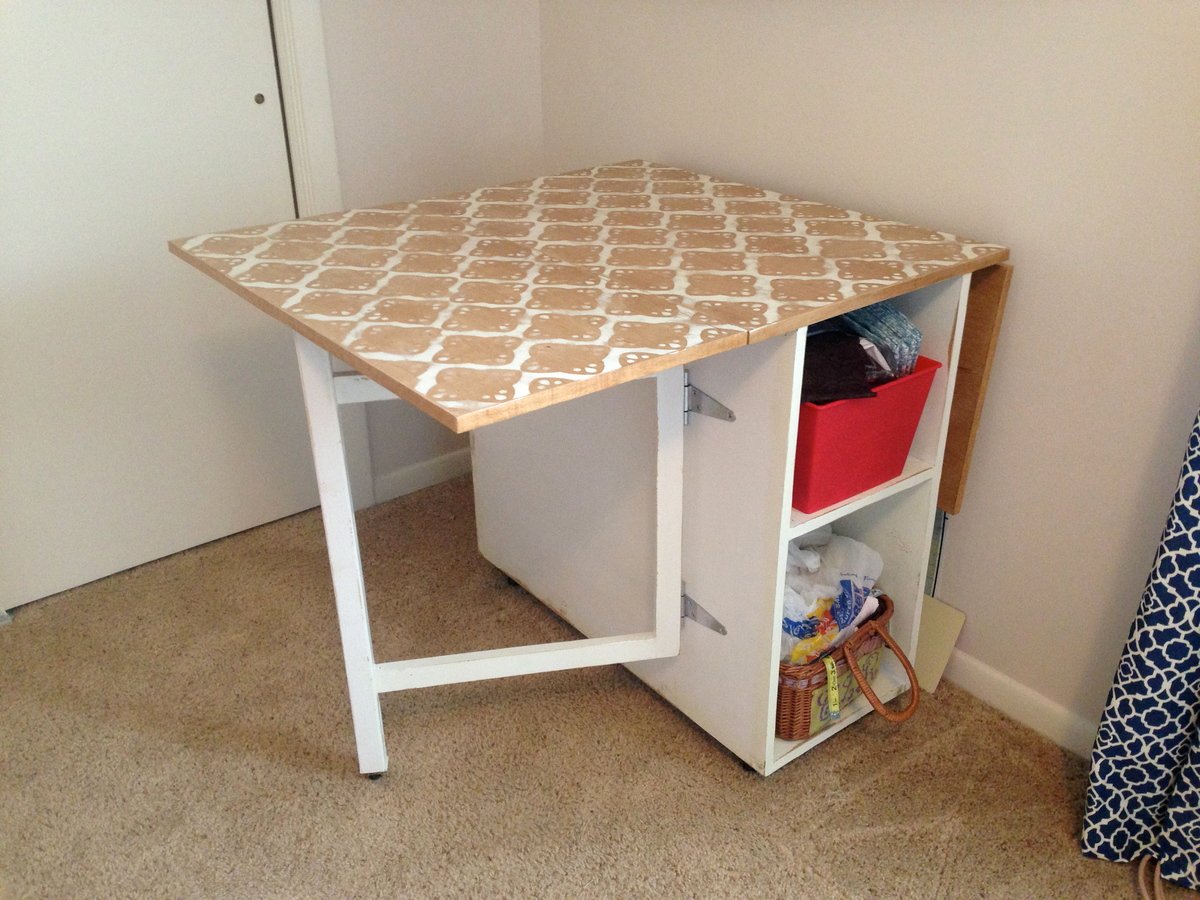
My husband and I built this table as our first project. We followed all of the dimensions from Ana's "Small Sewing Table" project here: http://ana-white.com/2010/10/plans/sewing-table-small-spaces?page=1 The only thing we changed was the size of the table top and the legs. We were worried about putting my heavy sewing machine on top of the leaf called for in the plan, so we created gate legs to support the leaves. Since the legs were going to be folded up in between the base and each leaf, we extended the center portion of the table top to accommodate the change. After it was assembled and stained, I decided that I didn't like the solid color, so I stenciled on a pattern with white latex enamel paint (what I had on hand) and continued to paint the base. After lightly scuffing it up with the sander, I layered 3 coats of poly on top. It has held up well, even after many large quilt projects! I just LOVE my sewing table!

Built from Plan(s)
Estimated Cost
$120
Estimated Time Investment
Weekend Project (10-20 Hours)
Finish Used
Golden Oak Minwax Stain
Polycrilic
Valspa Latex Enamel in Satin White
Recommended Skill Level
Beginner

Comments

TinyHouser

Fri, 08/05/2016 - 13:41

Hi there. Could you please tell me what the brackets are you used with the gateleg? Do you remember where you got them? Thank you!!!

msweeley

Sun, 05/12/2024 - 08:40

How heavy of sewing machine can this hold? My machine is 32 lbs. Would it be able to sit and be used on the “leaf” side of the table ?

Simple Square Outdoor Table

Submitted by hannant on Mon, 08/07/2017 - 15:10

Inspired by Finn's Dad's table, we decided to copy it since we wanted to build a table that would seat 8 comfortably. The most difficult part of this project was finding clear cedar for the top. It had to be ordered through our local lumber yard and we were not able to match boards. We built the frame out of treated pine and the 4 x 4 legs from average greade cedar found at Lowe's. We finished it with four coats of polyurethane. 

Built from Plan(s)
Estimated Cost
$300-$450
Estimated Time Investment
Week Long Project (20 Hours or More)
Finish Used
Zak Polyruethane marine satin
Recommended Skill Level
Beginner

Jade’s Christmas

Submitted by Anonymous (not verified) on Sun, 12/26/2021 - 12:45

I made this for my 4 year old Granddaughter, and the first time she sat down she said “it’s just my size.”
I made the desk two and a half inches shorter than the plans.

Built from Plan(s)

Comments

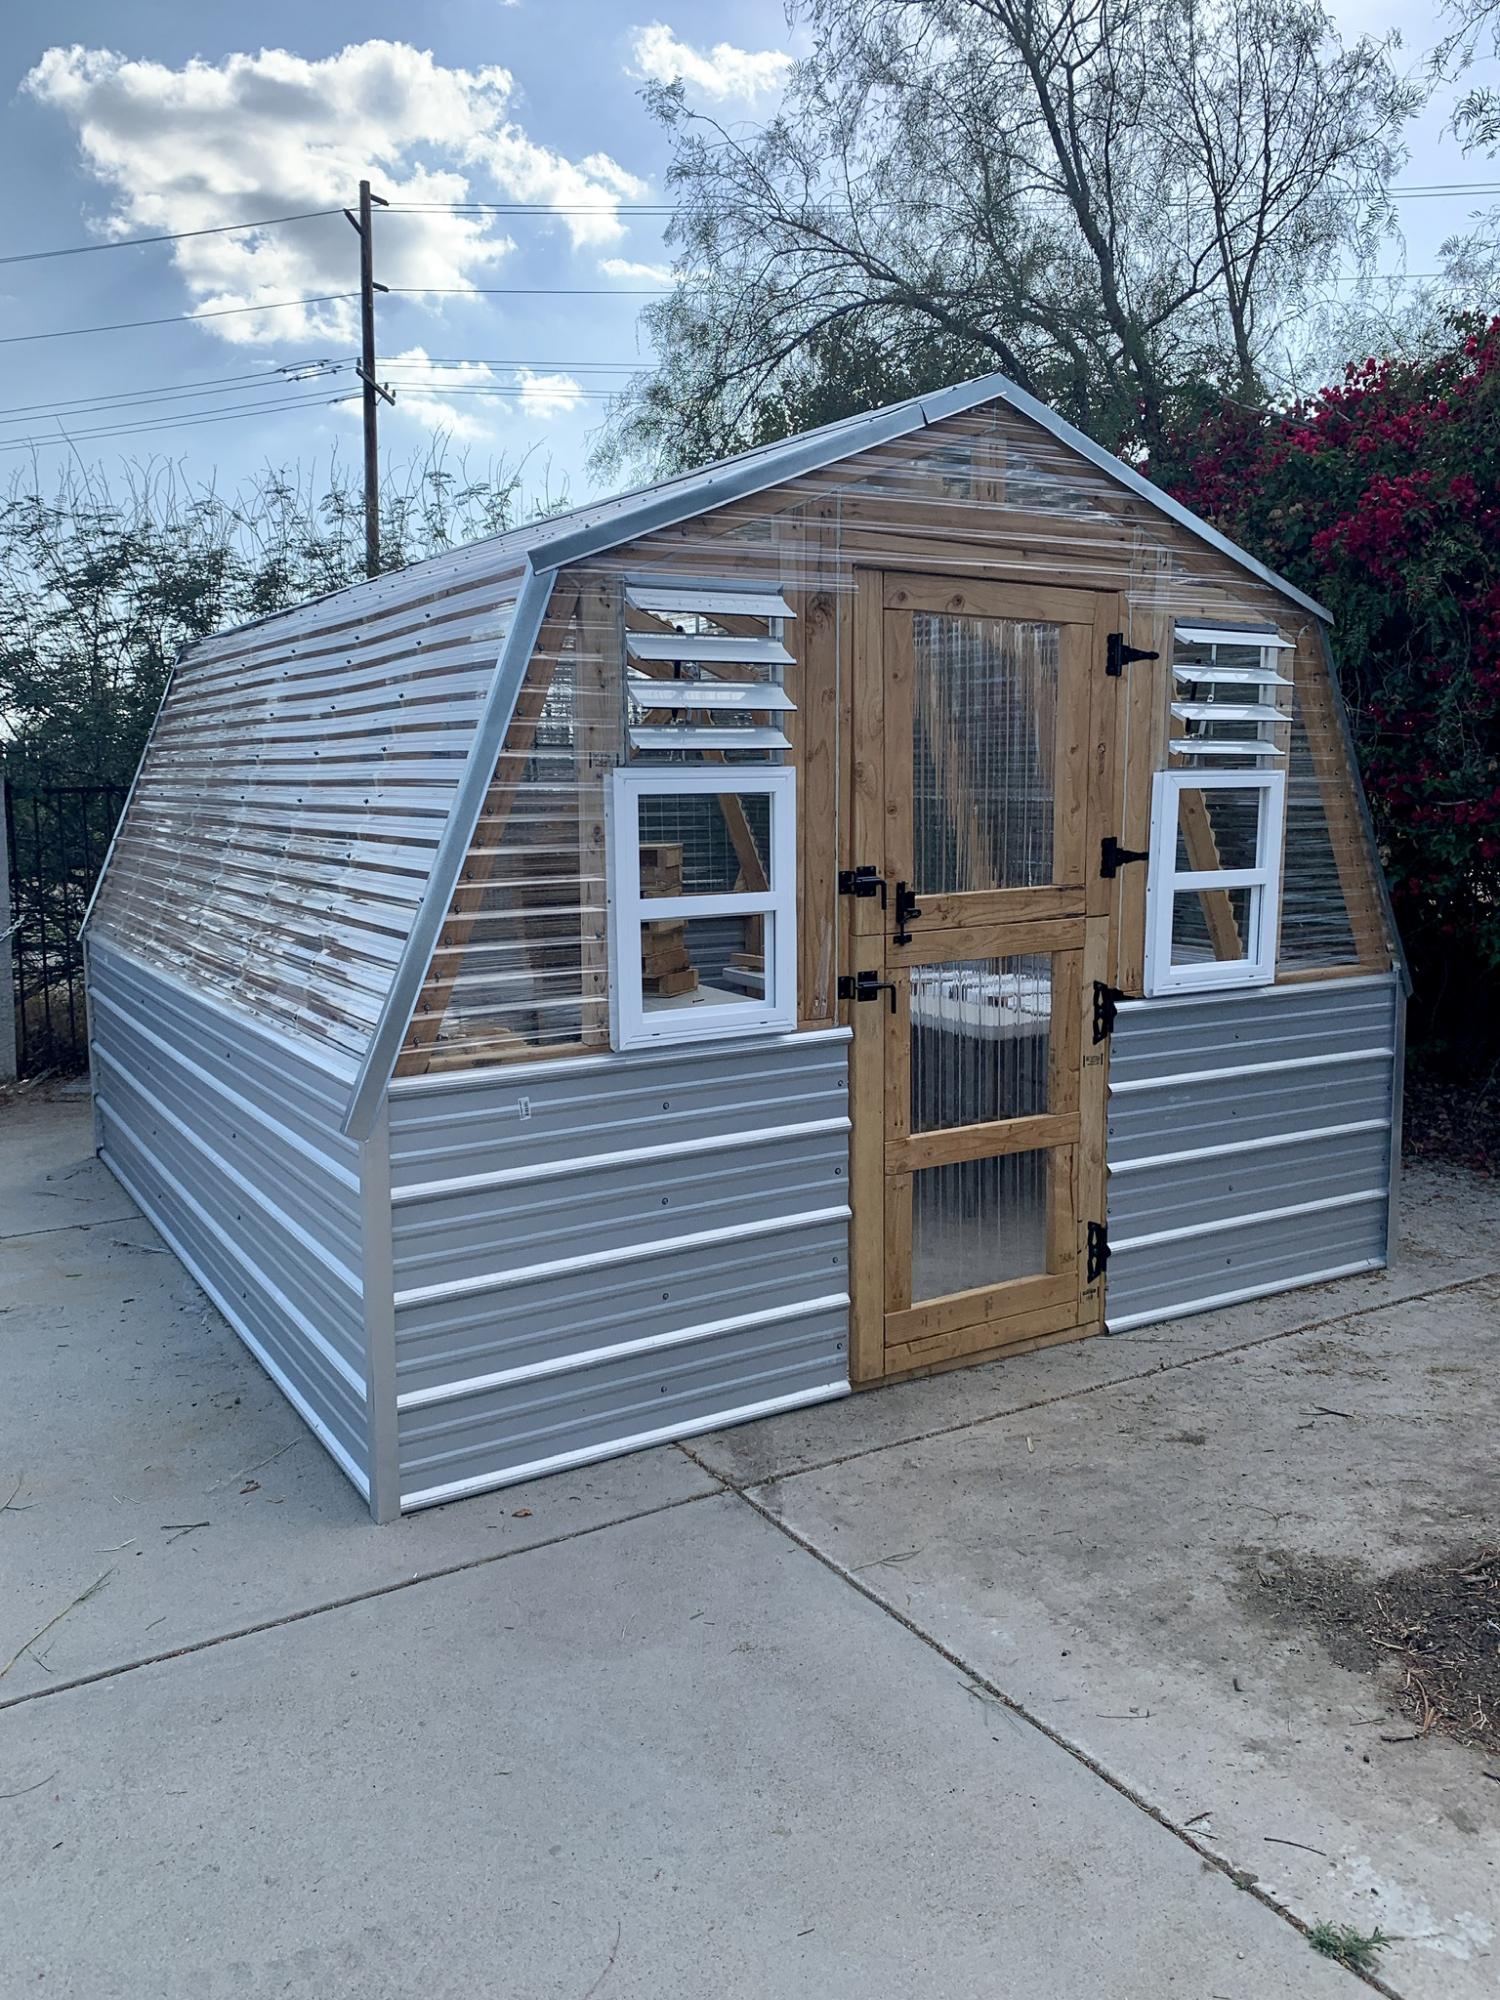
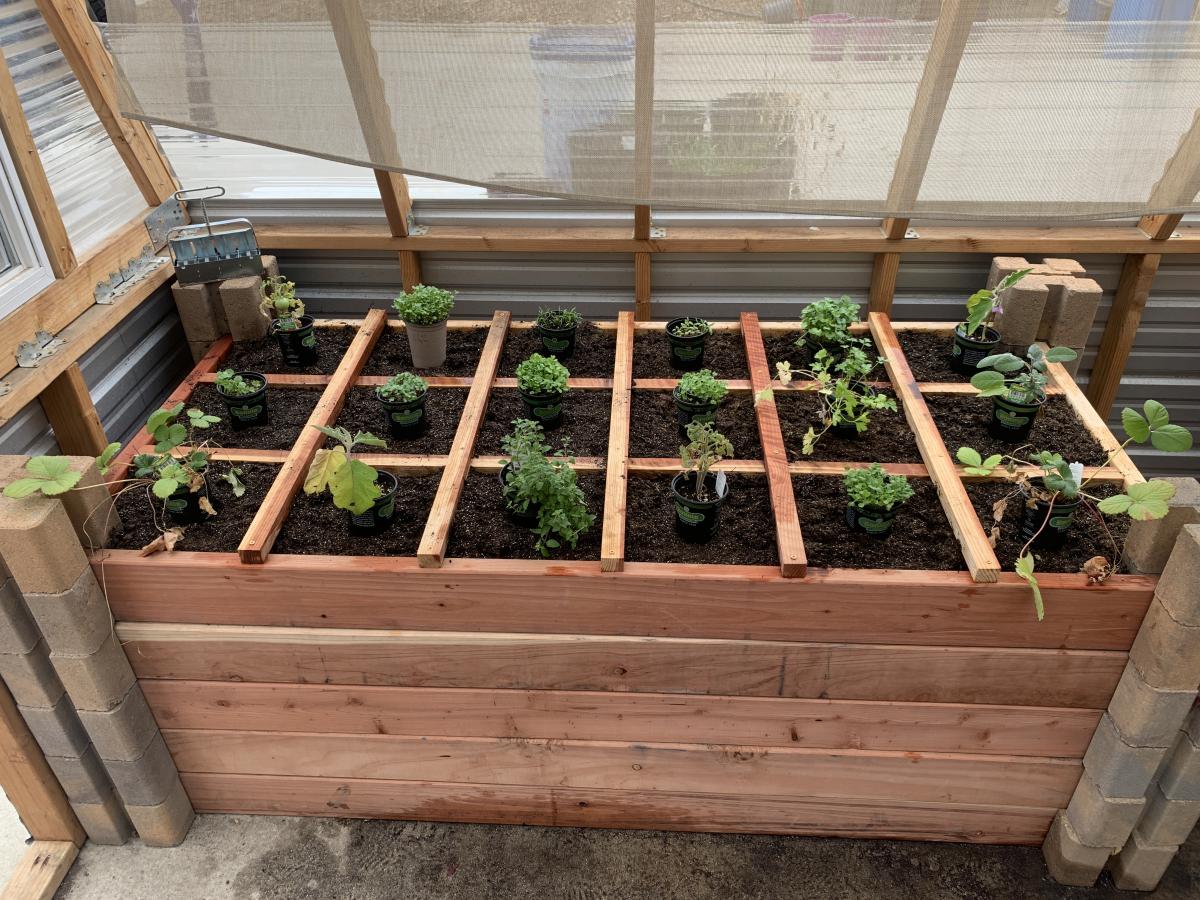
Greenhouse

Submitted by Anonymous (not verified) on Tue, 01/05/2021 - 08:08

We made some modifications to the greenhouse to include a bench with three levels, a working bench and a square foot garden. We also put it on concrete to keep all the weeds out from the bottom as well.

Built from Plan(s)
Estimated Cost
2500.00
Finish Used
We start our own seeds and plan to grow 15 different varieties of vegetables inside this greenhouse all year long.
Recommended Skill Level
Intermediate

Comments

Full size loft

Submitted by Anonymous (not verified) on Tue, 10/01/2019 - 18:46

Built a full size loft bed for my kids but wanted something safer than having them climb up and down a ladder so used the Camp Loft Bed plans to add the platform and stairs. It is much easier for the kids. Going to finish by covering the platform and stairs with carpet.

Estimated Cost
180
Estimated Time Investment
Day Project (6-9 Hours)

Comments

Pub Table

I built this with leftover ceramic tiles and using the pedestal table plans. I built it at the same height as our bar. The stools are from the vinatage bar stool plans and are modified with the rustic X as bracing for the legs, upholstery and are at a seat height of 25" rather than the 30". 

Estimated Cost
$100
Estimated Time Investment
Day Project (6-9 Hours)
Finish Used
MInwax Royal Walnut with the poly mixed in
Recommended Skill Level
Intermediate

Comments

Margo

Sun, 03/15/2015 - 04:31

Love your table! What is the measurement of your table top? I am wanting to build this but want more rectangular than square and am wandering about the base support with the slight change.

Modern Adirondack Chair

Submitted by Anonymous (not verified) on Sat, 08/13/2022 - 20:12

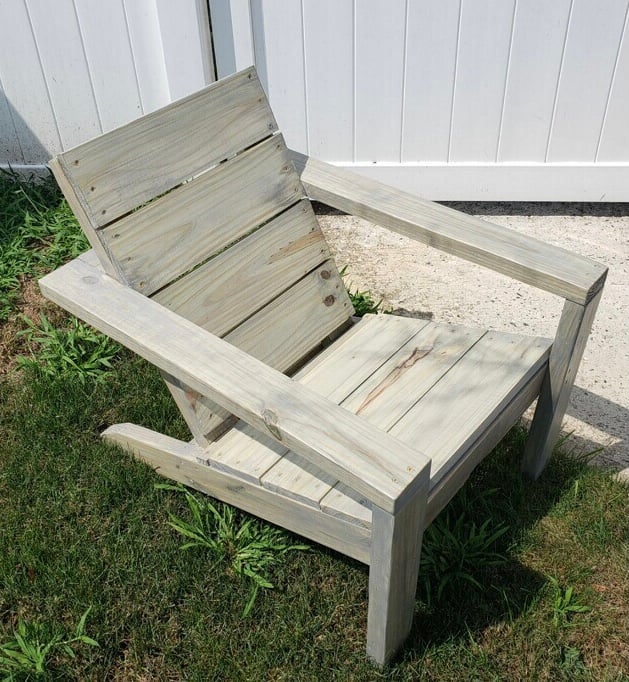
I made this with 1x6 since Home Depot didn’t have any 1x10 treated wood. All the wood I used is treated. I also used the exterior screws and put on a gray poly mixed stain for a little extra protection. I of course messed up the angles twice on the feet, but they just look like I gave them extra decoration now lol. Everybody loves this chair!

Comments

Workbench with Drawers and Carts on Casters

Submitted by vendo on Tue, 03/19/2024 - 07:38

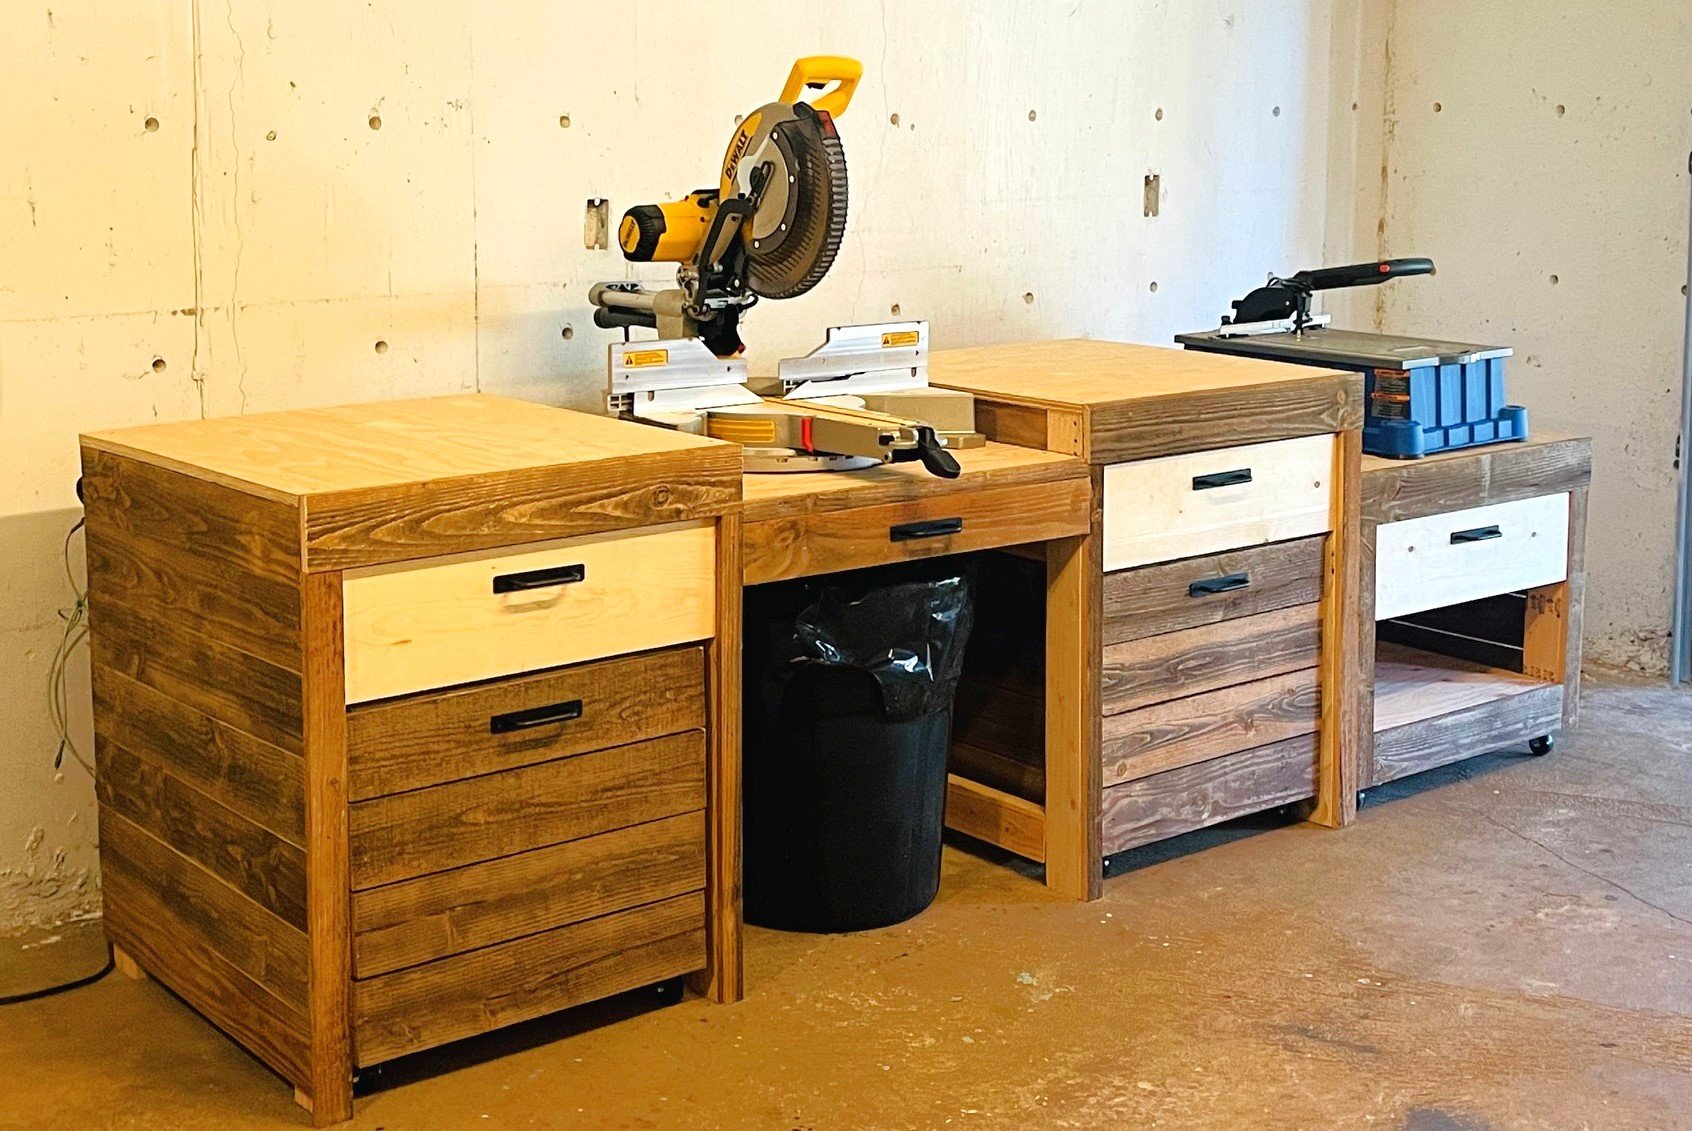
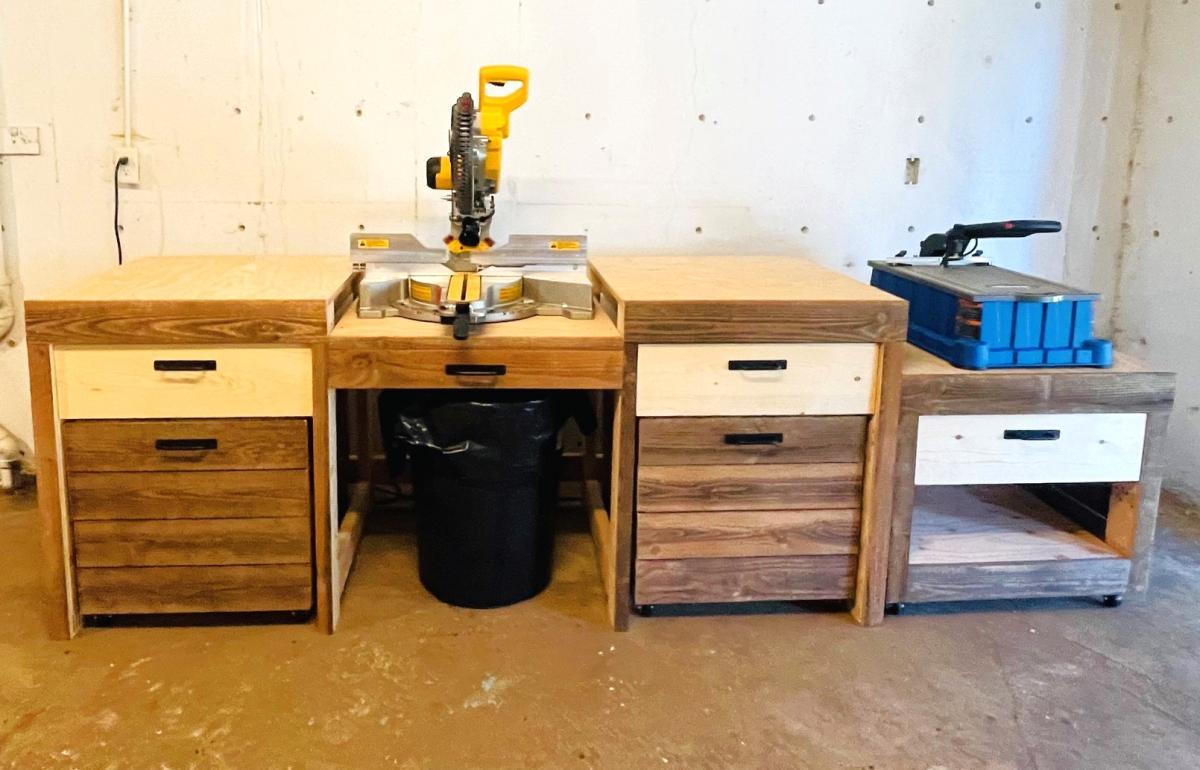
Using Ana's Ultimate Workbench Plan and her easy drawer method I built this. I decided to do storage carts that roll in and out for small scrap lumber storage. The Kreg Foreman got it's own cart, I made it so the deck of the machine was at the same height as the work surface. I added a drawer so all of my kreg bits and screws can be in one place. I had batteries and chargers laying all over my small shop, so I incorporated a battery charging drawer. I'm excited for the projects to come using my new set up!

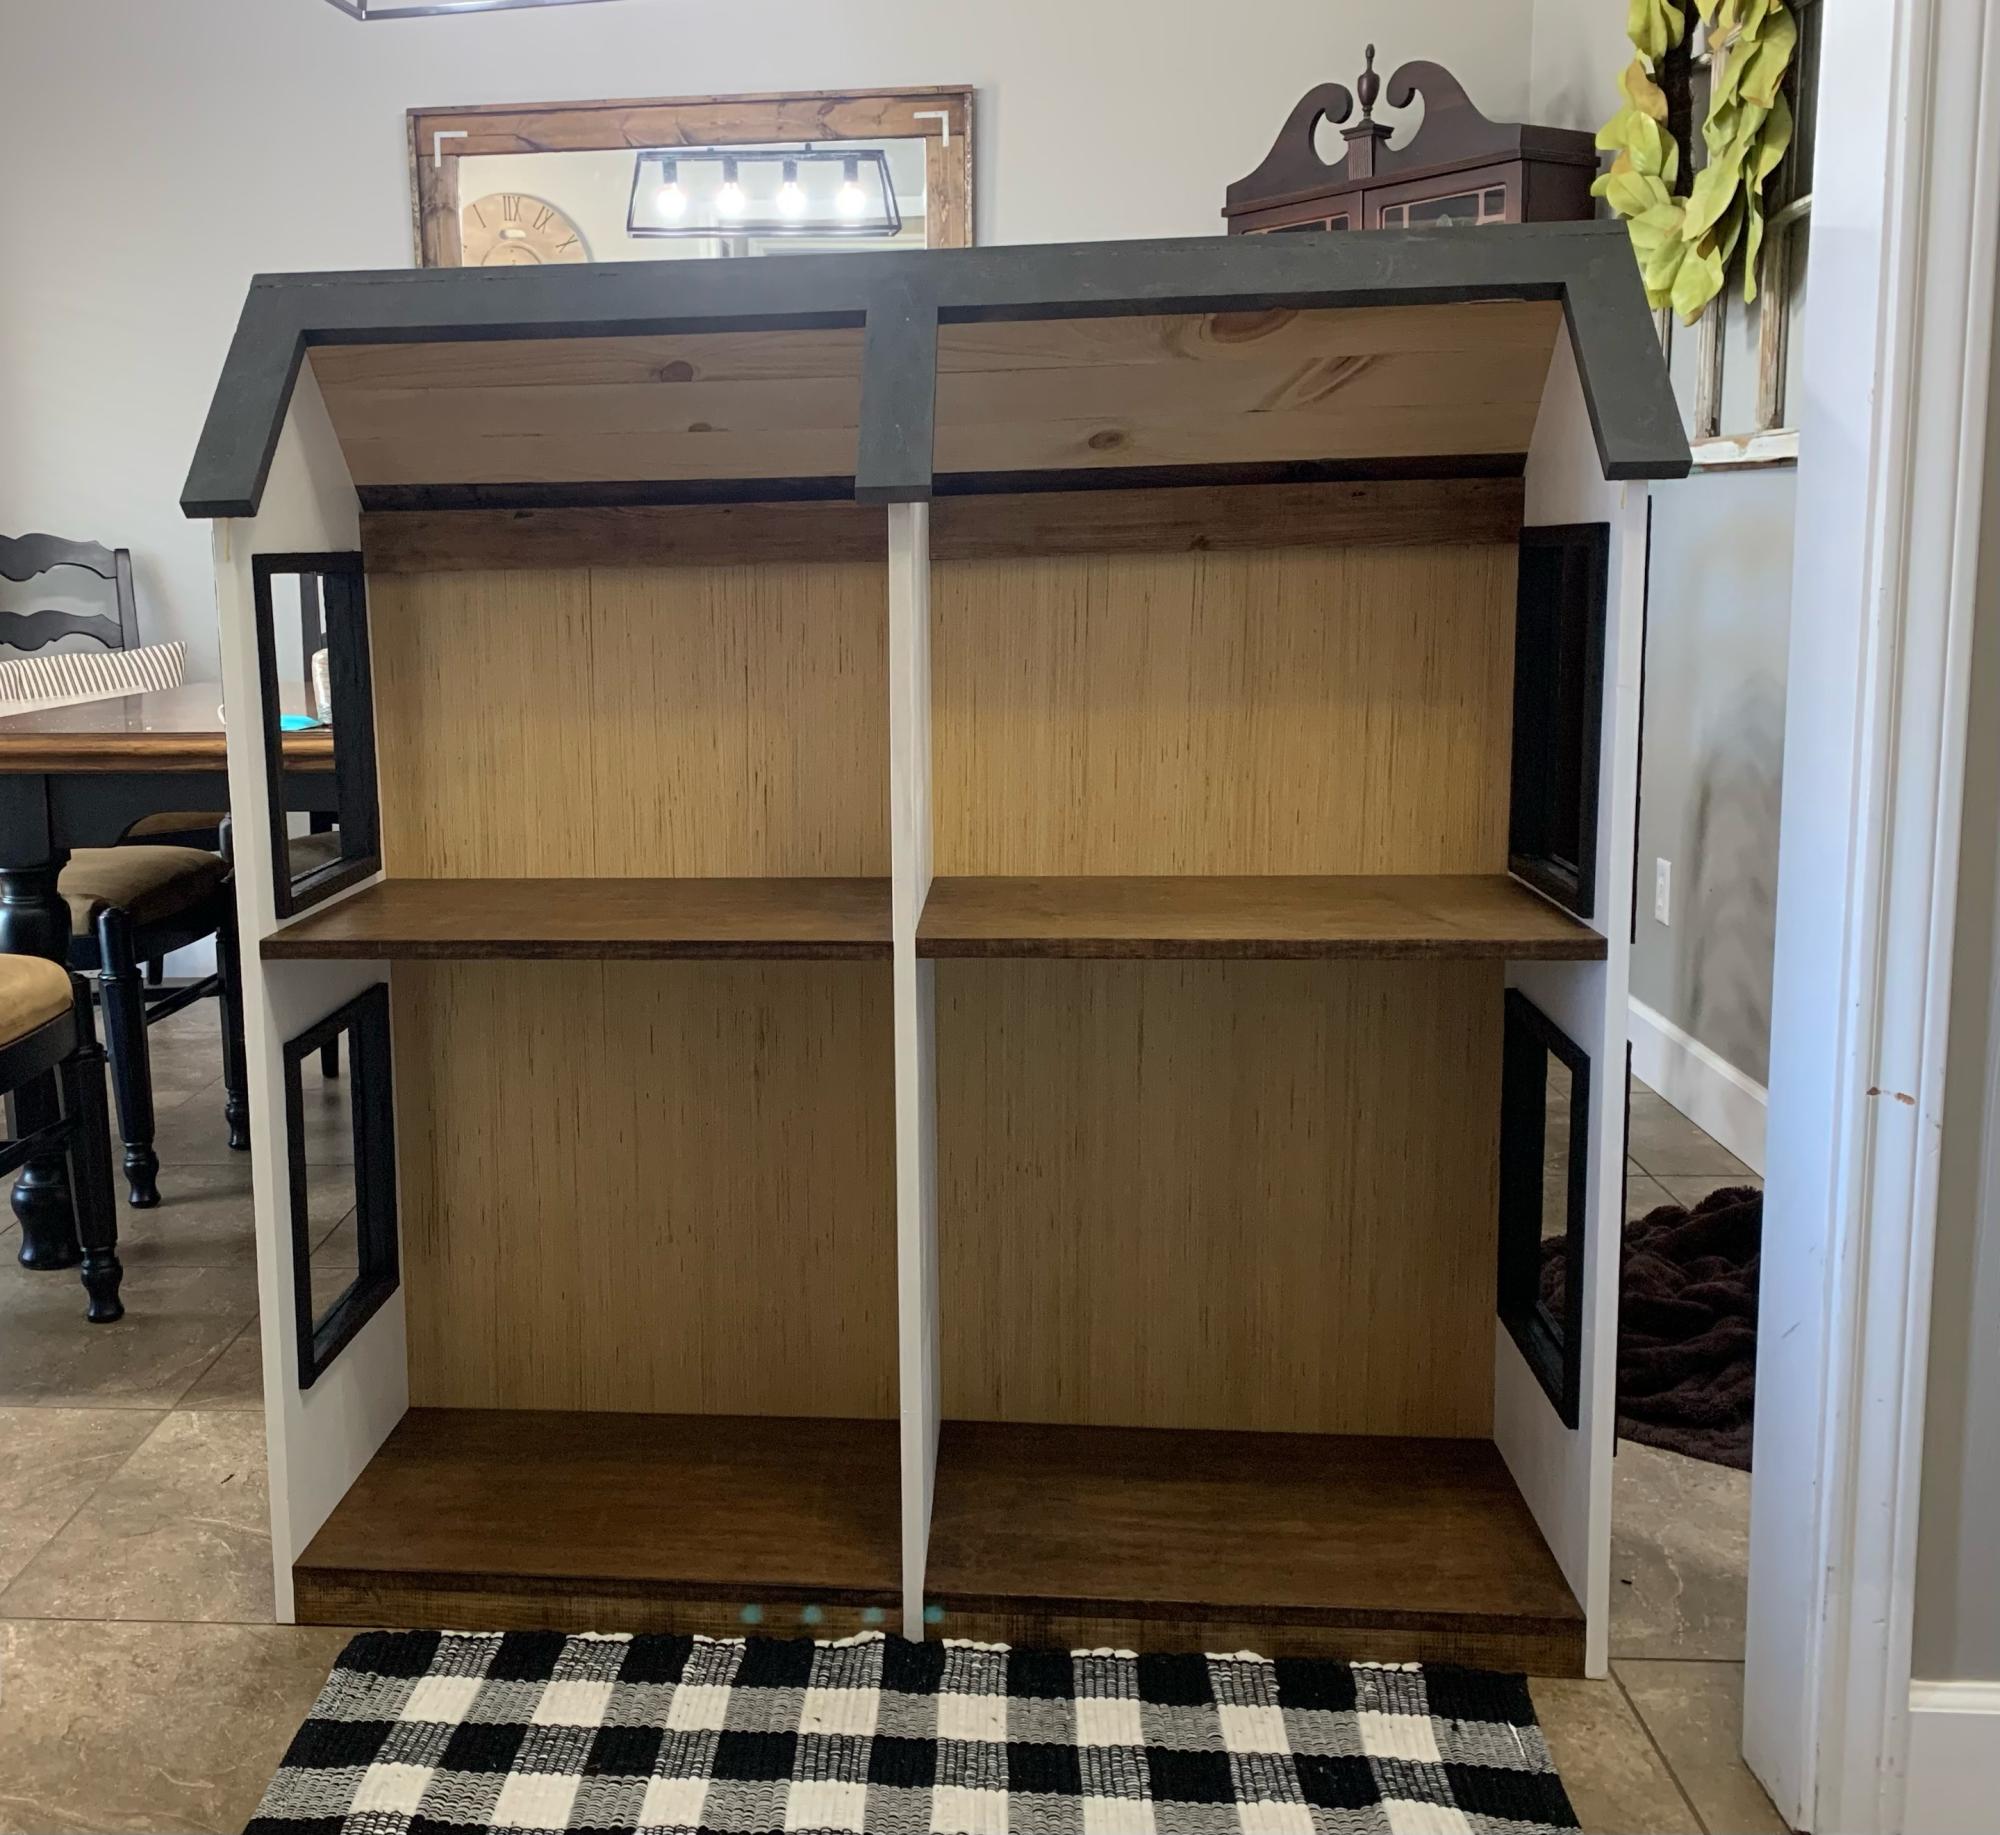
Two Story 18" or American Girl Dollhouse

Submitted by Anonymous (not verified) on Sat, 02/26/2022 - 09:03

My husband and I made this for our 7 year old granddaughter's birthday. She loved it!! As always, your plans are step by step and easy to follow. Thank you!!!

Comments

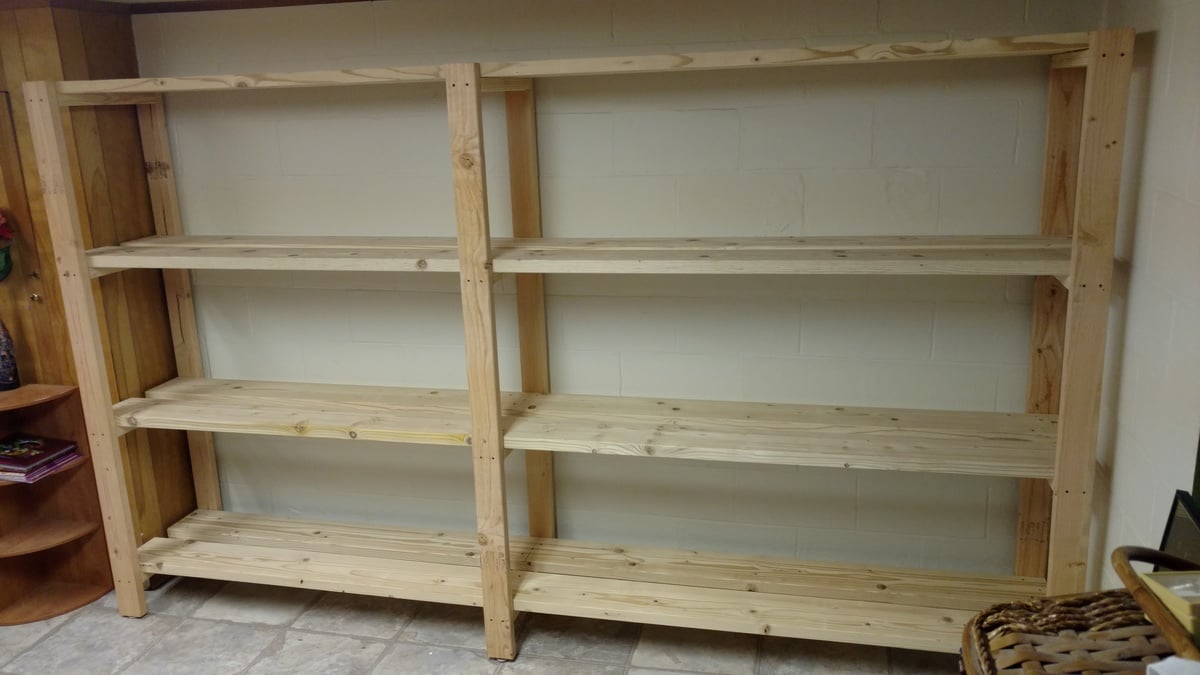
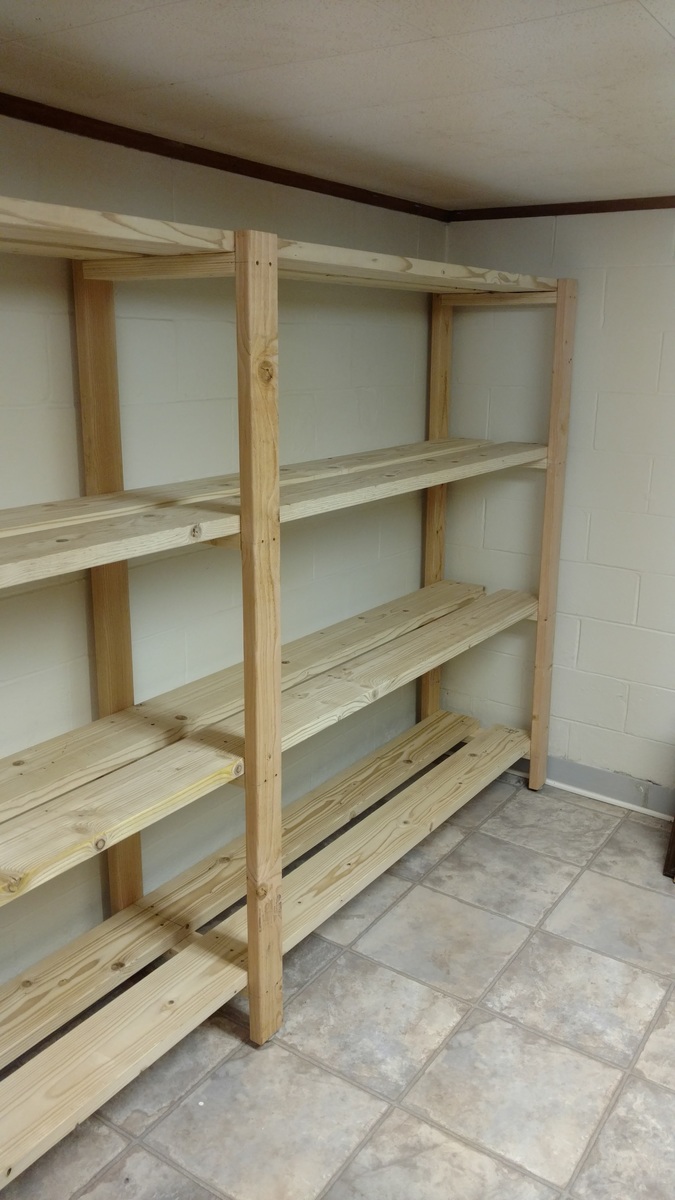
Basement Shelving....

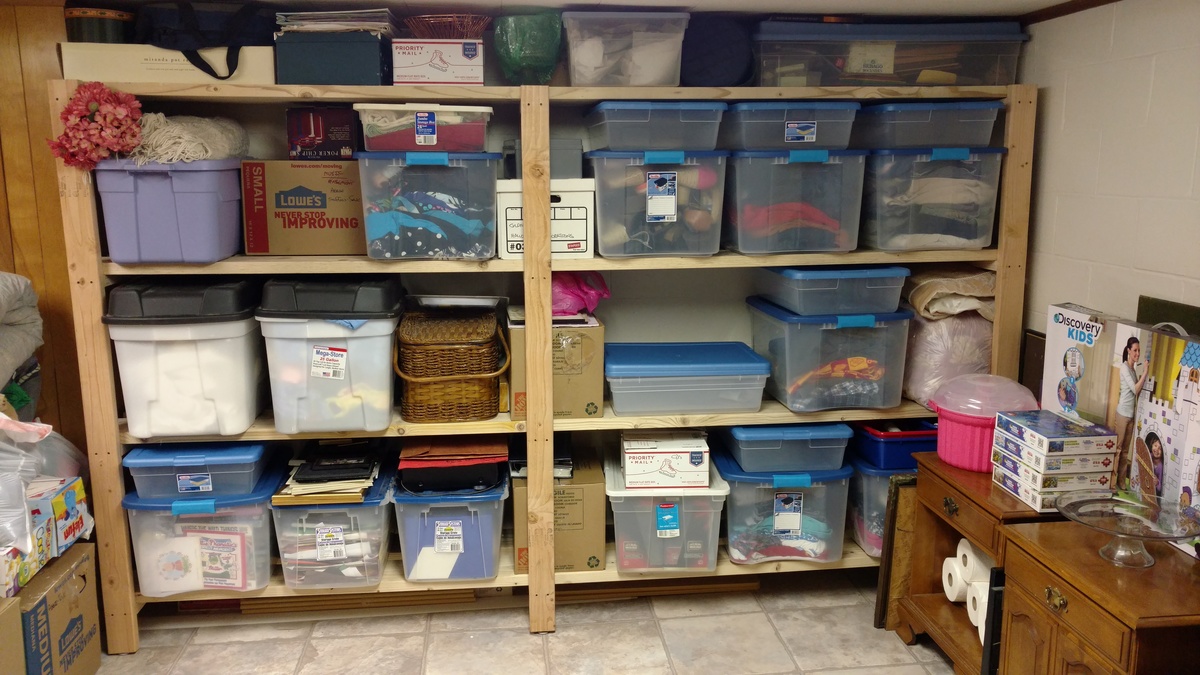
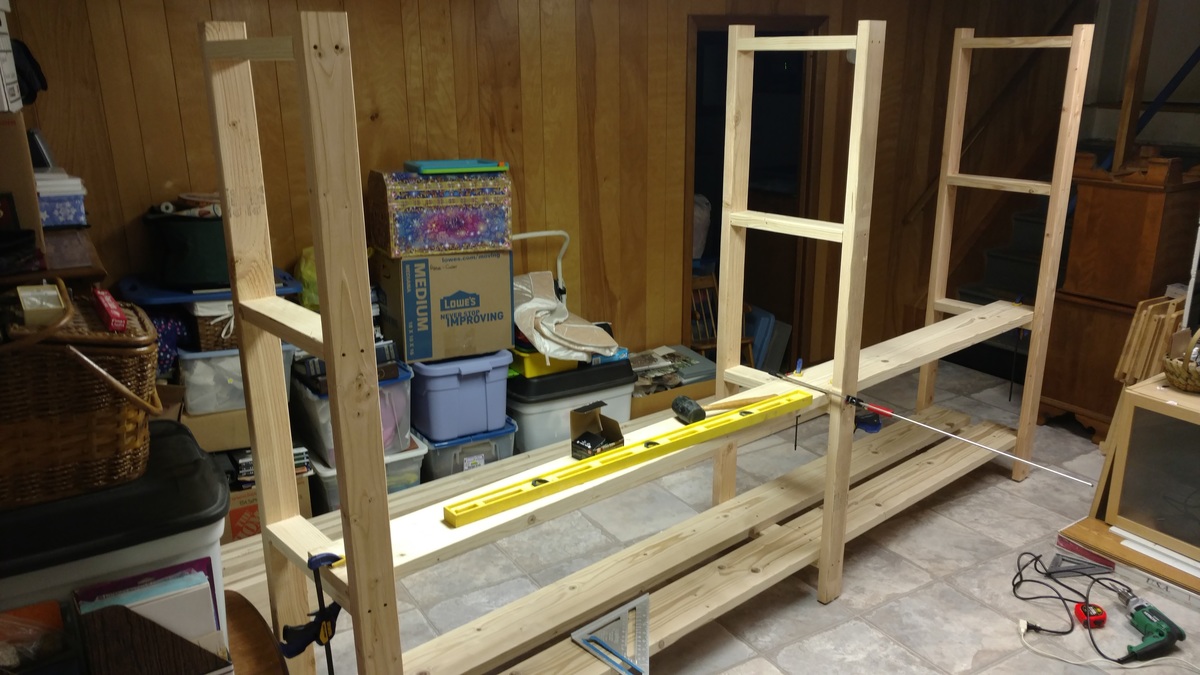
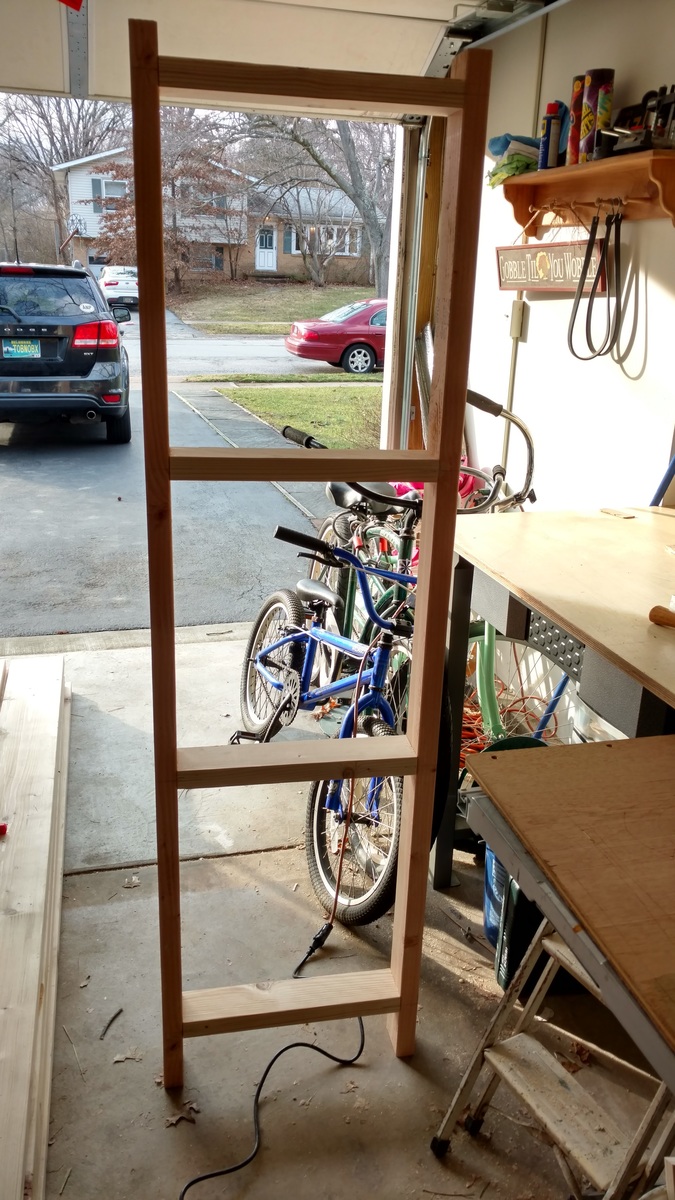
Time to get organized in 2017....and what better way than with some custom shelving. This was not too bad of a project to complete. It only took about 6-8 hours to cut, frame, and assemble everything together (thanks to an interruption or two). 'Twas nice to have a project for once that I didn't have to care about finishing the project with wood filler, sanding, painting. I am sure my wife thanks me more as I would have been another week getting things just right​​​​​! 

A few changes that I made from the original plans:

- used 2x8 for the shelving runs as I only was dealing with a 10ft run and was a few bucks cheaper to buy 8 boards vs 16 boards. Plus less cuts!!! 

-installed adjustable furniture feet in the supports to deal with sloping basement floor. Unexpected side effect was it was easier to slide the unit around in the basement as I assembled it. 

Outside of those changes I remained faithful to the original design. I didn't bother filling the screw holes as we will be hiding the shelving unit with a curtain once  we turn the room into a TV/Office area. 

Also as it wasn't 100% clear from the original plans, but the height measurements for the shelf supports are to center... not sure why it didn't register with me right away... but just in case anyone else didn't realize that as well. 
Estimated Cost
$150 for wood, screws, wood glue, and adjustable furniture feet
Estimated Time Investment
Day Project (6-9 Hours)
Finish Used
None
Recommended Skill Level
Beginner

Square Farmhouse Table

Submitted by eddingsr on Sun, 01/08/2017 - 13:17

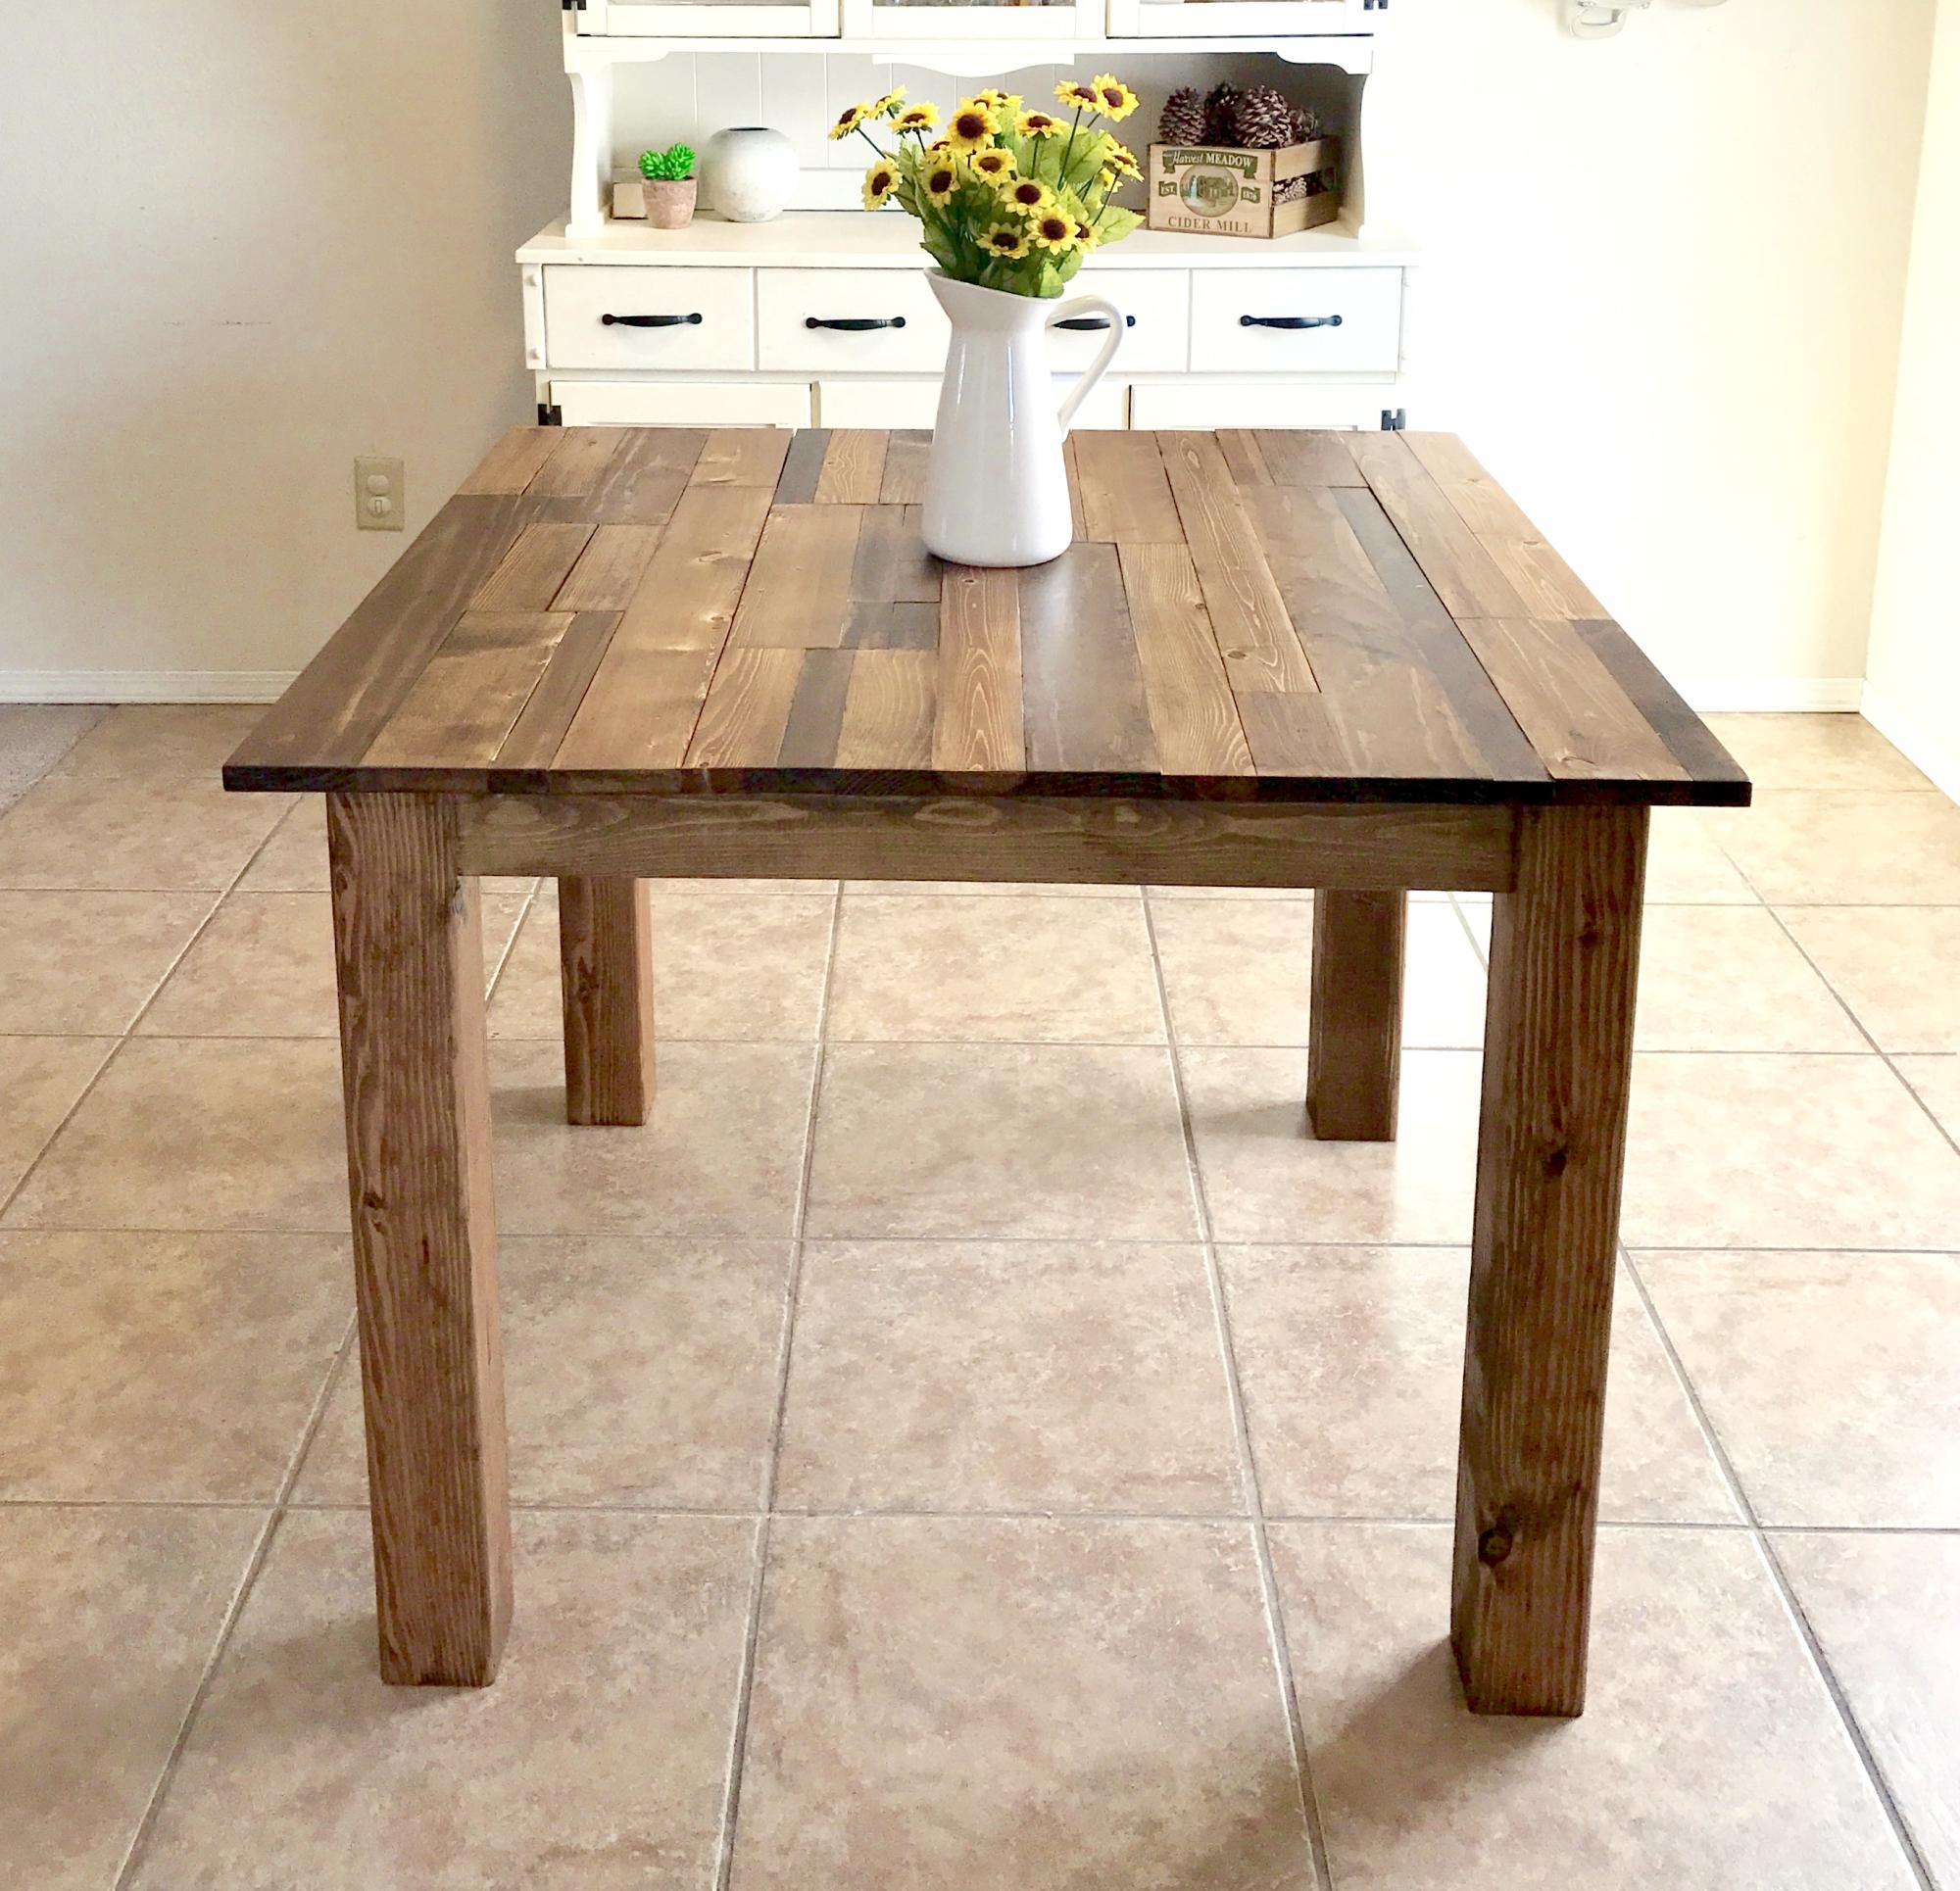
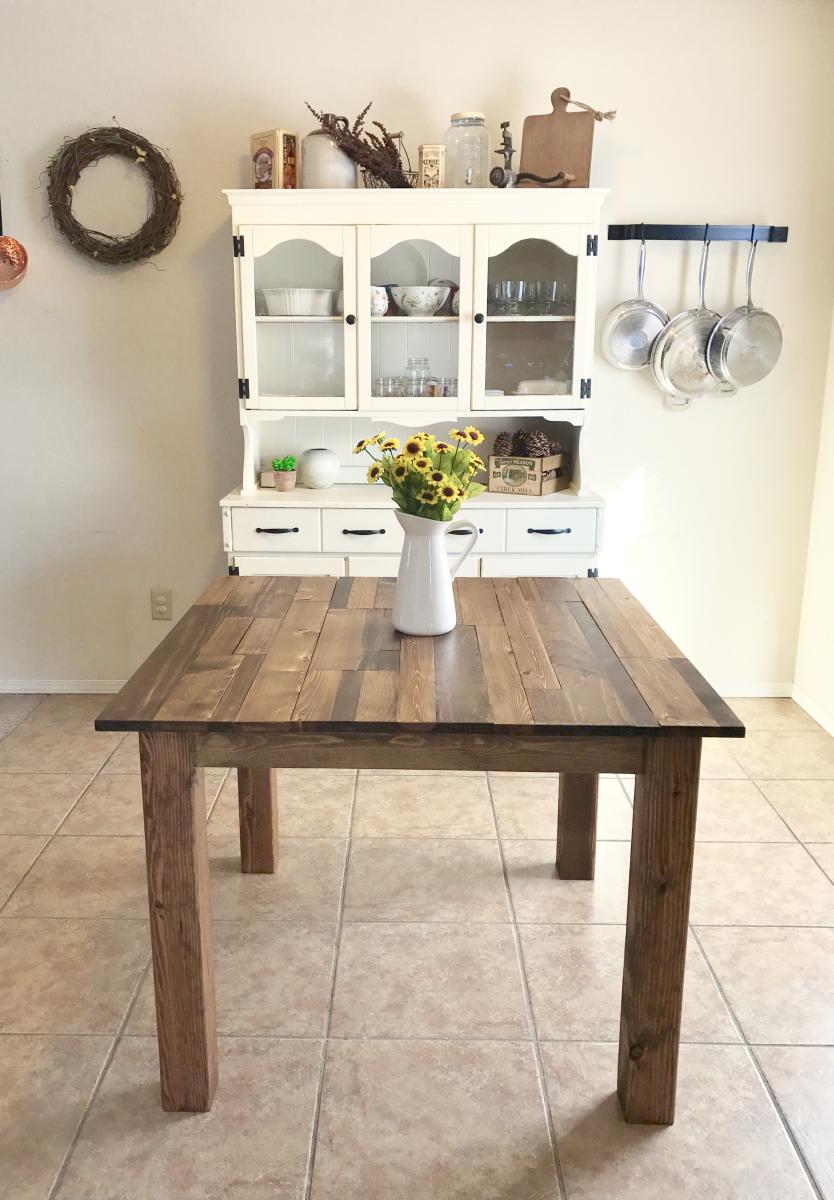
I built this table for a friend who wanted a rustic, plank-top kitchen table. She wanted a square table with 4x4 legs. Since I don't have clamps, I used pocket holes and wood glue for the table top. Also, I only have a 7&1/4" miter saw, which means the 4x4s were too thick to cut. So I made one cut in the legs, then flipped them and made another. It worked! :) I sanded down the sides of the table top with 80 grit. They needed to be evened up since some of the planks were a little longer than others. I back braced underneathe the top with (3) 1x3s. Then, I sanded all over with 120, vacuumed, then wiped it down with a damp towel. Fun build!! 

Estimated Cost
~$100 for lumber, screws, wood glue, sandpaper, and finishing products.
Estimated Time Investment
Week Long Project (20 Hours or More)
Finish Used
For the finish I used Minwax wood conditioner, then a coat of Minwax stain in Provincial. I went back and put a second coat of stain on a few of the premium pine pieces, because they soaked up the first coat really well, and I wanted some darker pieces on top. I let those soak for about 15 minutes. Afterwards I did 2 coats of Polycrylic all over, then a third coat for the top only. I dry sanded between coats with 600 grit sandpaper.
Recommended Skill Level
Intermediate

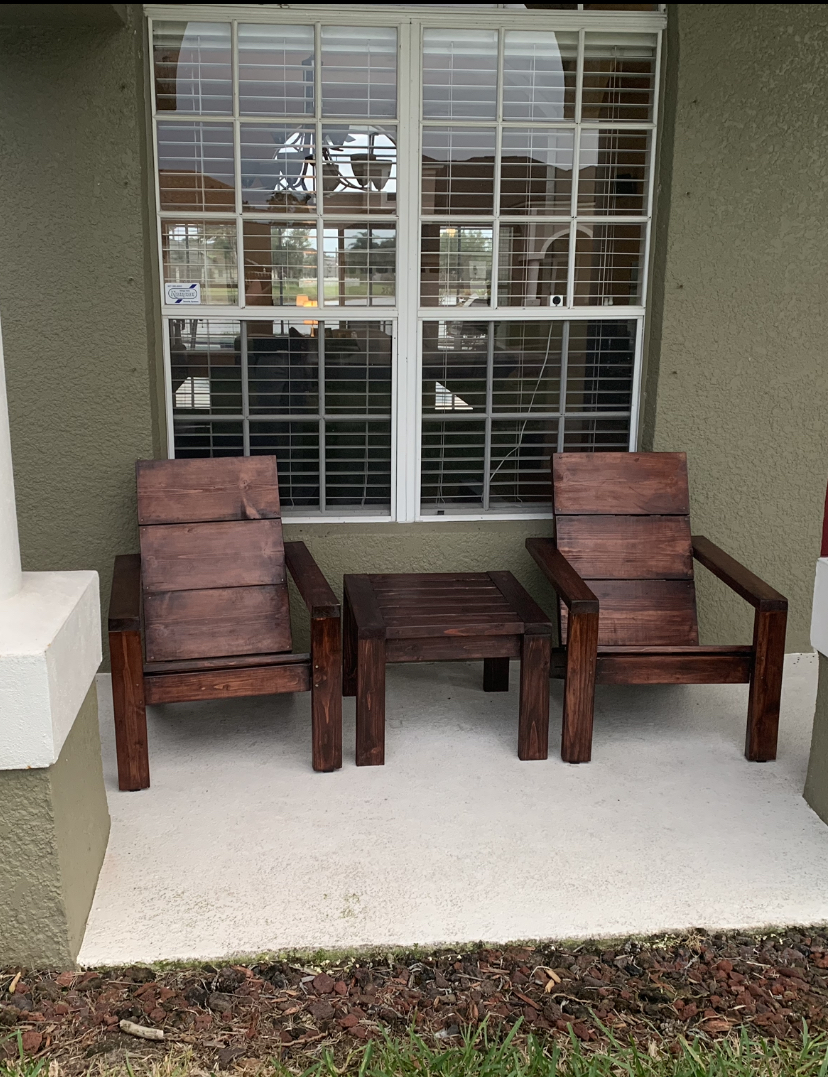
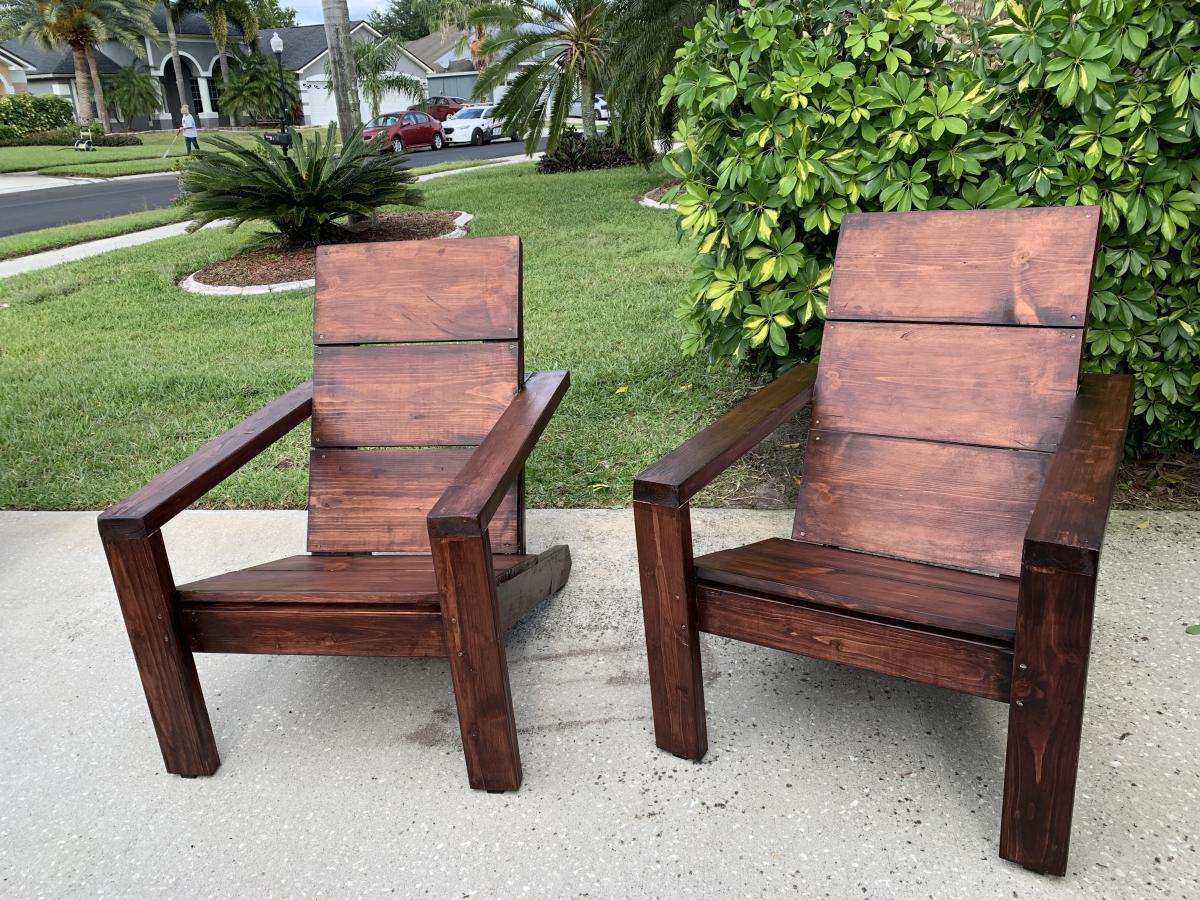
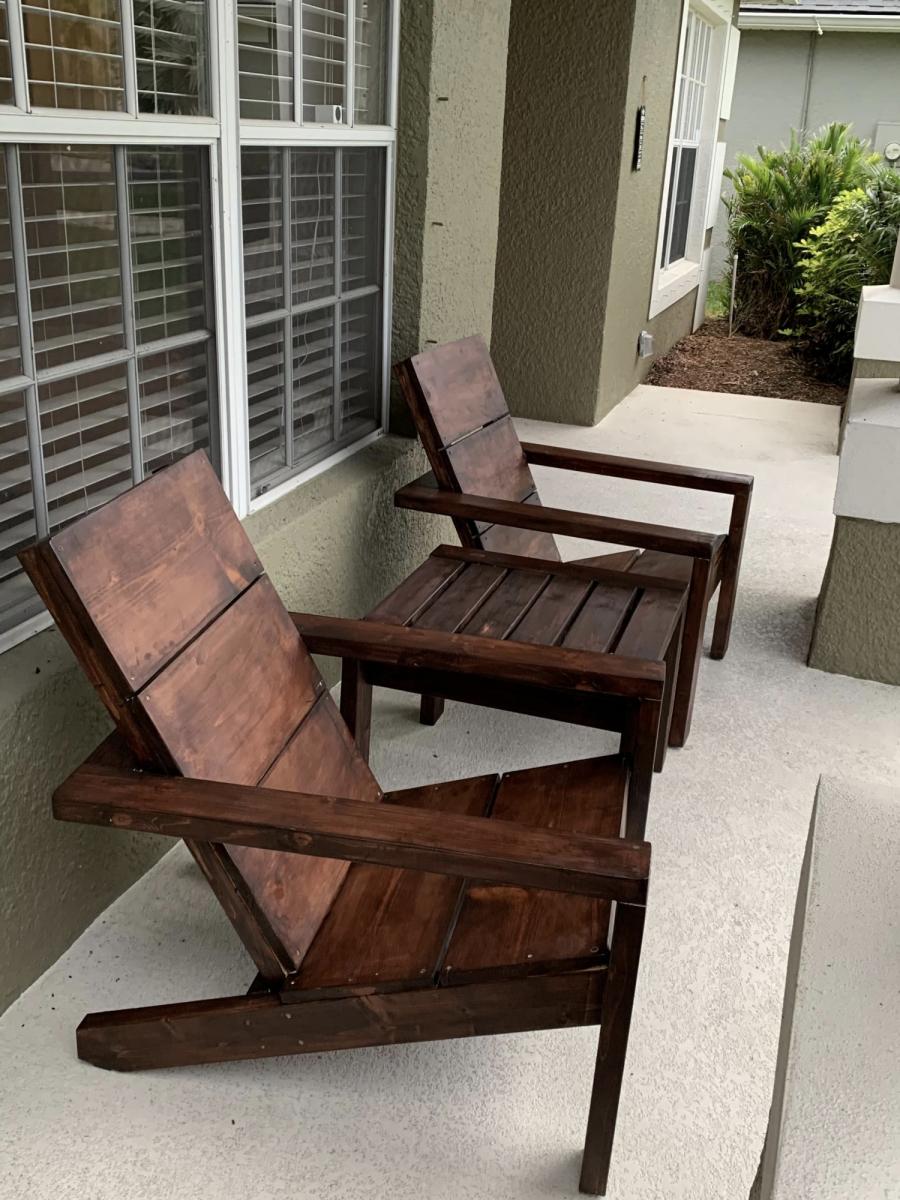
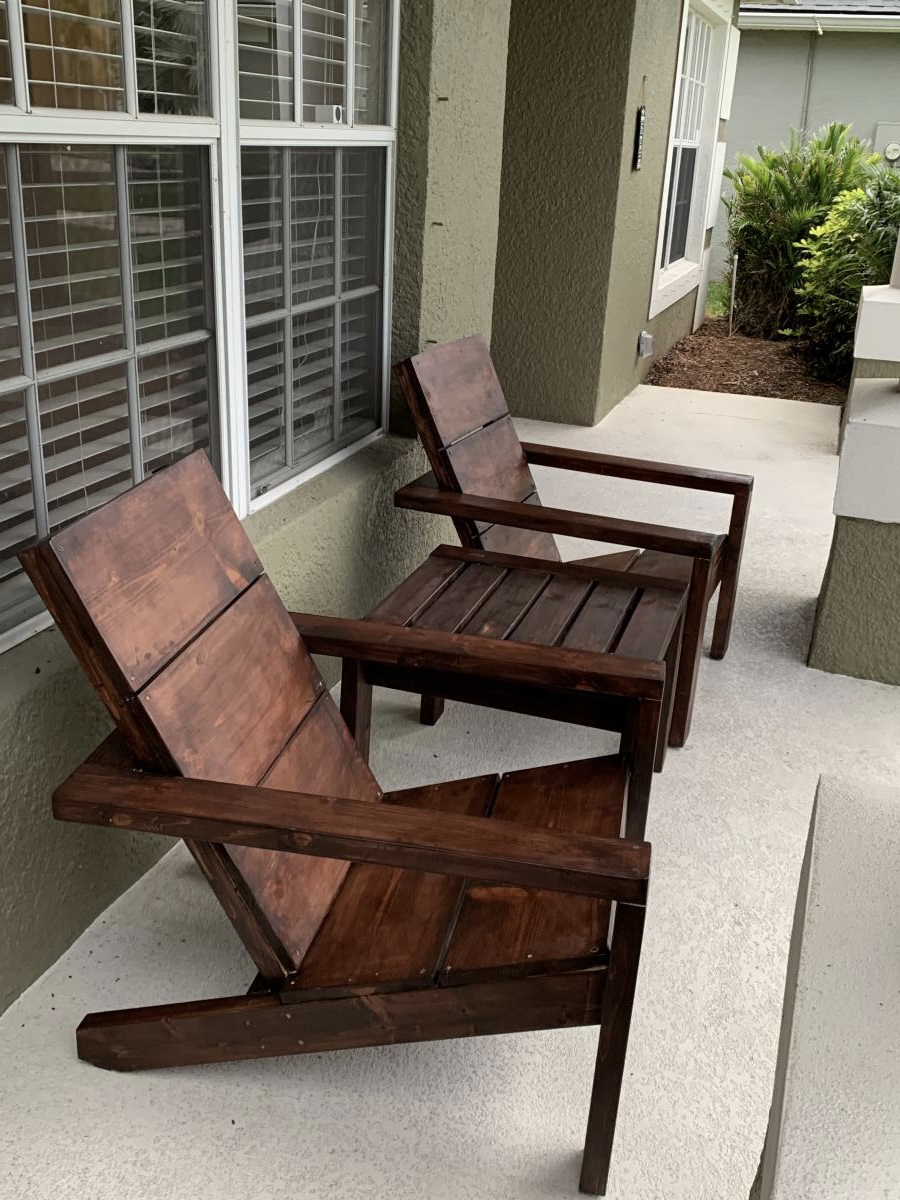
Modern Adirondack Chairs & Outdoor Side Table

Submitted by j_bowman on Sun, 04/11/2021 - 11:35

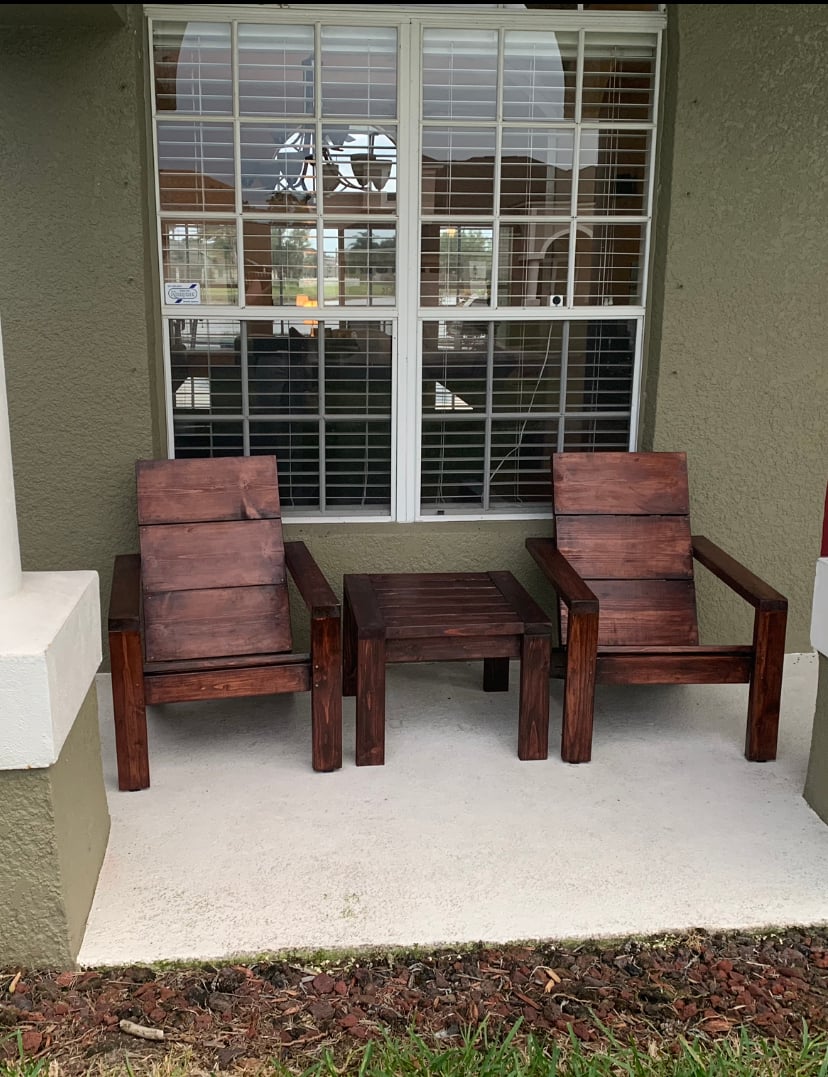
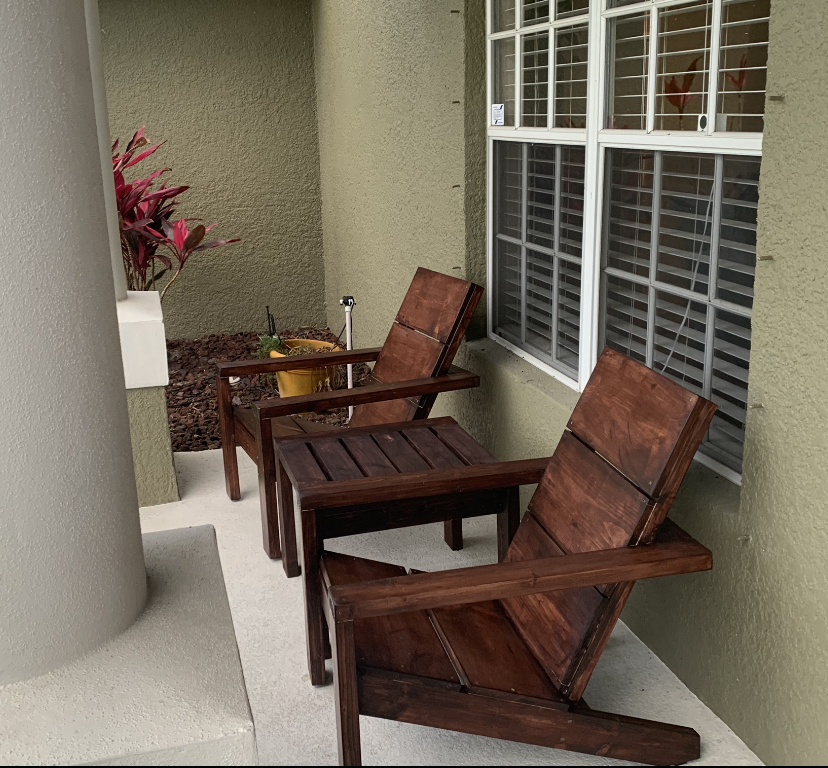
These modern Adirondack chairs were my first wood working project ever and they turned out awesome! I wanted to build a small table to complete the set and Ana’s new side table plans were exactly what I was looking for. I am truly amazed at how easy these projects were to make and how great they look on our front patio. Ana’s step-by-step plans make it so simple. My wife and I can’t wait to build some more of these projects for our backyard lanai and pool area.

Finish Used
General Finishes Red Mahogany stain
Spar Urethane

Comments

Seasonal And Holiday

Mimi's Faux Mantle with bookshelves

Submitted by JoshuawG09 on Wed, 05/25/2016 - 18:15

Made from the modified Mimi's Faux Mantle design from another brag post.

Estimated Cost
$350
Estimated Time Investment
Week Long Project (20 Hours or More)
Finish Used
I used Valspar furniture paint. However, I will never buy it or use it again. It's just over priced paint.
Recommended Skill Level
Beginner

Comments

laurenwalker

Tue, 12/19/2017 - 22:01

Are you able to tell me how wide this is from the end of one bookcase to the other? I'm trying to find out if it will fit in my living room. Thanks!

Modern Farmhouse Bed Frame

Submitted by SofiaTaz on Thu, 01/06/2022 - 23:15

I love how this bed frame turned out! Everywhere that has stain is cedar and the rest is all scrap spruce. Thanks for another great plan Ana!

Built from Plan(s)

Comments

Back