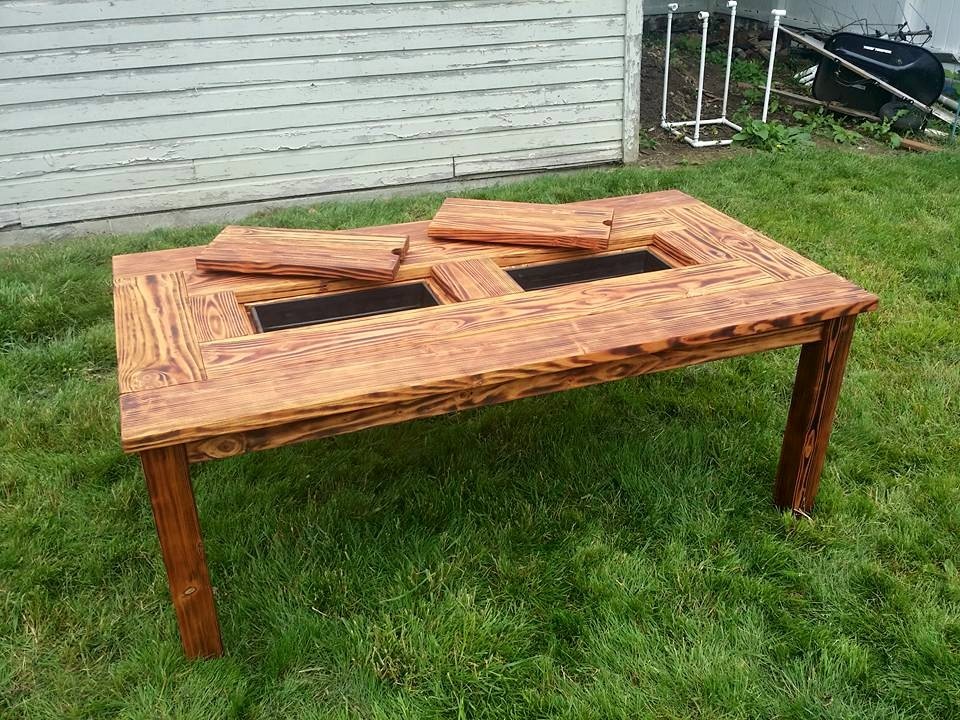
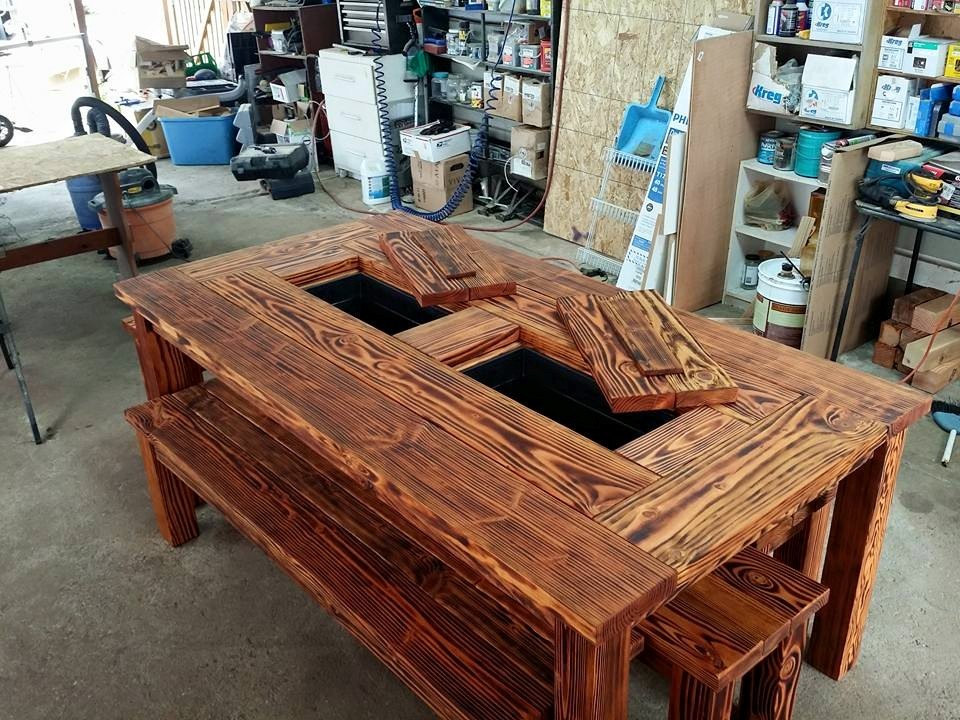
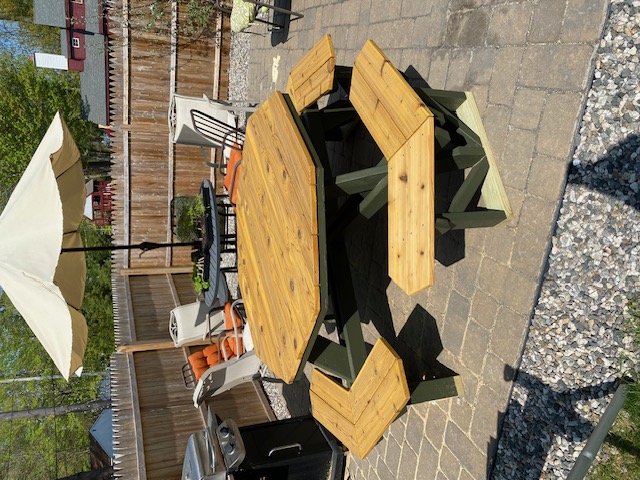
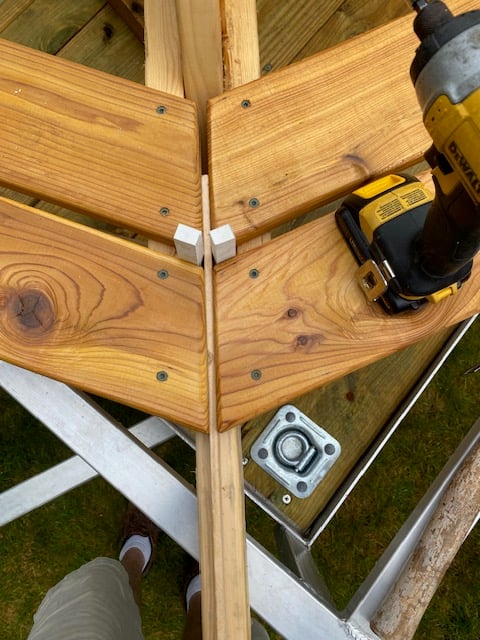
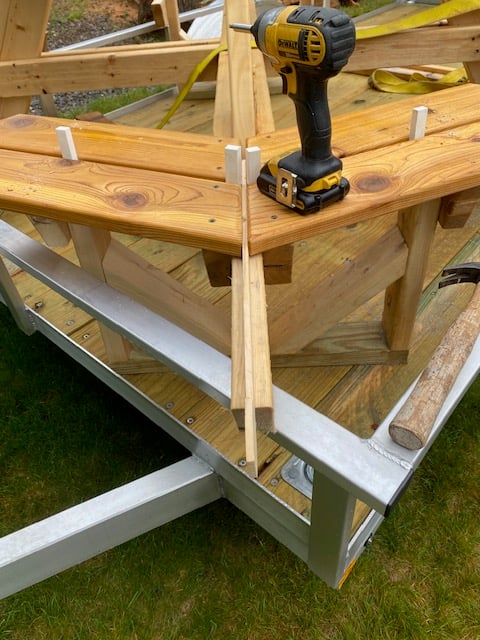
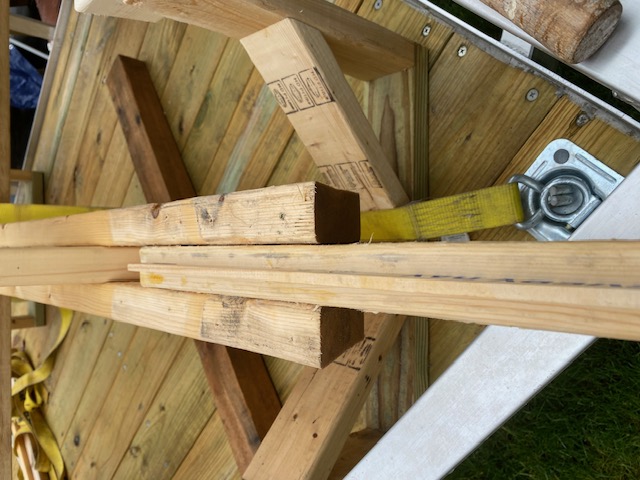
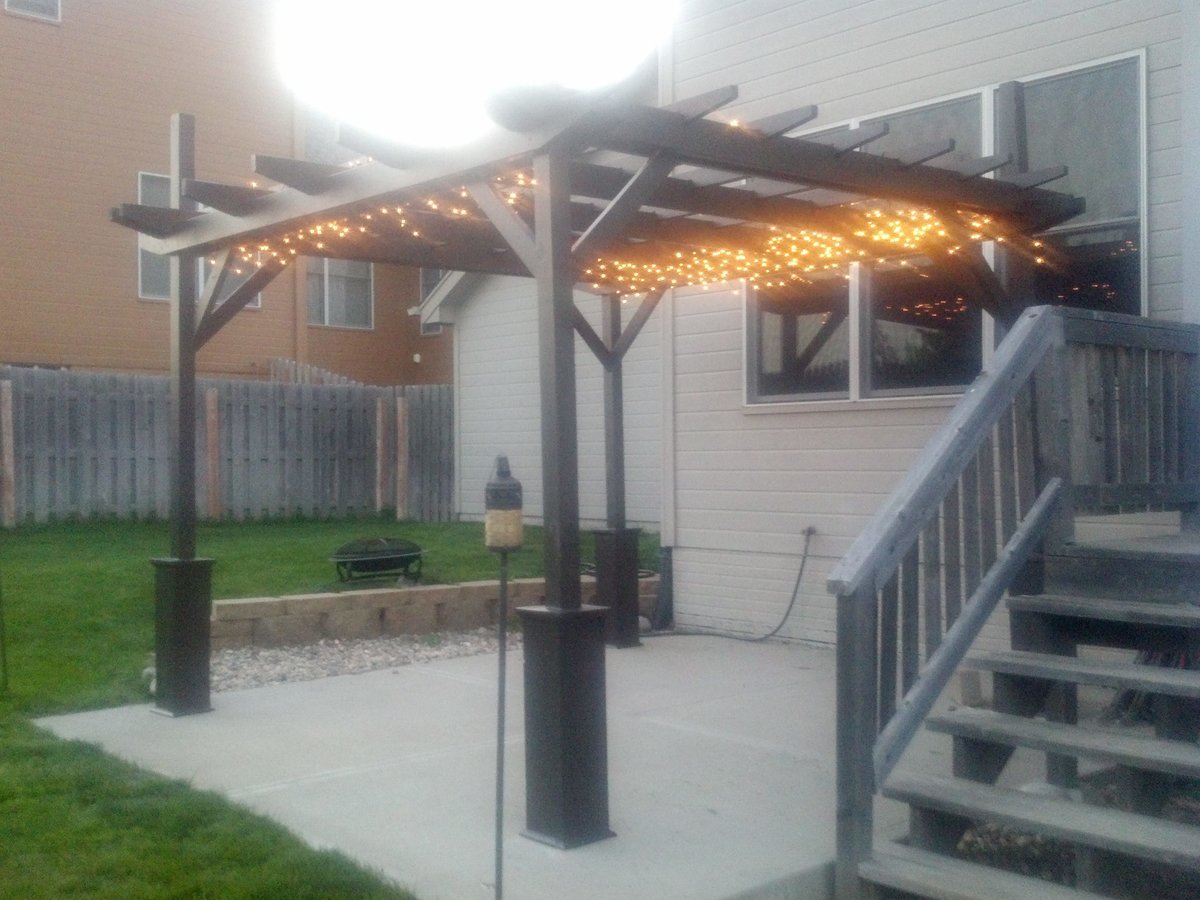
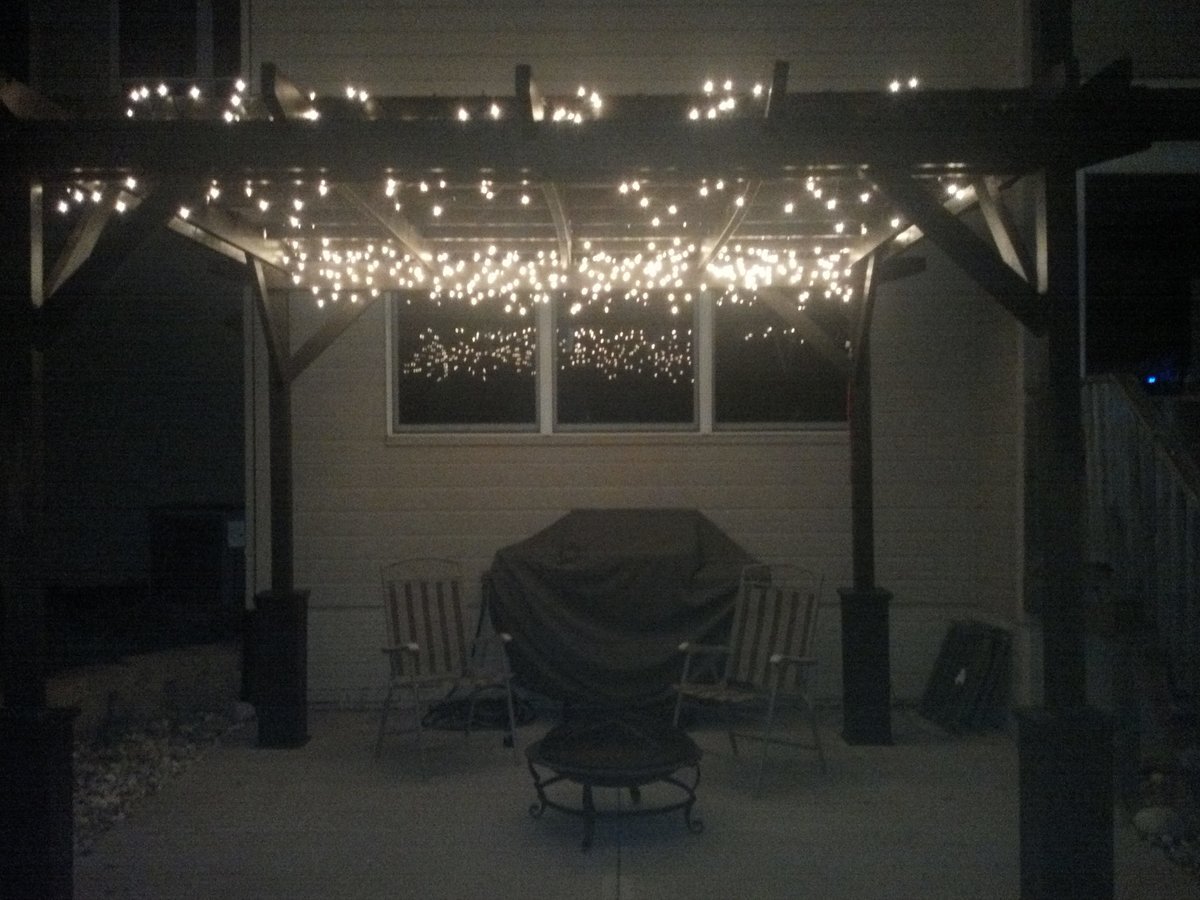
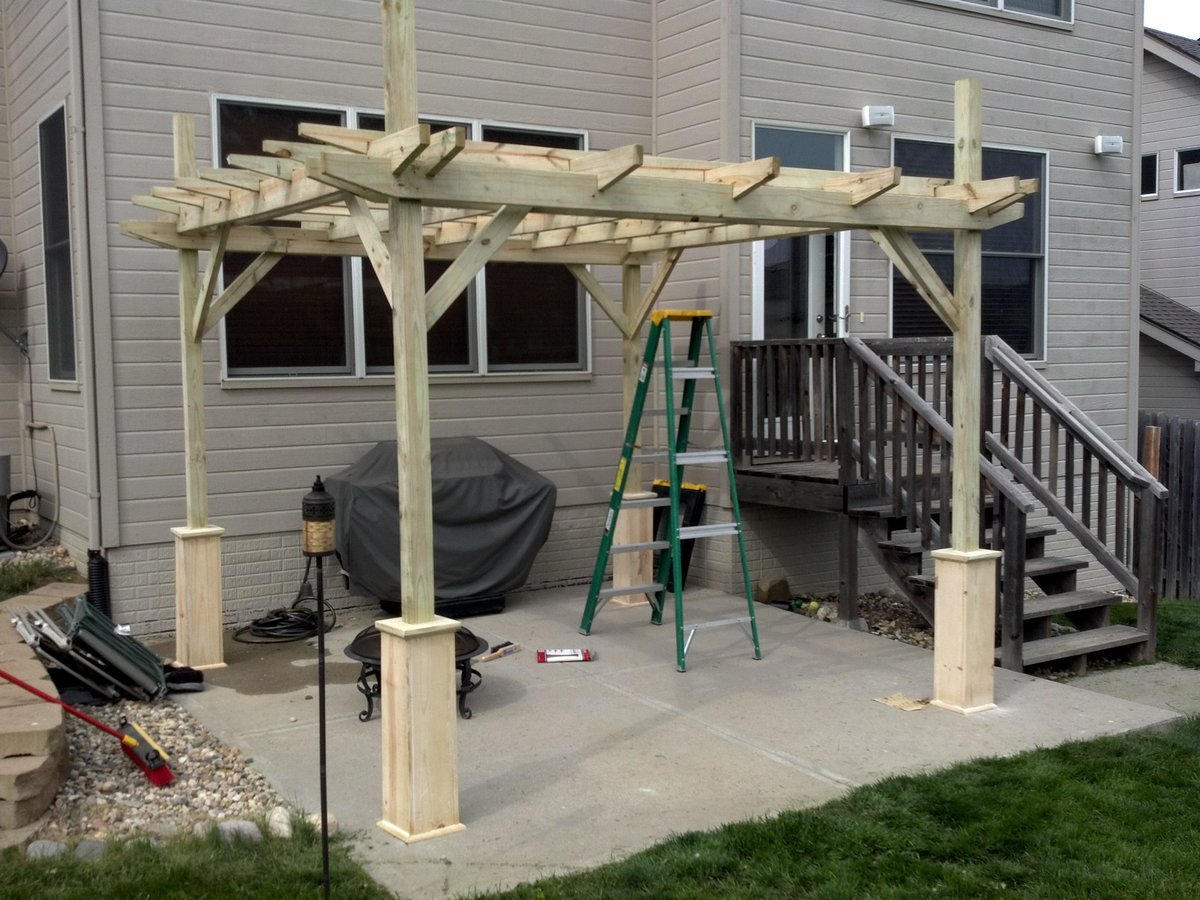
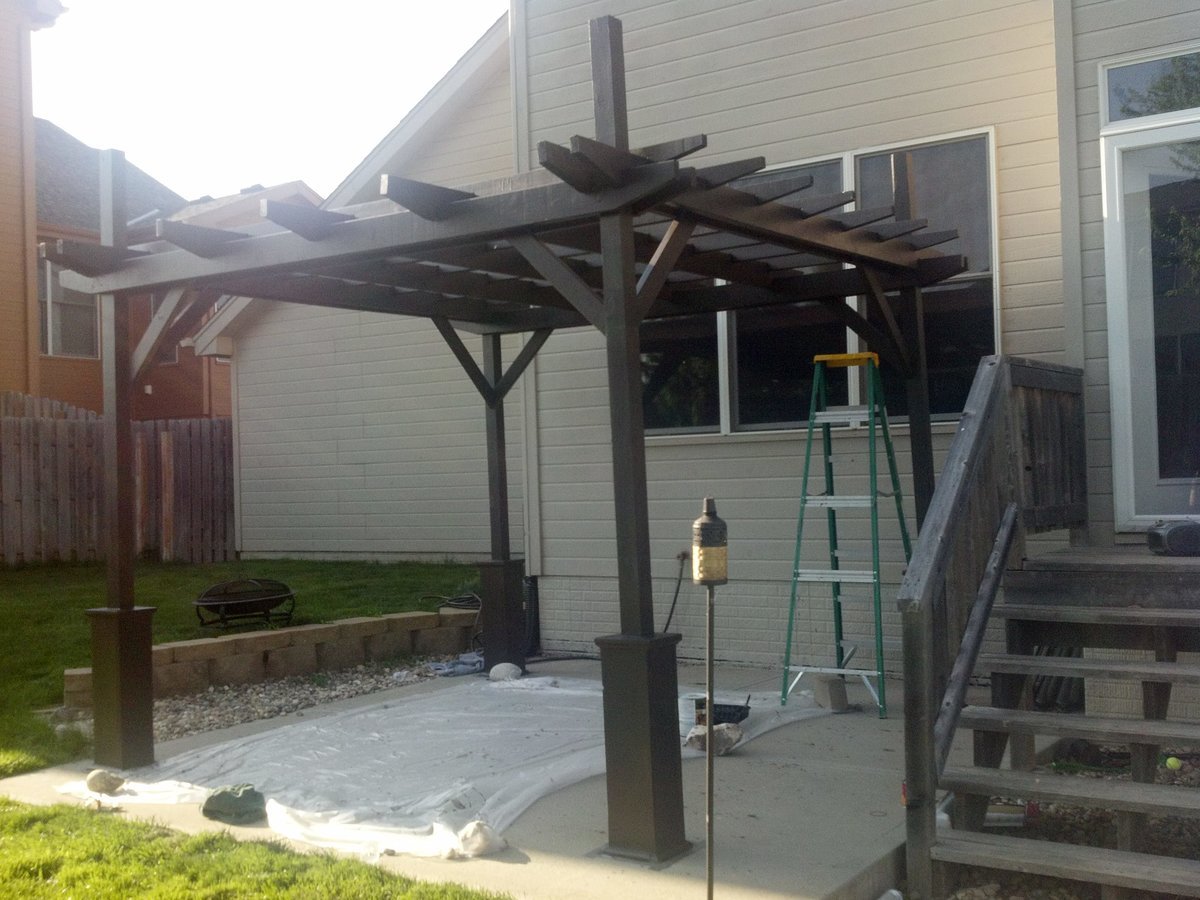
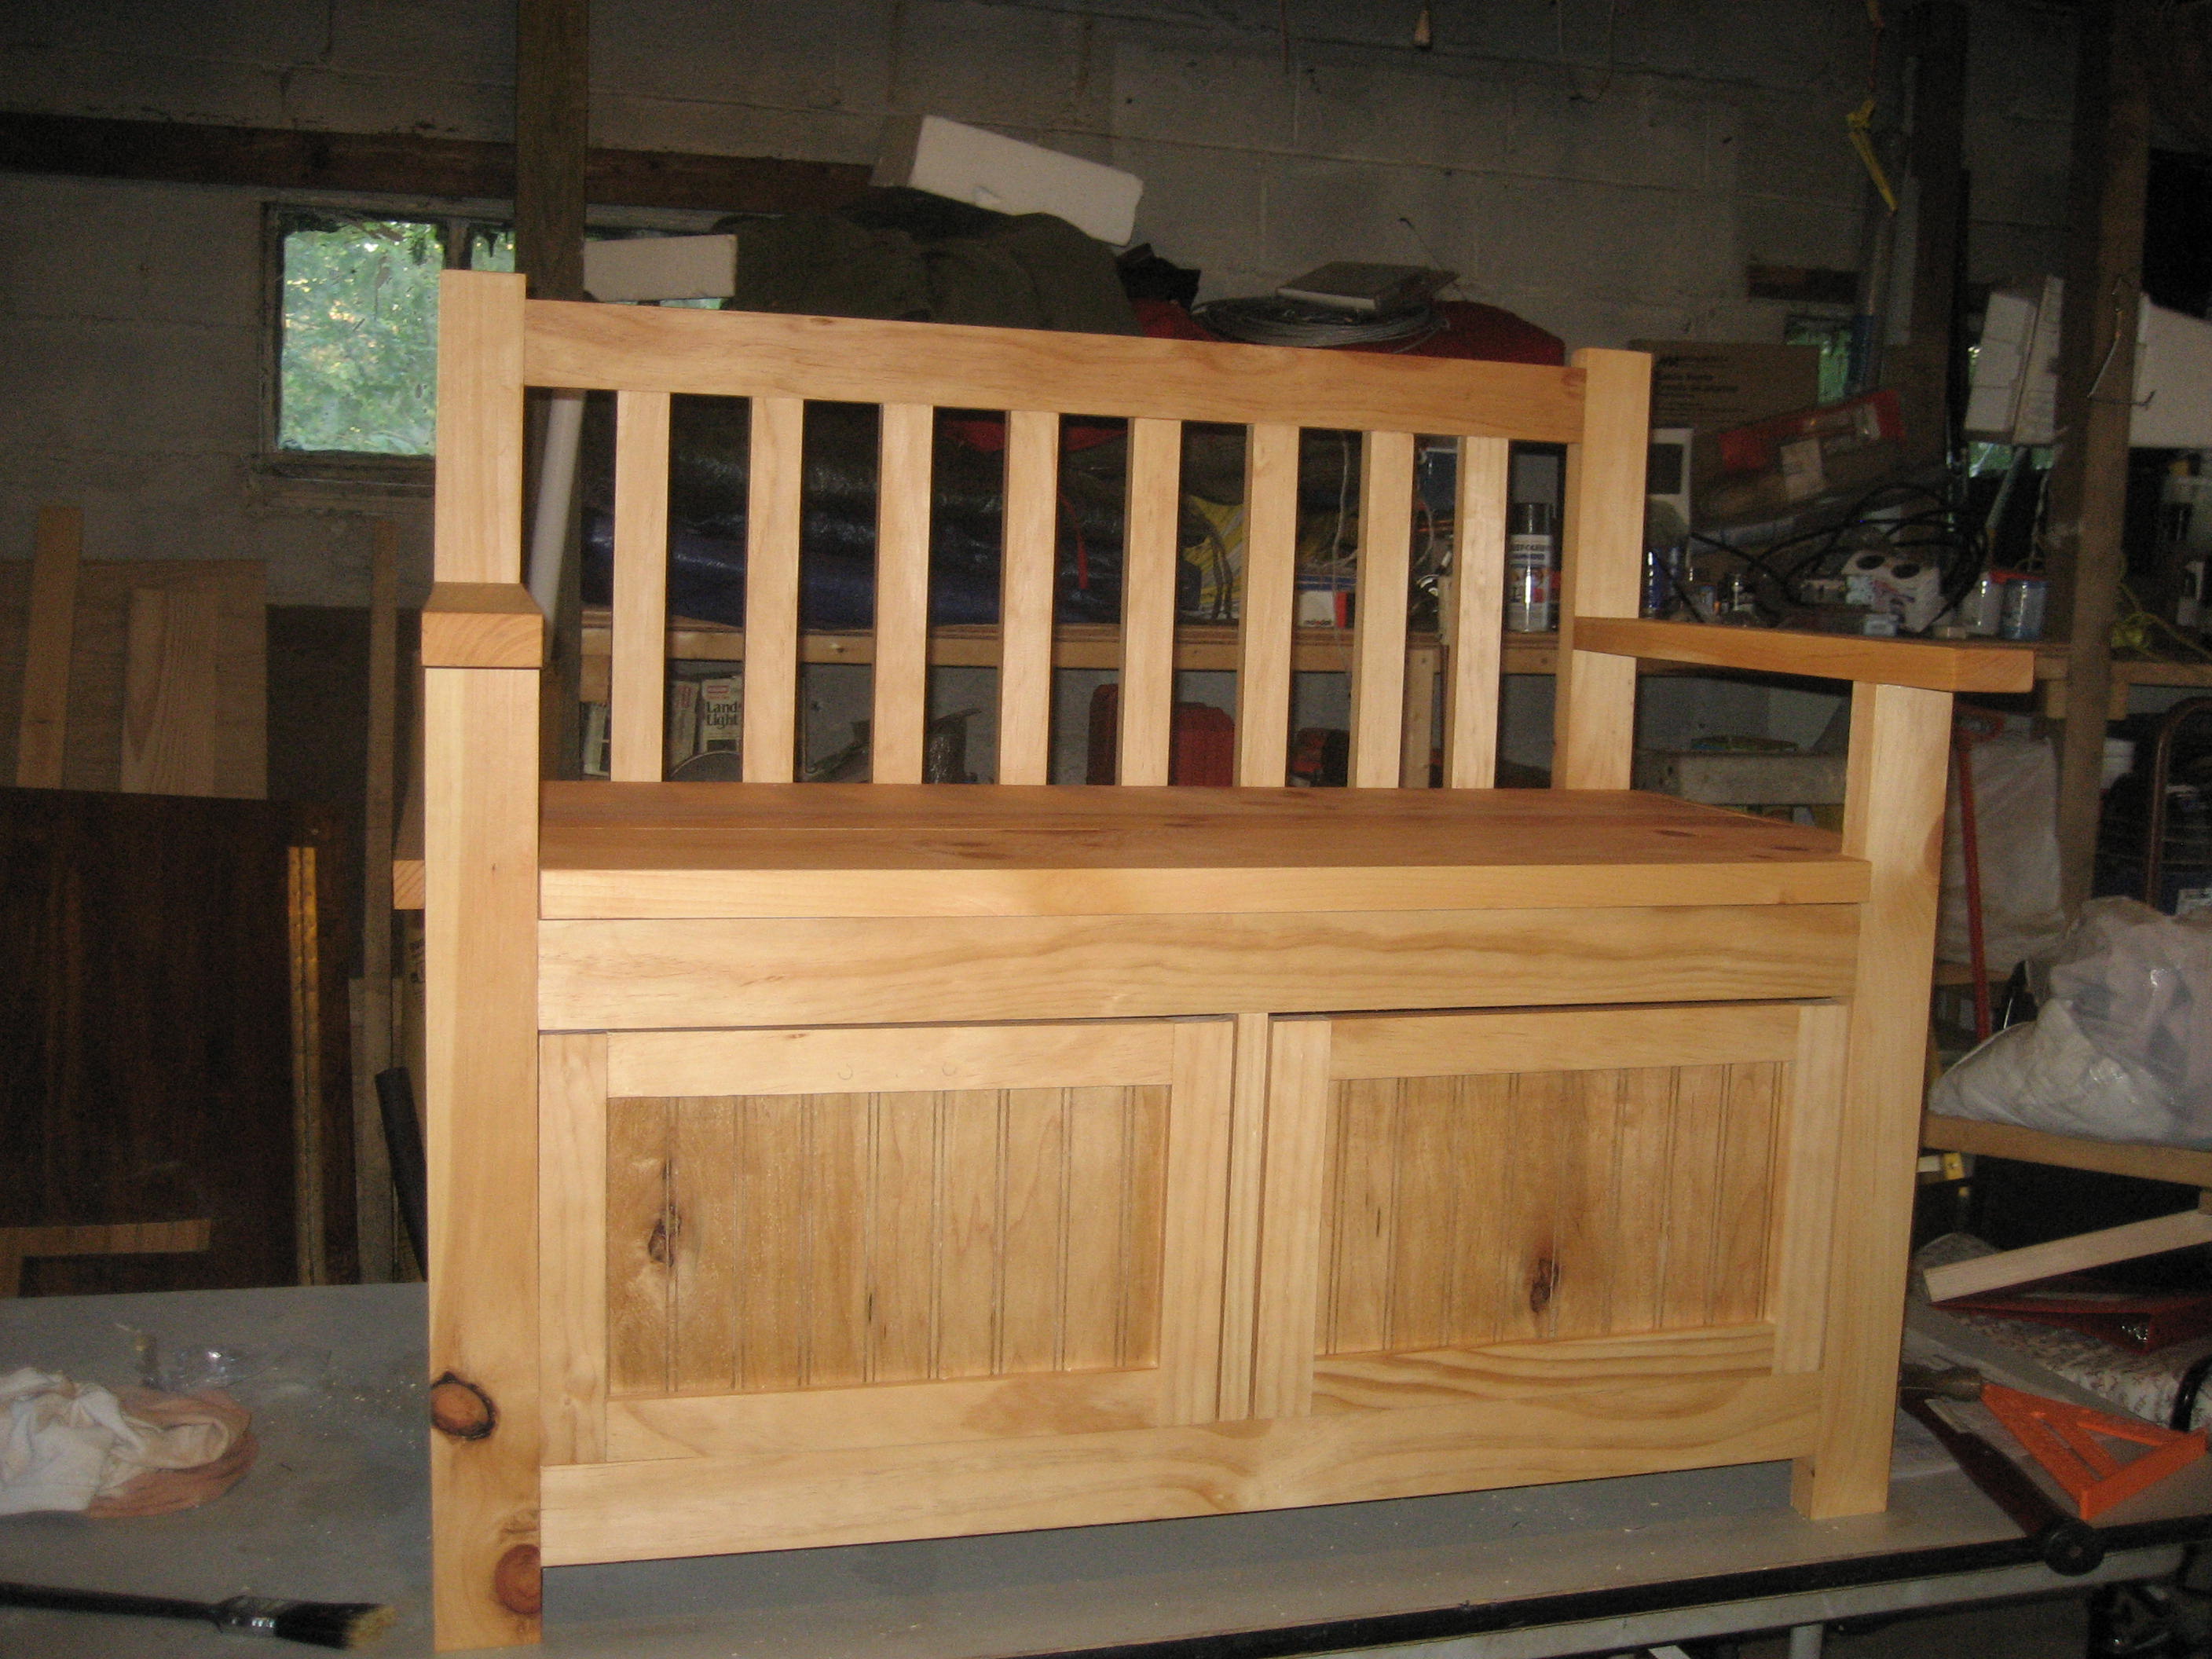
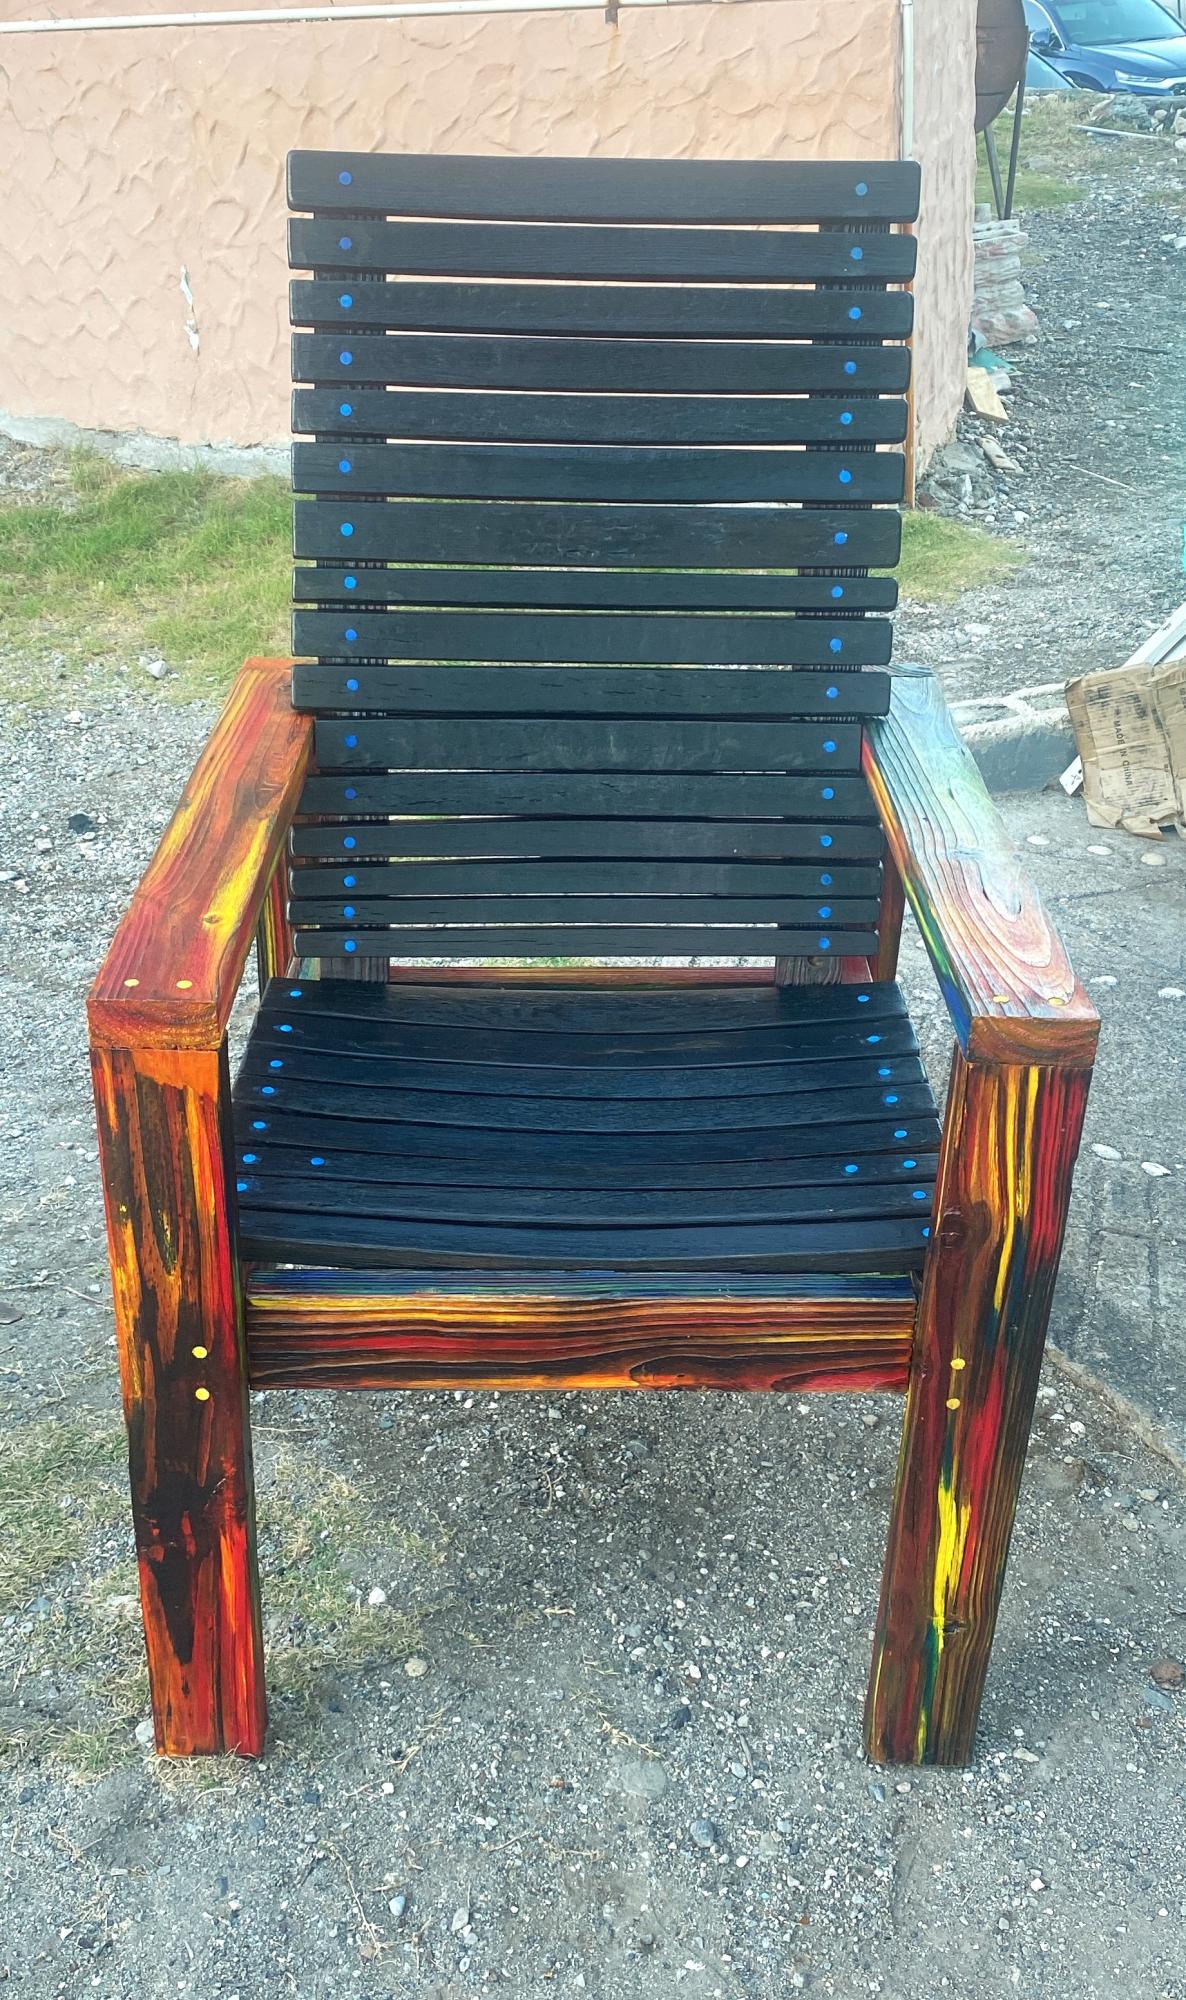
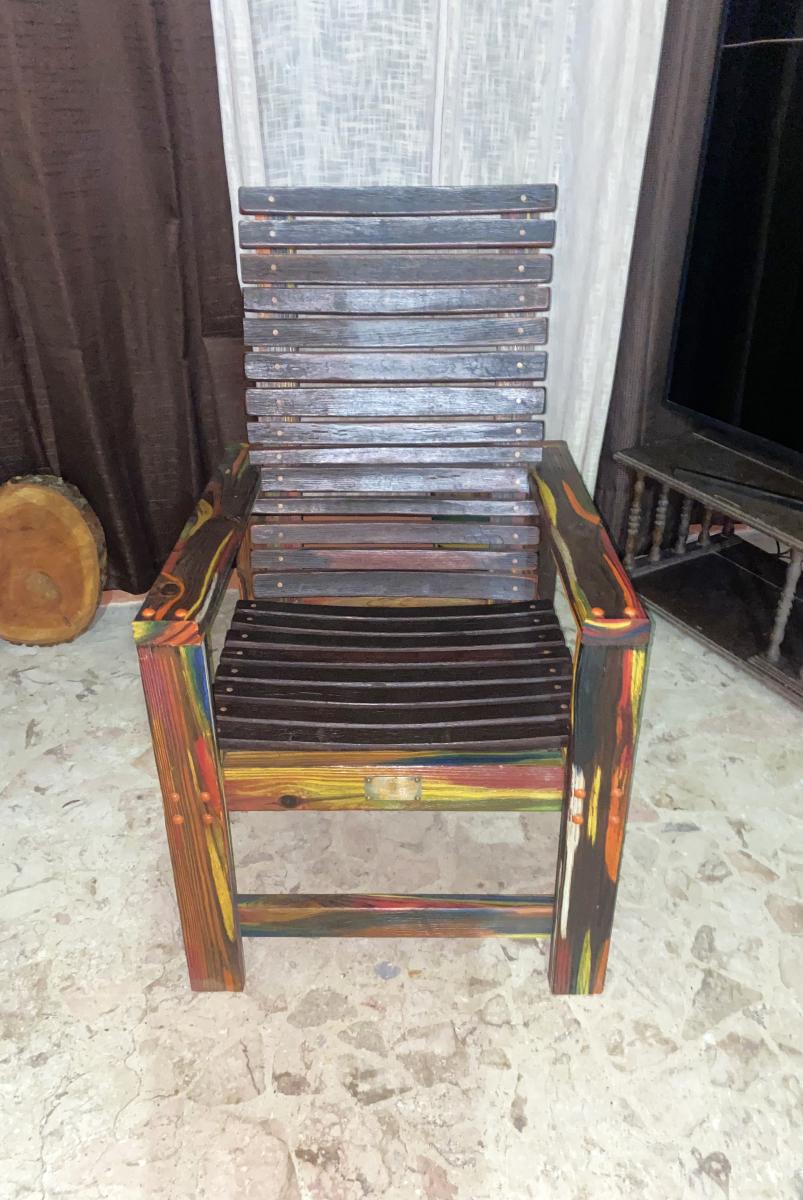
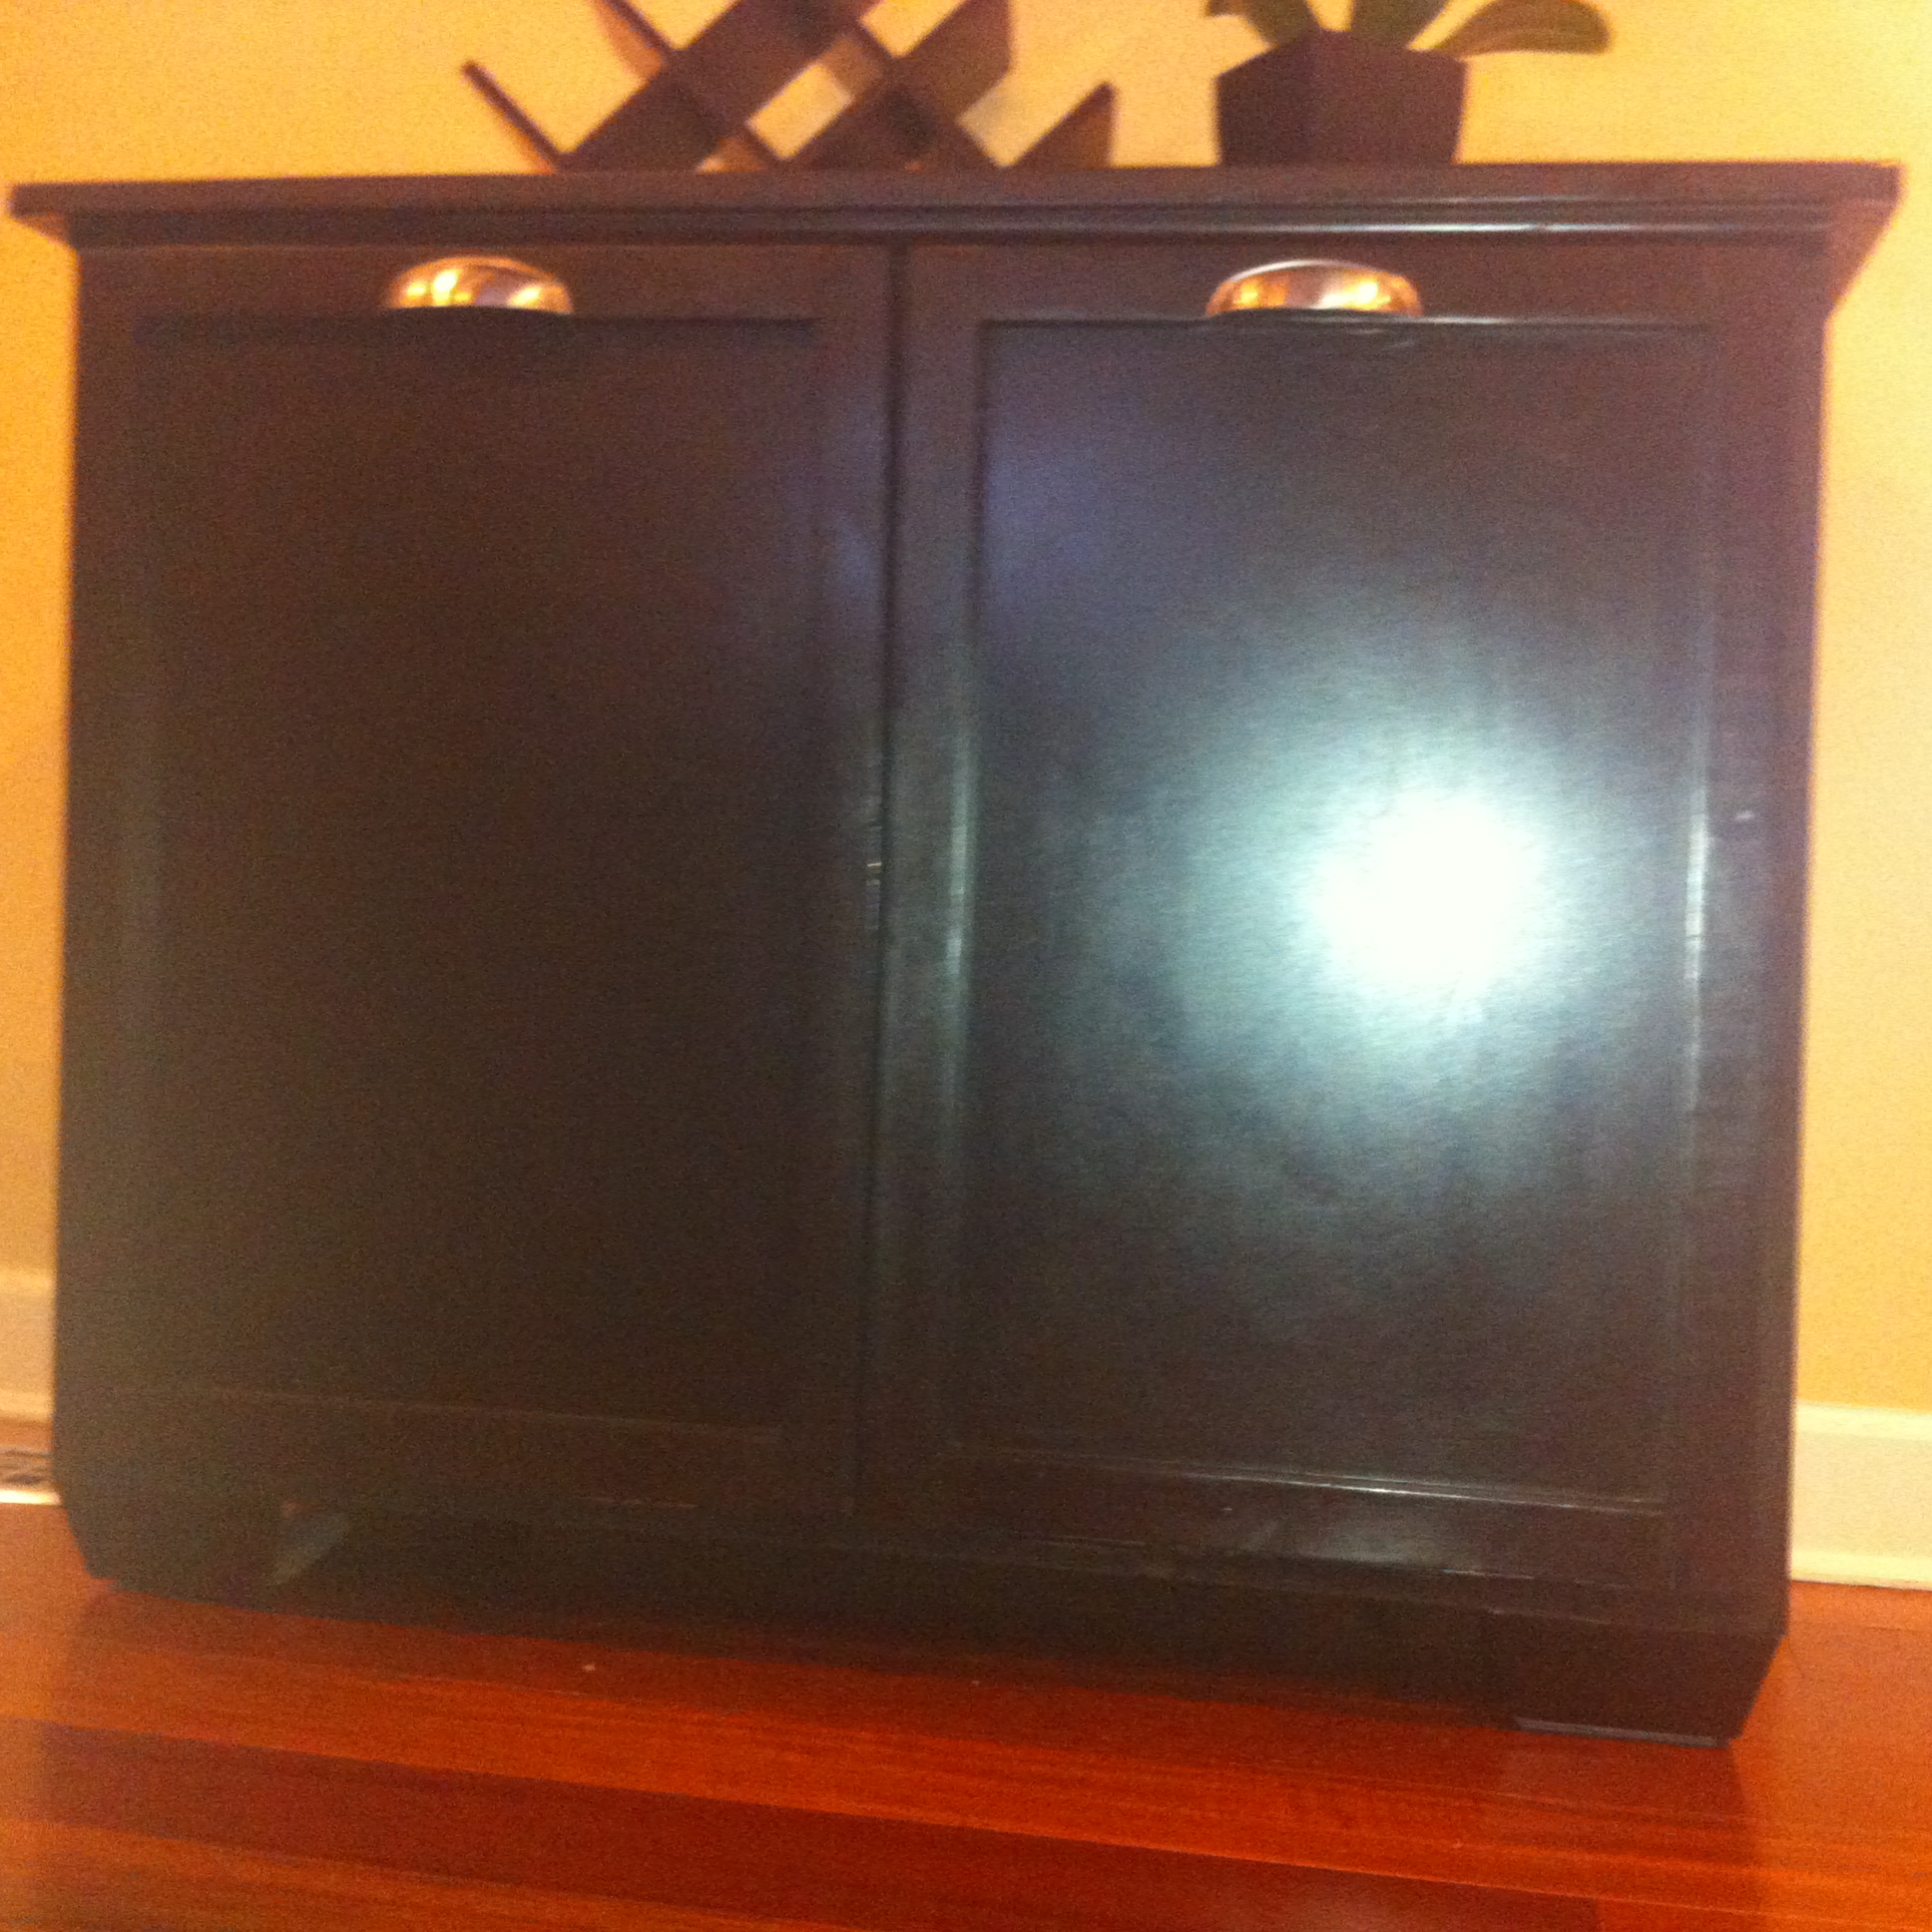
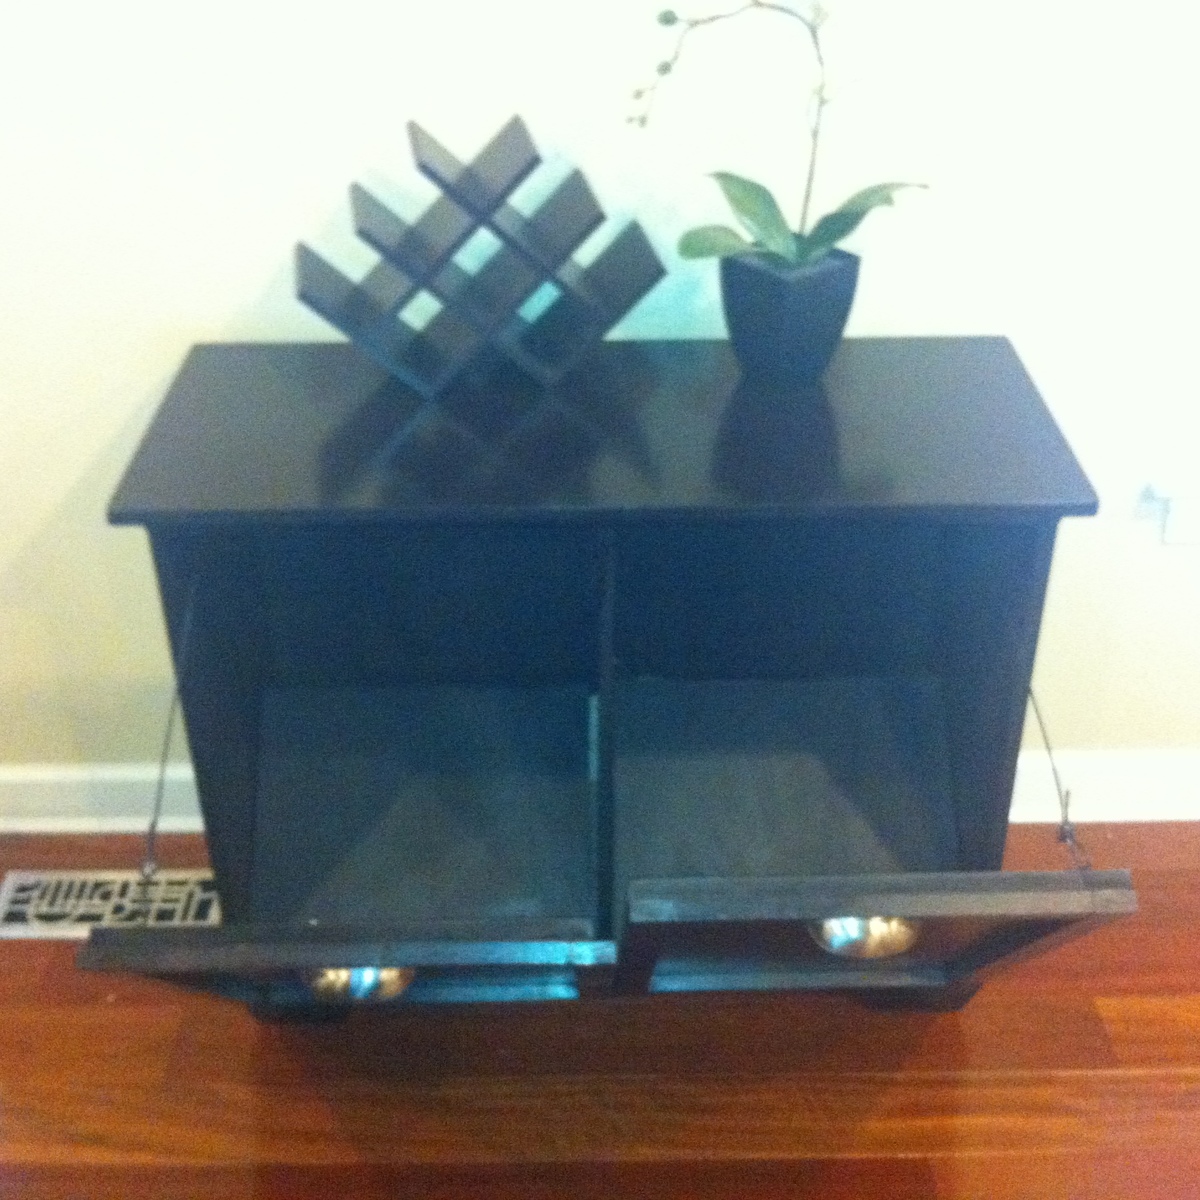
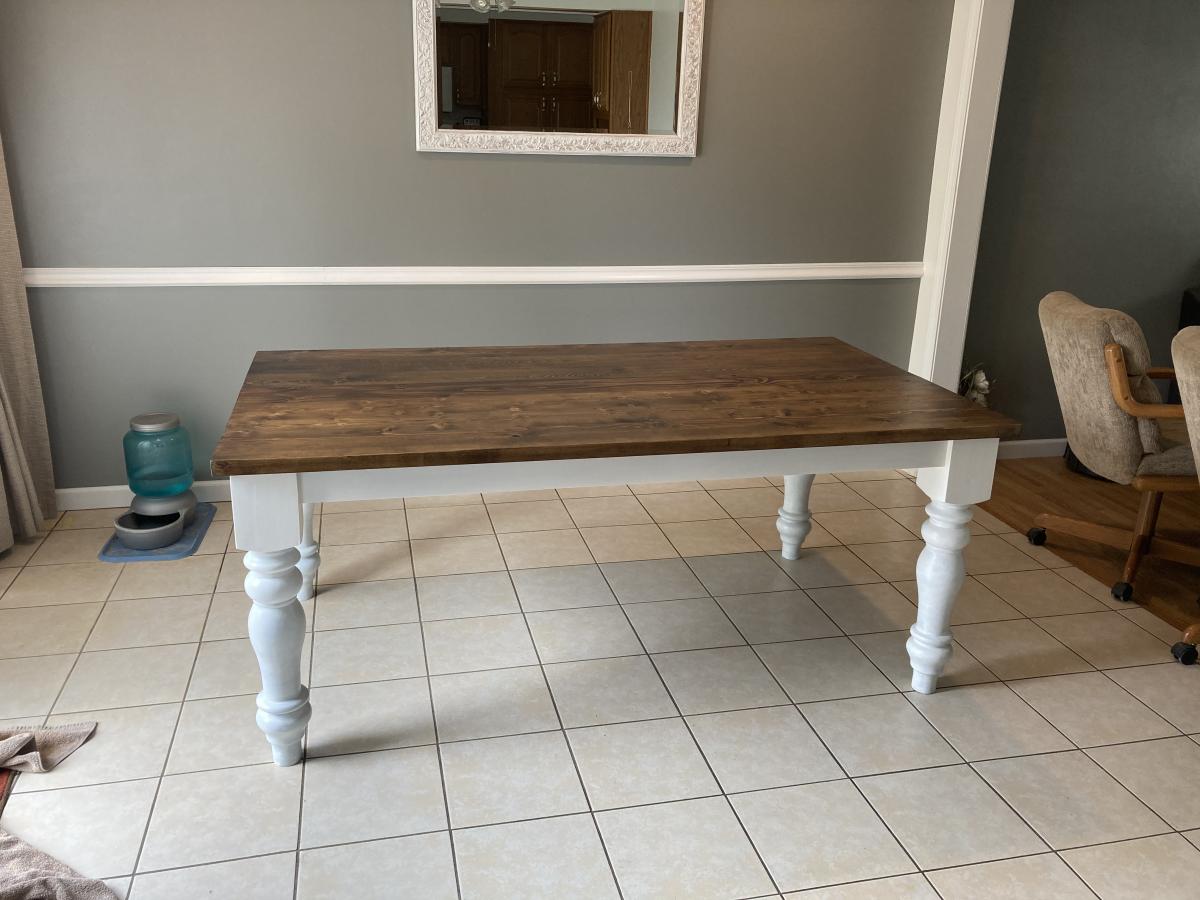
Picnic Table Set with the built in coolers..
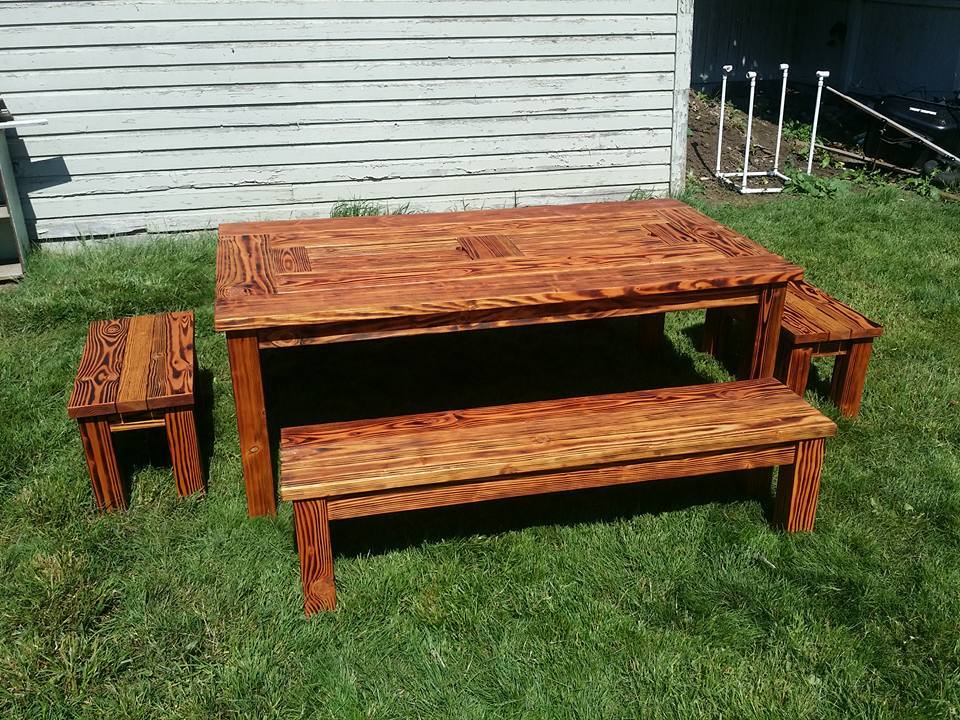
My variation of the multiple plans / pictures I have seen.
I will be making another one this season, with an additional variation in mind to make the time it takes to make the whole thing less.
Built from Plan(s)
Estimated Time Investment
Week Long Project (20 Hours or More)
Finish Used
Outdoor Stain/seal
Recommended Skill Level
Intermediate


Comments
Lila Archer
Thu, 01/28/2016 - 18:23
finish
Did you use a Thompson water seal product?
In reply to finish by Lila Archer
unclebones
Mon, 02/06/2017 - 07:41
For the outdoor stuff, i just
For the outdoor stuff, i just use an outdoor stain/sealer.. for indoor I stain it first, then use helmsman..