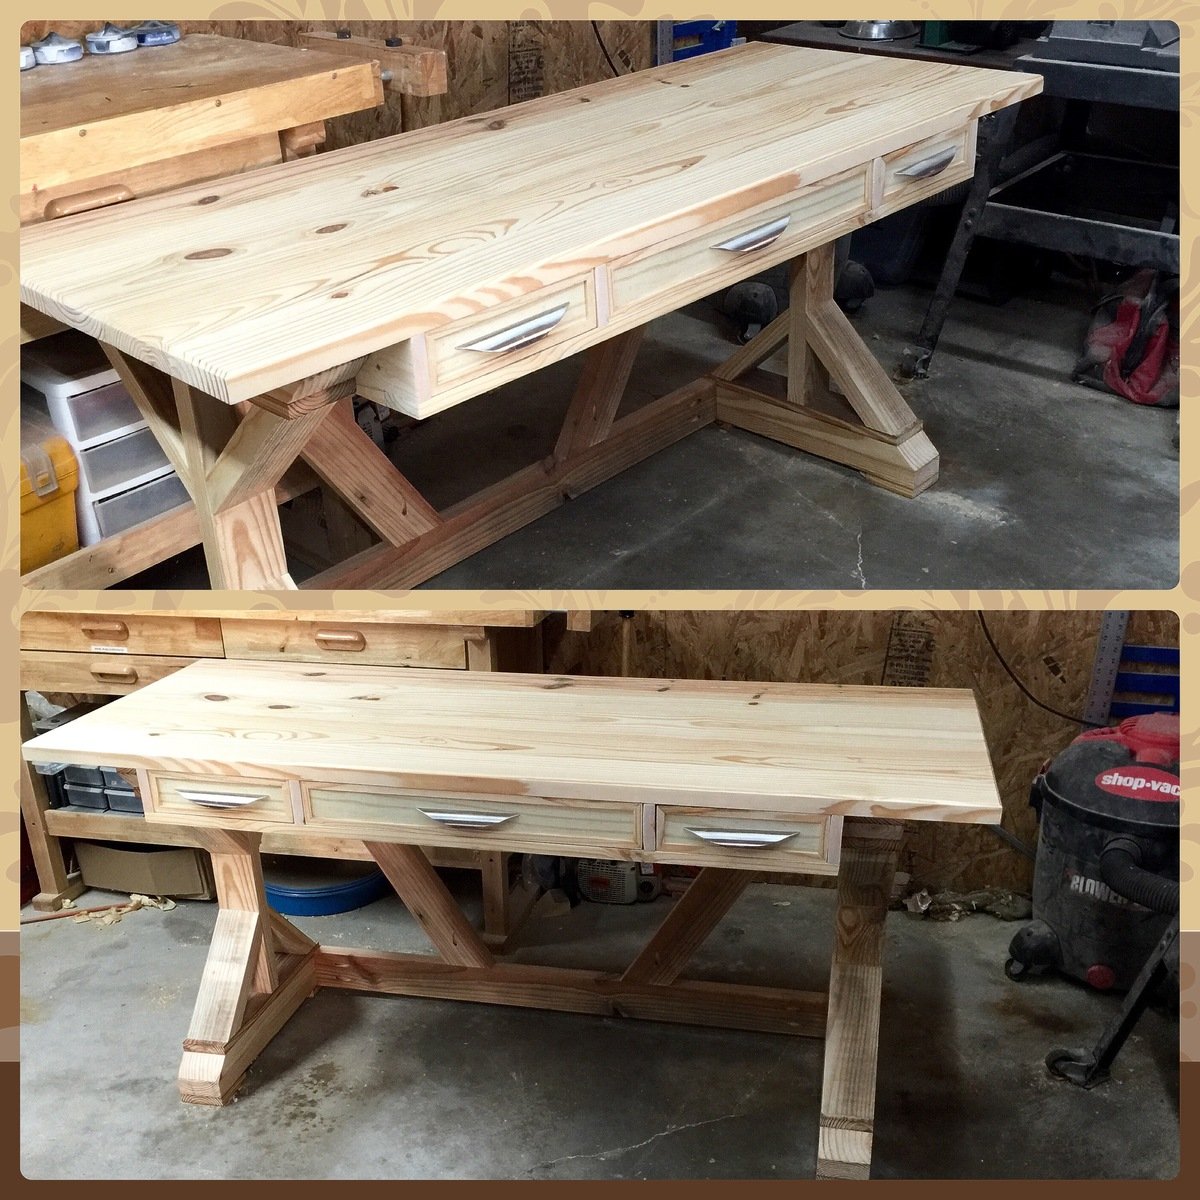
Community Brag Posts

Puppy's Toy Crate

Submitted by takahler on Wed, 08/31/2011 - 11:39

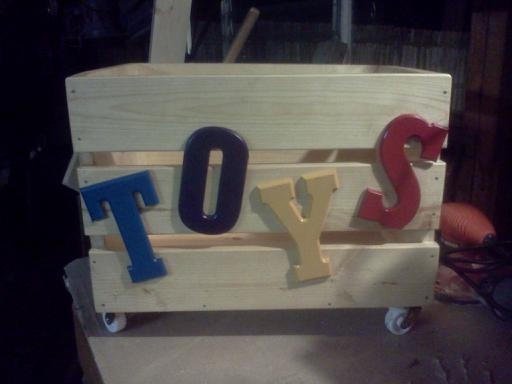
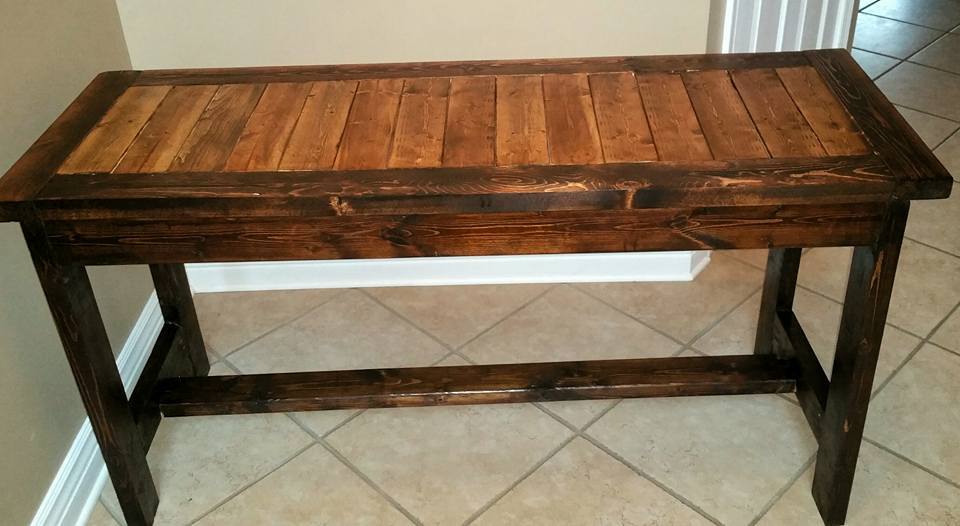
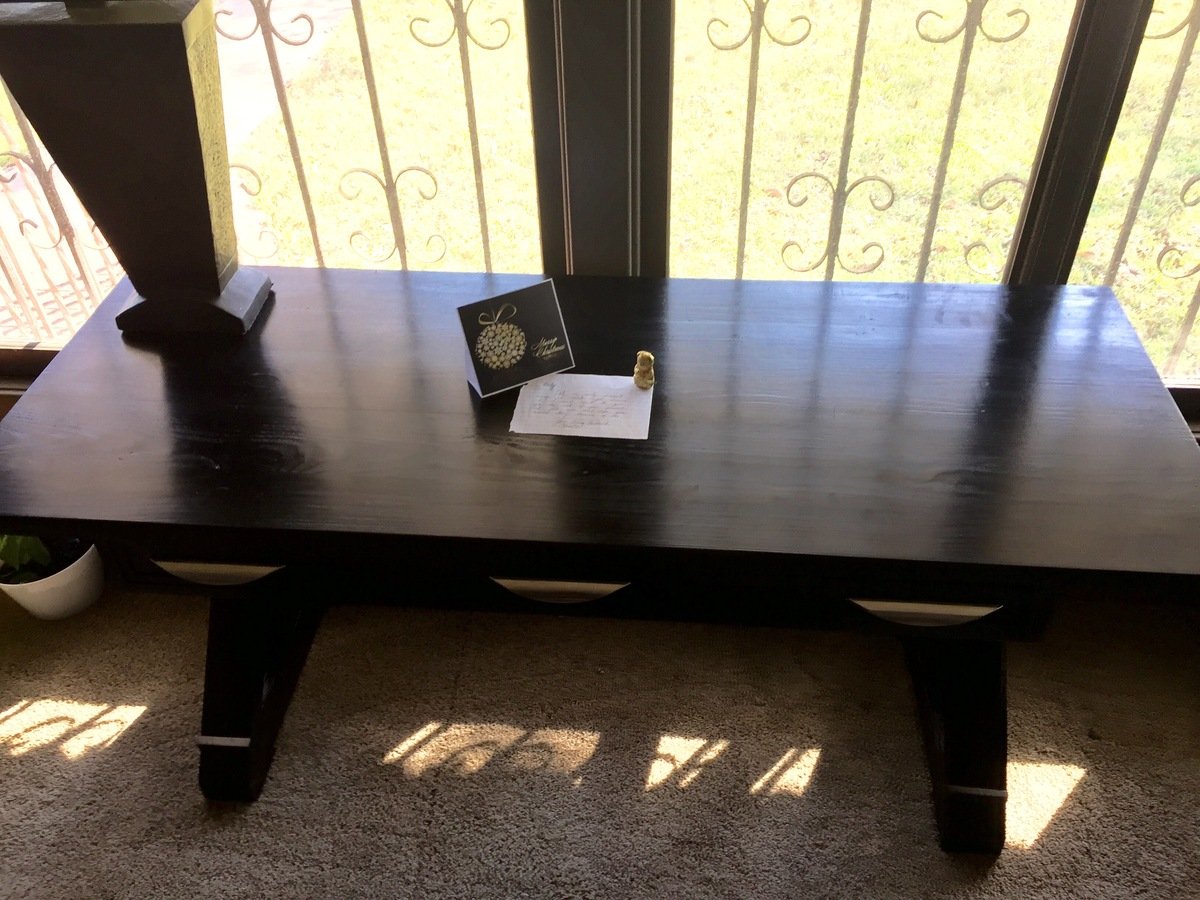
My brother announced a few weeks ago that he was going to be on the search for a new Golden Retriever puppy. Well the hunt is over and he gets to bring the puppy home today. I decided to make the puppy a "Welcome to the family" toy box. I wanted to paint it but was out voted by my kids. They liked the natural pine look, but I felt it needed a little something more. Therefore, a couple of days ago I purchased letters at Hobby Lobby, painted them and nailed them to the front of the crate from the inside out.

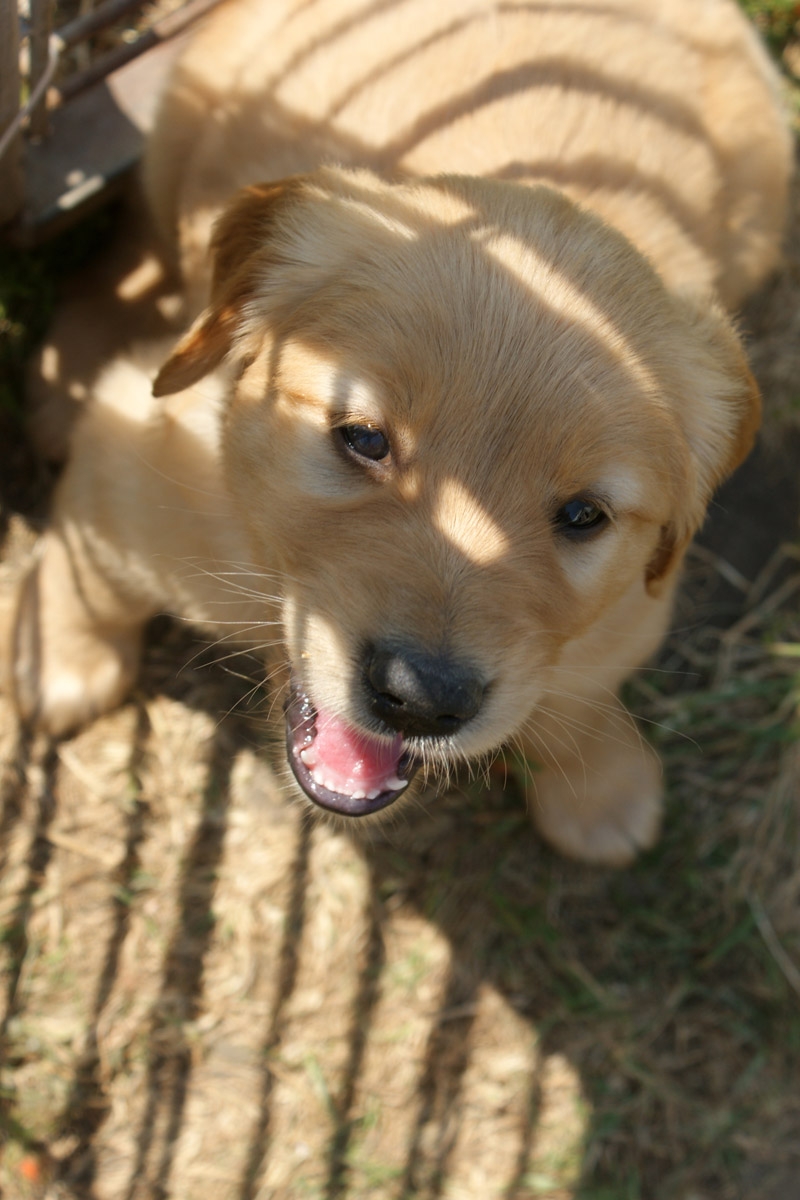
My sons and I also got the puppy some new toys to put in the box. We get to deliver it to her tonight. Can't wait to meet her! I posted a picture of the puppy at the bottom of this post. Isn't she cute?

Built from Plan(s)
Estimated Cost
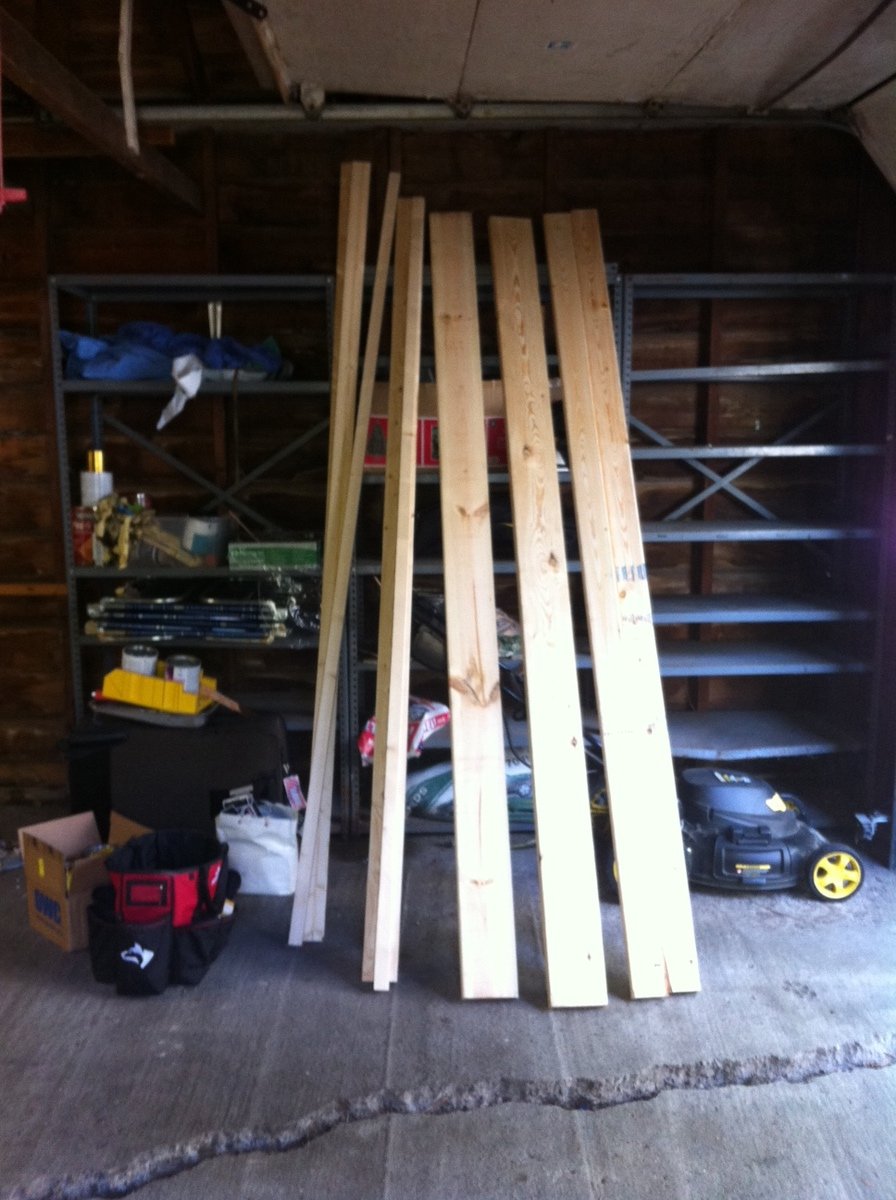
$2.00--I on ly had to buy one 1x4. The rest I had in scraps
Estimated Time Investment
An Hour or Two (0-2 Hours)
Finish Used
just a coat of polyurethane.
Recommended Skill Level
Beginner

Comments

bcubed

Wed, 08/31/2011 - 12:16

Both the puppy and the crate.. What a wonderful idea for a new puppy.. will learn soon that thats where all the goodies are kept.. Best of luck to the new puppy "dad".. great work "auntie"..

StacieM

Sat, 09/03/2011 - 10:41

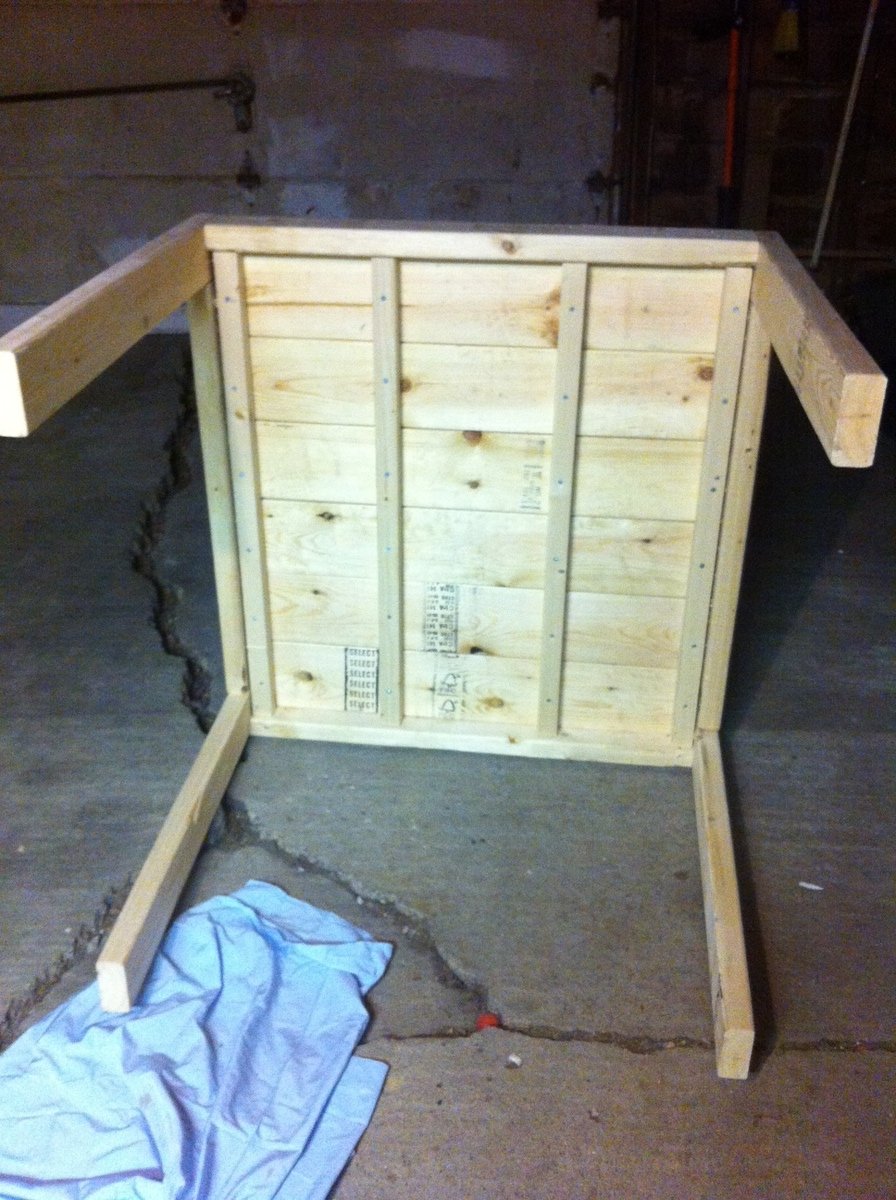
Our dogs toys are always all over the place and this is a great idea to have the toy box on casters! This will be going on my to-do list. Thanks for the post!

Farmhouse table- love it!

Submitted by DogDoc25 on Sat, 09/21/2013 - 13:26

I made this table because I have a very small house and needed a table that was more of a compact size. This table was perfect for that. I also love the farmhouse style. Originally, I didn't realize how much my screws were going to show on the outside, but I actually like how it looks, with the mix of hardware and wood. This table is very heavy and thankfully ended up sturdy! I used a compound miter saw (which I LOVE!) to cut the wood for this project which made it a lot faster than cutting with my jigsaw like I started out with. I bought the wood from home depot, and it took about a whole afternoon to cut the wood, sand, and construct and then about 2 more hours to stain and put the polycyrlic coats on. I did have a little trouble getting the legs on by myself since I had to hold them in place while I was screwing them on, and it was awkward and more difficult than if I had someone to help me hold them while screwing them on. But overall, not too difficult and love how it turned out!

Estimated Time Investment
Day Project (6-9 Hours)
Finish Used
1 coat of wood conditioner- let it dry for about 30 minutes
1 coat of minwax dark walnut, (which I loooove) let sit for 20 minutes then wiped off, let that dry overnight
2 coats polycrylic
Recommended Skill Level
Beginner

2x4 Desk

Submitted by new2wood on Sun, 11/29/2015 - 20:26

Modifications adopted from two other posters.

Built from Plan(s)
Estimated Cost
$37
Estimated Time Investment
Weekend Project (10-20 Hours)
Recommended Skill Level
Beginner

Farmhouse Bed

Submitted by Anonymous (not verified) on Thu, 11/24/2022 - 12:51

Using your plans, I built this king size farmhouse bed and console table.

Built from Plan(s)

Comments

Seasonal And Holiday

Bunk Bed from Simple Bed, modified

My husband modified the Simple Bunk Bed plan by Margjack and built this bed on weekends over the last month. He first built the four head boards and then went on to design his own railing and ladder. I liked how Margjack created more height and identical beds, especially if/when we use them as individual beds instead of a bunk bed.

After priming and painting all pieces, we assembled the bed in our sons' bedroom. A slide show of the assembly can be found at:

http://vimeo.com/27997563

Estimated Cost
$300.00
Estimated Time Investment
Week Long Project (20 Hours or More)
Finish Used
Primed and then painted.
Recommended Skill Level
Intermediate

Comments

river4250

Sun, 09/04/2011 - 09:13

Looks amazing, and I'm totally in love with that color! Great choice.

Tregg Istre (not verified)

Wed, 02/15/2012 - 06:11

I was wanting to know if you could get me the plans to this particular bunk bed? We really like it very much!

Tregg

Wed, 02/15/2012 - 06:24

We are interested in building this bunk bed for our girls is there any way we can get the plans?

Margaret Kubiszyn (not verified)

Wed, 03/14/2012 - 06:22

Tregg - I just used the Simple Bunk Beds plan from Ana (http://ana-white.com/2010/01/plans-how-to-modify-the-simple-bed-to-a-bu…) which is a modification of her Simple bed plan (http://ana-white.com/2009/11/plan-by-request-simple-bed-twin-sized.html)
I further modified it by making 4 headboards instead of 2 headboards and 2 footboards. I fashioned a ladder attached perpendicularly to the side instead of an angled one.
If you look at Ana's plans it should make sense.

Guest (not verified)

Fri, 03/30/2012 - 20:07

I love this, and like others I particularly like the extra height created by doing 4 headboards instead of 2 footboards for the top bunk...my question, though, is how high are your ceilings? I am afraid that if I do this there won't be enough room for the person in the top bunk in our house! Yours looks like it fits just fine, though! :)

Patricia Mandli (not verified)

Sat, 07/21/2012 - 12:49

I LOVE this color! Do you remember (or could look at the can) the name of it and where you bought it? Thanks so much!

wotto

Mon, 03/17/2014 - 08:59

link from vimeo isn't working. Is it still available?

Gaby Kitchen Island

After looking through Ana's plants for months (MONTHS), I finally decided to tackle a project that I desperately needed: a kitchen island. I have almost no counter space in my kitchen and couldn't bring myself to spend the money to put in a new set of lower cabinets or a kitchen island at the size I was looking for.

I found the door for just $20 at a local junkfest and debated turning it into a dining table or an island. I finally settled on island and took to stripping off the layers and layers of paint and stain. I modified the Gaby Kitchen Island plans to fit my nearly 8-foot door, and decided not to recess the 2x4 shelf supports (mainly because I didn't have a saw). However, I did buy a mini-Kreg jig and am shocked at how easy it was to use, and how great the seams look.

I had all of the wood cut to length by the lumber yard, so that saved me a bit of time, and no one charged me a cent to do all the cutting. And if you can believe it, everything was square!

For the legs, I used Minwax Wood Finish in Red Oak. I chose not to stain the top because I loved the color of the natural wood and wanted to see all the little flaws and defects. I then used 2 coats of Minwax Fast-Drying Polyurethane in Gloss on the top, and in Satin on the legs.

Finally, to add some support (the door is VERY heavy), I used L-brackets to attach the door to the frame.

Built from Plan(s)
Estimated Cost
$200 (wood, door, stain, finish, screws, sandpaper...)
Estimated Time Investment
Weekend Project (10-20 Hours)
Finish Used
Minwax Wood Finish in Red Oak
Minwax Fast-Drying Polyurethane in Gloss
Mixwax Fast-Drying Polyurethane in Satin
Stain was applied by rubbing it on with old towels. Polyurethane was applied using a good, natural bristle brush.
Recommended Skill Level
Intermediate

Dining room table and bench

Although I didn't use a plan from this site, I do have Ana to thank for giving me the confidence to go alone and build this from a drawing that my wife drew up. All of my previous builds were from plans on this site so to make this from scratch without any help makes this my favourite build to date.

Table

Top: 2x12s

Aprons: 2x6s. Trim purchased from Lowes

Legs: Purchased from Lowes

Fake drawers: 1x4 ripped to size. Knobs purchased from Lowes


Bench

Top: 2x12

End sections: 1x10 (may replace with 2x10)

Aprons: 2x4


Chairs were purchased separately. (I'm not that confident yet)

Estimated Cost
$200
Estimated Time Investment
Week Long Project (20 Hours or More)
Finish Used
Minwax Honey stain and 3 coats of polyurethane for the table and bench tops. 3 stage latex chalk and wax for the 'shabby chic" finish.
Recommended Skill Level
Intermediate

Comments

gpsmith

Sun, 12/06/2015 - 06:03

Hi,


This looks lovely, just what I'd like to do. Do you mind sharing where you found the plans or if you're a creative whiz, send some photos of the underside so I can see how you constructed it?


Thanks,

Mike Millington

Mon, 12/07/2015 - 07:38

I didn’t use any plans for this. My wife sketched out the design she wanted and I decided to go it alone. This is the first time I’ve built something from scratch without help and it was surprising easy to put together.

This is completely put together with the Kreg jig. The table top is made up of 3, 2 x12s attached together with pocket hole screws. I cut the 4 aprons and attached those to the legs also with pocket hole screws. To give extra support I attached 2, 2x4 cross braces between the longer aprons. The table top was then screwed in place with pocket hole screws through the aprons and 2” screws through the 2 braces.

For the fake drawer fronts, I cut them to size and routed the outer edges to round them off. I then attached the knobs and screwed the drawers in place through the back of the aprons. Finally, I attached trim to the bottom of the aprons. The knobs and trim were bought from Lowes.

The bench was made in a similar way. The top is made from a piece of 2x12, 2x4s for the aprons, the end sections are 2x10s and I used a jigsaw to cut out the arches. All attached together with pocket holes. I then added a 2x2 support beam through both ends and attached matching trim to the aprons.

Hope this helps.

end tables

Submitted by Anonymous (not verified) on Wed, 01/23/2019 - 17:07

I made the back the same as the sides, the top has router edge and the drawer has a front that was routered.

Recommended Skill Level
Intermediate

Comments

Toddler Bed

Submitted by natnoall on Wed, 09/07/2011 - 11:52

I made this slightly wider than the plans called for, just to make it easier for my daughter to tuck sheets in.

Estimated Cost
$50
Estimated Time Investment
Afternoon Project (3-6 Hours)
Finish Used
Rust-Oleum Wood Stain - Paprika 2 coats
Polyuranthe - 2 coats
Recommended Skill Level
Beginner

Extra fancy x desk

Submitted by Risewithin on Wed, 12/09/2015 - 13:58

Built with all recycled material. Wanted to try out a gel stain on pine to get more even results and I love it!! 

Built from Plan(s)
Estimated Cost
$16 in stain
Estimated Time Investment
Weekend Project (10-20 Hours)
Finish Used
Minwax pro series antique black
Recommended Skill Level
Beginner

Comments

BlakeBurns20

Tue, 01/05/2016 - 06:19

Why am I unable to find the plans with the drawers? I have been looking all over this site for them.

Rustic X Coffee Table, take 2

Submitted by Anonymous (not verified) on Thu, 01/31/2019 - 10:07

Made from leftover wood from other projects.  Adjusted the plan to accomodate the lengths of wood I had available.

Built from Plan(s)
Estimated Time Investment
Afternoon Project (3-6 Hours)
Finish Used
Minwax antique walnut, layered with Rustoleum Weather Gray. Minwax hand-rubbed polyurethane finish (2 coats) and 1 coat of wax.
Recommended Skill Level
Beginner

Kitchen island

Submitted by Anonymous (not verified) on Wed, 12/21/2022 - 07:42

We desperately needed more counter space and storage in our kitchen, so we turned to Ana for inspiration. This island is based on the Simple Kitchen Island plan. We purchased a 30" x 48" butcher block countertop and adjusted the dimensions to fit. We also added a second shelf for additional storage. We used materials we had on hand (2x4s and 1x4s for the frame, and MDF for the shelves). We're fairly new to DIY projects on this scale, but the complete, detailed instructions provided on the website gave us the confidence to make the adjustments we needed to make our kitchen island a reality. Thank you, Ana!

Comments

Julie's Bed

Submitted by stitchnsaw on Sun, 09/11/2011 - 10:18

This bed is made specially for a little girl with a doll named Julie, hence the J :)
I would like to say it only took me a few hours, but in reality it took me a week. Mainly because I sand in 3 stages (coarse, medium, fine) and wait overnight between coats of paint and work on multiple projects at the same time. Still a very easy project! (except for the sewing, I'm no seamstress ;))
I used select pine for 1x2's and 1x3's, but I think furring strips are much better because of the rounded edges. Also 2x2's were not select pine and they didn't quite match up with the other boards.

Estimated Cost
~$30 including fabric that wasn't on sale :(
Estimated Time Investment
Week Long Project (20 Hours or More)
Finish Used
brushed on primer and two coats of spray paint (color: Paprika) lightly glazed black and wipe-on poly.
Recommended Skill Level
Beginner

Pergola Project DIY

Submitted by acer211 on Sun, 09/29/2013 - 07:18

Here are some pictures of the Backyard Pergola (almost finished). Three of us leveled the main beams (easier said than done), but many hands made for lighter work and a lot more fun. Big thanks to Dave and Gretta !!!

The posts on top still need to be trimmed, and the carriage bolts need to be hack-sawed off so they do not stick out.

I found the other "Brags" inspiring while working on this project, so I thought I would share also.

*Used treated wood for most of it, and plan to stain it with "Cabot's oil-based semi-solid stain" when the treated lumber has dried out - next year sometime.

Estimated Cost
$400-500
Estimated Time Investment
Weekend Project (10-20 Hours)
Finish Used
Cabot's semi-solid oil-based stain (w/mildewcide additive).
Recommended Skill Level
Intermediate

Baby Changing Table

This changing table was fairly easy to put together. I have yet to really master drawers, so I was a bit nervous about such a drawer-centric project. Fortunately, they slide great! Next time I may experiment with jigsaw cutouts and moulding, but for now, I enjoy the clean lines and simplicity of this dresser.

Estimated Cost
$150
Estimated Time Investment
Week Long Project (20 Hours or More)
Recommended Skill Level
Intermediate

Customized Sliding Door Console

Submitted by Anonymous (not verified) on Tue, 02/05/2019 - 15:05

Designed from the Grandy Sliding Door console, but I modified it by extending it to 8ft wide, and added a media shelf to not cover remote sensors for my set top boxes. This is my first build from Ana White so it took a little more time and expense than I hoped only because of some startup tools I decided to get to help the process.

Built from Plan(s)
Estimated Time Investment
Week Long Project (20 Hours or More)
Finish Used
Verathane Carbon Grey and Sunbleached
Recommended Skill Level
Intermediate

Comments

ladybug'13

Mon, 07/01/2019 - 14:08

Nice job! I really like your version, especially the doors. How did you make them? 

Jargon89x

Sun, 12/12/2021 - 21:41

I realize its been years since this comment was posted, But i started with a 1/4 ply. Then topped it with 1x4 common wood to create the chevron. They are glued and held with clamps tight against the previous as i built it out. Can provide more pictures if interested.

Modern farmhouse table

Submitted by Anonymous (not verified) on Thu, 12/29/2022 - 09:45

Post and beam farm house table.

Completed 4 years ago by myself while using the Ana-whites plans.

Matching baby change table and crib are also finished for our newborn arriving Jan 3rd.

Built from Plan(s)

Comments

Kitchen Island

Submitted by Laurie Mac on Sun, 09/18/2011 - 16:09

Our daughter asked for a kitchen island so my first stop was Ana's website to see what plans I could find. I built the base while my husband was out of town one week. This was a zero trip to Lowe's project as I raided our wood rack and scrap bins. My husband came home and built the countertop.

Built from Plan(s)
Estimated Cost
Not known as all the wood was pulled from the rack or scrap bin
Estimated Time Investment
Week Long Project (20 Hours or More)
Finish Used
Butcher block oil was used on the top and Howard's Feed-n-Wax (a beeswax/orange oil product) was used on the base.
Recommended Skill Level
Beginner

Comments

Lori E (not verified)

Tue, 09/20/2011 - 08:32

Wow! This is Gorgeous!! Beautiful work.

Wendy M

Sat, 11/28/2015 - 04:09

Where do I get the plans to make this!?  Beautiful! 

SeeSaw

Submitted by Kabarie on Mon, 09/30/2013 - 14:47

The bolt I got was too short so...was about to go out and exchange it when my husband said to be like the amish. So he helped me put a dowel I had in my stash in a 1inch hole that I made...added some grease to it and it works great! Also used ends of staircase spindles that I had leftover from other projects for the handles. Would have gotten done a lot faster if it weren't for the paint and stain. Haven't bothered with the cushions yet. Kids love it!

Built from Plan(s)
Estimated Time Investment
Day Project (6-9 Hours)
Finish Used
Had some green stain from previous project and different colours of paint for seats and handles
Recommended Skill Level
Beginner