Log table

A table that I made out of a slab of rough wood, end cut from a mill. The rounded sides of the coffee table legs were made out of round fence posts cut down the centre & placed on the sides of cedar boards. I painted my wife & I on the legs "2 old crows". I had sufficient wood left over to build a side table.

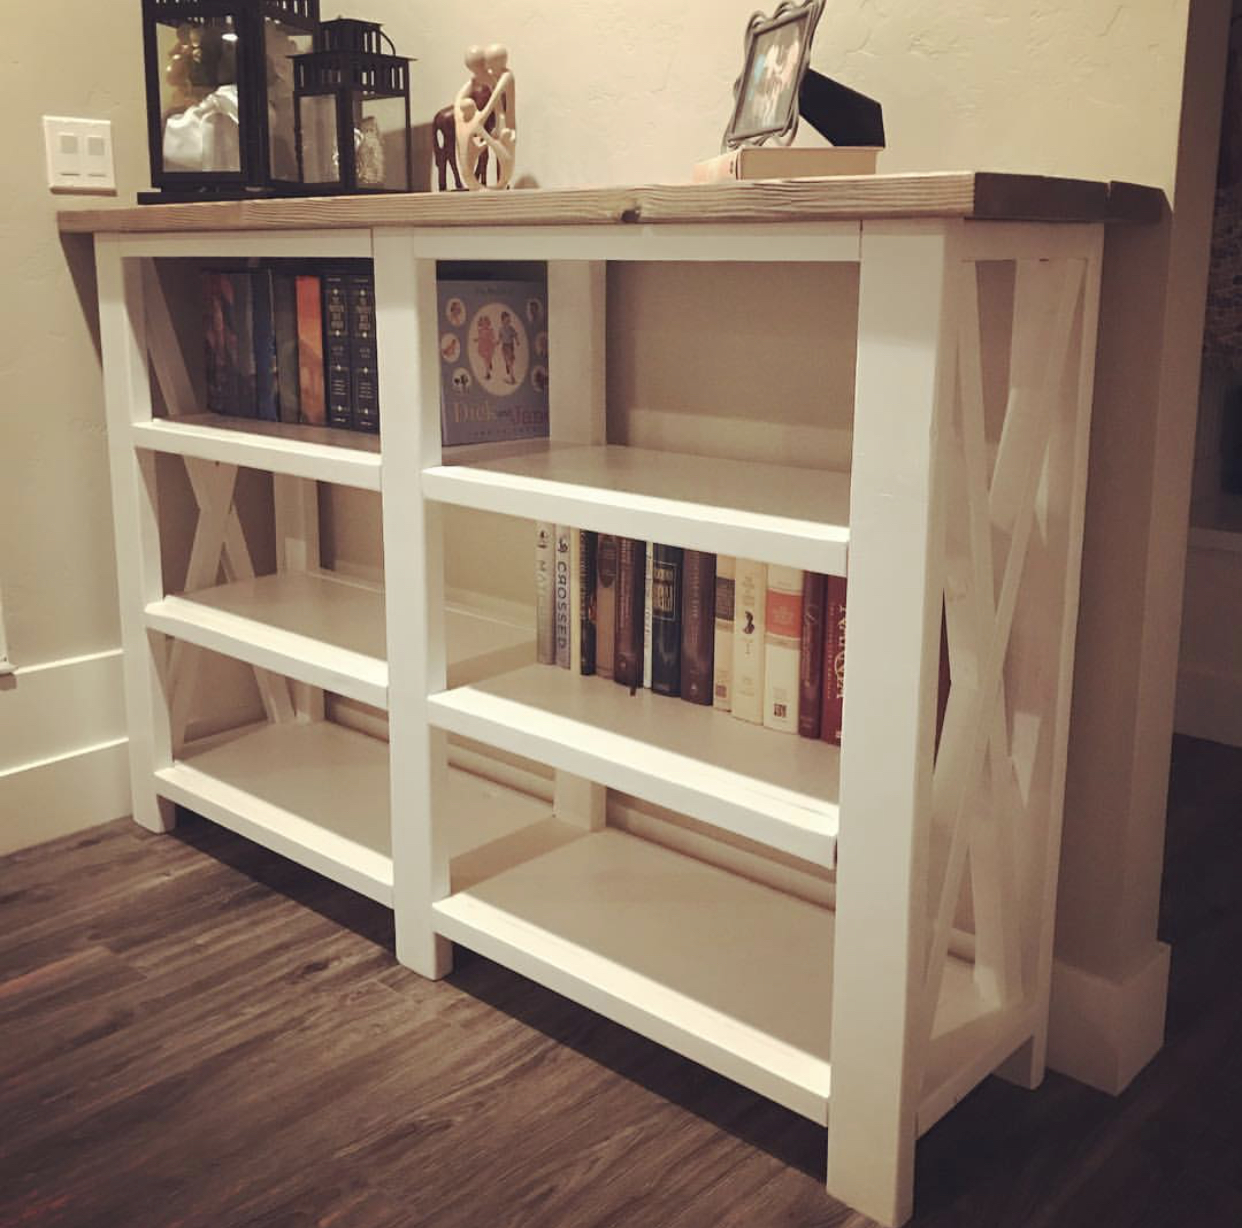
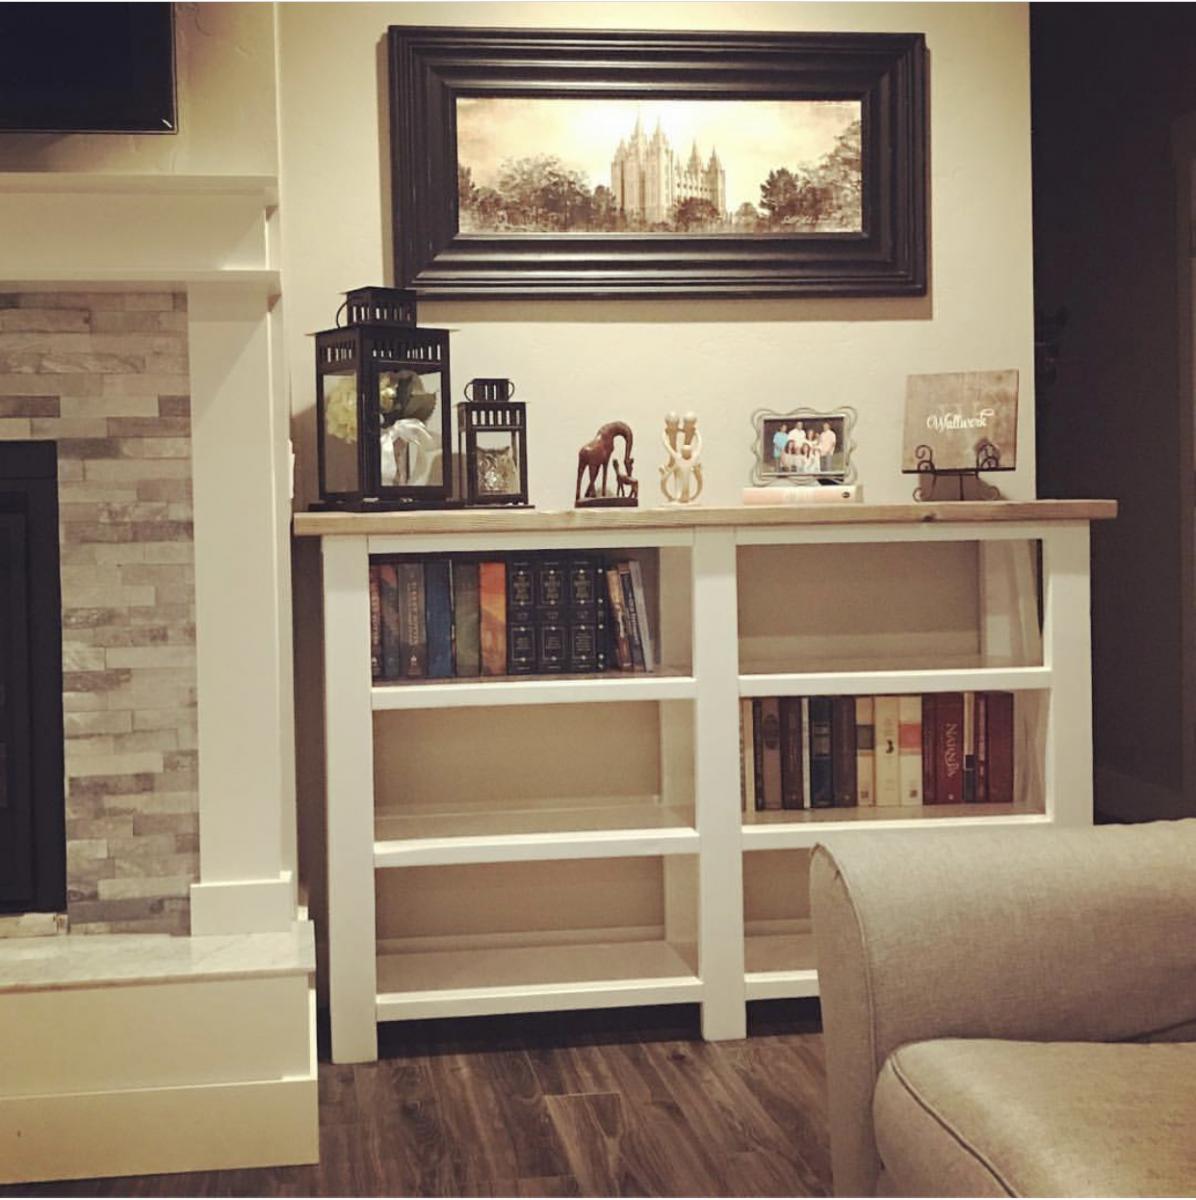
Estimated Time Investment
Week Long Project (20 Hours or More)
Recommended Skill Level
Beginner