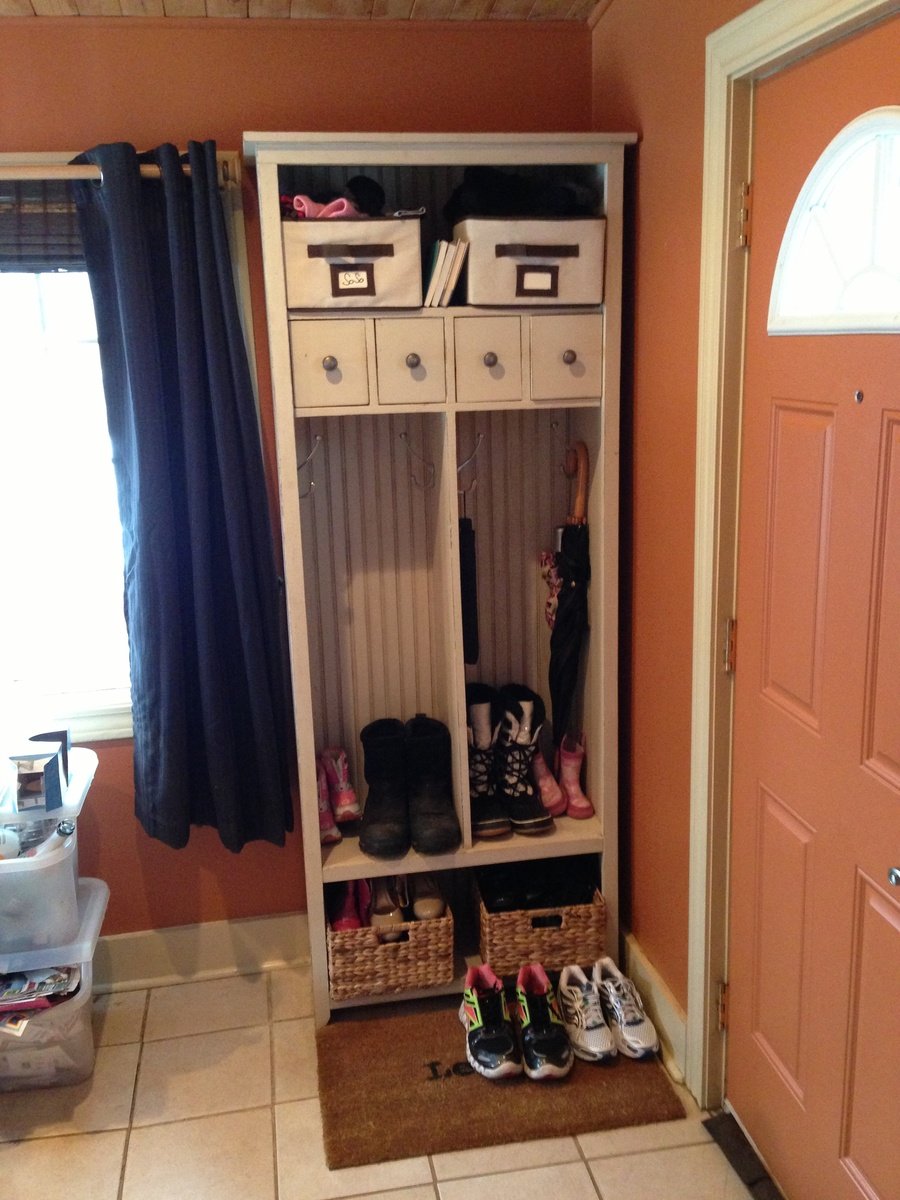
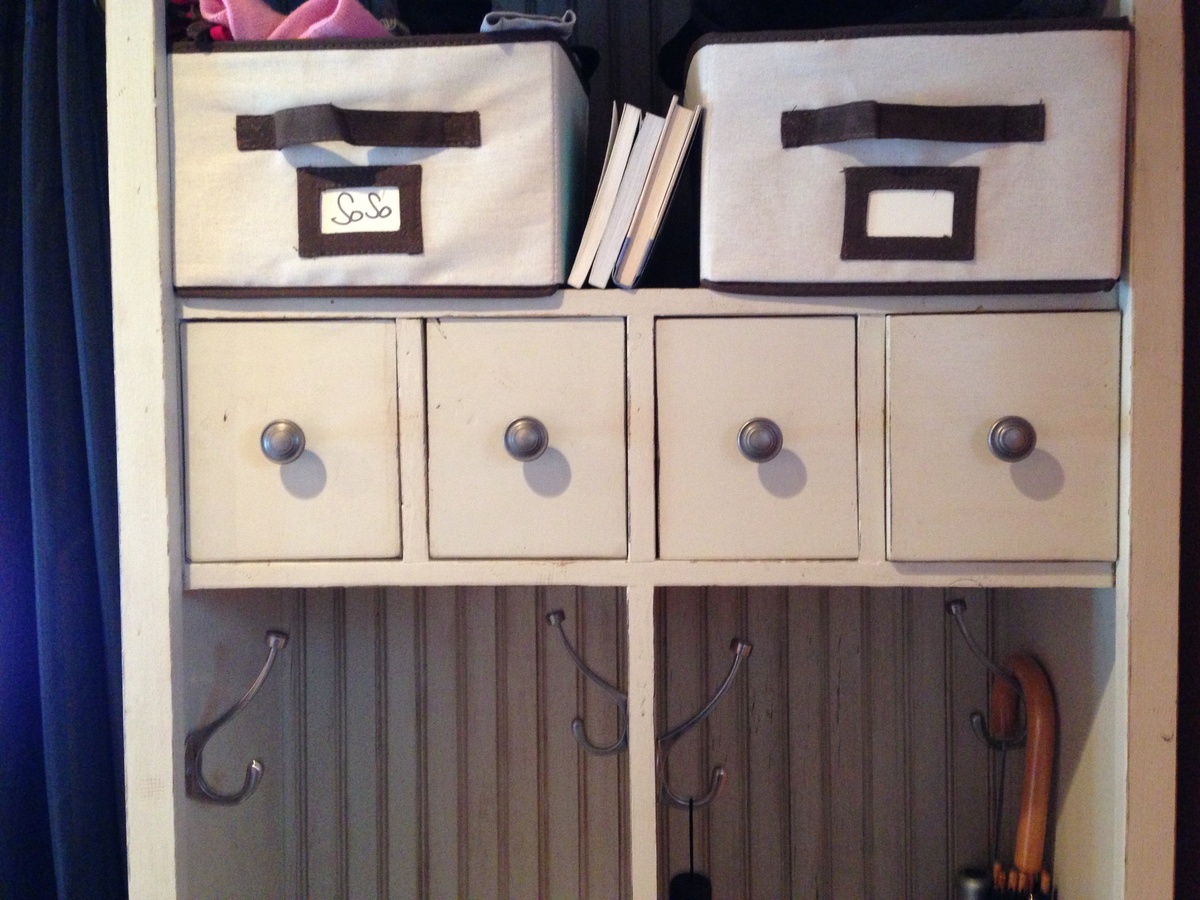
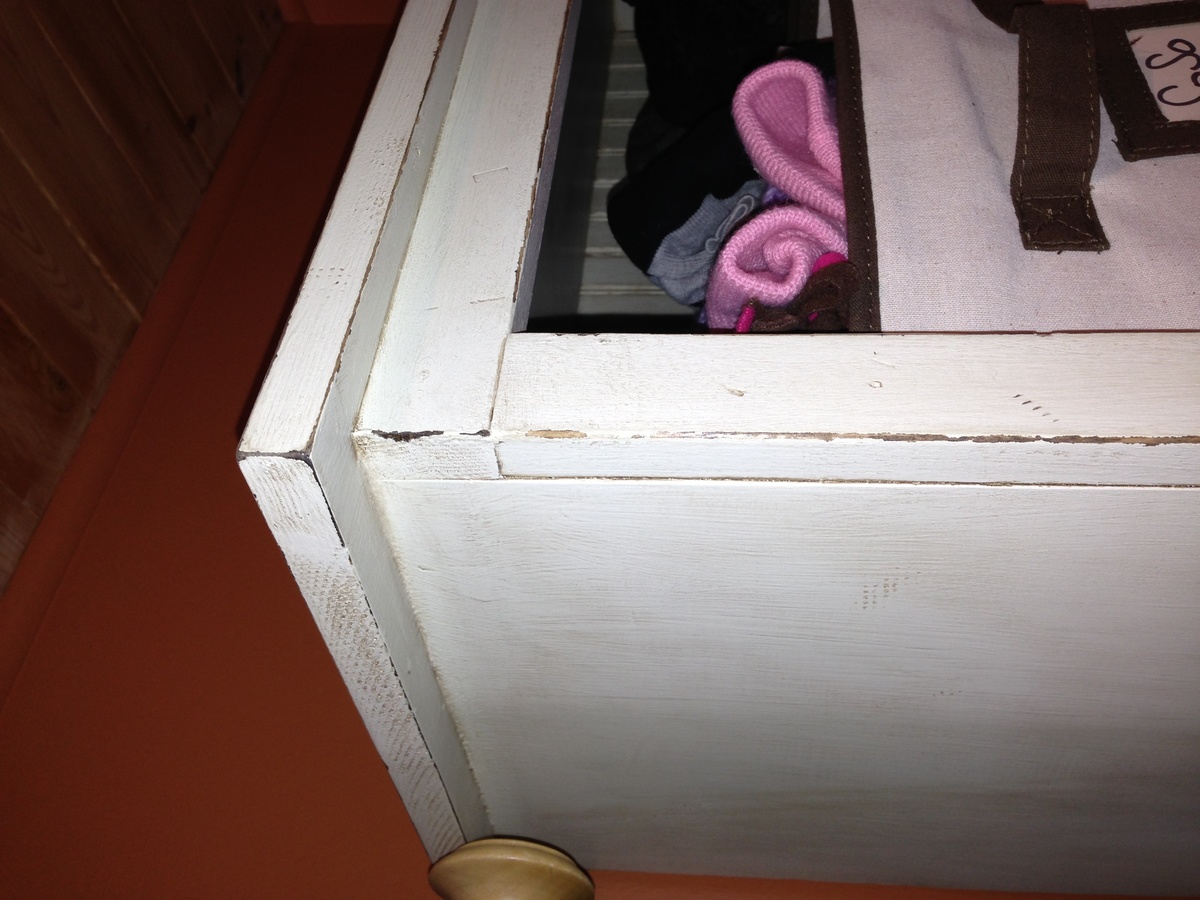
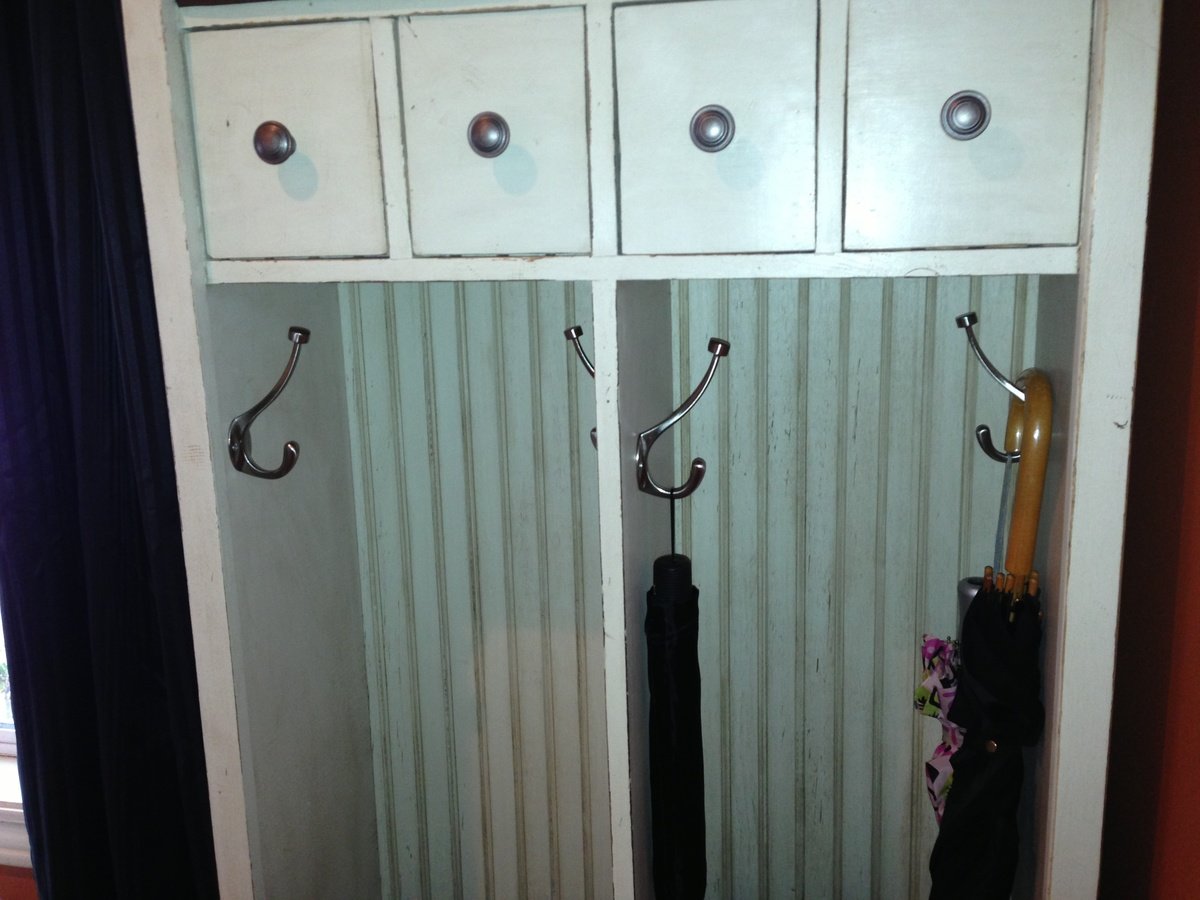
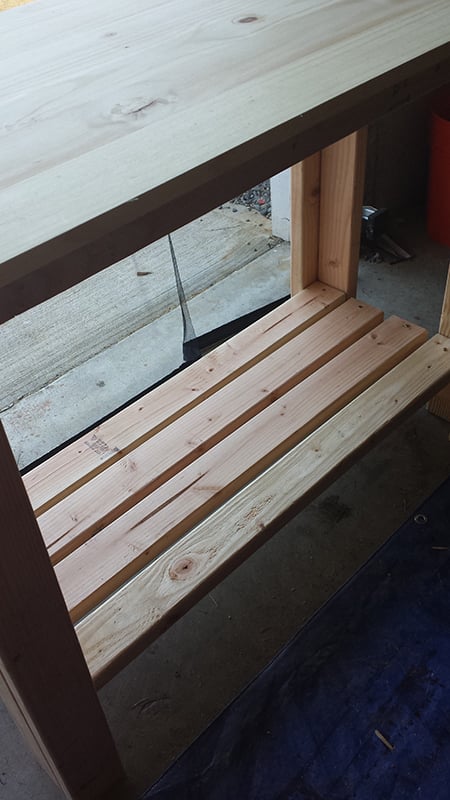
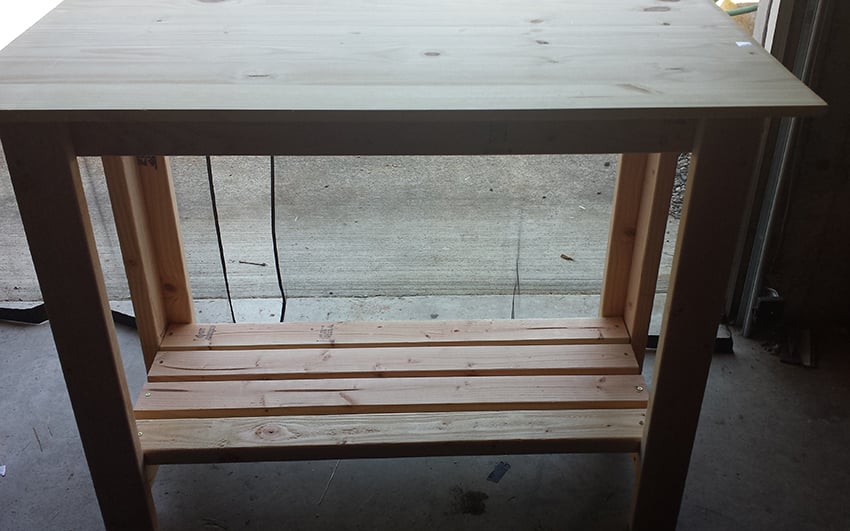
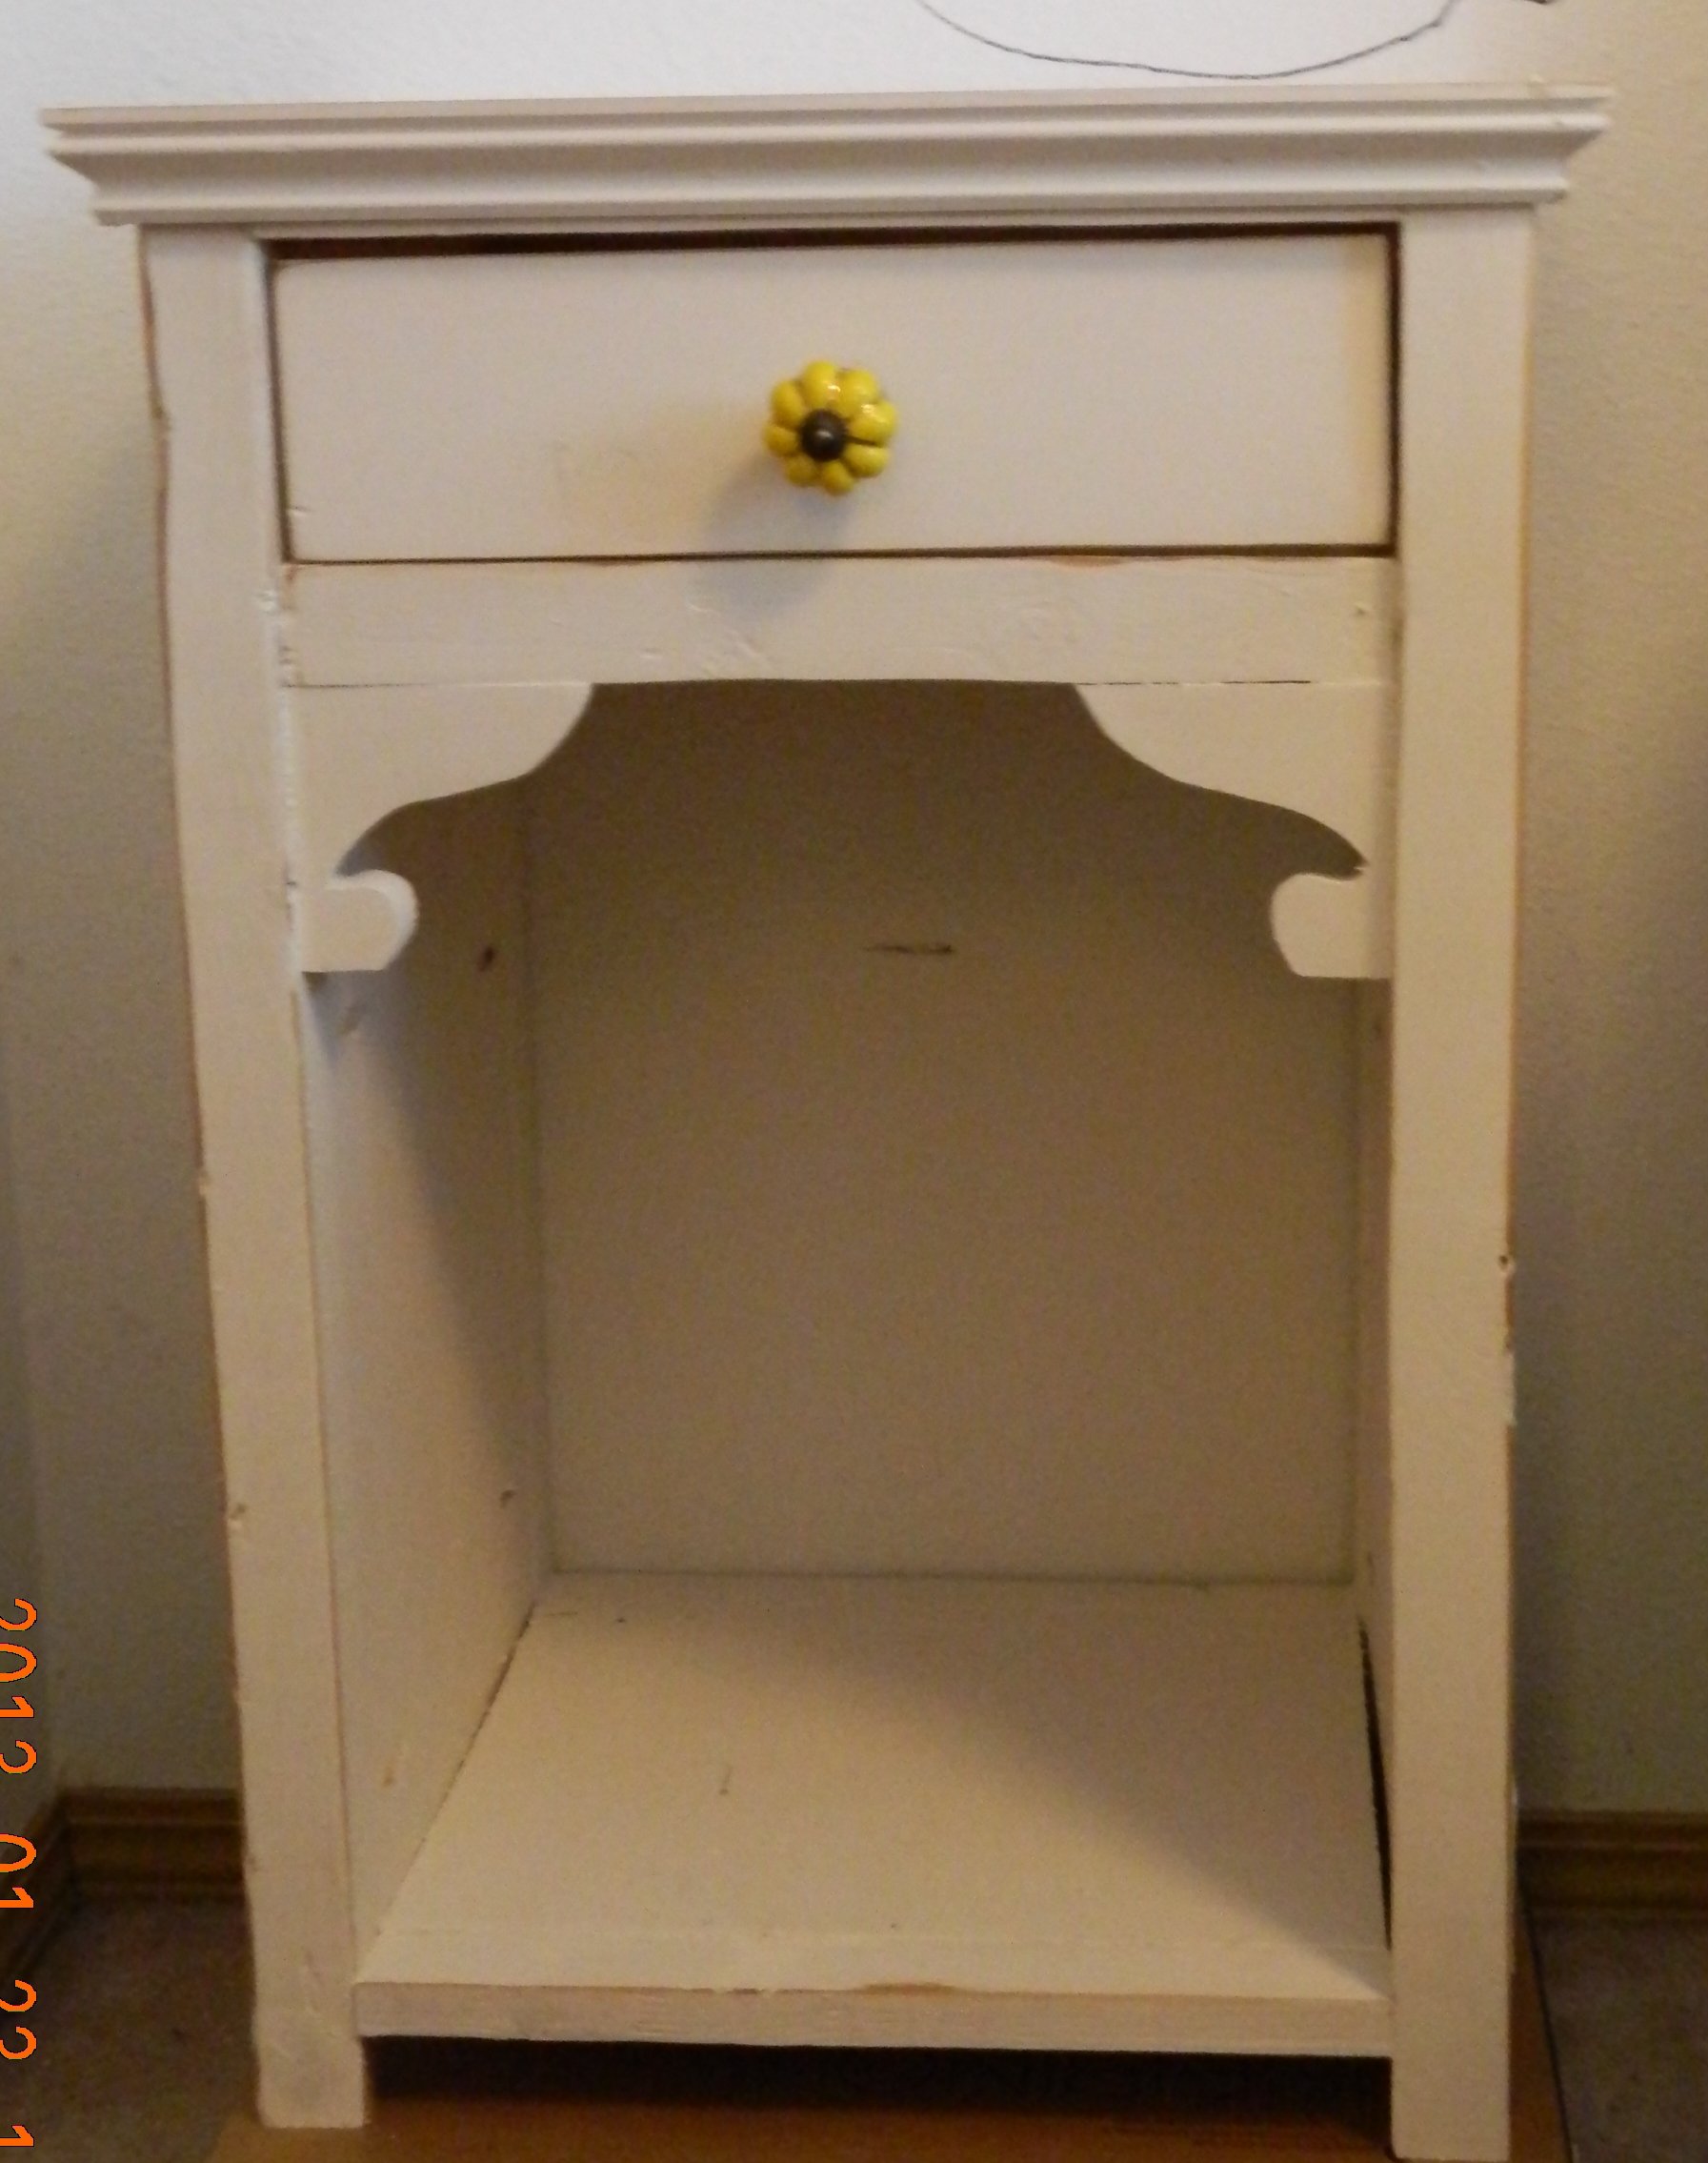
Cubby Bookshelf large
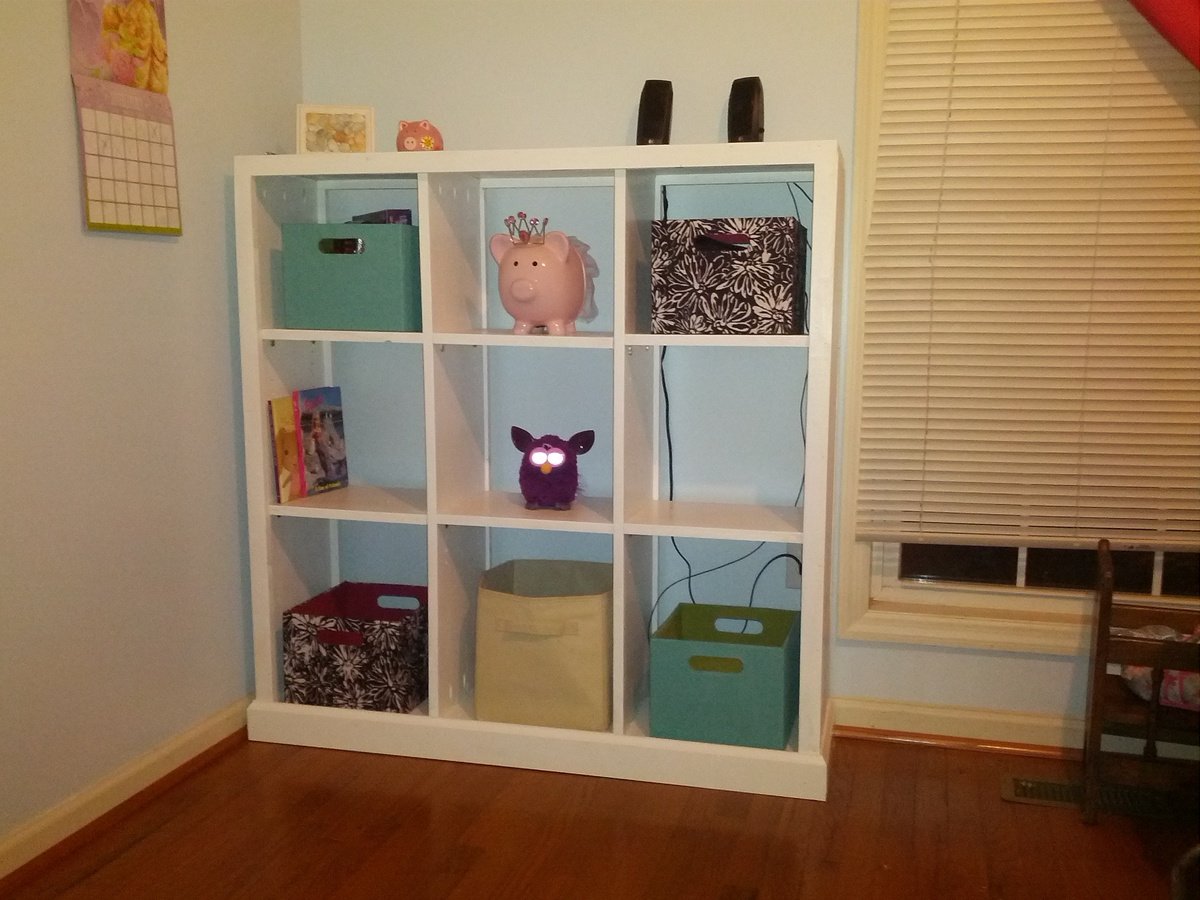
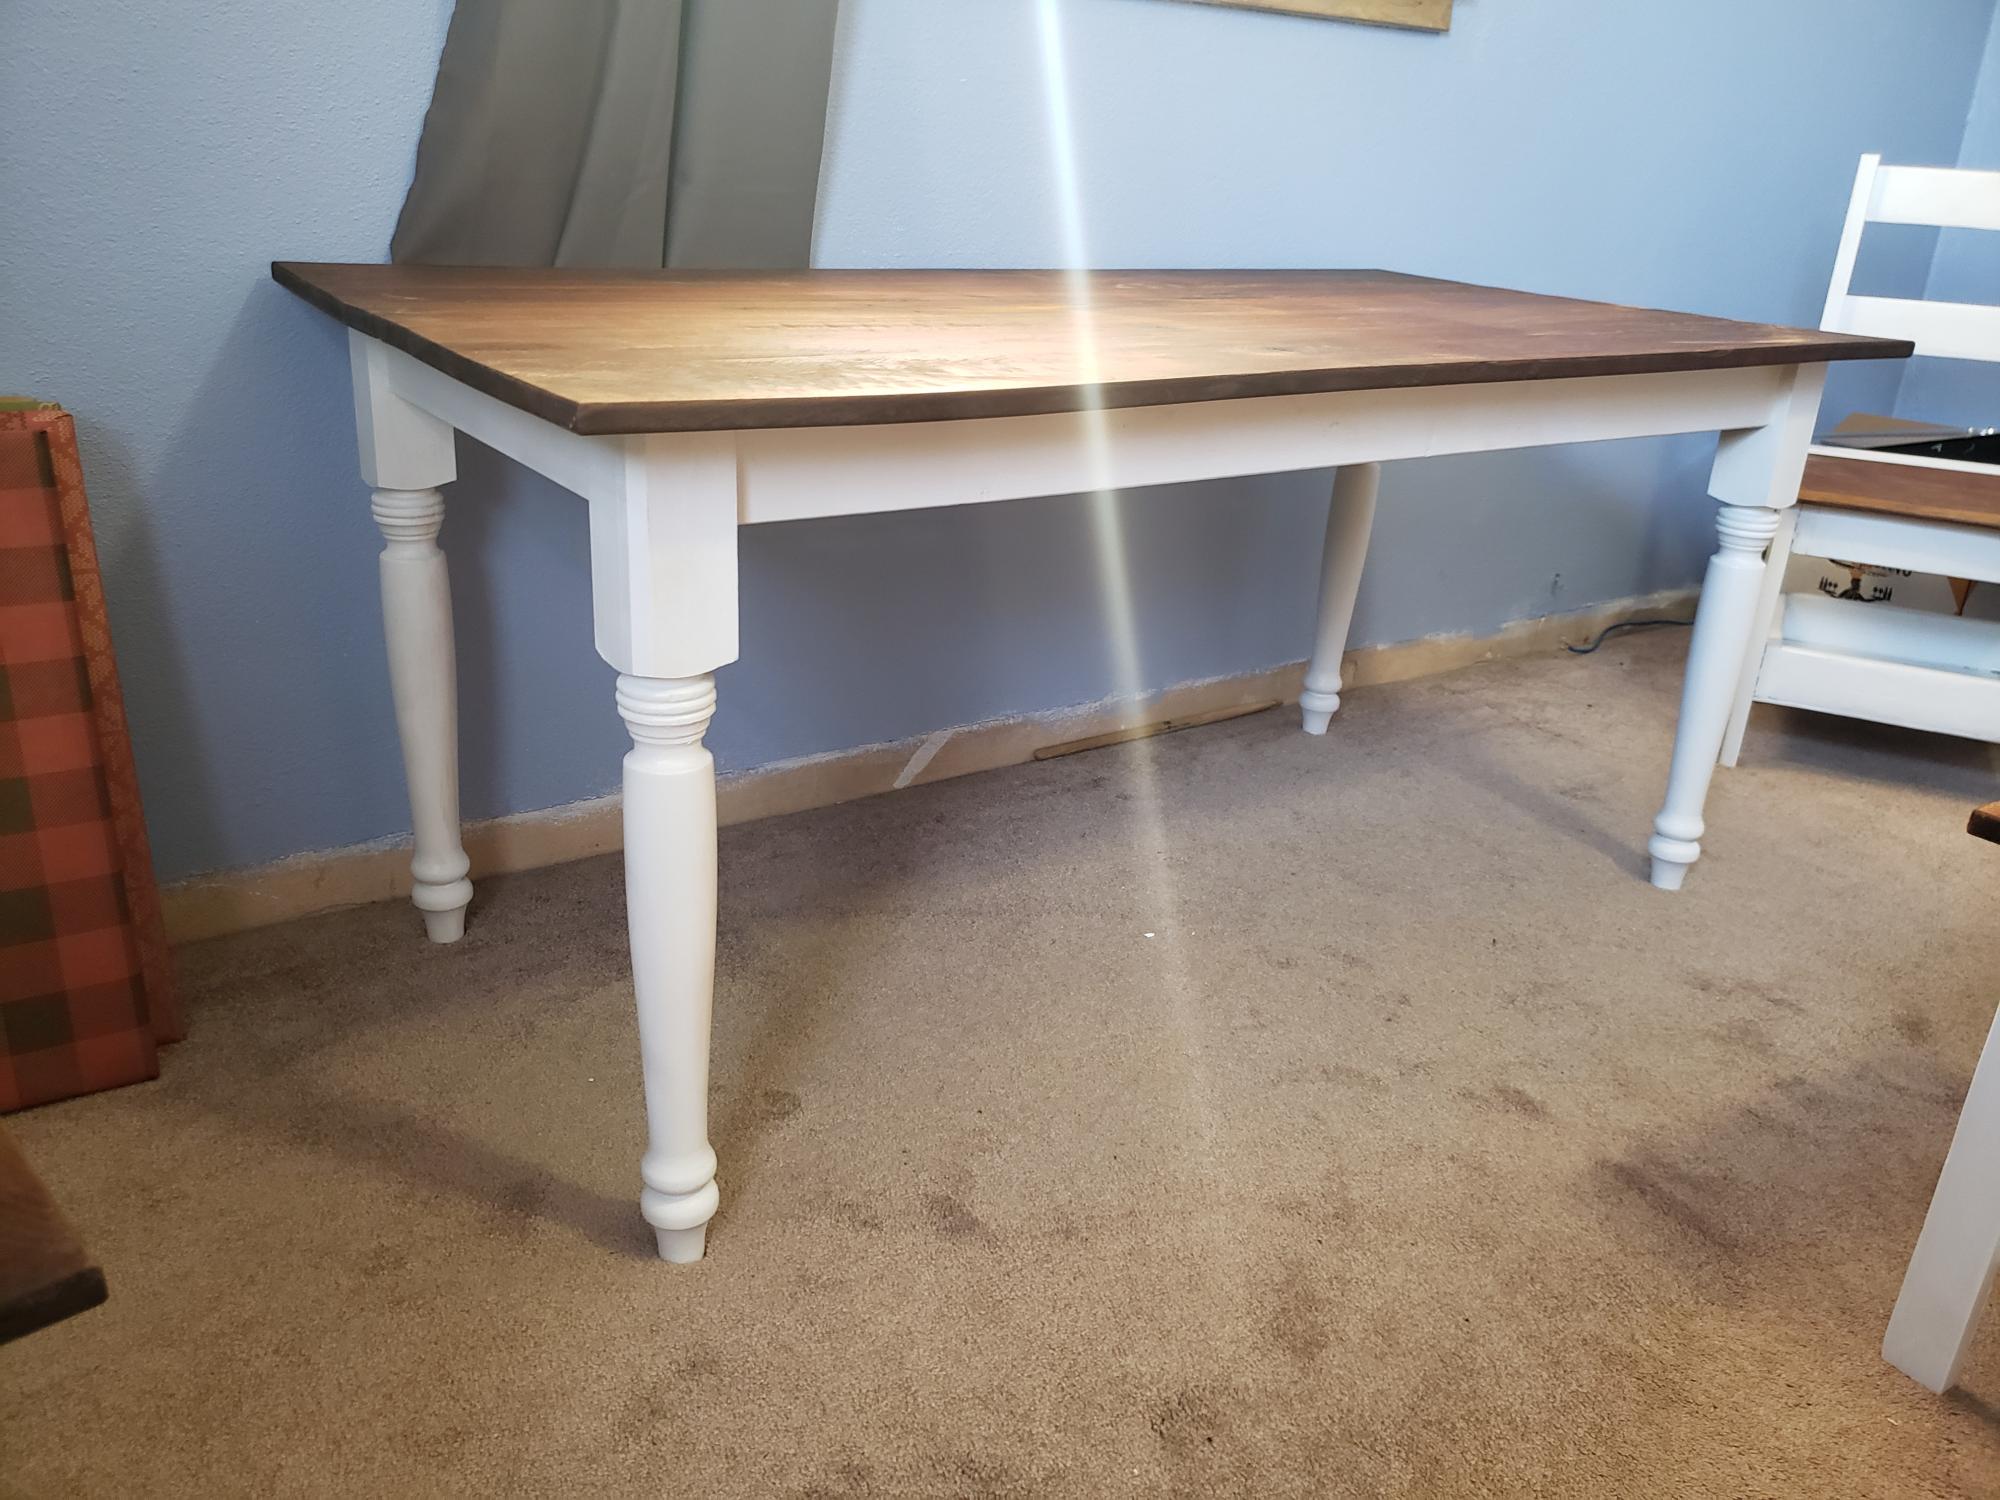
Had a blast building this. I am still learning as I am just starting out building and woodworking. Took a afternoon to build it and a few days with coats of primer and paint.
I am not a carpenter, I do not even have a tape measure. I got tasked by my leadership dothan class to build a farmhouse table for the academic dream room which is part of the Bright Key Program. Which is being renovated at Honeysuckle Middle School. Found your plans and got inspired. One glitch they wanted this table to be able to sit fourteen chairs. So I had to make a few adjustments like increasing the main boards to twelve foot. Because of your plans, many urban middle schoolers will have a place to get tutored considering cafeteria tables are so expensive. I am a believer of your plans. The positive feedback I received was well worth my time and would not of been a sucess without your plans. I did mine with pocket holes as well.
I made the "Outdoor Loveseat" from the "Modern Comfort Collection". The plans were very helpful! As a true novice, one issue I ran into was that the seat back bottom slats was about 3/8" longer than would fit. In any case, I was able to trim the boards down and the seat looks great. I ordered the cushions from Amazon.
The seat is now at my father's house where he can sit in the sun - when it's warm enough (in the spring/fall/winter) or cool enough in the summer. The build time was longer because I cut the wood and pre-assembled major pieces at home and then drove the pieces to my father who lives out of state.
Thank you for sharing the plans!
Just needed some better storage for coats and shoes. Used Hilary' locker plan and just modified it for my space/needs.
A few months ago, I made a simple workbench to store my miter saw and other power tools when I'm not using them. I love it. It was a very easy project. I opted to do a full bottom shelf and added more 2x4s instead of the standard three.
I present the "Castle Loft Bed" with minor modifications. Finished in a "Frozen" theme.
It was time to upgrade my youngest to a "big kid bed" and she was insistent on a frozen bed. After searching for various options we settled on the "Castle Loft Bed" from the Ana White catalog of plans.
We left the slide off, due to available space. Also we changed the steps to be more of a usable toy box/storage and hamper area. I also modified the internal bookcase to have a small "secret" cubby for her "valuables". We also added color changing LEDs to fit the little princess's mood.
I hope you like my rendition and keeps in spirit the DIYers quality.
Rustic Hall Tree
I have been looking for a really nice Hall Tree with out having to spend an entire week just to build it and I found it here. I followed the plans with the exception of the width, which I had to narrow due to where it was to go. I also had to shorten due to wife's height (5 ft 1). Because I help with my friends projects I end up with left over odd and ends and can use them in my projects. The backing I used is T- 1-11, that I sanded down till smooth and then painted. The seat and shelf is a 1 x 12 x 6 bullnose that was left over from a prior project that I cut to 1 x 12 x 3, then ripped the other half to fill in the seat making it 18 inch wide and used the other half to make the top self. The trim was left over from a book shelf that I helped a friend build. I painted the tree but stained the seat, shelf, trim and X with red mahogany stain to match the floor and then sealed with 4 coats of semi-gloss polyurethane.
Thanks for the plans, next project will be a desk for up stairs.
Very quick stools: 45 Minutes
Materials:
Lumber (plywood or solid 3/4 stock)
foam & batting to size
Straight Legs Plates
pre-made legs (finish to taste)
spray adhesive
staples
fabric
Tools:
Hammer
small flat head screw driver (helps to have one on hand)
small drill bit and screw driver (or cordless drill)
good shears and a razor blade. I circular fabric cutter is awesome and leaves a clean edge)
Staple Gun
* Out of a reclaimed 1x12 cutout 2 8"x14.5" pieces of lumber.
* Space out and attach the Straight Leg Plates (pre-drill the holes)
attach legs
* spray adhesive foam to the board.
* drape your batting over the foam. (I stretch and stable the batting).
* drape and cut fabric to the right dimensions (leave a little overhang to fold under.)
* Staple the fabric (either pleat or 45 the corners)
* Hot glue or nail head on your trim. If using nail heads make a ribbon from the fabric you are using.
* Done :)
My next set will be solid with nailheads
Fri, 01/18/2013 - 09:20
So excited to see this! Recently purchased leg plates and legs for pennies at an estate sale and thrift store and wanted to make something from them, plus I already have the foam, batting and extra fabric. I have now found just the project because we have NO foot stools. THANKS for posting!
Absolutely love this site. Built 2 of these for my living room. Now building the matching sofa table to match. Couldn't be easier and I think they turned out great. Thank you for all the great plans
Wed, 11/12/2014 - 17:59
Awesome build! And your finish looks flawless, I love that pecan stain on the top!
Fri, 11/14/2014 - 14:00
That's a super nice build! Looks great...excited to see the sofa table as well!
I started planning this project this spring when we bought and moved into our new house. I knew with the room size a loft bed would make the most of the room. My daughter is scared of heights a little bit so I was worried about using a ladder. I stumbled on this site and these plans and knew this is exactly what I was going to build. Ever since we finished painting it and getting her room done she has been glued to it!
We had a lot of scraps left over from a previous project so my husband decided to piece together a night stand for our daughter's room. We modified some end table and bar stool plans to fit what we were looking for accordingly. Because her furniture is natural color, we left the wood and just coated twice with polyurethane.
A simple bench to try my first Kreg Pocket hole Jig. I designed the bench myself, but did not create plans. I used pine wood and 3 layers of varnish for protection. My wife wanted to natural finish so I preferred varnish over paint.
Surprinsingly easy project ! And my wife is very happy that the staircase if finally tidy. Happy wife, happy life ;-)
This project is so great! At first I put one side of the hinges on backwards but it was easy to fix and now it actually folds flat. I left the stabilizer feet off because I only have about four inches beside my fridge to store the tower in but it it's still completely stable. My son was "dancing" on it yesterday and it held up perfectly! Thanks Ana, I'm so excited to use this for years!!
I found the knob on clearance for 59 cents at Lowe’s and the hinges were under $3. The rest was just pretty plywood and some thin poplar instead of edge banding with a boiled linseed oil finish.
Nice plan to do. Used an off white paint and antiqued it with stain pen.
This was my first build and I'm really happy with how it turned out!
With our old kitchen crumbling to pieces, I decided to build a new kitchen. I followed several of Ana's cabinet plans to build the entire kitchen(more than I could list at the bottom). I was able to customize the cabinet sizes in order to maximize my kitchen space. I made the doors myself, so I didn't need to worry about standard sizing. It took me about a year from demolition to completion. I had to buy a few new tools, all the wood, appliances, the floor, and countertop, and still spent around $5,000. I learned so much from this project and we all love our new kitchen! Thank you Ana for all of your wonderful plans!
Made per the plans but I made walnut tabletop for it
I still can't believe how great this turned out and looks just like Pottery Barn's! It was our first project but we are now tackling bookcases for our family room... I can't wait to post again!
What new Mom wouldn't want this for a baby shower gift!!! Easy build