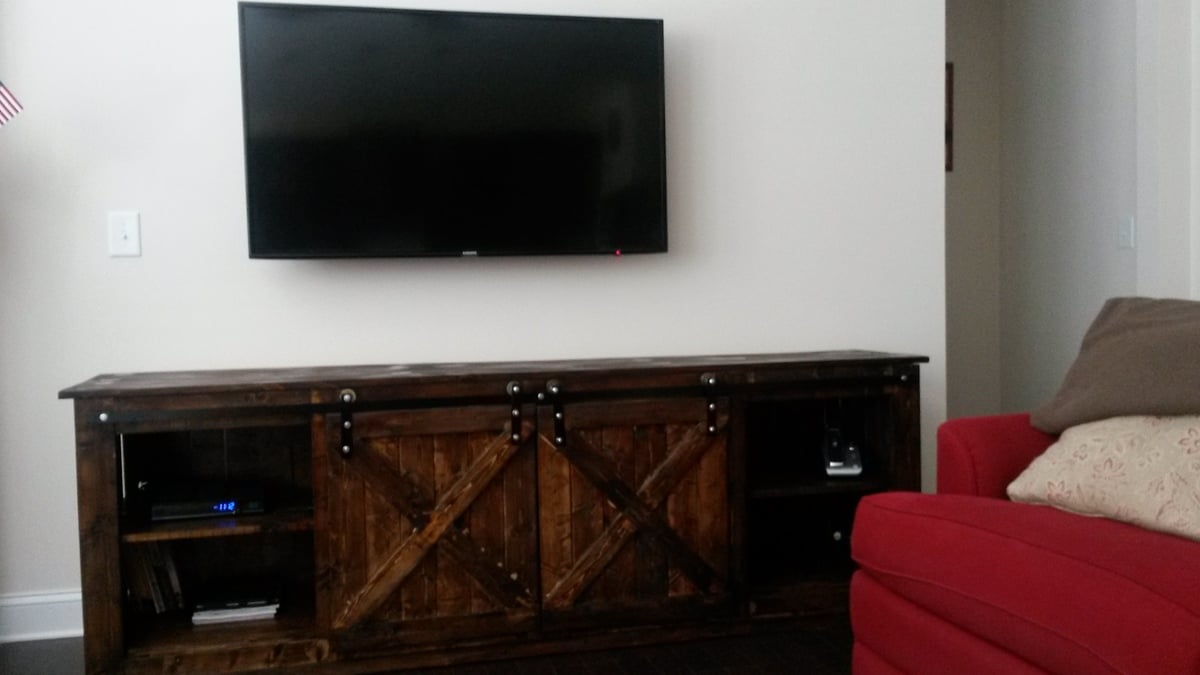
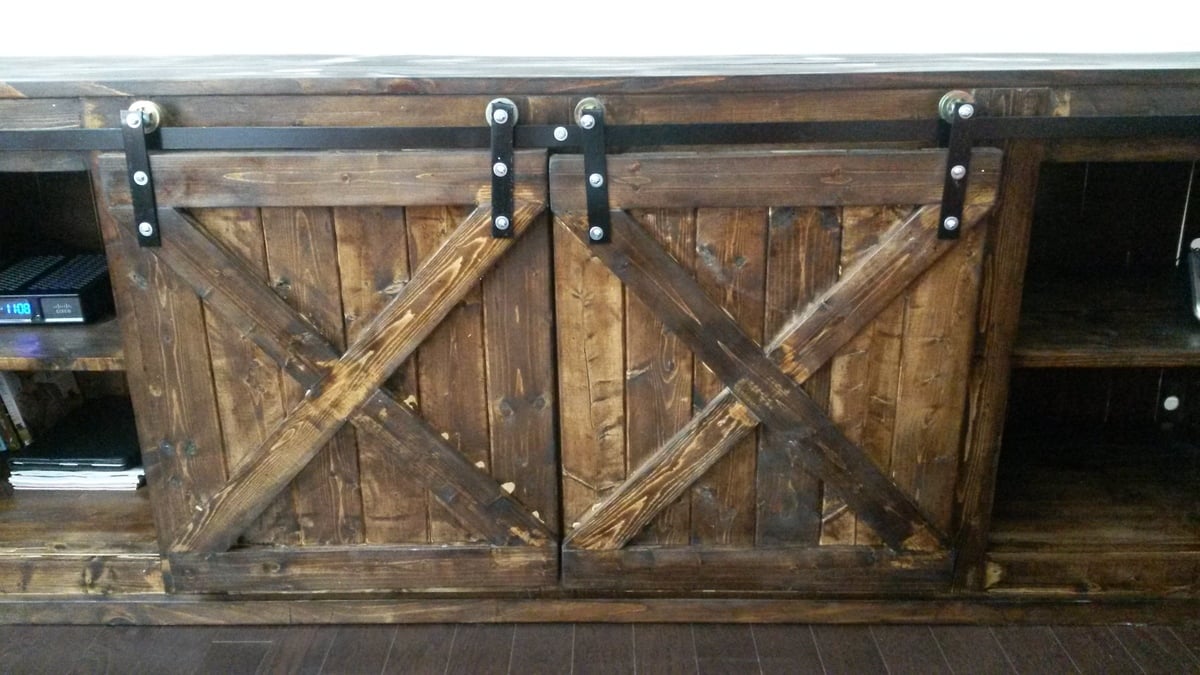
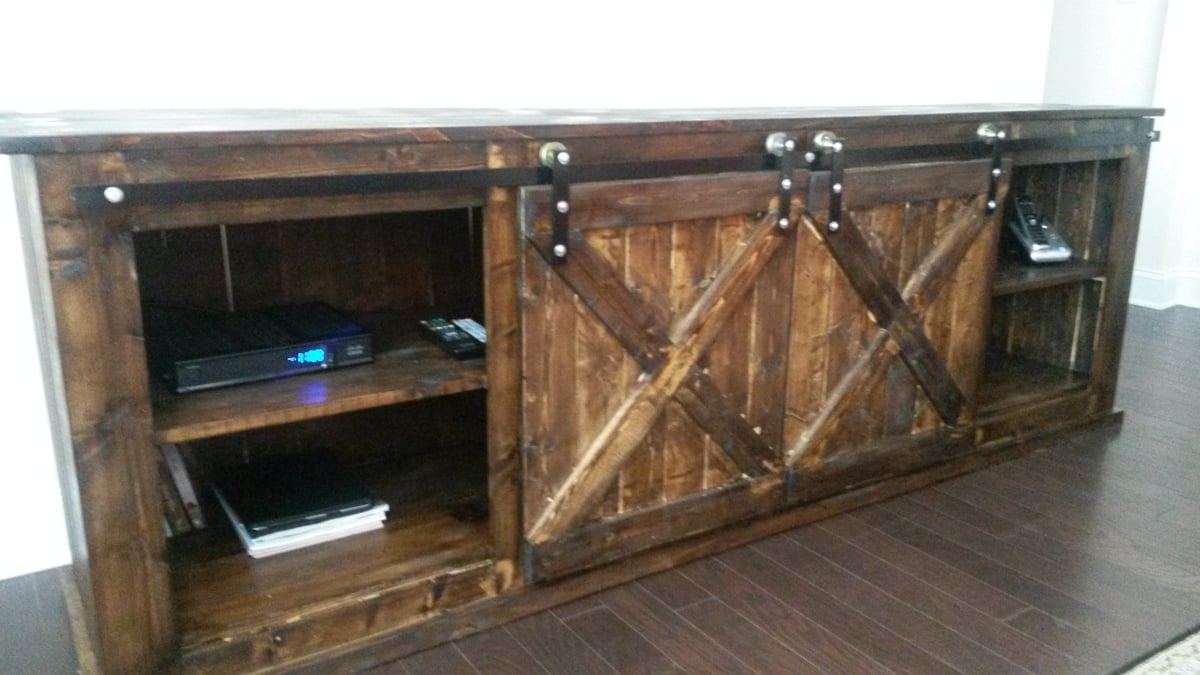
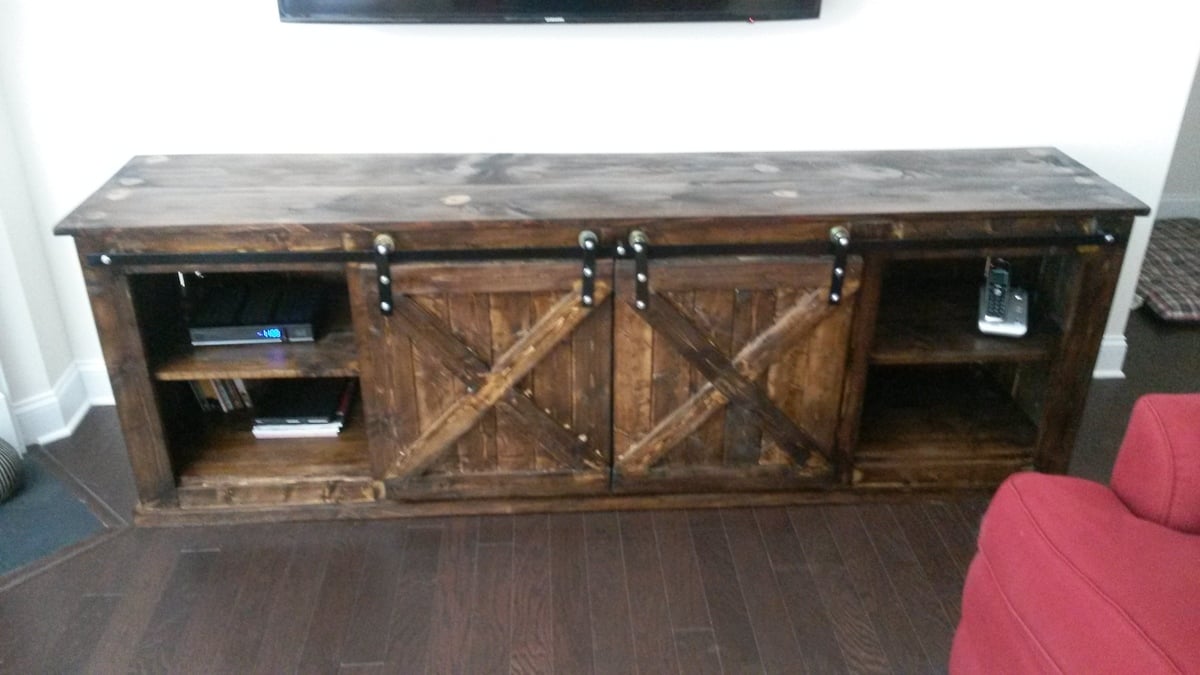
DIY Sliding Barn Doors
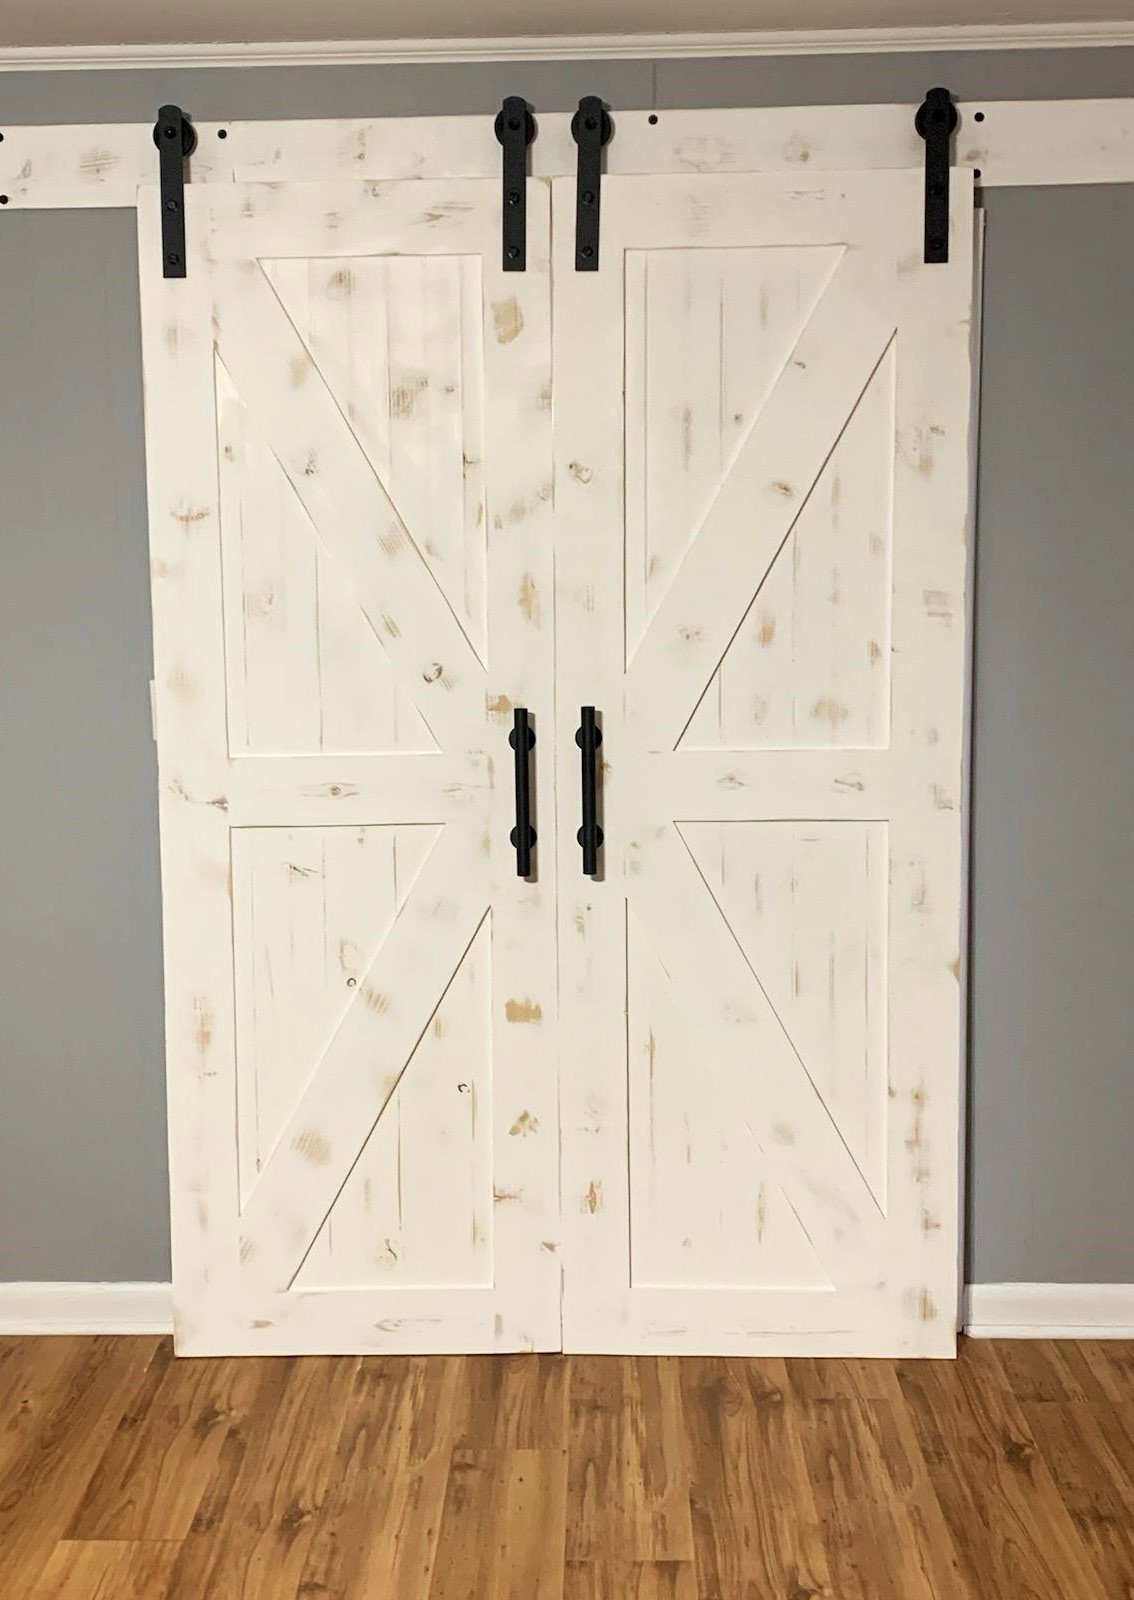
Made some sliding barn doors for a friend.
Allen Clark
Built from Plan(s)
Made some sliding barn doors for a friend.
Allen Clark

I had some leftover wood from building my daughters loft bed and after coming across this plan realized i had all the right lumber on had already so after a trip to the store to buy a few bolts i was ready to build. I built one chair following Ana's plans exactly, using 1x2's for the outside frames, the chair turned out awesome and I wanted another. For the second one, i didn't have enough 1x2's left so I used 2x2s for the outside frame. I kept the inside width (24") of the back frame the same and adjusted the rest of the dimensions to fit. While the 1x2 chair was great and very sturdy, the 2x2 chair is rock solid. I rounded all the edges of the boards with a 1/4" roundover bit and spray painted everything dark chocolate brown. The fabric slings are made of cotton duck cloth. I added a 1" foam pillow sewn onto the top of the sling because my head rests right on the top boards and I wanted a little padding.
All said, including wood, hardware, fabric and the foam for the pillow I think this chair cost about $40 to build and finish.
As my 3 daughters piled on my lap to read on night the 2x2 chair has been load tested to about 300 lbs!


Fri, 08/10/2012 - 14:22
What a great idea! I think I will sew together a wrap-around foam pillow with a velcro closure, so I could easily remove it if I decide to switch to a new fabric. Thank you for the inspiration! And thank you for mentioning how much sturdier the 2x2 wood is. I appreciate it!
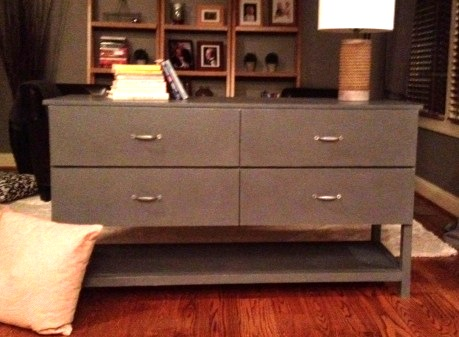
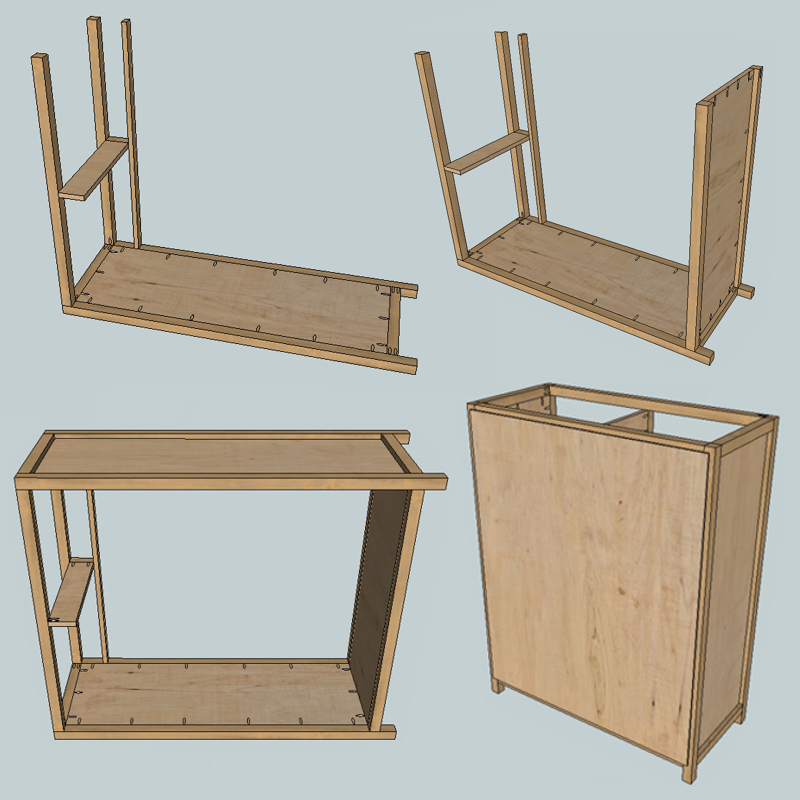
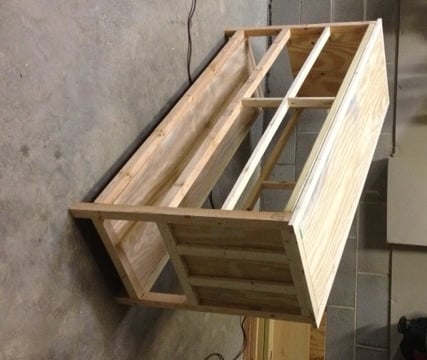
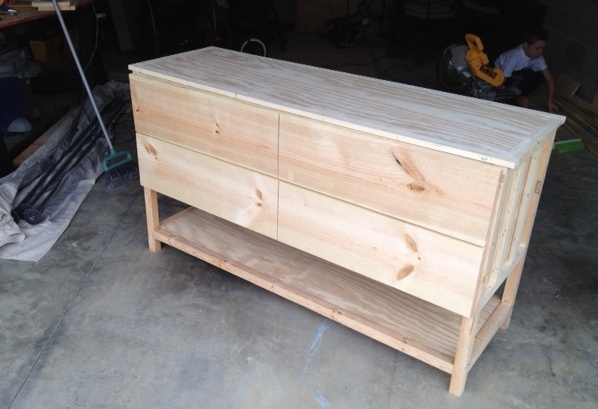
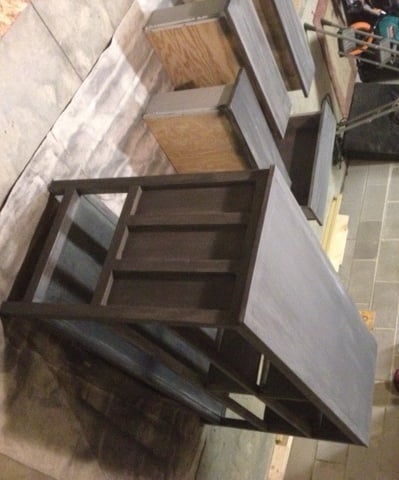
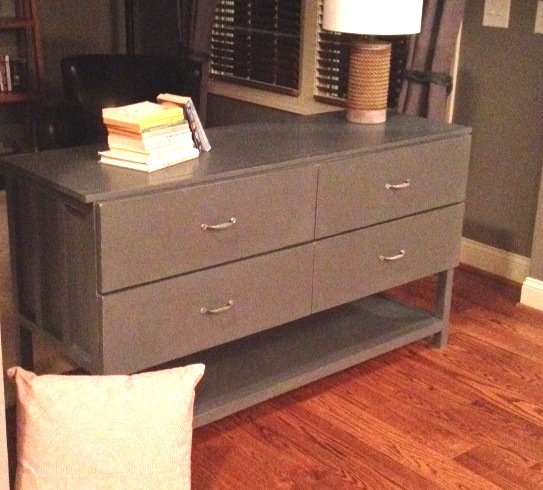
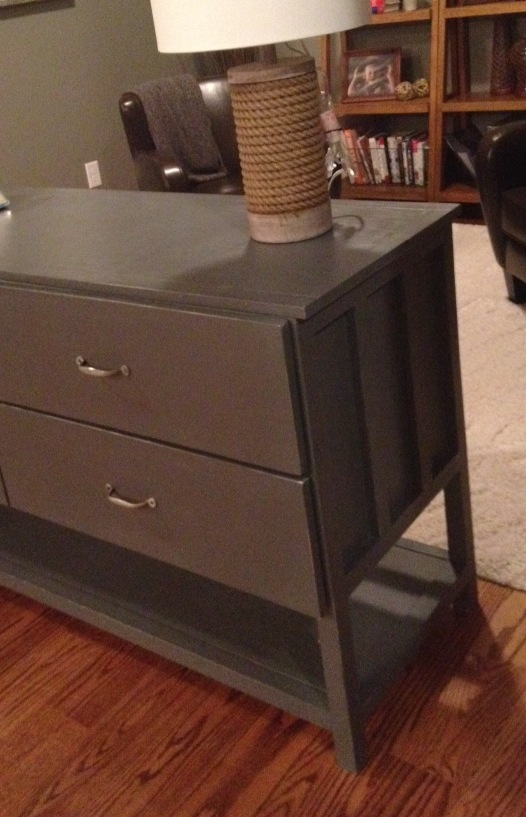
This dresser is for our 2-year-old, as part of his big-boy room. We'll also be making him a full-sized version of the twin cabin loft bed (just the bed on the floor with headboard/footboard - no loft).
This was our first non-beginner project, as well as our first time making drawers.....and we definitely underestimated how difficult drawers can be, even when you're constantly making sure everything is square!
I loved the original plan, but my husband thought it might be a bit easier on us beginners to do 4 equal-sized drawers, instead of 5 drawers in 2 different sizes. However, due to a mistake we made in the frame (that we chose not to correct), we didn't have 4 equal holes for the drawers to slide into :-( ..... and therefore needed to put the drawer fronts on the outside of the dresser. I wasn't happy about that at first, but felt like we made it work in the end.
We knew we were going to paint instead of stain, so we used various types of wood. We initially had 2x2s of a different wood type for the legs, but ended up removing them, and replacing with ripped down 2x4s, which seemed to make it sturdier, and were less bowed.

Ever since I got a riding mower, I’ve been waiting for the chance to do something really cool with it (other than cut the lawn, of course). So what started off as a joke to bring a hayride farm experience to the backyard for my son became a real project to build a wagon for my riding mower. Not only do I use it to pull my son and his friends around the yard, but its such a timesaver for hauling things back and forth (like 10+ bags of grass clippings to the curb). Check out my blog post at JustMeasuringUp.com for all the details. I documented the project from beginning to end with lots of pics.


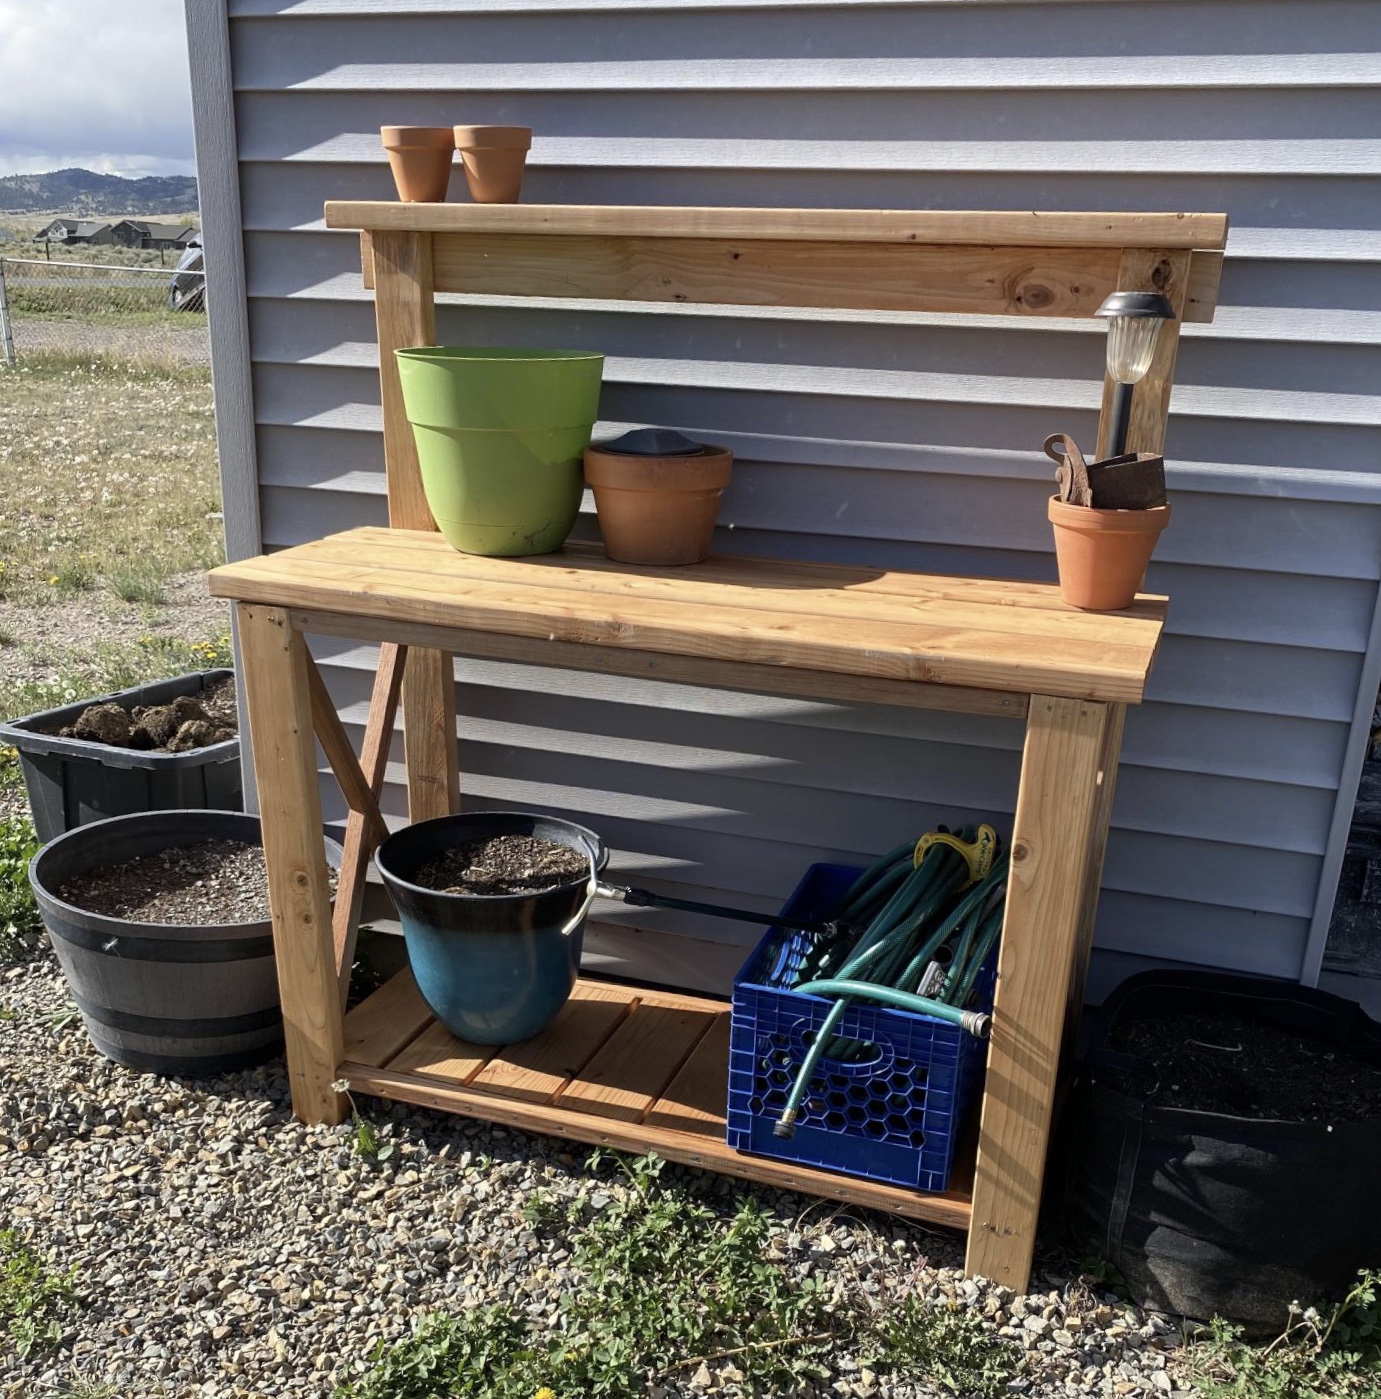
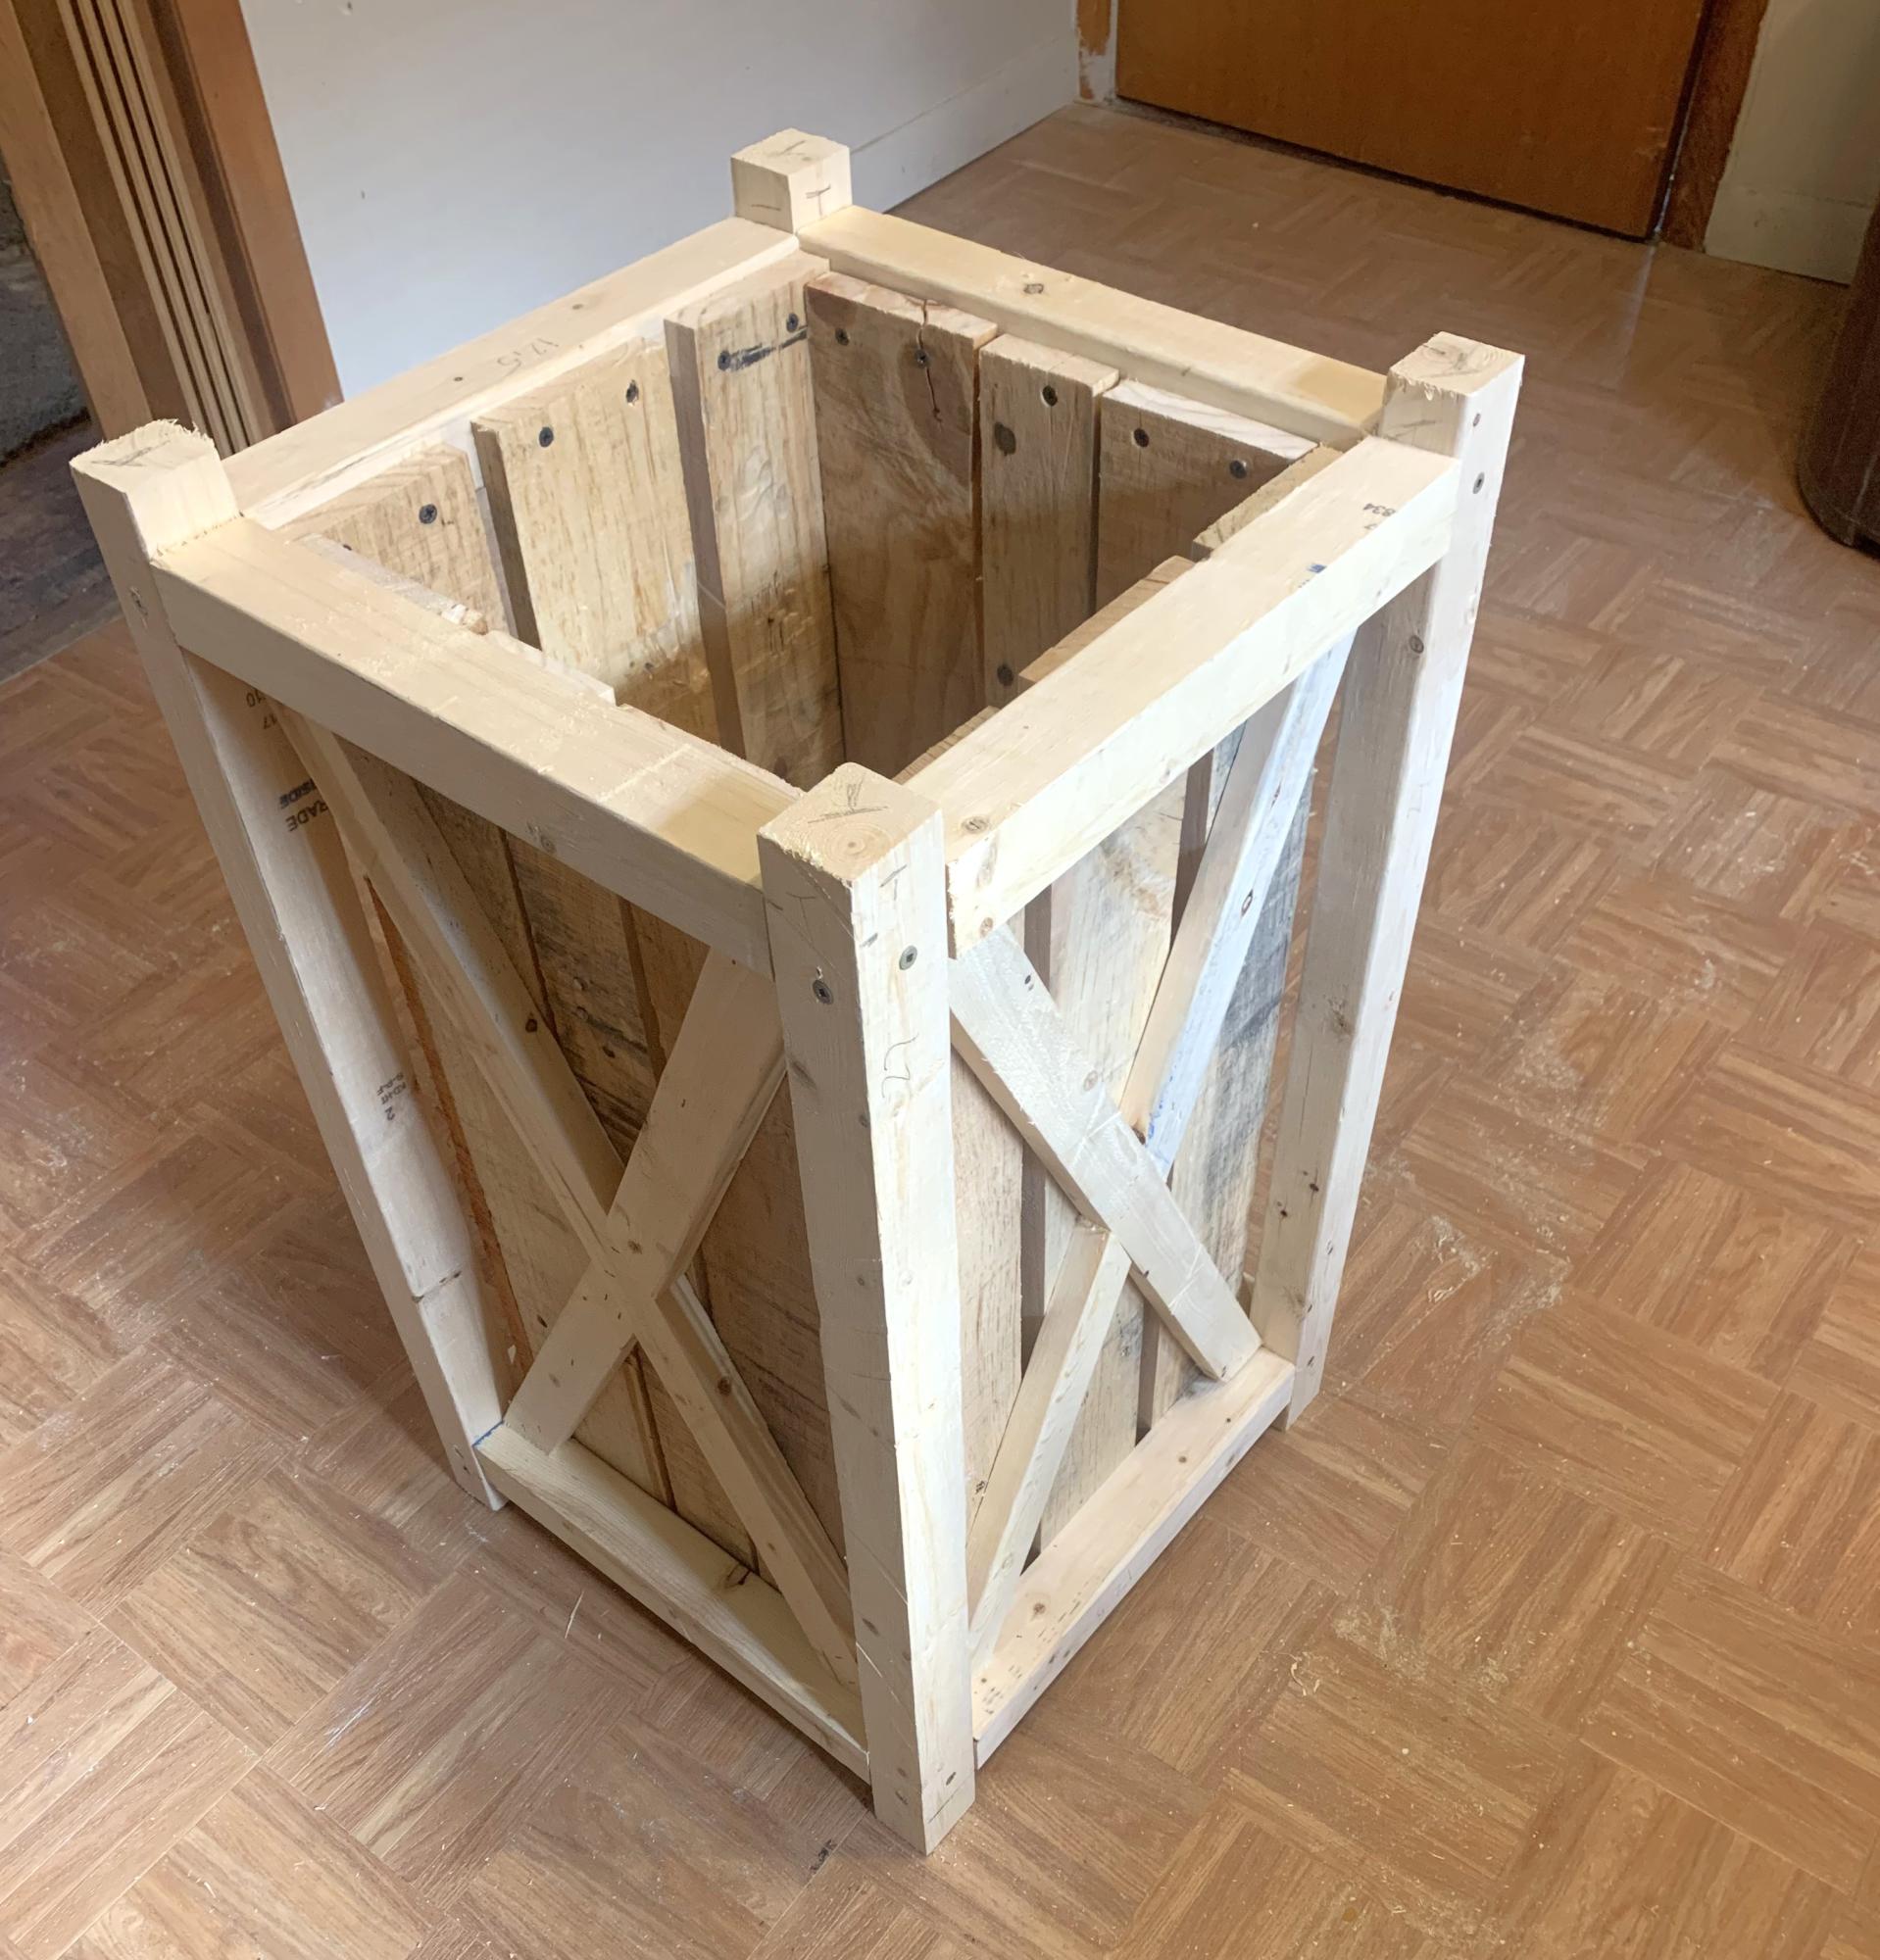
This was my first major wood working project! My fiancé did help (well he started showing me an easier way to cut with a circular saw) and cut the bottom slate. I think it turned out well!! The X feature was tough without a miter saw, but they turned out well!
I LOVE this so much!!!! I want to make another. One thing was I need to learn how to maximize my cuts. I didn’t follow the video, so I had to buy another board. That comes with time and I’m ok with it.
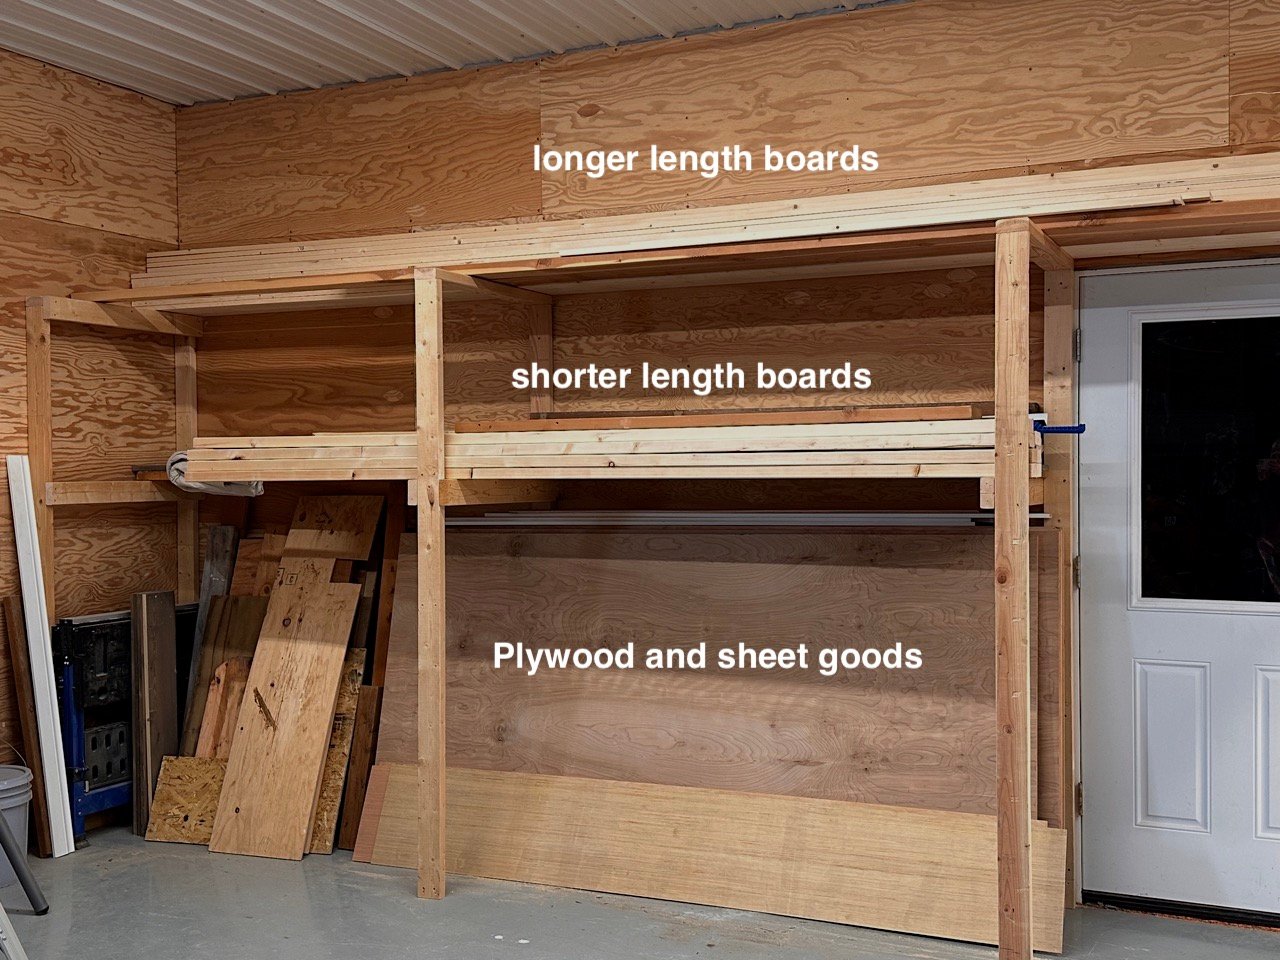
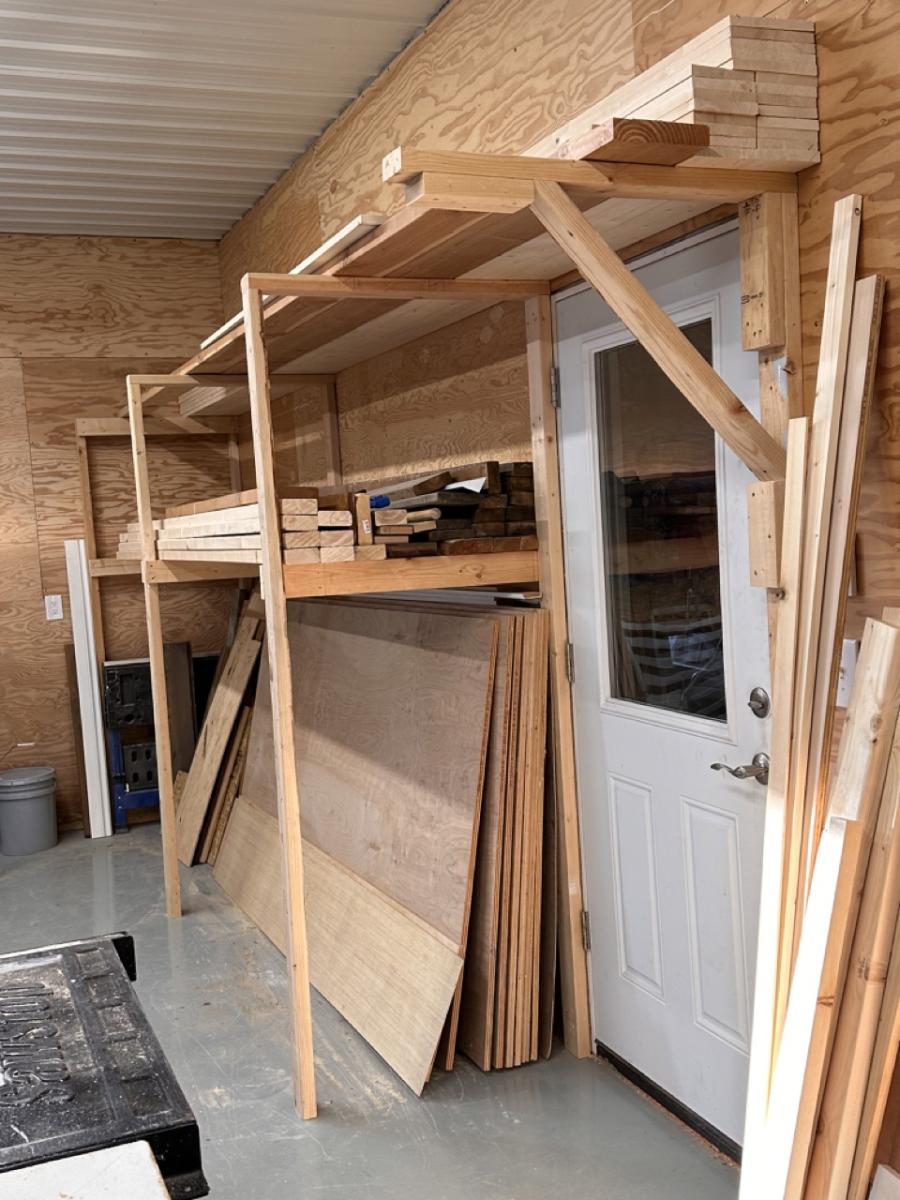
We needed to store 16' long lumber as well as plywood and shorter lengths of lumber, but didn't have 16' feet of wall. So we used the 2x4 garage shelving plan to create the frame for a lumber rack. We did screw the "ladder" parts of the shelving to the wall. This is working really good for us and was inexpensive and easy to make.

1000 dollars coat in materials. Payed neighbor 250 dollars to help me do the project. We have been known to have termites in the area so I laid a foundation of cinder block filled with concrete. I could not fin tin to match hers so we had to cut some sorrugated up to complete the project.


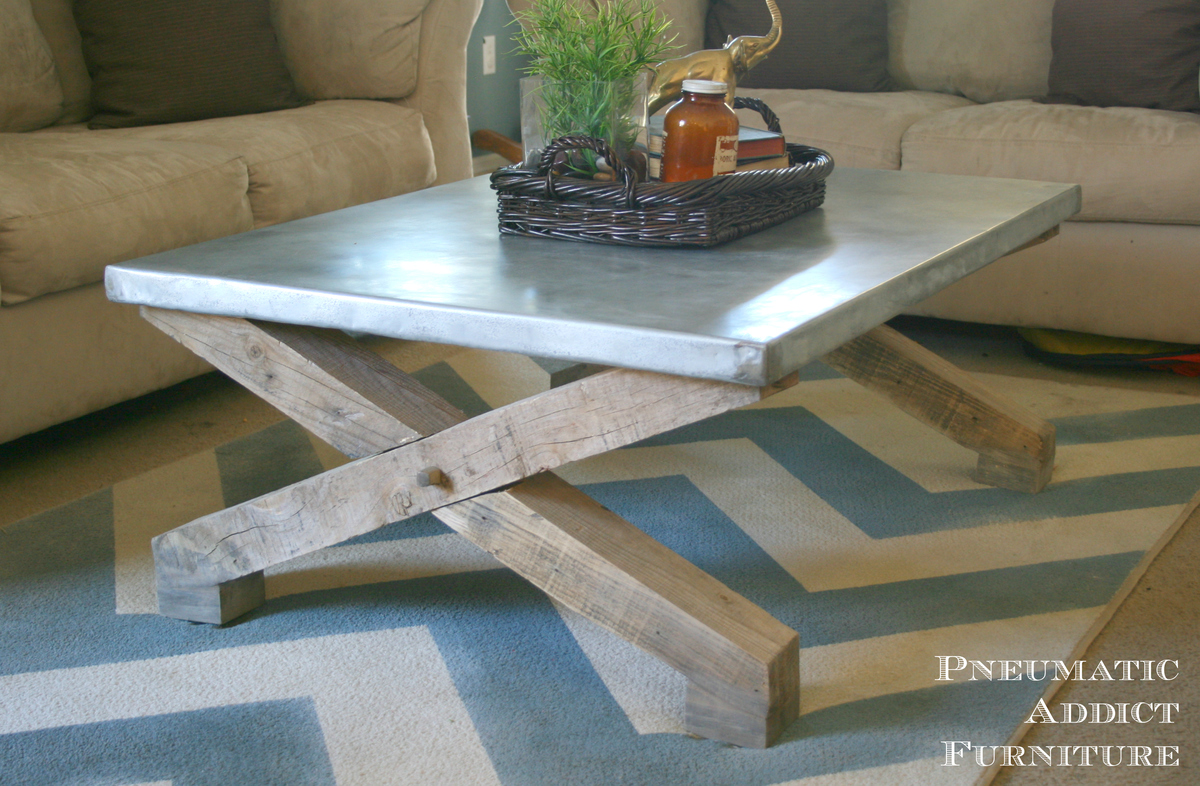
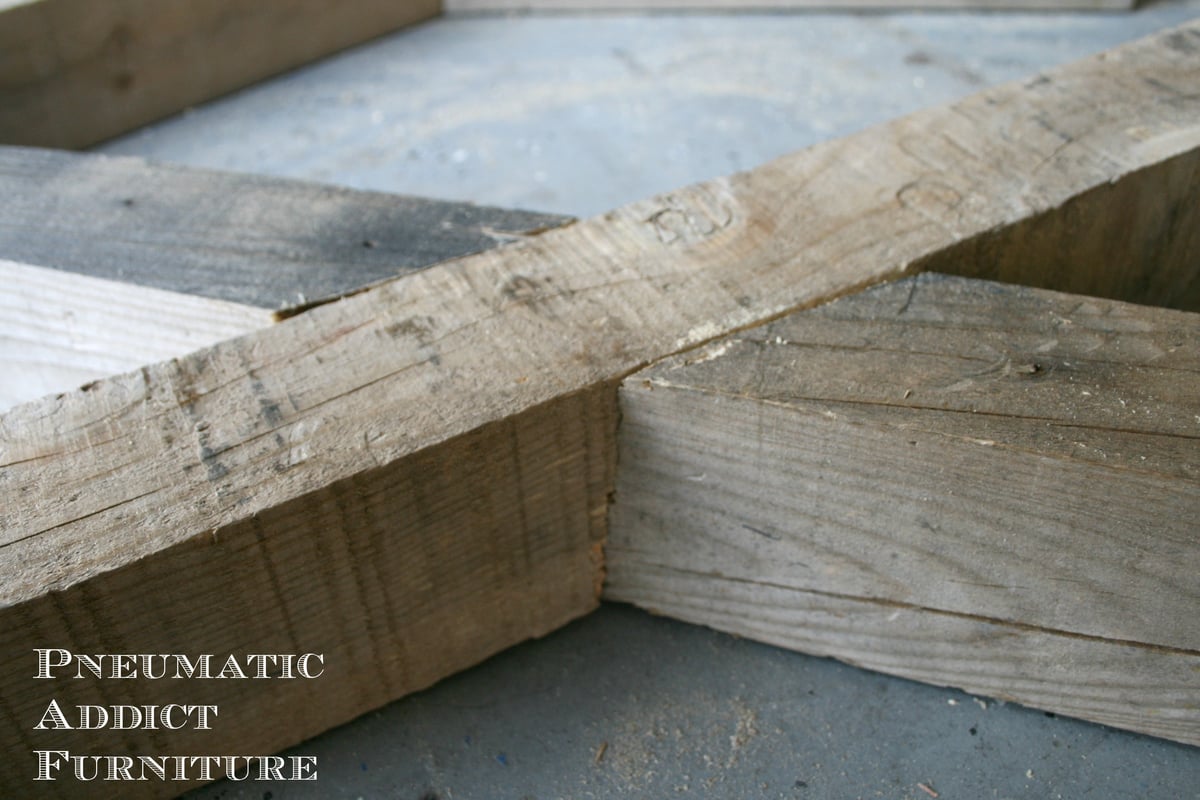
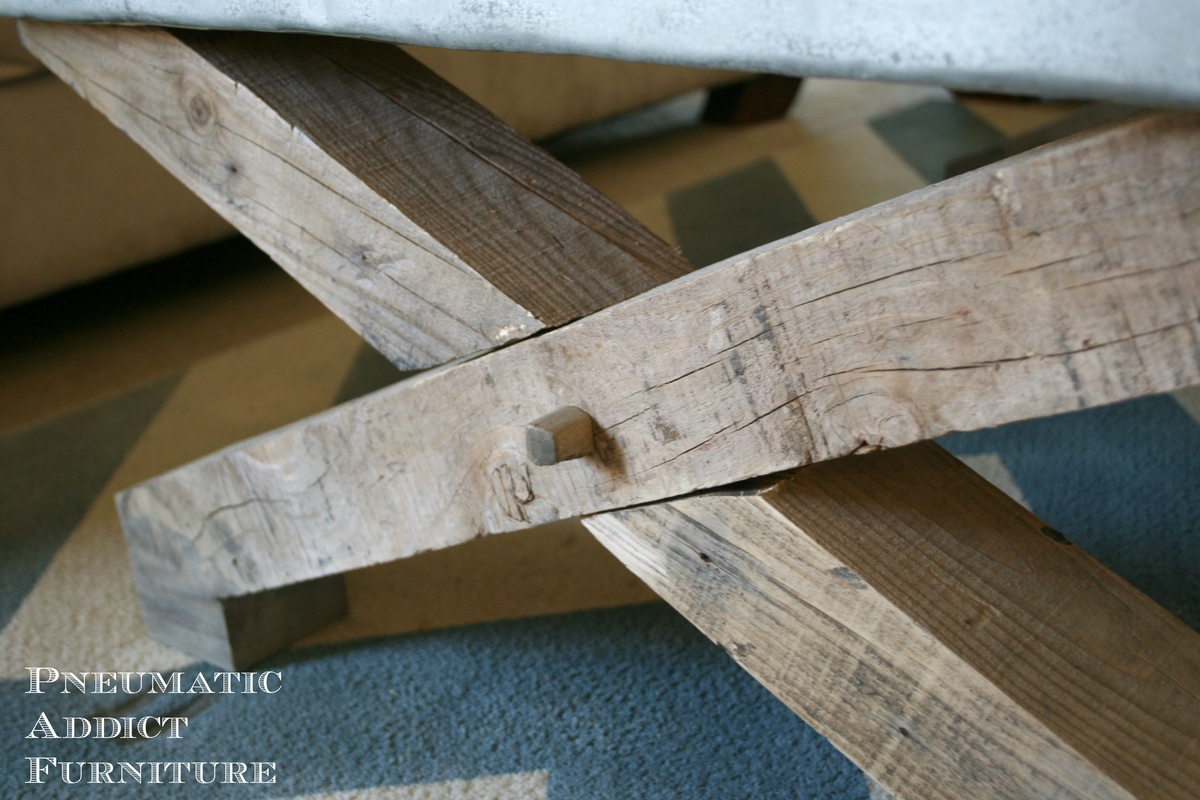
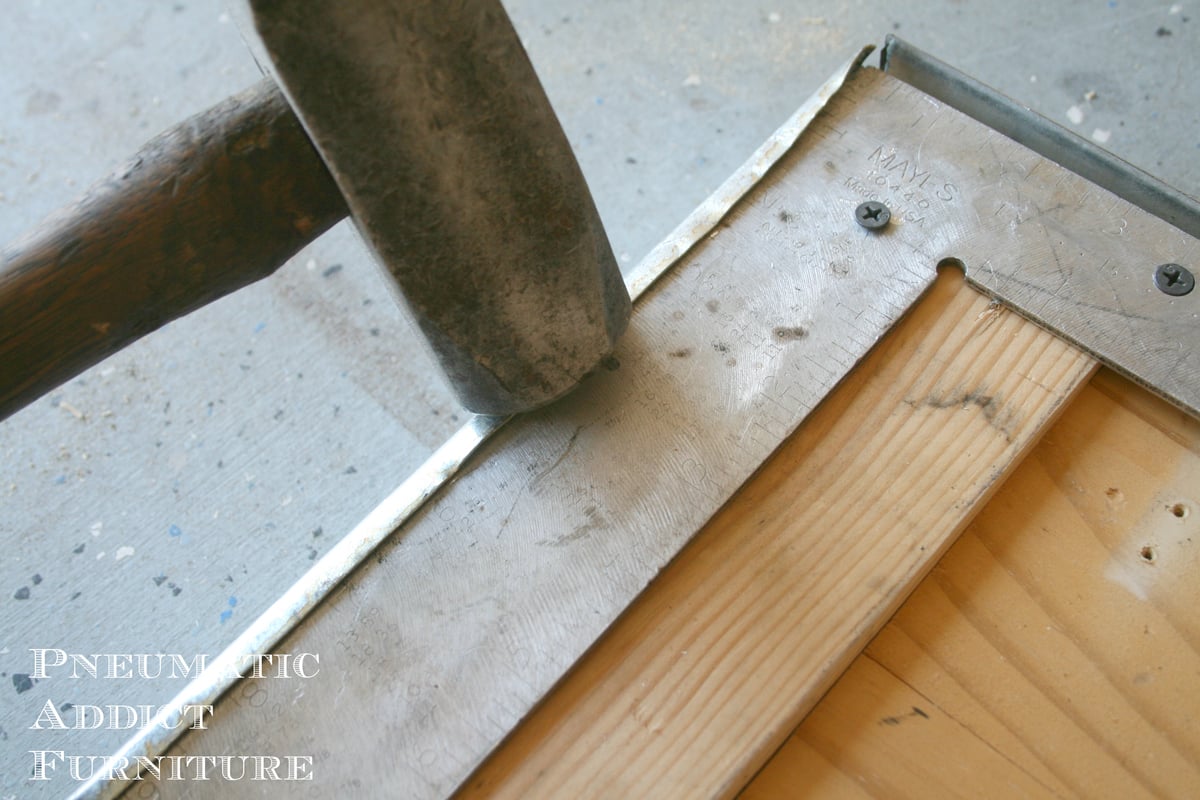
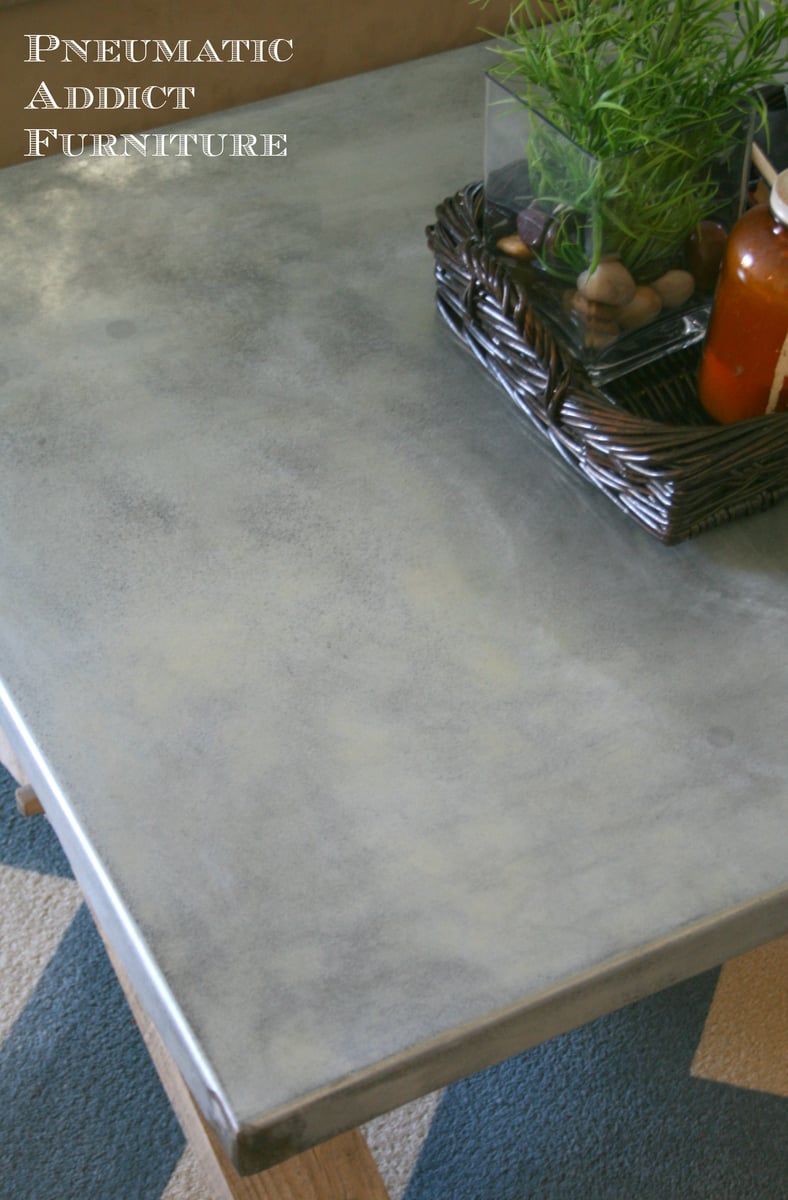
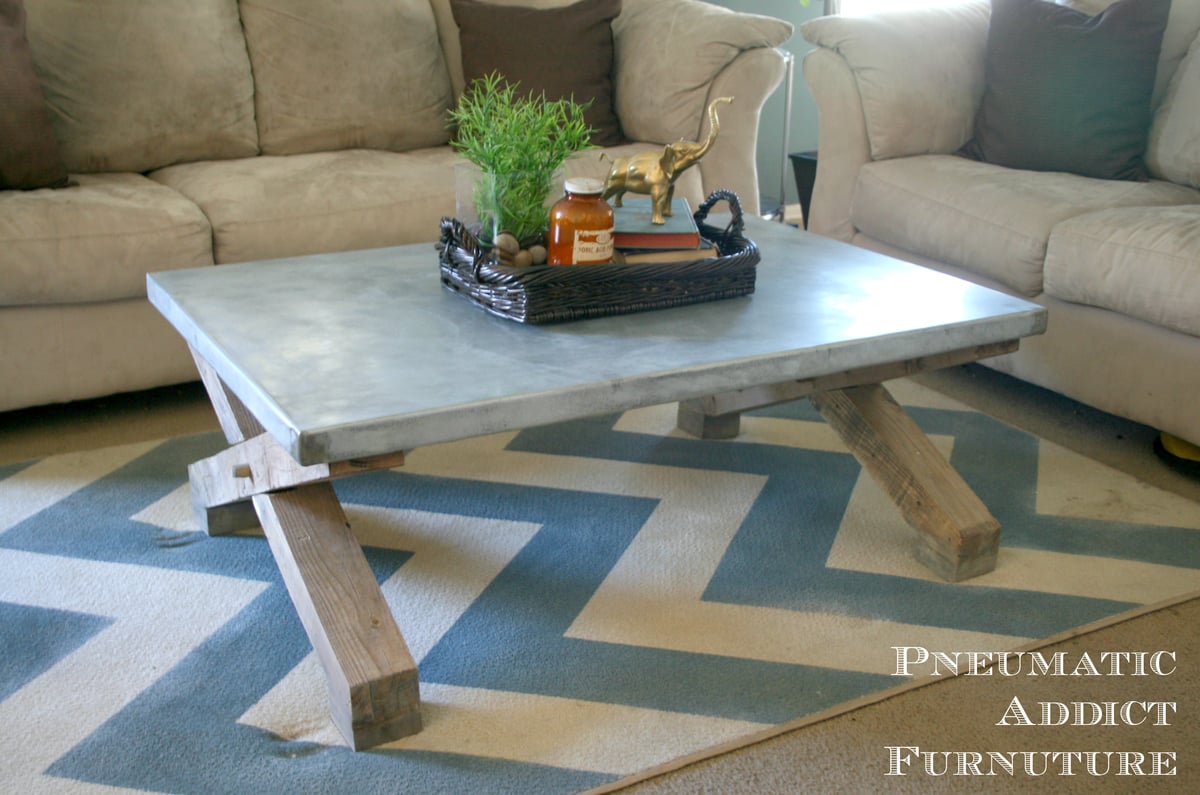
I love the look of a zinc wrapped table top, so I decided to knock-off the Pottery Barn "Abbott" table. The top was from an old kitchen table that I cut down to size. I had access to a sheet metal break to crease the edges of the zinc. I used counter top adhesive to attach the sheet metal to the wood top, and soldered the corners together for a clean seam. The legs were posts from an old pallet. It took some math to figure what angle I needed to cut the ends at, but it wasn't too bad. To notch the posts together, I first lined up the posts to create the "x" and ascribed where they crossed. Then, I set the blade of my circular saw one-half the thickness of the post. Next, made several passes through the marked area, about 1/8" apart. All I had to do at that point was knock out the thin strips of wood and scrape the space with my chisel. I attach the top to the table base, I simply pre-drilled 4 holes in the top end of each post, then flipped the top upside down. I then just had to line up each corner of the top and base and drive in 2" wood screws.
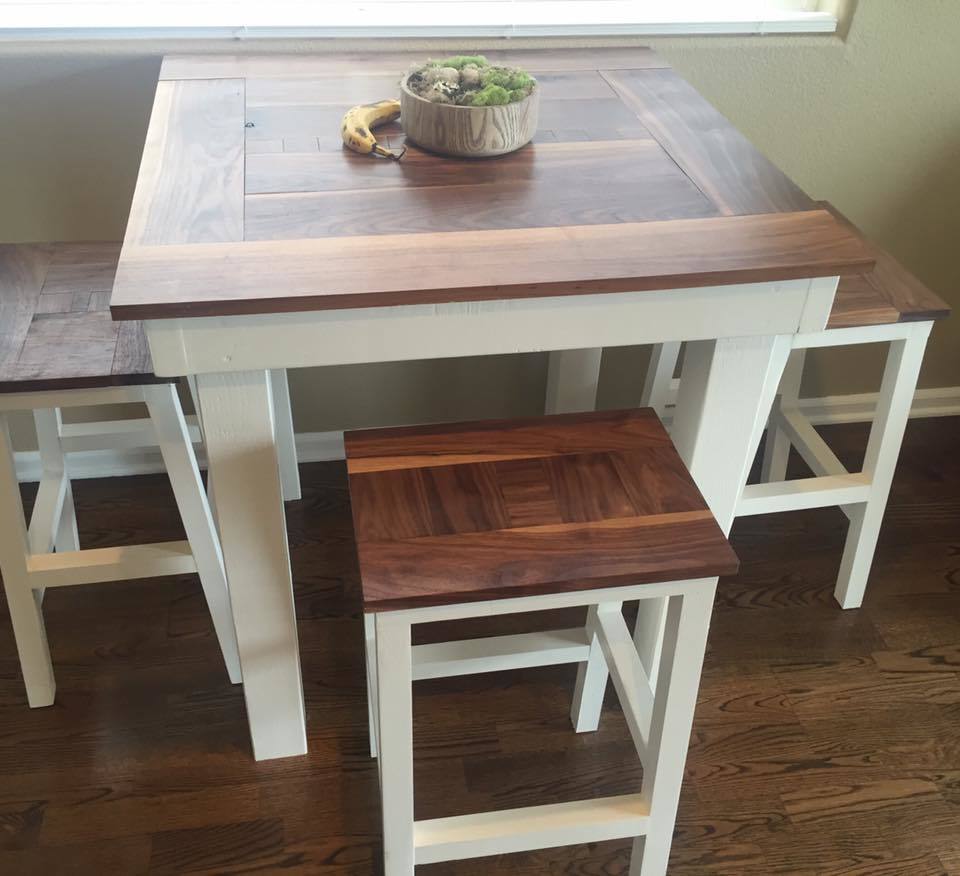
This is one of my favorite pieces because the white contrasts perfectly with the walnut hardwood. The base of the table is all standard 2x4 and 4x4s, and the tabletop is 100% walnut.
Thu, 07/25/2019 - 09:32
Would you be able to provide the dimensions of the top of the table? Also, how tall are the stools? Thank you!
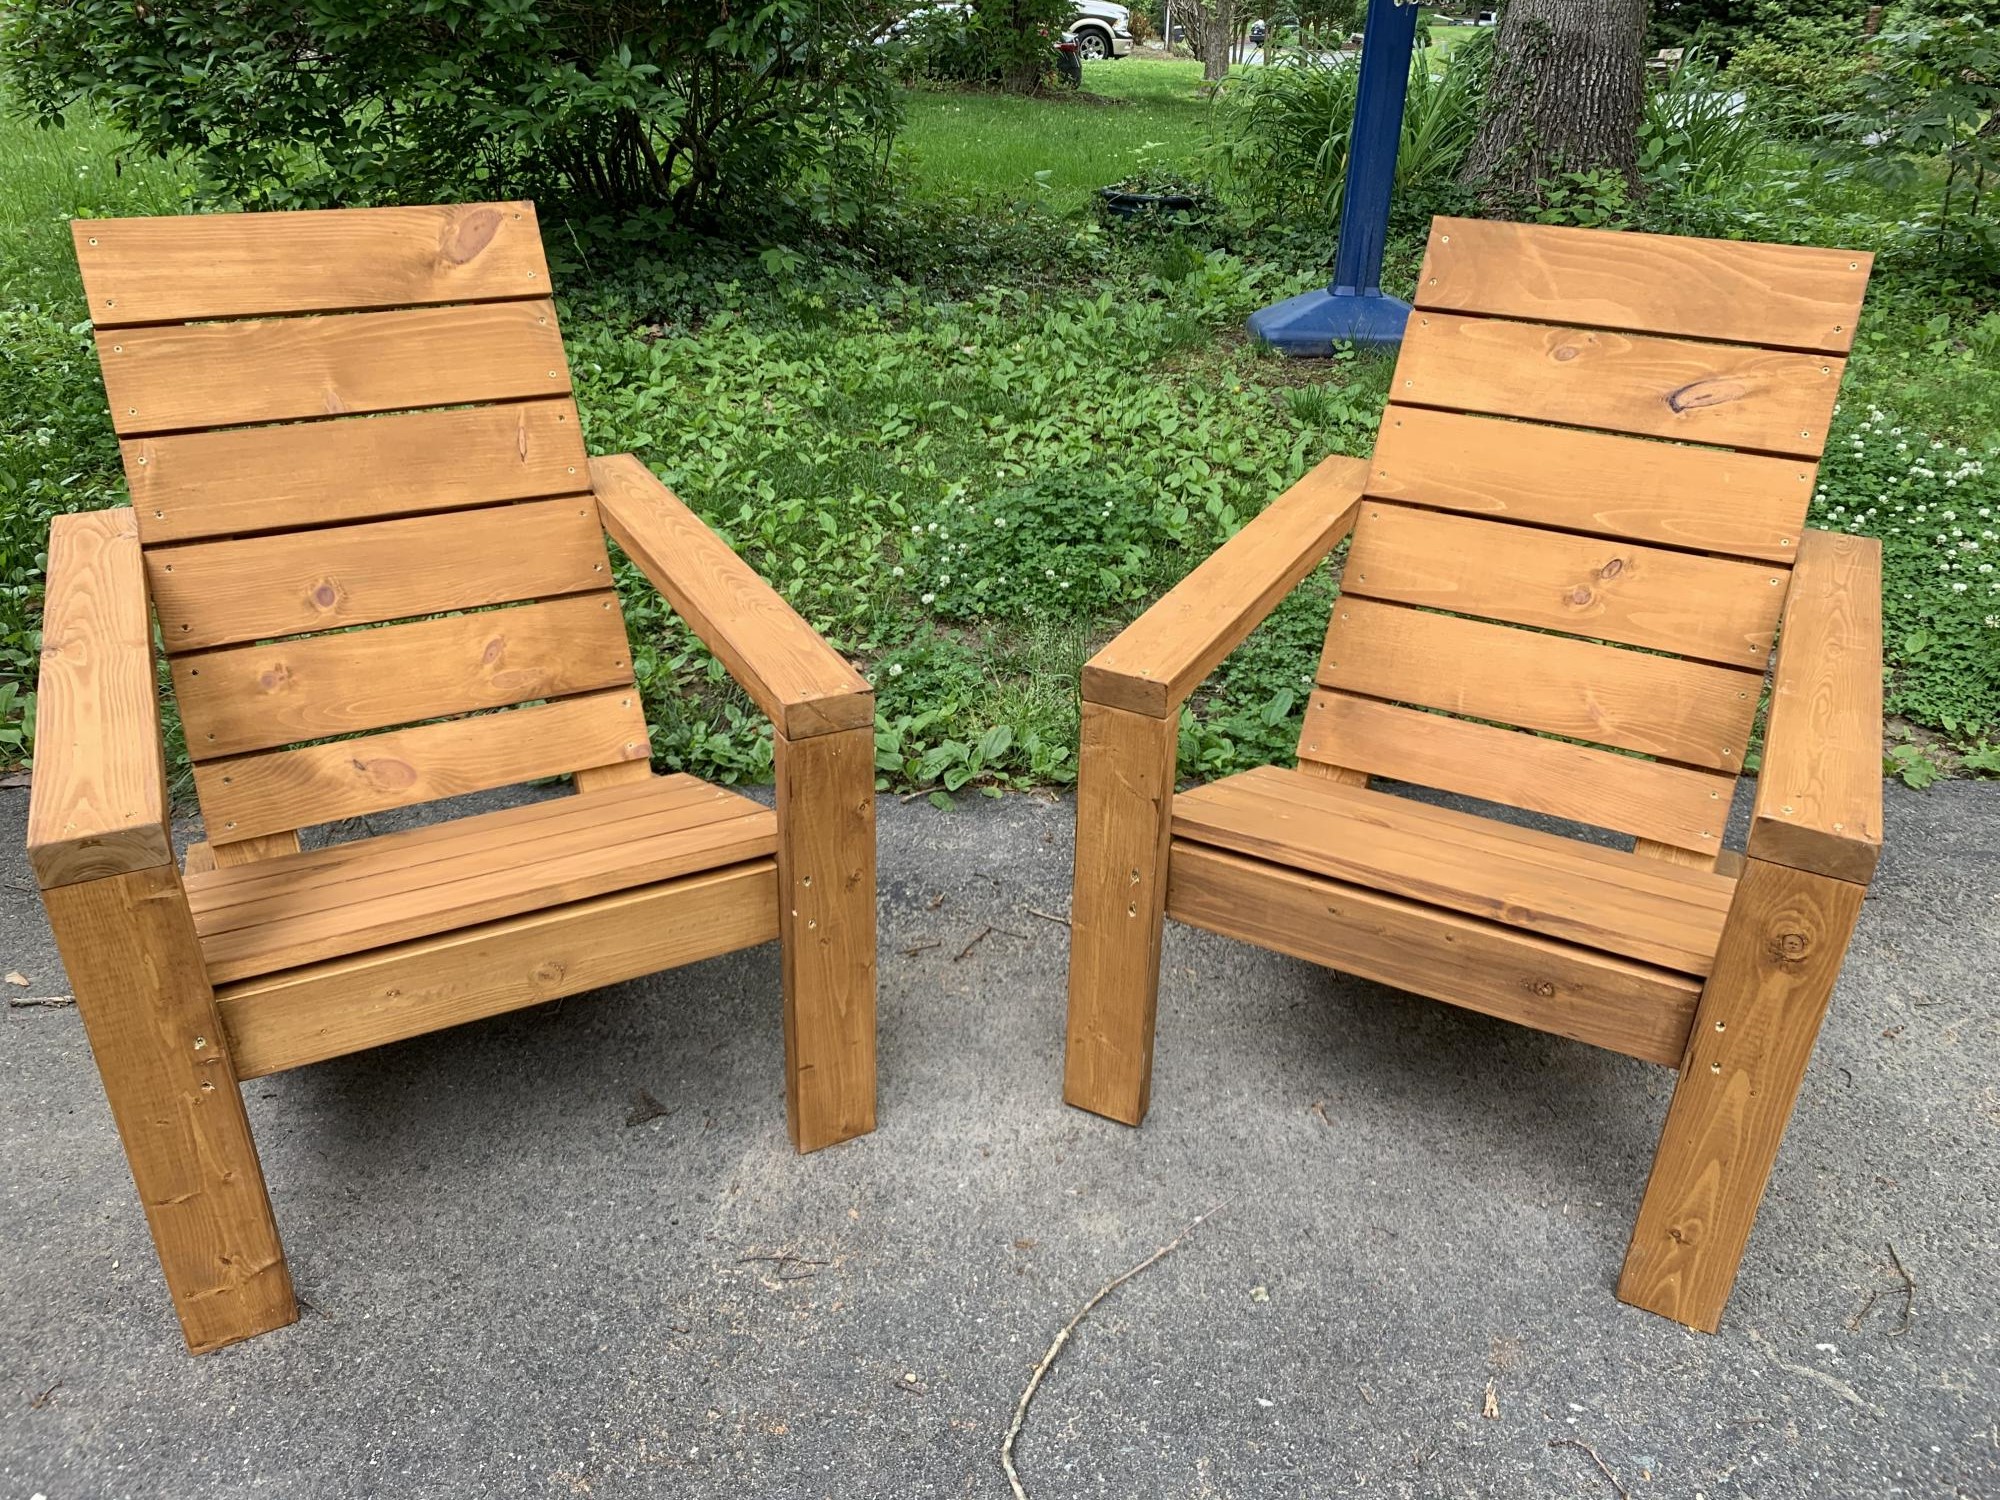
My first real furniture build. I think it came out great. Decided to use 1x5 instead of 1x10 for the seat and back. Really easy build. After I did the first one the second one went together quickly. I did sand and finish before assembly. Next time I’ll probably wait until after to finish it. I had to make several small adjustments durning assembly.
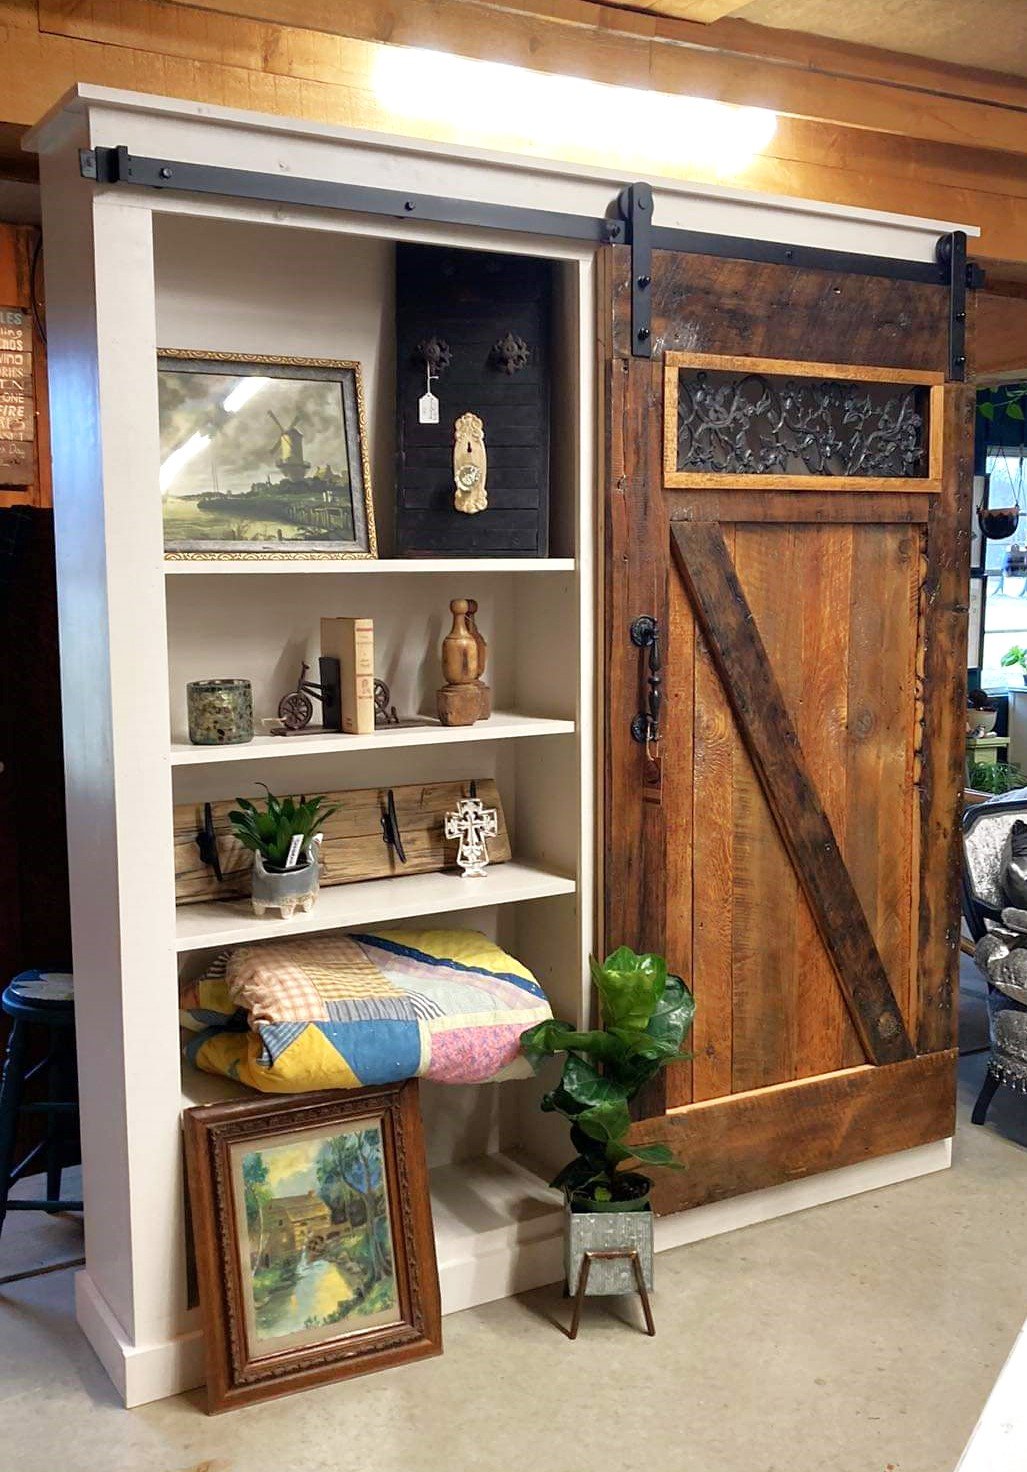
I built a couple of the barn door pantries before, but this time I had some wood from my brother's barn. I had purchased a metal grate at a flea market some years earlier, but could never decide what to do with it. With my husband's help, I integrated it into the door. It turned out to be a beautiful piece.
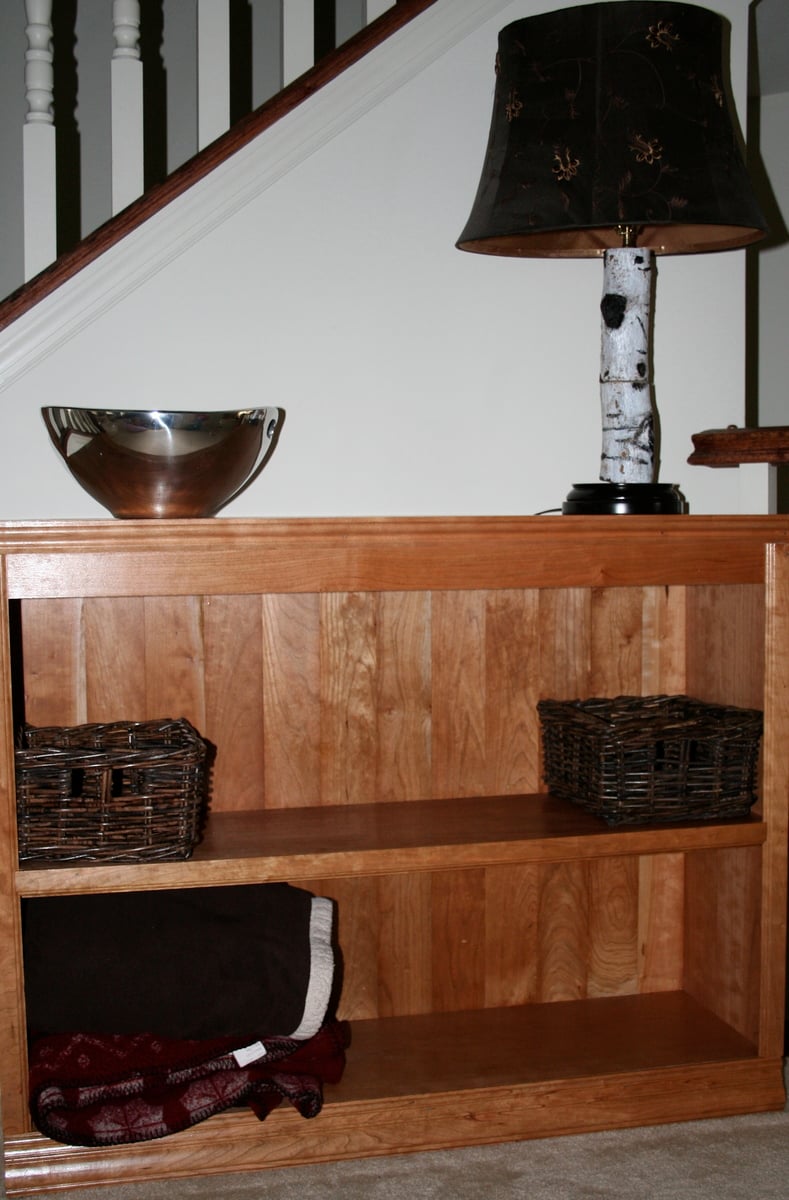
This is my second project I've done with Ana White's plans. I wanted something to fill this space in the town home I live in. It was empty and kind of dull. A lot of crap would collect on the floor and it drove me nuts!! So, I built this bookcase and I absolutely love it!! Thank you so much Ana White for the plan and inspiration.
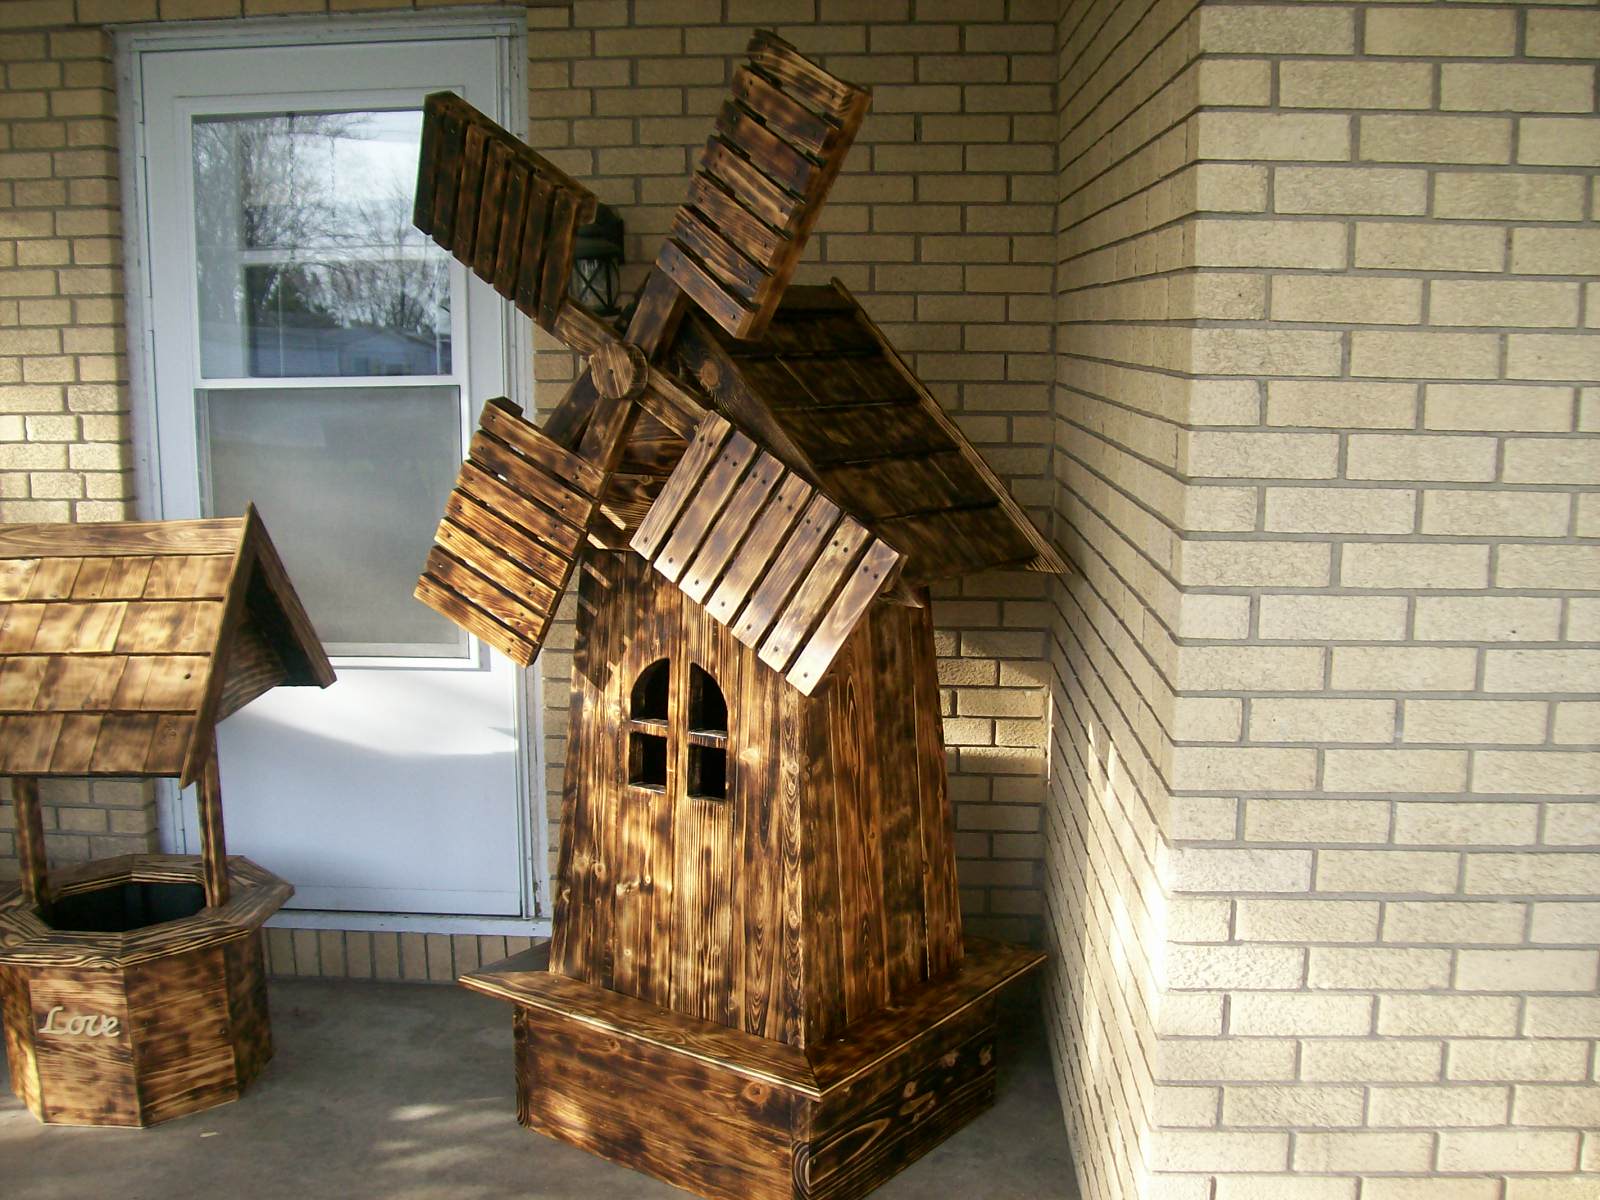
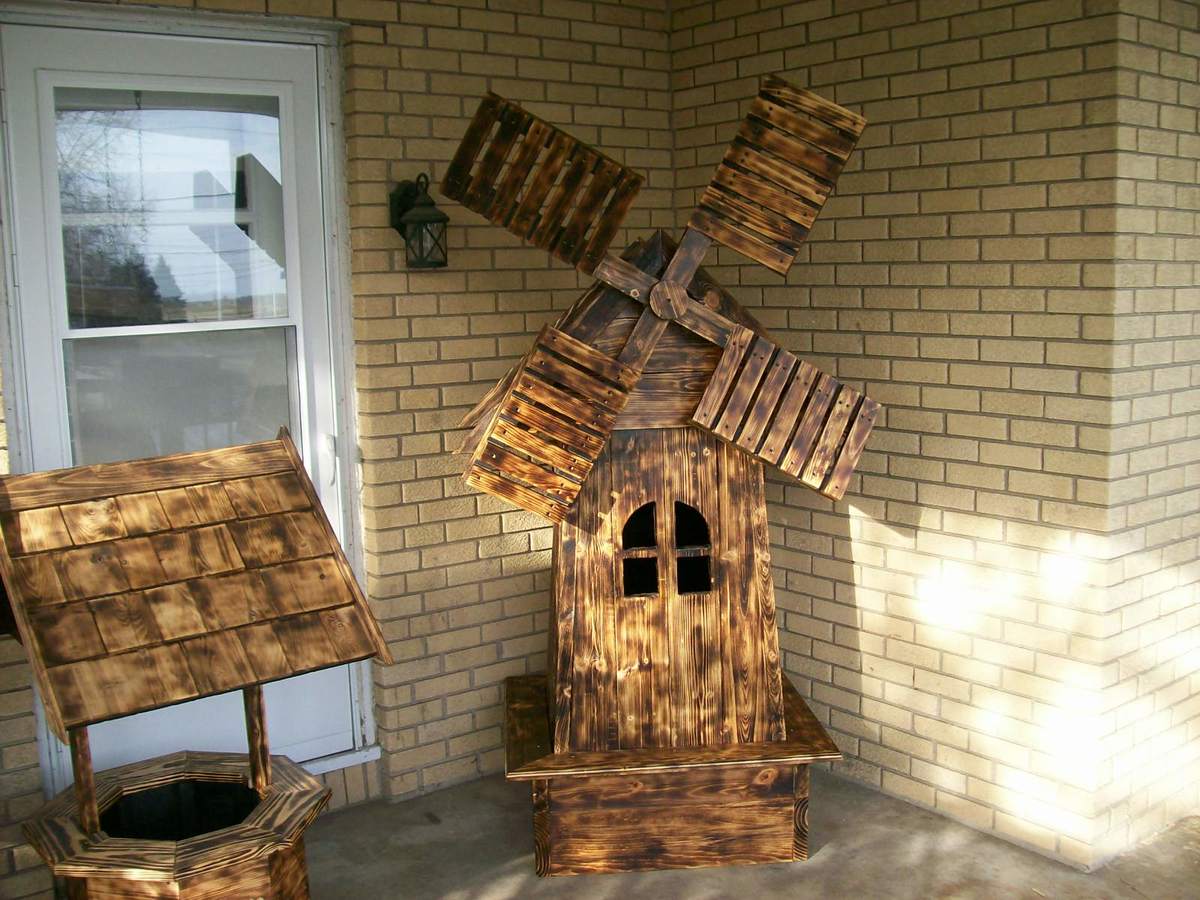
Made from a picture on the internet and made a few changes so it would more complete

Mon, 04/26/2021 - 07:34
I really like the way this windmill looks and would love to make one. Are there plans somewhere?
It took me two months to build as I only worked few hours over weekends. The most challenging part was the hardware. After a lot of trial and error figured out something that works.
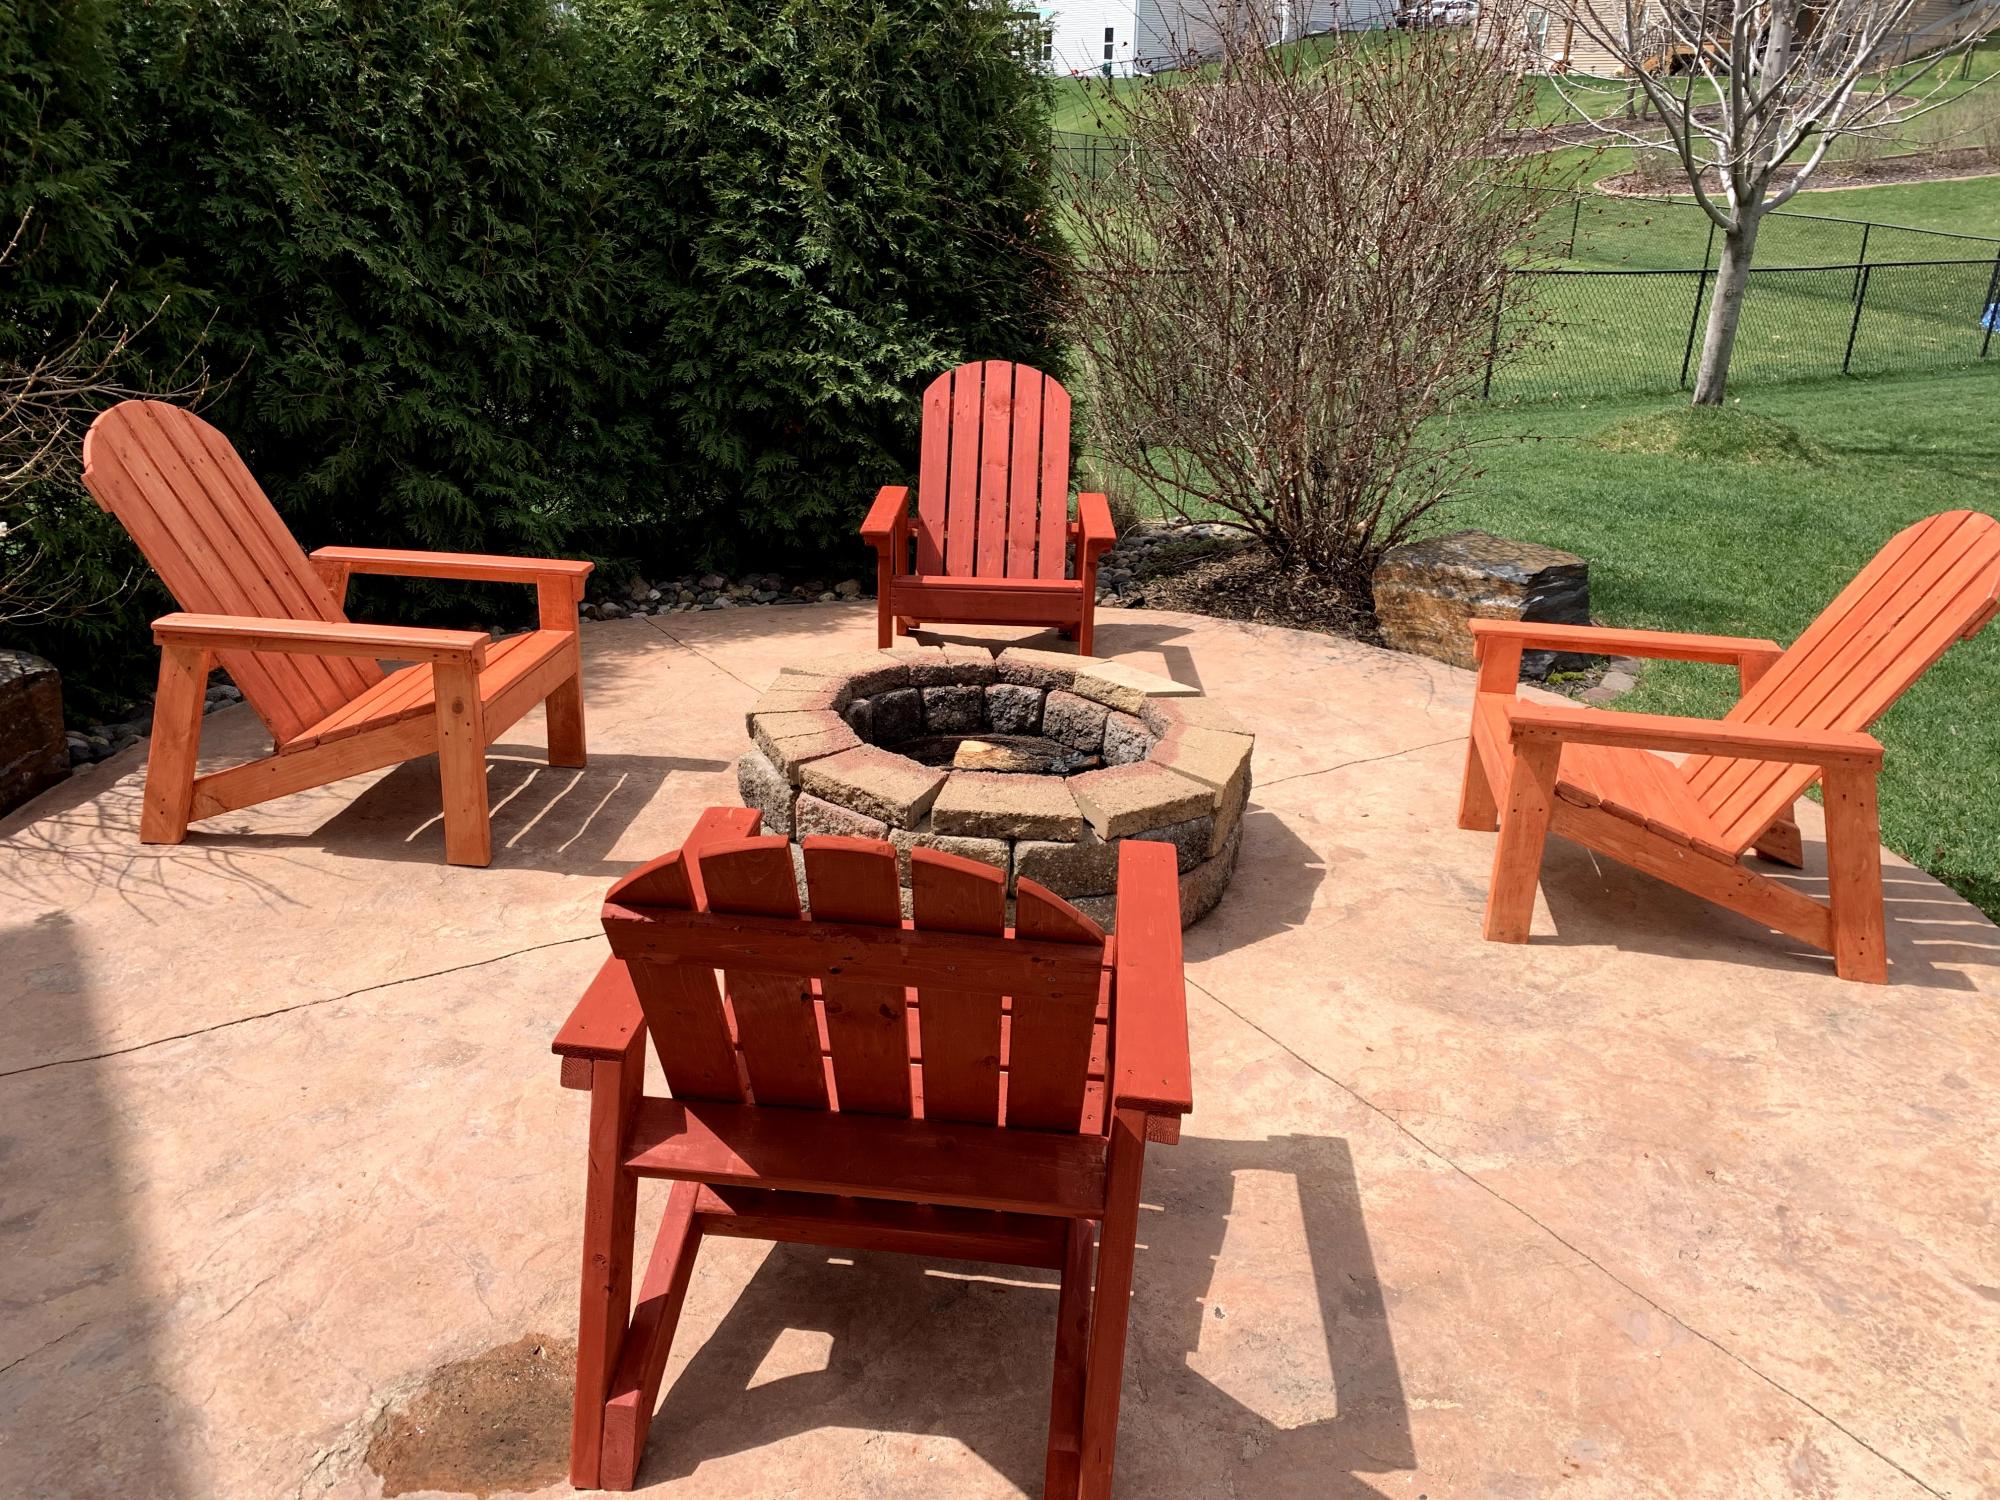
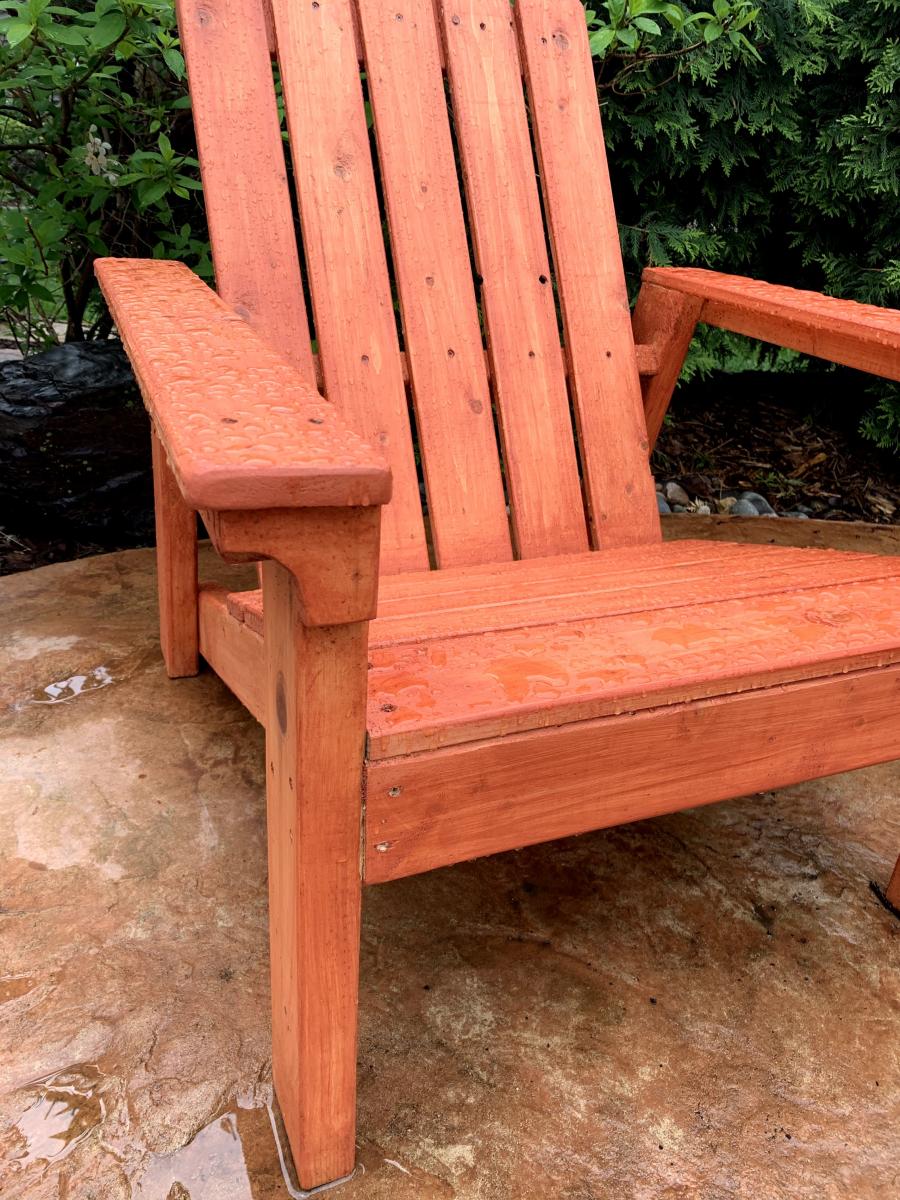
Great plans! Made 4 of these. Only modification was I added a little piece under the arm rests to help cover the front of the arm supports
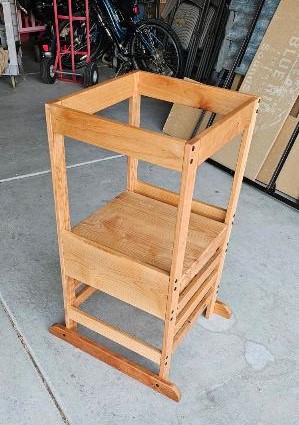
I had some cherry wood left over from a different Ana White project and used that to make this "Kid Tower" for my one year old great niece. I used dowels for the two ladder sides and furniture connectors for the other two sides. I finished it with Rubio's.
Steve B
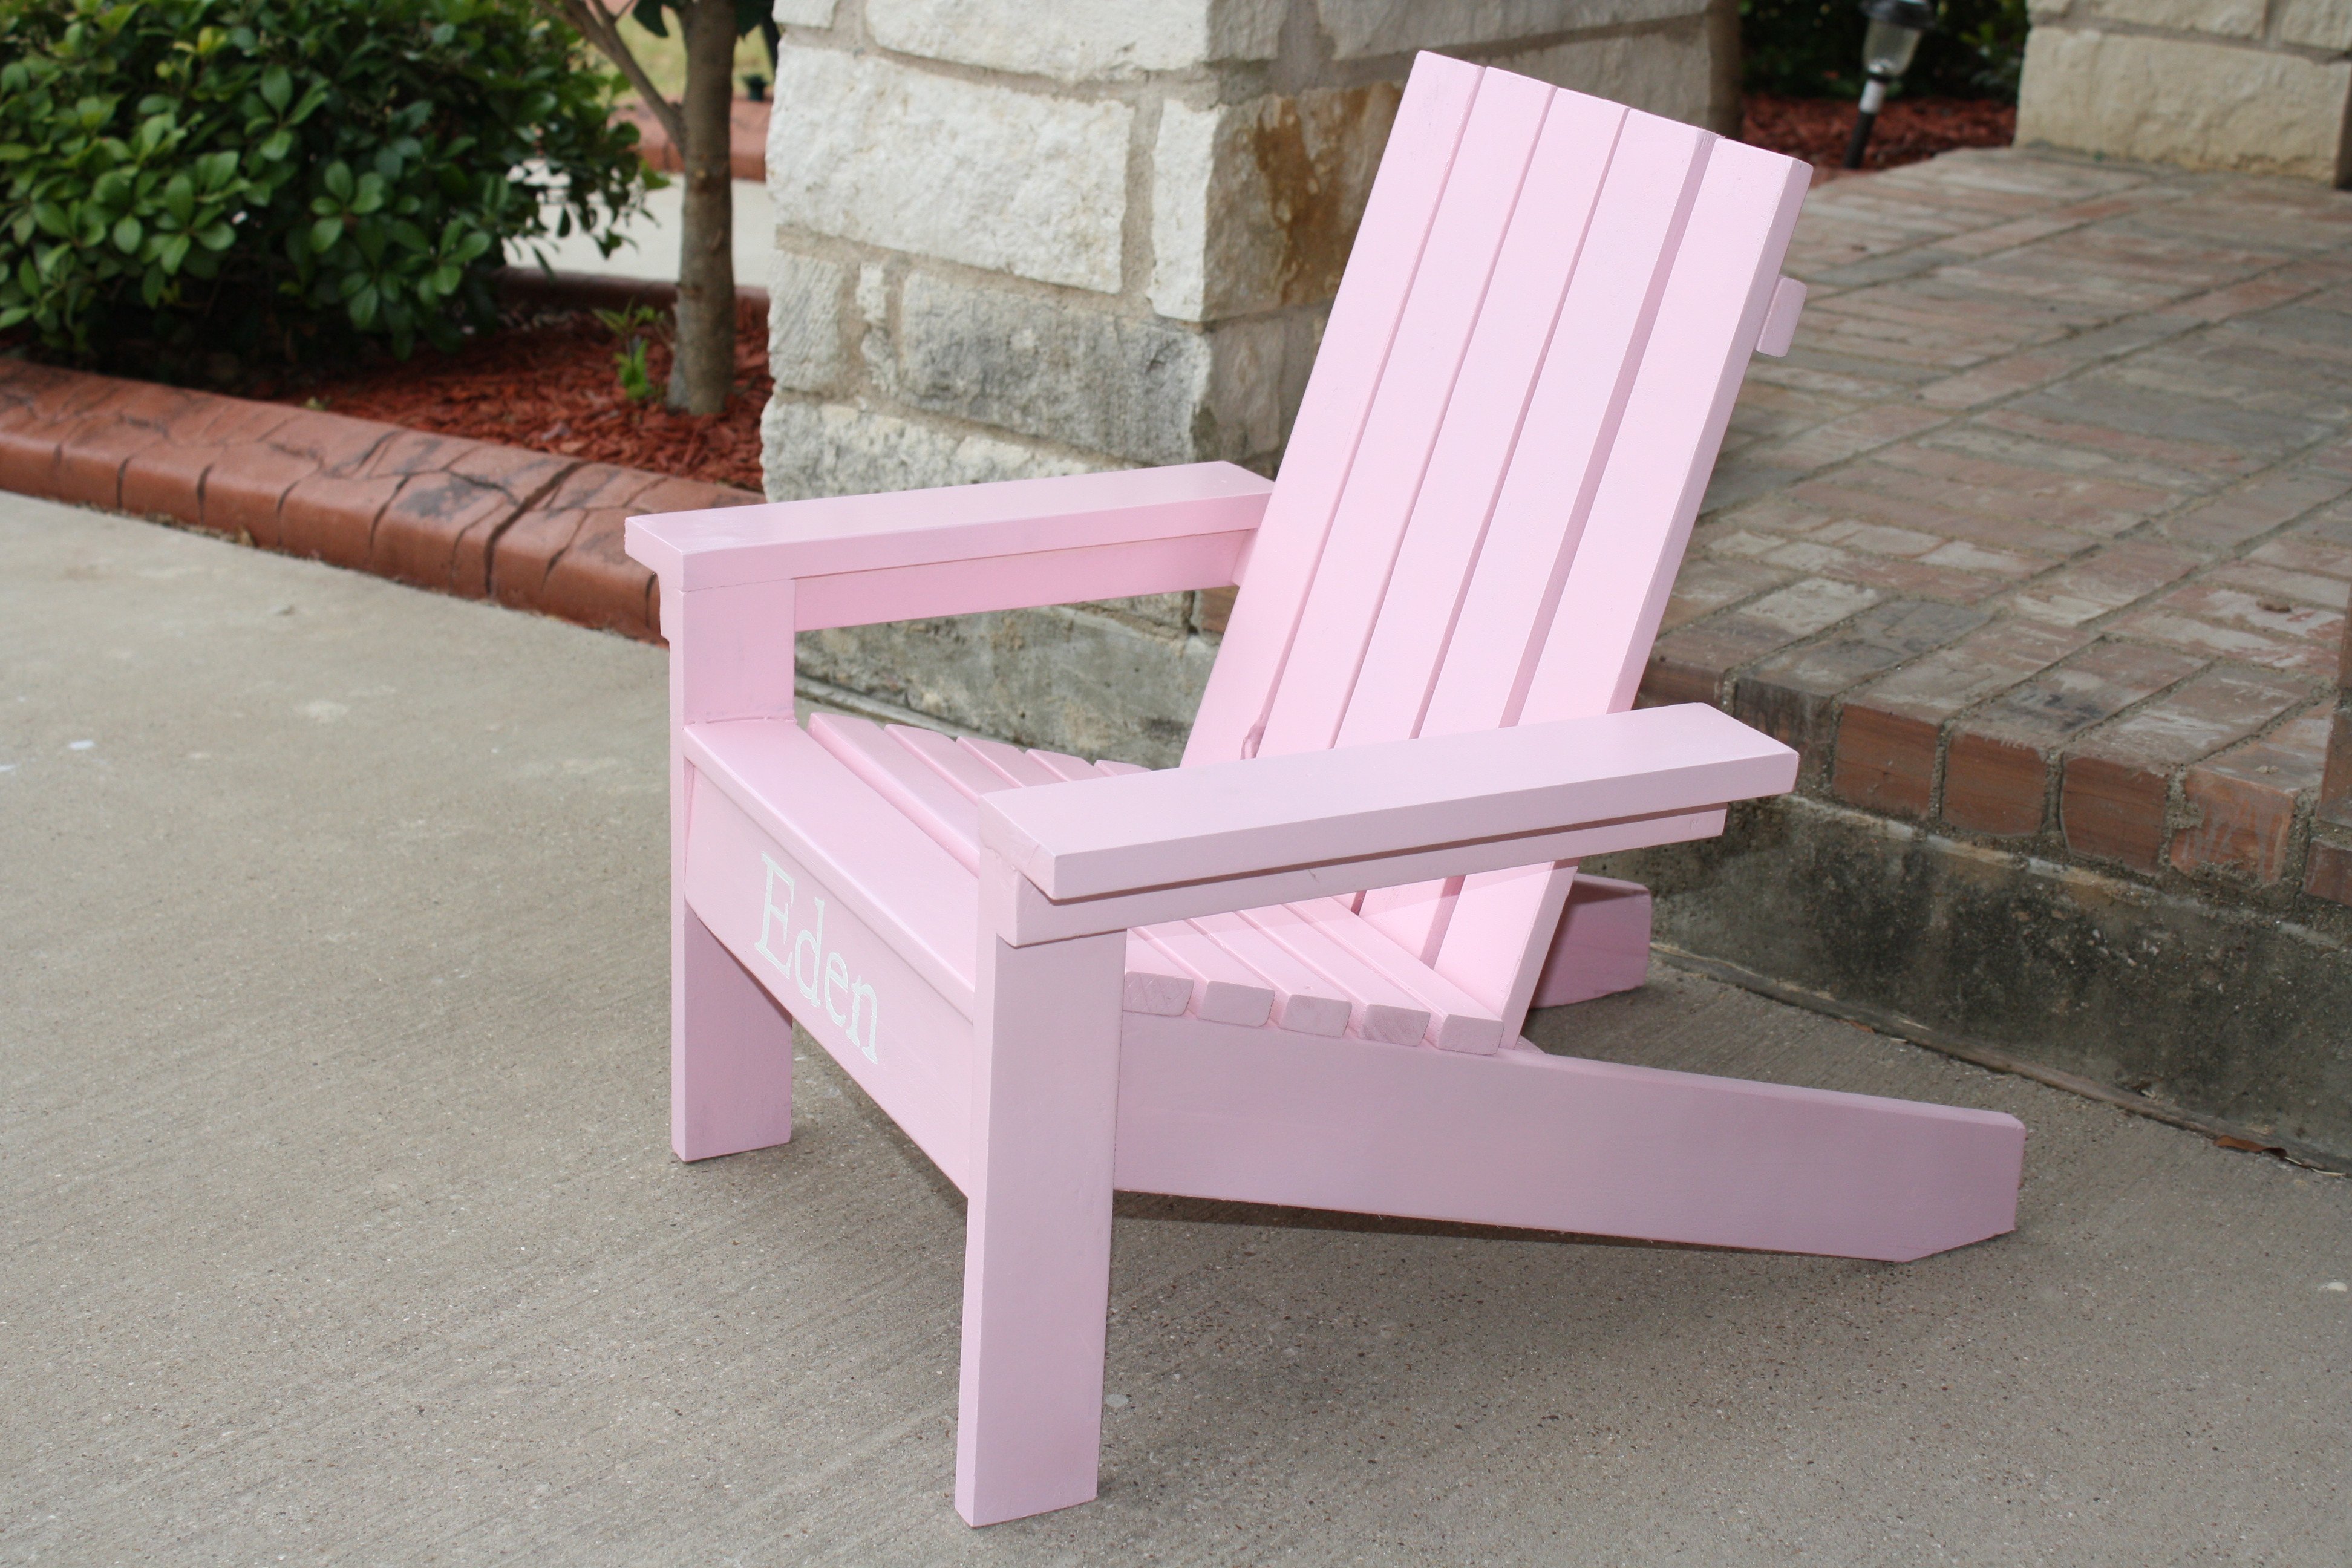
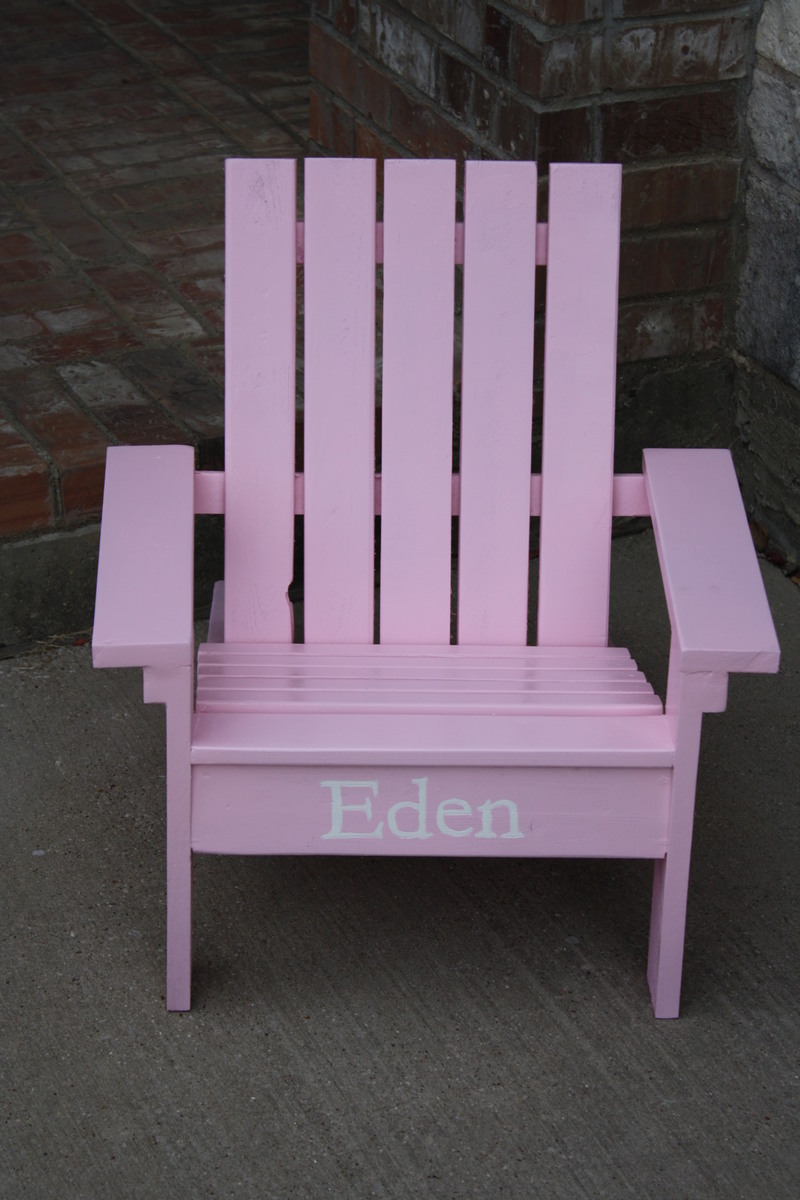
I built this sweet adirondack chair for a friend's 1st birthday. The plans are simple and easy to follow and we already have added at least two more of these to our to-do list! The angled cuts on the stringers were intimidating, but I just took my time with a hand saw and am happy with the results.
The use of furring strips meant tons of sanding and wood filler which added a lot of time to the project. All of the screws were countersunk and filled. I sprayed the sides of the boards before assembly for good coverage, but not the face of the boards because I had planned on using the wood filler. If leaving your screws exposed (or if you aren't as sloppy with filler as I am - seriously I have a love/hate relationship with the stuff!), painting first would make things much simpler.
To paint her name, I printed it out then pressed the paper over the apron of the chair and used a pen to write over the outline of the name. This left an indent which I was able to brush inside of with a white glossy interior/exterior paint we had on hand.

My hubby followed the plans. He made the stairs a bit different. The plans were excellent. It is so sturdy. We had these magnetic mirrors designed for a school locker, so we put those on both sides of the house. The monogram, we picked up an oval wooden piece and the letter P for a buck each and painted them. Looks awesome! Giving this to my niece as she turns today! Thank you! Thank you! Thank you!

Sat, 05/10/2014 - 18:17
You did a great job...I had a hard time with the roof.
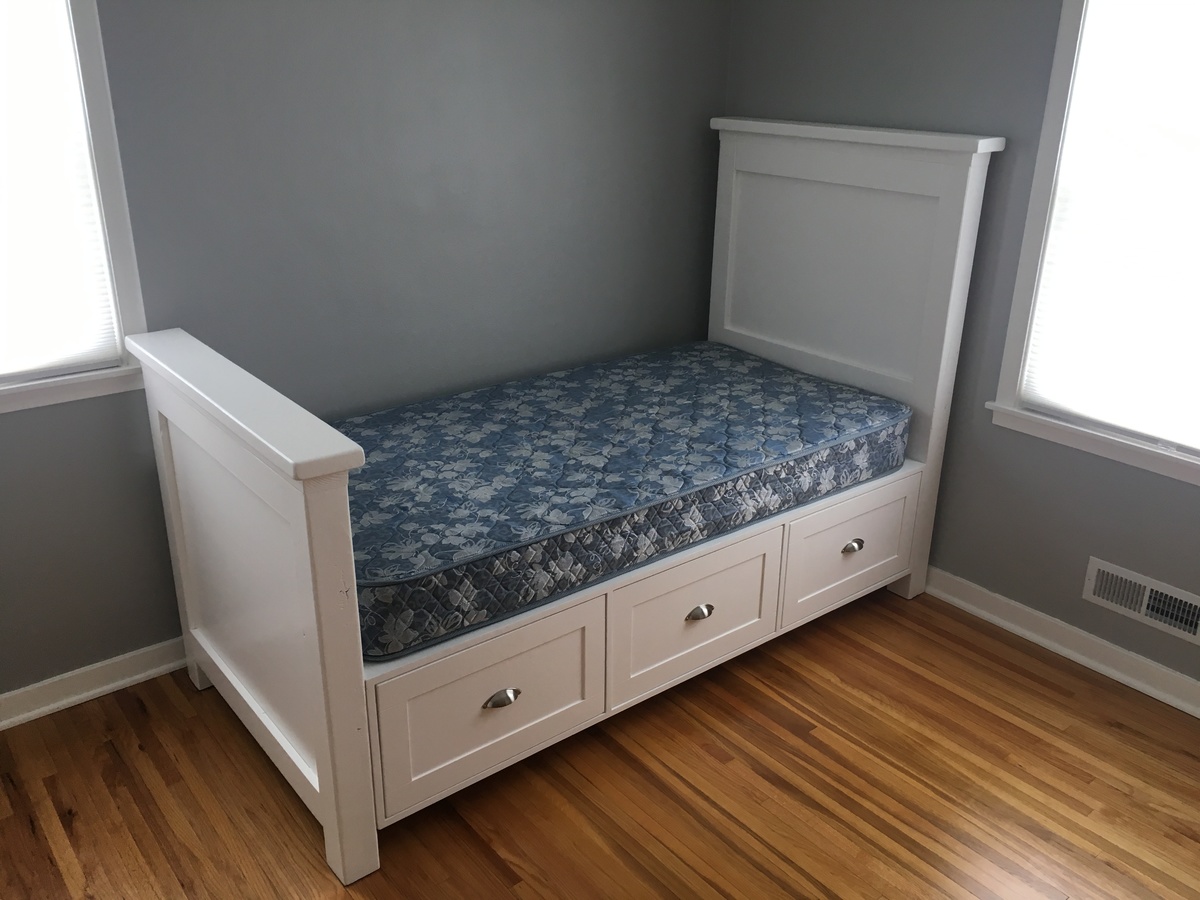
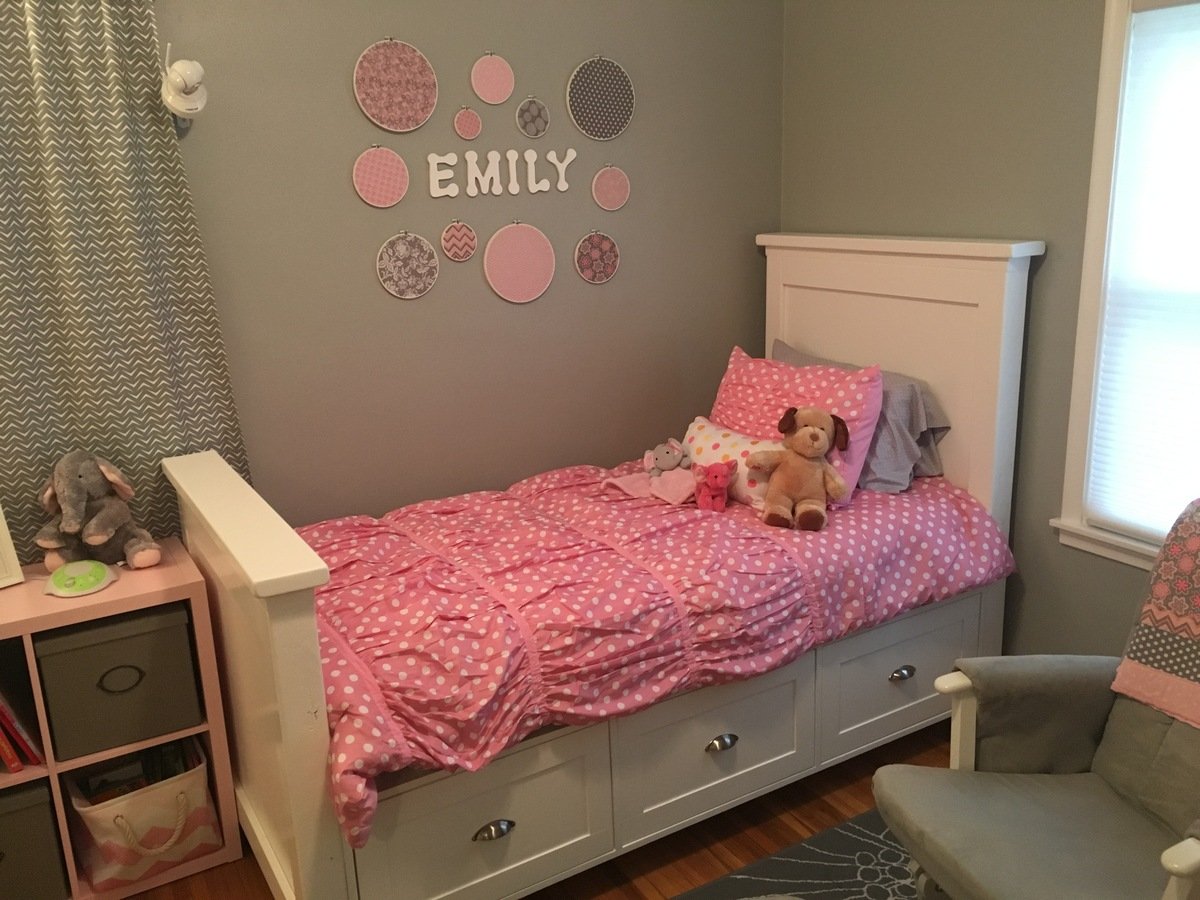
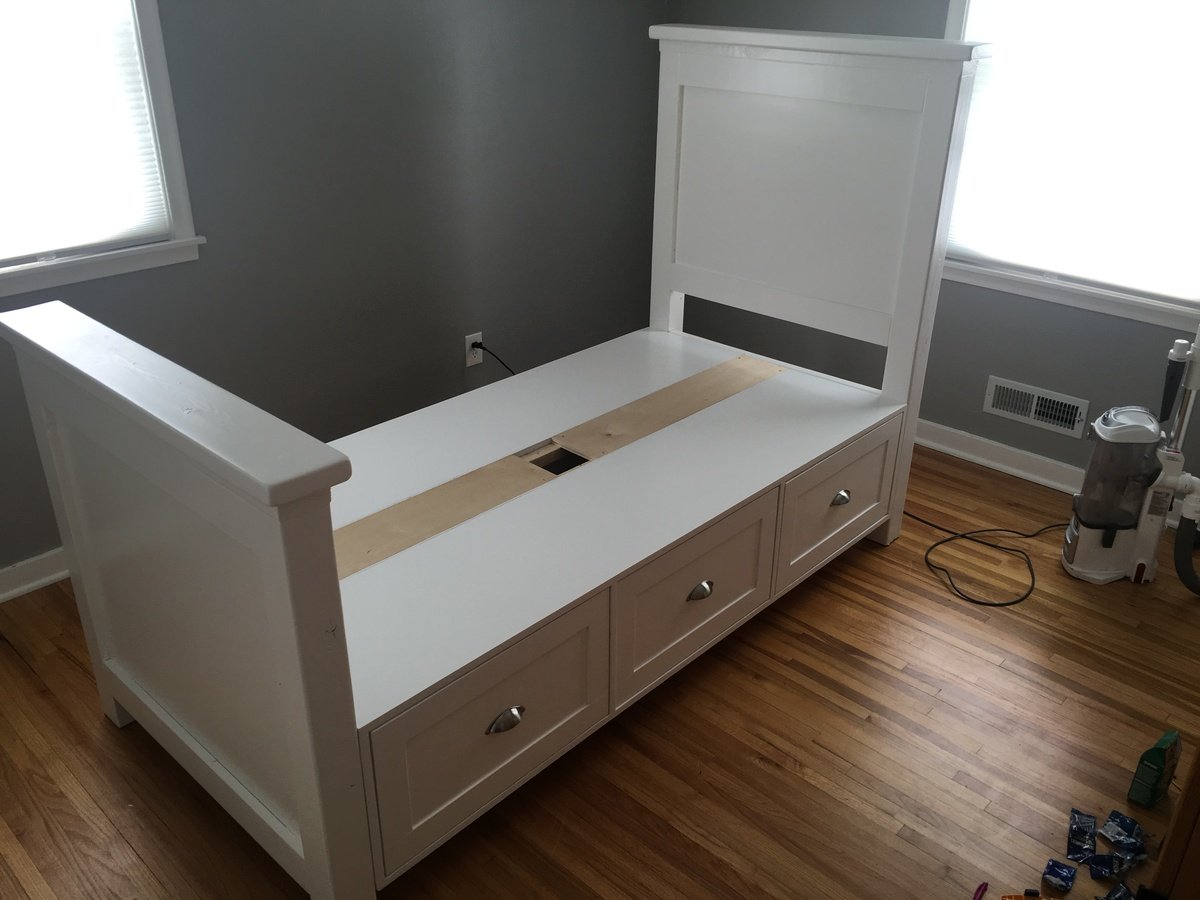
This bed was made from Ana White's plan for the farmhouse bed with storage drawers (twin size). I made this bed for my daughter as her first "big girl" bed. I did modify the plan somewhat to make the footboard taller and act as a bed rail on the end of the bed. This bed came together really well! Plans were great!
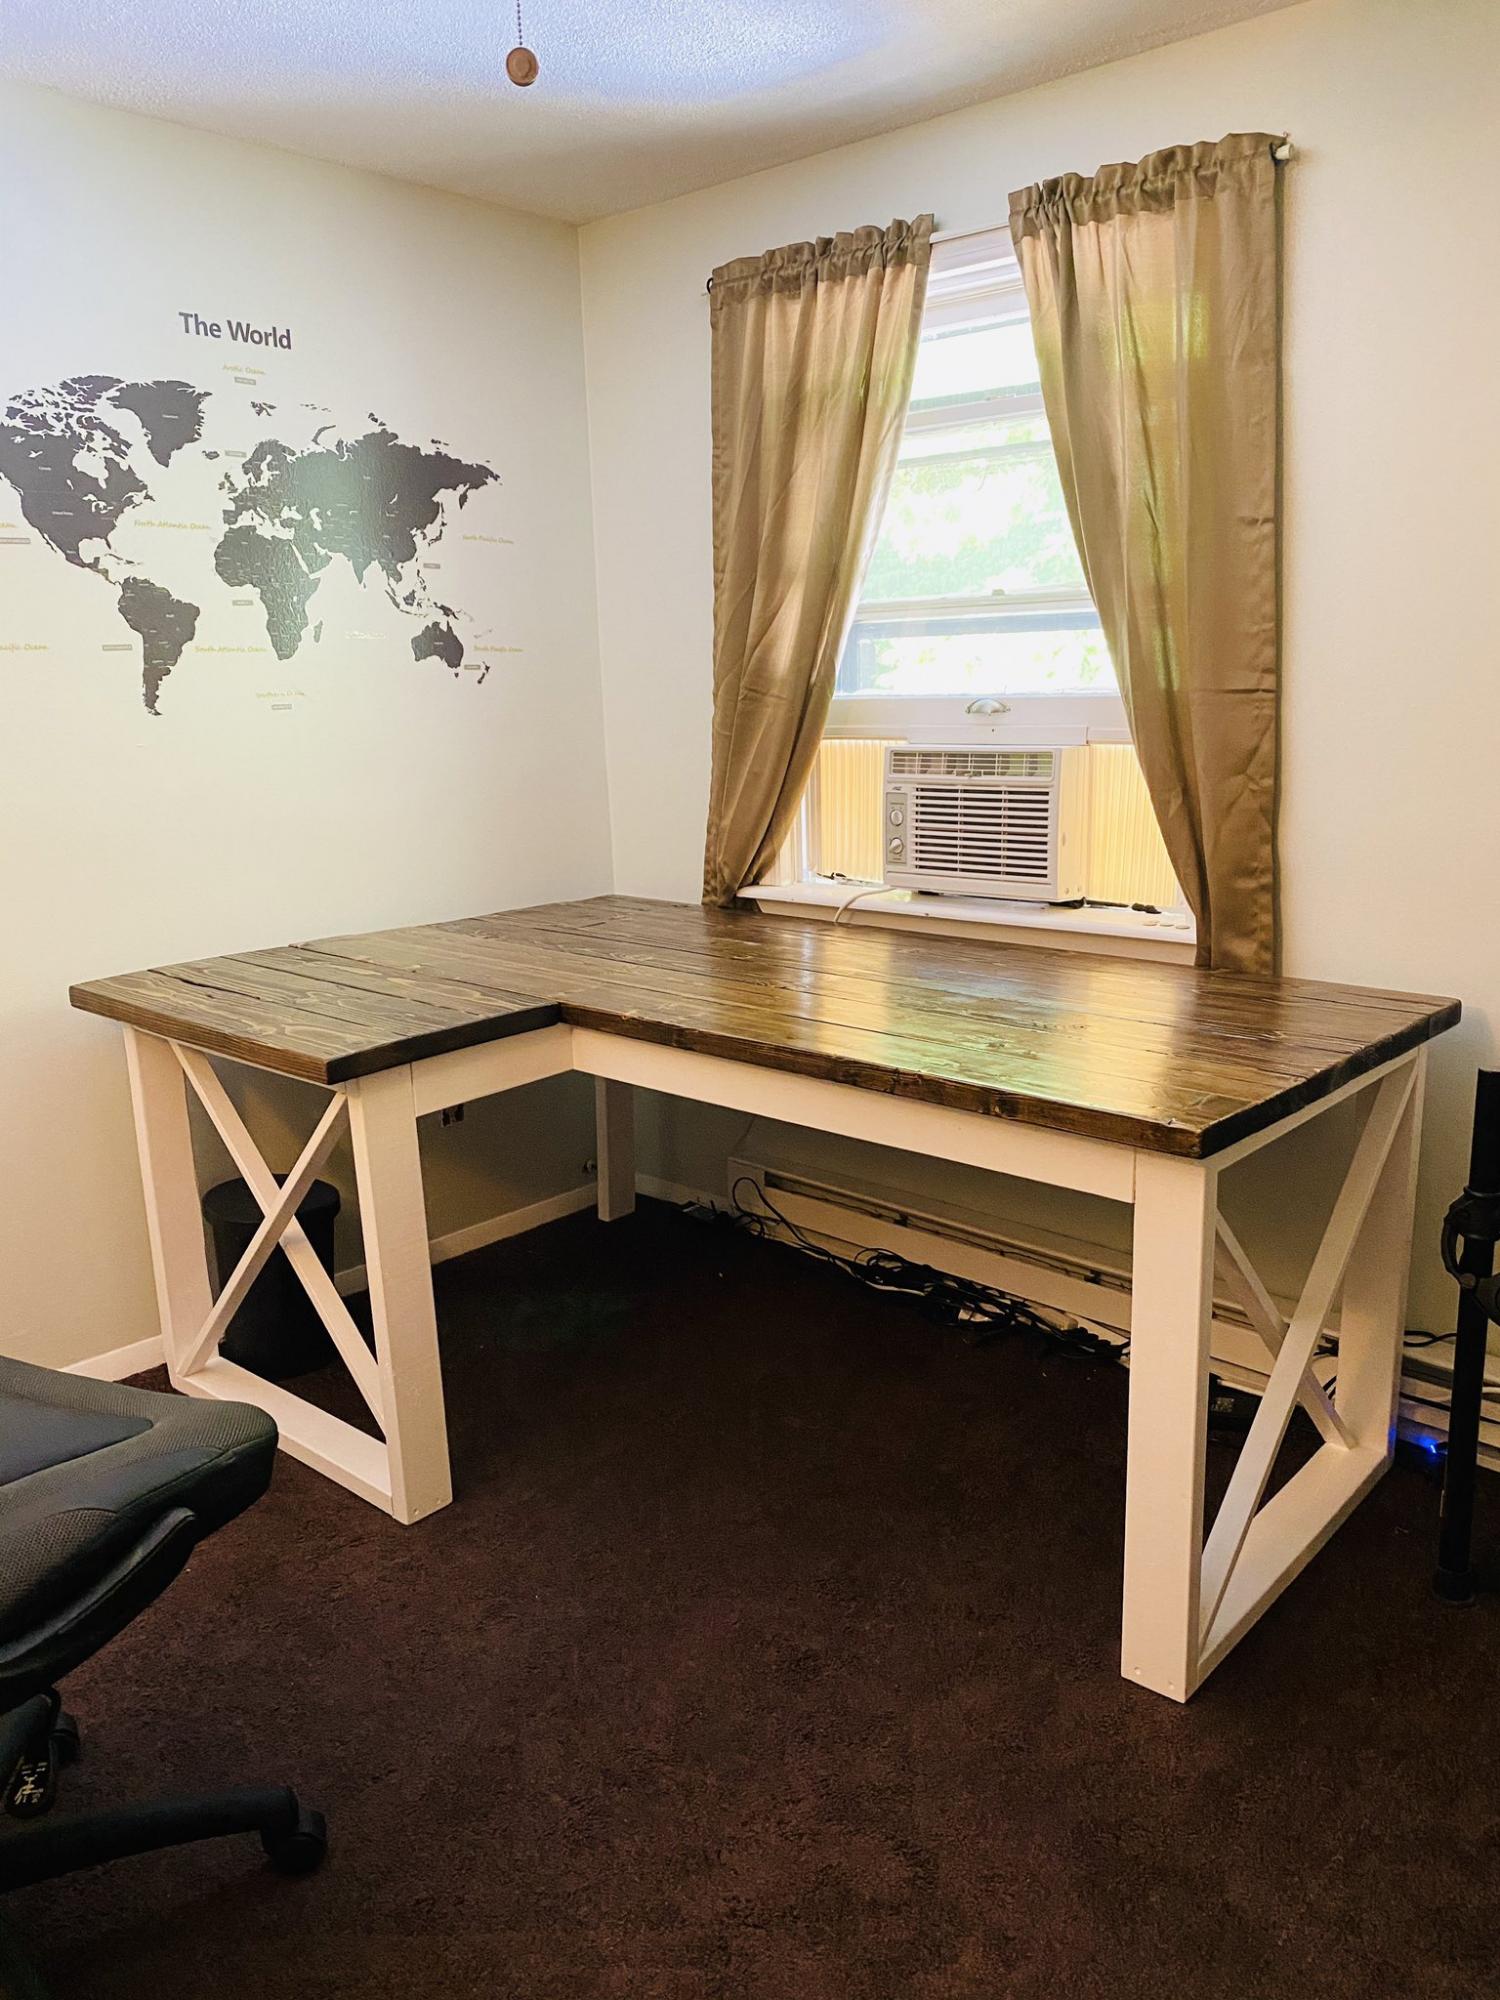
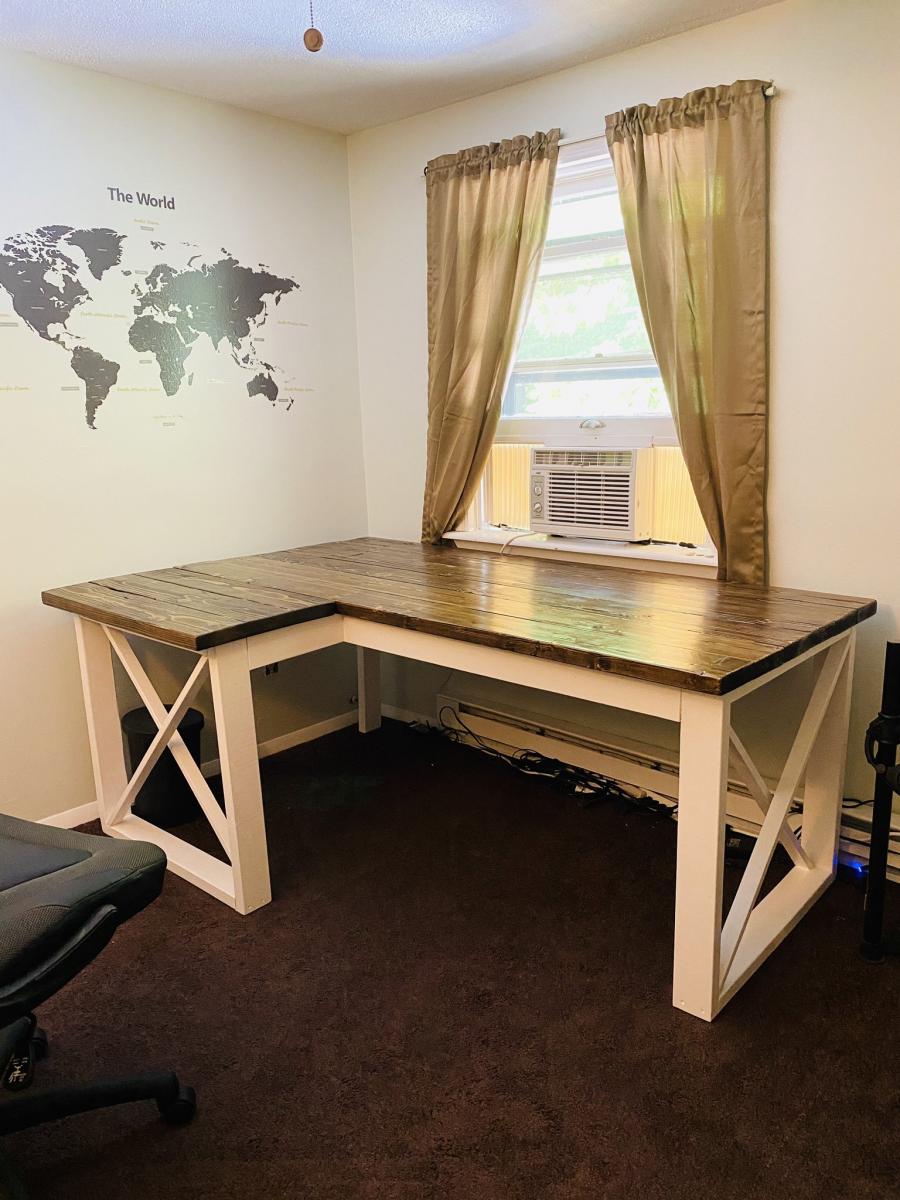
Made the move to working from home because of the pandemic. After 2 months and no end in sight, I decided I needed a better workstation. Built this in about 5 days. Really nice sturdy desk but make sure you measure how big it is first, I think I could have shrank this down by one less 2x6 on the top. It's a very large desk from the plans.