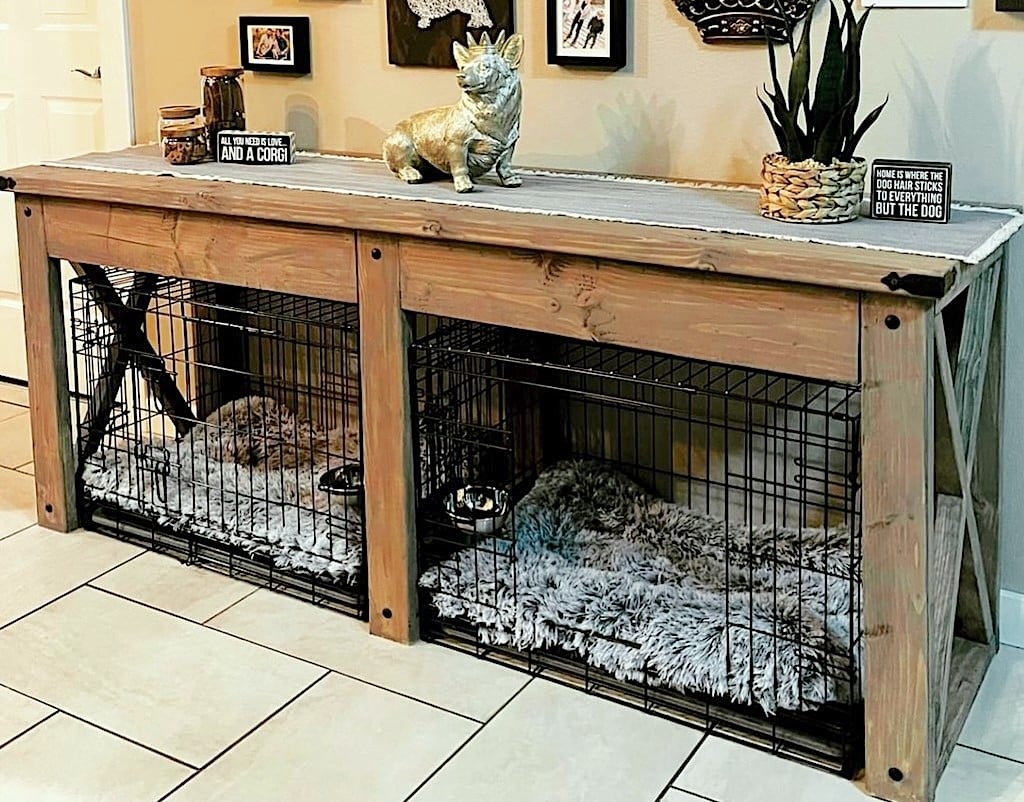
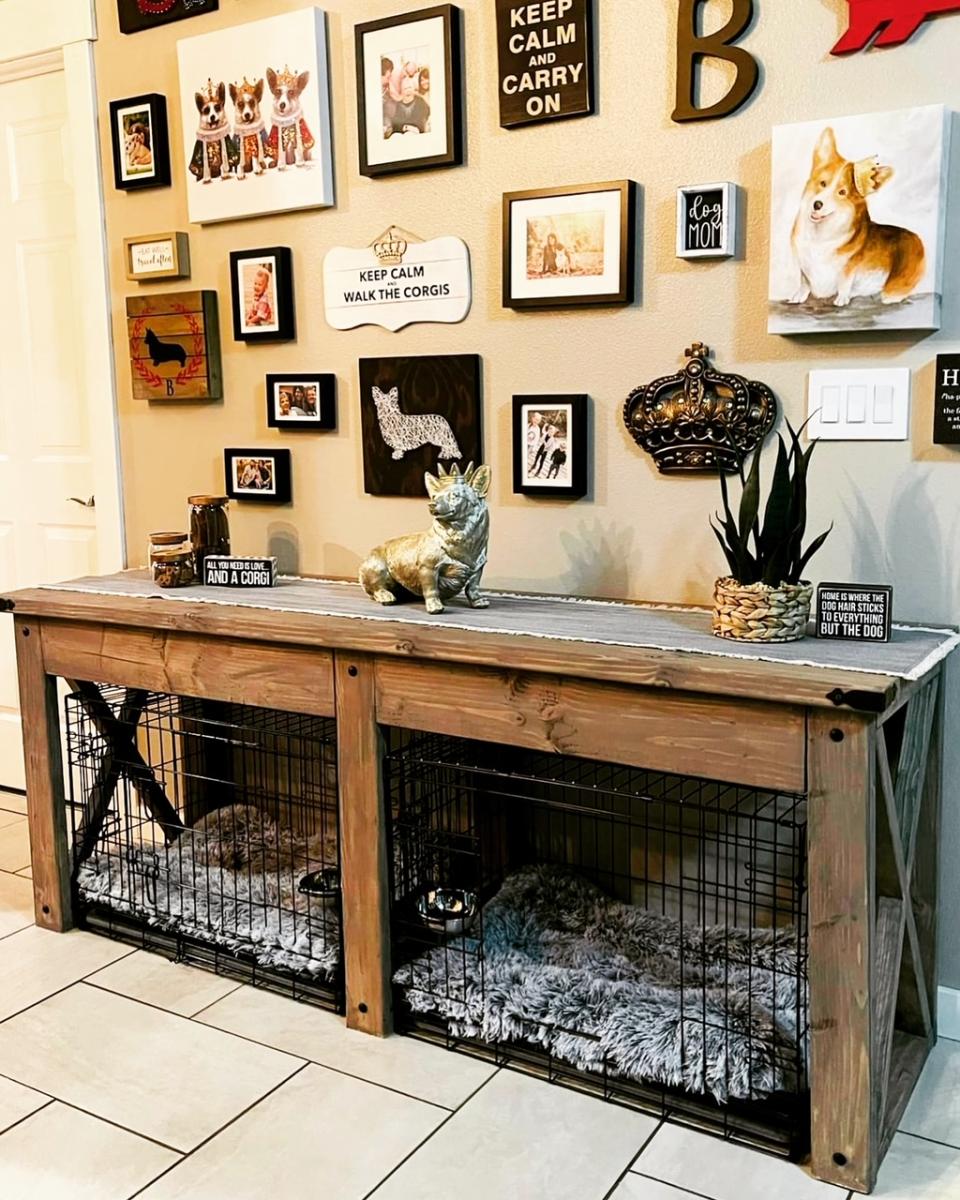
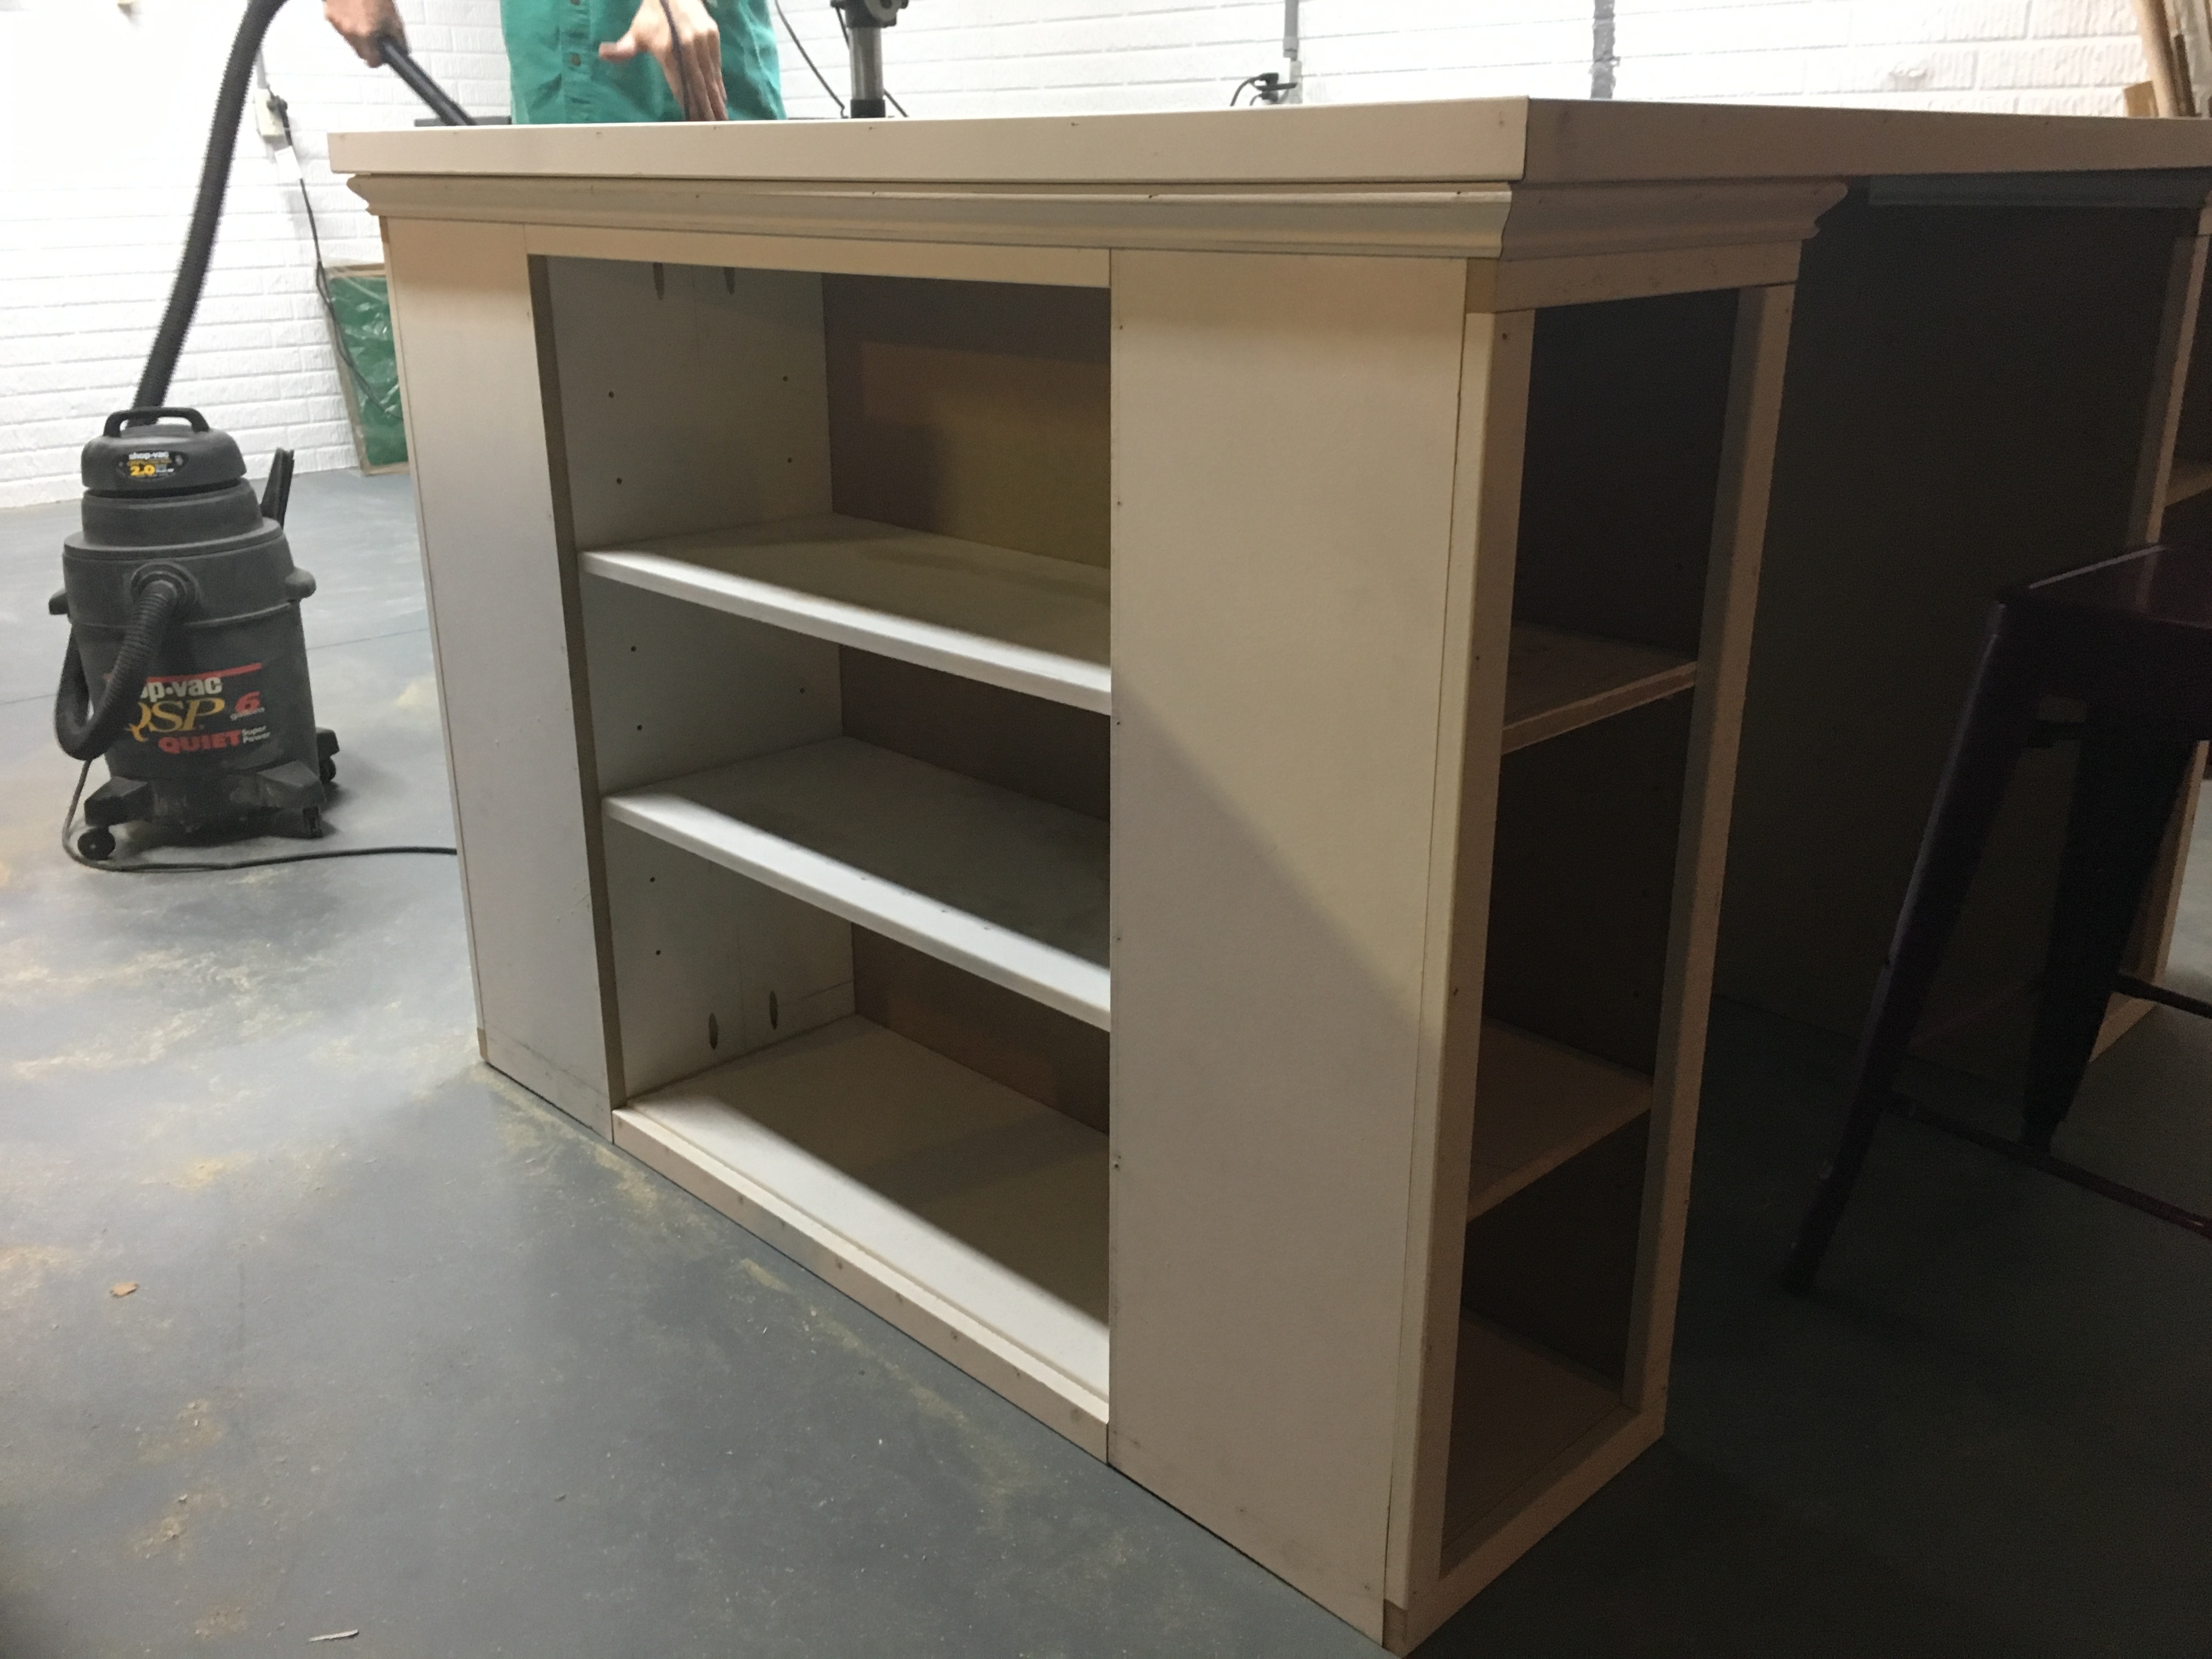
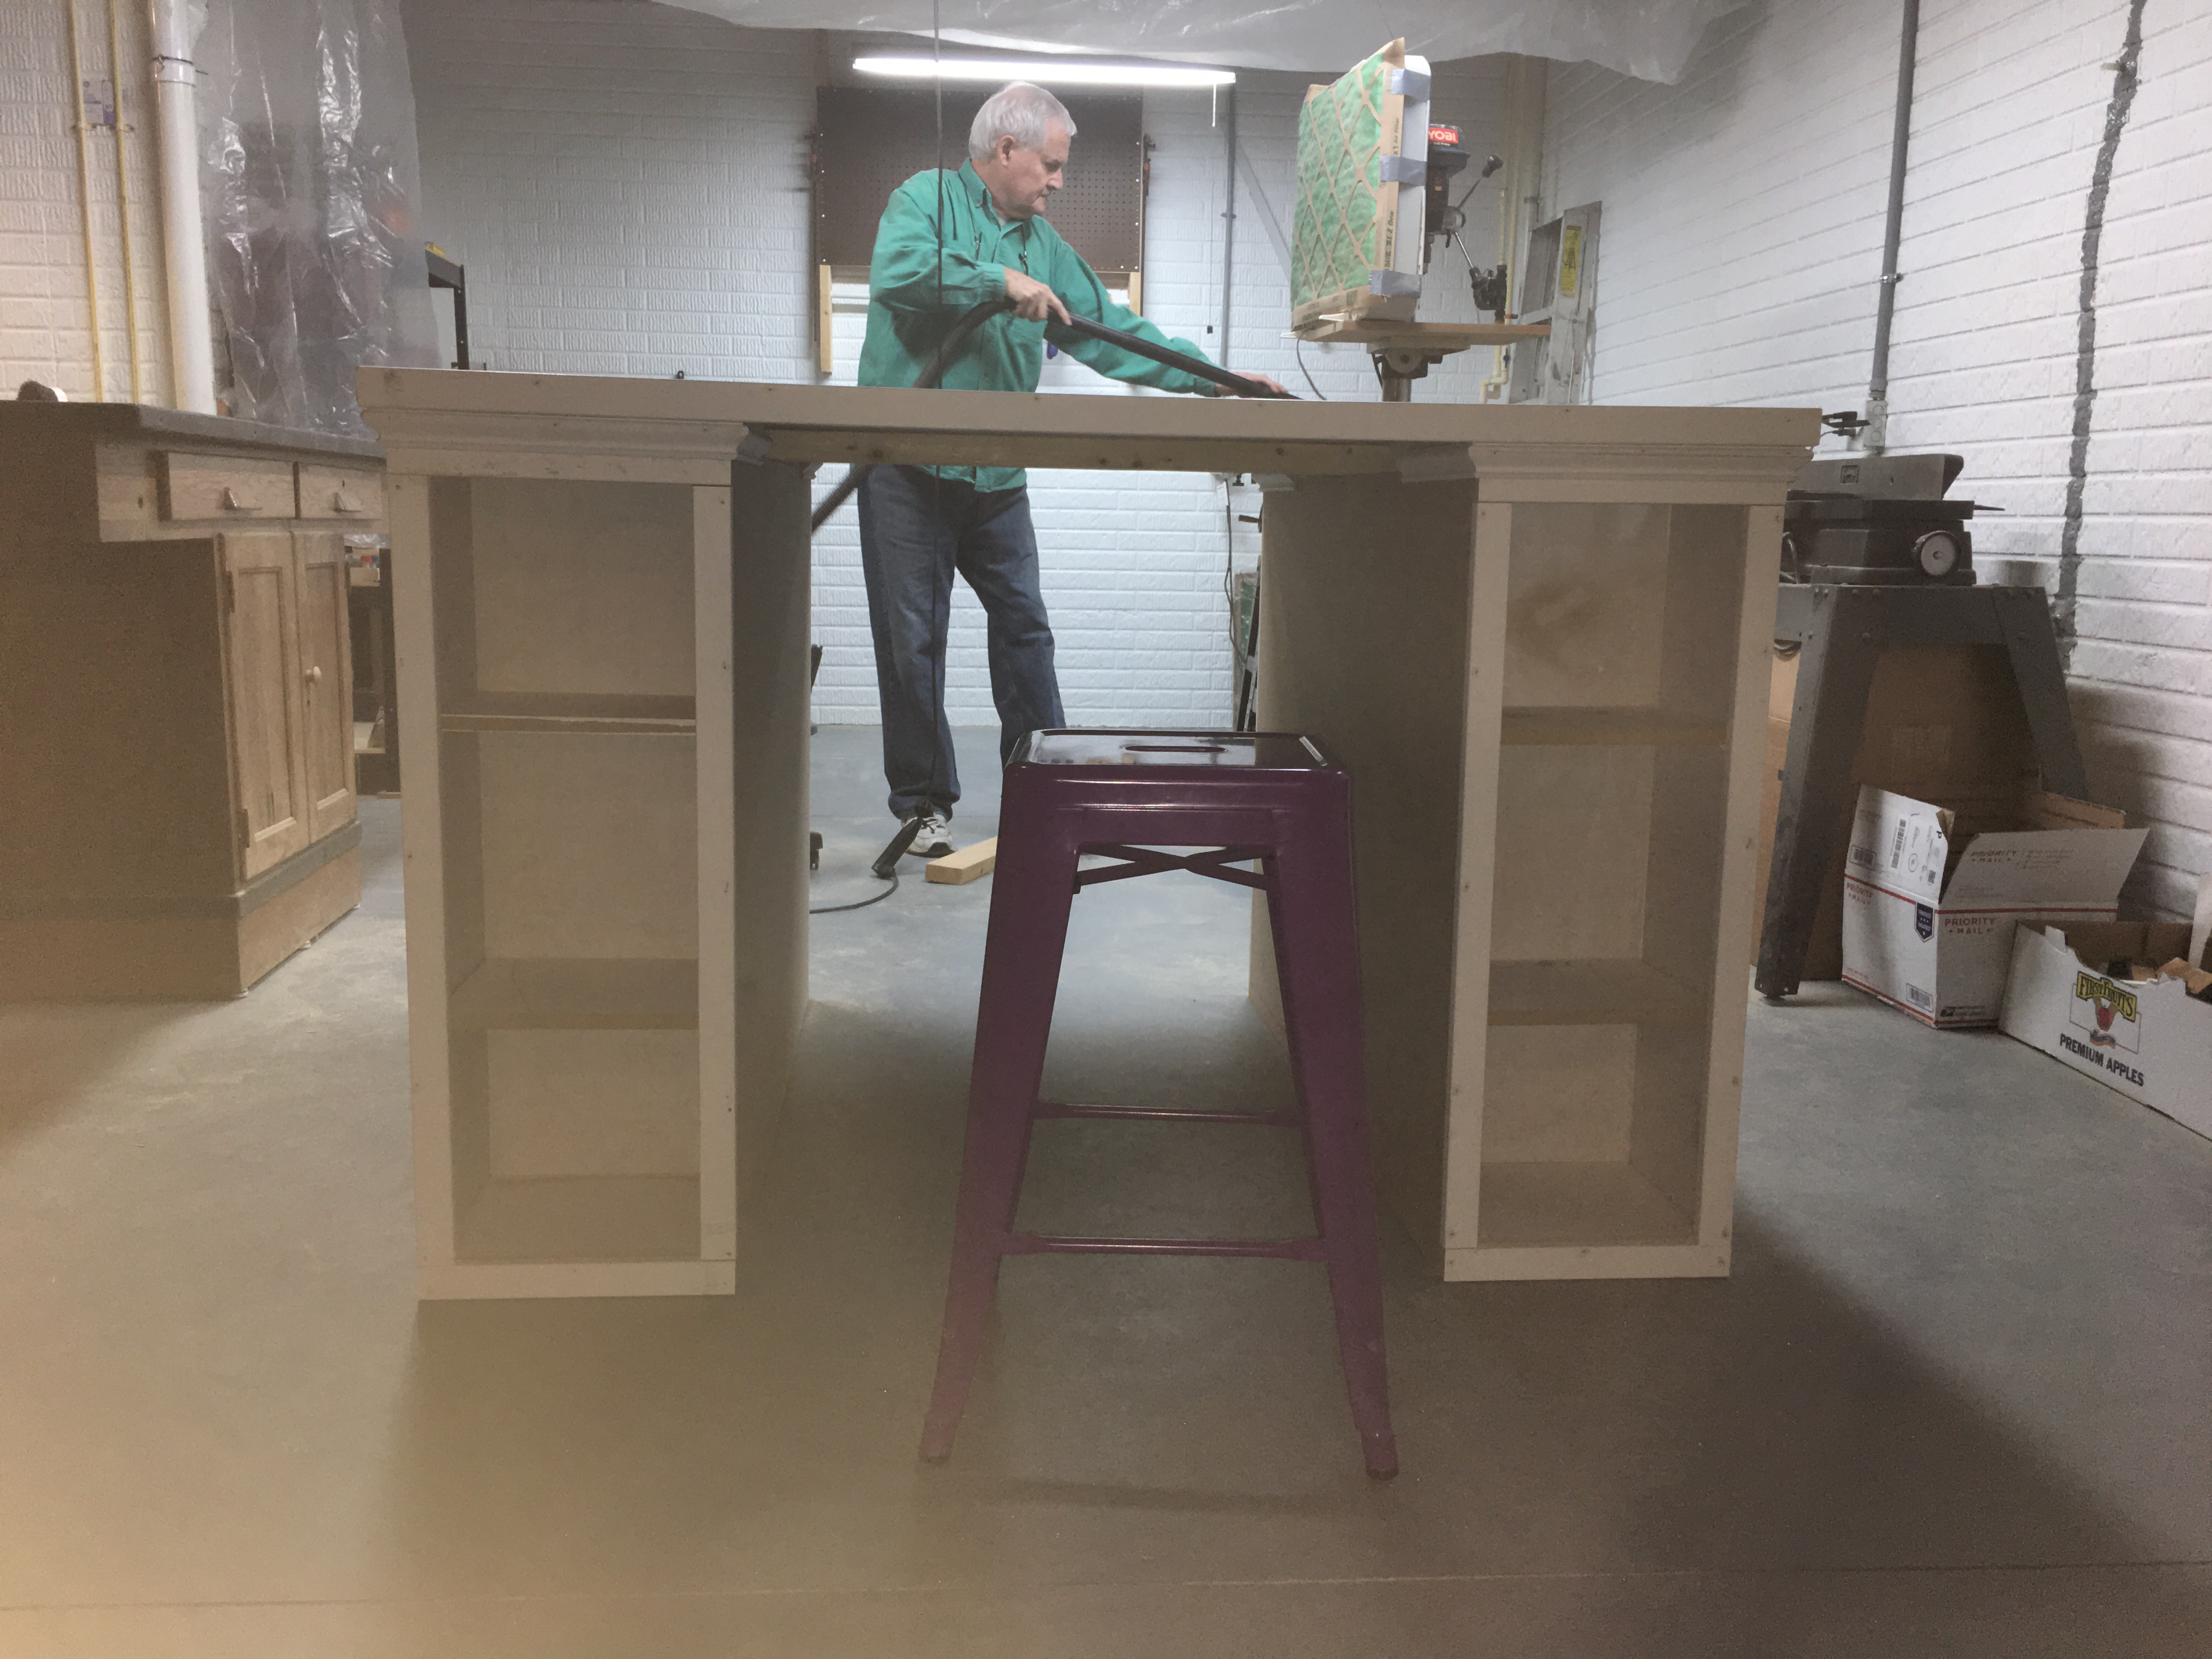
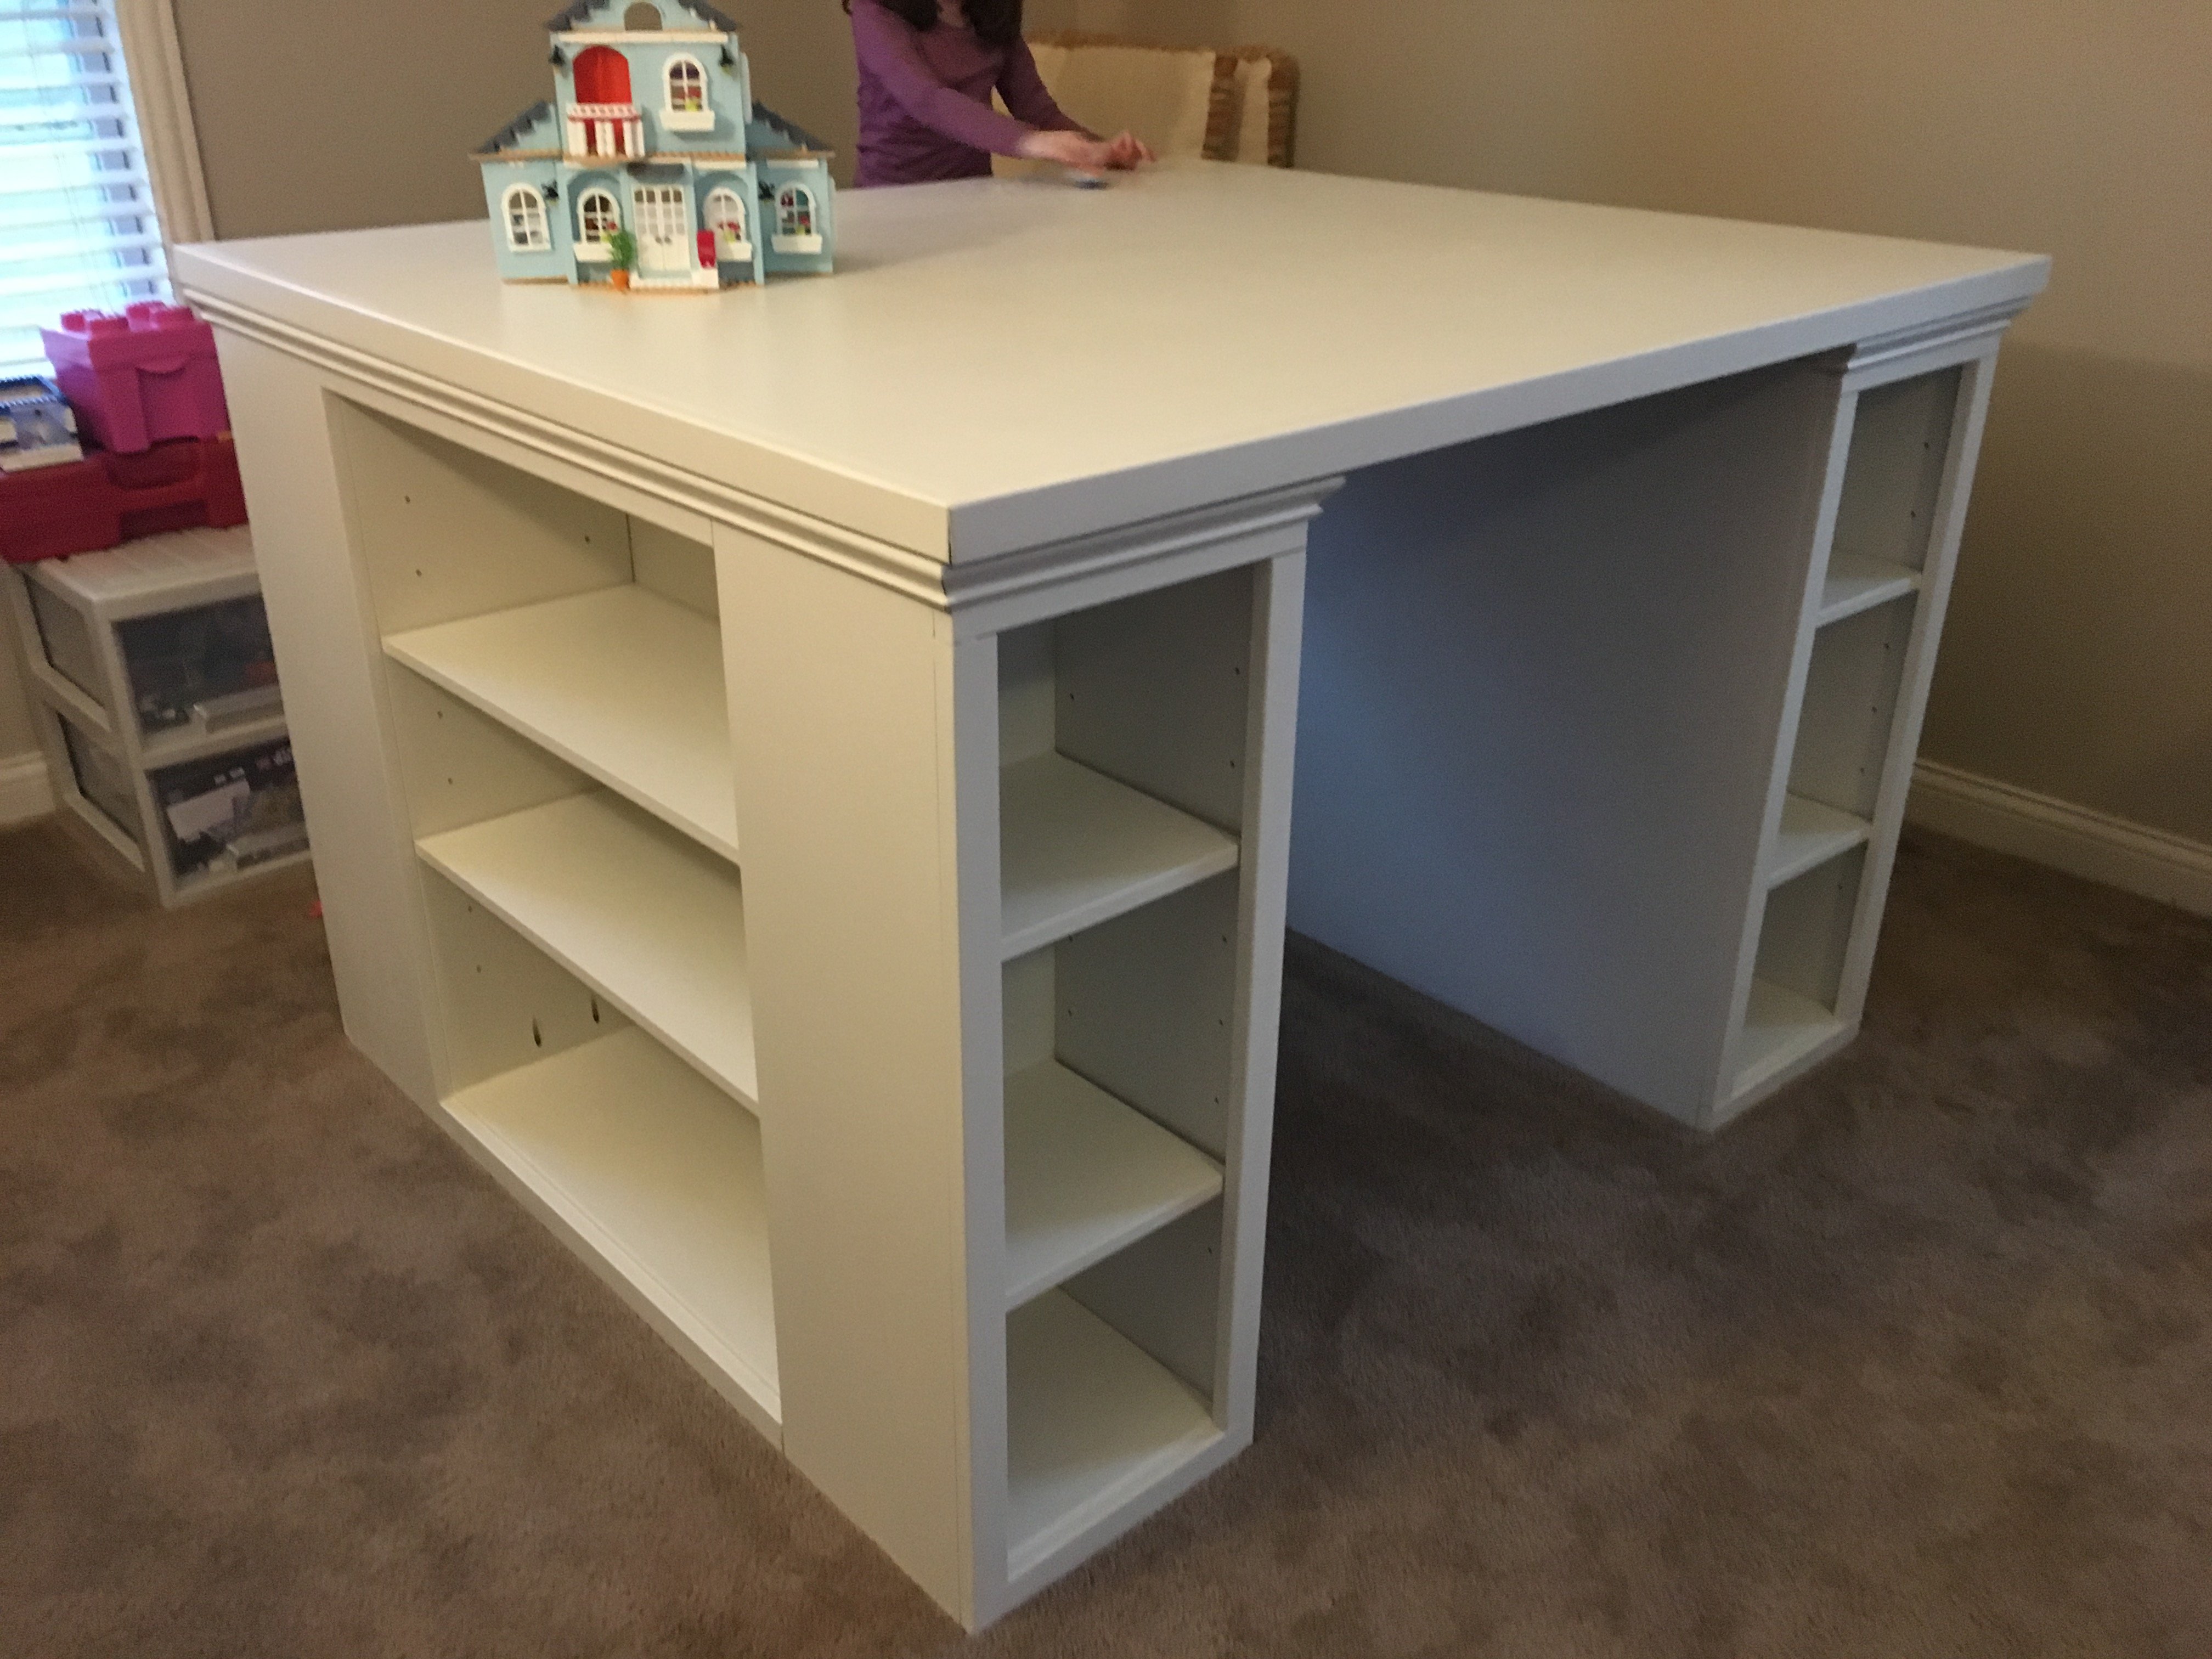
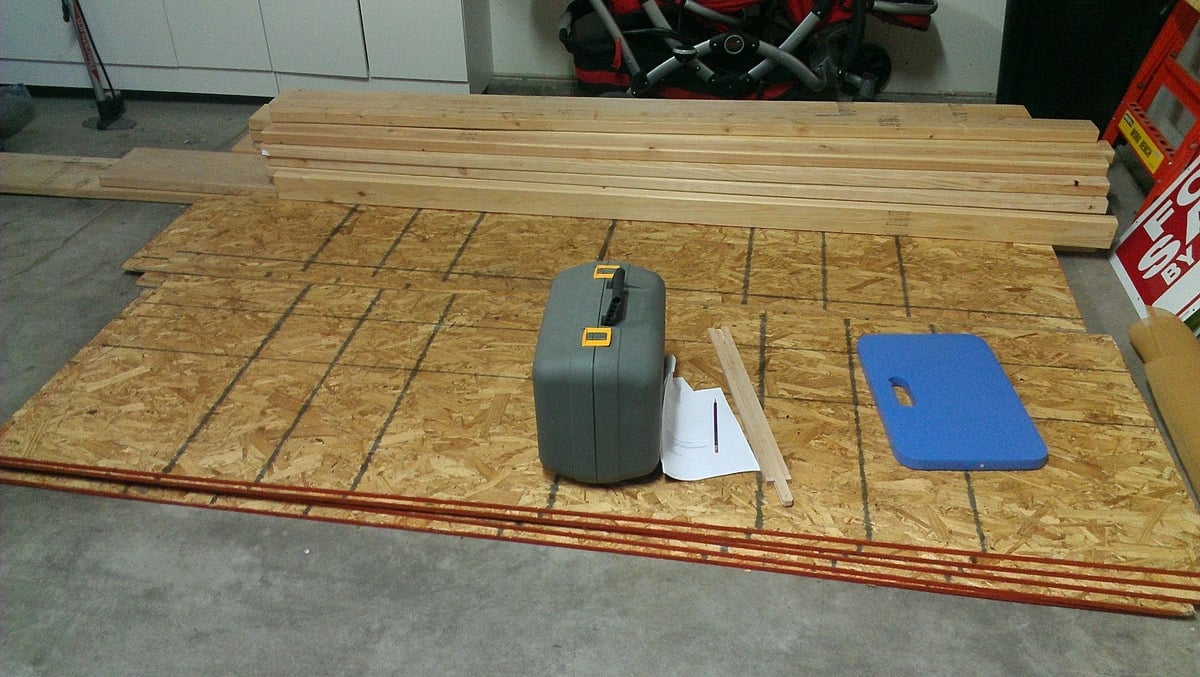
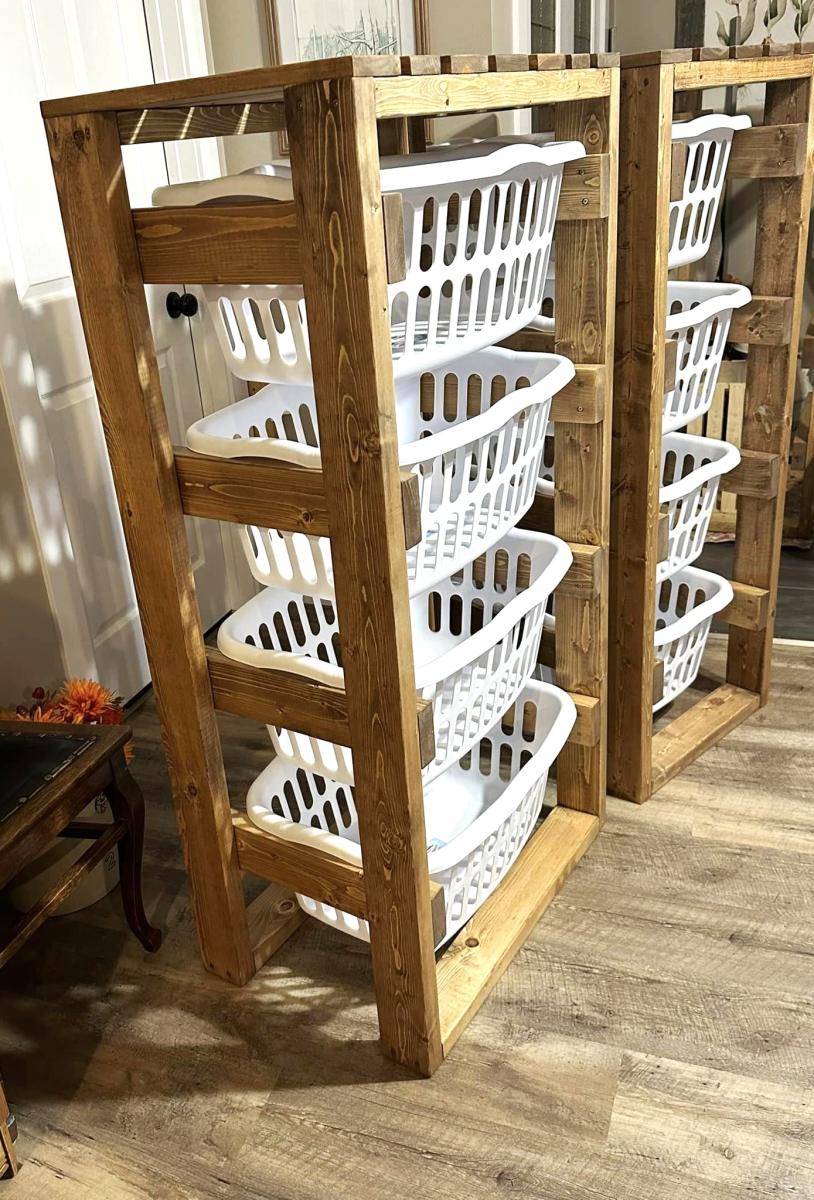
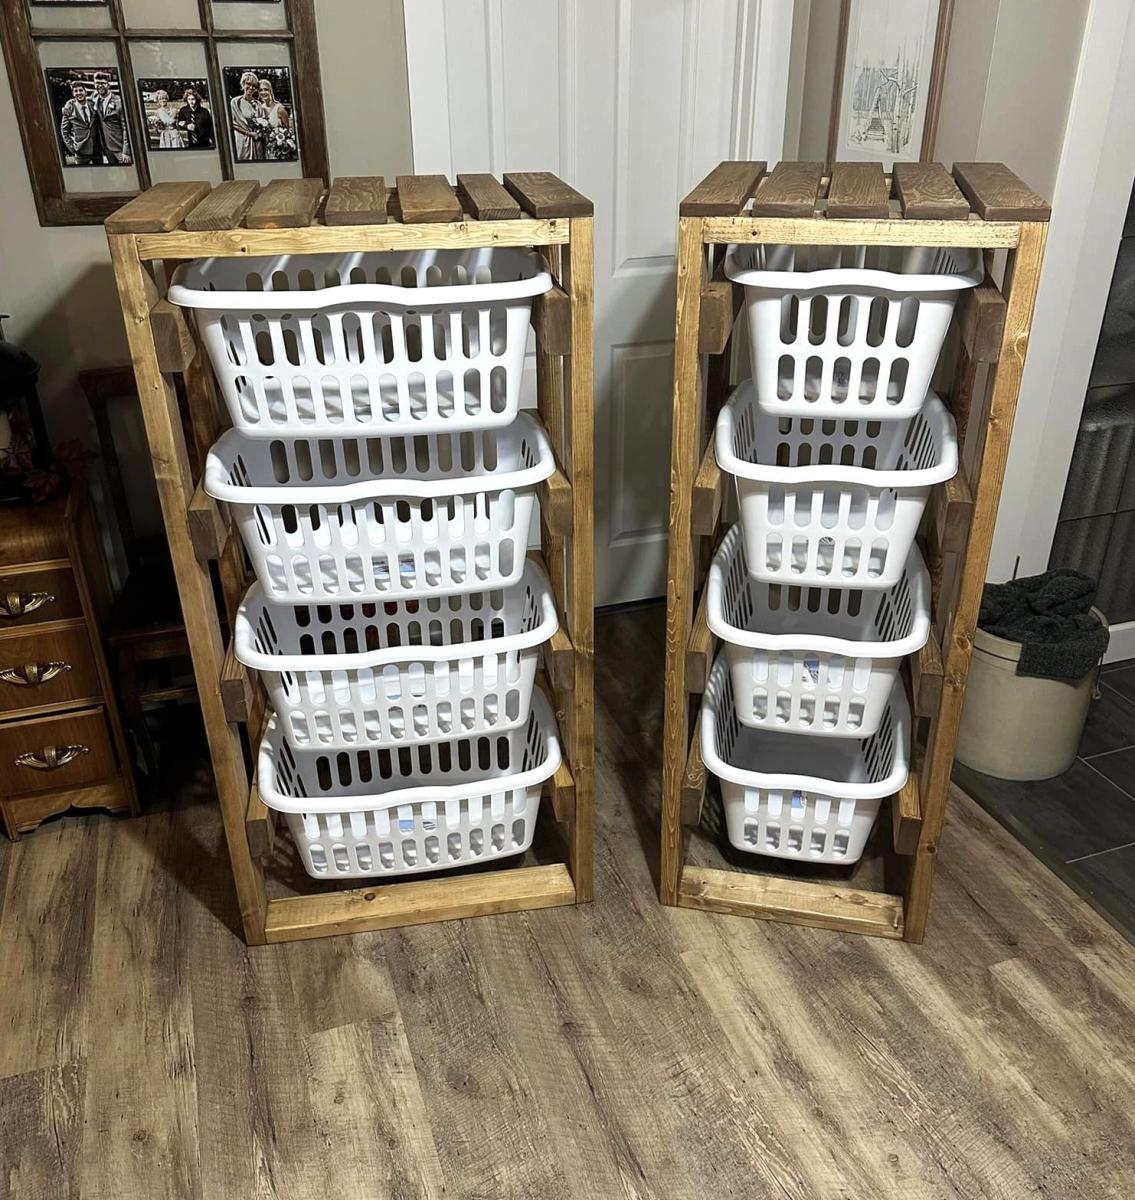
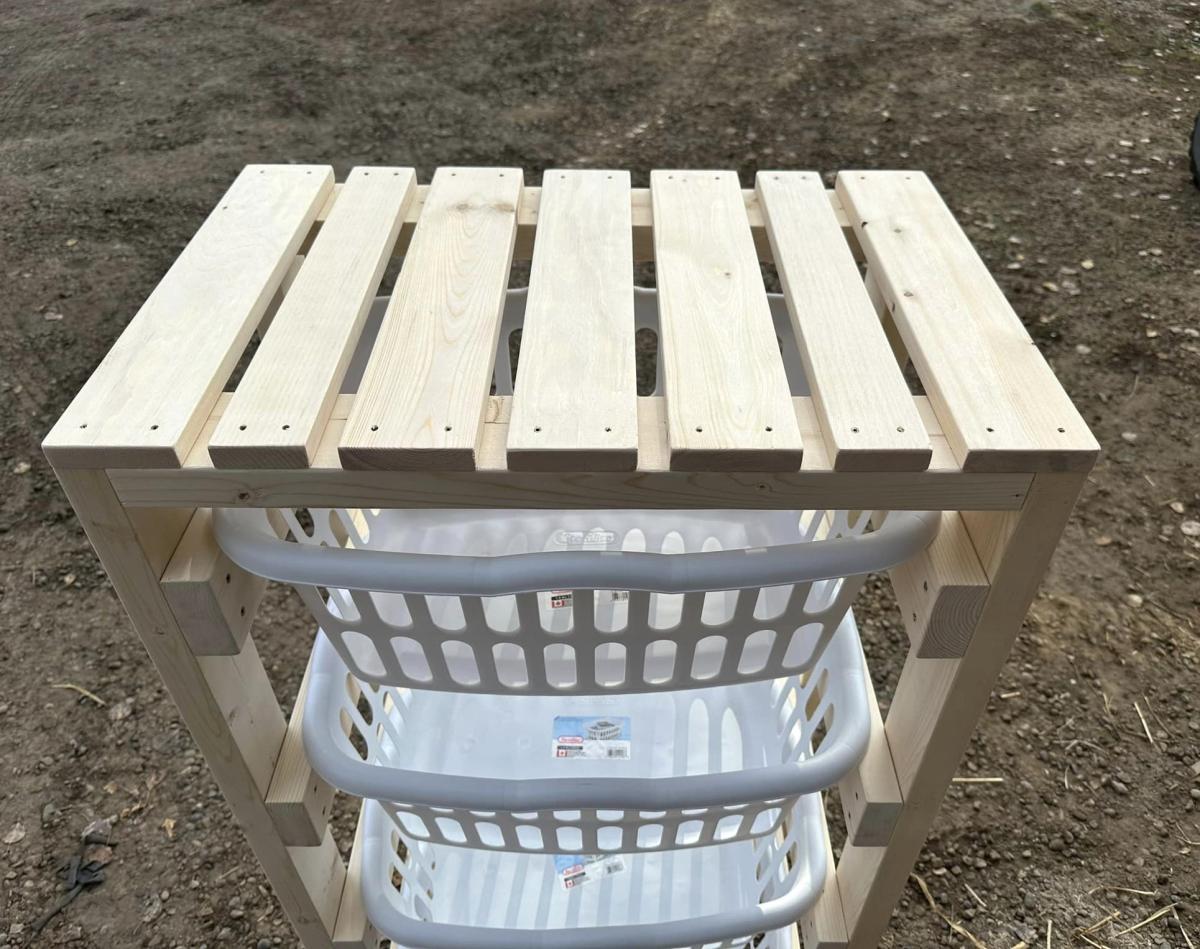
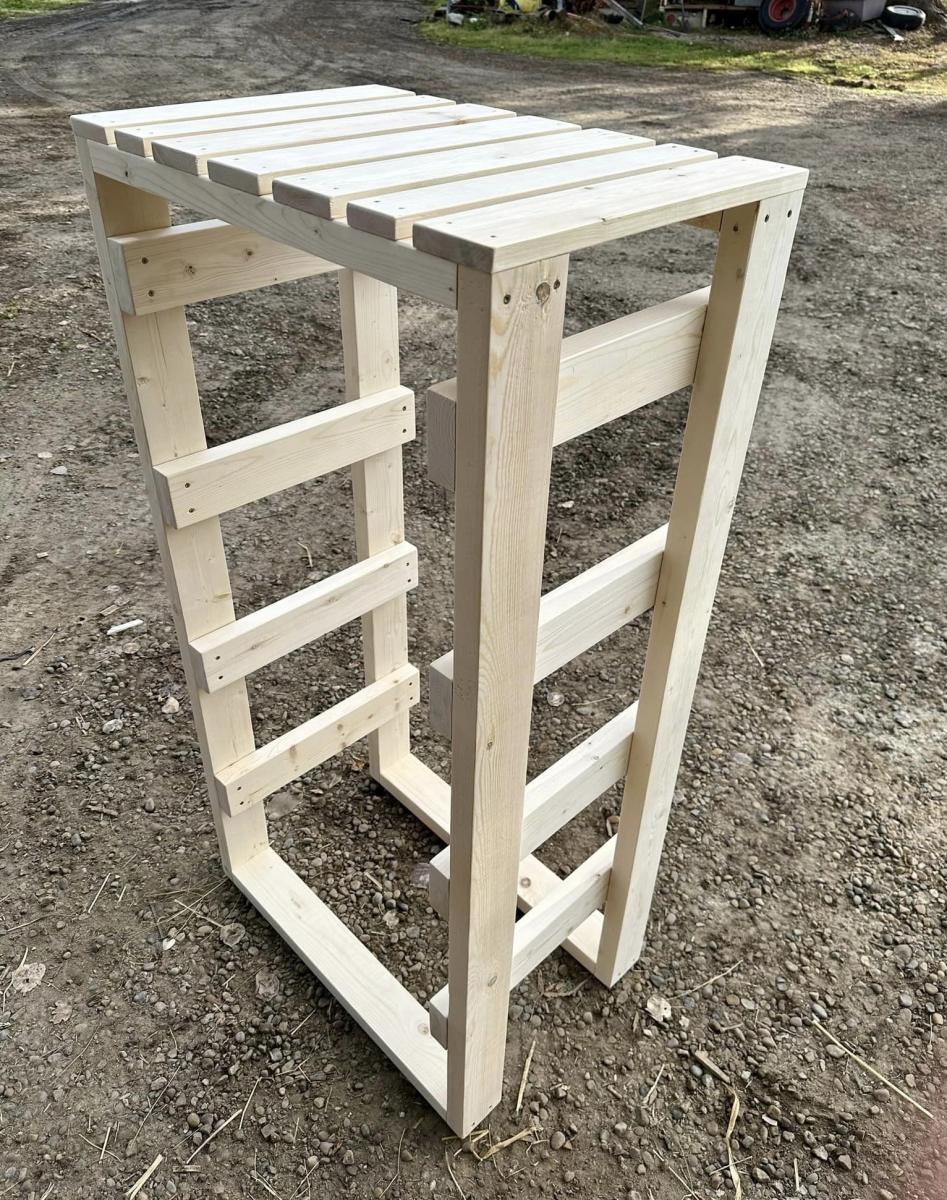
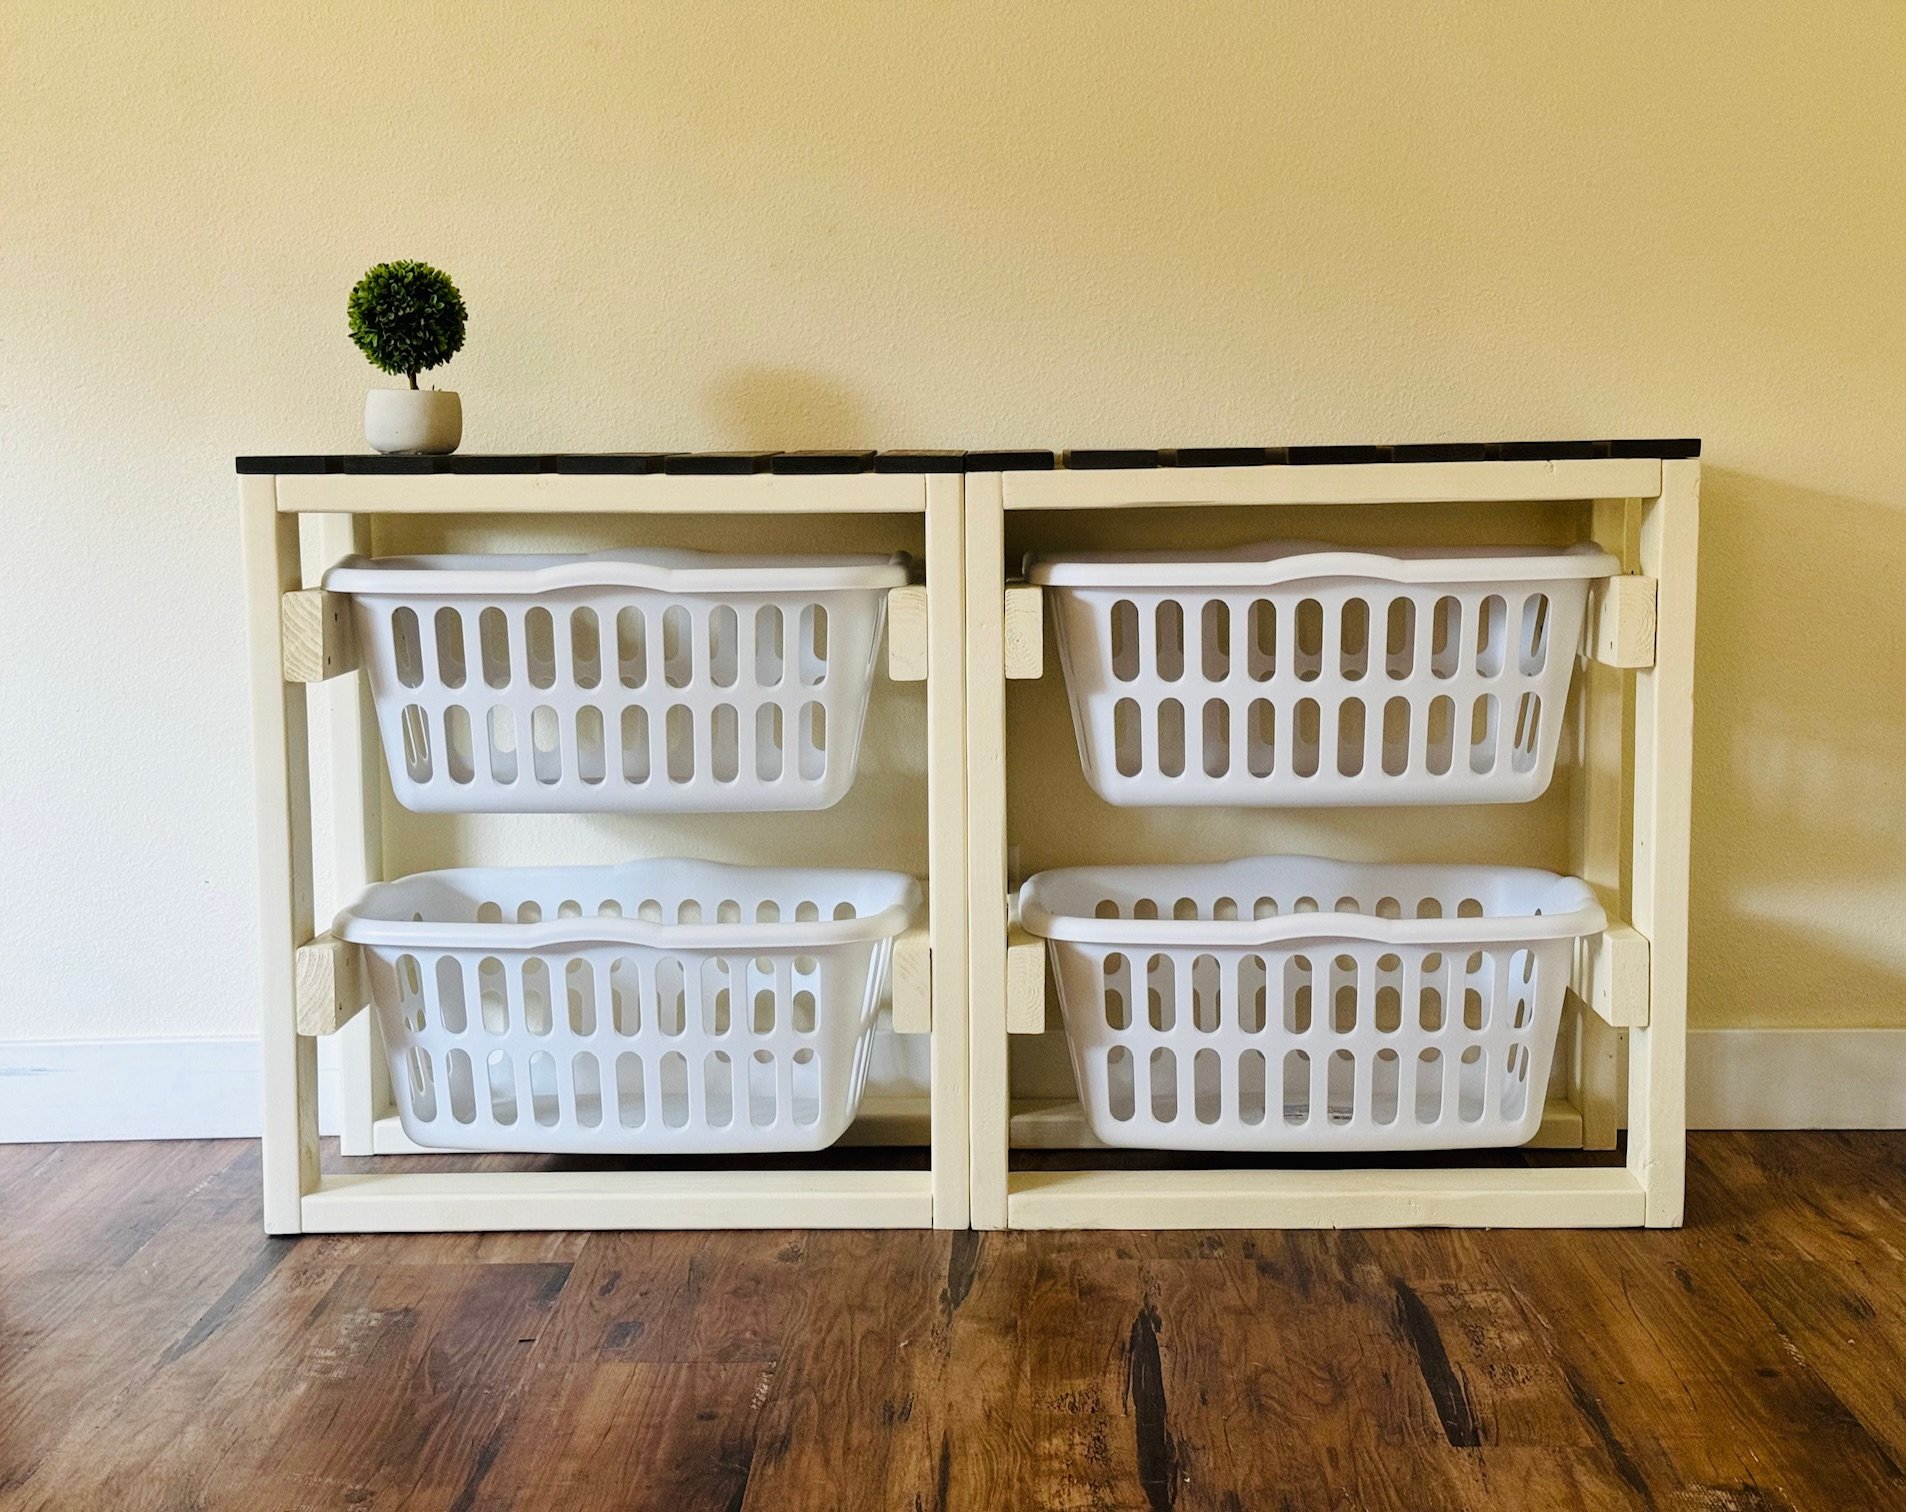
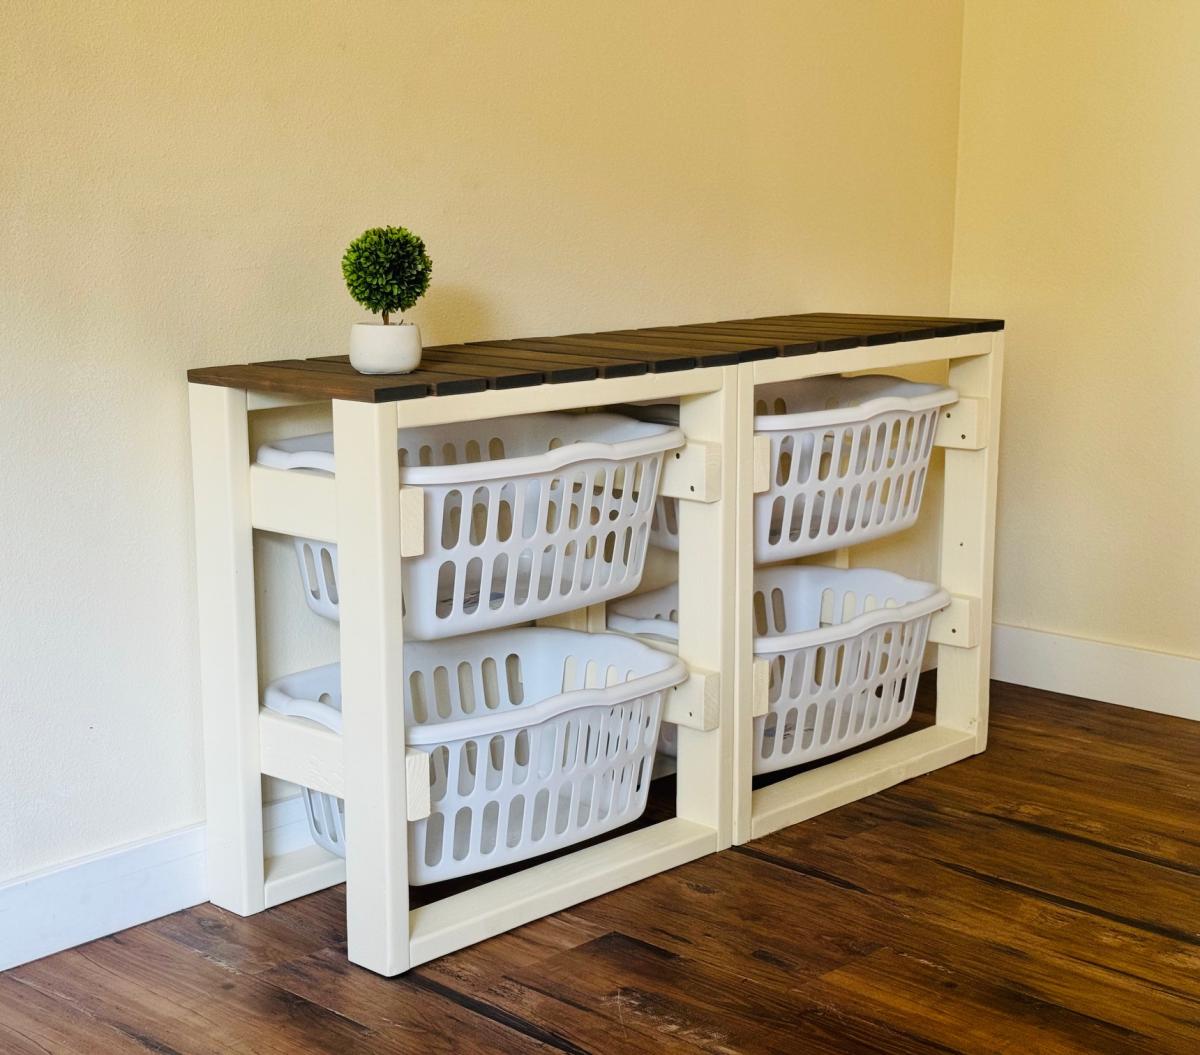
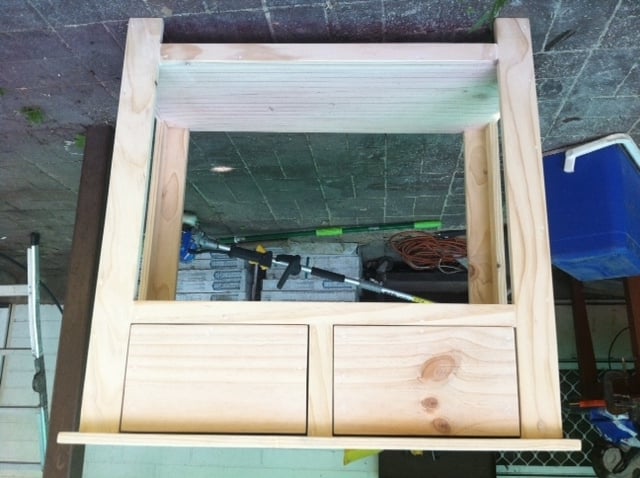
Entry table using Cottage Media Table plans
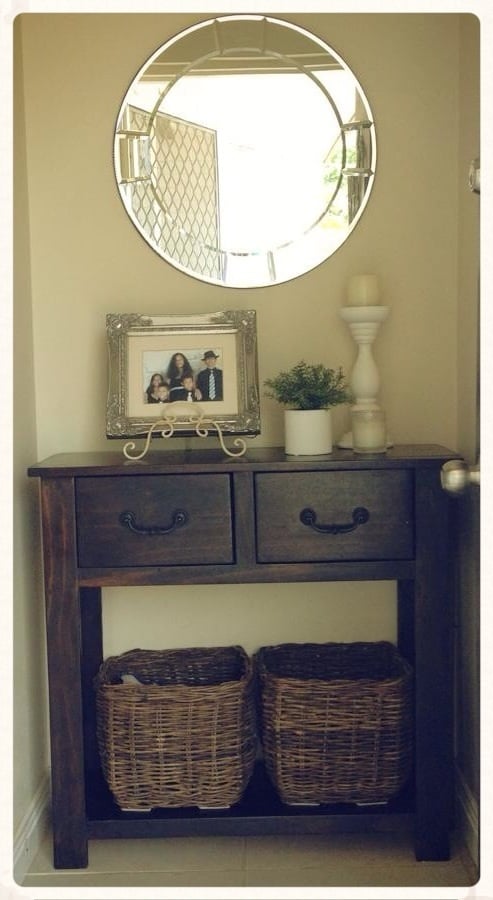
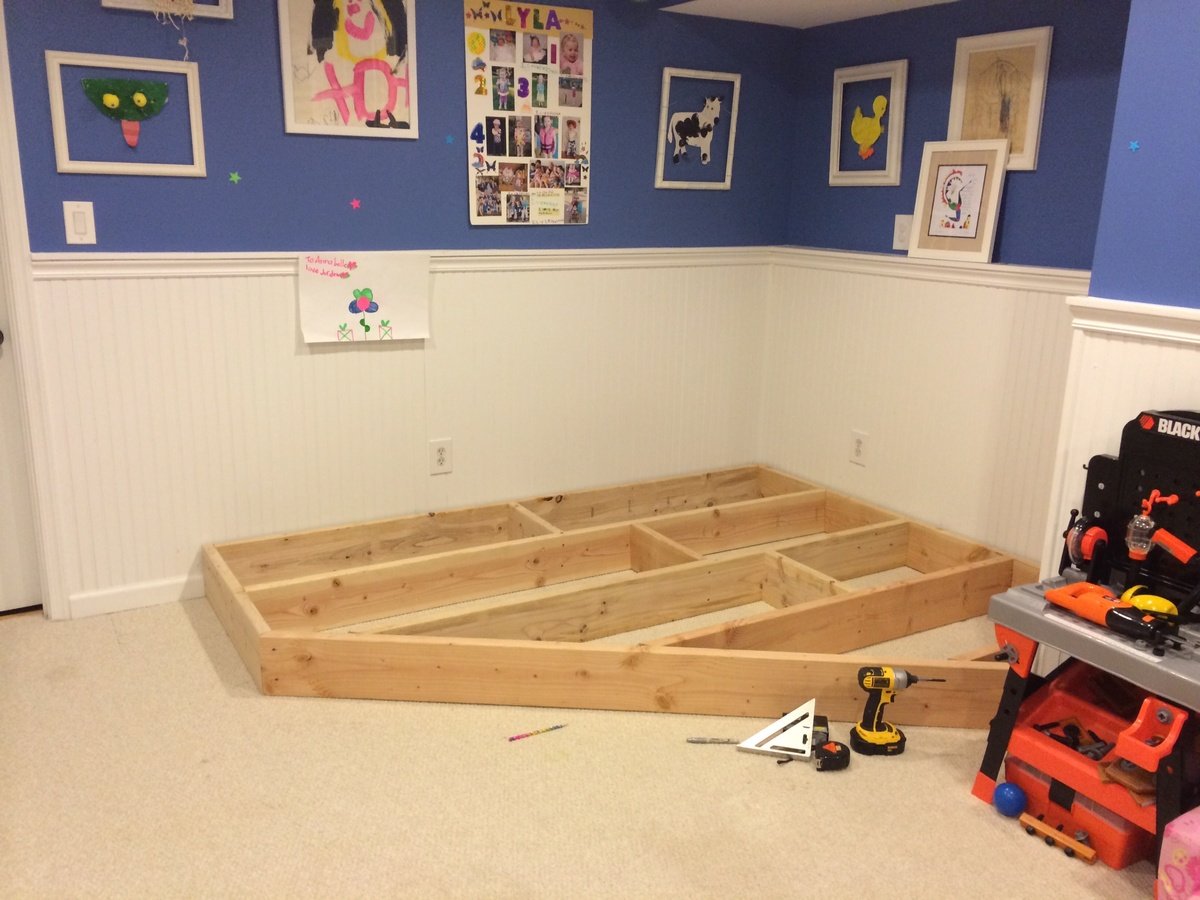
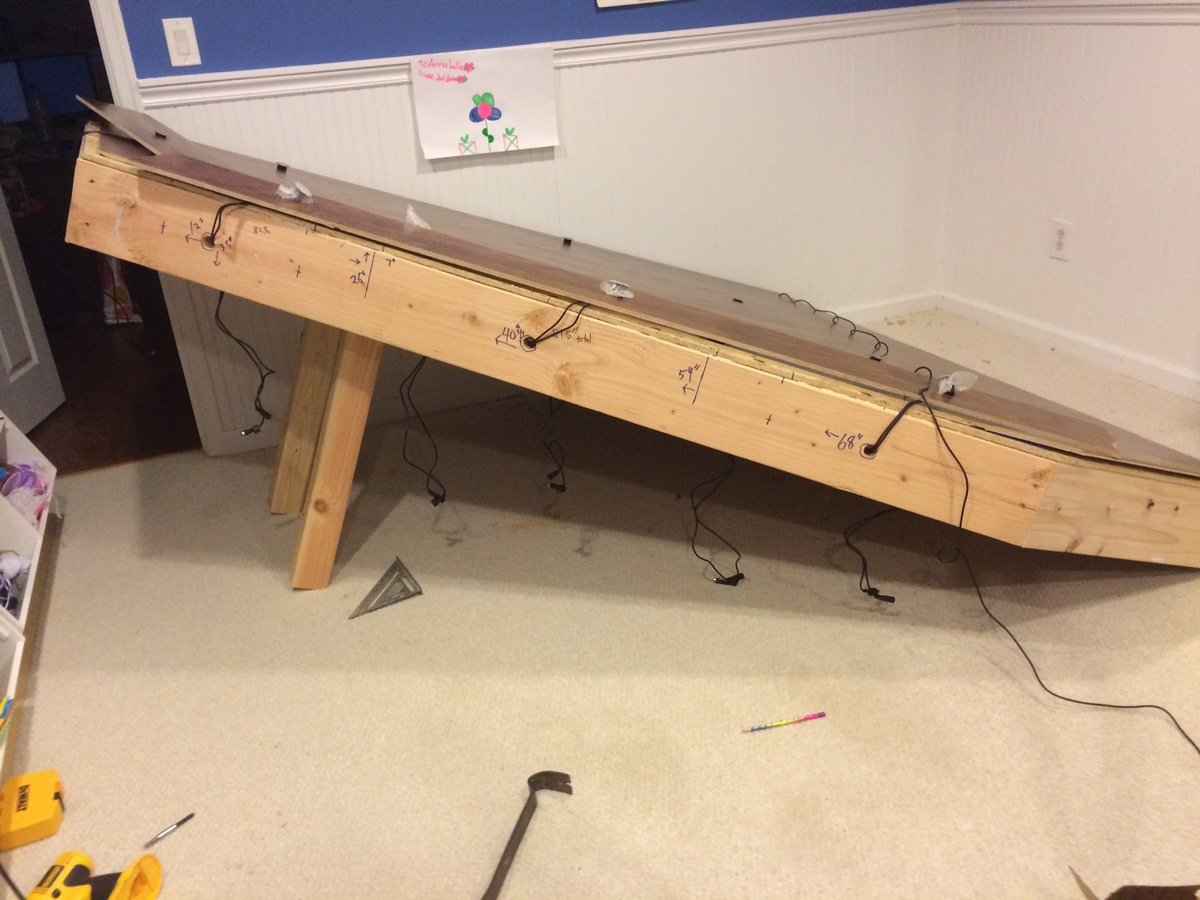
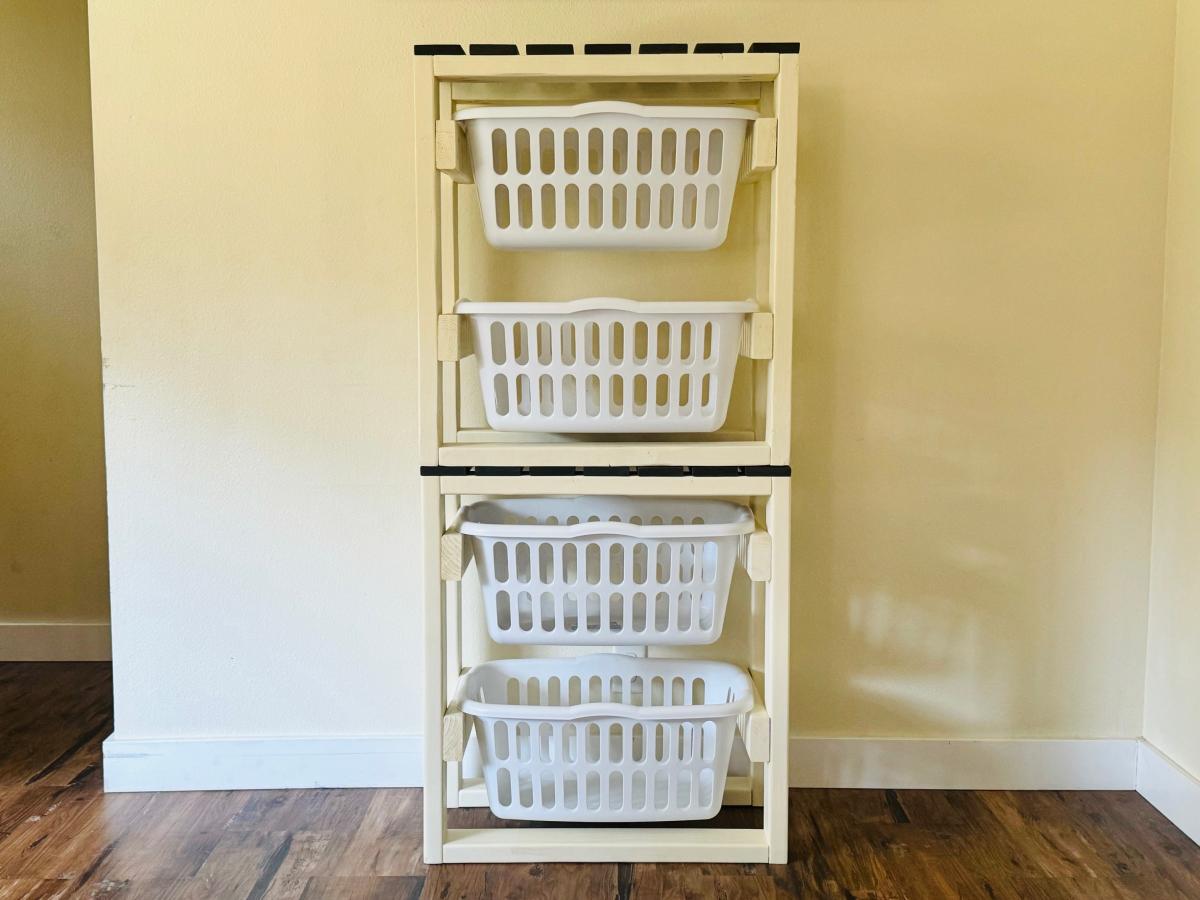
I used the Cottage Media coffee table plans and modified the length and height to suit for the space I needed. Ana's plans were super easy to follow and am pleased with the end result.
Built from Plan(s)
Estimated Cost
$100
Estimated Time Investment
Weekend Project (10-20 Hours)
Finish Used
Chocolate Walnut
Recommended Skill Level
Beginner