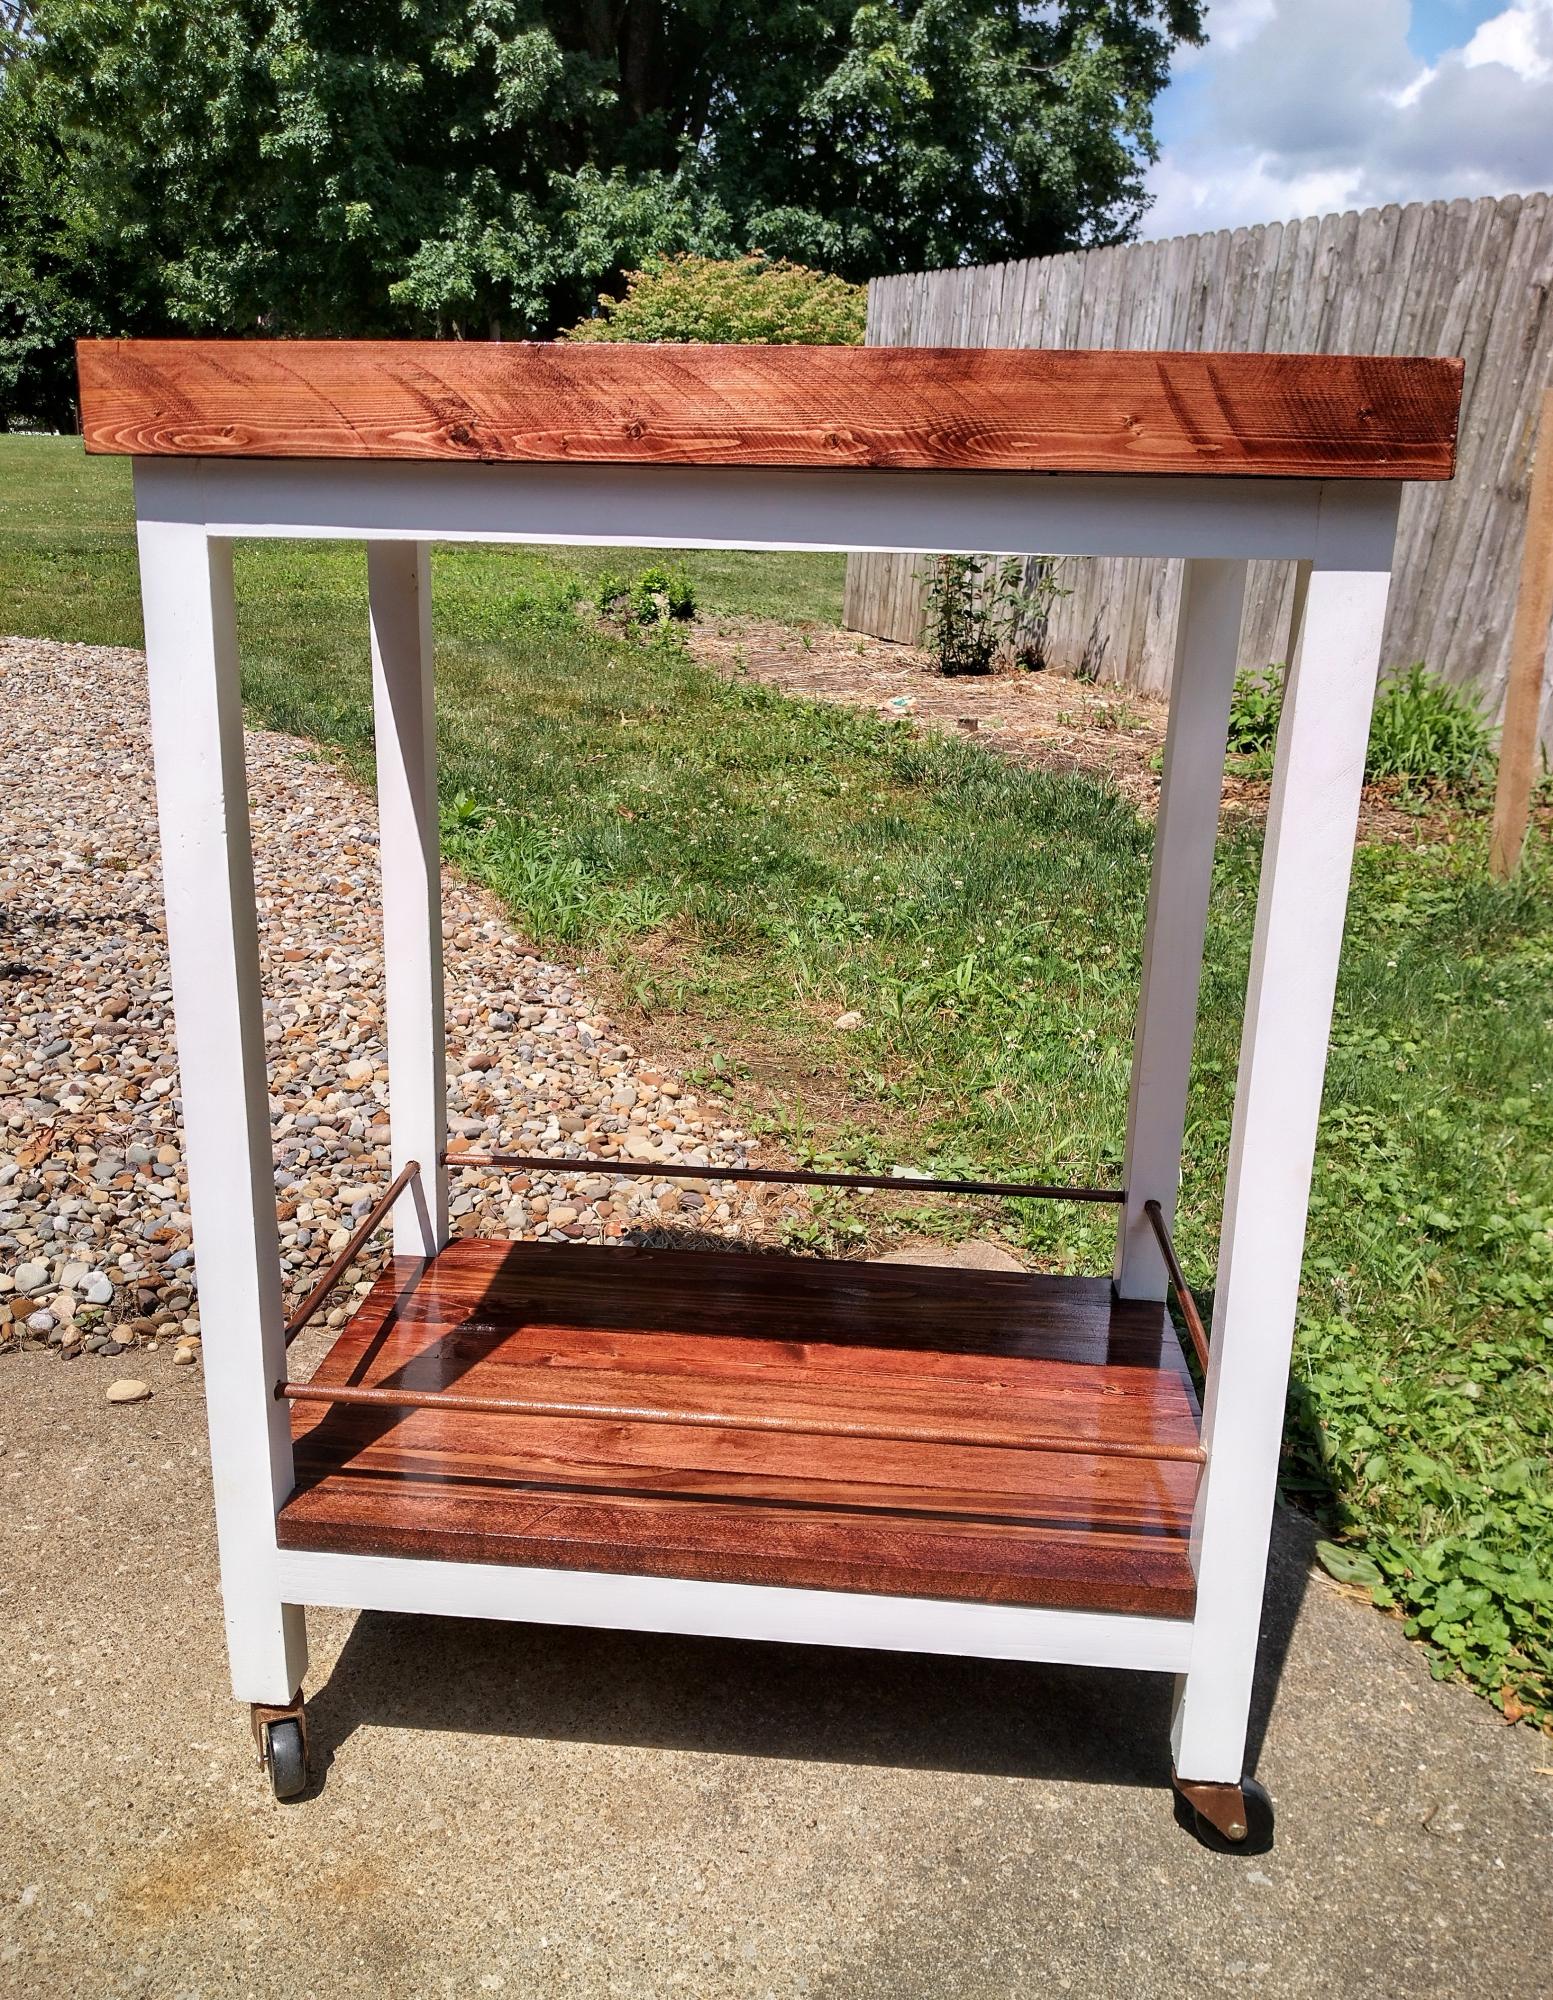
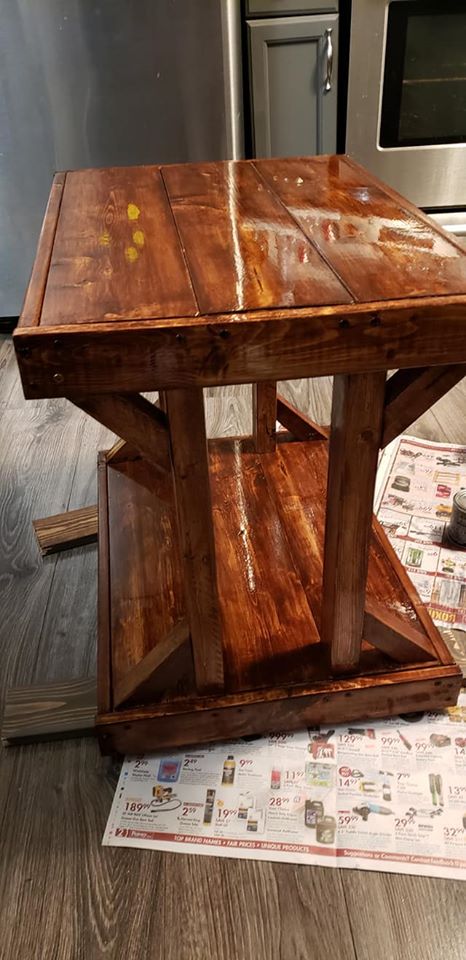
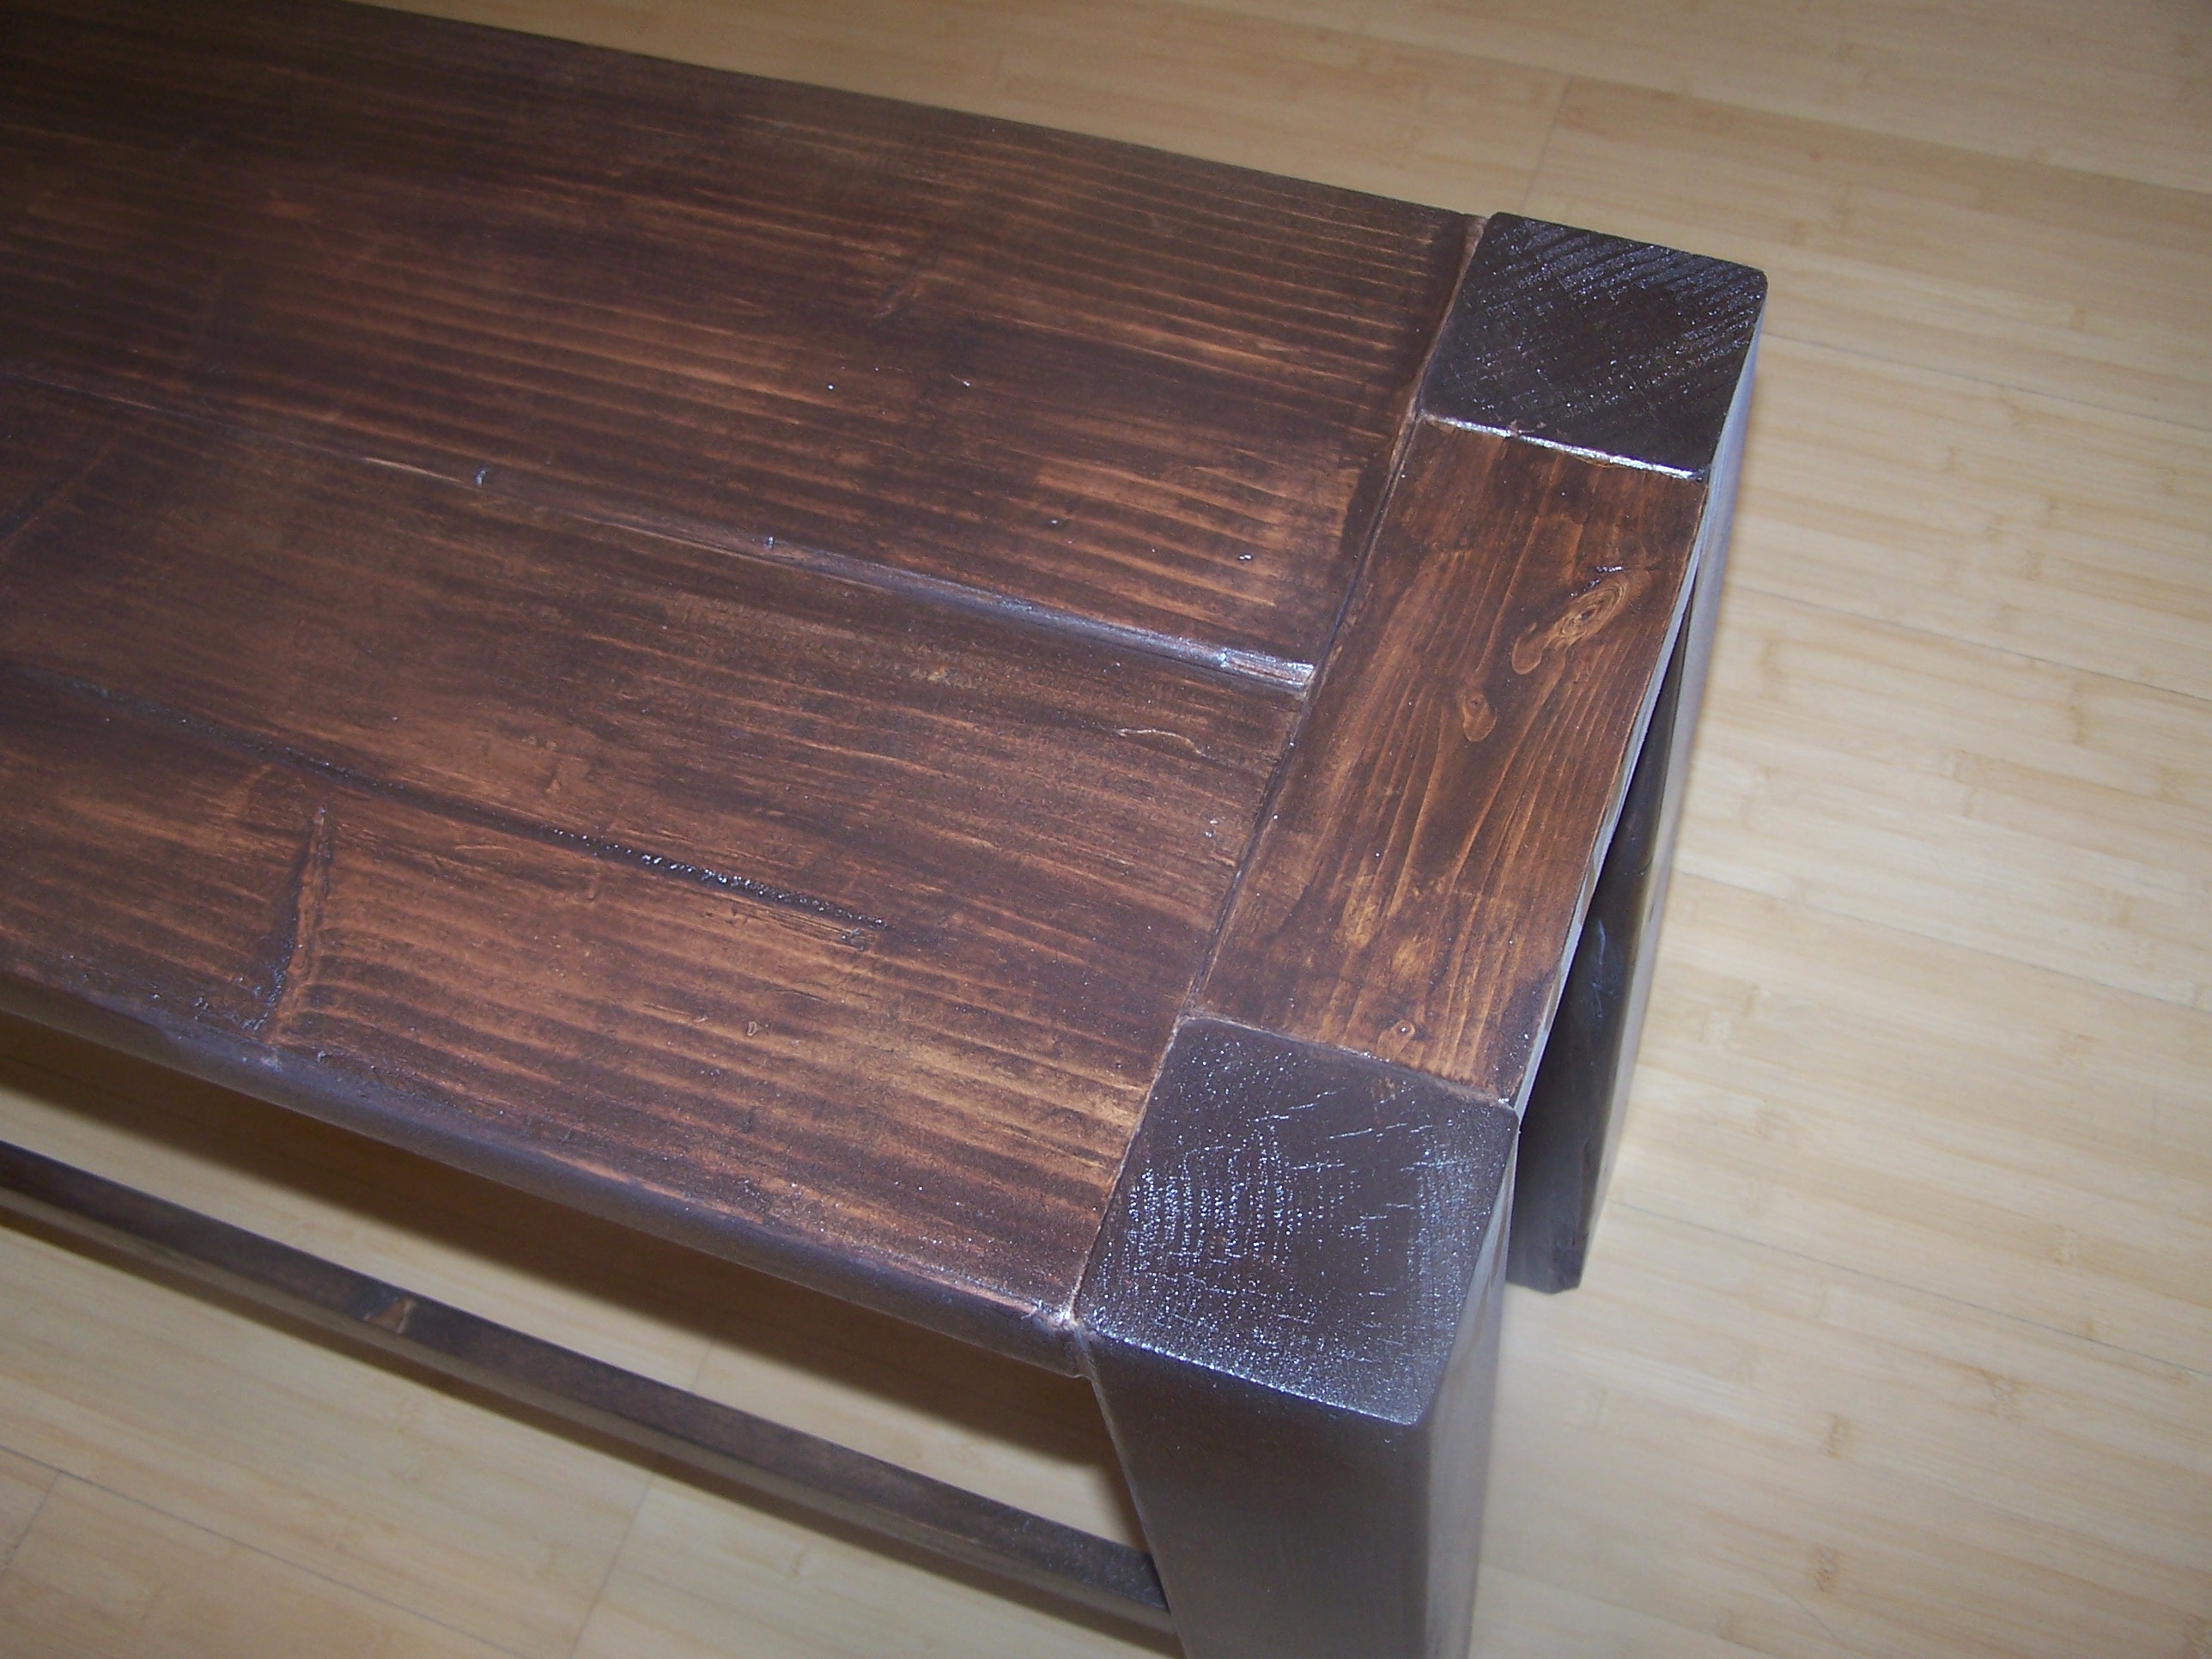
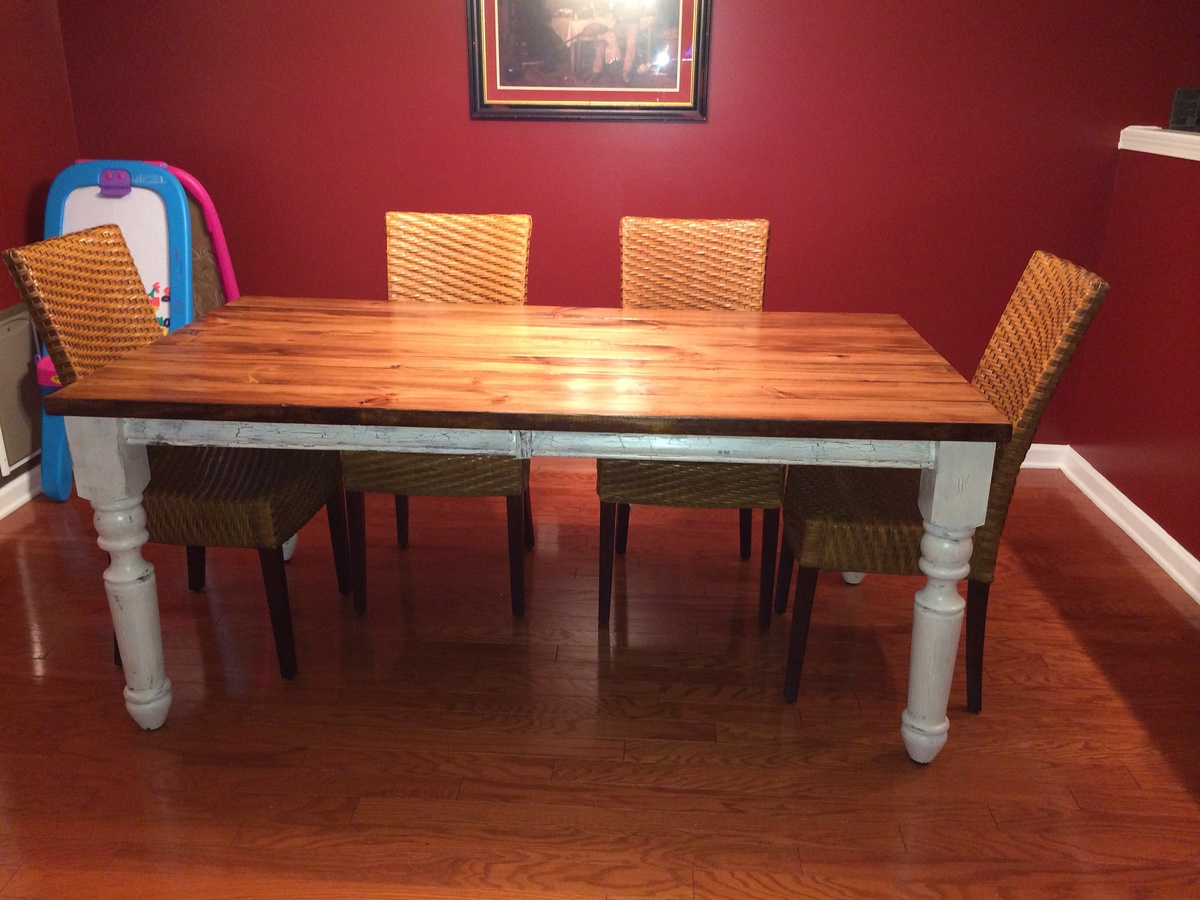
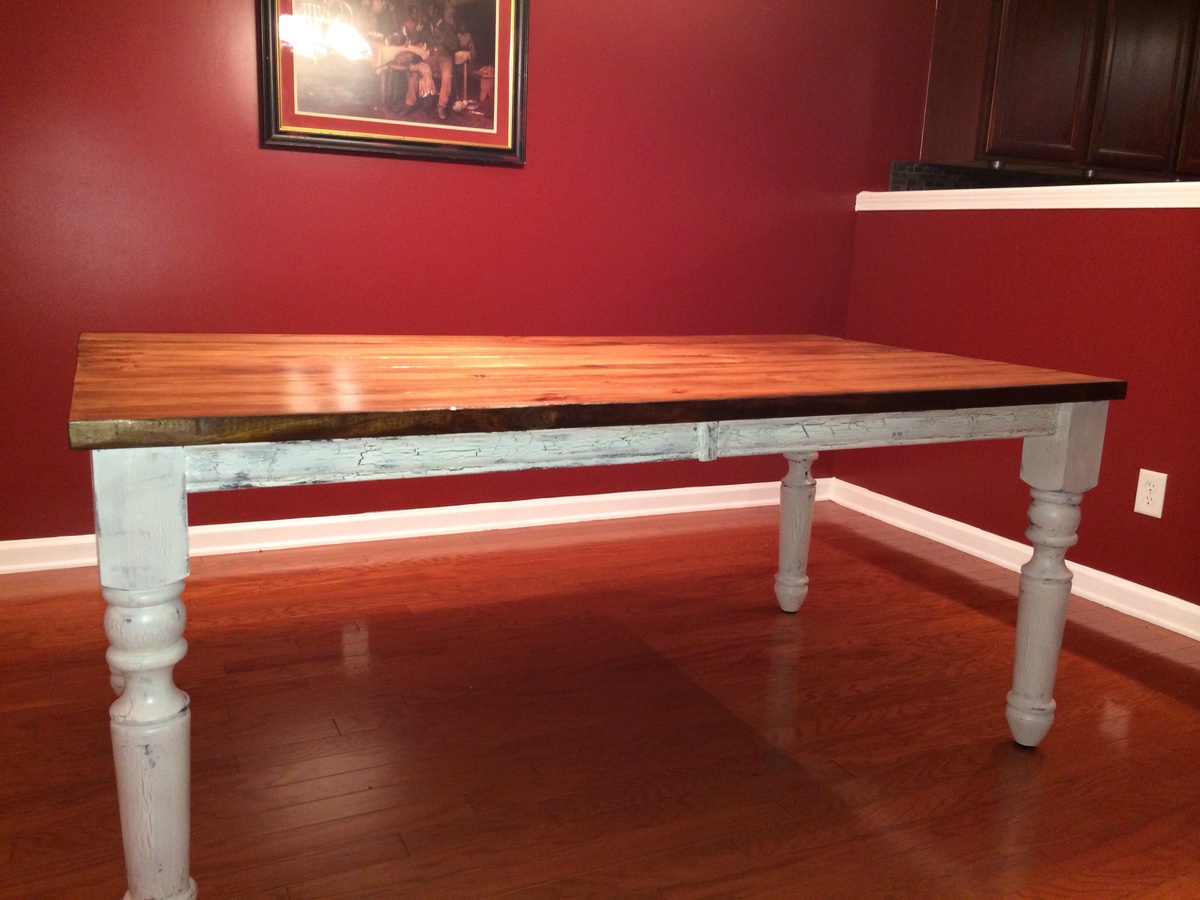
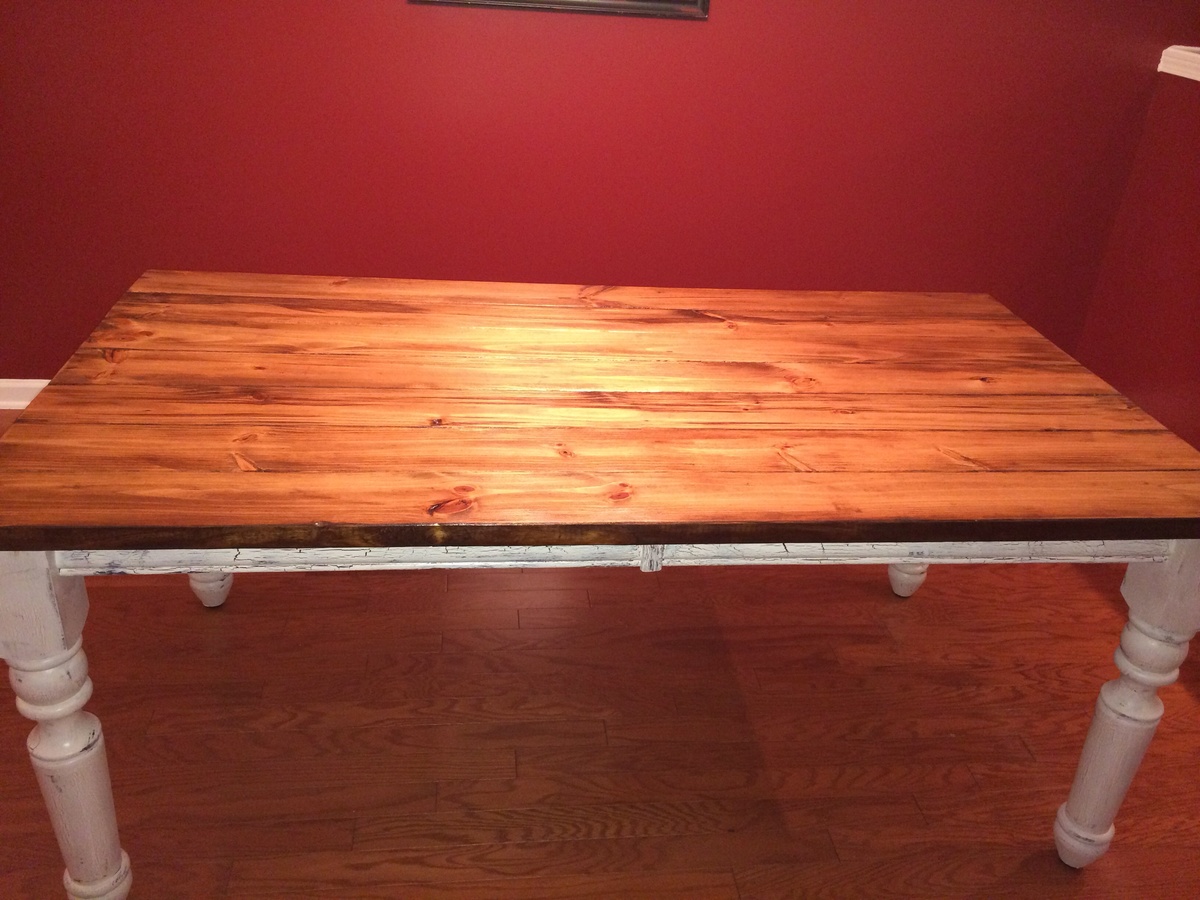
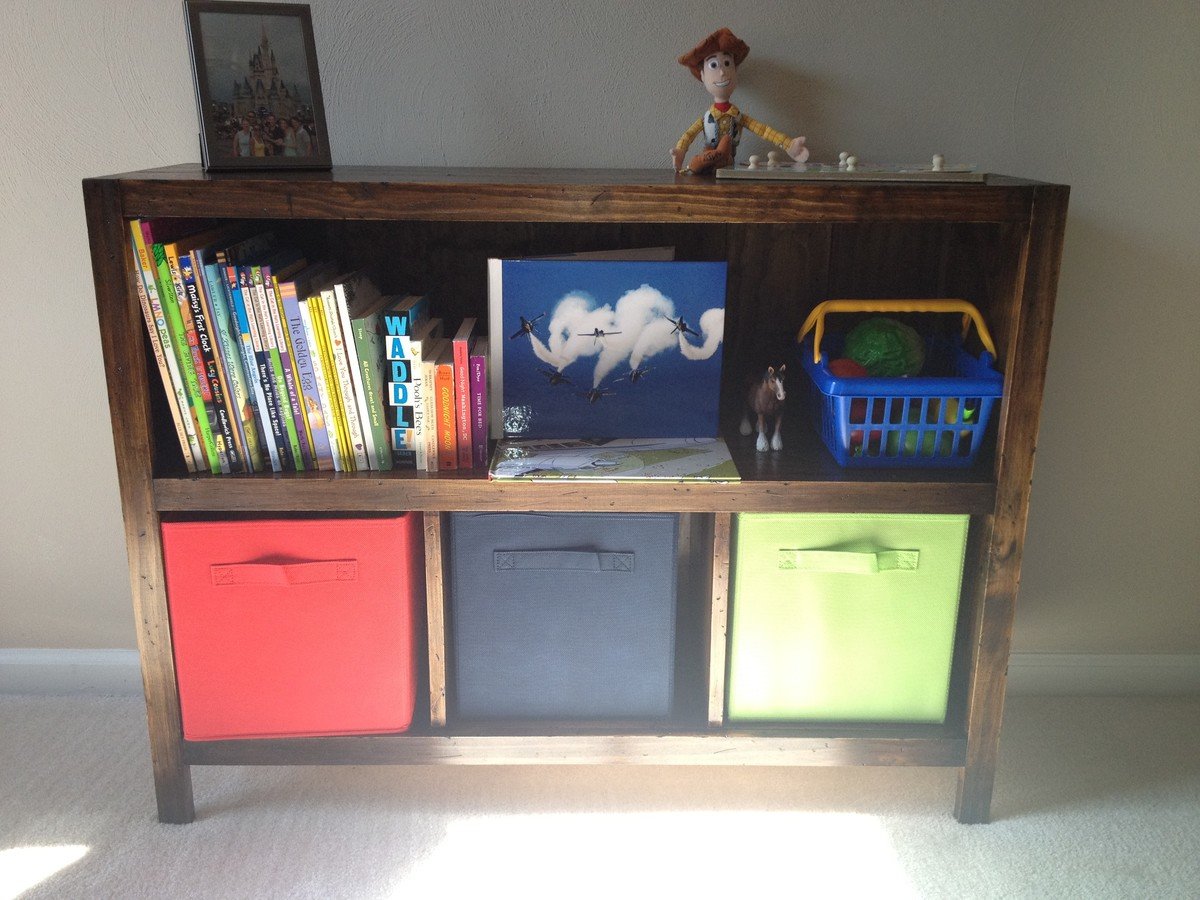
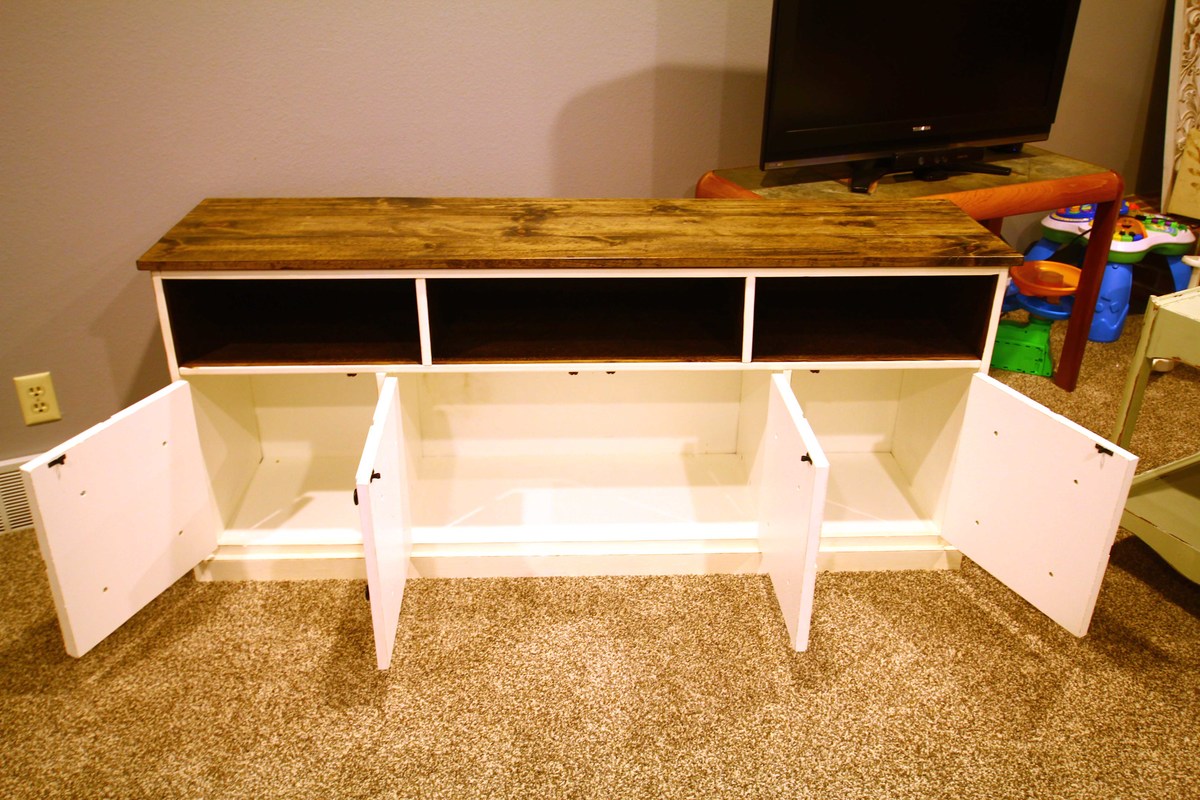
Modified Michaela's kitchen island

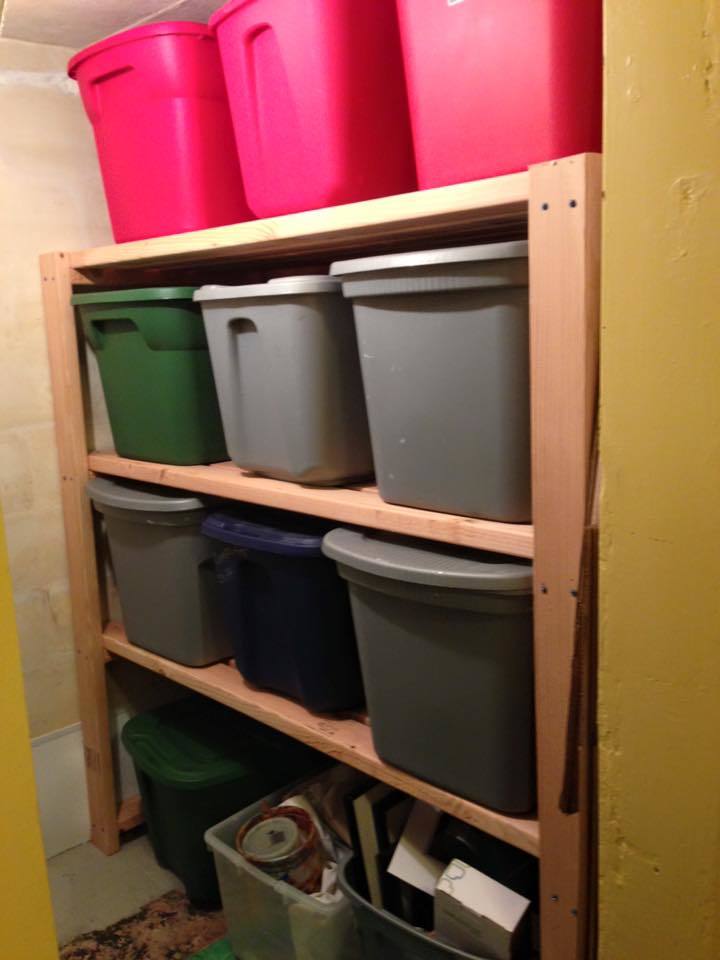
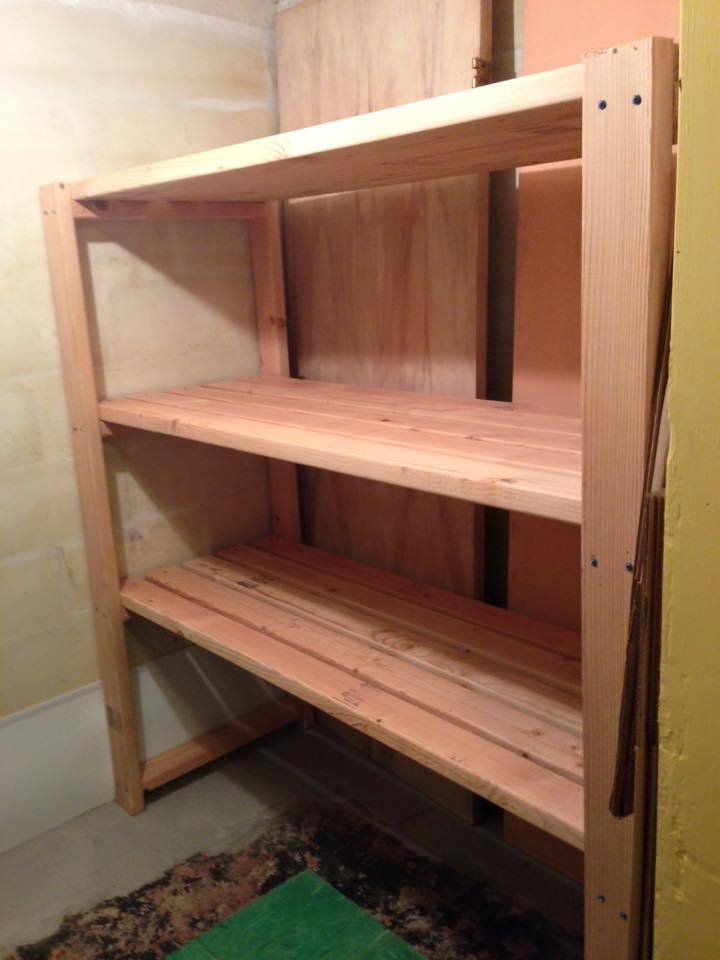
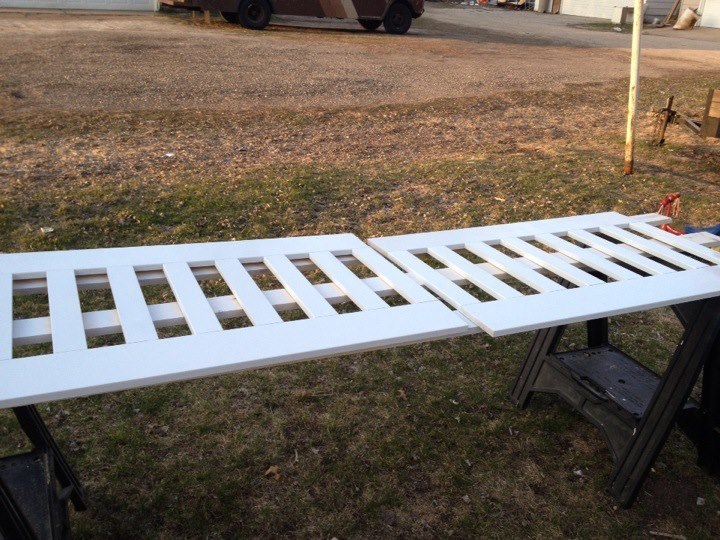
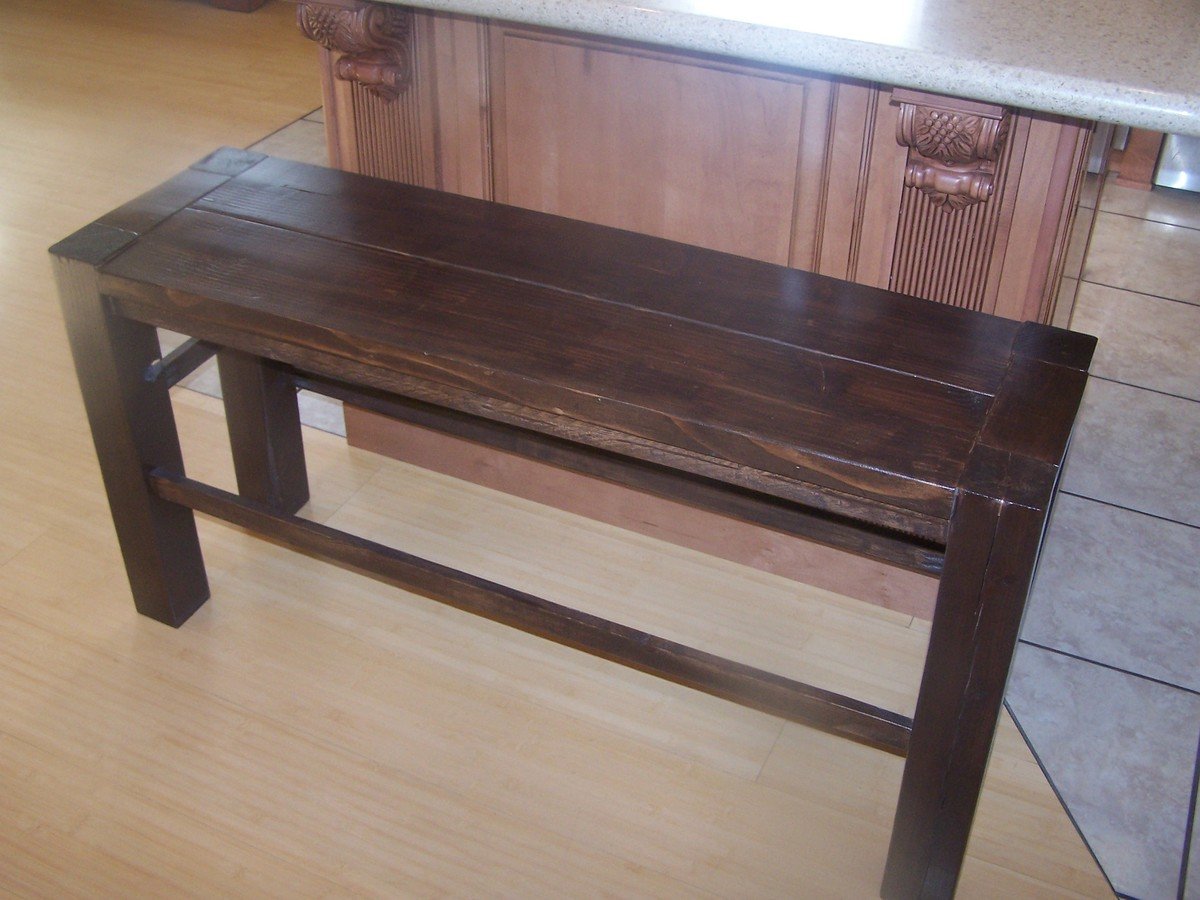
The top was made with reclaimed wood and we used pine for the base. We decided to go for a "chunky look" so we used 2x4's for the sides and skirt. We used 1x3's for the shelf slats and also spaced them to give it an airy feel. We had to customize the size due to the limited space in the kitchen. This was finished with an antique white paint for the base, mahogony stain for the top and finished with a water based poly for durability,


Estimated Cost
$150
Estimated Time Investment
Week Long Project (20 Hours or More)
Finish Used
Minwax red mahogony for the top and antique white in satin for the base. Finished with a waterbased polyurethane.
Recommended Skill Level
Beginner


Comments
jodib77
Sun, 01/19/2014 - 17:51
Thank you
Thank you
Ana White
Mon, 01/20/2014 - 11:10
Great Job!
Love it, thanks for sharing!
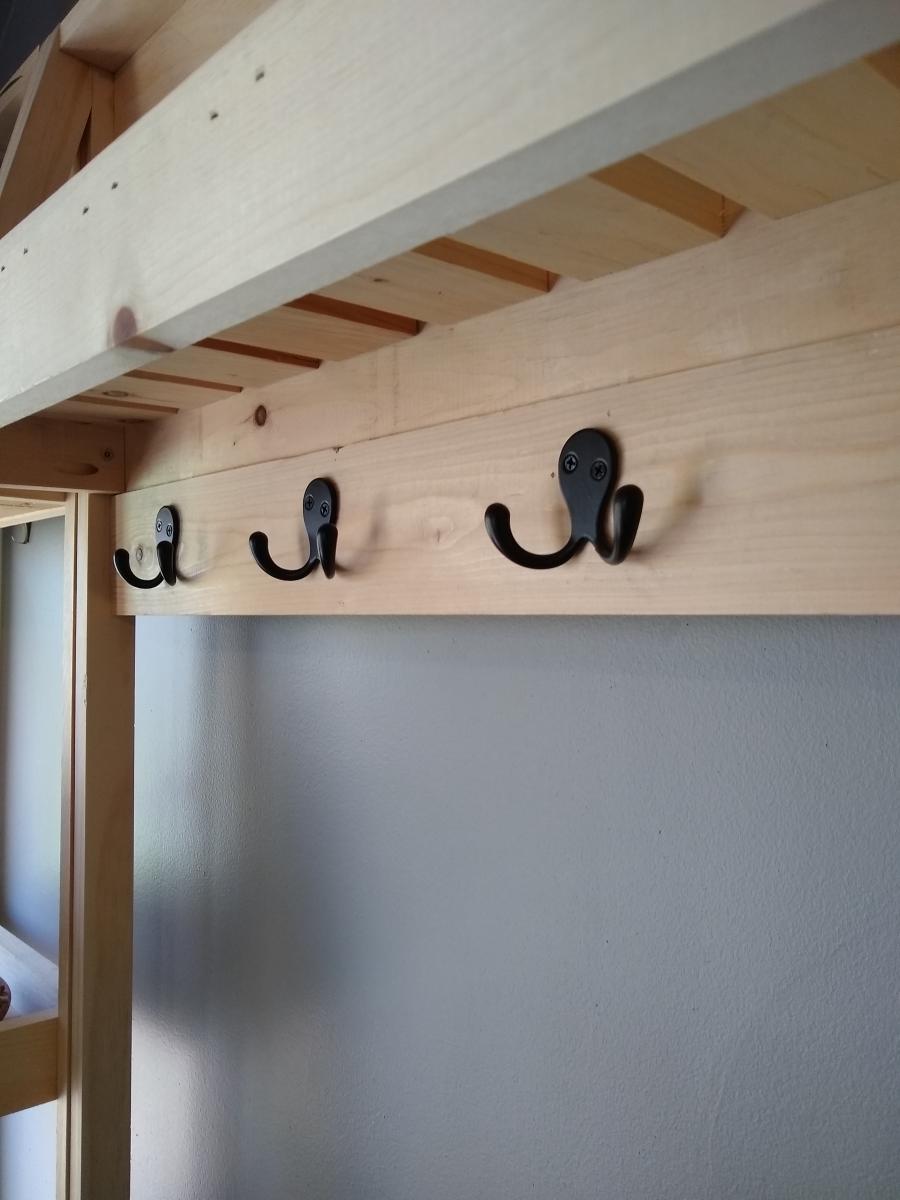
timberandsoul
Wed, 01/22/2014 - 07:16
Hey, great job, I love the
Hey, great job, I love the hooks on the side, good idea.