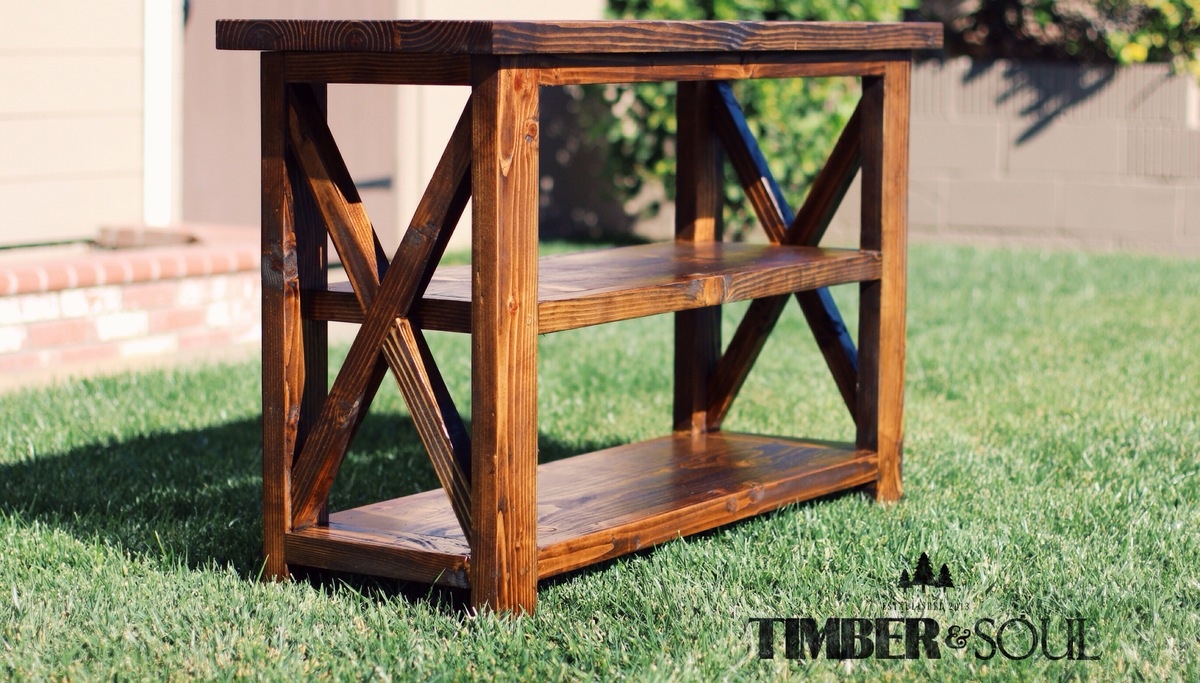
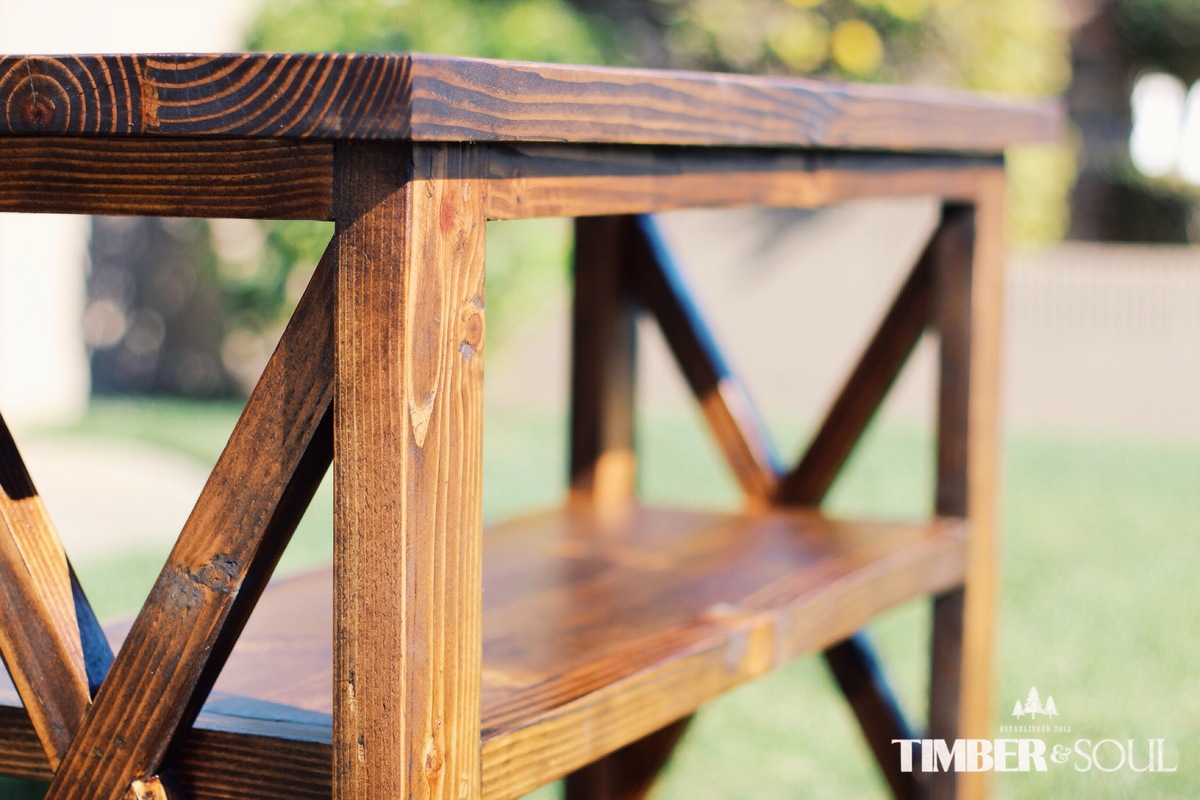
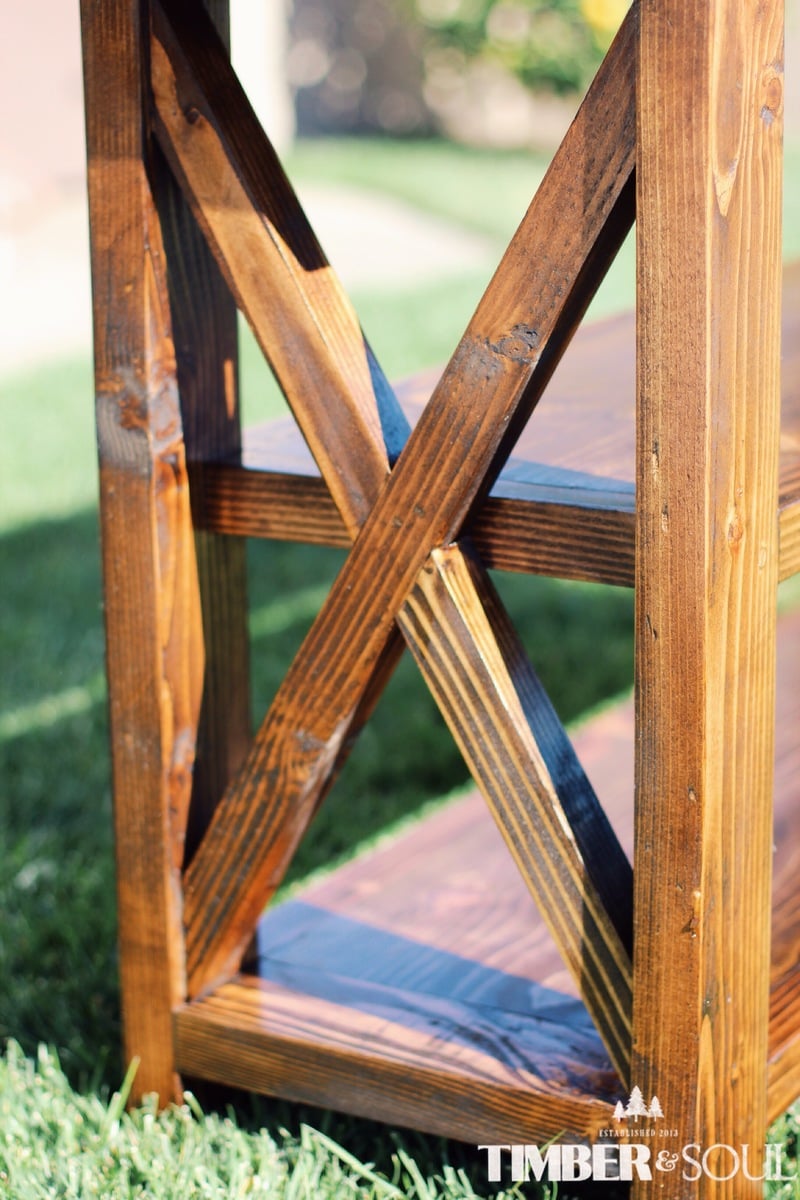
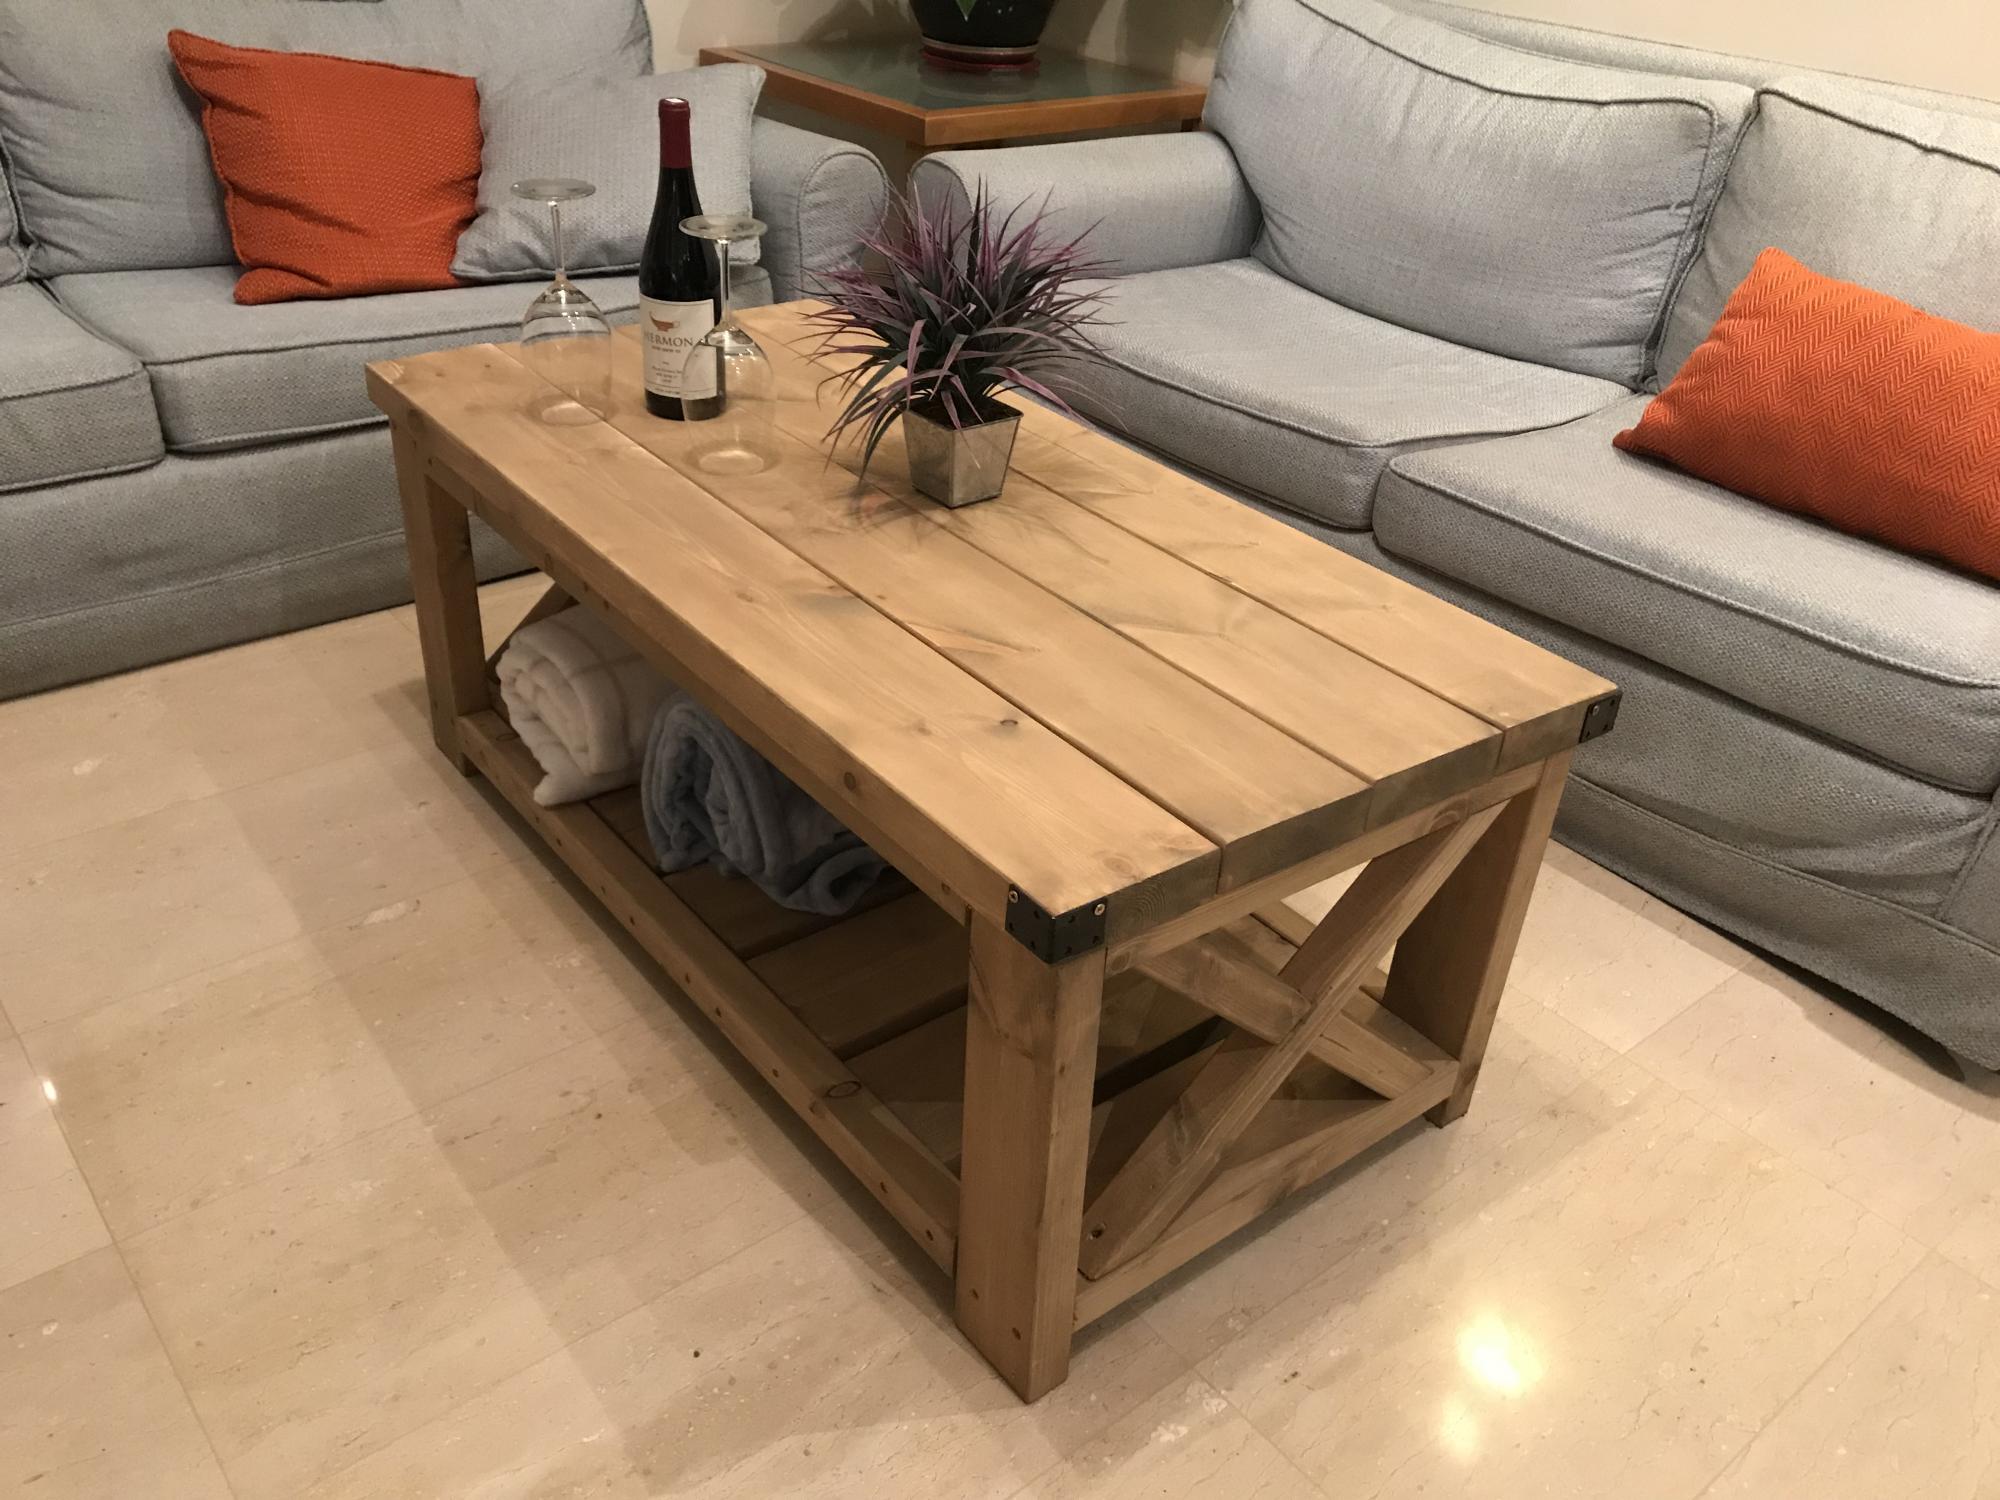
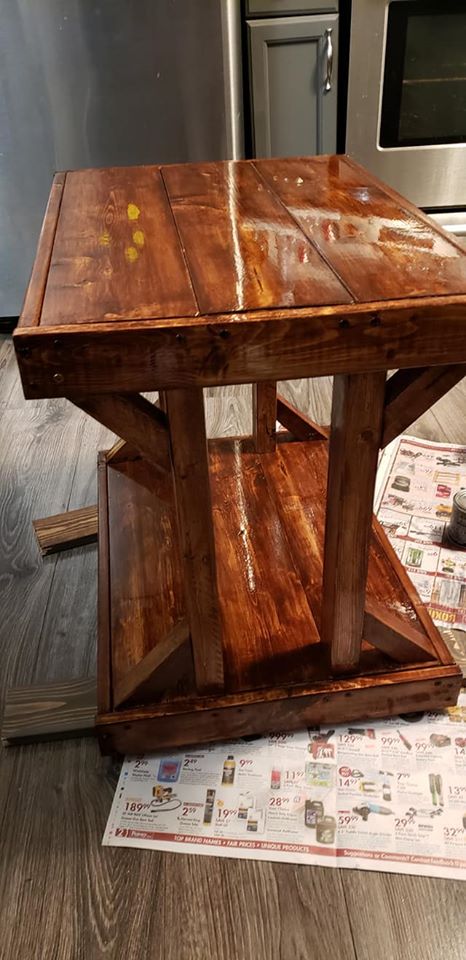
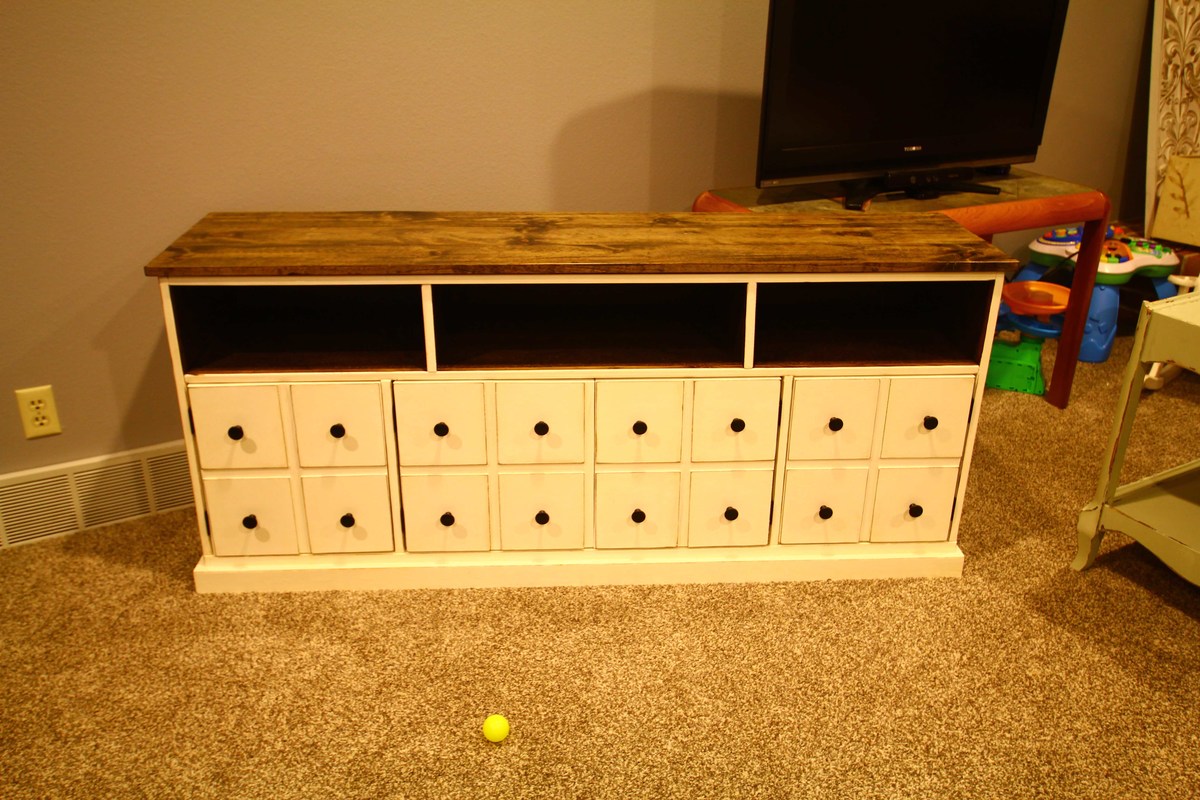
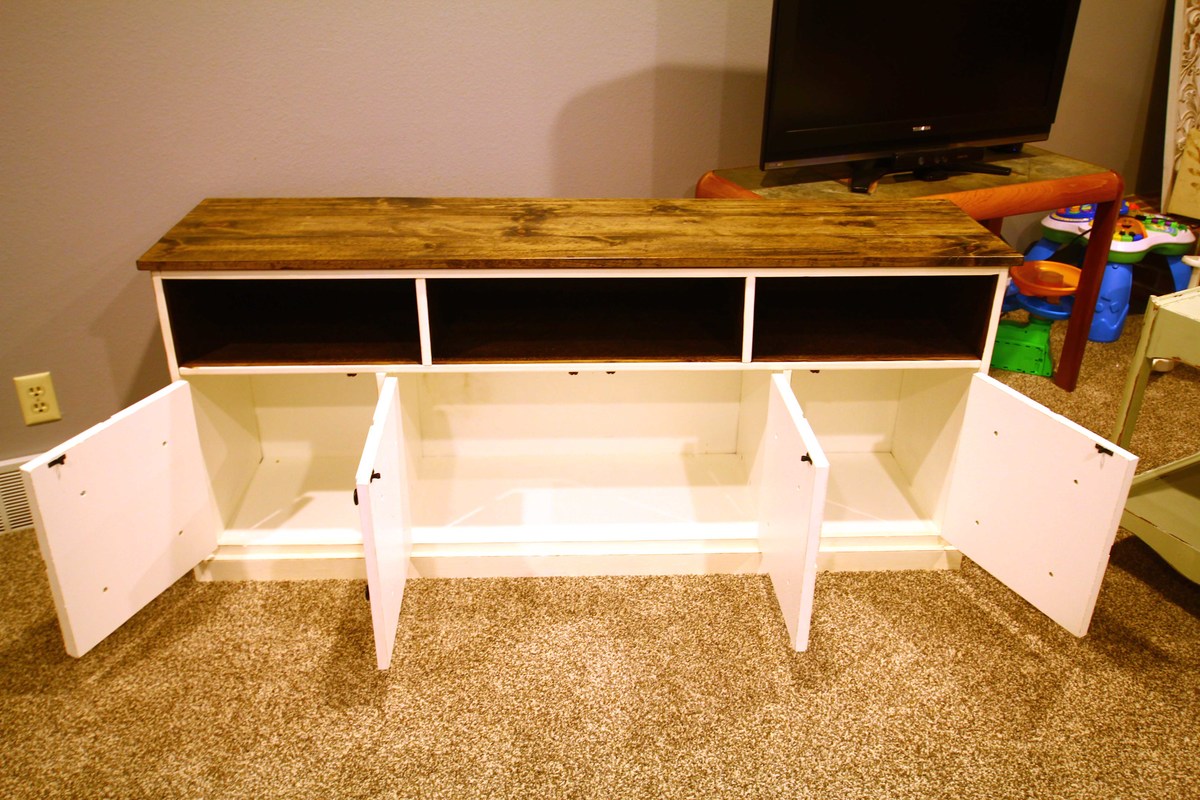
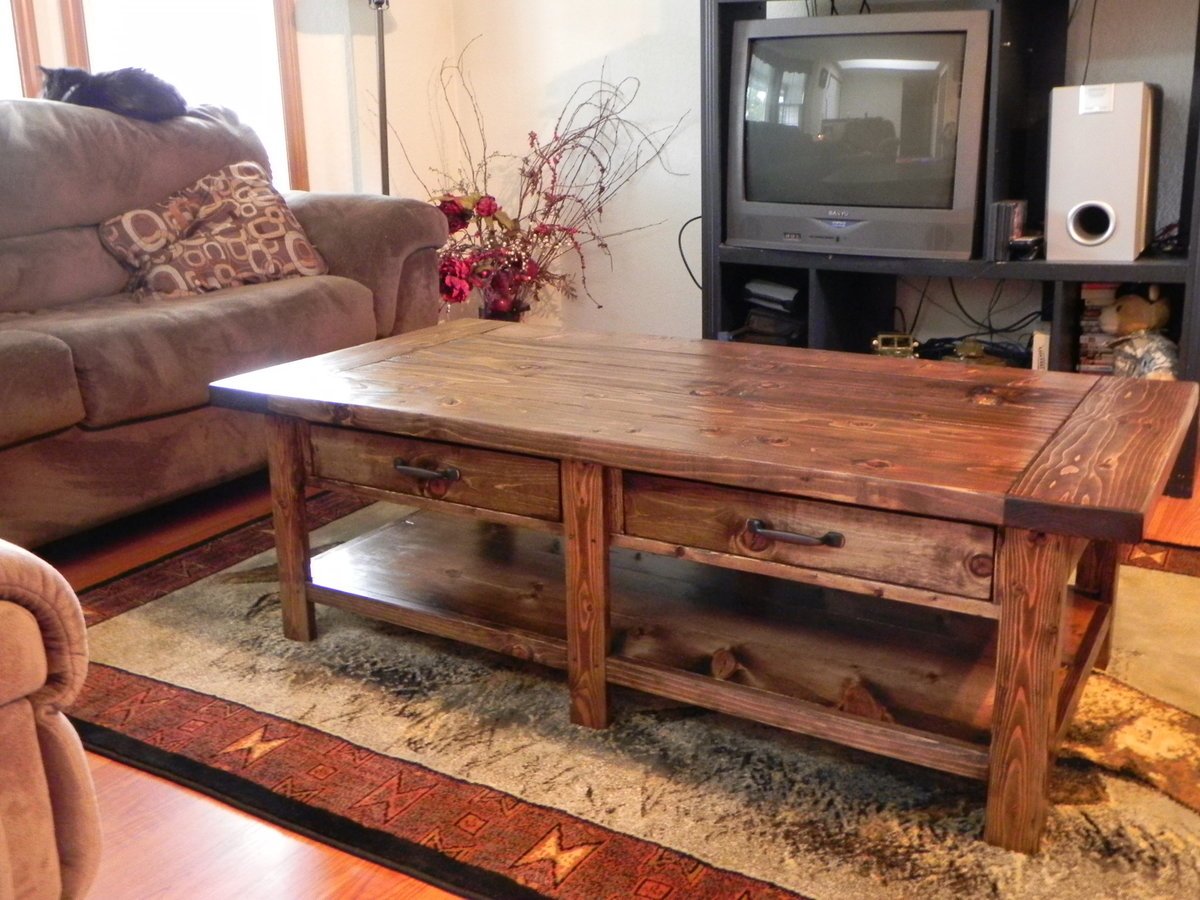
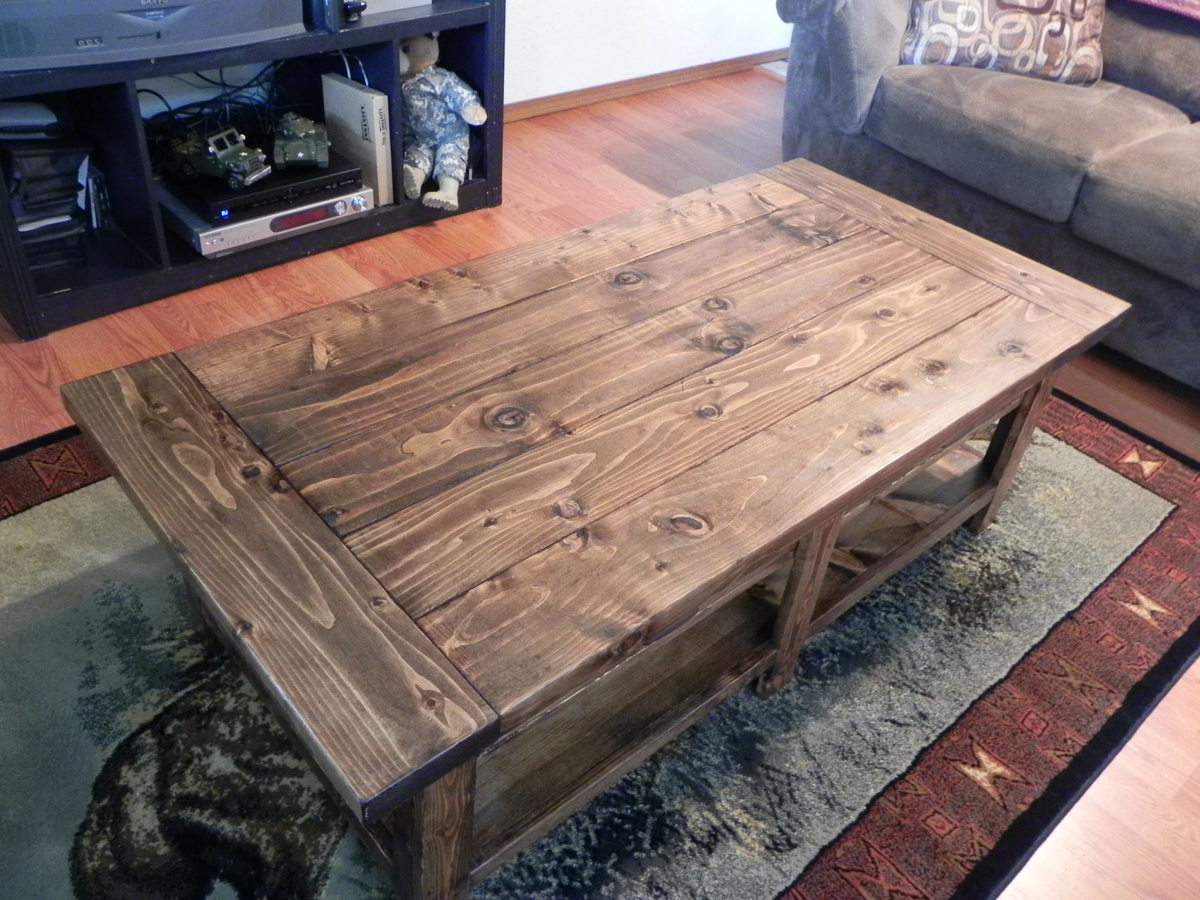
Media cabinet

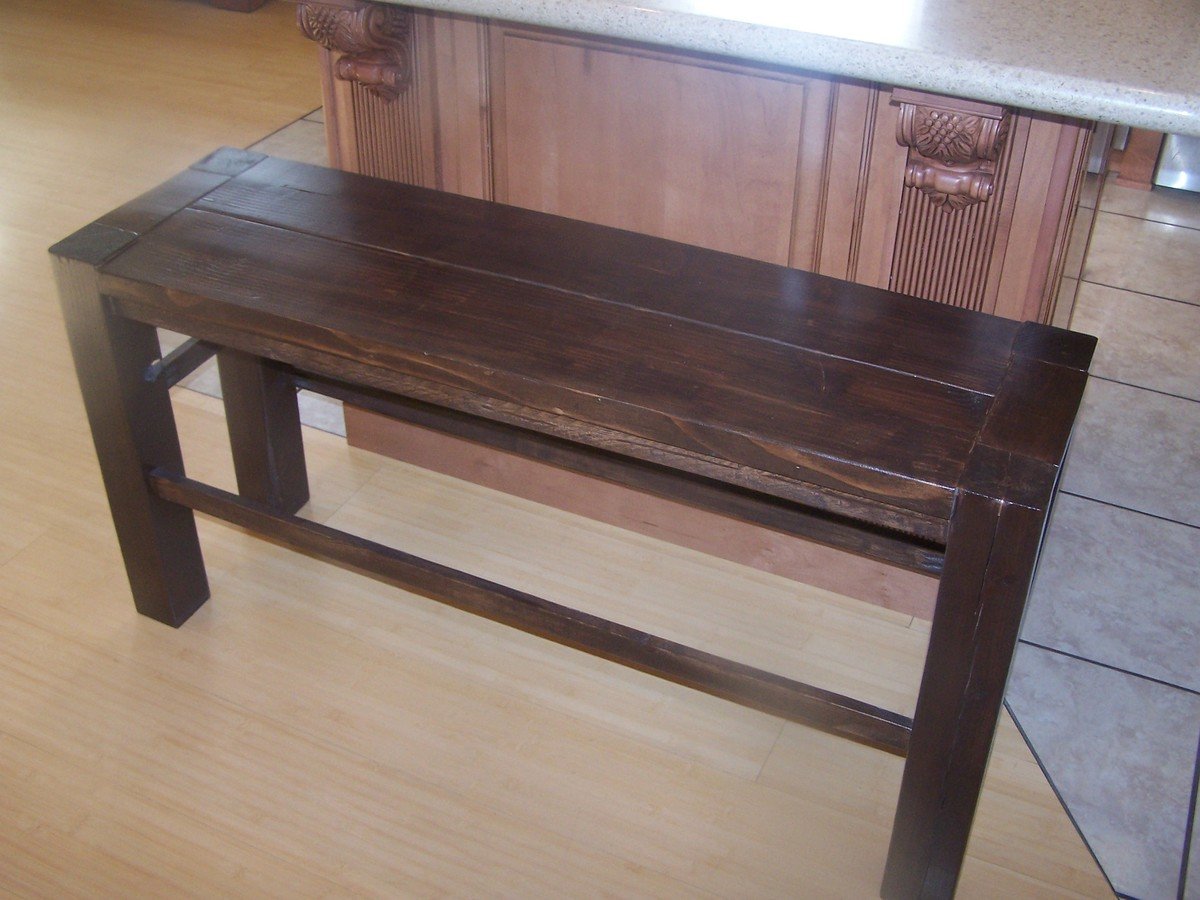
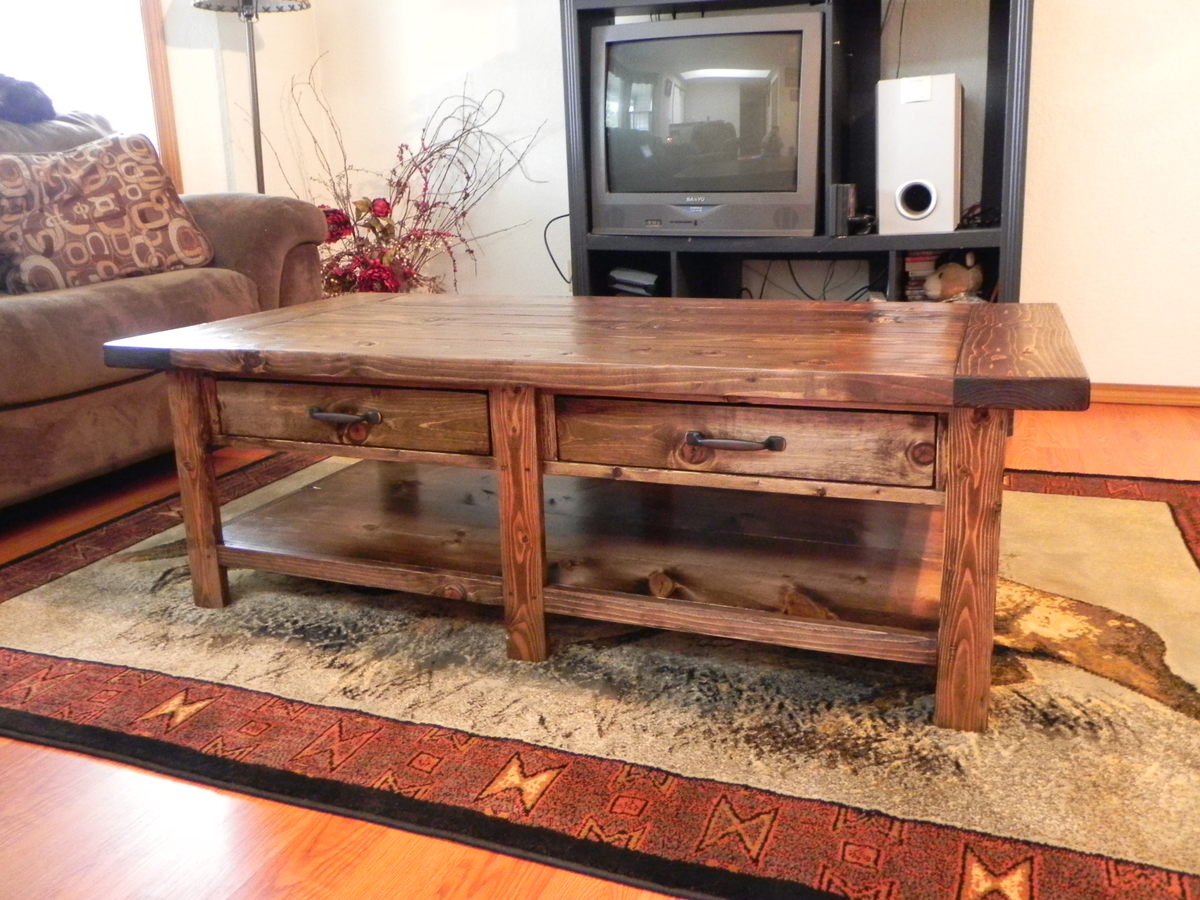
I needed a tv stand that wasn't ugly. This was one of my first projects, and I learned a lot from it. It's not perfect (the drawers don't work well), but it looks nice :)
Built from Plan(s)
Estimated Cost
~ $100
Estimated Time Investment
Day Project (6-9 Hours)
Finish Used
I painted it BM Revere Pewter (flat) and applied a satin poly top coat.
Recommended Skill Level
Intermediate


Comments
spiceylg
Sun, 04/08/2012 - 03:55
wow
Came out beautiful and I love the paint color. My goodness did you build all of these projects at once or just post them at once?
Milhouse
Sun, 04/08/2012 - 07:00
I just posted them all at
I just posted them all at once :)
Guest (not verified)
Sun, 04/08/2012 - 22:29
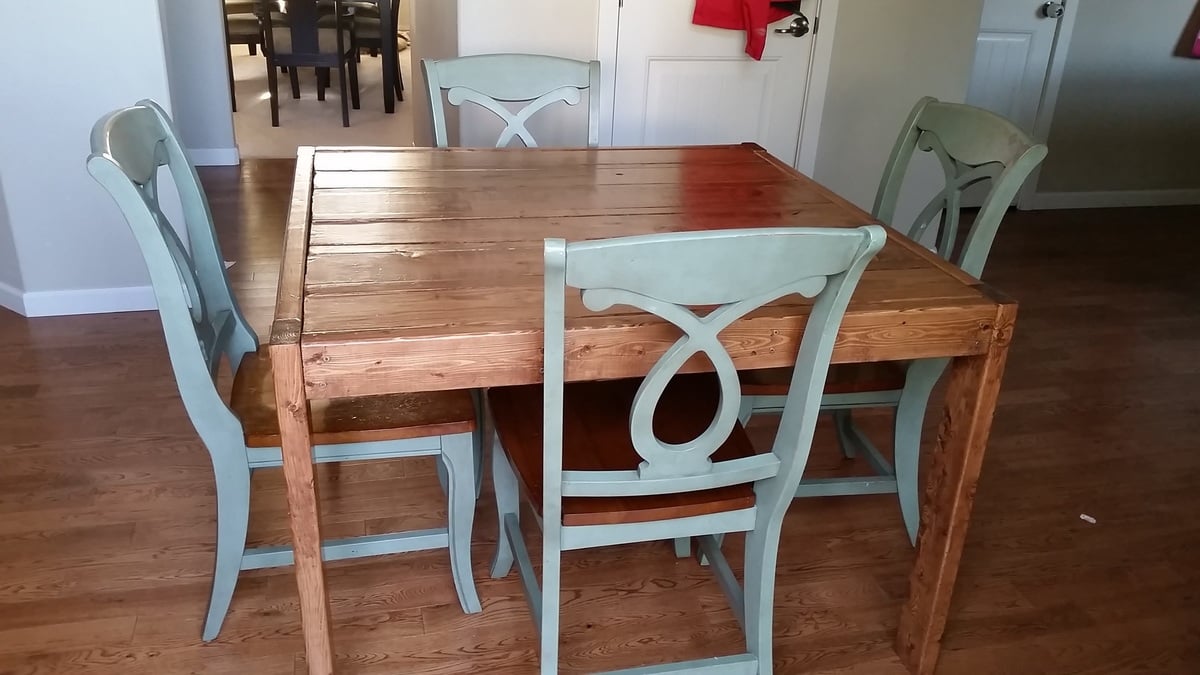
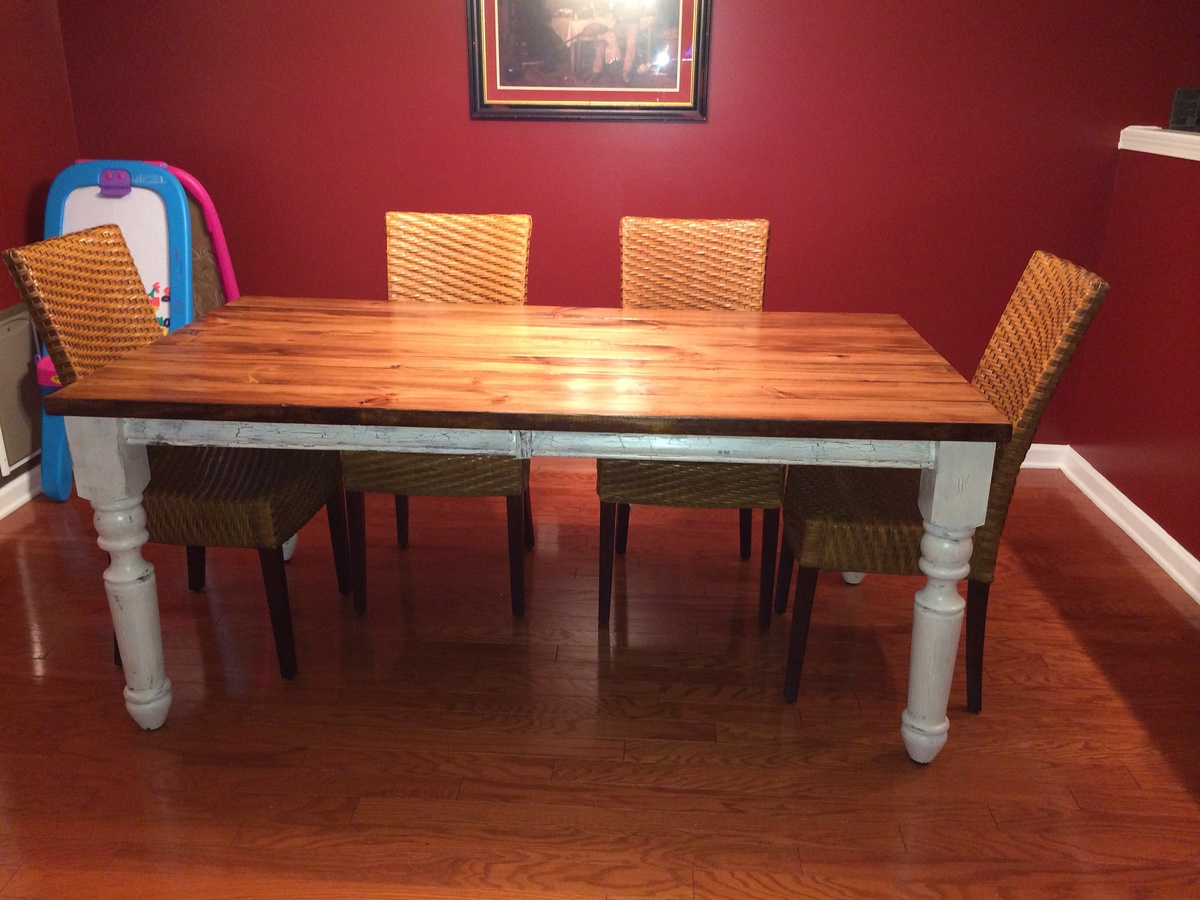
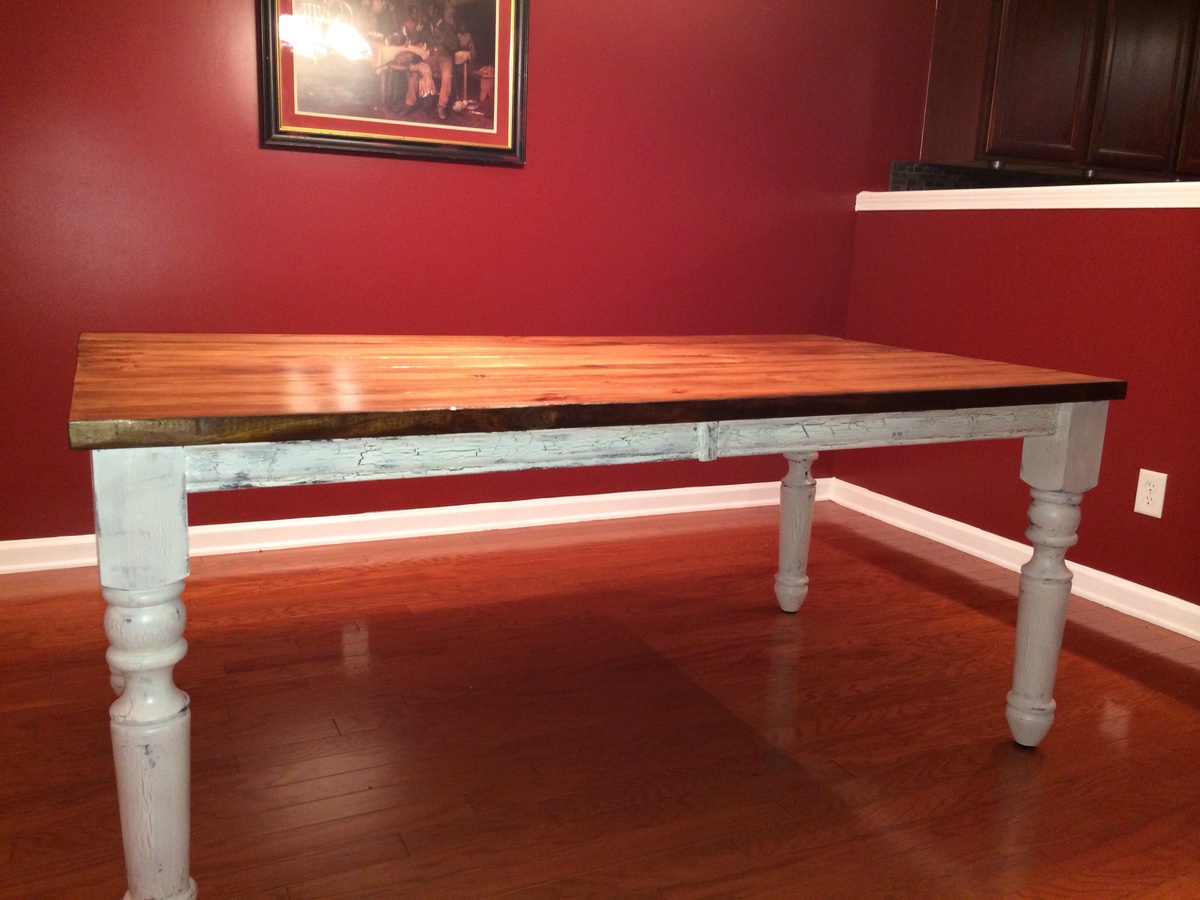
I love this table! By any
I love this table! By any chance do you know the name of the paint color on the walls behind it? I have been looking for the perfect color for my living room and LOVE that color :) thanks and good work!
Milhouse
Mon, 04/09/2012 - 07:10
Thank you! The paint on the
Thank you! The paint on the wall is Ranchwood by Benjamin Moore (cc-500).