Kentwood Bookshelf

This was one of my first bigger builds. I am so happy with the way it turned out!

This was one of my first bigger builds. I am so happy with the way it turned out!
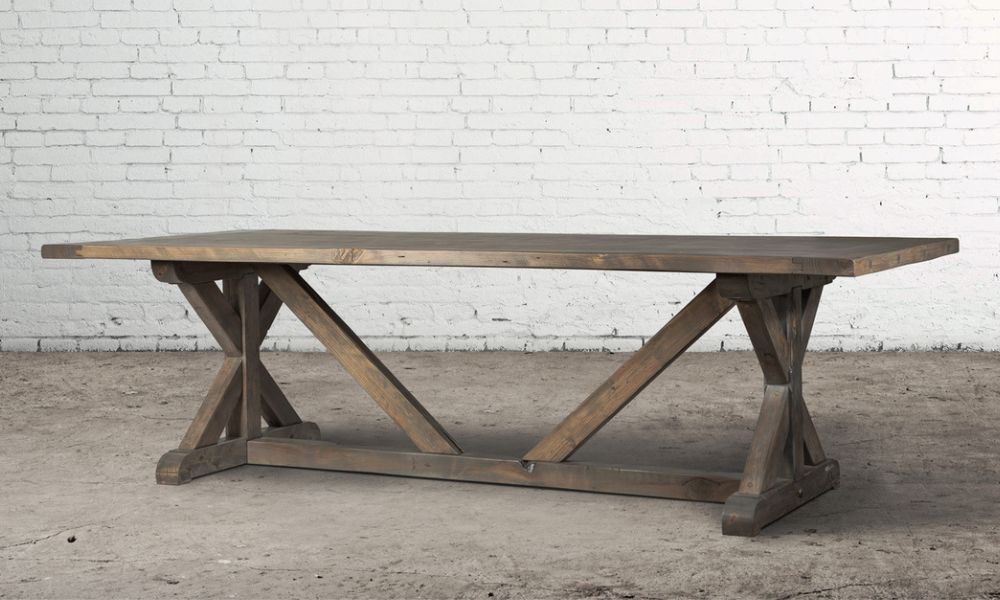
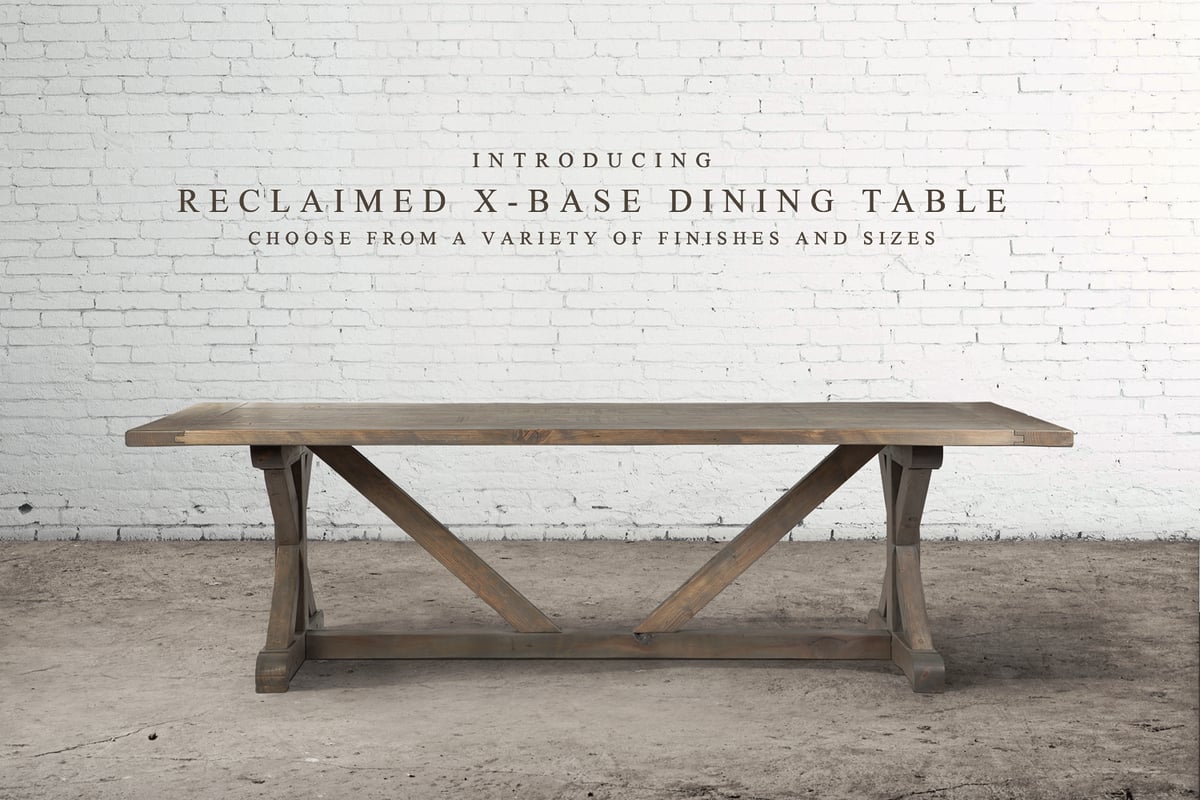
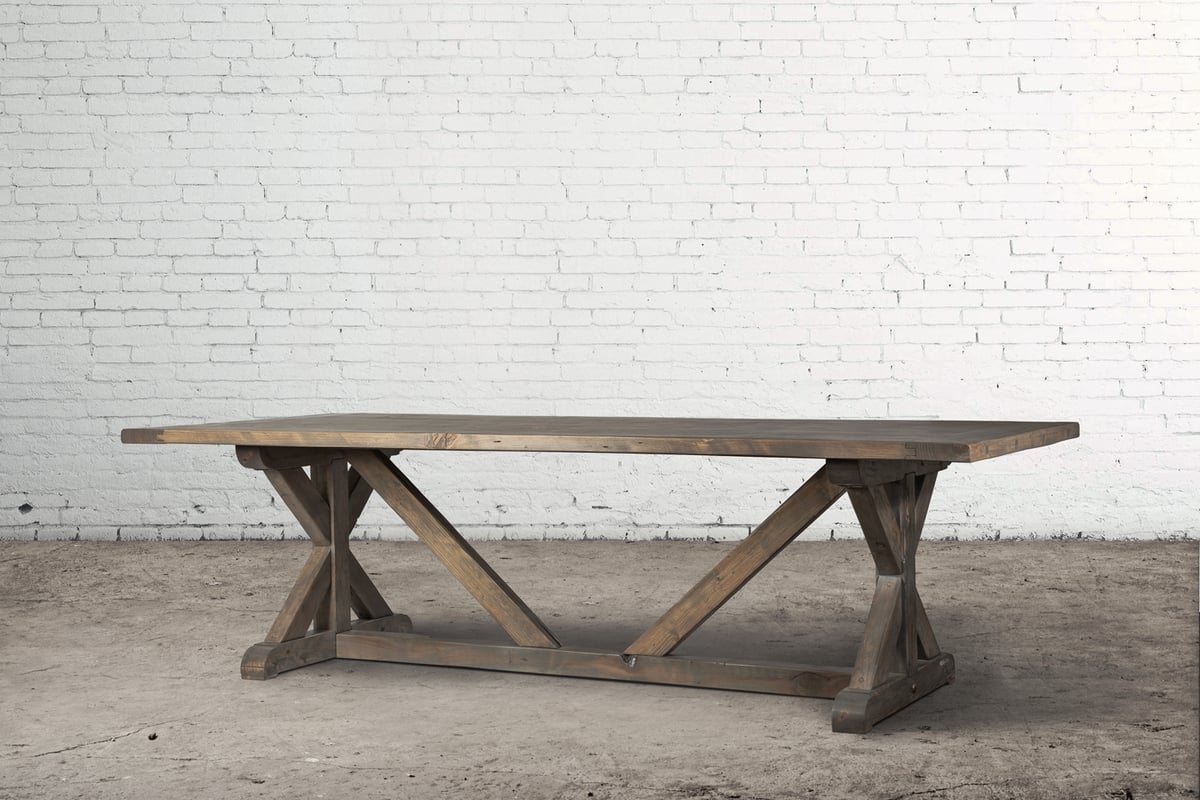
Our reclaimed beam wood tables are built of beautifully finished, solid reclaimed fir timbers from 50+ year old barns in the Fraser Valley.
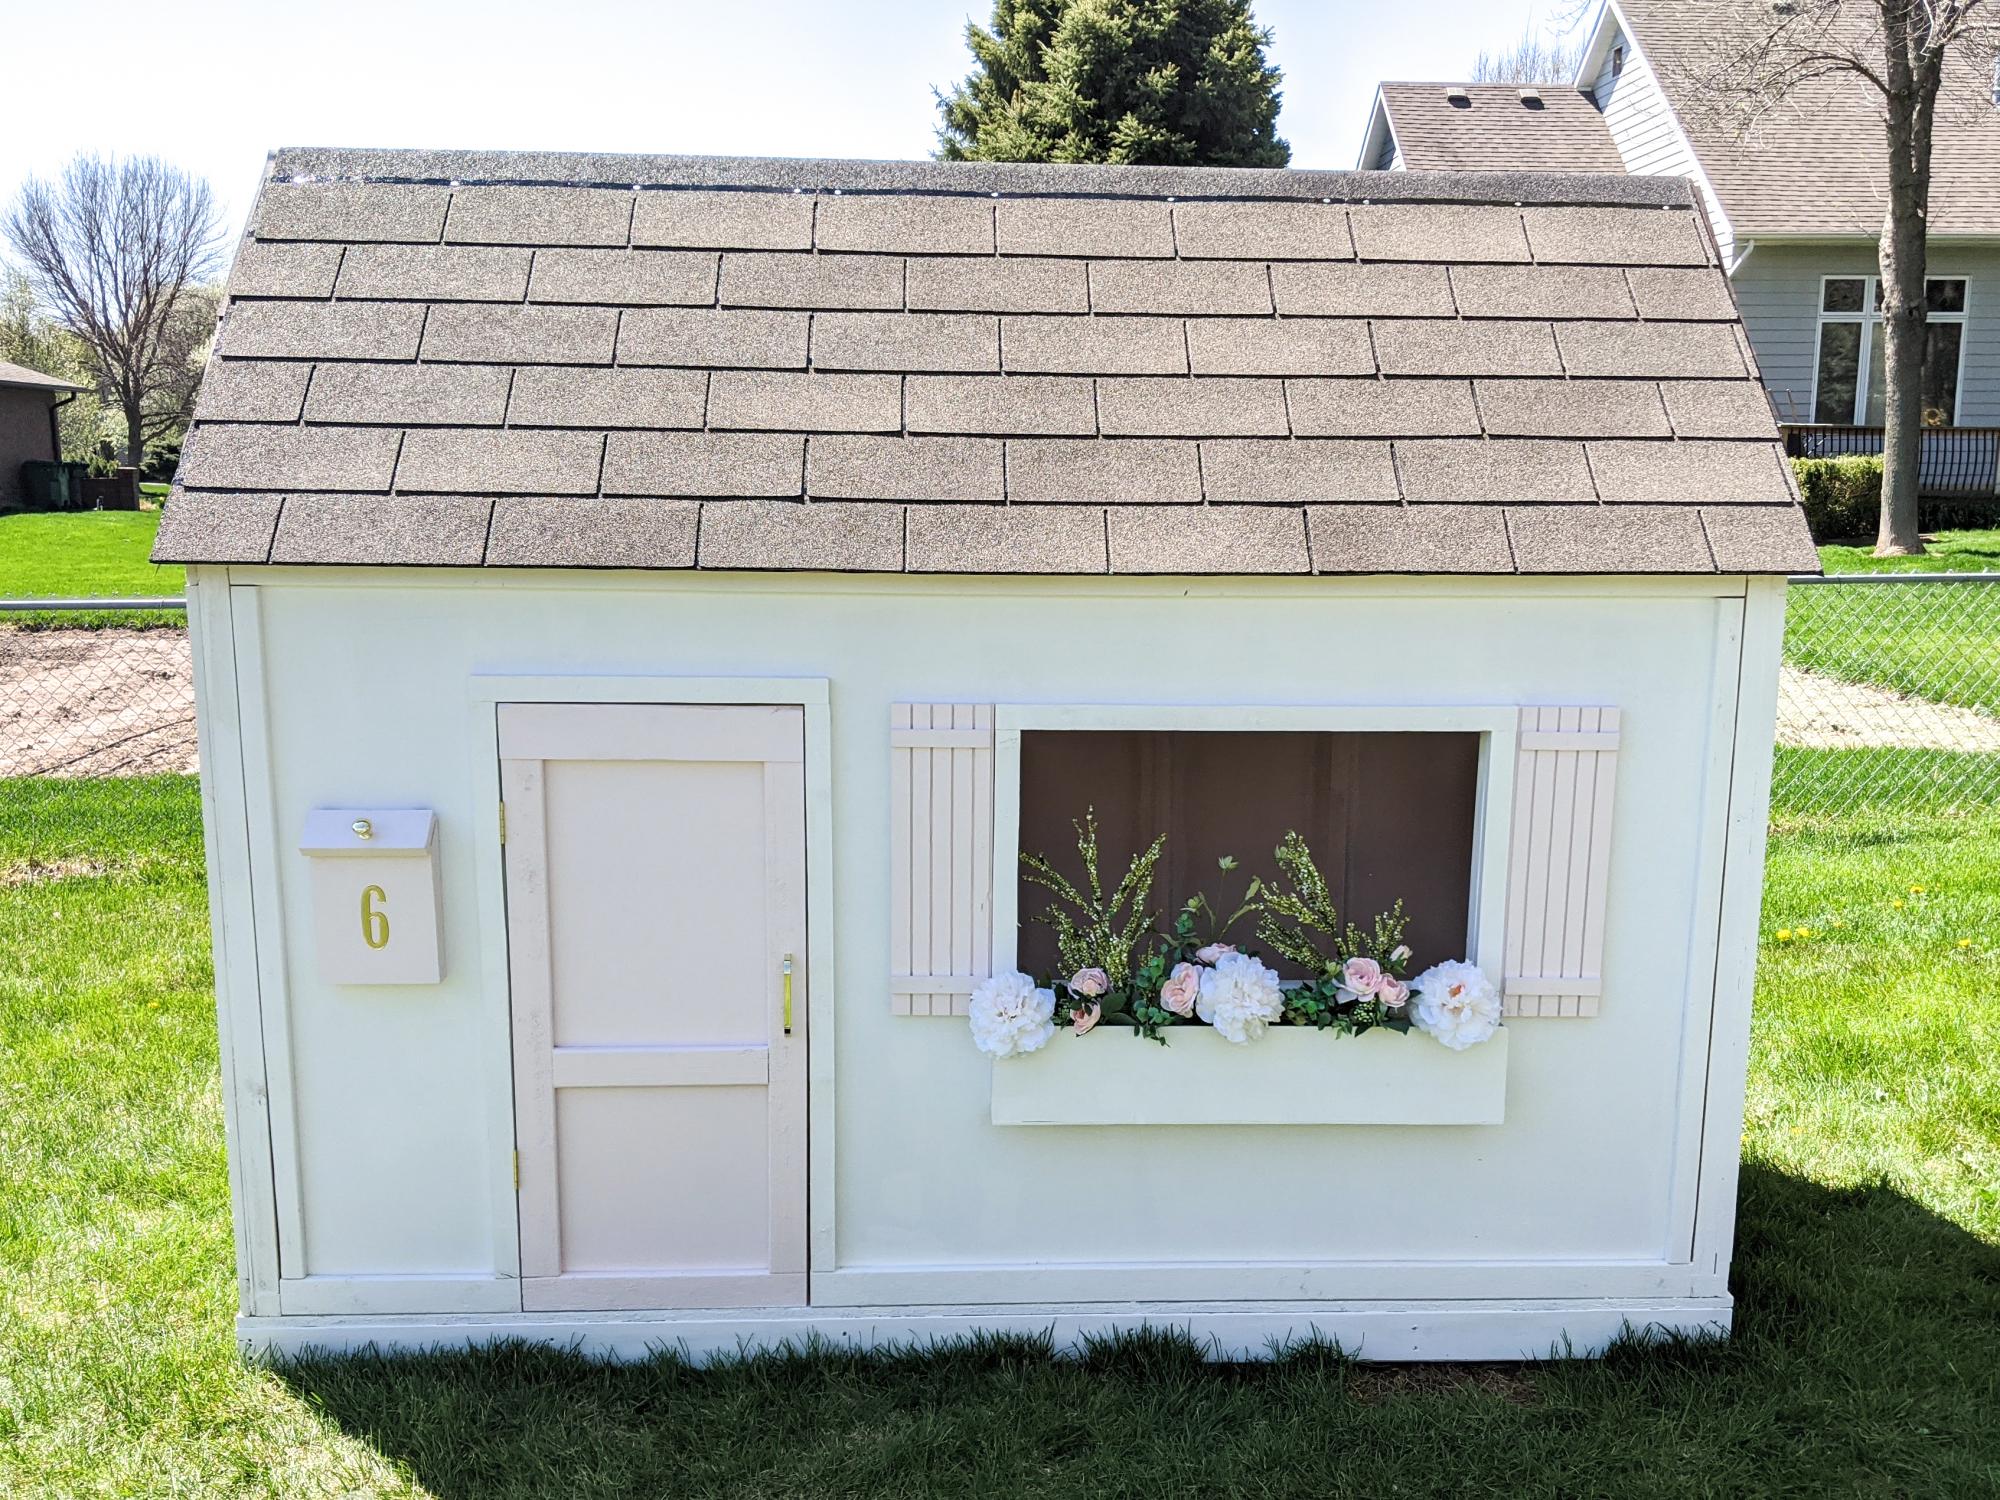
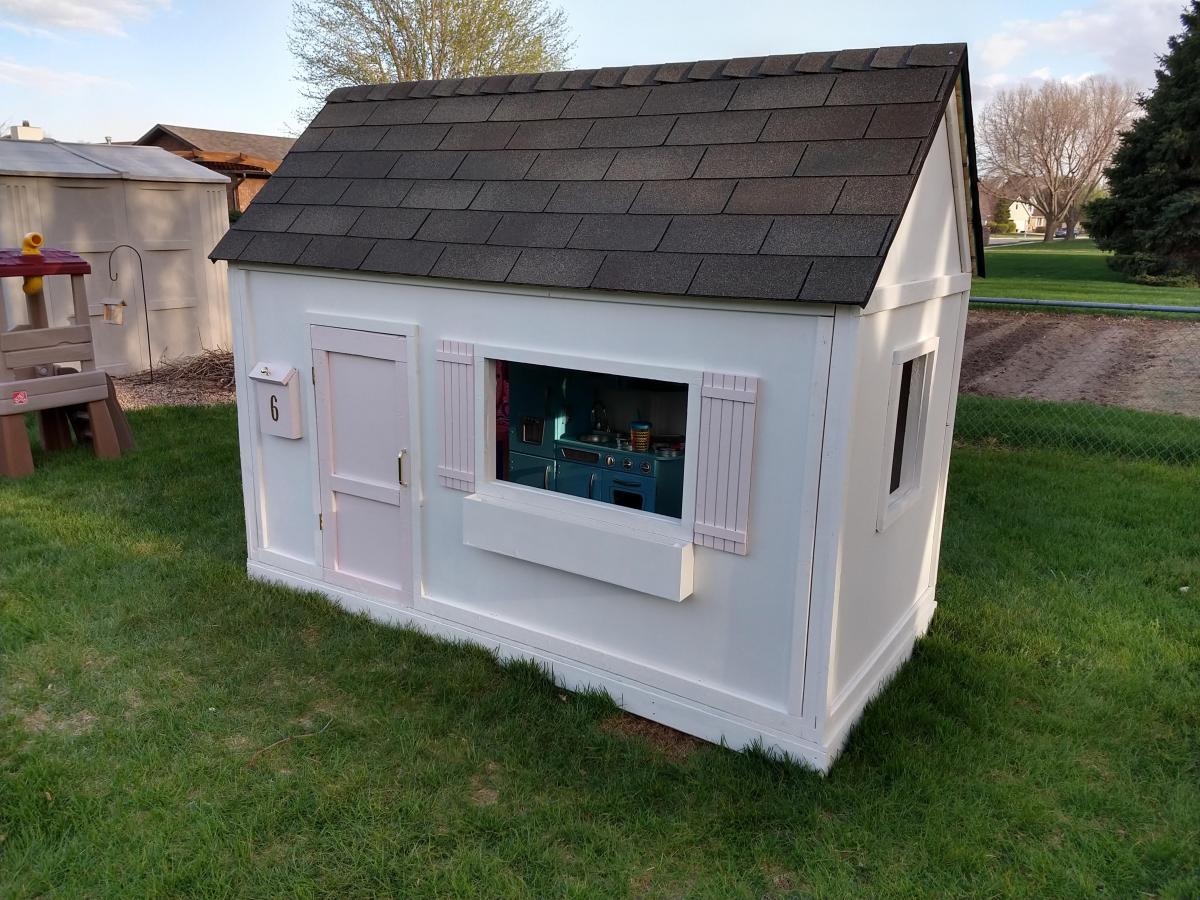
We built this playhouse for our daughter's 6th birthday. She absolutely loves it! We were looking at purchasing one, but they were way out of our budget. Ana saved the day with these plans :).
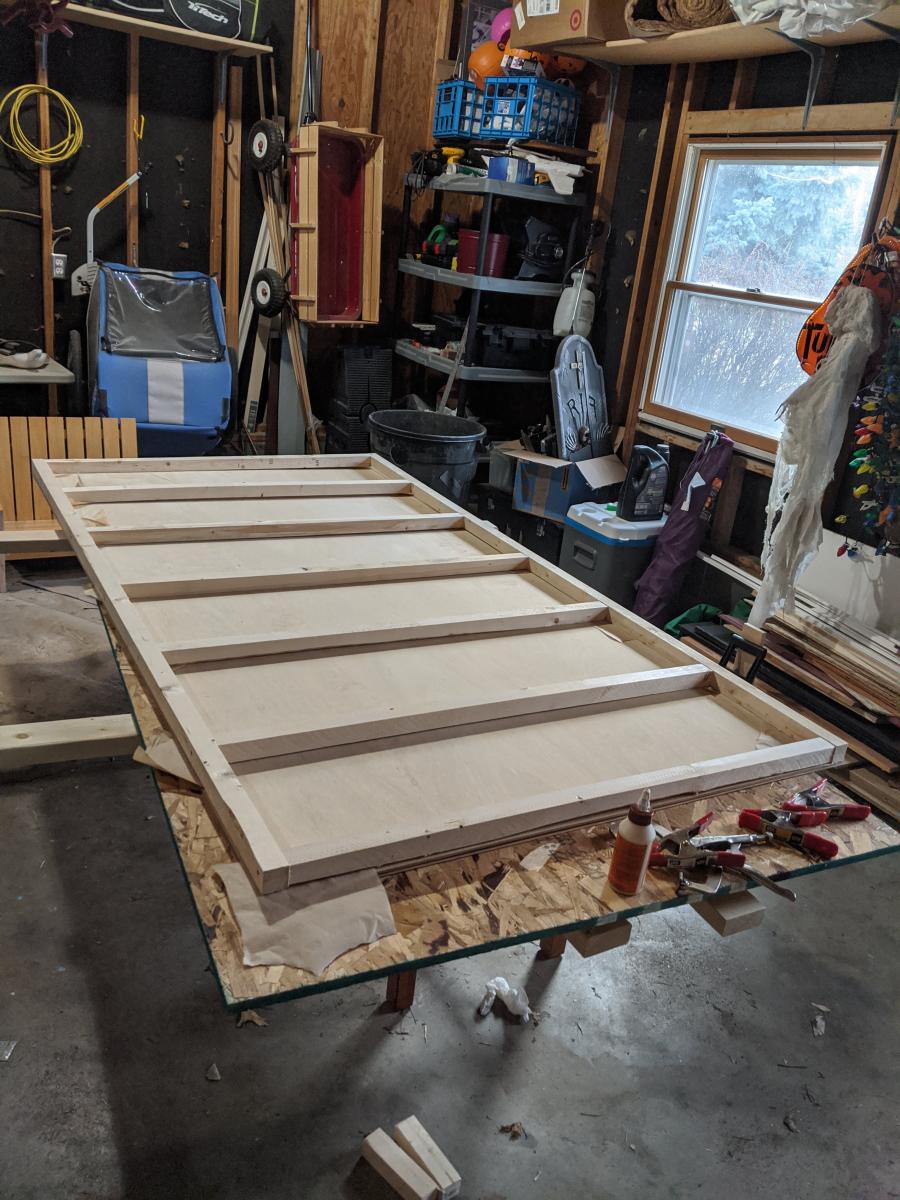
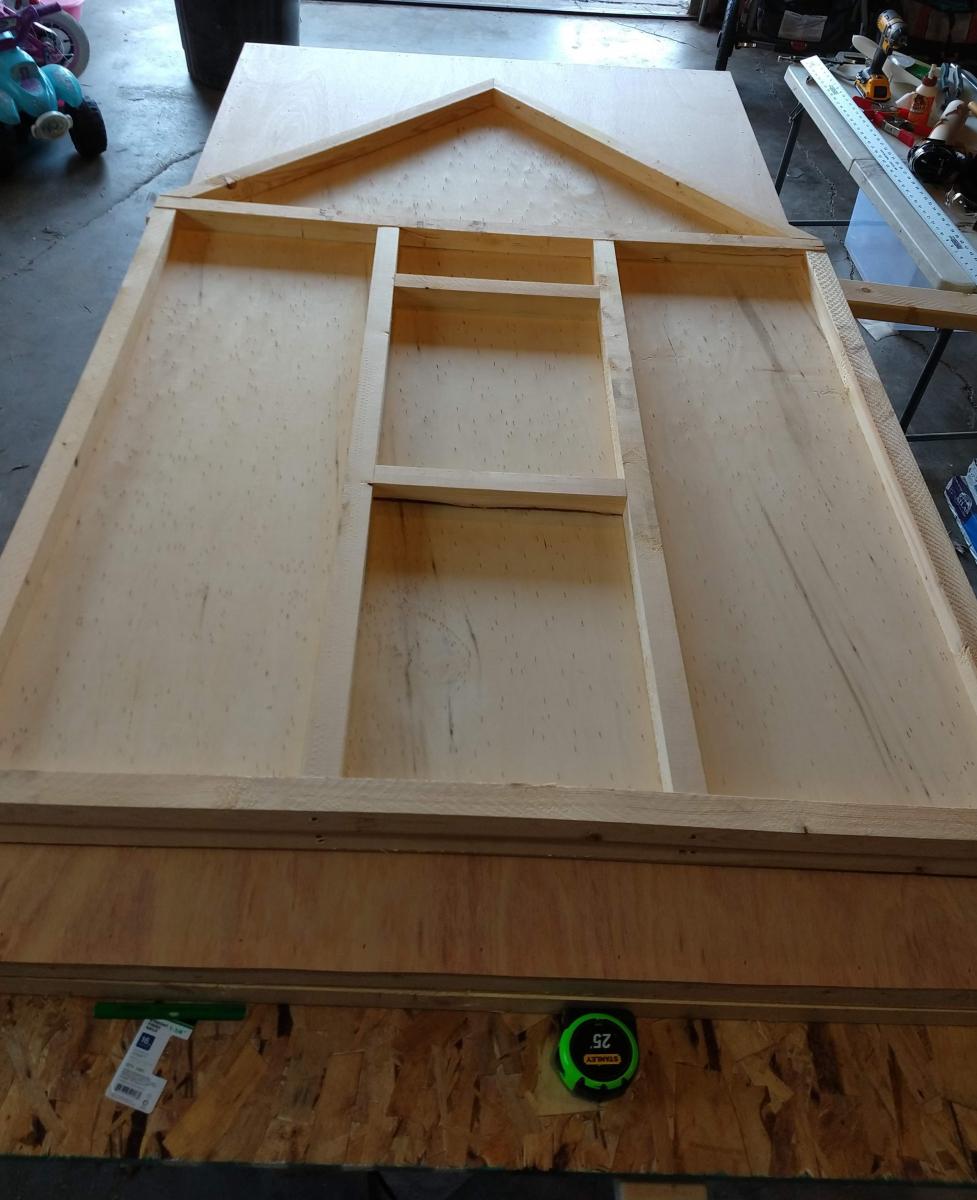
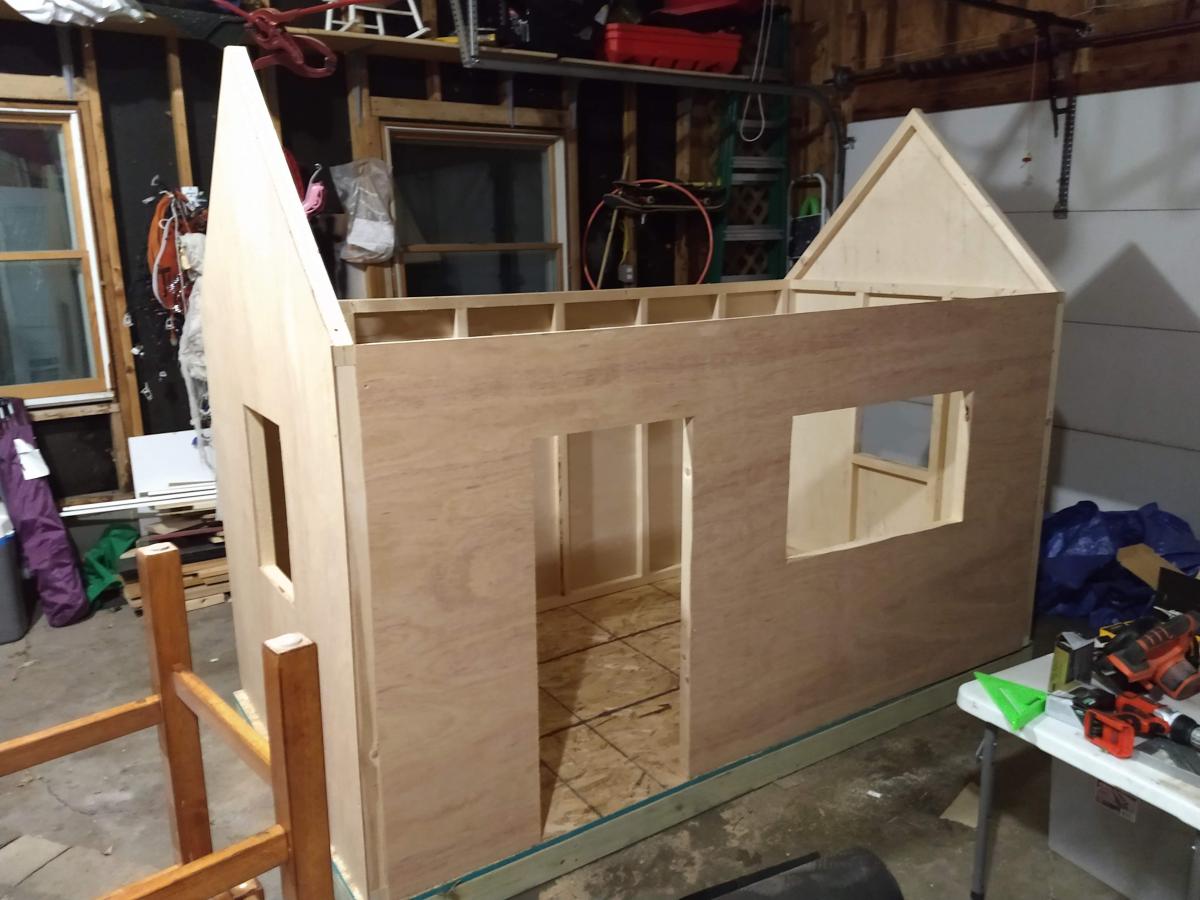
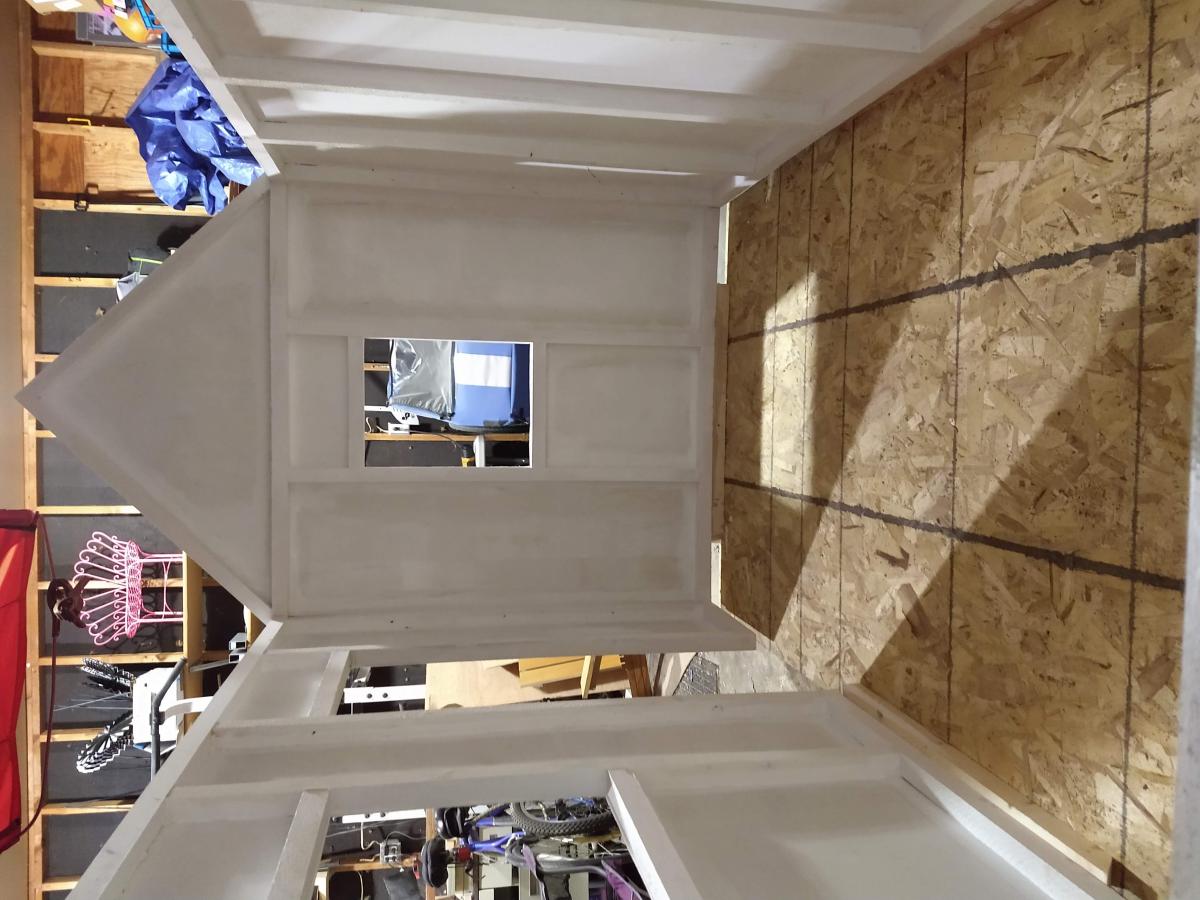
With the arrival of our first baby in 10 days, the wife wanted a changing table. My only vision of a changing table was the ones in public restrooms. With the help of Google, I came across all the great diy ideas on this site. I combined 3 plans into 1 and came up with this. The project took 2 days to build. Next step is to prime and paint.
Tue, 12/24/2019 - 11:37
I live this changing table. I made the "Simple Changing Table" but would like to make this one. Are there plans for this one? Thanks!
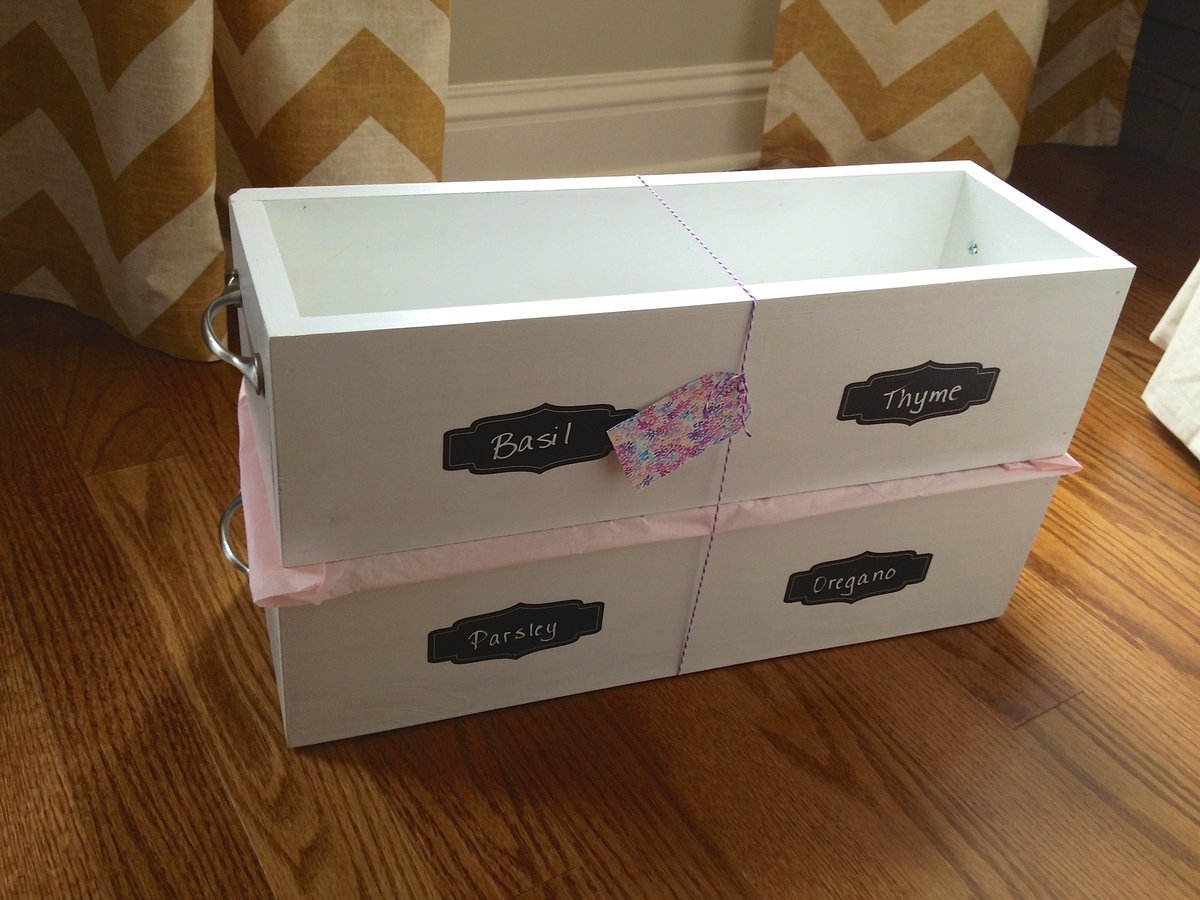
This is the fourth time I have made these to give as gifts. They are just so cute, easy, inexpensive, and versatile. Now that the growing season is among us, Im sure Ill be making even more.
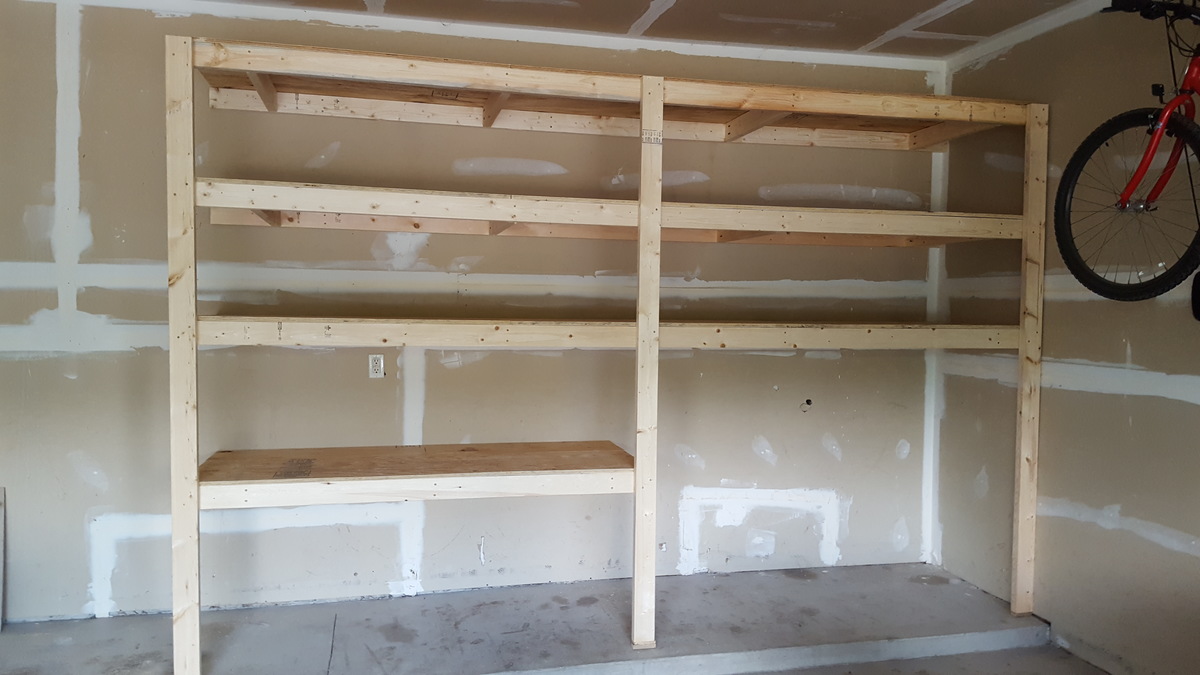
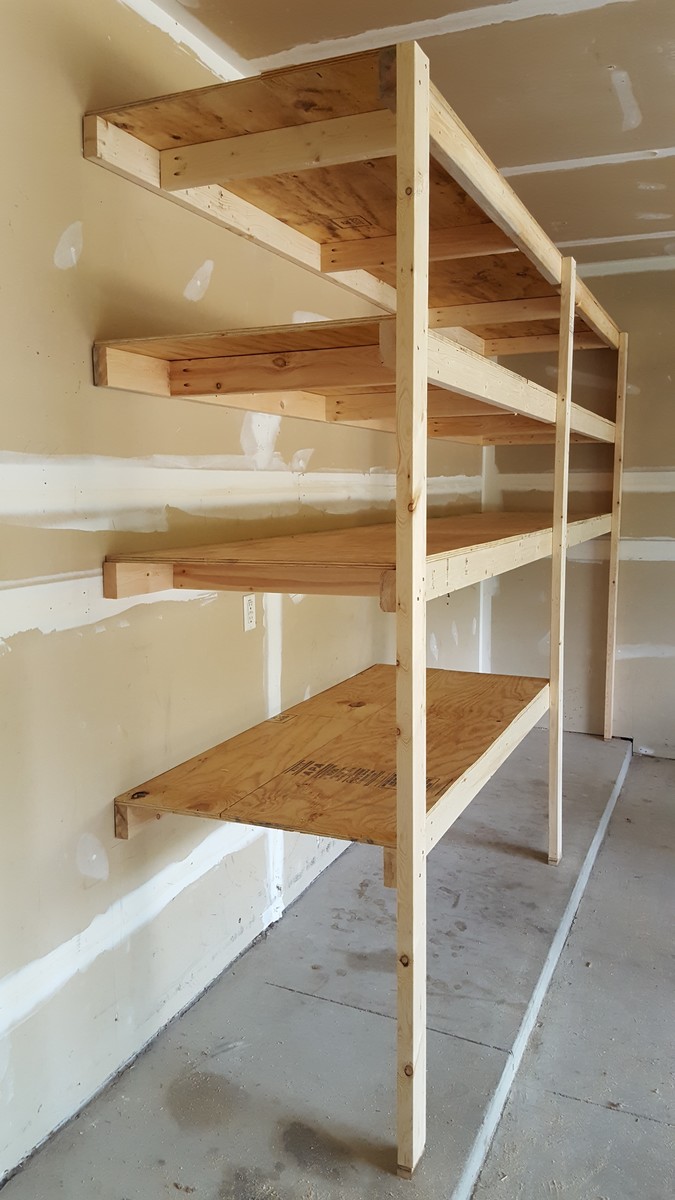
I am a beginner diy'er and this was one of my first projects. Also it was my first time using the Kreg jig and I loved it! My shelving system was around 8 feet tall, 12 feet wide and 30 inches deep. I added some extra cleats to support my deeper shelves (30") and also used thicker (5/8") plywood. This was a fun and easy project to do! Thanks so much!
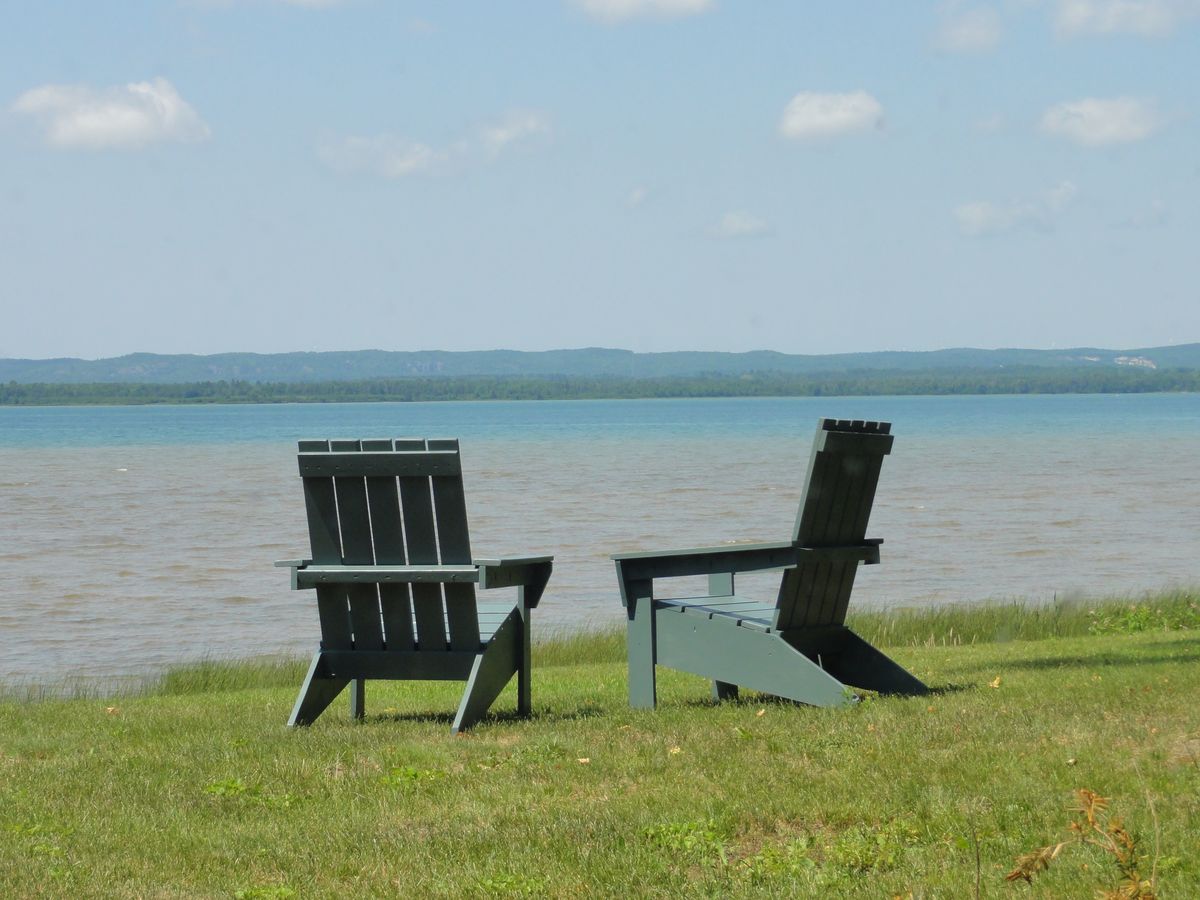
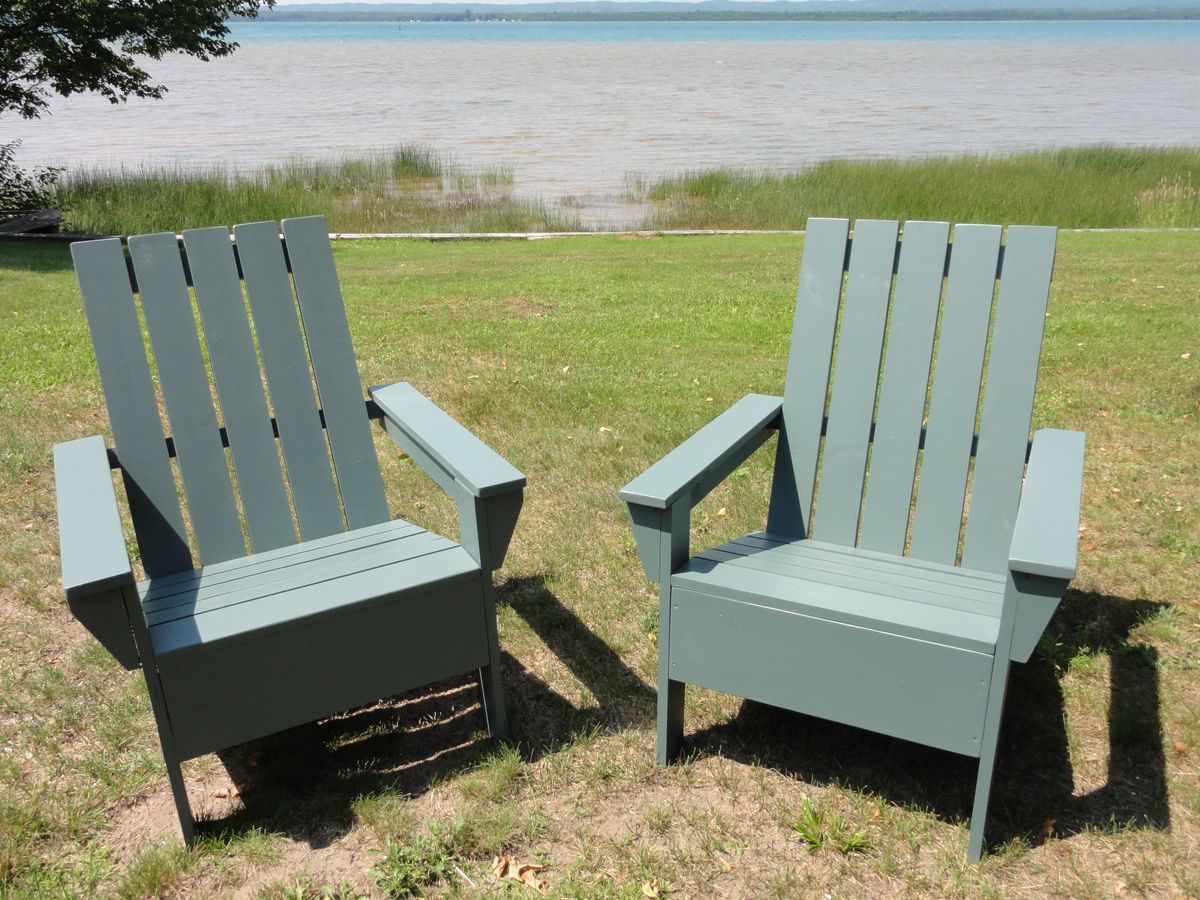
Amazing what some basic lumber can make! Read the comments included with the instructions ... the 1 x 4 cut list was especially helpful. All told it was under $30 for a very comfortable sturdy Adi !! Some modifications I did for mine ... I used pocket screws to attach the seat slats and arm rests ... no splinters :) I found it easier to attache the middle back support loosely to the arm supports, then attach to the back slats in the correct position Paint was Clark & Kensington All-In-One from Ace in Fairfield Manor -- it's a beautiful watery green ... perfect!! Thanks Again Ana!!
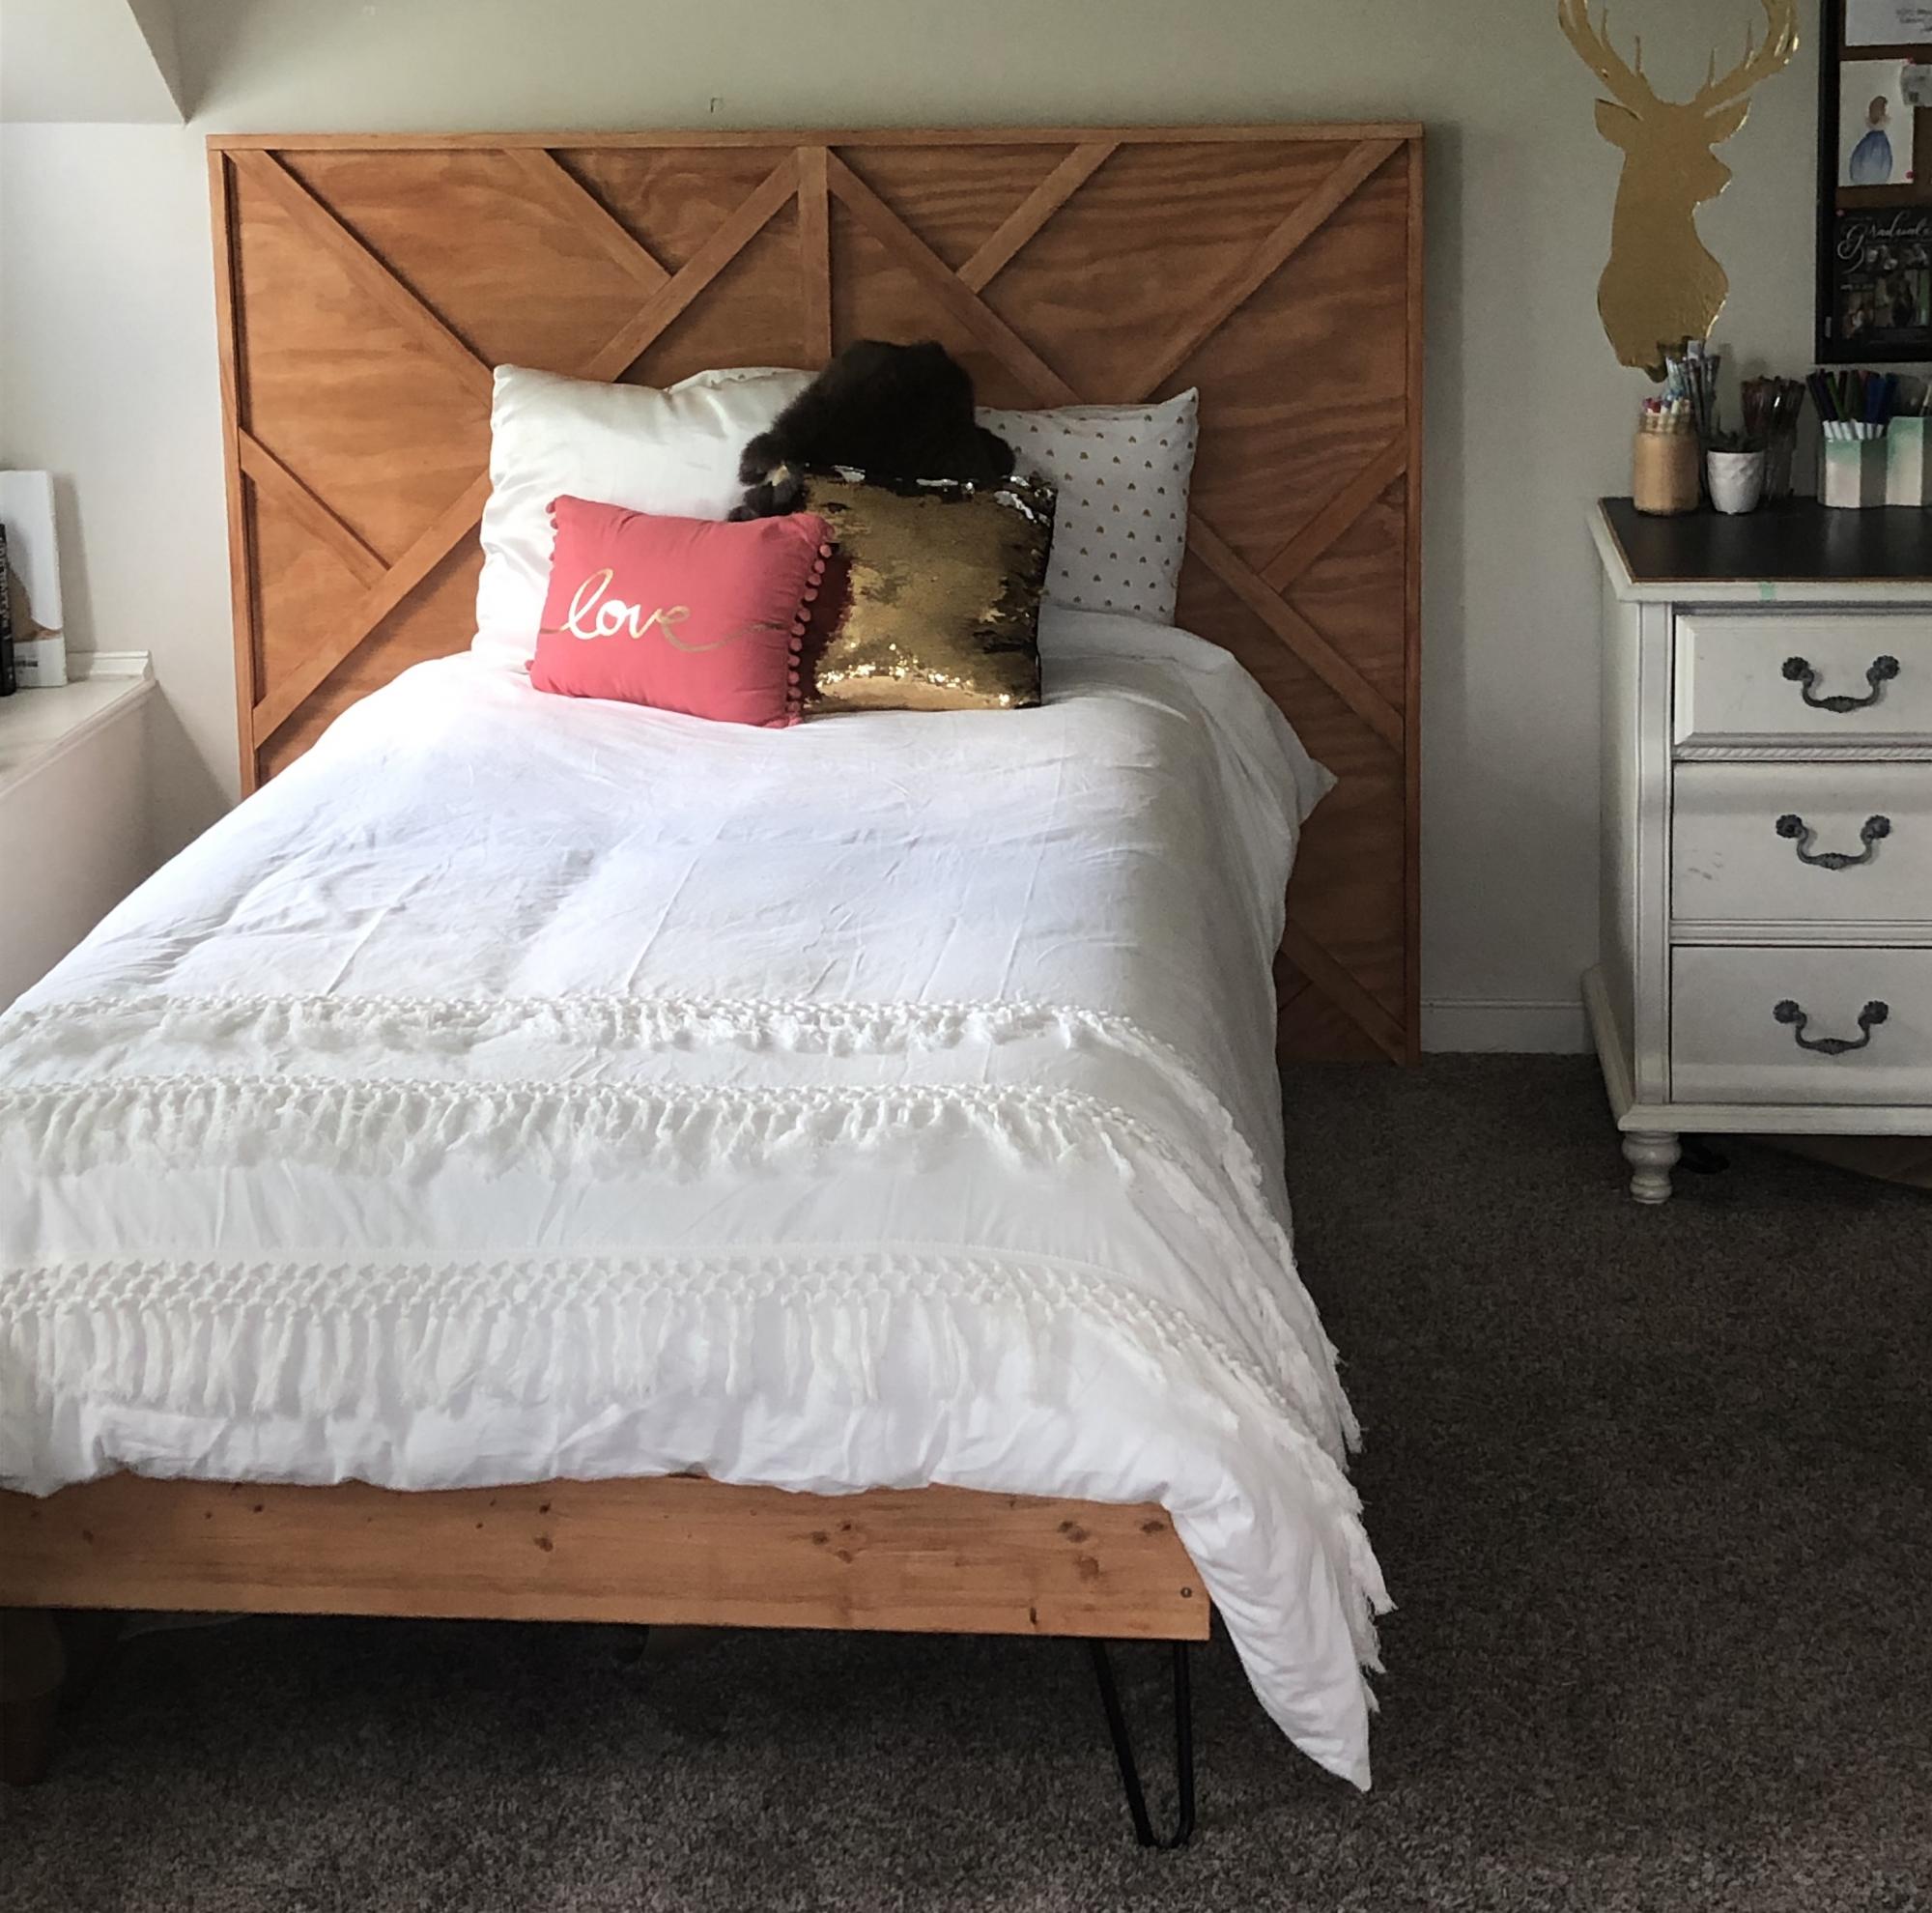
This was a fun build. I let my daughter design the slats on the headboard, and as long as all slats are either 90 or 45 degrees, the cuts and application are simple. Thanks, Ana!
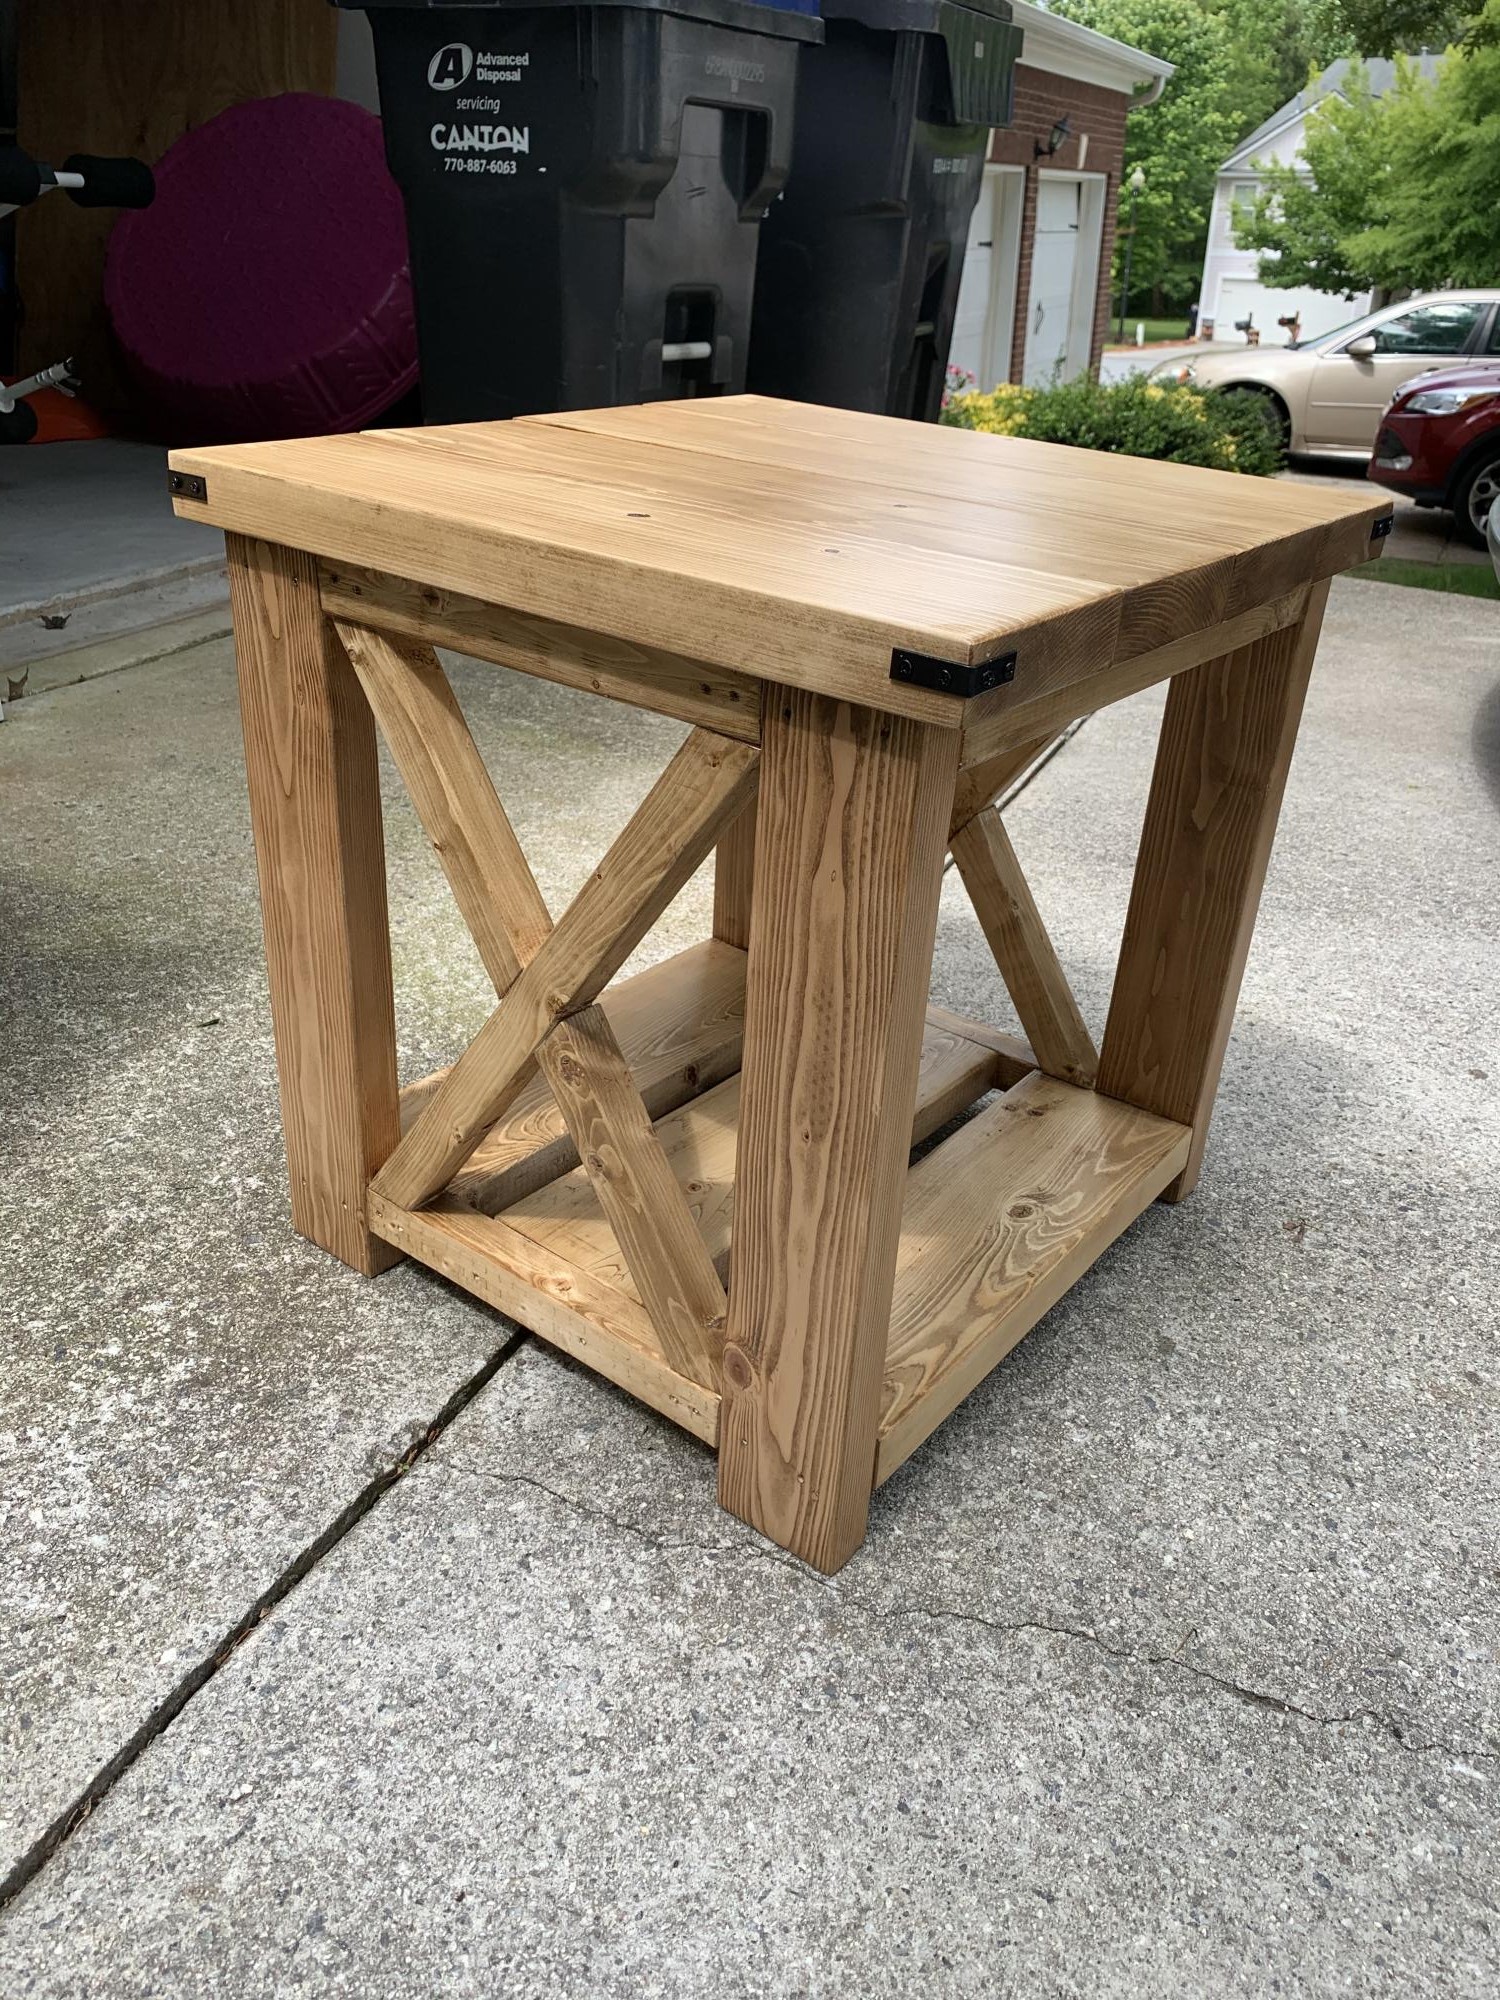
My 2nd ever build! Made to match farmhouse beginner coffee table. This is the smaller size posted. So Easy! Thank you for the plan and for the videos. I love them and am learning so much!
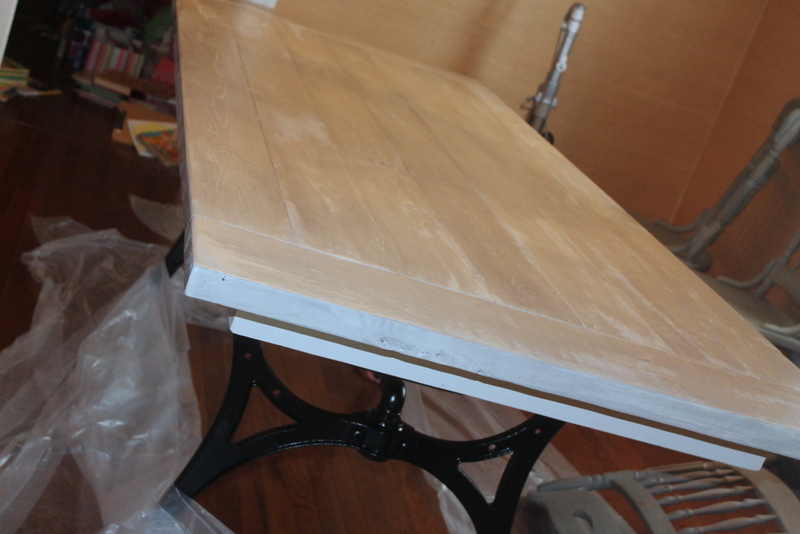
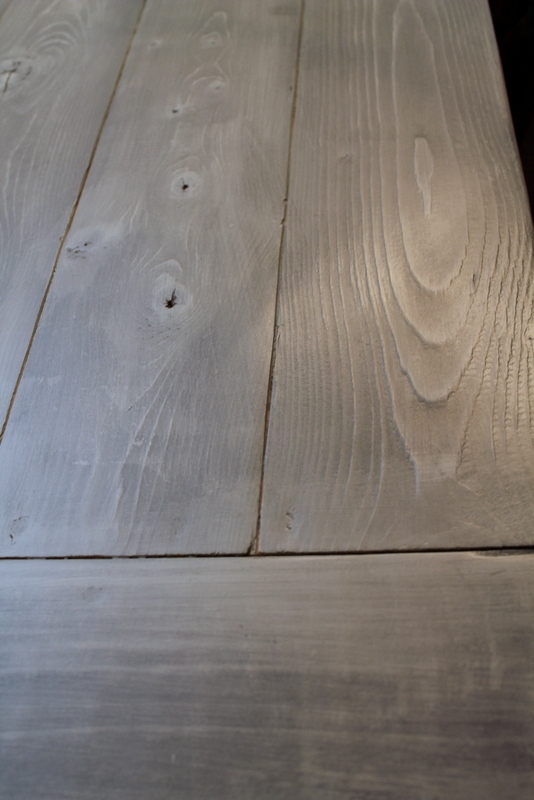
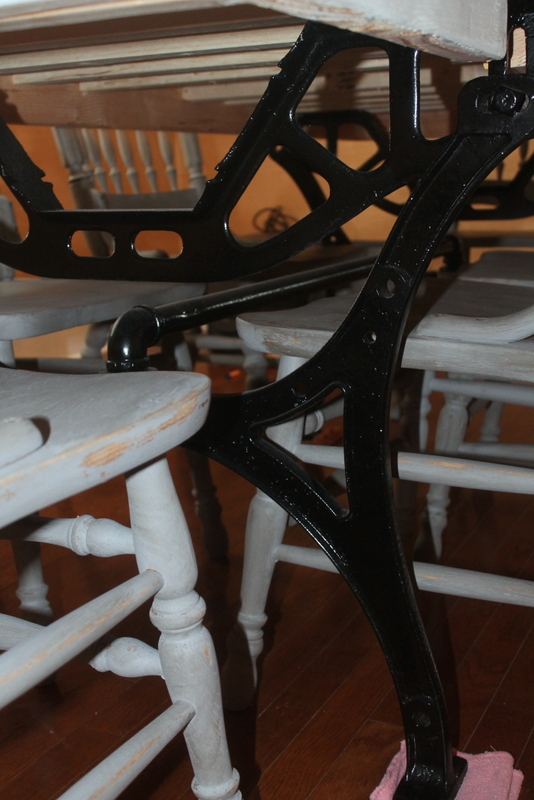
We just slightly modified the plan to accommodate our really great industrial sewing table base.
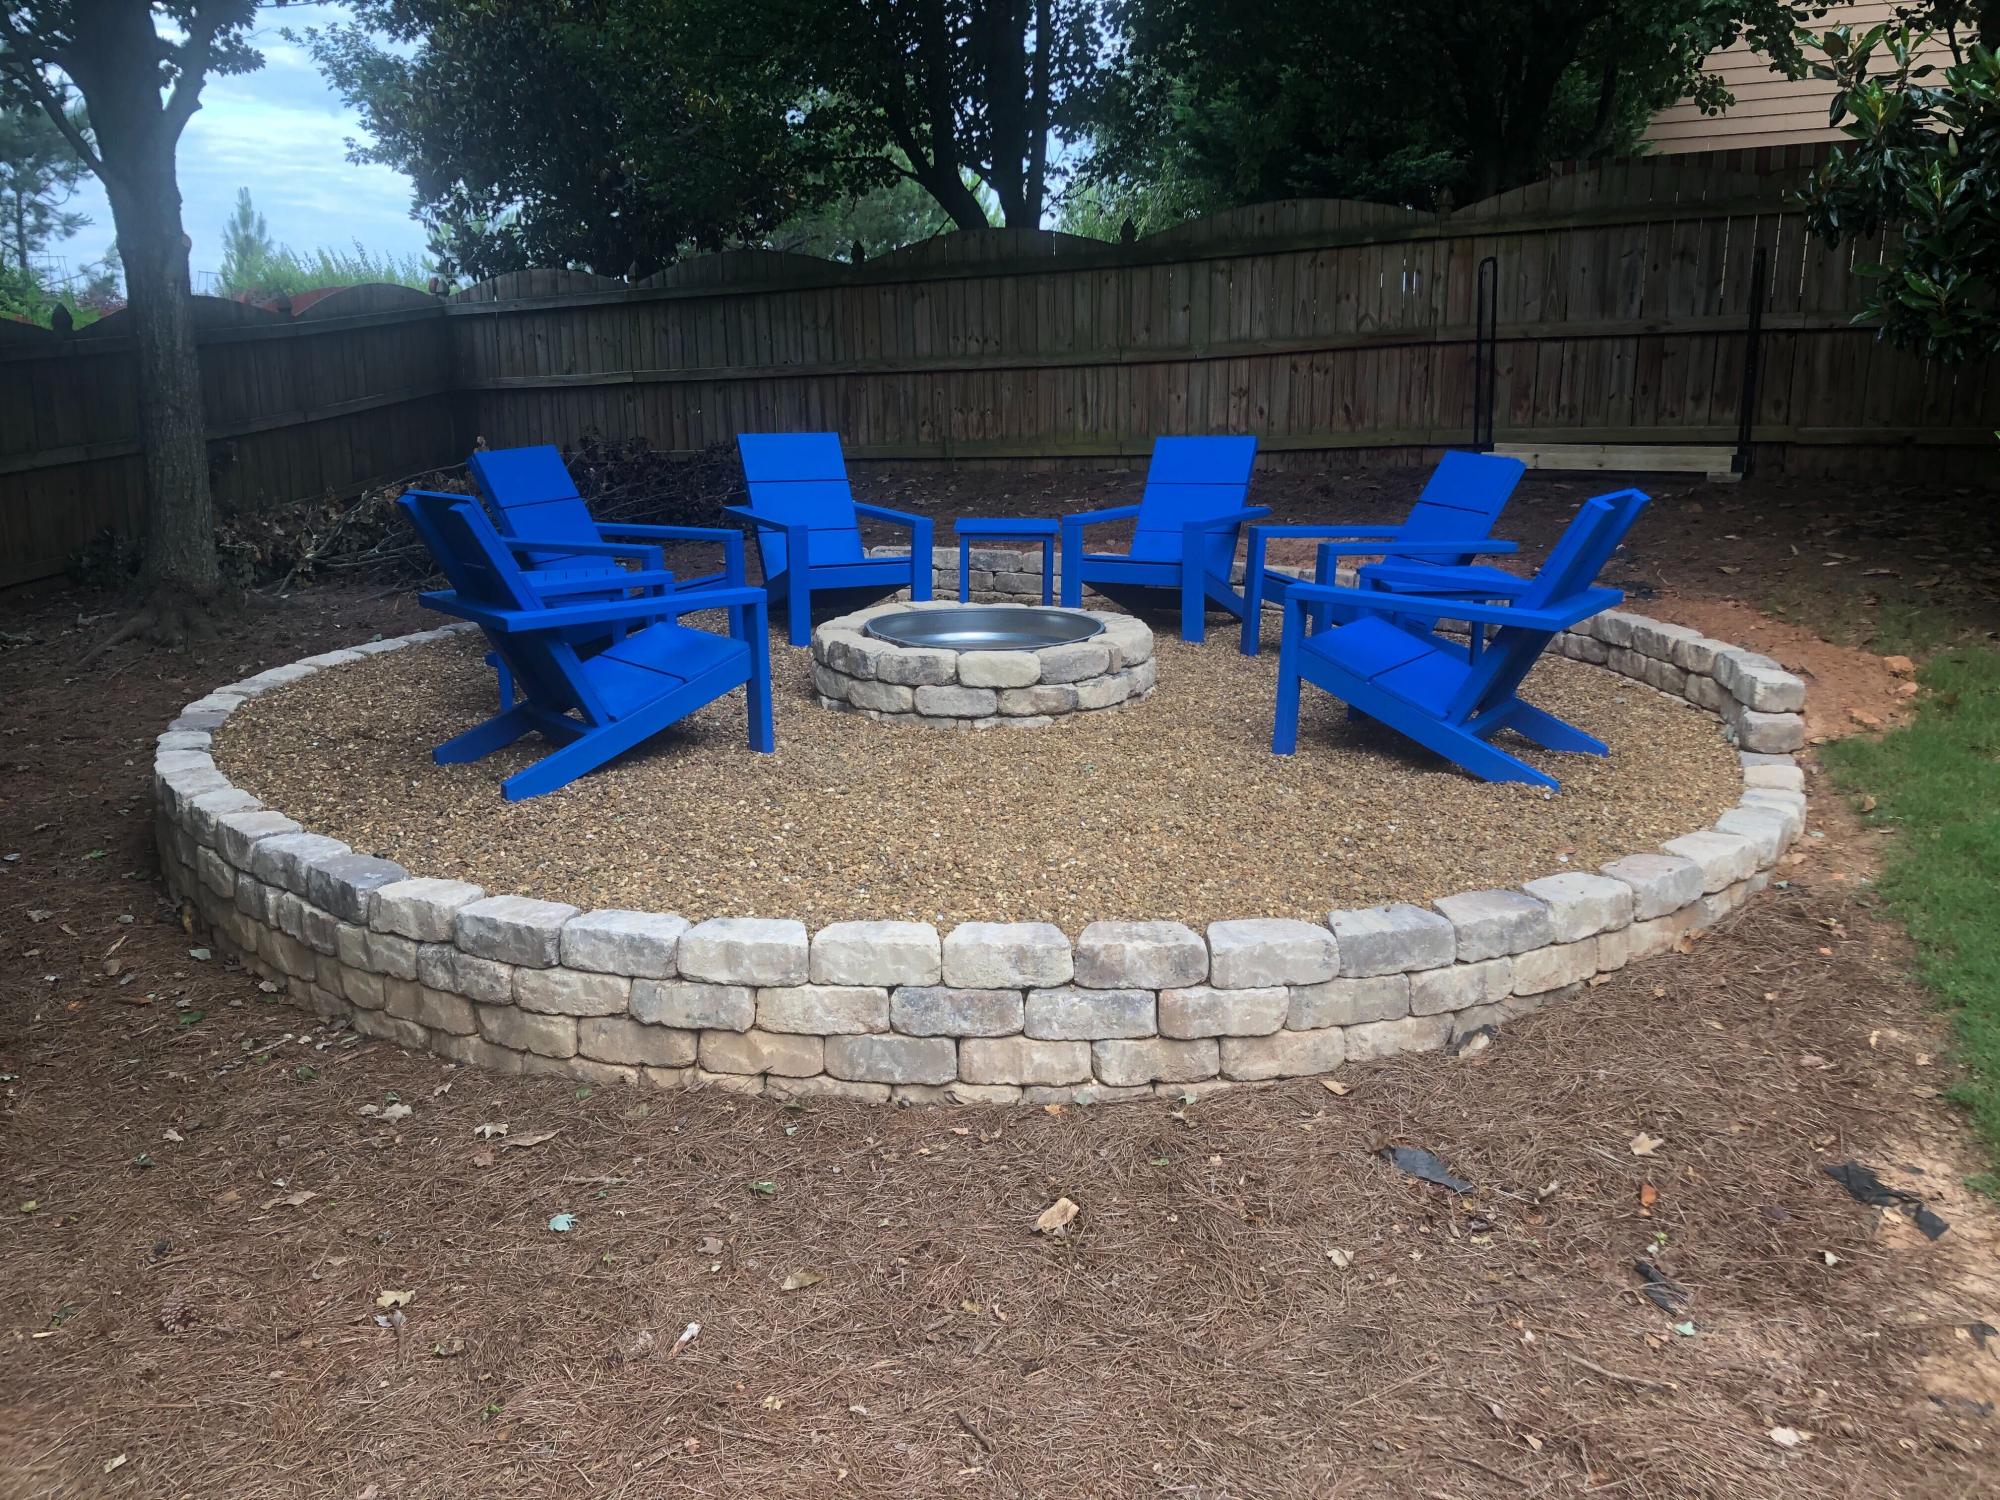
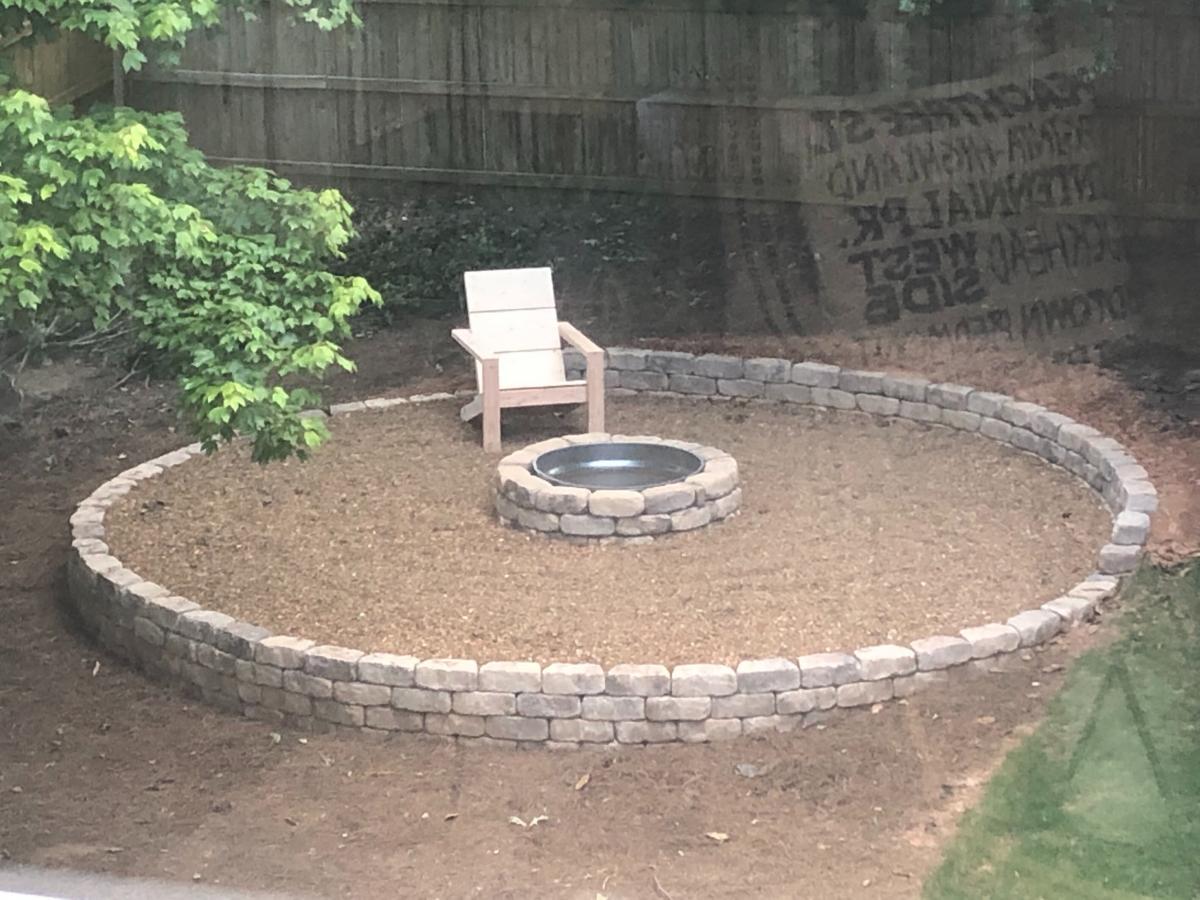
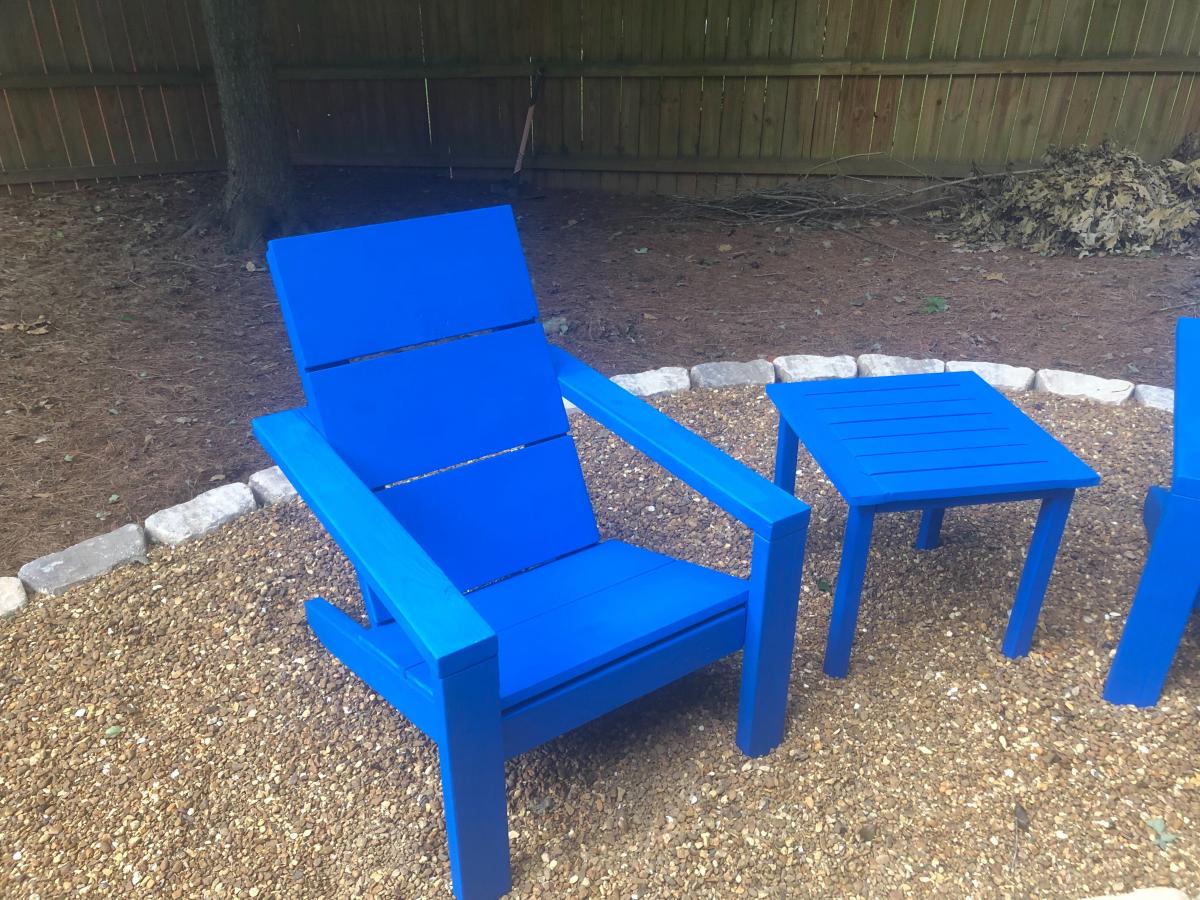
My little quarantine project all started with a three foot circle in the back corner of my yard and turned into this. After finishing the structure, we were looking at different furniture and considered either going on the cheap ($20 plastic chairs) or the expensive route ($1200) for this same setup. That was when I came across your site Ana. Your amazing plans and community's brag posts gave me the confidence to give it a go and we could not be happier with the result.
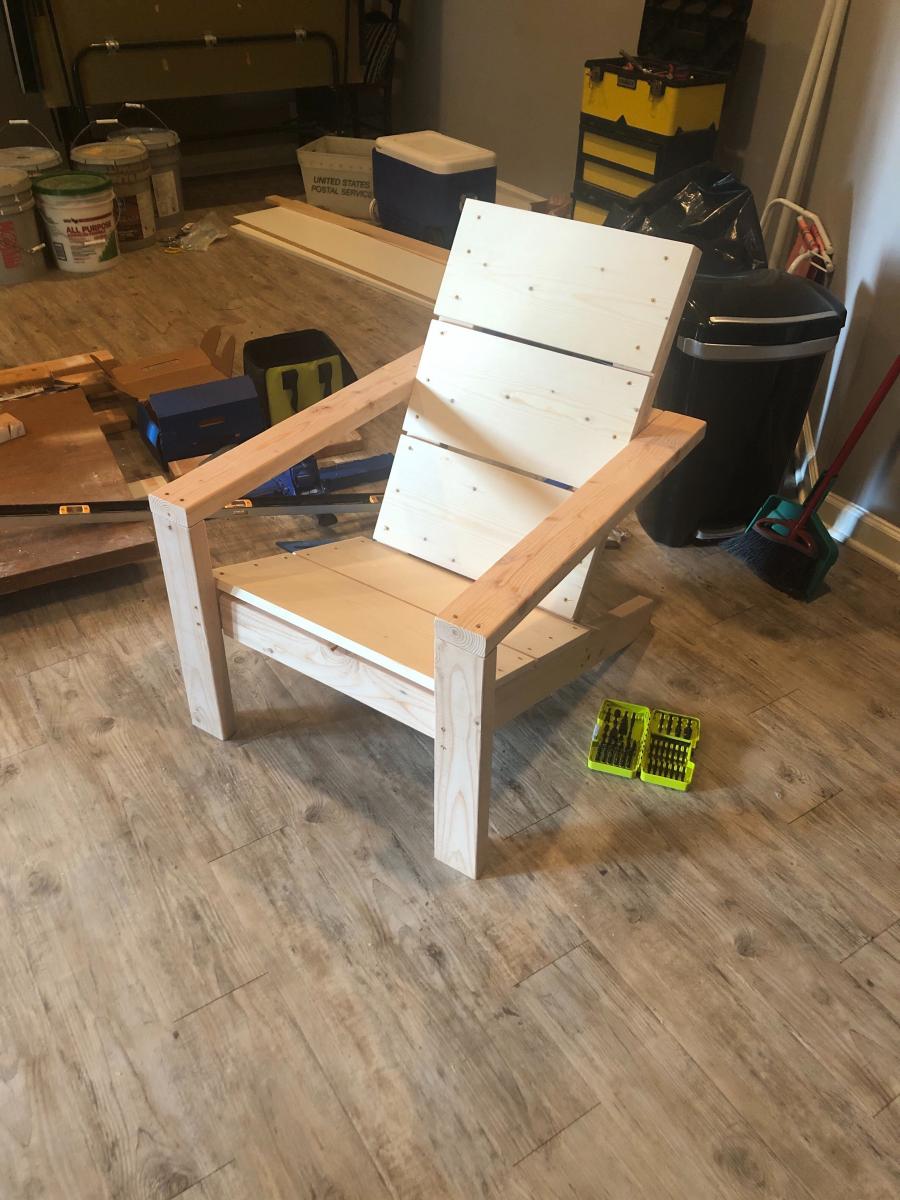
The chairs and tables went together super easy as everyone had mentioned. I sanded everything before cutting and then just sanded the cut ends. I did not have the stain on hand (not did we know the color) so we waited until after assembly to stain, which ended up not being too bad, just a lot of little nooks and crannies to get into. I used a small foam pad to get in between the boards.
Overall, I would say that the build, from start (rough lumber) to finish (sanded and assembled) took me about 2-3 hours per chair, and about the same to do two coats of stain on top and one on the underside, bringing the total time per chair to about 5 hours.
Now on to the landscaping... ;) I am also planning to build some planters to hold posts to hold some string lights around the perimeter. Boy how these little projects have a domino effect...but in the end, there is nothing better than sitting back and enjoying the fruits of your labor.
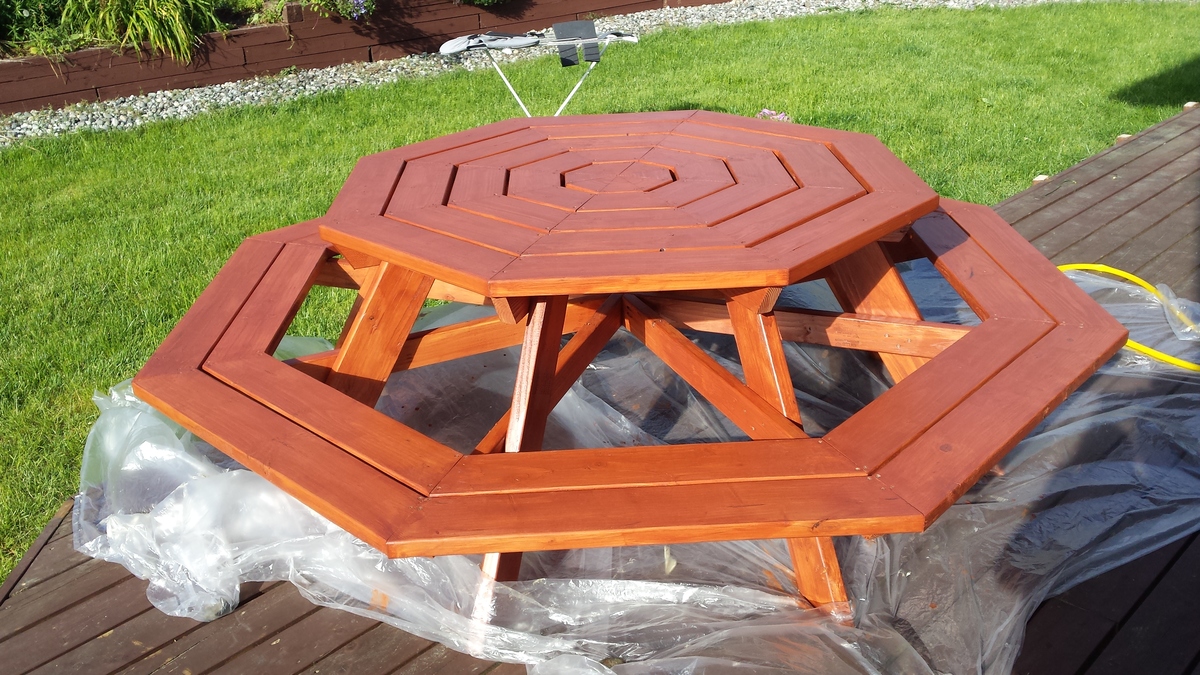
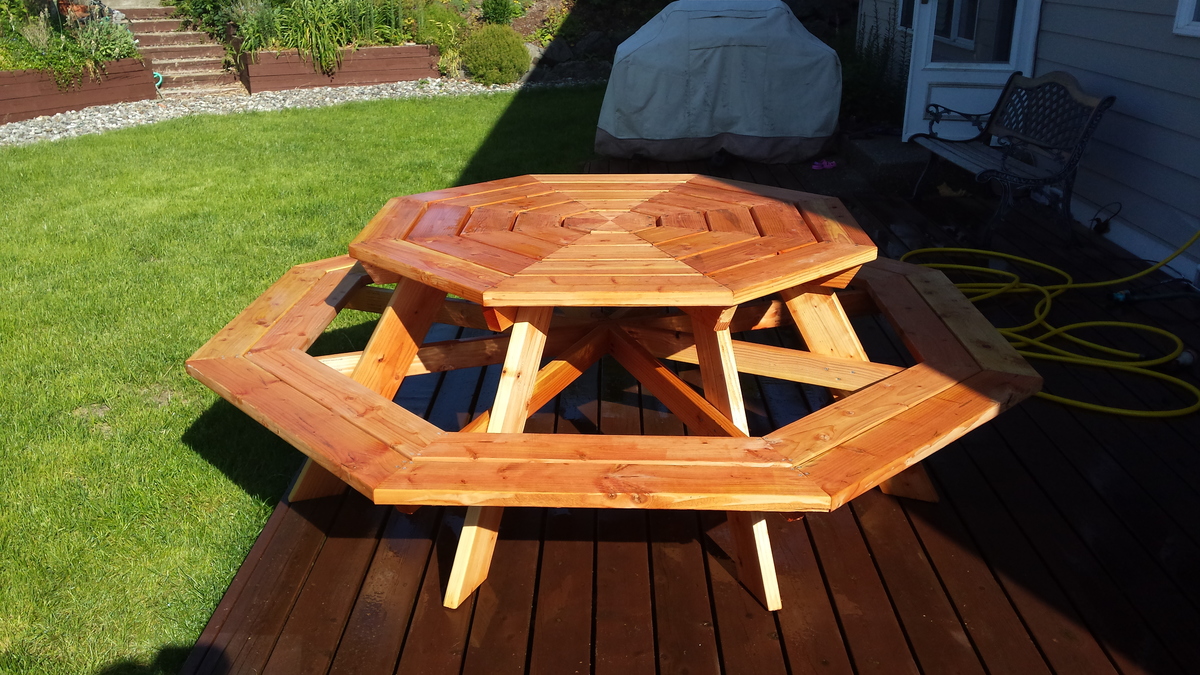
Finished building this table with the plan provided by Ana White! Worked out great. I stained it in a with a transparent deck stain in natural sequoia. Happy to help if anyone has any questions!
Tips: Definitely cut as you go. If you get the angles are off in the center when all the long pieces connect is it makes each top piece larger or smaller.
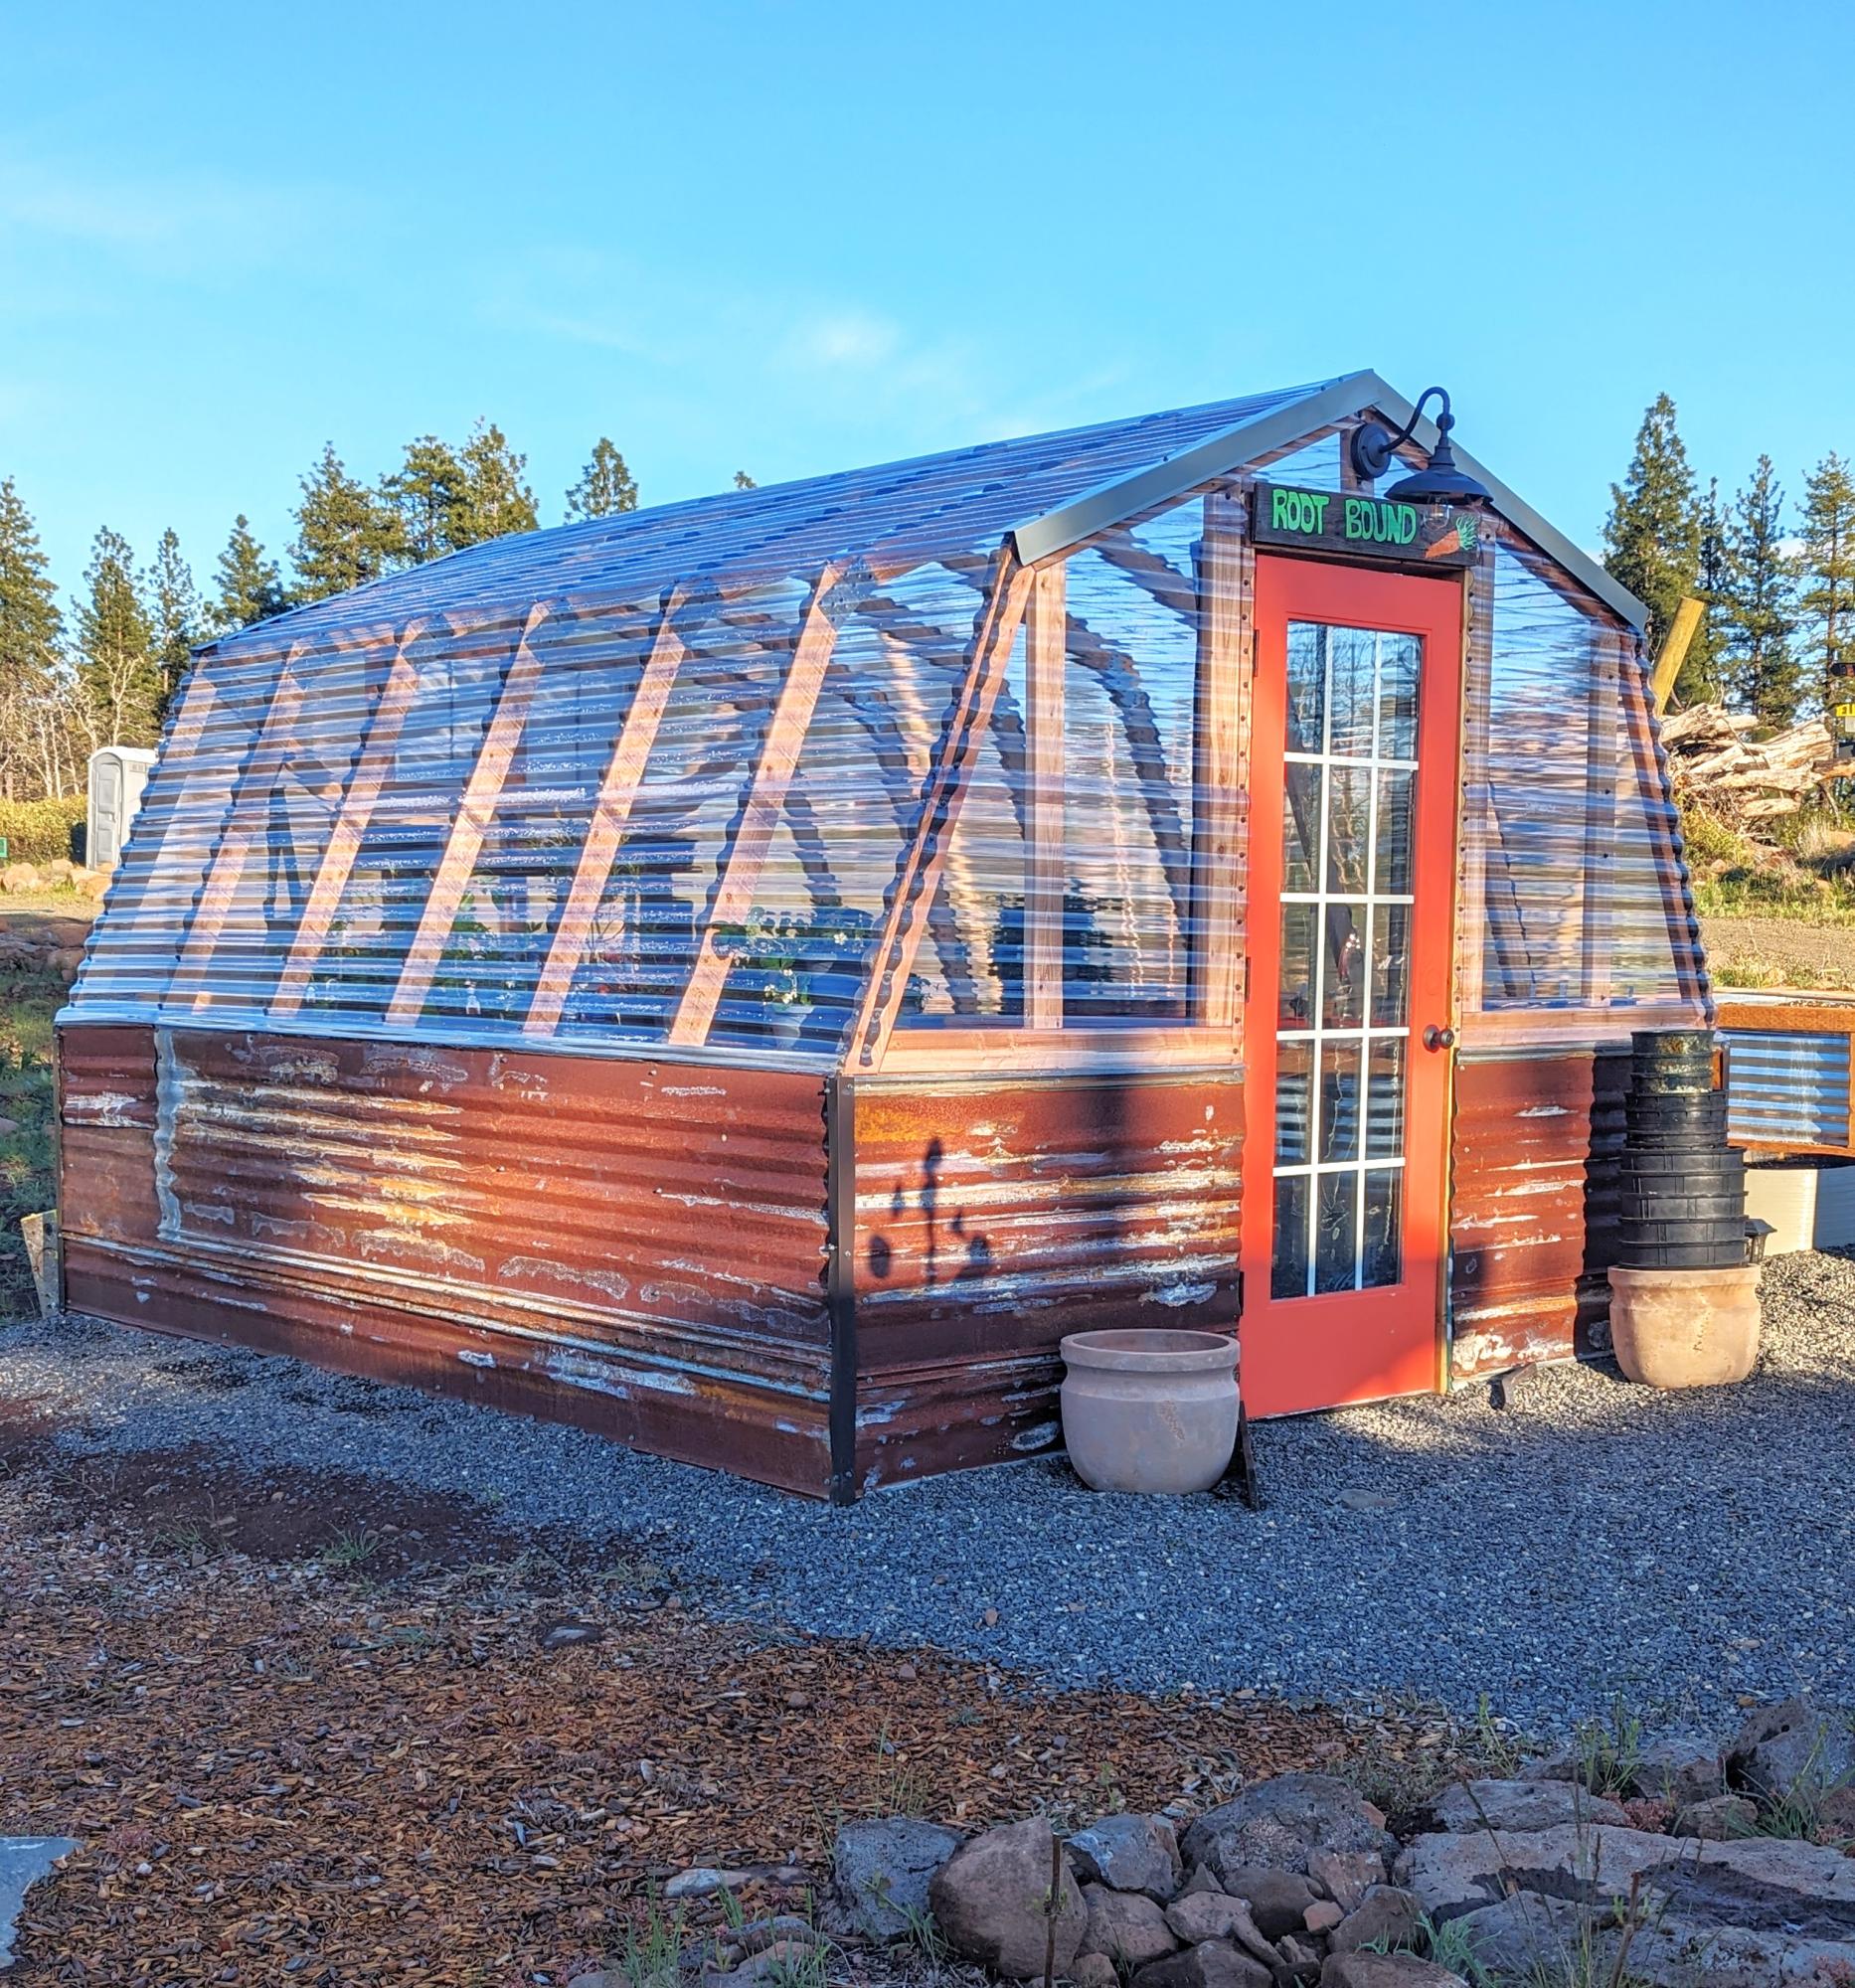
My wife & I did this in two weekends, we're not that handy but your plans were easy to follow. Mostly reclaimed material. So fun & we love it!
Thanks!!
Tammie & Scott
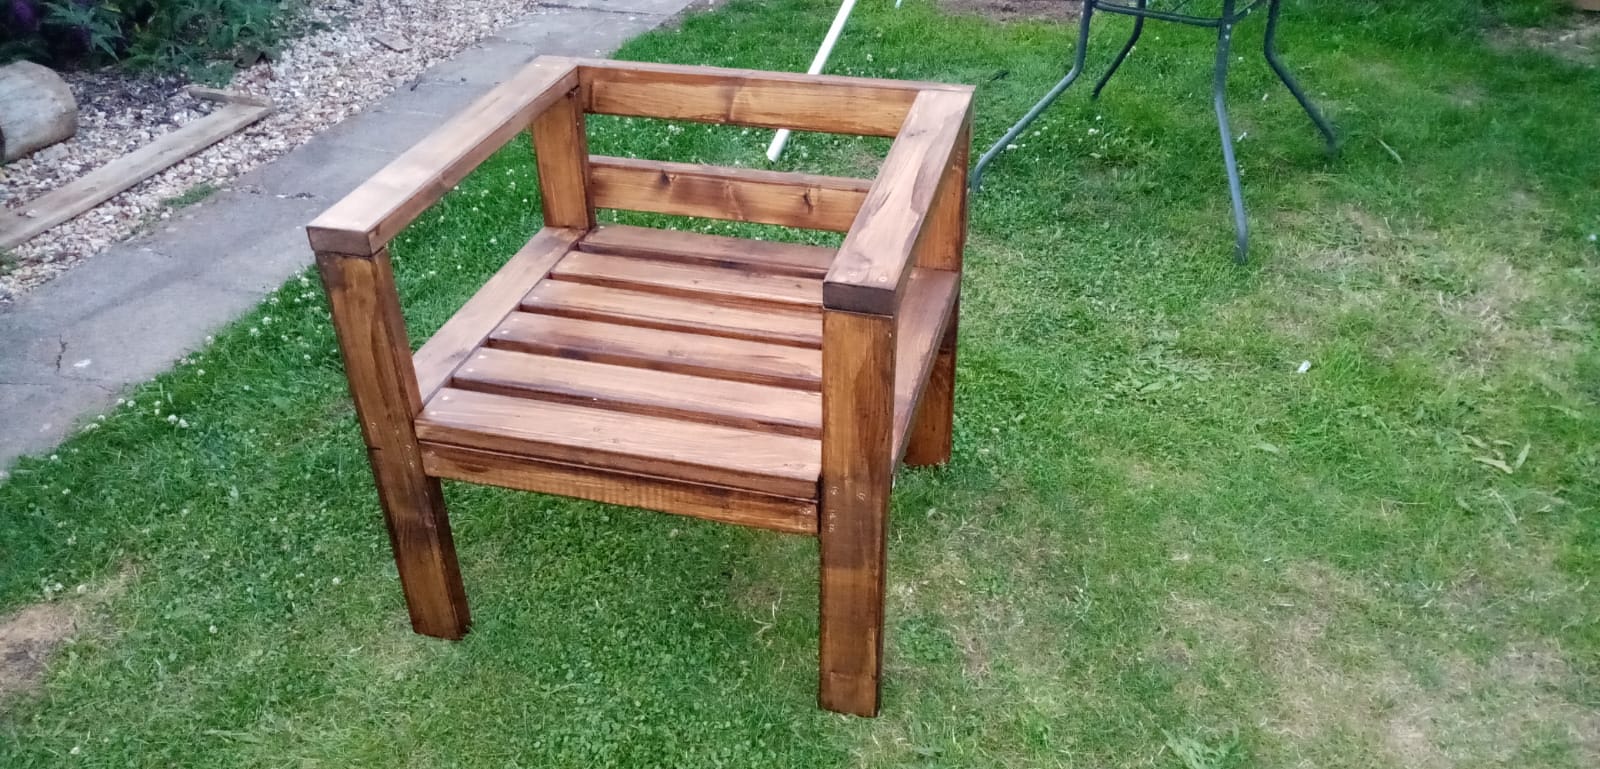
Single seater chair to match the sofa
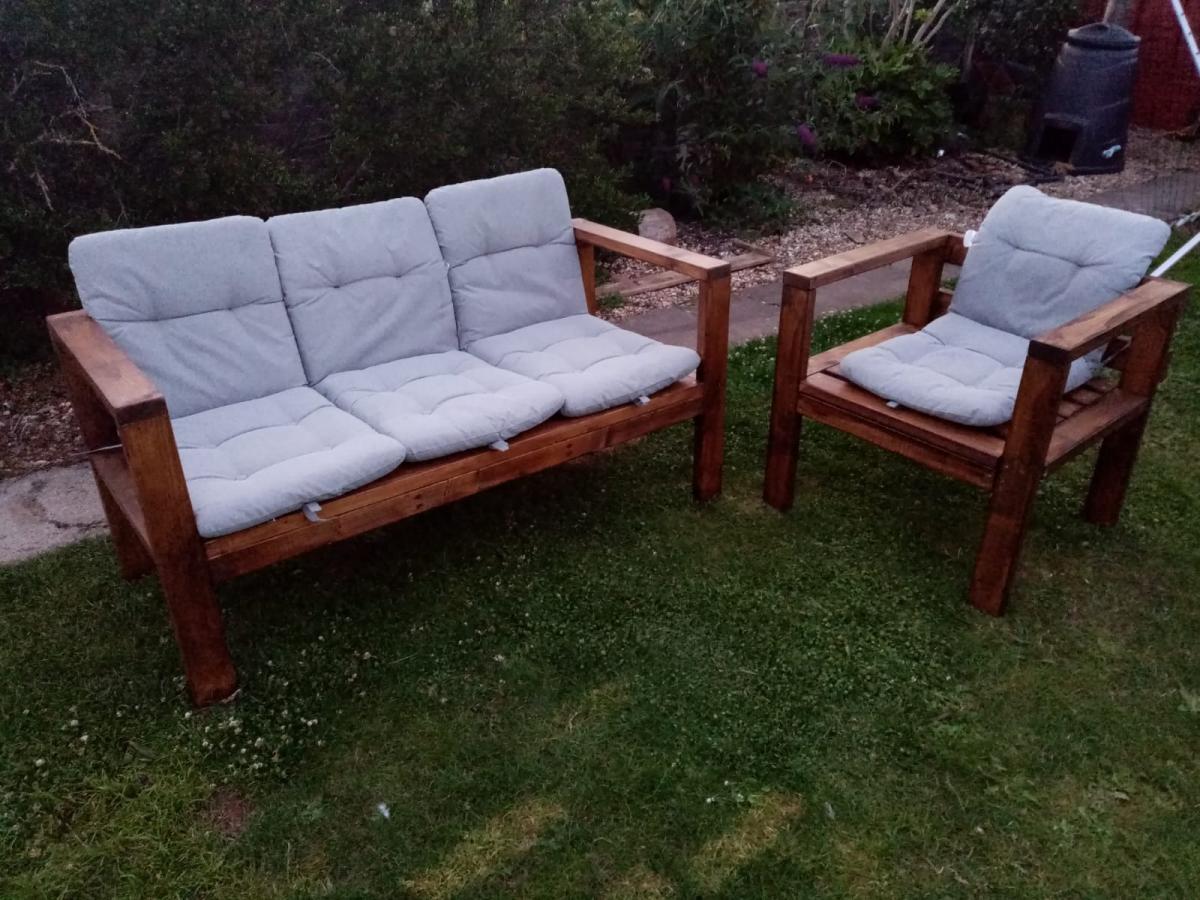
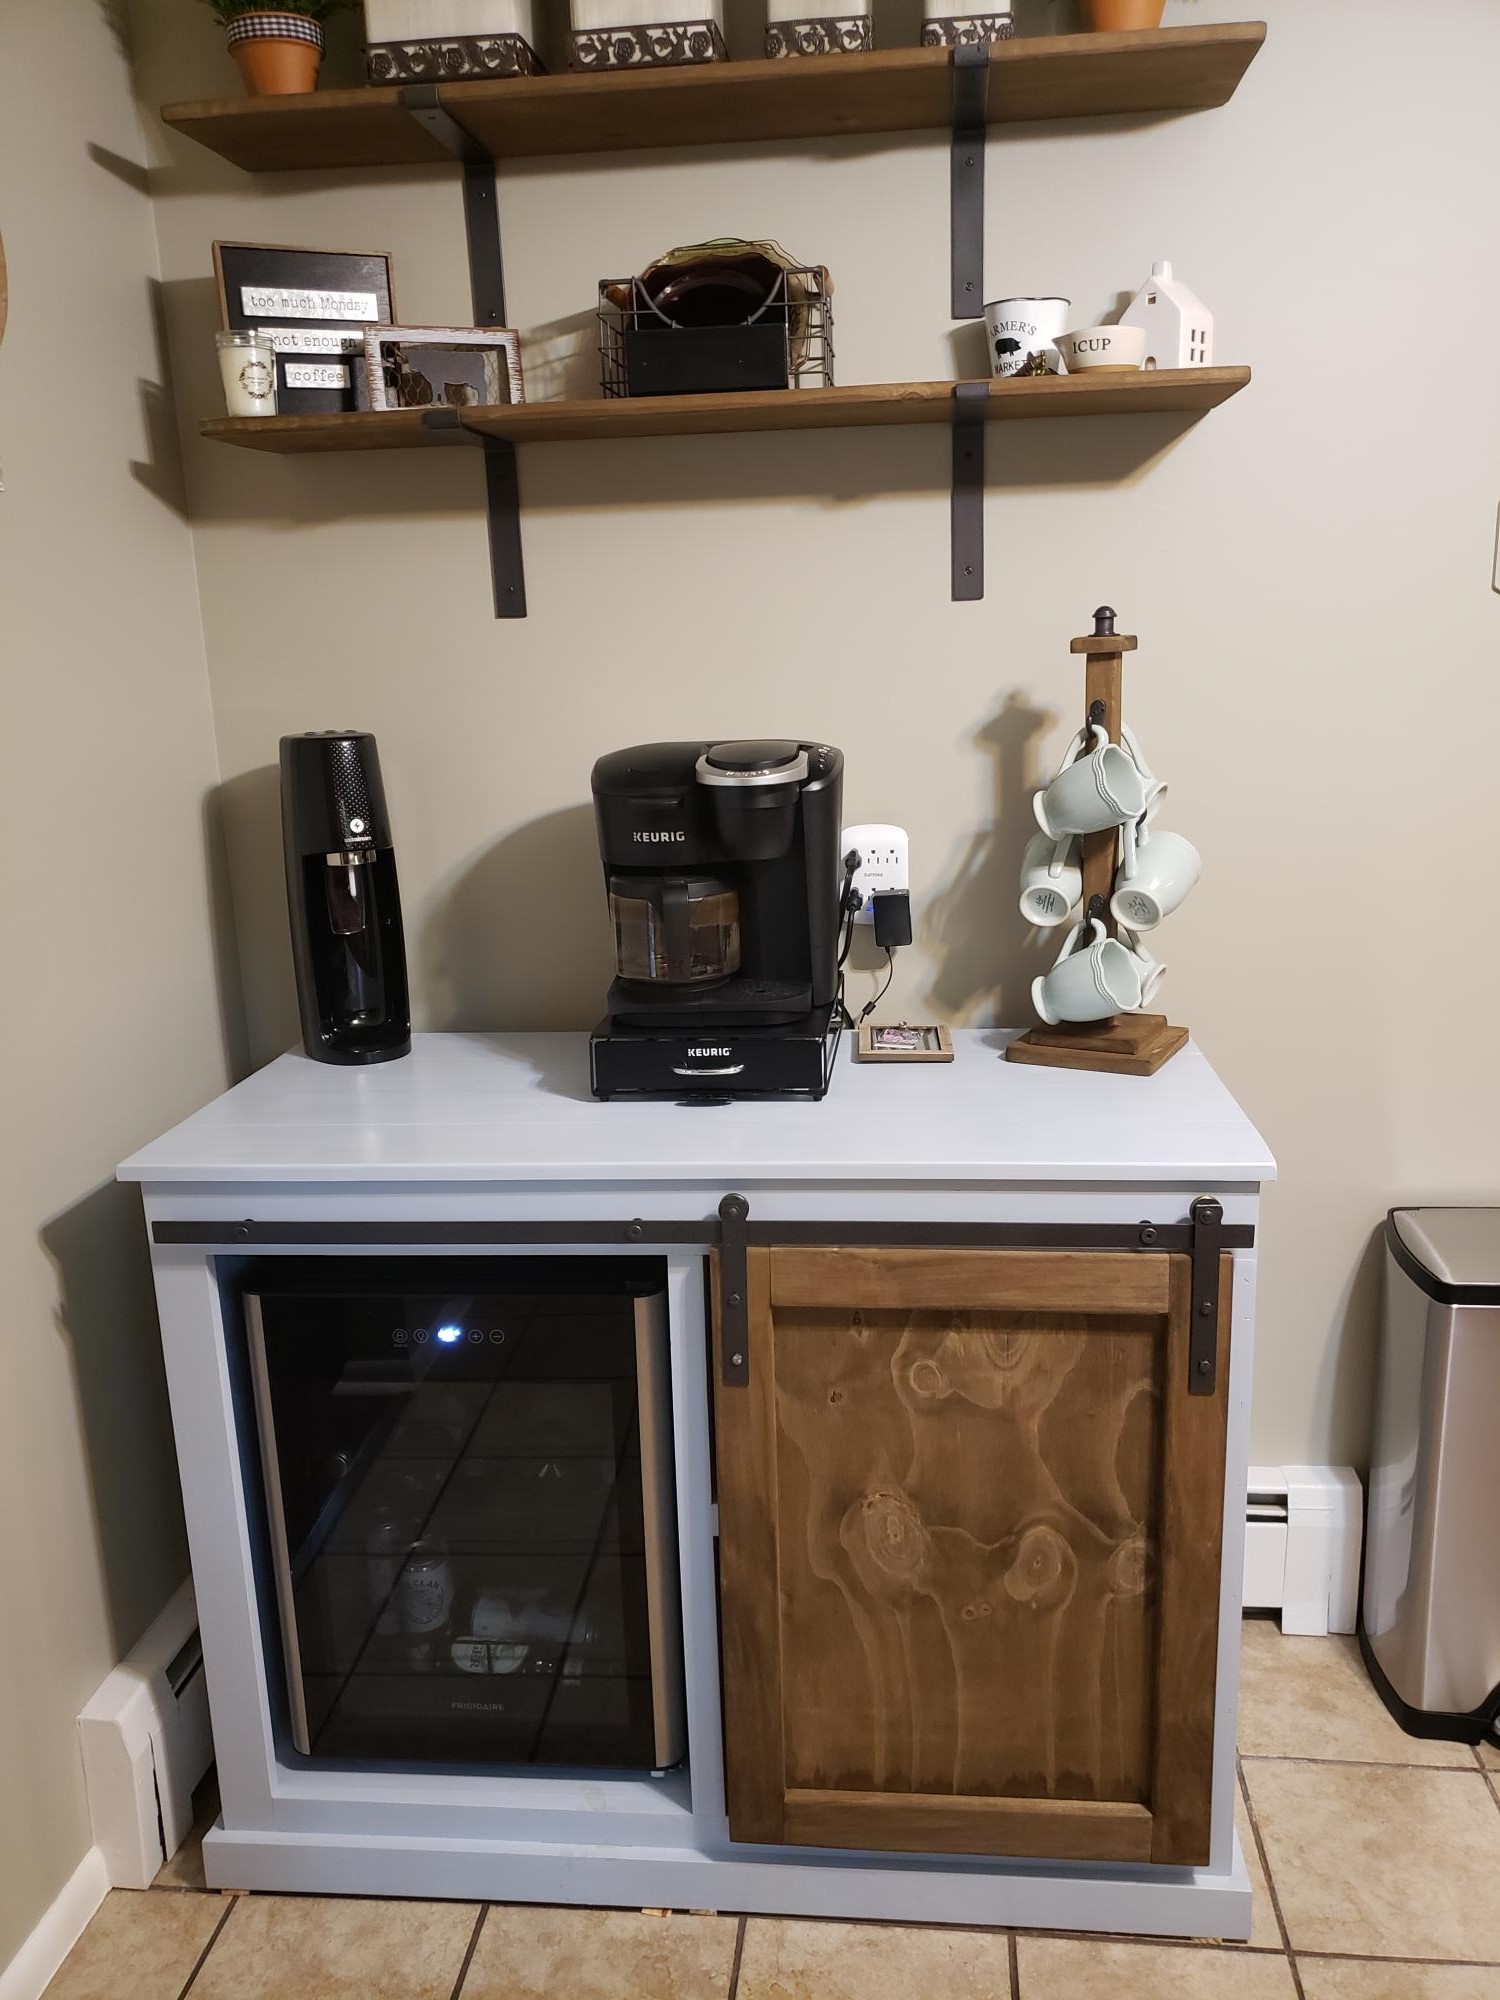
My first larger build. Had a lot of fun with it.
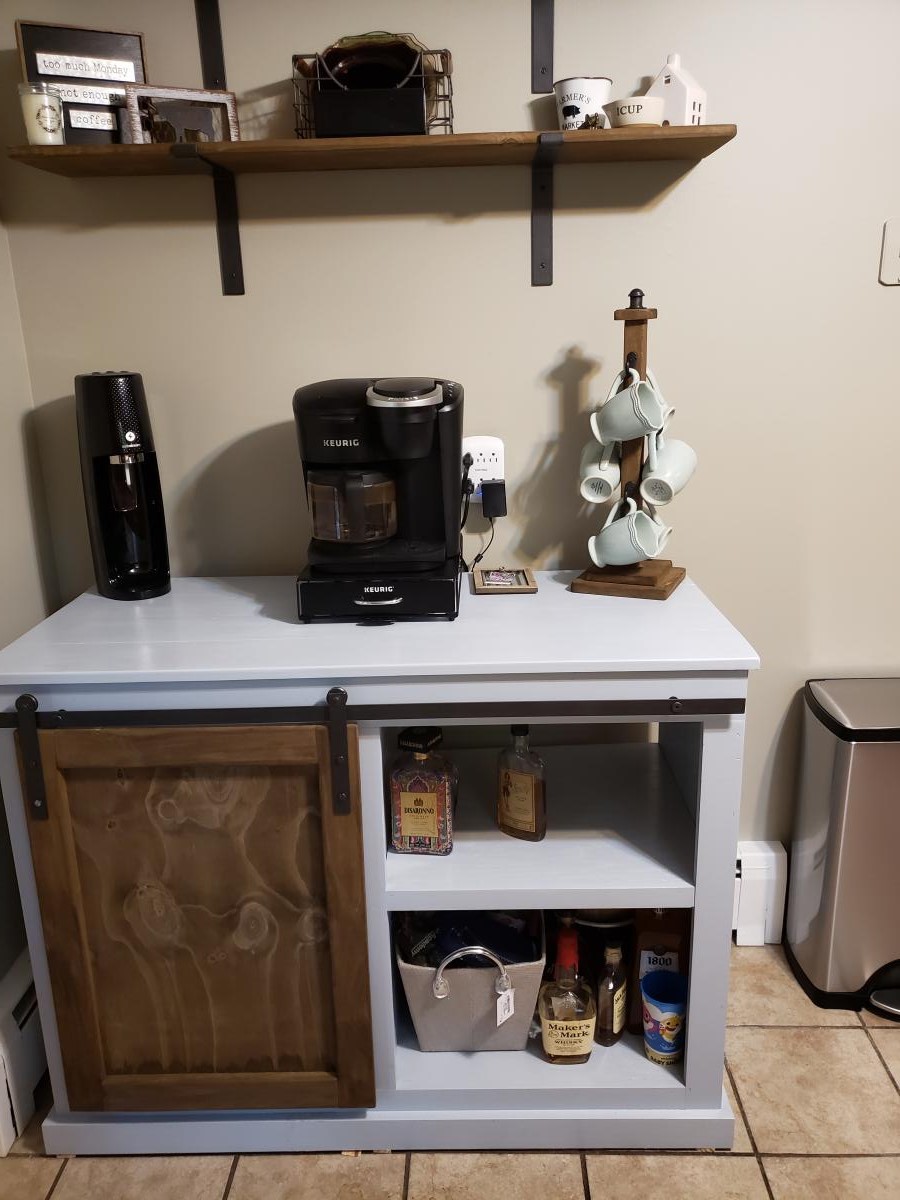
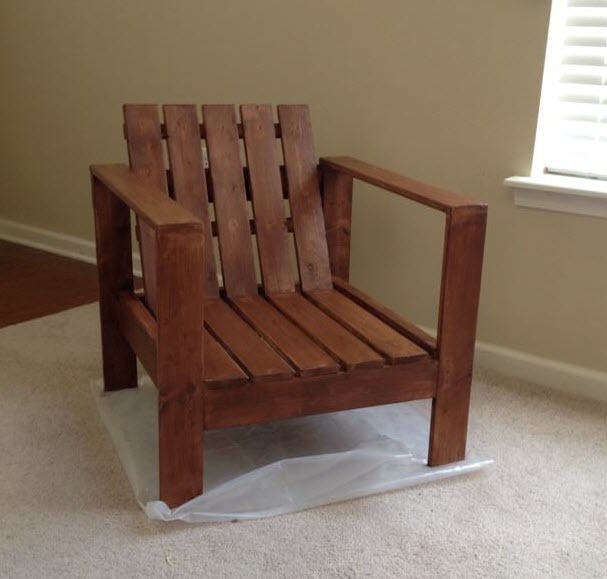
This was my first project from Ana's site. I wanted something simple and cheap to make, so all in all, this project was very simple.
I think I will paint instead of stain next time though as the quality of the wood I purchased from Home Depot wasn't the best.
Very happy with it though, and I'm planning on making more.
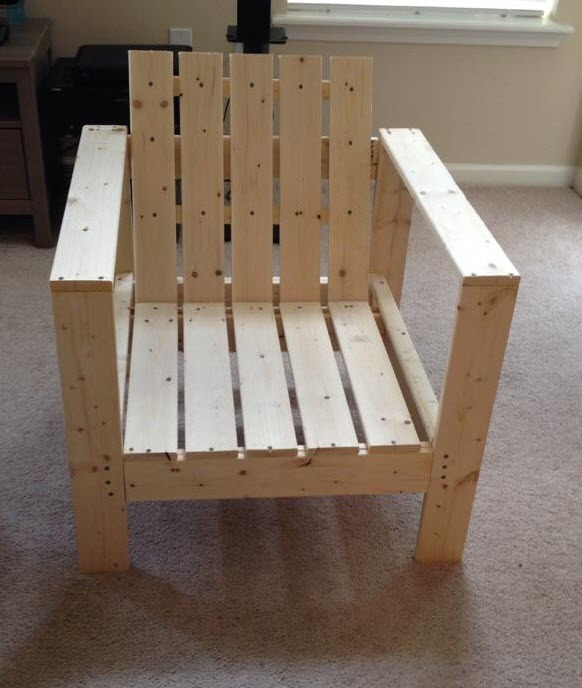
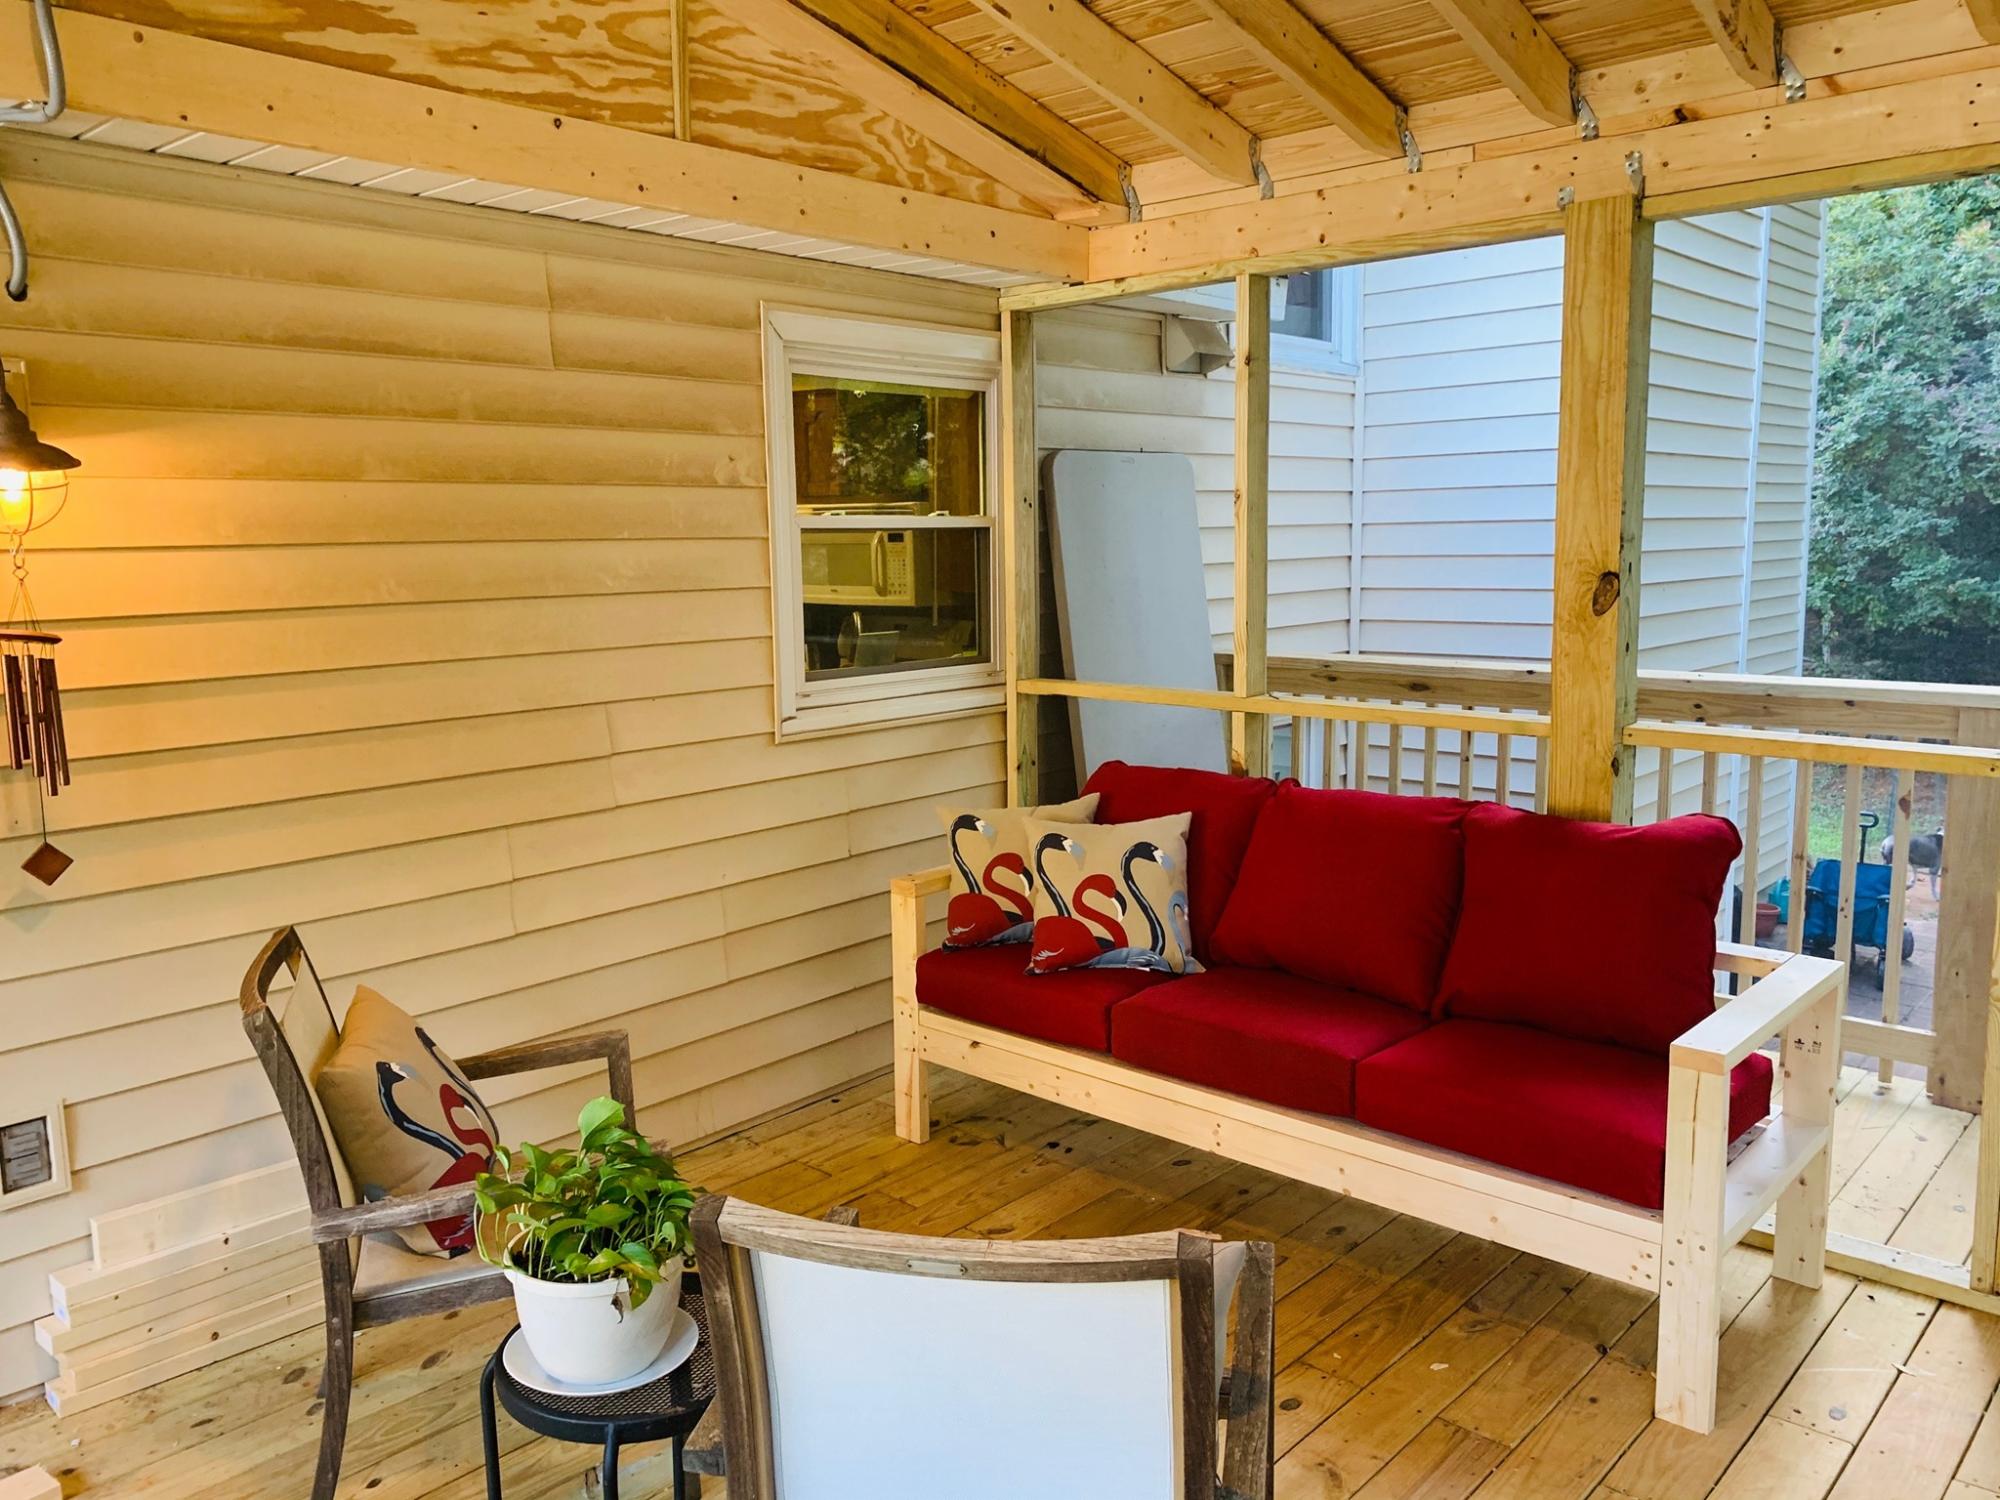
Followed the plan exactly. Added an extra 6 foot board across the back for better pillow support. Got the 24" cushions from the big box store. With one extra 8 foot board + left overs, I have enough to make a modified, small 34"x17" coffee table from the 2x4 plans linked below, which is perfect for the space I need. Will add a photo for that when I'm done.
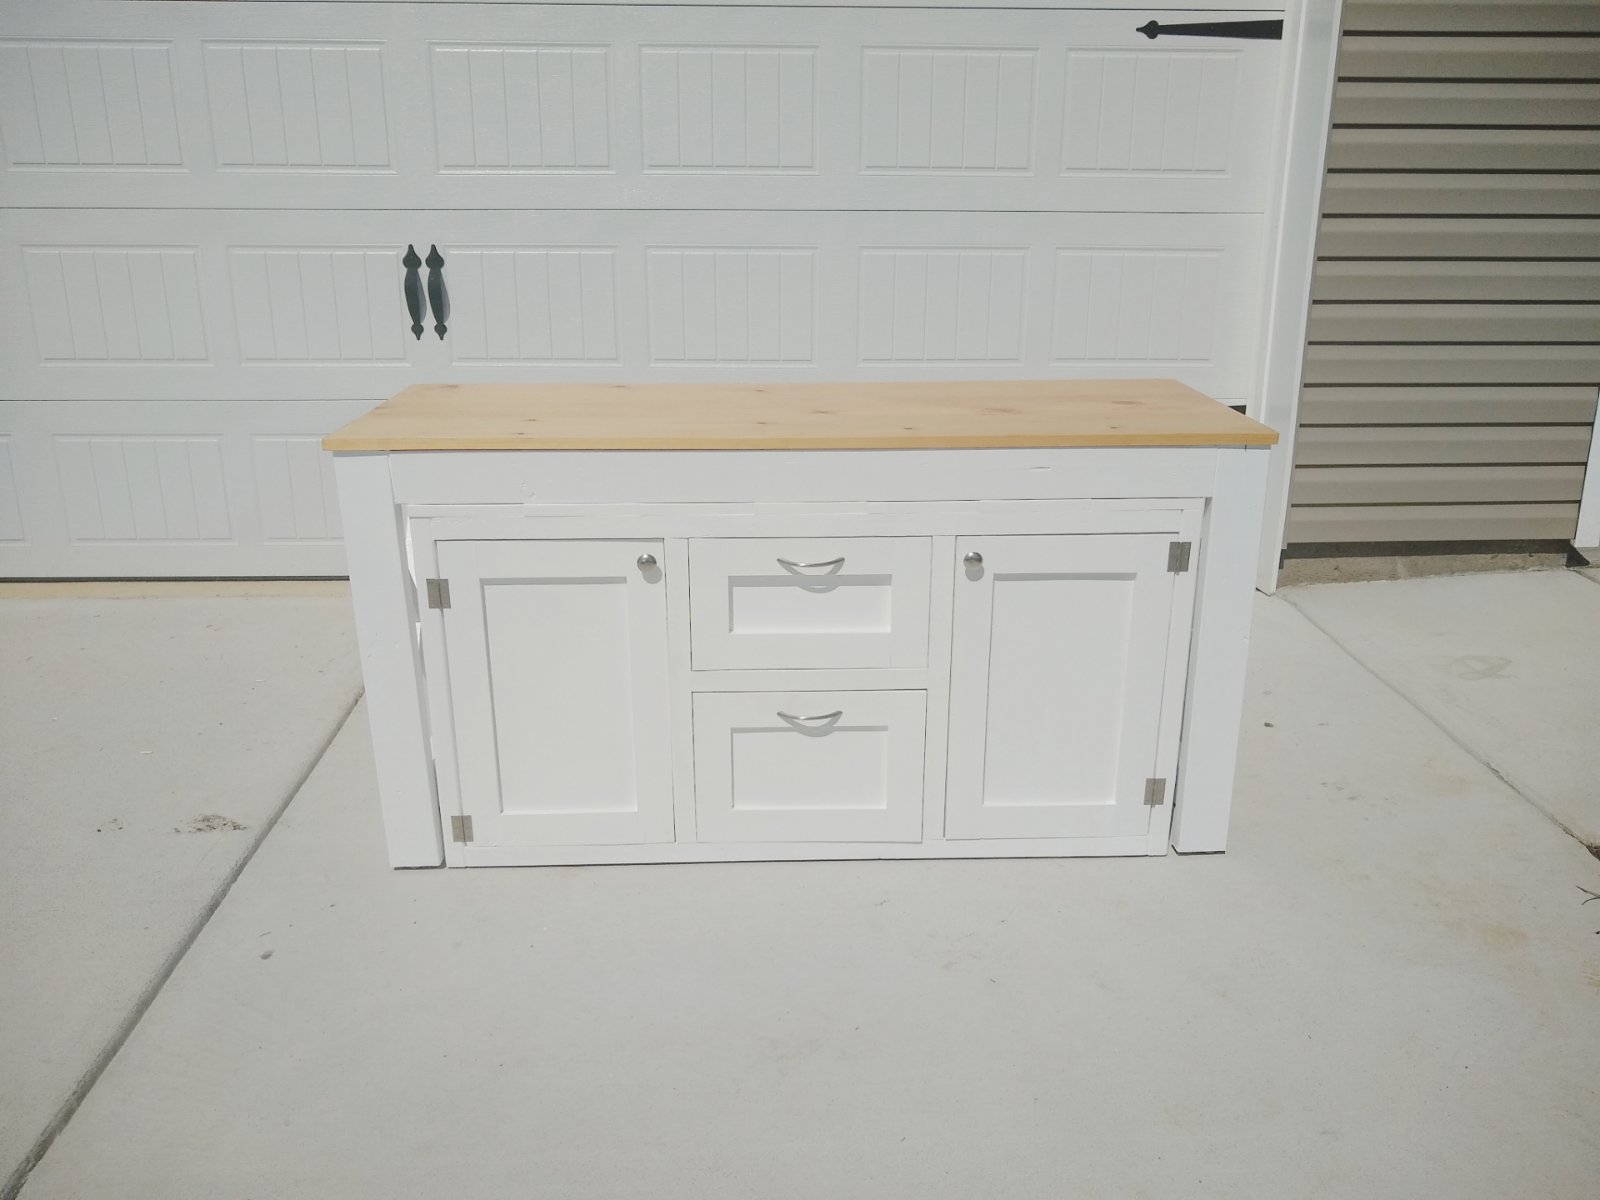
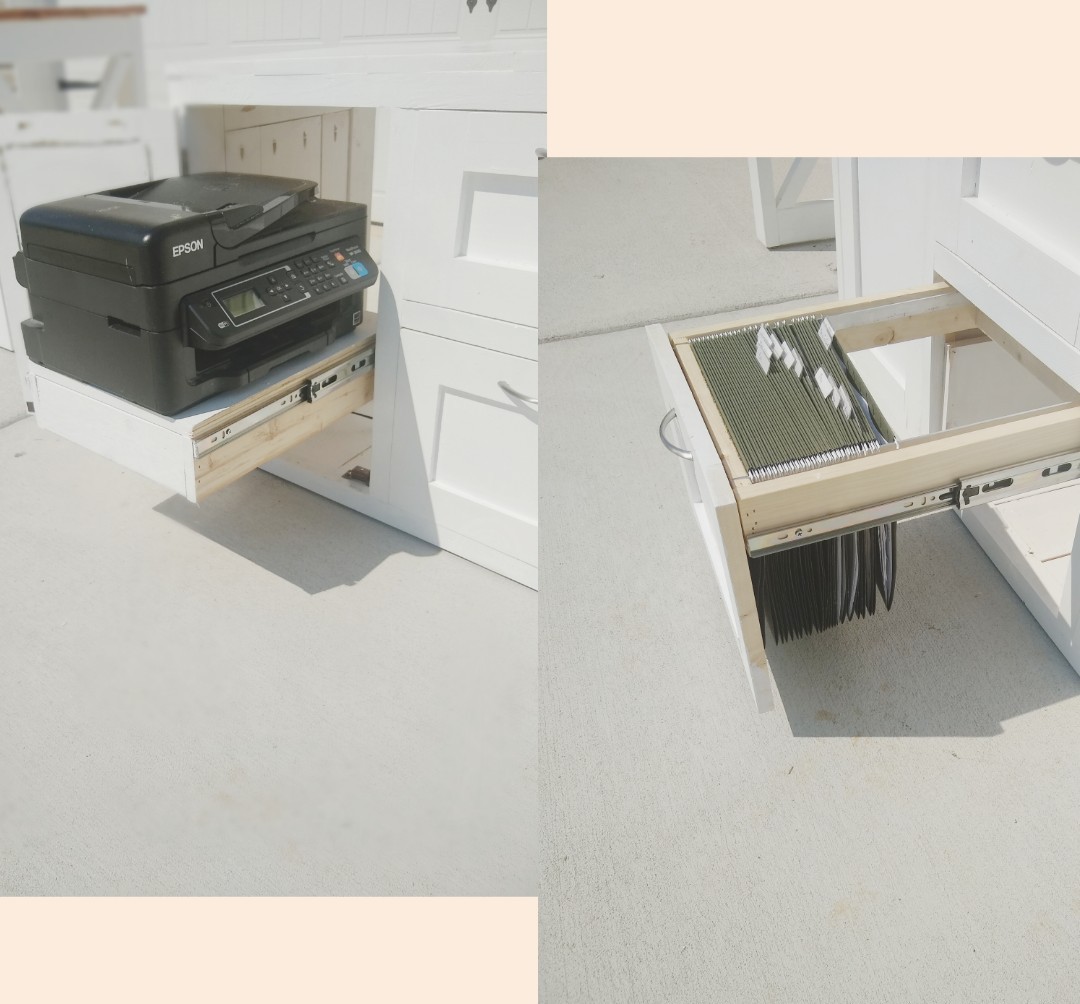
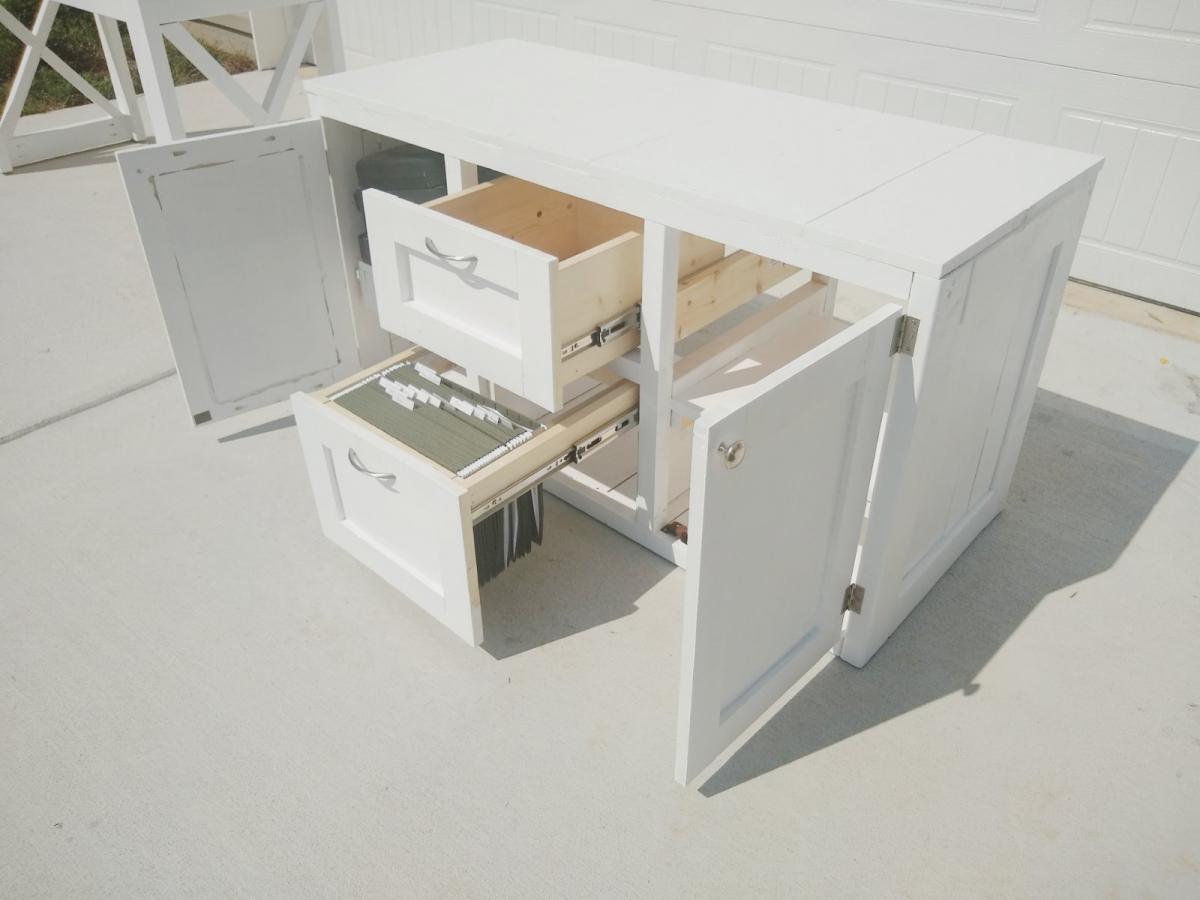
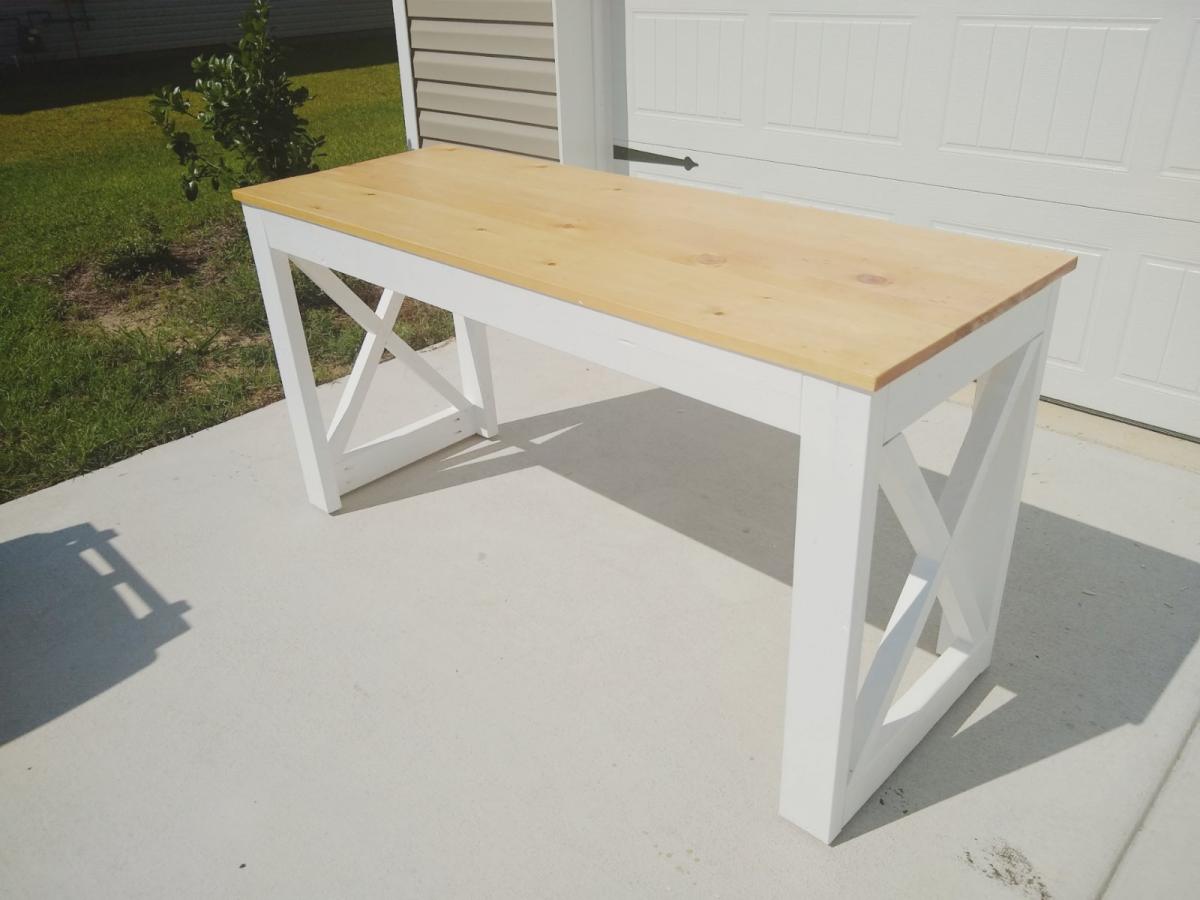
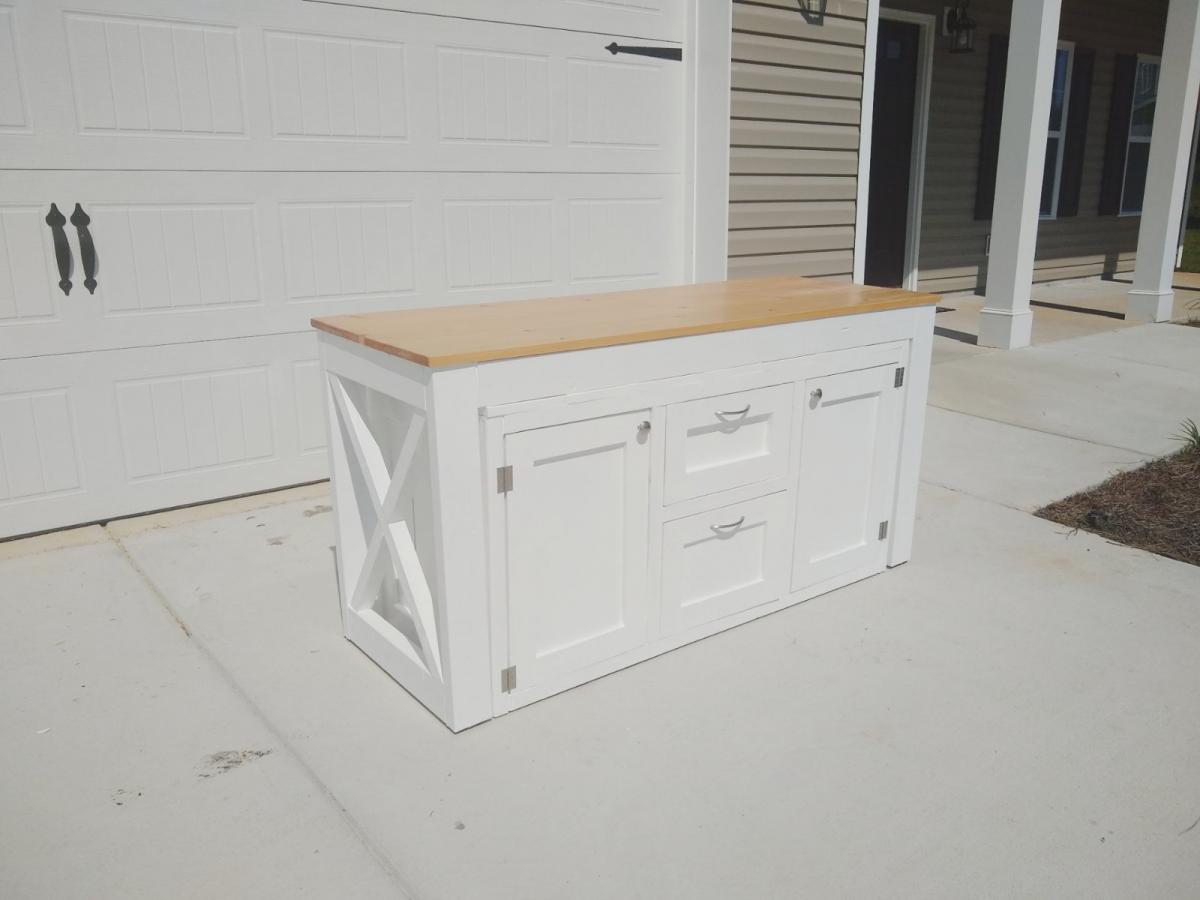
So loving this nesting office station❤️! We will have a sofa sleeper in the office as well. So we needed a desk that could be moved to the wall when the sofa sleeper is being used by guest. I saw a post from Ana for her Nesting Grill Station and I came up with the idea to make this nesting office station. The cabinet includes a file folder drawer (which is from Ana's mail boss plans), a regular drawer, cabinet doors with shelves. One of the shelves is a pull out shelf for the printer. I think it came together great! Design for nesting desk inspired by these plans: https://www.ana-white.com/woodworking-projects/nesting-grill-station https://www.ana-white.com/woodworking-projects/mail-boss
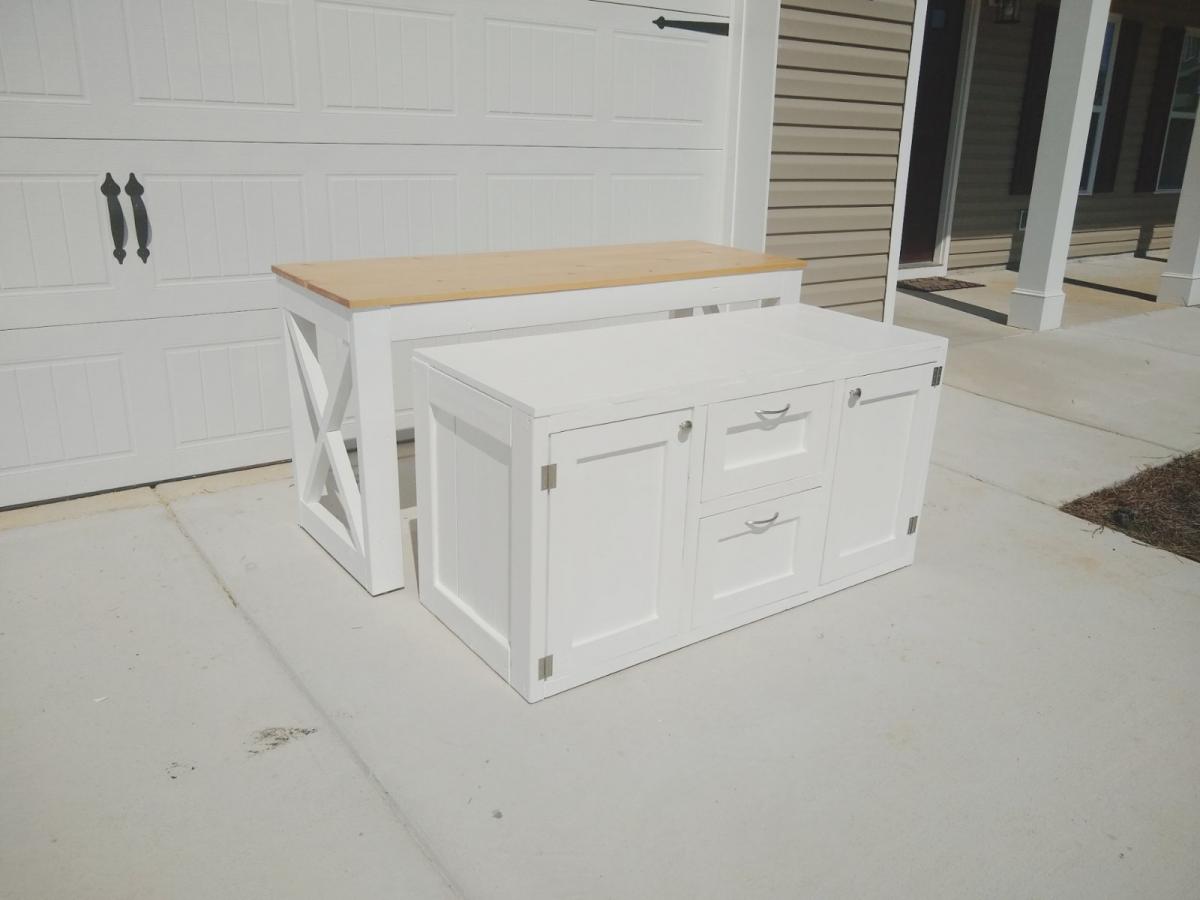
Wed, 07/15/2020 - 04:40
I love this! Very creative and practical design and oh so pretty. Nice job!
Mon, 08/31/2020 - 09:47
This looks so good. Great work. Do you mind sharing how you concealed the wheels? Do you have wheels on both pieces?
Sat, 10/03/2020 - 08:35
Hi, Thank you! Actually I didn't add wheels to the design since this will be in an office with thick carpeting. I added adjustable metal foot pads to the bottom of the desk.
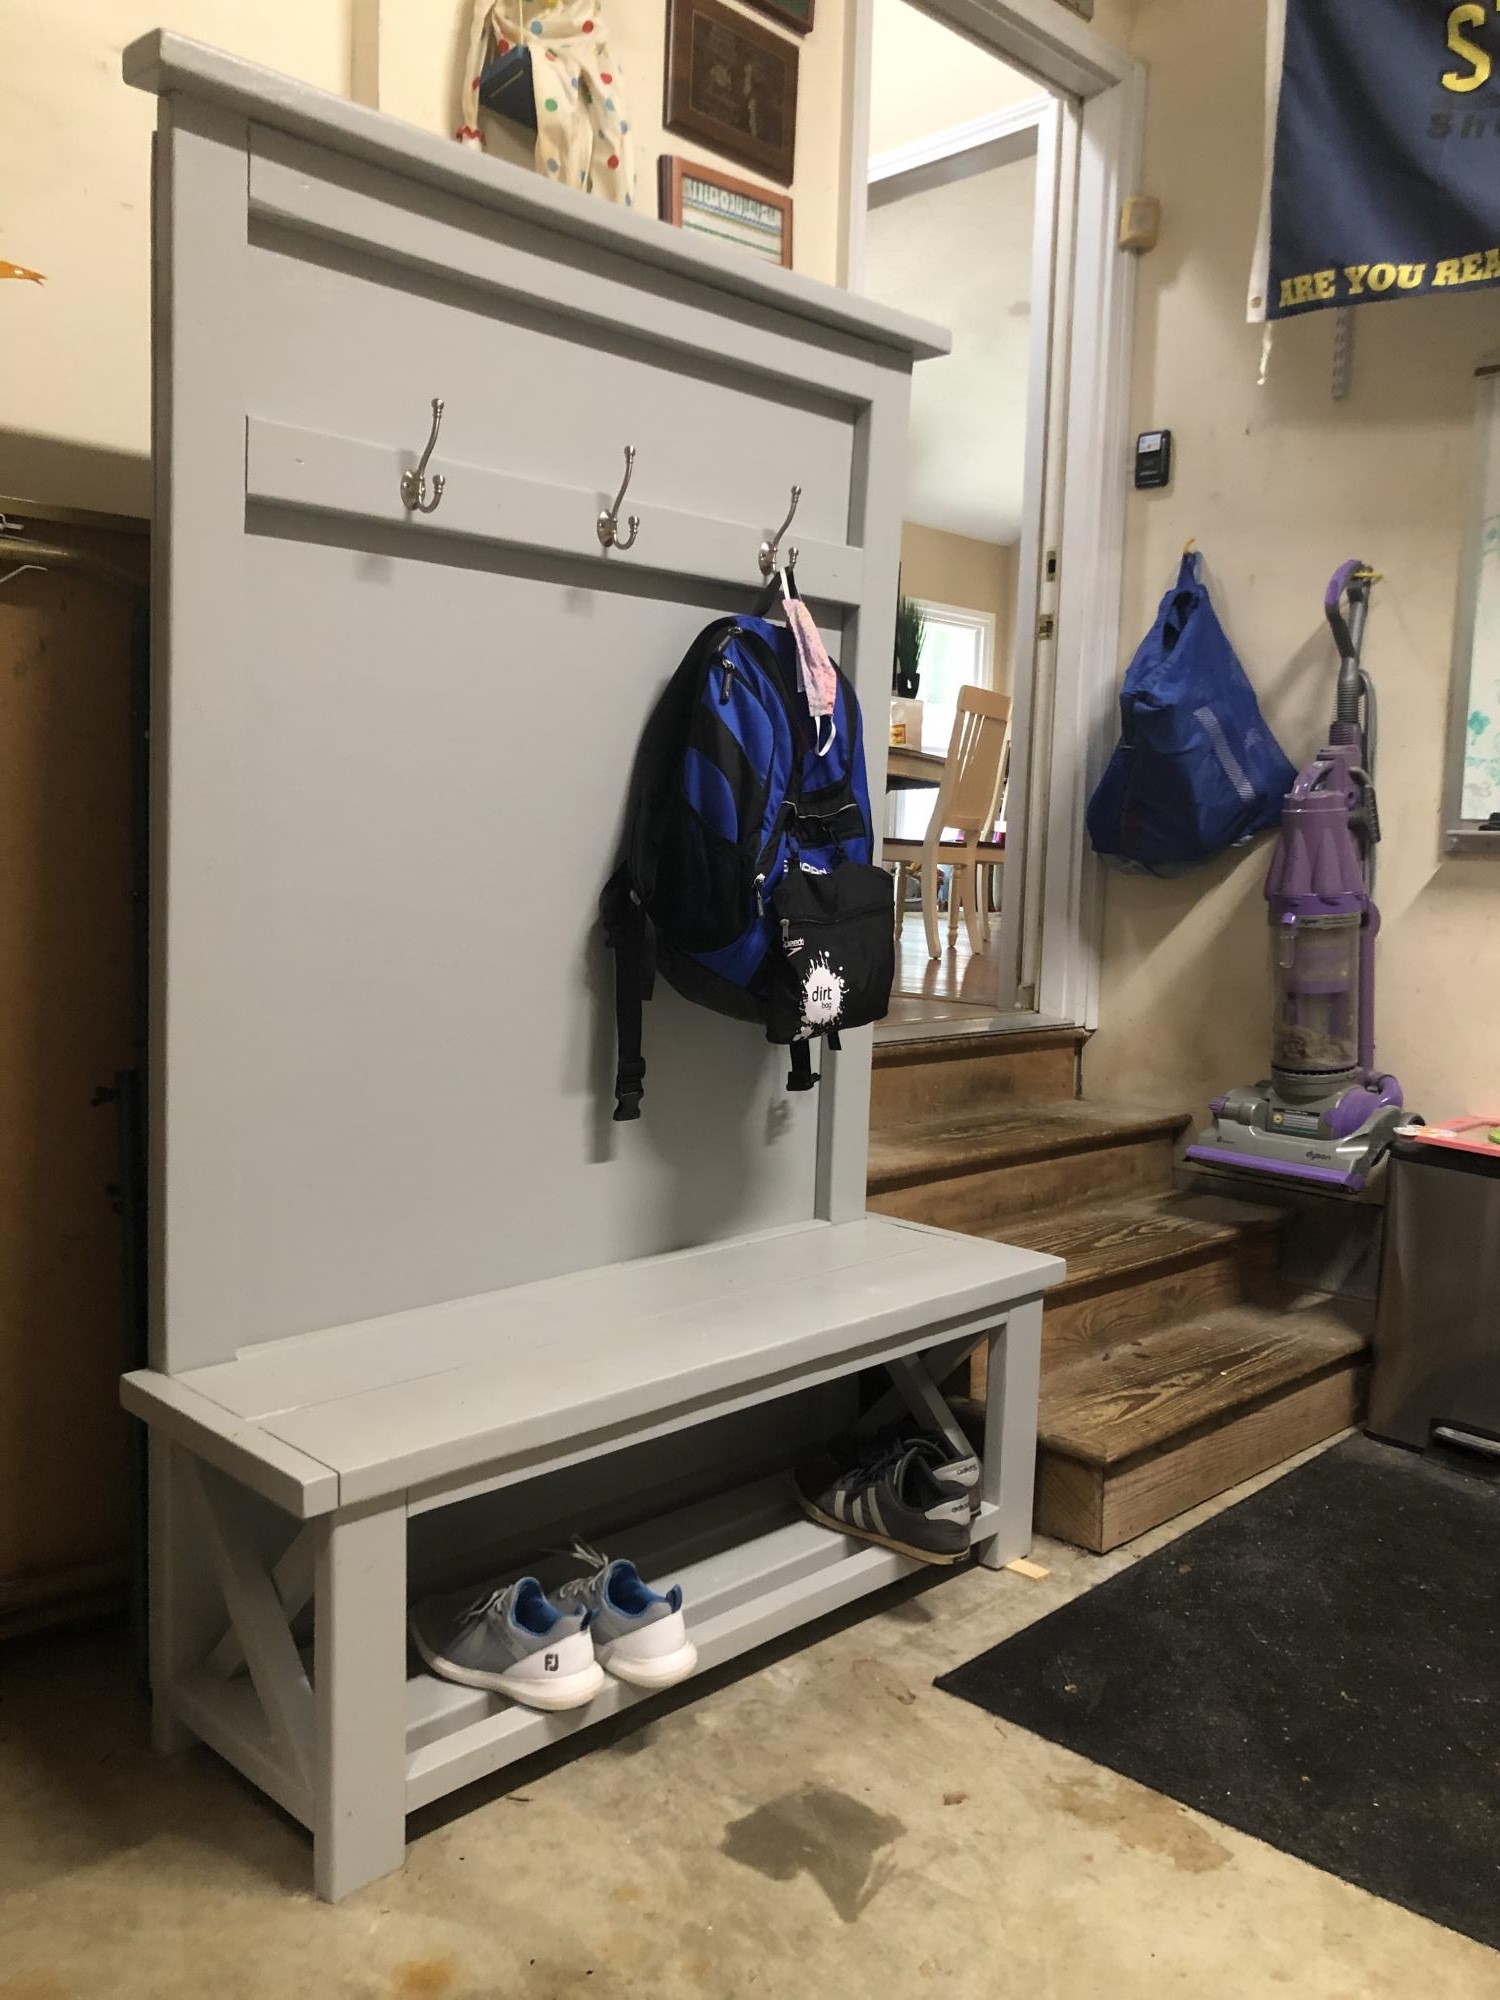
Fun project. Had the kids helping with the build. Easy to follow directions. Made the x side by side rather than cut. Sanding and painting took the longest. Had to put 2 good coats to protect it. Thanks!
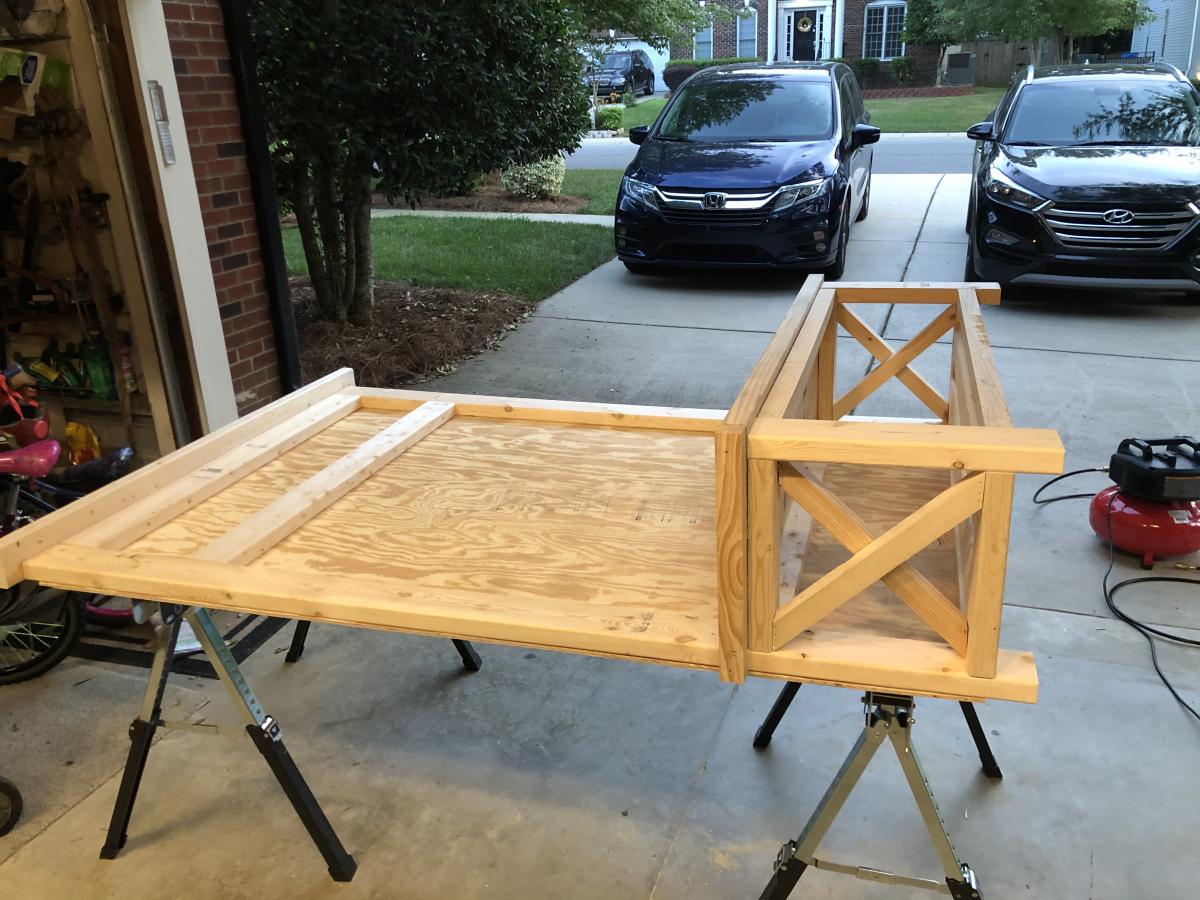
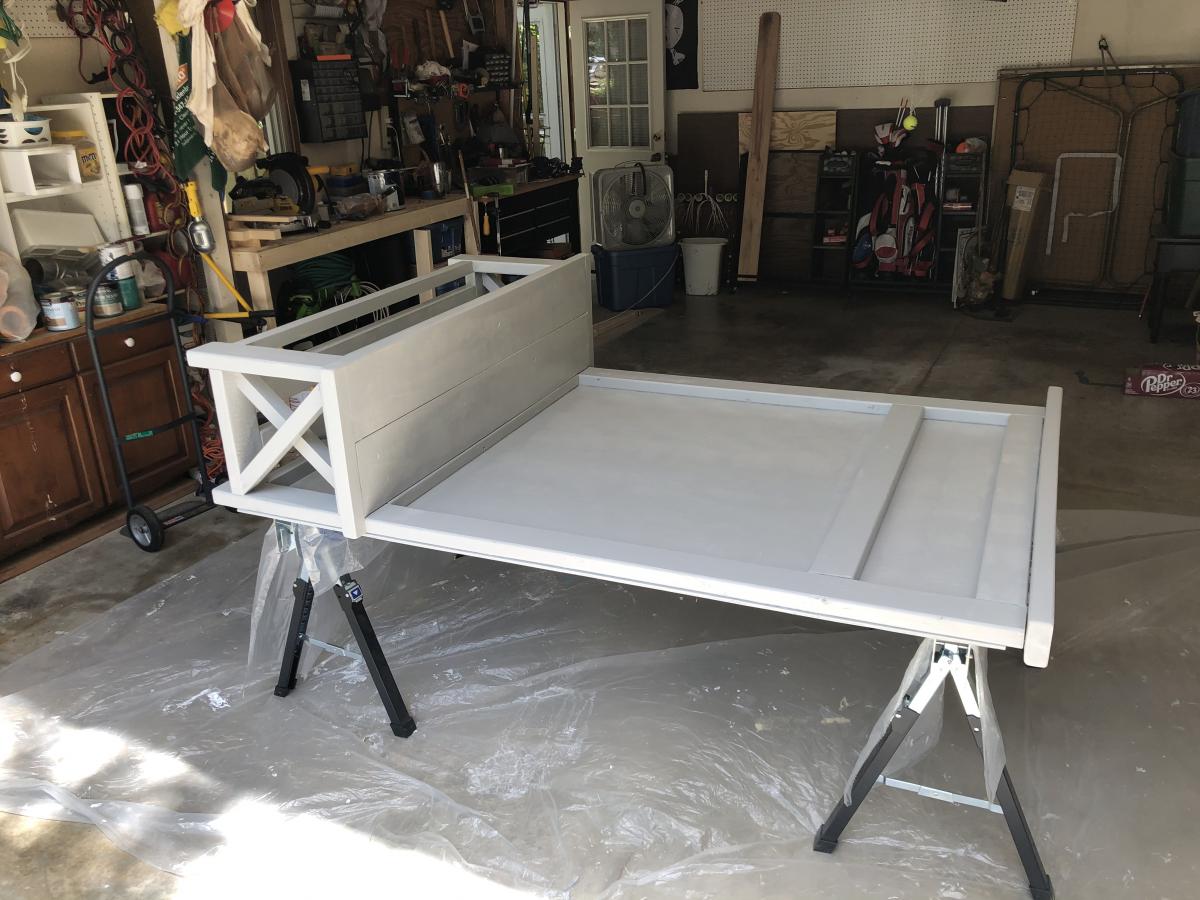
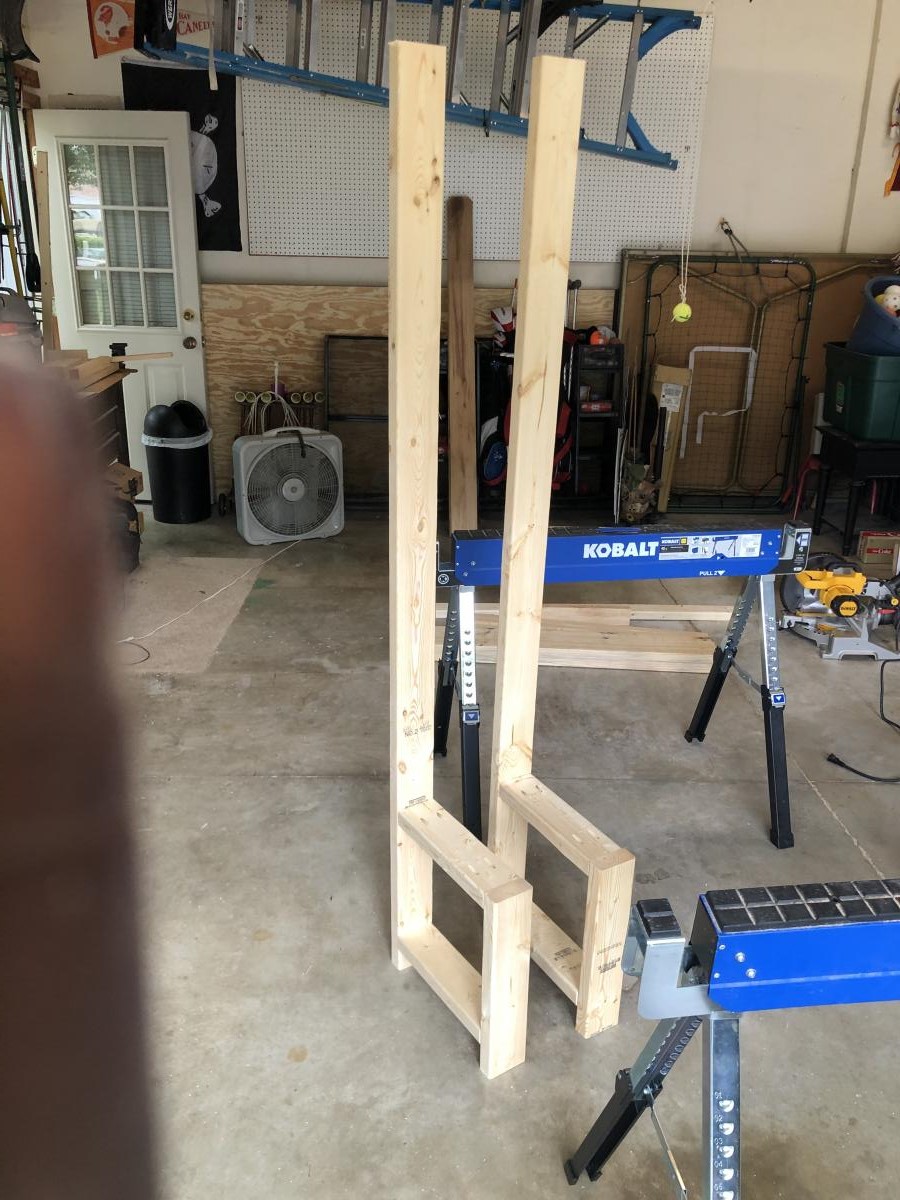
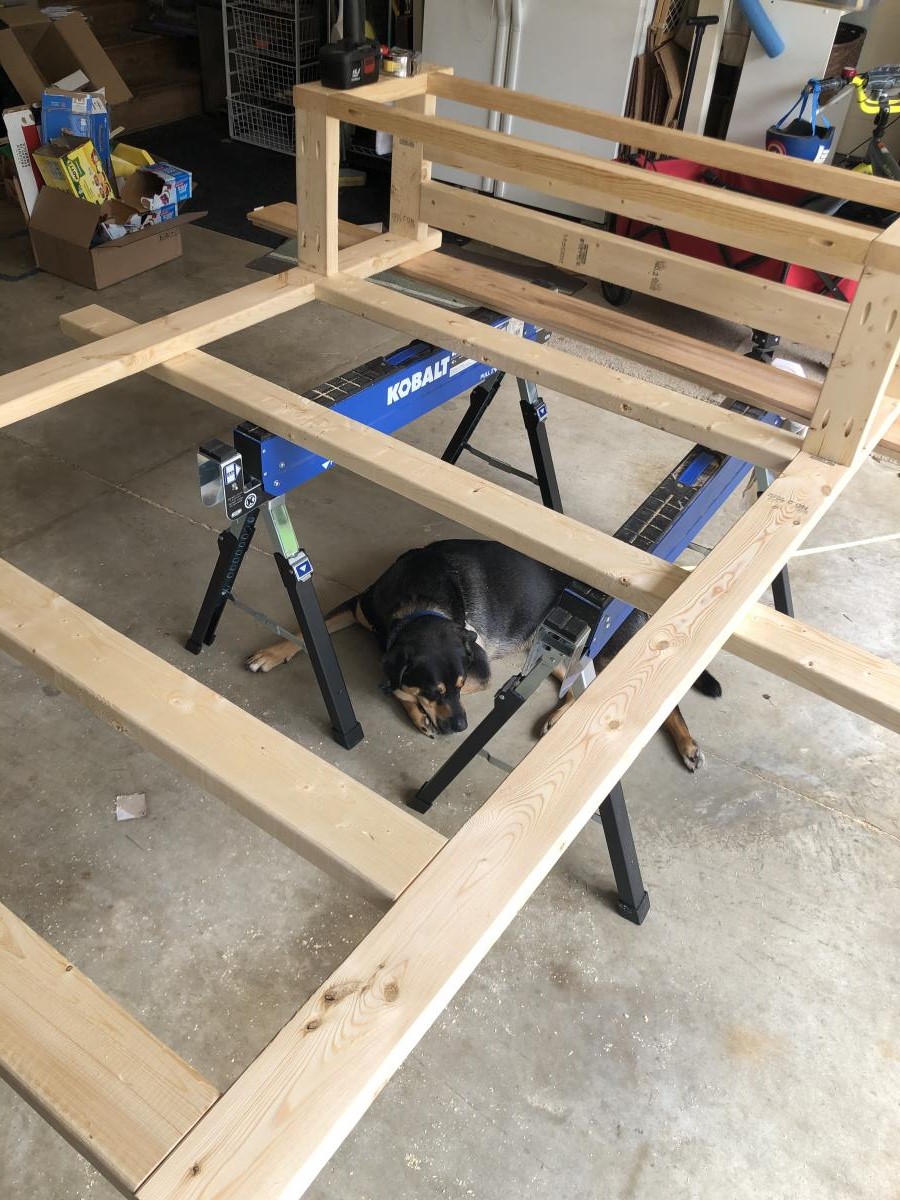
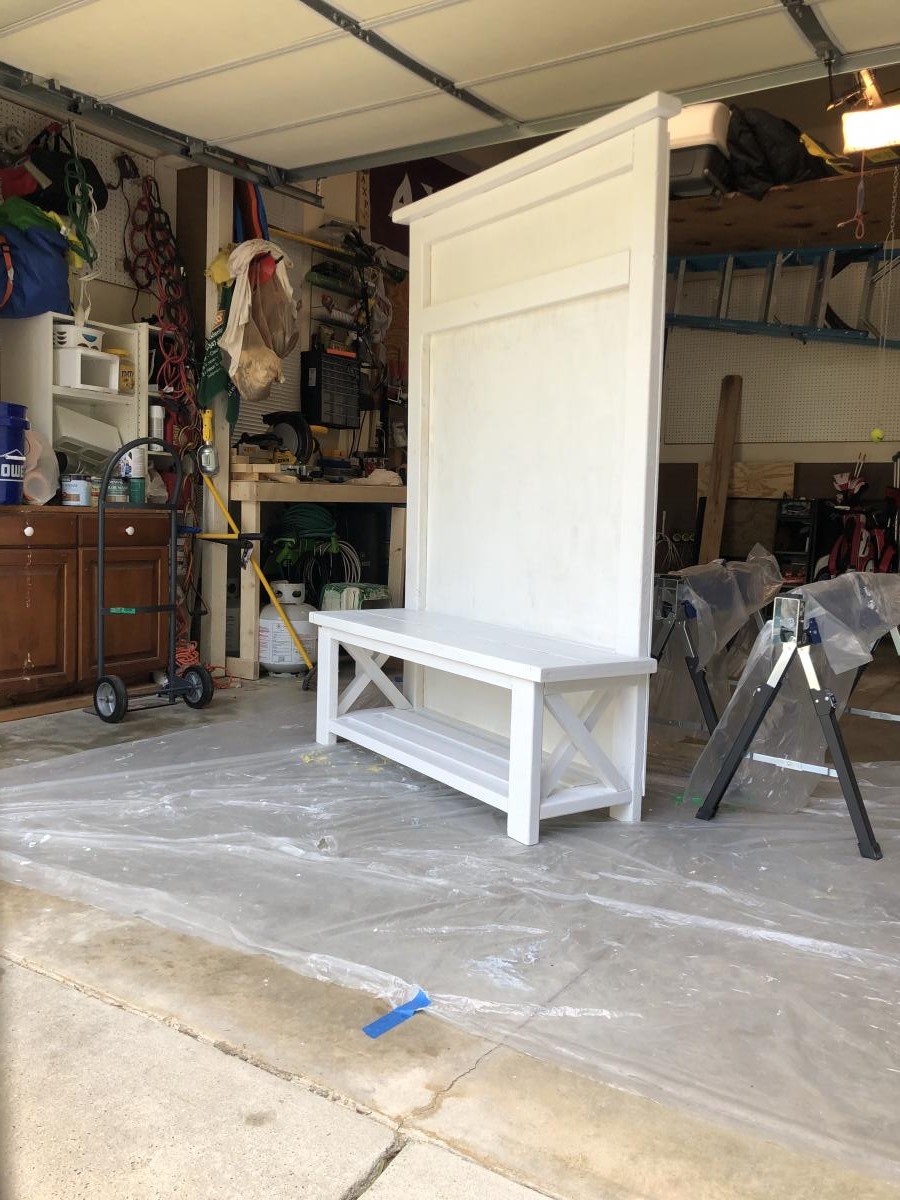
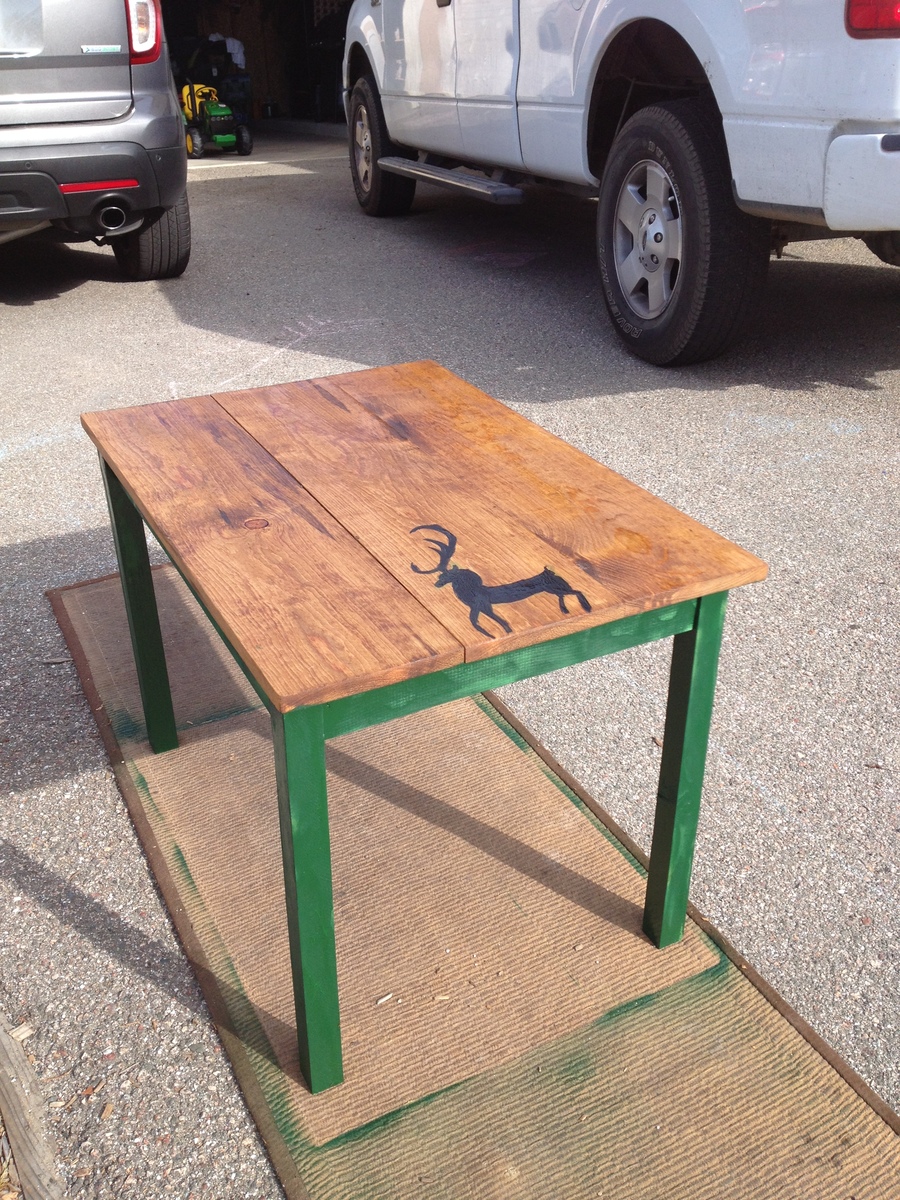
This is agreat project to cut your teeth on. Even though this was very roughly put together, the end reult was still furniture-worthy.
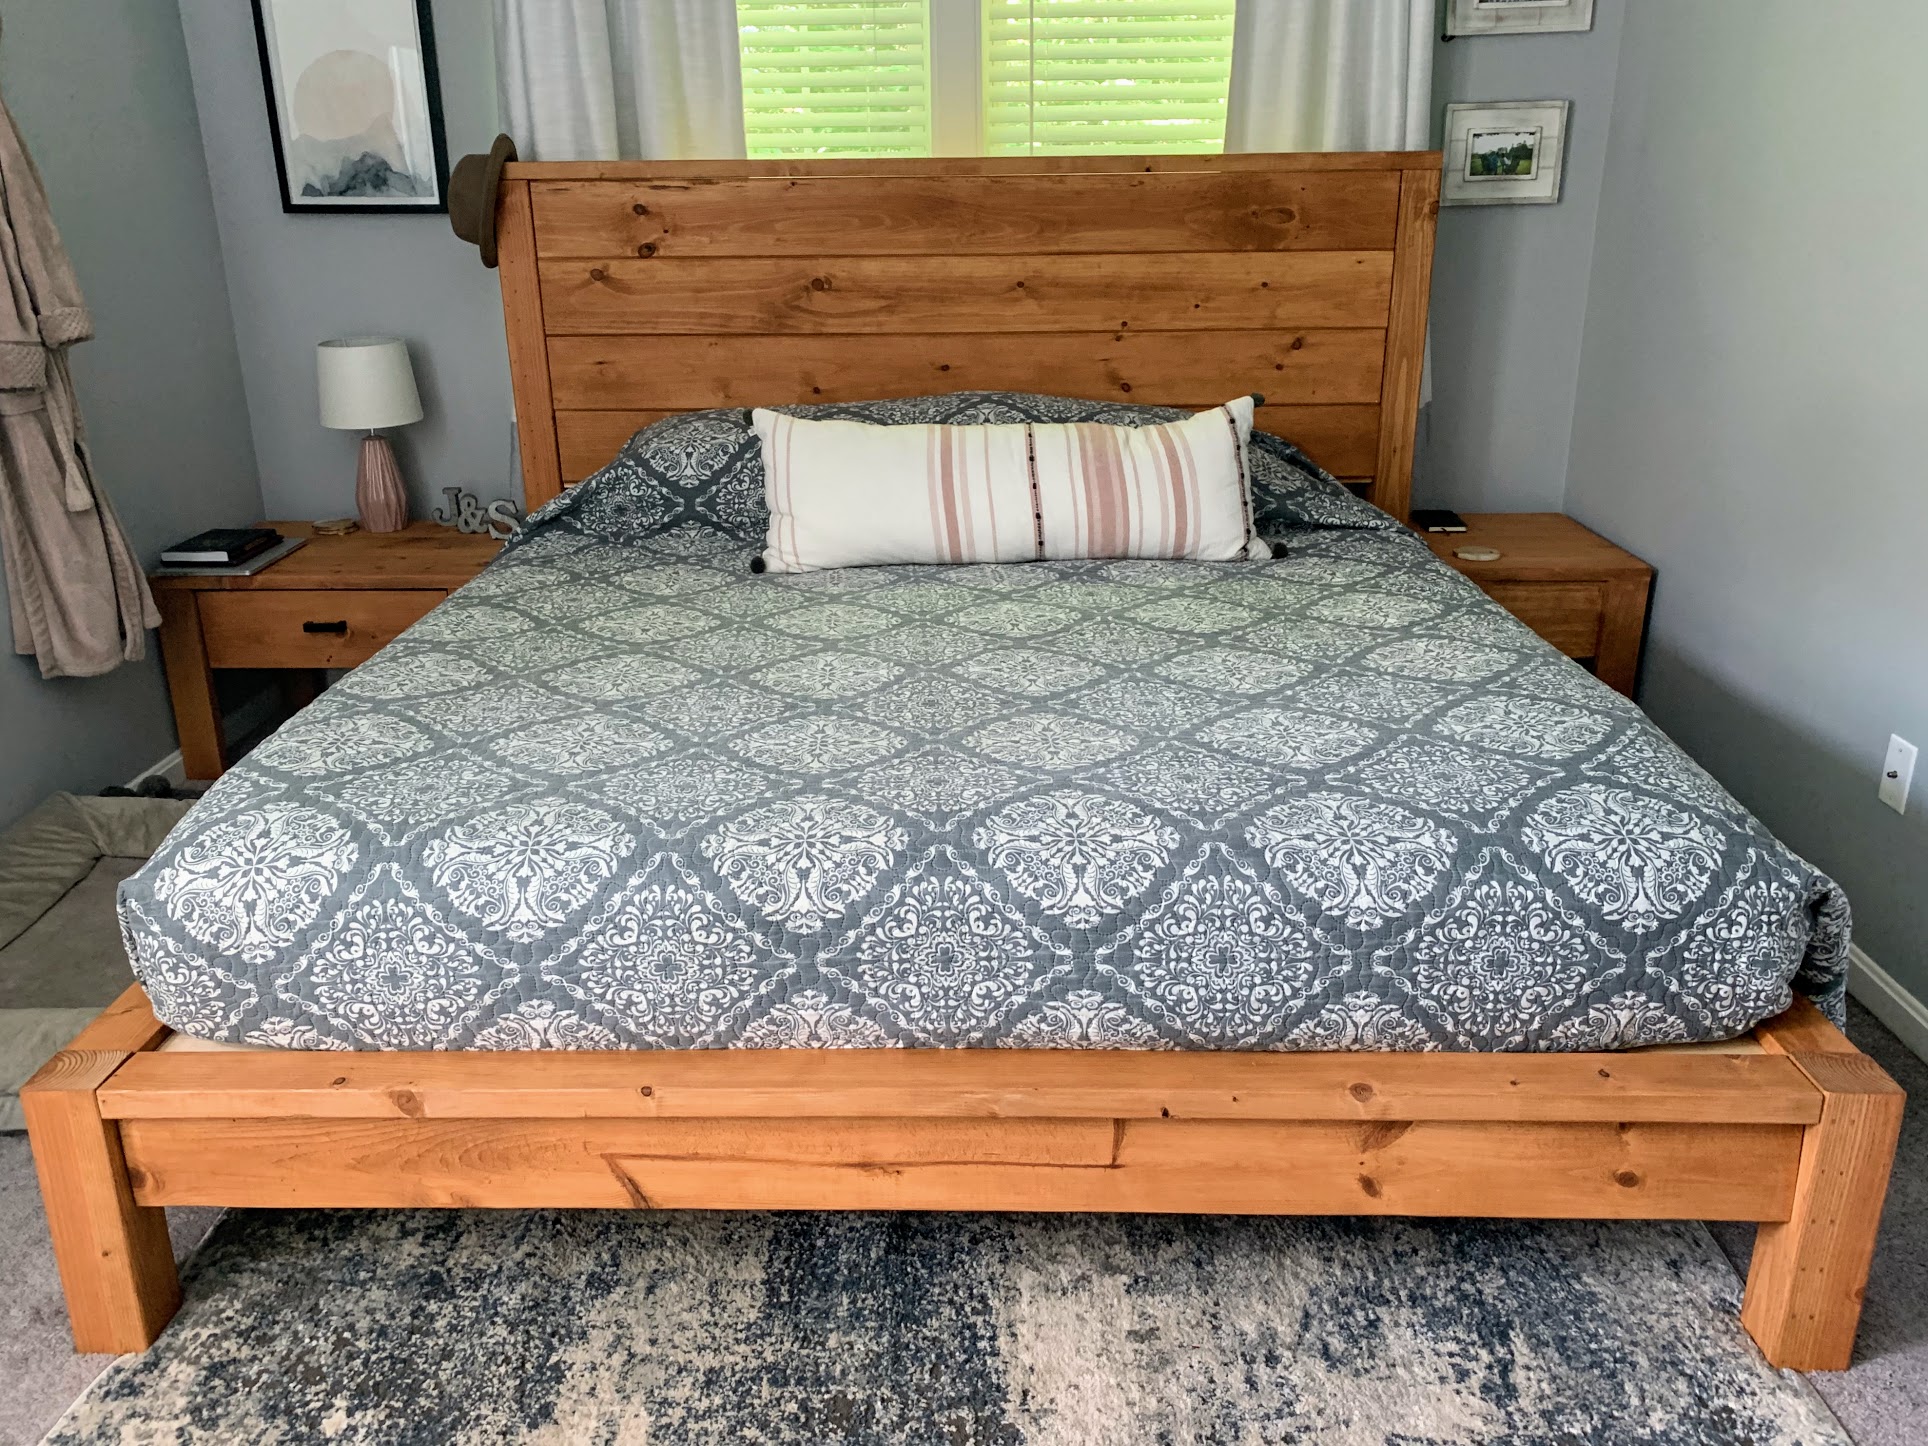
Bed frame - Husband and I built and assembled over a weekend. We love it!
Only variation from the plans were that we used 1x8 shiplap boards for the headboard (because the options were nicer at Home Depot).
Nightstand 1 - This I built myself, it took about 5 hours.
Followed the directions and the drawer worked the first time!
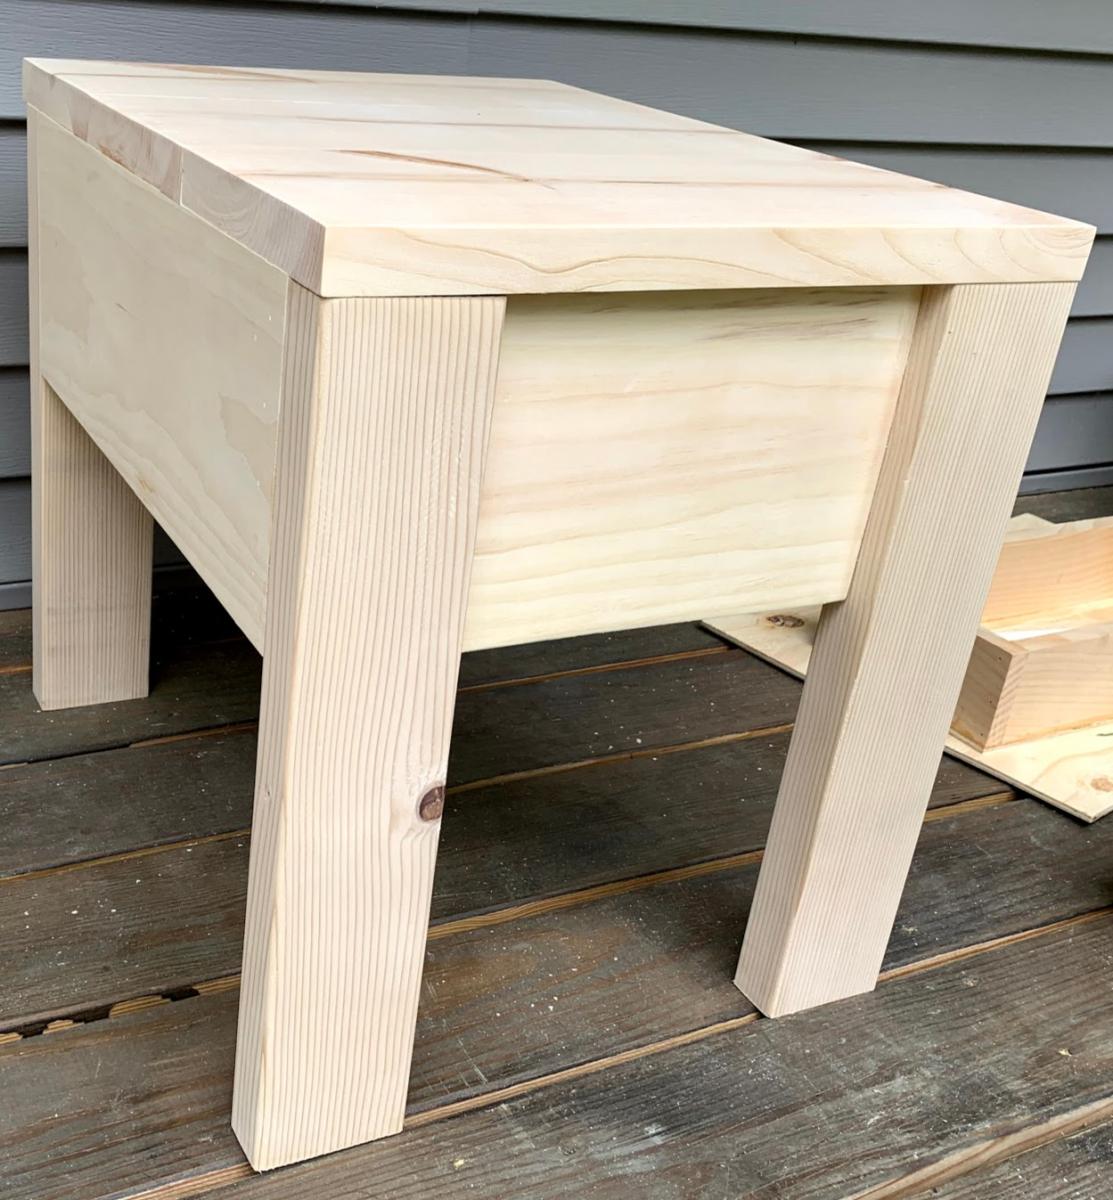
Nightstand 2 - This I also built myself, took about 4 hours.
This one I had about 17" to work with. The only measurement that changed was the front and back cut to 10".
Comments
benfoldsfivealive
Thu, 05/10/2012 - 09:47
You should be happy, its
You should be happy, its beautiful!
Ana White
Thu, 05/10/2012 - 10:32
So stunning! It's gorgeous!
So stunning! It's gorgeous! I just love the wood!
canadianlam
Thu, 05/19/2016 - 19:05
THIS BOOKCASE IS MAGNIFICENT !
This bookcase wouldn't be out of place amongst the Pottery Barn's bookcases. In fact, it inspired me to go out this afternoon and buy some cedar boards so I can start building my own version first thing tomorrow. Thank you, Becky.