Community Brag Posts
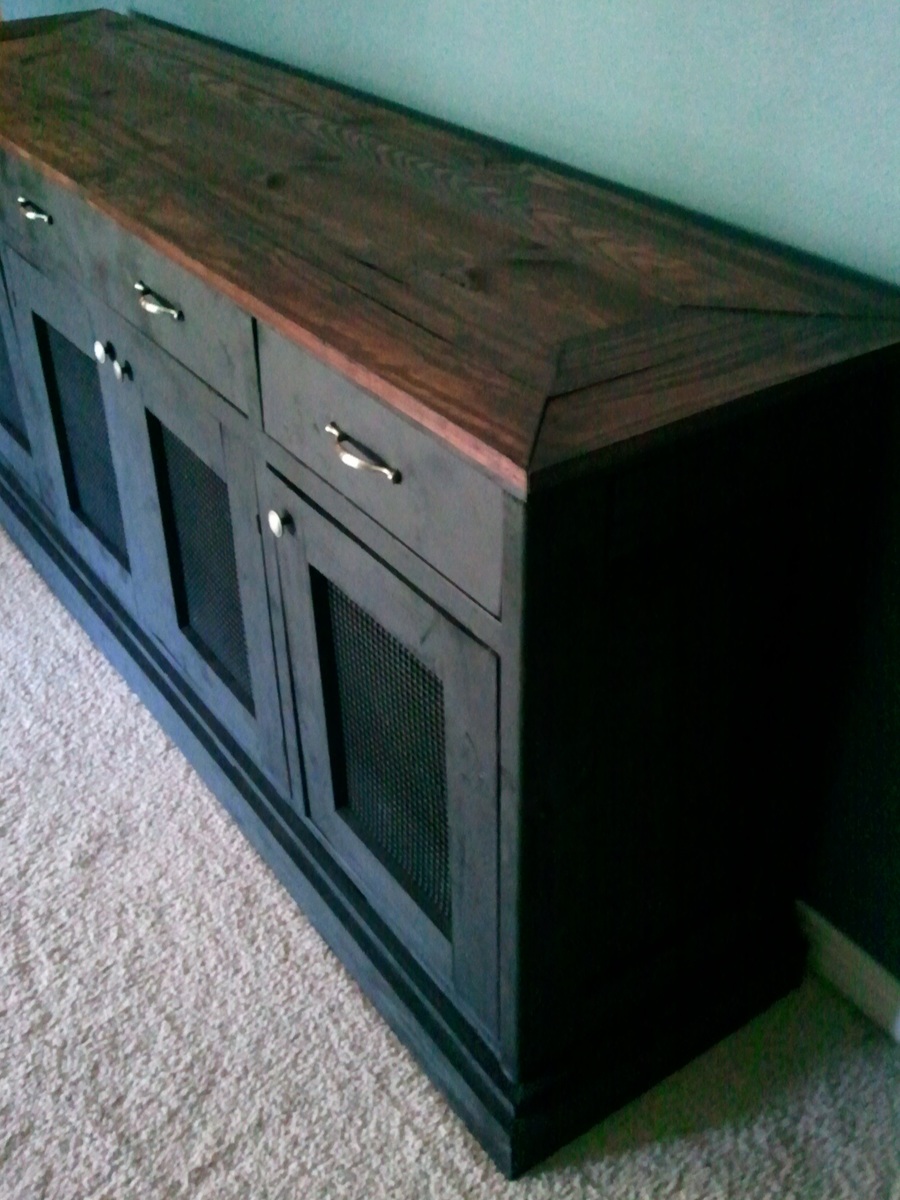
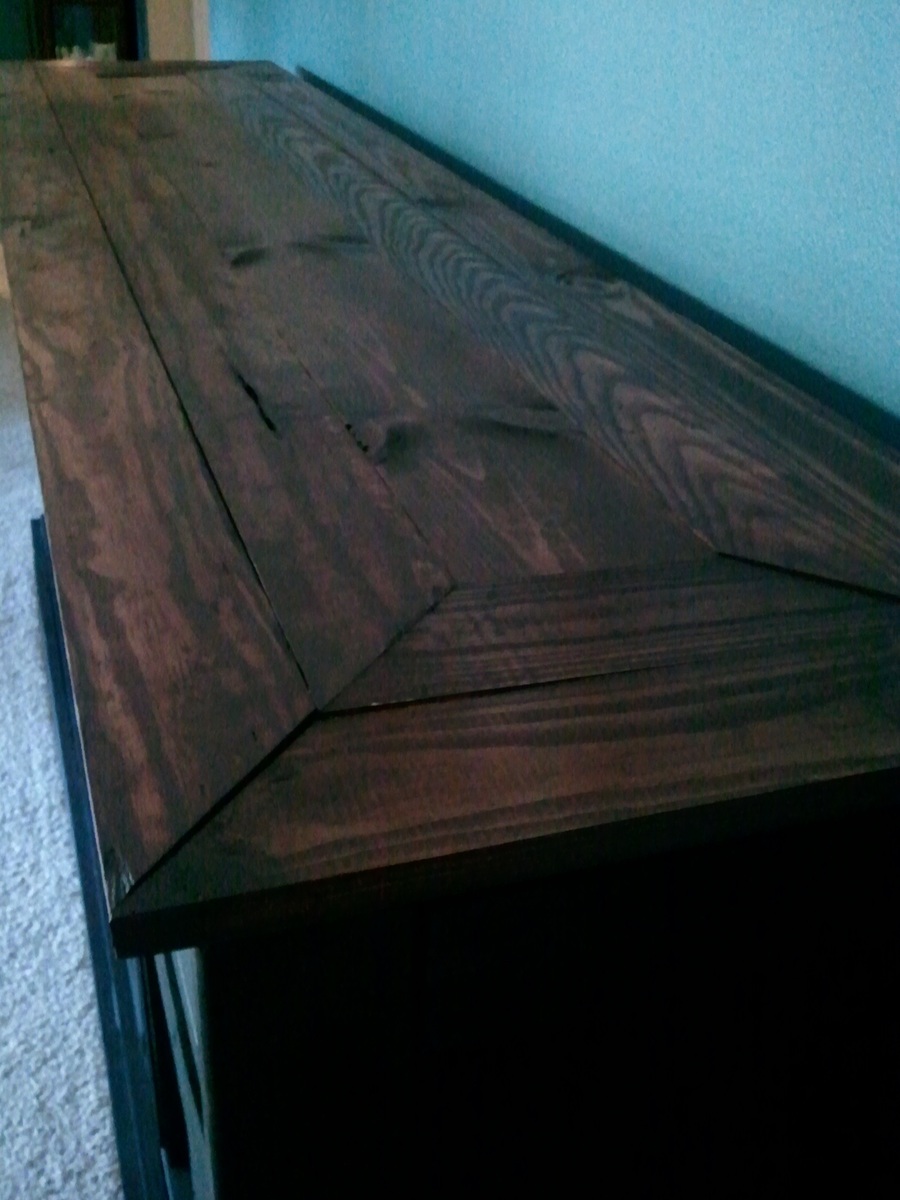
Sideboard
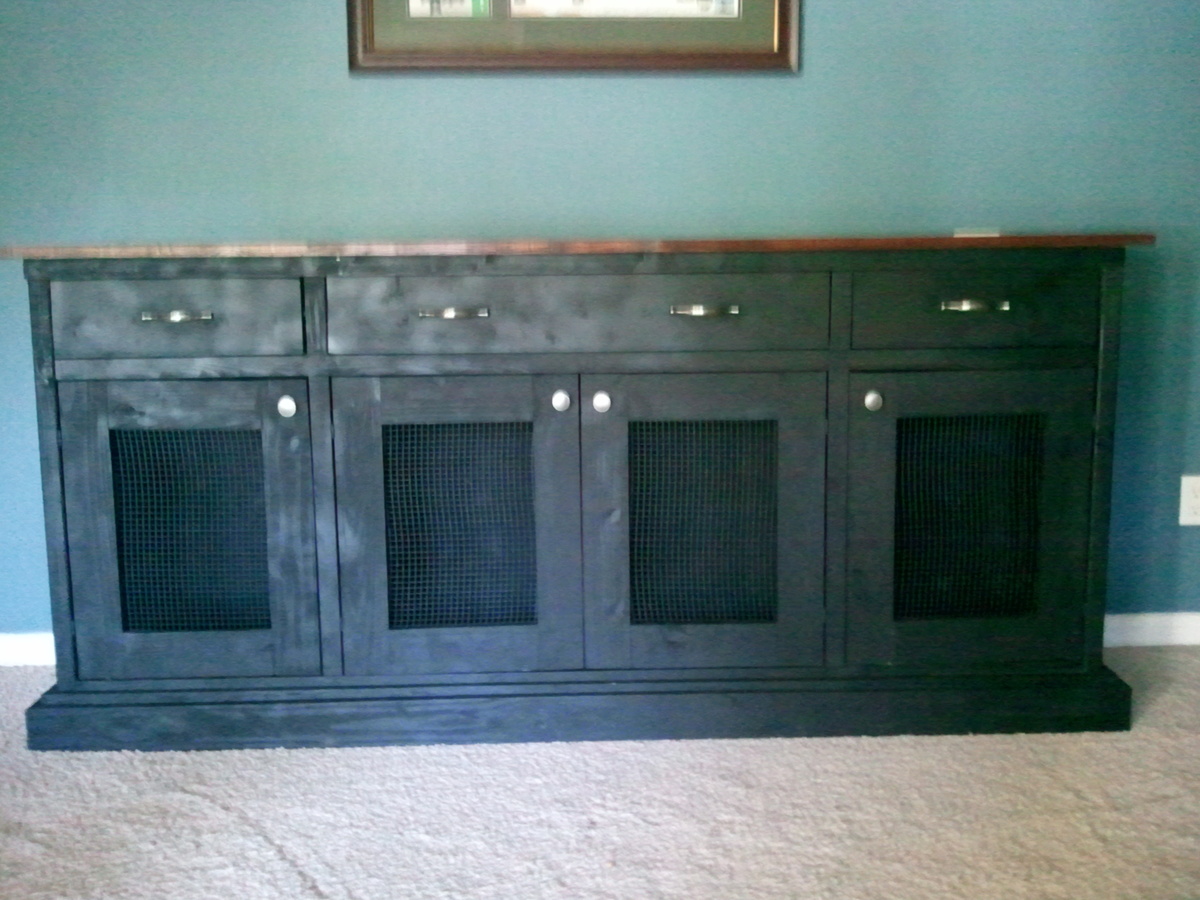
This project took me a lot longer than I wanted, but I love it. I worked a few hours each day and it seems I had to stop because I forgot one thing or another. I changed the way the top looked, I wanted to work with angles, so I framed out a 1x6 with two rows of mitered 1x4. It turned out better than I hoped, but I don't know if I will work with angles again... Like the plan says, it is HUGE!!!
Estimated Cost
About $100
Estimated Time Investment
Week Long Project (20 Hours or More)
Finish Used
Black paint for body and Red Mahogany Stain for the top
Recommended Skill Level
Advanced
Comments
Sat, 05/19/2012 - 09:24
Looks great!
Emily, this piece looks awesome! What did you do on the doors? It looks like wire.
I also noticed that your estimated cost was quite a bit lower than Hillary's cost. How did you keep your cost low? I am wanting to make this piece but I could really benefit from a smaller price tag!!! Again, yours looks great!
bunk bed Converted

My mom purchased a bunk bed set for my children at her house but since they were only 1 and 2 at the time, we separated them and used the rails on my sons single bed, then my daughters we converted into a twin size crib
Estimated Cost
50.00
Estimated Time Investment
Afternoon Project (3-6 Hours)
Finish Used
used a light stain to match the already existing
Recommended Skill Level
Starter Project
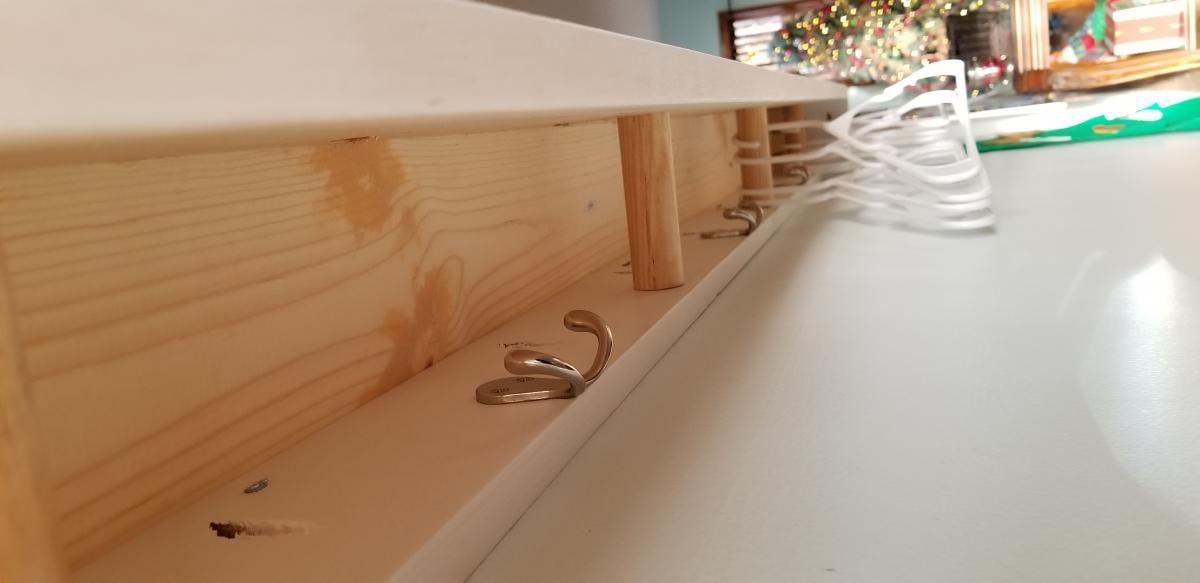
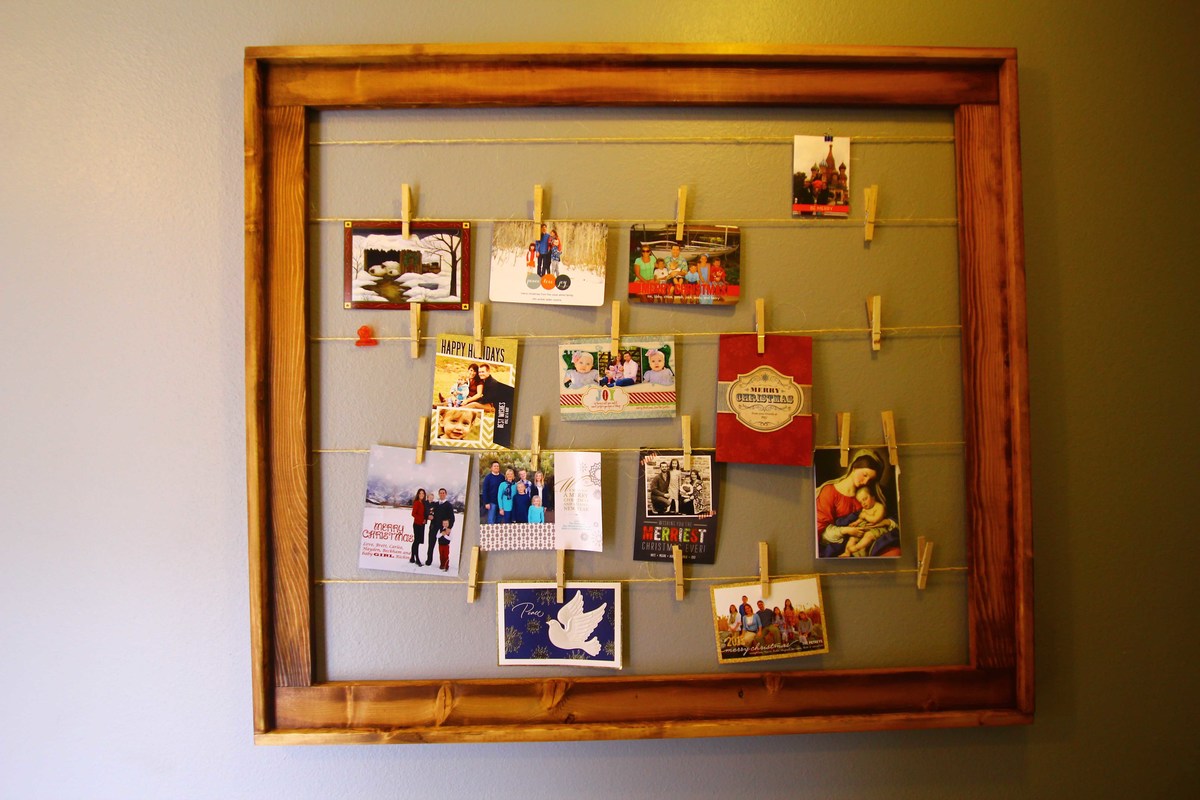
Entryway shelf with coat hangers

I needed additional coat storage, particularly for some of the larger family gatherings that we host in our home. My challenge was that the entry is long and narrow and is directly opposite and in full view from my formal dining room. I needed something that would have a cleaner and more formal look. I had been perusing various designs for months, but everything I found still looked like a mudroom. This design was perfect for my space! I made it the length I needed for adequate door clearance and to evenly center it on the wall. I altered the construction slightly. I used insert nuts to attach the dowels to the front board and screwed them from through the back. This left the face untouched and also allowed the dowels to be tightened down and provide more structural support. I also used a 1"x 4" against the wall and 1"x 6"s for the remaining sides. This resulted in the front being 2" lower than the back (like a skirt), so when you sat in my dining room it obstructed the view of the components underneath. If I didn't tell you, you would never know. I screwed it into 4 studs...it's solid as a rock. I managed to get it finished the weekend before Christmas Eve--the 'big test'...it held up nearly 30 winter coats! It was a big hit at the party--everyone wants one! It's only in primer right now, soon I'm going to paint it and the wall to match. Thank you for the awesome plan!

Built from Plan(s)
Estimated Cost
$40
Estimated Time Investment
Weekend Project (10-20 Hours)
Finish Used
Primer / paint. I used a small velvety style roller to get a similar finish to the wall, since my intention is to paint them the same color. I used wood putty and sanded all the seams.
Recommended Skill Level
Beginner
Comments
Thu, 11/02/2023 - 10:33
What were the cut dimensions you used?
I would like to make this floating shelf and use it in the entryway as well. Would you be able to share the cut dimensions you used? I'm new to woodworking and I have a question about the cut list on the blog post. It says 2 - 1x4 at 90" and then 1 - 1x8 at 96". Shouldn't the 1x8 also be cut at 90"? Also what are the end piece sizes 1x4 cut at 5 3/4"?
Mon, 01/29/2024 - 07:14
Hi Star, I had to go back…
Hi Star,
I had to go back and look at the original plans...Yes, you are correct. Per the illustration, all those boards are the same length.
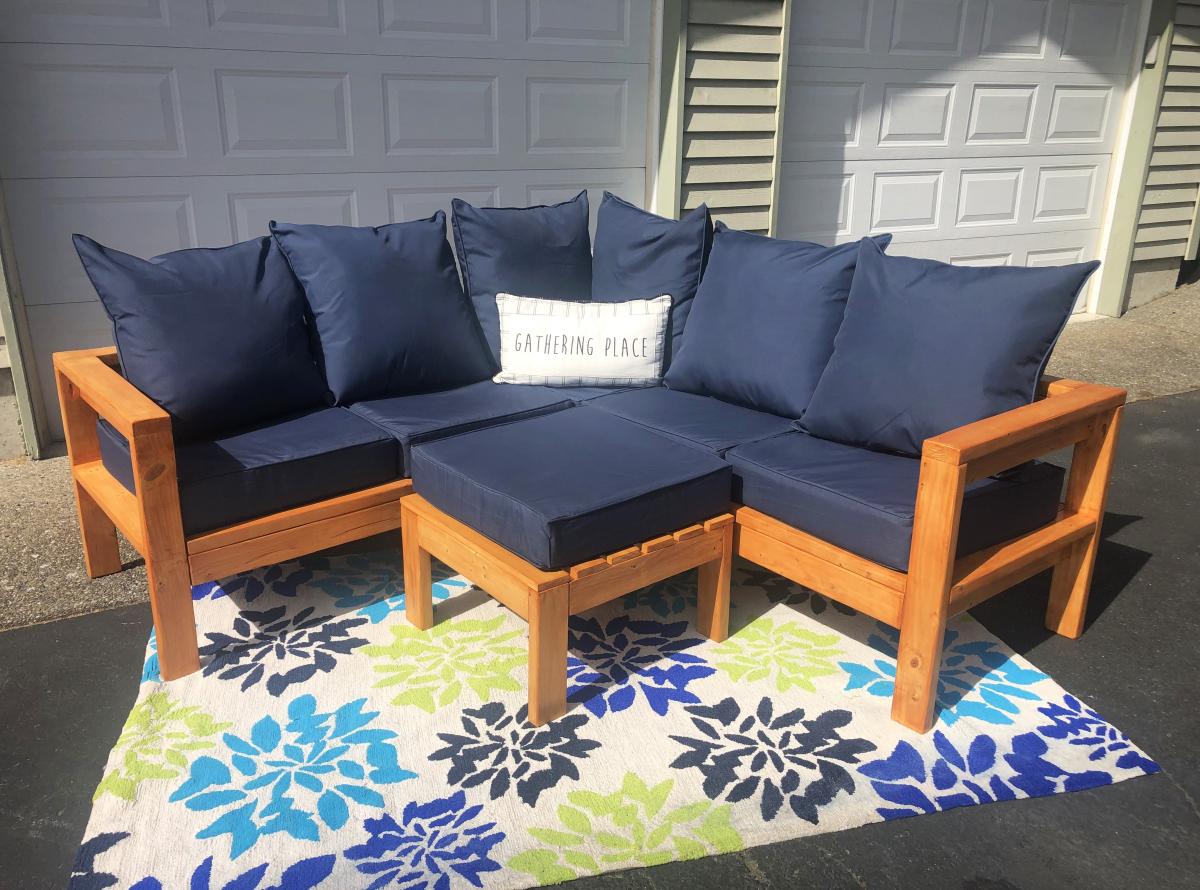
2x4 Deck Furniture
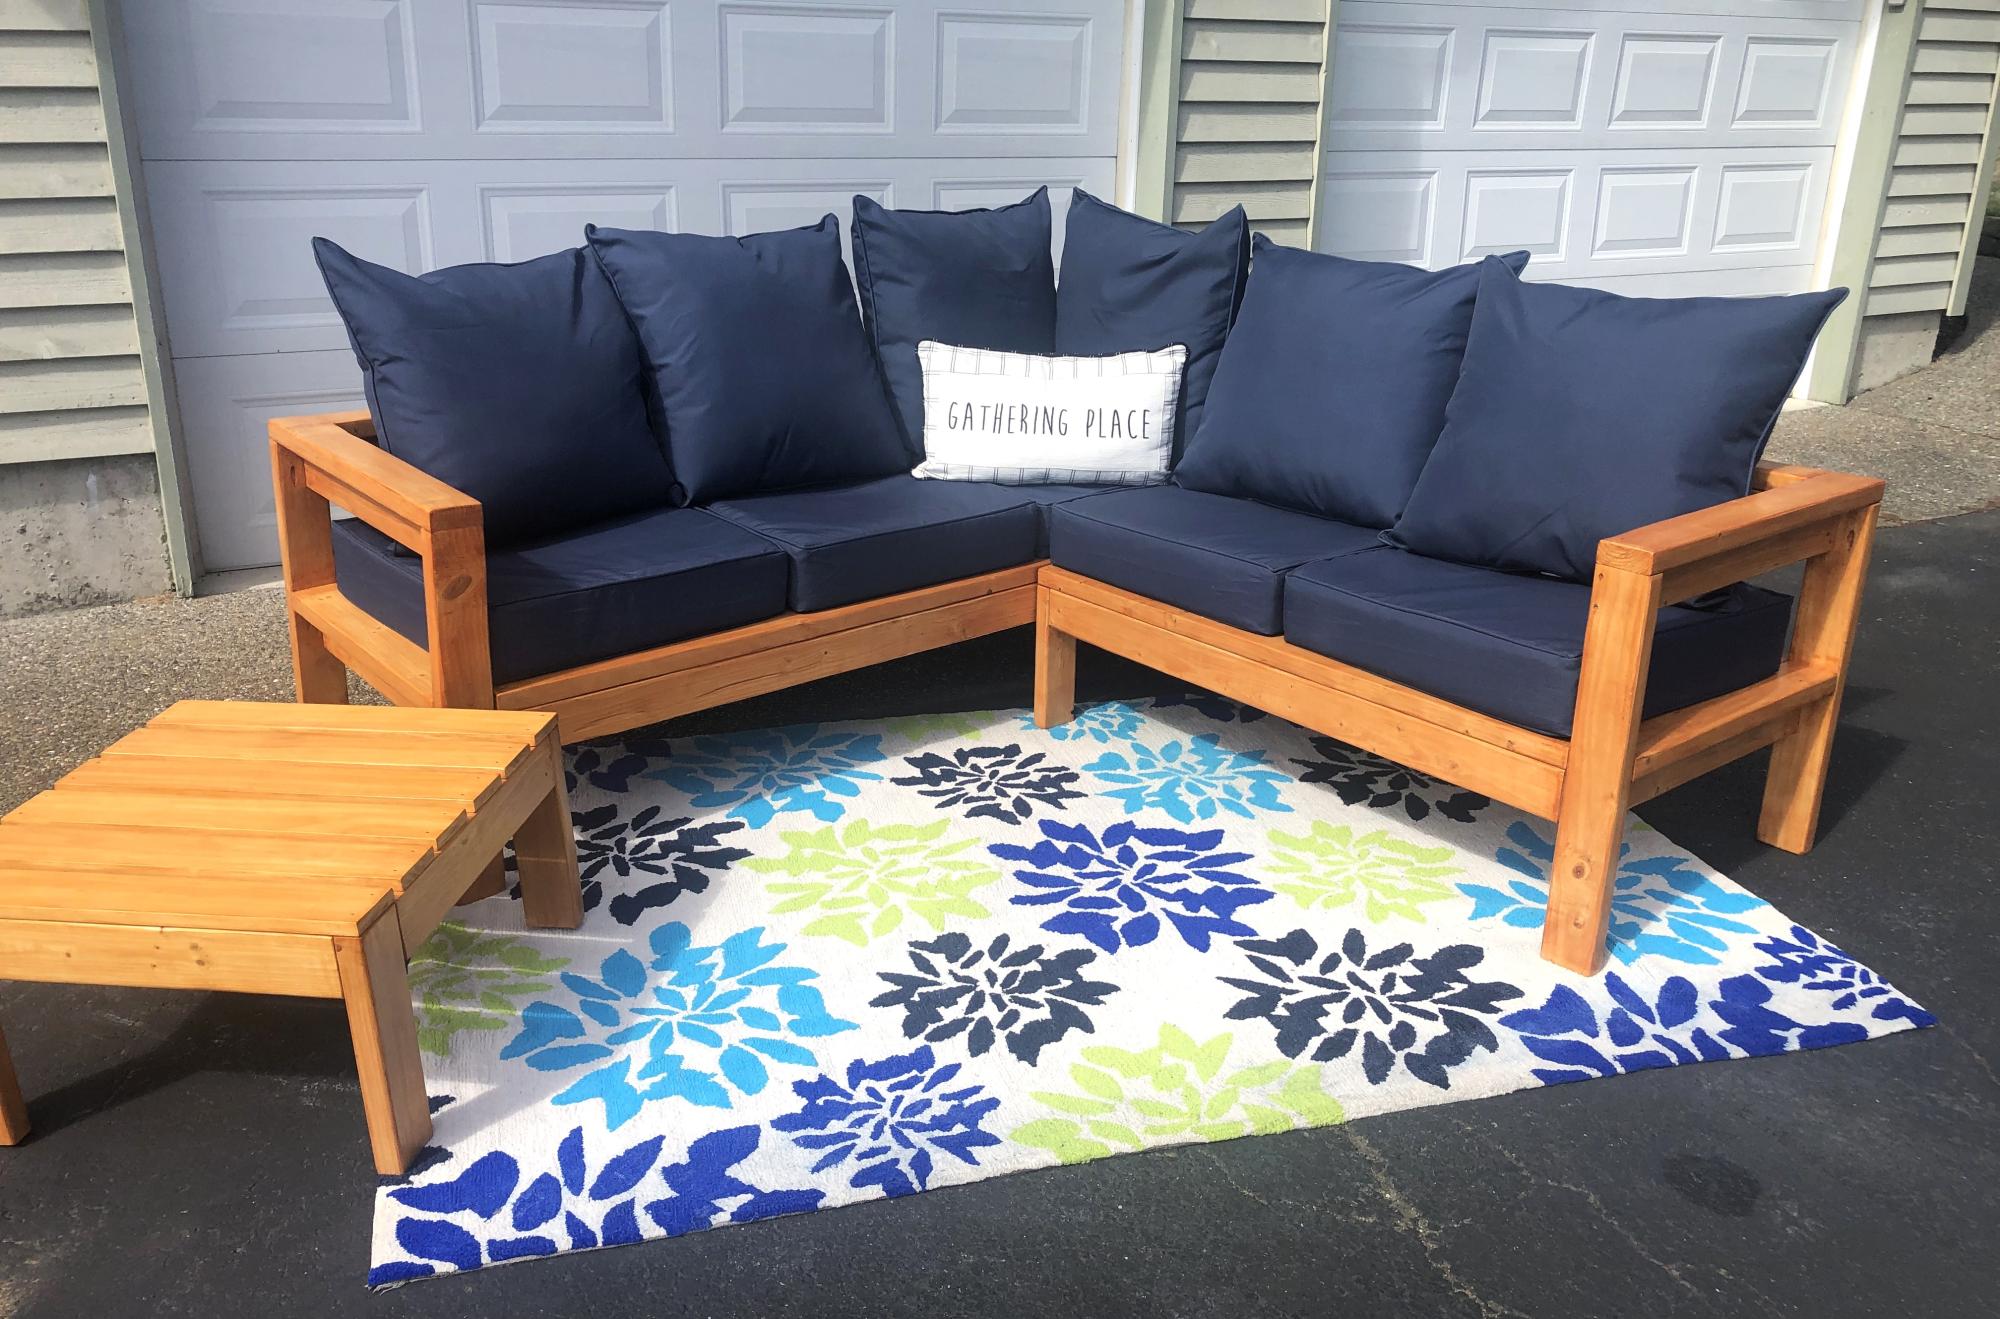
2x4 sectional with table/ottoman.
Lyn G
Built from Plan(s)
Who wants to spend over $2000 for beds? Not us!

We were looking for beds that had storage that would fit into our twin girls' small bedroom. This was to be their first "big girl" beds. Well, I spied some that would have cost us about $2100 to buy. No thanks. Then I found these plans. My husband looked at them, said "I can do that no problem". It took him over a week to build the beds, but he spent a lot of time getting "help" from the twins. Even without the distraction, he says it probably would have taken him longer than a weekend. The beds are very solid, and he says the plans were very easy to follow. The beds look great, the girls love them, and we've gotten a lot of compliments, including from a friend who works in the Pottery Barn executive offices. This was our first time using plans from Ana, but I'm already looking for our next project.
Built from Plan(s)
Estimated Cost
$600
Estimated Time Investment
Week Long Project (20 Hours or More)
Finish Used
White semi-gloss paint.
Recommended Skill Level
Intermediate
Comments


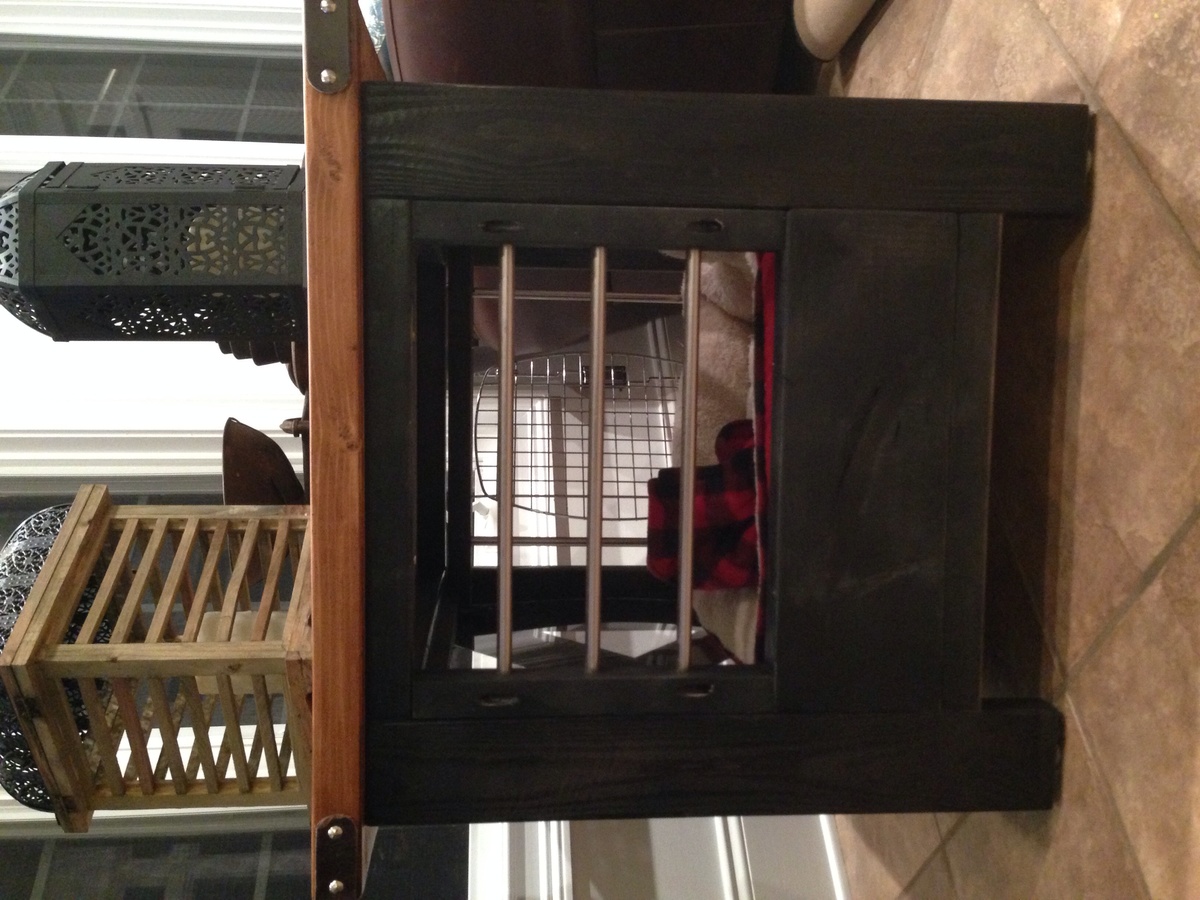
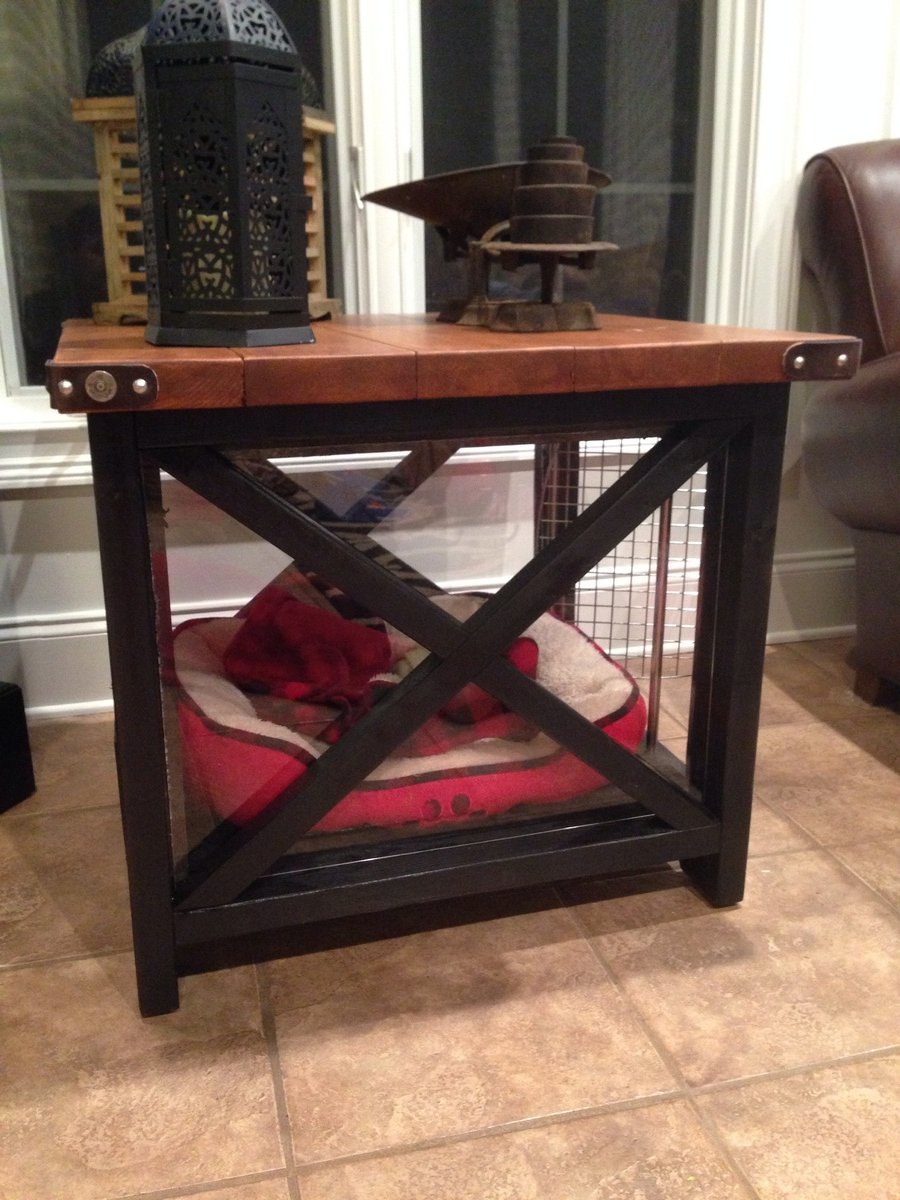
Rustic X End Table as a Dog Crate
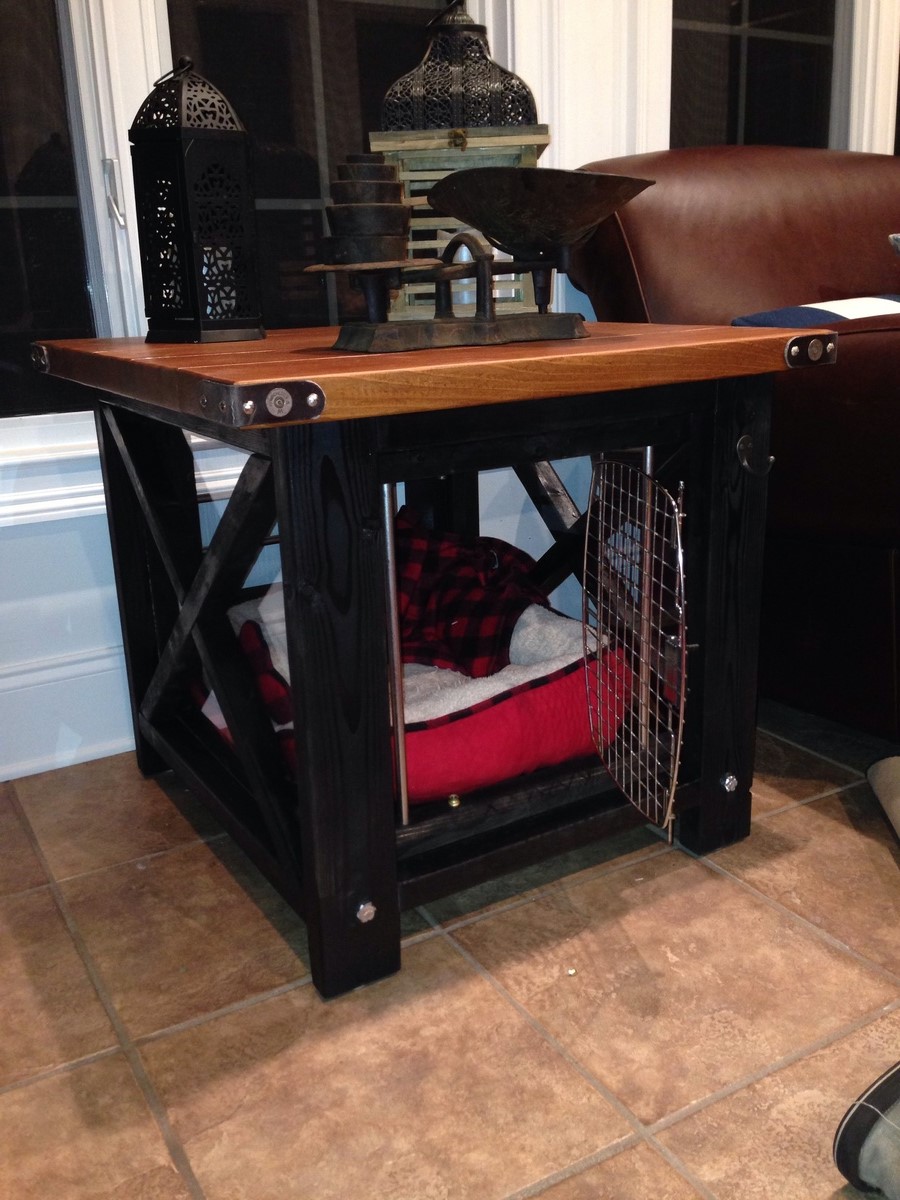
End table modified slightly so that the underside area serves as a Dog Crate. Used Plexiglass on the X sides and other parts from a portable dog crate for the front and back. Also, leather corners add a Hunting/outdoor feel.
Built from Plan(s)
Estimated Cost
$40
Estimated Time Investment
Afternoon Project (3-6 Hours)
Finish Used
Minwax poly shade for the top and economy black spray paint for base
Recommended Skill Level
Beginner
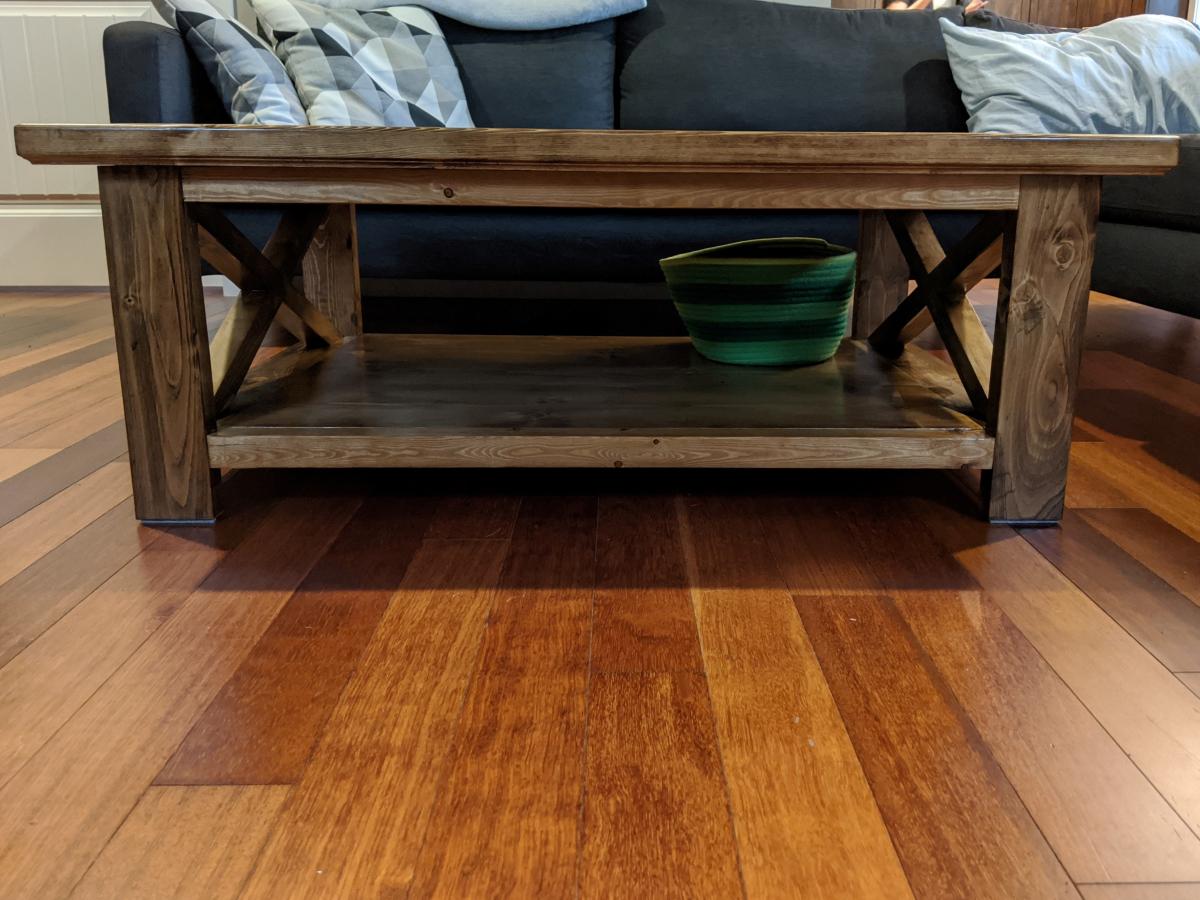
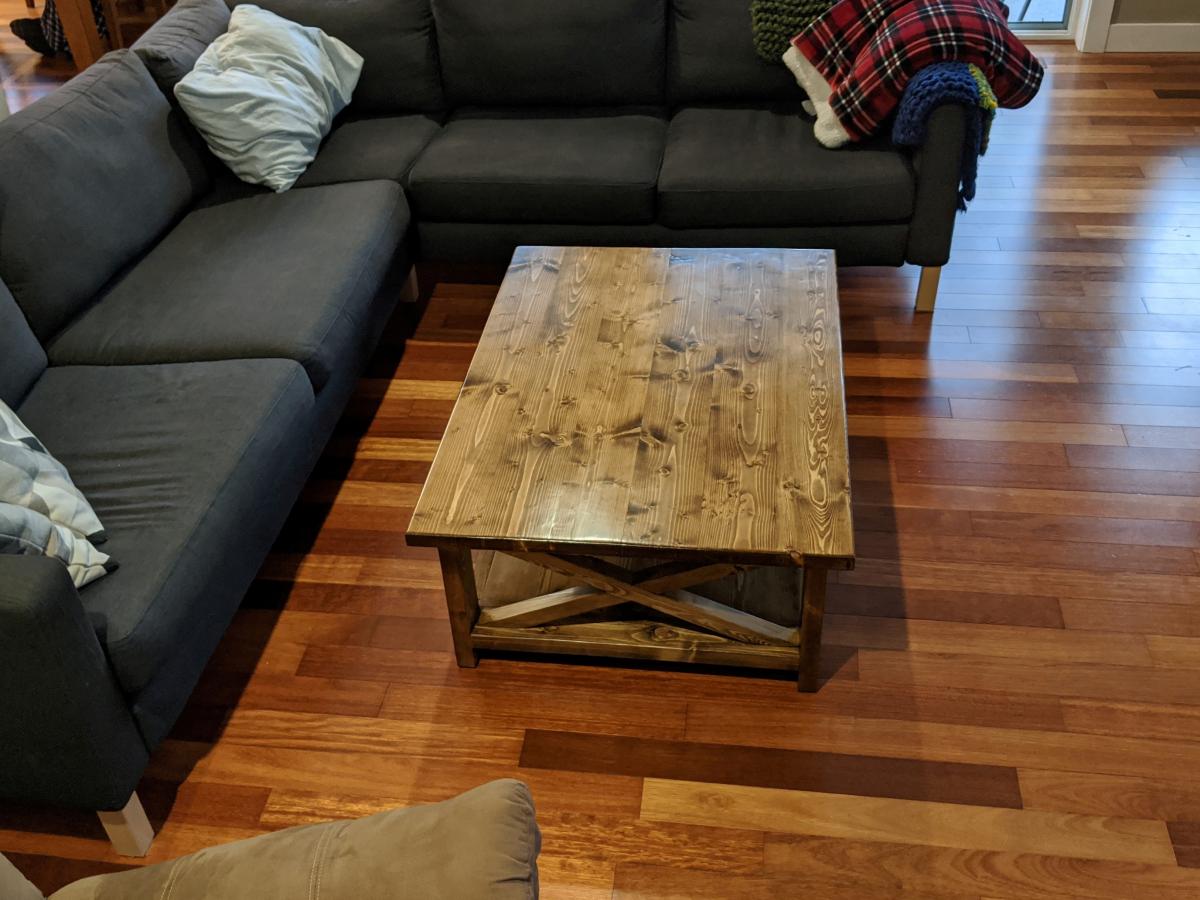
Coffee Table
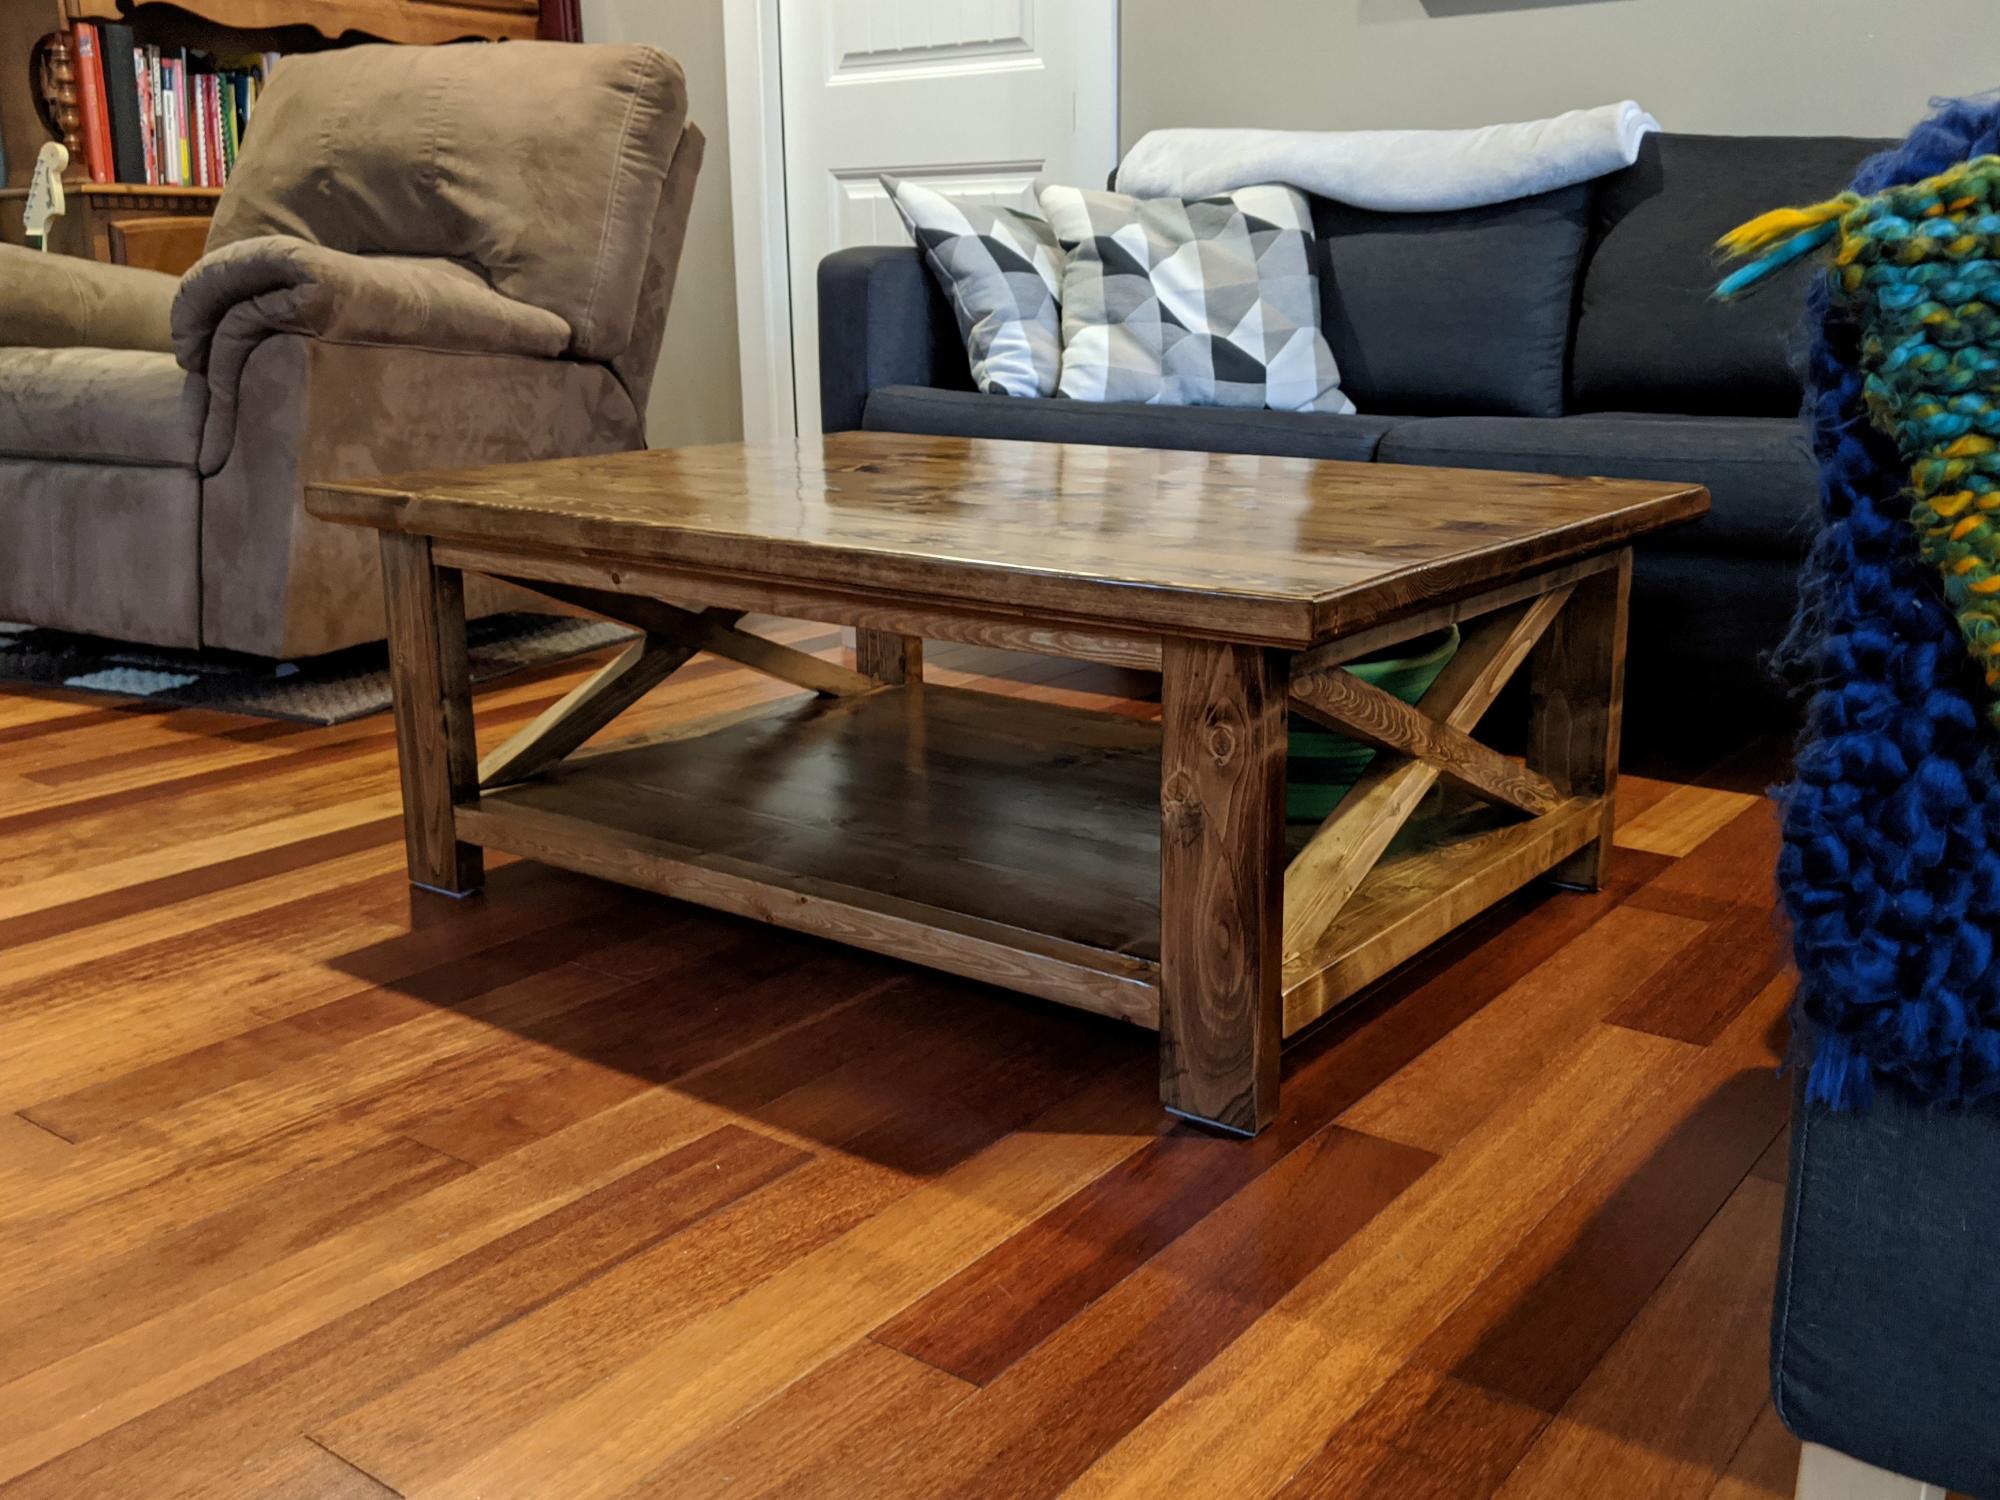
I used my router a lot on this project - routed the edges of the 2x6s so there was no dip/groove between the boards and used a roundover on the top edges and an classical on the bottom edges of the table top. A few hanges I made to the plans - the Xs are 2 lengths of 2x2 with a cross cut in the middle so they slot together, the table is wider and shorter so I adjusted the end x's to accomodate the new measurements, and I had to use 2 1x10s and a 1x8 for the bottom shelf for the wider table. Overall this was a great learning project for me! Really took me back to grade 12 math class with the angles :D
Built from Plan(s)
Estimated Cost
wood - $50-$60
screws - $10
stain - I had some sitting around from previous projects that I used
Top coat - $25
screws - $10
stain - I had some sitting around from previous projects that I used
Top coat - $25
Estimated Time Investment
Weekend Project (10-20 Hours)
Finish Used
Table - Minwax Provincial stain (oil based)
- I use an unmatched sock and wipe on the stain. I don't like how the can states I should do it (leave stain on for 5 minutes, wipe off), I find it makes it way too dark for me. If the stain looks lighter that I want I will go back and wipe over again.
Top coat - Varathane Professional 1100 satin finish (clear finish, oil based)
- using a brush I did 3 coats on the bottom shelf, legs, Xs and supports
- table top has 4 coats. Lightly sanded when previous coat dried, used a tack cloth to remove all dust. Repeat until desire finished is achieved!
Recommended Skill Level
Intermediate
Comments

Sun, 08/15/2021 - 18:46
Can you tell me the best way…
Can you tell me the best way to remove stains from concrete?
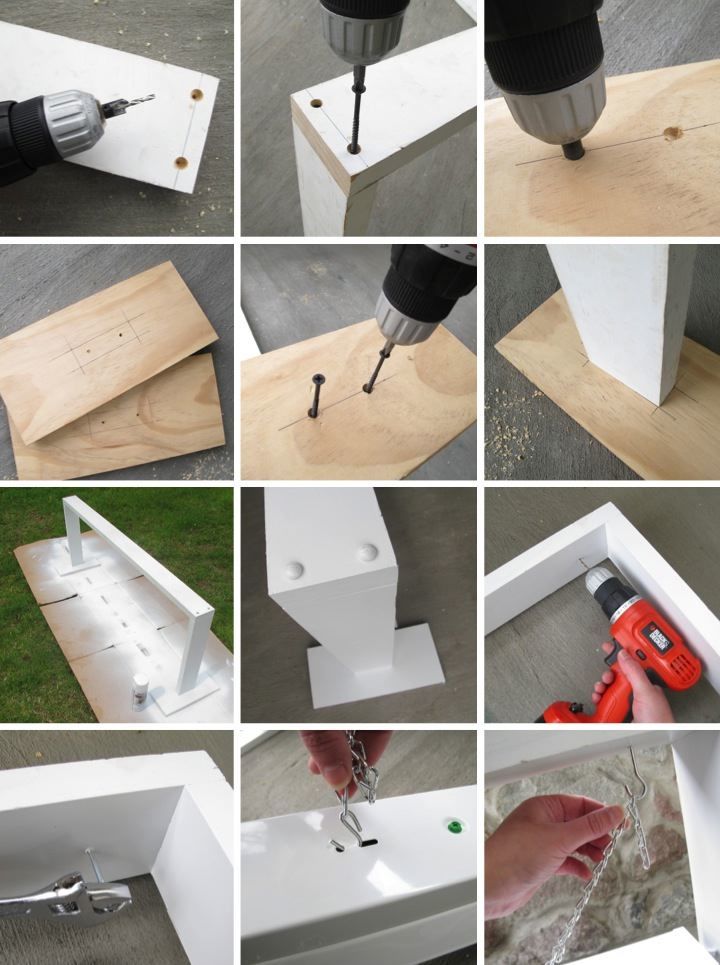
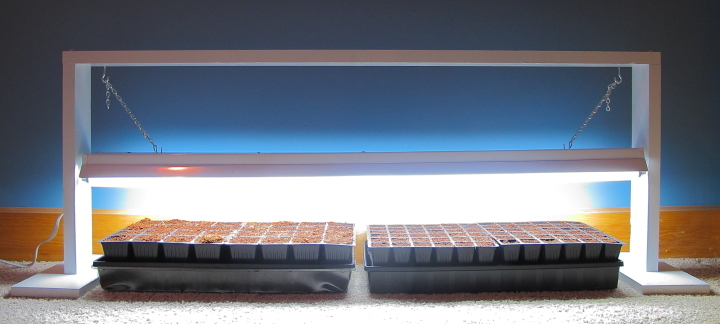
DIY Grow Light for Starting Seeds
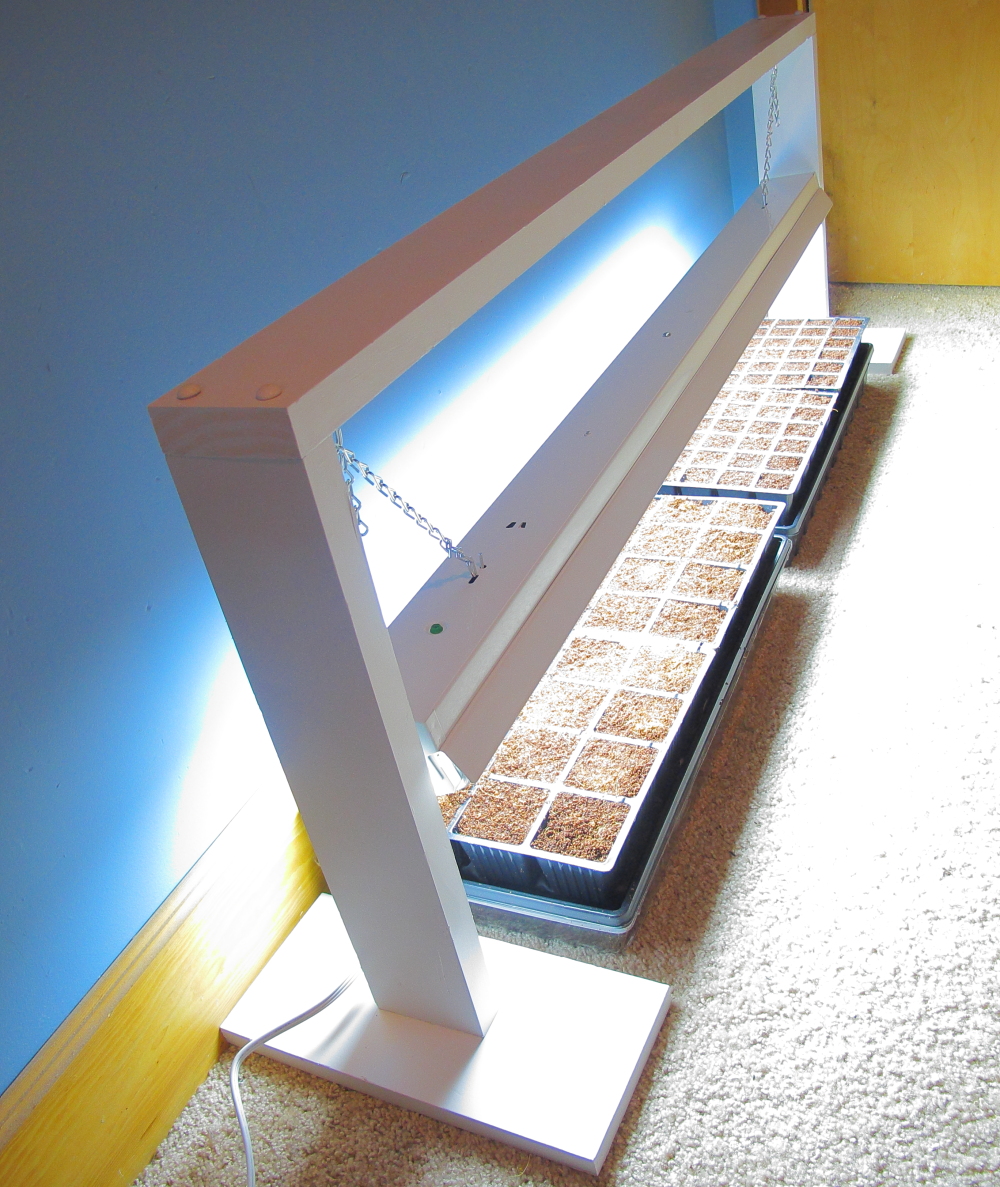
I wanted to start some seeds indoors this year but I couldn't find a reasonably priced grow light that I liked so I decided to make one myself. With some wood scraps and a 48" fluorescent work light I came up with an easy design that was inexpensive, too. For details: http://www.homeandawaywithlisa.com/blog/2012/4/15/diy-grow-light-for-st…
Estimated Cost
$15
Estimated Time Investment
An Hour or Two (0-2 Hours)
Finish Used
Spray paint primer followed by a few coats of white spray paint
Recommended Skill Level
Starter Project
My lovely table)
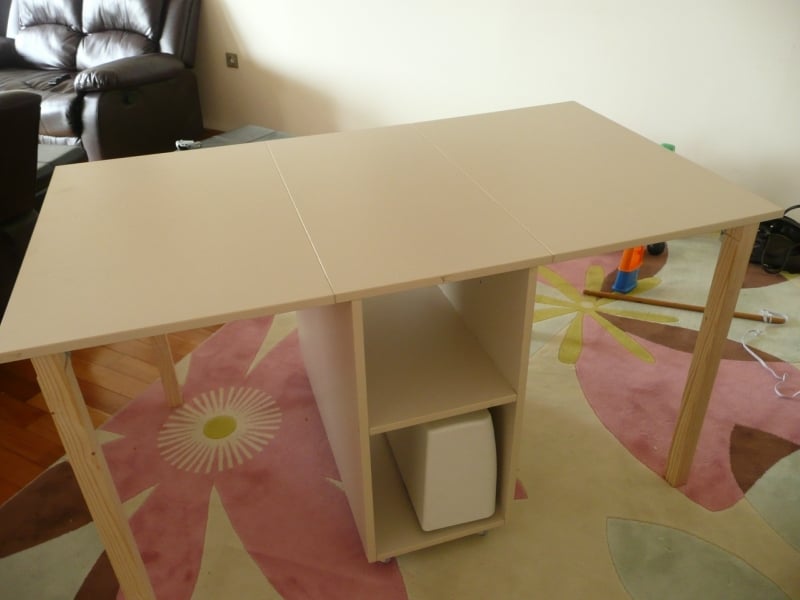
greate project for small place
Built from Plan(s)
Recommended Skill Level
Starter Project
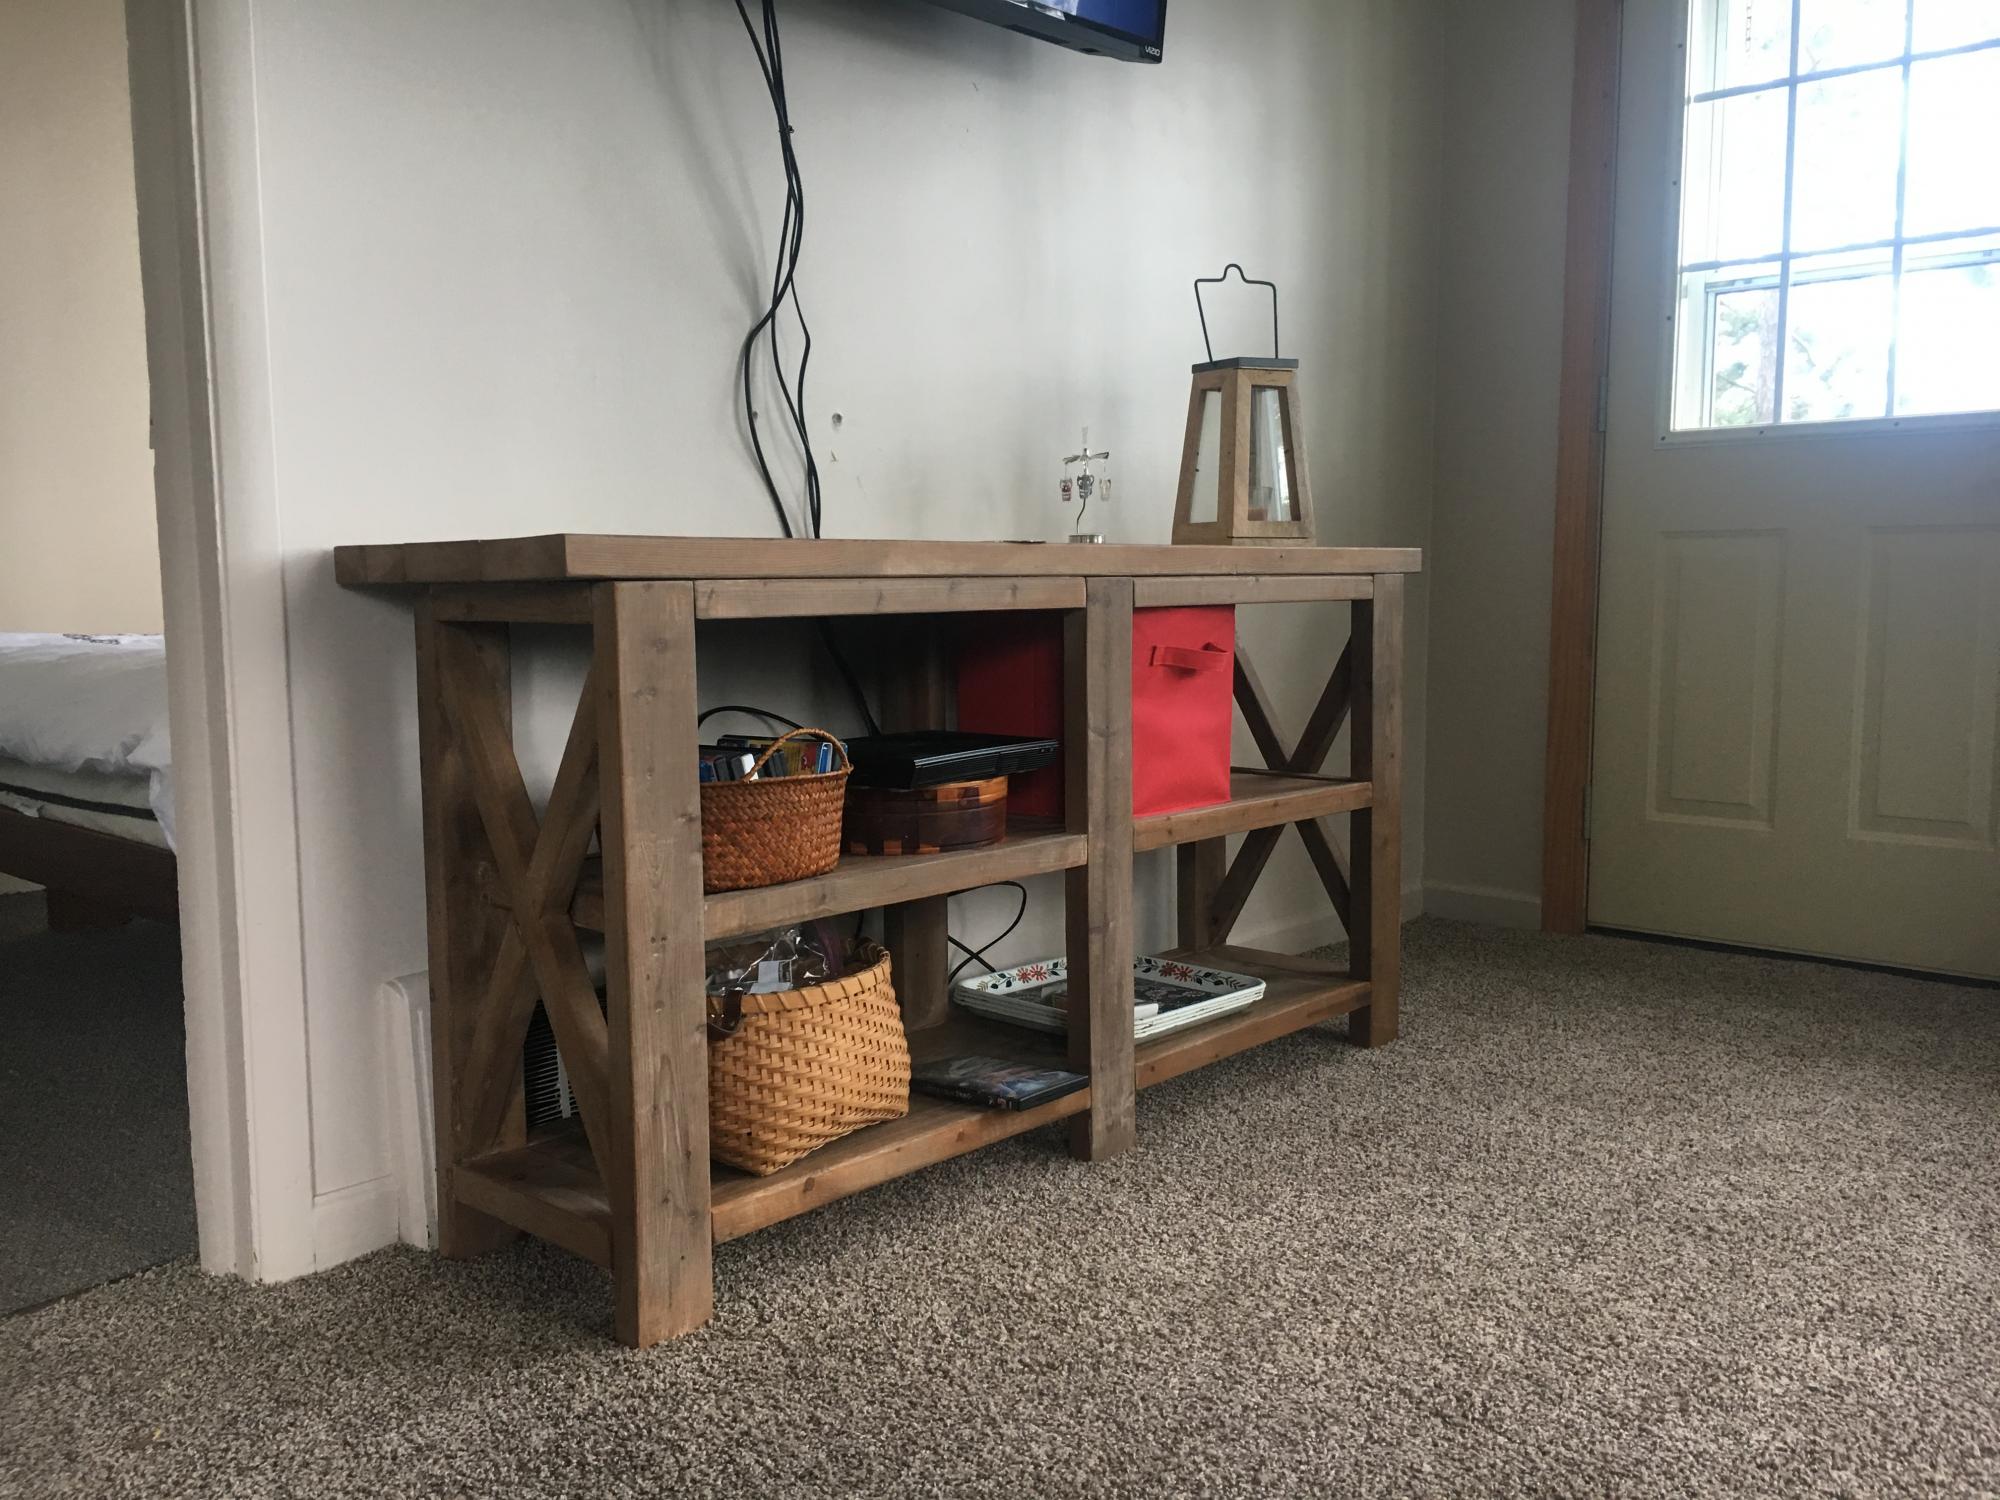
Media Console and Side Shelves
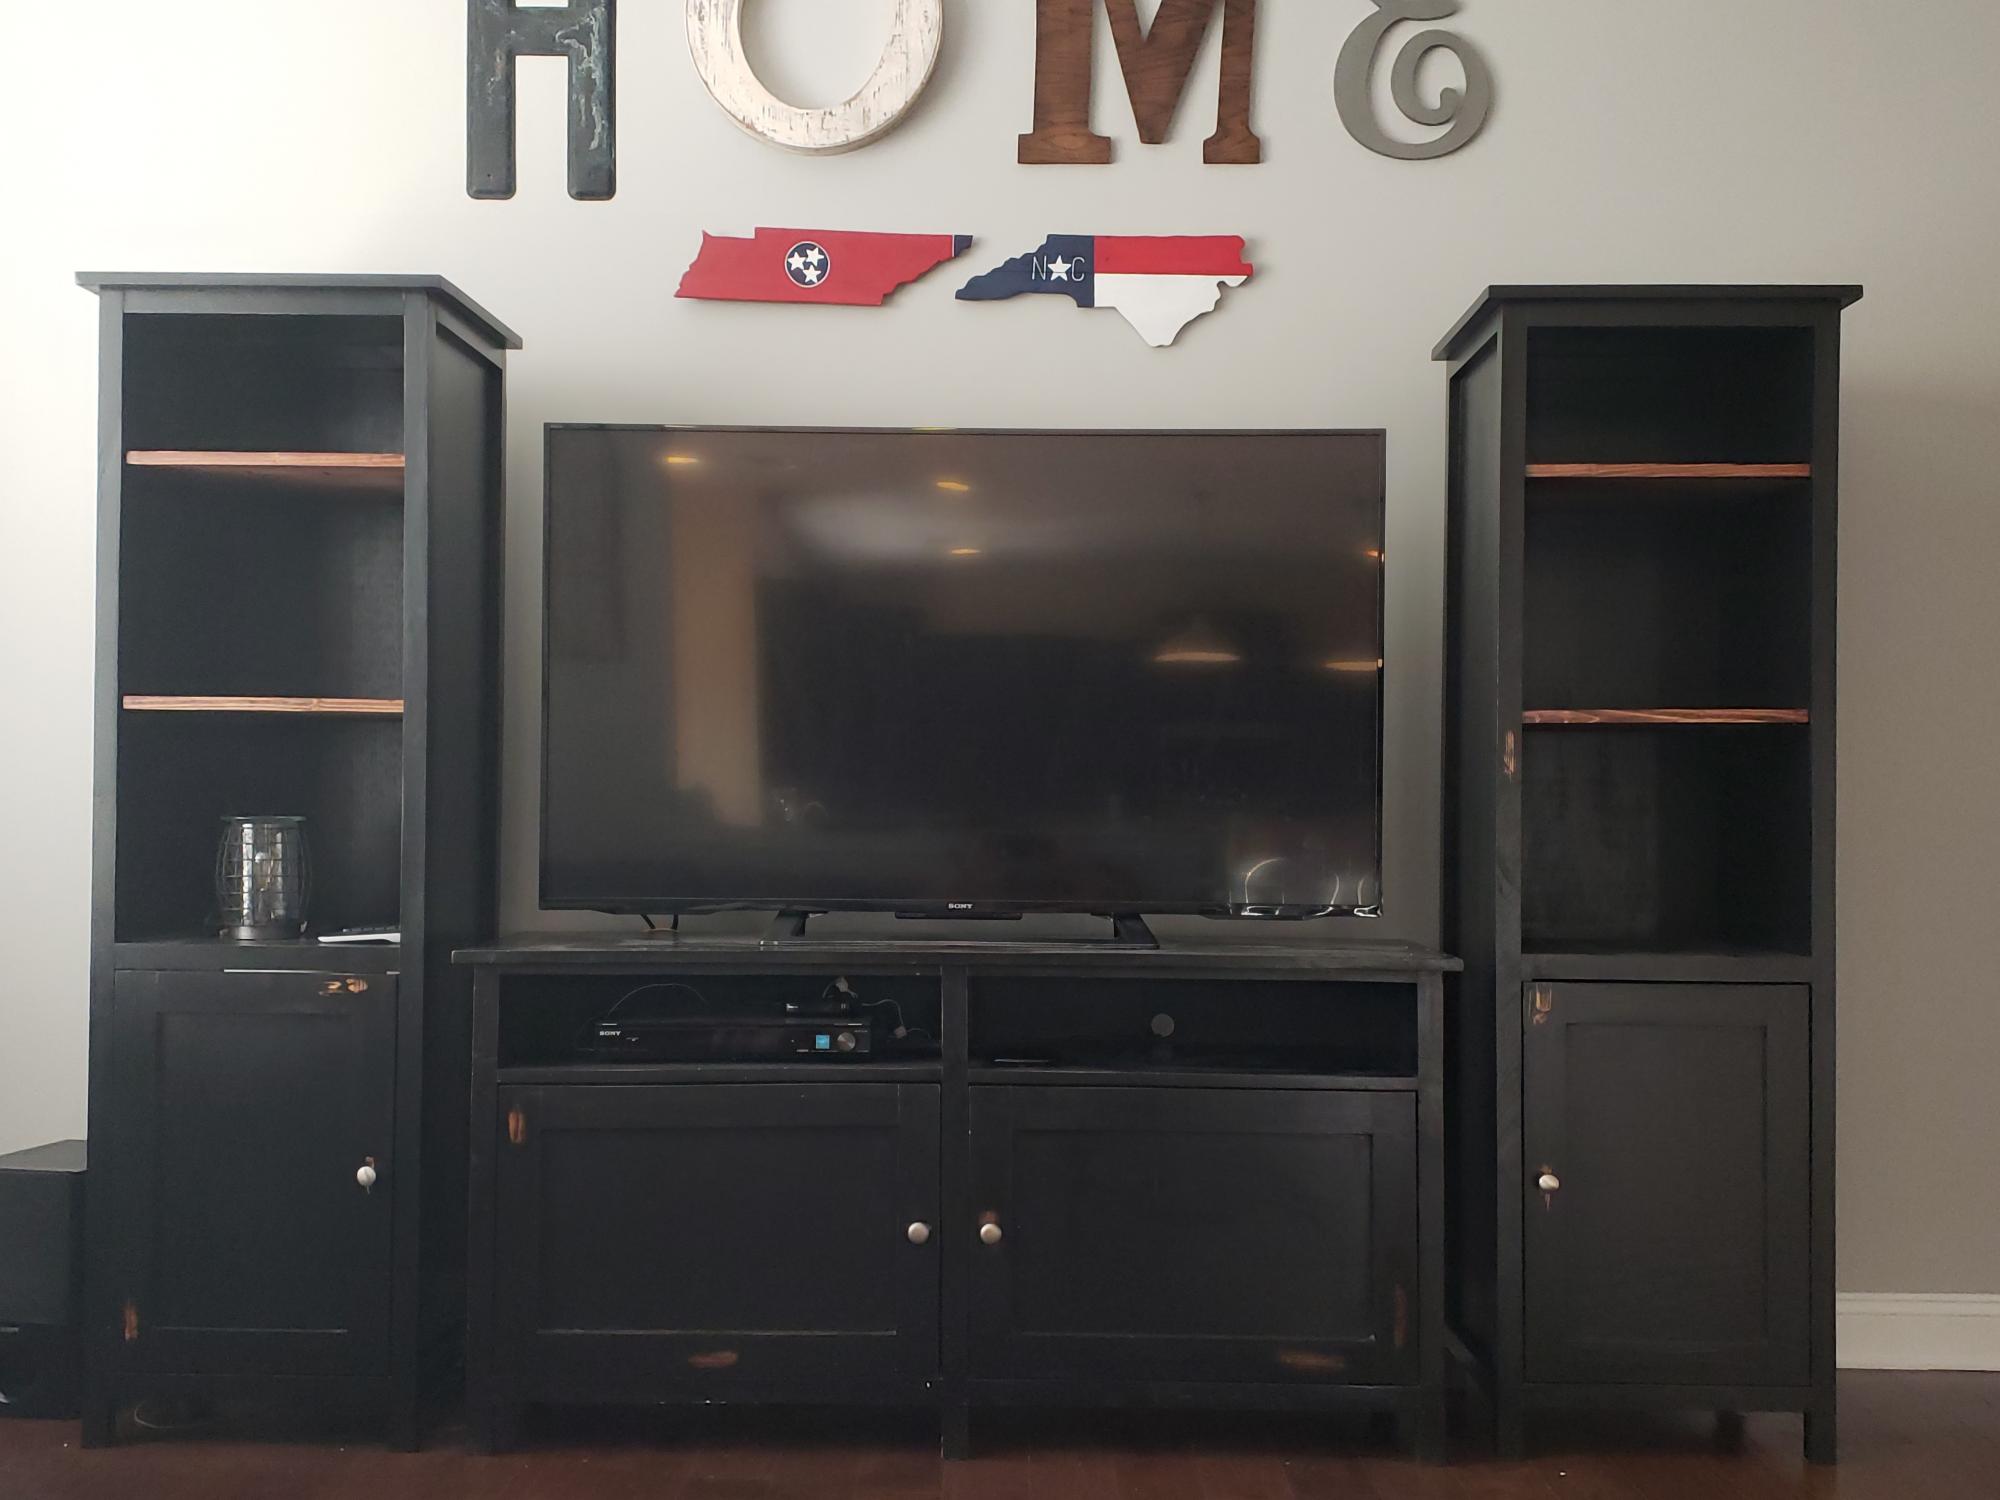
Edited dimensions of the Benchmark Media Console to build this beauty for the Wife. Stained the shelves to give it a little something extra. Plan on building matching end tables with stained tops and possibly replacing the console top with a stained version.
Built from Plan(s)
Estimated Time Investment
Week Long Project (20 Hours or More)
Finish Used
Satin Polycrylic
Recommended Skill Level
Advanced
Comments

Rustic Hutch and Console
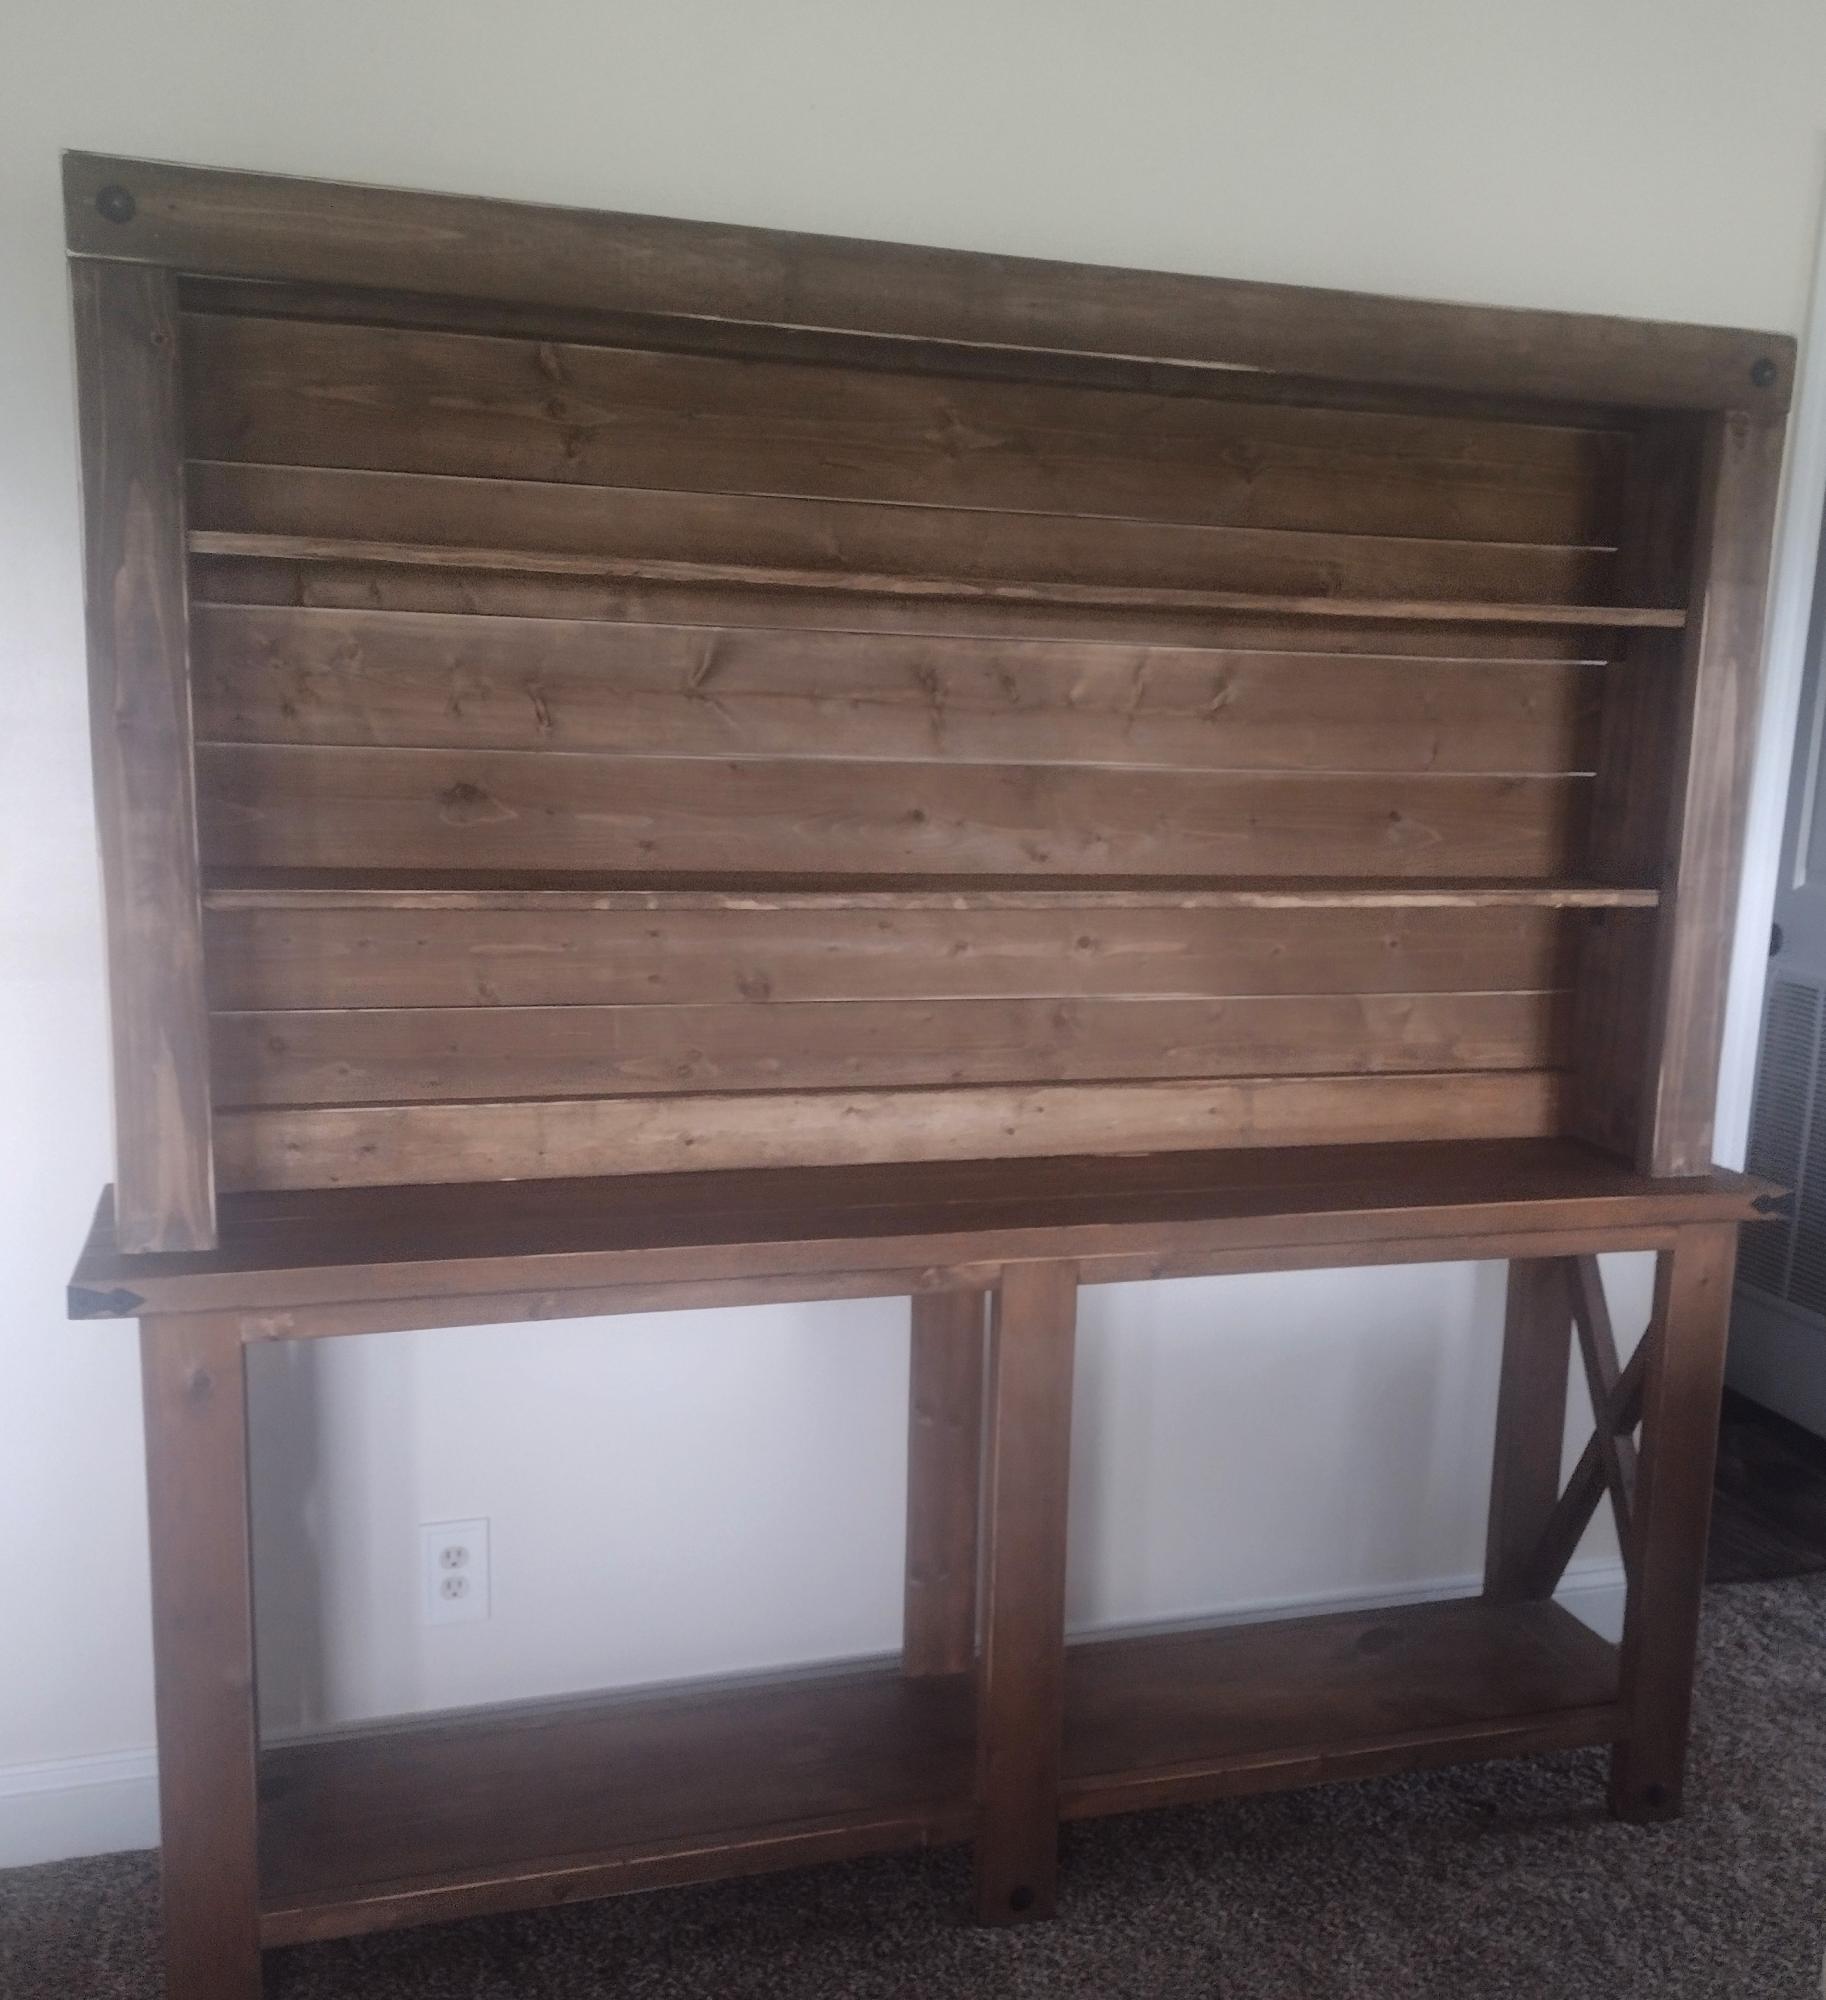
Made the x console table a few years ago, decided recently to add a hutch top to it. Love how it turned out.
Michelle Allen
Built from Plan(s)
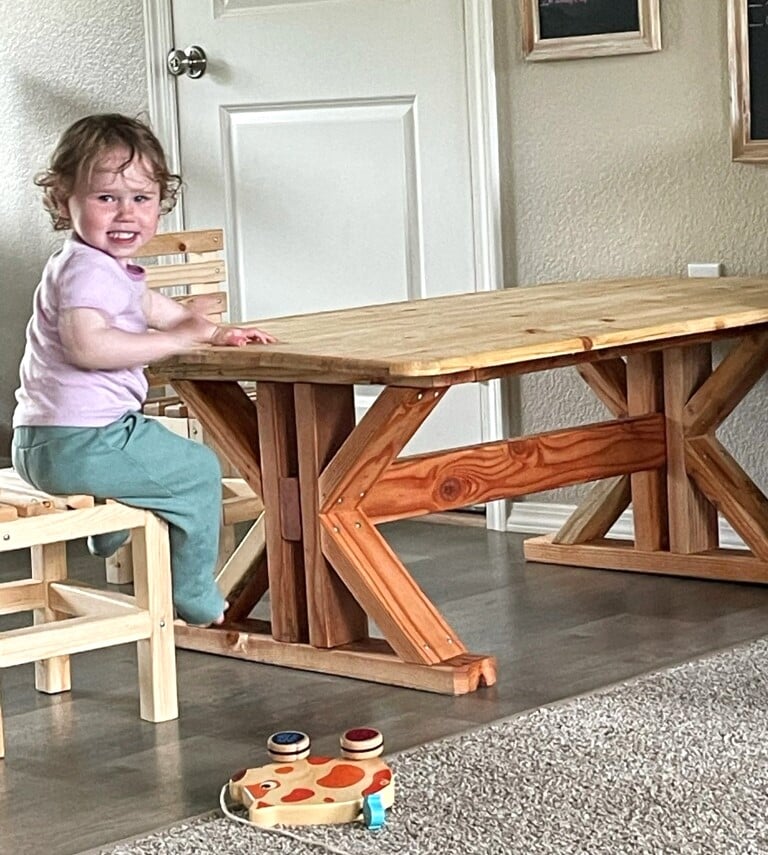
Big Kids Picnic Table

I really love the way this table turned out. It is sturdy and does not wobble. My kids have already climbed all over it, and it seems like it's going to hold up. I was nervous about the yellow (I tried to copy the yellow from the plan), but I love it. It is just the right thing to brighten up my big back yard. I worked on this table off and on for a couple of weeks. I primed and painted all of the boards before I put it together so that I wouldn't have to worry about painting through the small gaps. It just took forever to paint one side, let it dry, turn it, paint the other side, etc. (Is there a better way I haven't figured out yet??) I thought I was never going to be done painting. When we actually put the pieces together, it took maybe 45 minutes, and that's because I'm not very good at using the drill yet :) Good thing I have some help. I intended to fill in the screw holes and paint one more coat, but as soon as it was put together, it was begging to be put in the yard under the trees. So, I let it be finished, and its perfect!!
Built from Plan(s)
Estimated Cost
About $30
Estimated Time Investment
Weekend Project (10-20 Hours)
Finish Used
I used one coat of primer and two coats of yellow paint (the kind that is already tinted, I didn't pick a certain color). I probably should have used two coats of primer because some of the printing on the boards still showed through the paint.
Recommended Skill Level
Beginner
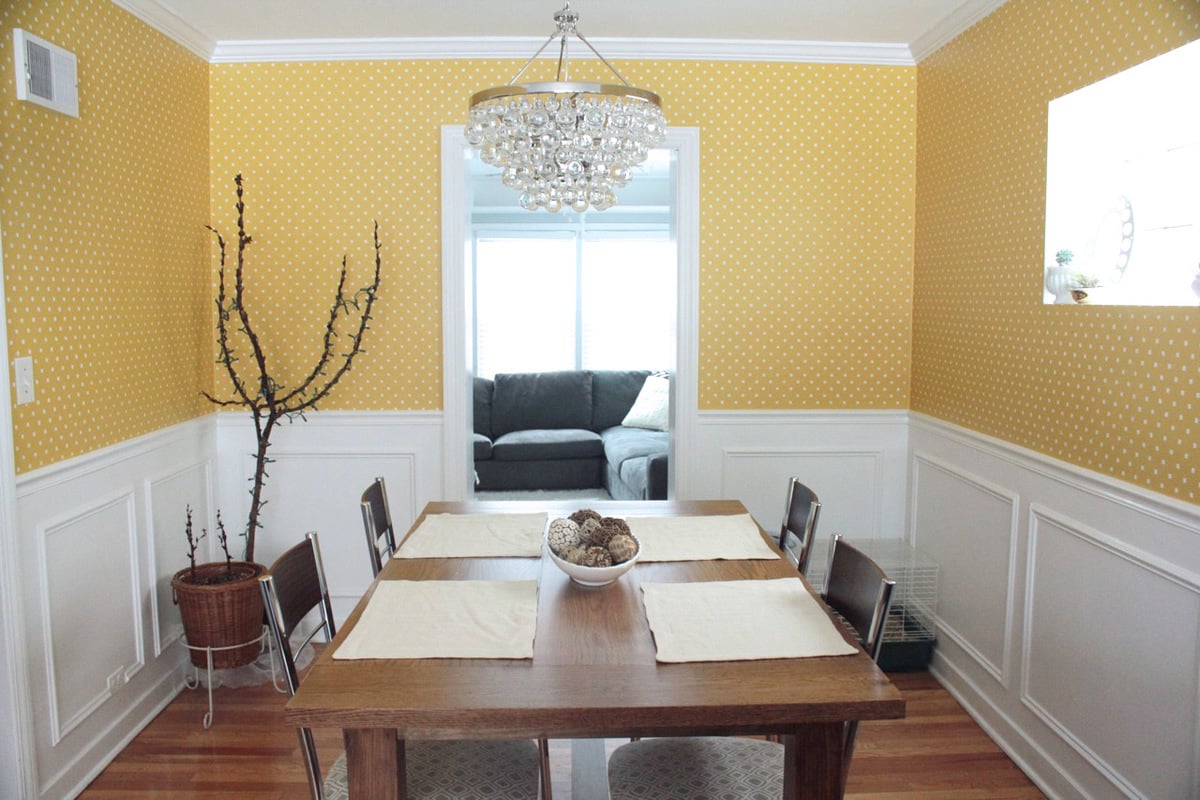
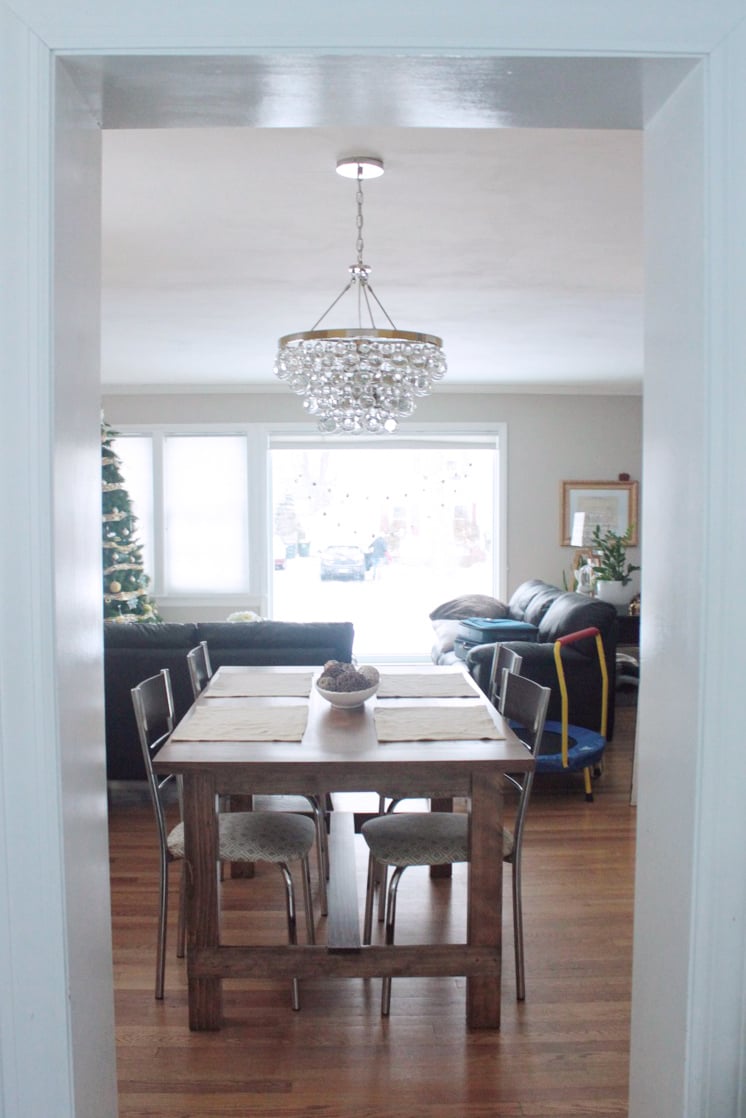
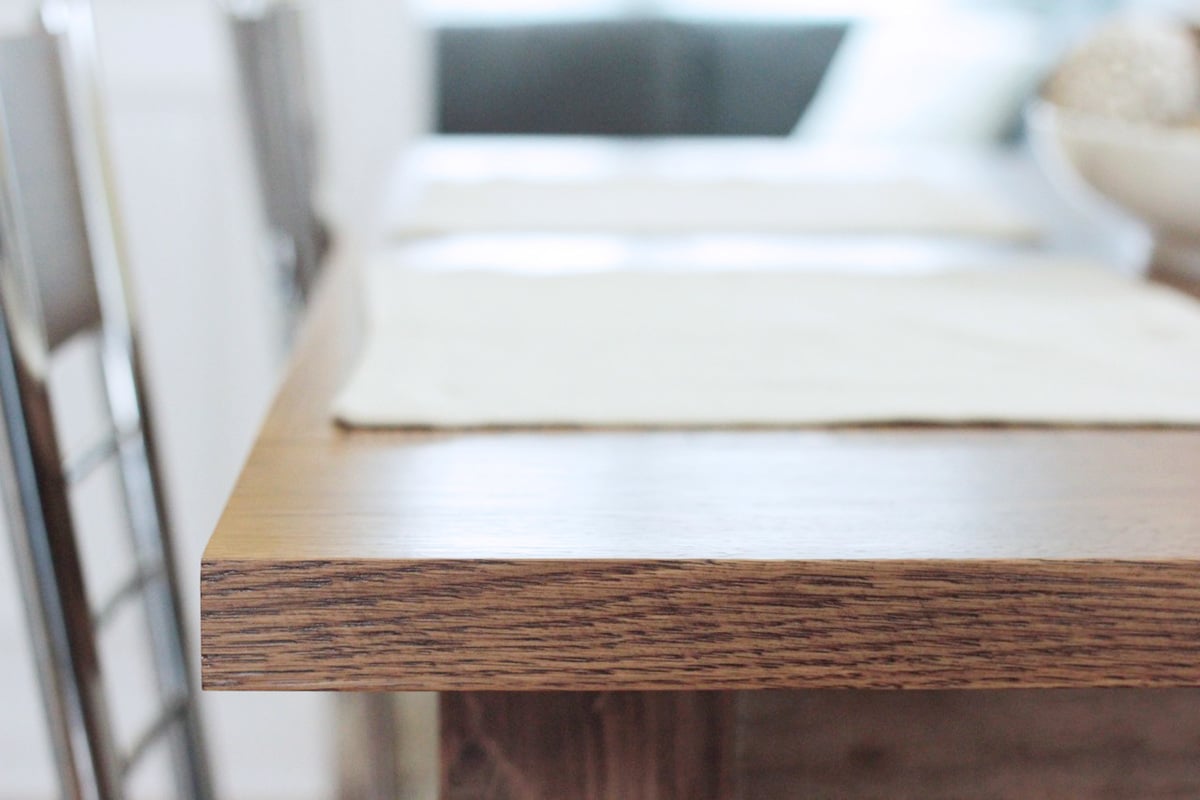
Farmhouse Dining Table

Fish made the tabletop from white oak and the base is pine. We still need to build a bench for one side and purchase new chairs, but we are IN LOVE with this table...and it somehow has allowed us to dine as a family more.

Built from Plan(s)
Estimated Cost
$300
Estimated Time Investment
Week Long Project (20 Hours or More)
Finish Used
Minwax Special Walnut, two coats
Recommended Skill Level
Intermediate
Comments
American Girl and other 18" Doll Living Room Set
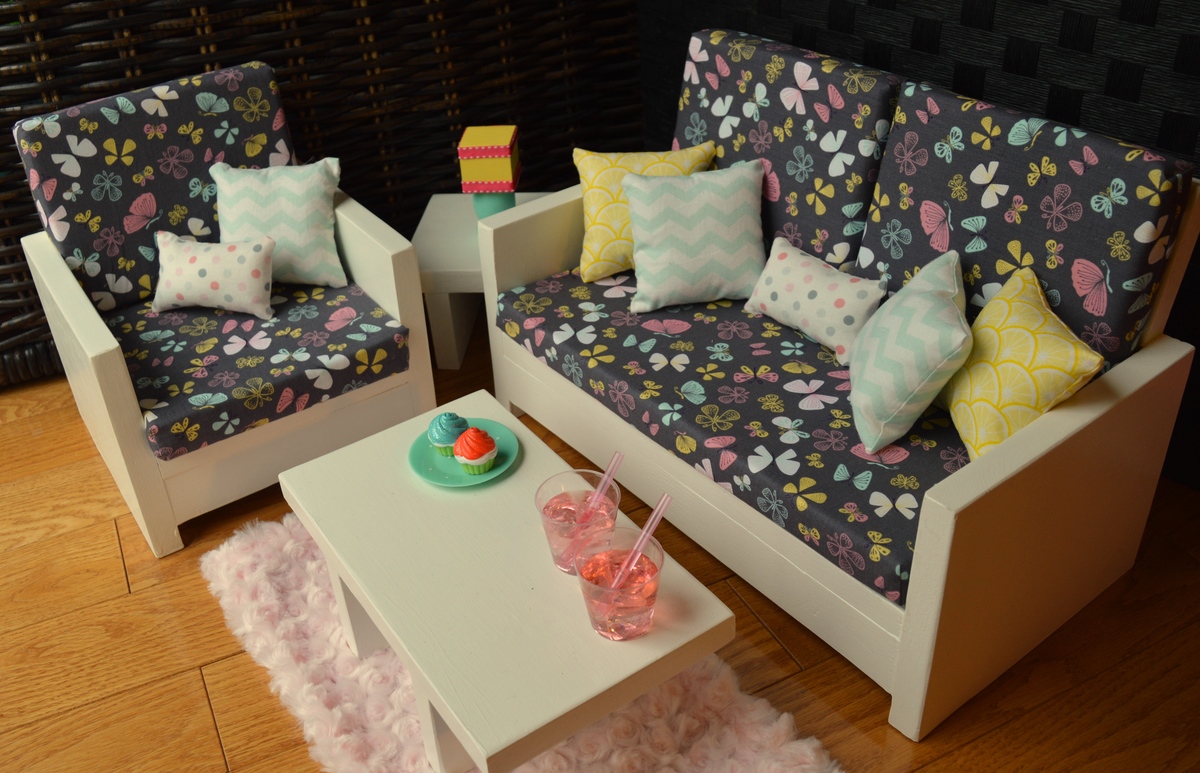
I made this American Girl living room set with pine wood. It is painted white and 2 coats of polyurethane are applied. The cushions and pillows were sewn by myself using high density foam and fibre fill. I have made 5 sets and am really enjoying making them that I have opened up my own etsy shop!
Built from Plan(s)
Estimated Time Investment
Day Project (6-9 Hours)
Finish Used
White semi gloss paint and 2 coats of polyurethane.
Recommended Skill Level
Intermediate
Rustic X Console
Rustic X Console, I attempted the suggested finish and may just stick to stain next time!
Built from Plan(s)
Estimated Cost
100
Estimated Time Investment
Day Project (6-9 Hours)
Finish Used
Black Tea + Steel wool and vinegar. A lot of time was spent waiting for the wood to dry.
Recommended Skill Level
Beginner
Wood Patio Furniture
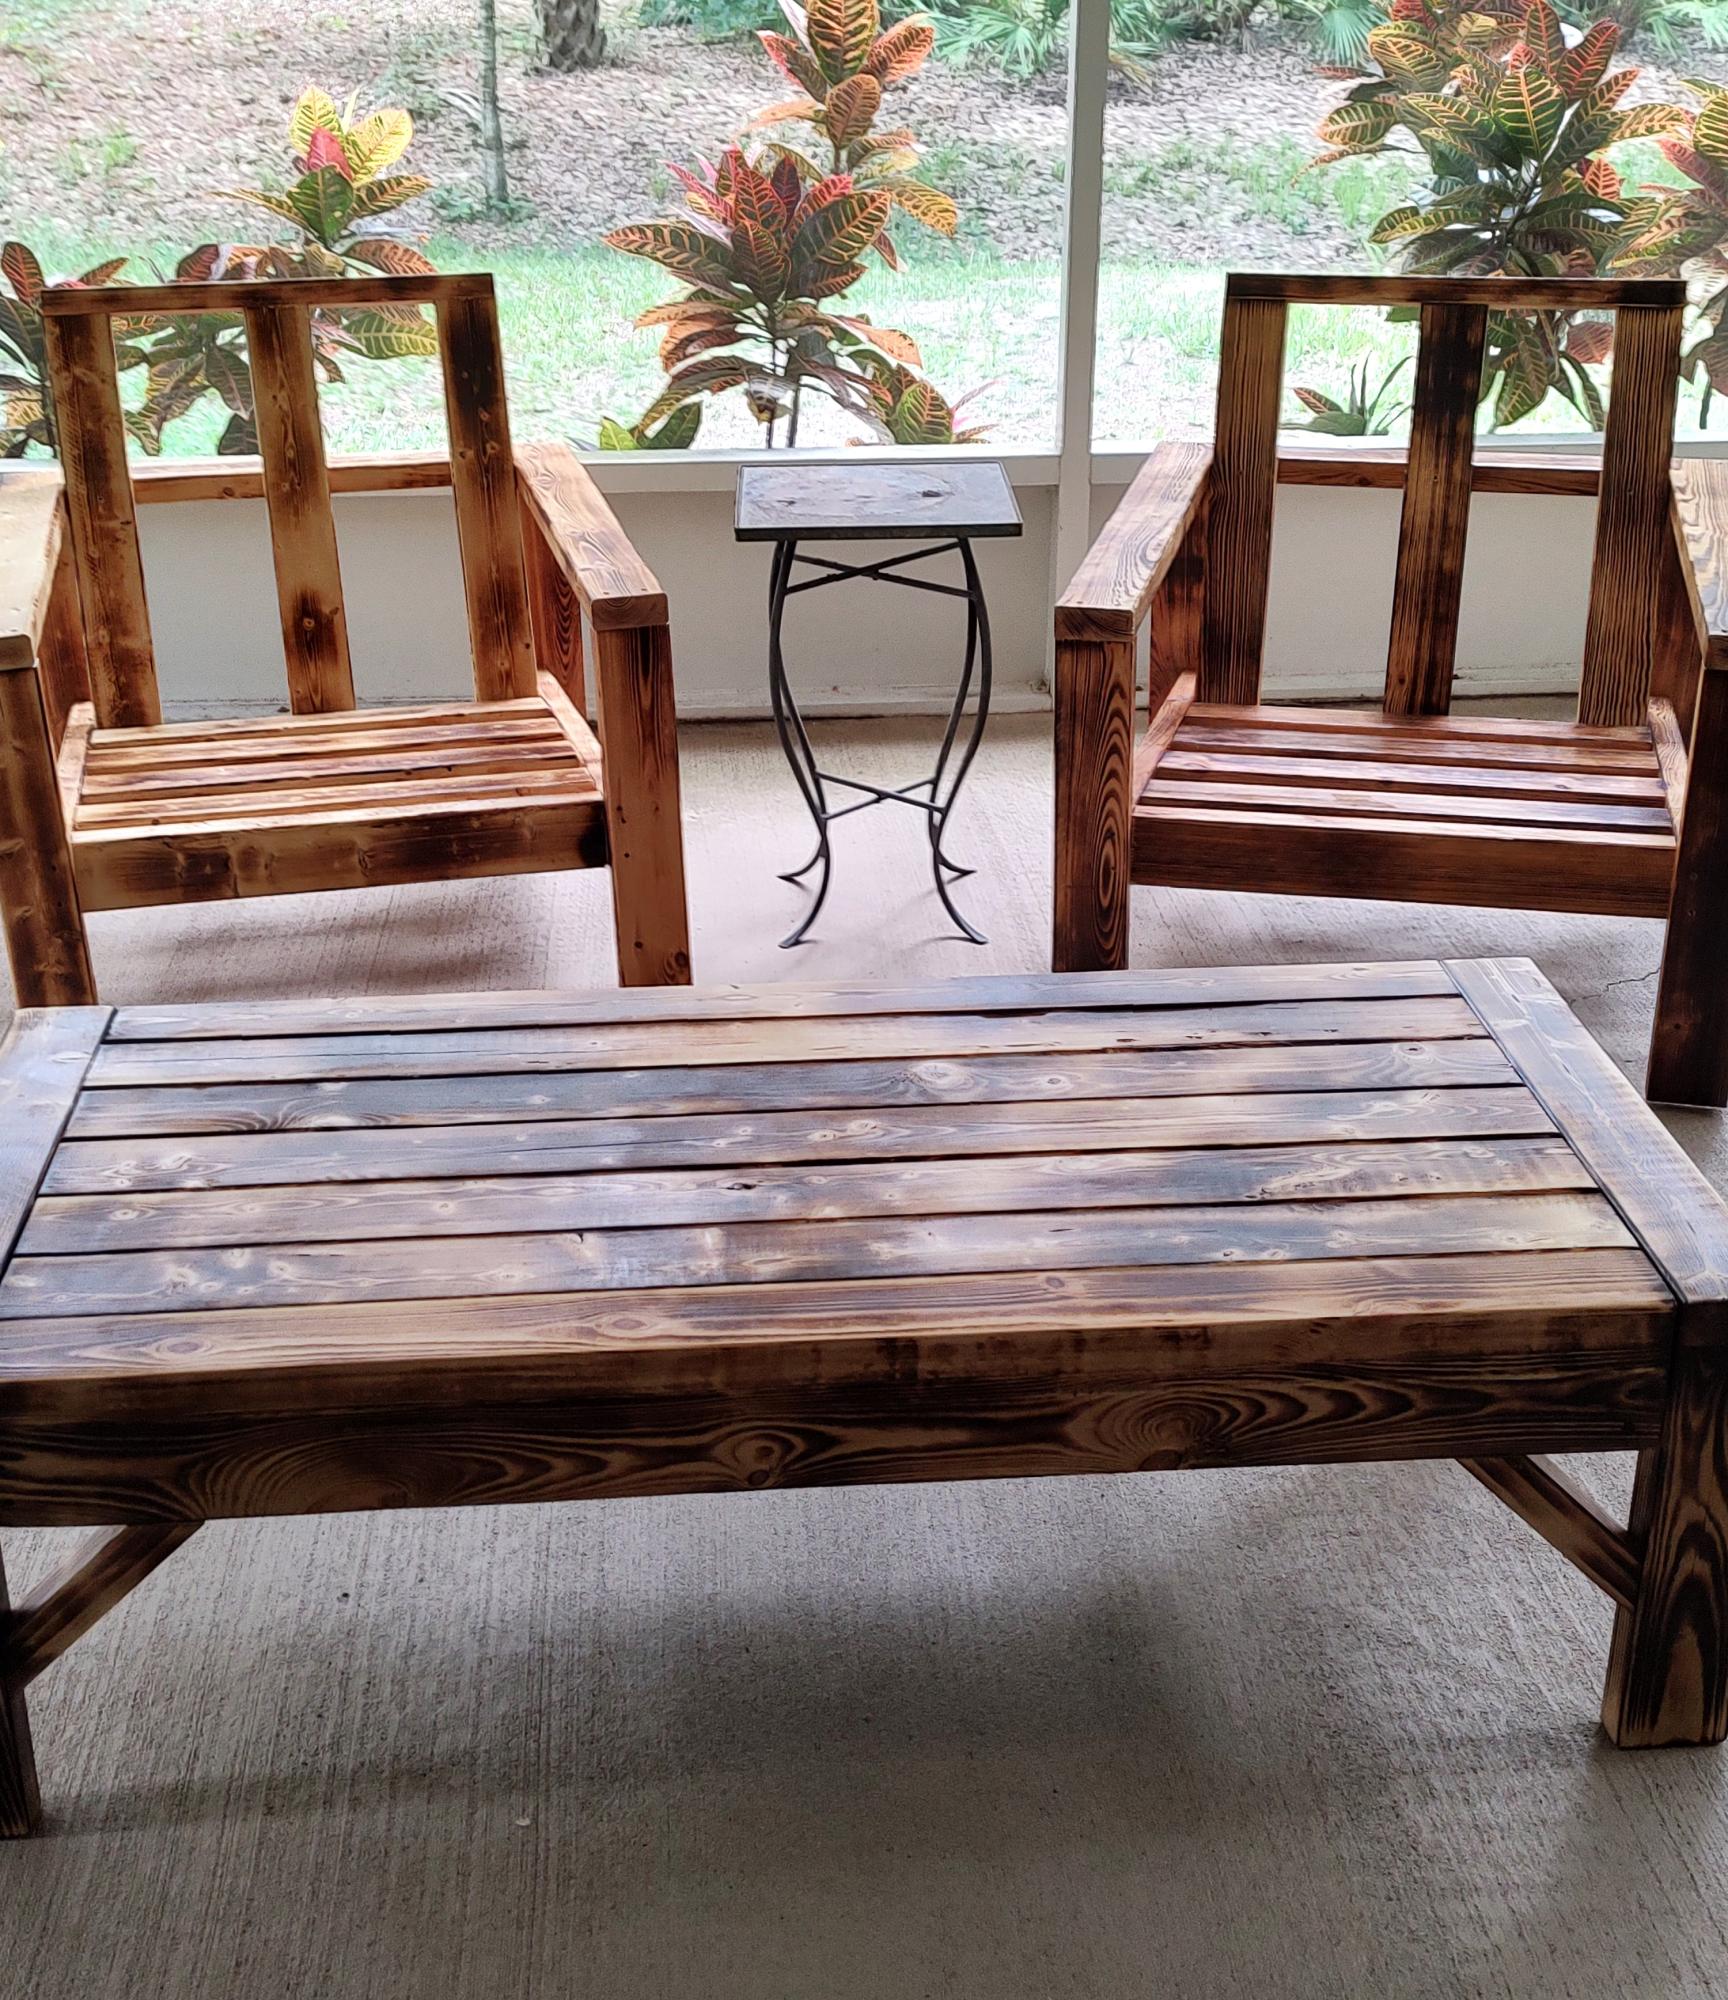
2x4 patio furniture with coffee table
Full Size Storage Bed
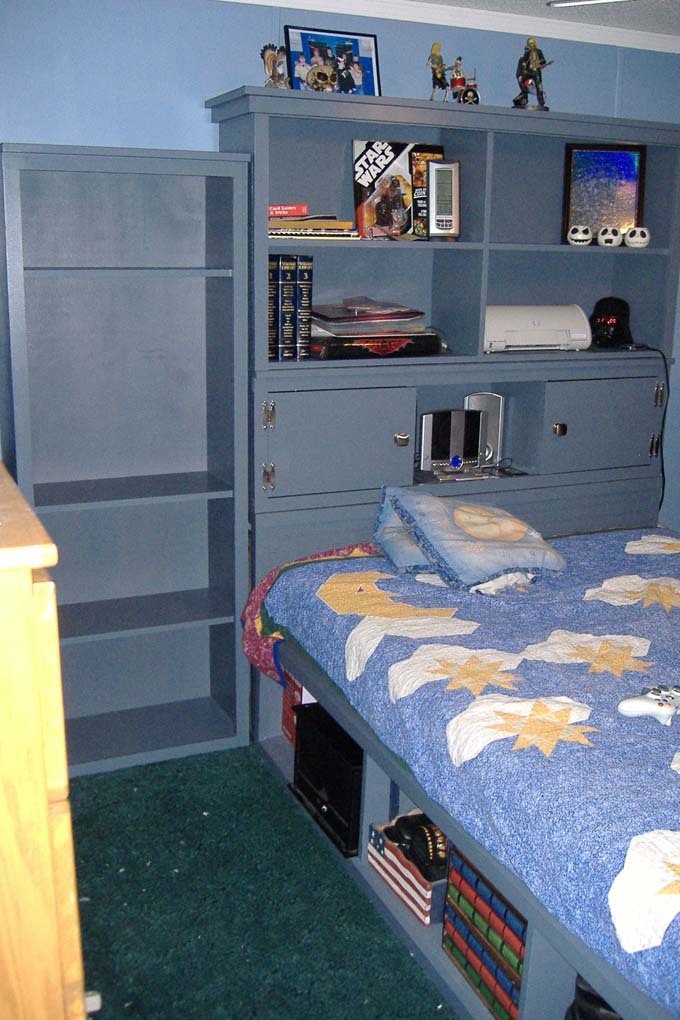
My son chose this system for his room (minus one bookcase - the room wasn't large enough!) and even painted a few of the pieces himself! he's very tall so I lengthened the bed to 92" which is the length of the extra-long mattresses. For the time being, I added 6" high-density foam to the end of his mattress. I also used plywood with edge banding instead of 1x12 boards.
Built from Plan(s)
Estimated Cost
Around $200
Estimated Time Investment
Week Long Project (20 Hours or More)
Finish Used
Dutch Boy Interior Satin in Alloy
Recommended Skill Level
Advanced
Comments
Sat, 04/21/2012 - 10:23
I just built the same thing :)
I love it - the hardware finish is amazing! Great job.
In reply to I just built the same thing :) by mycreativeescapes
Sat, 04/21/2012 - 13:26
So easy...
It was such an easy build! I built a piece each weekend and primed/painted during the week! One day, when he has a bigger room, he'll get the other bookcase!
Secretary's Desk Turned Shoe Cabinet
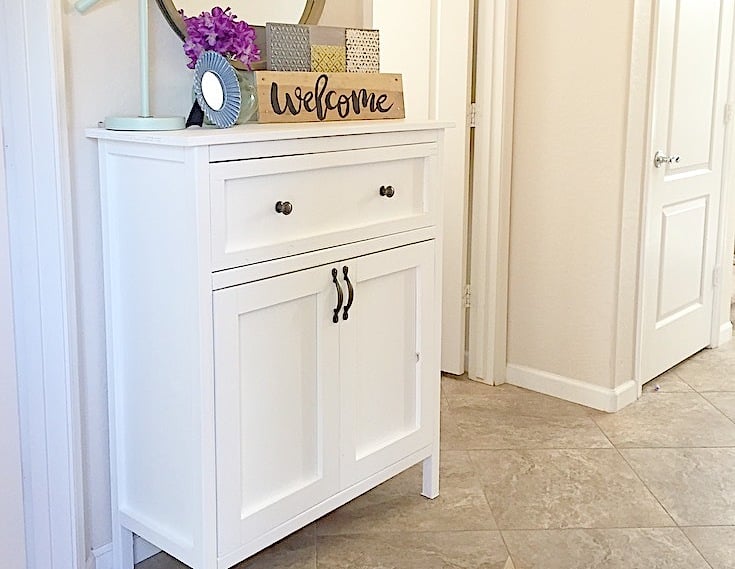
I need some shoe storage near my front door that would hide all of our shoes. I used the plans from the book for the secretary's desk and added an extra shelf. Check out my blog post for step by step pictures.
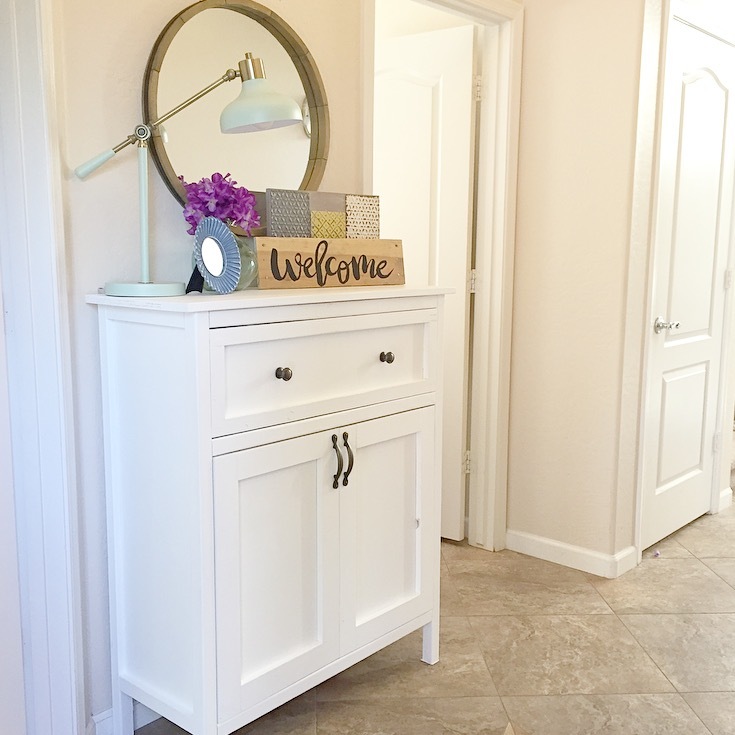
Built from Plan(s)
Estimated Cost
$100
Estimated Time Investment
Day Project (6-9 Hours)
Finish Used
Paint
Recommended Skill Level
Intermediate
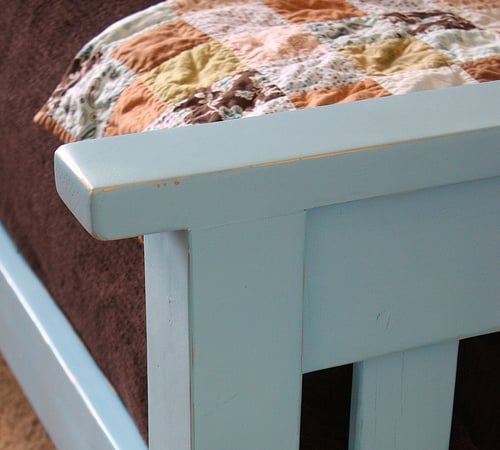
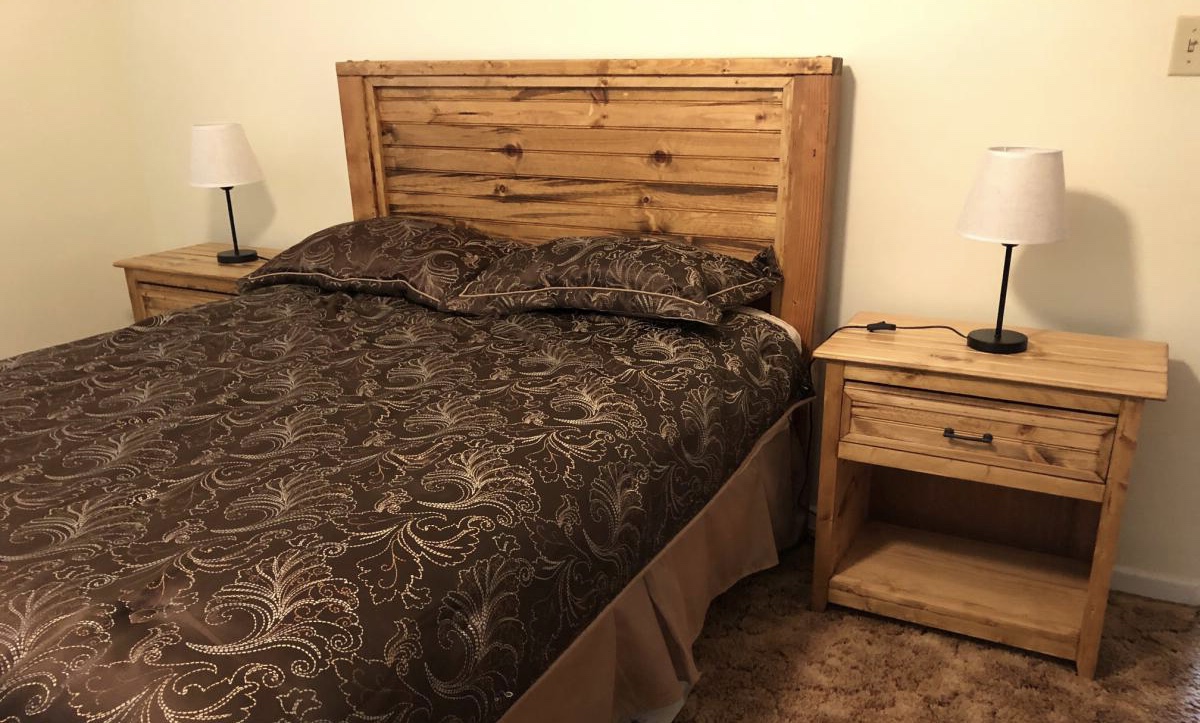
Farmhouse Bed Headboard
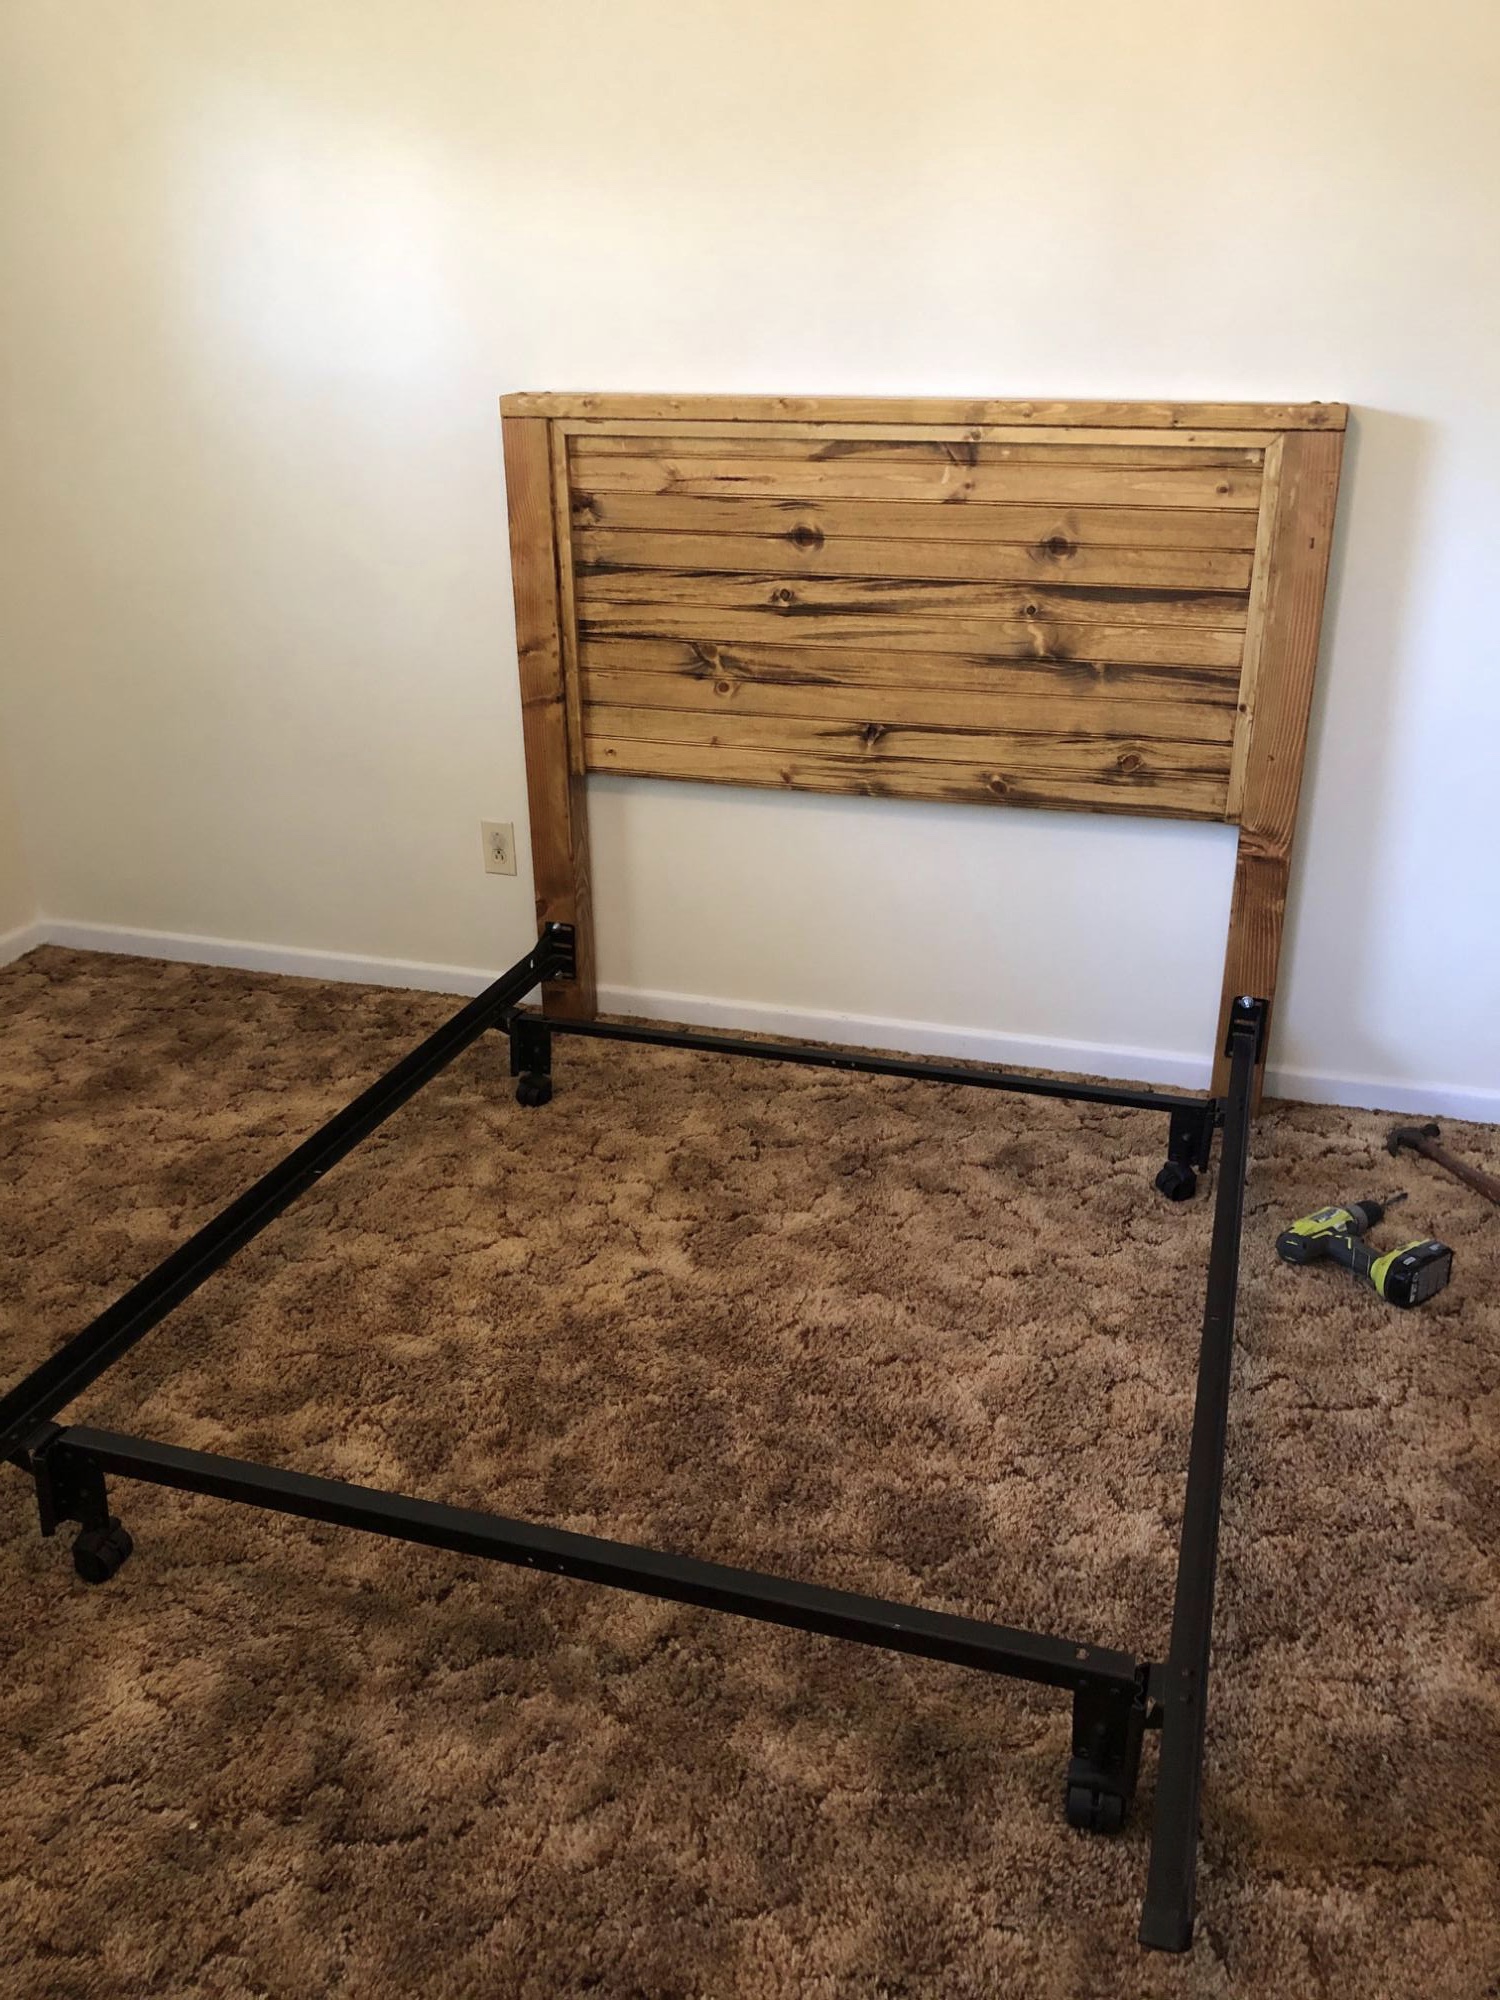
I only needed a headboard for the full size bed in my guest room. I attached it to the existing metal frame with carriage bolts. I built matching nightstands from plans found elsewhere on this site.
Built from Plan(s)
Estimated Cost
$35
Estimated Time Investment
Afternoon Project (3-6 Hours)
Finish Used
Honey Oak Stain
Water based polyurethane
Water based polyurethane
Recommended Skill Level
Starter Project