Community Brag Posts

Adirondack Chair

Submitted by Anonymous (not verified) on Fri, 05/12/2017 - 19:49

This was the first wood project I attempted, ever really, and first I picked from the book. It was a little daunting, but these are really comfortable chairs. Great design! Now people are asking me to make some for them too.

Estimated Cost
$30
Estimated Time Investment
Day Project (6-9 Hours)
Finish Used
Rustoleum matte finish indoor/outdoor paint in
Recommended Skill Level
Beginner

Modern adirondack chairs, made in Australia

Submitted by Anonymous (not verified) on Fri, 05/14/2021 - 17:00

Made in Australia, using recycled spotted gum timber. Finished with timber oil. On each chair, there is an extra wide armrest, to better fit a coffee mug or book.

Estimated Cost
$500
Estimated Time Investment
Week Long Project (20 Hours or More)
Finish Used
Oil
Recommended Skill Level
Intermediate

Comments

Triple Truss Coffee Table

I used all metal casters on my table for a more industrial look! This table is huge so make sure you measure the room you are planning on putting it in! For more info & pics check out my blog: http://builditwithbrooke.blogspot.com/

Built from Plan(s)
Estimated Cost
$60
Estimated Time Investment
Day Project (6-9 Hours)
Finish Used
Dark Walnut & Poly
Recommended Skill Level
Intermediate

Modified using thicker wood

Submitted by rtomblin on Sun, 02/15/2015 - 18:44

We had complete fun with modifying the original project. with upscaling the wood to the post design. thank you so much for the original post for design and measurements. Also want to mention that everything put together in this project was used with the Kregg pocket screw kit. THANK YOU ANA-WHITE.com and KREGG Tools for making my kids bunk that much more fun for them!


(Note: For those wishing the material and cut sheet, I will be more than happy to add later. Just please leave comment stating so.)

Estimated Cost
Approx $125
Estimated Time Investment
Weekend Project (10-20 Hours)
Recommended Skill Level
Intermediate

Twin Sleeper Chair

Submitted by Anonymous (not verified) on Thu, 05/27/2021 - 15:45

Made this as a birthday present for my daughter. She has a small deck on her apartment. She needed something versitale. She can sit and read or layout in the sun. Used pressure treated wood and outdoor material for cushions. She stores her salt and charcoal underneath.

Estimated Cost
$210.00
Estimated Time Investment
Day Project (6-9 Hours)
Finish Used
None....since its pressure treat we will wait for a couple of months to stain.
Recommended Skill Level
Intermediate

Comments

Play Workbench

Submitted by Jlreber on Fri, 04/05/2013 - 19:53

I built this play workbench for my son's 2nd birthday present. He (and his big sister) couldn't be more thrilled with it! It was built in one evening after the kids went to bed. Only the pegboard and top piece were attached the morning after because of the paint of course. Now my big man can work next to me in the garage all spring and summer long.

I linked a blog below which was my model of inspiration for this project but I modified it to suit the size we wanted. I used premium pine studs (3 1/2" x 1 1/2") that had a beautiful natural red hue to them and a 18" x 24" cut piece of plywood pegboard which was painted with some spare blue paint. 2 1/2" deck screws were used for all attachments and drilled flush with intention of being exposed for a rugged look. The bench measures 24" wide, 17" deep, 41.5" tall from the back with a 19.5" tall countertop.

My wife and I had a lot of fun getting creative with what to add to it.

Estimated Cost
$17 for wood and $8 for 2'x4' piece of pegboard
Estimated Time Investment
Afternoon Project (3-6 Hours)
Finish Used
Leftover blue paint for pegboard (Annapolis Blue by Olympic)
Recommended Skill Level
Beginner

Comments

Kitchen island

Submitted by cynlop77 on Fri, 02/20/2015 - 12:21

Used Pine for entire project. Edge glued pine panel for top covered Rustomleum carrington and with 4 coats of High perfomance poly from General Finishes. Sherwin Willams Emerald paint in Anew Gray.

Built from Plan(s)
Estimated Time Investment
Week Long Project (20 Hours or More)
Recommended Skill Level
Intermediate

Comments

JoanneS

Fri, 02/20/2015 - 13:32

Your island is beautiful! Love the finishes. Looks like it matches your cabinets perfectly!

corner shelf

Submitted by Anonymous (not verified) on Sat, 05/20/2017 - 08:31

I Used a solid wood door I bought from a home owner doing some renovations.  Ripped it in half on the table saw.  Then,  I cut a pressed plywood spool top into quarters and attached them from the rear of the door halves after turning them at a 90 degree angle.  Simple,  but turned out really well.  Have made several of these now,  and they seem to be a big hit. 

Estimated Cost
25.00
Estimated Time Investment
Afternoon Project (3-6 Hours)
Recommended Skill Level
Intermediate

Tiered Planter

Submitted by Anonymous (not verified) on Mon, 05/31/2021 - 16:24

Great planter plan. very easy to build

Comments

Seasonal And Holiday

Patrick's Beach Cottage Dresser Modified

My husband played college baseball and kept many baseballs from different leagues and conferences he played in, and also was given many by teammates and friends during his playing days. We were remodeling our guest bedroom and wanted to display the baseballs he kept in a dresser or night stand.

We found the Patrick's Beach Cottage Dresser plans and thought were could start with that and modify it. We wanted it to be longer, so we doubled the amount of drawers and seriously modified the top. We made two display boxes, which were basically like drawers, out of 1x4's and thin plywood as the base. We stretched grey felt over the plywood and stapled it in. We then nailed the display boxes in place after painting them. As a result, we didn't build drawers for the top space and just used false drawer faces.

We bought a piece of display glass 12"x72" which was an "oops" piece from the glass shop for $20.00. It really makes the dresser pop in person.

Please excuse the fact that we don't have handles or knobs on the dresser yet, I will be adding them this week!.

Estimated Time Investment
Weekend Project (10-20 Hours)
Finish Used
Creamy white paint, which we then sanded the edges and followed it up with wiping on stain with some paper towels and rubbing it out quickly.
Recommended Skill Level
Intermediate

Comments

4x4 Truss Beam Table

My wife and I built the 4x4 Truss Beam Table and 4x4 Truss Bench.  We used Rustoleum Dark Walnut Stain and Satin Polyurethane.  The only difference from the plans jointing the edges.  We didn't like how simply screwing the 2x10s together left cracks due to the rounded edges.  We ran the 2x10s (and 2x8s for the bench) through the jointer 3 times on each edge.  This eliminated the cracks for a nice smooth table top finish.  We distressed it with a hammer, screws and a file, then put one coat of stain and 3 coats of poly on it.  We bough IKEA chairs.  My wife reupholstered the smaller chairs and made the covers for the end chairs.  Enjoy!

Estimated Cost
$150
Estimated Time Investment
Week Long Project (20 Hours or More)
Finish Used
Rustoleum Dark Walnut and Satin Polyurethane
Recommended Skill Level
Intermediate

Comments

HawgDriver43

Tue, 03/03/2015 - 16:13

Thanks! We just used #2 yellow pine for the 4x4s, the 2x10s for the table top, and the 2x8s for the bench top. This is just the standard construction type material. The only place we could find non-pressure treated 4x4s in our local area was Lowes. Hope this helps!

Boot rack and sign

Submitted by Anonymous (not verified) on Tue, 05/23/2017 - 06:53

This is my first project and I'm really pleased with how it turned out. I made two racks - one for adult size and one for the kids with a narrower gap between the dowels. Hardest part was routing the back to make the French cleat hanger slightly recessed so that the board would hang near the wall. It also took me a while to make the large drill bit work ok and I had to start over on the other side of the board when it chewed up some of the edge of the initial holes. I used an excel file to figure out the spacing and amount of materials. Thank you Ana for the inspiration and detailed instructions. Definitely given me the woodworking bug now. 

Built from Plan(s)
Estimated Cost
$65
Including 1 1/4 drill bit - $16
Dowels total of $24
Plank was only $10
Also bought a dremel to do the routing but didn't include this as I could have hung it without that.
Estimated Time Investment
Weekend Project (10-20 Hours)
Finish Used
Walnut wood stain then two coats of polyurethane clear gloss. Lettering was done by tracing printed letters with white graphite paper then filling in with white marker pen.
Recommended Skill Level
Starter Project

Comments

Work apron made at workshop

I belong to a crafters group that had an evening workshop to make garden and workshop aprons. I chose this one from Ana White because it had exactly what I needed (namely big pockets and not too long).

I used outdoor fabric for the striped and solid brown pockets, bias tape (purchased at the local craft store) and a regular drop cloth from the hardware store. I was hesitant that this apron might not hold up to tools, nails, etc. but once I finished it, I think it will work great because the pockets are lines with the drop cloth fabric. The apron came out very sturdy feeling.

The project itself is pretty easy. The only hiccup you might have is if you've never applied trim/bias tape to a project before. That isn't hard either but you may want to look at a Youtube video or two on how to apply bias tape (trim) before starting. I bought my bias tape ready made at the craft store. It will be in the sewing notions section by the thread usually. I used the double fold version of bias tape because I think it's easier to use.

Built from Plan(s)
Estimated Time Investment
An Hour or Two (0-2 Hours)
Recommended Skill Level
Intermediate

DIY Upholstered Bench

My husband and I completed this project several weeks ago and could not be happier with it. We adjusted the plans a bit to fit our space and needs and are totally smitten with it. 

You can get more details here:

http://www.crazyhappycasa.net/2015/01/diy-bench.html


Built from Plan(s)
Estimated Time Investment
Weekend Project (10-20 Hours)
Recommended Skill Level
Intermediate

Rustic X Coffee Table

Submitted by Anonymous (not verified) on Fri, 05/26/2017 - 16:40

We had so much fun experimenting trying to get just the right colors for this piece! 

Estimated Cost
$75
Estimated Time Investment
Day Project (6-9 Hours)
Finish Used
We used black flat diamond paint for the base and distressed the edges. For the top we layered classic gray by minwax with provincial on top. Then protected with a clear non yellowing poly by varathane
Recommended Skill Level
Intermediate

Coffee Bar

Submitted by mihuck on Tue, 06/15/2021 - 15:07

This is the coffee bar my hubby built for me! I showed him the picture and he used the plans here to create a custom piece for me. I painted and stained the final product. I love it!!

Built from Plan(s)
Estimated Time Investment
Week Long Project (20 Hours or More)
Finish Used
Stained top with clear coat satin polyurethane
Painted base with Sherwin Williams cabinet paint in Network Gray
Recommended Skill Level
Advanced

Comments

Heater Covers

Submitted by pblomberg on Sun, 04/14/2013 - 07:06

My wife and bought a house last summer with the intention of remodeling it has we were living in it. However, we wanted to do the bathroom before we moved in as it was the only shower/bath. So the old bathroom and bedroom next to it was gutted and replaced from the studs out.

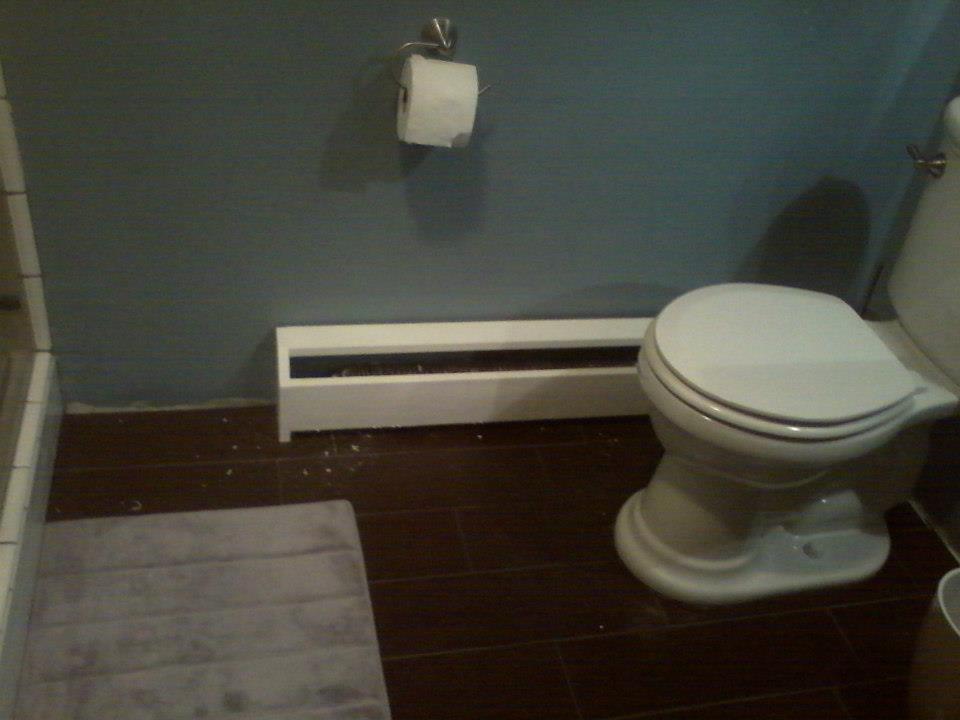
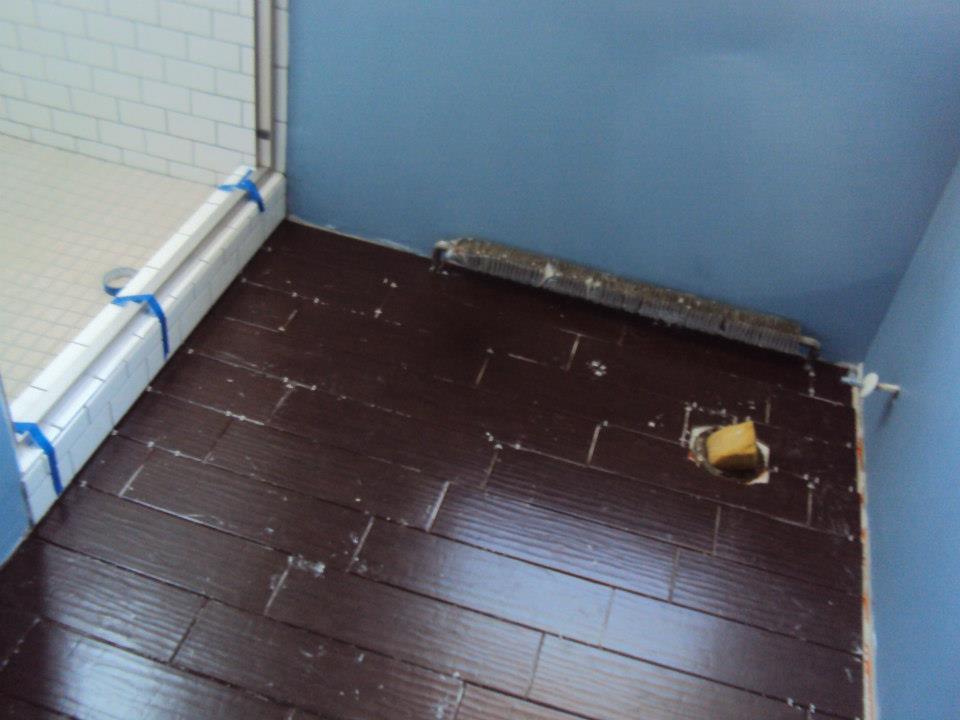
We have hydronic baseboard heat in our house, which I really love, except it has these old, horrifically ugly covers. The covers were especially bad in the bathroom as they were rusty and had been painted over multiple times.

So I took those out with the sheetrock and decided to build wooden ones. This was of course after I scrounged the internet to make sure it was safe - the hydronic heat does not get to combustible temperatures...so no worries about fires!

I tried to find some good plans on the internet, but did not find a whole lot. I found some pictures though and some information from people who had done similar to what I was doing.

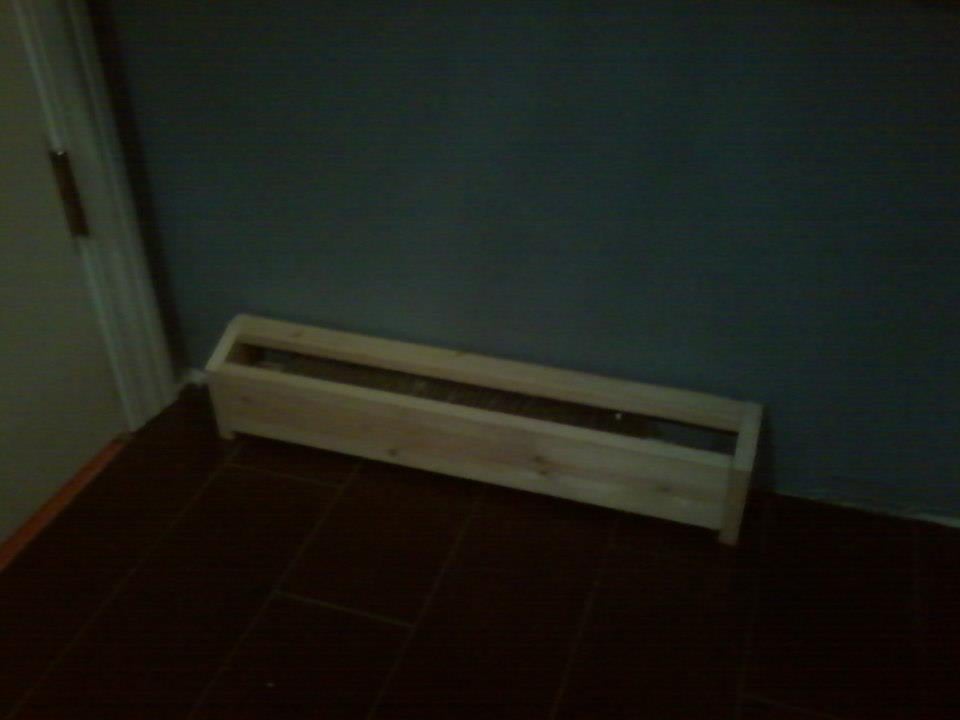
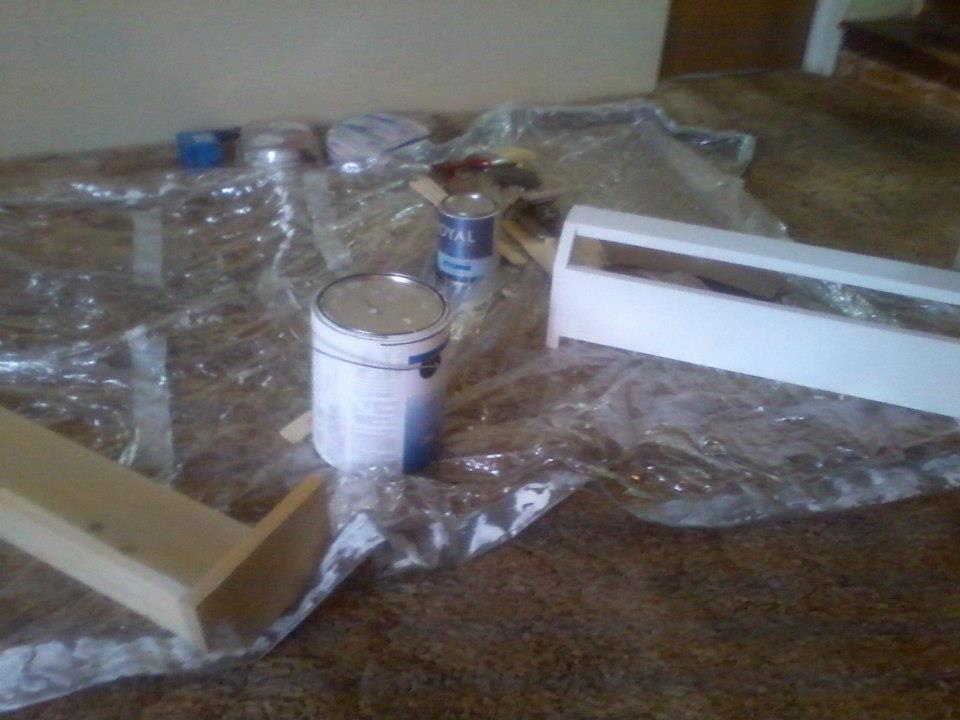
In the end, I based my measurements around the old heater covers, built a mock up, made some adjustments, and then built the final one. I still need to add some sort of metal screen as I don't like being able to look into the opening at the heater fins.

I used pocket-hole screws for this and I think they look much more classy than the old metal covers - especially with the ceramic plank tile I put!

Estimated Cost
$10
Finish Used
Primer and then white paint
Recommended Skill Level
Beginner

Woven Back Benches

Submitted by pde00311 on Mon, 03/02/2015 - 08:23

The plans were perfect for the front porch overhang space to fill the facade of our new house.

Built from Plan(s)
Estimated Cost
$120
Estimated Time Investment
Week Long Project (20 Hours or More)
Finish Used
From the "oops paint" bin. I think it is Behr Outdoor Stain--Aged Beige (PPU7-9)
Recommended Skill Level
Advanced
Seasonal And Holiday

Woven Back Trellises

Submitted by Lady Goats on Mon, 04/15/2013 - 10:50

After building the woven back bench, I had the basic know-how to do the basketweave pattern and really wanted to build some planters with trellises.

I was able to build the trellises from a single 2x4 and built the planters from the scraps from my shed. All of the info is on my blog.

Built from Plan(s)
Estimated Cost
Free - Used scraps (could be done for under $10 to buy everything new)
Estimated Time Investment
Day Project (6-9 Hours)
Finish Used
OOPS bin exterior paint from Lowe's
Recommended Skill Level
Intermediate

Comments

DIY Chevron Growth Chart

I wanted to make a portable growth chart for my little guy and any future children. I really liked the over-sized ruler growth charts, so I set out to make one just like that. While searching for some inspiration, I came across Taryn’s Rustic Growth Chart at Design, Dinning and Diapers. I loved the finished look of her project!   I followed her steps to create one of my own!  Check out the blog link for more project details.

Estimated Time Investment
Afternoon Project (3-6 Hours)
Finish Used
Miss Mustard Seed's Milk Paint in Ironstone, ECOS Paint WoodShield Dark Walnut and WoodShield Satin Varnish
Recommended Skill Level
Starter Project

Comments