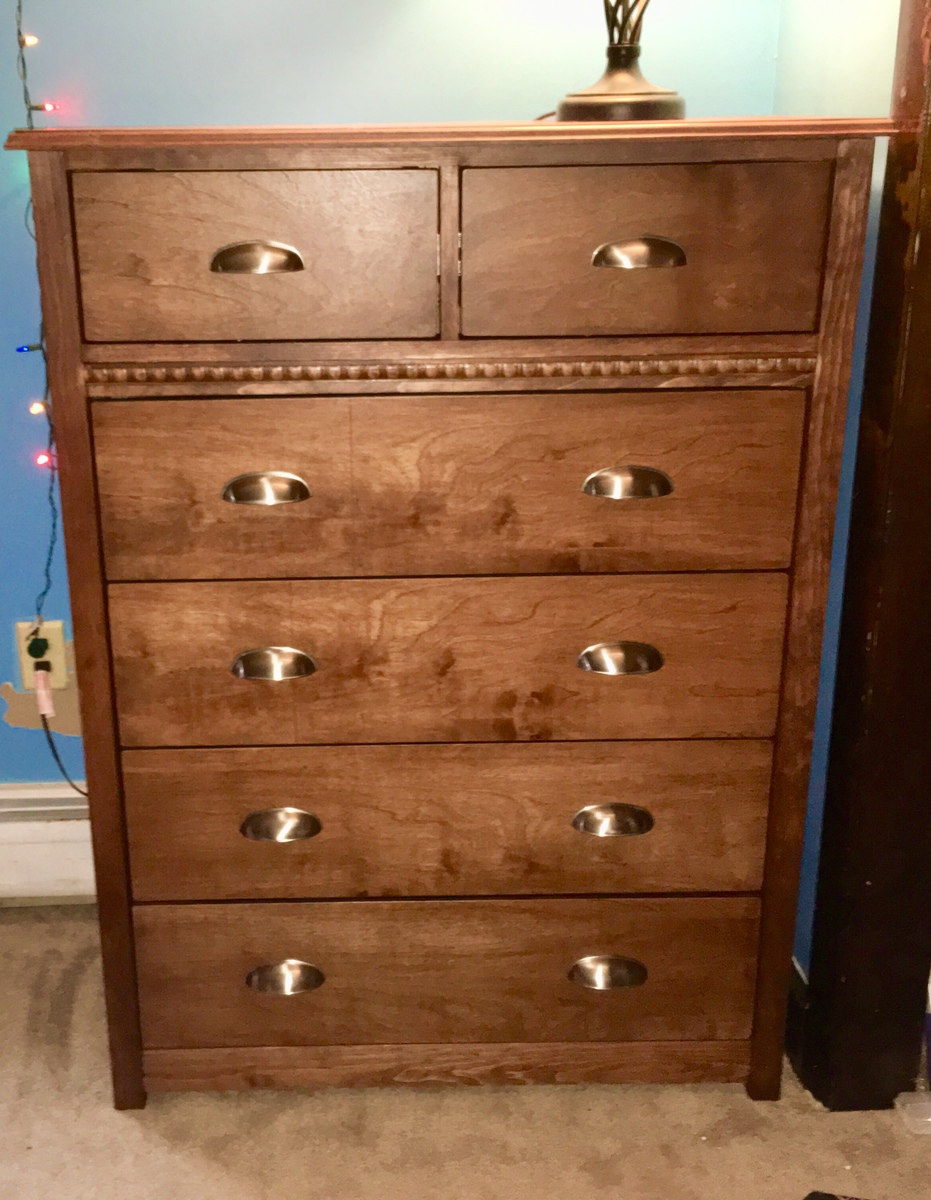
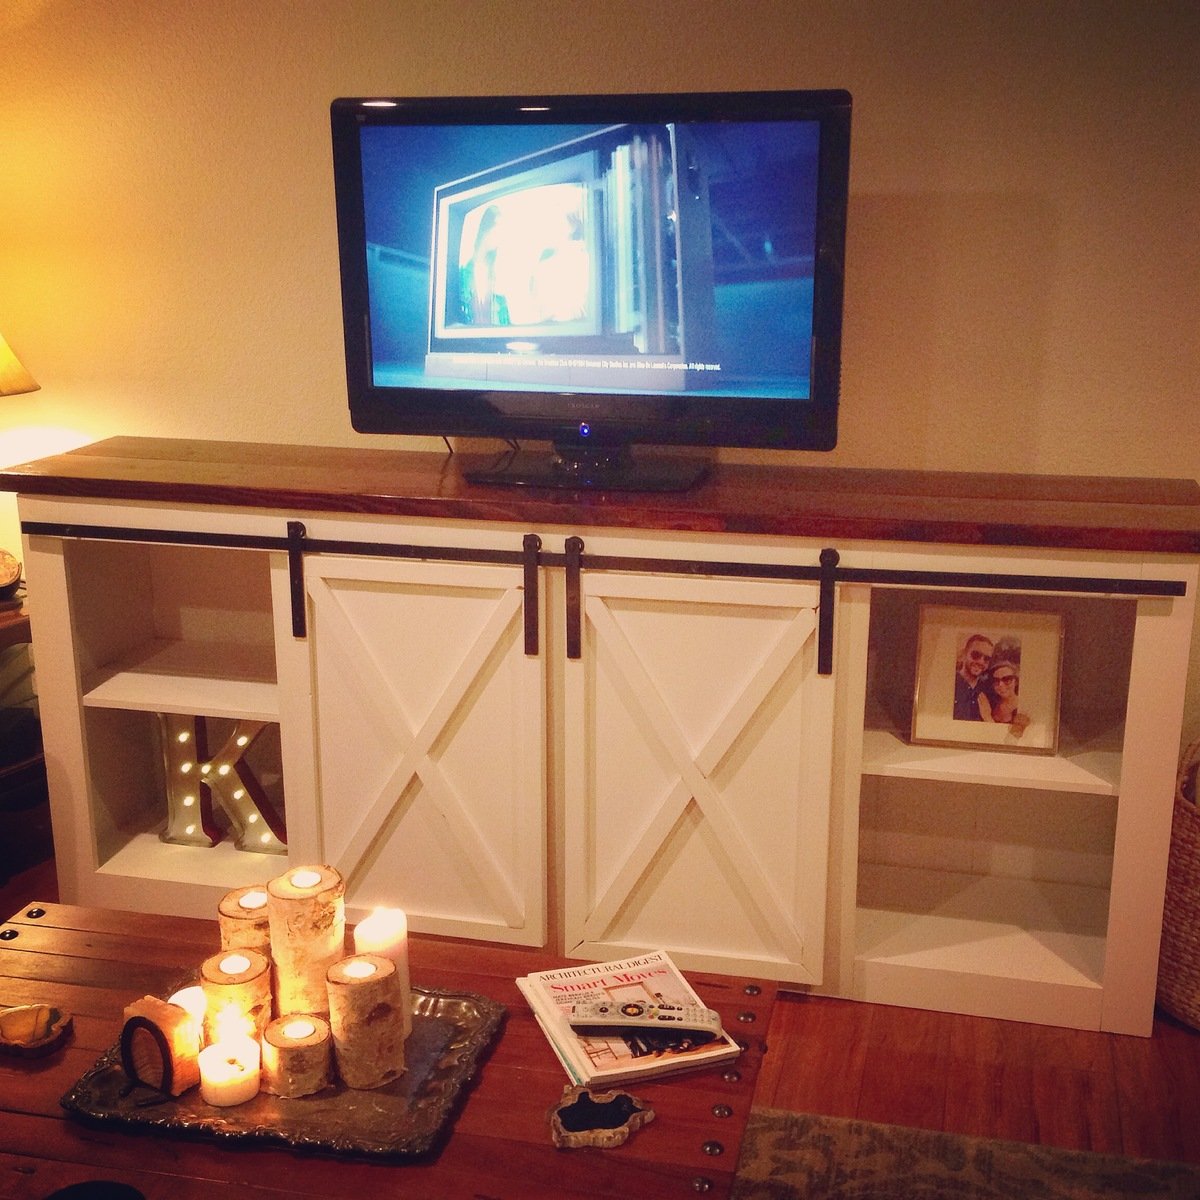
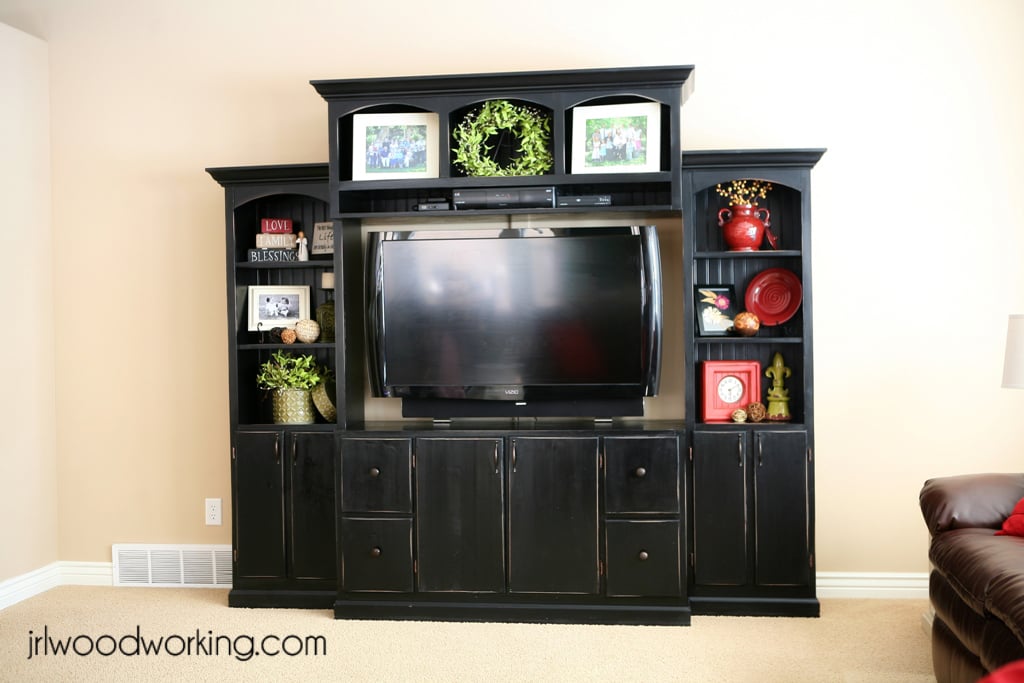
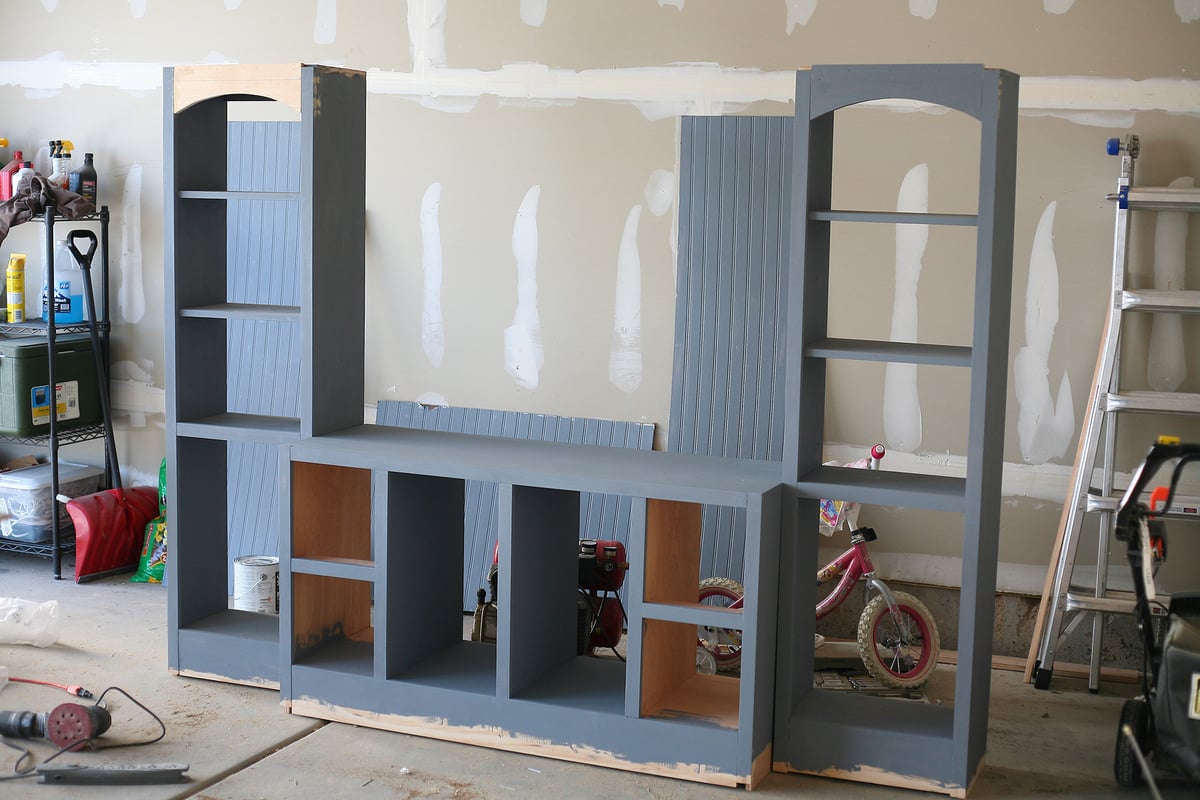
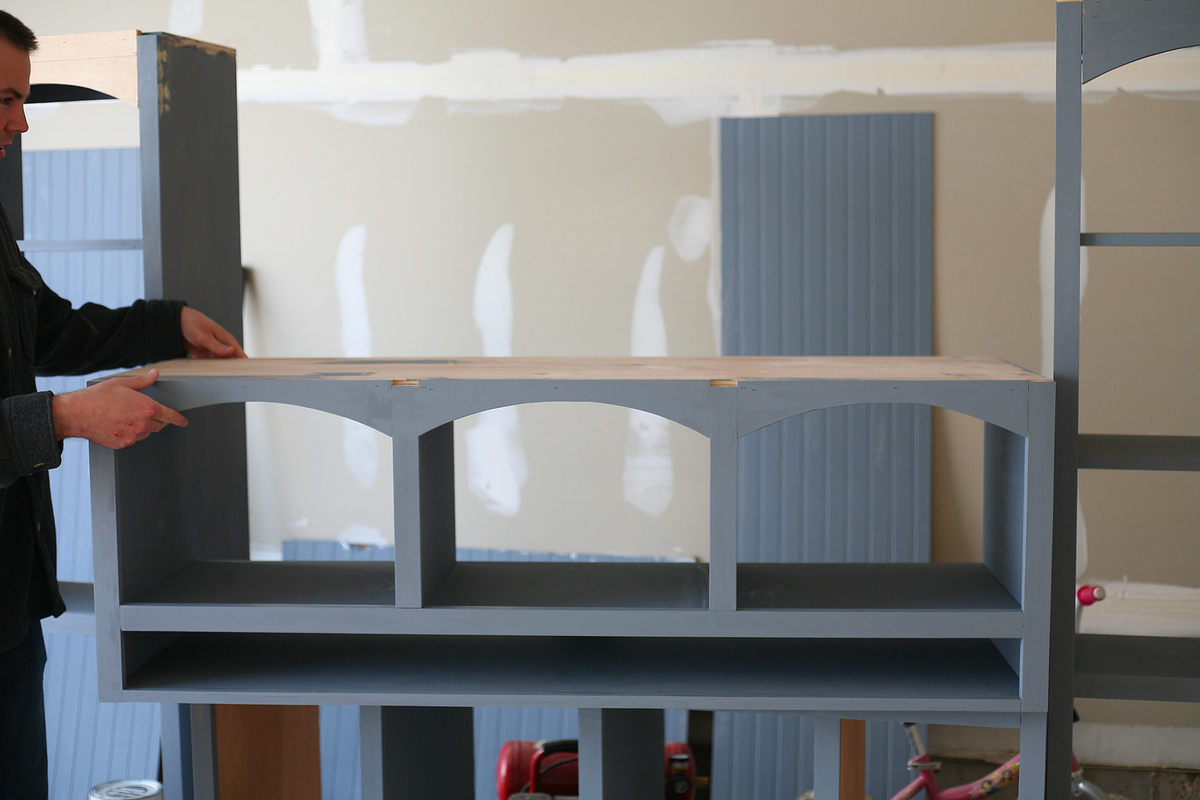
We purchased our first LCD TV, which meant we needed a new entertainment center to put it on. We looked at quite a few furniture stores and couldn't believe the price tag on the big centers. I wanted more than just a TV stand, so I convinced my husband to help me build an entertainment center ourselves. I looked at a lot of different entertainment centers, even a few on this site, and then I drew up a picture of what I was envisioning, tweeking things here and there (I have three little kids so I needed to make sure the center piece was high enough to keep little fingers off my expensive TV, and I also knew I wanted all Satellite Receivers and DVD players out of reach), and we went to work figuring out dimensions. We designed the TV opening around the exact dimensions of our new TV (it's a 46" tv, if that helps you imagine the opening size) and then figured out the rest of the dimensions after that. Once we had the dimensions figured out, my husband went to work calculating what materials we would need. Then we got to work. We built the center in four different pieces (two side shelf units, the middle bottom stand, and the middle top piece). We spent every night for the next week working in the garage to build the entertainment center, and it turned out absolutely beautiful! And the best part? The price, of course. In total, we spent $546.00. That includes wood, trim pieces, paint, primer, hardware (knobs and hinges). Not too bad for a beautiful entertainment center made of real hardwood!


Comments
Ana White Admin
Mon, 05/16/2022 - 08:24
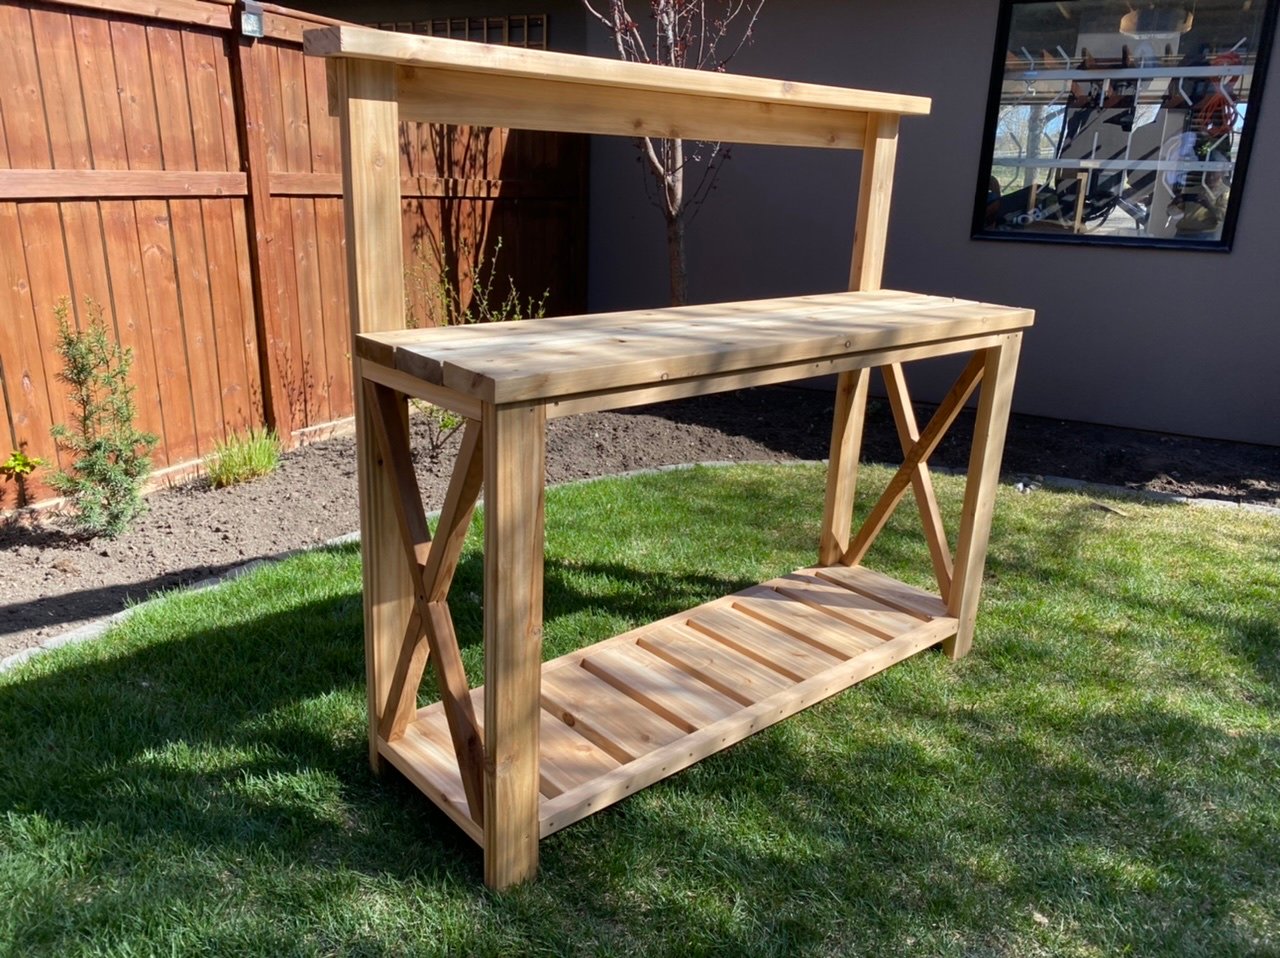
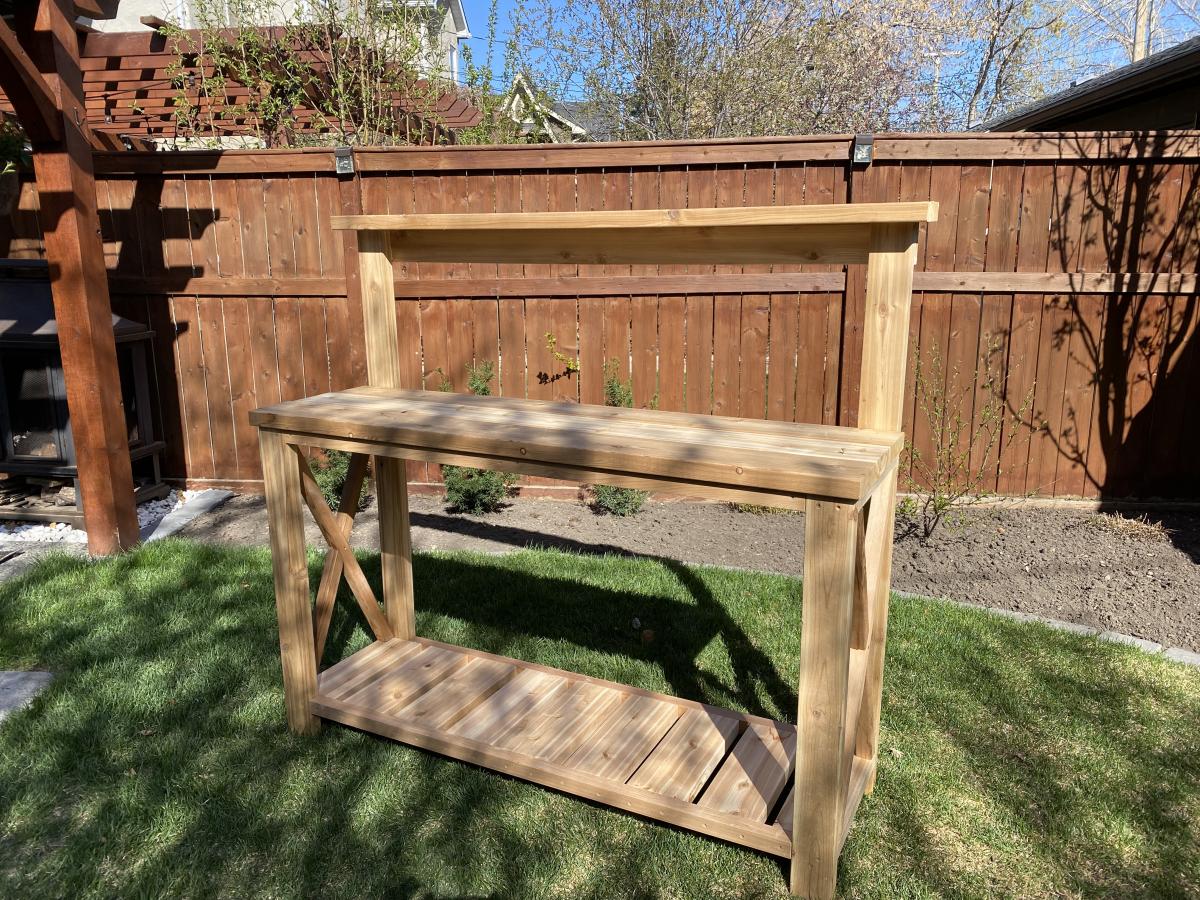
Great Potting Bench!
Love the mods, this is beautiful, thank you for sharing!