Rekourt Dining Table and Benches
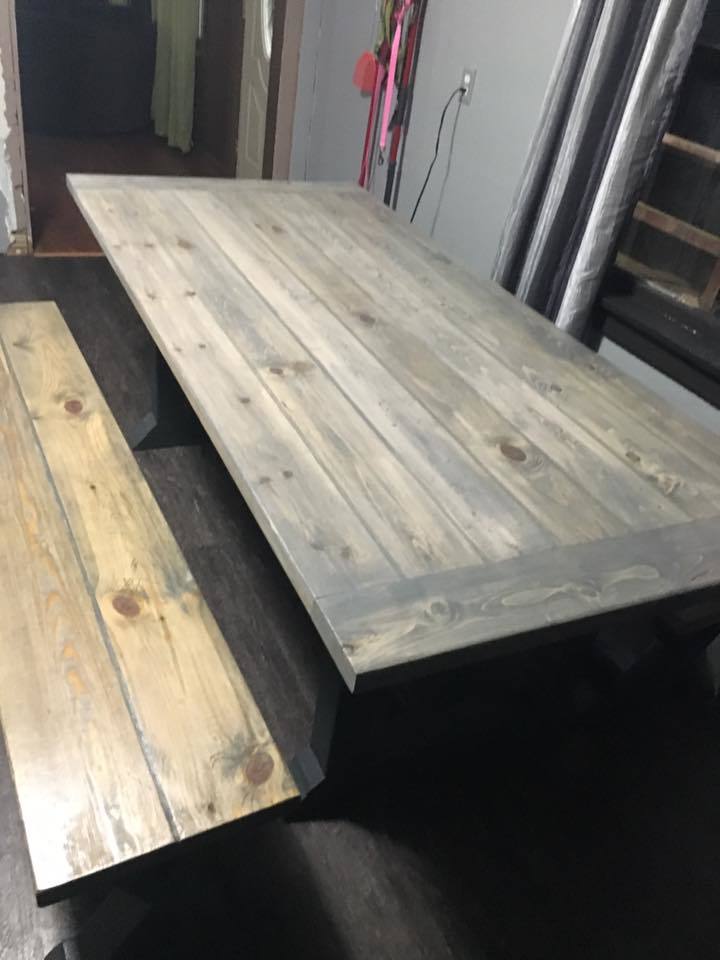
Built this table from Ana-White plans and the benches from Rouge Engineer plans. Fun build and looks great. Easy to customize to fit your dining space.
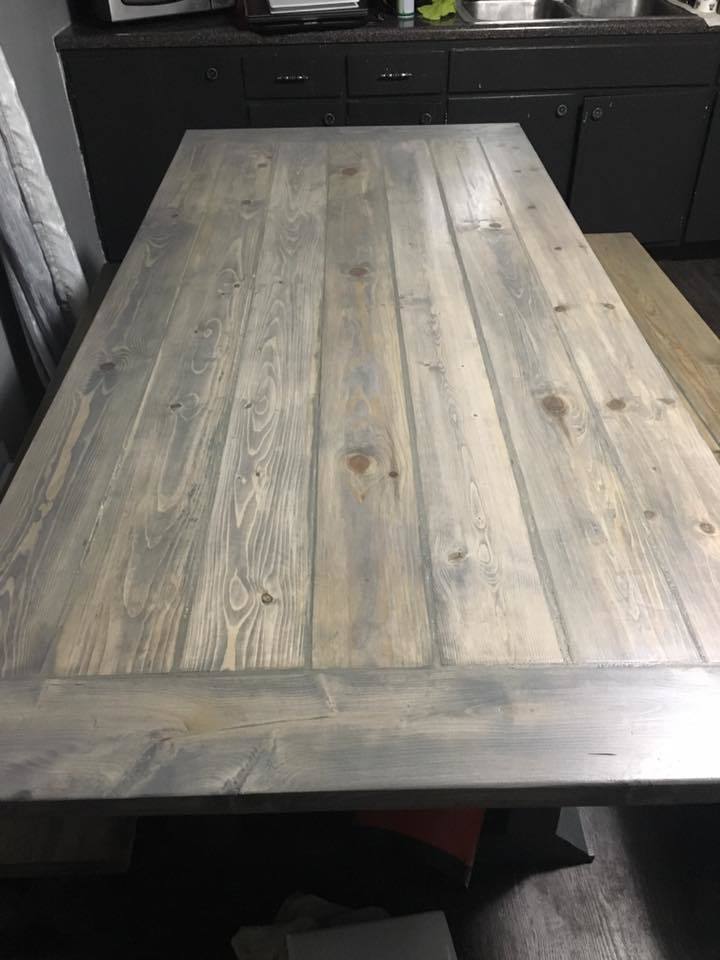

Built this table from Ana-White plans and the benches from Rouge Engineer plans. Fun build and looks great. Easy to customize to fit your dining space.

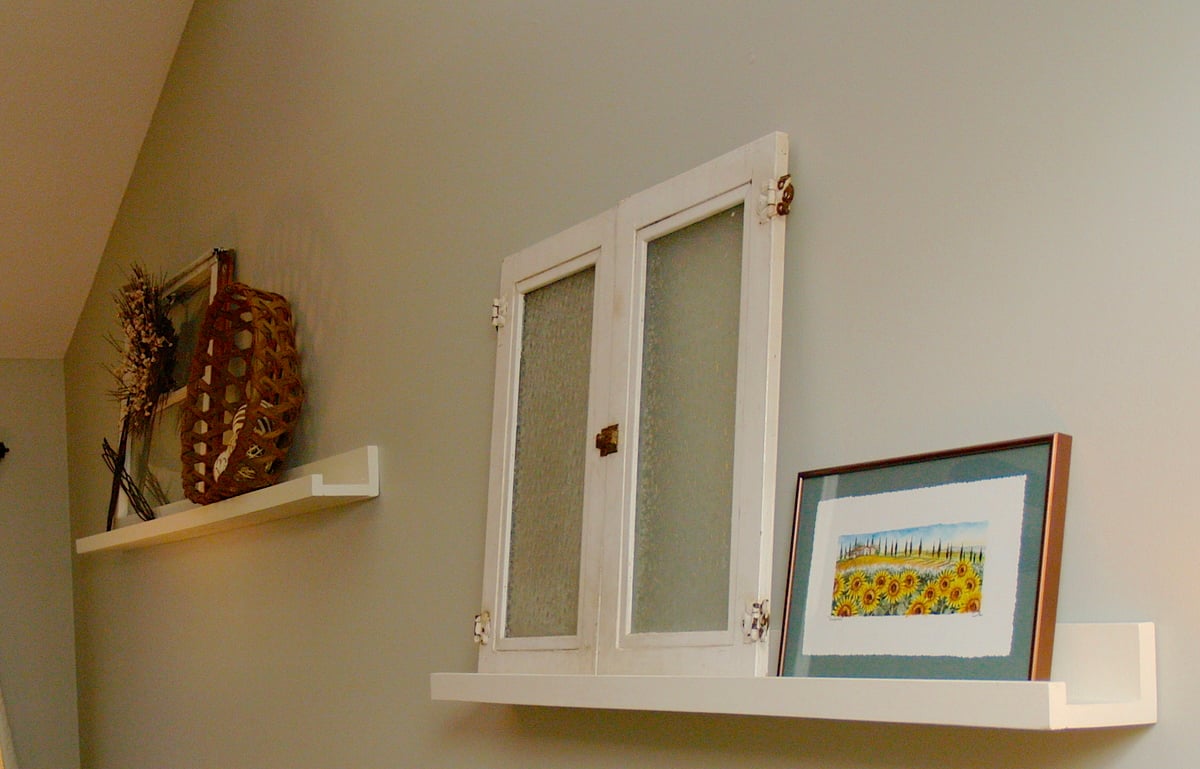
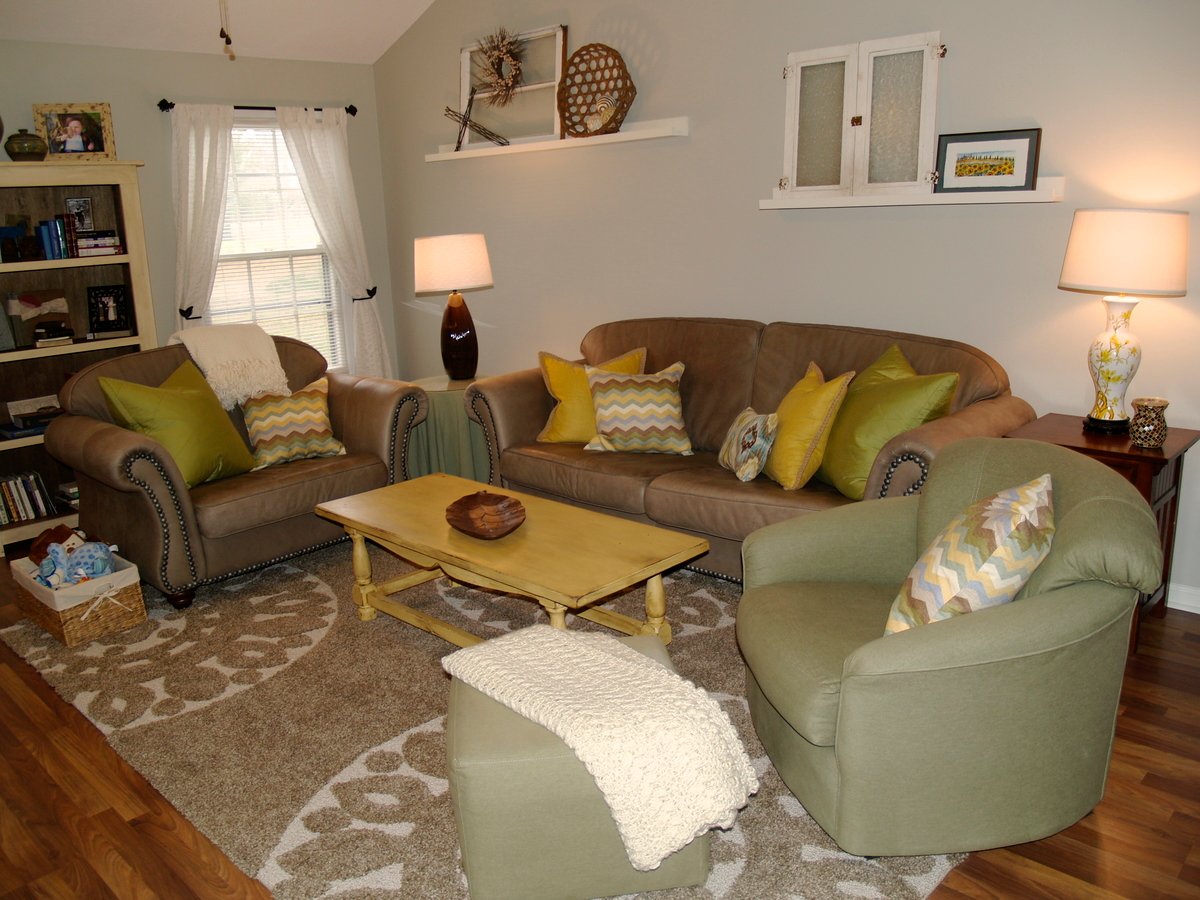
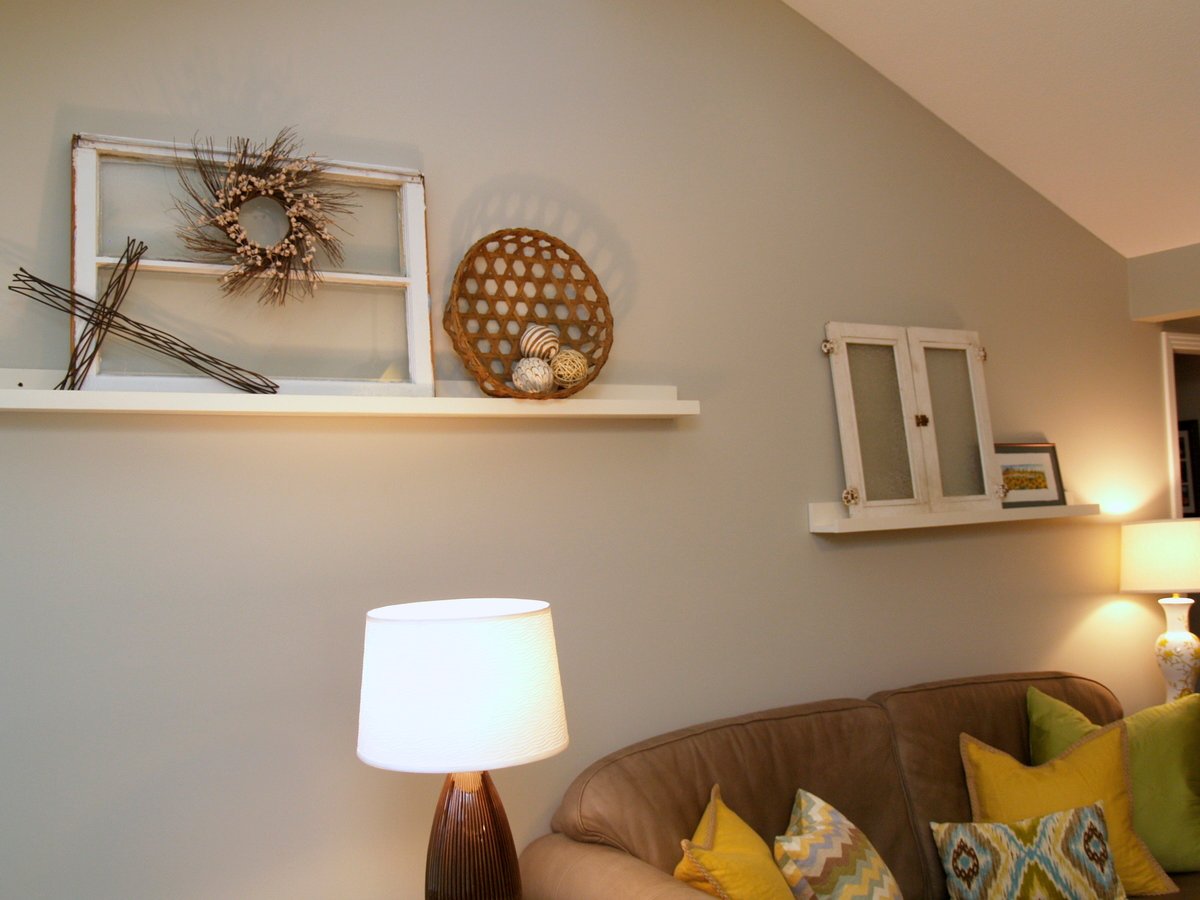
Our living room is long with a vaulted ceiling. I wanted to find a way to break up the length of the room visually, and Ana's ten dollar ledges were the perfect solution. They also had a great price tag!
I changed the the plan just a tad to break up our wall space, creating two ledges - one 6' and one 4' long - instead of one that is 10' long.
The only other variation we made to the plan was adding kreg pocket hole plugs (http://www.kregtool.com/solid-wood-pockethole-plugs-prodview.html) since we hung our shelves high enough to see where screws were drilled in.
After shelves were assembled, I painted them using Lowe's Antique White in satin finish. This project was easy, fast, and very affordable! I love that we can change out the items on display either seasonally or whenever we want a fresh new look. These ledges would work in any room and even instead of a chair rail in a dining room... and the lip on the front makes them safe so that nothing will slide off!
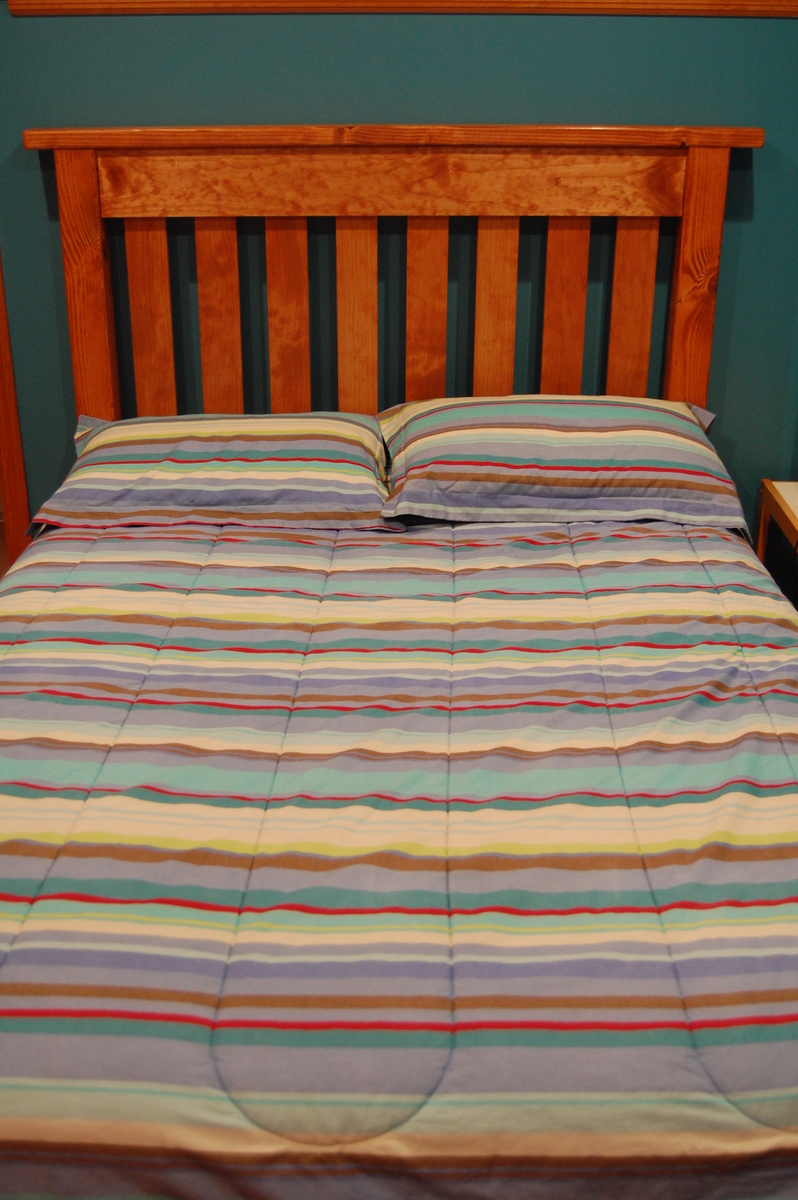
We had been looking for a headboard for our son for the longest time, but could never find anything we liked in the shade we needed in the stores. Fell in love with this bed, thought it was one of the more "boyish" styles that I've seen which was what I wanted for my son. Asked my husband if he thought he'd be able to build it, he said he'd try and voila! We, however, modified the plans a bit and only made a headboard, but overall, I love it!
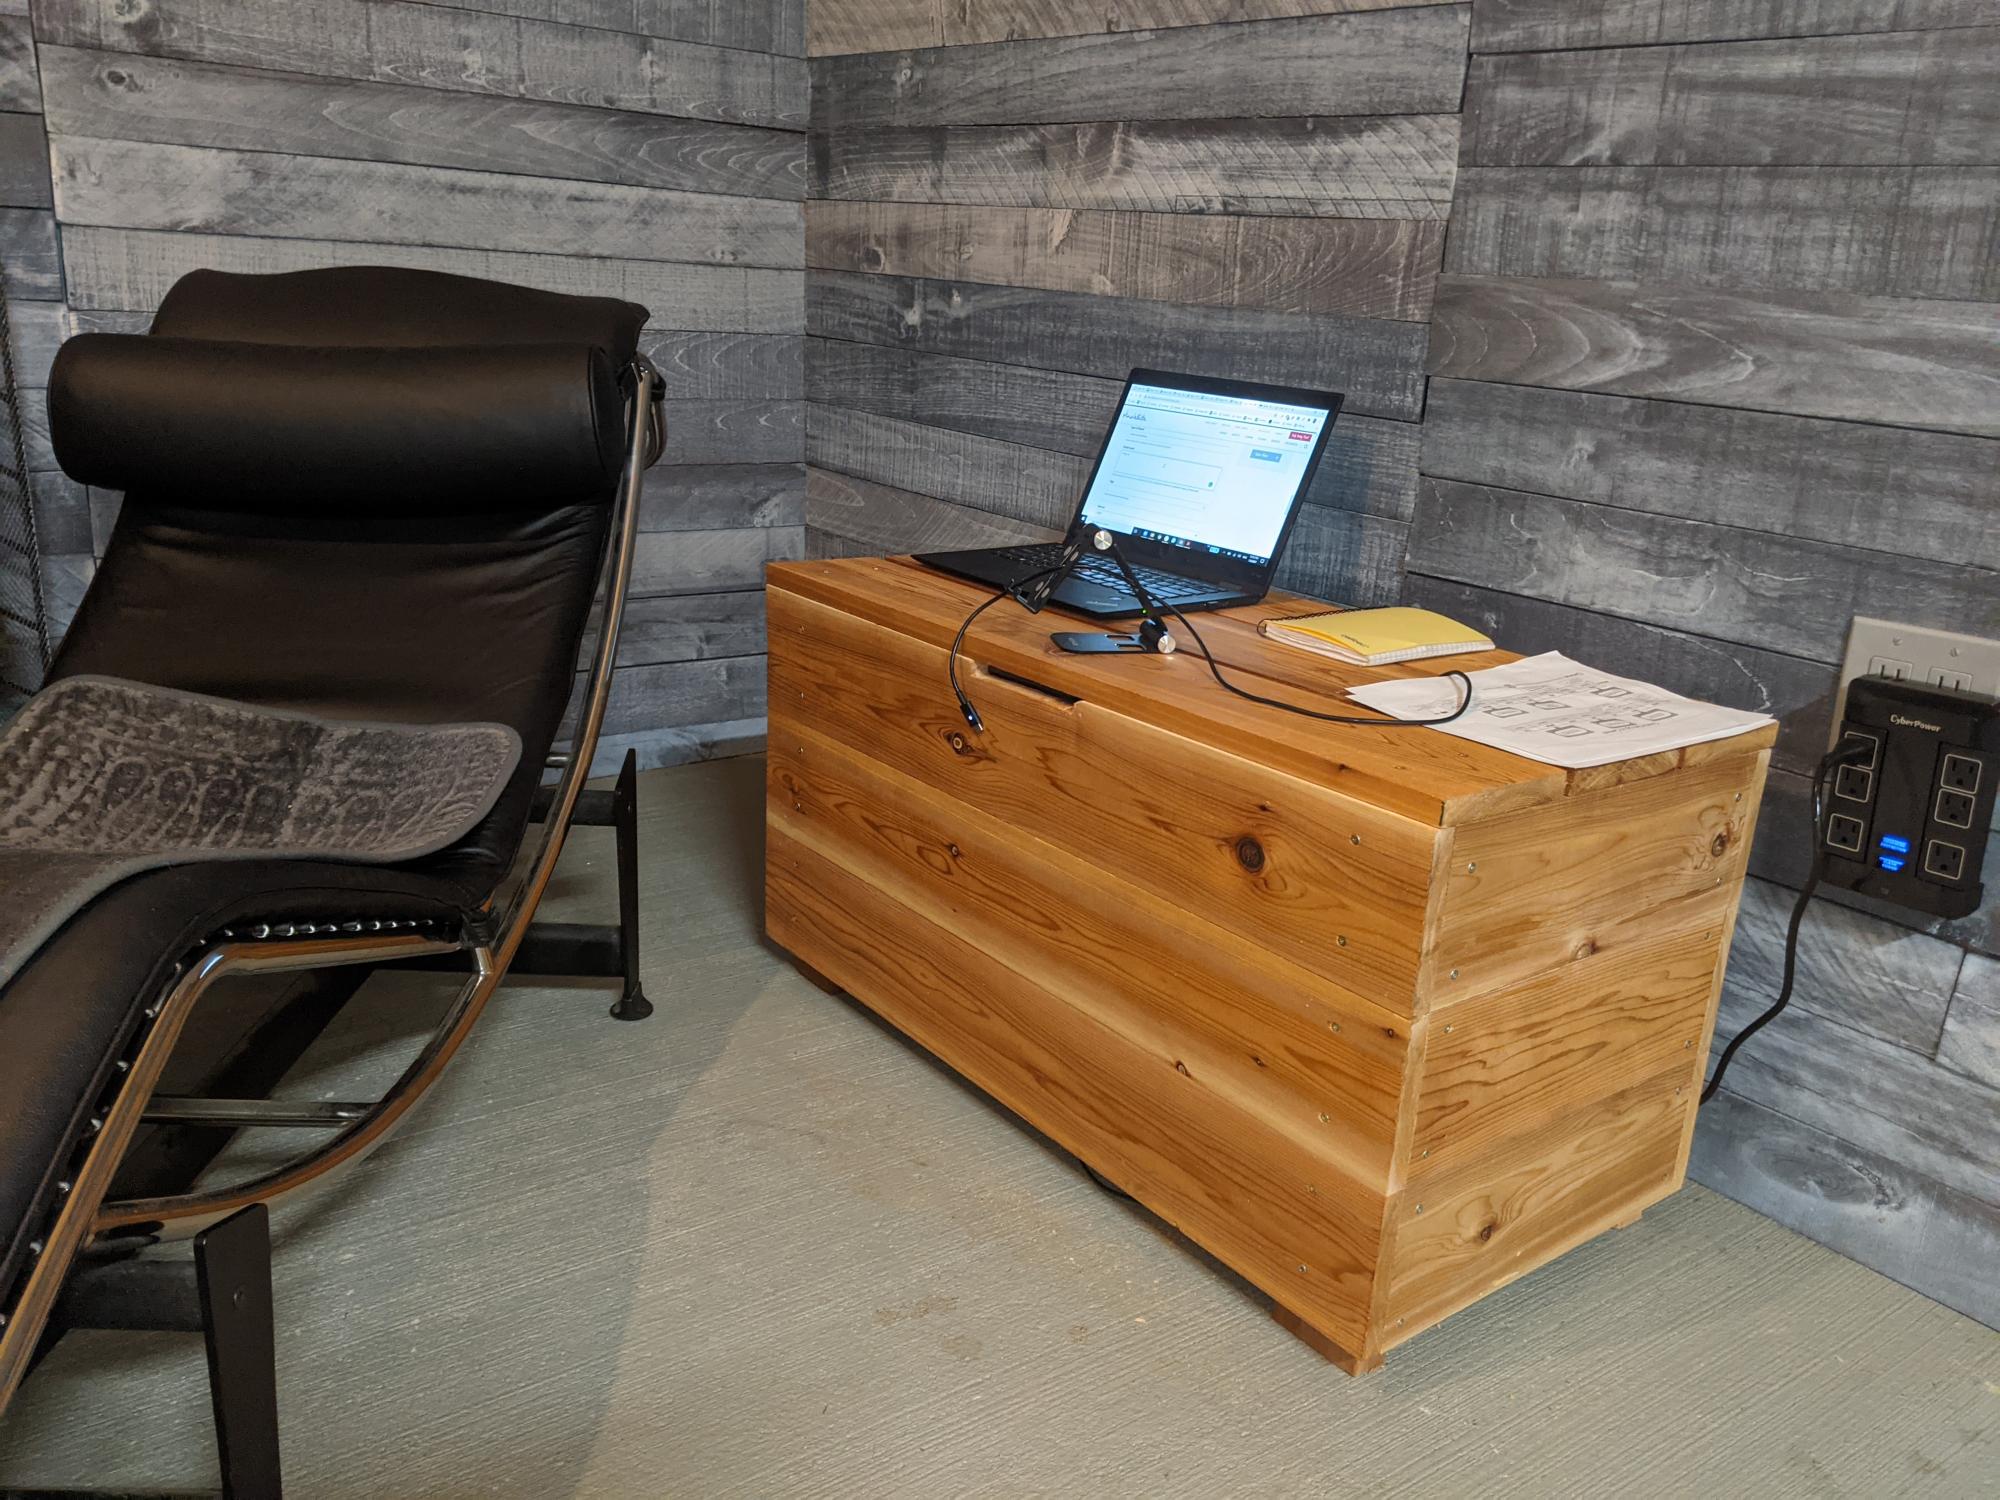
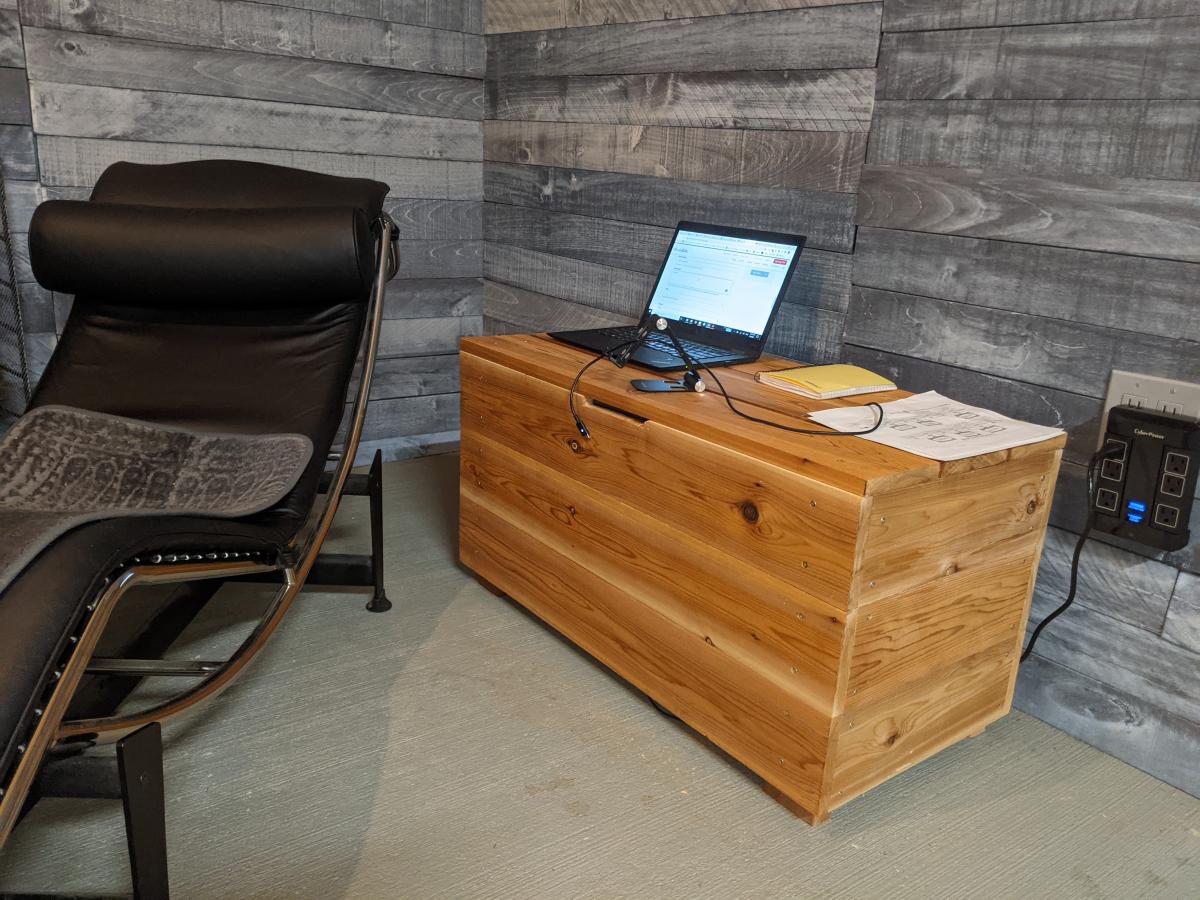
I decided it would make a nice simple side table for my home office and show off the beauty of cedar by using oil.
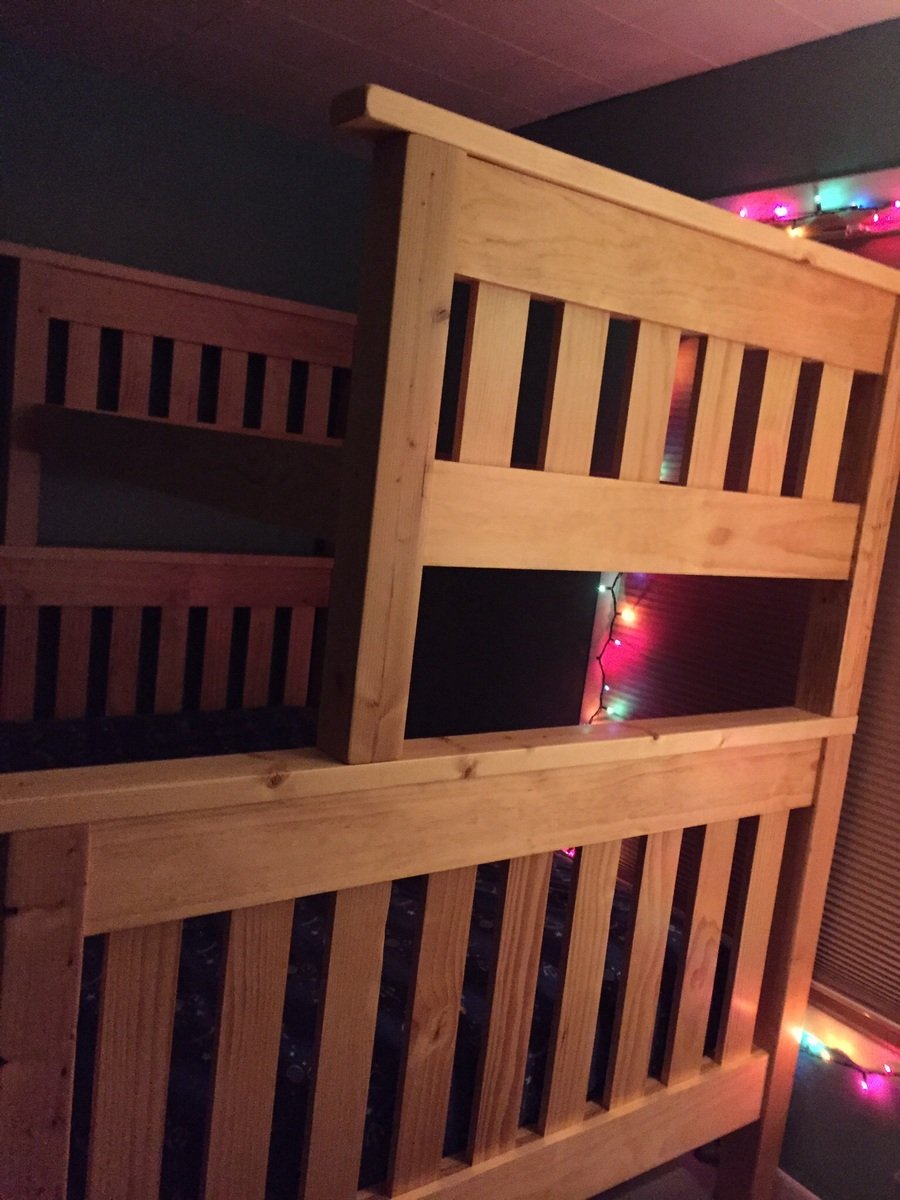
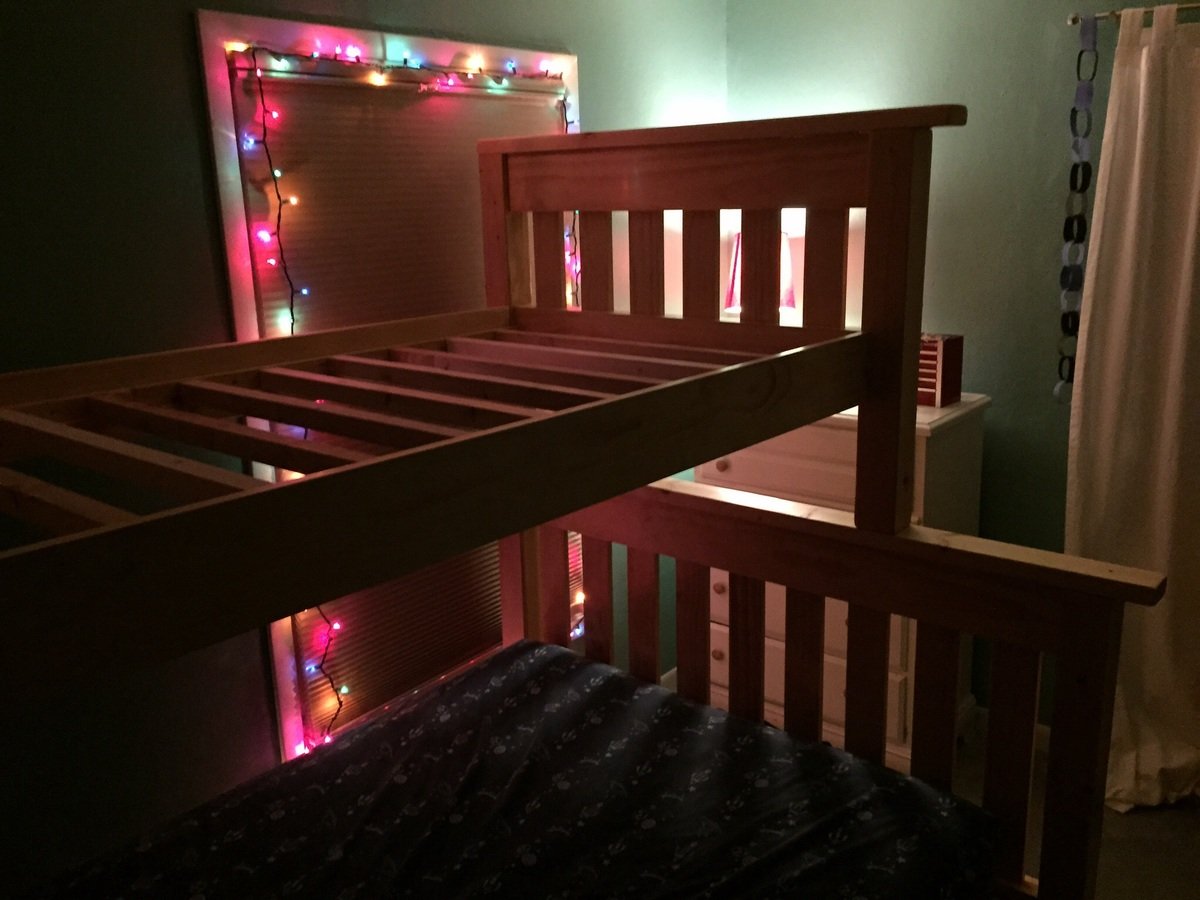
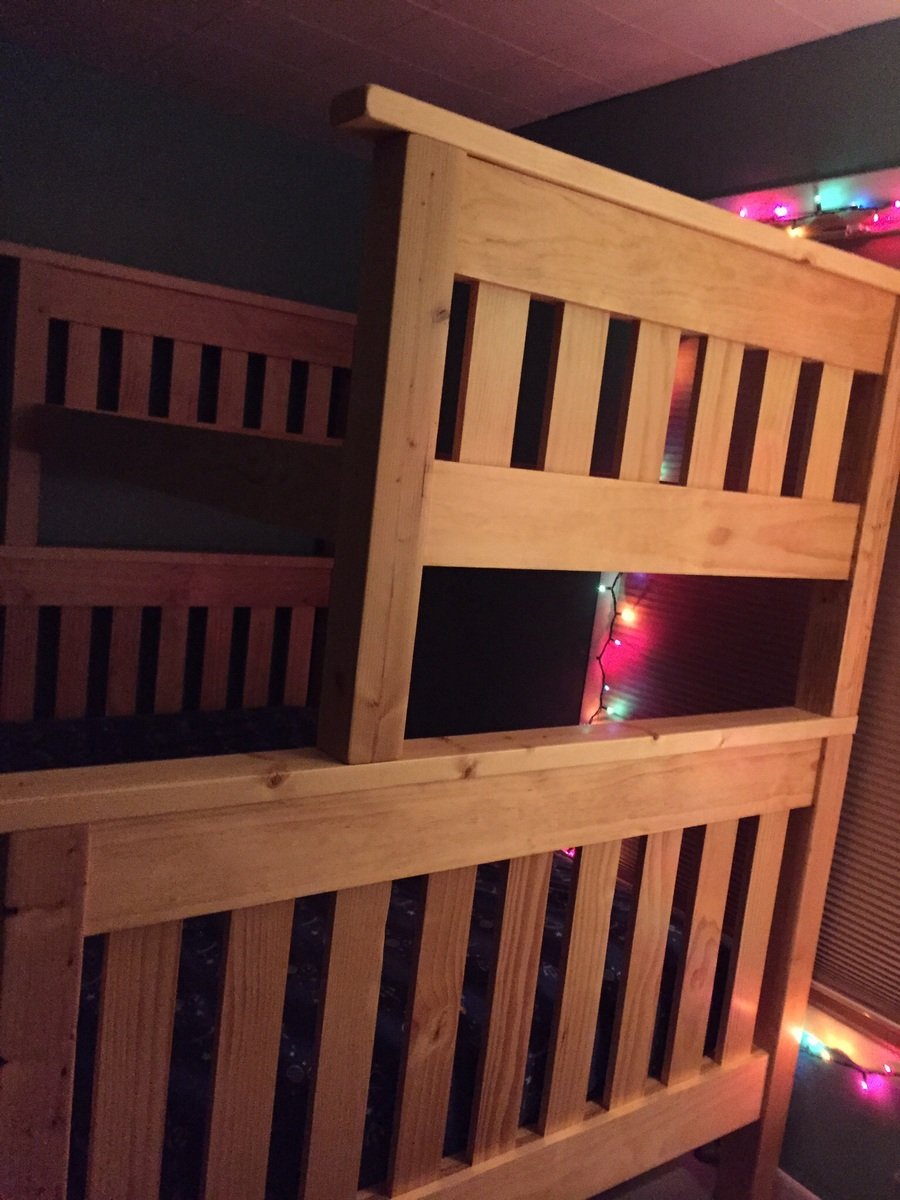
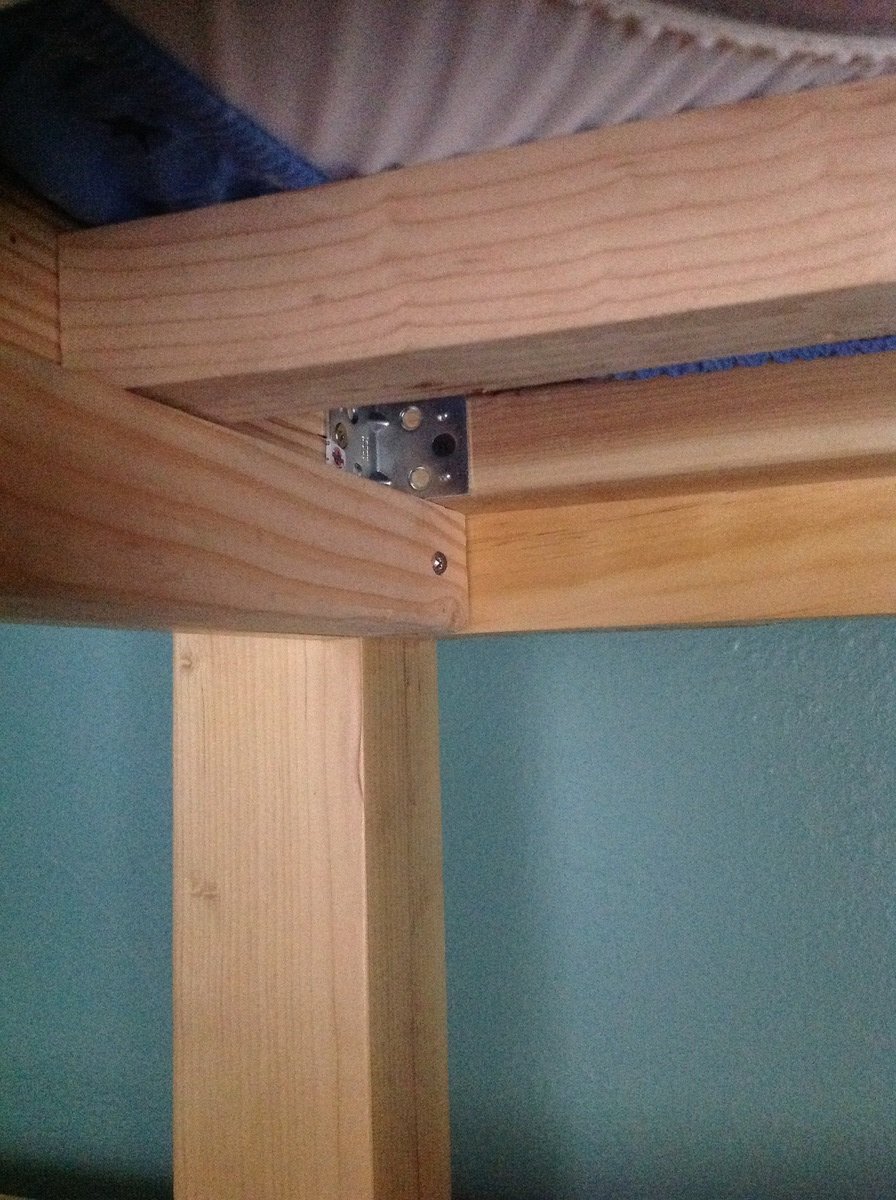
We started this late 2013 and finished it June 2014. We used an old IKEA bed hardware for the middle support for the full mattress. We had to use Hemlock Fir "white wood" for the 4x4's (found at Menards in Wisconsin). We used Satin polyurathane from Minwax and allowed a month for the fumes to die down. My boys and guests seem to enjoy the bed.
My wife used the benchmark media console plans with her own idea for the doors
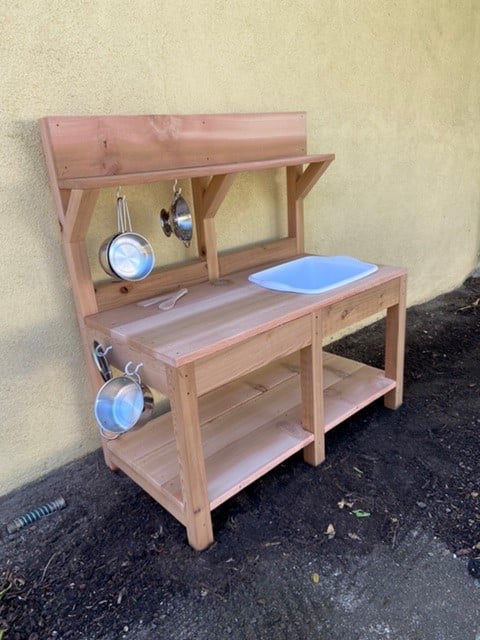
This was so easy and fun! We splurged a bit on nice cedar because apparently the cedar mills are down due to covid so the less expensive fencing isn’t so readily available. The hubs helped me rip down the larger boards, then I cut and assembled it all. Not including the buying and ripping, this took me maybe 4 hours to complete and we ended up with a beautiful kitchen for my daughter’s 5th birthday! Thanks for these super easy to follow plans!
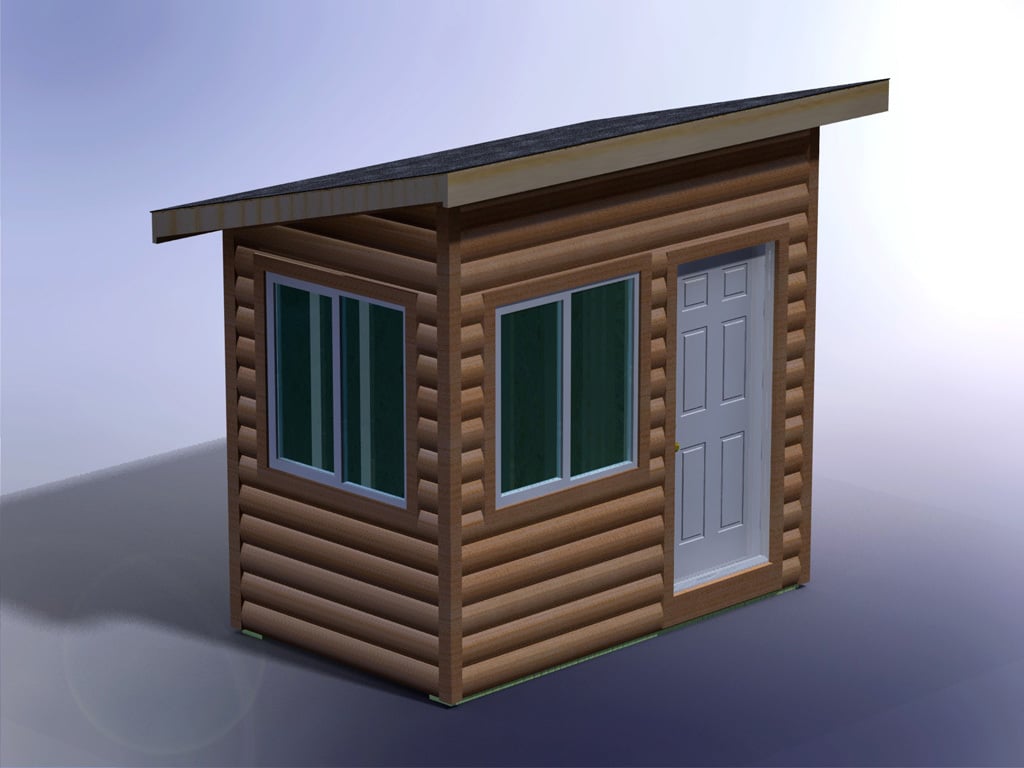
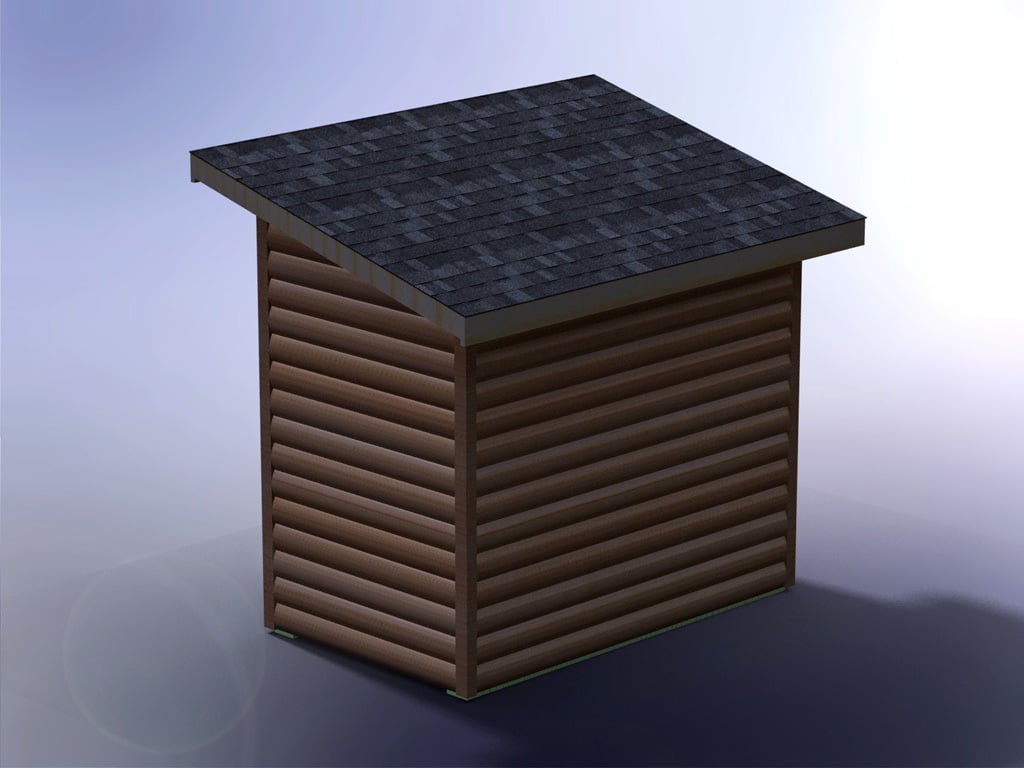
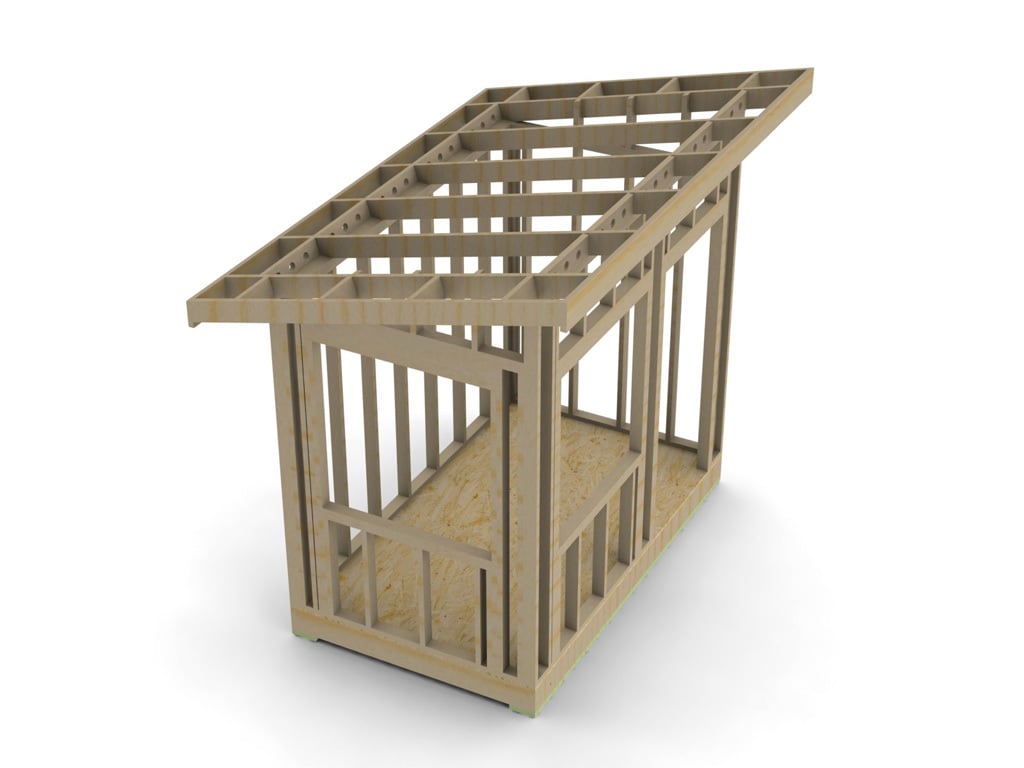
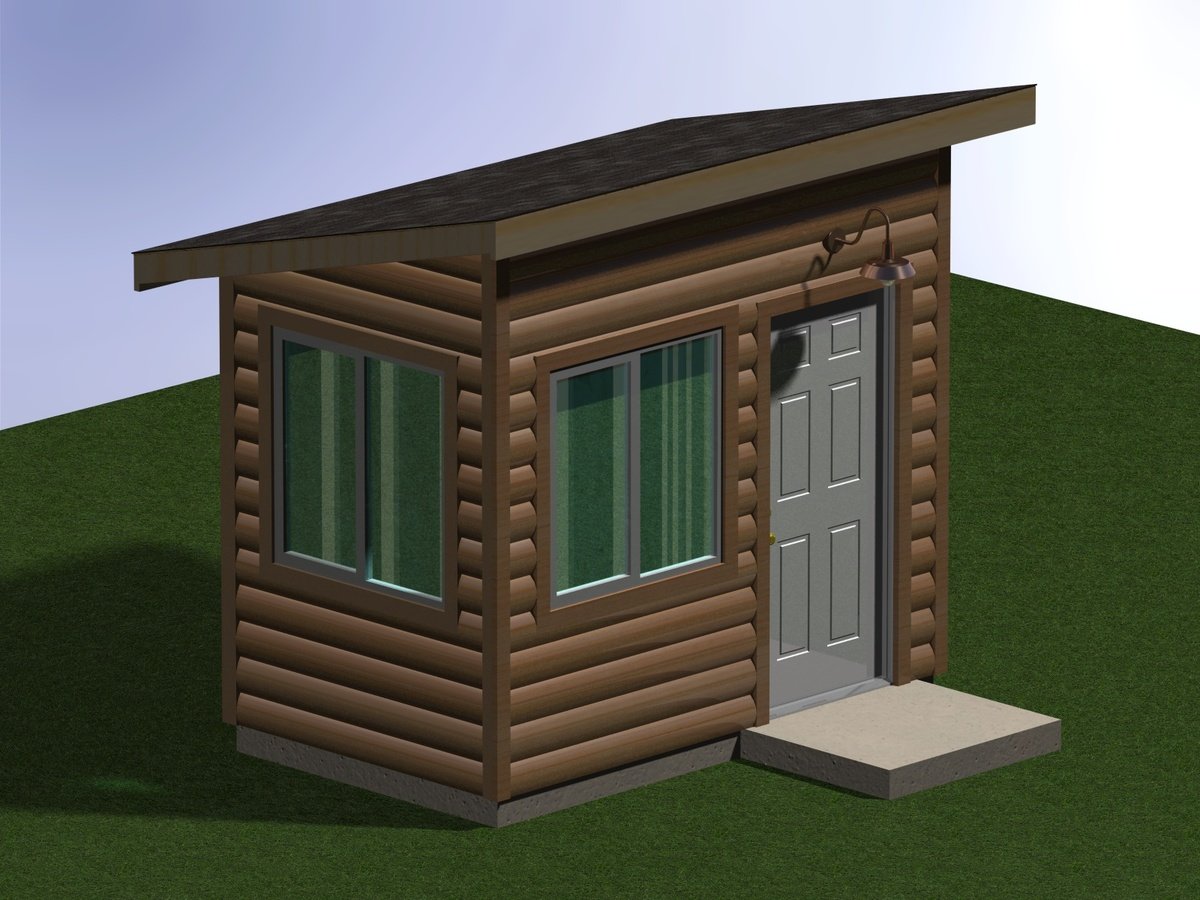
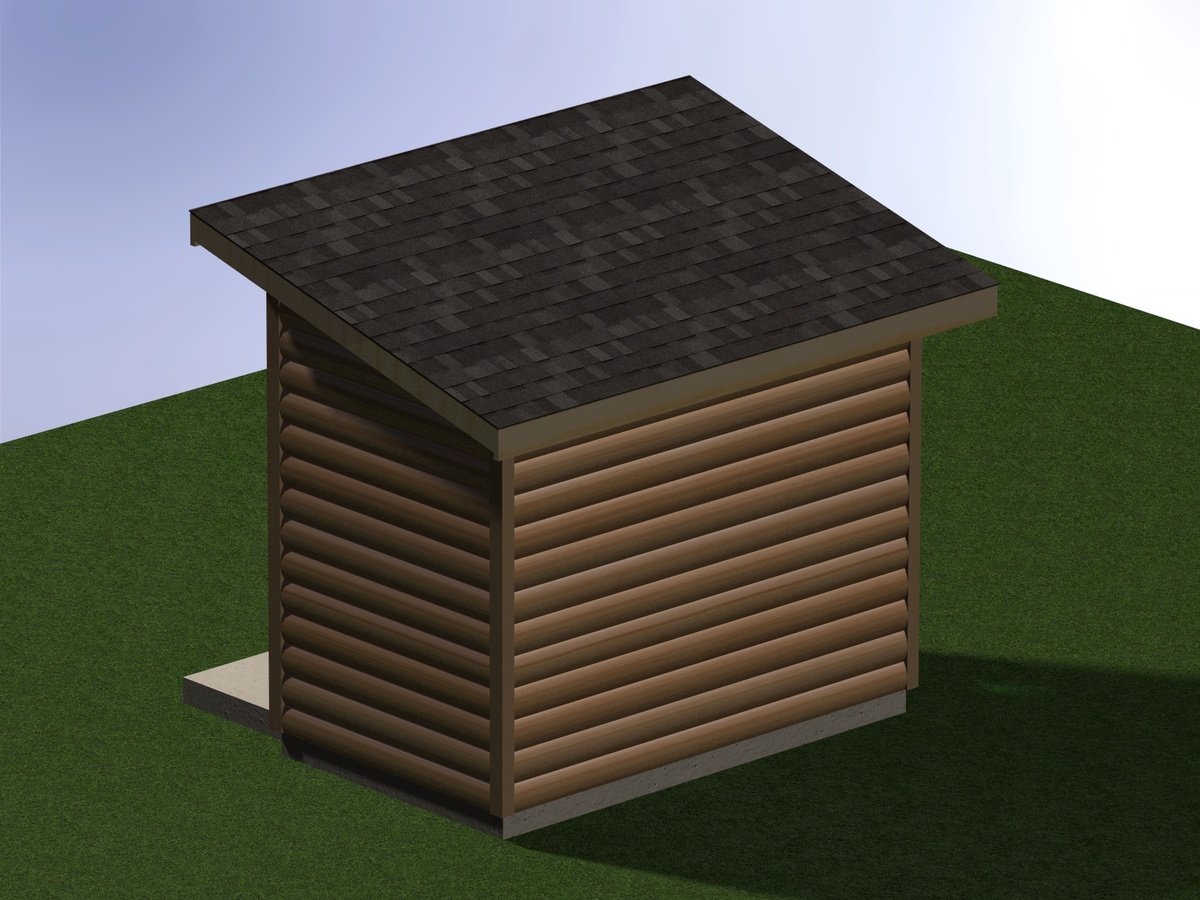
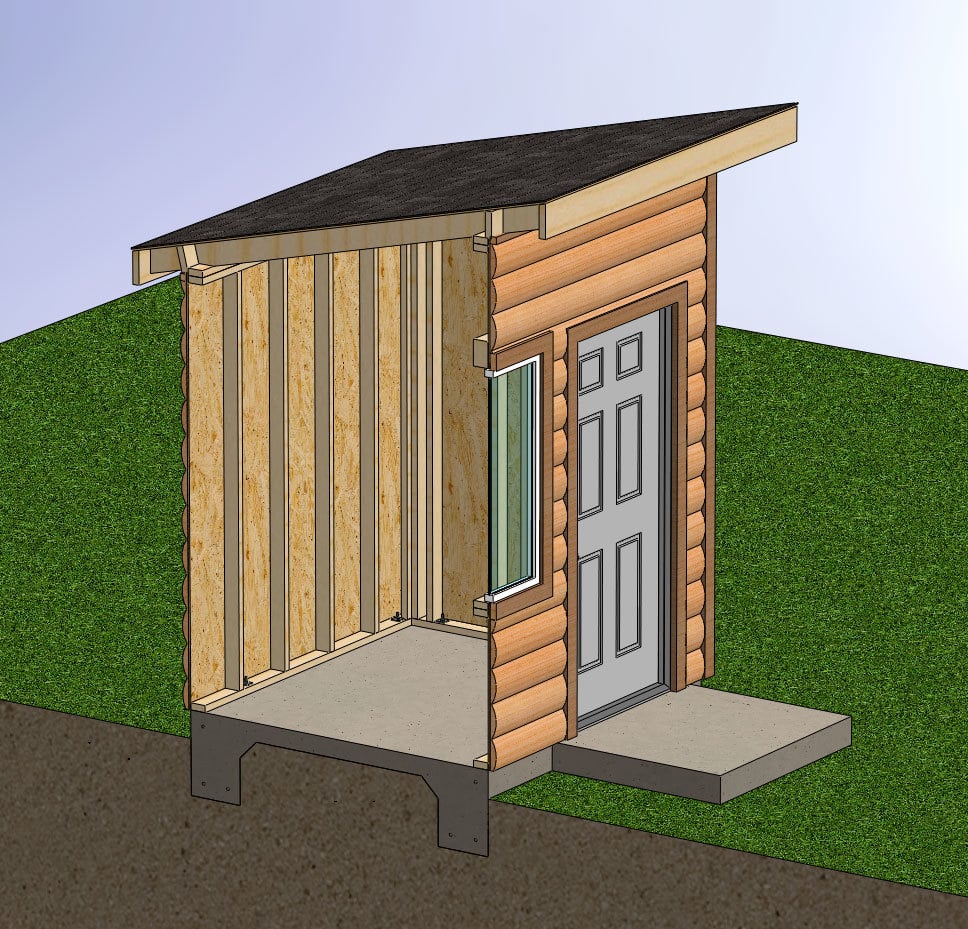
Rural Bus Shelter with 3/12 shed roof, designed to keep your kids out of the elements as they wait for the bus. Shown with log siding and 2x trim. Can be constructed on a slab on grade or remain portable with pressure treated runners and wood floor as shown.
Upgrade further with electricity and insulation for those really cold and dark climates (ie. Washington, Oregon, Alaska, B.C.).
I will make the plans for this shelter freely available to all that are interested.
Thu, 08/01/2024 - 11:18
Good day. I would like these plans if they are available. Little one is starting Kindergarden and I'd like a nice waiting spot for her. Thank you
I had my nephew build this outhouse for our new 70 acre lot - no neighbours in sight so I had him put in an acrylic window (with a view). I left off the deck and had him put the boards tight together so 'critters' didn't get in as easily. I made a sign for above the door - 'Waste Management' for a touch of humour. The plans were easy to follow and I love it. Thanks, Ana.
Thu, 04/20/2017 - 16:45
So excited to see this one built! Your nephew did a great job, love the window in the back!
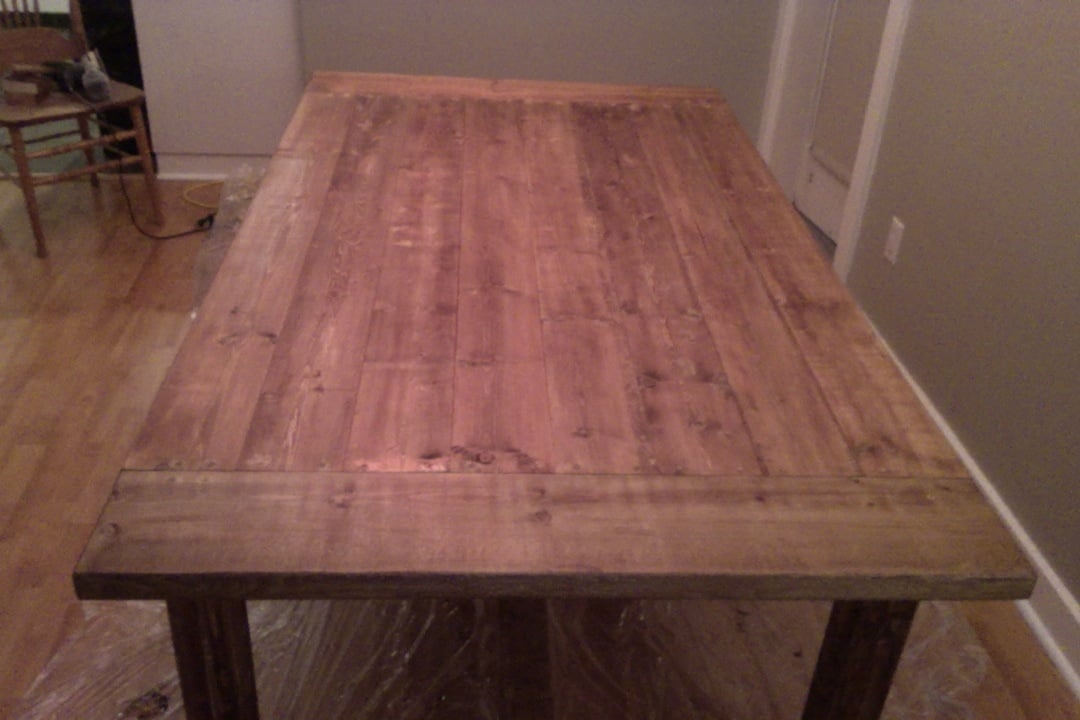
This is my first ever wood project. I helped my dad frame his basement a couple years ago and figured that a hand built table would be a nice piece of furniture to have as my wife and I begin to start a family. I've been gathering tools for a few months to begin making furniture and I chose to start with this piece.
I had read that a few people found that the 2x6's on the table top caught crumbs so I picked up a cheap, used table saw and squared off the edges so that the table top would be more consistently flat.
For the legs, I wanted to use 4x4 untreated posts but could not find them so I used the table saw to cut down the 2x4's so that, when screwed together, they formed 3x3 legs. I then used a 0.25 inch round router bit to sound off all the edges on both the legs and all exposed edges around the outside of the table.
I finished with two coats of early american stain and in between applied a distressing technique I picked up from one other blog post.
I am 95% happy with how the table has turned out. Structurally is it very sound. If I was to do it over I would have screwed the entire tabletop in with pocket hole screws to eliminate holes on the surface.
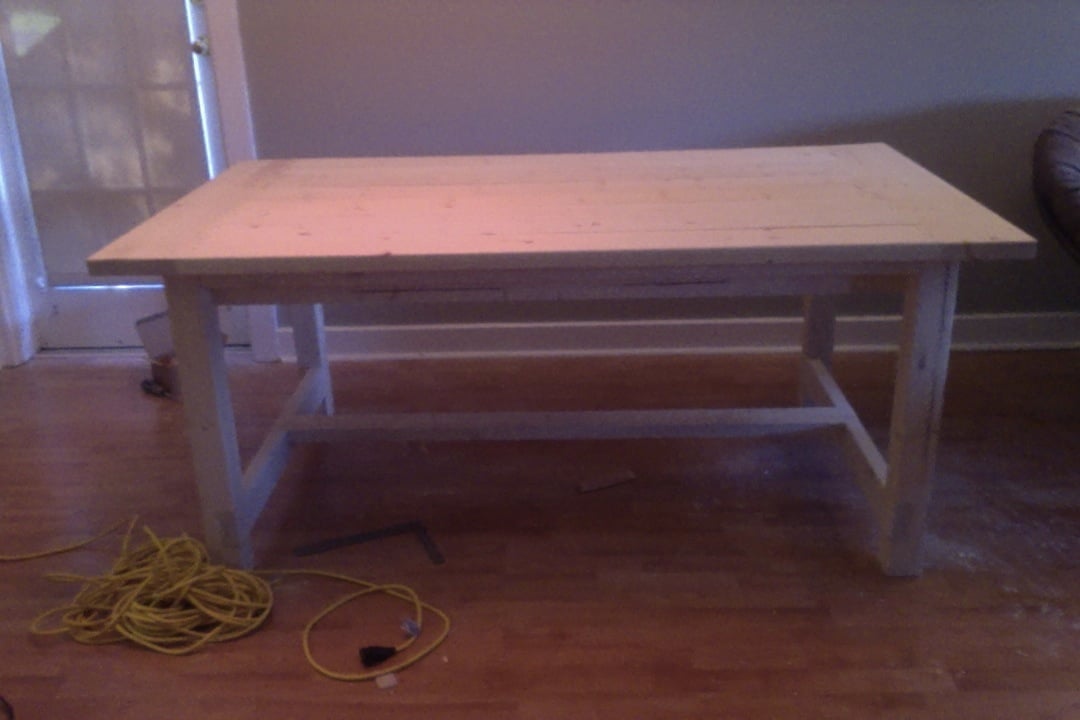
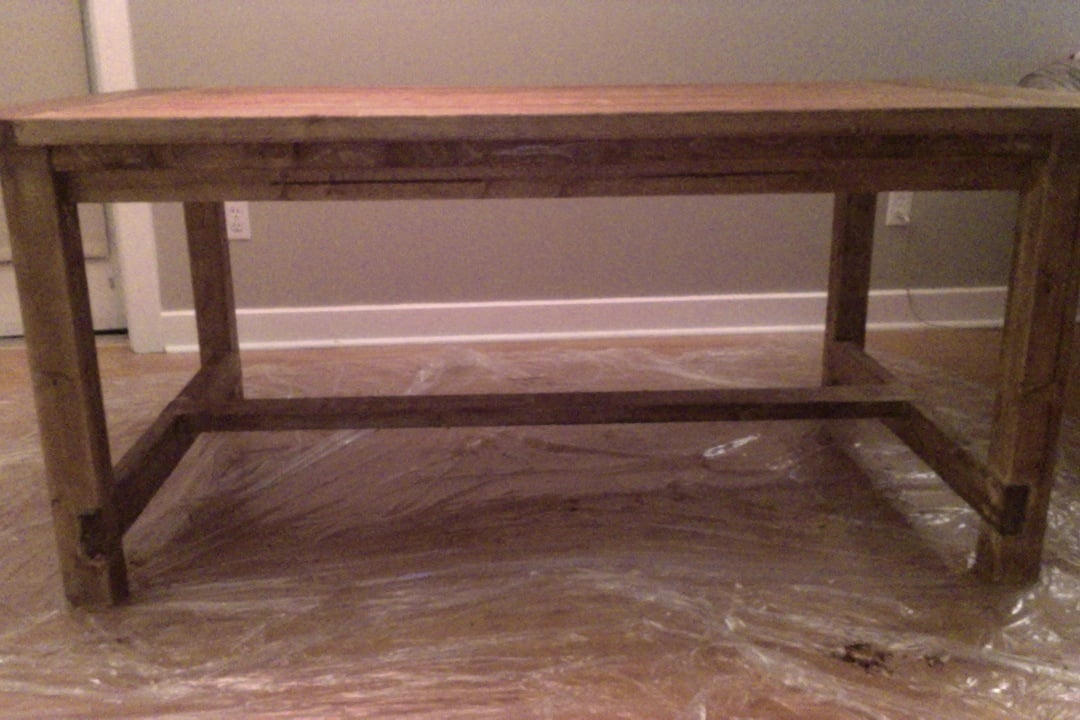
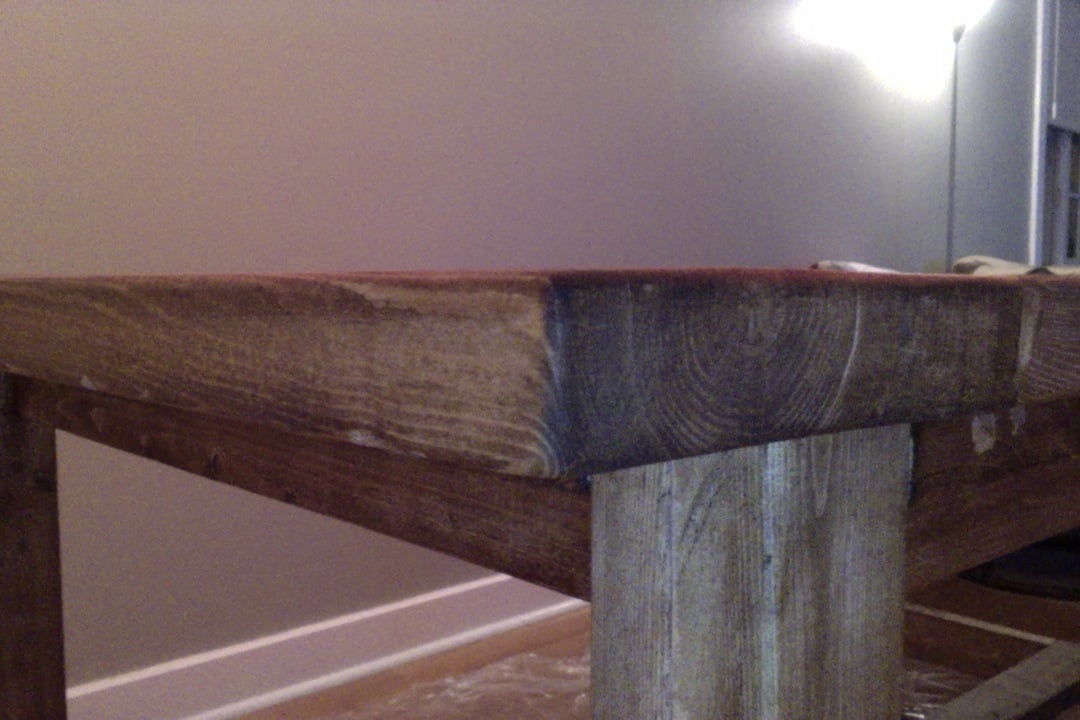
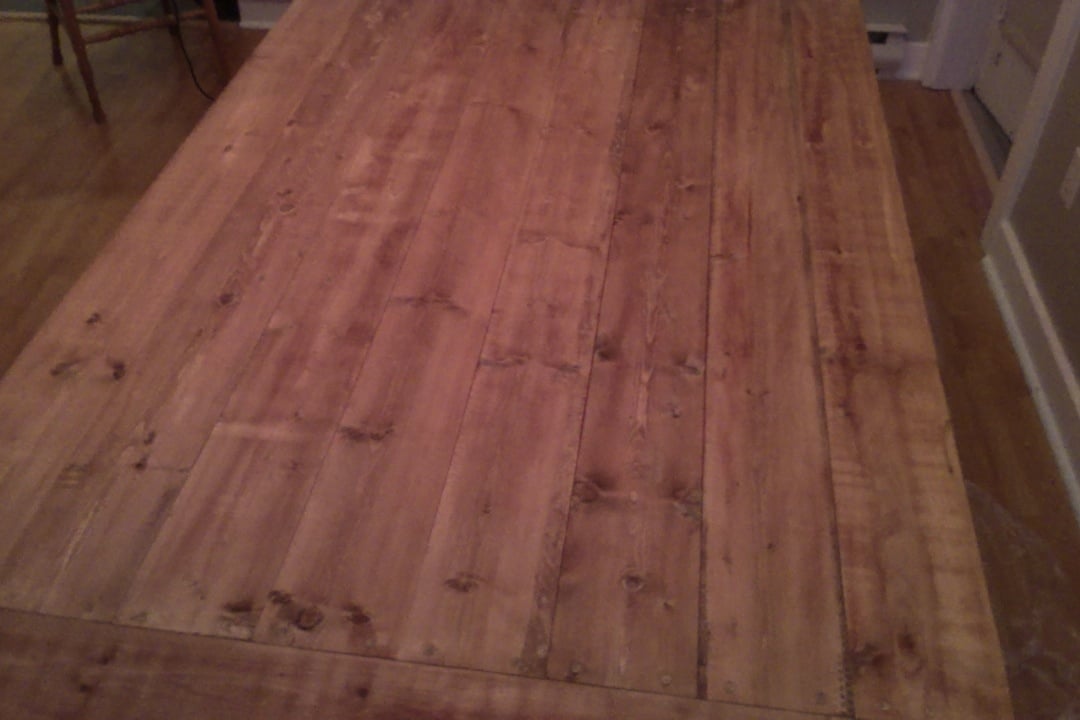
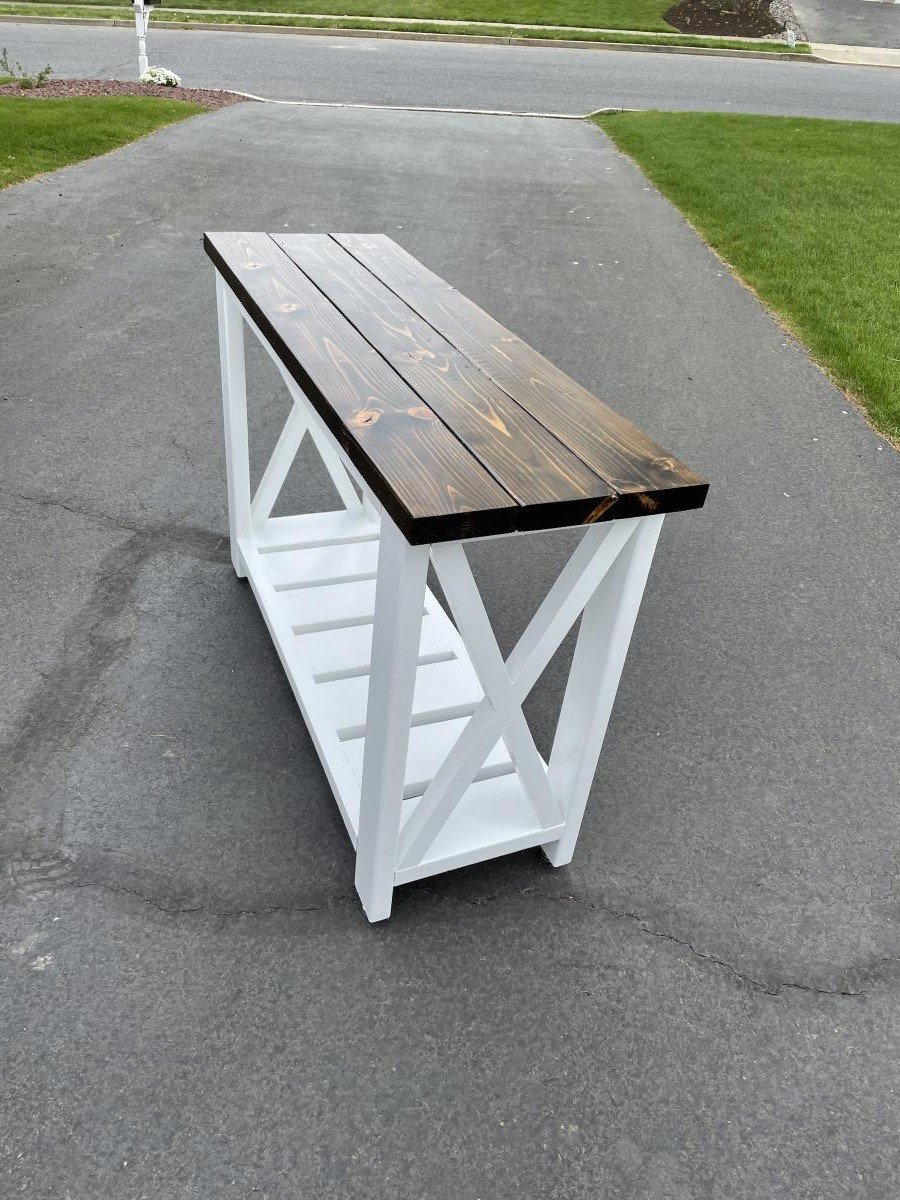
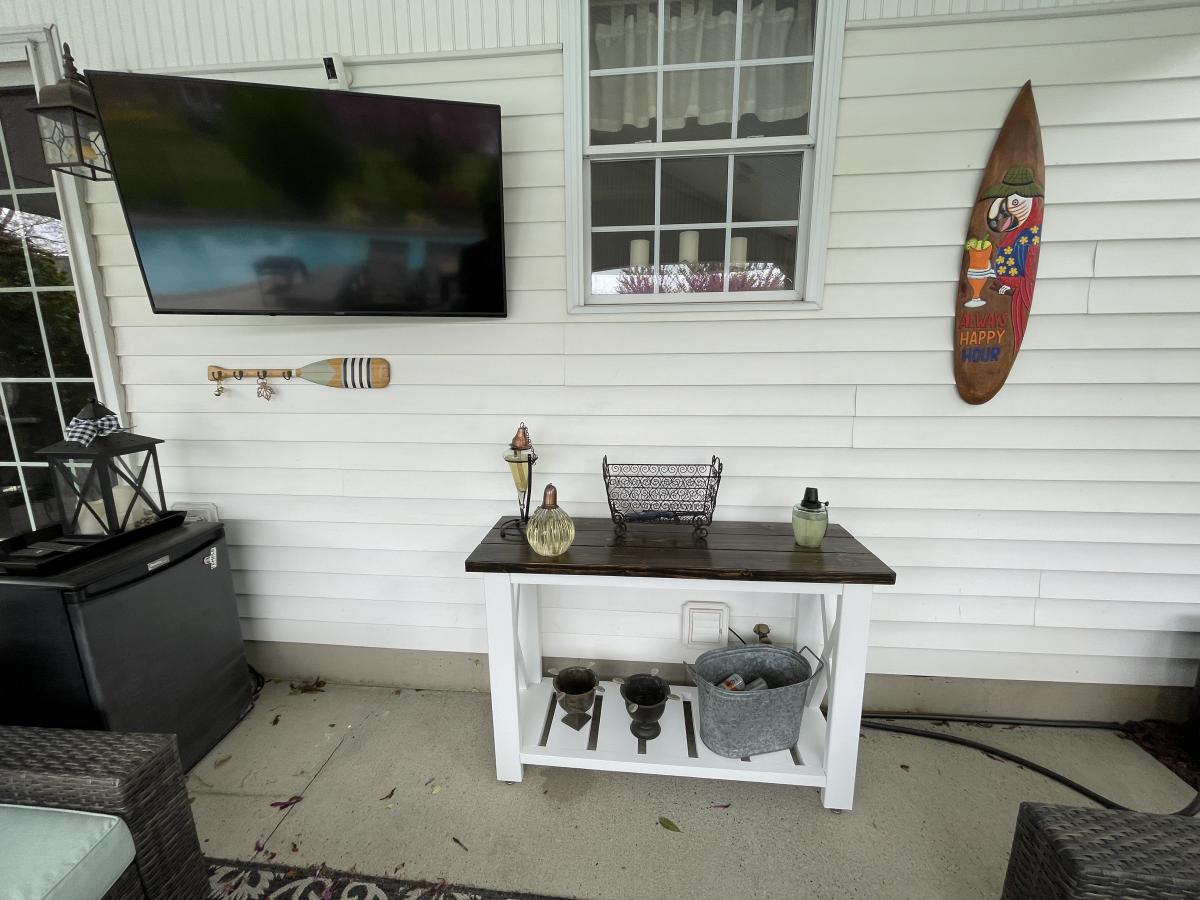
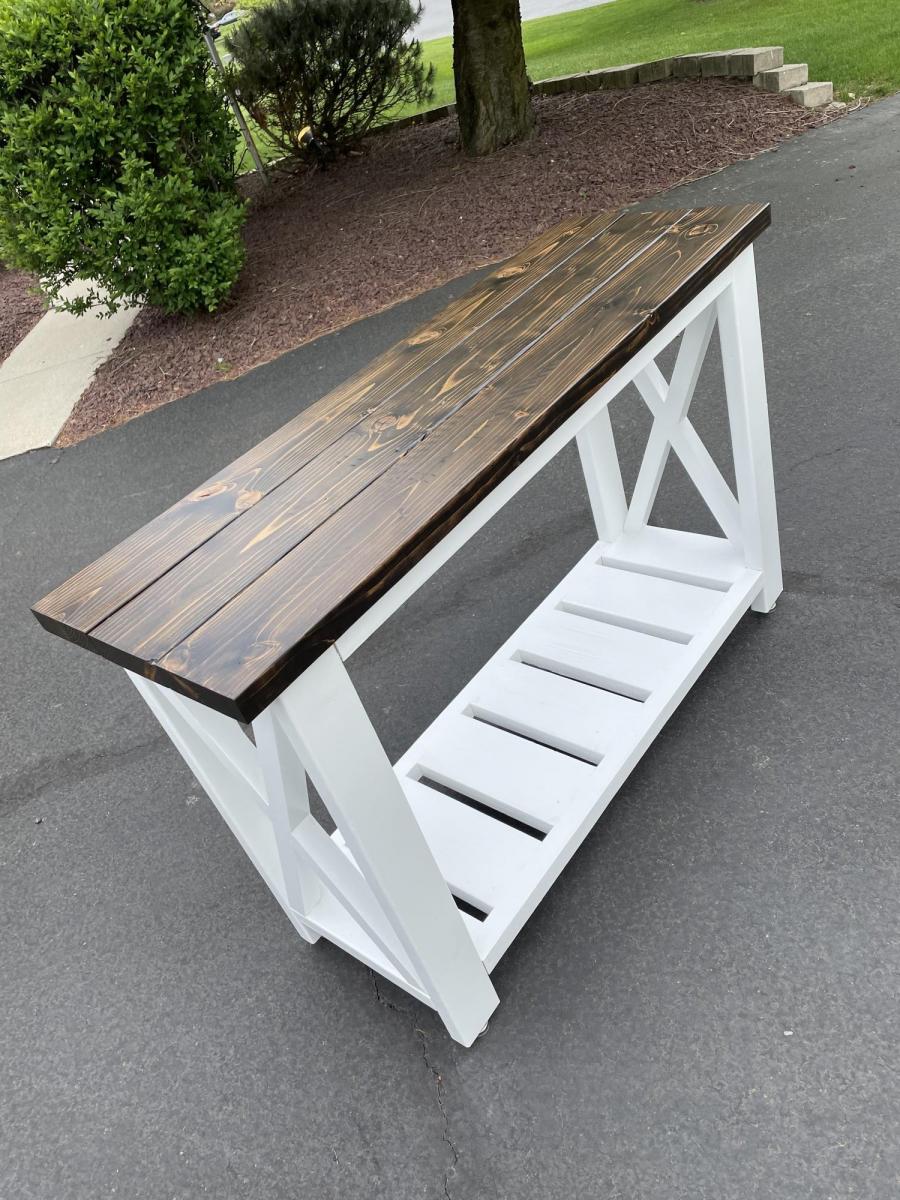
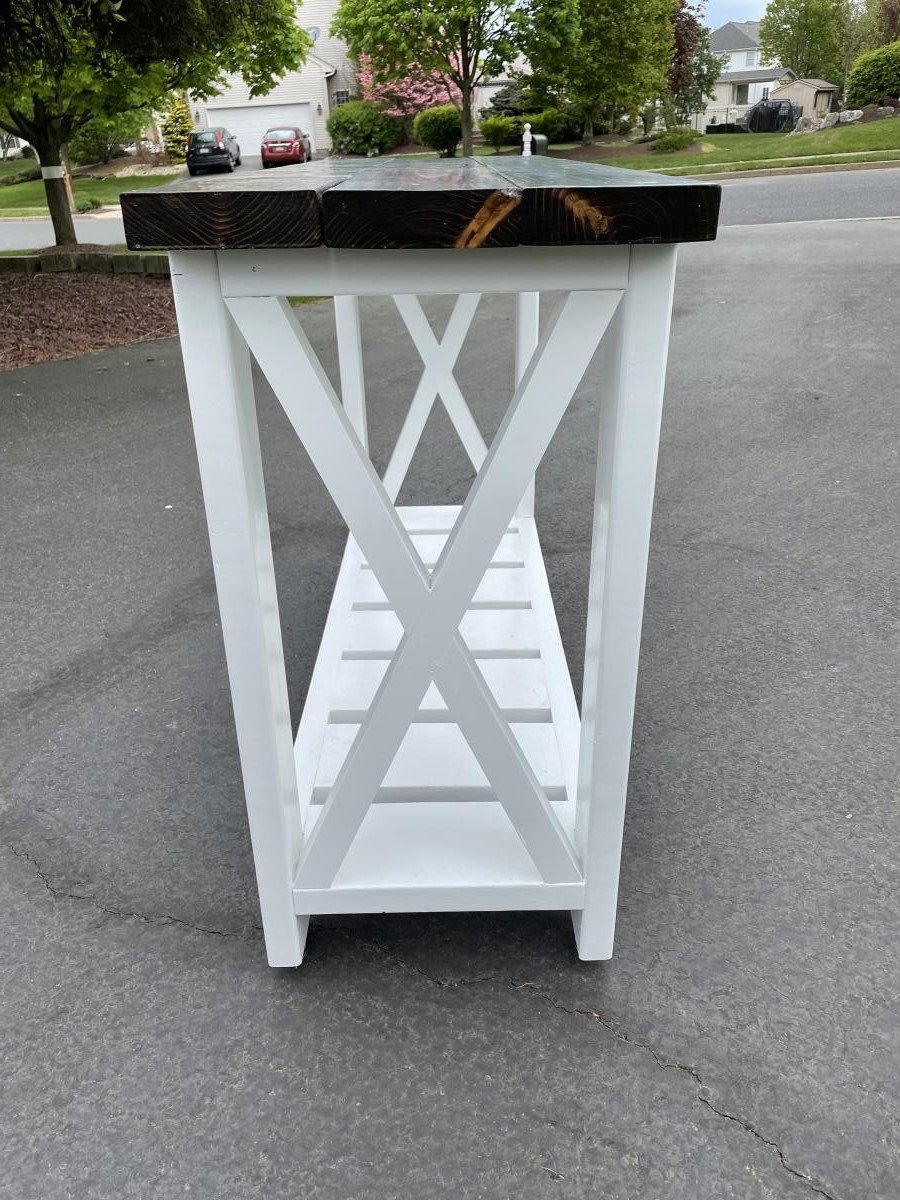
Used the plans here to make the table. Modified the dimensions slightly to fit my space by re-drawing the plans in AutoCAD 3D. Added stainless steel adjustable feet to the legs for leveling. Wanted to keep the wood up off the ground since this table sits on my back patio. Amazon link for feet: https://www.amazon.com/gp/product/B08VRPCDNL/ref=ppx_yo_dt_b_asin_title…
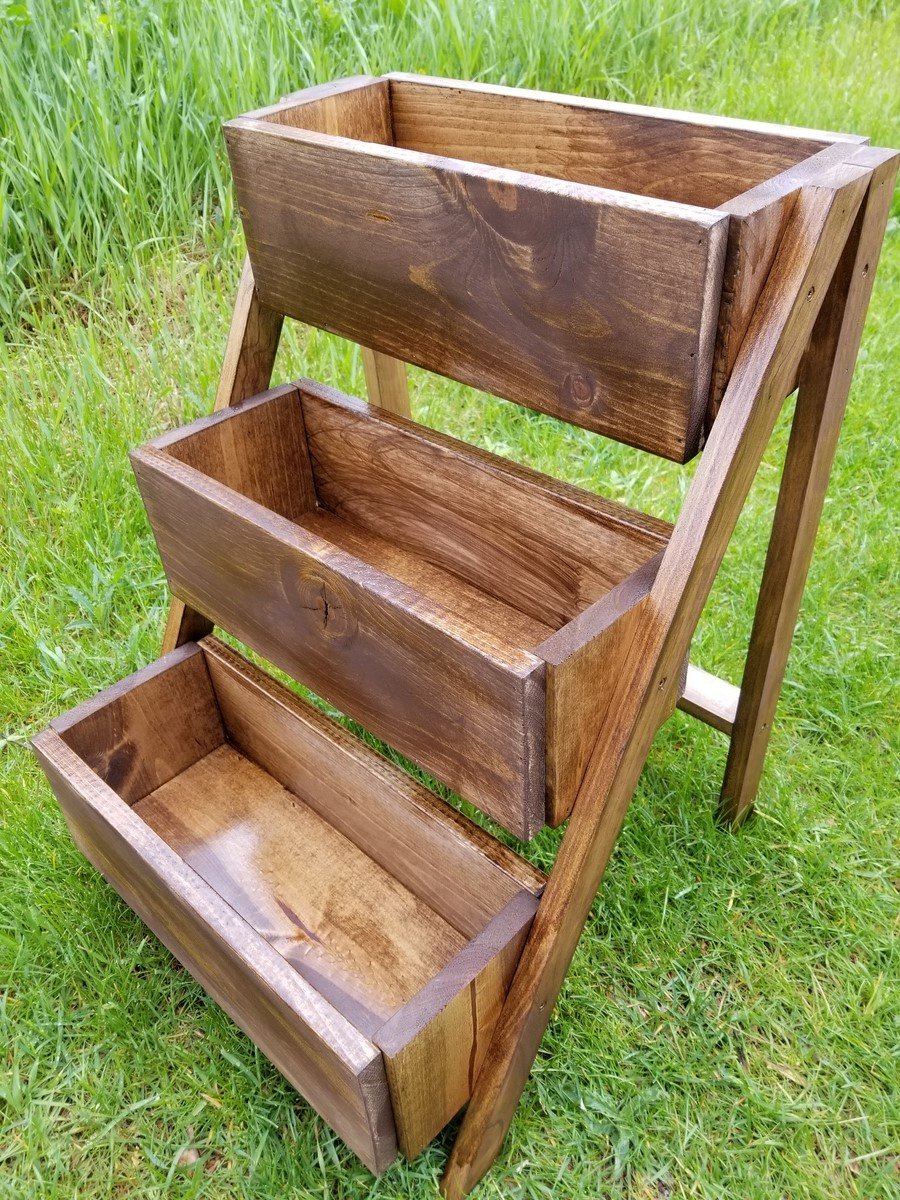
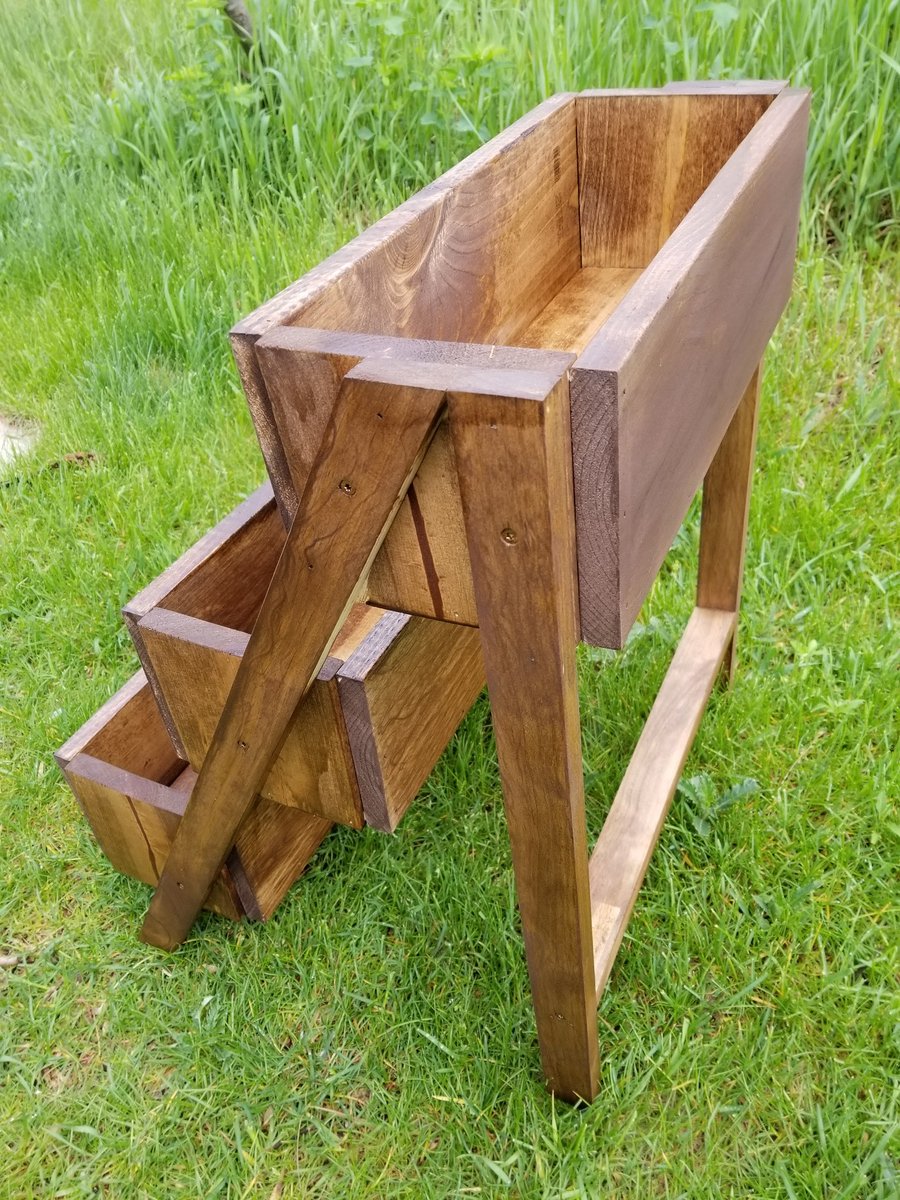
Love this planter. Used quality pine. Perfect size for the balcony! I use it for fresh herbs... i have have other people wanting one too!
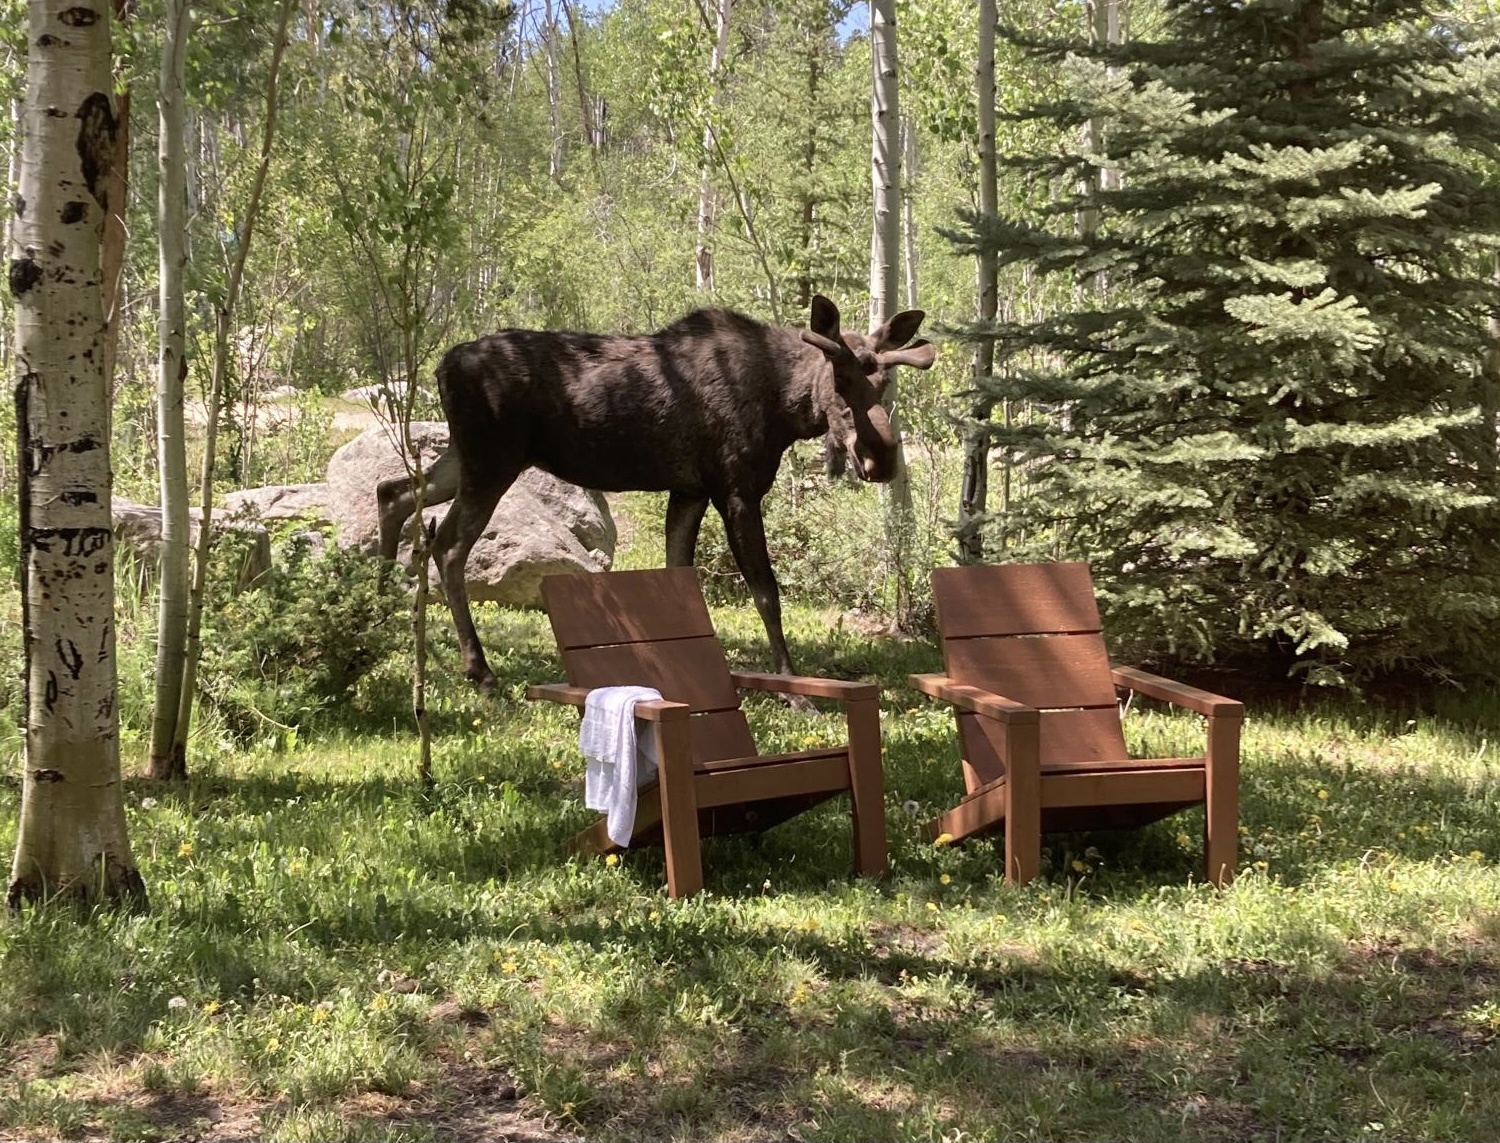
We have a wonderful rental cabin in Grand Lake, CO. I wanted to add some special seating outside. These chairs are perfect, comfortable, and even the moose came by to see them. They agree too that Ana’s design is wonderful. My daughter and I worked on these together, from beginning to end. We cut, sanded, stained, and finally put it all together. These are so comfortable, even my husband agrees!! Thank you Ana for the plans and video. I will be adding the table to go with them too. Jennifer
Wed, 07/07/2021 - 10:18
You and your daughter did a fabulous job, thank you for sharing! #mooseapproved :)
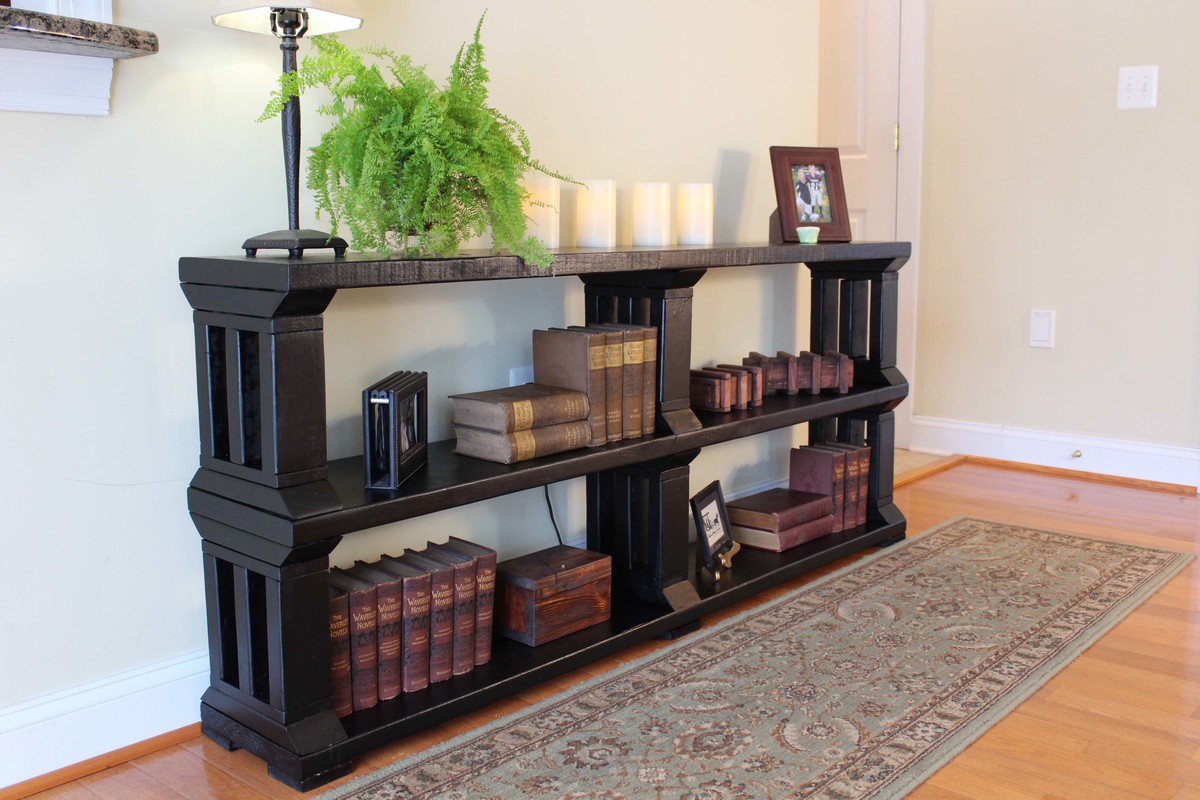
This is a matching book shelf to the 55-fancy-x-desk.
Build Instructions:
http://www.instructables.com/id/Rustic-Book-Shelf-or-TV-stand/
Sat, 03/07/2015 - 13:58
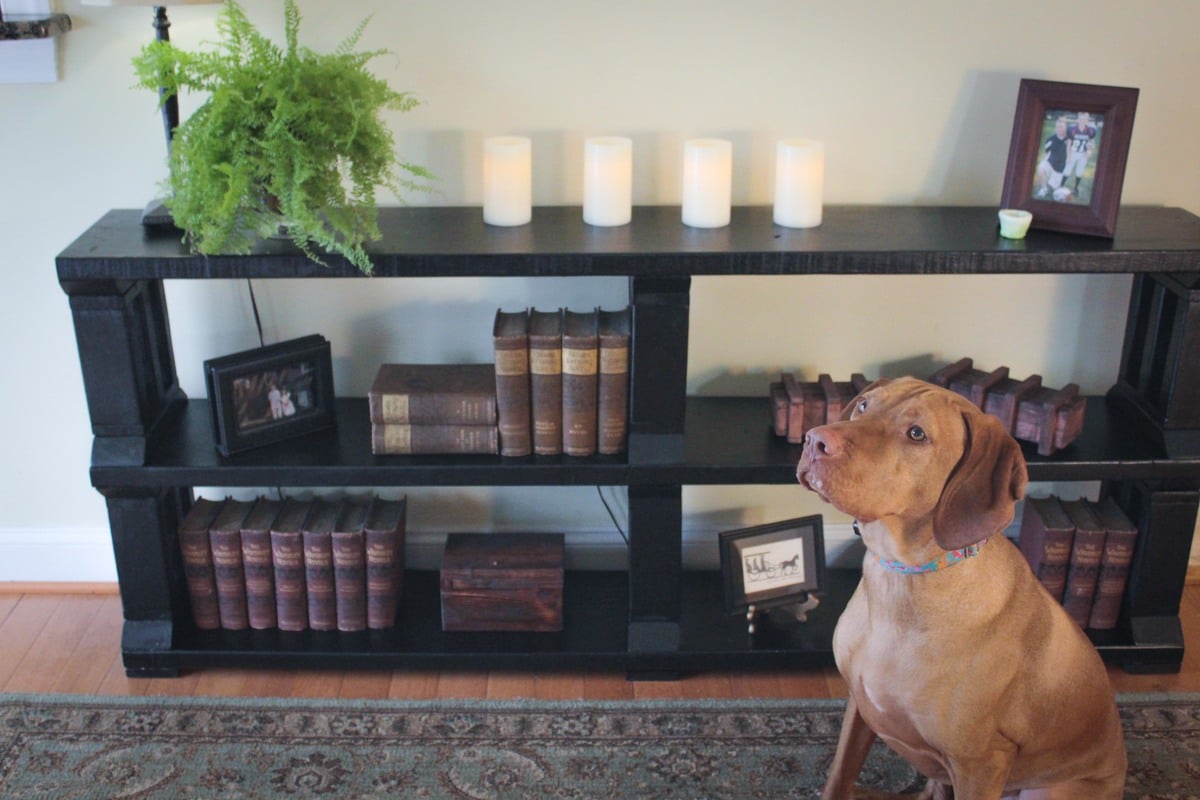
I included a picture of the fancy desk above. My son and I are working on a matching end table next.
In reply to Beautiful! by Ana White
Wed, 03/11/2015 - 14:02
Thank you. We tried to match the look of the fancy desk which my teenage son made about a year ago. He is currently working on a matching night stand.
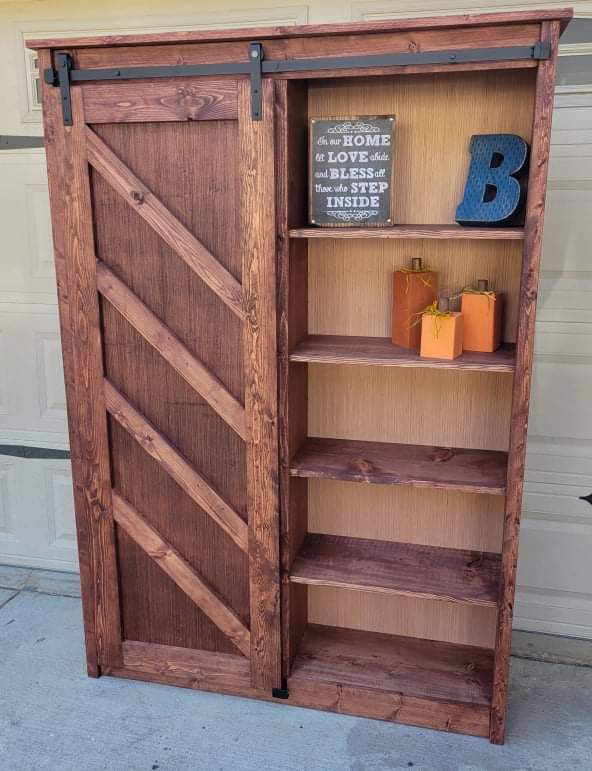
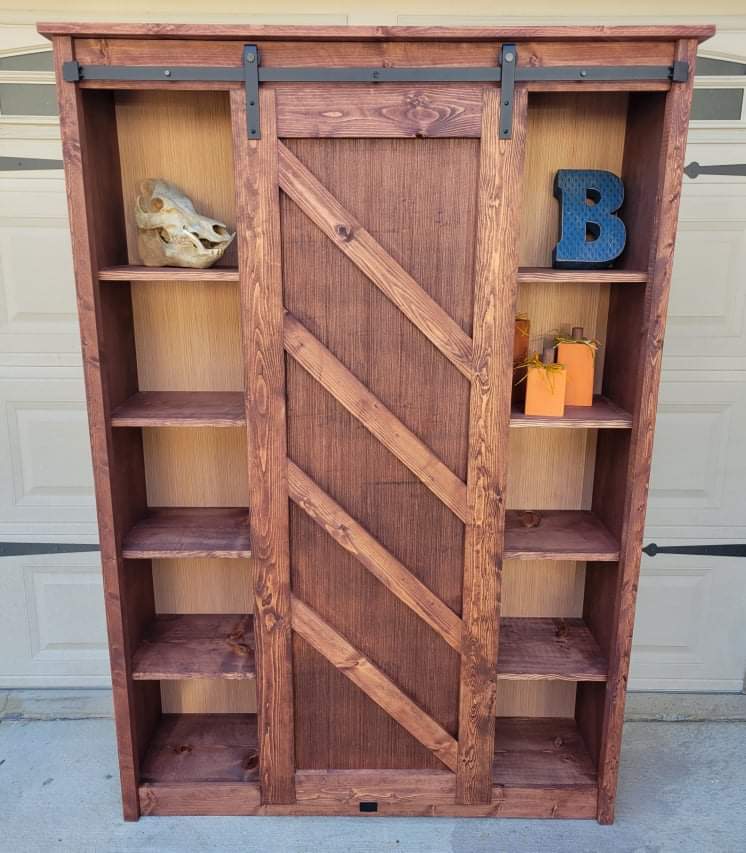
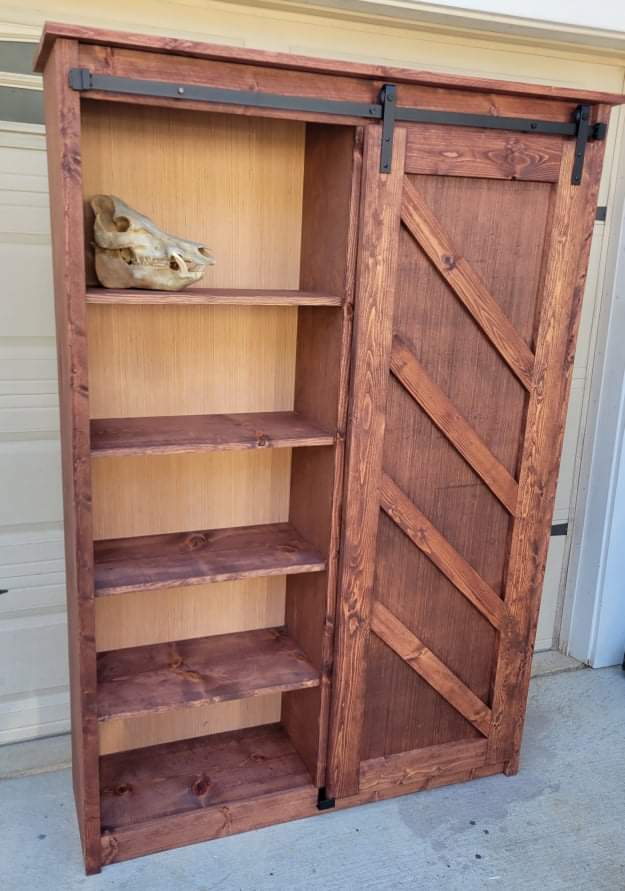
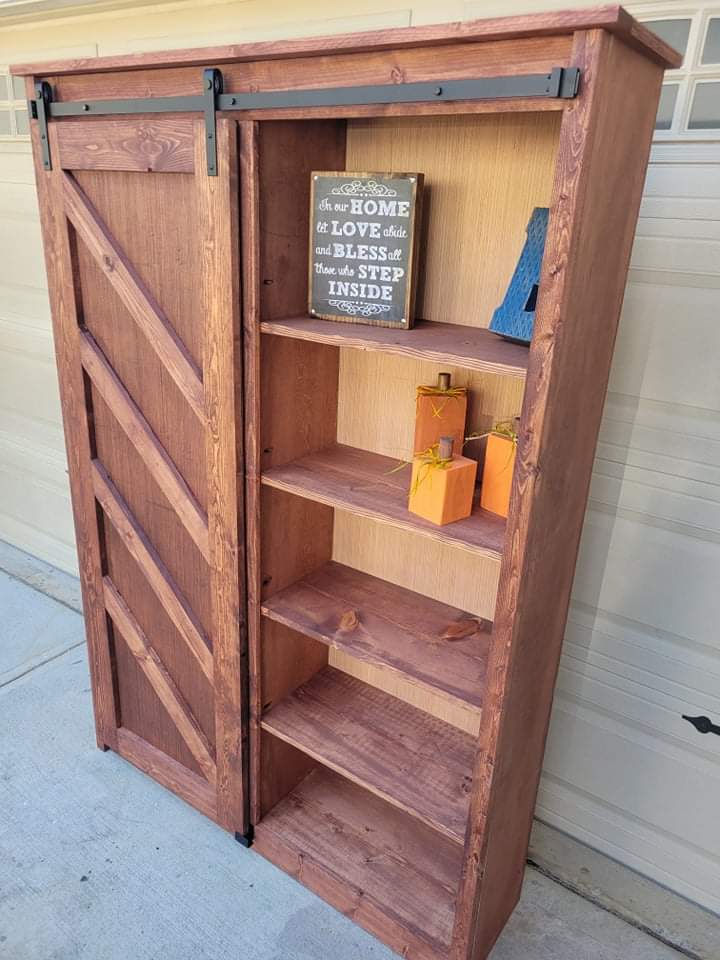
My wife and I built a TV stand for ourselves with double barn doors a few months ago..
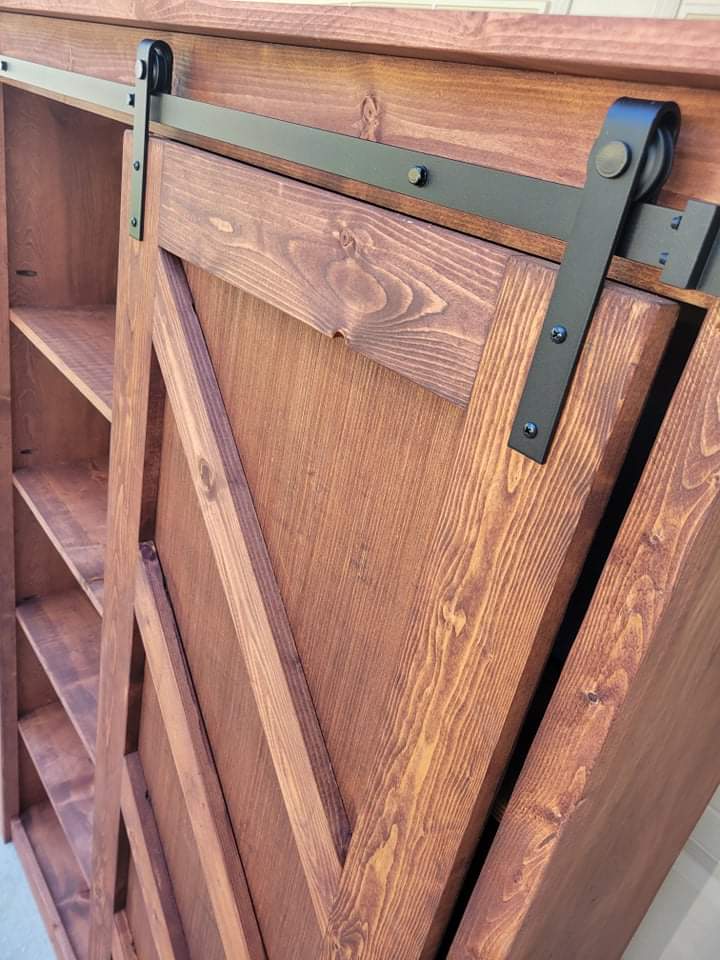
in the process,, we accidentally ordered a 4 foot single barndoor hardware kit.. we saved it hoping to use it for something in the future..
We saw this build, and just had to go for it. We made a couple modifications. Instead of buying all those 1x12s (lumber prices are through the roof here) we got a sheet of birch plywood for $60. We had it ripped down to 11.25" and made the sides, middle wall, and top out of those. (All of those pieces are faced out, so you can't see the plywood lines). This saved us about $100. If you do this, you will still need 2-1x12x10s for your shelves. We used this savings and bought an extra sheet of 1/4 plywood to put backs on both sides of the cabinet. (Suggestions on how to do that are in the comments of the original build plans posted by Ana.)
Lastly we had leftover 1x4s from a previous project to make everything except the diagonal slats on the doors. So, we used leftover 1x3s for those.
Varathane honey stain used on finish
All in all, we absolutely love this piece. And now, our neighbors are already eyeballing it and want to know if we can make them one.
Sun, 09/05/2021 - 11:05
Gorgeous piece, love the finish and you process to save some money!
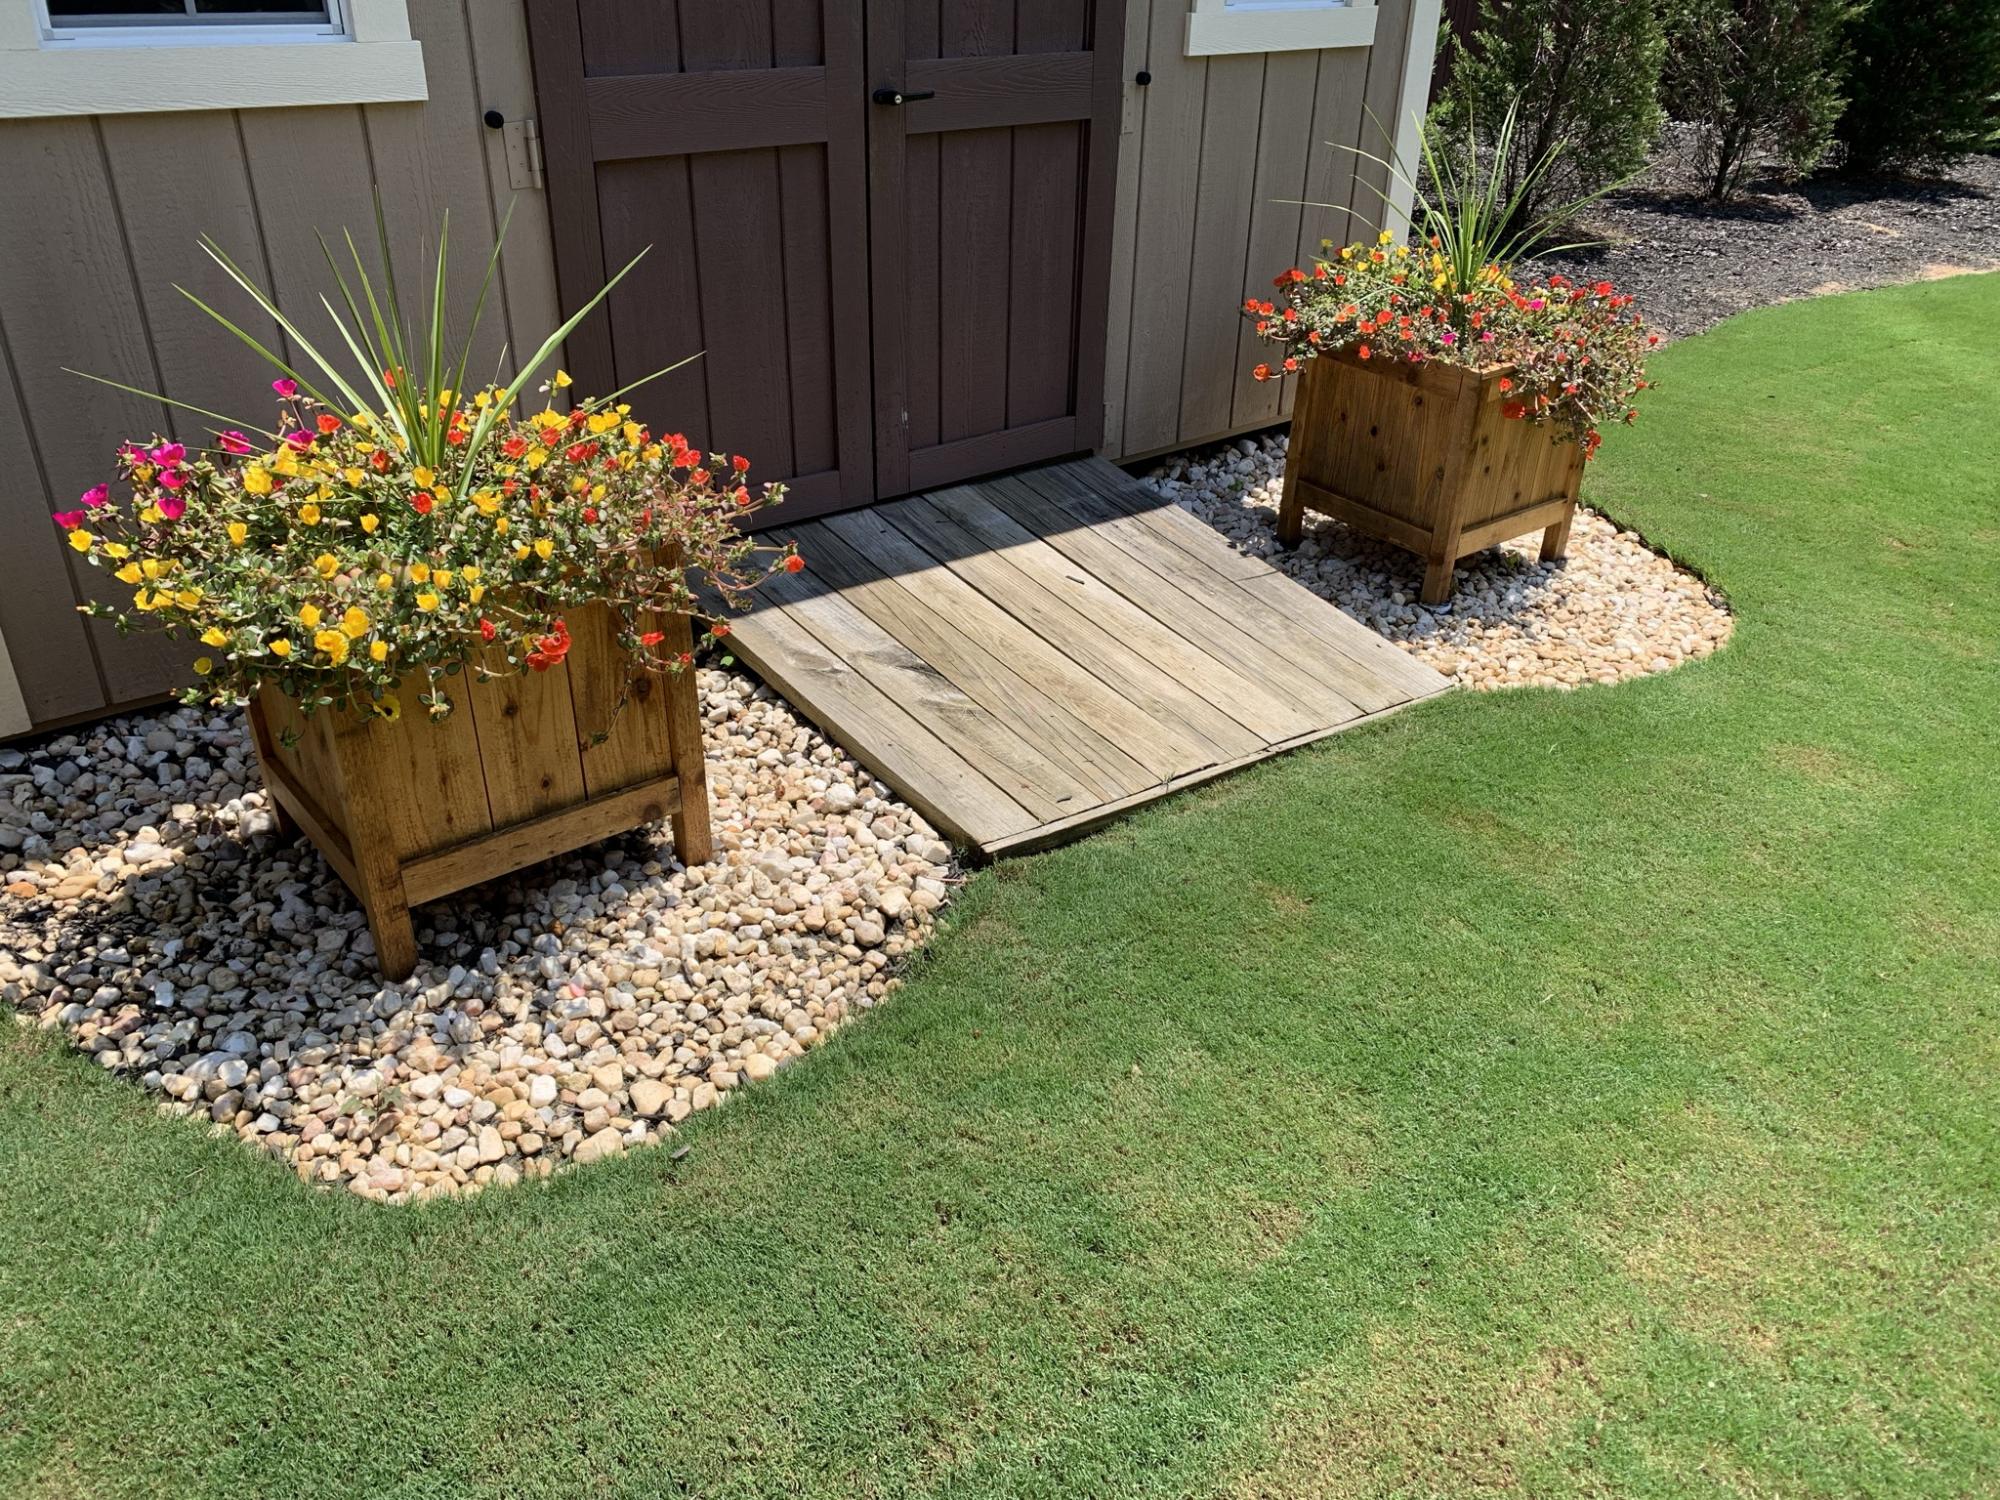
Cedar planter boxes made largely from fence pickets.
Tue, 10/05/2021 - 11:09
Wonderful way to dress up the yard, those look amazing, thank you for sharing!
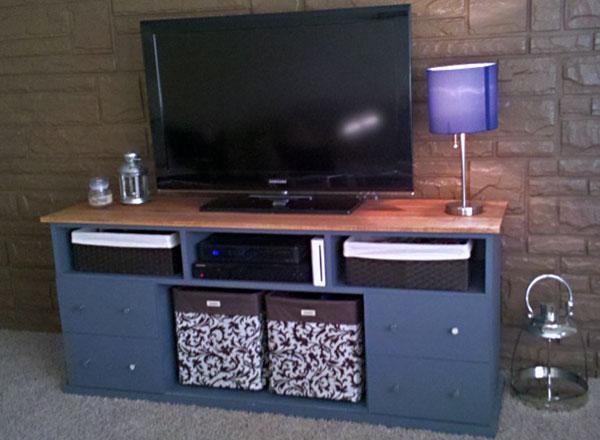
We started this project when Young House Love agreed that I should paint the old, dated brick wall. Then we bought new couches. Then we needed a TV stand, and a coffee table to match.
This started out a project for me. I was in love with those 16 little drawers. My husband .. not so much. I saw a way to secure all my stuff from my soon to be crawling little one. Hubs saw 16 little blocks. So, after it was all done, we tore off the drawer faces, and started over.
I decided to not to do the doors. I was too worried about baby smashing her fingers, or me tripping over them and breaking the hinges, so we went with bins. They have a metal frame for durability, but are wrapped in a durable canvas to make them safe for baby. They’re a perfect fit for the center, and the feet side effortlessly across the paint. (There’s no polyurethane on mine yet!)
Extra Info:
The smaller baskets are from Target. ($12 for both)
The large baskets are from the Container Store. ($20 each)
Lumber was from Lowes of Streetboro, OH. (About $80)
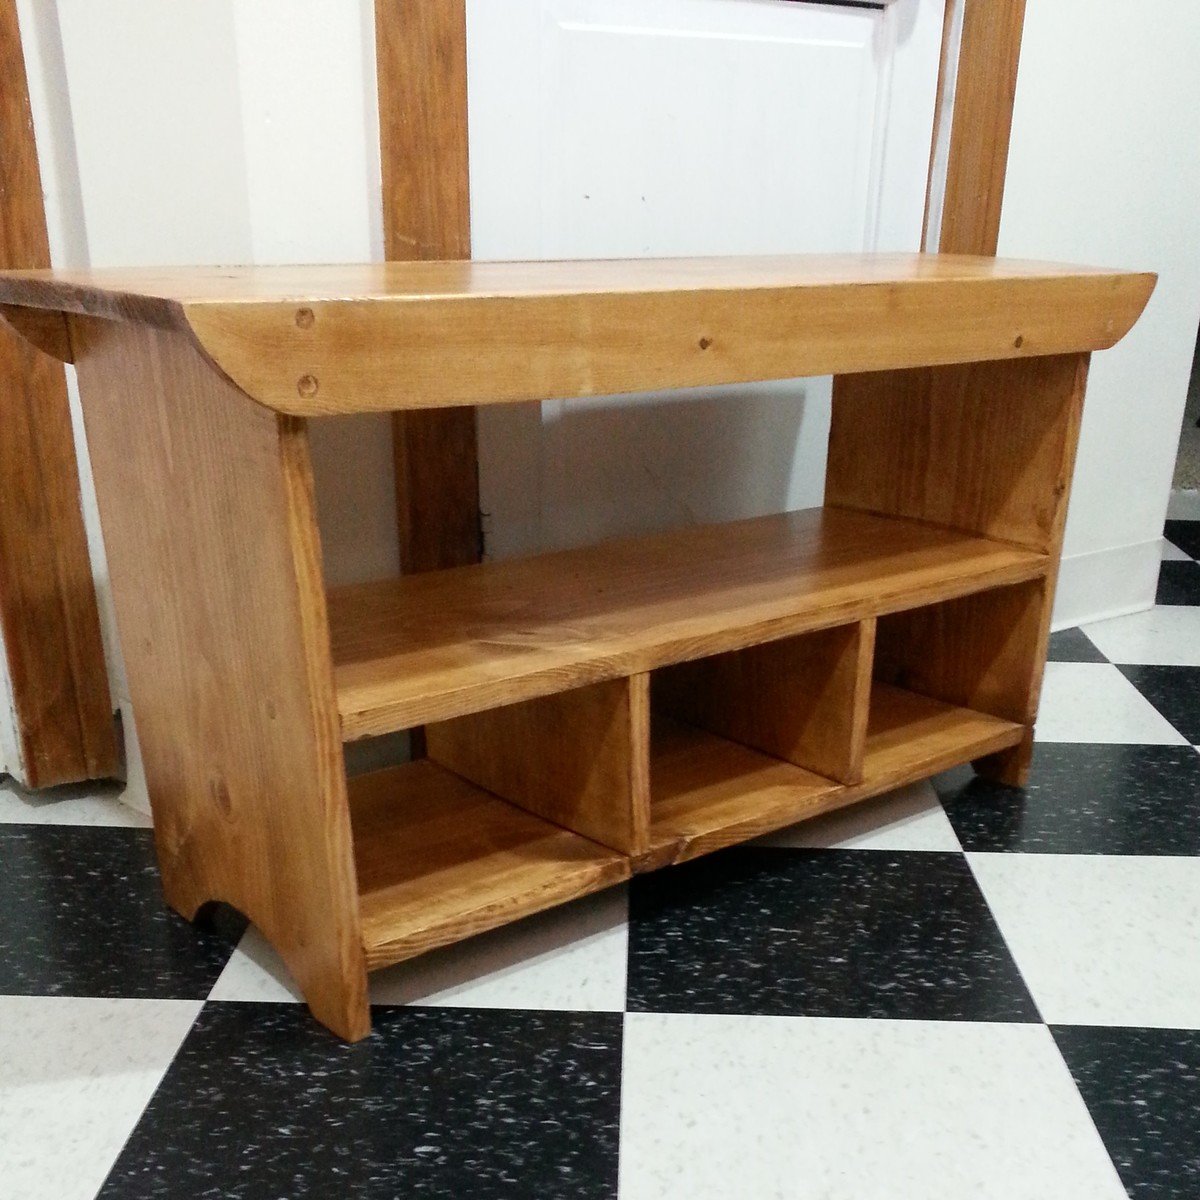
This was my first building project from scratch! I have modified some thrift store finds, but this was the first from lumber. I learned to countersink! I was amazed at how easy this was, and I'm so excited that this bench will sit by our front door for my three boys to perch on when they put on or take off their shoes. I went with 3 cubbies to hold three pairs of shoes. It also works great for a couple of kids to sit on at the table for when we have guests and need some spare seating.
I modified the dimensions slightly and opted to not mount the fold down doors as I figured they would always be open anyway. I built this mostly from solid red oak save for the bottom panel and the middle panel, which are plywood. I crafted the top out of 5 pieces tongue and grooved with mitred corners on the front. I also tongue and grooved the doors with glass insets. I finished it in Minwax red cedar under poly.
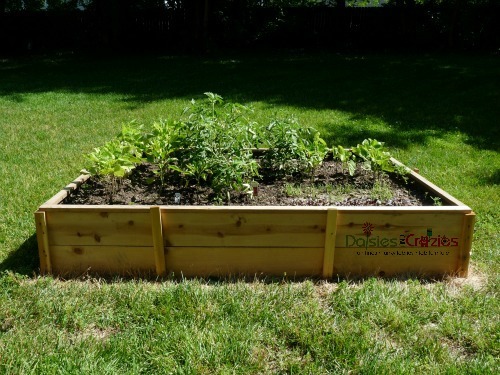
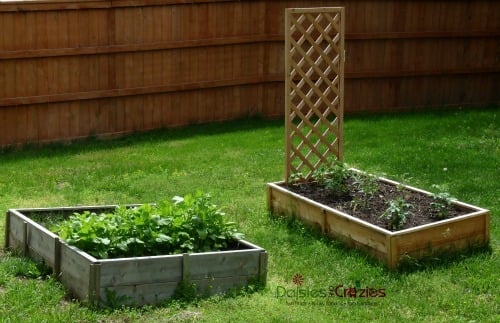
This was an easy project that should help provide us with fresh, pesticide-free produce for many years to come. Thanks, Ana! xo
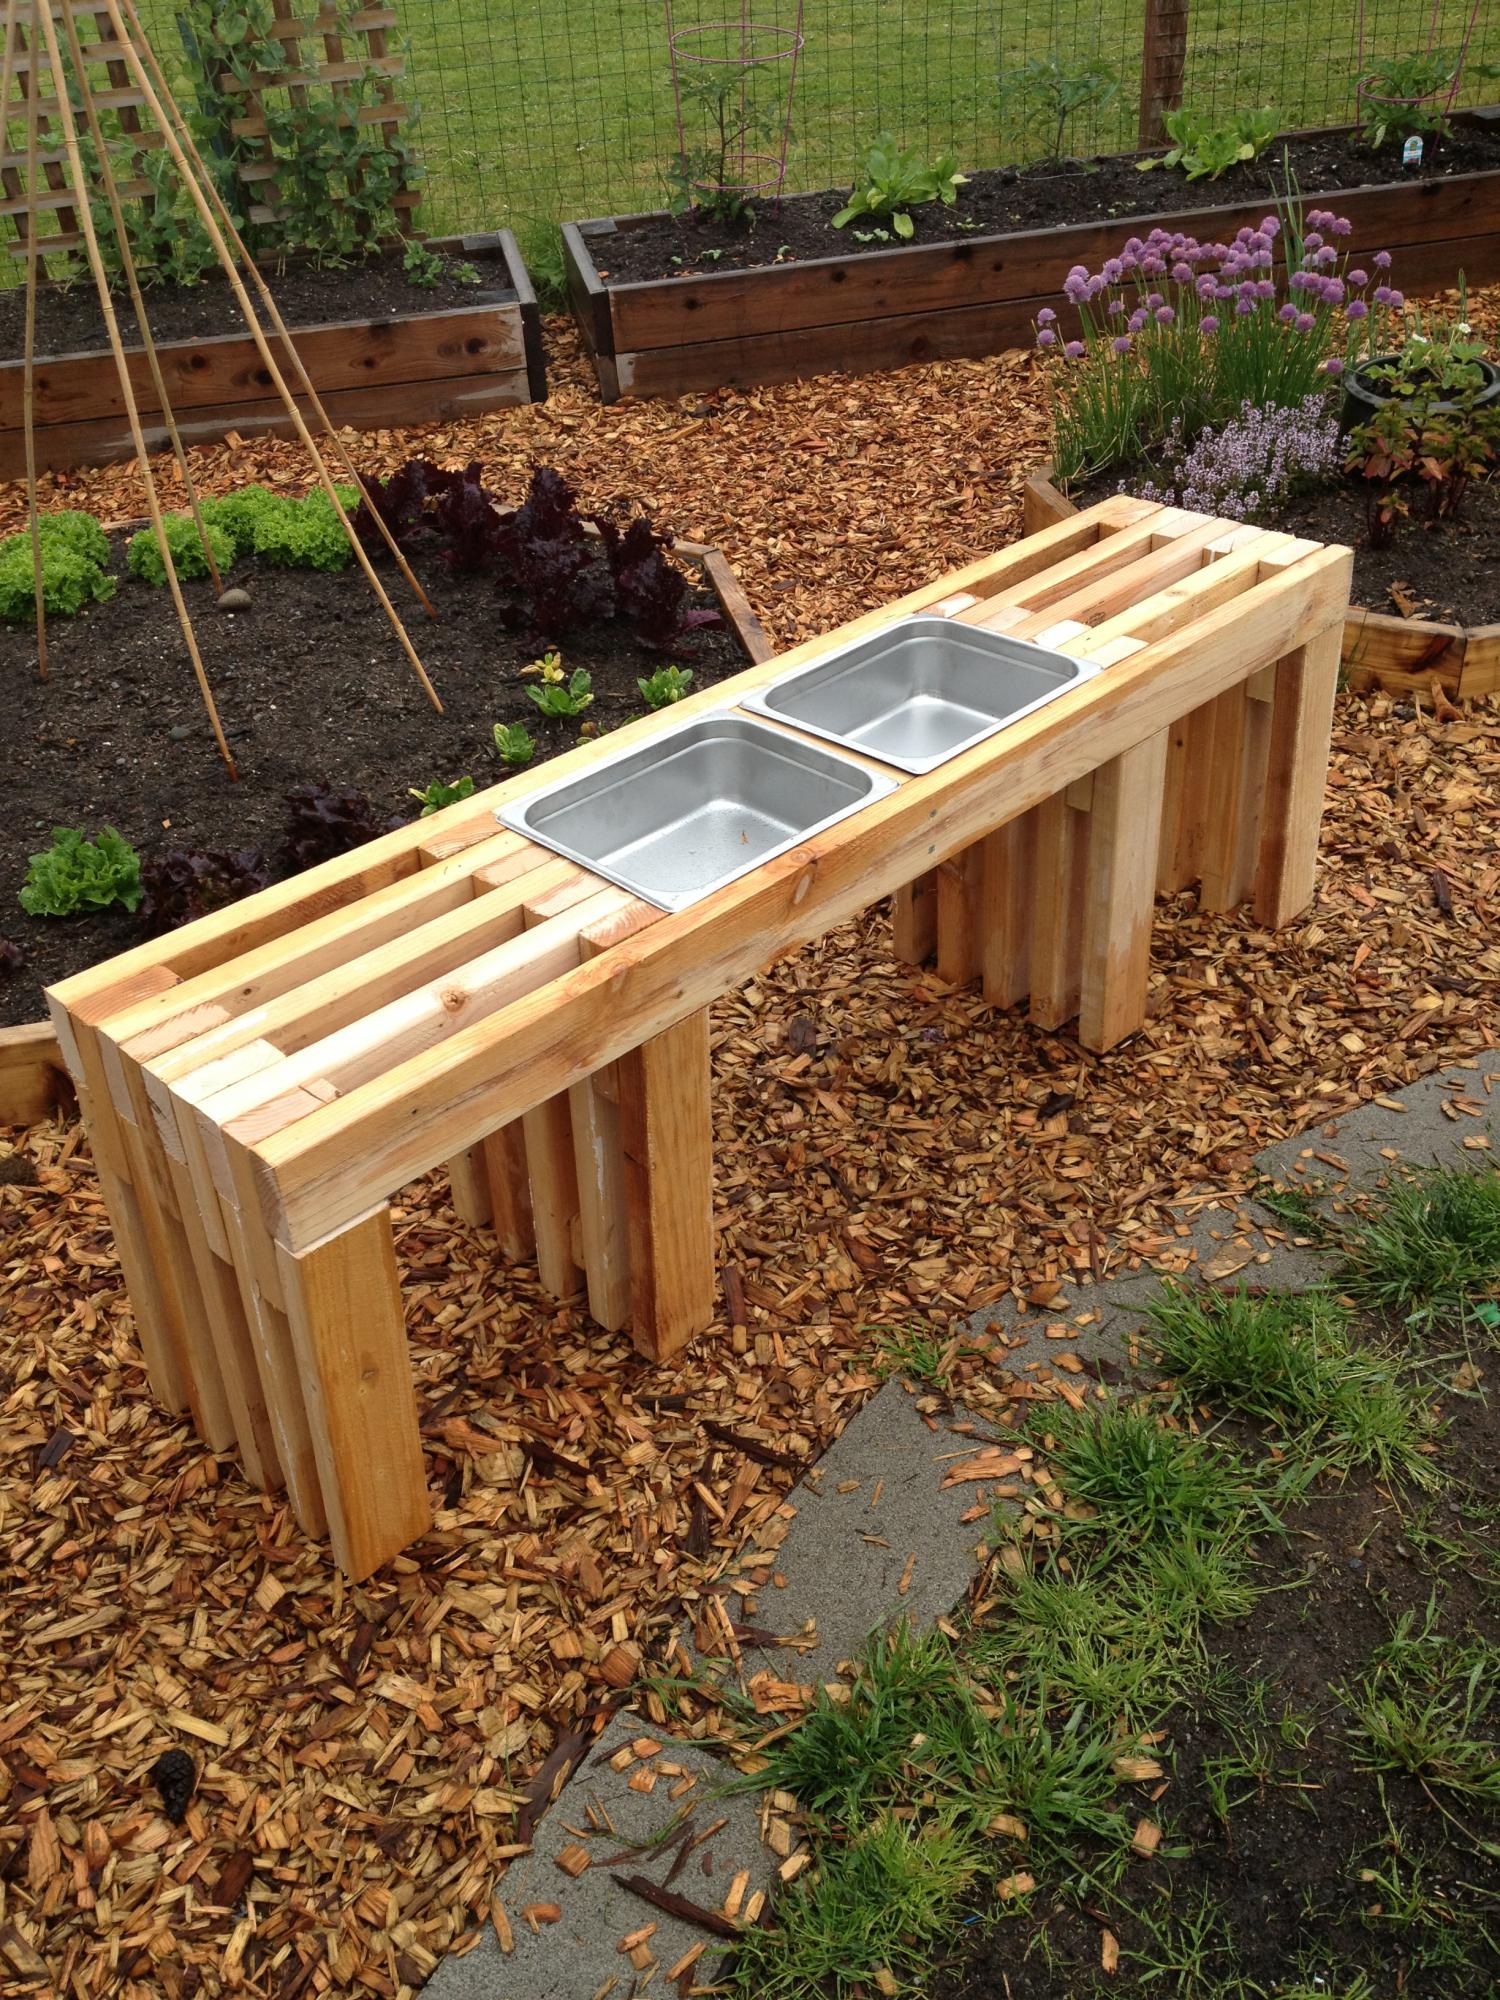
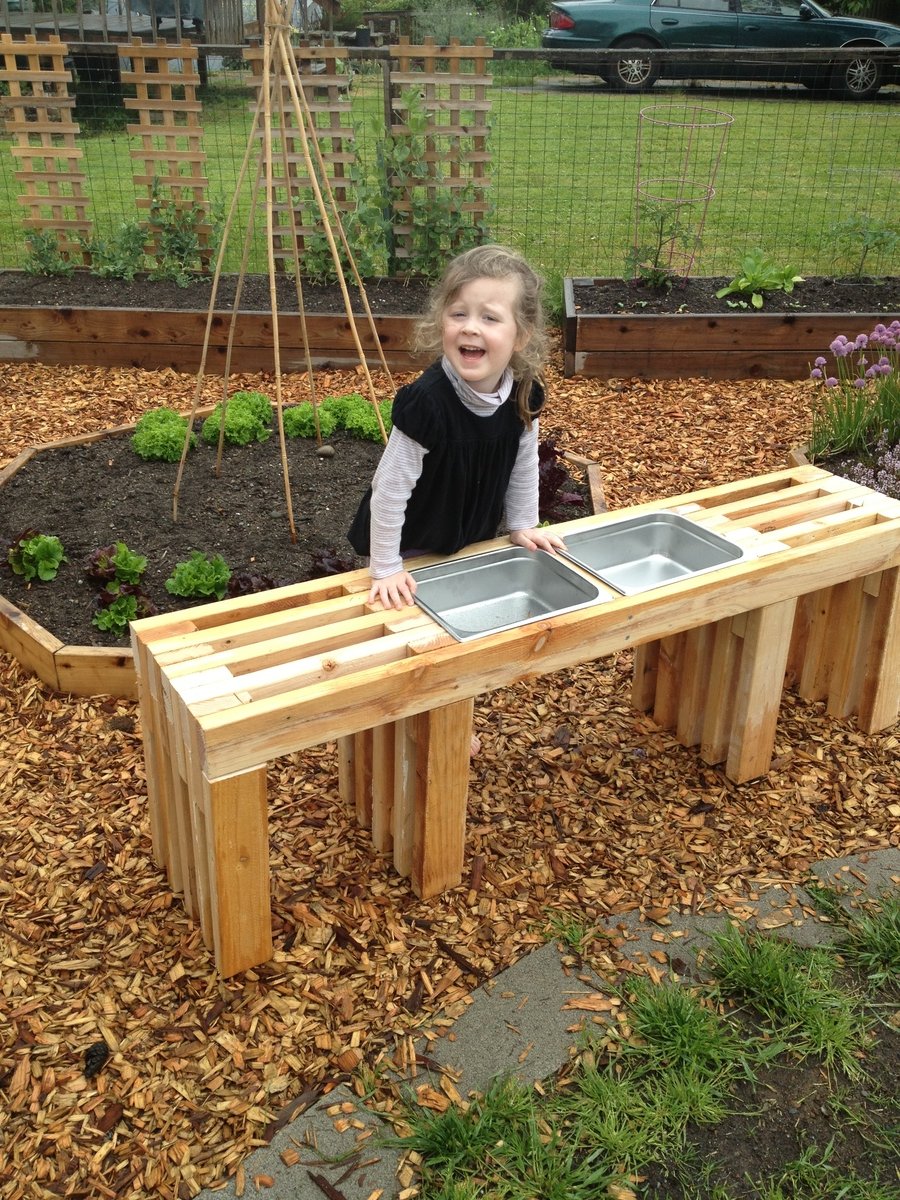
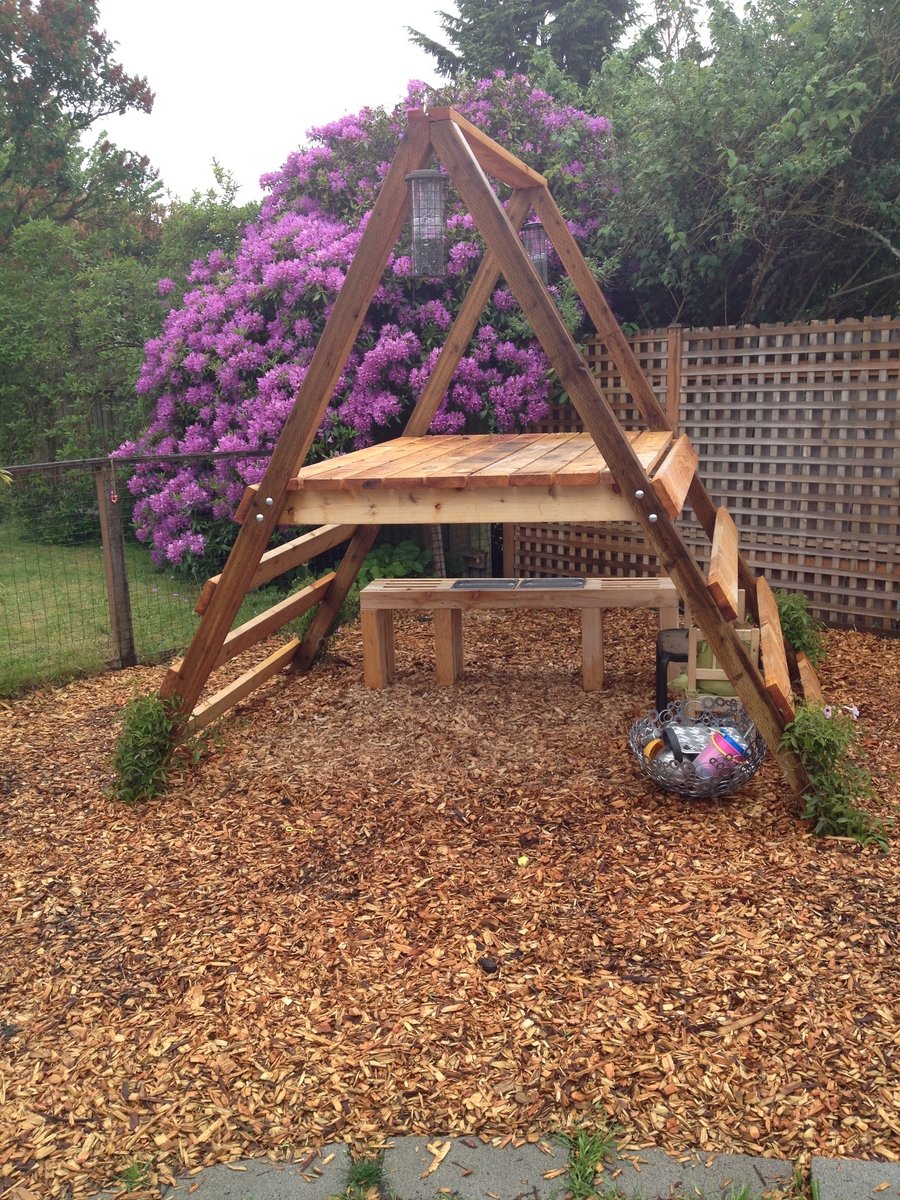
I've been looking for a simple design for a consol table that I could easily modify to fit in my kids' club house. This one fit the bill perfectly! I also happen to have a pile of 2x4s left over from a closet demo, so I wanted to use those up. I basically built 2 of the consol tables, letting the 2 outer-most horizontal beams extend across and 25.5 inch space and connect the two consols. Then I put in a middle beam and that created the perfect space to set some catering pans in it. Also, I only had 2x4s so I used those for all the pieces, making the gaps a little wider than the original design. And lastly, because I didn't quite have enough wood, I shortened the vertical beams. If you look at the picture, all of this will make more sense! Thanks for the inspiration and direction! ps - I have no idea how to rotate the photos. Sorry!
