Outdoor Chaise Lounge
Cedar wood Chaise Lounge Set
This was my first attempt at building actual furniture. It went pretty well I think. I followed the plan pretty much. I made the bench longer and taller. I also added a few inches to the height if the hutch.
A couple other changes I made that I thought it needed was 2x2 bracing on the bottom if the bench for stability. I also added a band of 1x2 to the bottom of the hutch so I could screw the hutch to the bench without having to go inside of the bench and try to line it up .
I then added another board to the top band of the hutch, because with the one small board there it want wide enough to mount a decent size hook to.
That's pretty much it. If you have any questions, let me know.
This is a plan that My 16 year old son chose to do for a project to fulfill a goal to learn some woodworking skills during our unexpected downtime from School.
Mom is thrilled with the new space.
He adjusted different sizes based on what lumber we already had. He used 1x7’s and routed a 45deg on the edges to give the tongue and groove look. Posts are 4x5 and top railing is 2x7.
Sun, 04/19/2020 - 17:42
Amazing, what a fine young man you are raising!!
It was a gift to my youngest daughter. My oldest liked it, so I had to make another.
Rick White
Tue, 11/28/2023 - 09:52
Thank you for sharing your projects, love the finish choice!
I saw Ana's Laundry Basket Dresser & thought it was an awesome idea, I am notorious for not folding the clean laundry for weeks & our new puppy likes to steal the clean socks & in the process pulls out other clothing all over the closet floor. I plan to build two of the basket dressers & then space them apart & add a top to them to make it like a folding table with the basket storage built into it but that involves a trip to Lowes. This project also gave me the best idea for tidying up our mudroom. Our local trash/recycling company decided 6 months ago to go to an every other week pick up schedule for recycling, with an every week pick up we only had a bin & a half, very managable & tidy. Now with every other week pick up somehow we generate 4 bins! As you can imagine, even with breaking down cardborad & nealty placing items in the bins, it gets messy & looks awful & this is the main way people enter our home. So after seeing this dresser project I got the idea to just adjust the plans to fit our bins. I also only had a single sheet of plywood & limited space so I tweaked the design from Ana's plan to accomodate my needs & materials. Now our bins are contained & the bin dresser doubles as a large table where we can put down the groceries when we get home from shopping! While I put it down as a weekend project, I only did so because I spread out the work over two days because I wanted to give the paint time to dry, I like to paint & stain my Projects before assembling as it's easier to get full coverage & I don't end up with dificult to paint knooks & cranies.
Grabbed some cheap whiteboard for my first project. My wife was looking at buying an island and I decided to surprise her by trying my hand at building one. Turned out to be an enjoyable new hobby that I hope to continue (plus, Laura now says I am her "favorite husband!").
Materials breakdown:
The lumber is white board from Lowe's for $115
The countertop is laminate Pragel from Ikea for $59 (cut to size)
Paint, polyurethane and drawer hinges were $50
I had another $75 in tools, glue, wood filler, nails, etc, because this was my first project.
In reply to Love the color by NimbleShopper
Wed, 04/02/2014 - 17:38
My wife, Laura, helped with the paint and came up with the dry-brush distressing technique.
In reply to Impressive by Ana White Admin
Wed, 04/02/2014 - 17:42
We just moved into an old house with a garage and the previous owners left a work table and an ancient Craftsman jig-saw, circular saw, and scroll saw (all from 1956). They were a bit sketch, but they got the job done!
Fri, 04/04/2014 - 21:42
wow. very impressed. love the finish! it turned fantastic for your first project; looks like you have a new hobby!
In reply to wow. very impressed. love the by birdsandsoap
Tue, 11/15/2016 - 00:15
I love that. It have a nice design. ین درها دارای تکنولوژی مدرن و پیشرفته بوده و استفاده از آن سهل و آسان می باشد. وجود موتور توبولار و مرکز کنترل پیشرفته الکتروند فرانسه در آن باعث ایجاد امنیت، آرامش خیال و سهولت کارکرد آن بصورت دستی و اتوماتیک شده است. این مدل درب اتوماتیک به دلیل کم حجم بودن و جمع شدن در زیر سقف فروشگاه ها و یا مراکز تجاری و یا به صورت عمودی در سوله ها و کارخانه ها، هم باعث کارآیی بیشتر و هم دارای زیبایی مضاعف می باشد و کاربرد آن در مراکز تجاری، فروشگاه ها و صنعتی باعث ایجاد امنیت، راحتی و سهولت در استفاده از آن شده است .
I made these for kids since ordering online will take 2 - 3 weeks. I was able to do this in 3 afternoons. The only difference is that I didn't flush the drawer with the table edge.
Thank you Ms. White for the plans.
This is my third project from this site (ok, third project EVER). I was coming on to look for doll bed plans, and the Rustic X Console showed up on my screen....I loved it instantly, and knew I had to try it. My husband ran out and picked up a Kreg Jig for me, and we spent a couple evenings on it. Had lots of fun, though now I know why Ana says to make sure you buy straight boards--the middle shelves were not straight, and that was frustrating to work with but we made it work! Now I just need to figure out what I'll be using it for.
Thu, 06/07/2012 - 14:31
So beautiful!!!! So glad you tackled - turned out amazing!!
I loved this coffee table plan. I found it on www.morelikehome.net and also linked on Ana White's page. My wife and I loved the size and also the number of drawers for storage. I would say that the plans were great and I had to only make minor adjustments due to my own errors.
It took me about four days to complete. I used the Kreg jig to complete most of the joining. I put it all together by the end of the second day. It is solid as a rock. The last two days were mostly staining all pieces and then restaining to get the right finish. It also took a couple more weeks to find pulls and get them installed. But now it's all done and we love it already!
I built two chairs for my wife and I and a little table (for beer or wine). I made the table out of scrap that I had left over. My favorite part is the paint color I chose. Thank you Anna!
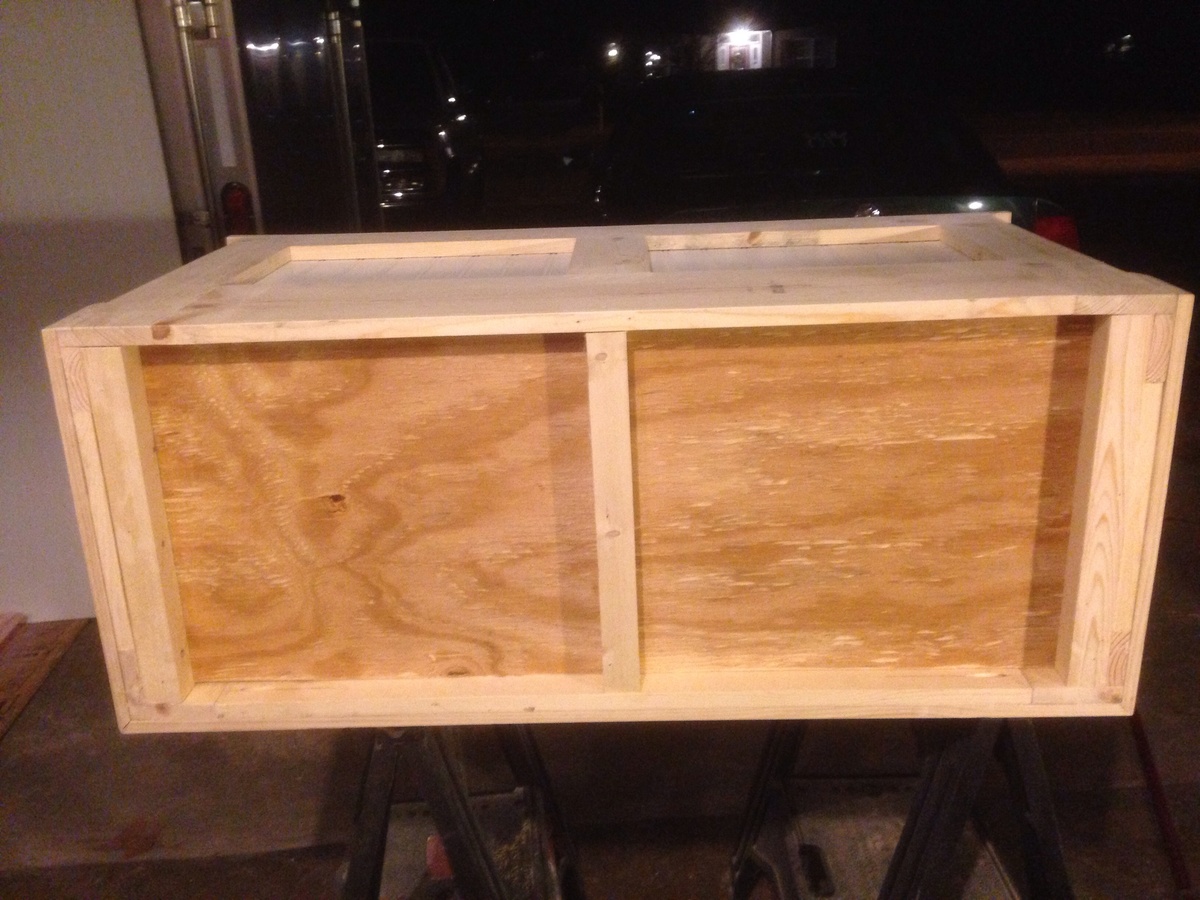
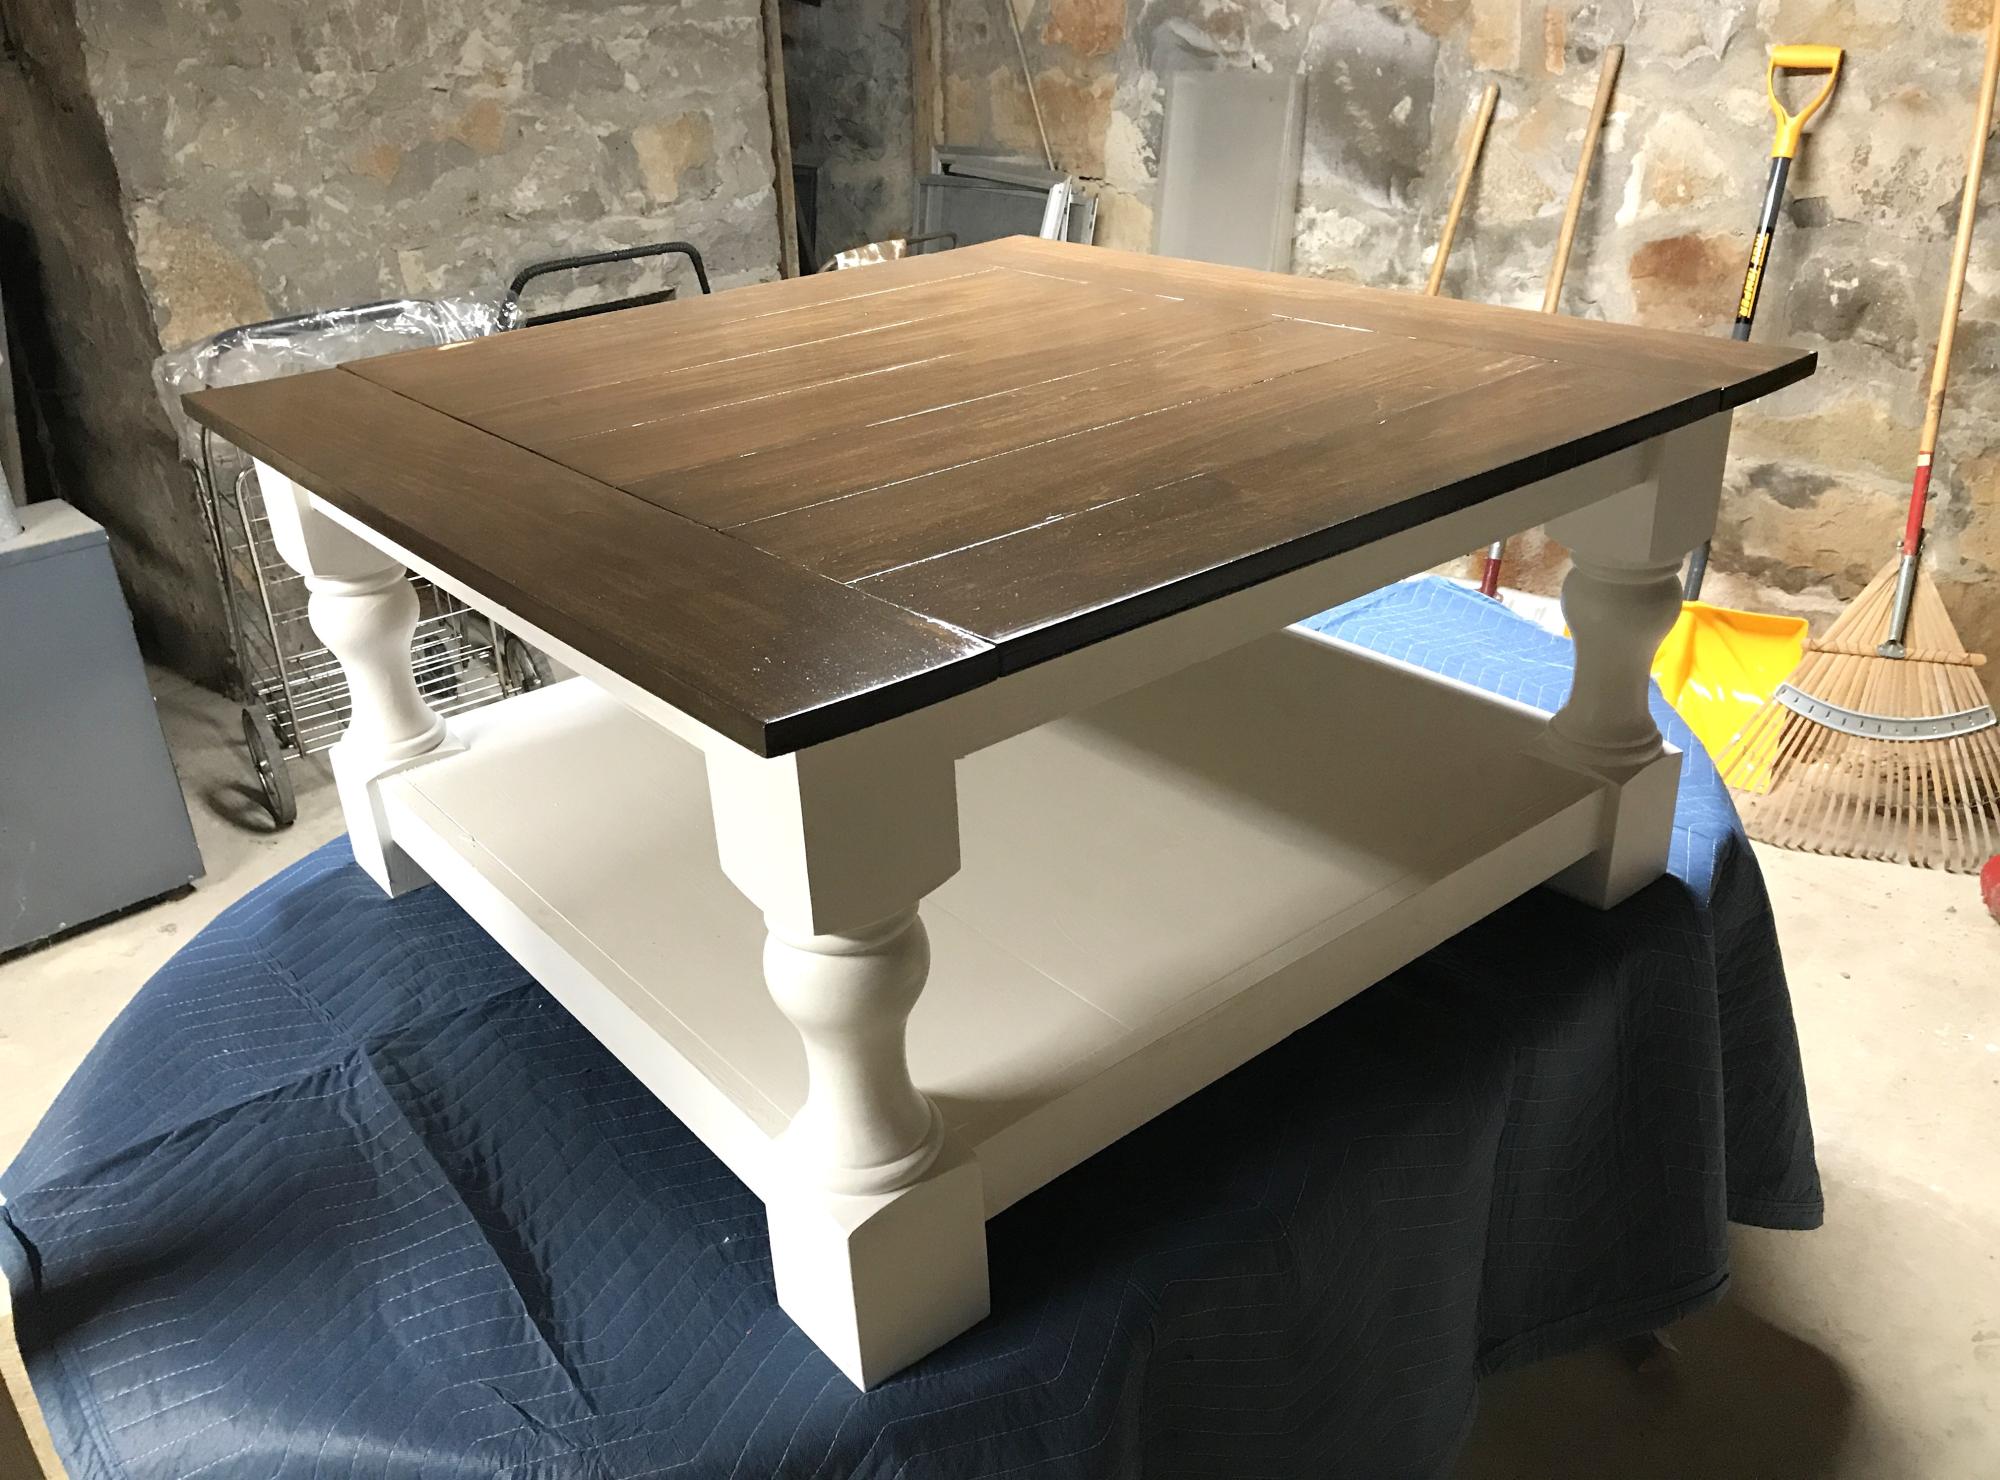
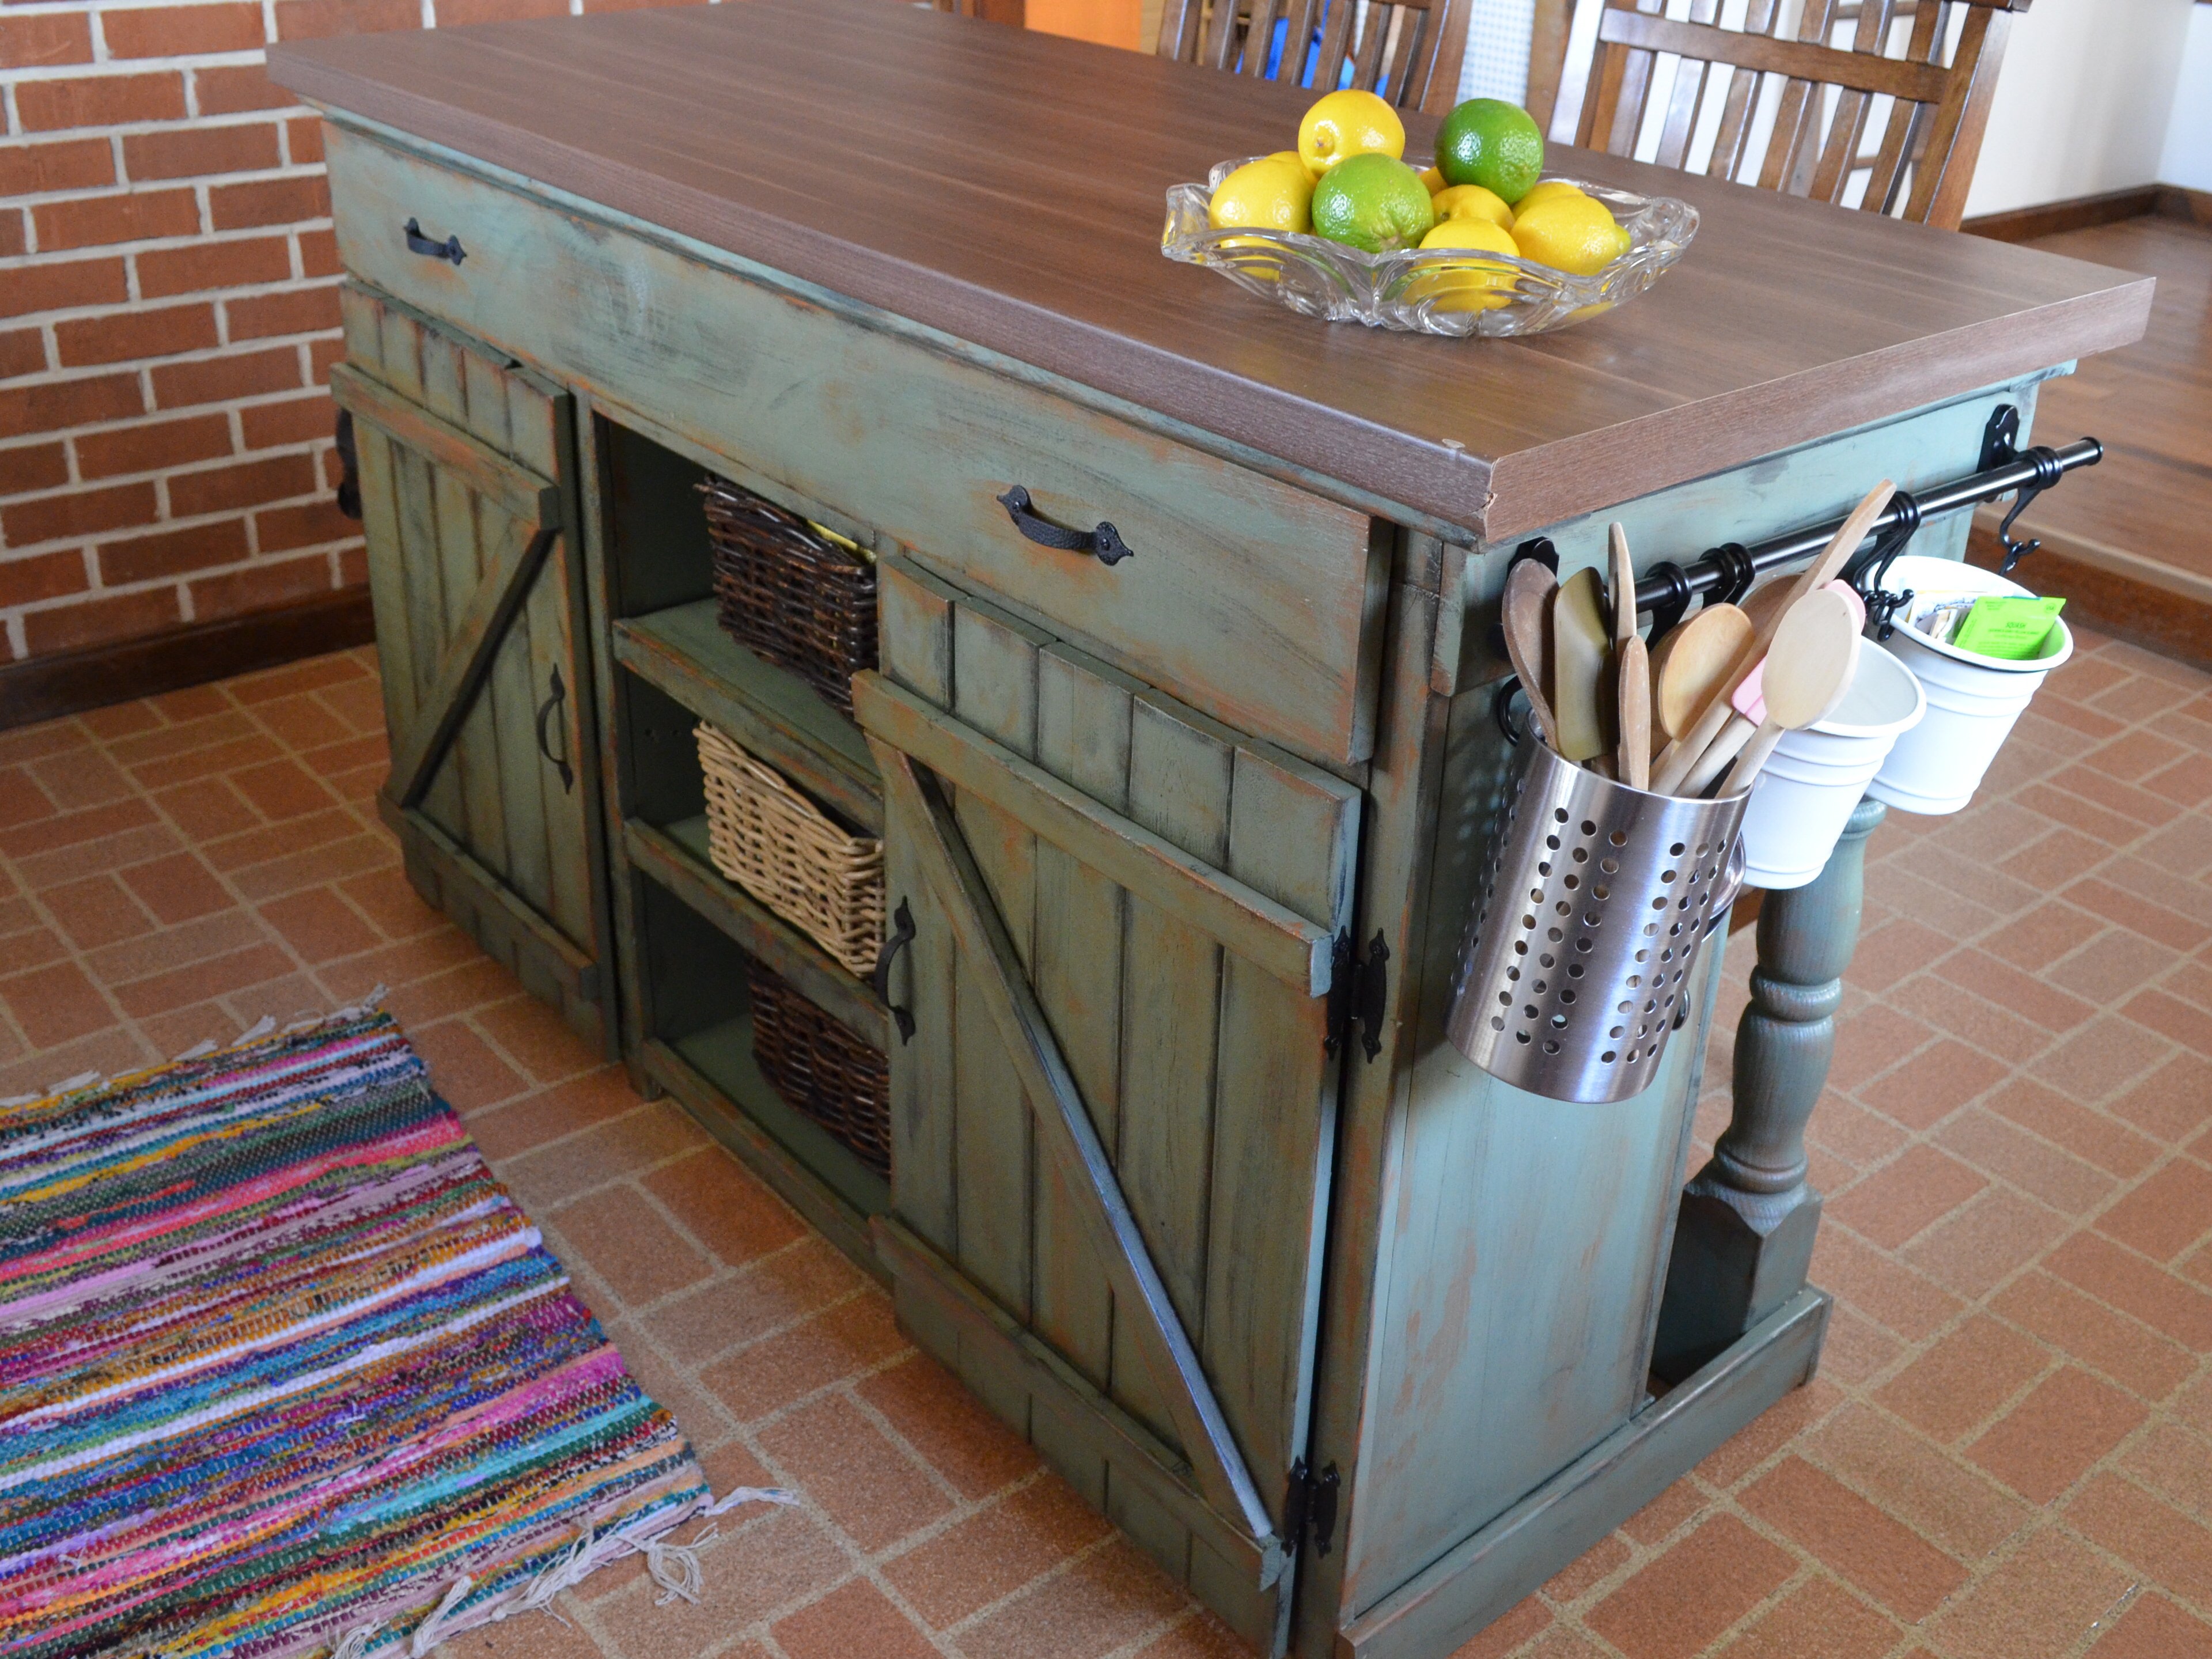
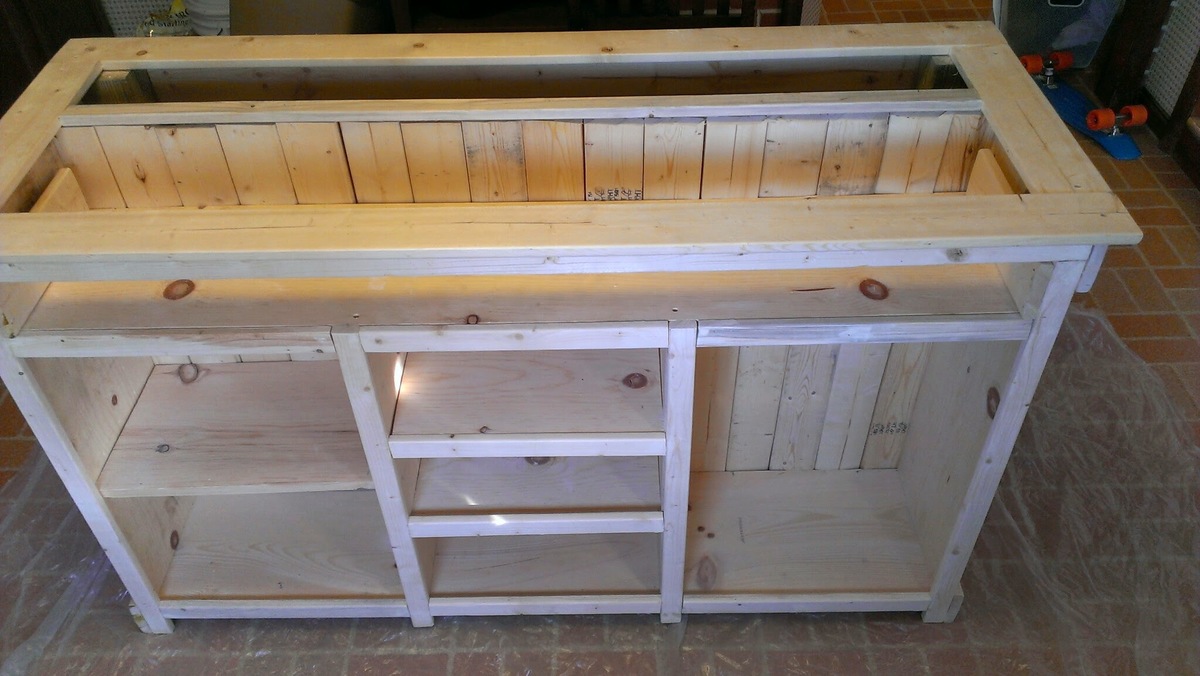
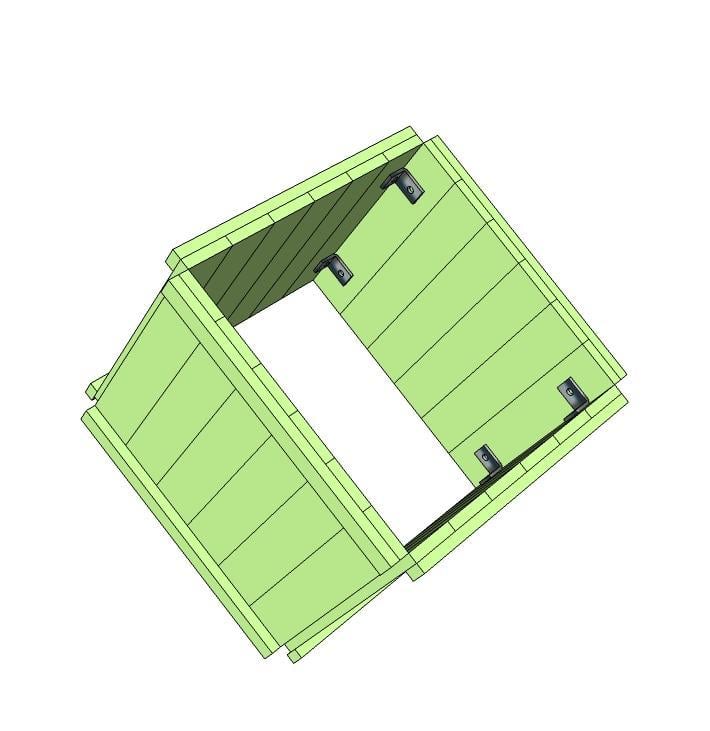
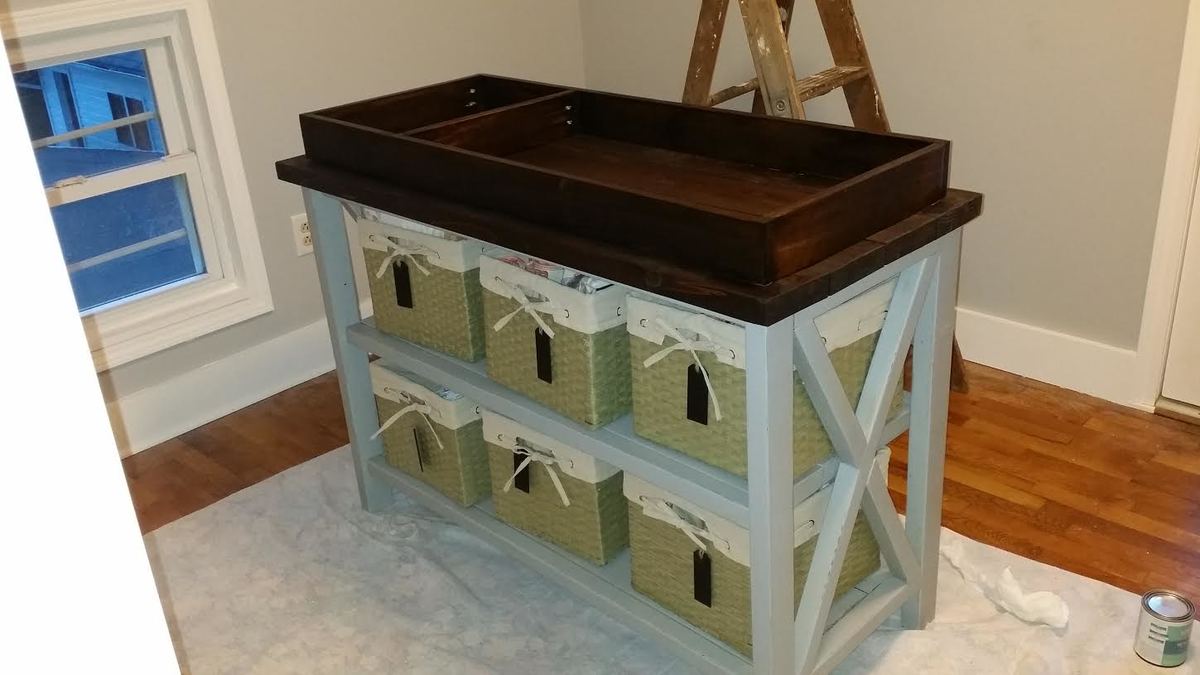
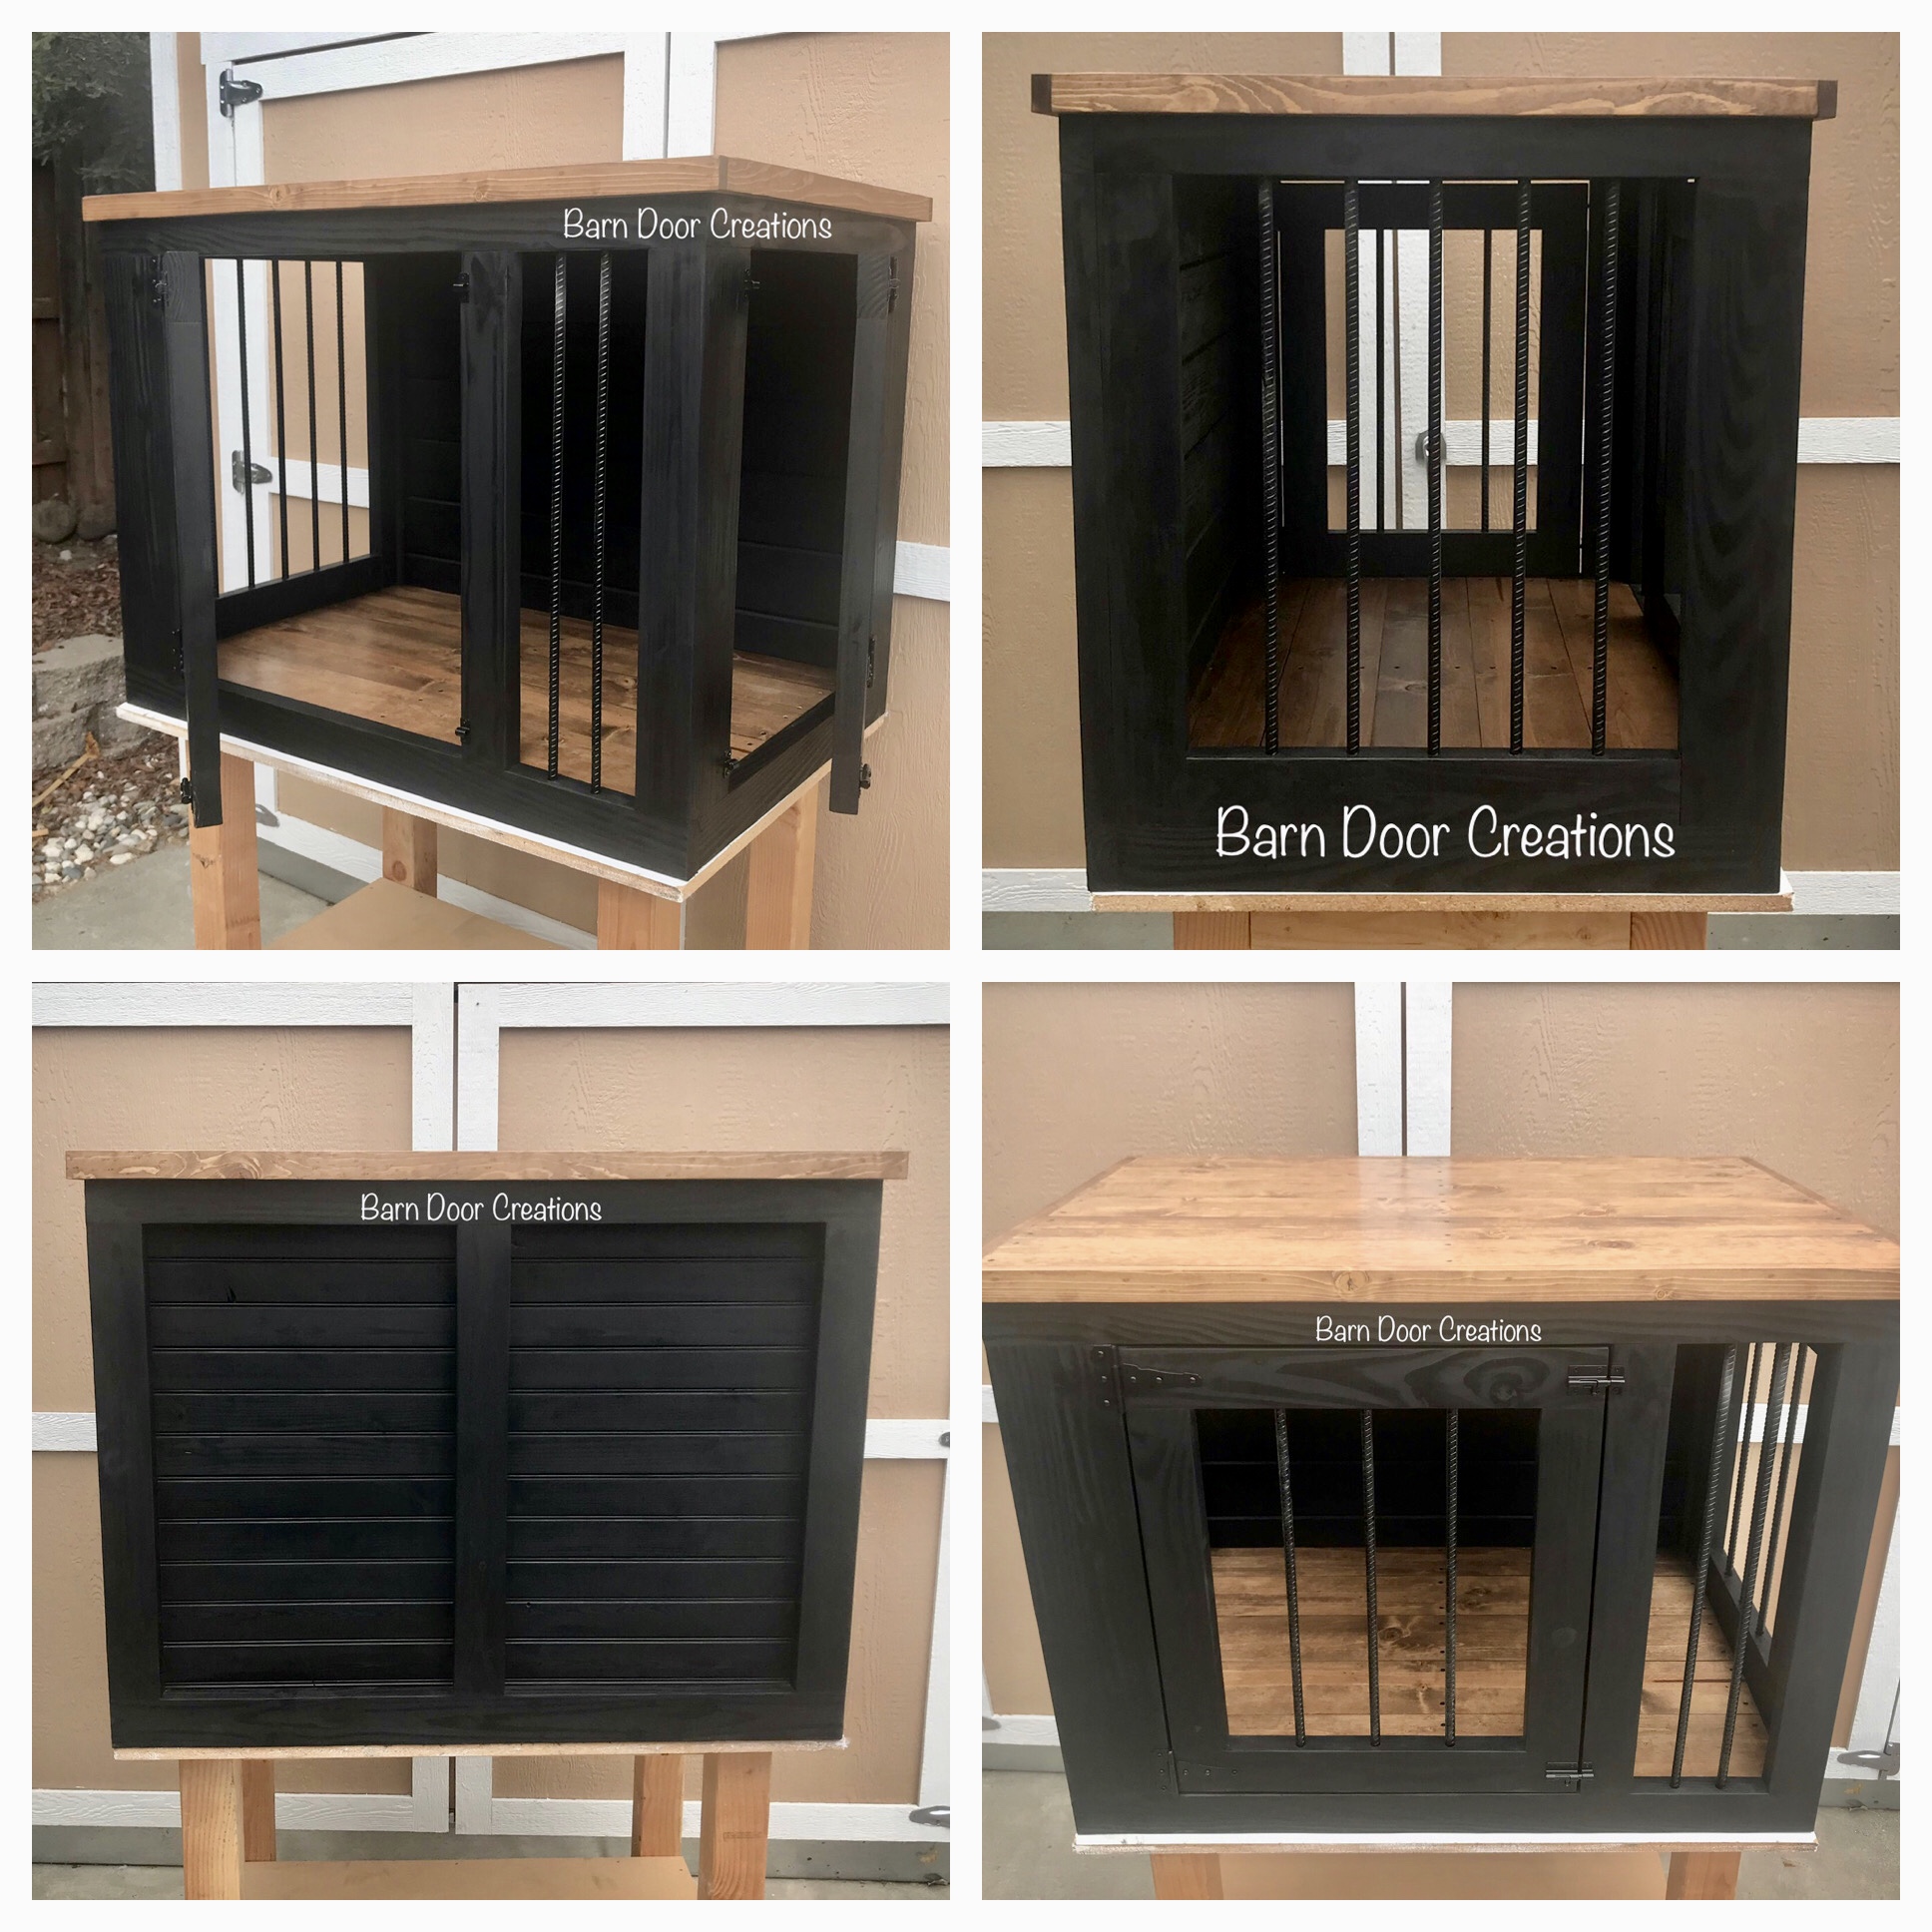
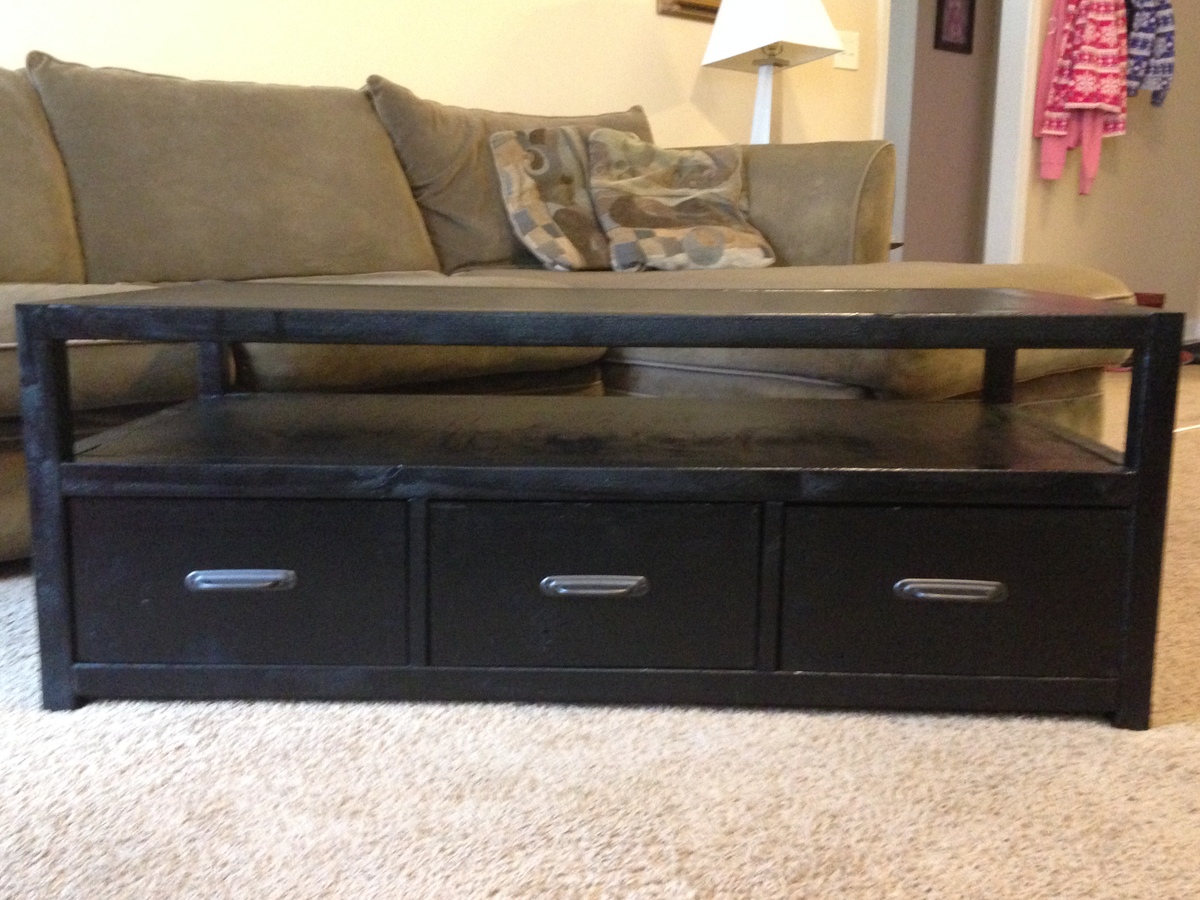
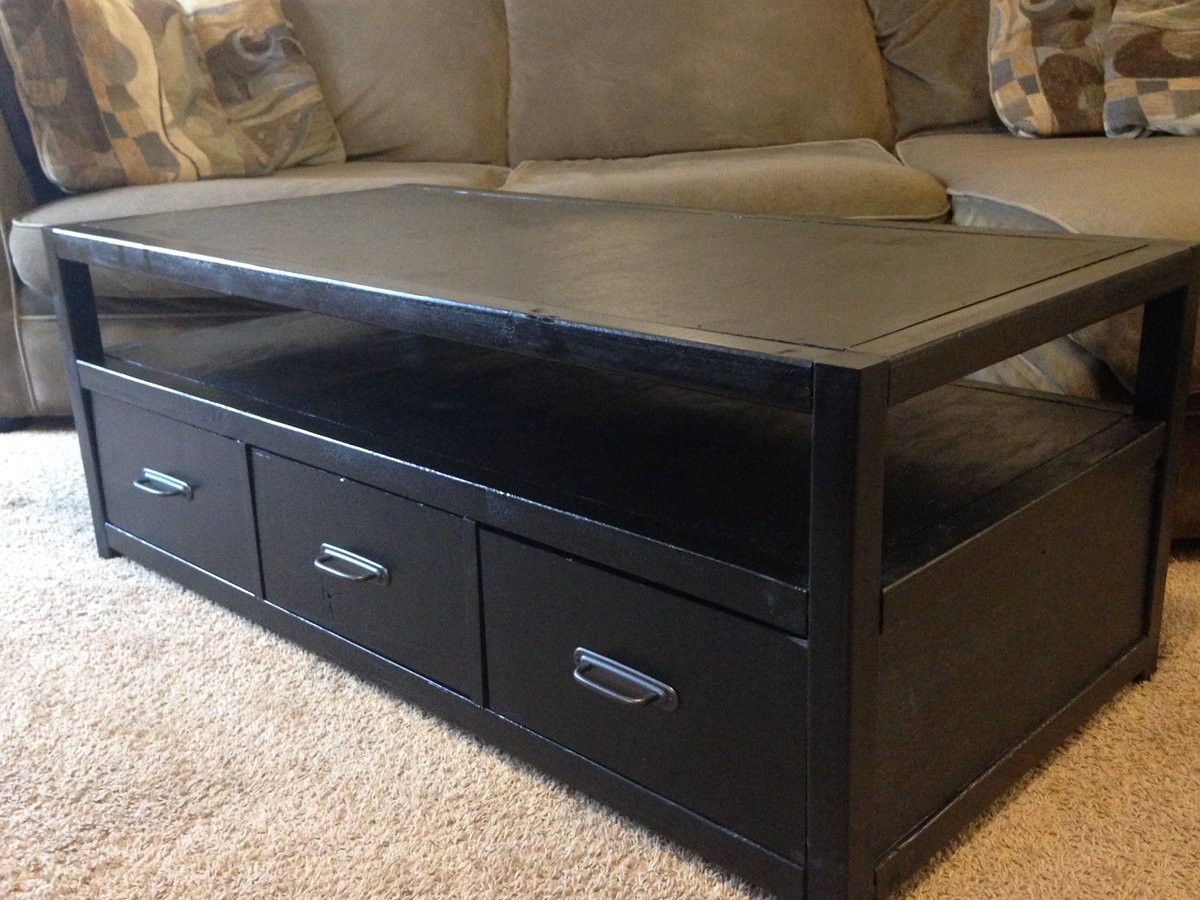
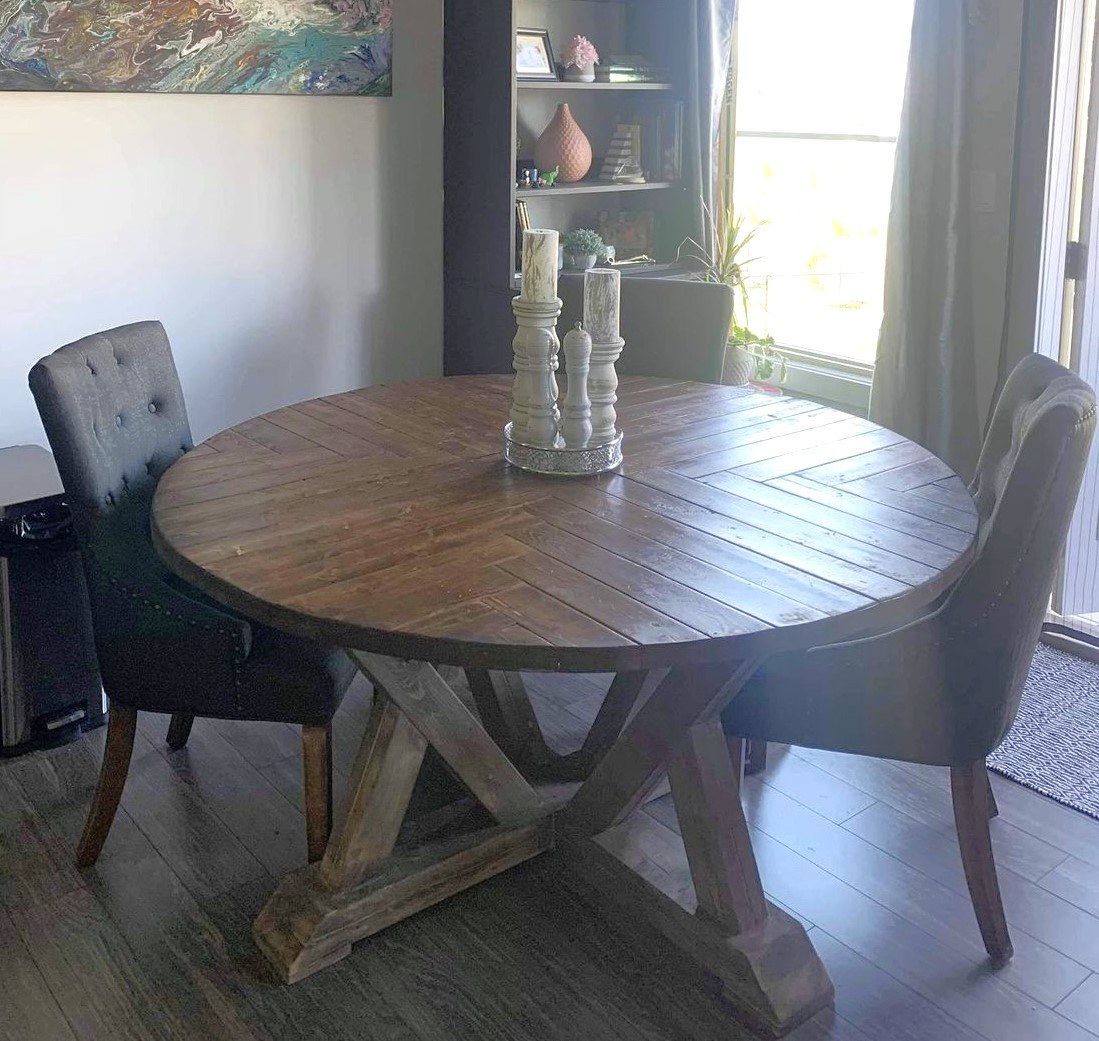
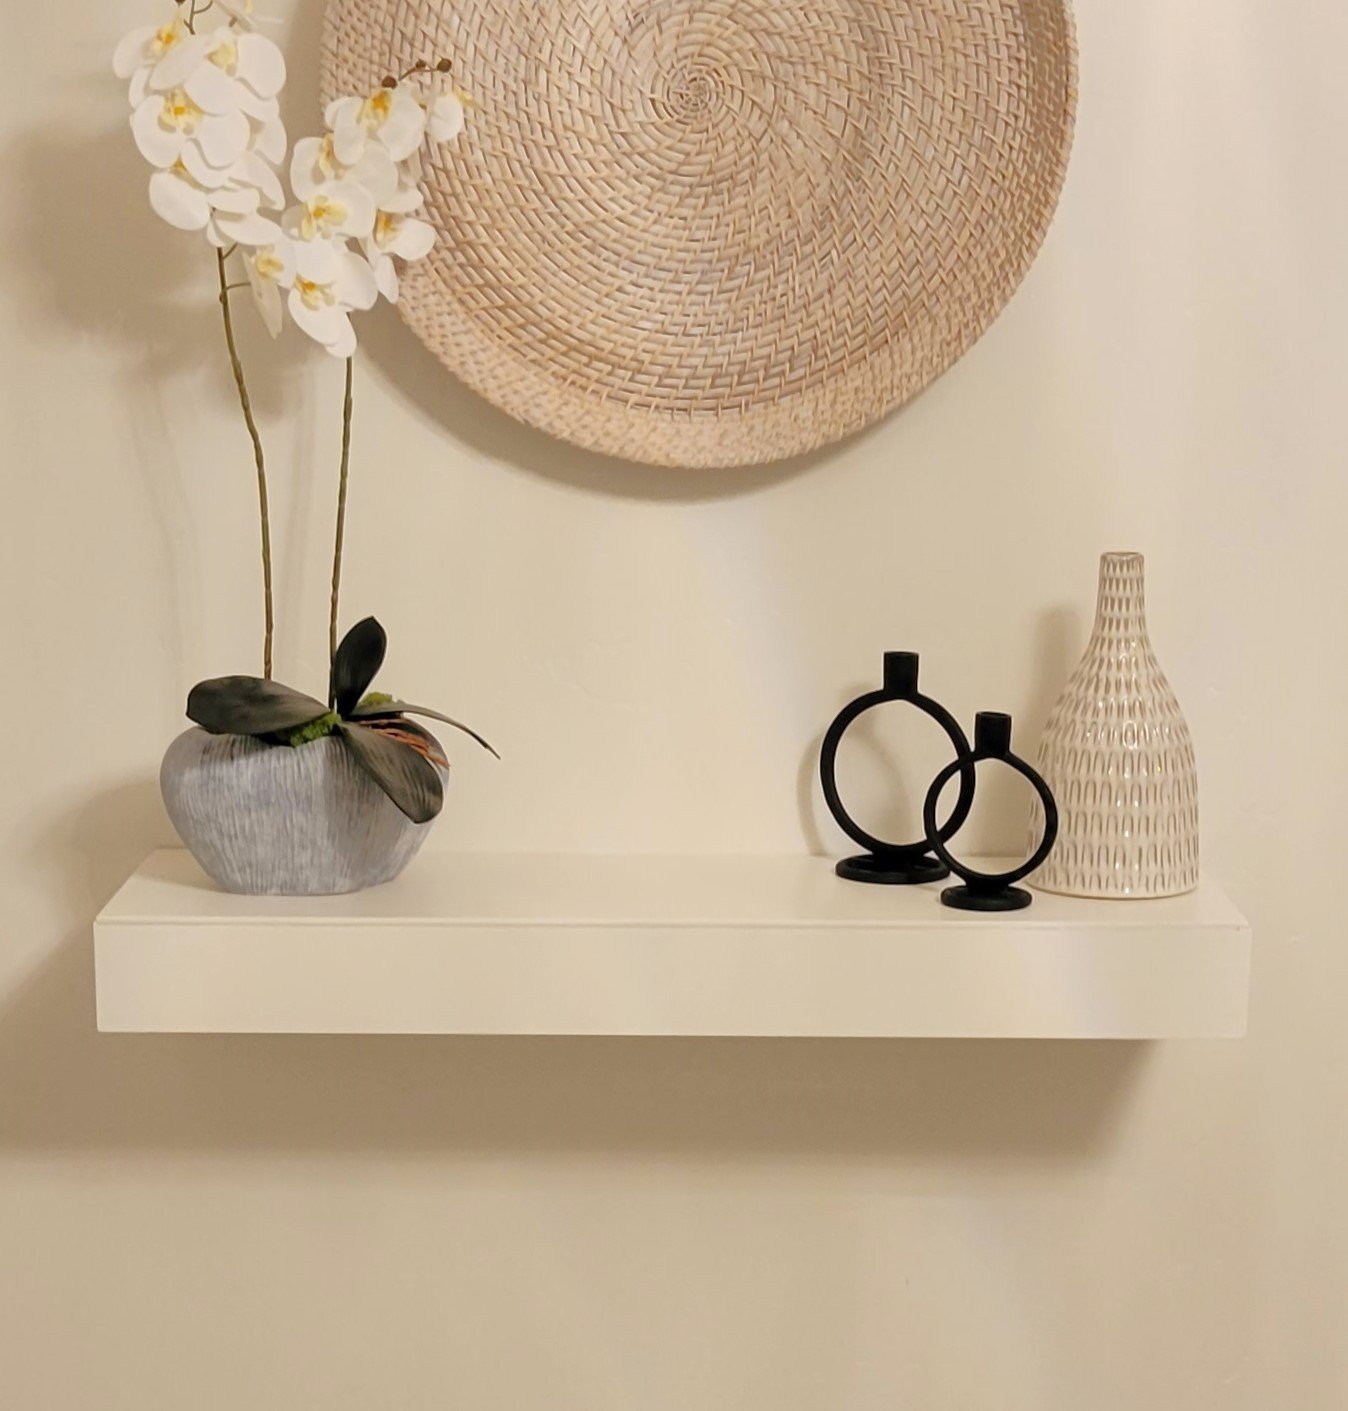
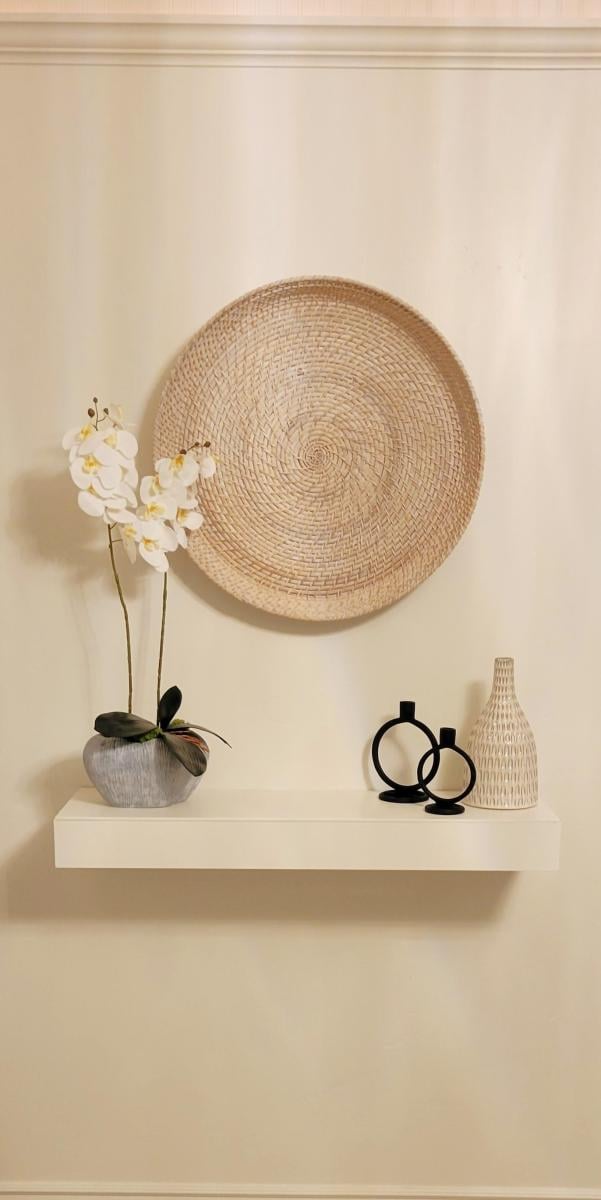
This was a fun project spread out over 3 weeks to enjoy working on while quarantined at home. It was the first project I worked on featuring mitered corners. It took some practice and many "polishing" cuts to get everything to line up right, but in the end they looked great! I went with a Birch interior plywood instead of you typical (pine?) plywood because it looked a lot more furniture esque. I trick when using a circular saw to cut the plywood is to keep the desired side up when cutting in the direction with the grain and the desired side down when cutting across the grain. When cutting across the grain, the blade can fray the edge of the top ply. I also added braces attached to all 4 legs flush with the top of the legs using 1x2's. This allowed me to glue and screw (1" screws) the table top to the base from underneath so it was hidden rather than nail from the top. I didn't want to have nail holes on the table top because, even with wood filler, they would stand out from the rest of the wood.
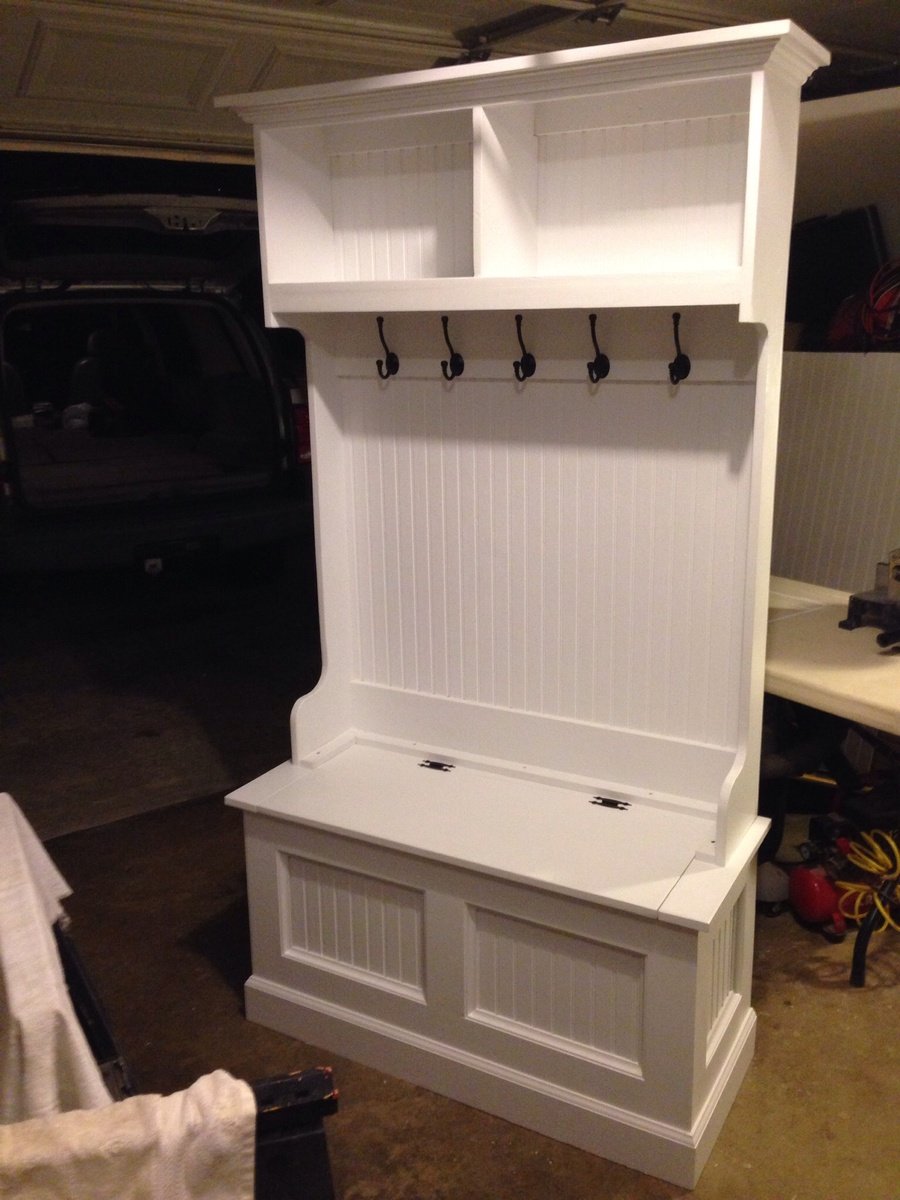
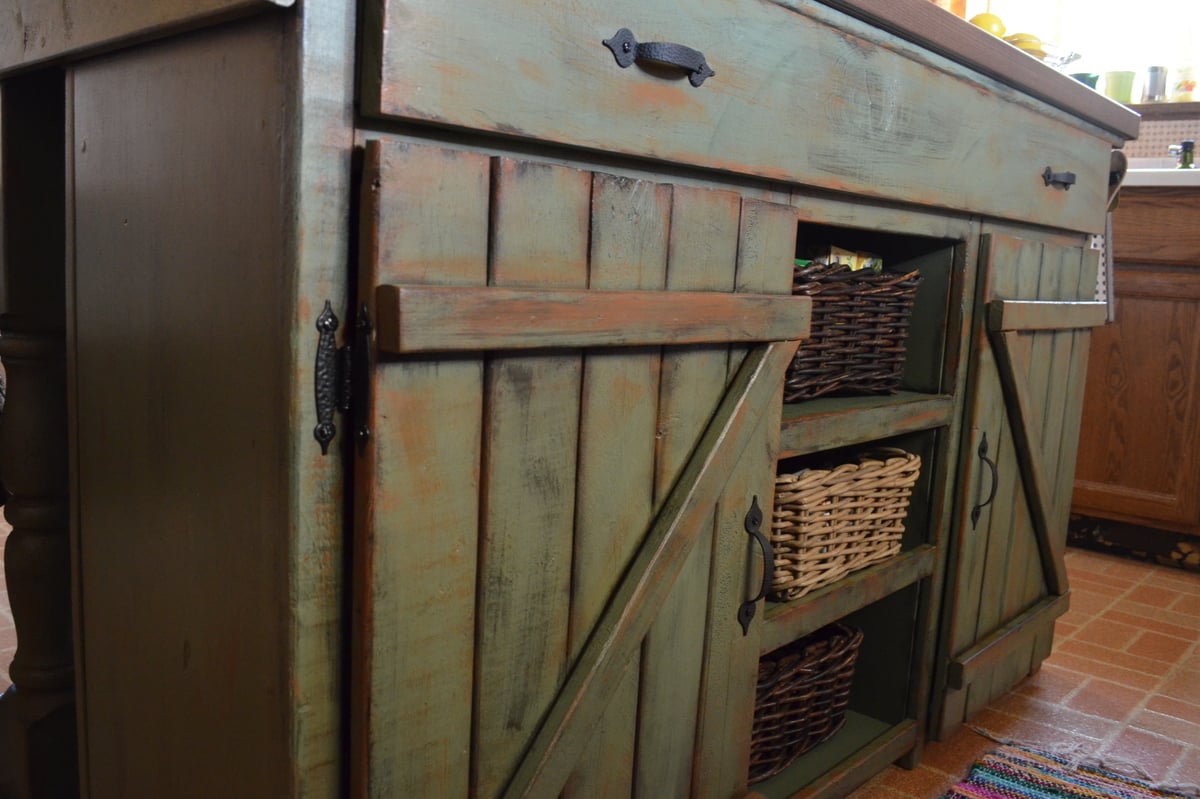
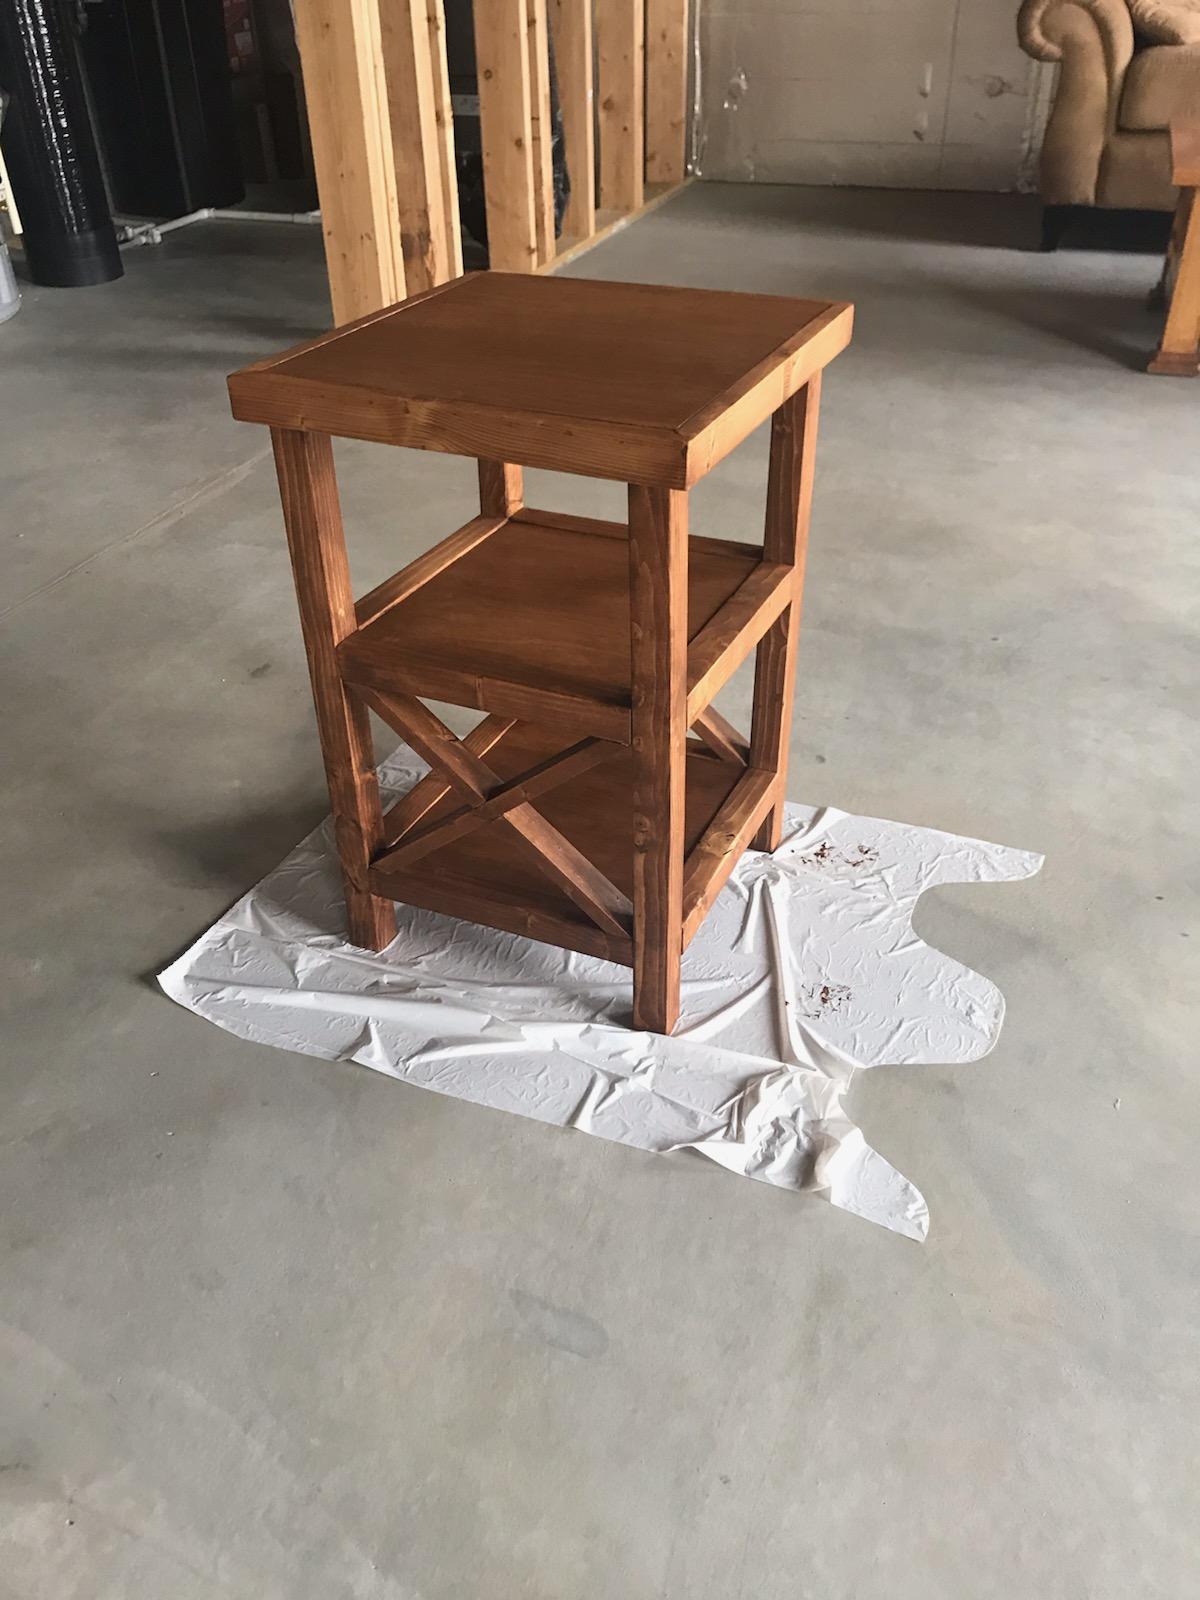
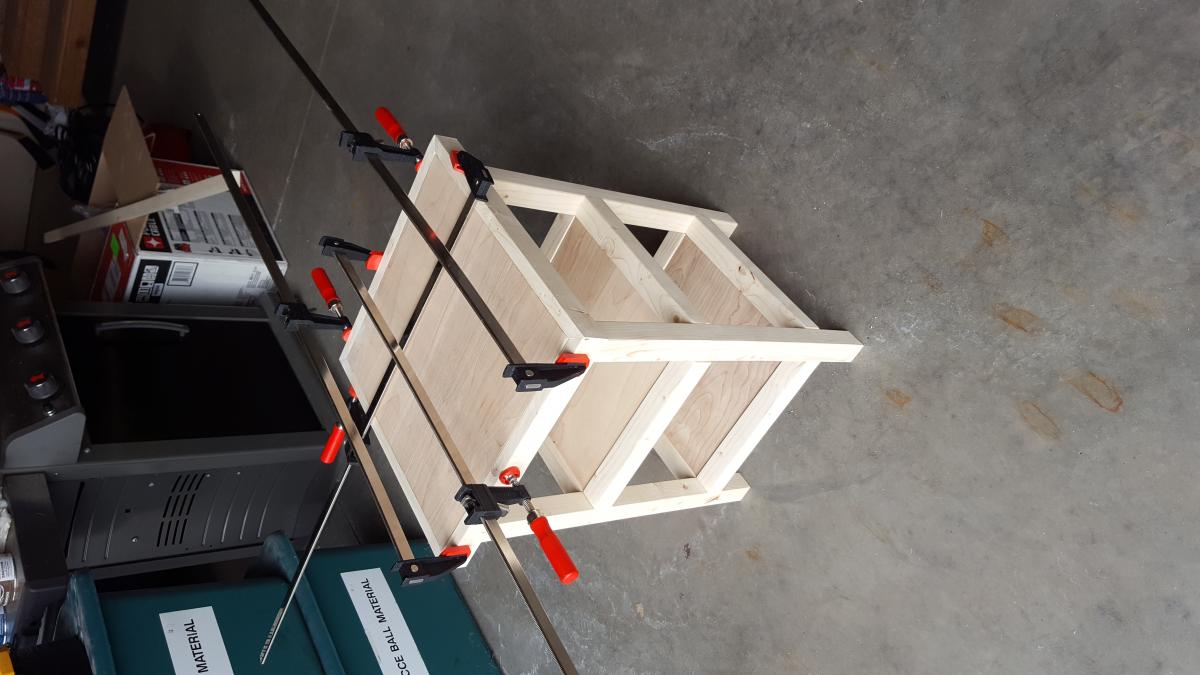
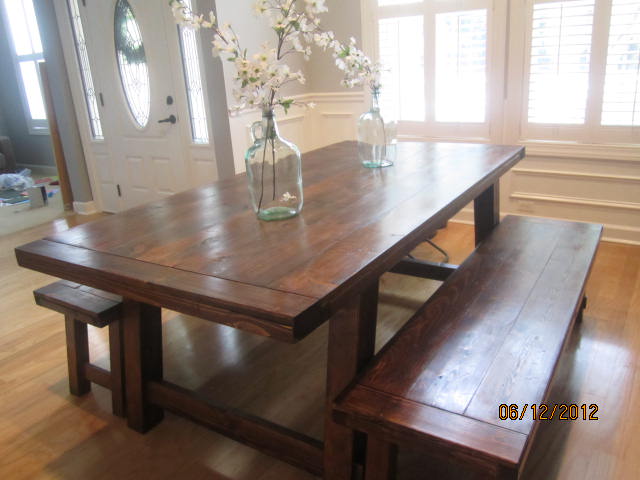
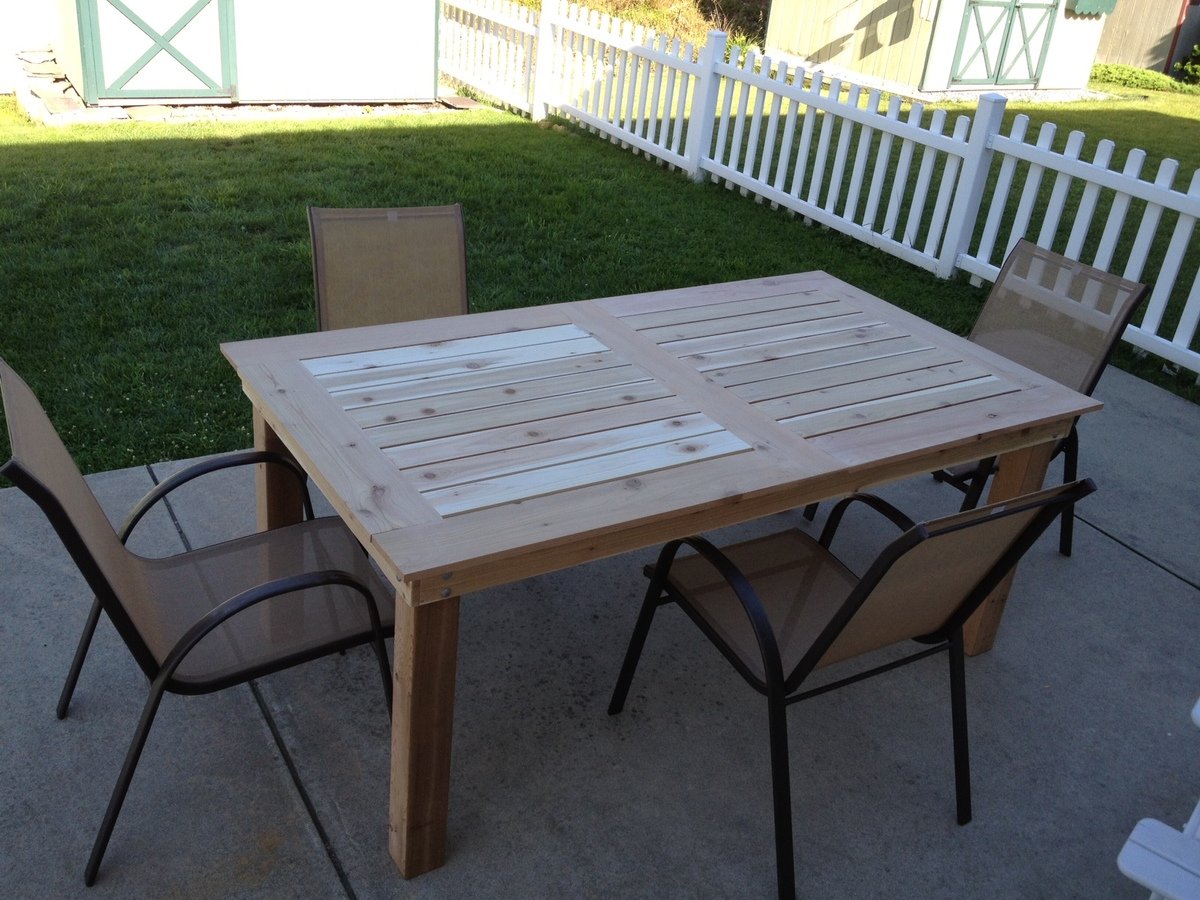
I chose to go with the cheap pine that home depot sells instead of the Select Pine because the cheap pine has a lot more character and offers a more rustic look. The pine can be pretty beat up so it takes a while of digging to find the straight boards without any major defects or cracks. I just figure it's part of the experience. Once I have my straight boards I sand everything down so the boards are completely smooth and have softened edges. Clamps are a must and a HUGE help with getting everything lined up during the assembly. I neglected clamps in some of my first builds because I didn't have them and didn't want to invest. I had a real hard time getting things level and straight. Never again.
Other pieces I've build from Ana's plan include (in order of build):
Ana's Adirondack Chair (4x)
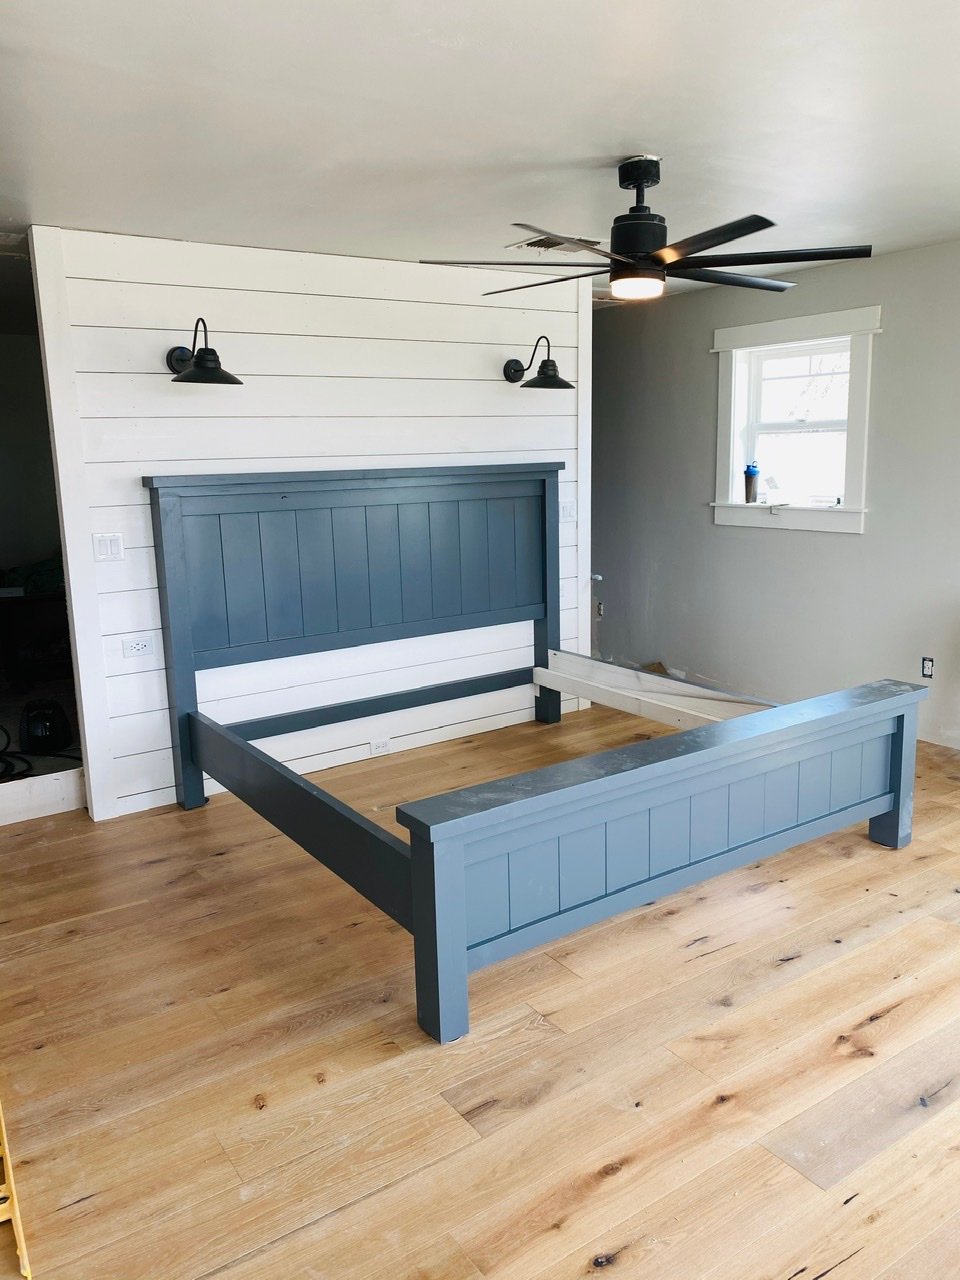
Reclaimed-Wood Look Headboard, King Size
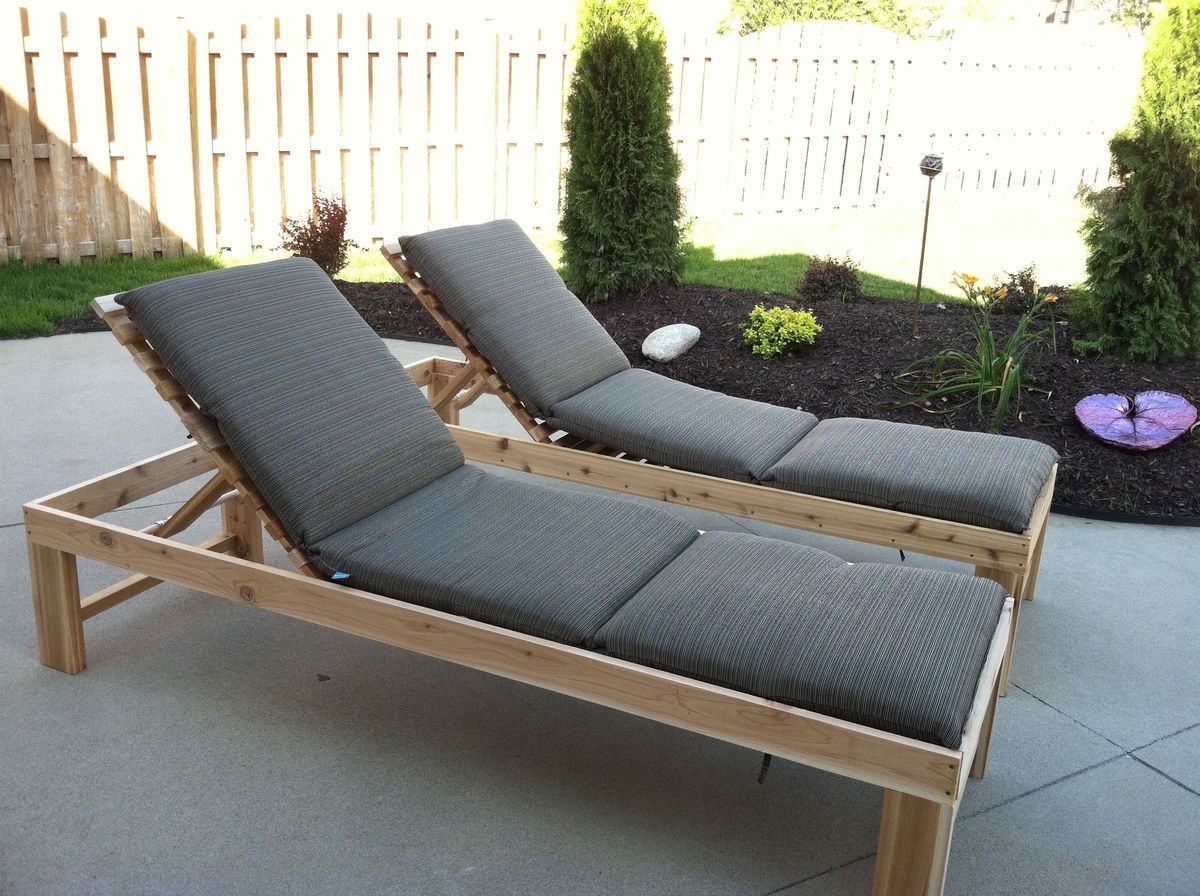
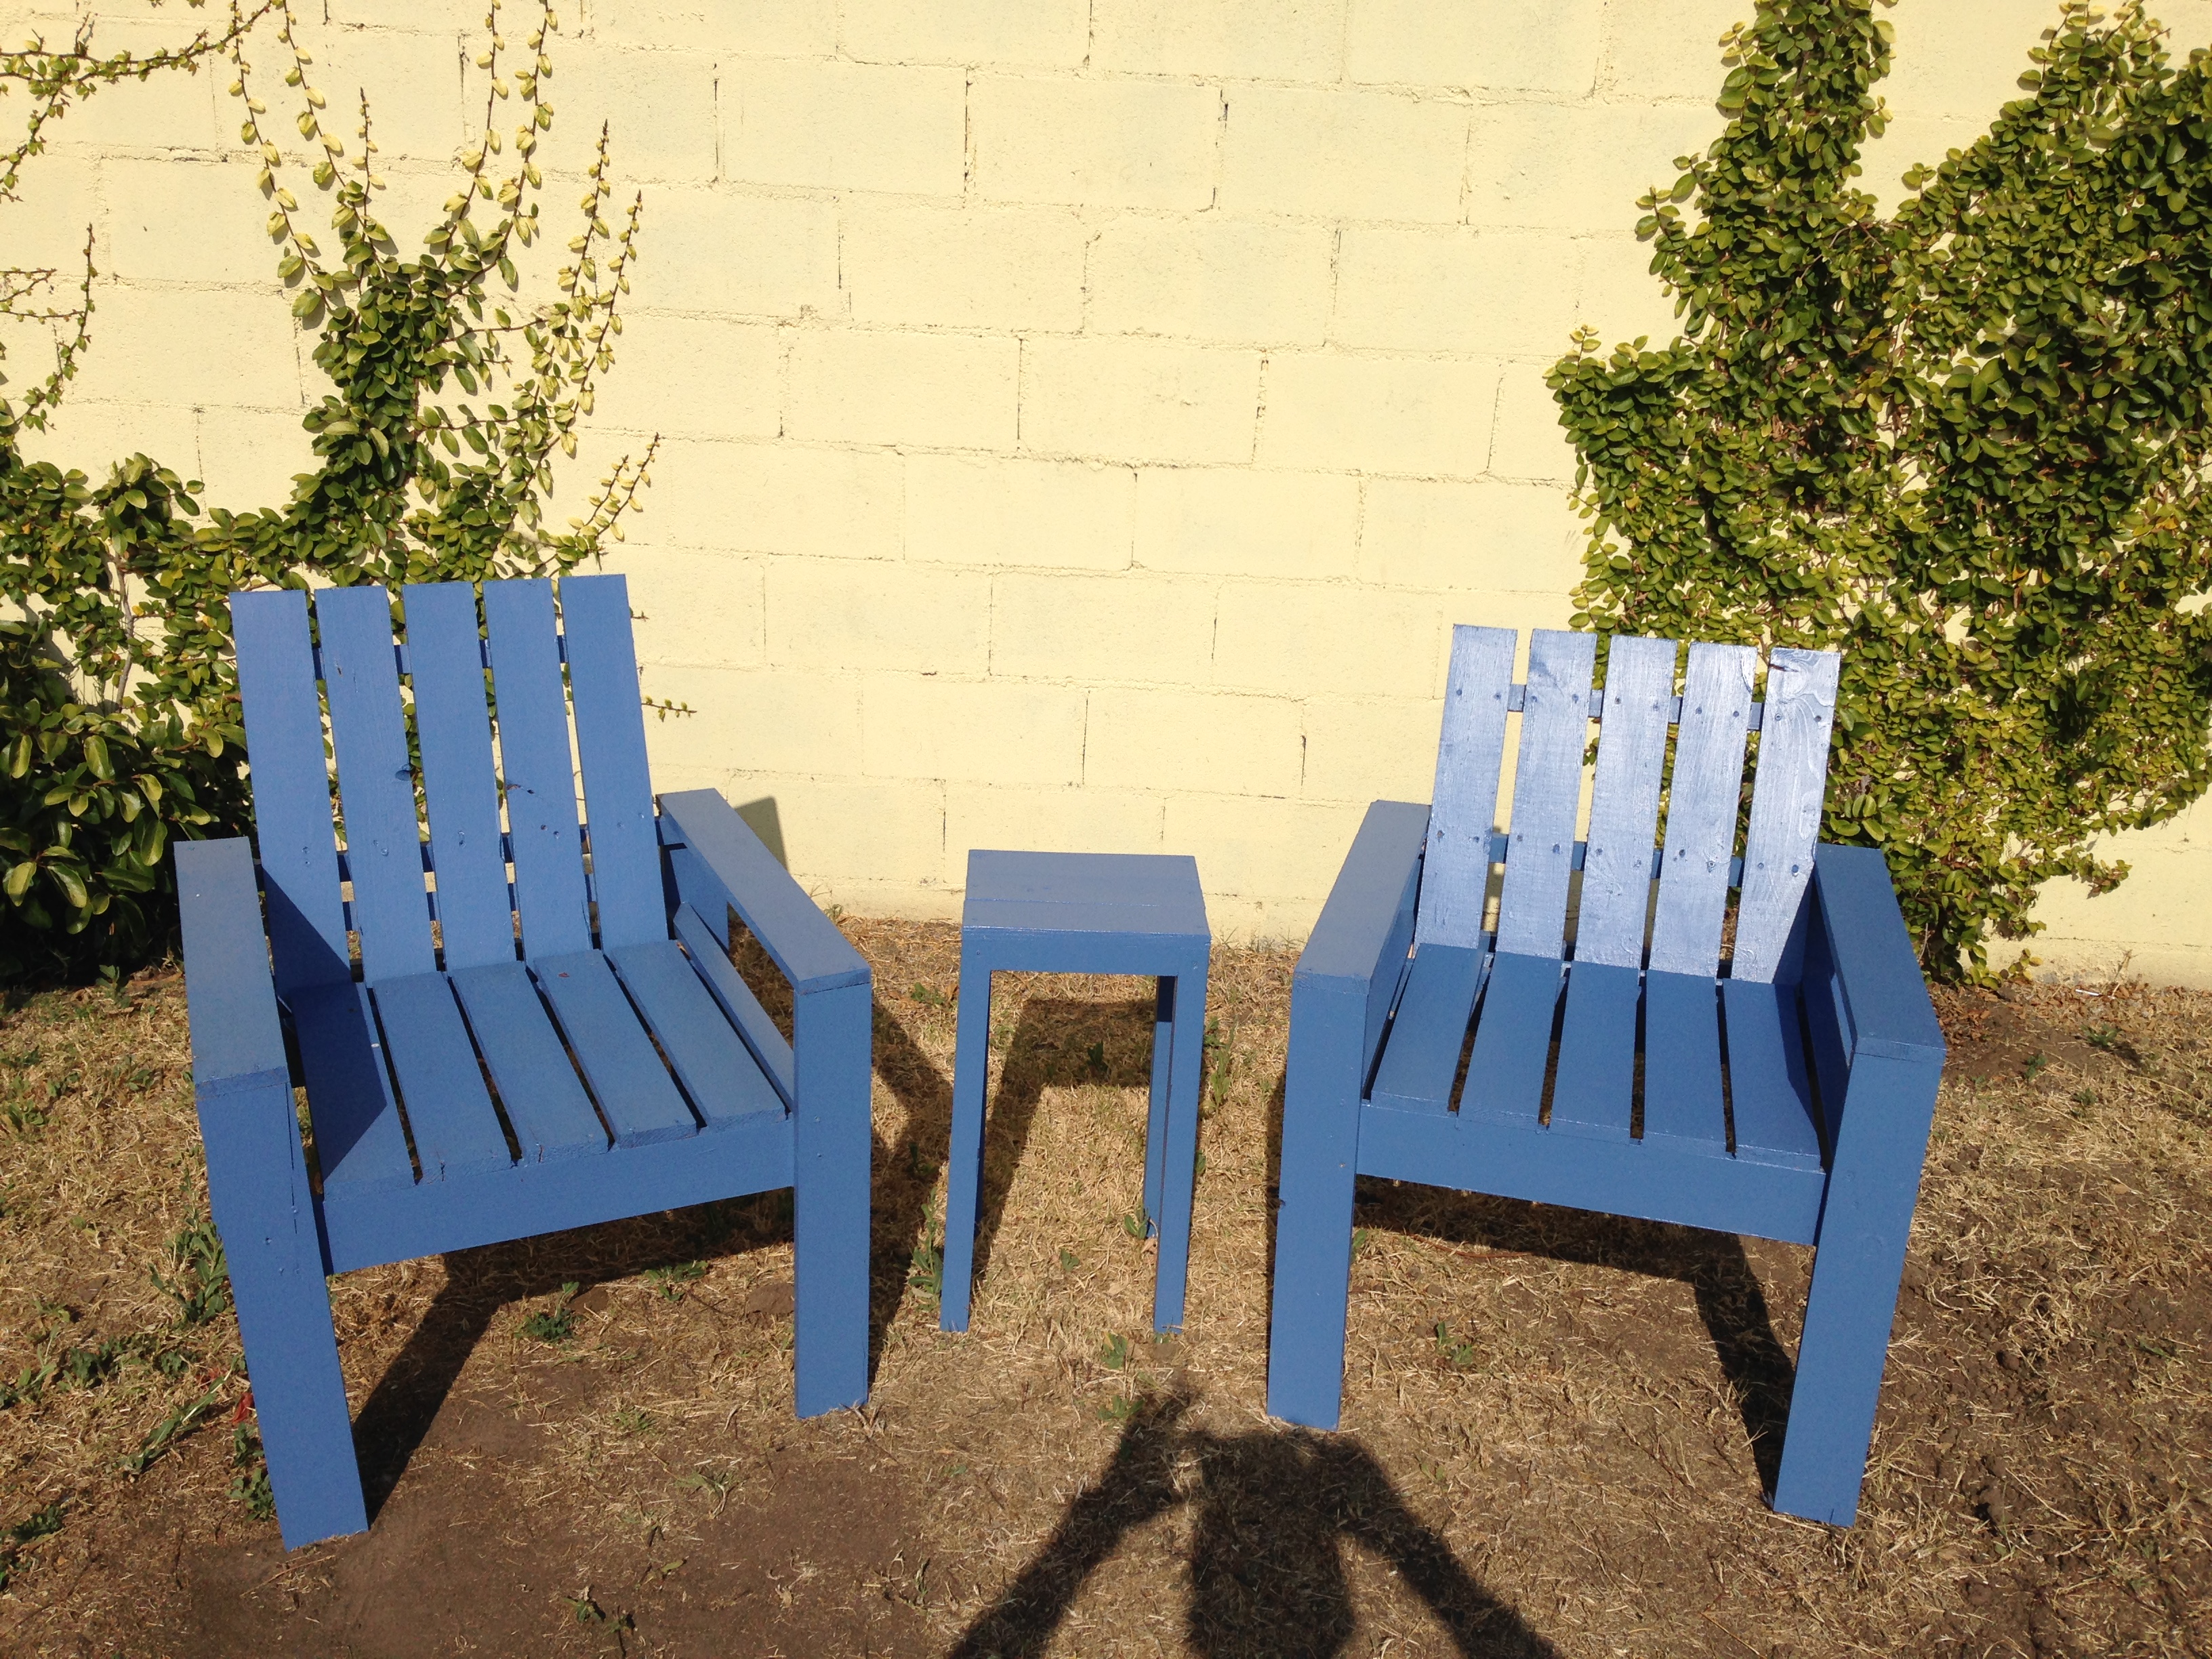
Modern Outdoor Chair from 2x4s and 2x6s (2x)
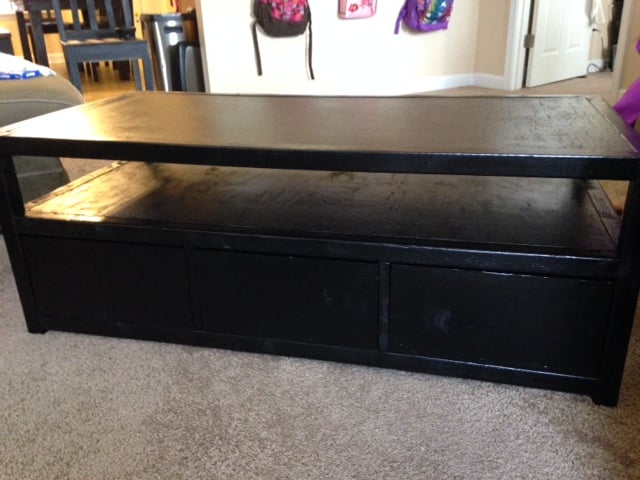
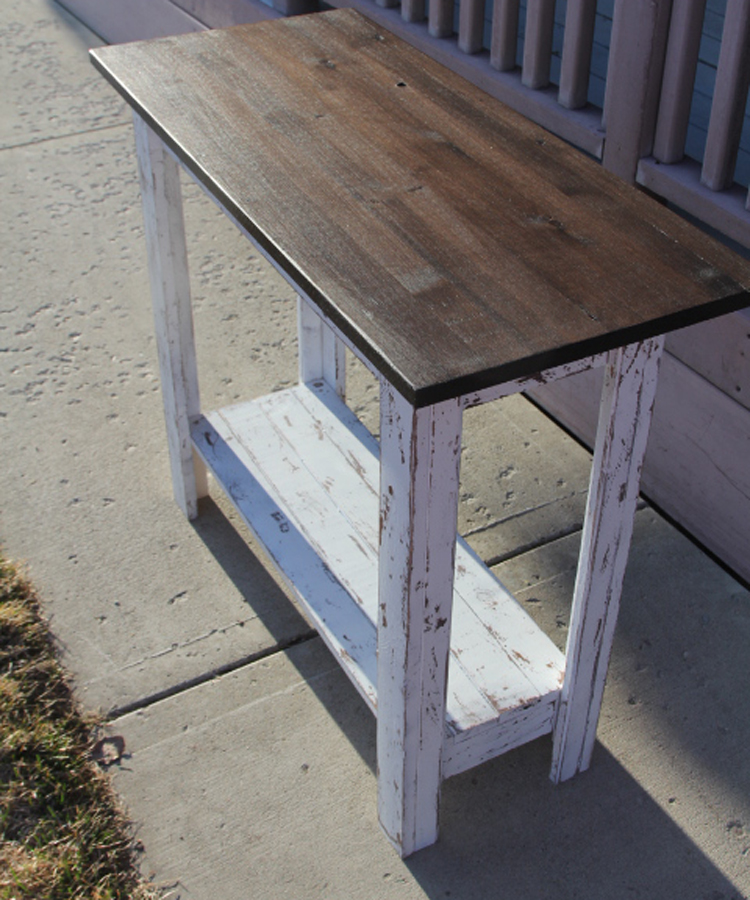
Simple White Outdoor End Table
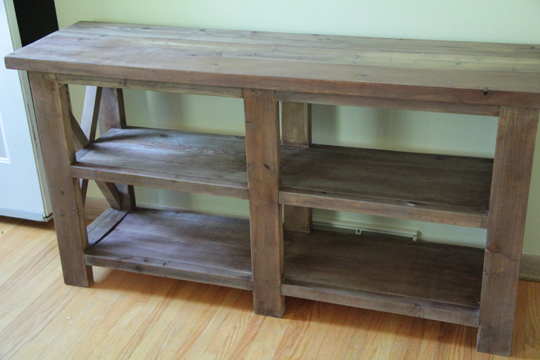
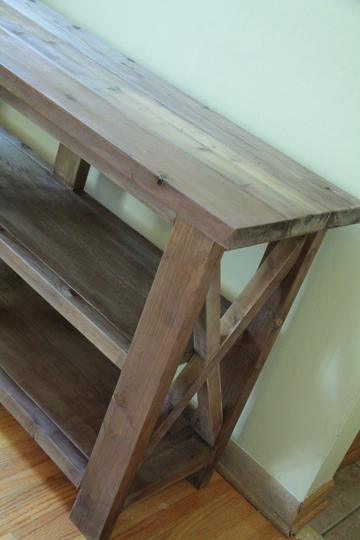
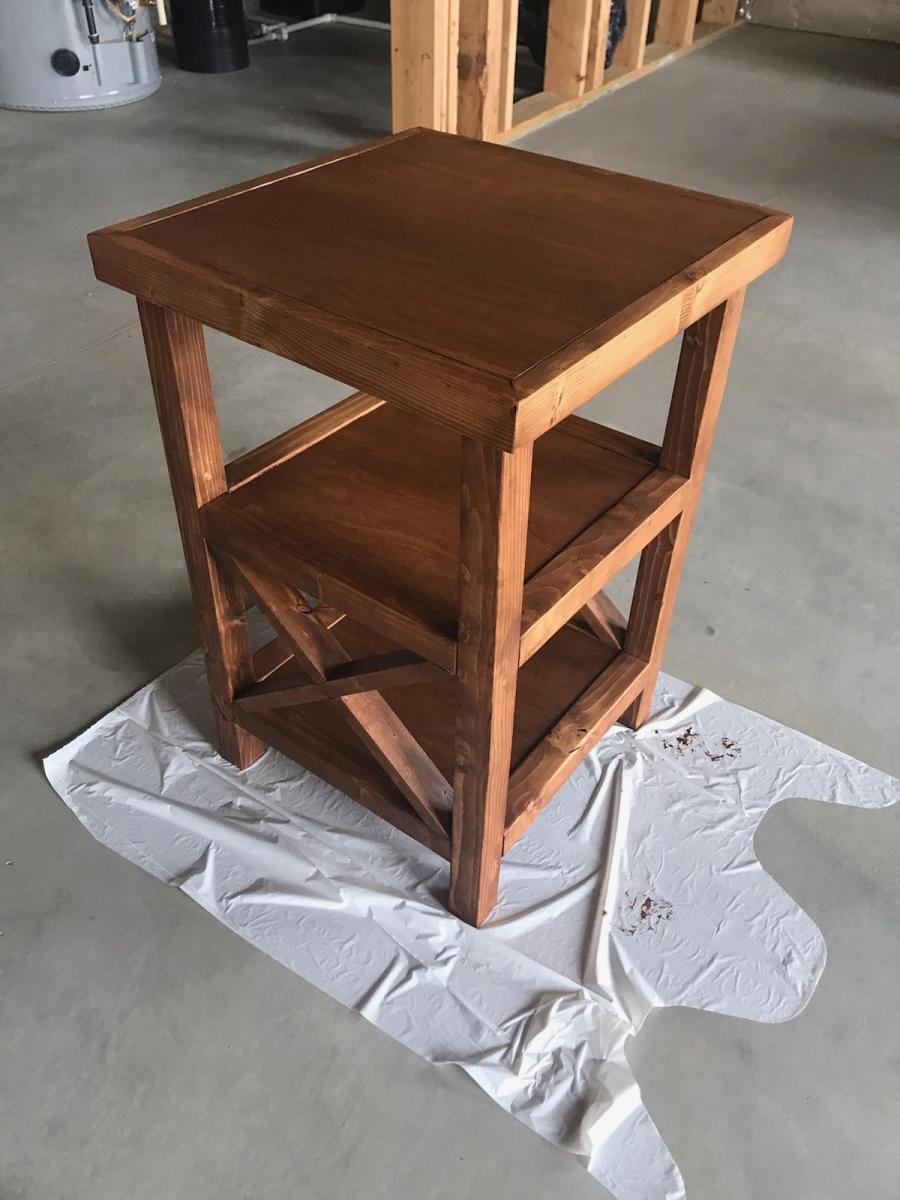
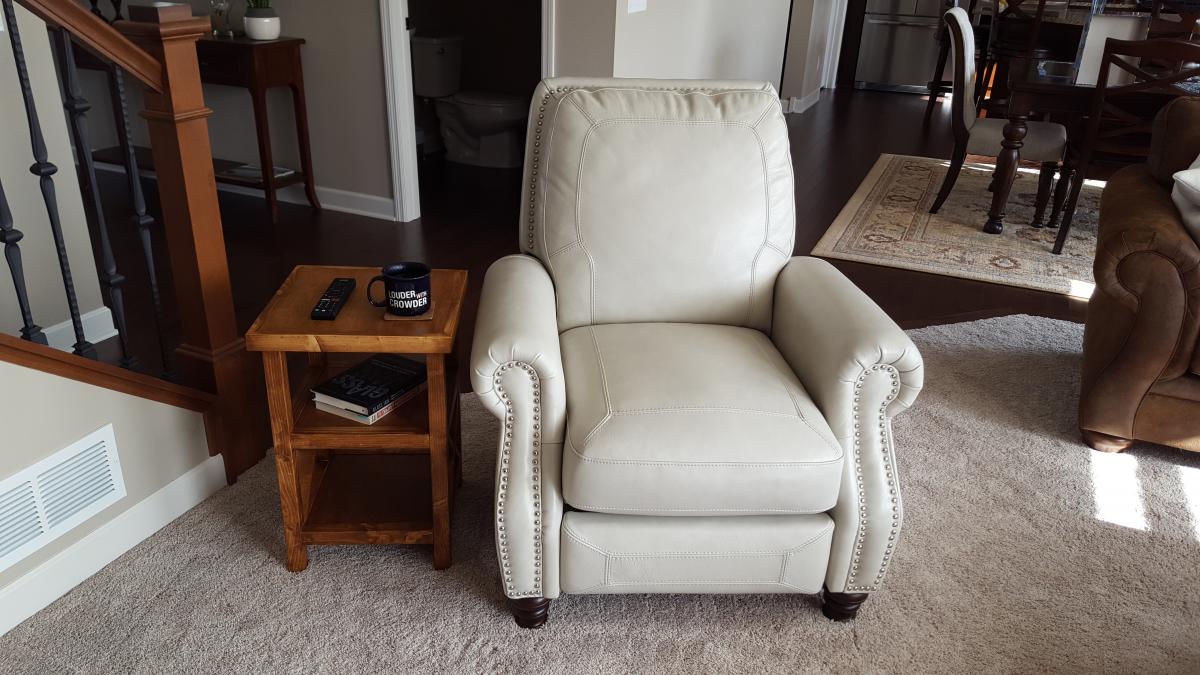
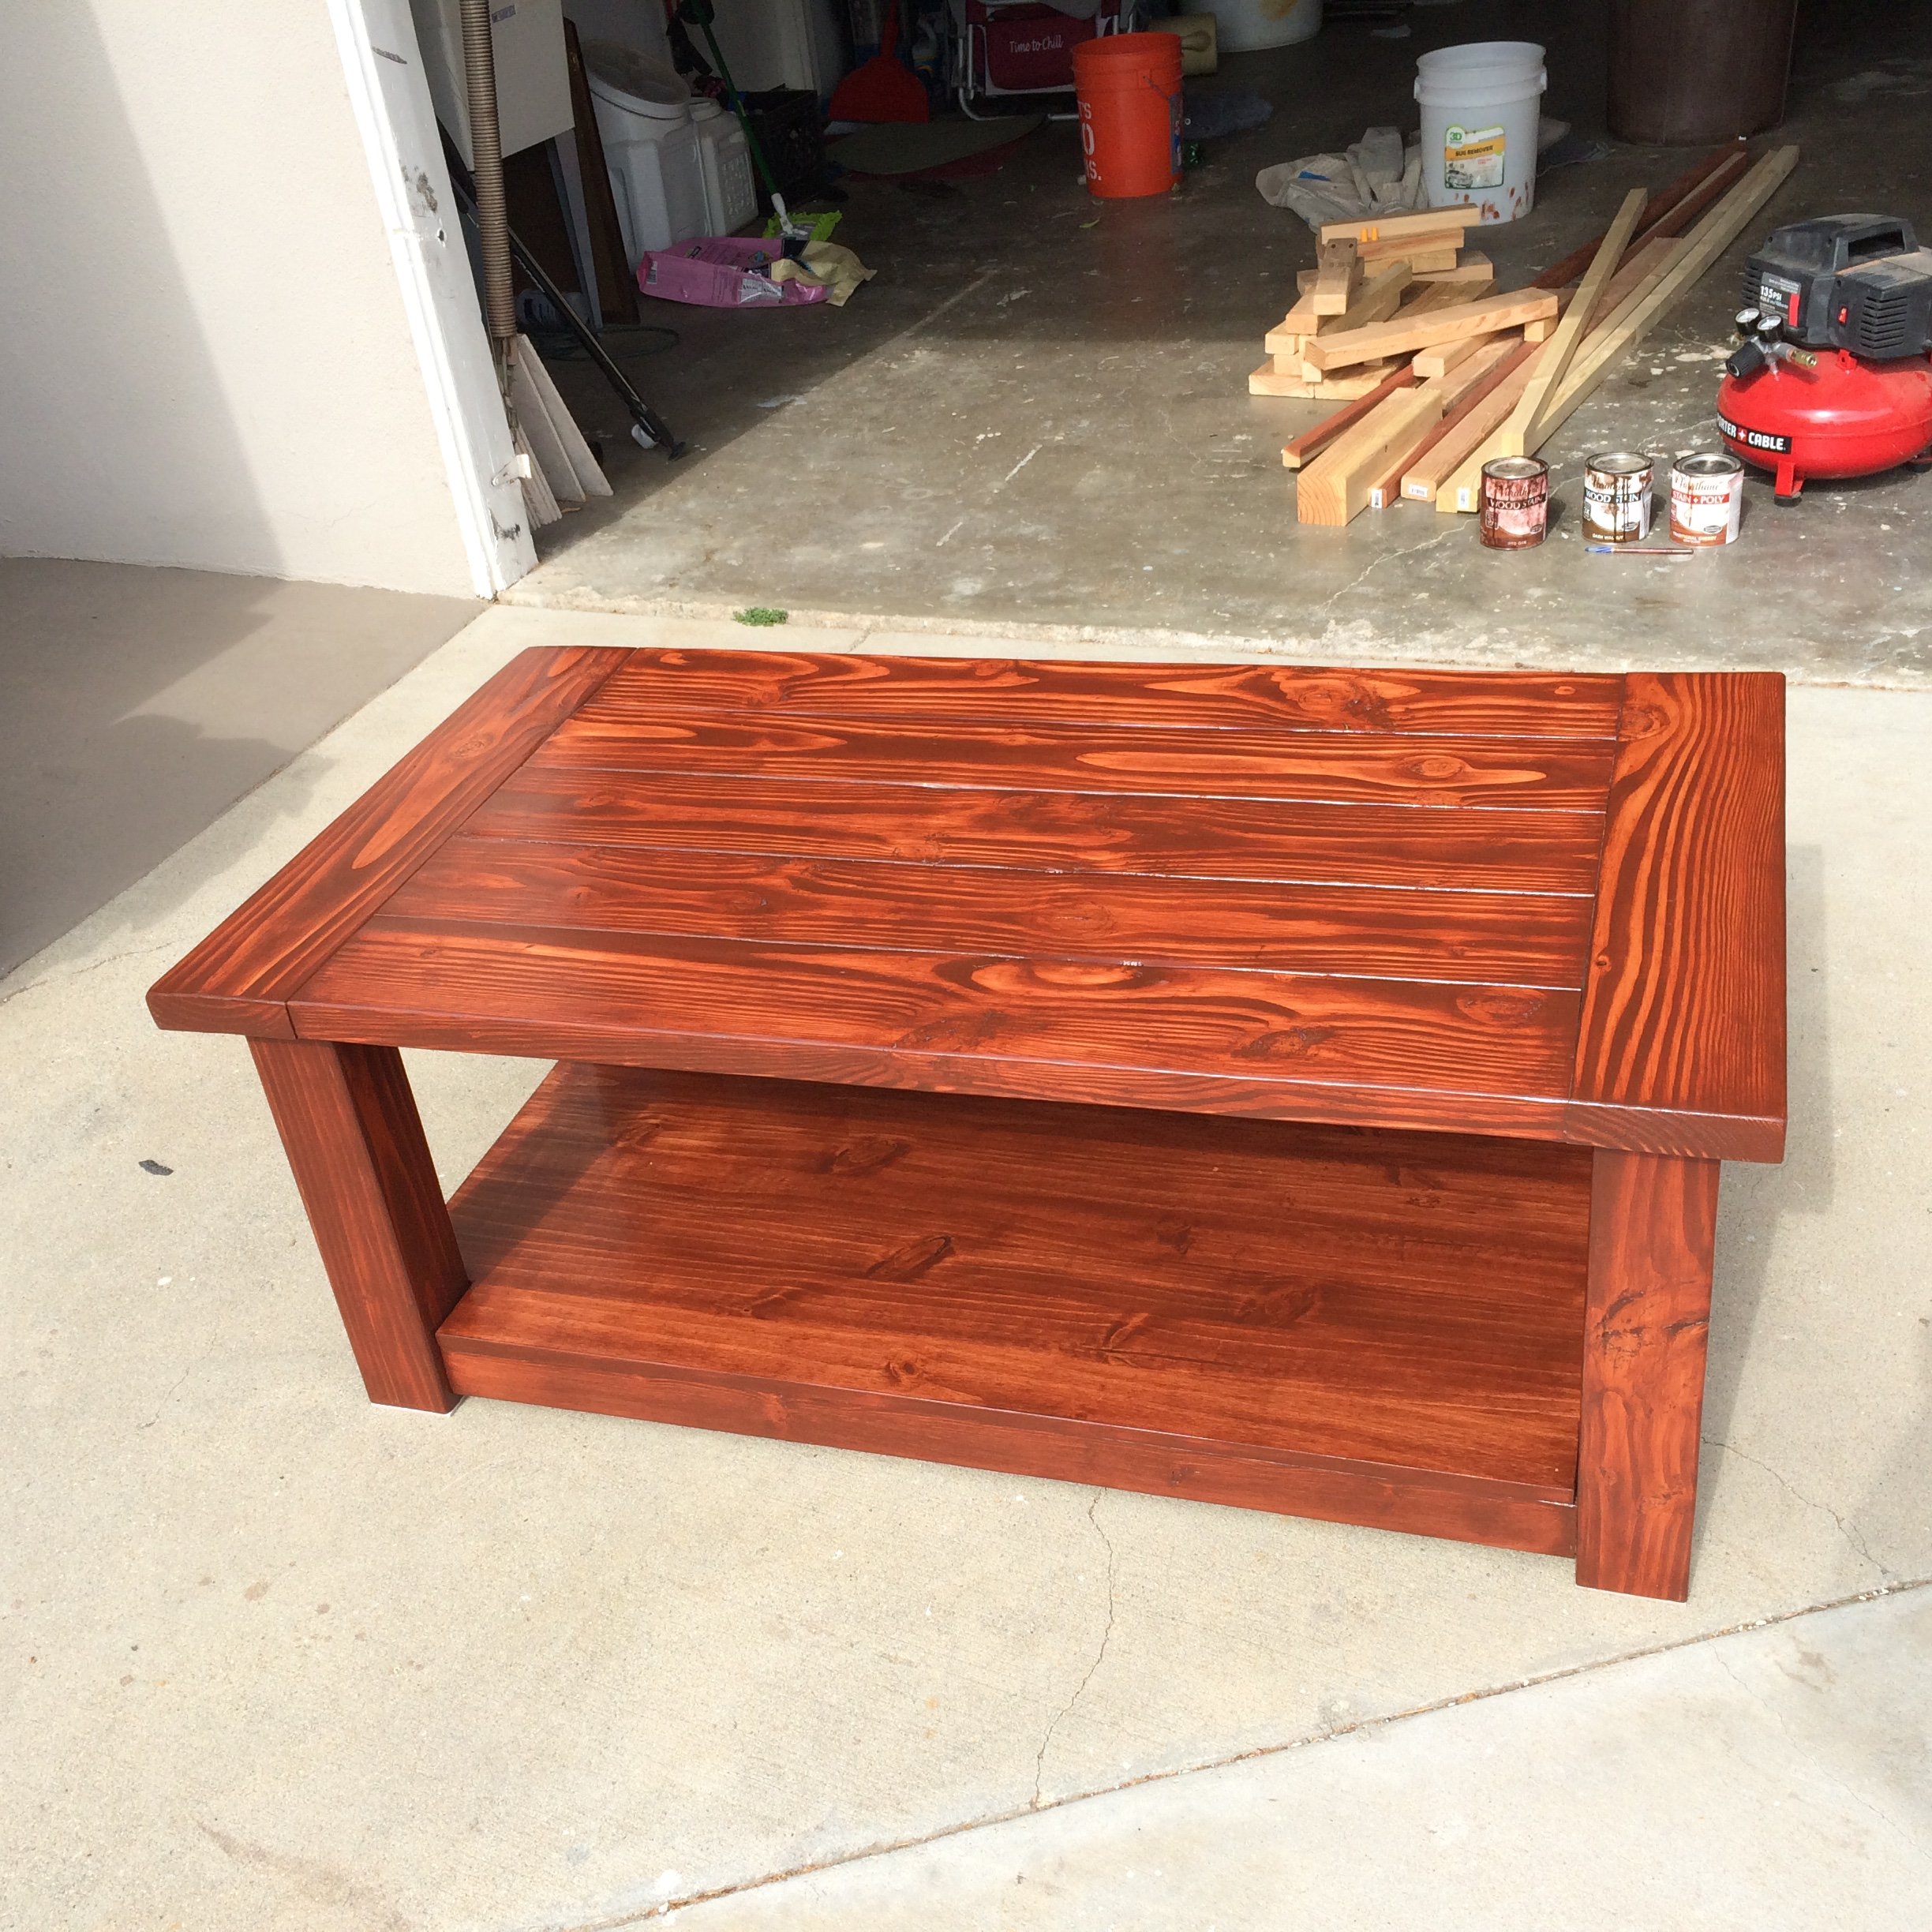
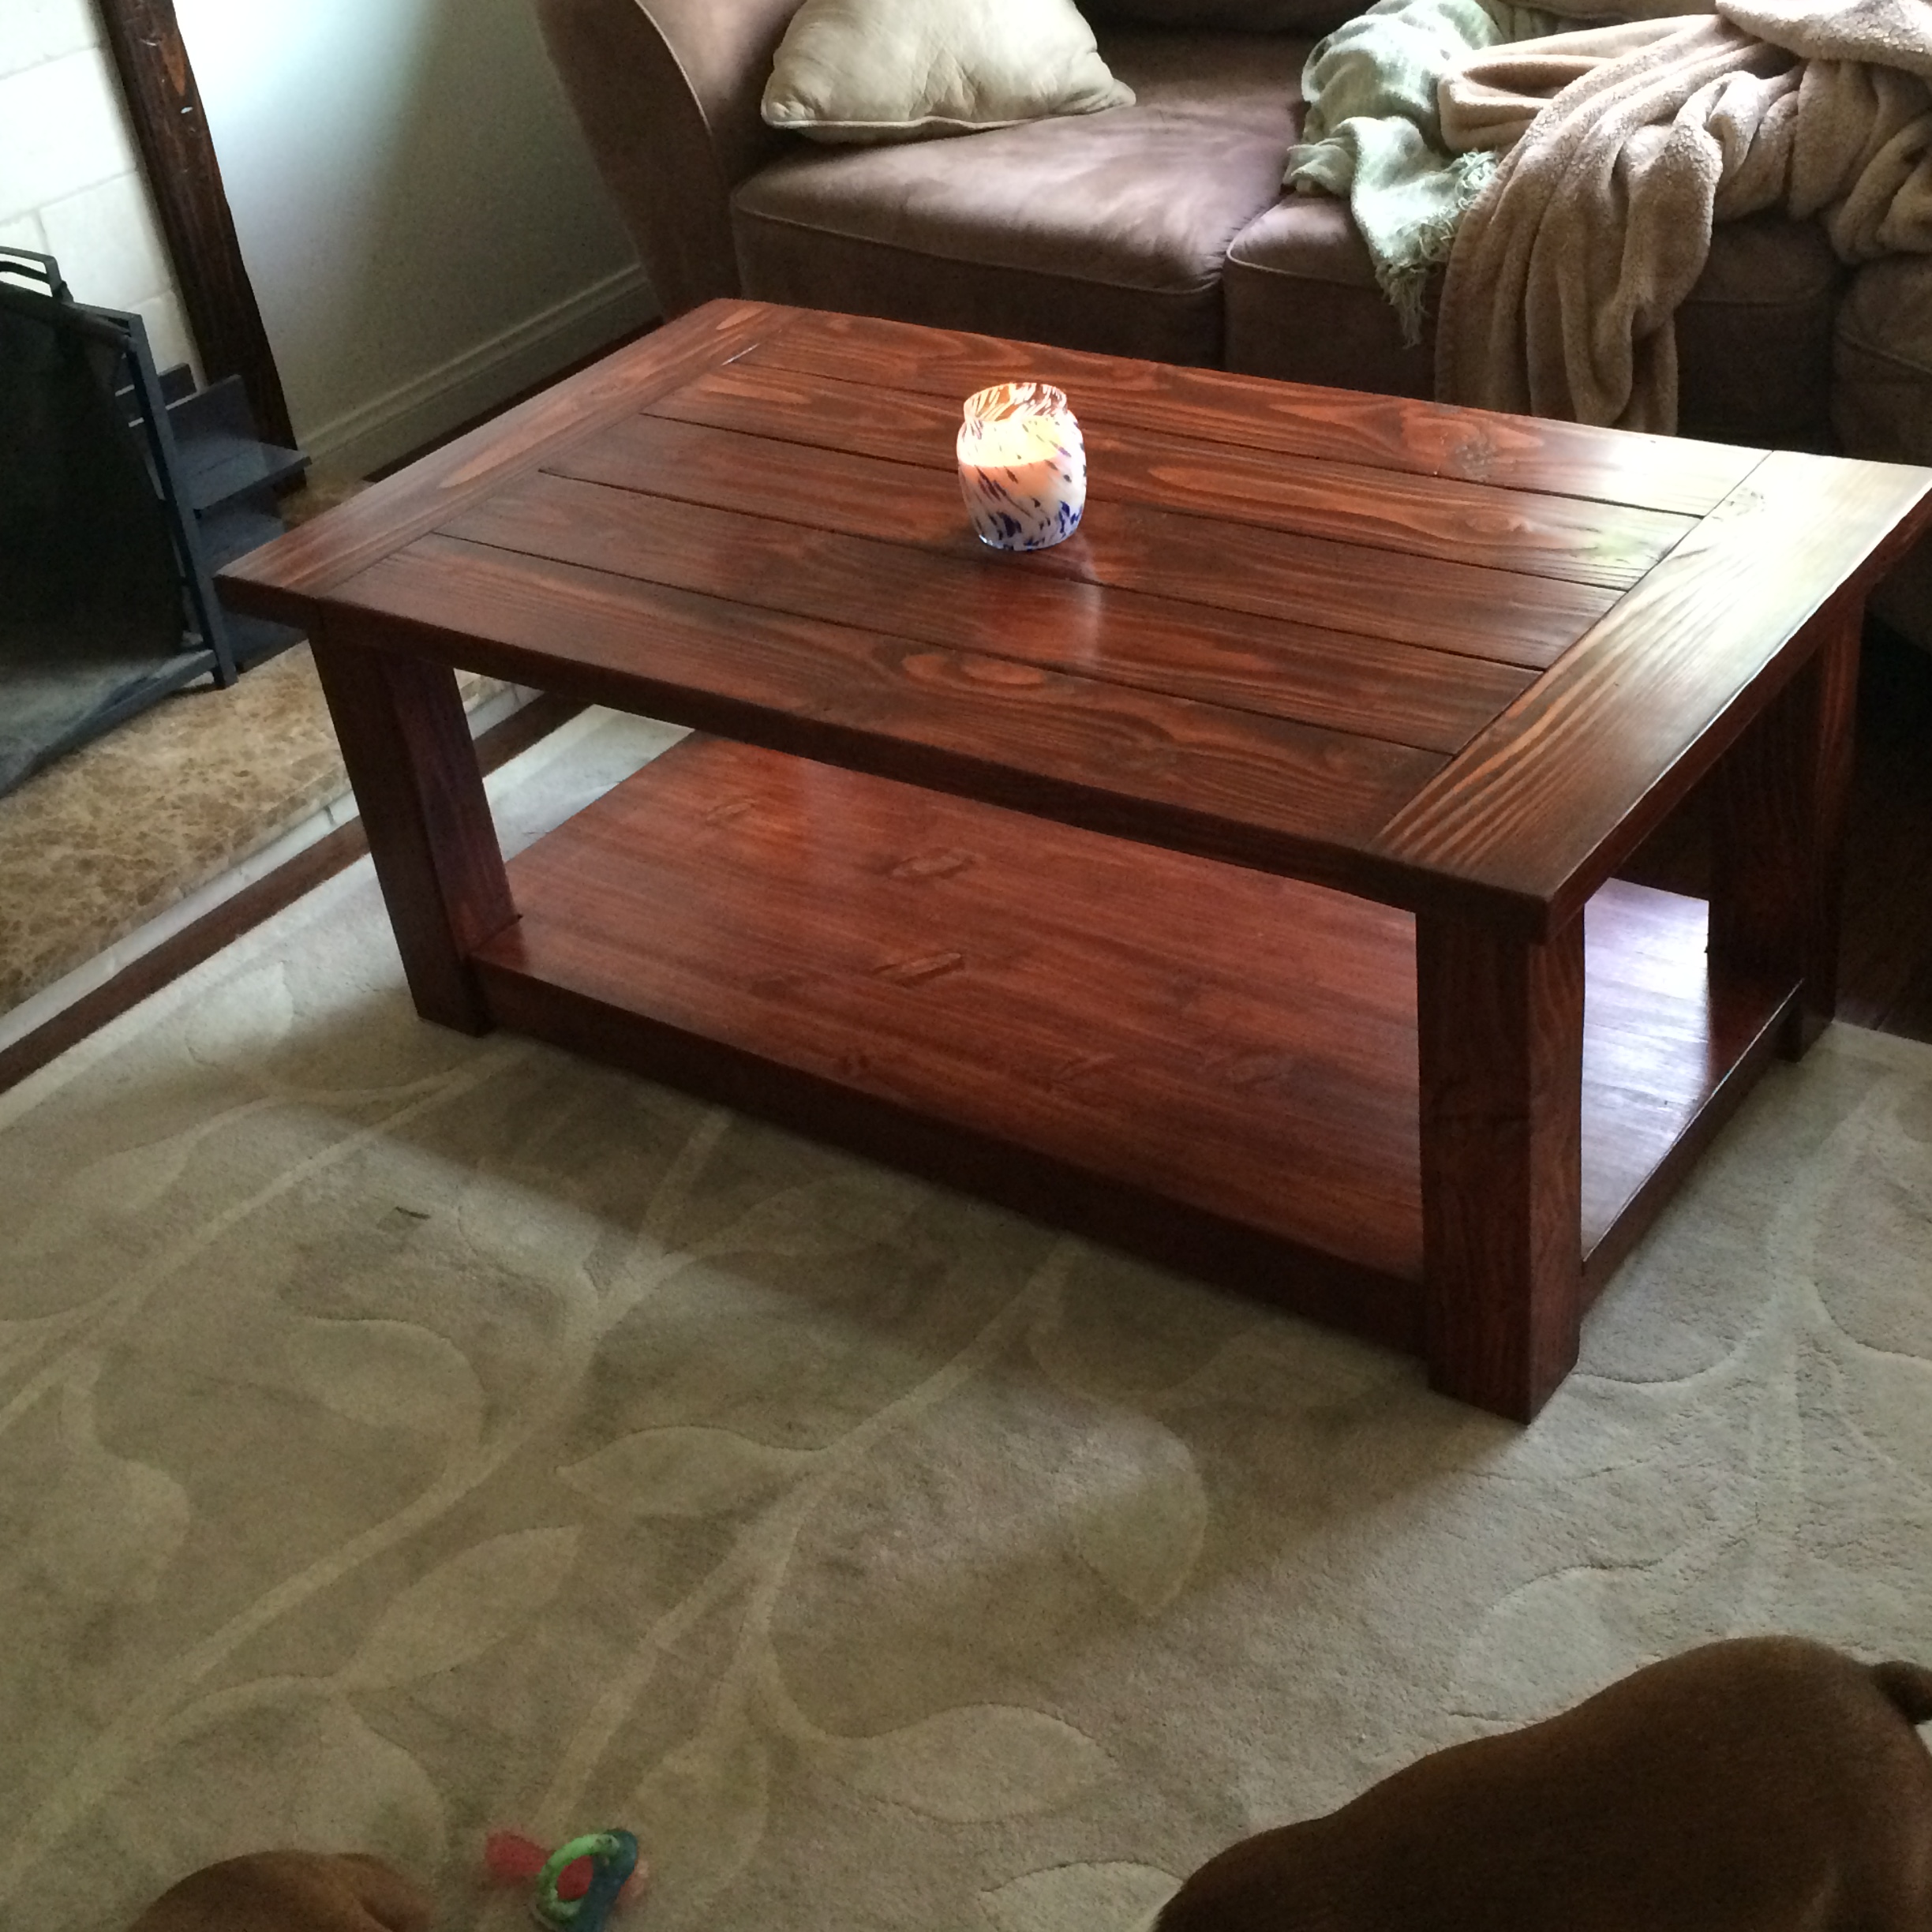
Rustic X End Table
I wasn't very experienced when I built this table. It was only my second big piece of furniture (farmhouse bed was my first) and it was the first time I had every used a compound mitre saw, which my husband had just bought for my birthday. We had no dining room furniture, so I made the 2 benches to go with, until we could set aside money for the ever so expensive dining chairs. (We'll keep one bench for sure for the kiddos!) My seasoned carpenter husband was so impressed when he came home from out of town to find this table done just in time for the holidays. I love it so much and am very proud of the finish since it was the first time EVER I had used stain or poly. We did order materials for the stretchers, but haven't put them on yet. They were from Fastenal and are pretty pricey - but hopefully, they'll give the industrial touch to finish it off. The whole project took me under 2 weeks - but it would take far less for someone who is more skilled and doesn't have to stop every 5 minutes to tend to 2 very active toddlers.
Tue, 06/12/2012 - 06:01
The table looks gorgeous and I love the stain color. Bravo! Can't wait to see what it looks like with the hardware! :)
Sun, 07/01/2012 - 16:57
You did a wonderful job on these! Your finish is flawless, just beautiful!
Mon, 07/02/2012 - 01:12
My sister is in need of a new table and I have been thinking of building this table for her. I bought a very nice round table and 4 chairs on CraigsList but the table is too small for her dinning area so I sold the table and kept the chairs. Now I'm working on stripping the wood and recovering the pads on all 4 chairs. Maybe after all the chairs are done I will be able to start the table. I hope mine looks as nice as yours. Great Job!!!
Mon, 07/30/2012 - 17:52
Hi - what a beautiful job! I'm thinking of making this my first big project and you have really inspired me. One question, did you stay with dimensions found on the original plan? For some reason the table seems bigger. Also, if you did keep to the original dimensions, do you think this would be an easy plan to adjust to making the table wider? Thanks so much and congratulations!
Tue, 08/14/2012 - 18:47
Sorry Rebecca - I just saw this question. I ended up adding an extra 1x6 board to widen the table just a few inches but my 1x6's here were not 5 1/2 inches, they were more like 5 1/4 inches. So I had to adjust the whole tabletop anyway. I'm thinking of actually building another one that's longer to fit my dining room better and stain it a little lighter. I don't think this was my first BIG project. I think the farmhouse bed was for me - but I haven't posted yet b/c I just refinished it. This was my first project with a compound mitre saw that my husband eventually bought me for my birthday. I had to learn my way through bevels and angles by myself and I did make a few mistakes, which were frustrating, but a total learning experience. You can do it! Just don't rush and be patient with yourself. I wish you so much success!!! I look forward to seeing your table posted when you finish it! :-)
First furniture project with my Kreg Jig. Went smoothly. Loved the plans and how descriptive they were. This is a great beginner project. It only took me about 2 hours to complete.
Sun, 04/06/2014 - 06:33
Congrats on your first furniture project, great job! Your distressed finish and stained top are awesome. Love the Kona stain color, and I think it is the perfect amount of distressing on the paint. Beautiful!
Slight modification to the original plans. Used all 2x6's across the top and added capped ends. Used 2x3s instead of 1x3s. Cuts and assembly were not time consuming, sanding was!!
I've wanted a place to hang our hammocks for a few years now. We have some really nice hammocks from a local artisan. This past weekend, we built the framing with intentions of making it a pergola at a later time. With encouragement of my son & boyfriend, we decided to add the pergola on Sunday. I liked this plan because it wasn't as complicated or expensive as a lot of other plans out there that use 2x6s instead of 2x4s. Adding the angle brackets really solidified the whole structure. I'm so thrilled with this project! Unfortunately, today (Monday), it's raining, so I can't go hang out there.
DIY Floating Shelf
Project took a lot more time and patience than the last few little ones that I have done. I like the simple outdoor table but wanted a little bit more. I used the basic concept and mixed it with a patio table from PB that I really enjoyed but didnt want to pay $800 for. The table looks fantastic and am still debating on what type of finish, if any, to use. Hoping to make the matching bench soon for one of the sides of the table.
Wed, 06/13/2012 - 19:43
Your table looks beautiful! Have you consider Teak Oil?
I threw some plans together for this. Going to make another one and tweak it a little but overall I'm happy with the way it turned out. I used dark walnut stain and 4 coats of poly.
Fri, 12/25/2020 - 07:20
looks amazing i would love to see some plans for that