Community Brag Posts

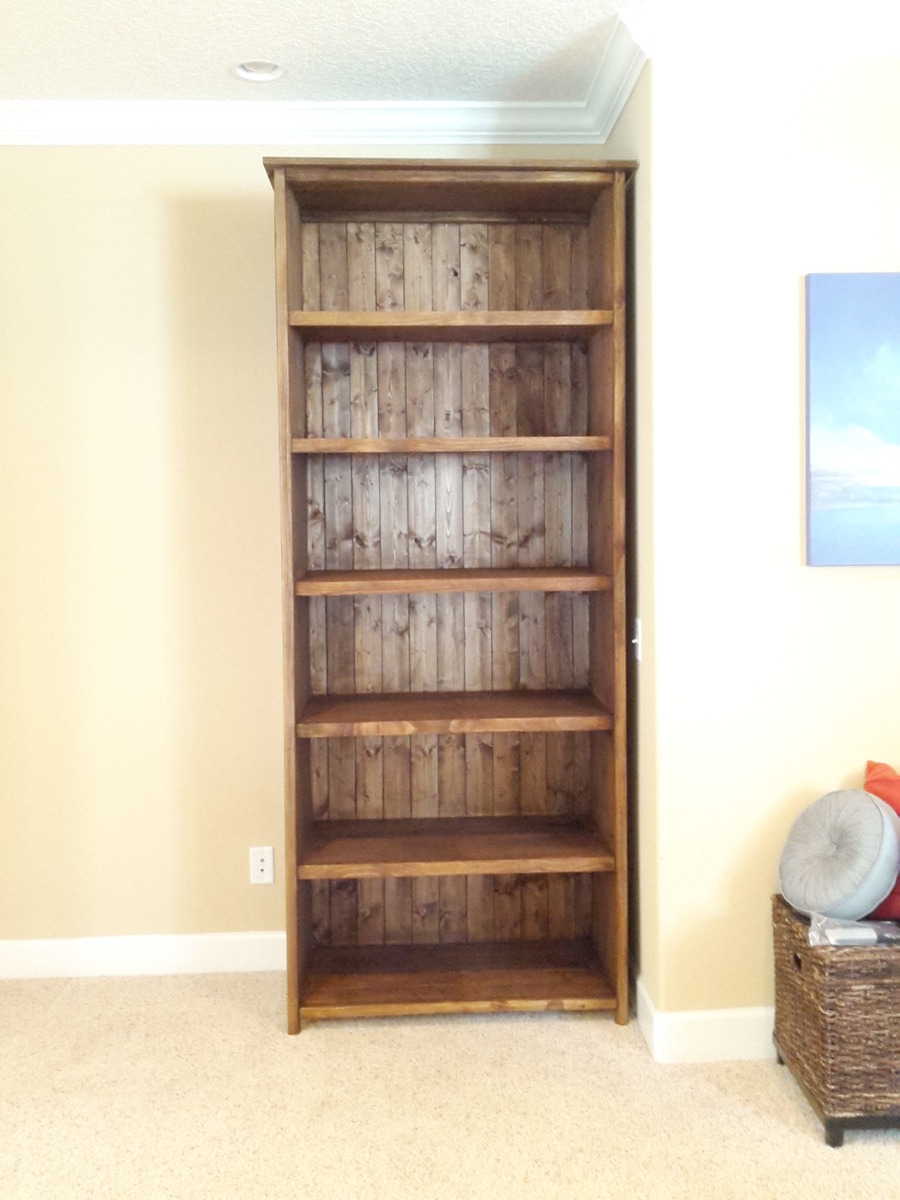
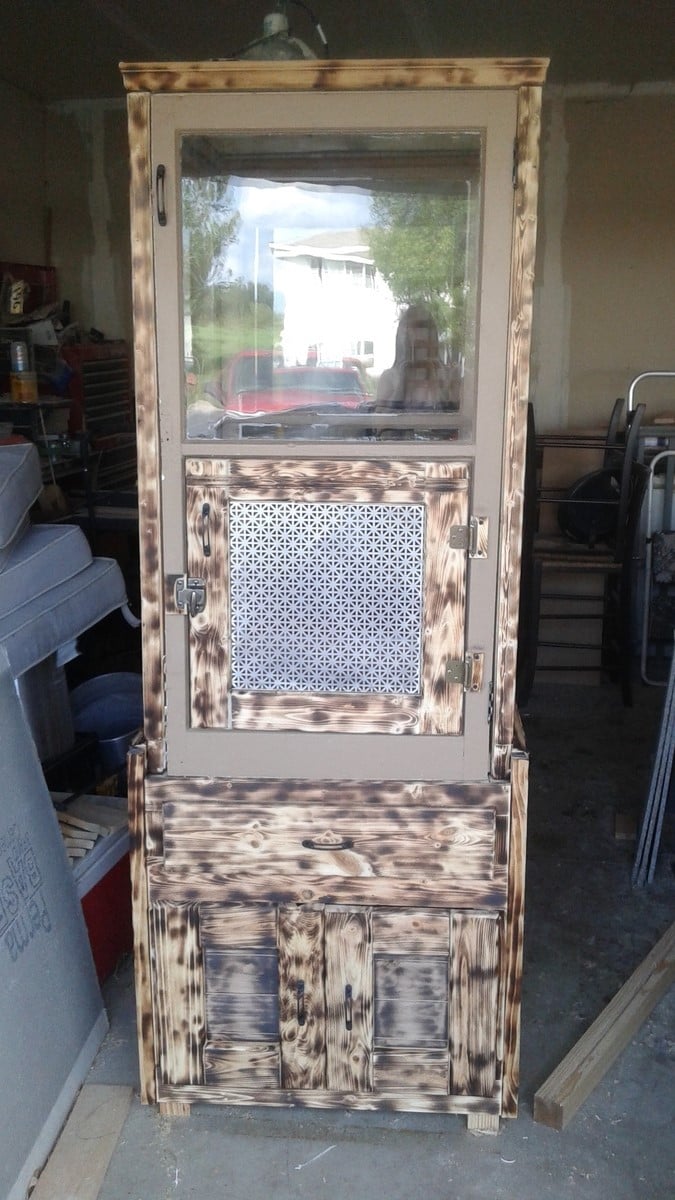
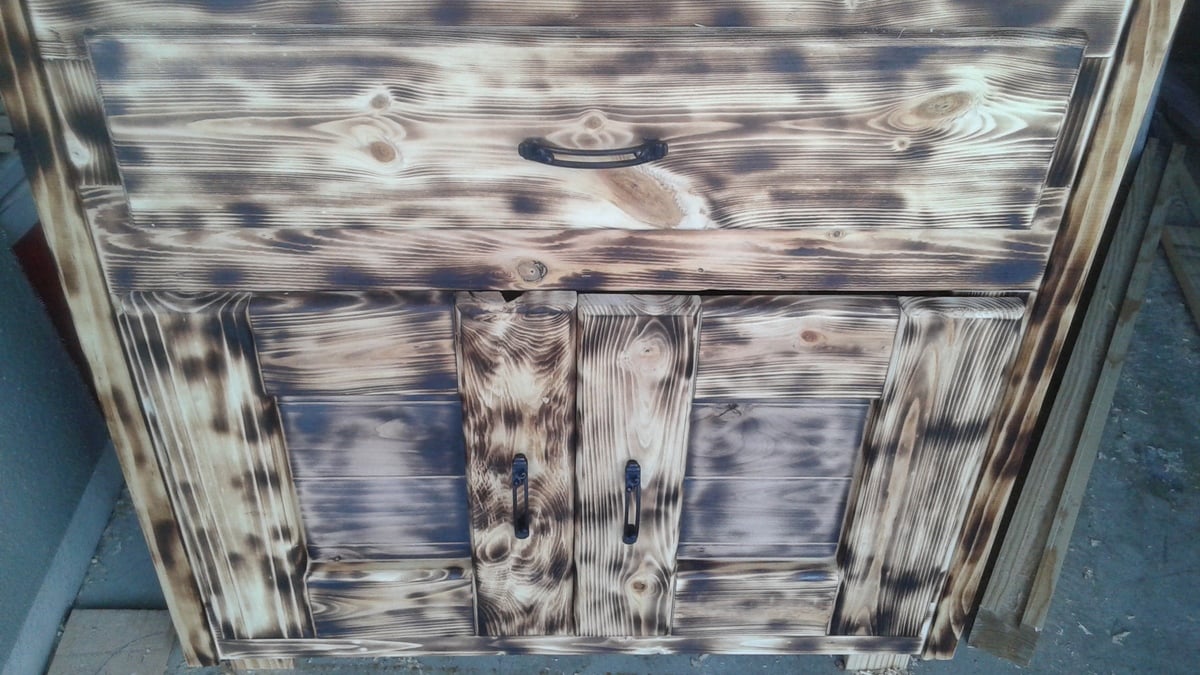
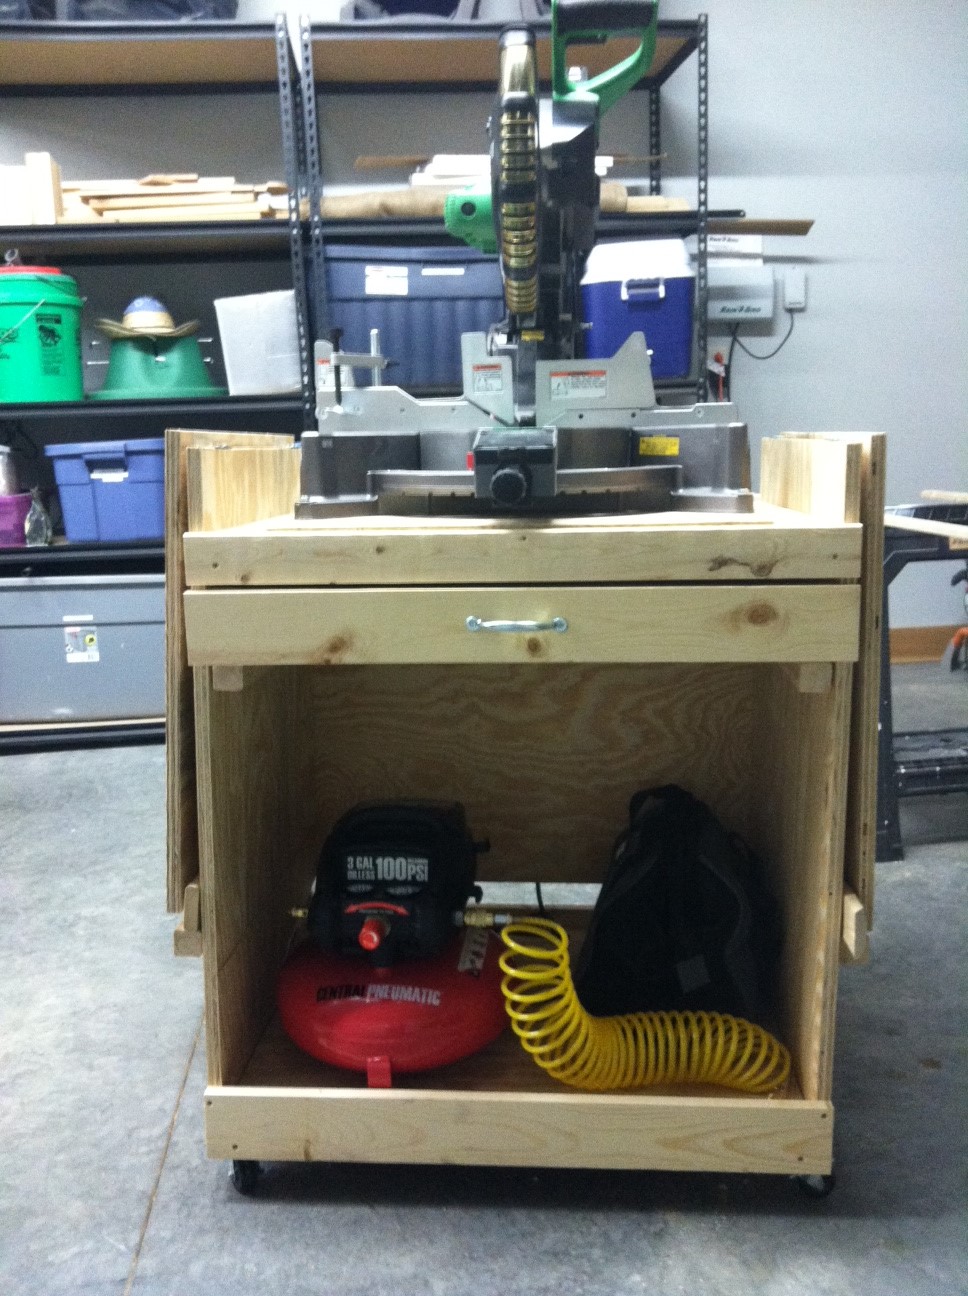
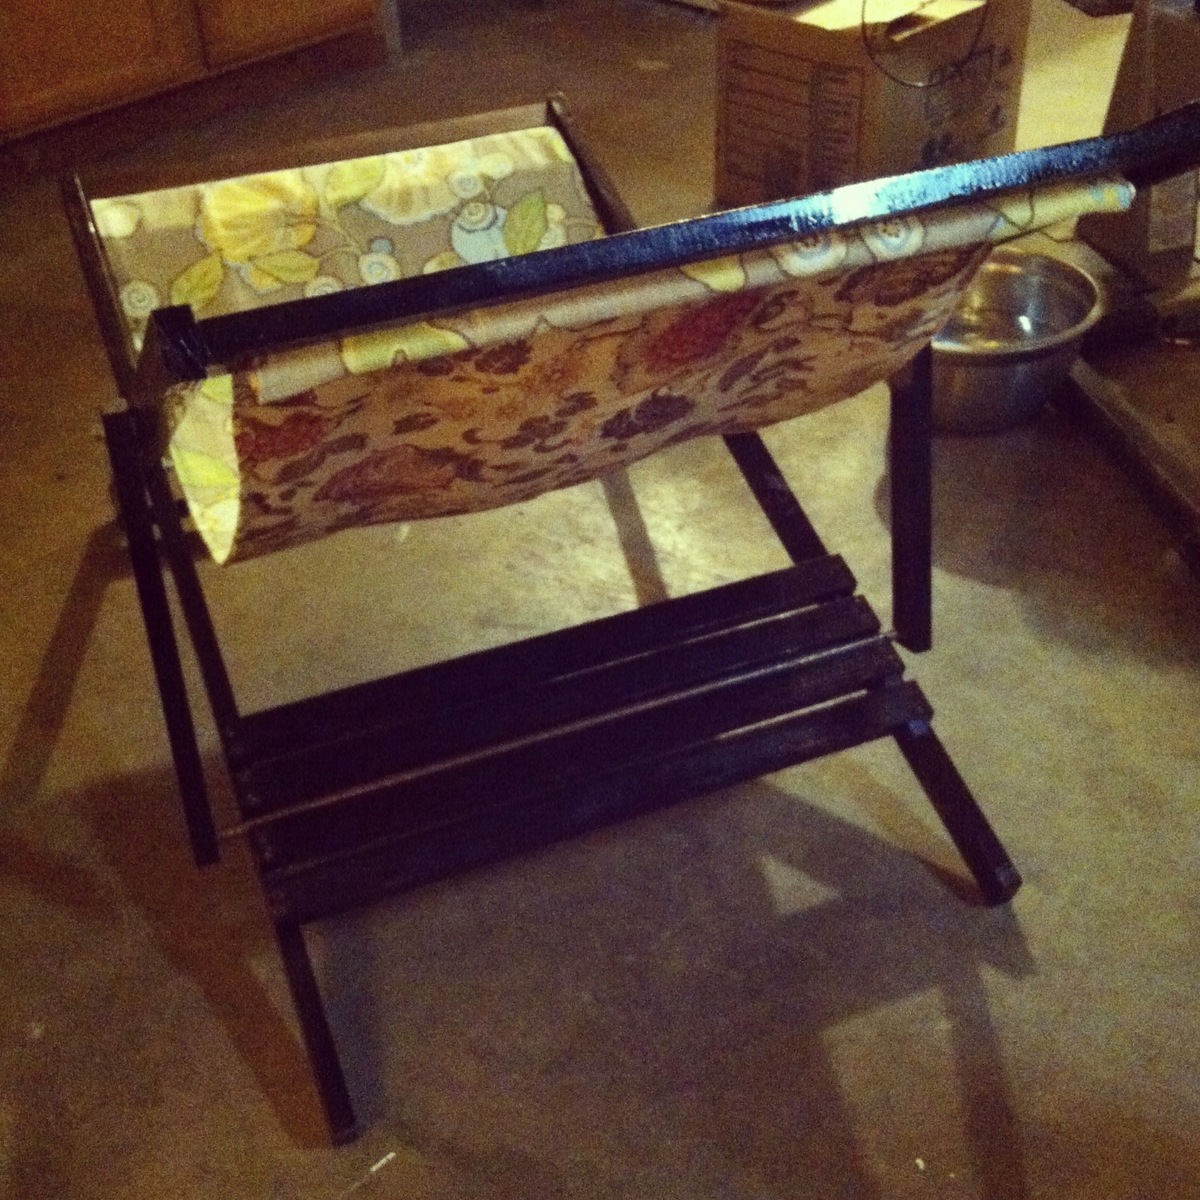
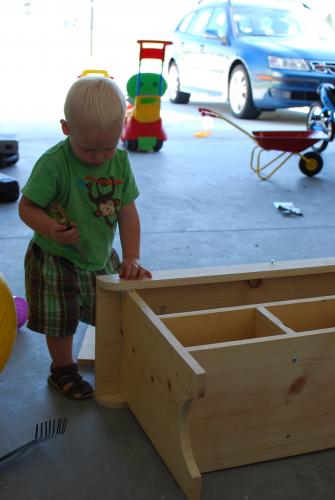
Wood Tilt Out Trash Cabinet-Pallet boards how do I love thee!

Submitted by Dafoemomma on Sun, 08/28/2011 - 14:53

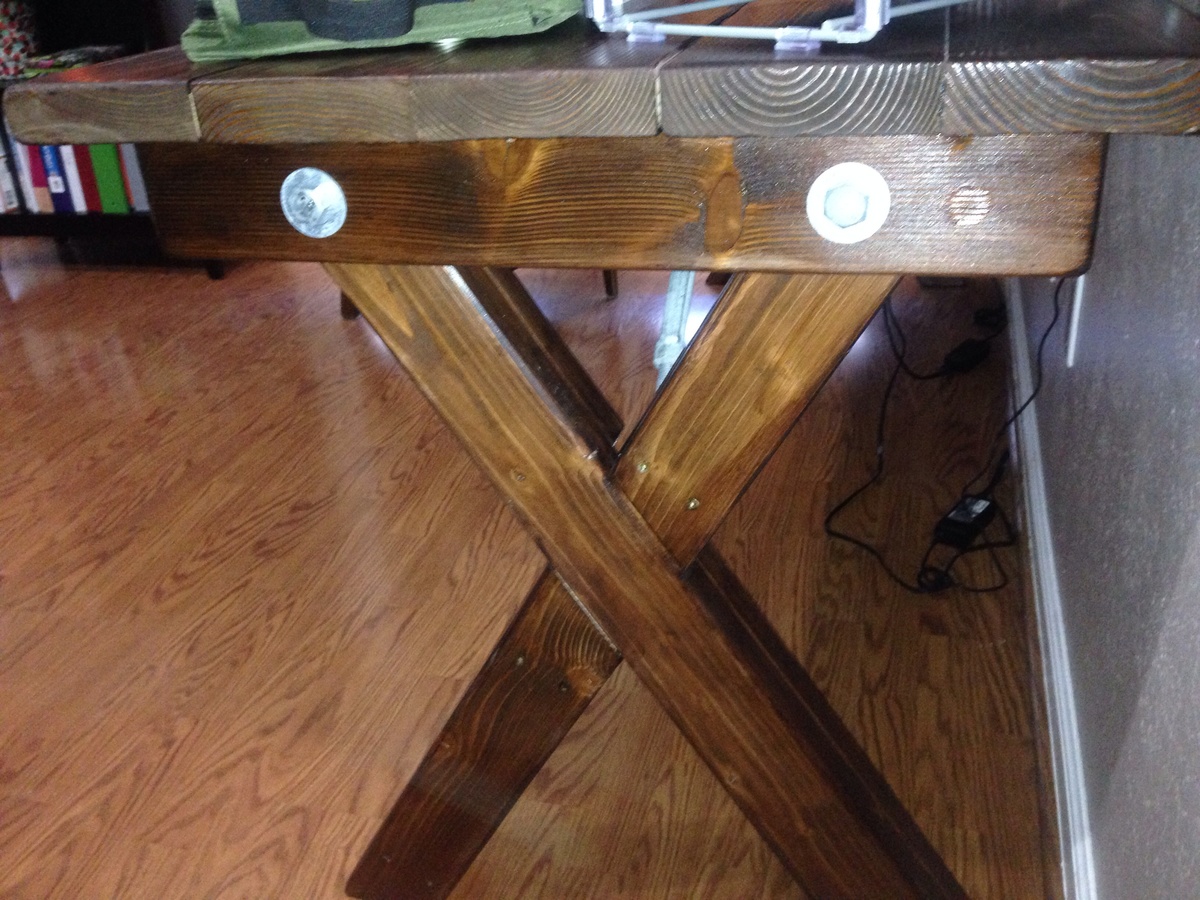
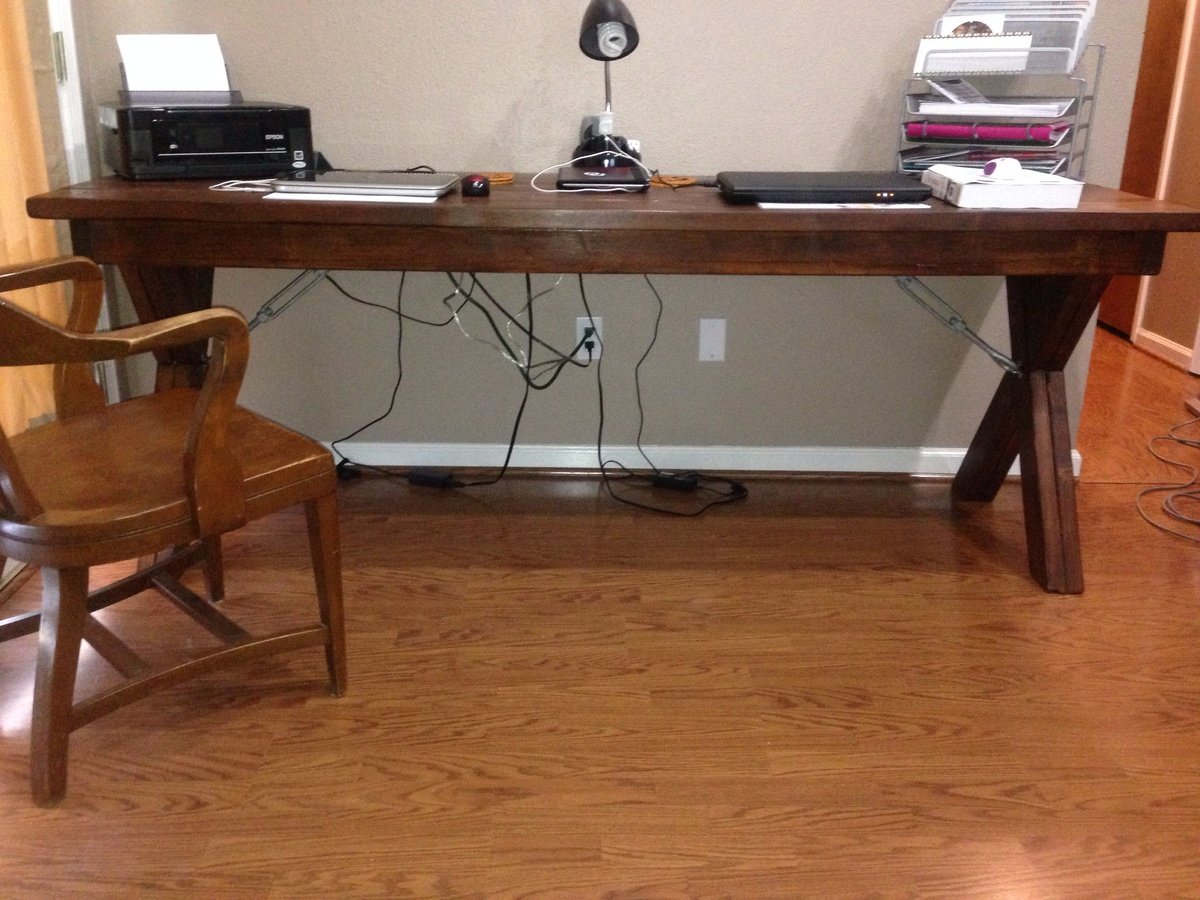
We modified the plans to be the height of our countertops, roll and to be the dimensions of a nice cutting board we have. We originally were going to have a custom butcher block made for the top, but after having a built in one in our old house (we just moved) we decided it would be nice to be able to take the cutting board on and off to cut. We only put two locking caster wheels in the back as we have small kids and wanted to be able to stop the kids from pushing it around as much. If I hadnt wanted the hinges to be flush and a wooden knob and metal handles on the side we could have built this out of pallet boards, scraps and things we allready have! We also put small L brackets on three sides to hold the cutting board in when we cut. The cost is just caster whees, the wood knob, and the side handles as we had all the wood and paint from other projects. Also things take us a lot longer with kids and no one to watch them (and I am 8 months preggo!) so I could have done this even with drying time in a day or two. As it was I think it took me 4 days working an hour or two every day

Estimated Cost
About $8
Estimated Time Investment
Day Project (6-9 Hours)
Finish Used
Watered down Folk Art paint with a polyurethane over it
Recommended Skill Level
Beginner

Comments

Dafoemomma

Sun, 08/28/2011 - 14:56
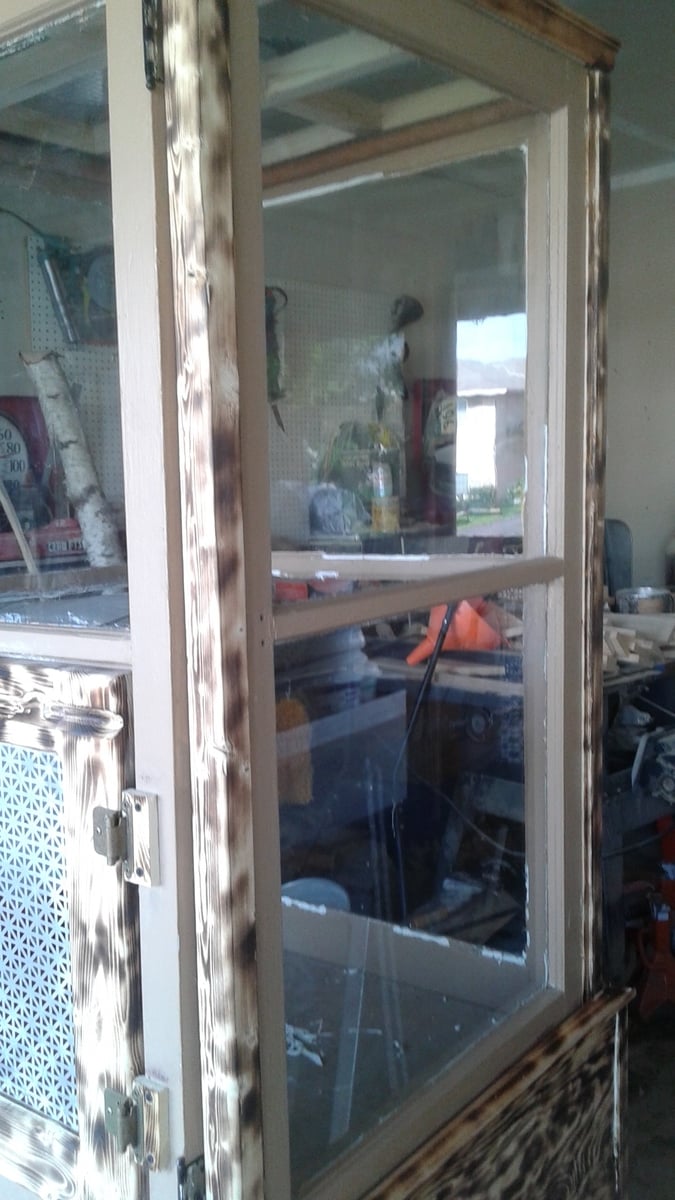
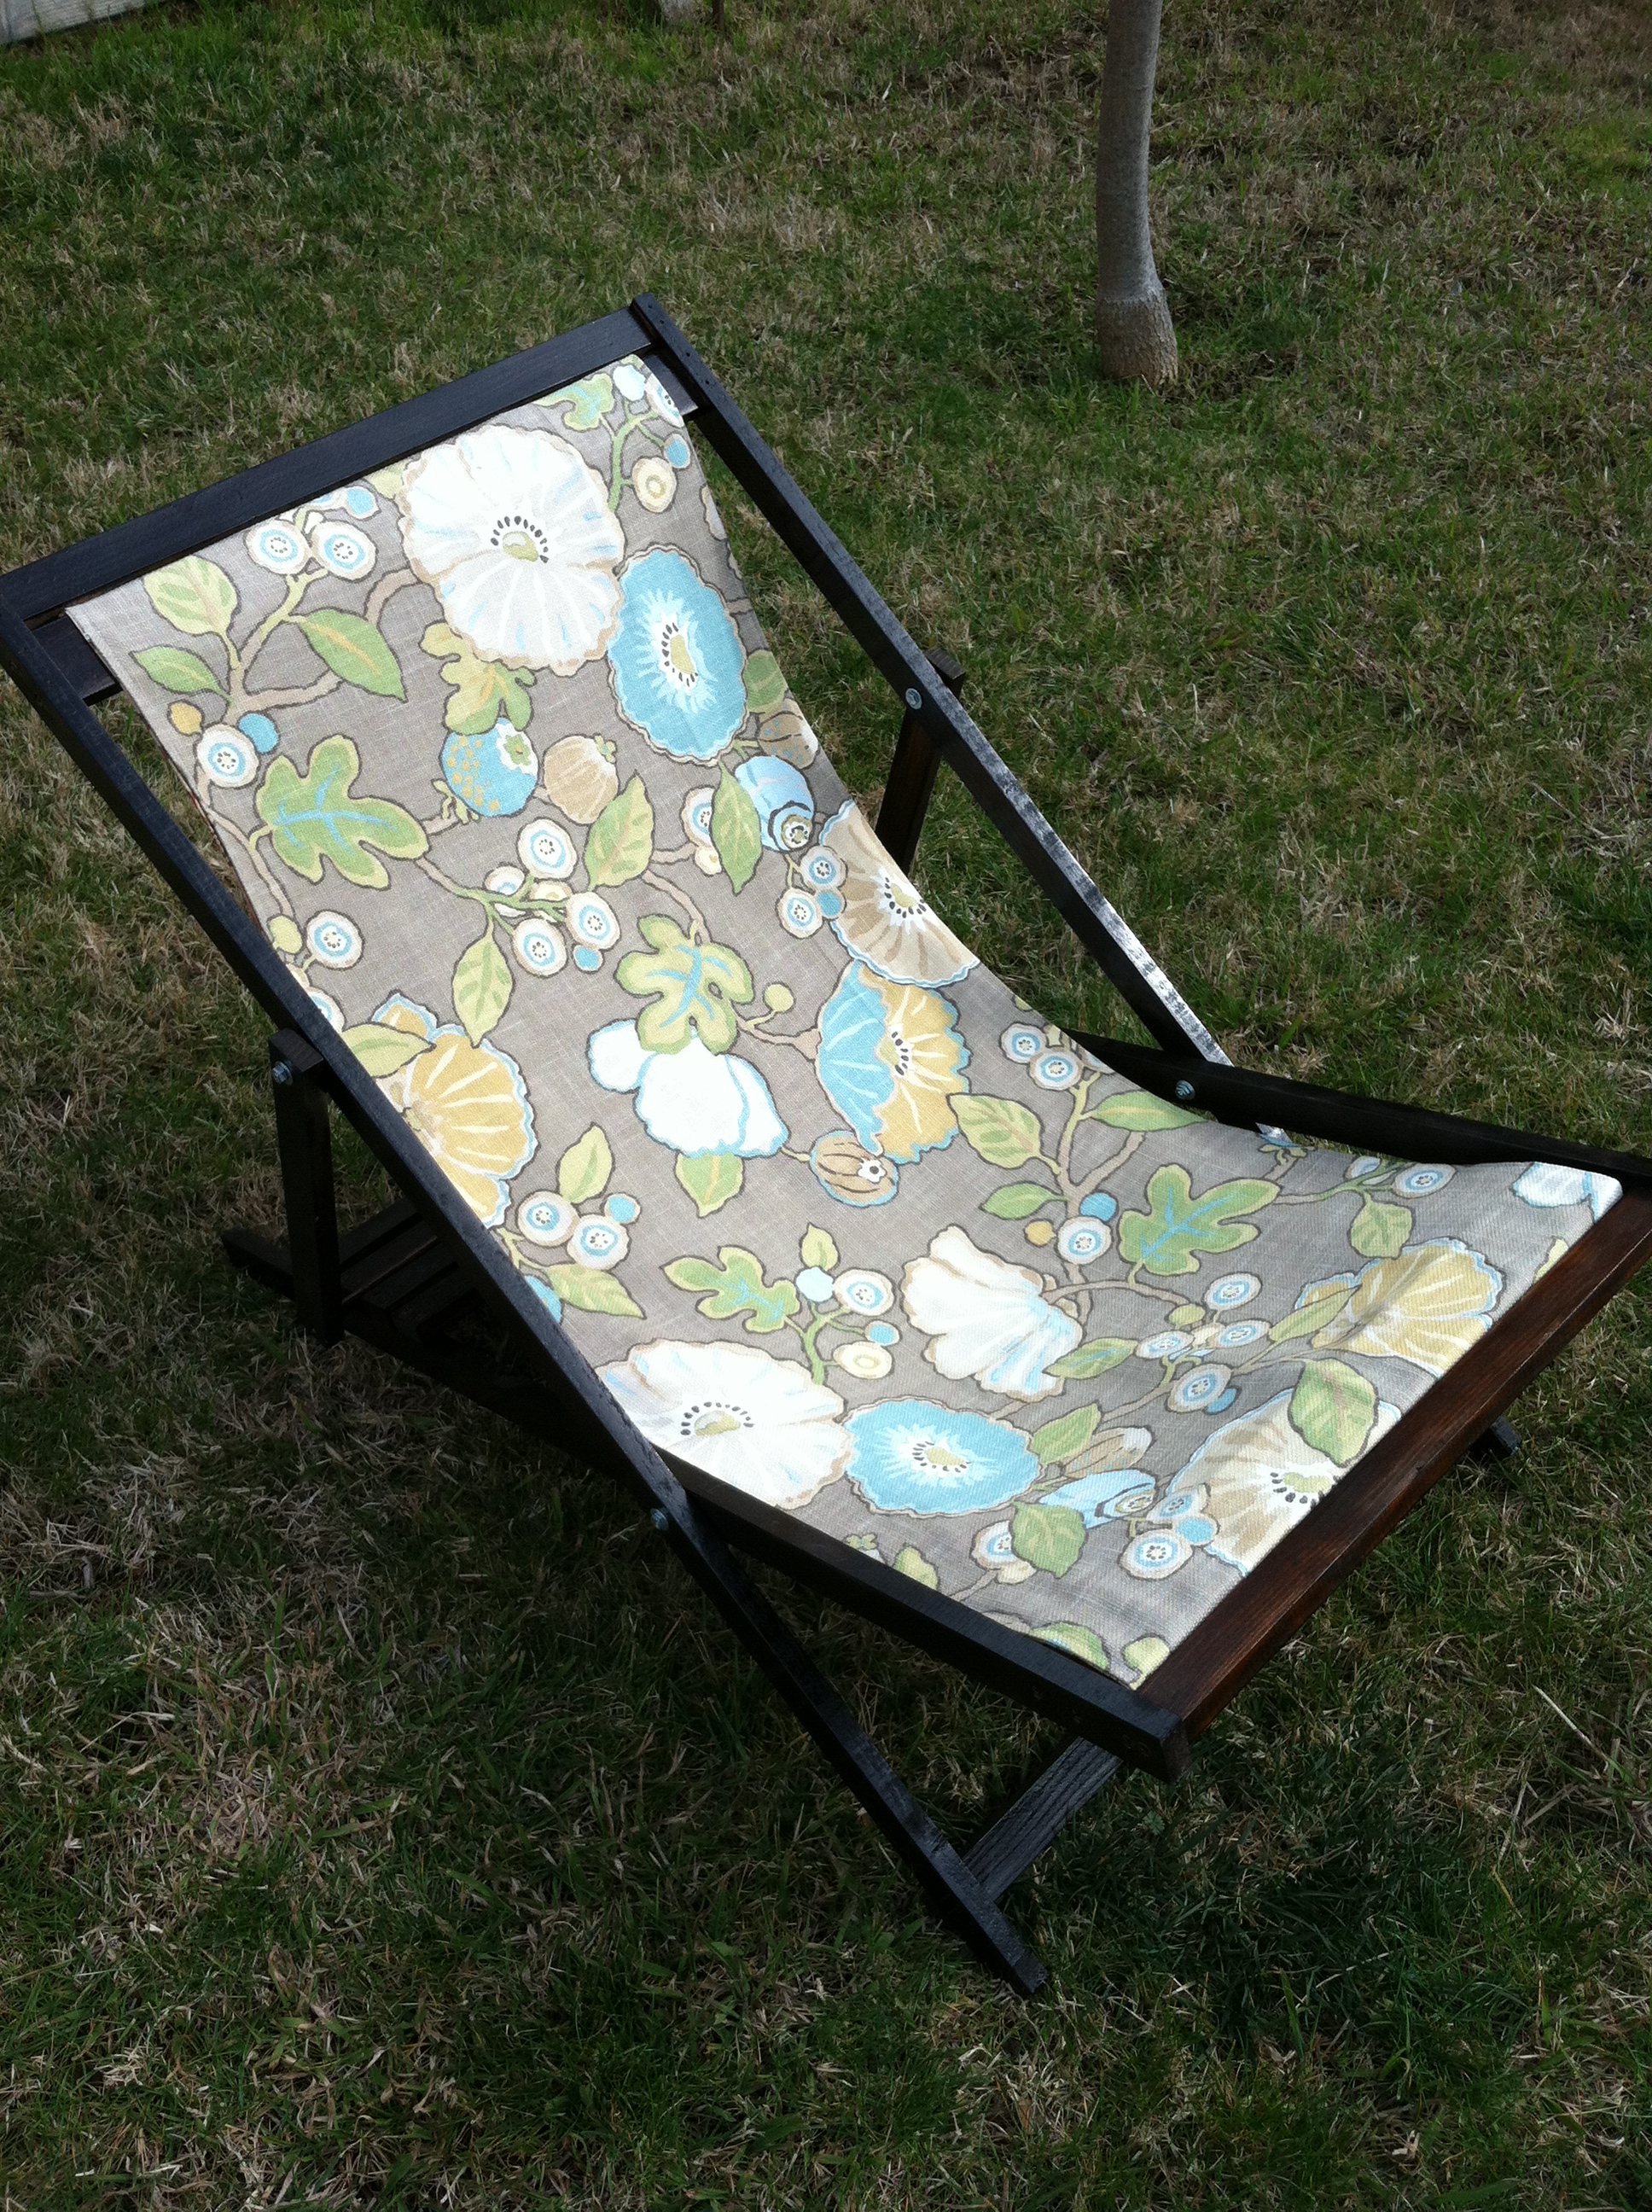
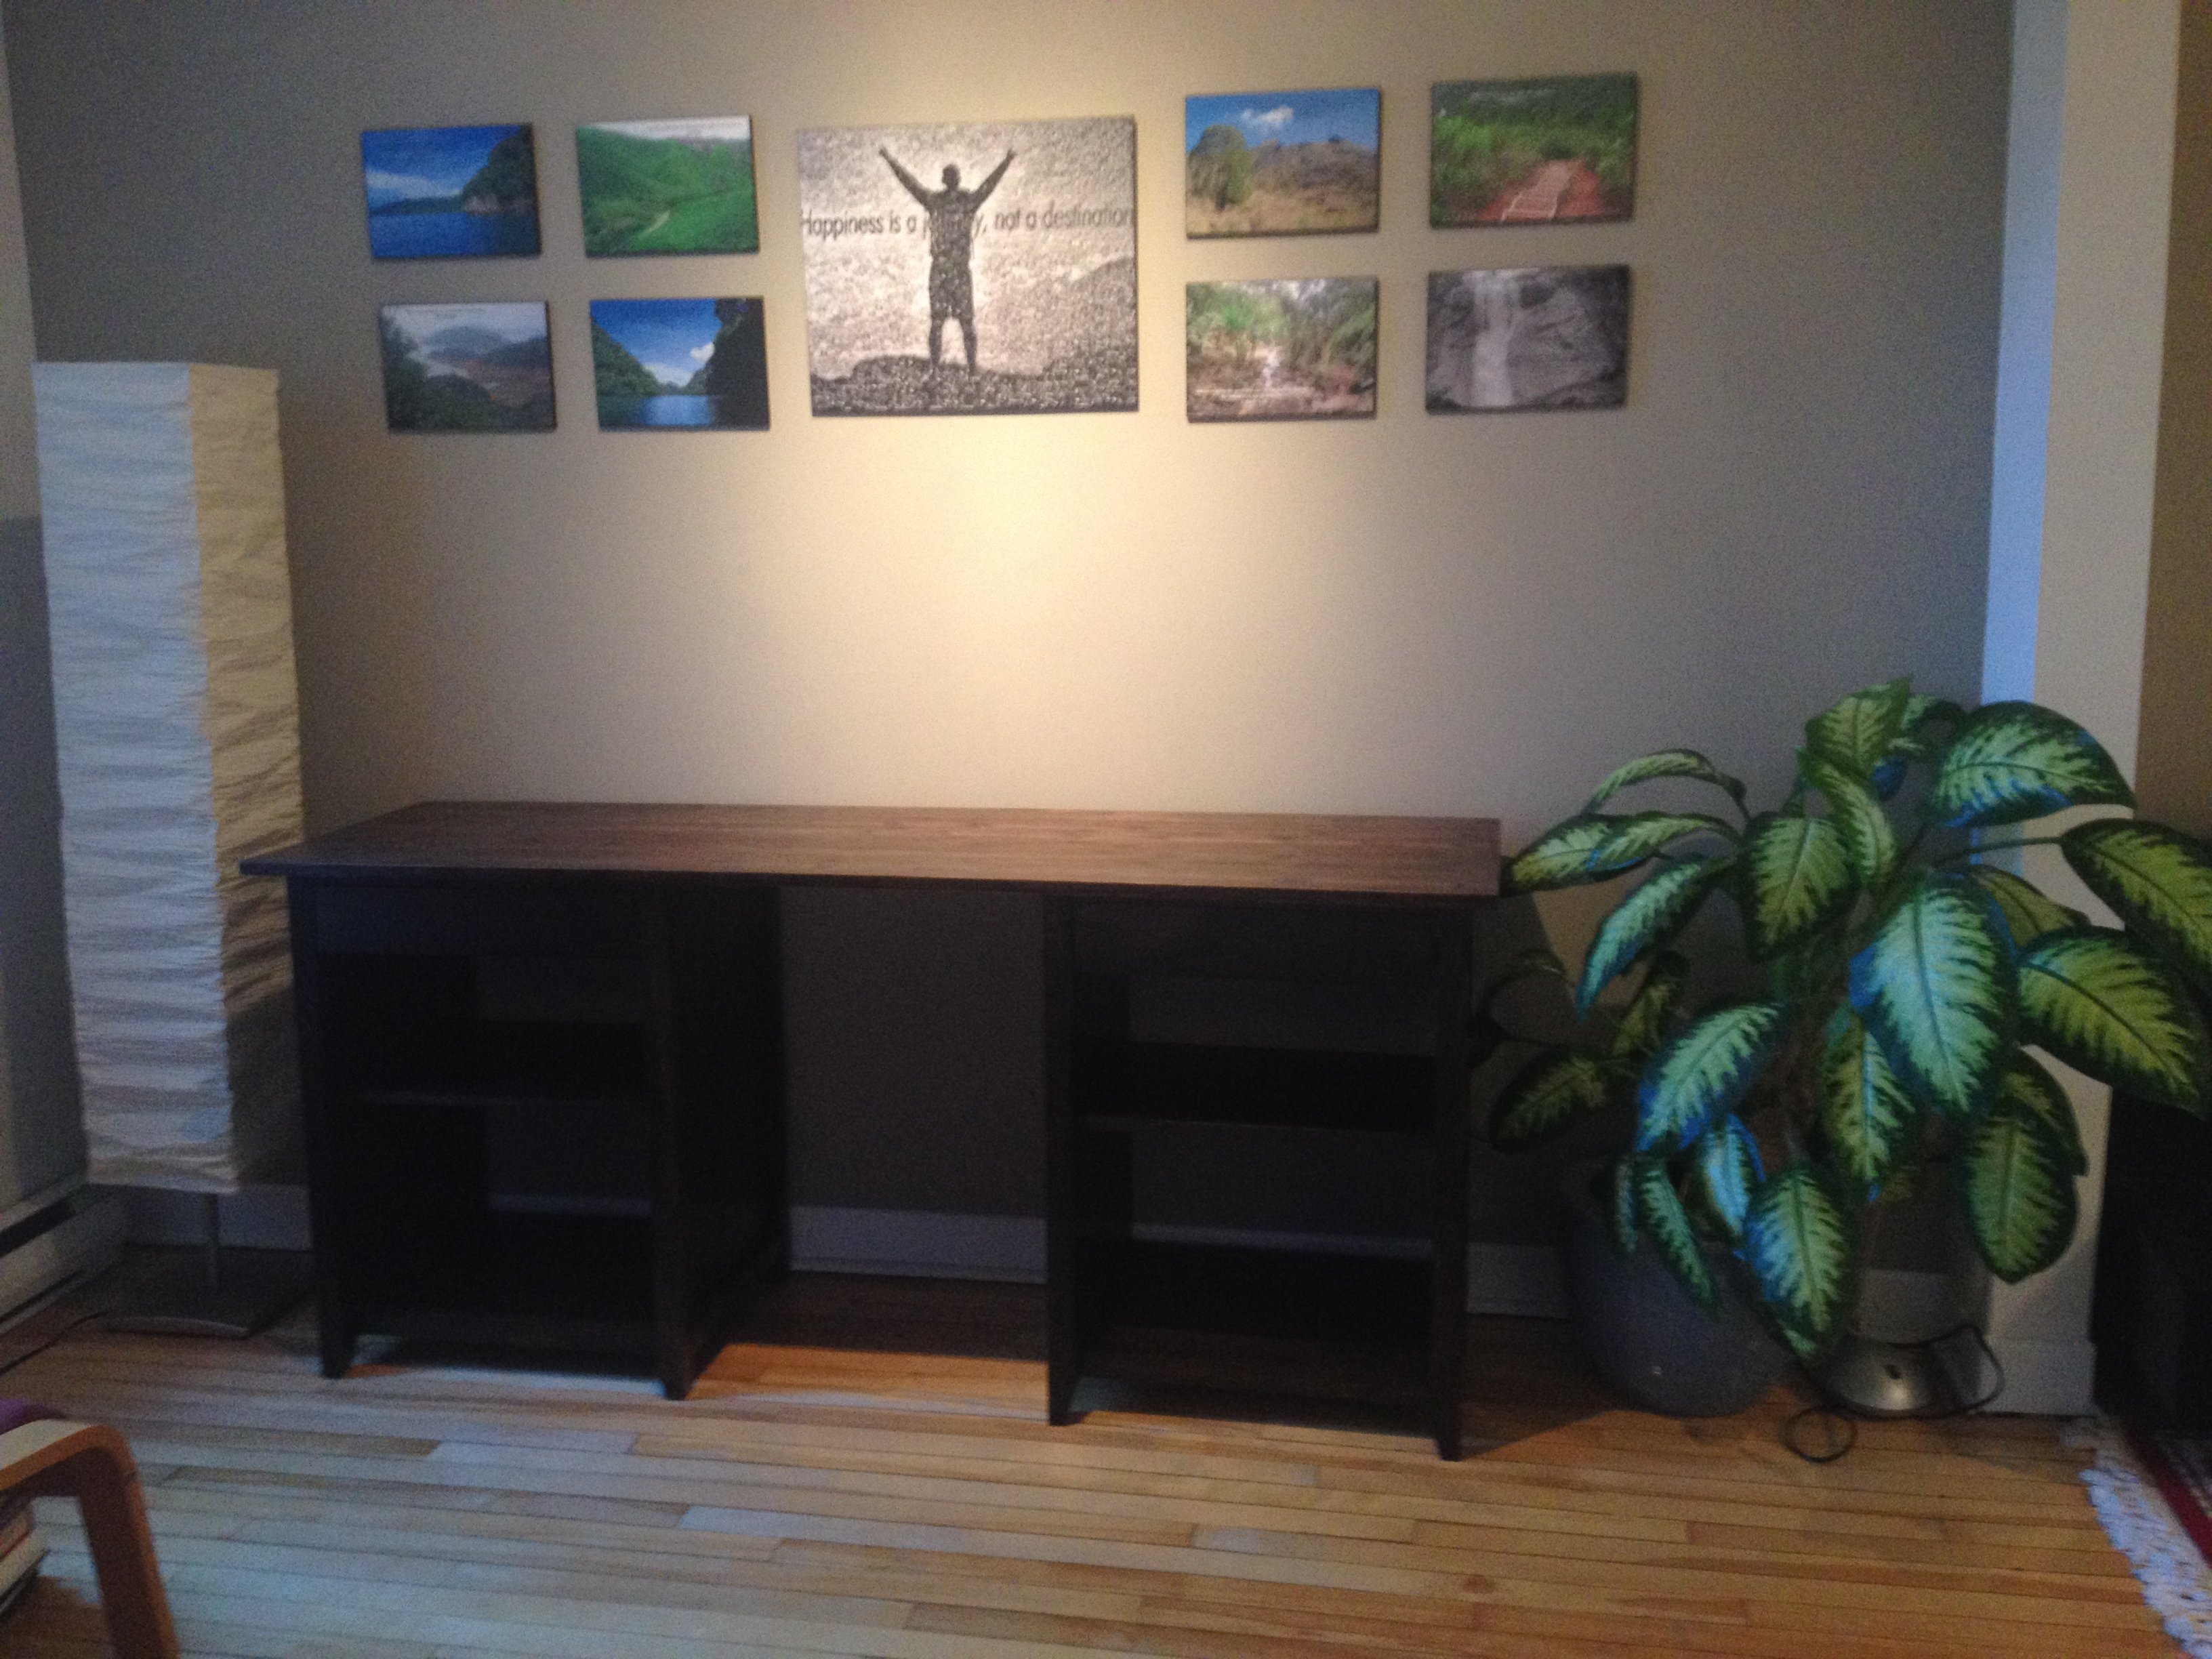
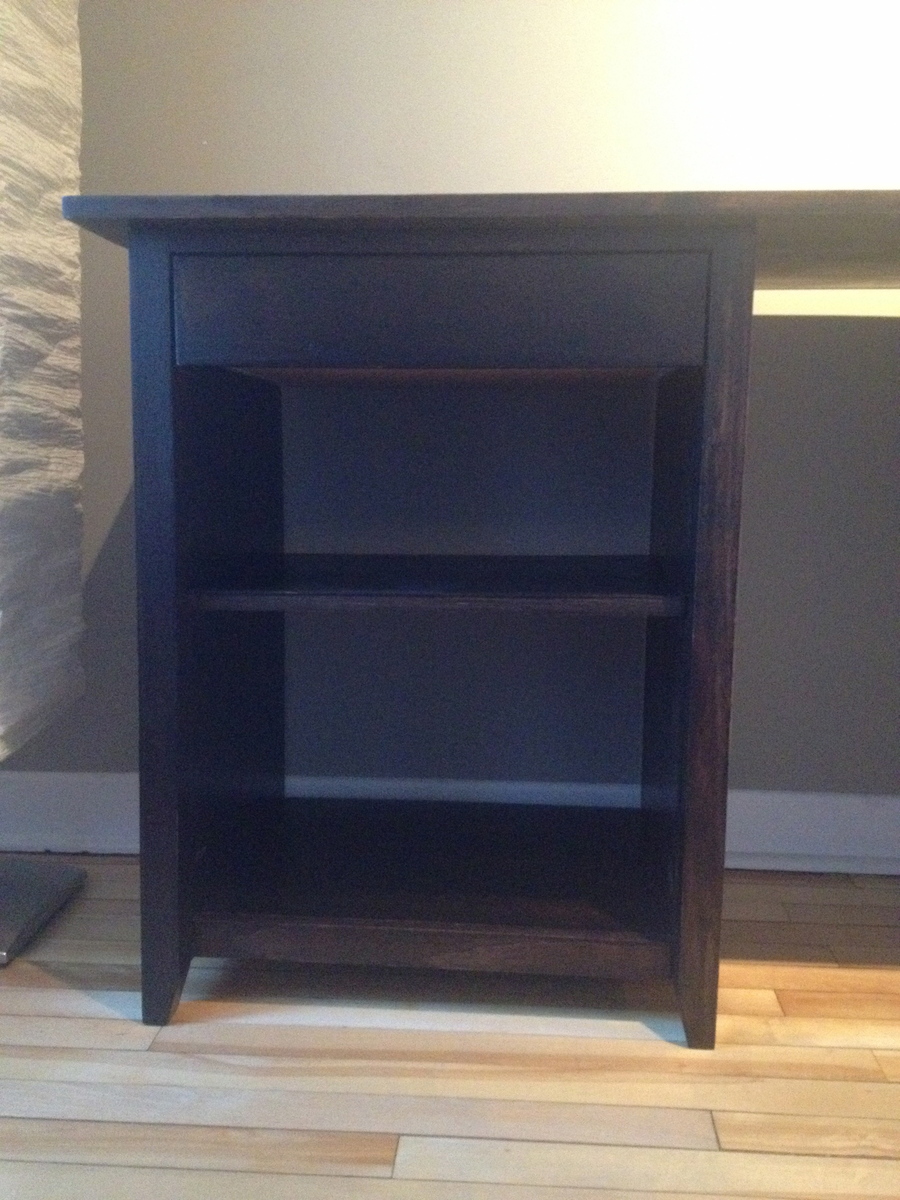
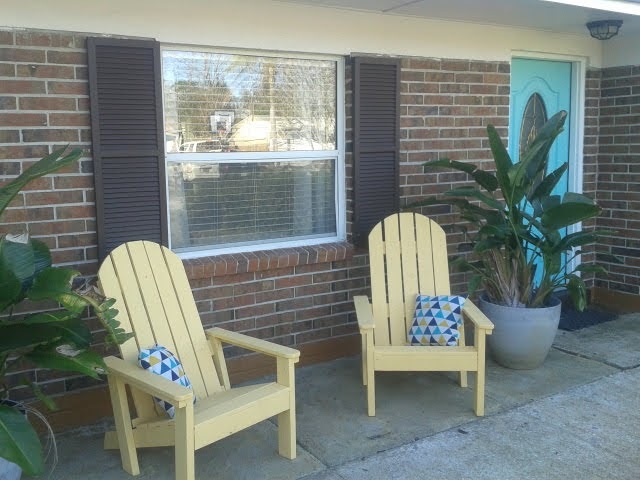
Sorry for the less than great photo! We are still unpacking and I havent found my good camera. This was a cell phone camera so I will try to post better ones later.

8 Foot Kentwood Bookshelf

Submitted by JHardaway on Thu, 09/19/2013 - 14:08

My wife loved the original kentwood plan, but wanted it....bigger. So it is 96 inches tall in total, and for the sides and shelves i used 1x16 project board from Lowes. This means that the shelves and sides are cedar, while the remainder is pine. Turned out fantastic and she loves it. I am currently building a second one to match.

Estimated time: 12 hours.

Estimated Cost
$200
Estimated Time Investment
Weekend Project (10-20 Hours)
Finish Used
Rust-O-leum ultimate wood stain "Dark Walnut". No finish.
Recommended Skill Level
Beginner

New snake enclosure

I needed a larger cage for our boa with easier access so that she would be handled more often. 

All of this project came from scrapes and items I had laying around.  3 sets of handles, 4 sets of hinges and a torch. Too much fun. 

4 recycled windows from a remodel project that I found on Craigslist  ($10/each) and a half dozen 2x2's. All complete.  

I really wish I was better at drawing,  maybe I would make up a plan one of these days. Most of my projects are just improvised as I go along. 

Estimated Cost
$100
Estimated Time Investment
Week Long Project (20 Hours or More)
Finish Used
Torched it and polyurethane
Recommended Skill Level
Beginner

Christmas for my daughter

Submitted by Anonymous (not verified) on Mon, 01/14/2019 - 22:50

I was inspired by Anna Whites post, and went to work to alter the plan to fit the space in my daughters entryway. So final size is 48” wide and 80” high.

Estimated Time Investment
Weekend Project (10-20 Hours)
Finish Used
Laytex paint and stain with triple thick varathane varnish on seat/bench lid.
Recommended Skill Level
Beginner

Low Loft Bed for Toddler

Submitted by Anonymous (not verified) on Sat, 11/12/2022 - 17:08

I built this low loft bed following Ana’s plan as soon as I found out that I was pregnant with baby #2. We needed a “big boy” bed for our 3 year old, and I couldn’t find a loft bed on the market that was priced reasonably or looked sturdy. This the biggest challenge I have taken on to date, and I was certainly sore after building. I don’t have a workbench, so I worked on the floor of my garage and used a couple of saw horses that my dad had next door. I am so proud of this and can’t wait to build more after baby boy comes!

Comments

Miter Saw Cart

Submitted by MNDadx3 on Sat, 09/21/2013 - 19:38

Great project - fun to build and helpful for wheeling my new miter saw around the garage.

I made a few modifications from the original plan:
- I used a 1x4 instead of a 1x3 for the bottom supports to add a bit more of a lip to keep things from rolling off of the shelf. The shelf is big enough to hold my small pancake compressor and ciruclar saw.
- Like others, I added a drawer (1X4 front/sides, 1/4" plywood bottom, 2x2 drawer guides).
- Like others, I went with simple strap hinges and then used some wood to support the wings when open. When closed the supports tuck neatly under the wings.
- I added some 1/4" plywood to make a back. I left enough of a gap at the bottom to be able to sneak my extension cords out to a power strip I mounted on the back.
- I made a fence extension out of a 1x4. I attached this to the left wing using wing nuts and hanger bolts so it is easy to remove if I need to. I spent time measuring carefully to make sure it lined up exactly with the saw's fence. It is nice for supporting longer boards and keeping them straight.

Built from Plan(s)
Estimated Time Investment
Weekend Project (10-20 Hours)
Finish Used
None
Recommended Skill Level
Beginner

Comments

MrCoffee

Sun, 09/22/2013 - 05:27

I love the way this came out. I believe I have your exact saw and I intend to use Ana's plan as well. Do you know how long you made the sides to accommodate the saw fence, or what your measurement was on the saw fence?

MNDadx3

Sun, 09/22/2013 - 06:54

I followed Ana's plan for the main carcass. My flip-up sides are a bit shorter than the plan, but only because I failed to follow the directions carefully and cut both of my sides from the same 24" strip of plywood (instead of a 36" and 30" per the directions) and was a bit short on 3/4" plywood. My sides are 24" long.

I made my fence extension from a 1x4. You can cut it to length so that it will fit any side.

MNDadx3

Mon, 09/23/2013 - 06:12

The deck is 3 3/4" from the top of the sides. That makes it level with the extensions when they are flipped up.

I have a 12" hitachi saw (not sliding), so if your saw is not the same then the measurements might be different.

Twin bed from rough cut red oak!

Submitted by Anonymous (not verified) on Mon, 01/21/2019 - 11:58

This is a twin bed that my son and I built for my grandson! Awesome project that we were proud of. 

Estimated Cost
$250.00
Estimated Time Investment
Weekend Project (10-20 Hours)
Finish Used
Stain with poly-simigloss
Recommended Skill Level
Advanced

Corner Cupboard

Submitted by Anonymous (not verified) on Sat, 11/26/2022 - 06:16

Finally I have made a project that is nice enough for our living room. Now I am so i spired to build more!

Built from Plan(s)

Comments

Long desk

Submitted by murphygirl on Tue, 09/24/2013 - 10:22

I was looking for a long desk for two people and wasn't able to find anything that wasn't custom. I decided to try and here it is! I now have a massive and sturdy desk I can be proud of.

Estimated Cost
$100
Estimated Time Investment
Weekend Project (10-20 Hours)
Finish Used
Stain/poly mix
Multiple coats and used steel wool between each.
Recommended Skill Level
Beginner

Comments

Farmhouse Truss Beam Dining Table

Submitted by Lantz198 on Sun, 12/06/2015 - 09:45

I changed some of the original dimensions so that it better fit my dining area. My table top is 41" wide x 87" length. To accomplish this width I used 2" x12"s for the outer boards and 2"x10"s for the two inner boards.  My inside supports were all cut to 72" (6 ft) so that we could comfortably seat 3 chairs on each side. I used 2"x4"s instead of 2"x10"s as the breadboard ends (just personal preference). I used 6" lag style screws to assemble most sections and I left the heads (black in color) of the bolts exposed for a more rugged apppearance. The top was secured through the bottom of the 4x4 using counter-sunk 4" screws and 2" pocket screws for the 2"x4" cross boards. I distressed the entire table and sanded smooth.

Built from Plan(s)
Estimated Cost
All together I would put the price around $230-$250 to complete.
Estimated Time Investment
Weekend Project (10-20 Hours)
Finish Used
Finally the stain is Minwax Ebony and 3 coats of Minwax Helmsman (Satin) from Home depot. Must sand between each coat.
Recommended Skill Level
Intermediate

My Rustic X Coffee Table

Submitted by Anonymous (not verified) on Sat, 01/26/2019 - 08:33

Rustic X coffee table I built from the plans on this website. This is the first piece of furniture I’ve built.

Built from Plan(s)
Estimated Time Investment
Weekend Project (10-20 Hours)
Finish Used
Walnut Finish
Recommended Skill Level
Beginner

Doll farmhouse bed as a present

Submitted by fethiye on Thu, 09/08/2011 - 15:19

Built this cute doll bed for a friend's daughter's 3rd bday. I hear she loves it :)

The bedding (which took the longest) was made from my stash, followed loosely the plans at
http://fromanigloo.blogspot.com/2010/11/dolly-bed-fitted-sheet.html

and http://fromanigloo.blogspot.com/2010/11/dolly-pillows-and-pillowcases.h…

I wish I had a nailer; this project would have been faster with that. Predrilling etc took more than I care.

Mostly used left over 1x3s, and the rest was brand new pine.

Estimated Cost
$10
Estimated Time Investment
Day Project (6-9 Hours)
Finish Used
Oops beige paint, tinted with some crazy pink I had to make my own pink mix.
Recommended Skill Level
Starter Project

Table and chairs for my grand daughter

Submitted by Dan Craw on Thu, 12/10/2015 - 18:19

This was a fun project to build! The plans were very easy to follow and the table and chairs turned out just like they were supposed to. I ended up buying a Kreg jig to put the furniture together. The jig cost $40.00 at Home Depot and it was well worth it because I'll be able to use it on other projects. The plans showed the furniture being prepped and painted but my daughter wanted the pieces to look close to their dining room table so I took the time to stain and varnish them. I built the table and chairs out of pine and I used average dimensional lumber so the whole project only cost around $35.00. If you're looking for good children's furniture these would be good to build.

Estimated Cost
$35.00
Estimated Time Investment
Weekend Project (10-20 Hours)
Finish Used
Minwax Cherry #235 Stain - 3 coats

Minwax Helmsman spar urethane Clear Semi Gloss - 2 coats
Recommended Skill Level
Beginner

DIY twin bed

Submitted by Anonymous (not verified) on Fri, 02/01/2019 - 01:04

Fun and easy. Bed is extremely sturdy. I used pocket screws for all four corner connections.

Built from Plan(s)
Estimated Cost
$125ish.
Estimated Time Investment
Weekend Project (10-20 Hours)
Finish Used
Varathame early American stain, with clear satin poly.
Recommended Skill Level
Beginner

Farm House Table and Benches

Submitted by markelll on Mon, 09/12/2011 - 09:28

I wanted a big rustic farm table, didn't want to drop thousands on one from a store, so I decided to make my own!

I built it in the (formerly empty) dining room, with tarp on the floor and plastic to seal the doorways.

Was a big project and my first project so I started with the benches as this site and users recommended.

I used the farm house bench plan - just shortened the dimensions so that I could have two benches on either side of the table. Then I merged the two table plans so that I could have the top with the bread boards but legs that attached underneath (like the rustic table) so that they could be removed when we move. I'll work to upload my plans too.

Used Minwax Wood Stain in "english chestnut" and Deft Satin Wood Brushing Lacquer (instead of a Polyurethane).

Estimated Cost
approximately $300 (for wood, finish, sand paper, stain, screws..)
Estimated Time Investment
Week Long Project (20 Hours or More)
Finish Used
Minwax "English Chestnut" and
Deft Satin Wood Brushing Lacquer to finish.

I prepped the wood by sanding it down to 220 (could have done an even better job sanding, and sanded the table and bench tops even finer).
Used a sponge brush to apply the wood stain, wiped off rather quickly (only a few minutes on the wood).
Used brush to apply Deft Sating Wood Brushing Lacquer. Used spray can of Deft when I ran out of liquid. Didn't go on as thick. Although using a brush is more of a hassle, it had a better coat.
Recommended Skill Level
Beginner

Comments

Guest (not verified)

Sun, 09/25/2011 - 12:18

Your use of short benches makes the set more family and guest friendly. I usually hand rub my finish, I think i want to build this and probably use 0ak 2X12's (know it will be heavy).

Suggestions?

I will use it on a Florida roofed concrete deck for an outdoor dining area. Typically more formal dinners. Deck overlooks beautiful cove.

Guest (not verified)

Thu, 10/13/2011 - 11:00

Can you explain how you merged the plans to add the bread boards? I would love to do the same!

Jeff (not verified)

Fri, 06/01/2012 - 09:09

This is exactly what I am looking for in a table to build. We want bread boards on the end and we don't want stretchers on the bottom. How did you combine the two to do this. Can you send me a copy of your plan? [email protected]

Kimberly Dassel (not verified)

Sat, 08/04/2012 - 13:35

Could you please send me the plans for this table? I love it and would love to attempy making it. Thanks so much!

Joe (not verified)

Wed, 01/02/2013 - 15:53

Your farm table and benches were exactly what I was looking for. Please send me the plans if they are available. Thanks

Faye Sawatzky (not verified)

Wed, 01/02/2013 - 19:23

I would love a copy of the plans for this gorgeous table you made. I am inspired.

Kelly Lucas (not verified)

Tue, 01/22/2013 - 15:26

Would love, love the plans for this project if you are willing to share. Many thanks! :)

danno2084

Fri, 01/25/2013 - 20:57

I'm sure you've heard this a hundred times already, but we've been looking for a very long time for a table like this. We would also love the plans if you're sharing. Thanks for the great blog!

jsh2001

Tue, 01/29/2013 - 07:47

Getting ready to build my own and now you have me thinking I prefer this design with no stretchers on the bottom. Looks great!!!

Mammavof3

Sat, 03/16/2013 - 20:12

Can I please please please have the plans? I have a very narrow dining area and this table is PERFECT. Thanks

PorkyPok

Wed, 05/08/2013 - 13:30

I too would really love/need these plans. PLEASE. Thanks :)

Cbreck21

Sun, 05/12/2013 - 14:30

I would REALLY like the plans for his version as well. I am going to combine them. Can someone ask him to post or his he sending via email? If so, [email protected]

Thank you SO much!!!

wendykeeler

Mon, 07/15/2013 - 09:48

just bought a cabin and need all sorts of furniture. I love what you did and would sure love to have your plans and how you merged the two----both for the table and especially for the benches. Trying to do a 10' table for huge family gatherings. Thanks so much! You rock!

Sarina88

Tue, 07/23/2013 - 14:28

This table and bench set is exactly what I am looking for. You did such a great job!

Do you have plans that you wouldnt mind sending to my email? [email protected]

KailuaGirl

Fri, 09/06/2013 - 14:25

Hi There!
It seems like there are no replies to the many requests for the merged plans.
I'm guessing he used the top of one set of plans and the bottom portion of the other set of plans?? I will attempt to tweak myself..
Good Luck!

markelll

Fri, 01/09/2015 - 19:54

Hi everyone,
Well I didn't see all these comments! Sorry to have ignored your requests for plans!

This is the bench I made (I did four of these, and adjusted the measurements so they were each about 40" long)
http://ana-white.com/2011/01/farmhouse-bench

I was going to do this table, because it matches the benches, but decided I wanted a table with removable legs so it would be more maneuverable when we move!
http://ana-white.com/2009/12/plans-farmhouse-table-knock-off-of.html

I ended up using more of this plan in terms of how I assembled it, but adjusted the plans to have the tabletop include breadboards (the plank on top perpendicular to the long tabletop planks) and I used 4x4s for legs, plus the top was from 2x8s not 1x10s. I put in the optional cross supports too, and additional supports under the breadboard to connect it to the table frame and table top slats.. this is more info than you need, all to say, plans are flexible and you can do what you want!
http://ana-white.com/2010/03/plans-very-rustic-table-and-cool.html

Sorry I don't have detailed notes. I was very picky about the dimensions (based on space) and how high I wanted the table (about 1.5" taller than a normal table). I also measure the distance between the underside of the table and the tops of the benches so I could cross my legs under the table (an odd requirement).

Happy Building!

brentlbg

Wed, 04/01/2015 - 15:10

I like the english chestnut stain. That works so well with this type of lumber. Great job. I plan to use the same stain on the Tryde coffee table I am building. Thanks for sharing your work!!!

Dark Stain Channing Desk

Submitted by ecordon on Sun, 09/29/2013 - 11:41

My first big project! Decided to make two cabinets and drawers to make the desk more symmetrical and a better fit to the room. Also decided to go without the knobs and bottom trim under the drawers so that I could just pull them out from the lip underneath. Just a personal preference for me.
I definitely had lots of fun building this desk!

Estimated Time Investment
Weekend Project (10-20 Hours)
Finish Used
1 x Minwax Prestain
2 x Minwax Dark Walnut Stain
2 x Minwax Polycrylic Finish
Recommended Skill Level
Intermediate

Barn Door Console

Submitted by raybotelho on Tue, 12/15/2015 - 15:36

$

Built from Plan(s)
Estimated Time Investment
Week Long Project (20 Hours or More)
Finish Used
Marea baja by SW and weathered oak by minx for the top
Recommended Skill Level
Intermediate

Comments

U881999

Sat, 02/13/2016 - 05:04

Your console looks wider than some of the others and exactly what I am looking for. Can you provide the dimensions of your console; including the dimensions of the doors? Where did you find your hardware. Thx. 

raybotelho

Fri, 02/26/2016 - 14:28

I made mine 10ftL x 36"H x 24"D. I put the hardware together with different pieces form lowes/home depot. I built the doors after having the whole console already done, so it would fit perfectly.

Adirondack chairs with funny back legs

Submitted by Anonymous (not verified) on Wed, 02/06/2019 - 07:45

The project was easy and fun. The plans are perfect, provided you follow instructions. I assembled the back legs backwards and that complicated the instalation of the back rest. I liked the result in the end.

Estimated Cost
~ $100 for the pair.
Estimated Time Investment
Weekend Project (10-20 Hours)
Finish Used
Exterior Behr Marquee Matte
Recommended Skill Level
Starter Project