2x4 Hallway Bench with Coat Hooks and Shelf
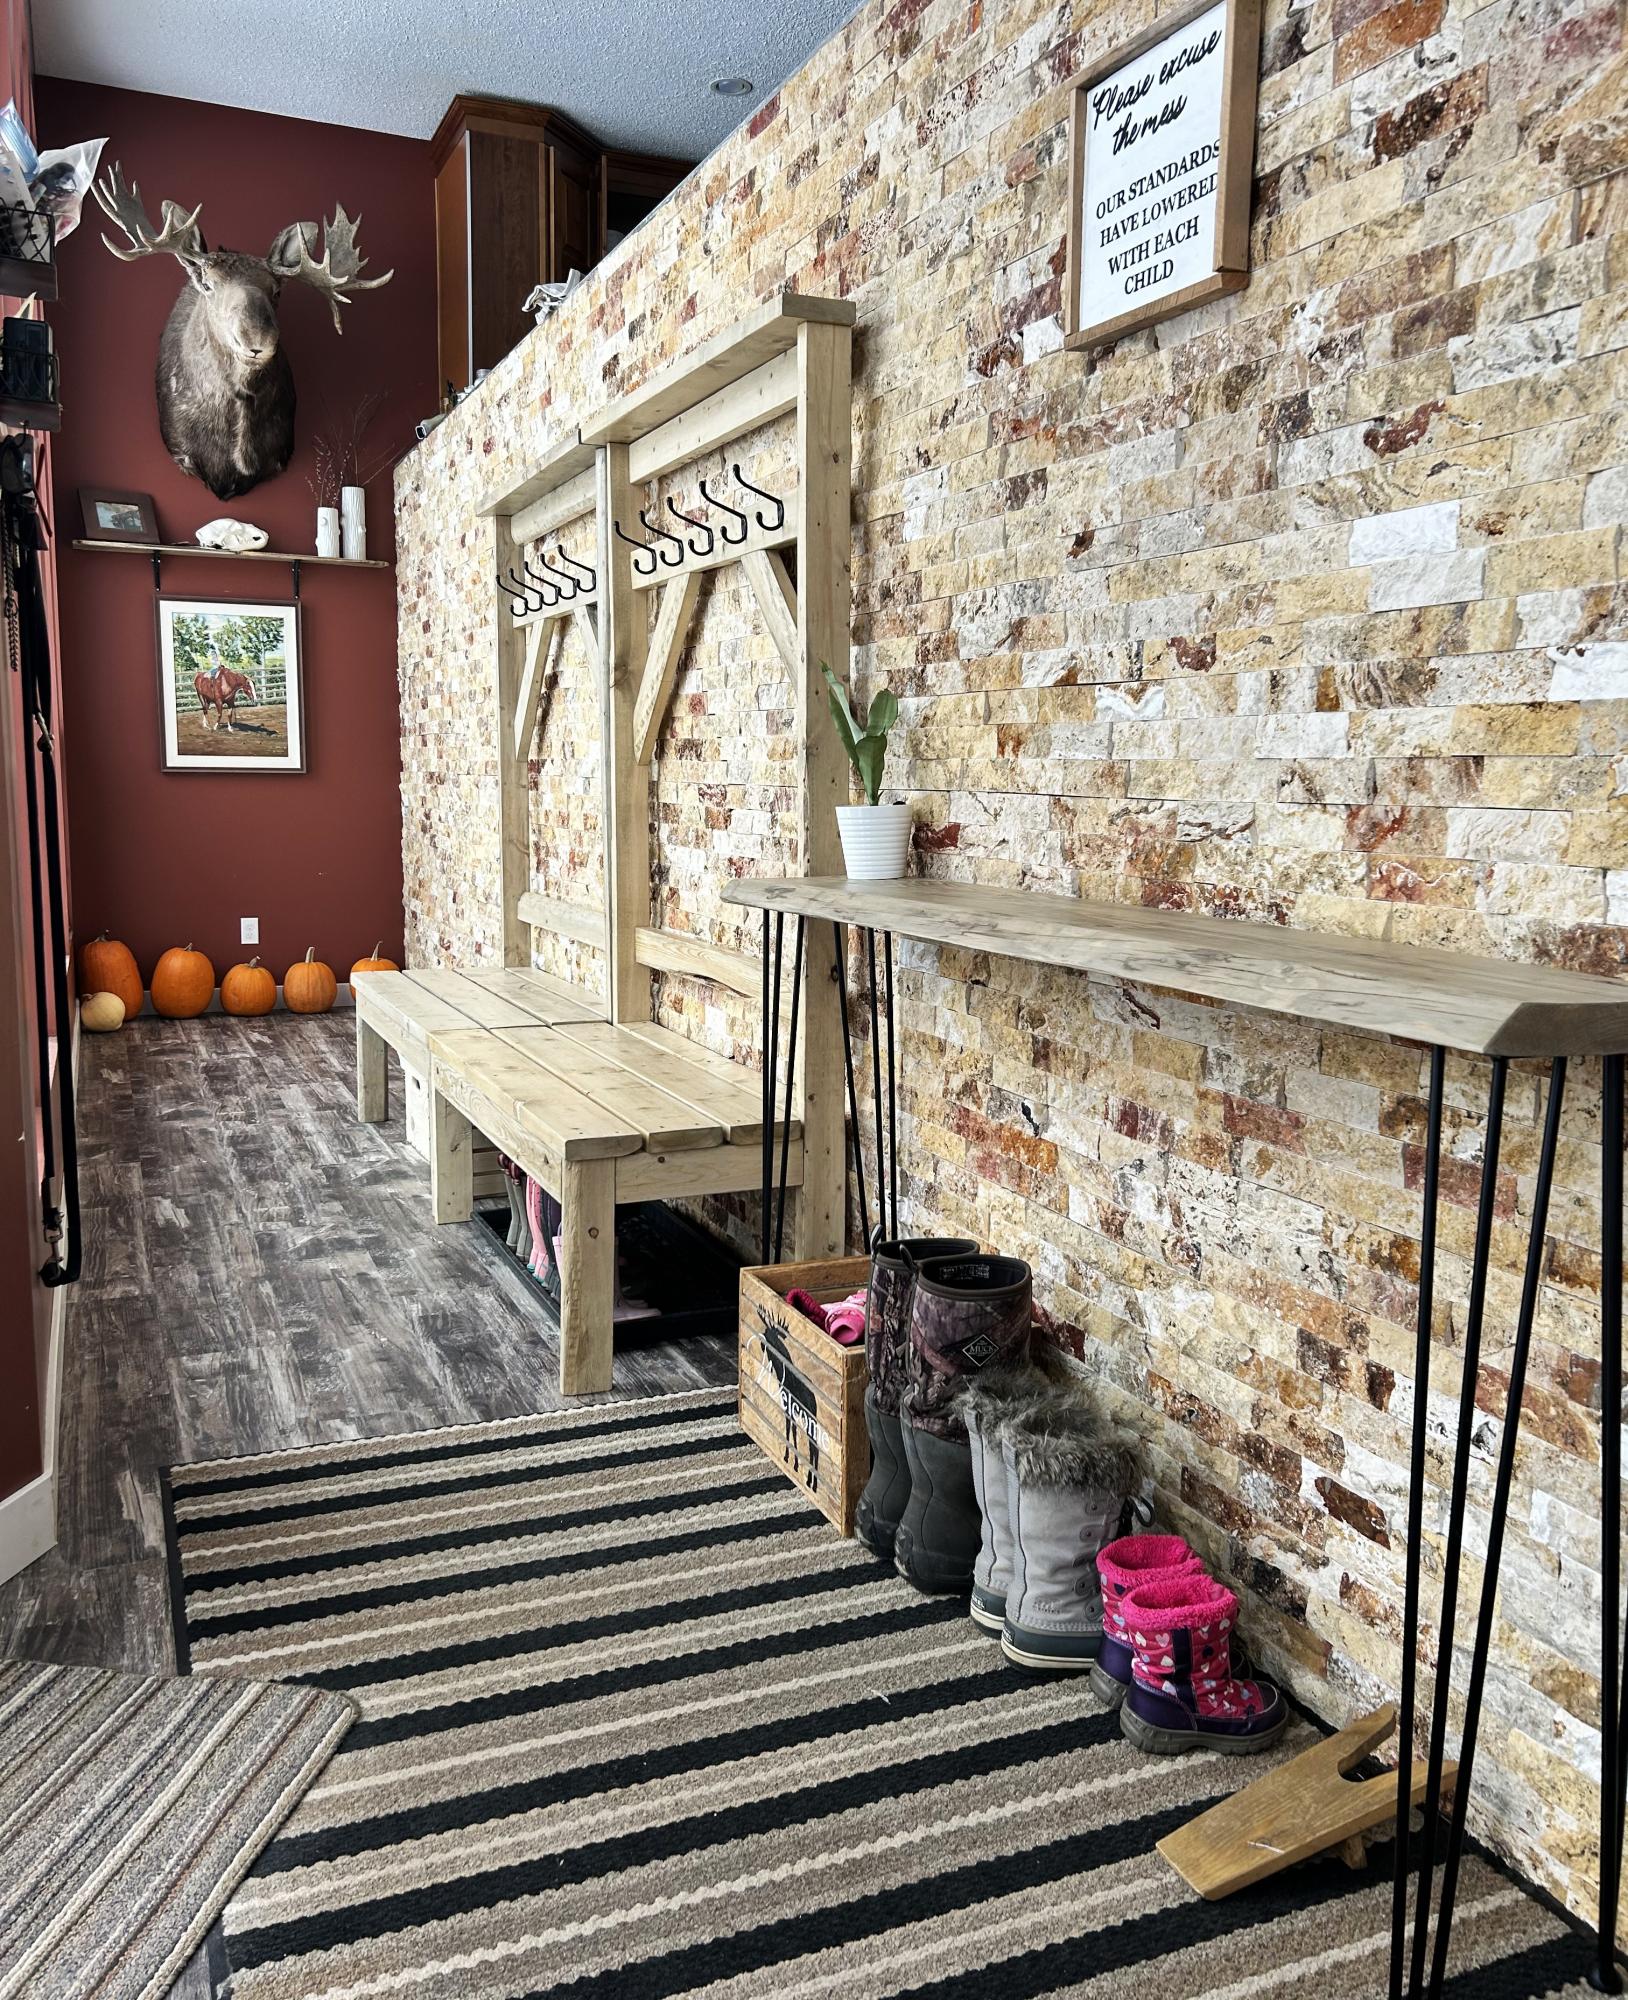
Using your entryway bench plans I made 2 of these. They are the envy of everyone who visits!
Brittany M
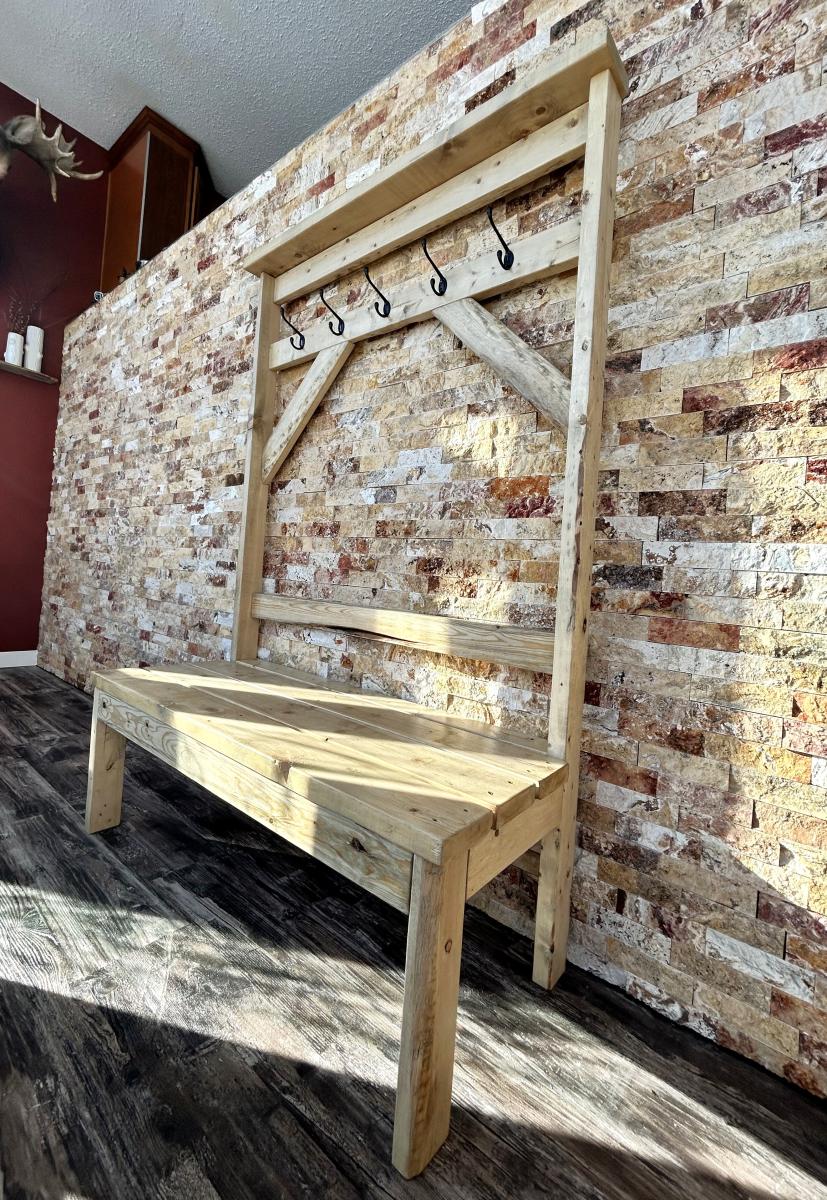

Using your entryway bench plans I made 2 of these. They are the envy of everyone who visits!
Brittany M

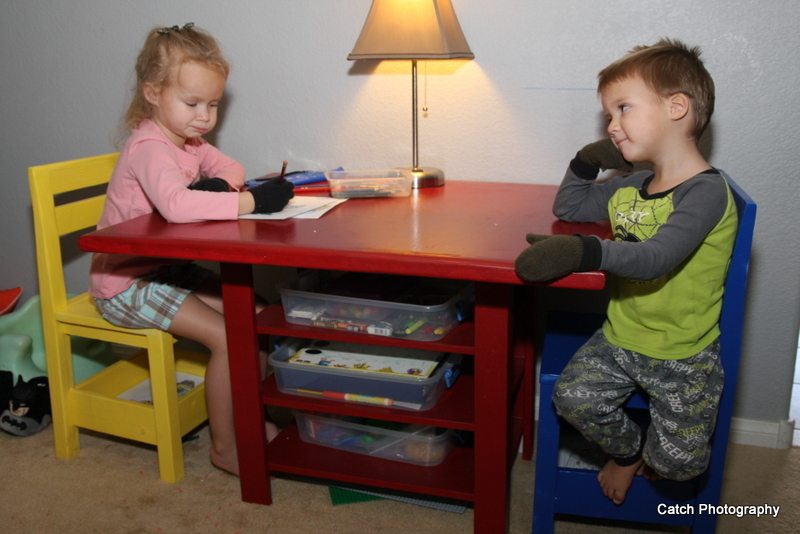
I wanted a table with storage, I added a couple extra "shelves" This was the easiest design to do this with. Just be sure to add from the top shelf to the bottom if you are using a Kreg Jig. You might want to pre-paint also . My shelves are 5 inches apart to fit perfectly my little flat style containers for art stuff and playdough.
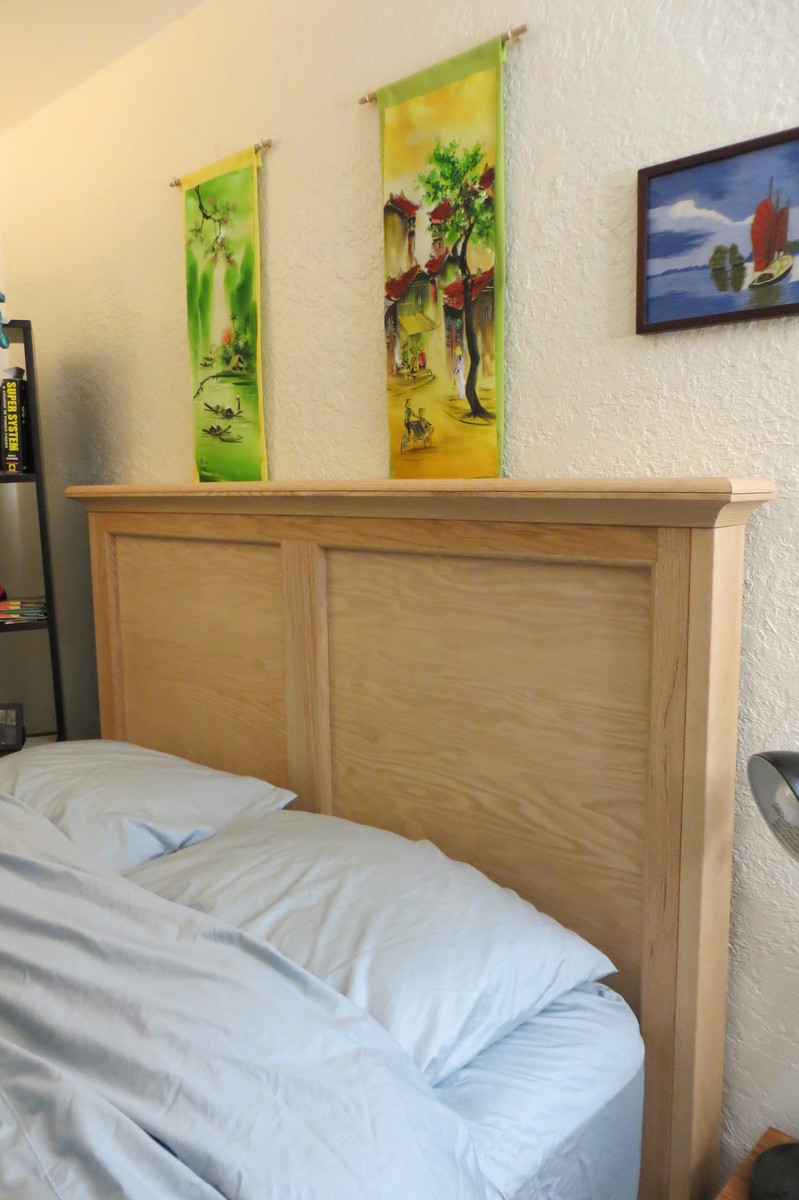
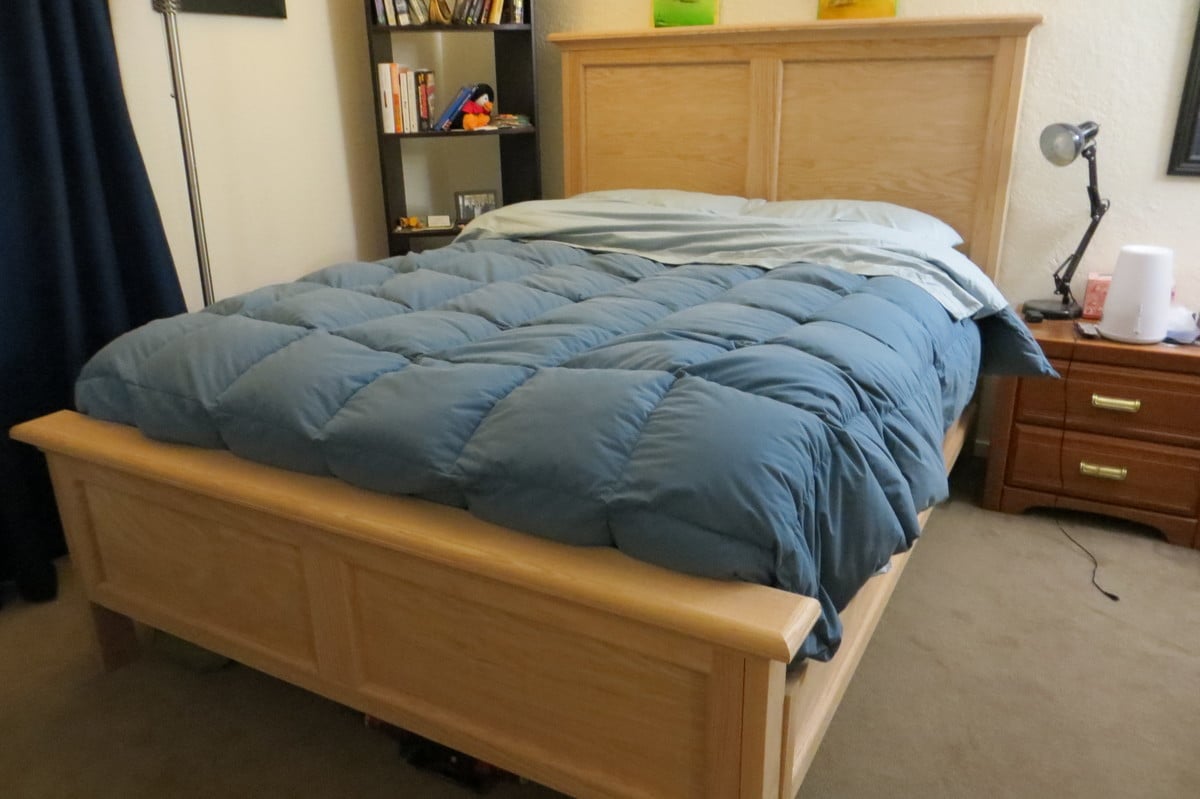
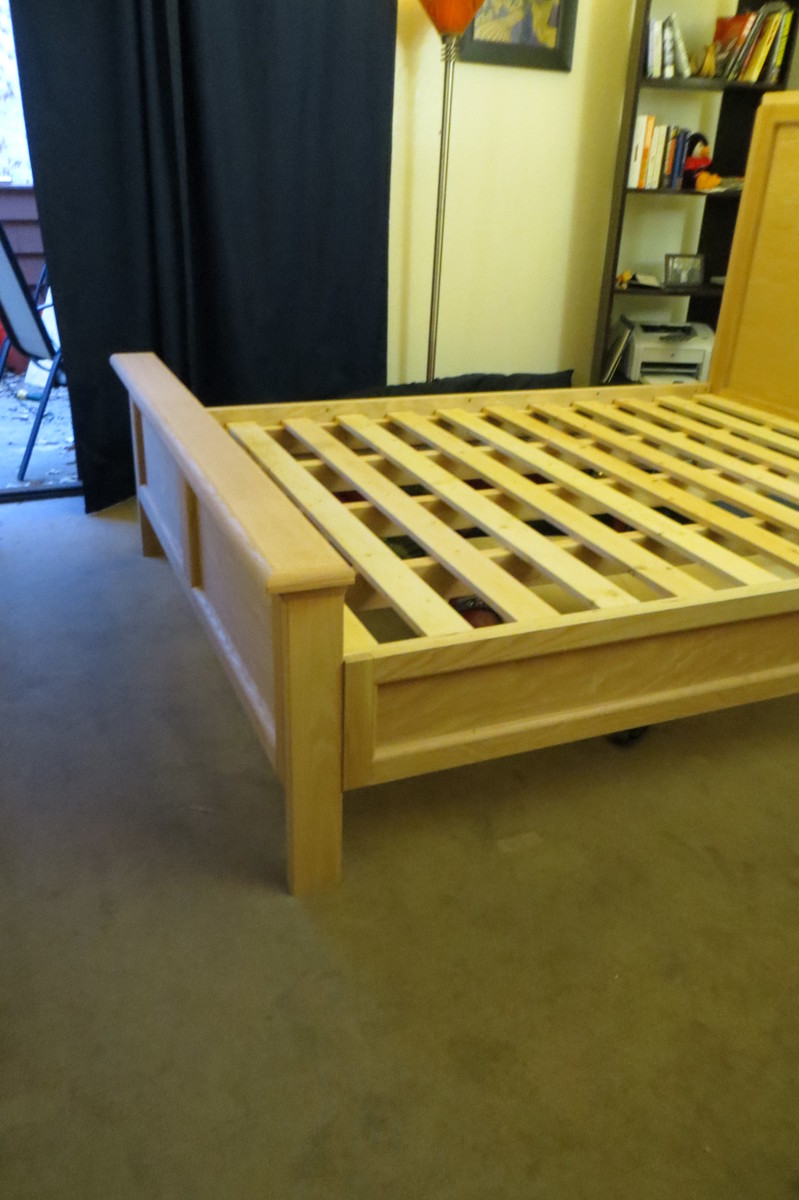
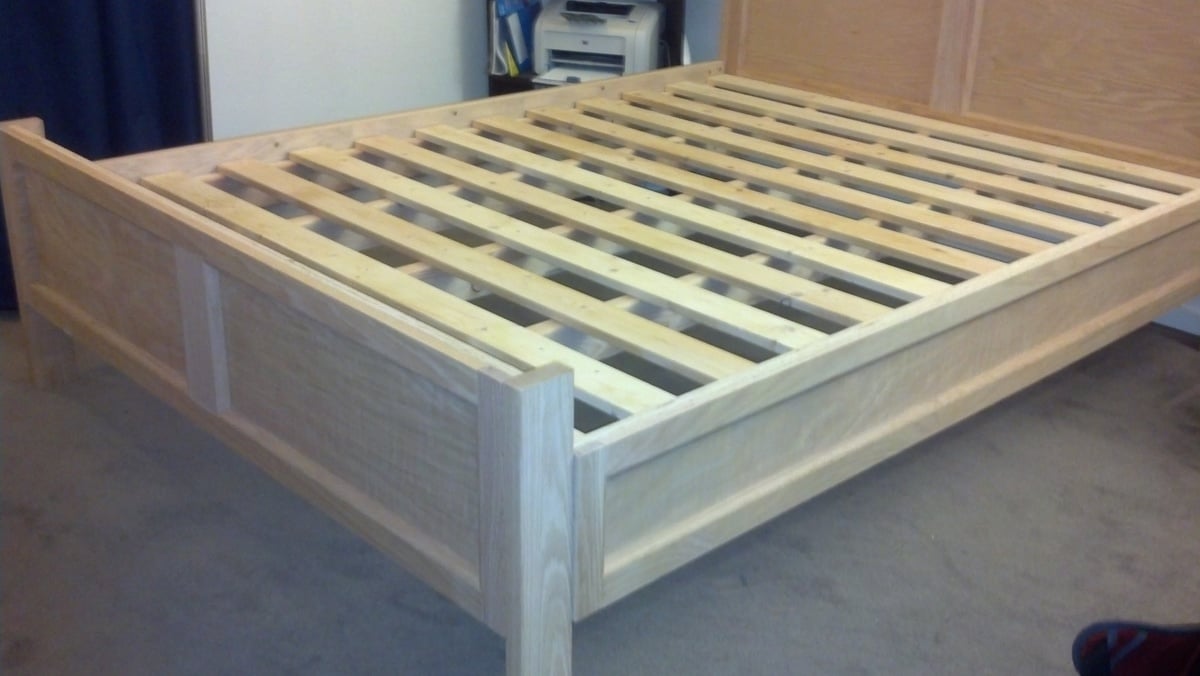
This was my second big project and I went ALL out! I was inspired by the modified farmhouse bed, but completely modified it to look like the Hudson bed from Pottery Barn. I designed it completely on my own too. All of the exterior is oak and the frame is fir and pine. This bed is super sturdy and sleeps great!
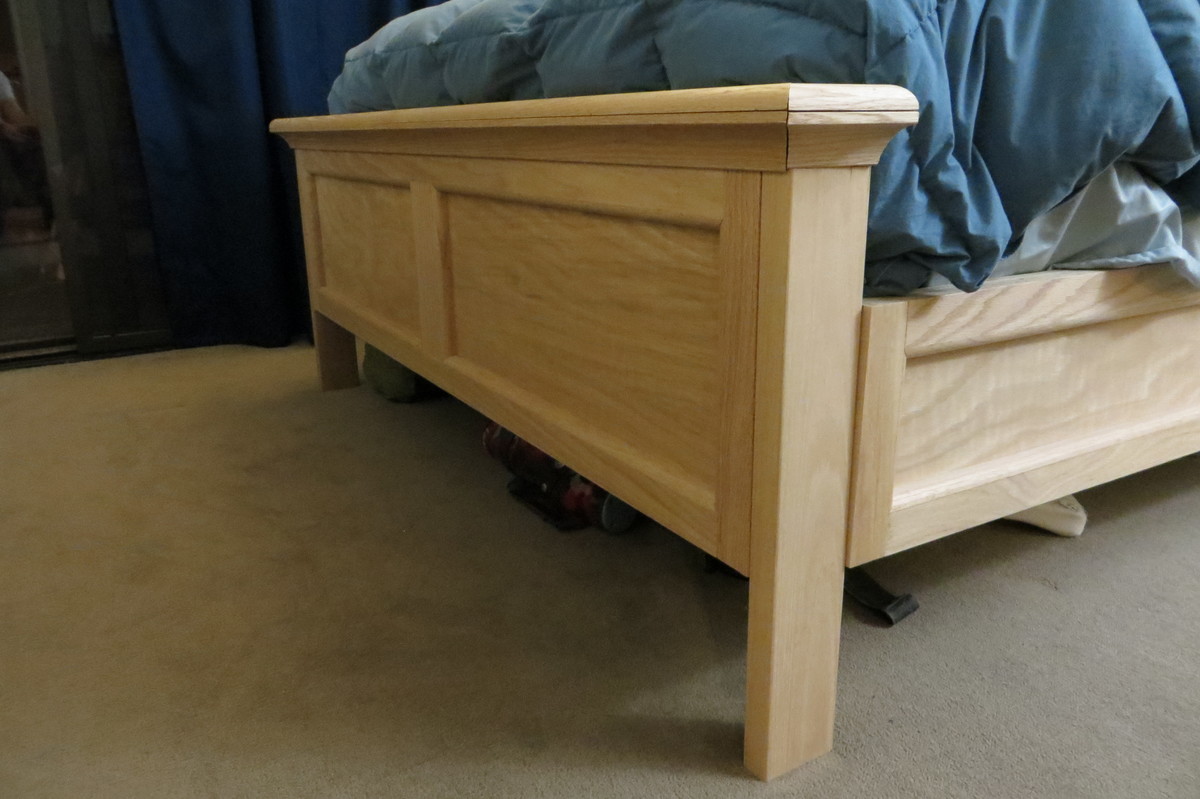
The sides, footboard, and headboard are made from oak plywood outlined by oak 1x2 and 1x3. Then added 1/2"x3/4" oak shoe molding for the indentations. The top of the footboard and headboard has 1.5" cove molding topped with quarter-round.
The total cost of all the material was $430. But I have enough leftover oak plywood to make a matching night table. I still need to stain it, but I love the raw oak smell and feel.
My only tools to create this was a circular saw, drill, screwdriver, miter box, and sander. The frame itself took only a few hours. All of the hand cutting of the molding and careful angles took most of the time (20+ hours) since it was my first time ever doing anything like this. The cove crown molding was especially difficult.
So....what color should I stain it?
Sat, 11/10/2012 - 12:30
Beautiful! I love my farmhouse bed too. Doesn't it feel so good to cozy up into something to sturdy and know you made it with your own two hands? I don't know if it goes with the rest of your furniture, but I like the blonde color it is now. Maybe just seal it with Polyacrylic or wax so it doesn't yellow?
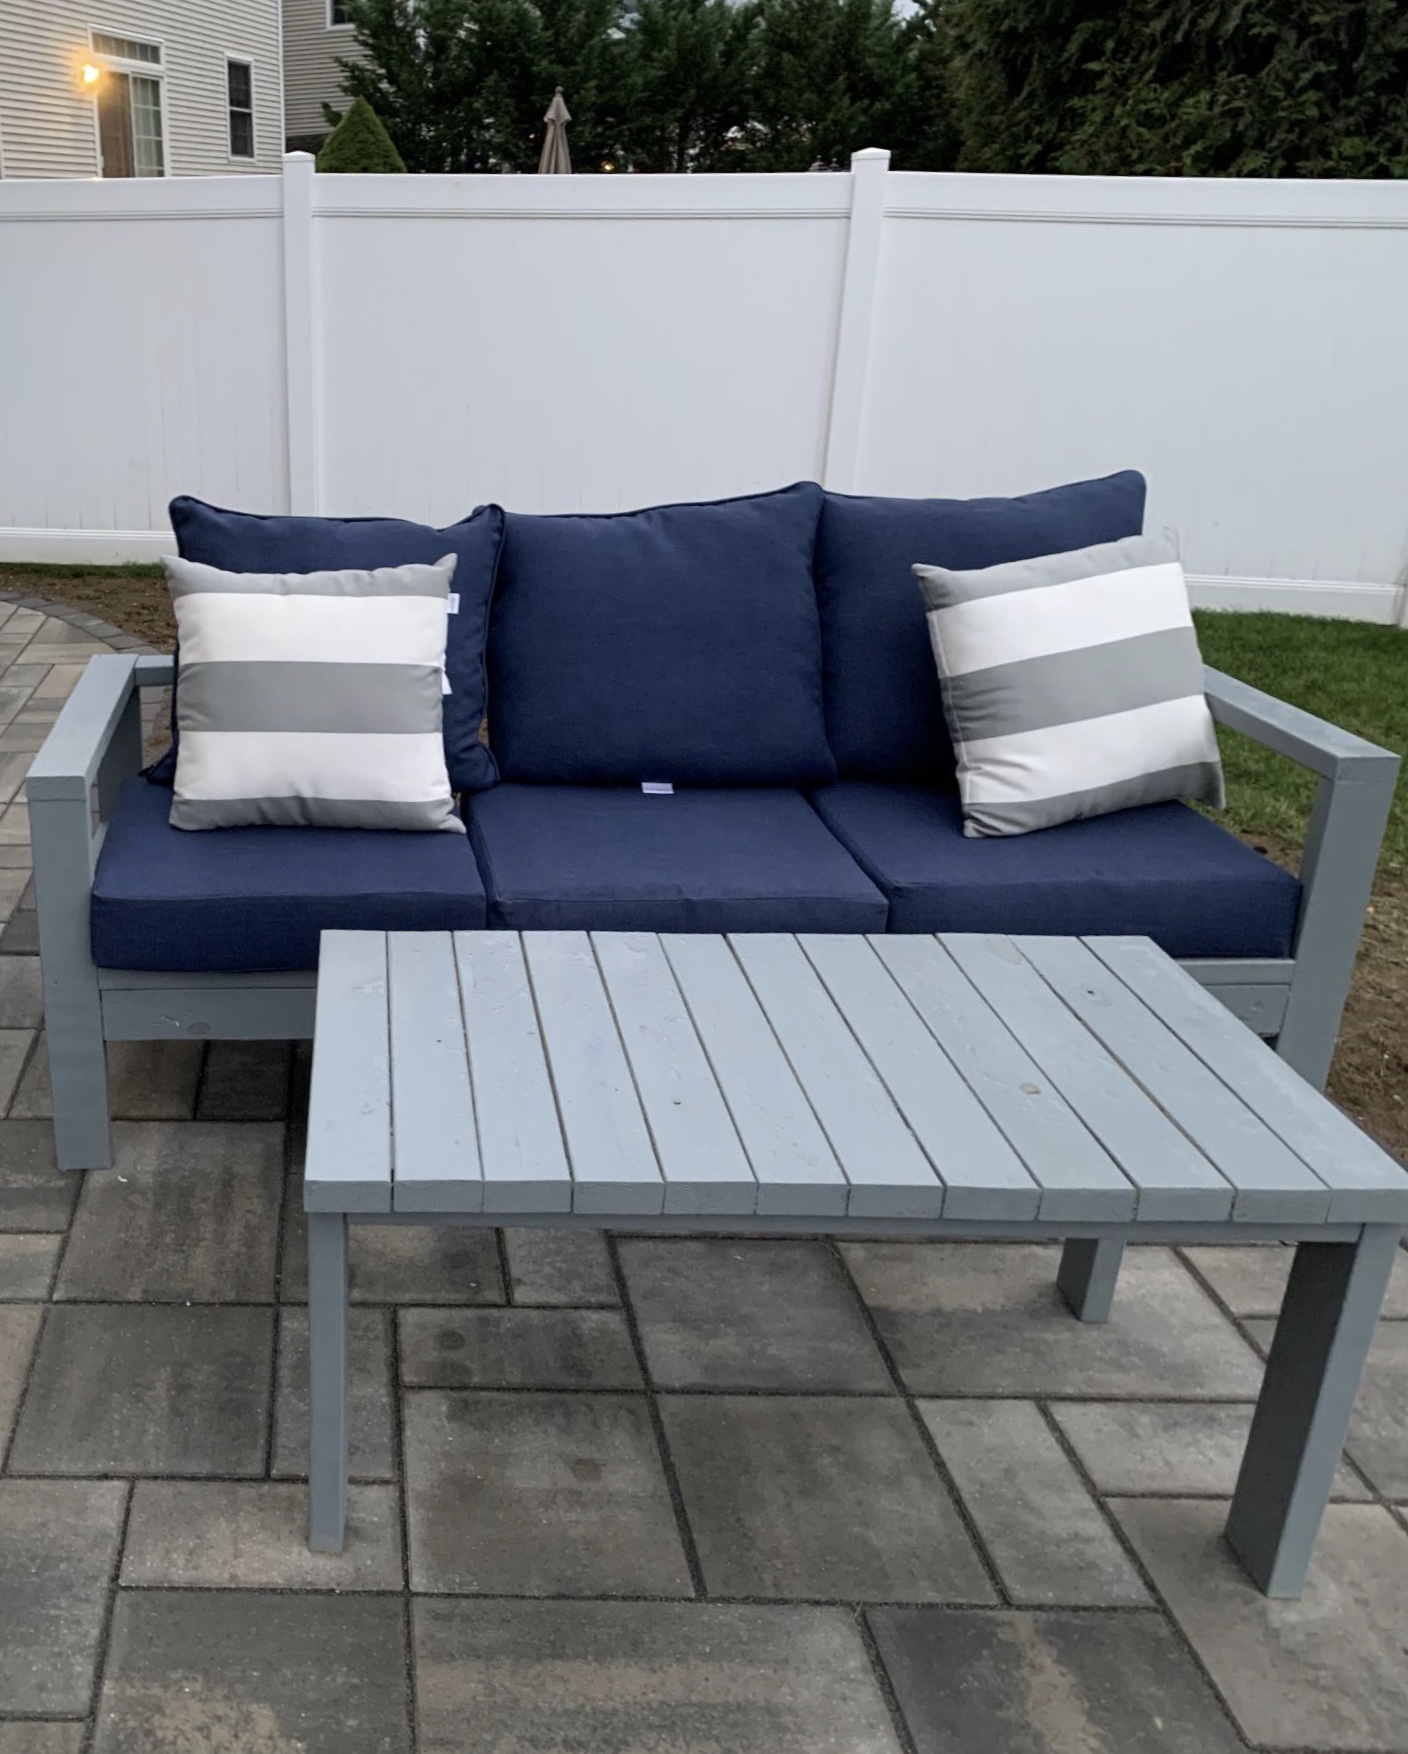
First DIY project ever. Came out so good I built another
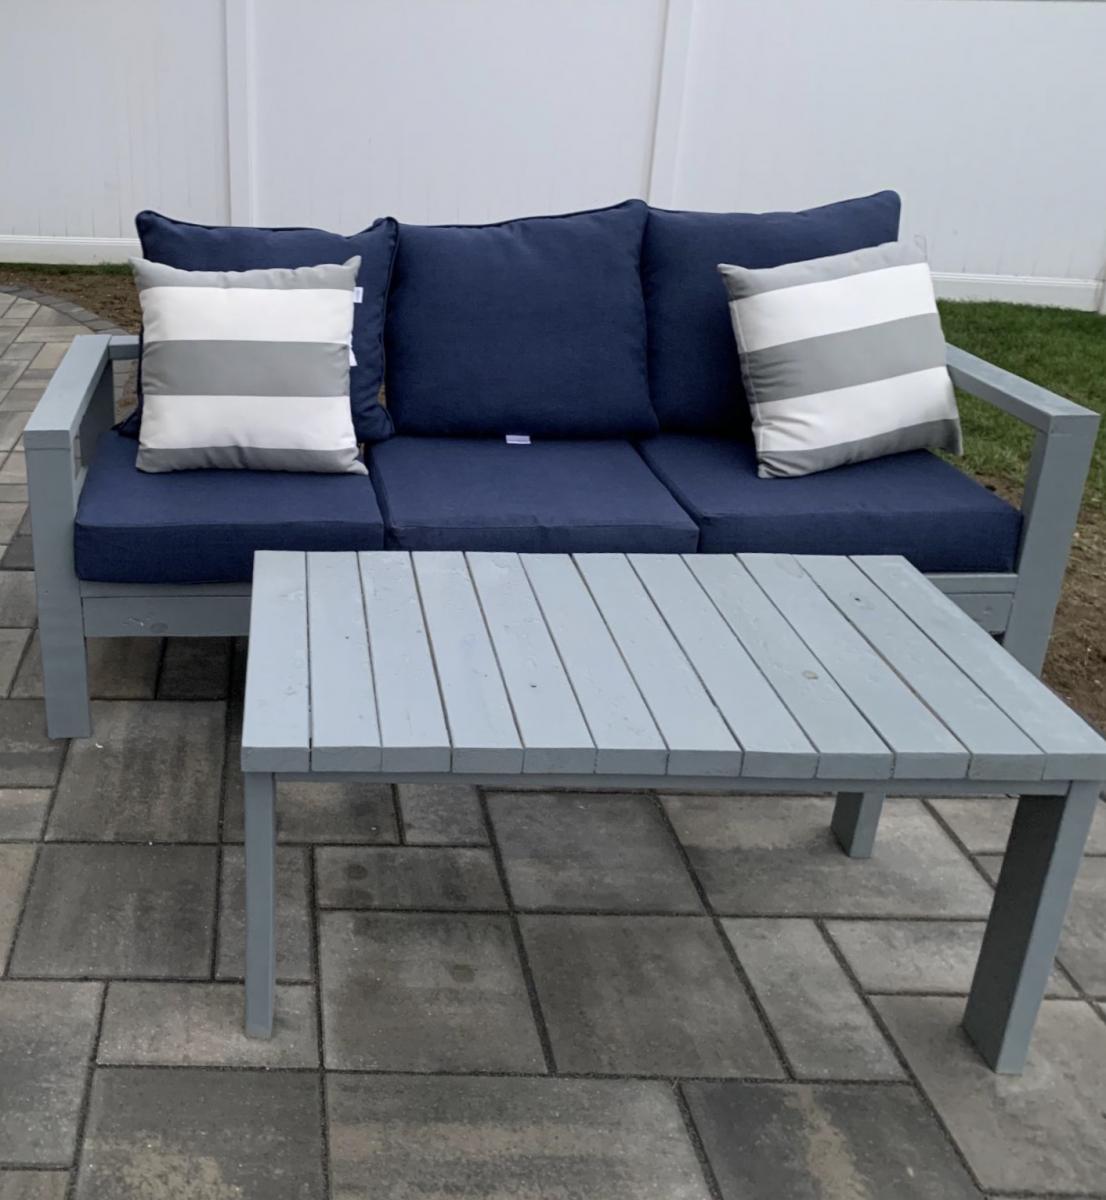
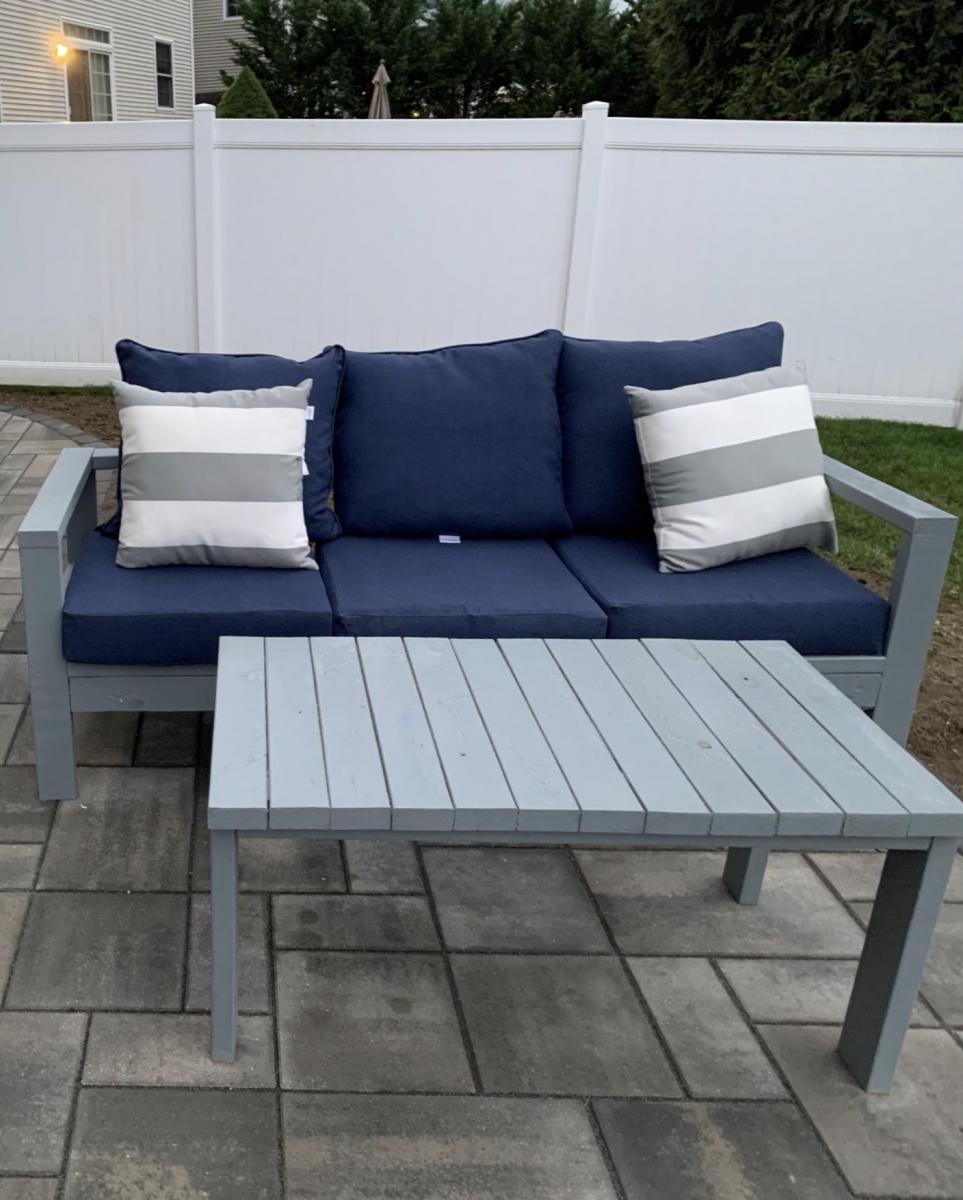
Thank you for the plans! It came out great.
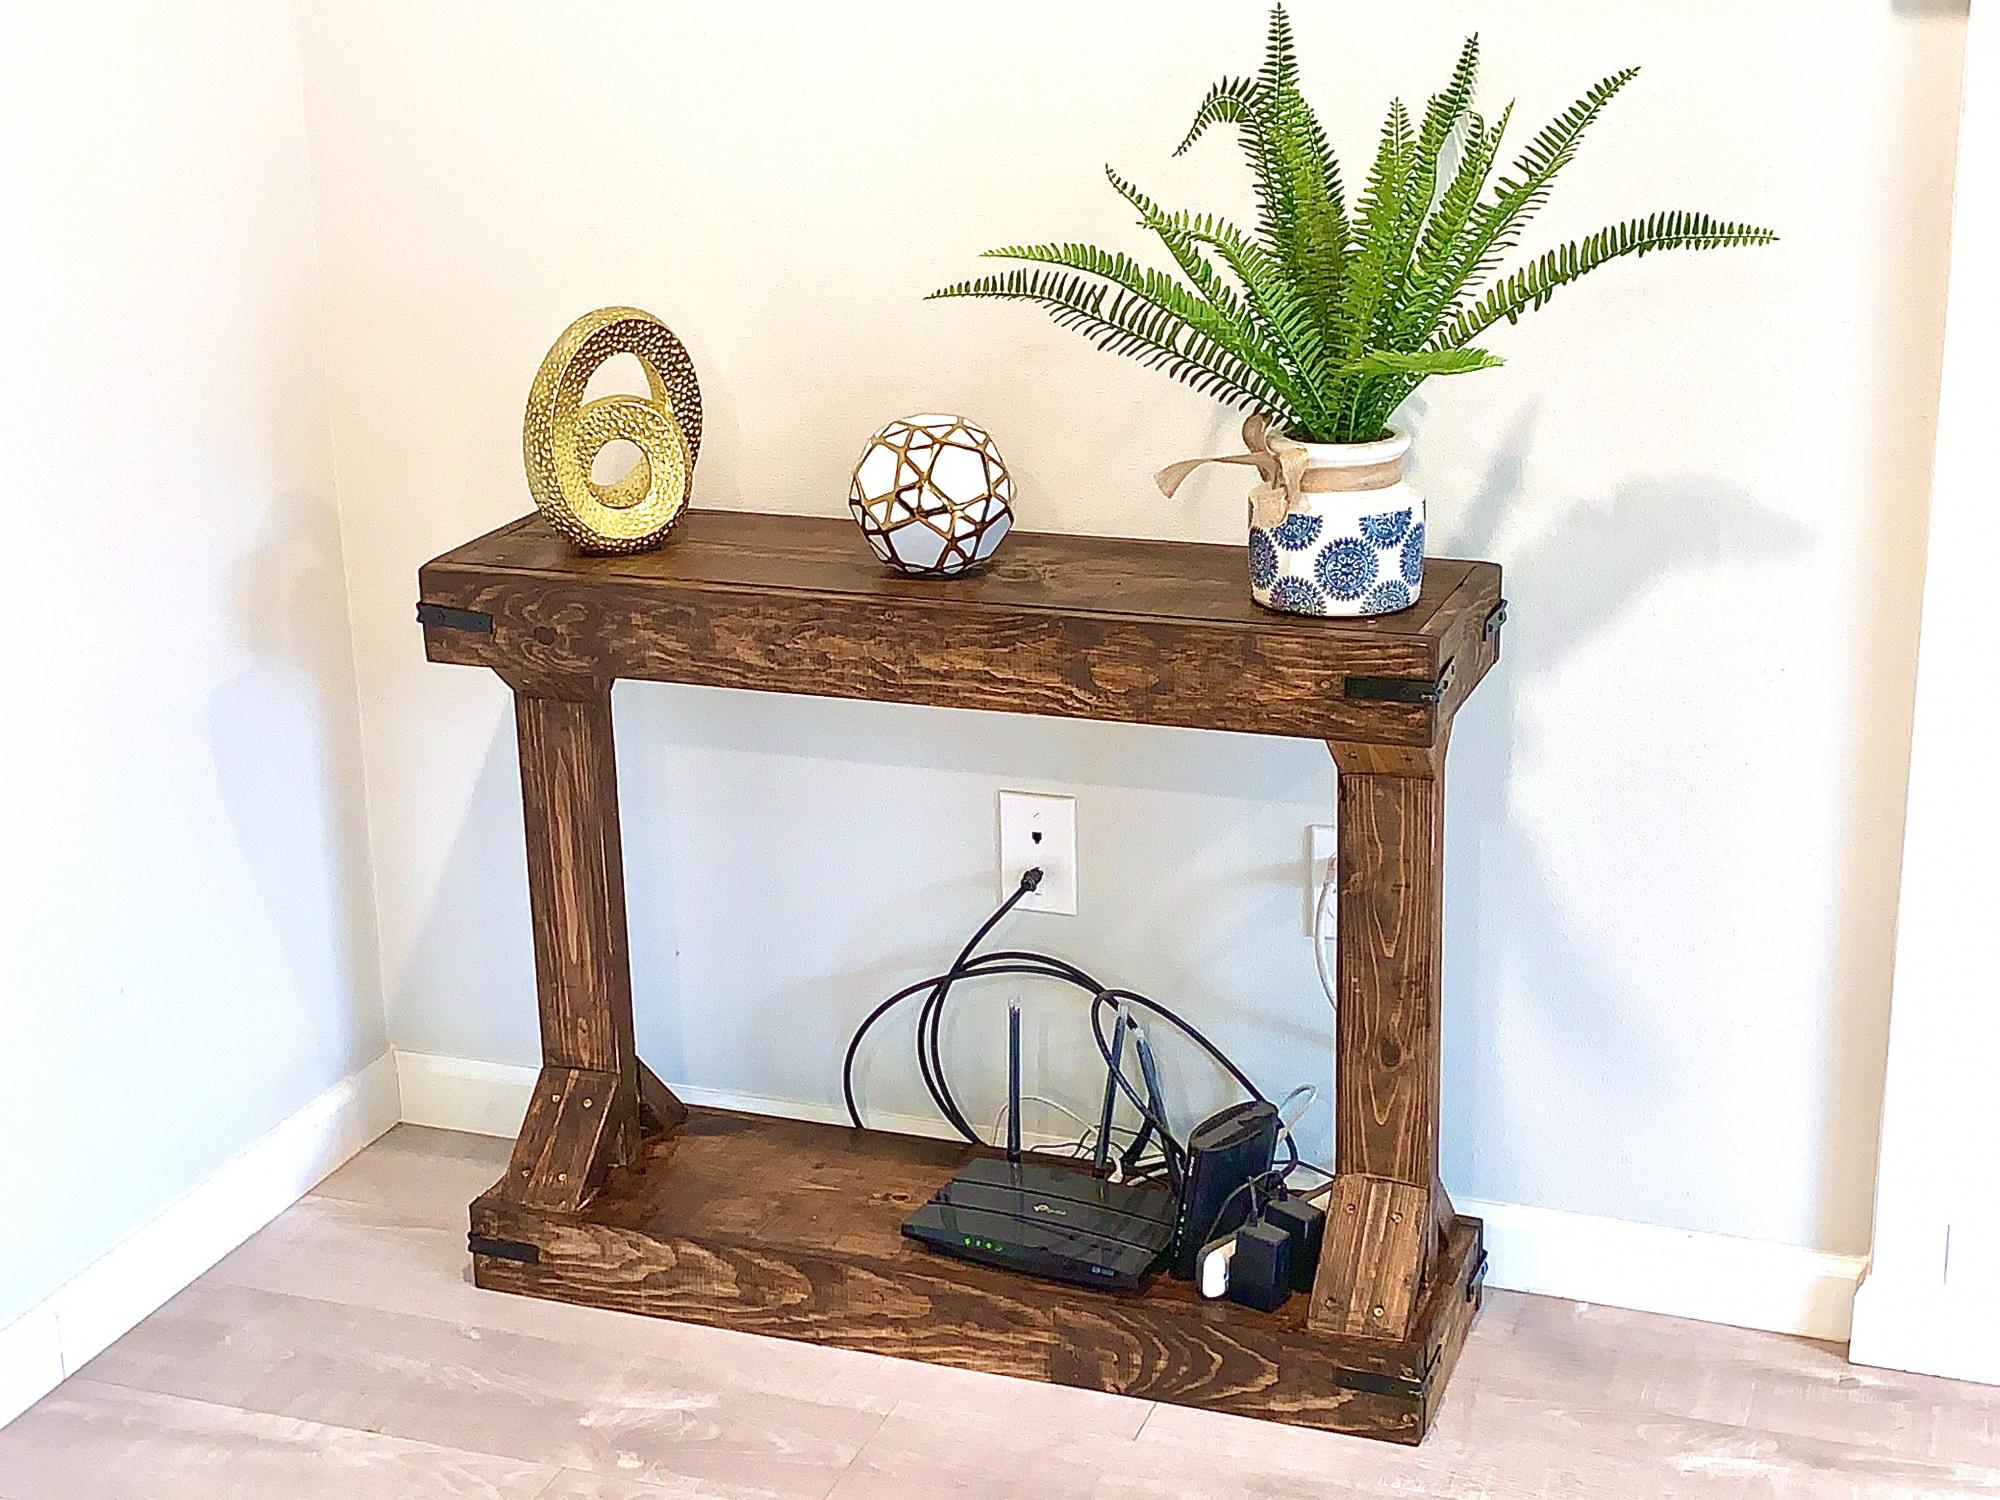
Thank you for sharing your plan. It was a great experience!
Wood Type: Cedar
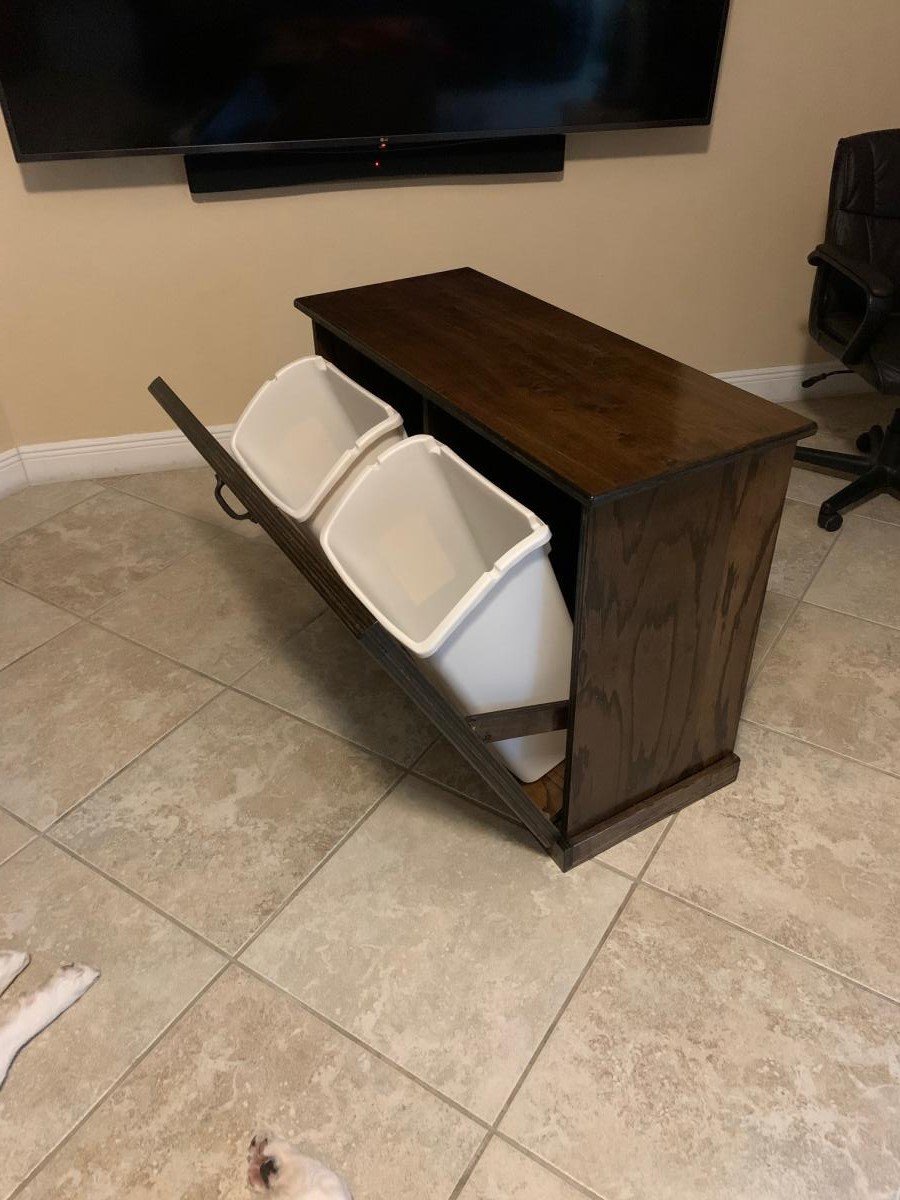
Tilt Out Recycling Center to match the floating desk and barn door in the same room. Great project from the recycling center plans. (slight modification)
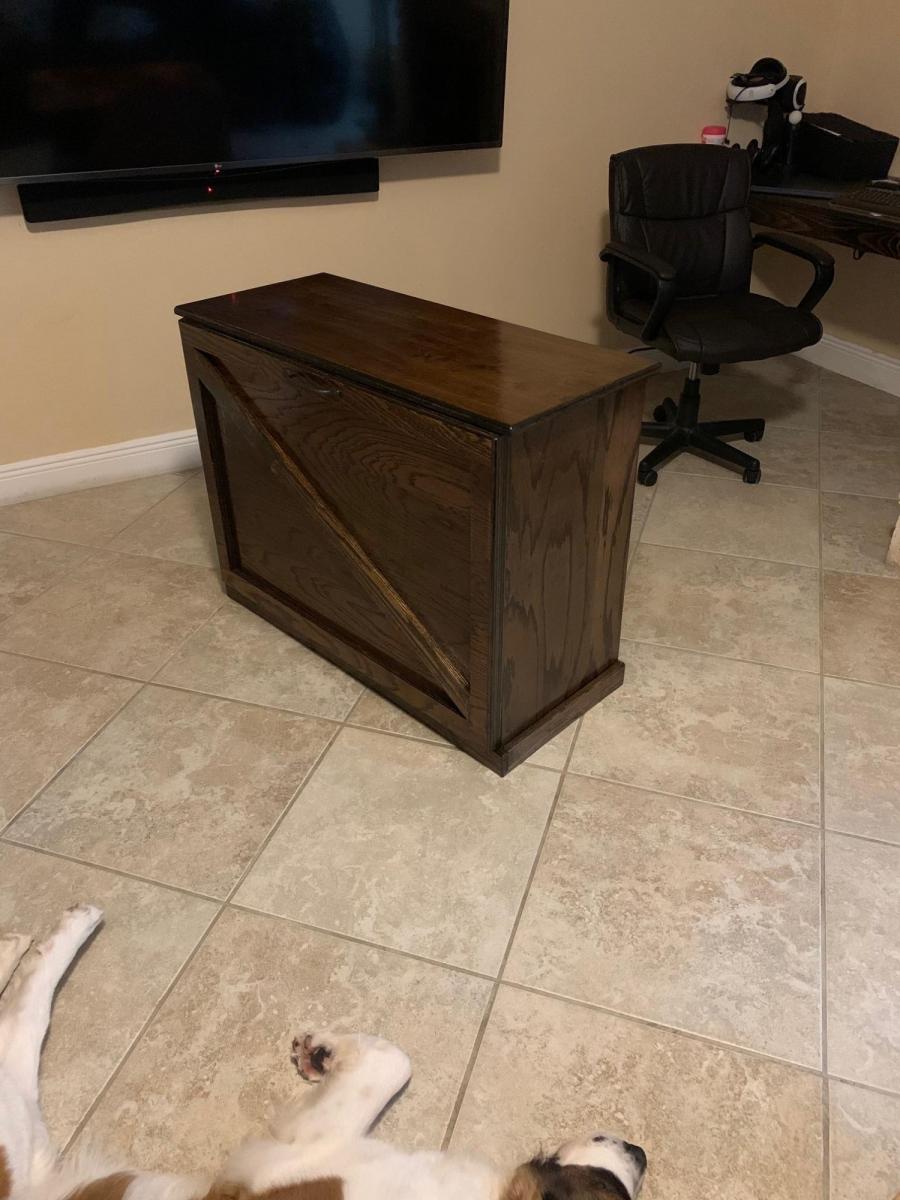
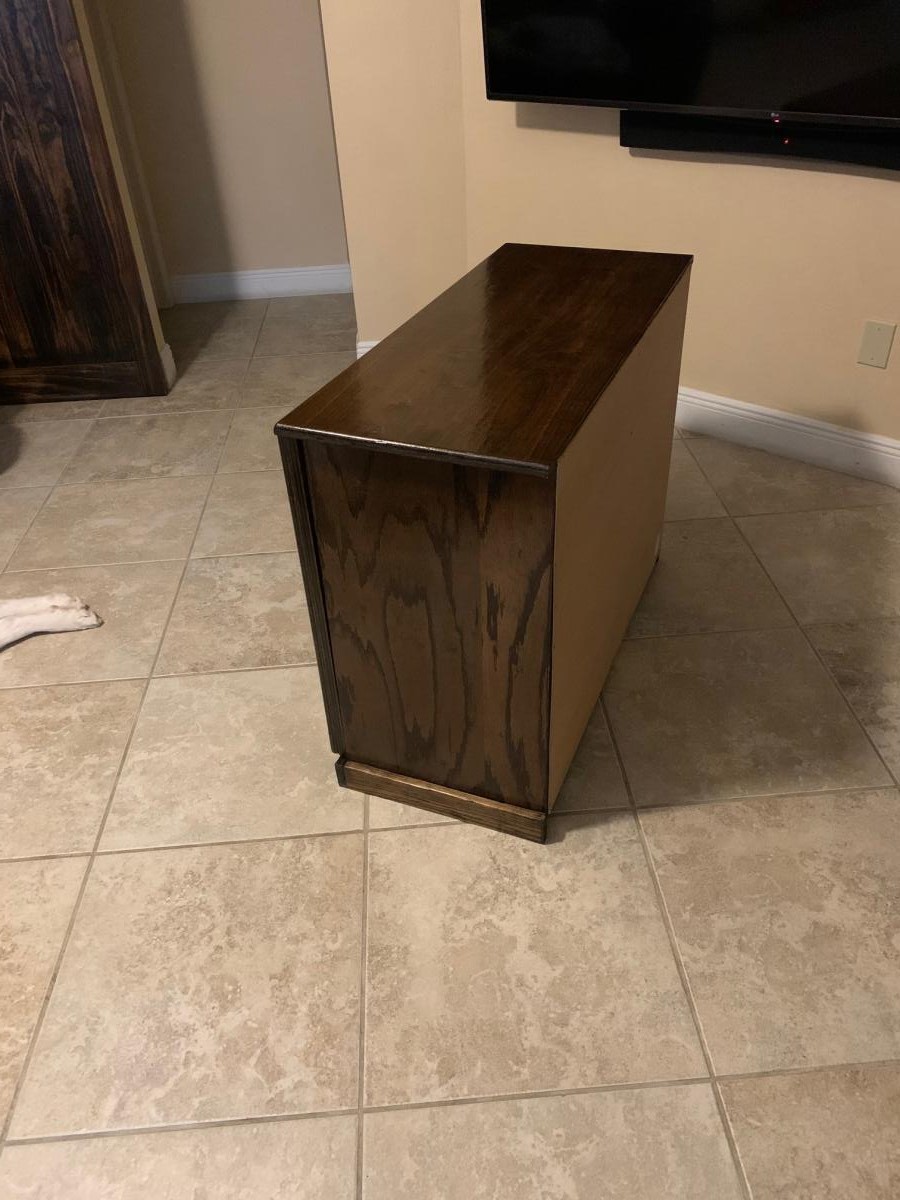
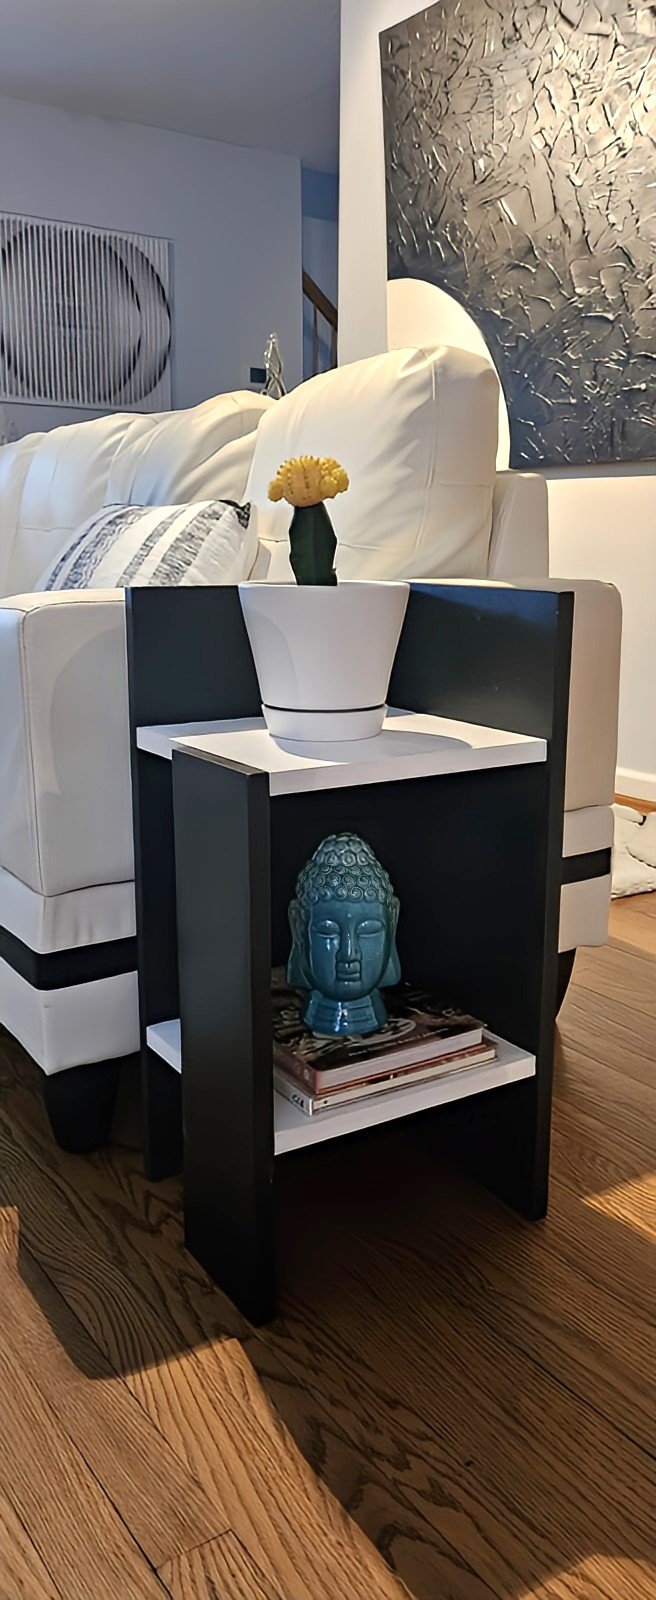
Modern plant stand/end table. - James from Virginia Beach VA
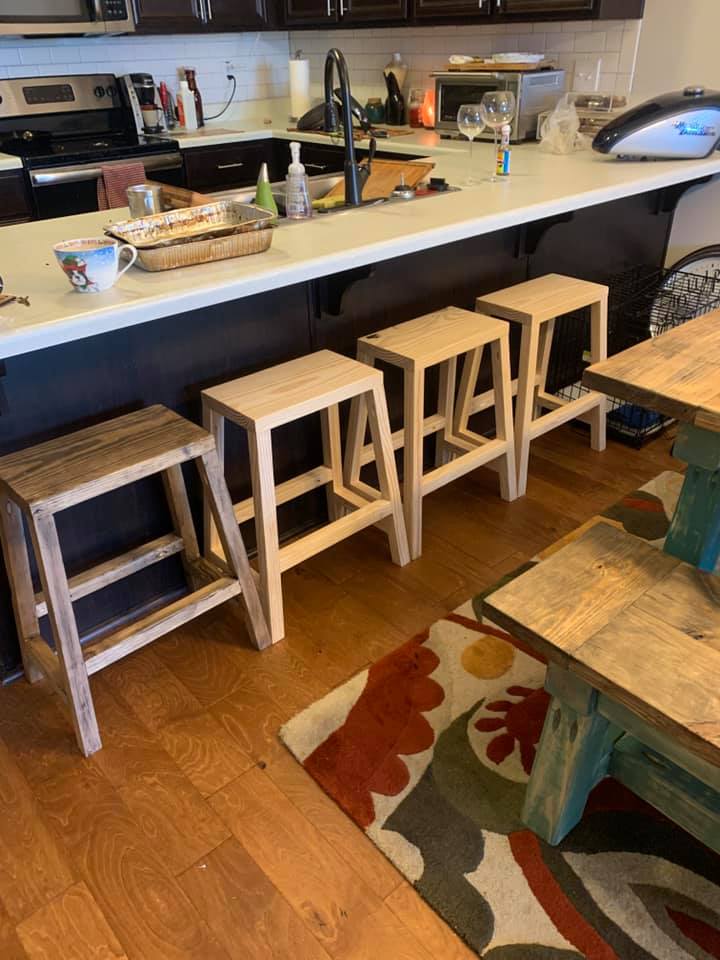
This was a pretty strait forward project, the only change i made was the wood used. I did not use the 2x2 furring strips i opted for the upgraded Select Pine Boards. So it changed from 3 bucks to 12 a board. I also used metal nylon feet.
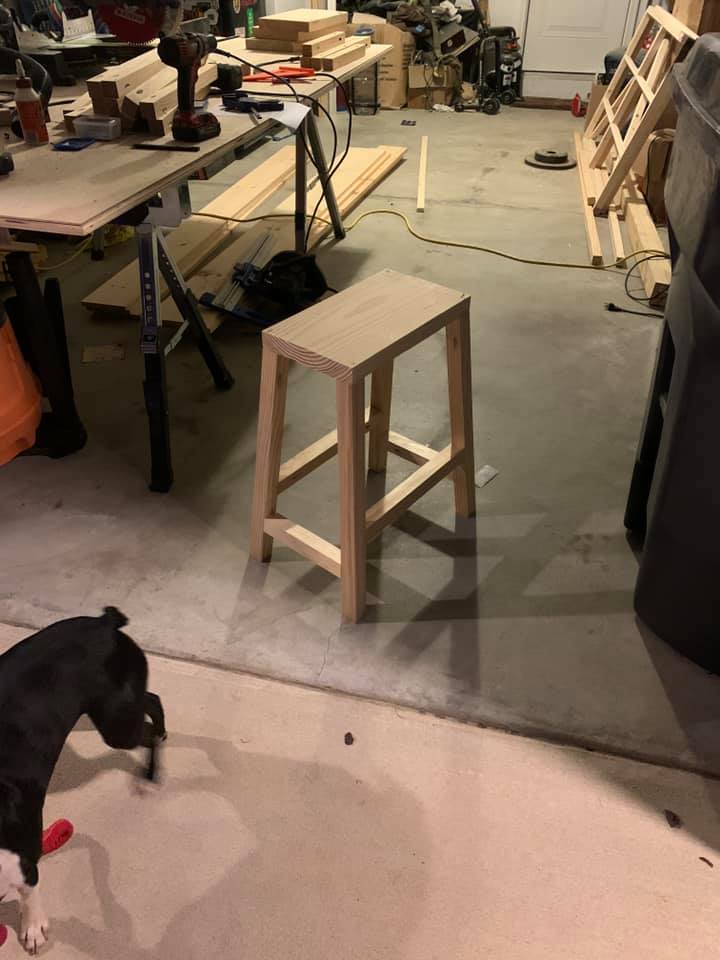
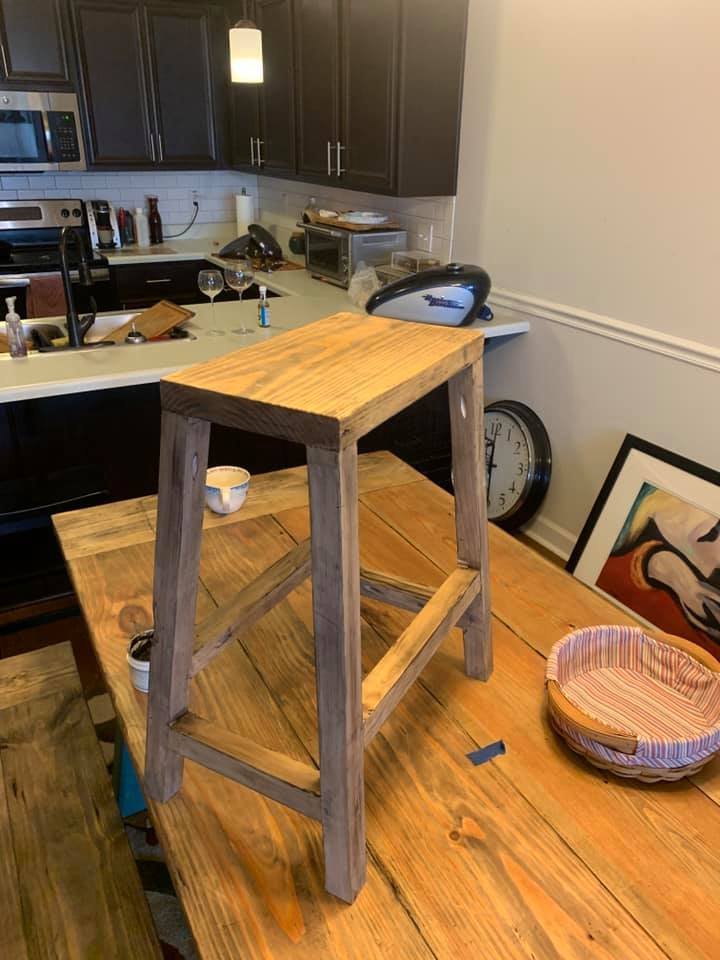
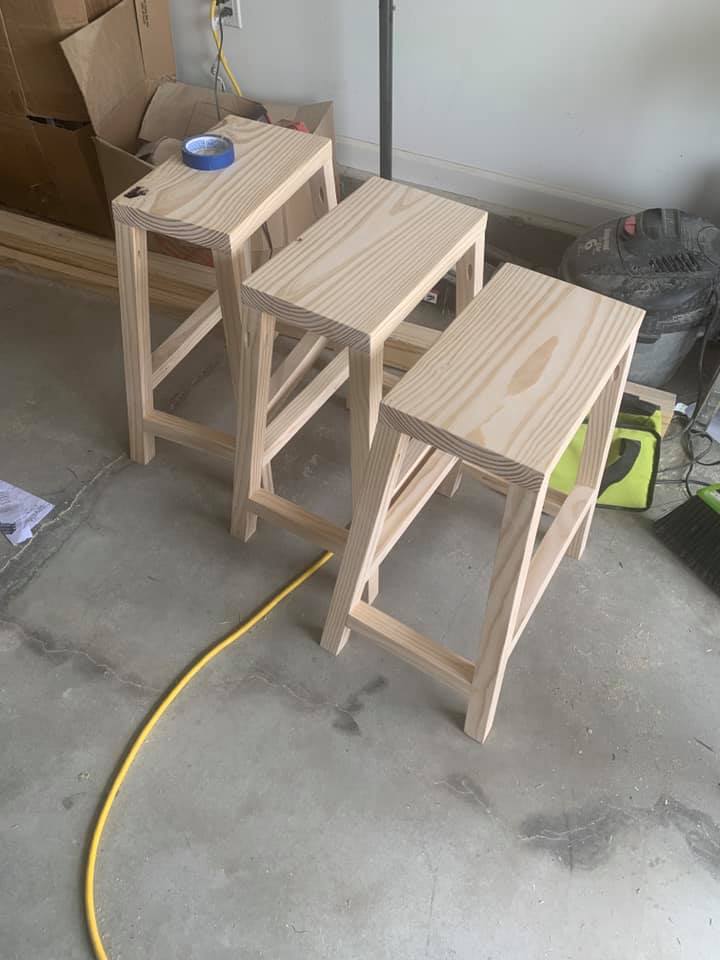
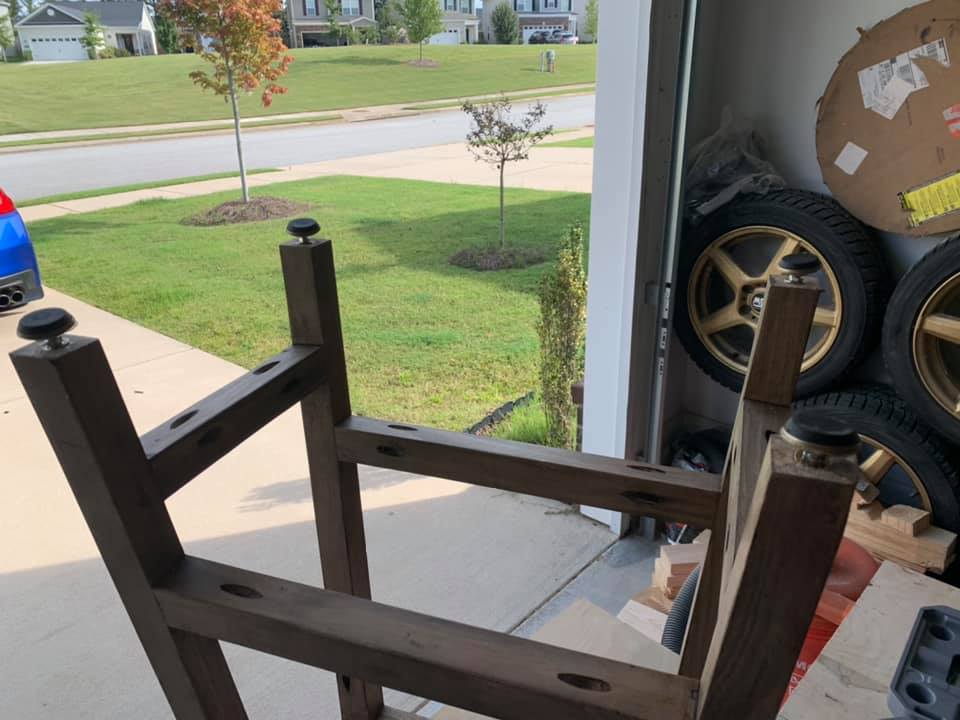
Wed, 09/23/2020 - 11:37
You've been busy! Thank you for sharing all of your amazing builds!
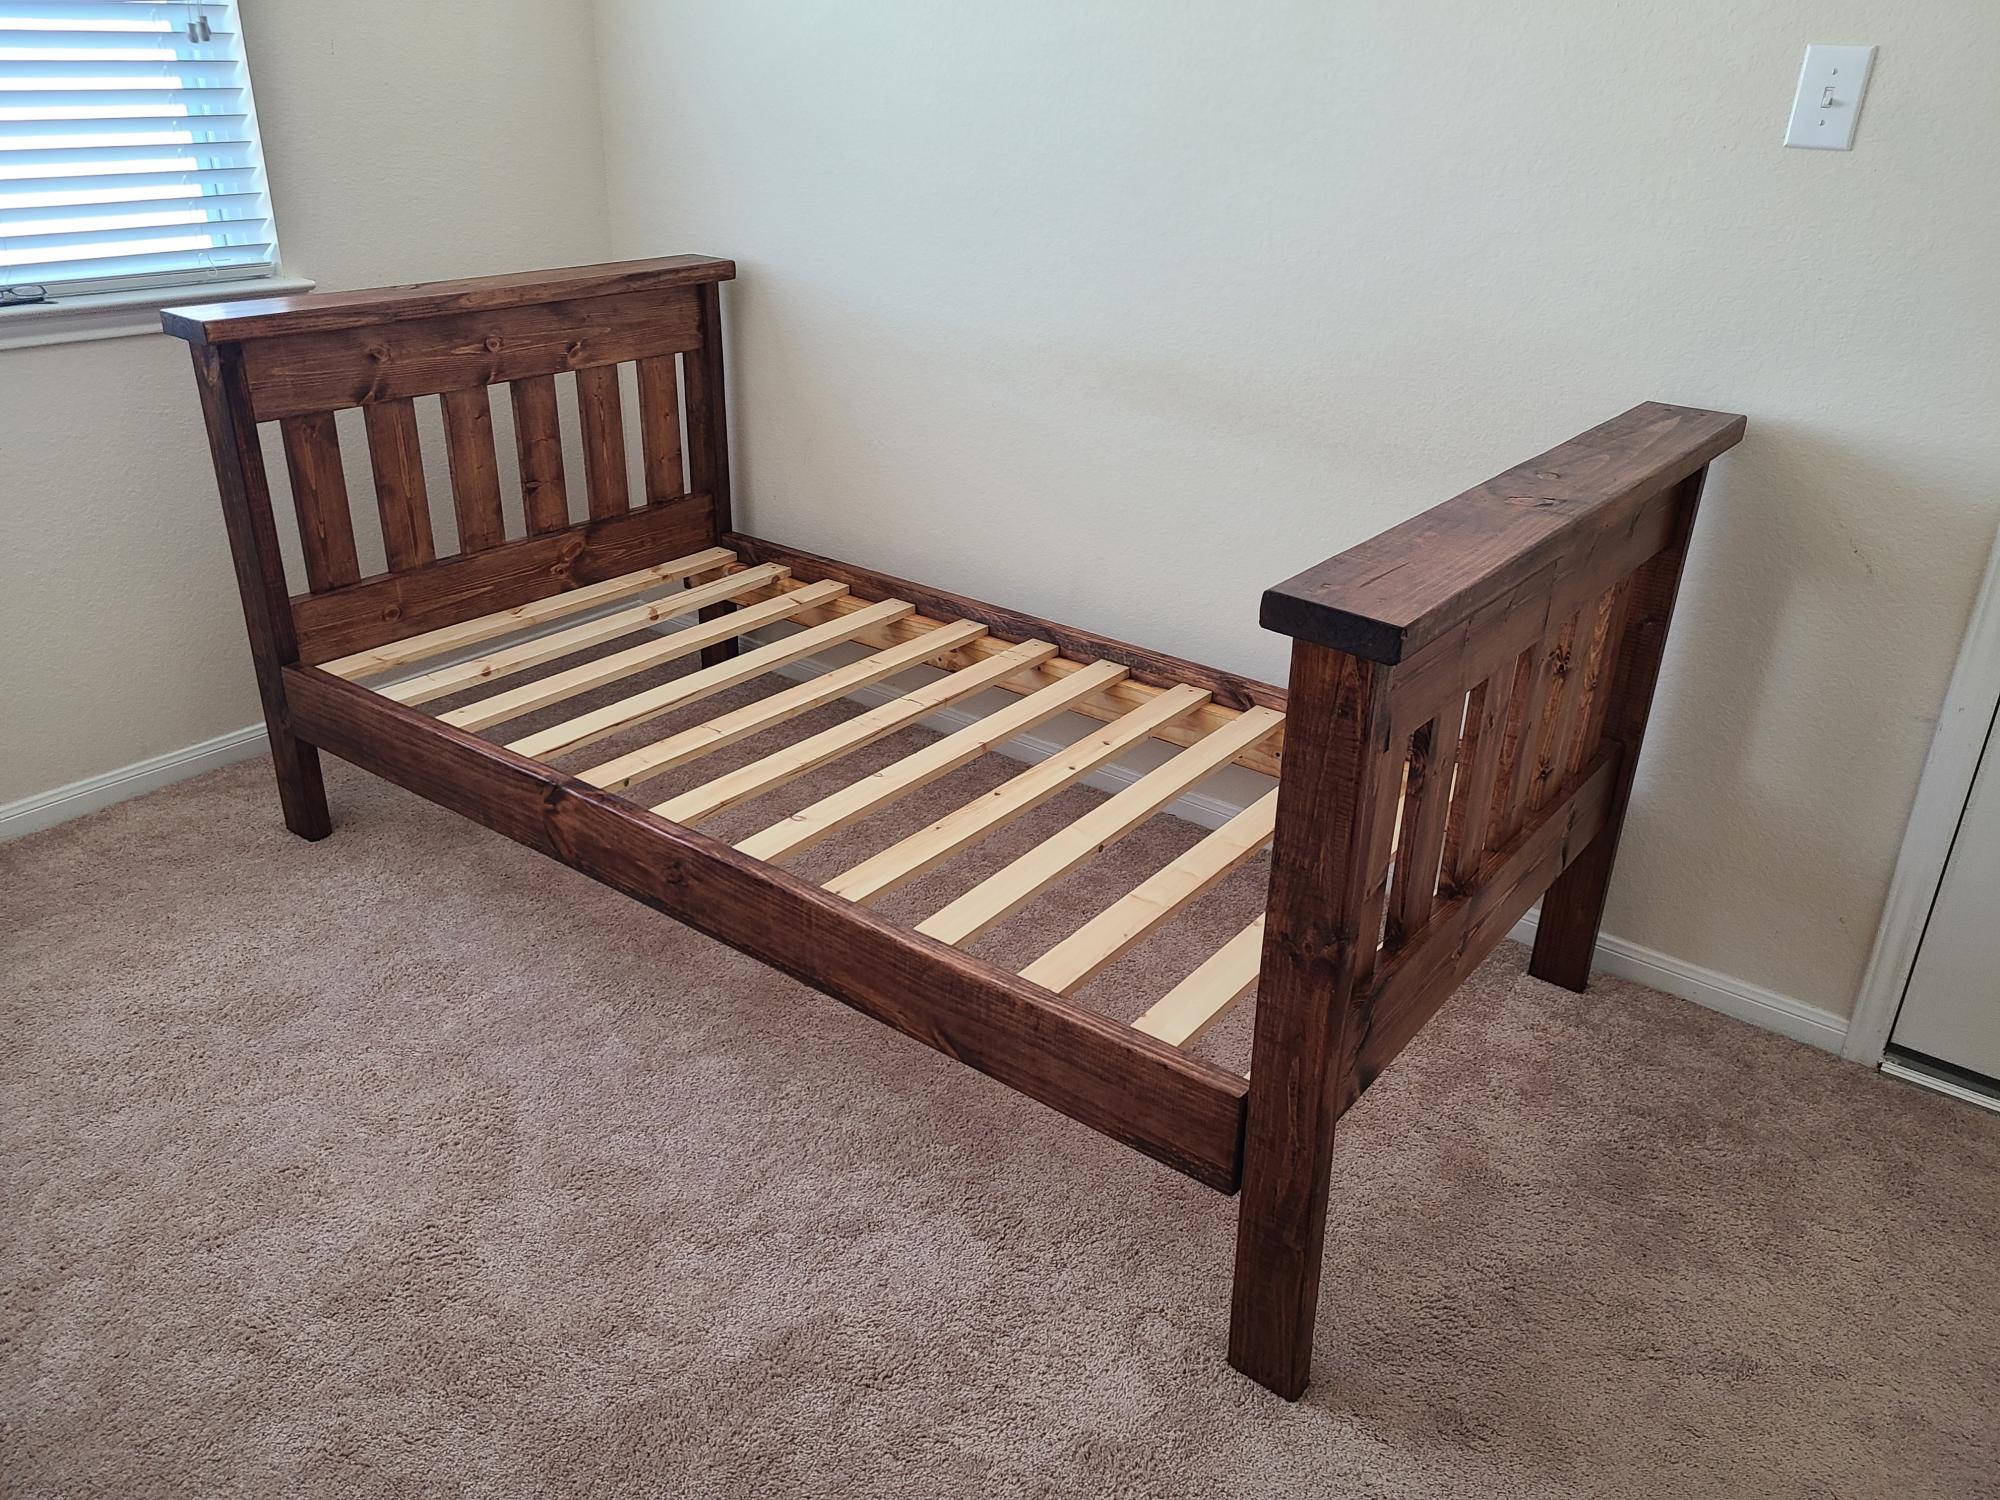
Simple twin bed project. The only modification I made was to shorten the height of the head board to the same size as the foot board.
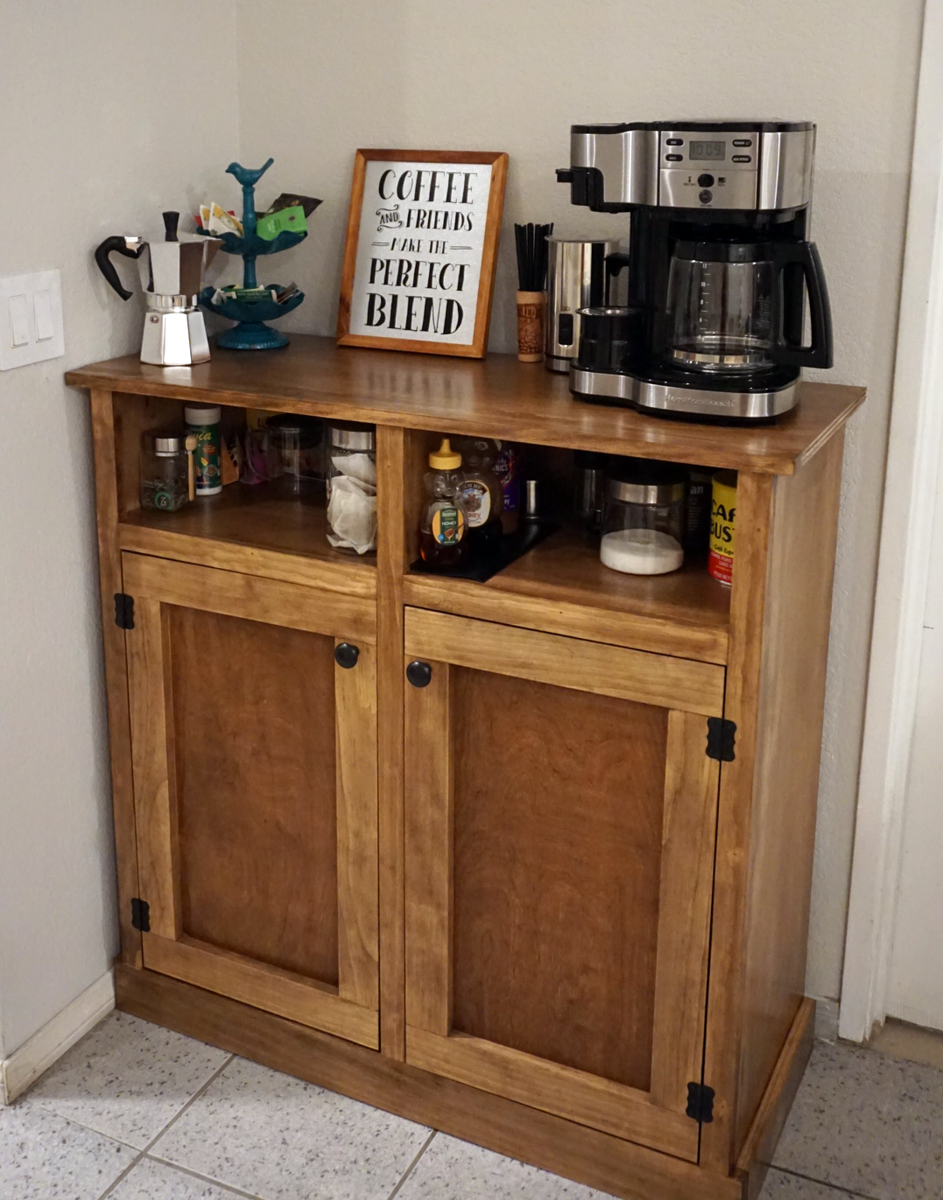
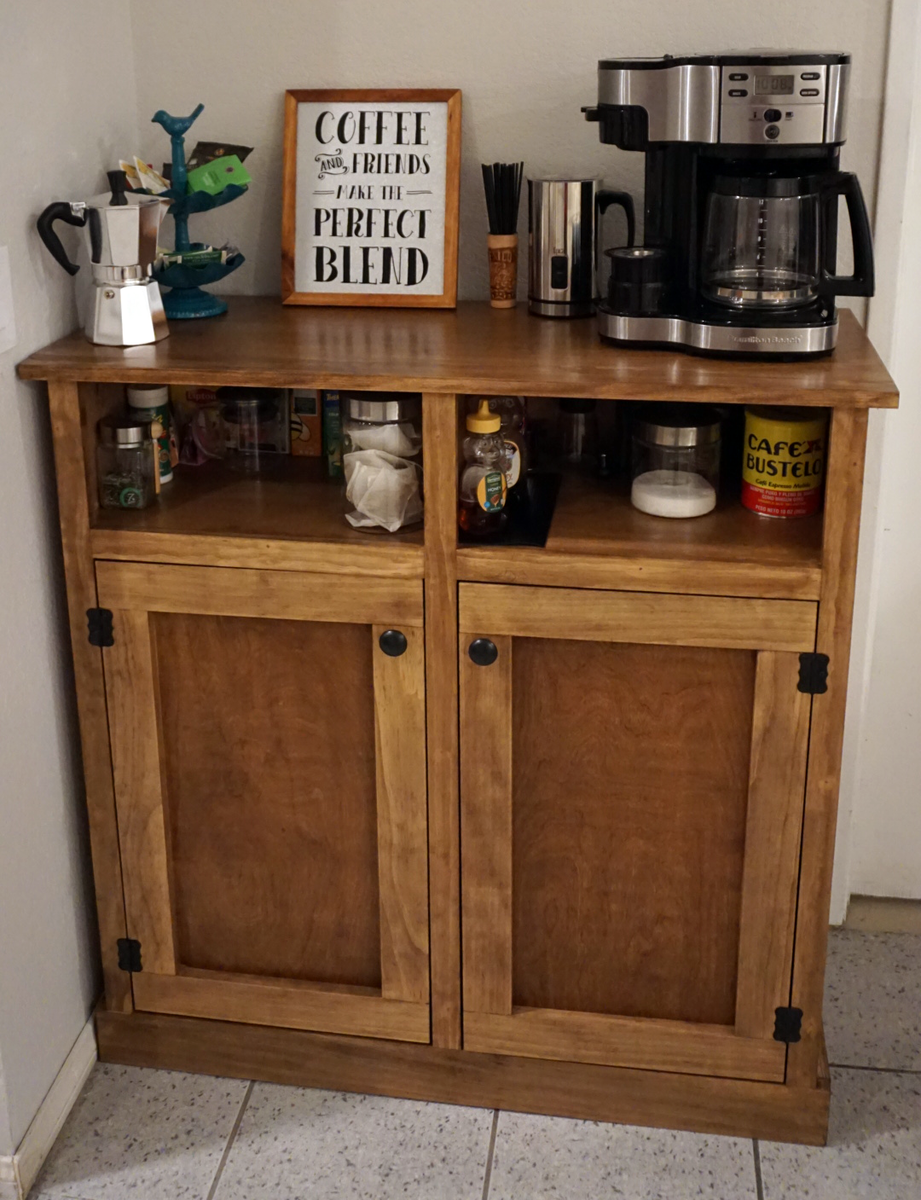
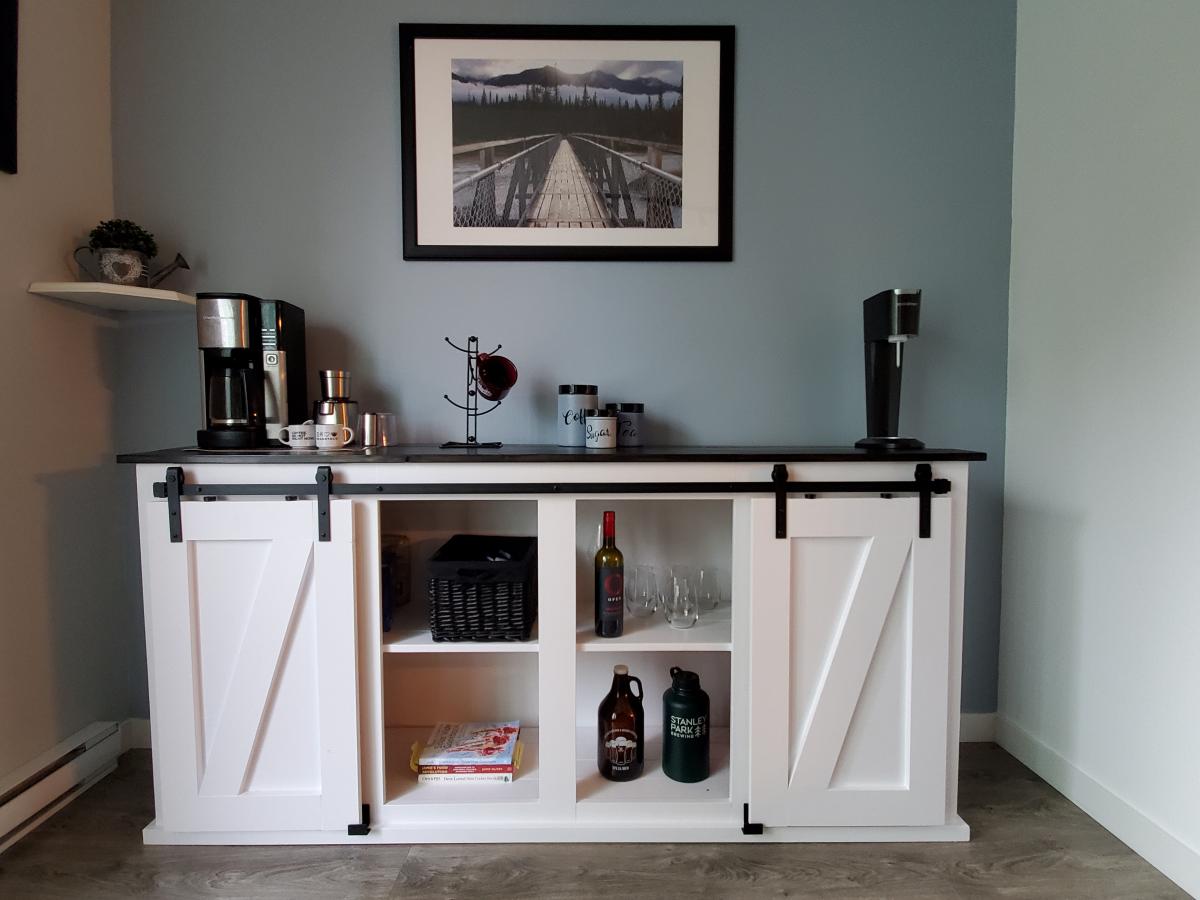
This is my second project. It's a coffee bar to free up space in my kitchen countertop. It has quite a few imperfections but I am very proud of the finished product. Can't wait for my next project!
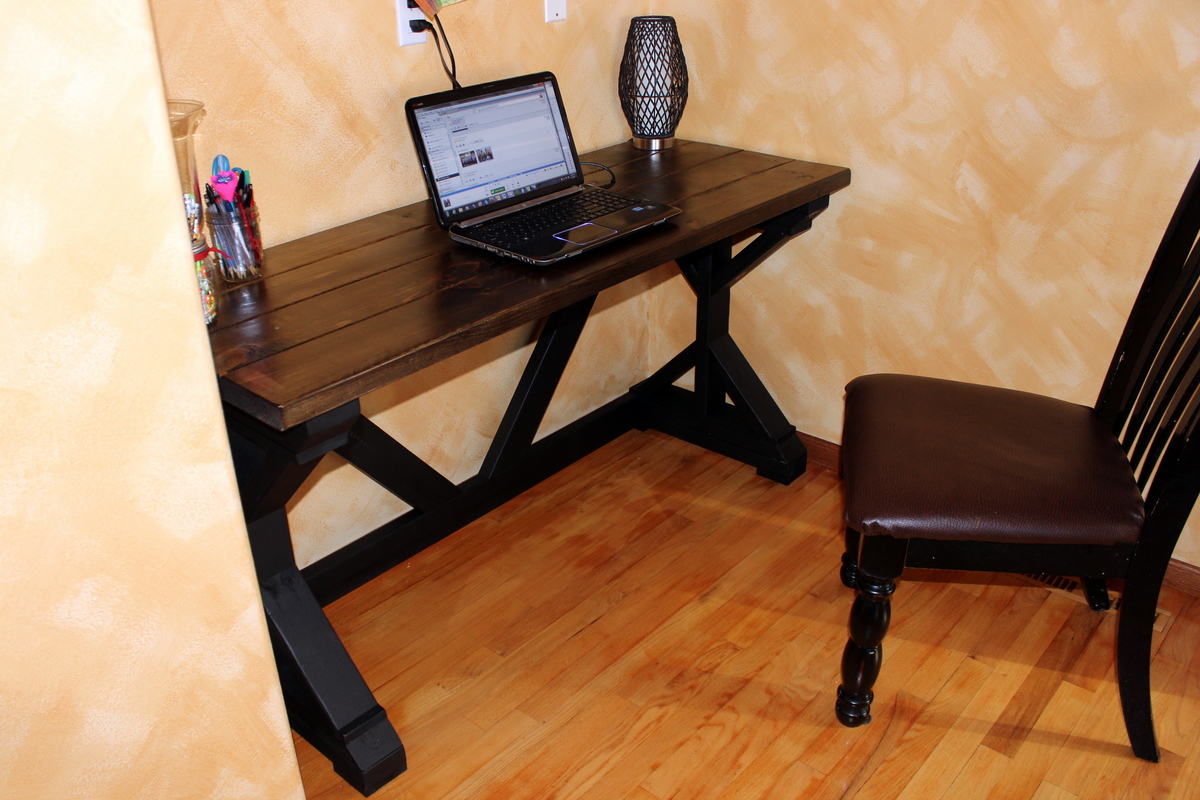
This was my first build EVER. I had never even used a saw before, so if I can do this, so can YOU!
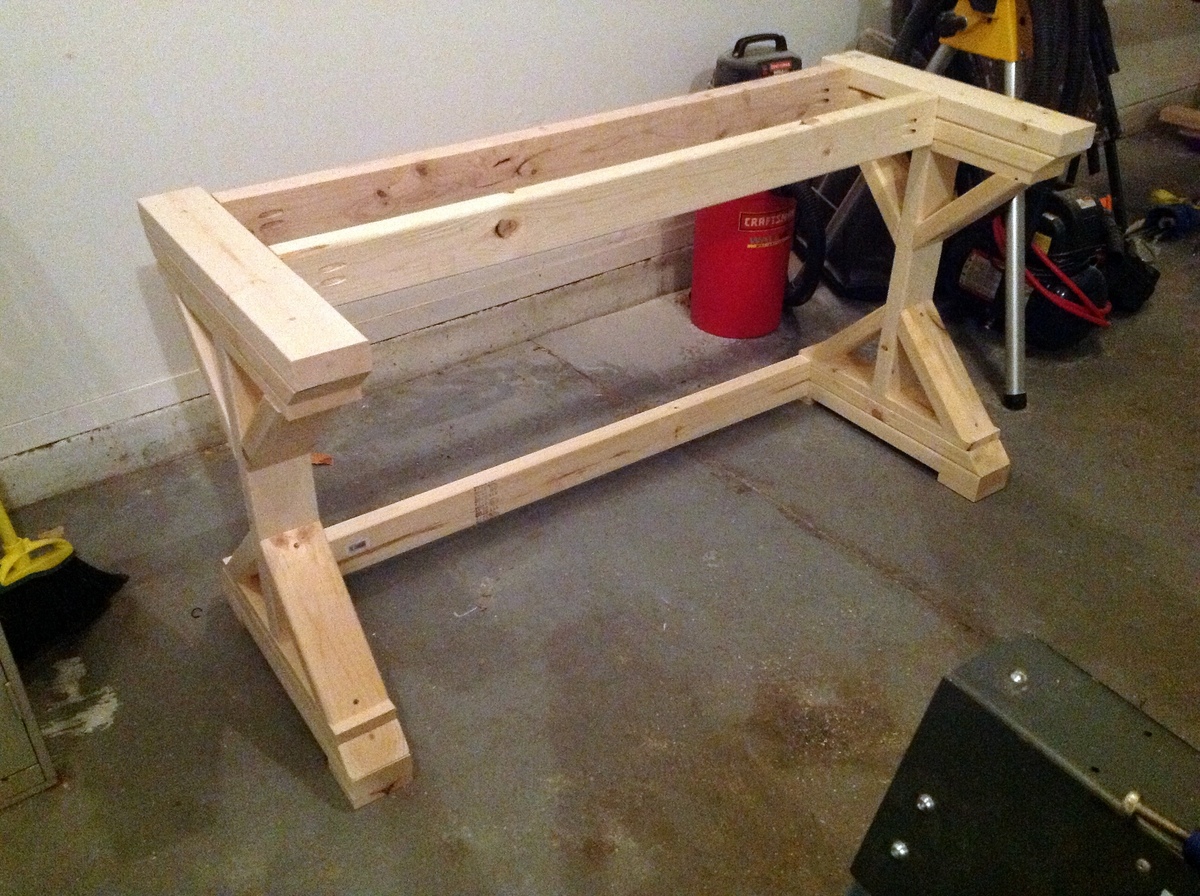
The original plans call for this desk to be 72" in length, but my space only allowed for a 60" desk, so I cut the 3 braces that go along the back down by 12", as well as the 2x6s that make the desktop. The cross-braces in the back were also cut down, but I did that by measuring for fit (as demonstrated by Ana in one of her videos where she made the x-bench).
I described this as a weekend project ONLY because of the time I had to allow between coats of paint, etc. I built it easily in one day (with kids at home!).
This was a GREAT experience and I am HOOKED! Thanks to Ana and Shanty-2-Chic for designing this!
Mon, 01/07/2013 - 12:52
Great job, love the dark painted legs and stained top. Great that you could build it to fit your space!!
Tue, 01/08/2013 - 08:27
I hope to build this desk this week! Your post timing is great! AND your end result is gorgeous!!!
Thu, 01/10/2013 - 19:31
I absolutely love this. I've been searching for a new desk and I think I want to copy yours. Love it.
Fri, 01/11/2013 - 00:35
Well done...I too have been contemplating giving this ago. Our out door glass table exploded due to the heat here in Australia on monday...never going glass again...did I mention the nightmare clean up job :-((
Im building the big version....Im excited..you did it so I can too!
Sun, 07/13/2014 - 15:48
Looks great! Do you know what the length of the cross braces ended up being from short end to long end?
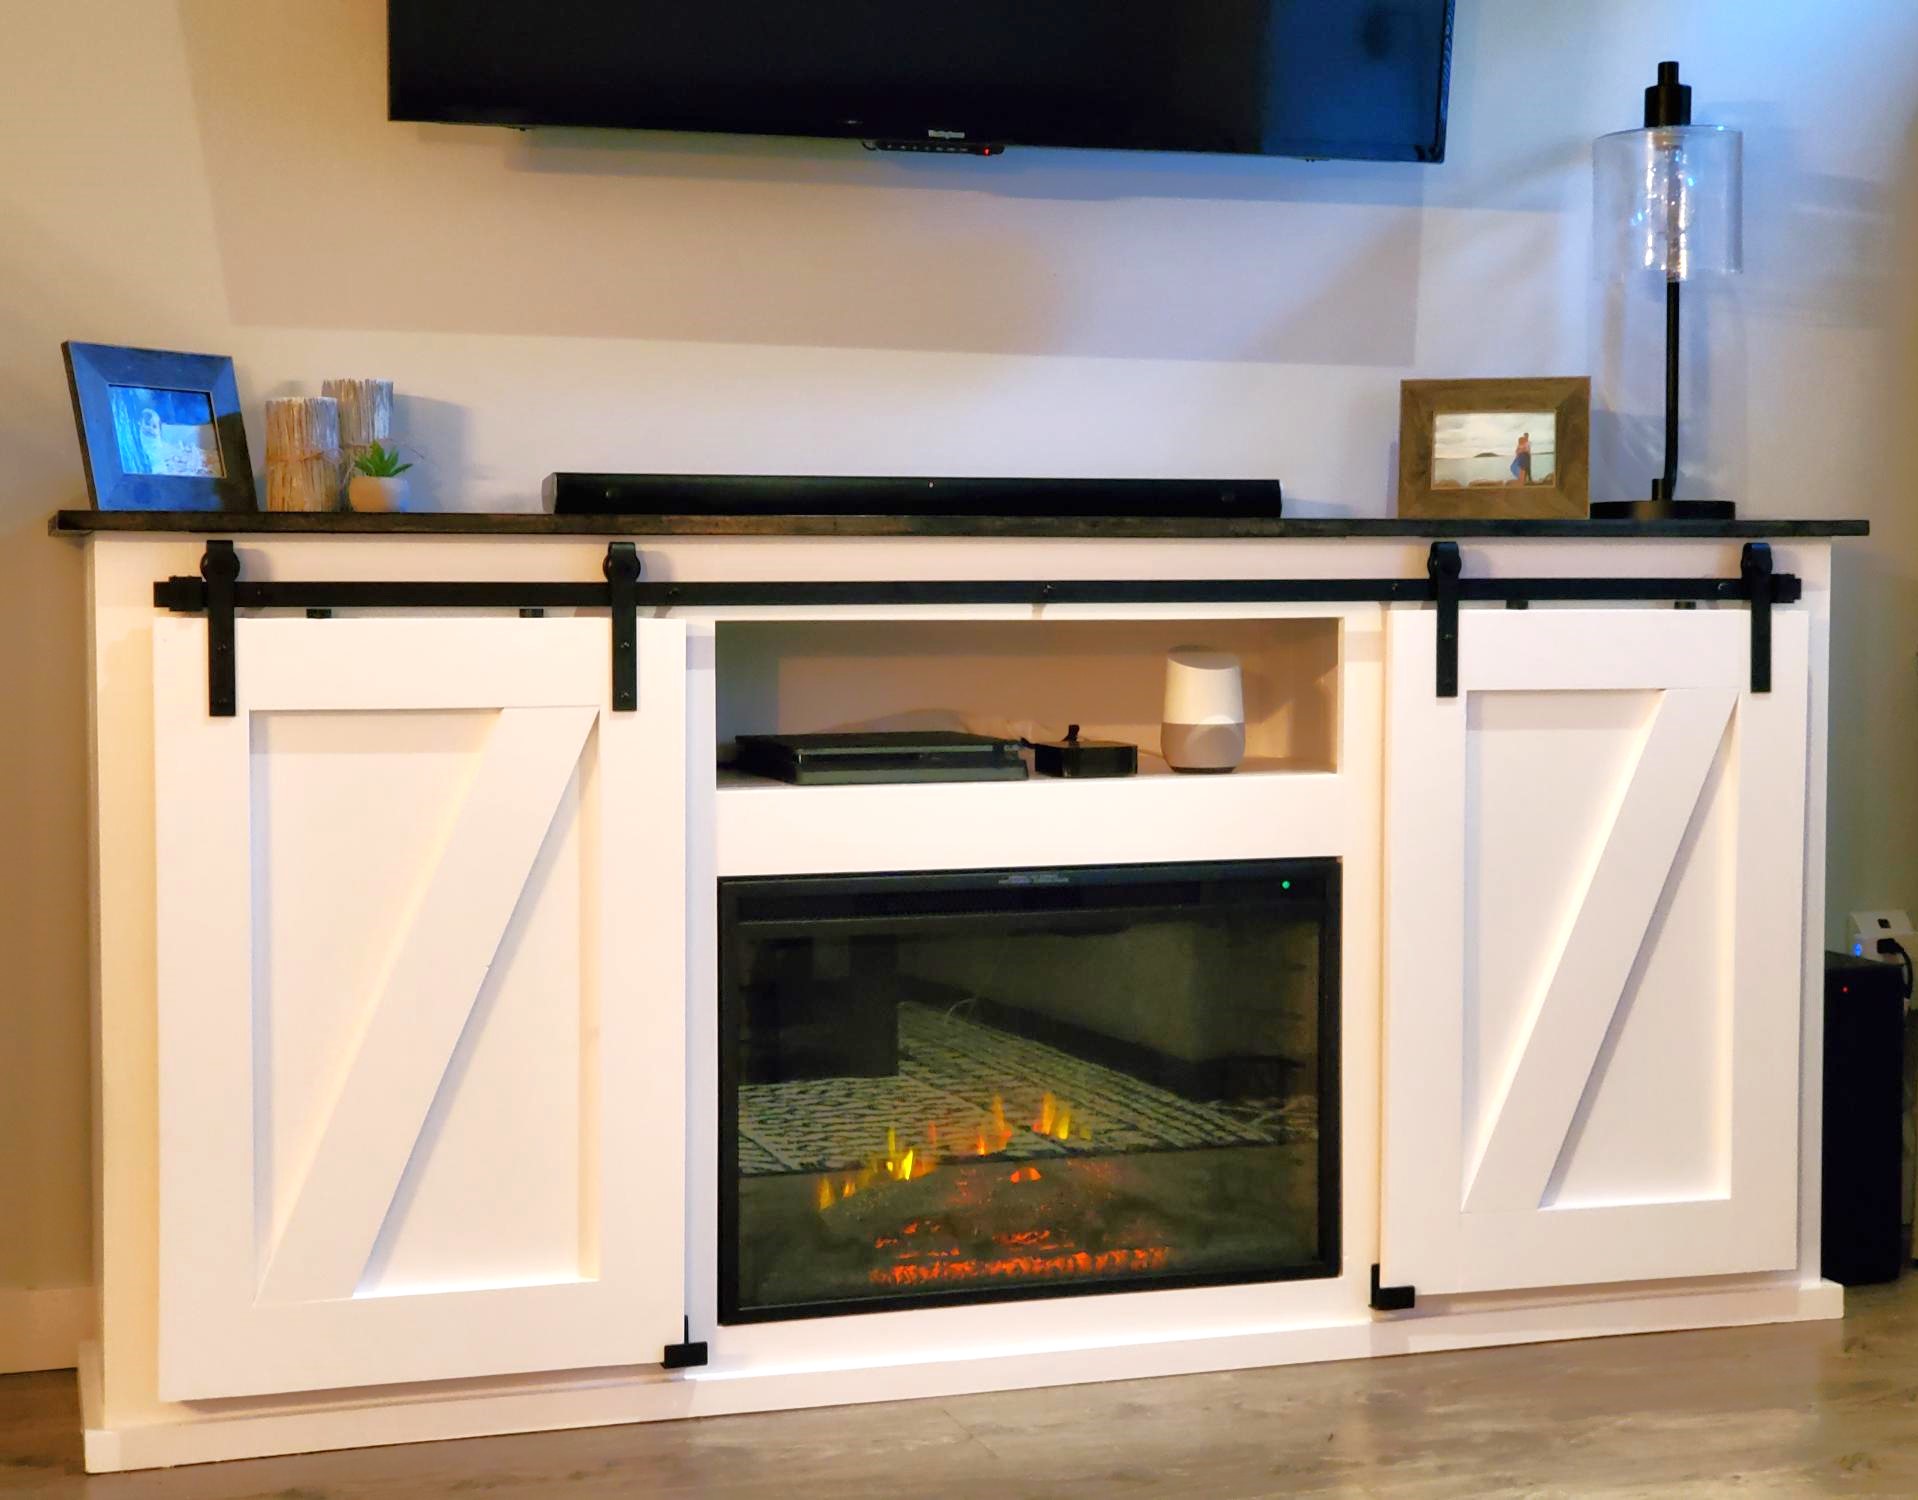
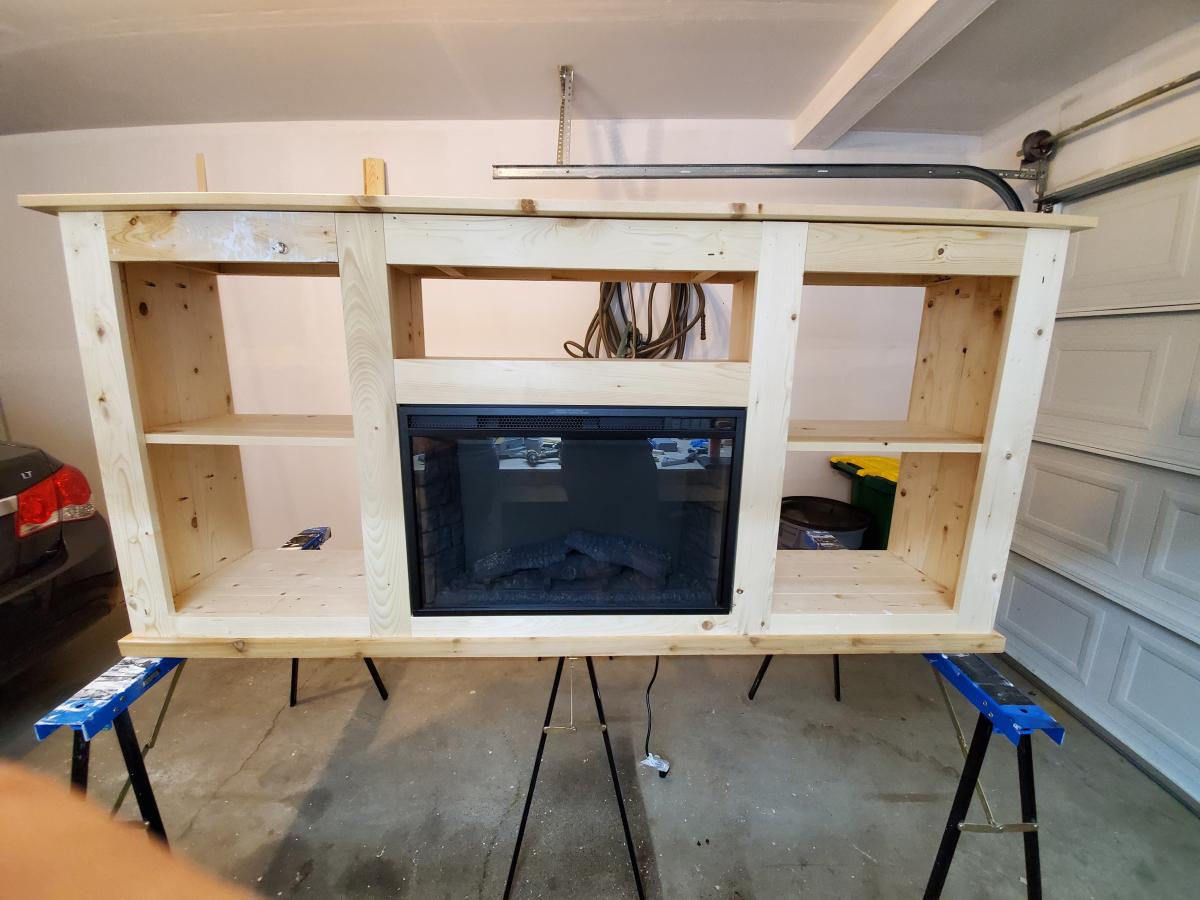
We originally built the original console a while ago as an entertainment unit for underneath our television. We enjoyed the console so much that we decided that we wanted to do another modified console with a fireplace in it and make the other one into a buffet/storage area for the dining room.
Both of these are fairly modified from the plan, however the basic concepts remain the same. One big thing that we did was use 1x4s as much as possible to reduce the different sizes of lumber we were buying to both reduce complexity and end up with as little as possible scraps.
The frames are made of the 2x3s, The sides (4 deep), shelves, middle shelves and face frame are all 1x4s. The back and inside frames are scrap plywood. The top is 1x6s.
The addition of the fireplace was not difficult. What it did require us to do was to add the centre section and essentially create a box that is closed to the outside cabinets. If it were not closed off it wouldn't support the fireplace insert correctly. The important piece with the fireplace is to ensure you have enough clearance on the top and sides to allow the fireplace to mount safely without overheating. The nice thing about this setup is the additional shelf above the fireplace which we used for electronics. The wires go through the back of the cabinet and it looks very clean.
These are probably my favorite things I've built this year. They're simple to make and add a lot to any living space.
Tue, 01/12/2021 - 19:34
This is beautiful! Any tips on how your built the box around the fireplace?or pictures?
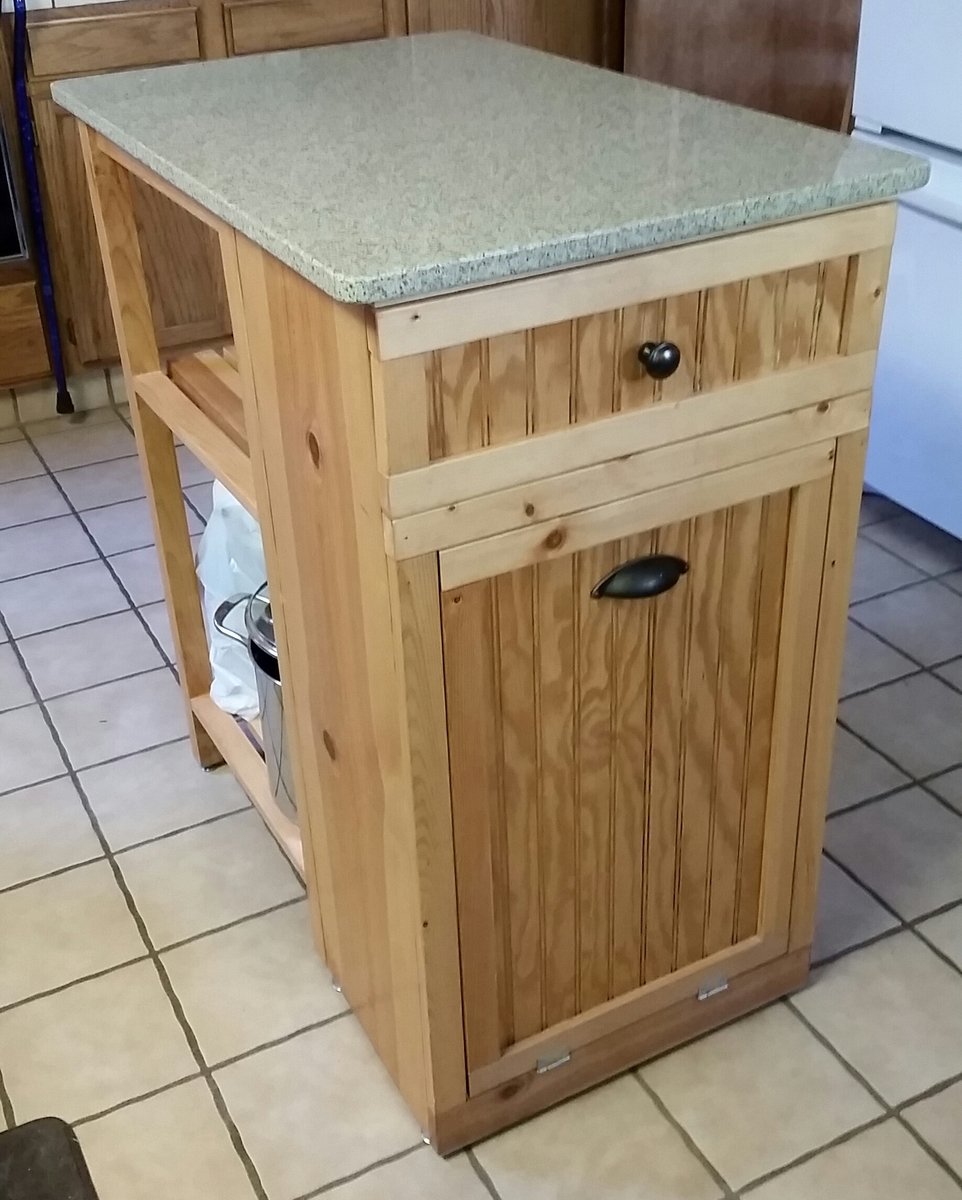
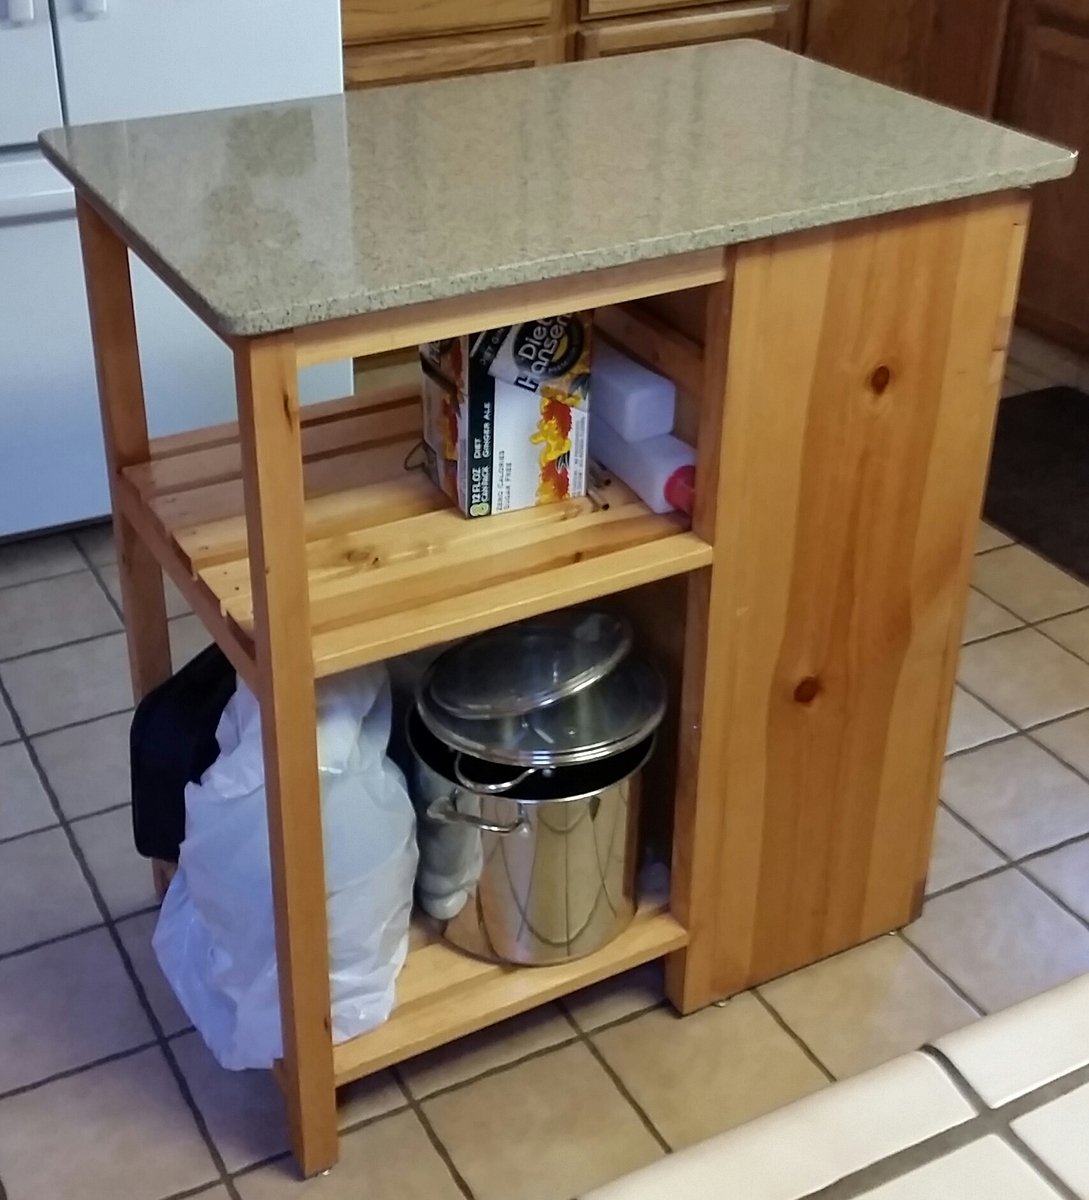
I built this for my mom to replace her small, rolling butcher block. I wanted to add in the tilt out trash cabinet, so I built off the back of it to give her some storage and a bigger work surface. I had a local countertop business custom fabricate the top out of a piece of scrap quartz (that was the spendy part of the project).
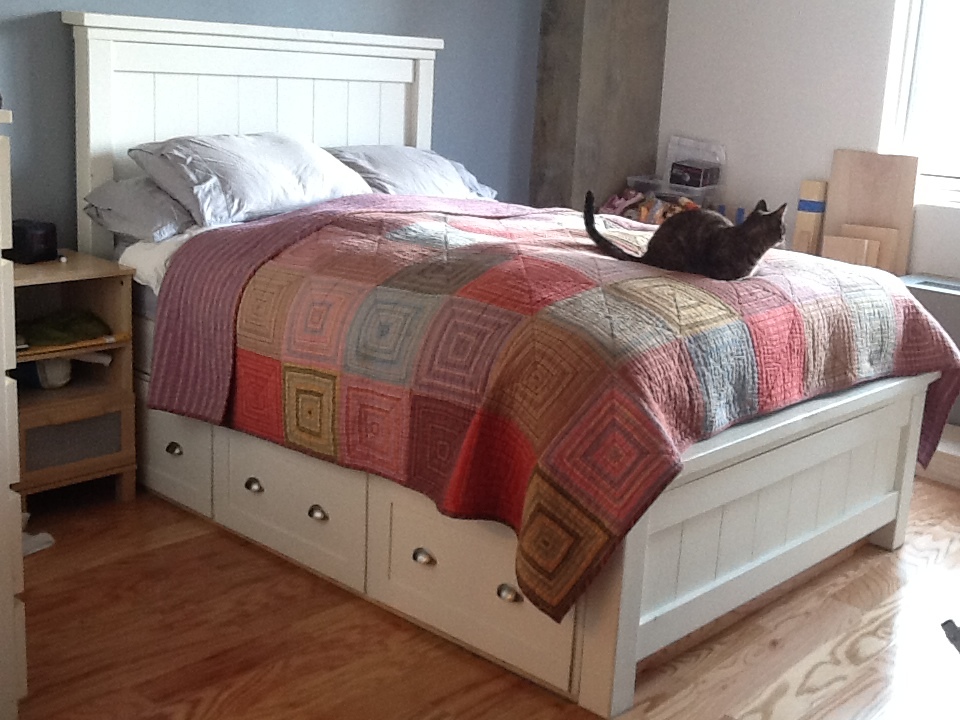
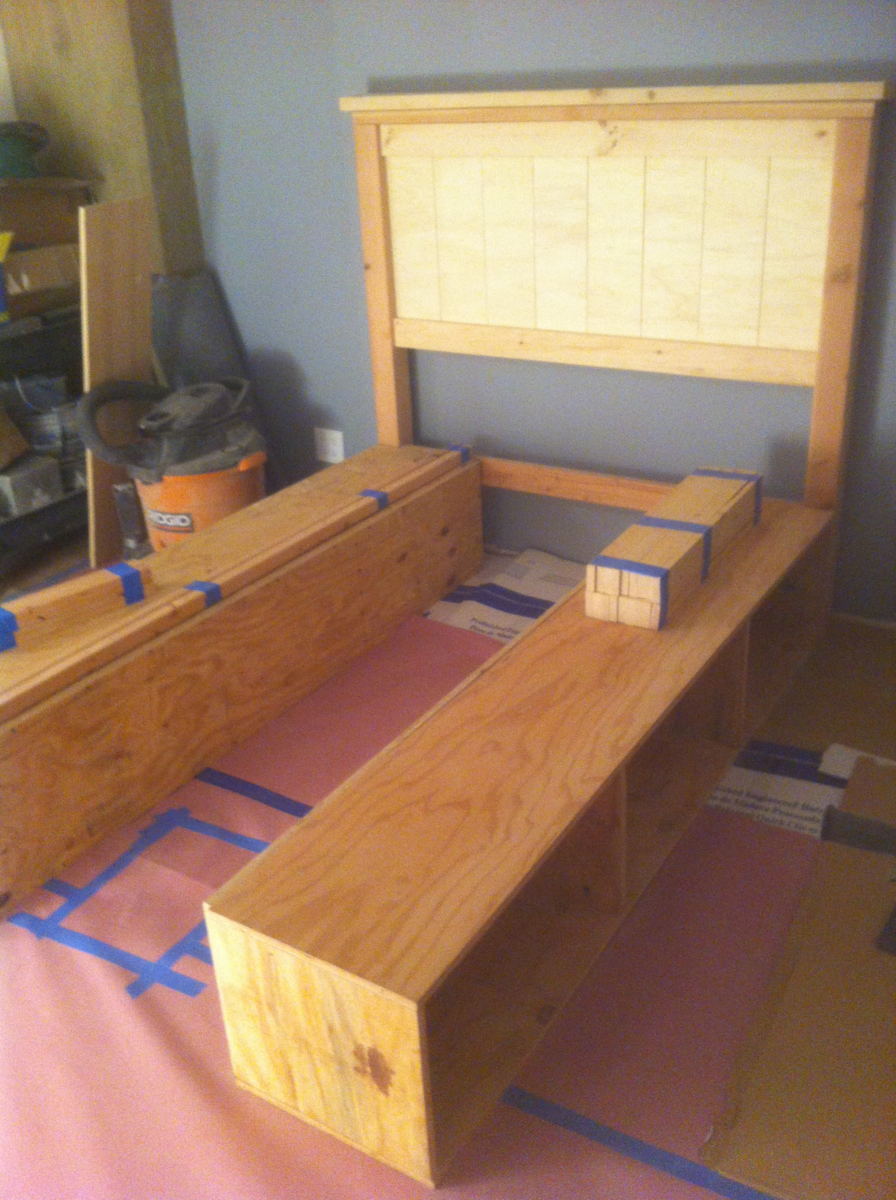
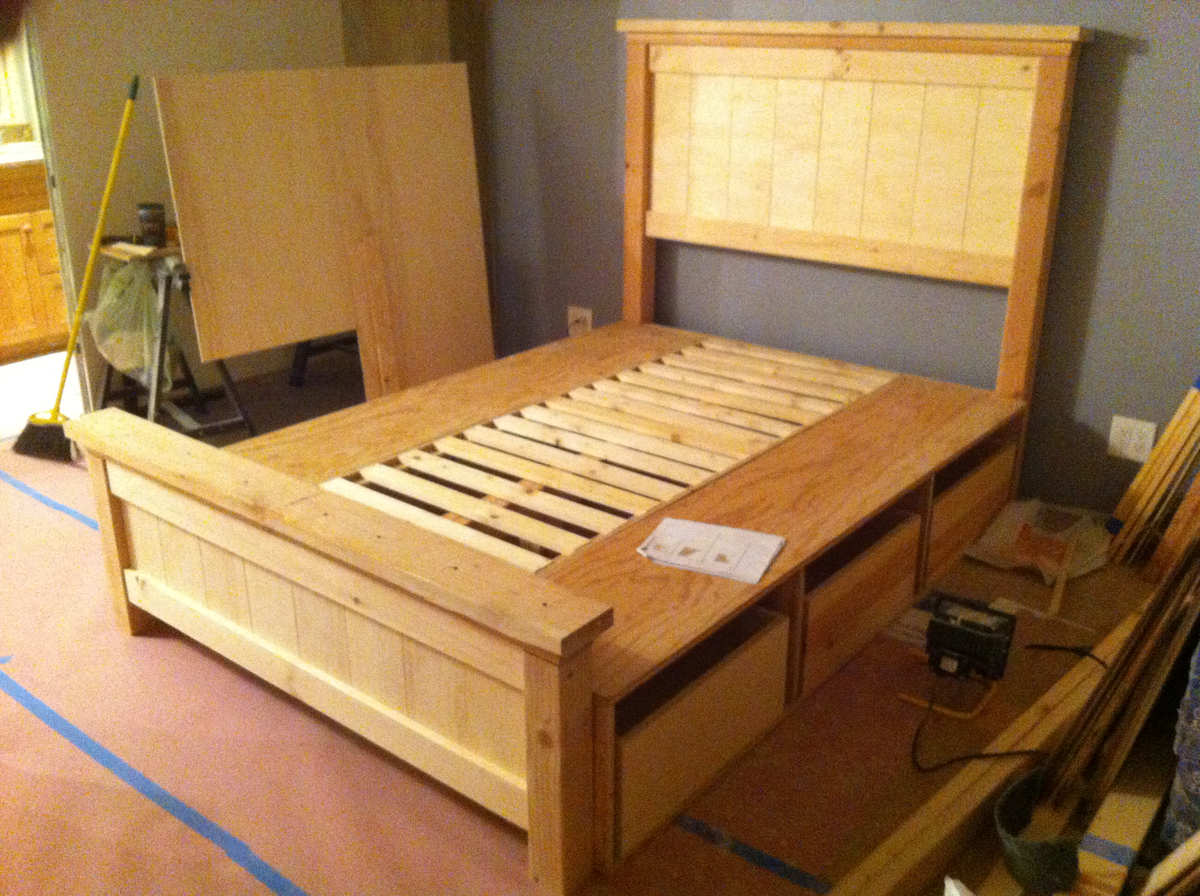
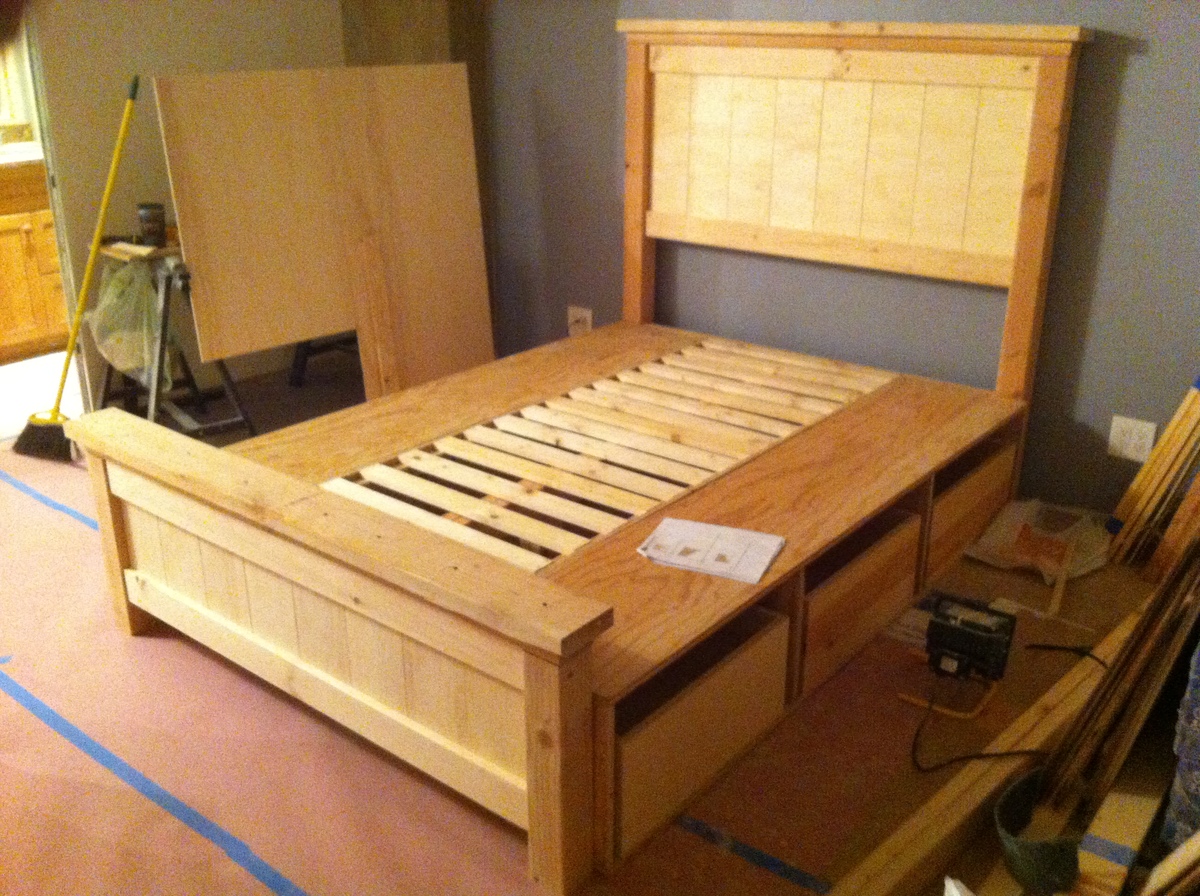
I followed the bed design posted for the Farmhouse Storage Bed, with some modifications to the base support. I have a queen waterbed and needed to reinforce the structure substantially. So I added more center support by building a simple 2X4 Header frame down the middle with 4 legs and beefing up the rails along the drawer boxes. I also included additional slat supports. I also placed the drawer boxes directly on the floor so that I would not have to buildup any additional legs. For the headboard and footboard, I did not have any beadboard so I ripped some 1/4" Birch-Ply into 6 1/4" strips, beveled the edges and nailed them with brads onto the 3/4" ply. I placed 1/16" spacers to create gaps between each and then just painted it. This gave me the look I wanted. It was a little more work, but well worth it in the end. I live in Manhattan so I actually had to construct this in my living room. Luckily I was undergoing a renovation at the time so the additional mess and dust was not too much of an obstruction. But now I'm hooked and want to build a lot more.
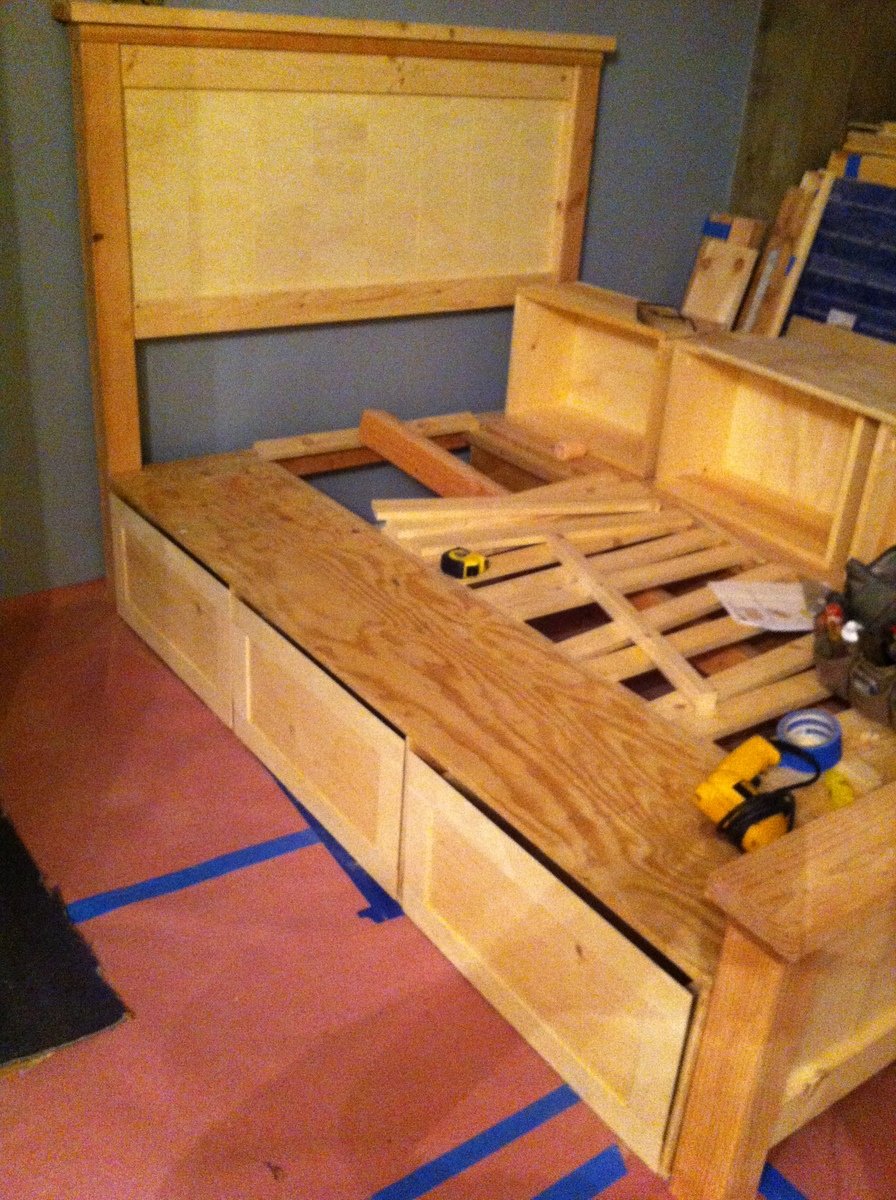
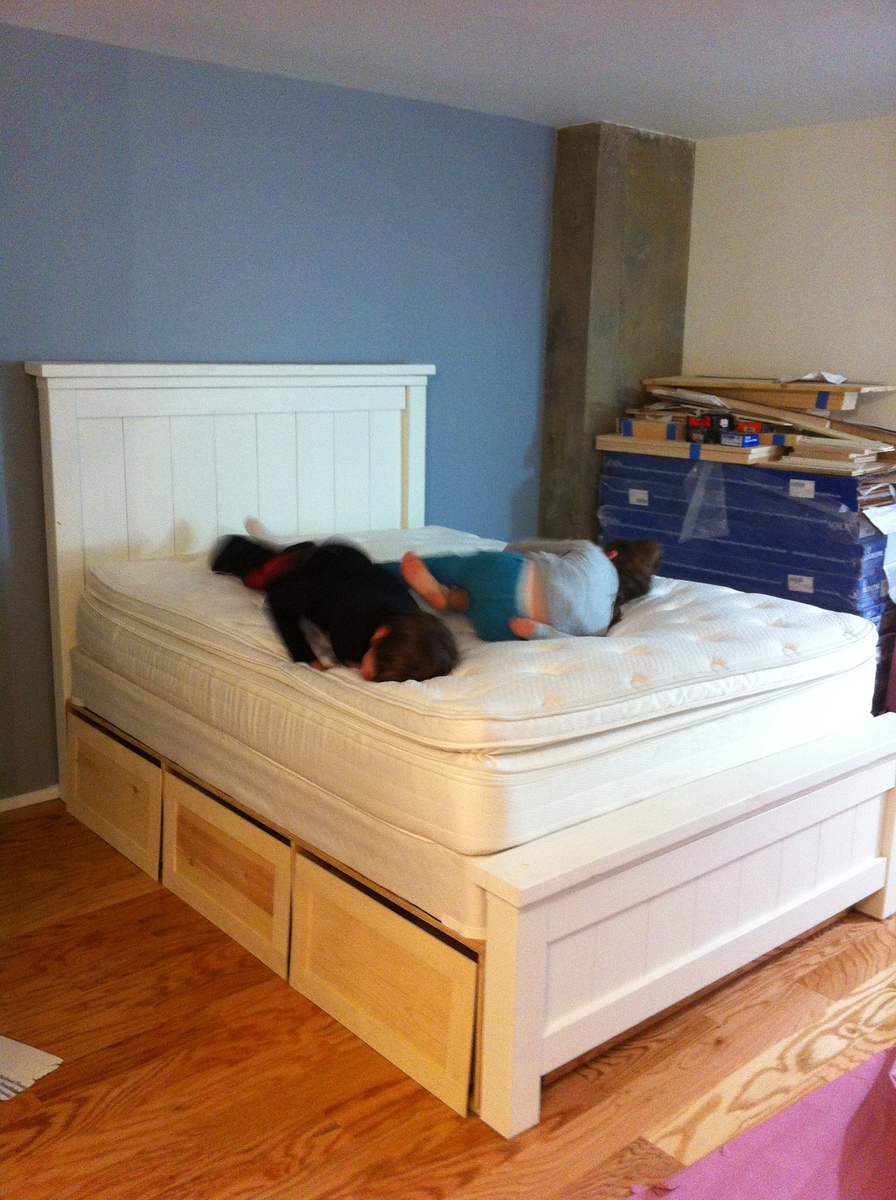
Thu, 02/14/2013 - 13:21
We just came upon the site and have been marveling at the people who "tweak" things a little. Great job!
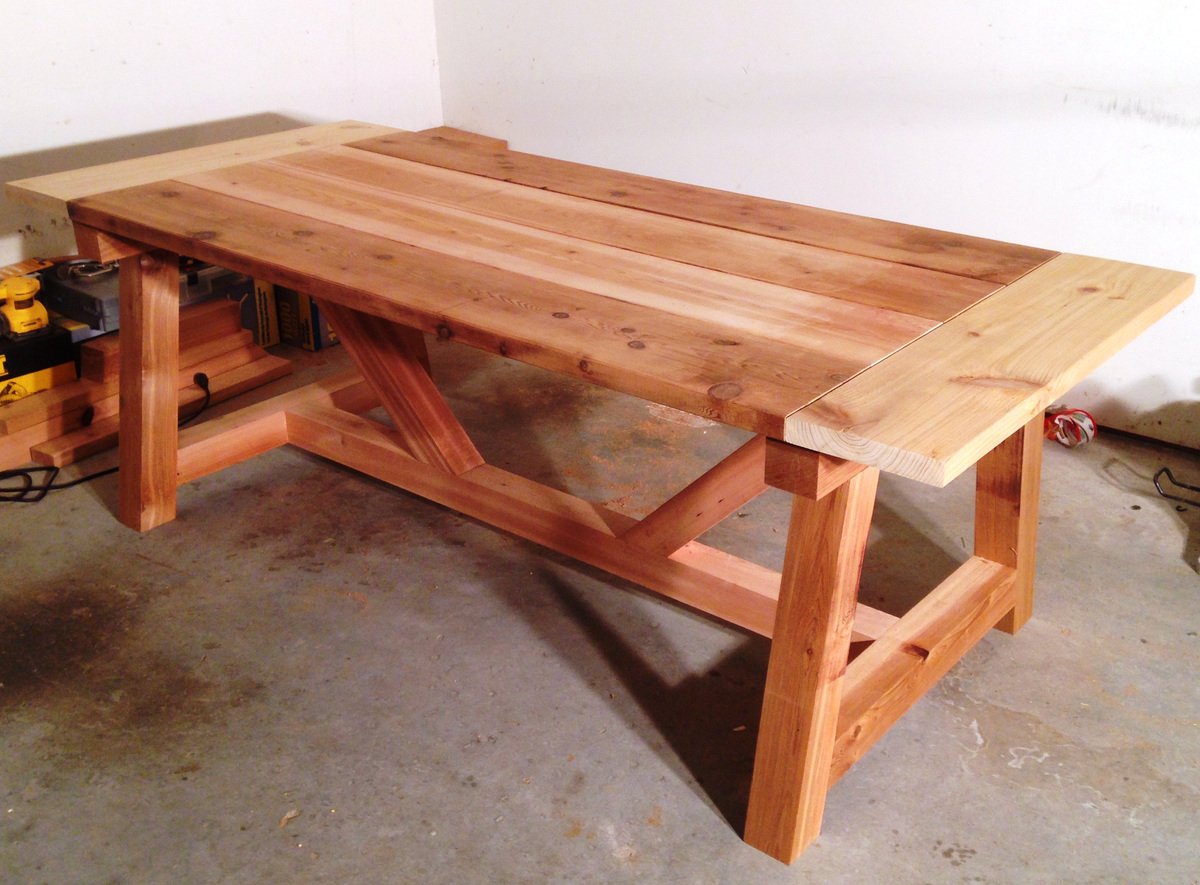
This was my first ever Ana White woodworking project. It was also my first time using a Kreg Jig. I had a ton of fun and can't beleive how great it turned out! I learned a lot while building it so I'm sure I will have even more success with my next project. I highly recommend this project for first time beginners looking for a huge feeling of accomplishment and personal satisfaction.
Thanks Ana!
Anthony
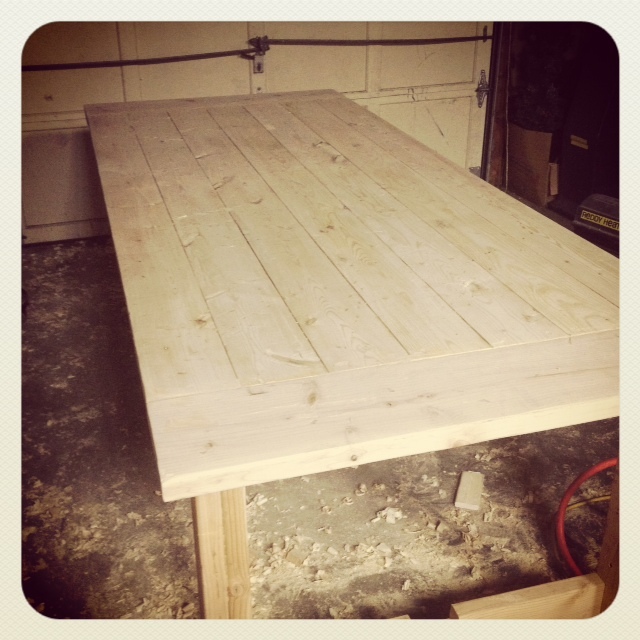
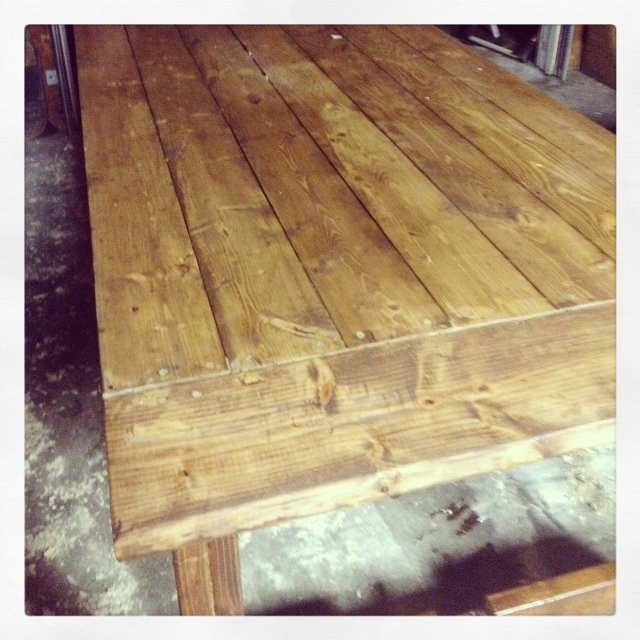
I was so inspired by this site, I just had to try something out for my self! Being a beginner it was a little difficult trying to get the notches perfect without the correct tools! A table saw is neccessary but me and the fiance kept at it! After all assembled we banged up the table with some heavy duty chains, Gave it two coats of Minwax Dark Walnut, and finished with 2 coats of Minwax Poly Satin finish. We left out center support so we could get it in the house and installed once it was in, this is one heavy sturdy piece of furniture!
Built this using Anna White's "MIMI'S FAUX MANTLE" but instead of using crown molding I elected to use STONE TILES in neutral tones and finished the surround and mantle in white giving the piece a nice soft appeal. The building plans were easy to follow and took about 2 days to complete the whole process (because of drying times) not to mention how reasonable the cost was. I already had the tiles, adhesive, and paint from left over projects.

I followed the plans given, then painted it white and stained the roof with a dark finish.

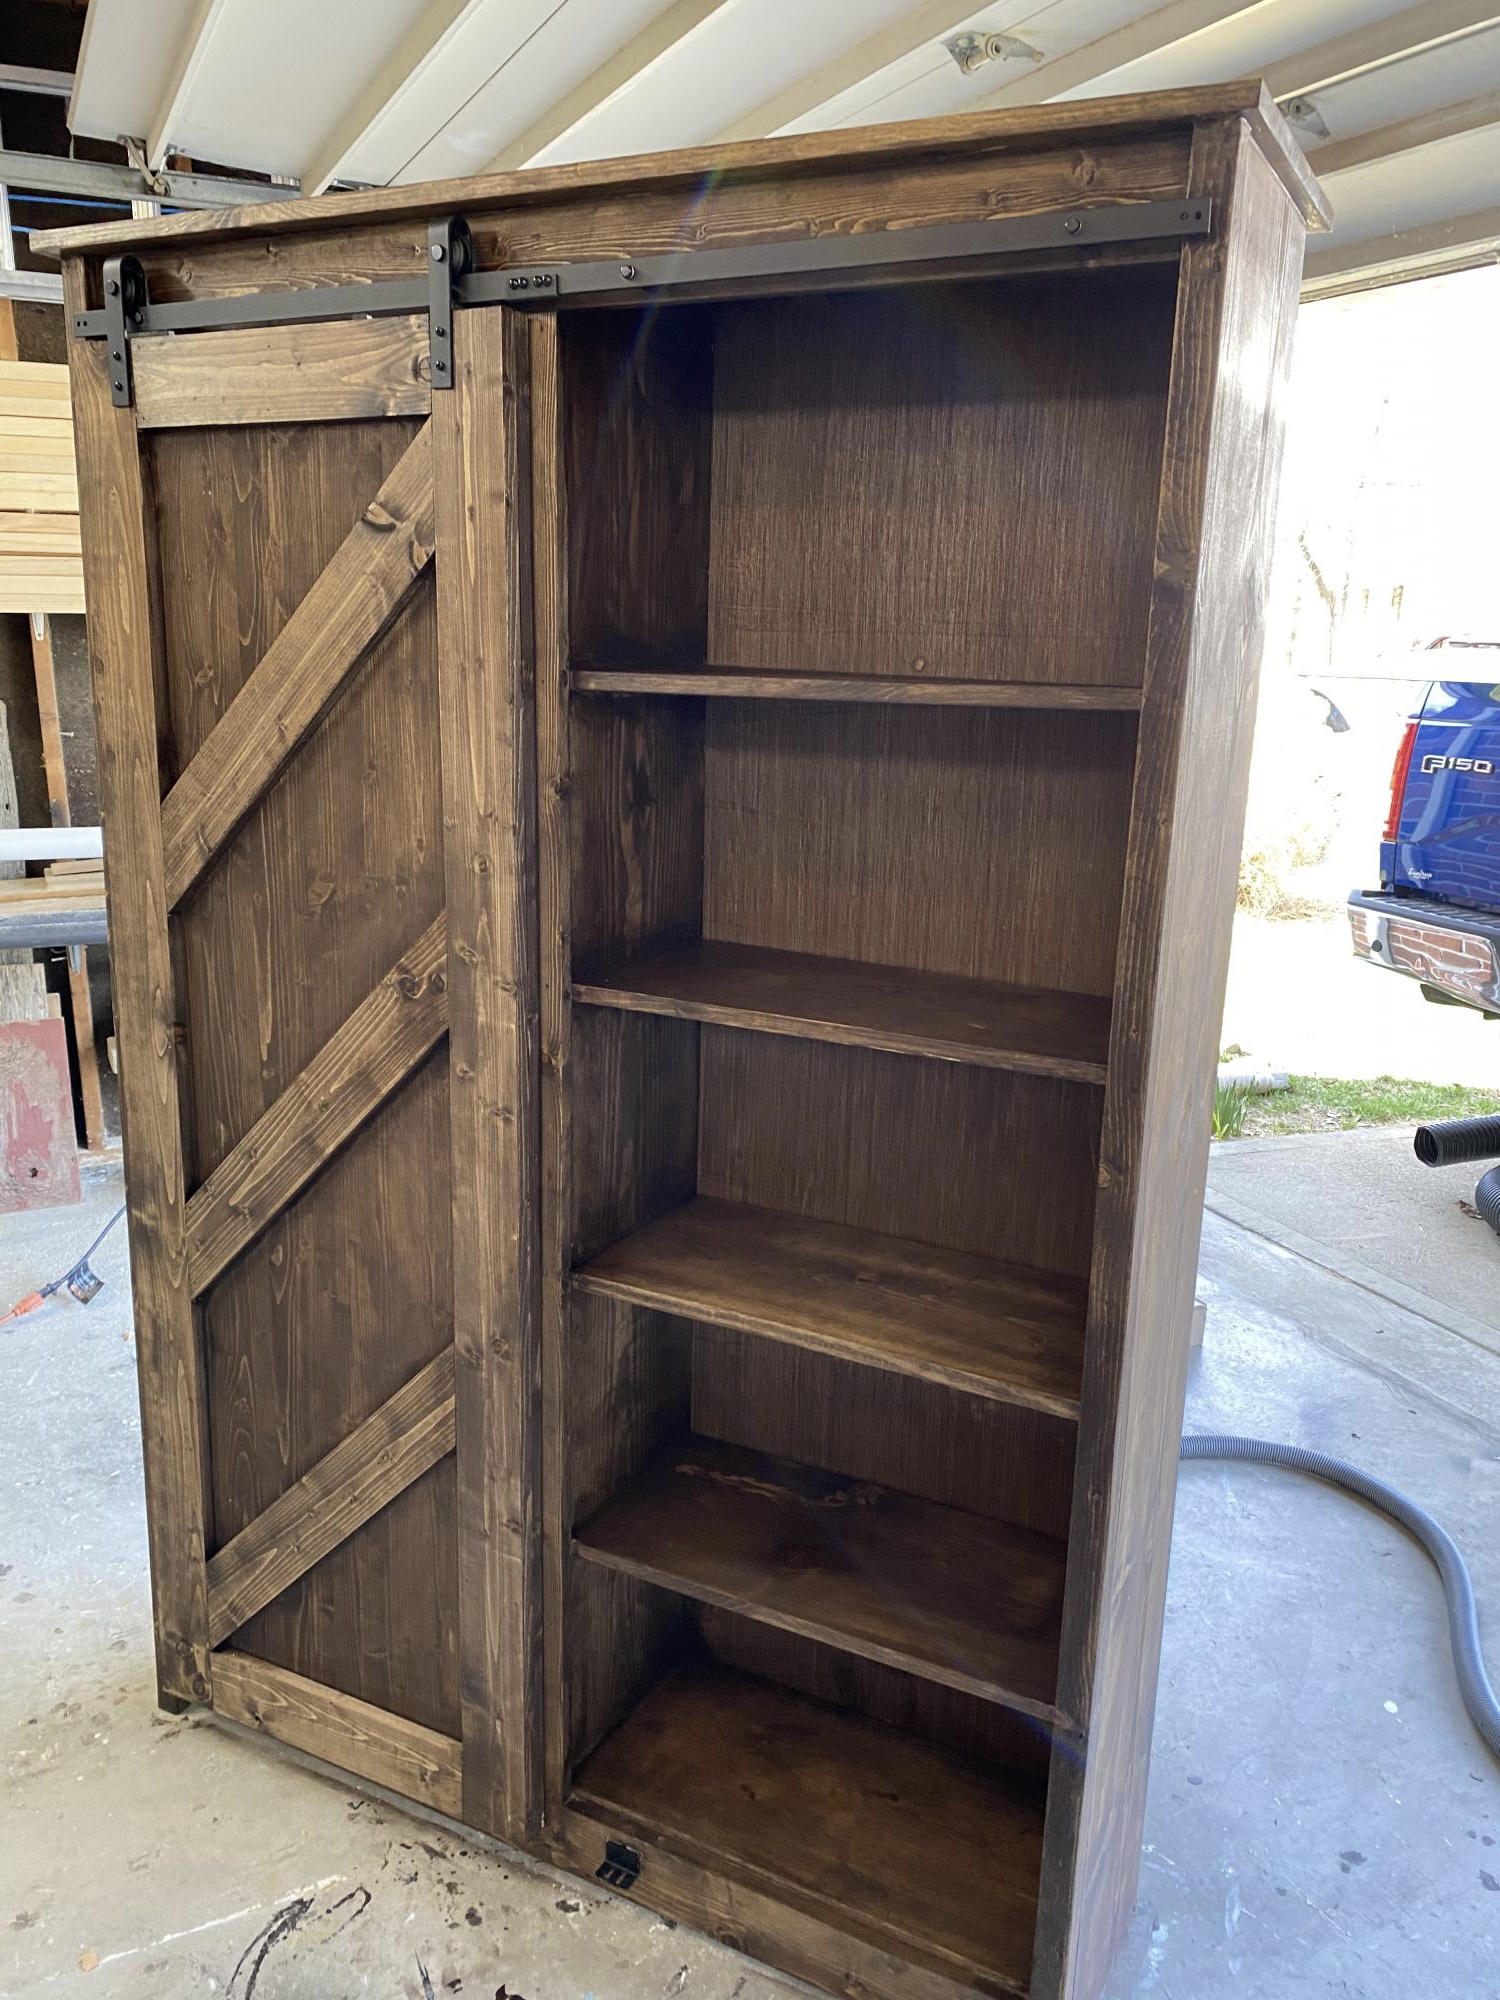
Fun project!
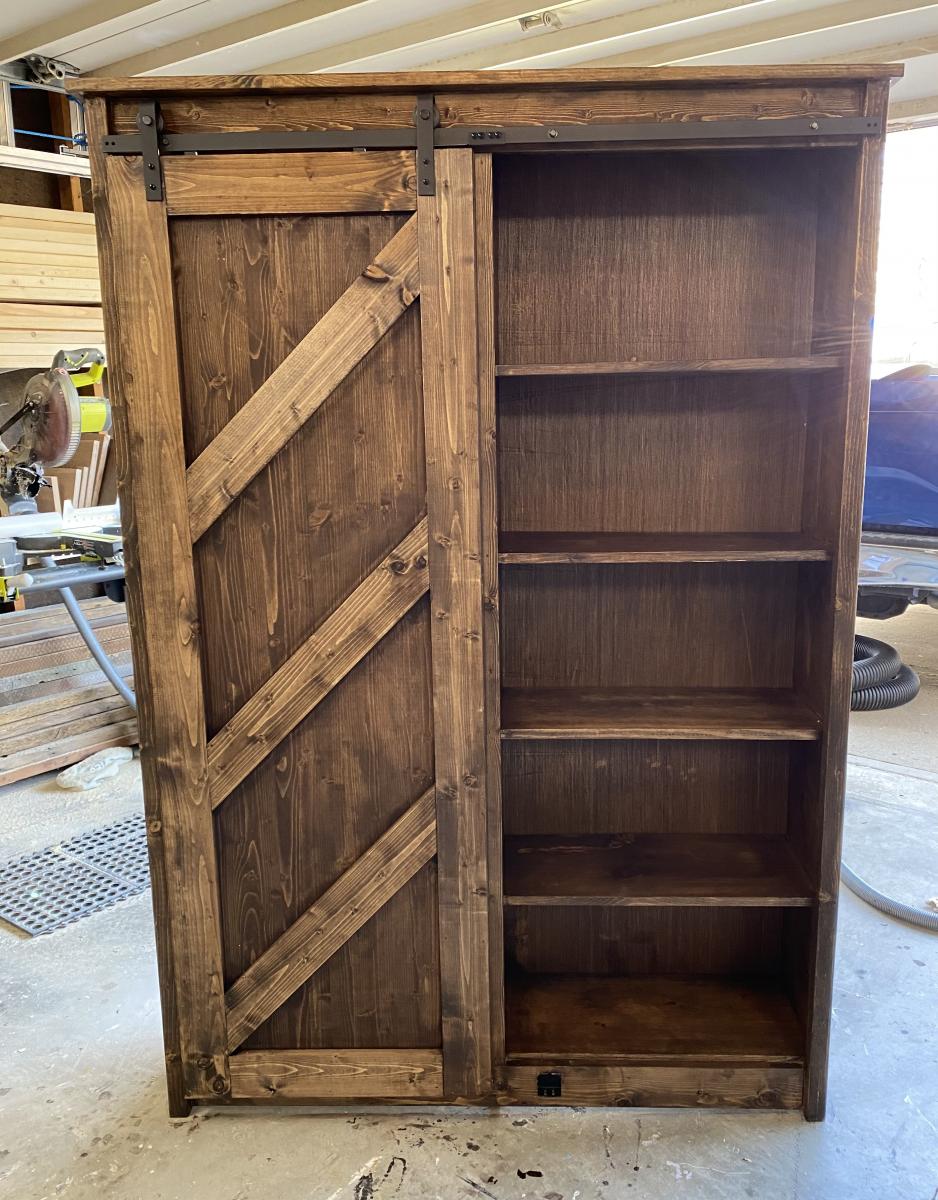
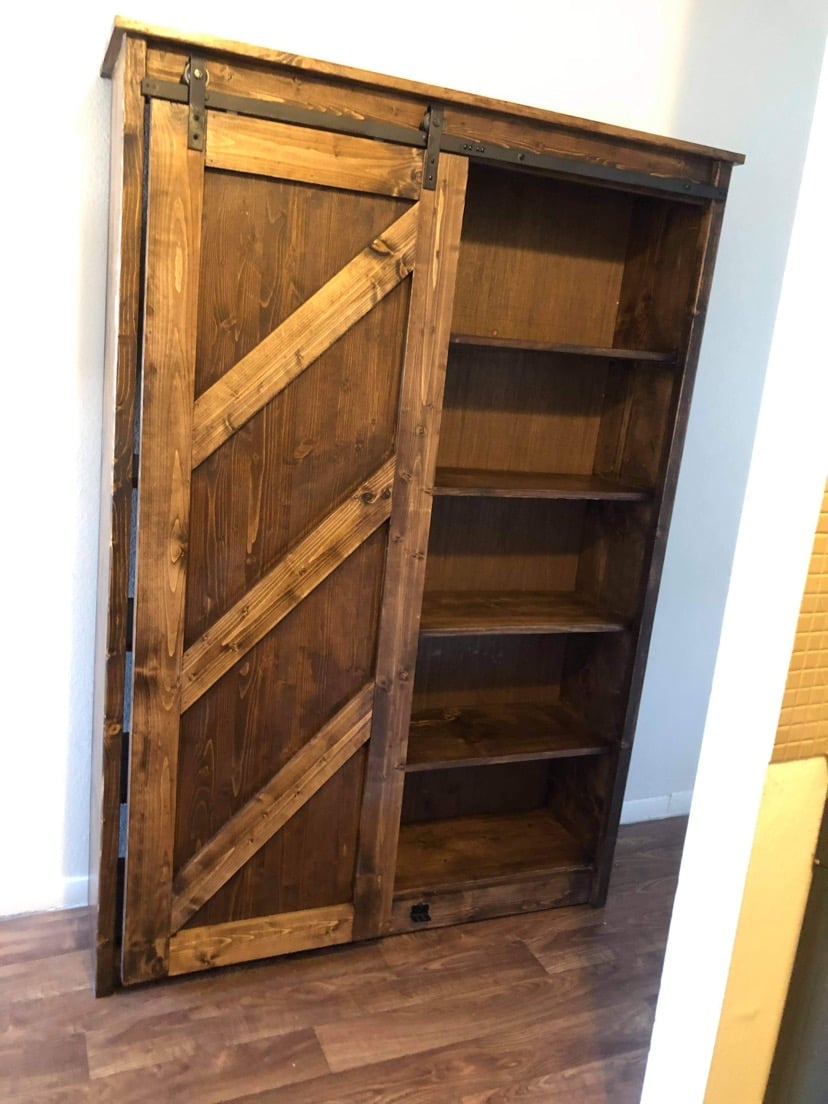
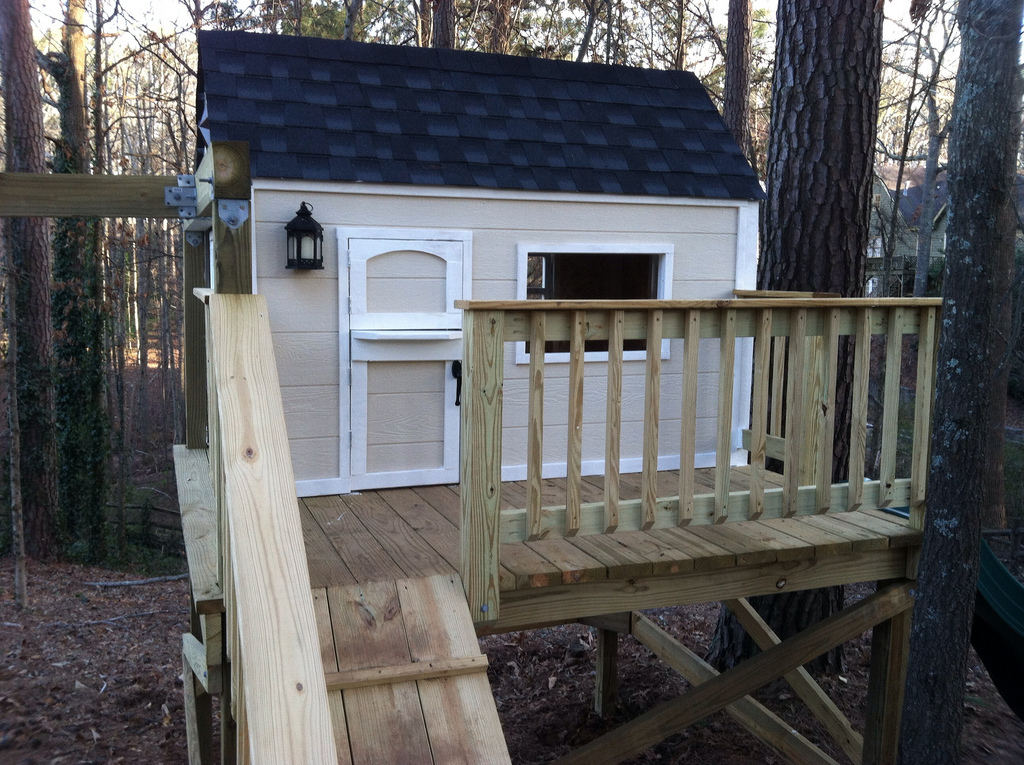
We built this in early 2013. We ended up turning the house 90 degrees on the deck, because the slide worked best off the backside of the deck due to the various heights around the deck. The sloped back yard caused some challenges, but in the end it's a very sturdy deck with the cross beams attached. Thanks for posting these plans online for us, our 3 daughters are loving the playhouse and swingset! Here are some more pics of the project: http://www.flickr.com/photos/11031534@N00/sets/72157633009259873/
Fri, 03/22/2013 - 16:39
Love this - my grandson's back yard is too small to build something like this; which is why we had to settle for his loft bed airport/clubhouse.
Thu, 06/27/2013 - 05:24
I'm planning on building two A-Frames and no playhouse, so my questions are focused there.
Did you do any modifications to swing portion of the plans?
Is it sturdy enough for an adult to swing on as well?
It looks like you put the posts in the ground, did you cement them in too?
How high off the ground is the bottom of the support beam for the swing?
Is there any issue side-to-side swaying?