Modern Outdoor Chairs
My husband built these for our little deck!!! They turned out AMAZING!! The plans were so easy to follow! I am so happy with how they turned out and can't wait to build our next Ana White design!! THANK YOU!!!
I used the instructions from ana-white's website. Instead of building 2 separate boxes for 6 baskets, I decided to make one big sorter that would hold 6 baskets. The sorter has been an amazing help. We have a family of 6. 3 baskets for dirty and 3 baskets for folded clean clothes. 3 Dirty baskets: whites, colors, and sheets/towels. As for the other 3 baskets: 2 people per basket. The top of the sorter provides counter space to fold.
Tue, 08/14/2012 - 08:13
With a family of 7 (soon to be 8) we really need this. Thanks for sharing the uses of each basket. That is what I am trying to figure out. I also need the washer/dryer pedestals for dirty laundry so the dresser could just be for clean, but homeschooling and cooking for all these kids keeps me from jumping in to projects and the pedestals may be a long way off as my (very talented) husband's busy season is starting.
In reply to Nice Job! by 5 tator tots (not verified)
Fri, 08/24/2012 - 16:26
Glad it was helpful! Let me know if you have any questions.
This project was inspired by the post I found on Ana-White.com however I changed some of the dimensions and cut list to make it my own. I built one of these for my Mother and her and her friends keep talking about it to this day.
Thu, 06/05/2014 - 08:02
Aren't you concerned about eating/drinking on a pressure treated surface?
Our own mix for the sliding door console. Stained the entire unit with Jacobean stain, then light grey chalk paint. Distressed with 150/220 grit and waxed. Top and shelves are Jacobean with 4 coats of satin polyurethane. Absolutely love how this came out. Roughly $300 spend at home depot on all supplies. Wife and I finished in about 17 hours this weekend.
I am working on figuring out sketchup to write plans for this, but I came up with this idea for storing stuffed animals that were taking over my daughter's bedroom. It works great and she can get the animal at the bottom out without all the other animals falling out! It took a few 2x4s, screws, bungee cords, eye screws and paint! I'll post more whenever I figure out this program, or if anyone wants to create their own plans from it that other people can use, I'd be happy to share what I did!
As soon as I saw these plans, I showed my mom who fell in love with the look. She loved it but of course, we had to modify it so that it would fit her needs and fit into her space. I love it too, makes me want to build myself another tv console, but I already built myself one. ;-)
In reply to Gorgeous finish! by Stefanye Thurmond (not verified)
Sun, 08/19/2012 - 16:19
I'm rather partial to it myself ;-) I think it turned out great. Glad you think so too!
Mon, 08/27/2012 - 22:30
Beautiful work! I love the size modification, too.
In reply to Beautiful work! I love the by Hillary (not verified)
Mon, 09/03/2012 - 14:27
Thanks a bunch for the feedback, I love hearing what others think about my work. :-)
Fri, 12/04/2015 - 06:07
Love the console!!! Do you have or are you going to post the list of instructions? Thank you for your time.
This was my fifth project and it went pretty well. I ended up having to trim a little off the top of the door after I had it assembled because I wasn't paying attention to detail and built it to fit the back opening. It was pretty simple to size it down, though. I finished it off with some leftover black paint that I used for the top of my workbench last summer. Super happy with the way it turned out!
I followed the directions and made two of the same shelf -- using a expresso gel stain. I love it in my bathroom!
I haven't put the finish on it yet, gonna leave that up to the recipient. Added a couple of modifications, most noticeably the top shelf, grated workspace, and "side panels" for extra mounting /hanging space. Great design! She's sturdy.
My granddaughter and I made this using the super simple Hailey plank designs.
Lydia wanted a wooden arch for her wedding with the x legs. So we ordered a pattern for an arch from woodcraftplans.com and modified the legs to include the x design. We used pine lumber in 2x8, 2x4 and 1x2. The lumber was routed with the cove edge to smooth the corners. We cut the 2x8 with the jigsaw to make the two pieces for the arch then glued and screwed them together, then used filler to conceal the seams. Then we clamped the front and back together and sanded forever to get them to match. Then routed the edges again to make them pretty. The legs and x's are 2x4's cut to fit and they ended up being the easiest part to work with. The battens are 1x2's that we ripped from 1x4's and routed with the cove edge. I stained it with Minwax Red Oak 215 by brushing it on and wiping it off. The legs where together during staining but the top wasn't, I wanted to stain and polyurethane each batten and crosspiece before it was attached. We polyurethaned it 2 coats then put it together and put the last coat on. We used Ace Brand Gloss polyurethane. It shines like glass. It can be taken apart and transported in three pieces, the leg pieces and the top are bolted together with carriage bolts. This was a very heavy/ bulky project and you need a helper when building this. I think its intermediate because of the difficulty cutting the arch pieces out of the bigger boards with the jigsaw. My husband ,my sister, my brother-in-law and I worked on this for about a week and it turned out beautifully!
Mon, 08/20/2012 - 06:49
Your daughter is so lucky! What a great idea. Good work.
Mon, 02/04/2013 - 13:45
I found the plans here:
http://woodcraftplans.com/osc/archway-arbor-plan-p-2256.html
Ana, I like the revisions you made to the plan. Did you use a cross-halving joint where the Xs meet? What is the best way to do this?
Tue, 03/22/2016 - 21:07
Hey guys and gals, love this project idea. I too am getting married and would love to build this for my wedding, but I can't find the plans anywhere! I even went onto that woodcraft website and still nothing. Any help would be greatly appreciated!
Thanks,
Luke
This site as ever so helpful and vital to the completion of these chairs. Honestly,this project was the first time I had taken stock lumber and constructed something from it. I am handy by my own account,but never attempted anything like this before. Great site. If not for Ana white and this website,I'd have 2 less chairs. It is very rewarding building something from scratch. I'm sure this was the 1st of many projects and ideas I will get from this site. A+++. Thank you very much.
Our son is learning cello and we were told he needed a 14" chair for practice, so this plan looked perfect.
Other than tweaking some of the dimensions as the plan didn't seem to quite work, the only other change I made was to use wooden dowels instead of screws to give it a cleaner finish.
Seems stable enough for me to sit on.
Made this farm table and benches from your plans. Son wanted the multi colored and wanted it epoxy coated. I put a couple top coats of satin poly over to tone down the gloss. He loves it.
Renee White @momanay
This was built based on the "Reclaimed-Wood Look Headboard" post. The directions are under the queen size post and the cut list was under the king size one. The cut/supply list was absolutely dead on. Once I built it however, I realized that it needed more support if I expected it to last more than a few years. I reinforced the back and added vertical bracing and chair leg supports to prevent side to side movement. This was done with scraps from the original cuts. Since it was built with finish nails and glue, enough movement and I knew it would eventually start popping boards. I also decided to wall mount it so that it will last that much longer. Don't skimp on the directions. Pick only 100% square, non-bowed boards. Glue down everything. Triple-check for flush and don't even think about making cuts without a chop saw. If you don't have one, have the hardware store cut it. One less-than-square board or wrong degree cut will make the whole project fail. I did heavy distressing on it by hitting it with chains, an ax, a hoe, and a board with nails driven into it. I also threw screwdrivers, allen wrenches, pipes and anything else heavy I could find at it. I used a leather poking tool to make mock cracks. I used a small torx screwdriver to drive the finish nails in deeper and didn't worry about filling the holes since it added to the distressed look. I then took a hand torch and burned several areas to draw out the wood grain and deepen the aged look. Finally I sanded it with a 220 grit paper, put 6 coats of Watco Danish Oil Dark Walnut on it and varnished it with Formby's Low Gloss Tung Oil. All the finish was applied hand-rubbed with a rag. A brush will leave streaks - hand rub is the only way to achieve that antique look. It turned out much better than I even expected and matches our mango wood bedroom furniture perfectly. Total cost was about $170 and build time was roughly 30 hours, however, the initial build was done in just 3 hours. All other time was distressing and finishing.
Thu, 08/23/2012 - 10:43
This looks fantastic! Thanks for all the tips too!
I had a girls night in and we each made out our art using the nesting family tree sign. I put together the cedar fencing signs per Ana's instructions and we all brought supplies we had in the garage and we painted away! Thank you so much!
Determined to get back into woodworking, and teach my daughter some life skills, we set out to build something easy... and it was! She did almost all the measurements, cutting and nailing. I tried staining, thought we got a nice wood color but got grey instead. Still looked great. Thanks for the plans! So excited for our next project!
I built this using Ana's plans for her outdoor play kitchen. I live in North Carolina and took it to my grandchildren in Ohio. They love it! I used an inexpensive beverage dispenser installed into a trashcan and connected a small aquarium pump to recirculate the water from the sink to the water tank. I'm super pleased with how it turned out!
Nancye Butterworth
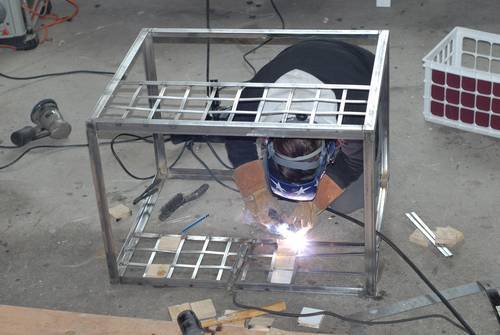
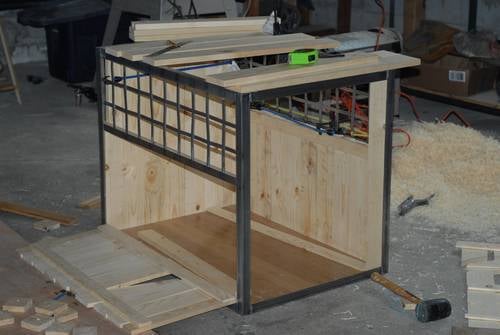
I made this probably over a year ago but I'm finally getting around to posting some pictures. I had just recently learned to weld and wanted to try some projects that were floating around in my head. Welding is so versatile and not as hard as you think. It's like hot gluing but sparkier. That said, please take a class at your local community college if you want to try it. Yes, it can be a little dangerous, just like swimming without lessons first.
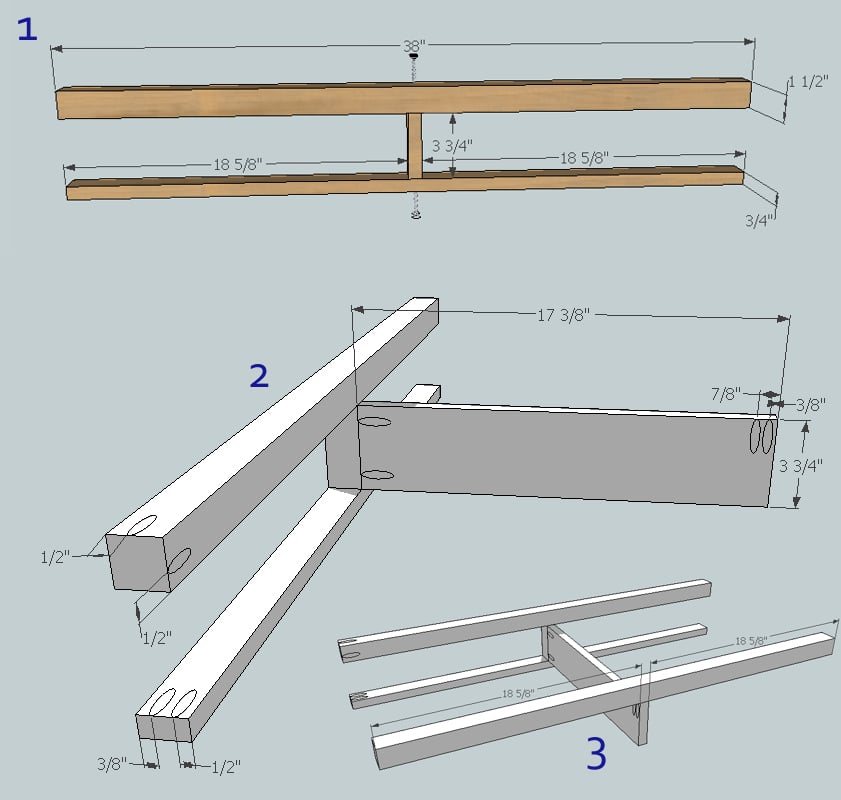
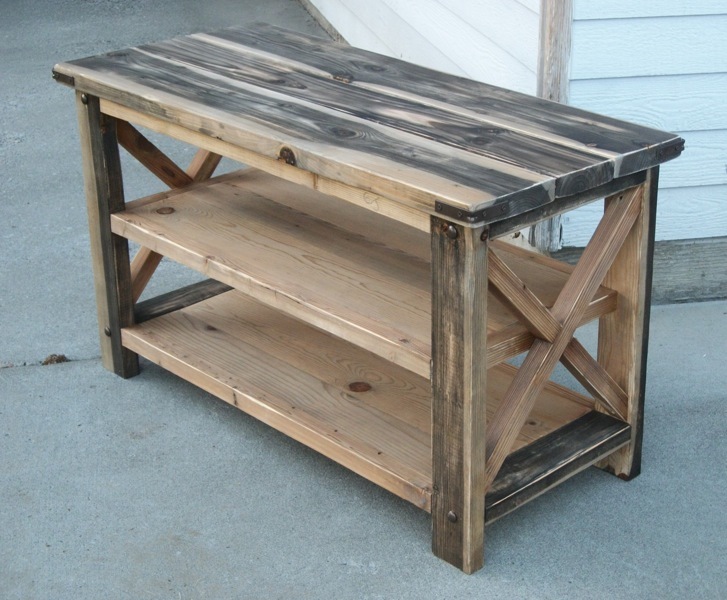
I was inspired by Ana's project plan, but obviously got sidetracked with the design. This happens a lot as I'm working... my husband actually nicknamed me "sidetrack", but I digress... again.
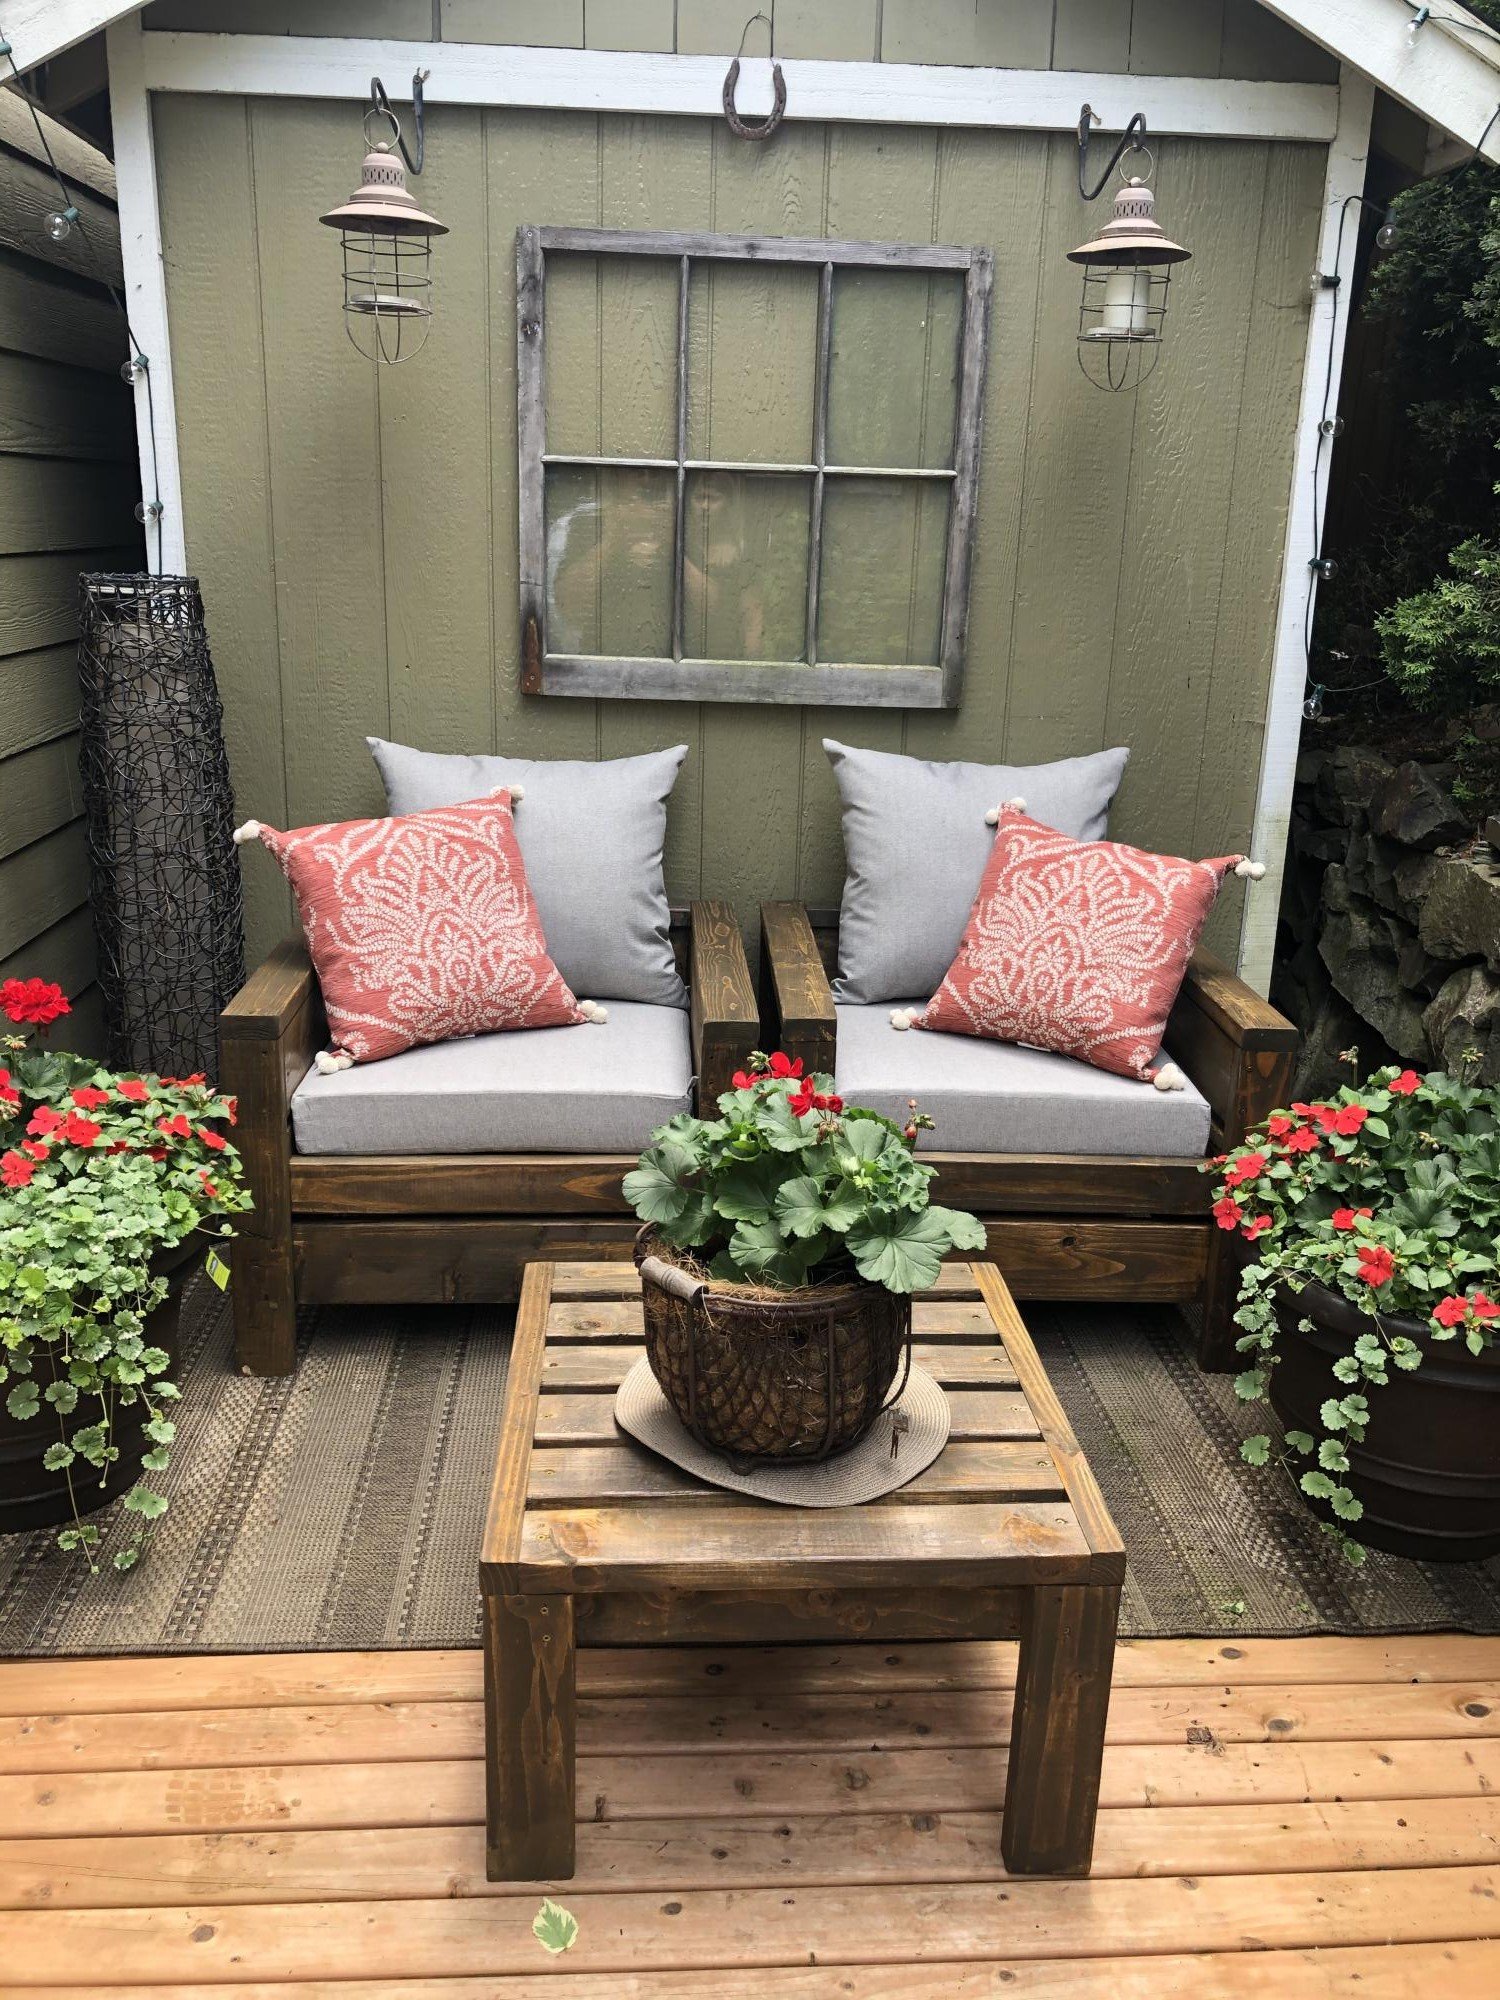
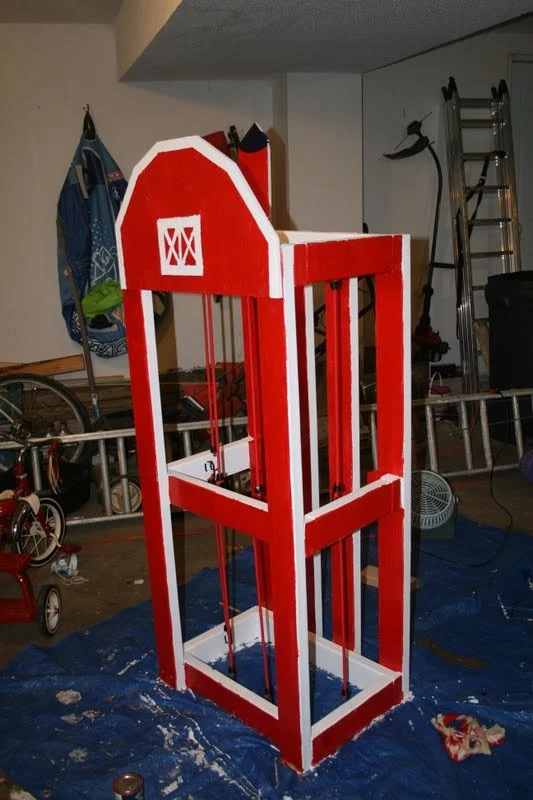
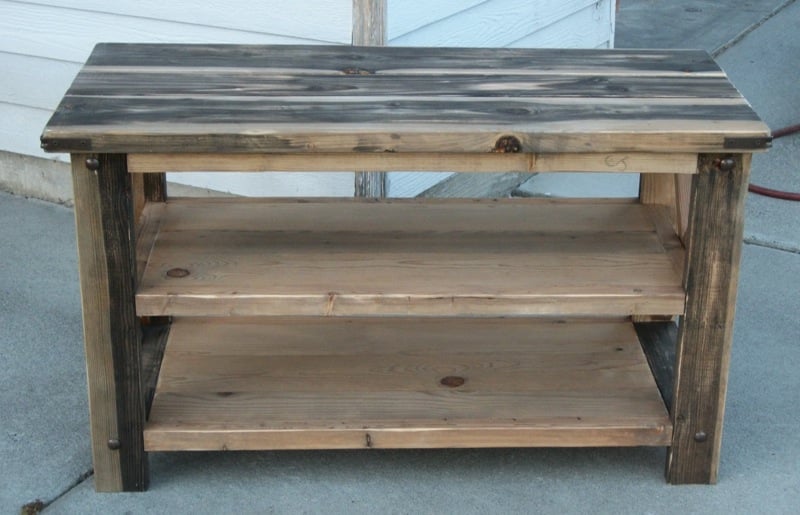
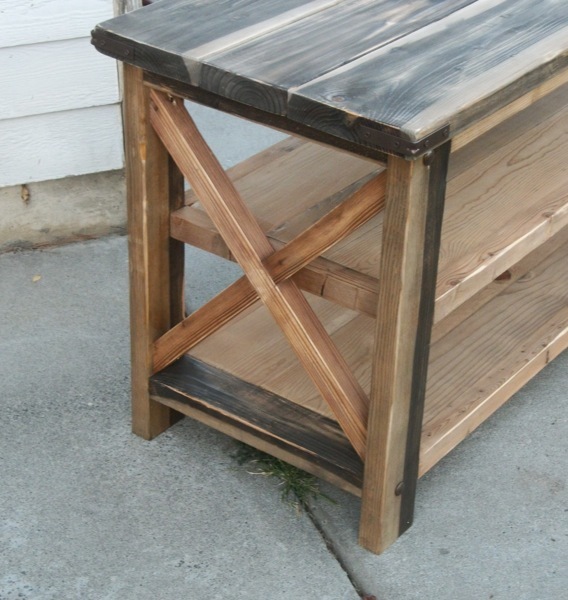
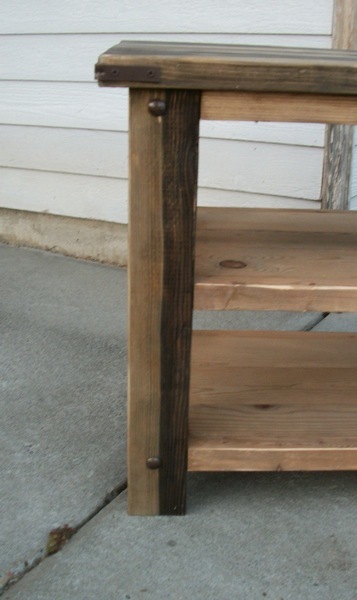
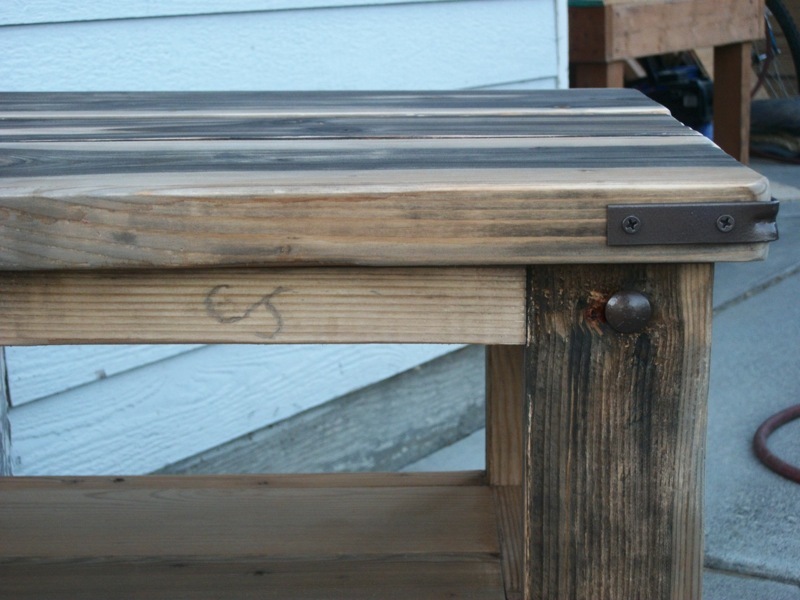
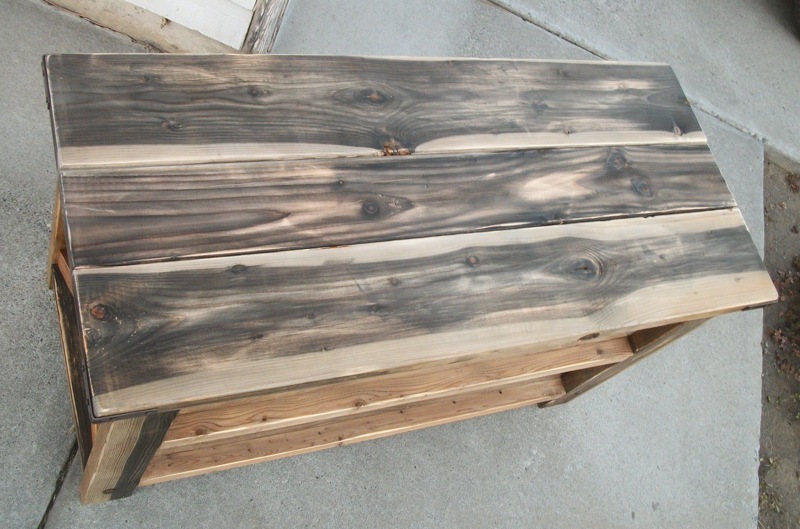
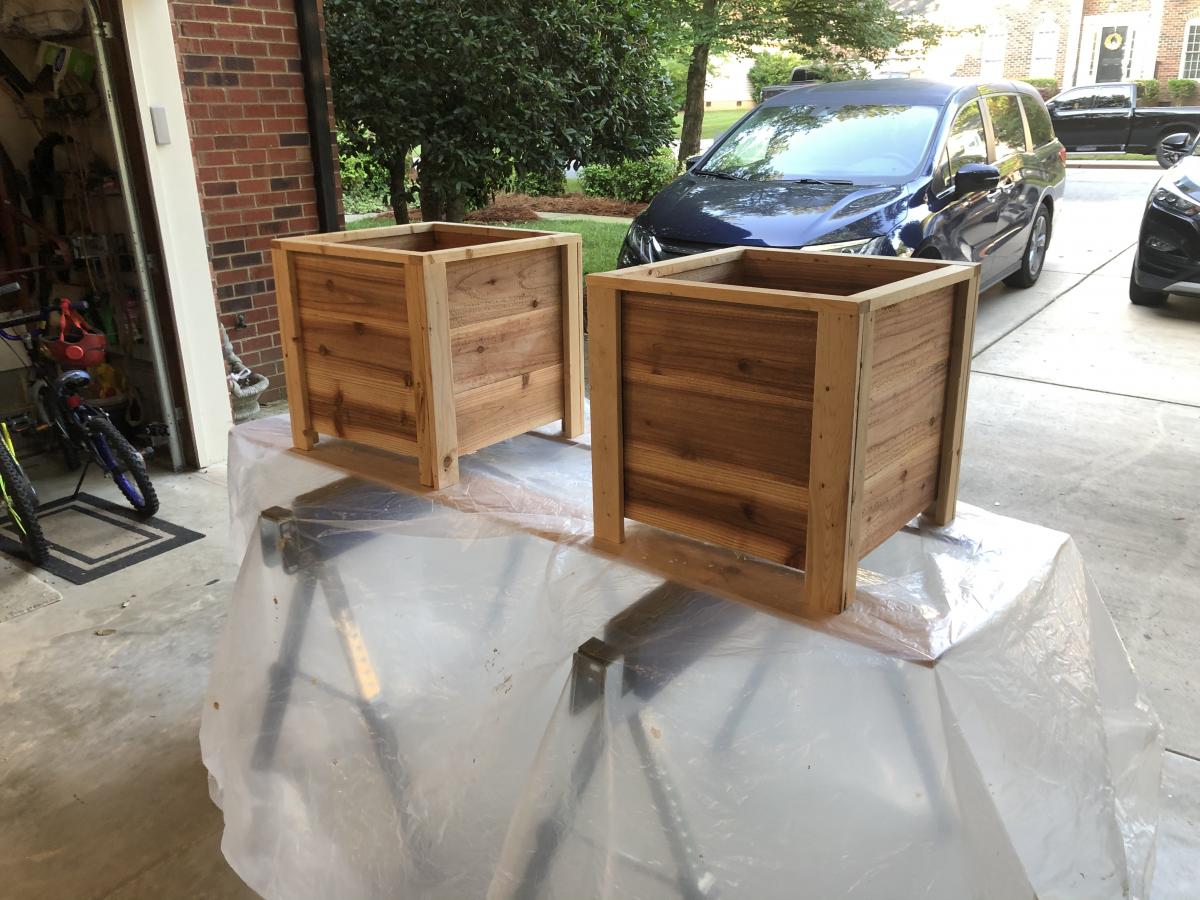
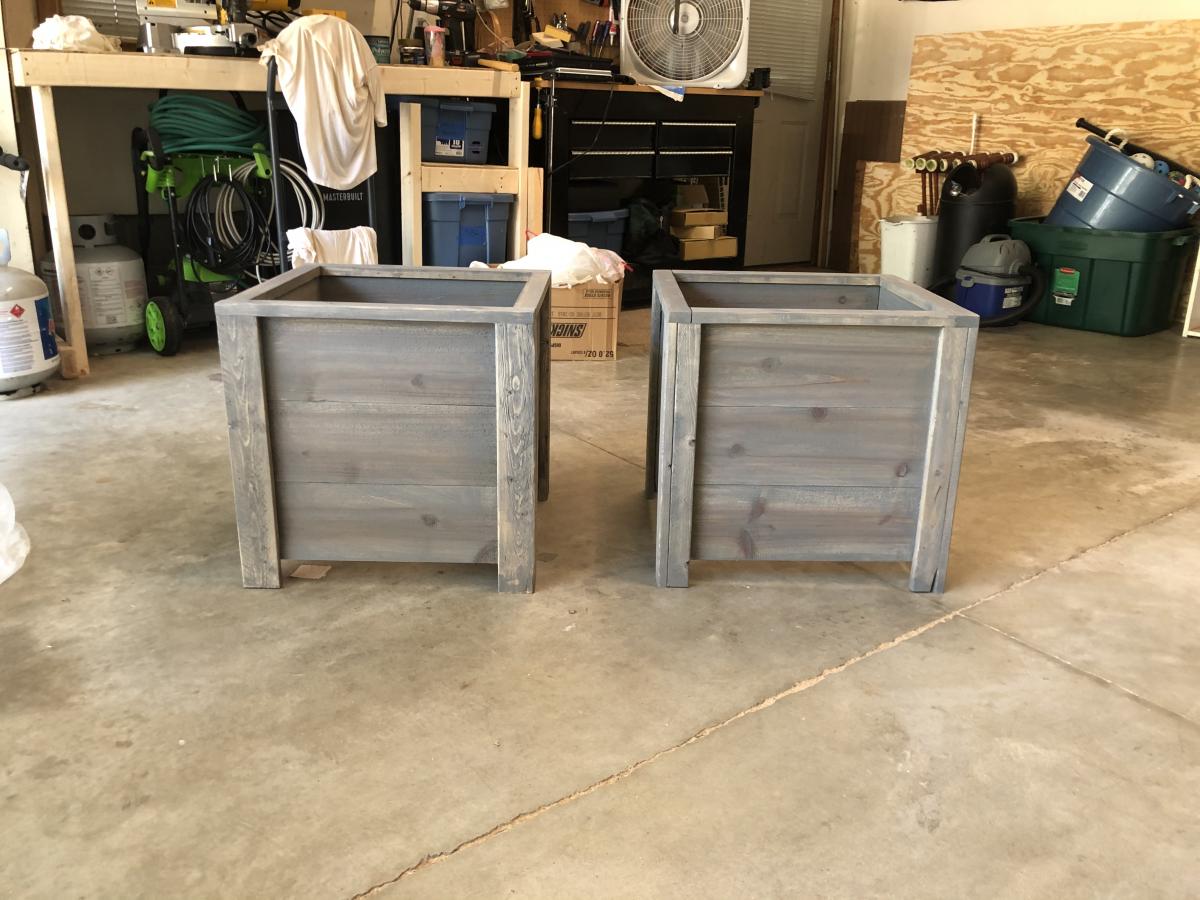
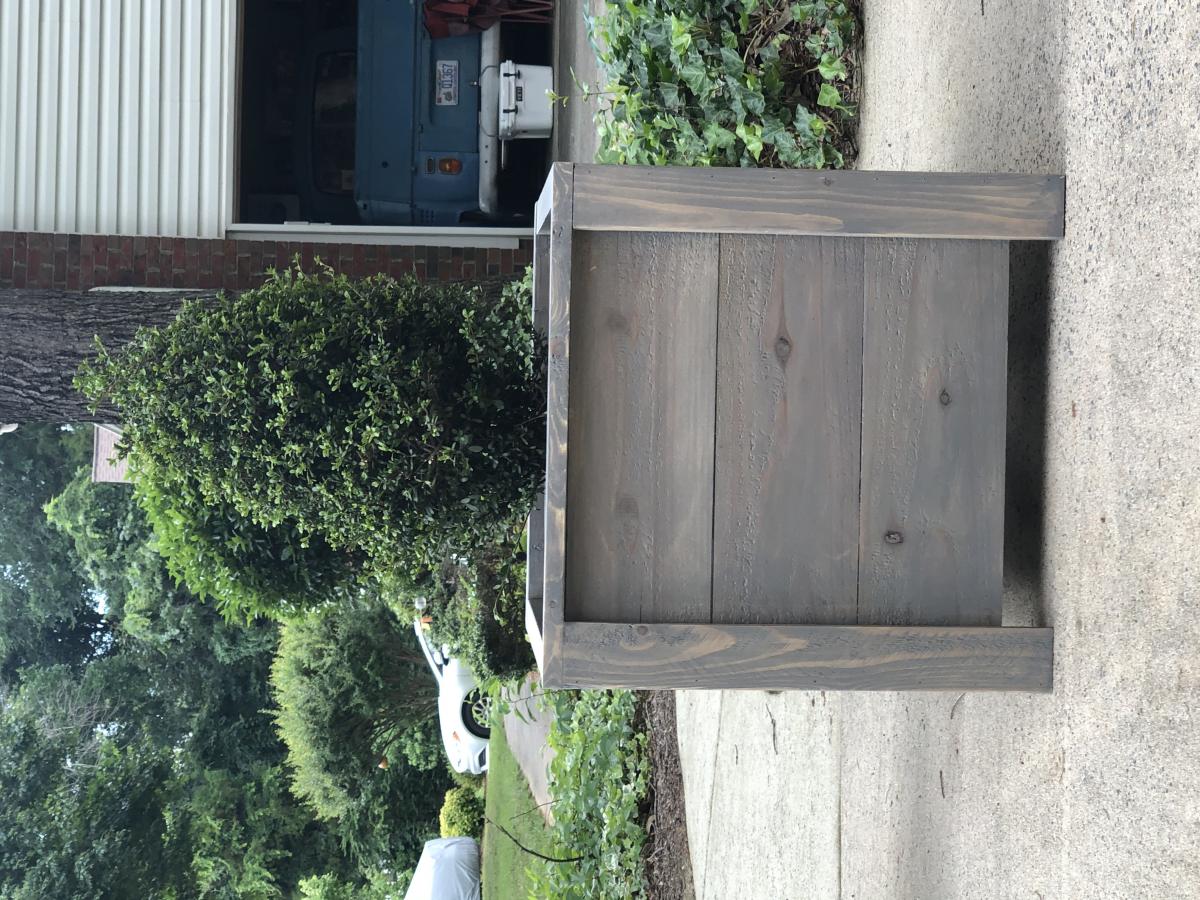
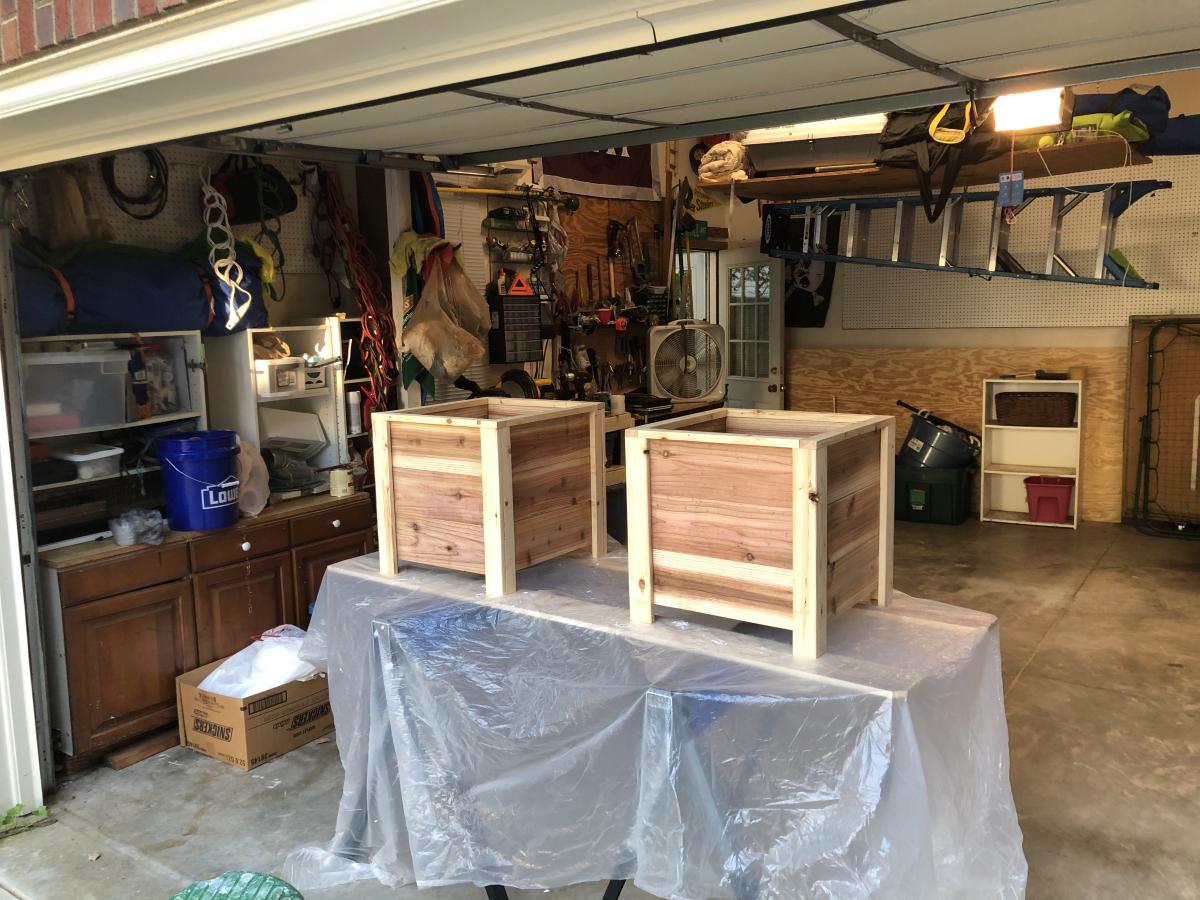
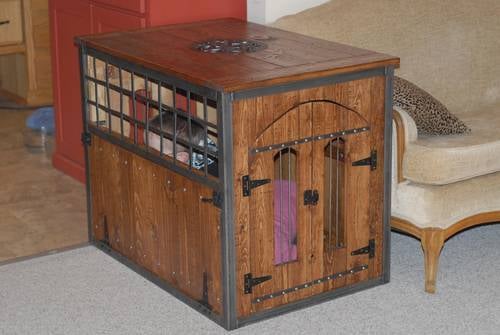
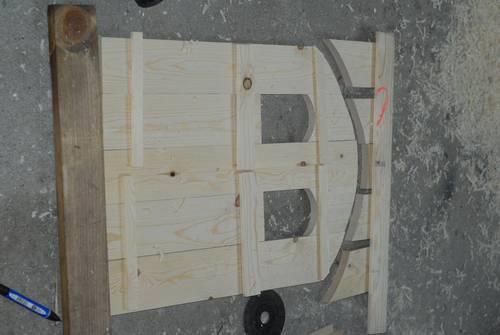
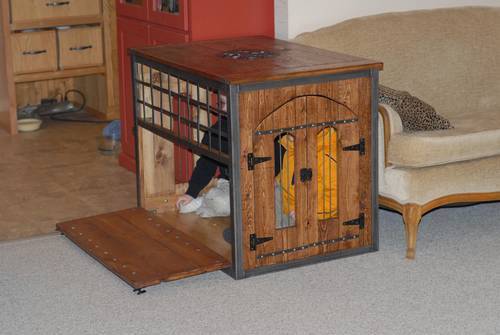
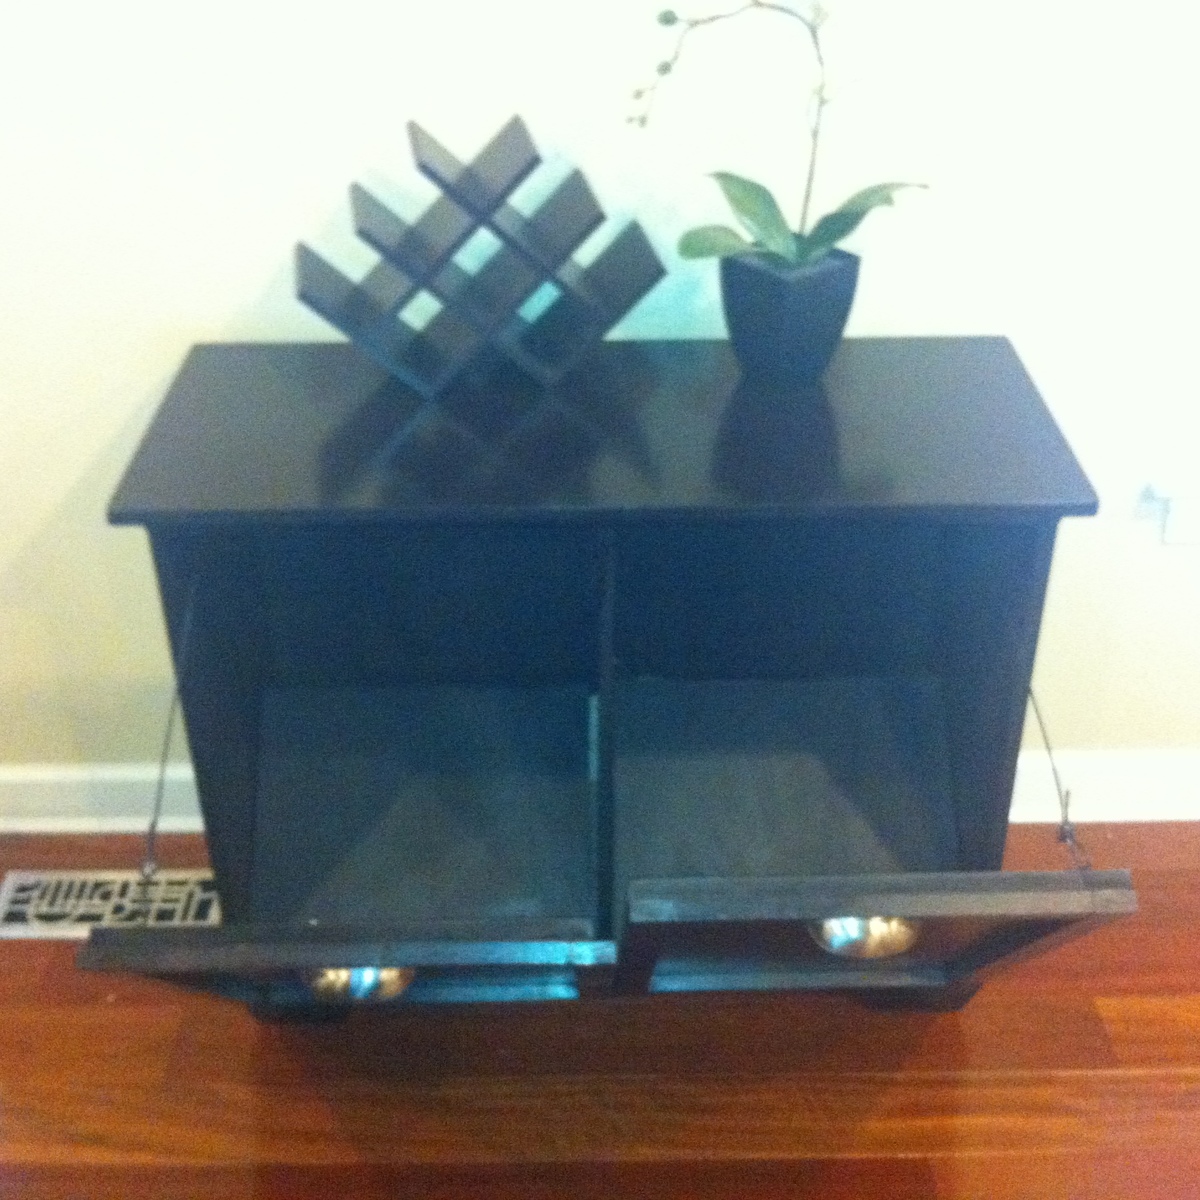
This dog kennel was meant to be in our living room for a long time so I thought it would be fun to have something that looks like it's furniture. I love the look of old distressed wood/iron industrial furniture, so the wood was distressed before staining and finishing. I used stove polish on the metal before waxing to give it a dark, aged look.
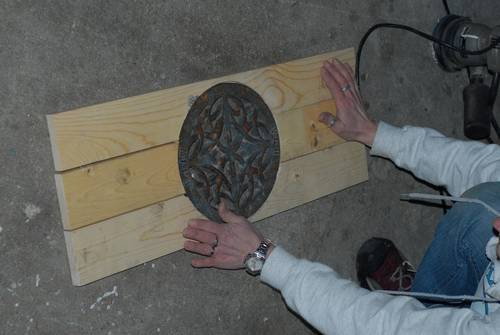
The grate on top (acts as a skylight) came from a conference my husband attended years ago. It's been sitting in our backyard rusting and I thought it would make a neat feature on the top. It cleaned up pretty good!
I attached the tilt out portion using a Kreg jig and eventually removed the brace (it wasn't necessary and removing the brace gave it a cleaner look.
I used 2 x 2 as a trim around the outside which also allowed me to hide the hinge.
Other than that -- followed the build pretty closely. I used a cable on either side to stop the tilt out from falling to the floor (which allows me to leave it open as well.
This was my first project and it was a battle to figure out how to install the hinges and I did not love my jig saw work with the plan feet so I bought and installed furniture replacement feet which turned out much nicer (IMO).
Good luck!
Comments
ladybug'13
Wed, 06/17/2020 - 20:38
Awesome!
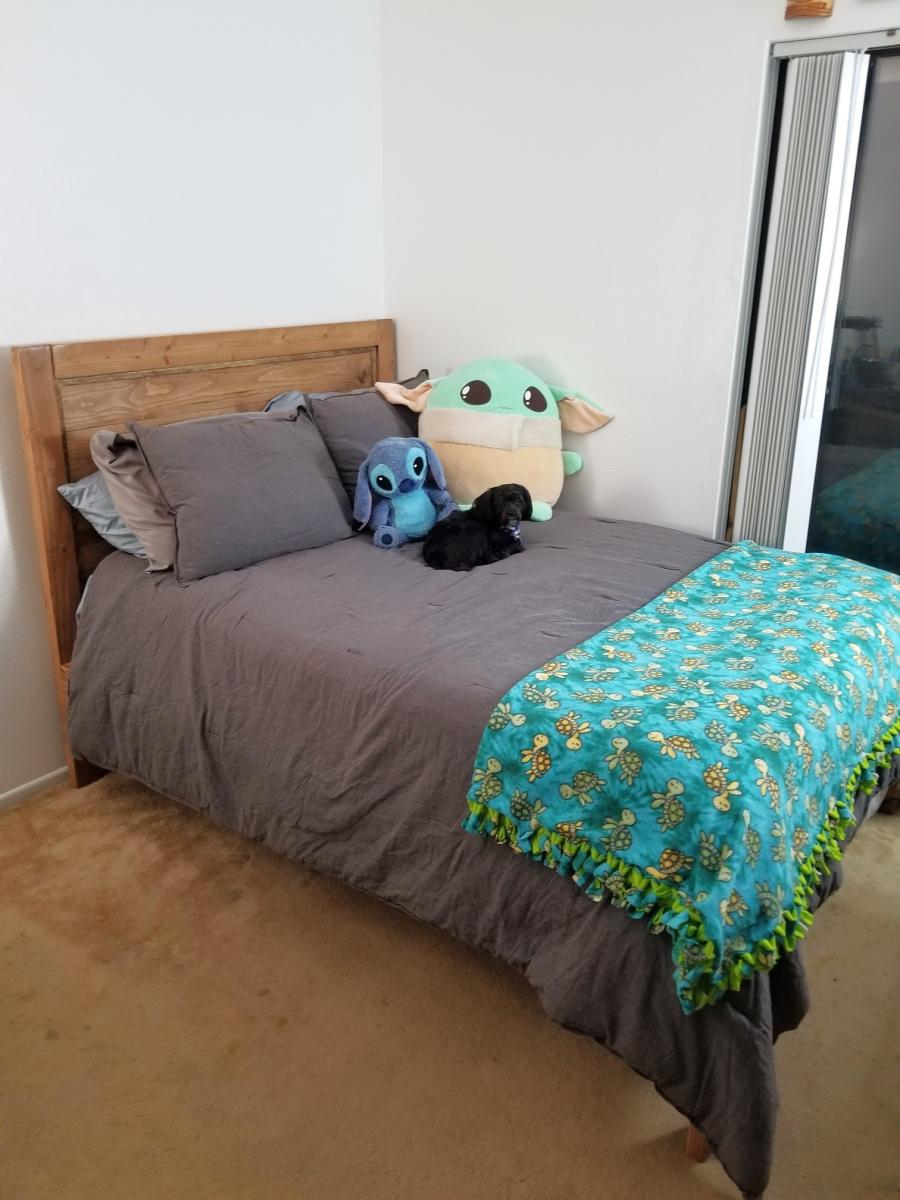
He did a great job! They're beautiful! May I ask where you got the cushions? I'm thinking of making a few of these myself and would like recommendations :)
tiacobazzi
Thu, 06/18/2020 - 07:35
Hi there! We got the…
Hi there! We got the cushions and pillows at Walmart! Super inexpensive!
Ana White Admin
Mon, 11/09/2020 - 10:14
Cozy Spot!
Thank you for sharing, these look amazing!