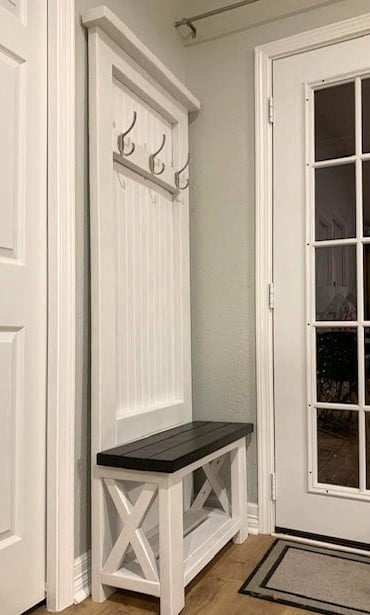
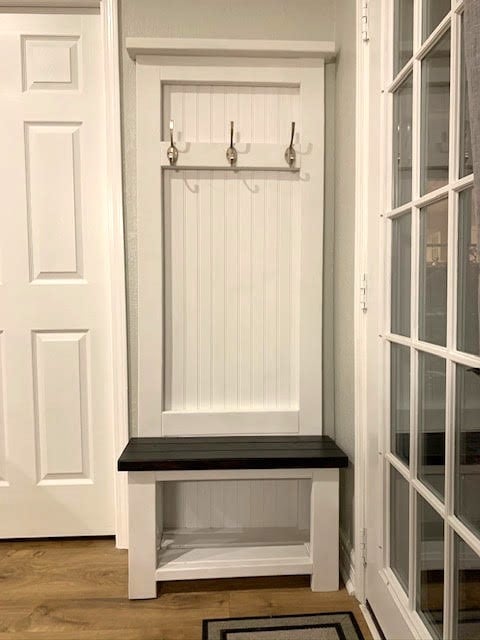
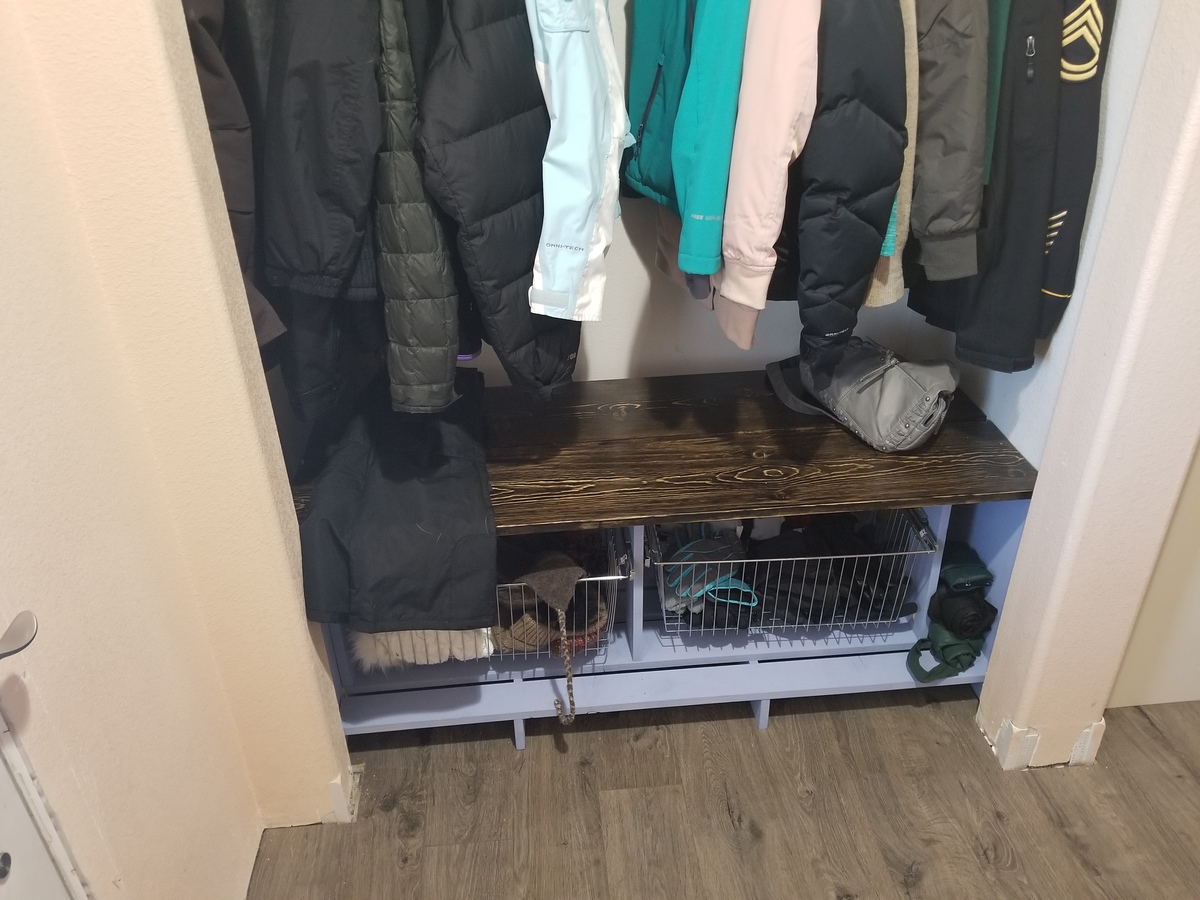
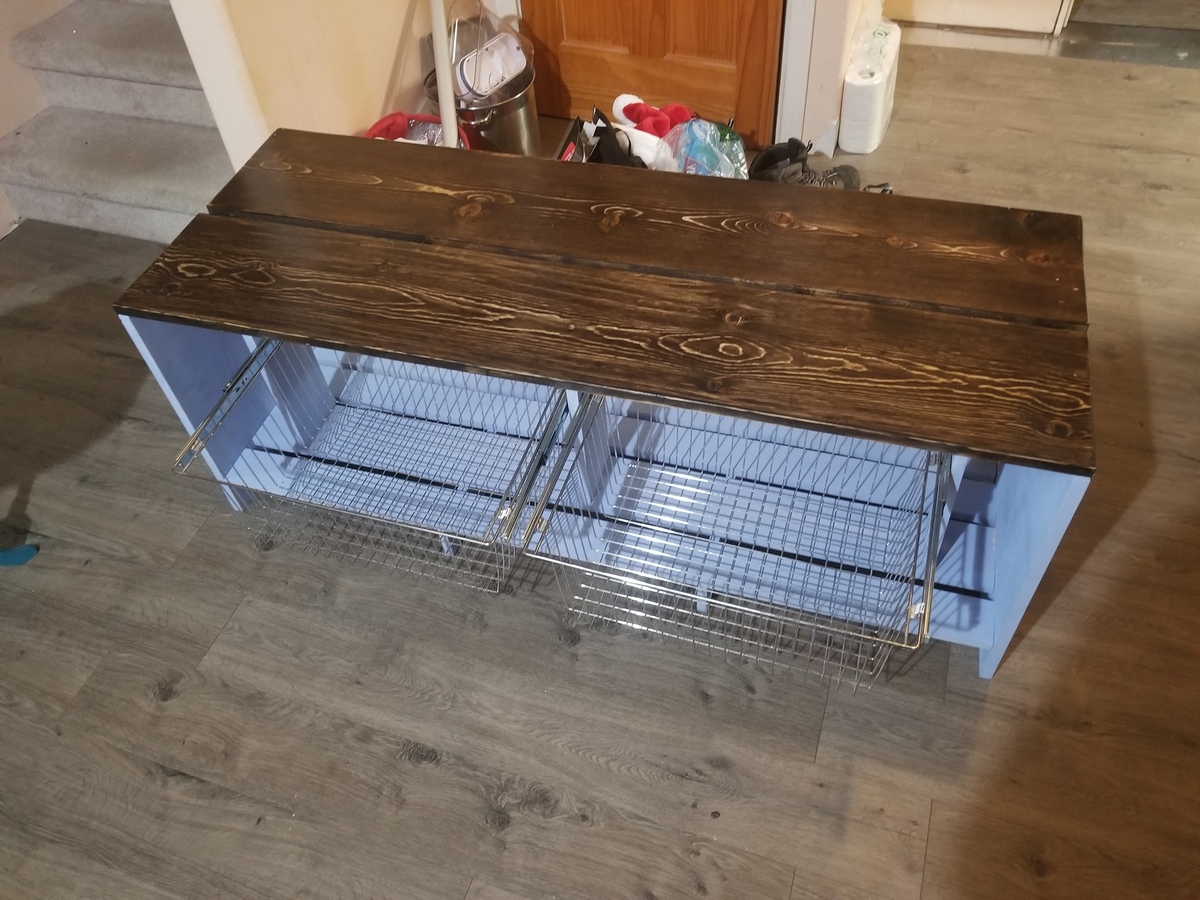
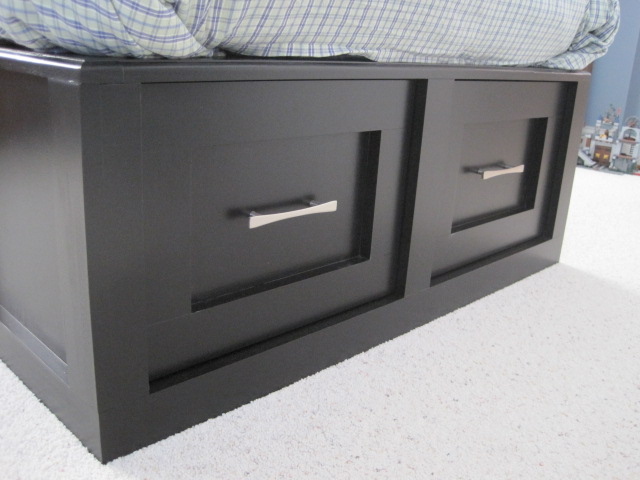
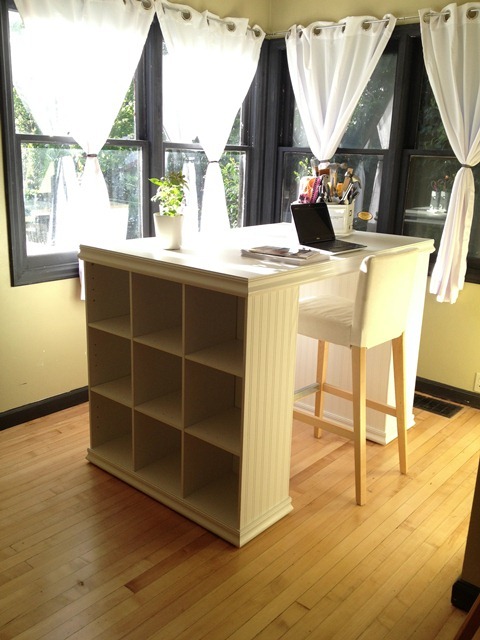
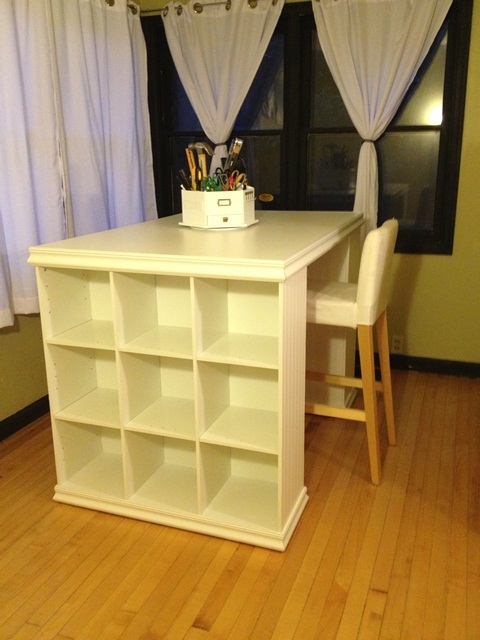
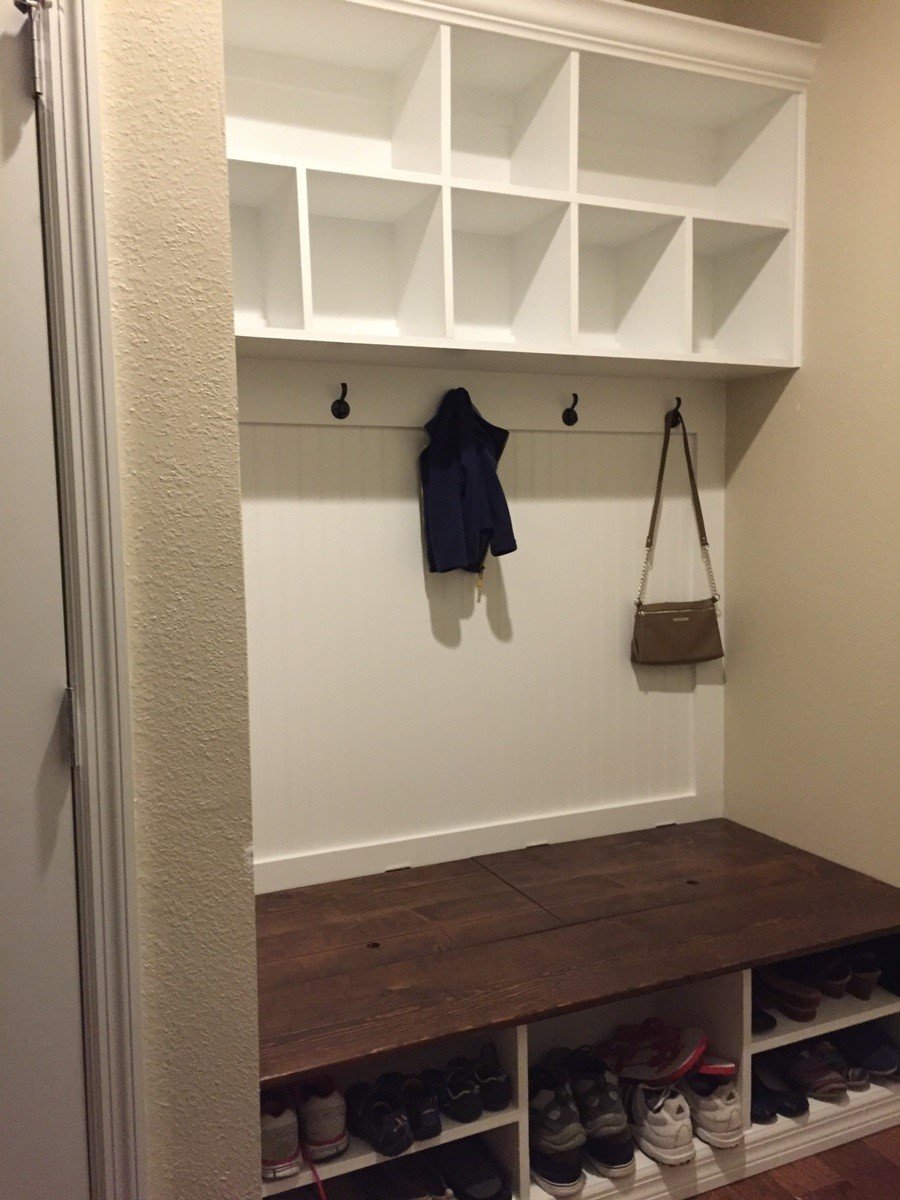
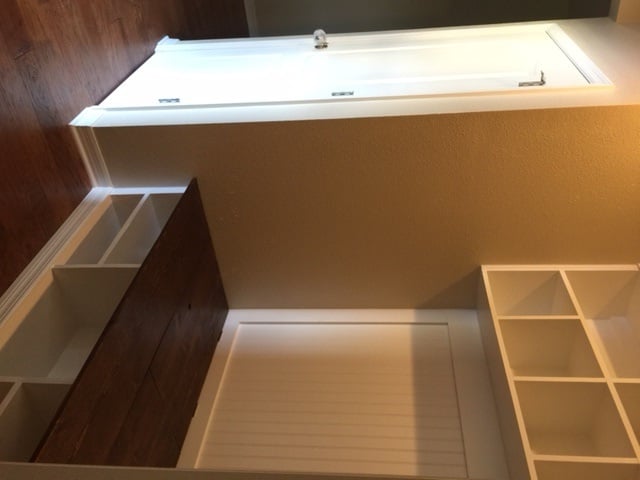
Bench with foam padding
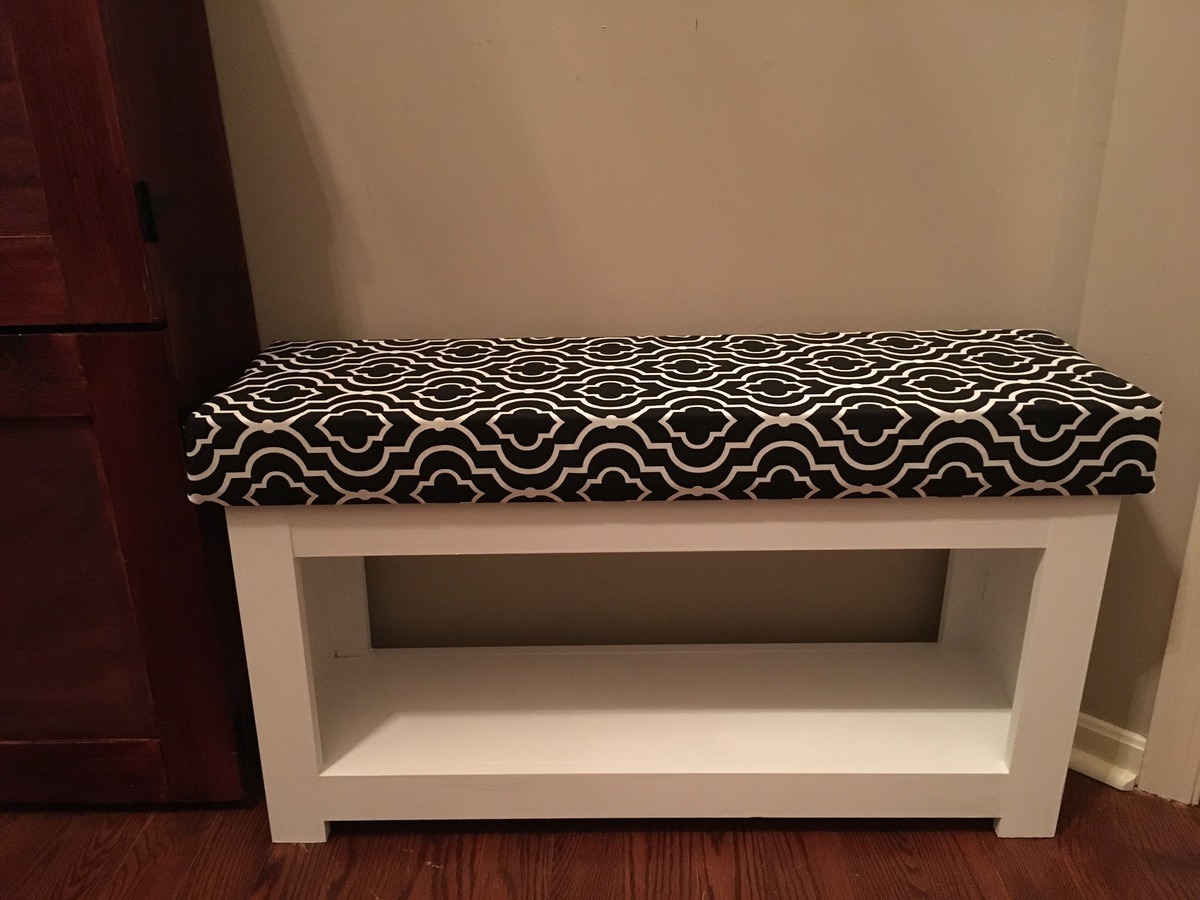
This was a fun little project. I made the bench to be placed in our foyer to sit down and put your shoes on and off. 3” foam and fabric makes for a comfy bench.
Just finished the American girl farmhouse bed for my sweet niece's birthday & she loved it! The best thing was that it was made totally from scraps and paint on hand - only had to spend $6 for the fabric!
We love our farmhouse king bed, but that meant that our old side tables didn't fit anymore! (our old bed was a queen)
I really like the mini farmhouse bedside table, but the open storage would be problematic with the dog, so I added full length sides and a door.
The top of the tables is a board we found at my husband's grandparents farm, and the pulls are from some old tack. The metal loops were on some old horse harness, and the leather was cleaned up from the same piece. I was able to drill a hole in the leather and then pre-dill the doors to accept post screws from home depot.
I love these tables!
Wed, 10/02/2013 - 19:11
Love these tables! The wood top is just gorgeous, and I love you you re-purposed other items to make the hardware. That is so creative! Great job!
I used Anna's plans, but I wanted to reduce the weight of the bed so I replaced the 2 x 10's with 1 x 8's and I made the cross slats 1 x 4's face up. The 1 x 4's also create a platform to put your bed on so no need for ply wood or box springs. This is still very sturdy, but about half the weight as the original plan.
Thanks Anna for the great ideas and plans! Now I am on to the farm table, wish me luck!
We followed the plans except added in bed rail brackets to make it easier to relocate and adjusted the bed as a whole to sit higher off the ground.
Farmhouse hall tree modified for the space!
My husband and I built this table in an evening. We really like the finished table as it suits our needs perfectly. The plan was easy to follow. We followed the plan nearly as it was written with the exception of leaving out the drawer glides. The drawers are a little wonky because of this, but i think it adds to the charm and character of the farmhouse feel. I bought the drawer pulls from Lowes on clearance for $1.19 each. This table and the farmhouse bedside table match the farmhouse bed that we built back in January so very well. We love our new furniture and we love Ana White plans! Our plan is to have a whole house full of Ana White Farmhouse Furniture in due time. lol. Thank you so much Ana for your plans. You are truly amazing to design and put them online for others to build!
New dressers to match the nightstands. I modified the plans to make three smaller drawers up top and added a flip-up compartment for small stuff like jewelry, hair brushes and trinkets etc. It was fun to get more creative.
I made two at the same time so the wood and stain would be more consistent. However, in hindsight, I will never do any project that requires me to make 14 drawers at the same time again. I also used planked 1x4s instead of plywood for the sides and tops for looks. This made the dressers about an inch or so narrower. I used 2x4s instead of 2x2s for the bottoms of the frames to beef it up and reduce deflection, and also did not use braces in the back.
Wood -> $245/dresser
Hardware -> $ 150/dresser
Strain -> $20/dresser
Sat, 10/05/2013 - 18:59
They are stunning! Amazing job!! I love the charging nightstand in the background too, my dream bedroom!
We wanted to add some storage to our Ikea Kura bunk bed. We needed to adjust the size of the day bed by a couple of inches but worked awesome. Looks like one finished bunk bed.
Wed, 02/03/2016 - 12:43
Hi i just purchased the lumber to make this following the plan from thw original day bed. Would you happen to still have the changes that you made to put it under the ikea kura bunkbed?
Adapted from Ana's mudroom in closet plans, I made this to fit the small closet when you walk into the house. I slotted it and hung wire baskets for air flow since it will be used mainly for hats and gloves which we wear more than not up here in AK. Next for the closet directly across will be a sho storage project which I'm sure I will find on here. Thank you Ana for your awesome site and work you put in.
Had to watch a few YouTube videos but got it done and very happy with how it turned out!
I recently finished this bed in white for my daughter, when one of my sons decided he'd like one for his room. So this is my second time building this bed. I like the drawers Ana has in the Queen storage bed, but I needed it in a twin, so I used two of Ana's plans to modify the bed to our needs. Drawers make me nervous (but less so now that I've done them a few times) and these work great, so all is well!
The only problem? Now with the bed in his room, I feel the need to paint the rest of the furniture, change his duvet cover, paint the walls...you know what I mean?
Thu, 10/06/2011 - 17:05
Definitely paint the rest of his furniture to match, but with a black and white graphic design of some sort. All black would be too dark, but with the white trim in the room you could get away with some really creative graphic art on those dressers.
Sun, 03/10/2013 - 21:31
looks like the face of the drawers are trimmed out instead of being just plywood in the front...how did you modify this?
Only heating source for our house have been wood stove and some mornings we don't feel like starting a fire even if it is chilly, so we bought electric fire place. As our house is Scandinavian country romantic style, I wanted to make modern fireplace a bit more rustic.
We are missing some beams and moldings, so it looks a bit "naked" now.
More about this project you can read in my blog:
http://ourleaningtree.wordpress.com/diy/fireplace/
A great project!! I love how it turned out! I used Poplar wood because I wanted a larger top than 1 inch but smaller than 2 inch. Poplar had an in between size. I love how it turned out! Need to make another one now for my living room so that I have a matching set! Thanks Ana!!
Hey guys,
Here's my version of the Henry Desk following Ana's plans. There are a few minor differences that were requested by my client:
- A thicker top. I used 8/4 dressed pine (basically 2x6 knotty pine) and I laminated them together.
-Smaller desk - Top 60 inches long.
-A large drawer.
-Through tenons on the right leg that I made by using a drill press, chisels and lots of elbow grease.
I used mainly glue and dowels to assemble the pieces together, but also some pocket holes here and there.
Very helpful plan Ana. Thank you!
Erika
Rustic Charm Woodshop
This was my first ever woodoworking project. I was looking for a good plan for me to use. At first, the kennel was going to be in the living room, but we couldn't imagine spending nights without our little girl in the room with us. The only thing is that the bedroom is quite small. However, the TV stand she was using at the time was lower than the level of the bed making it awkward to watch TV. I decided to create an entertainment stand out of the kennel in order to save space and make the TV at a viewable height.
Well, I already had a kreg jig for a project I am planning in the future. I borrowed a circular saw from my dad and I had a few tools of my own. It took a total of two days from start to finish. I ran into a few hitches because I wasnt using the jig properly, and a few other rookie mistakes, but I fought through and managed to get it done! I can't wait to do some more plans from this site!
Tue, 10/11/2011 - 06:21
It looks to be plenty large enough for your pup and an attractive and functional piece of furniture too. I just love multi-function furniture. Nice job!
This was my FIRST Ana White project ever! I really wanted the PB version of this desk, but didn't want to spend $1,200 (cough, cough, gag)!! I started out with Closet Maid cubbies (since I had never used a power tool - ever) just to be safe. Then, I went to Home Depot and got the MDF for the table top, and had the hubby help me figure out how much moulding to get (because it HAD to be fancy, darnit). I raised the height with 3 support boards across the top and the hubby made some feet for the cubbies. Then I attached the moulding. On the sides and back of the cubbies I used spray adhesive and paintable beadboard wallpaper! That stuff rocks! And it's really cheap at Lowe's.
I didn't get very detailed photos as this was my first project and I was so excited I didn't want to stop. Now all I have to do is fill in the nail holes and throw a coat of paint on it! The best part: The whole thing cost under $300!! AND the Ikea chair that I almost gave away fits and matches perfectly! Someday I will build matching chairs (1 for each side so I can craft with a gal-pal), but for now my craft room looks pretty awesome. Thanks Ana!!
Modified the cubby plans to just be 5 cubby's wide. My wife wanted white so I dressed it up a bit with the bead board, trim and crown moulding.
Wed, 12/30/2015 - 11:11
I love your entryway! The white is great, the moulding really makes it beautiful! Thanks so much for sharing it!
I was tired of browsing the market place and seeing the same traditional farmhouse design coming from just about everyone in the woodworking industry. It seems as though the market place is inundated in the same 4 leg, and cross support design. I designed these to go against the grain. They were my first project ever and were sold within days. They had nearly 3k views within the first 2 weeks on facebook. I am particularly proud of them.
I've never built anything before. Not a single thing. When I couldn't find a bookshelf I liked in any stores I decided to build one and modified the 25 Cubbies On A Wall design to make it something a little different.
I'm stoked with the result.
Thank you for such a great site with wonderful plans.
My partner has now asked me to "whip up" a kitchen island, entertainment unit, more bookshelves and the list goes on.
I might need to look at some more of your plans.
Wed, 10/19/2011 - 16:19
I don't really know how to describe the wood because I'm truly a novice, but here goes:
It's 29cm deep and approximately 2cm thick.
The bottom shelf is 2m long and each cube is 40cm x 40cm. So to build this I got 2x 200cm sheets, 1x 160cm, 1x 120cm, 1x 80cm and 21x 40cm.
I measured and marked then glued and screwed the verticals to the shelves, then used dowel and glue to attach each row to the row below.
I decided to put feet on the bottom so I could lift it above the skirting boards on the floor and have it sit more flush against the wall.
I hope this explains it OK.
Sun, 10/16/2011 - 11:58
looks like 1x12, but you could do it with 1x10 just as well.
That's a slick design, too.
Wed, 10/19/2011 - 16:27
Thank you for your comment. I knew I didn't want a standard everyday bookshelf design and when I saw the "25 Cubbies" design my little head started ticking over and this is what I came up with.
I've seen a few similar things around, but nothing fit exactly what I wanted and there was certainly nothing of this size for a reasonable price.
You can imagine my joy when I found this website and the plans that I could modify to build exactly what I wanted.
I'm really very happy with how it worked out!
Wed, 10/19/2011 - 16:36
Thank you for taking the time to post your comment.
I'm really happy with the end result.
I never thought I'd be able to put together something like this. I always knew I could hammer a nail or put in a screw, but to build something that's actually functional and looks kinda good too, I never thought I'd be able to pull it off.
Needless to say, my confidence is now soaring and I'm looking forward to my next few days off work so I can do some more projects for around the house.
My father has asked me where I get my building skills, to which I reply with a grin that I don't know but I always thought I looked a little like the milk man :)