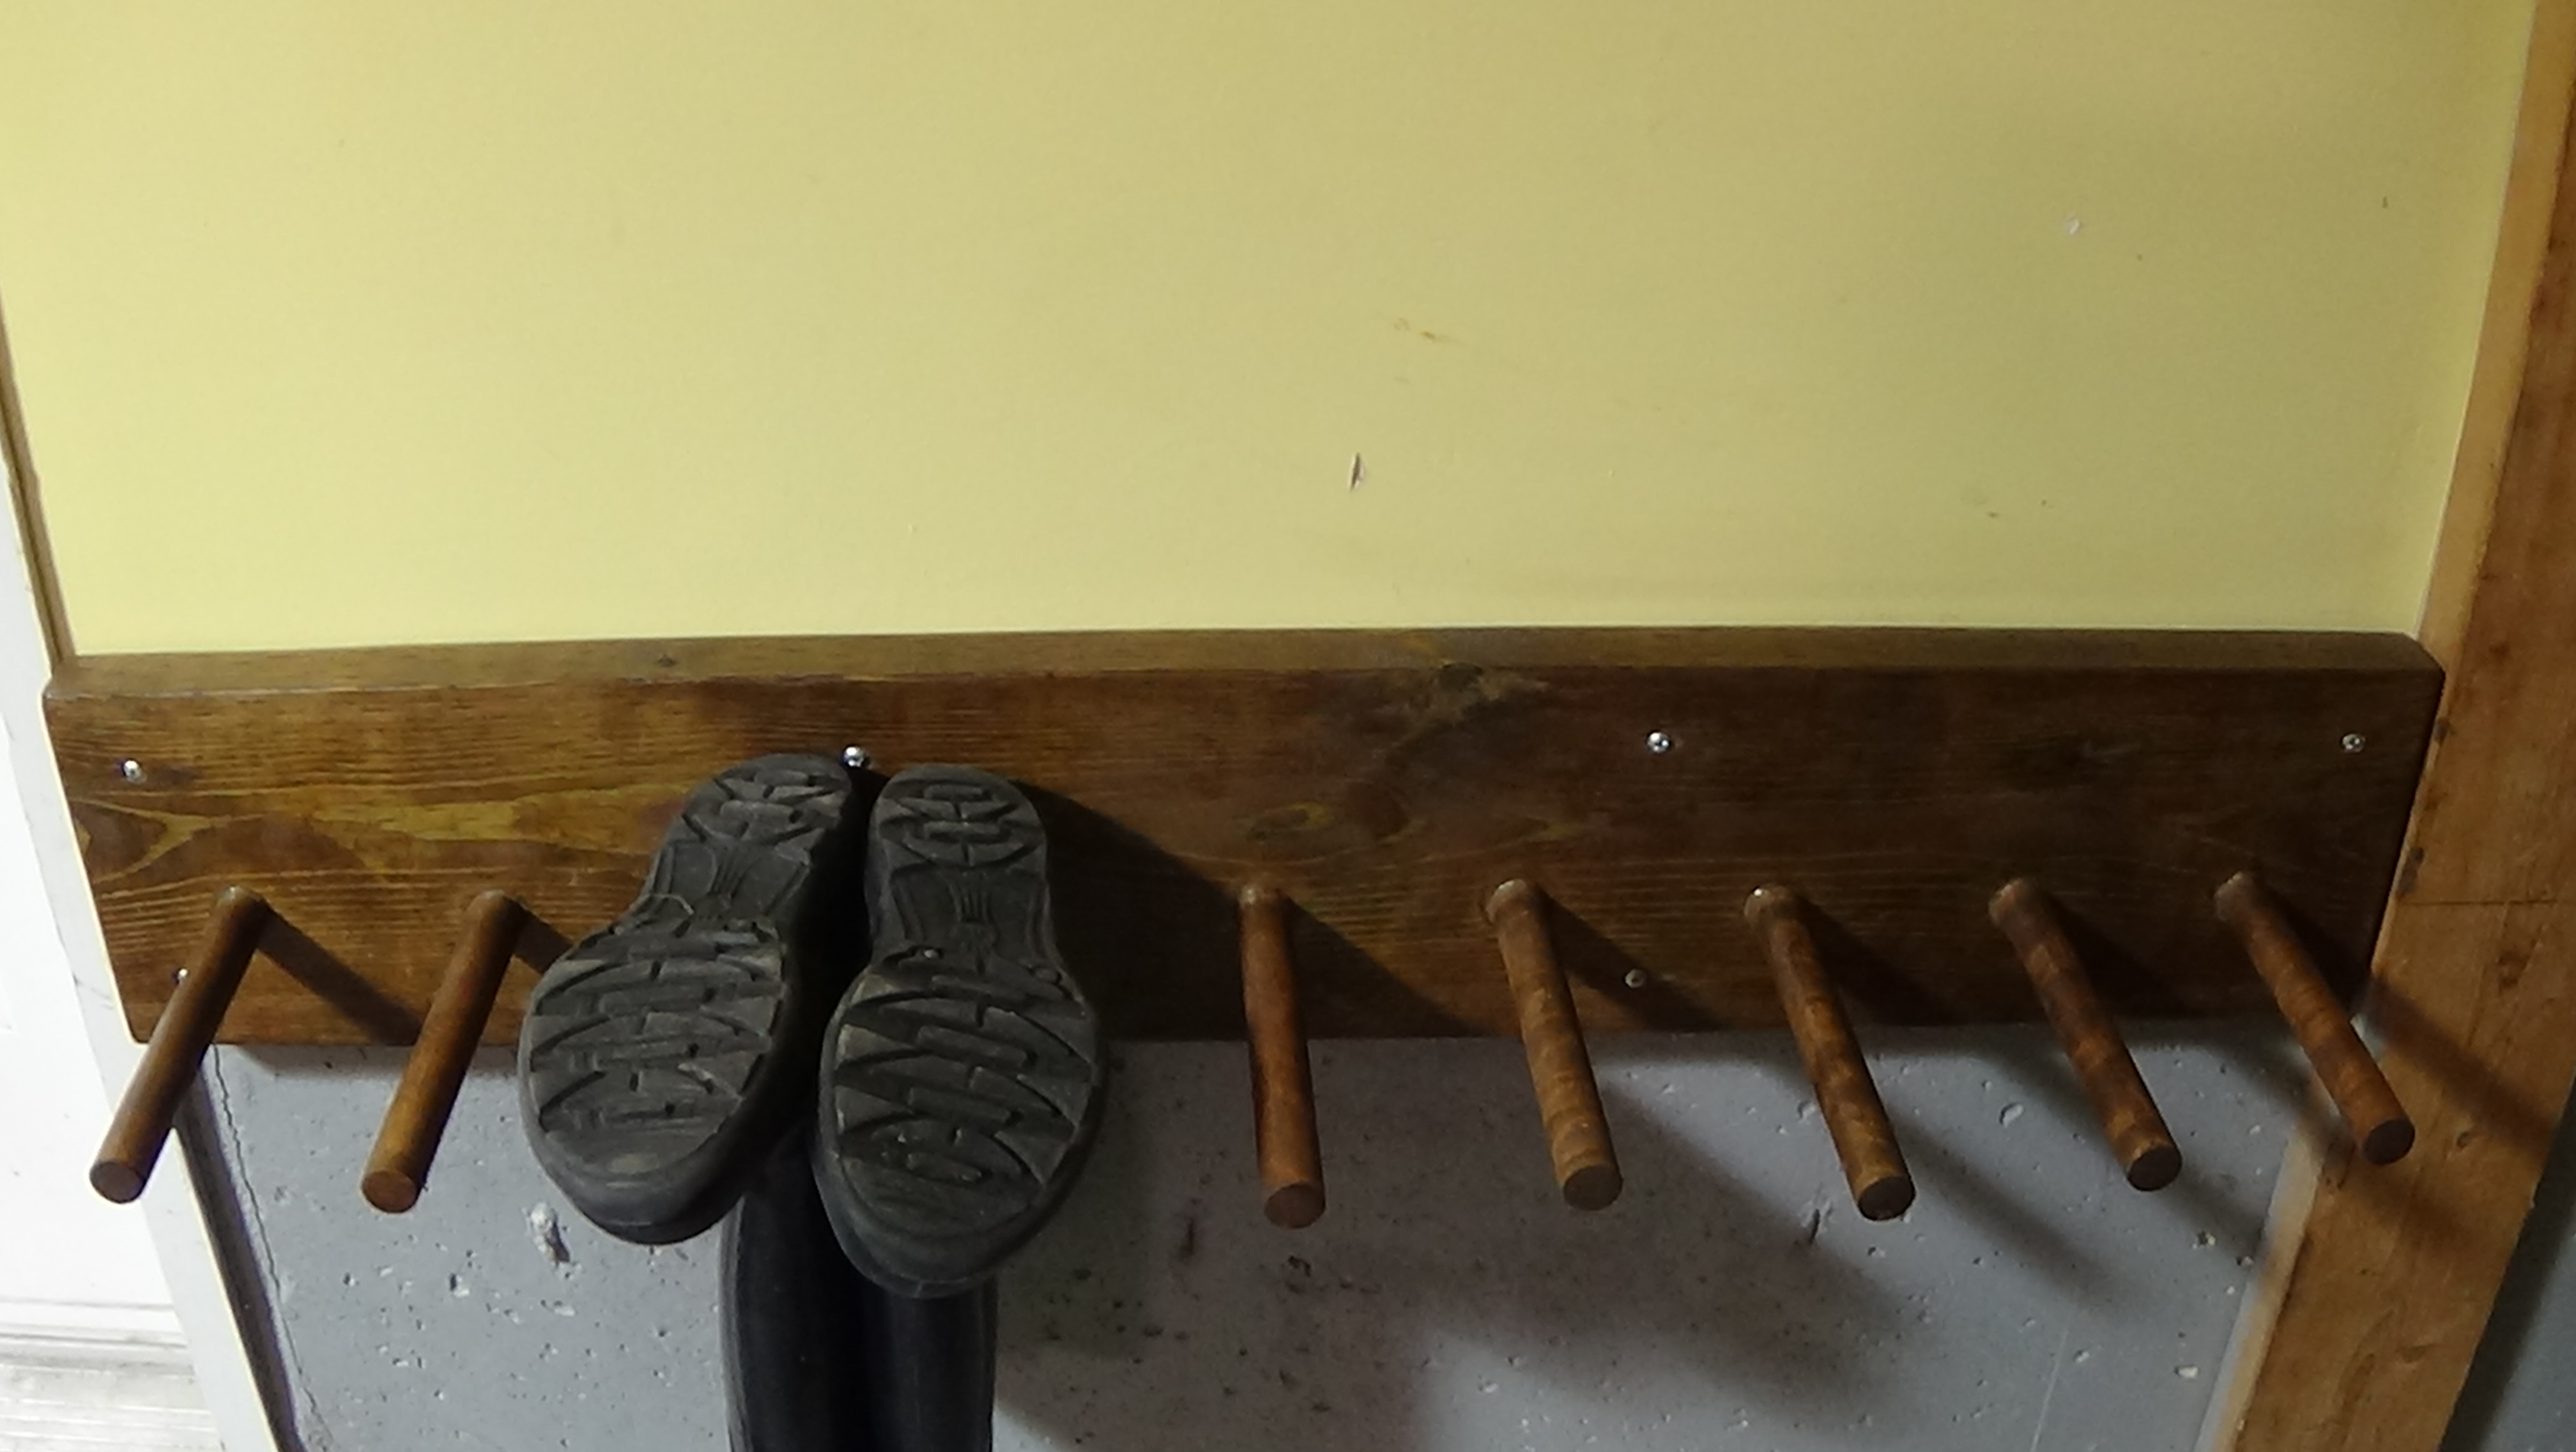
Boot rack
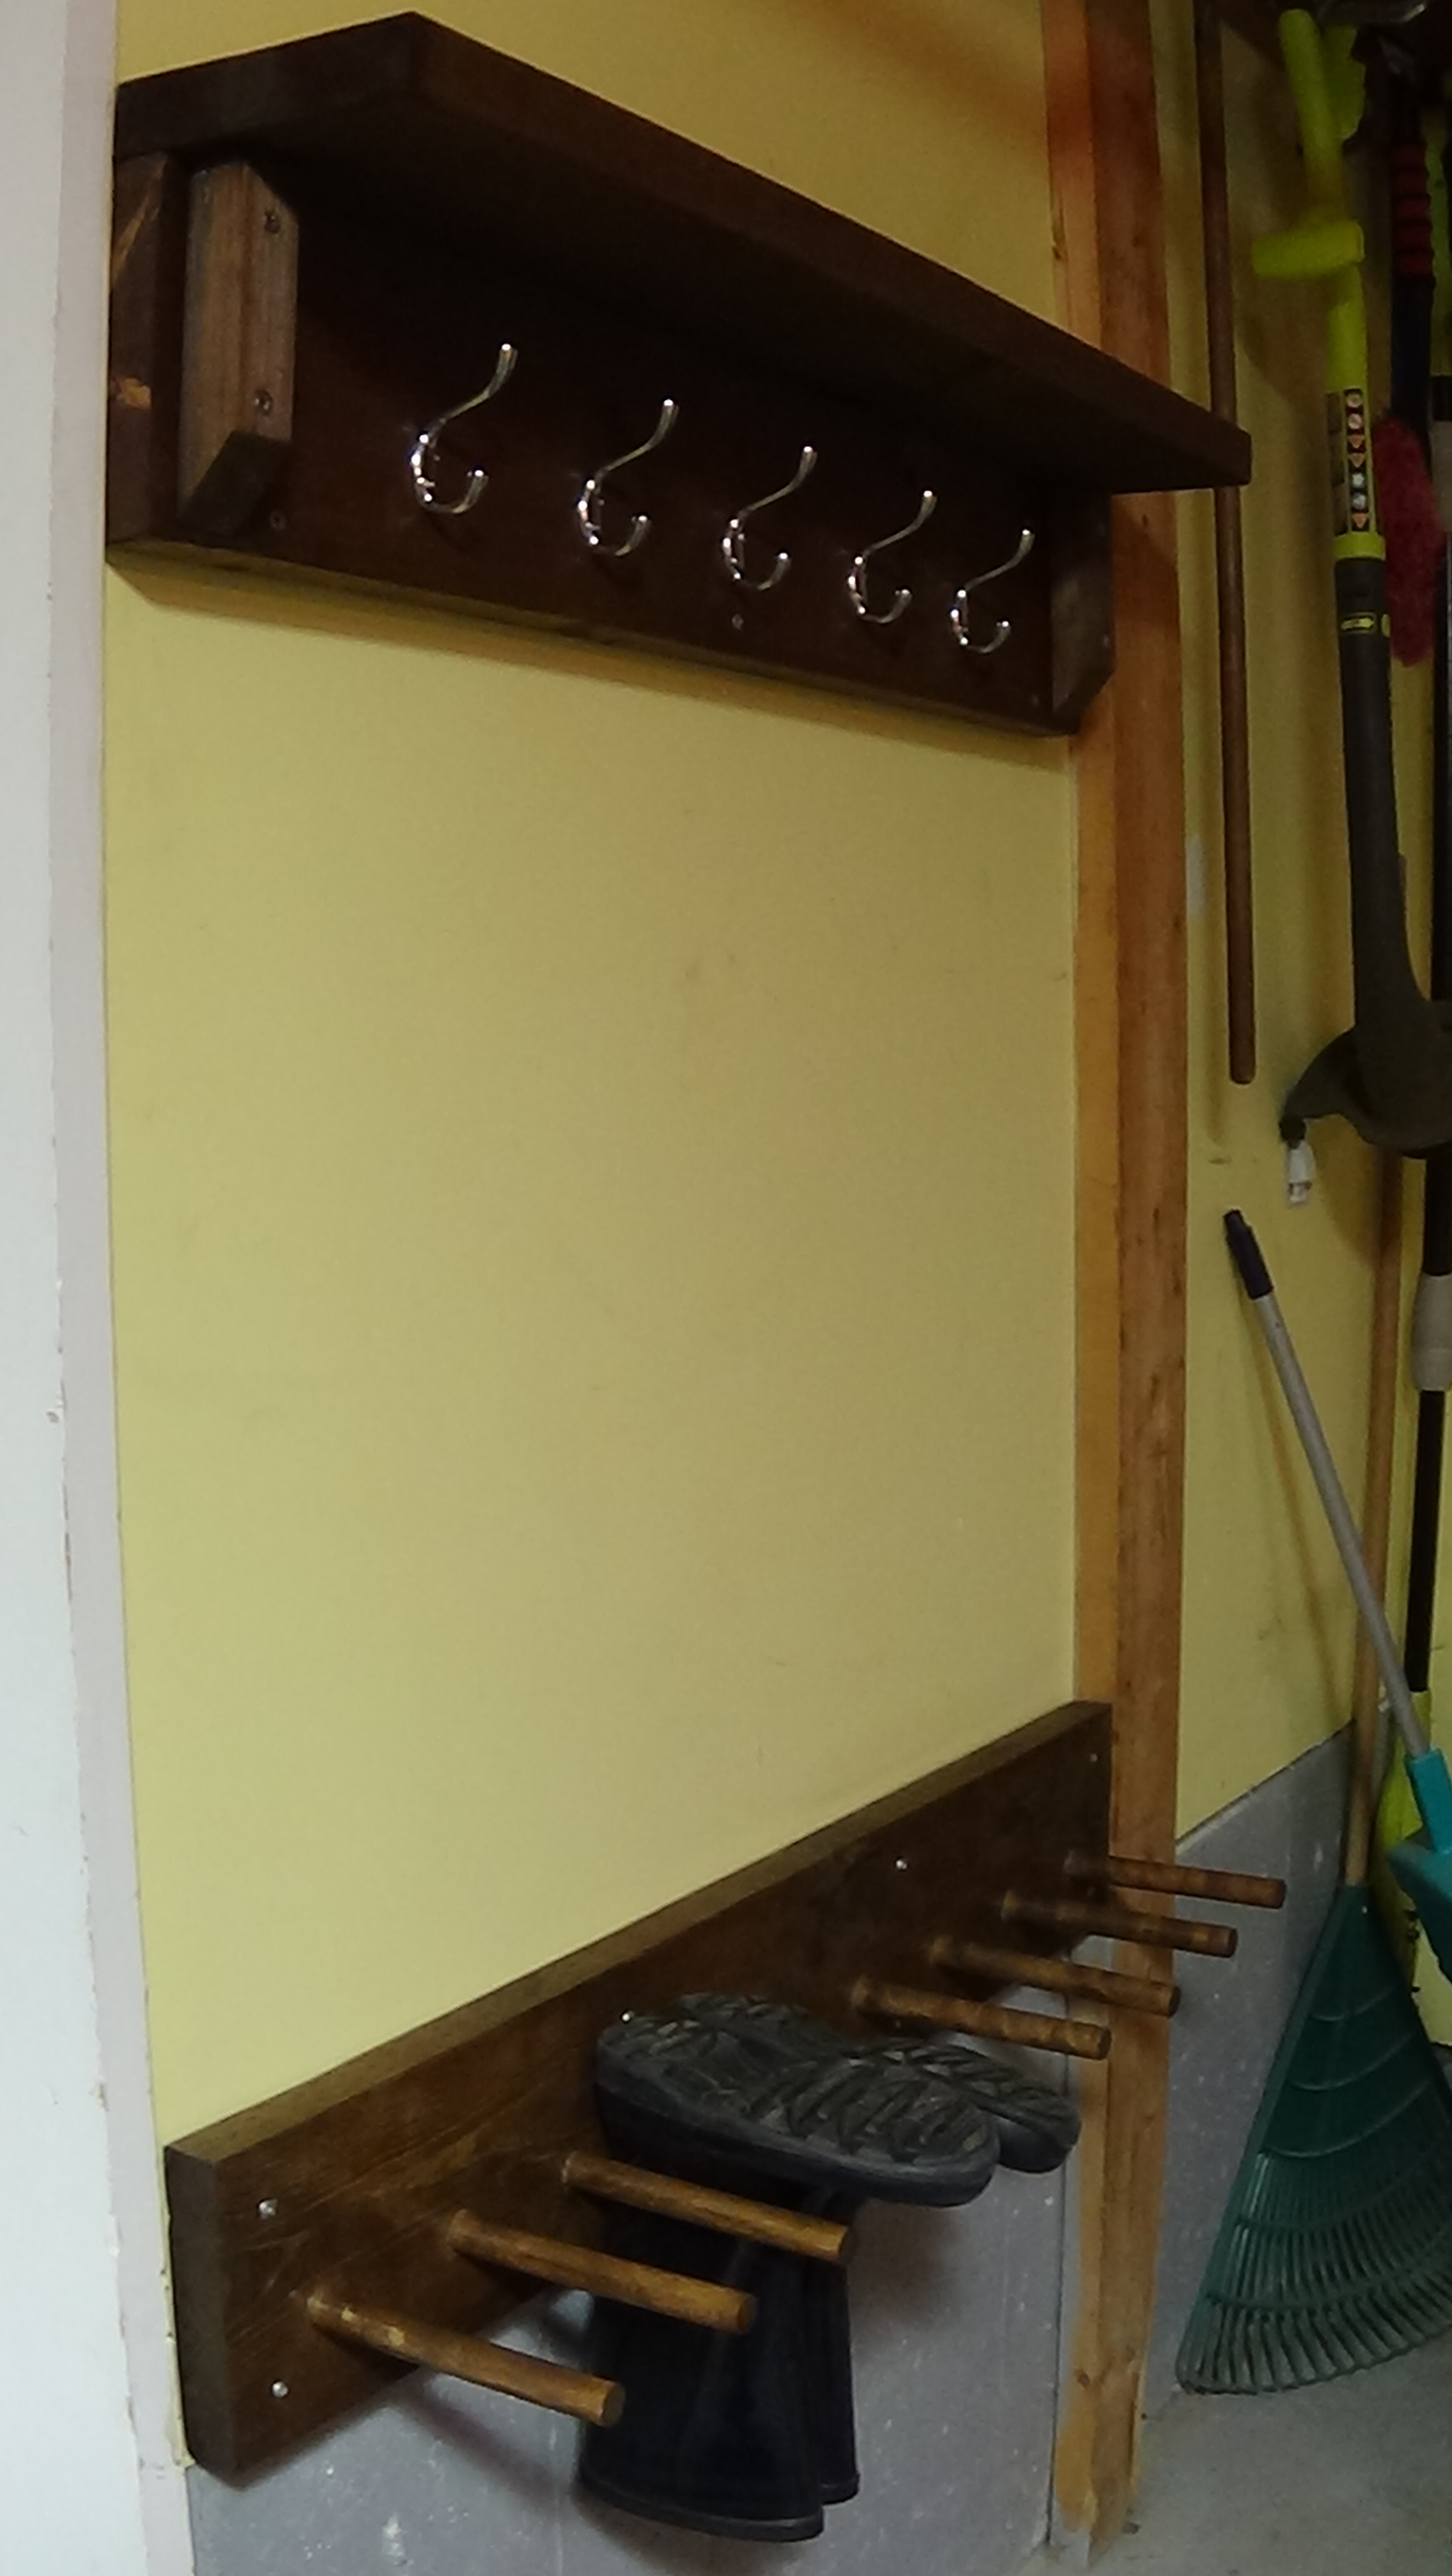
My garage is in a different dimention now! Thank you Ana!
I had a bit of trouble with the length of the dowels but overall I am so happy with it.
Built from Plan(s)
Estimated Cost
I used scrap wood we had left from the previous project so I am not sure
Estimated Time Investment
Afternoon Project (3-6 Hours)
Recommended Skill Level
Beginner


Comments
Ana White
Sun, 09/25/2016 - 12:33
Glad to see these made! It
Glad to see these made! It is such a simple project but so userful! Your space looks great, thanks for sharing! Ana
In reply to Glad to see these made! It by Ana White
Taa-daa
Sun, 09/25/2016 - 18:56
Plan
I have to say I will be making a few of those! I find the plan you designed is simply awesome! The boots are of the floor which simplifies the cleaning, the dowels are not very long so you wouldn't stumble upon them, the spacing is great! I can go on and on about this one very well thoughtout !!!