Picture Ledges
I have made many of these ledges and I just love them so much! I love that I can build them to any length or depth I want. I like to use them for more then just pictures. I feel like there will be many more of these in my future!
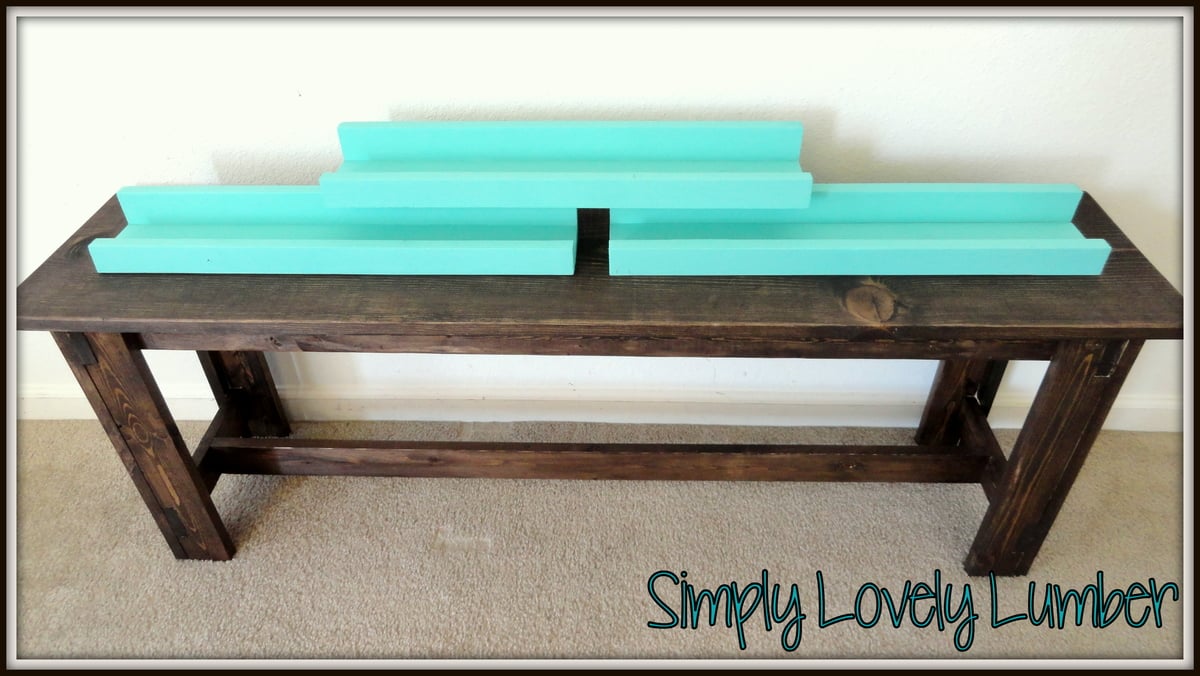
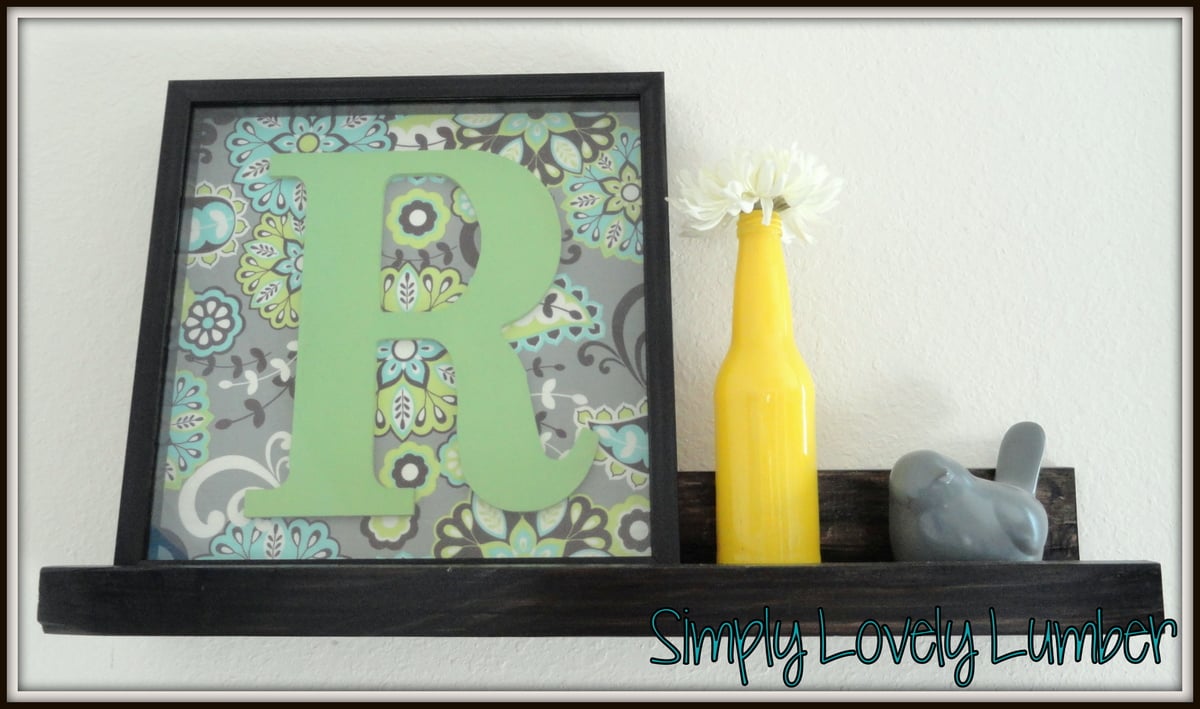
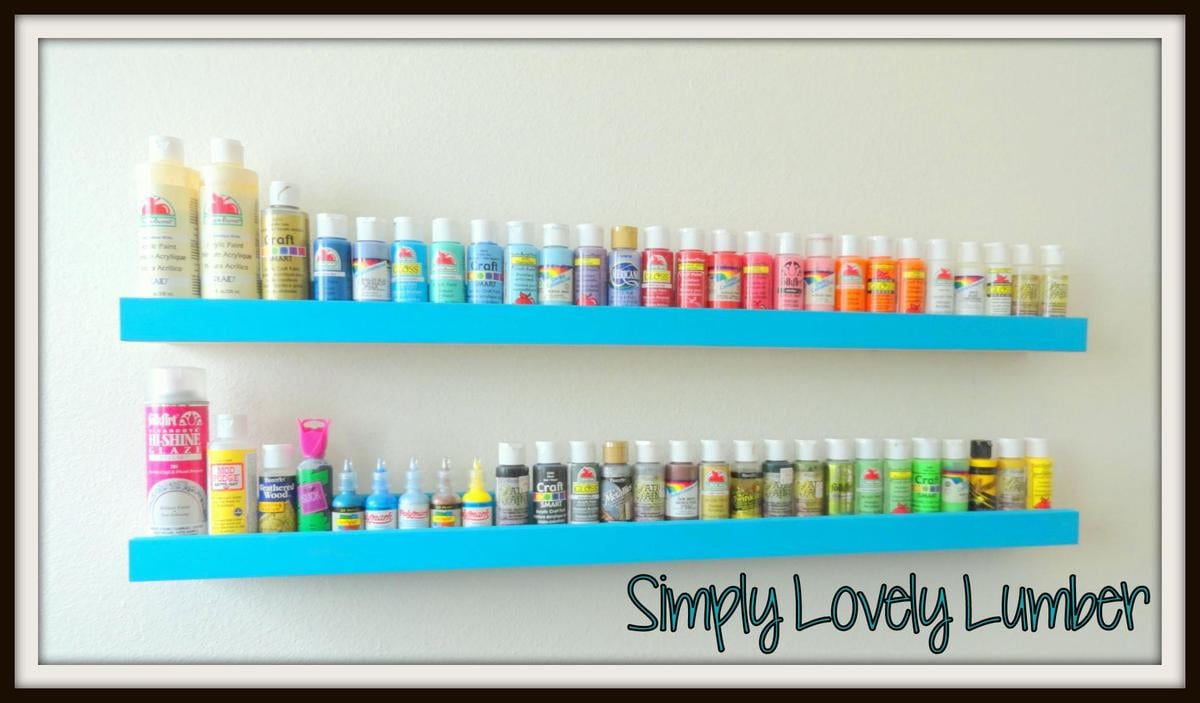
I have made many of these ledges and I just love them so much! I love that I can build them to any length or depth I want. I like to use them for more then just pictures. I feel like there will be many more of these in my future!


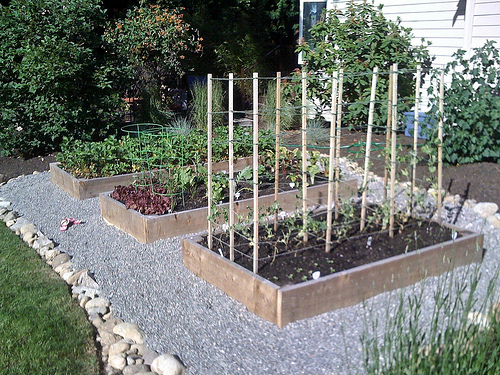
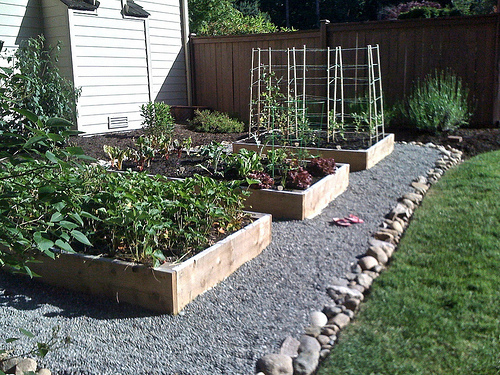
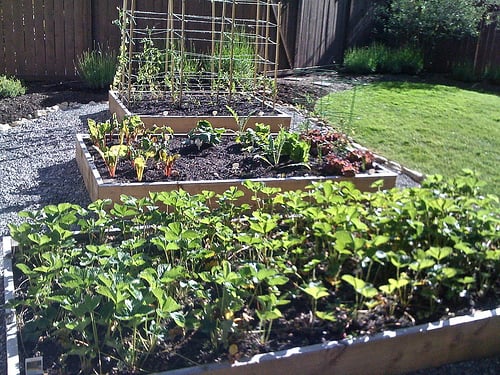
Yay! Here are my raised beds, motivated by Ana White's post. :) I decided to use 2x lumber rather than 1x lumber because I plan to add benches on the ends of each bed. I just love how these turned out! I used Hemlock rather than cedar because it was a THIRD less expensive. Orange told me hemlock would last roughly 5-6 years whereas cedar would last 7-9 year. I staggered the sizes too - first bed (with the strawberries) is 4' x 10', second is 4' x 8' and the third (with the stakes) is 4' x 6'. Hubby hauled in a bunch of pea gravel to surround the beds while the girls and I added rocks from around our yard to the perimeter. :)
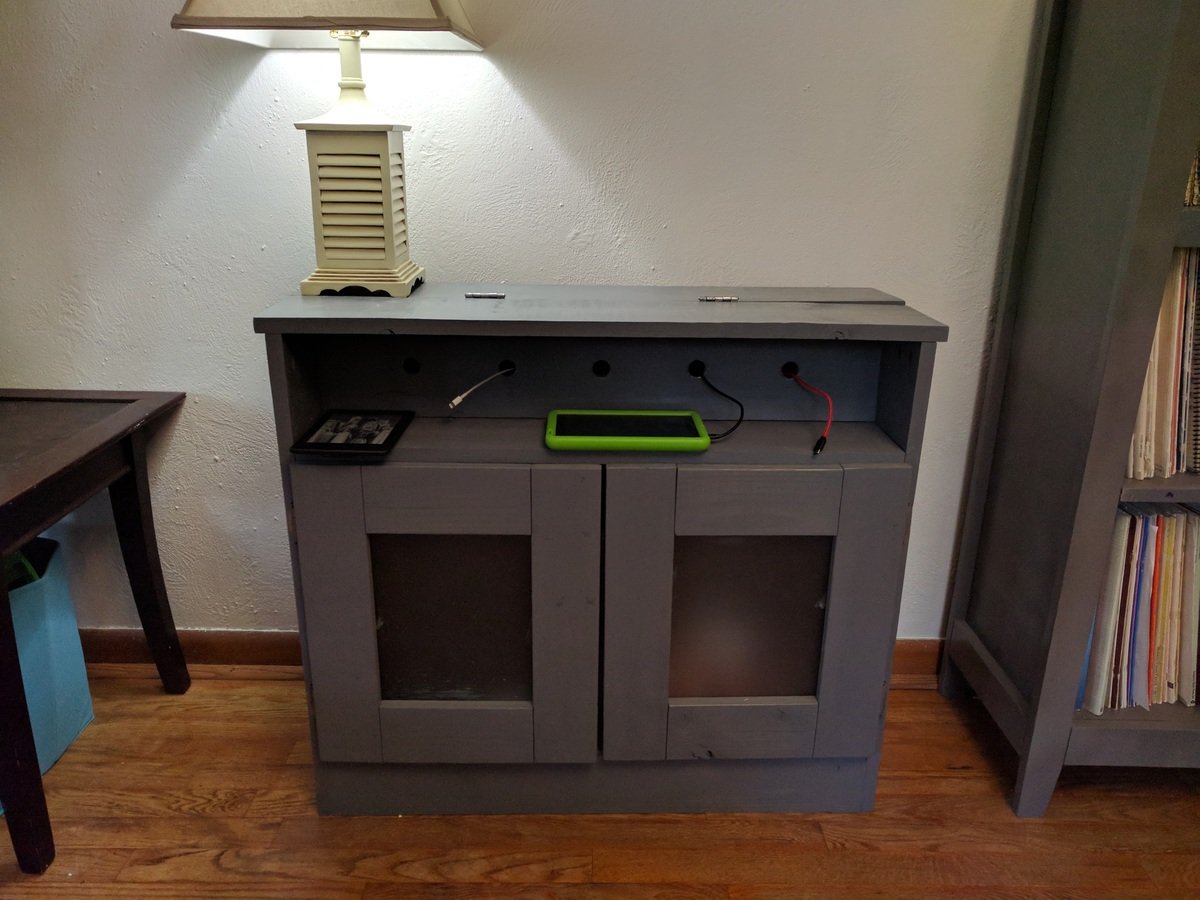
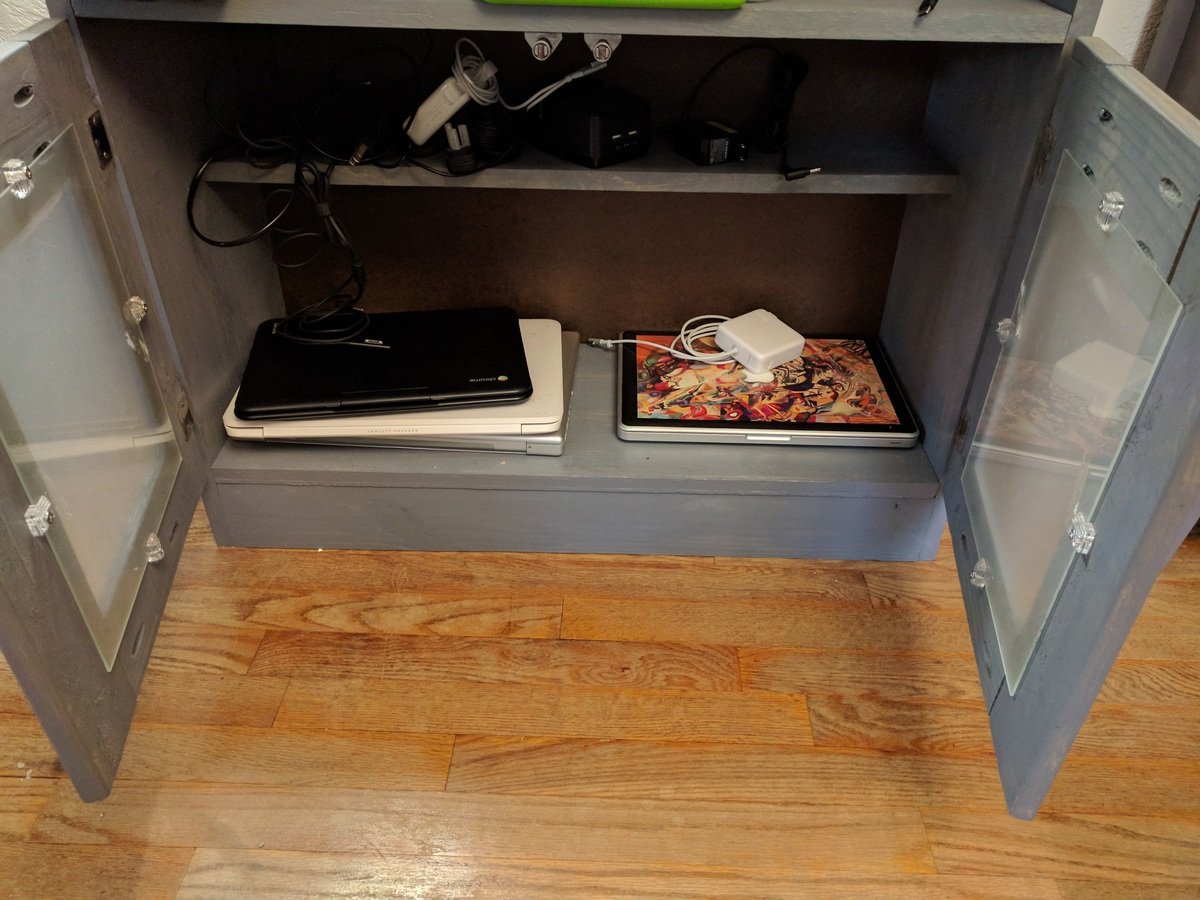
I used the charging station plans as my first attempt at building something using pocket holes, and also my first real attempt at building any piece of furniture from scratch. I stuck pretty much to Ana's plans except for not cutting the front footer (I didn't own a jigsaw at the time) and using panes of frosted glass as the center of the doors.
As a piece of furniture it gets used every day, but it has been most invaluable to me as a learning experience. I've built many pieces of furniture in the time since I made the charging station, growing my skills each time. But this project was where I started, so it always feels a little extra special to me.
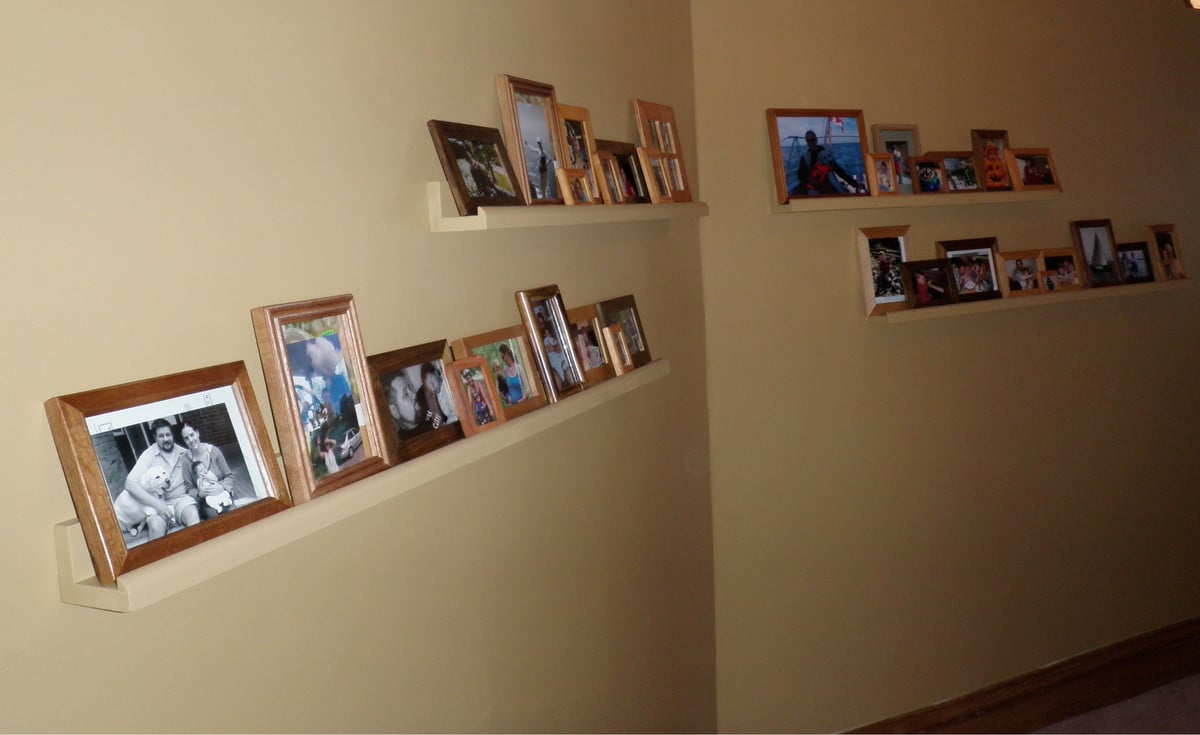
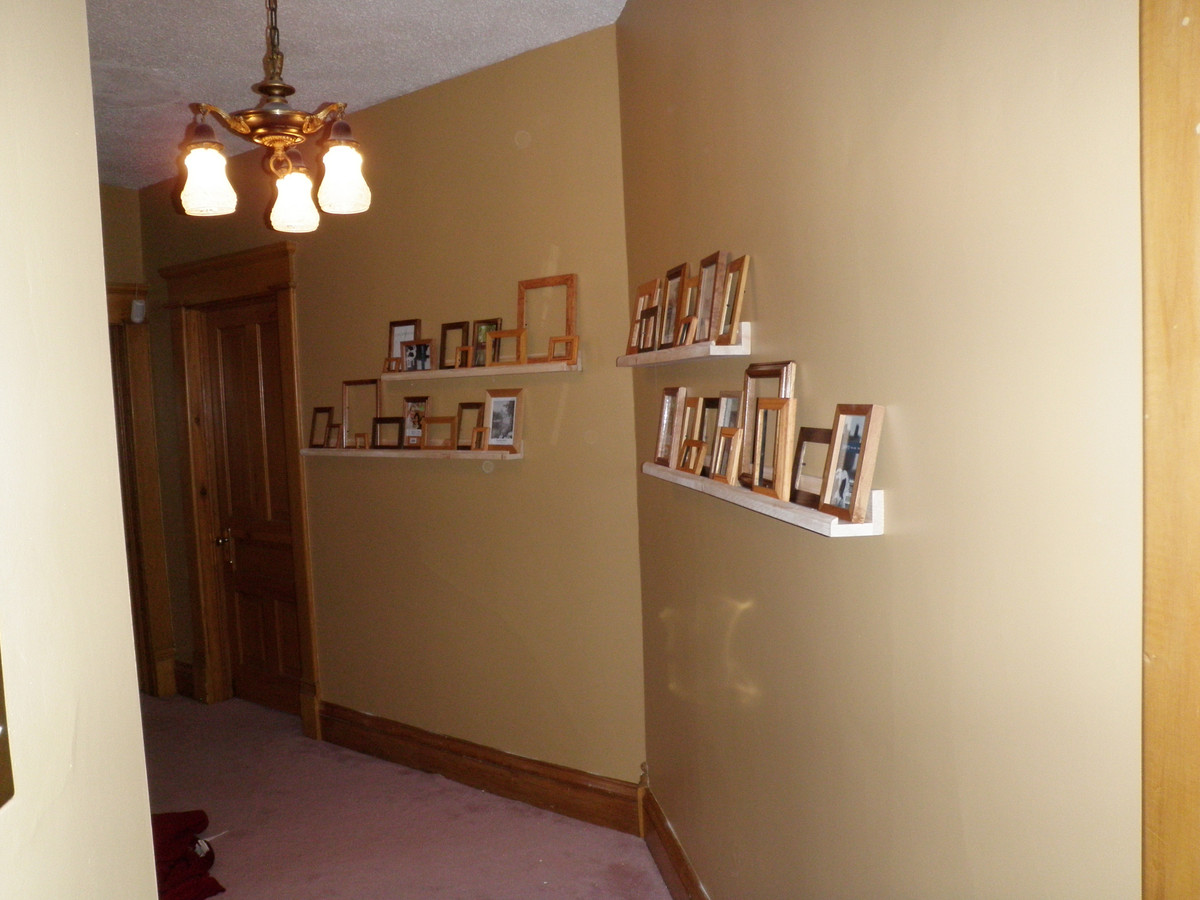
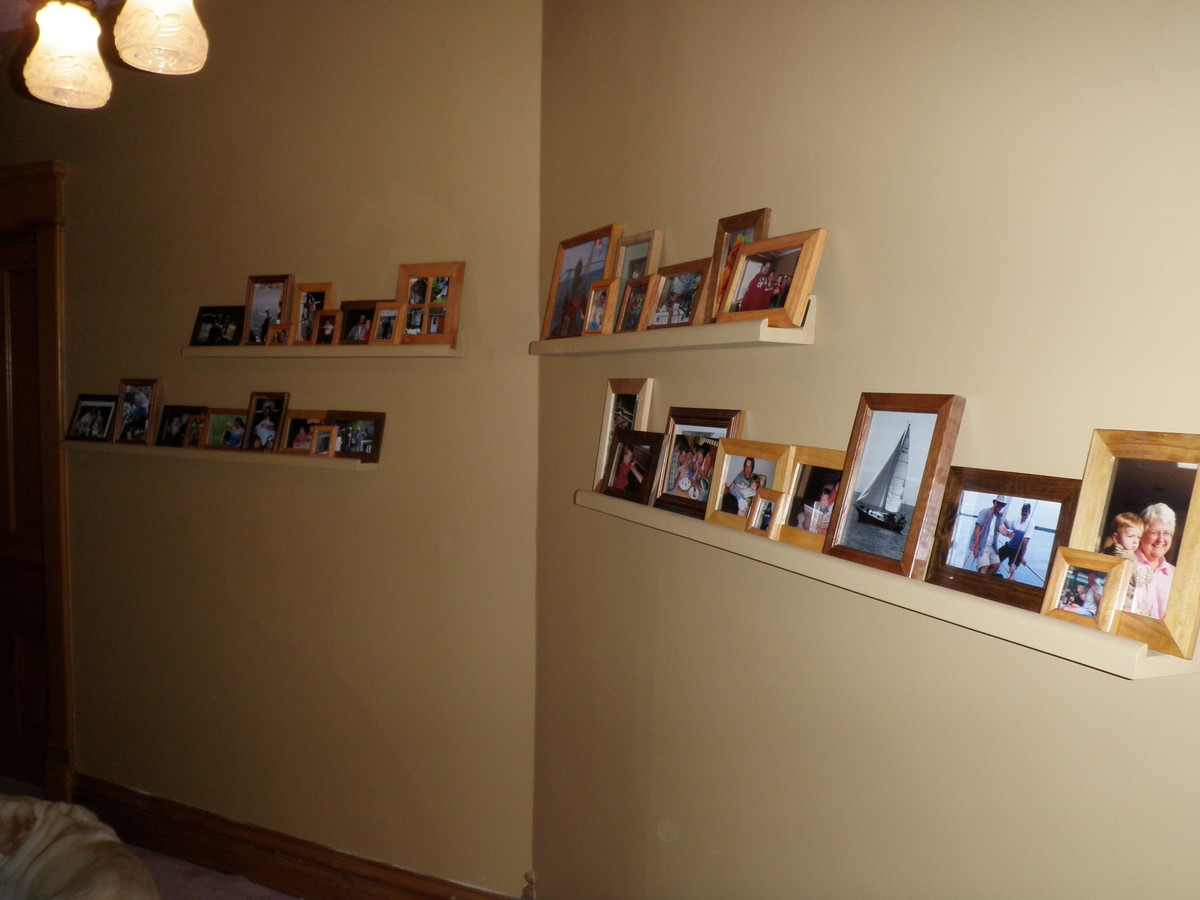
I was always a fan of the gallery wall, but not having a big empty space in any of my main rooms I didn't think I could have one. However, once I finally got my stairway and upper hallway painted, I realized the wall needed something and the gallery ledges would be perfect! Save the old plaster walls from being bashed with picture hanging nails too!
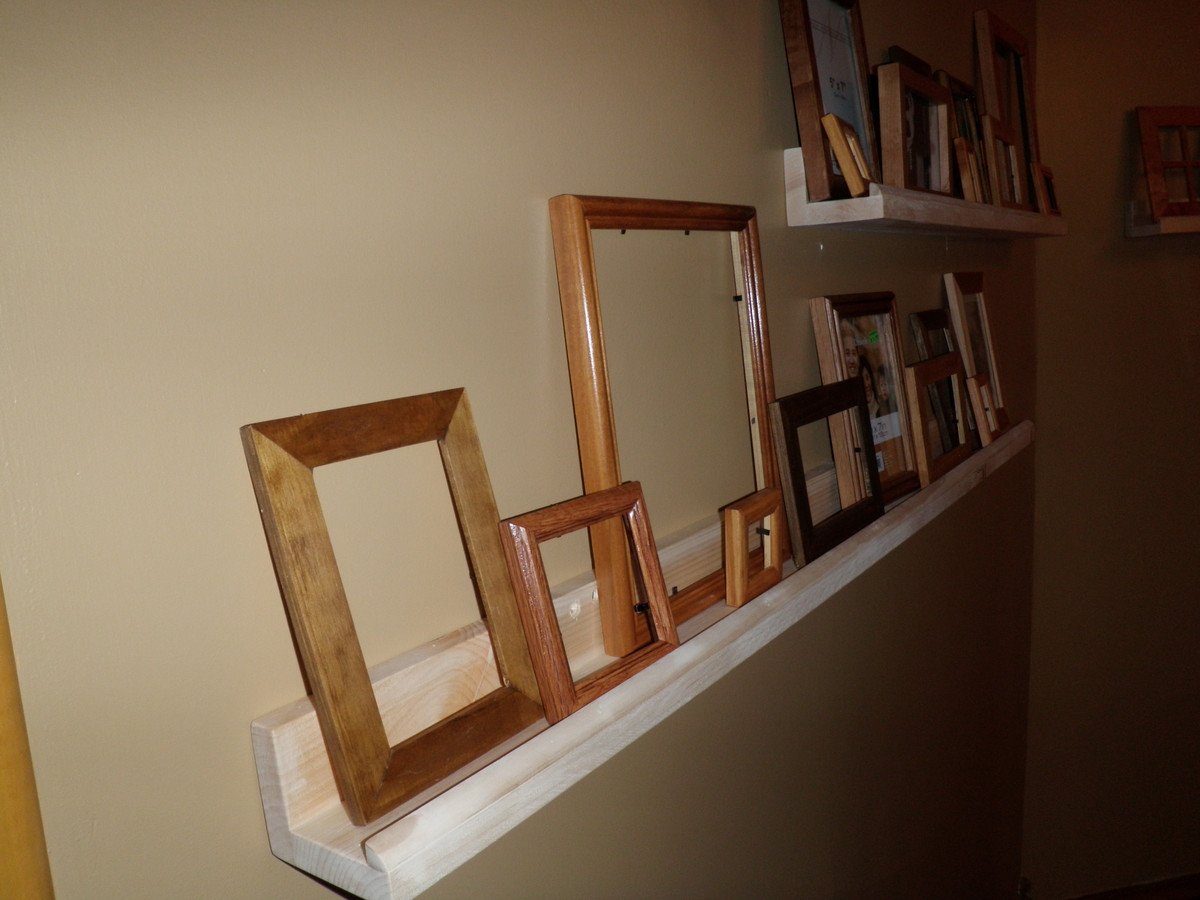
I build them out've 1x3's and a small 1/4 round for the front edge instead of a 1x2.
I made 2 3' long and 2 4' long and staggered them on the walls, as the walls are at a slight angle to each other.
I decided to paint them the same colour as the walls so they would blend in and the picture frames would stand out. All the frames are varying wood stain colours that go with the trim in the house.
I love having a place to put all the pictures I never find time to put up!
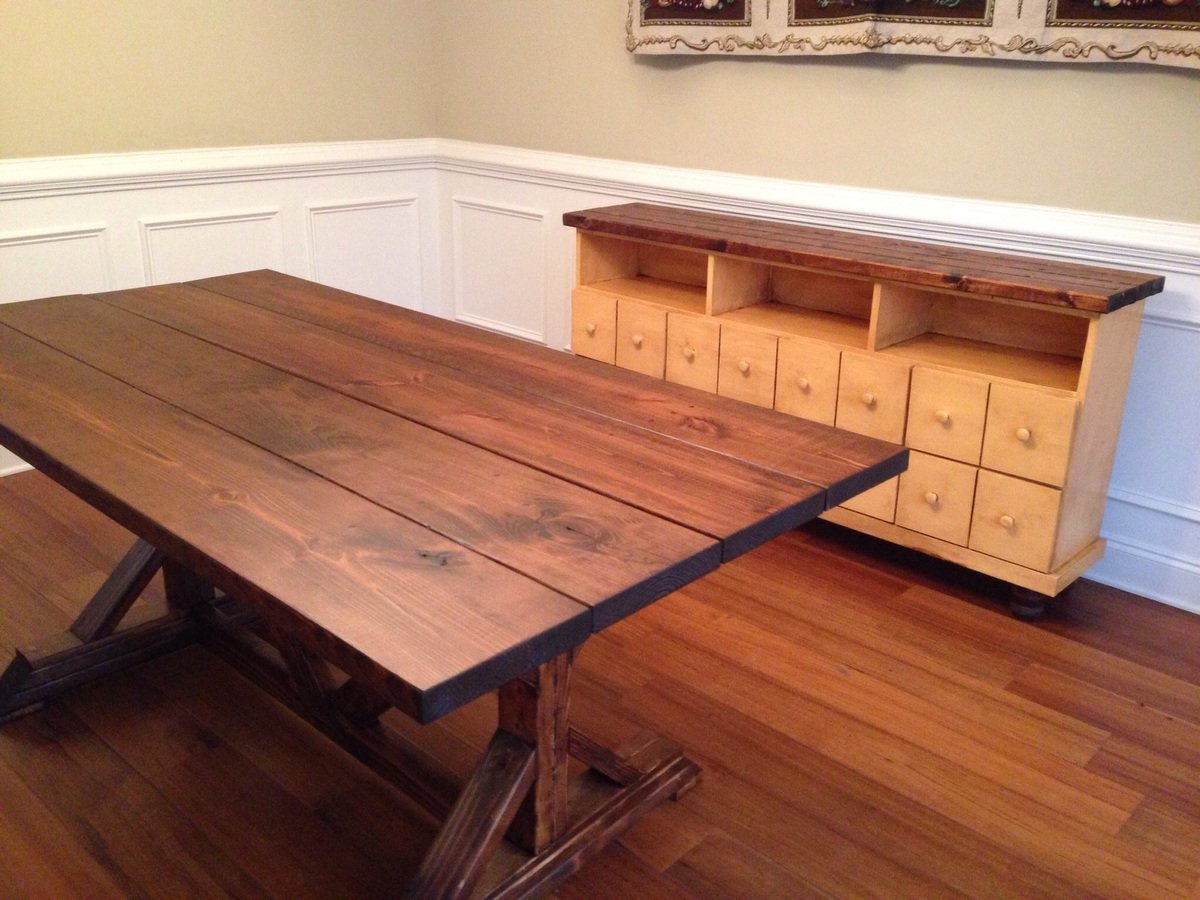
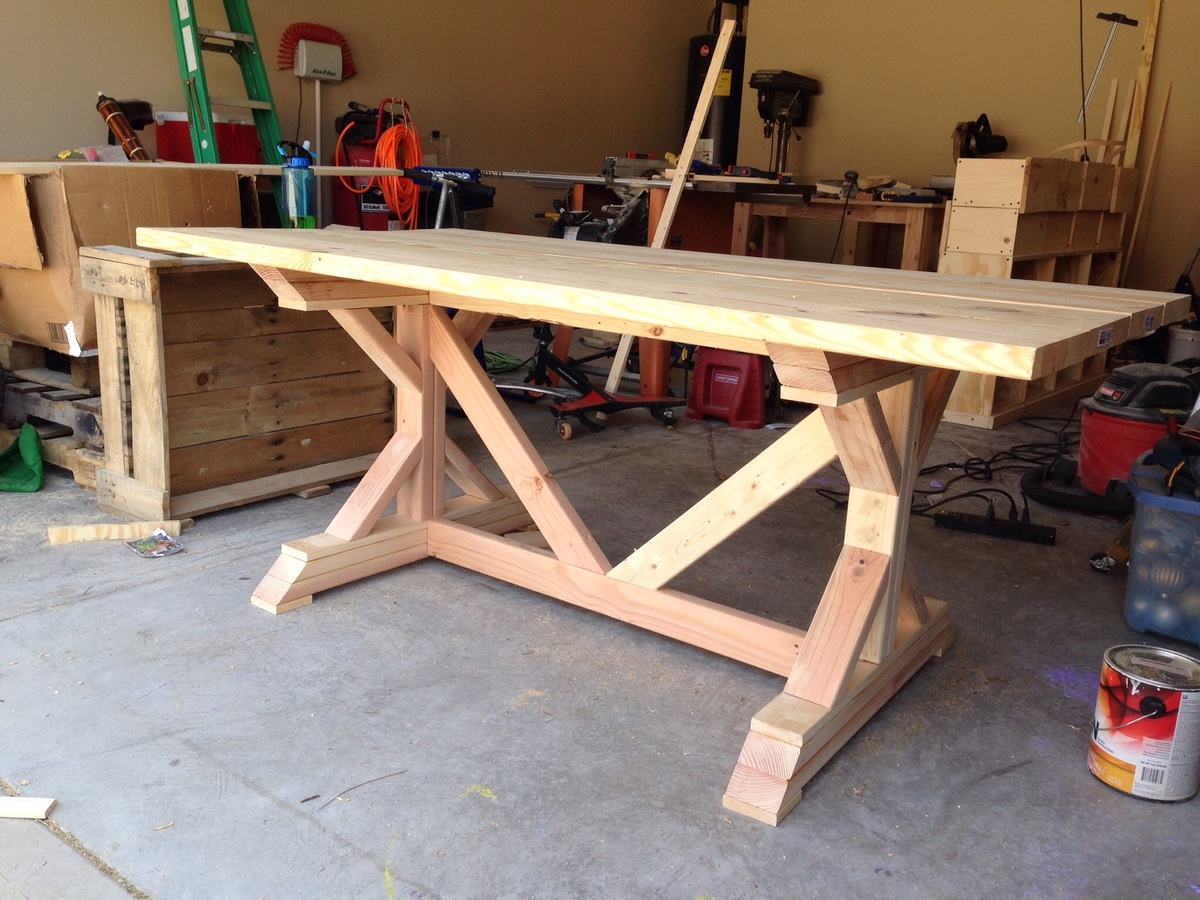
Built for my sister. Because she liked mine so much :) I also built her an apothecary console to use as a side board in the dining room
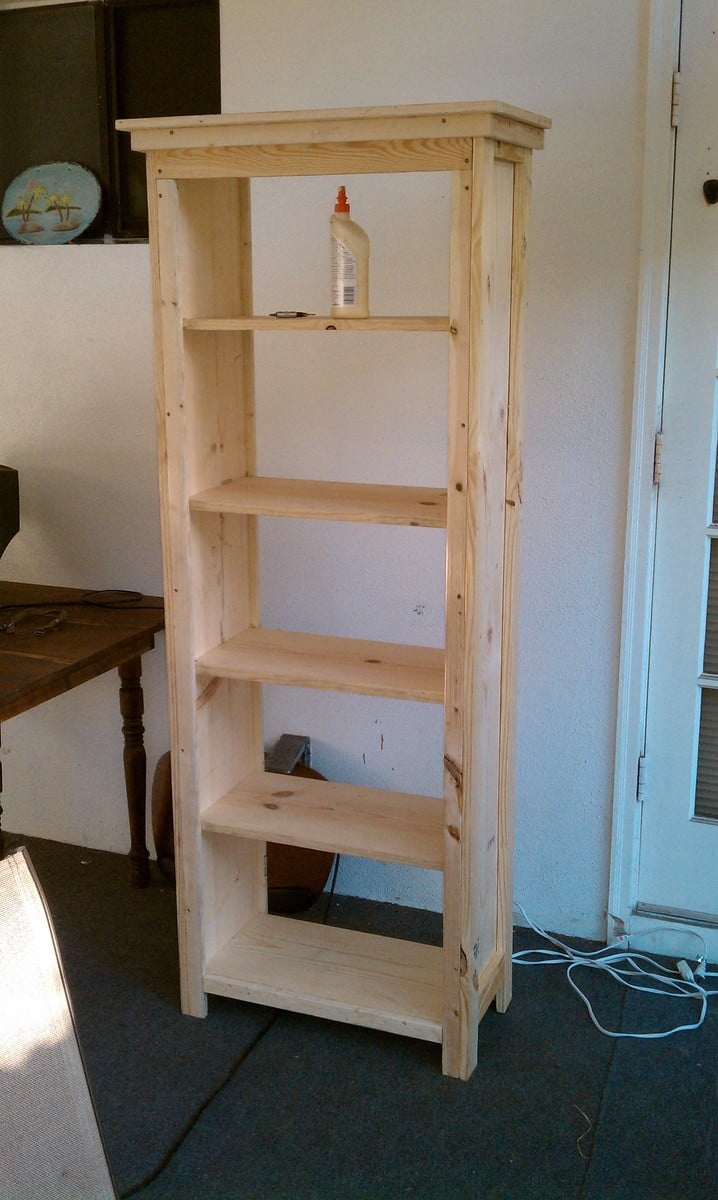
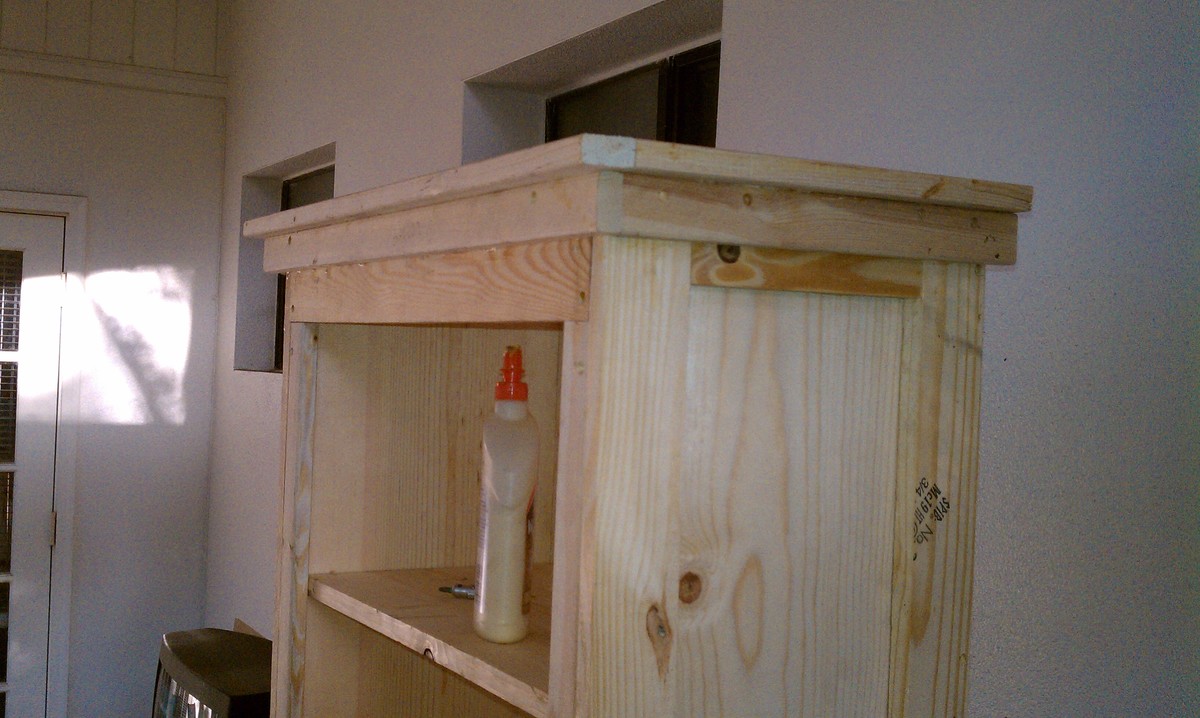
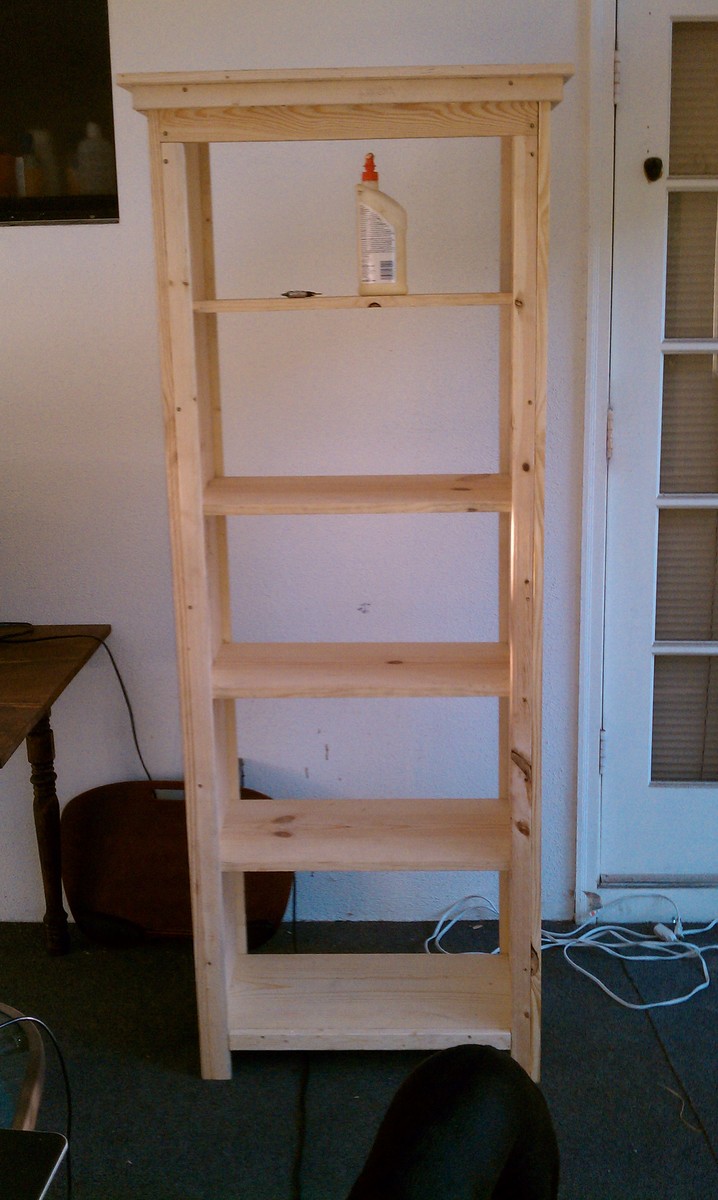
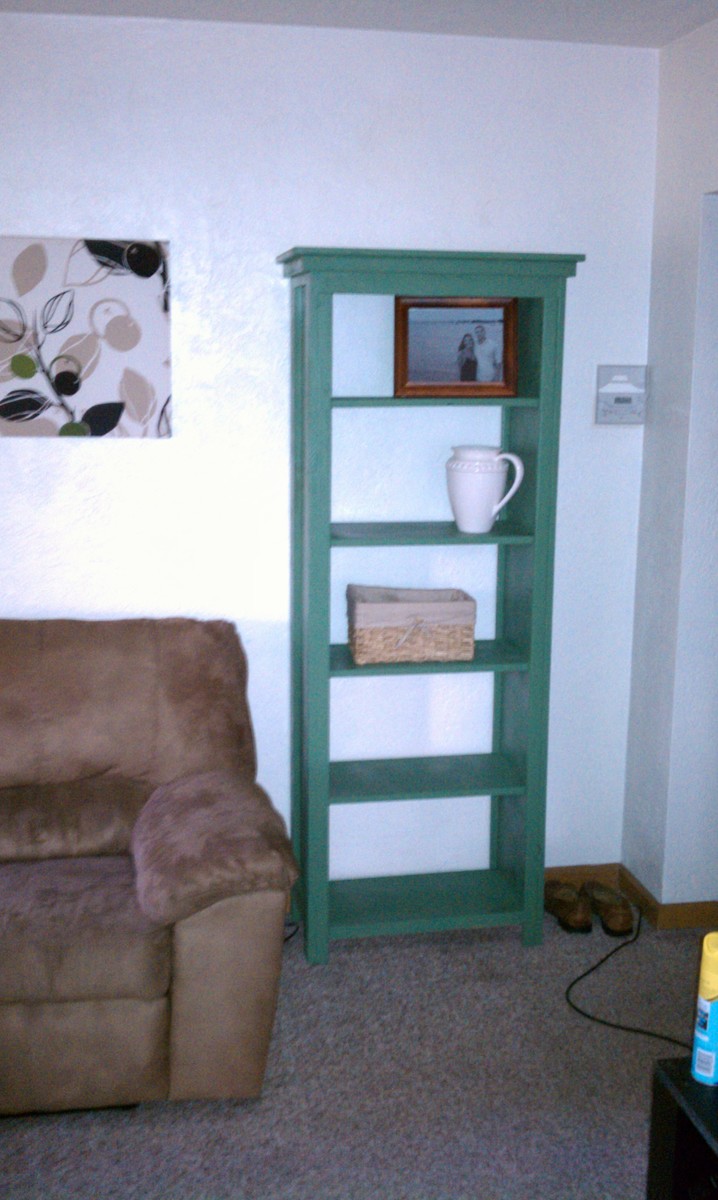
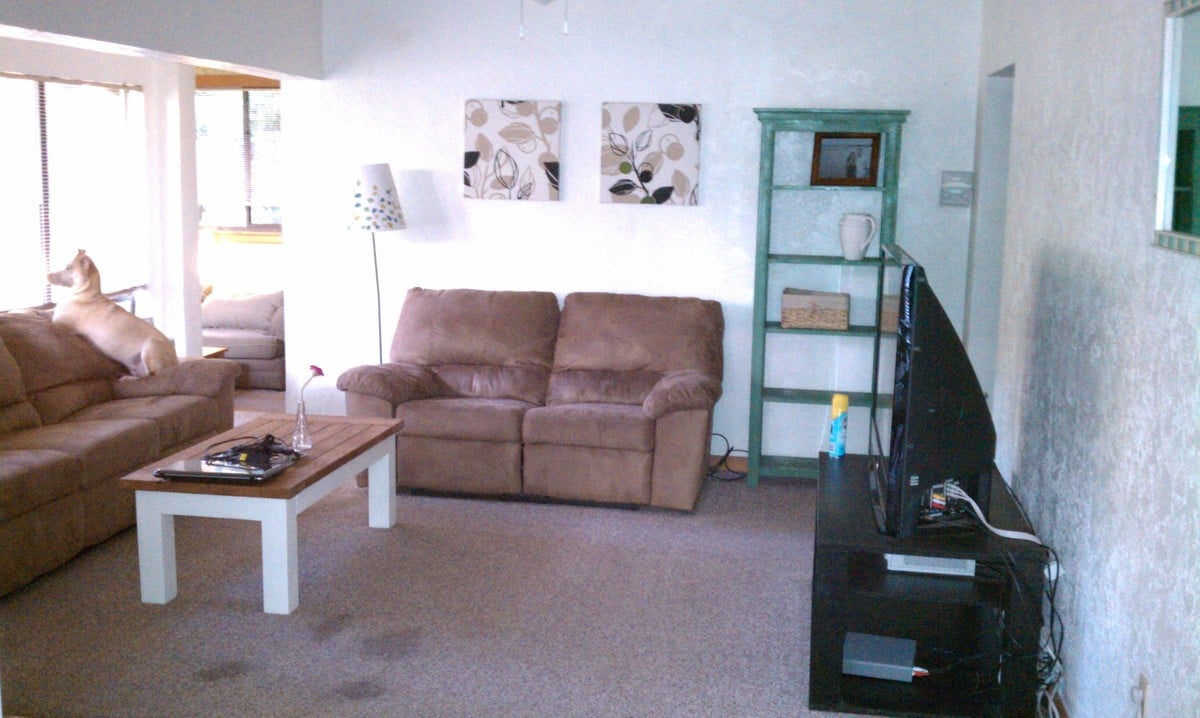
Favorite Bookshelf - 2nd project - slowly replacing all of my furniture - took about a day - all day - sprayed about 3 coats of spray paint on there - came out pretty good - hardest thing is to screw in shelves level - but overall not too bad
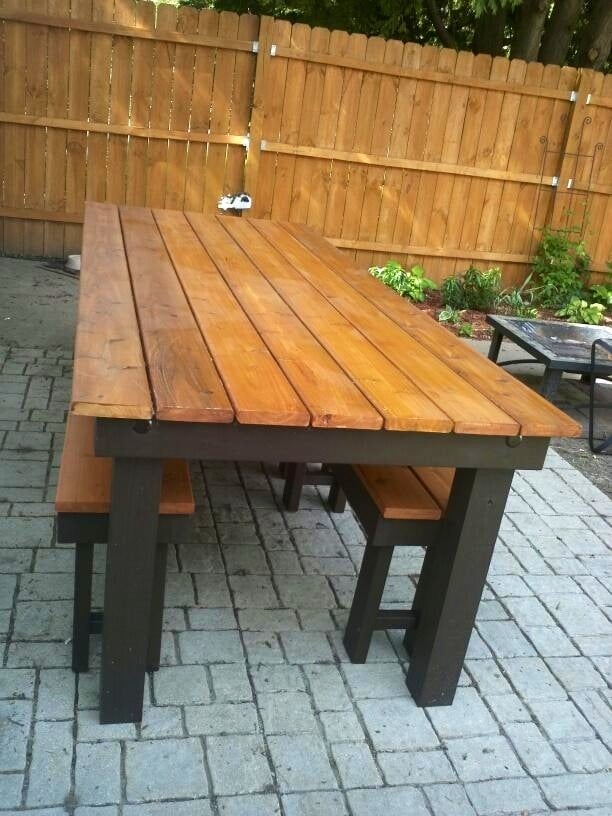
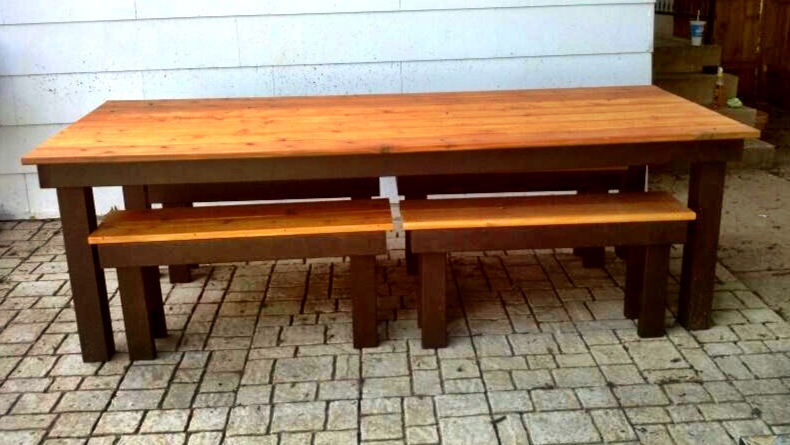
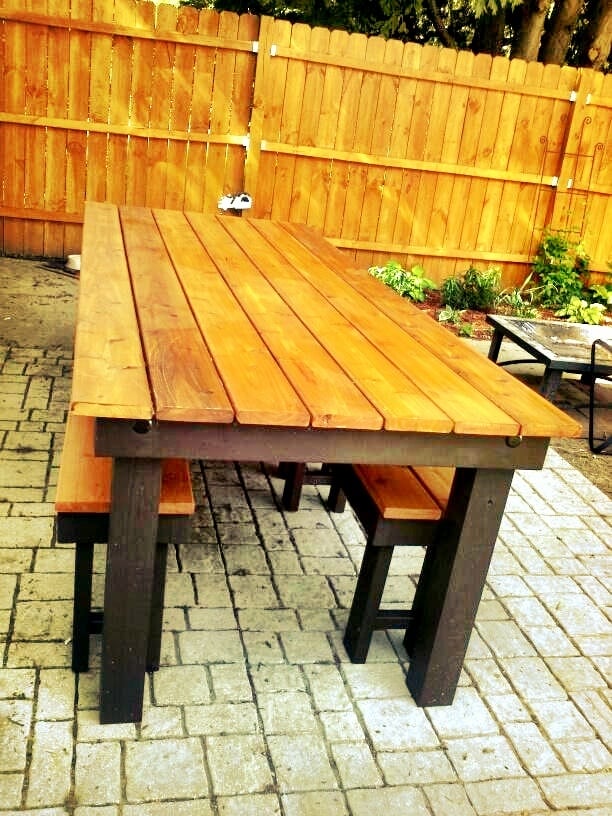
We built this table for my brother and new wife's wedding present. We modified it to use as an outdoor dining set. Instead of using the 1x10 for the tabletop we used 2x6's and for the legs we used 4x4's. We attached the top boards with a Camo fastening system we used last year on our deck (works great to conceal the screws). I stained the frame in Behr Cordovan Brown and the top boards in Behr Cedar Naturaltone. It was our first attempt at building a table and I think it turned out great, only problem was giving it away!
Mon, 06/17/2013 - 10:57
Very nice! I'd been considering this plan for my outdoor table, but my husband liked the modern farm table better. Same idea--I am leaving gaps to allow the water to drain. Love the two-tone finish! It's amazing what you can do with plain old 2 x 6s!

My own take on this build:
https://www.ana-white.com/community-projects/butcher-block-kitchen-isla…
I used a pre-made butcher block top from Home Depot. I did have to cut it down to 2ft by 3ft
Legs were premade from tablelegs.com. I wanted solid legs and didn't want the hassle of shopping fo 3 inch thick lumber.
Drawer is Tiger Maple with plywood bottom, and the rest of it is Hard Maple.
I made a high speed style build video here-
https://youtu.be/iS5wN_CUrEk


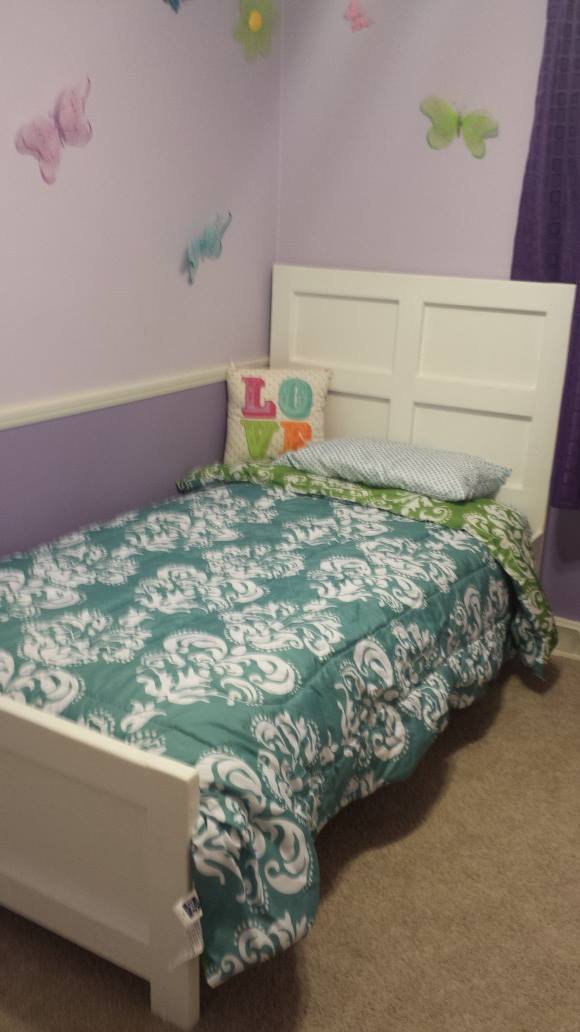
After searching and searching for a decently priced bed for our two year old and failing to find anything that I liked under $400, I decided to do a google search and came across the directions for the Emme twin bed. I loved the design and the color of the stain in the instructions but had to go with white as everything in our toddlers room is white. My husband said the instructions were simple to follow. I think he did a wonderful job for his first time ever building anything. Not to mention my little girl loves the bed. Thank you Ana!
Tue, 03/11/2014 - 07:49
Hello - Your bed looks great! How did you attach your rails? I'm at this point in the build and trying to figure out the best option as my bed brackets aren't fitting.
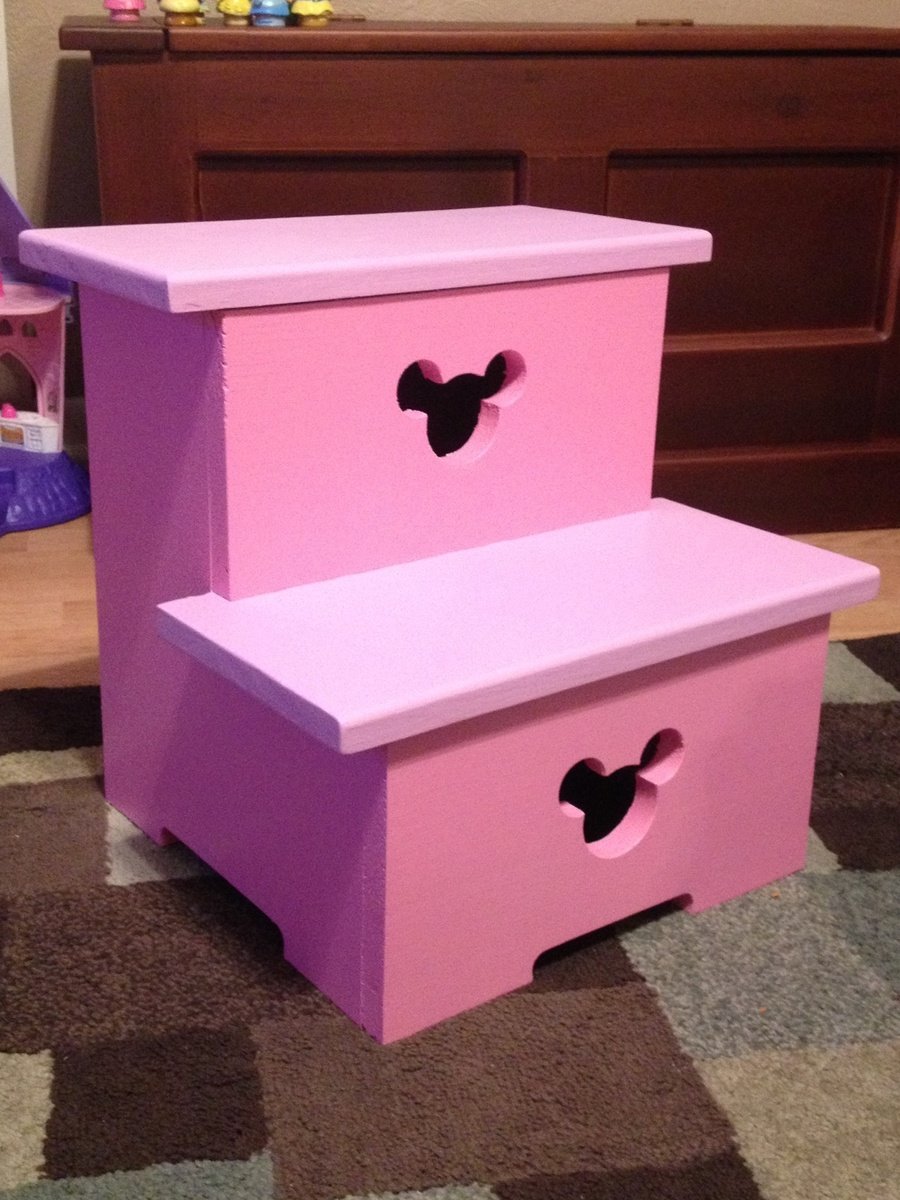
It was time for potty training and when it came time to wash her hands her arms were a little too short. So I threw this step stool together over a few hours and with the little one being a Minnie Mouse fan I had to add the Mickey head. Great project for those wanting something easy and quick.
Thu, 07/09/2015 - 11:31
Is there any instructions or measurements anyone can provide me with for this project?
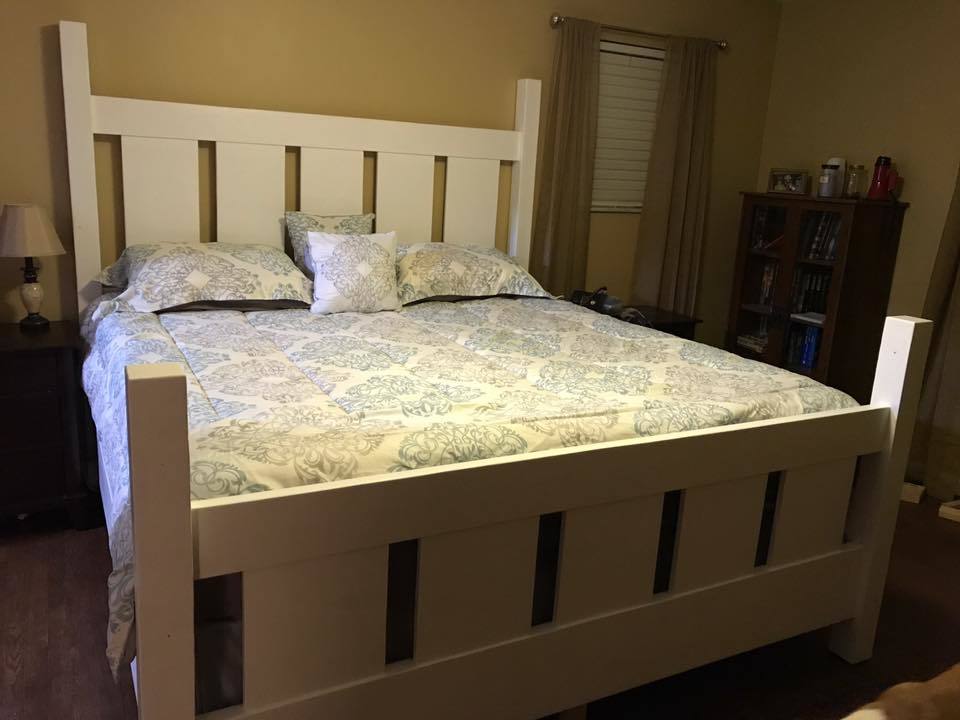
What do you do when you want to upgrade to a king size bed but cant find one you like at any store? You build one yourself.
I actually built this before the king size plans were available by using the queen size plans and bumping up the measurements accordingly. We both loved the farmhouse bed so we only made a couple little changes. One obvious change is to the posts at teh footboard...i cut those to about 48" high so I would still have a place to hang my PJ's. I also took the router to the tops of the posts to round off the edges just a bit.
It came out great and my wife and I love it. She likes to show off pictures every chance she gets.

I love how this bed frame turned out! Everywhere that has stain is cedar and the rest is all scrap spruce. Thanks for another great plan Ana!

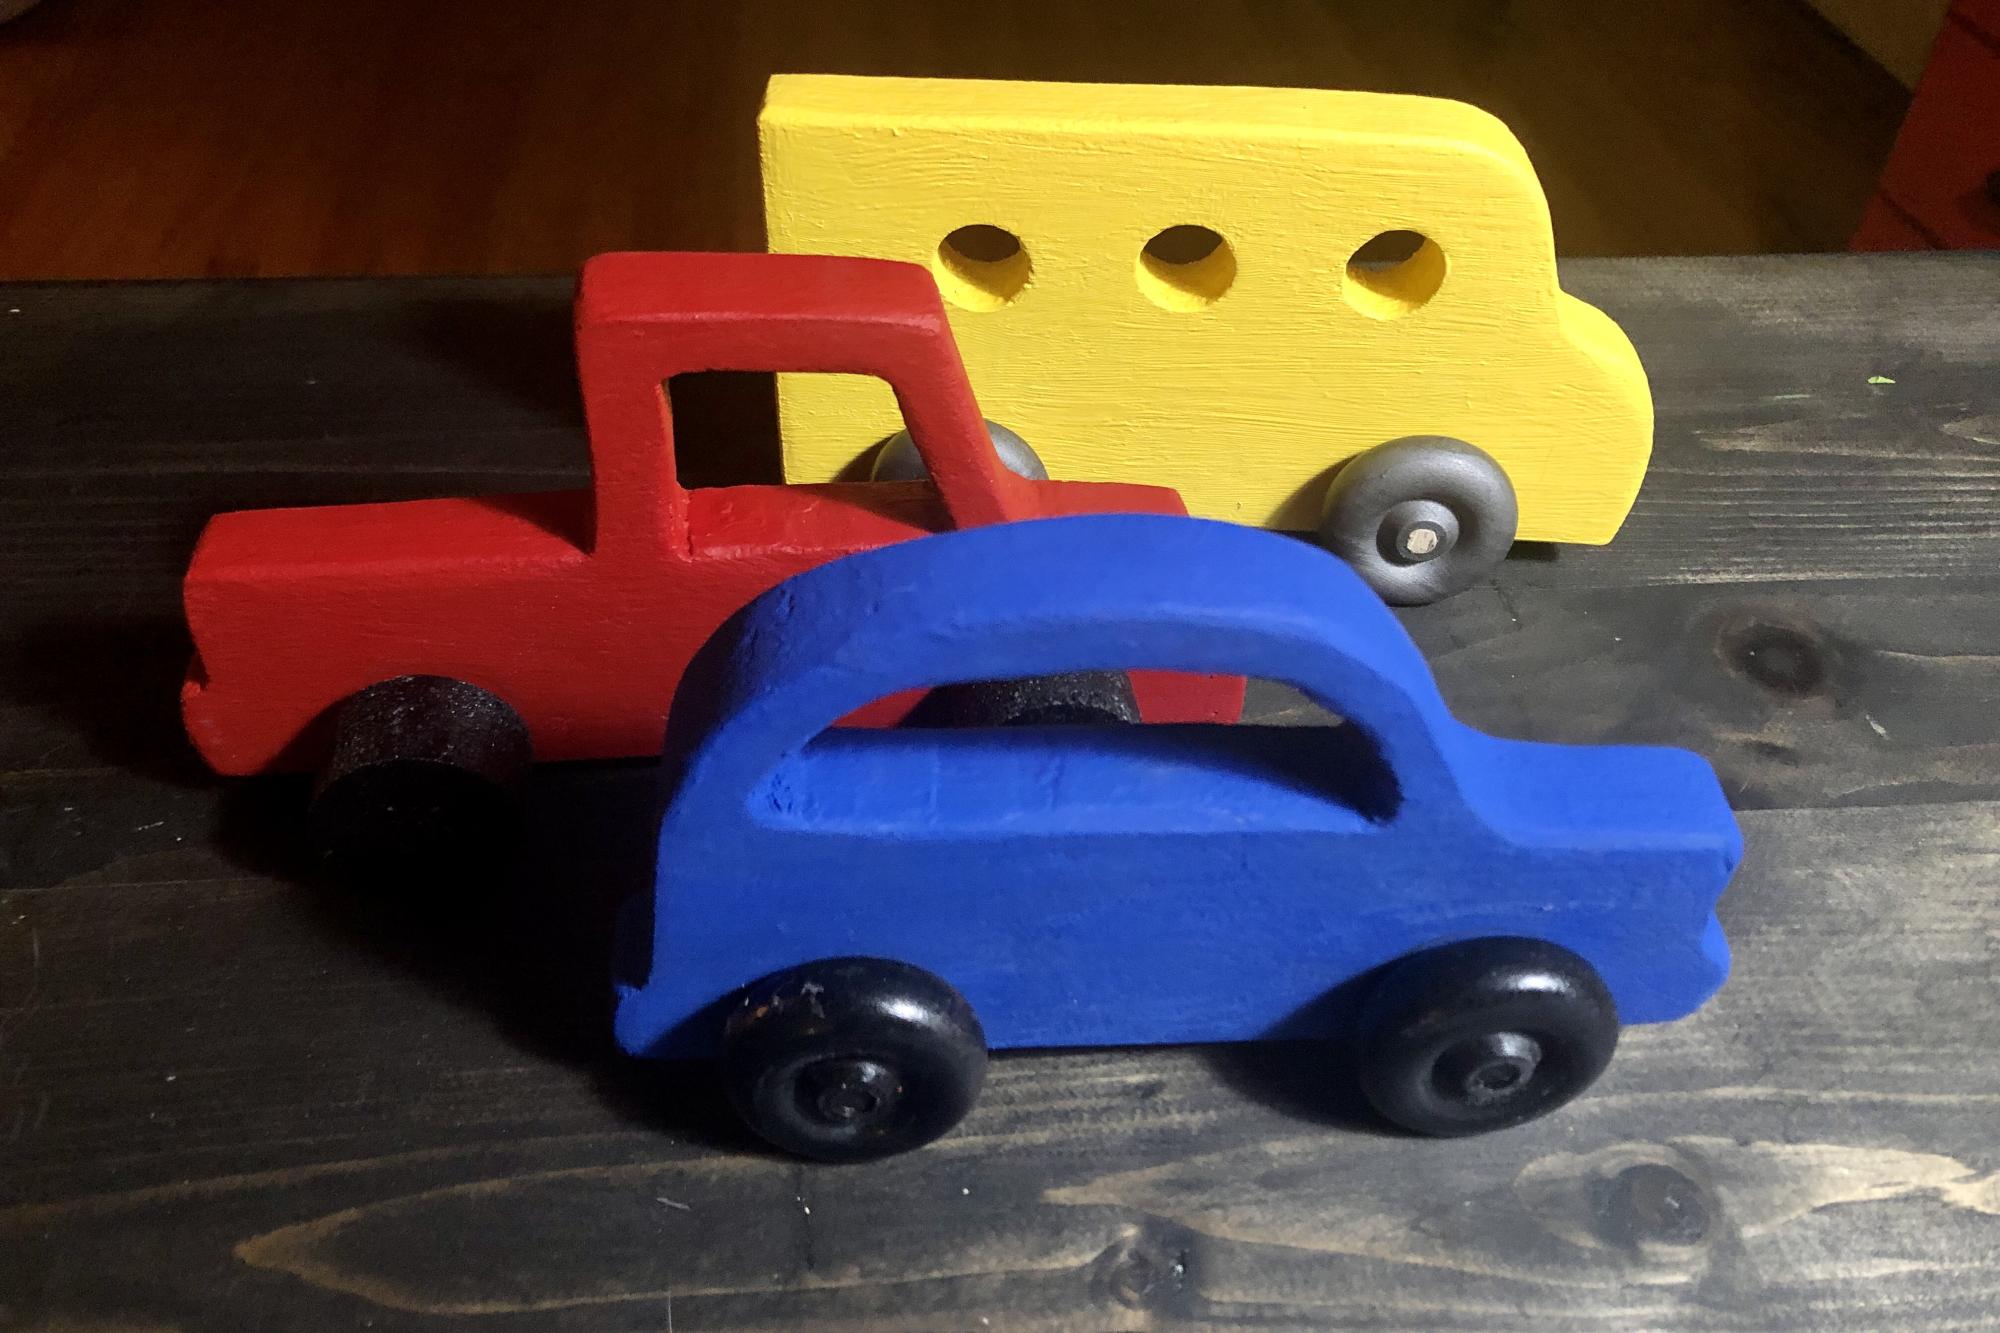
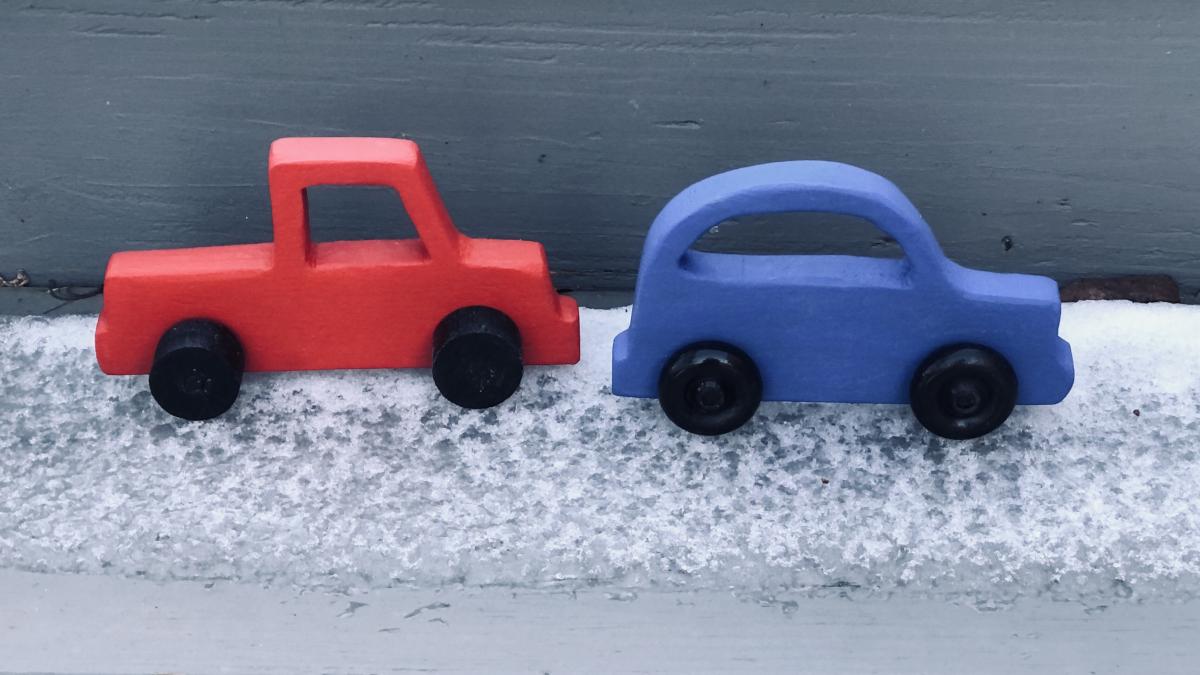
These are fabulous little vehicles that I made for my 18 month grandson when he visits. After making the car and truck, I decided to add a simple bus with round windows.
I used scrap wood, cut out the truck wheels with a hole saw but purchased a package of wheels for the others. My little cars aren't perfect but that adds to the charm.
Wed, 01/26/2022 - 08:34
These are great, thank you for sharing, you're grandson is sure to love and cherish these!
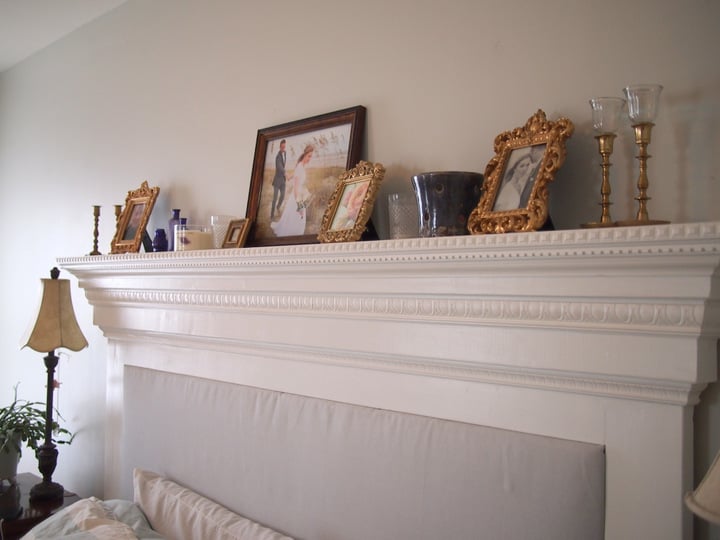
It took us about 2 days to cut, assemble, and paint.
http://www.whisperingwhims.com/2015/03/diy-pottery-barn-addison-style-headboard/
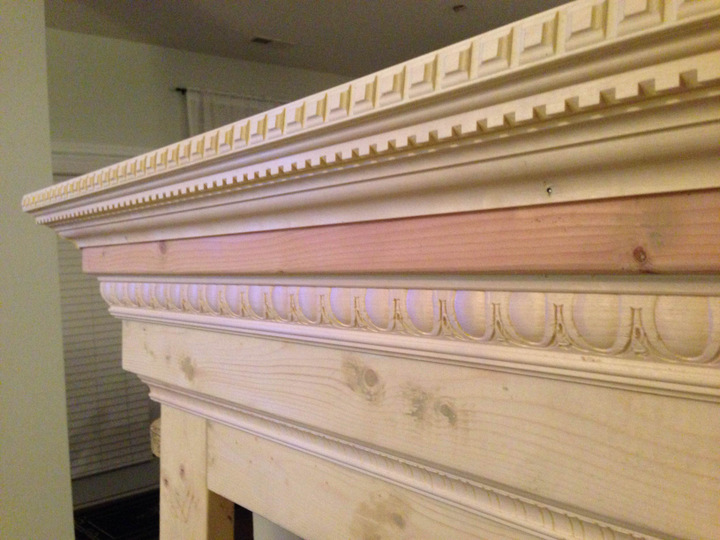
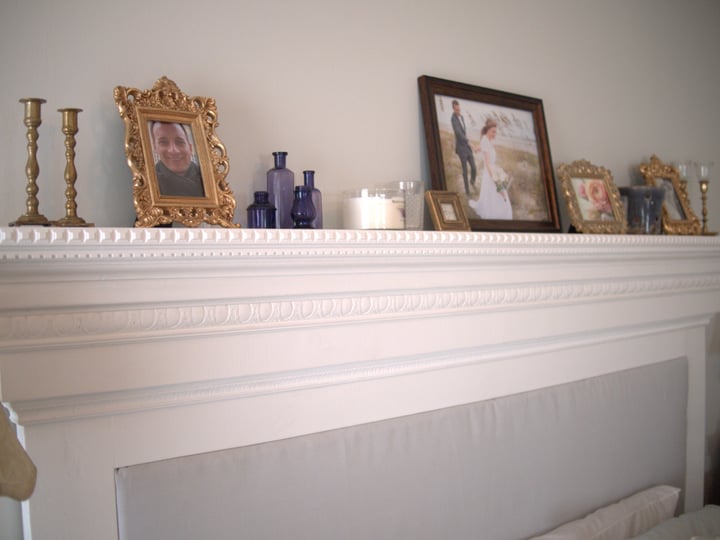
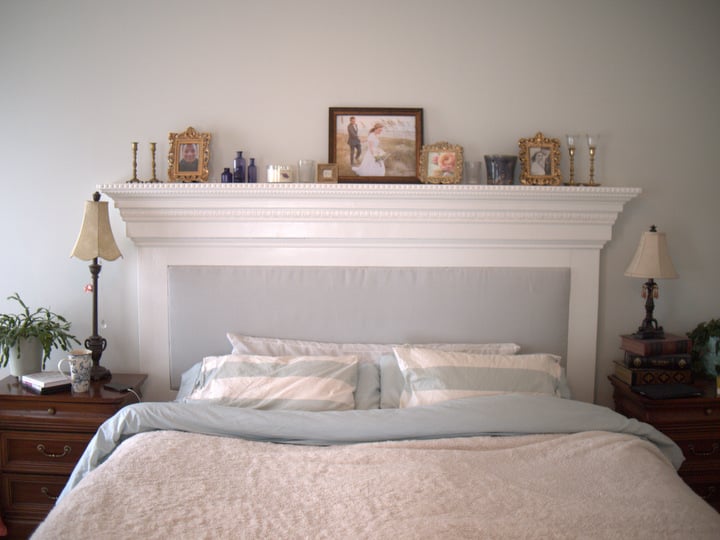
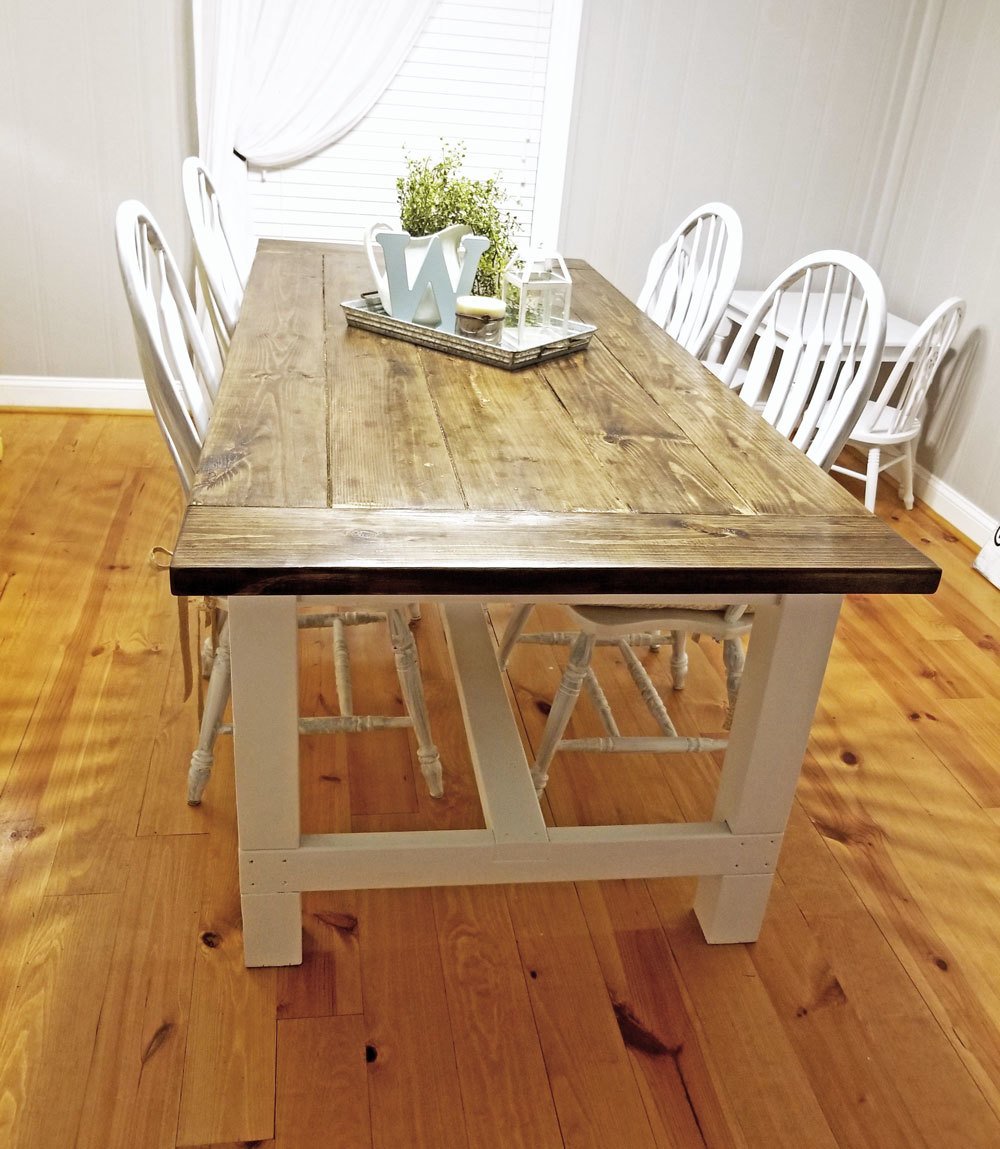
After buying our first home we decided we wanted to build our own kitchen table so we stumbled across Ana's plans and I'm so glad that we did!
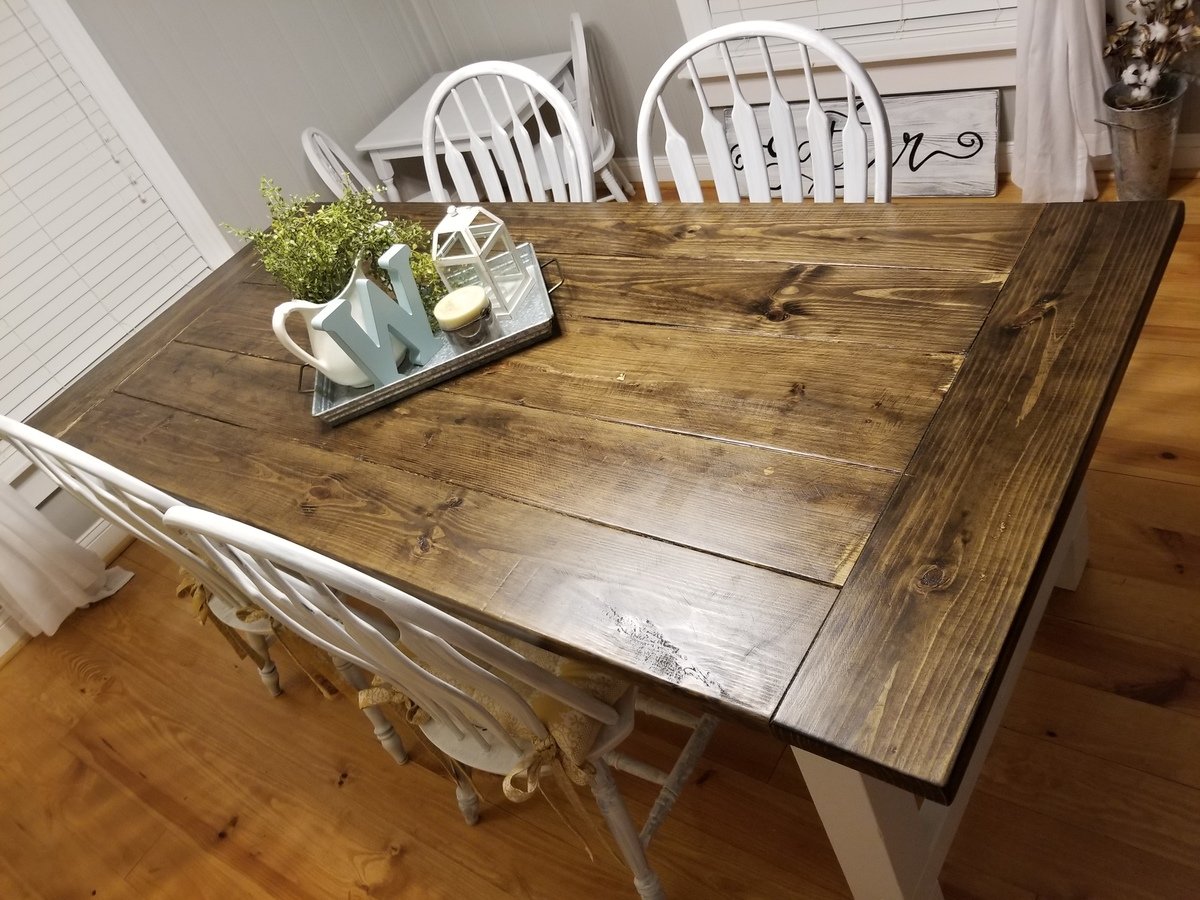
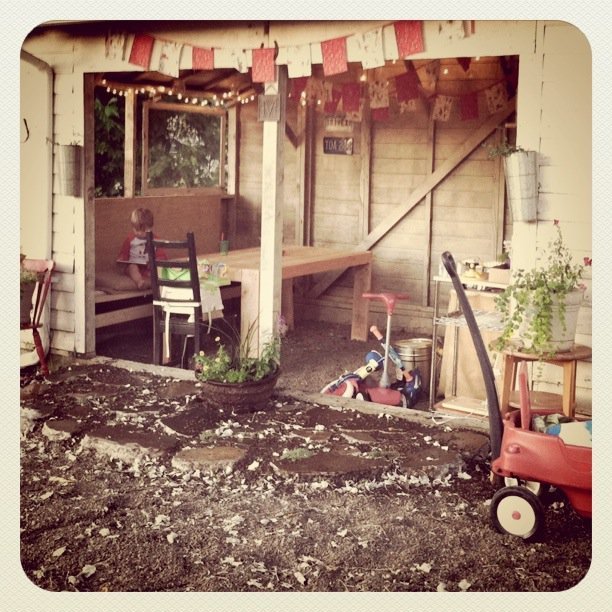
I have a rustic outdoor room made out of our garage. We started the project last summer but it took until this weekend to get a table built. I was skeptical that I would be able to build a table myself, but I knew this table would fit in my backyard decor and I had to do it!
Using the plans from the site, I was able to build this almost entirely by myself. I got help for flipping it and adding the side aprons.
I started around noon with a trip to Lowe's and was done by about 7:30. The wood and screws cost around $50. I still have to finish it and am thinking of staining it dark brown.
Also, the guy at Lowe's recommended that I used deck screws. So that is what I used. I did not pre-drill all the holes. I also put the 2x6s in the table top, then flipped it over and added the 2x2 supports and screwed them in. I think that saved some time and seemed to work out okay.
Thanks for a great project, Ana! I am so proud of myself that I did this! Now I am off to make a bench to match.

My mom had been wanting a corner cabinet in her dining room forever but every one we found was mad expensive. So I built her one as a gift. She loves it! I used left over paint from her dining room walls so the colors match exactly.
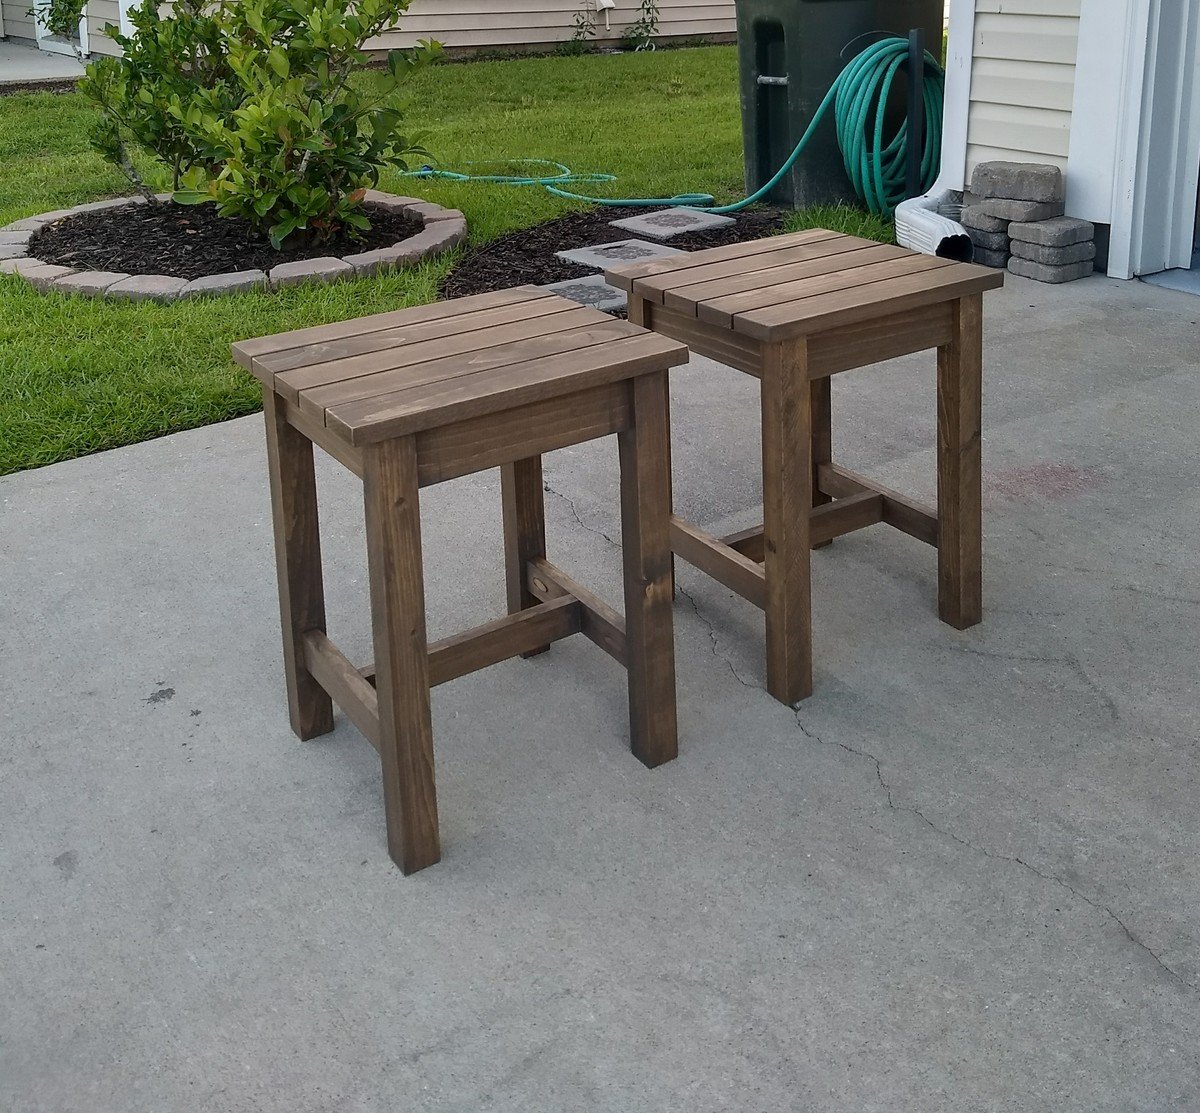
Super strong stools and/or end tables! I LOVE them. Wanted a rustic vibe, stained with Varathane Briarsmoke with Varathane matte poly. The build took no time at all... The only reason this is a day project in my opinion was the true time it takes for drying between finishing coats. They were both built in one evening. Can't wait to build the Adirondack chairs from Ana's book to go with them!
I am close to completing an outdoor set with only the table to go. My parents are going to love this at their new house they are building!! I found the cedar 1x4's at home depot for about six dollars a piece. I painted the base a basic semi-gloss white before I built the bench. It's so much easier to paint first and build later. I have a few more touch ups but I am happy with it. I used the Kreg Jig Jr to screw in underneath($40), which made this project and every project I've done so far that much easier.
Tue, 07/26/2011 - 15:28
Looks great! Love the two toned wood look. I wondered whether you added an extra support in the middle... sort of seems like there's one at least in the last picture. Also did you build the top completely separate so it was one piece? Sorry for all the questions. I really want to make this bench for a friend and I would like it to look better than the last outdoor table I made with my kreg jig. Thanks
Tue, 07/26/2011 - 16:42
Thanks! The bench had a little flexibility when I sat in the middle of the bench. I added the extra support in the middle which made no difference at all. It turns out that cedar is a naturally light and flexible wood. If I had it to do over again I would use treated pine for the white base and keep the top cedar. The 1x4 cedar from home depot I used is actually .625 x 3.3875 not .75 x 3.5. So as you can imagine, it threw off the whole slat configuration. Best thing to do is use 28 or so .25 inch spacers to place in between the 14 or so slats on level ground. Once you space the slats like you want, then you can maneuver the frame freely until its even on both sides. Once it looks even on both sides start screwing kreg screws at one end and continue until the last one is done. FYI - I highly recommend drilling the pocket holes first before building the frame in Step 1. Hope that helps!!
Tue, 07/26/2011 - 17:05
Almost forgot. I did add 2x2's in between the blue and green boards on each side of the frame to add more support. The middle board I added as you can see in the last picture did nothing structurally speaking.
Fri, 08/05/2011 - 10:11
Thanks for the tips. I finished cutting all the wood and am going to start putting it together tonight... After reading through the comments I think I'll join the 14 slats together with the side 52 1/4 boards before attaching it to the frame. Did you use an extra 1x3 for the second leg board?
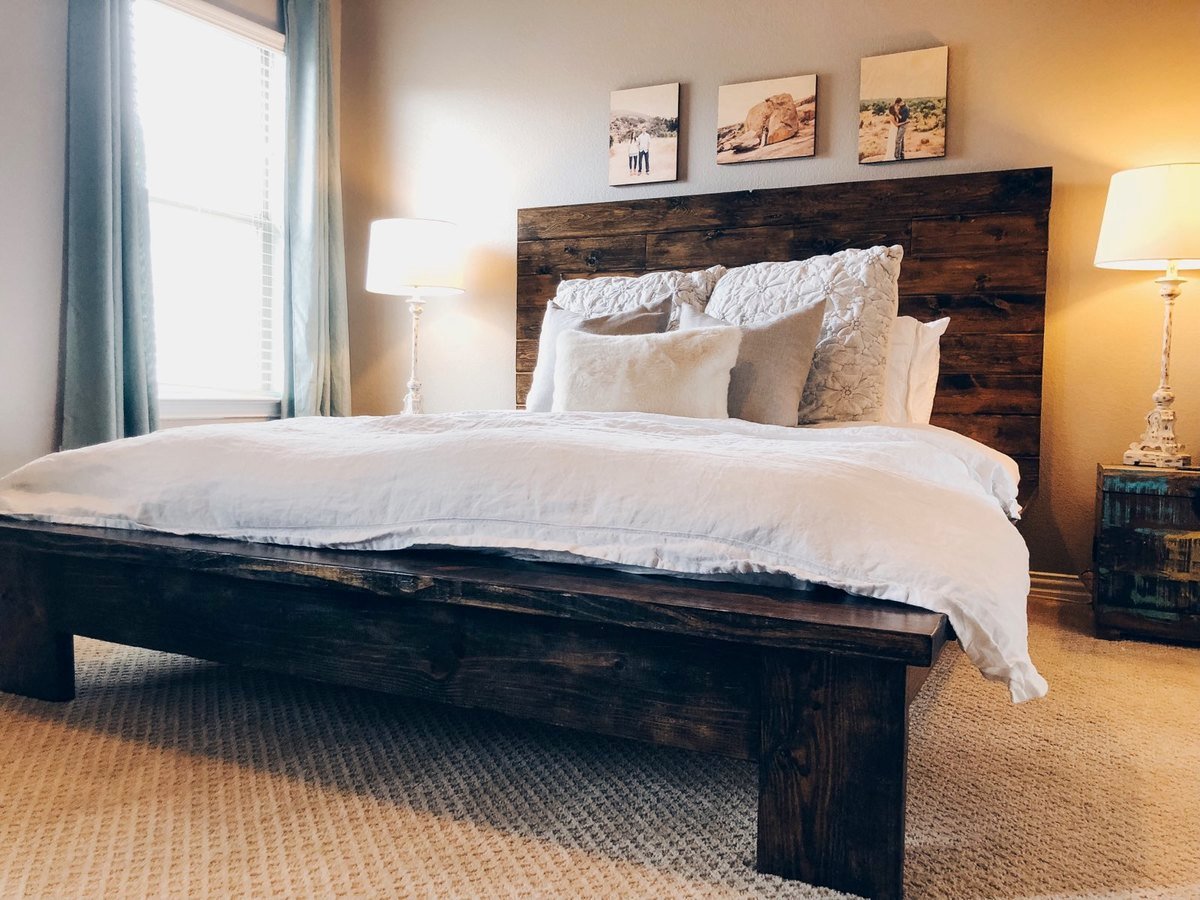
This bed is my first "for profit" bed. Took some design changes so it could be taken apart and put together easily with metal bed brackets.
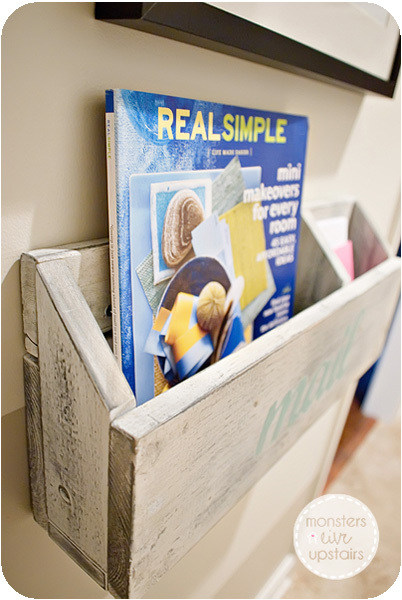
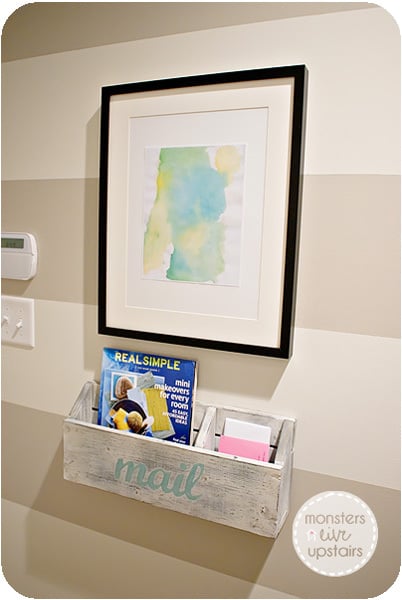
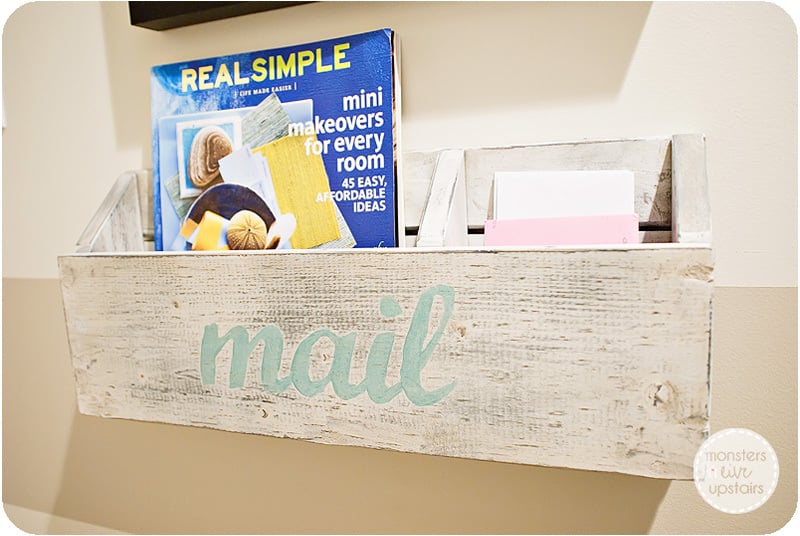
I was in desperate need of a mail organizer and knew when I saw the the plans for the numbered cubbies that it would be perfect with some modifications. The best part of this project was that it was free...all from scraps and done in less than a couple hours.
Fri, 08/19/2011 - 16:03
This is exactly what i've been needing, thanks for the idea!
Sun, 08/28/2011 - 20:13
Kelli224 ~ This is so cute! How long did you make it and how tall in the back and front?
Wed, 08/31/2011 - 15:22
Thank you! This little box has really been handy and keeps everything so tidy. EmileeA - It is 19" long, the back is 8", and the front is 5.5". The divider is 11.25" from the left side. Hope that helps!
Tue, 12/17/2013 - 17:31
hi there! I ve been working on a small cubby shelf similar to this and was interested in seeing how /where you joined the boards- ex. The front board (5.5ft) to the dividers... I don't see and nails or screws! I'm guessing you applied wood filler atop the nailheads. But I'm having trouble joining my boards and if you can kindle let me know where you attached the front board to dividers w nails or was it just glue?!? Thanks so much!