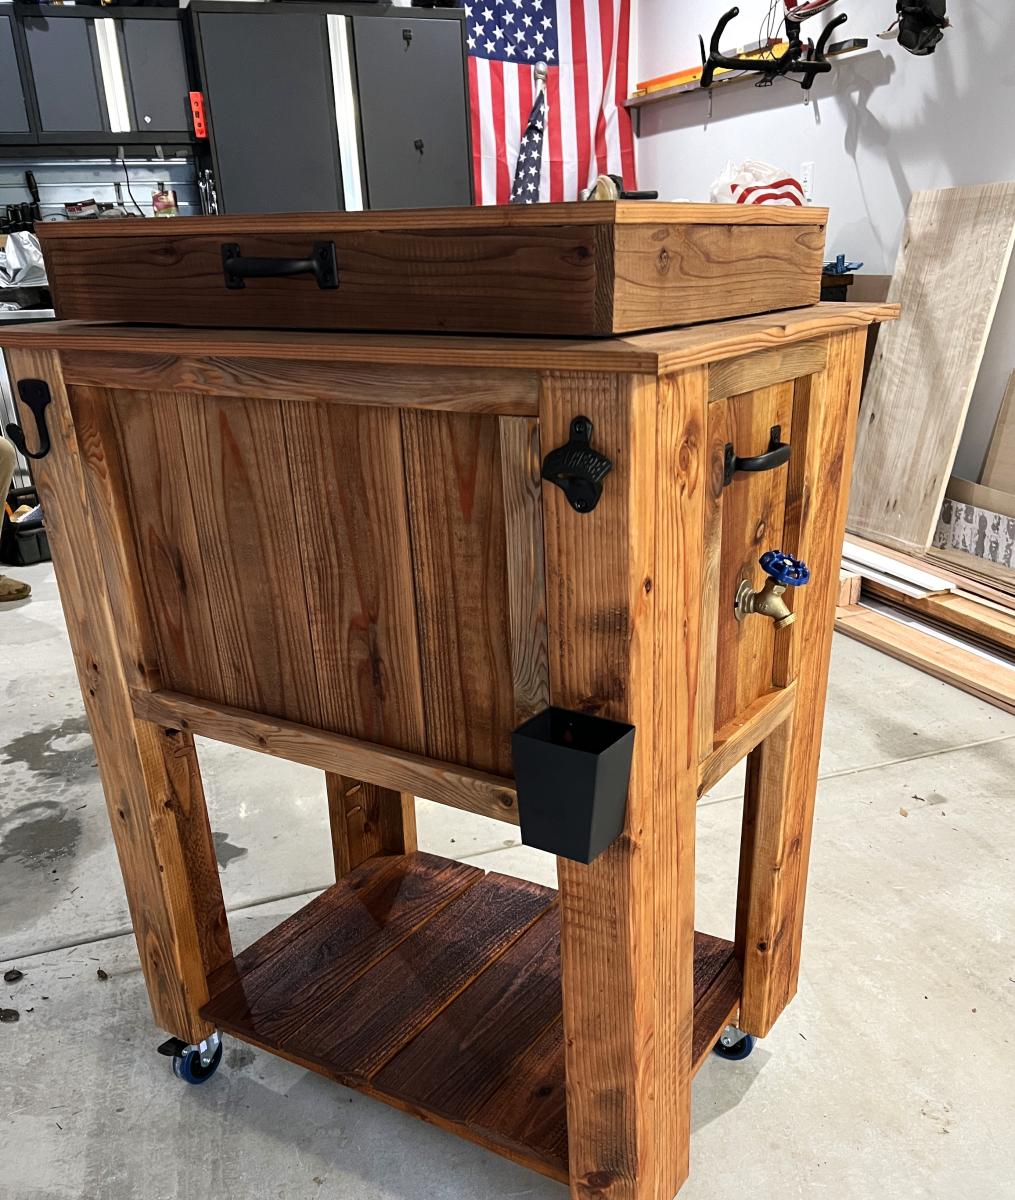
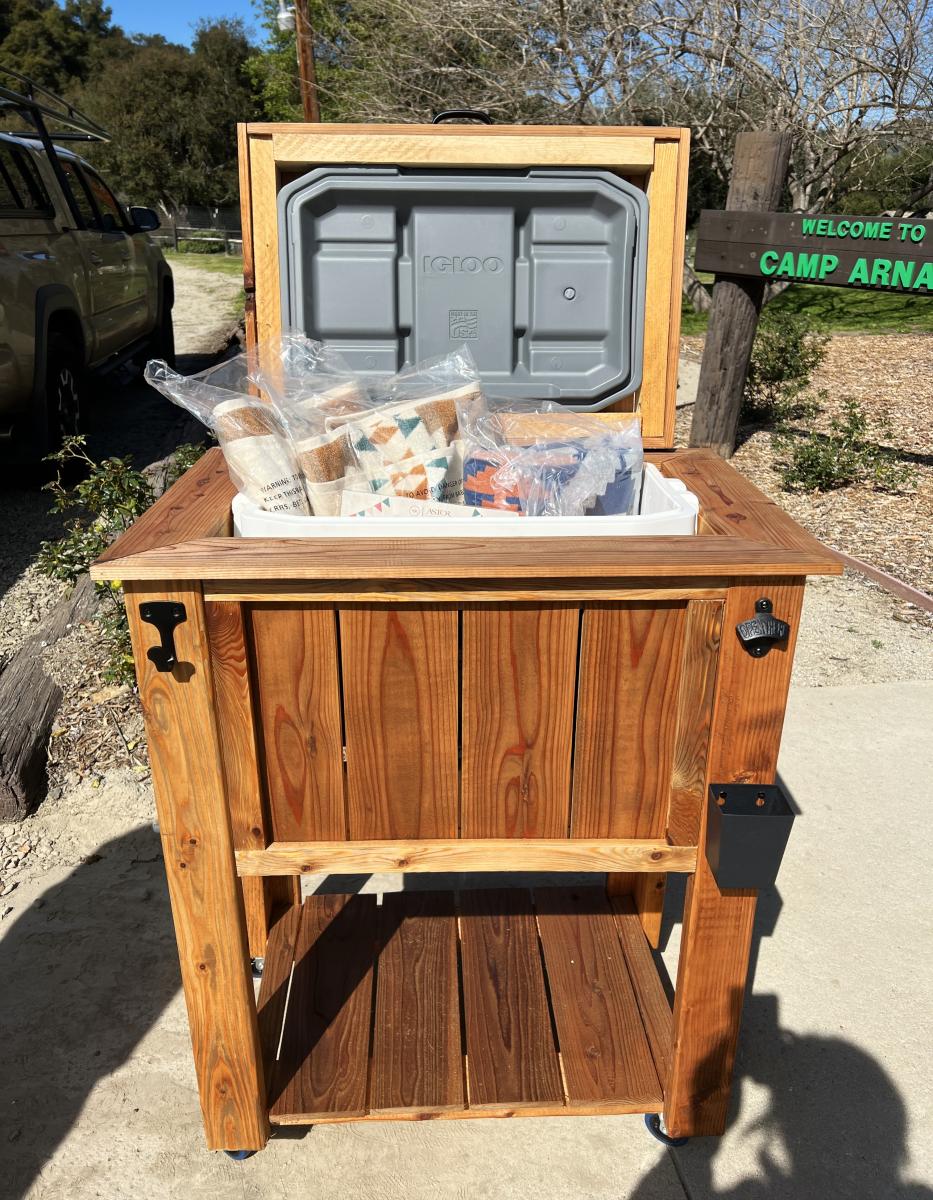
Custom Wood Cooler Stand
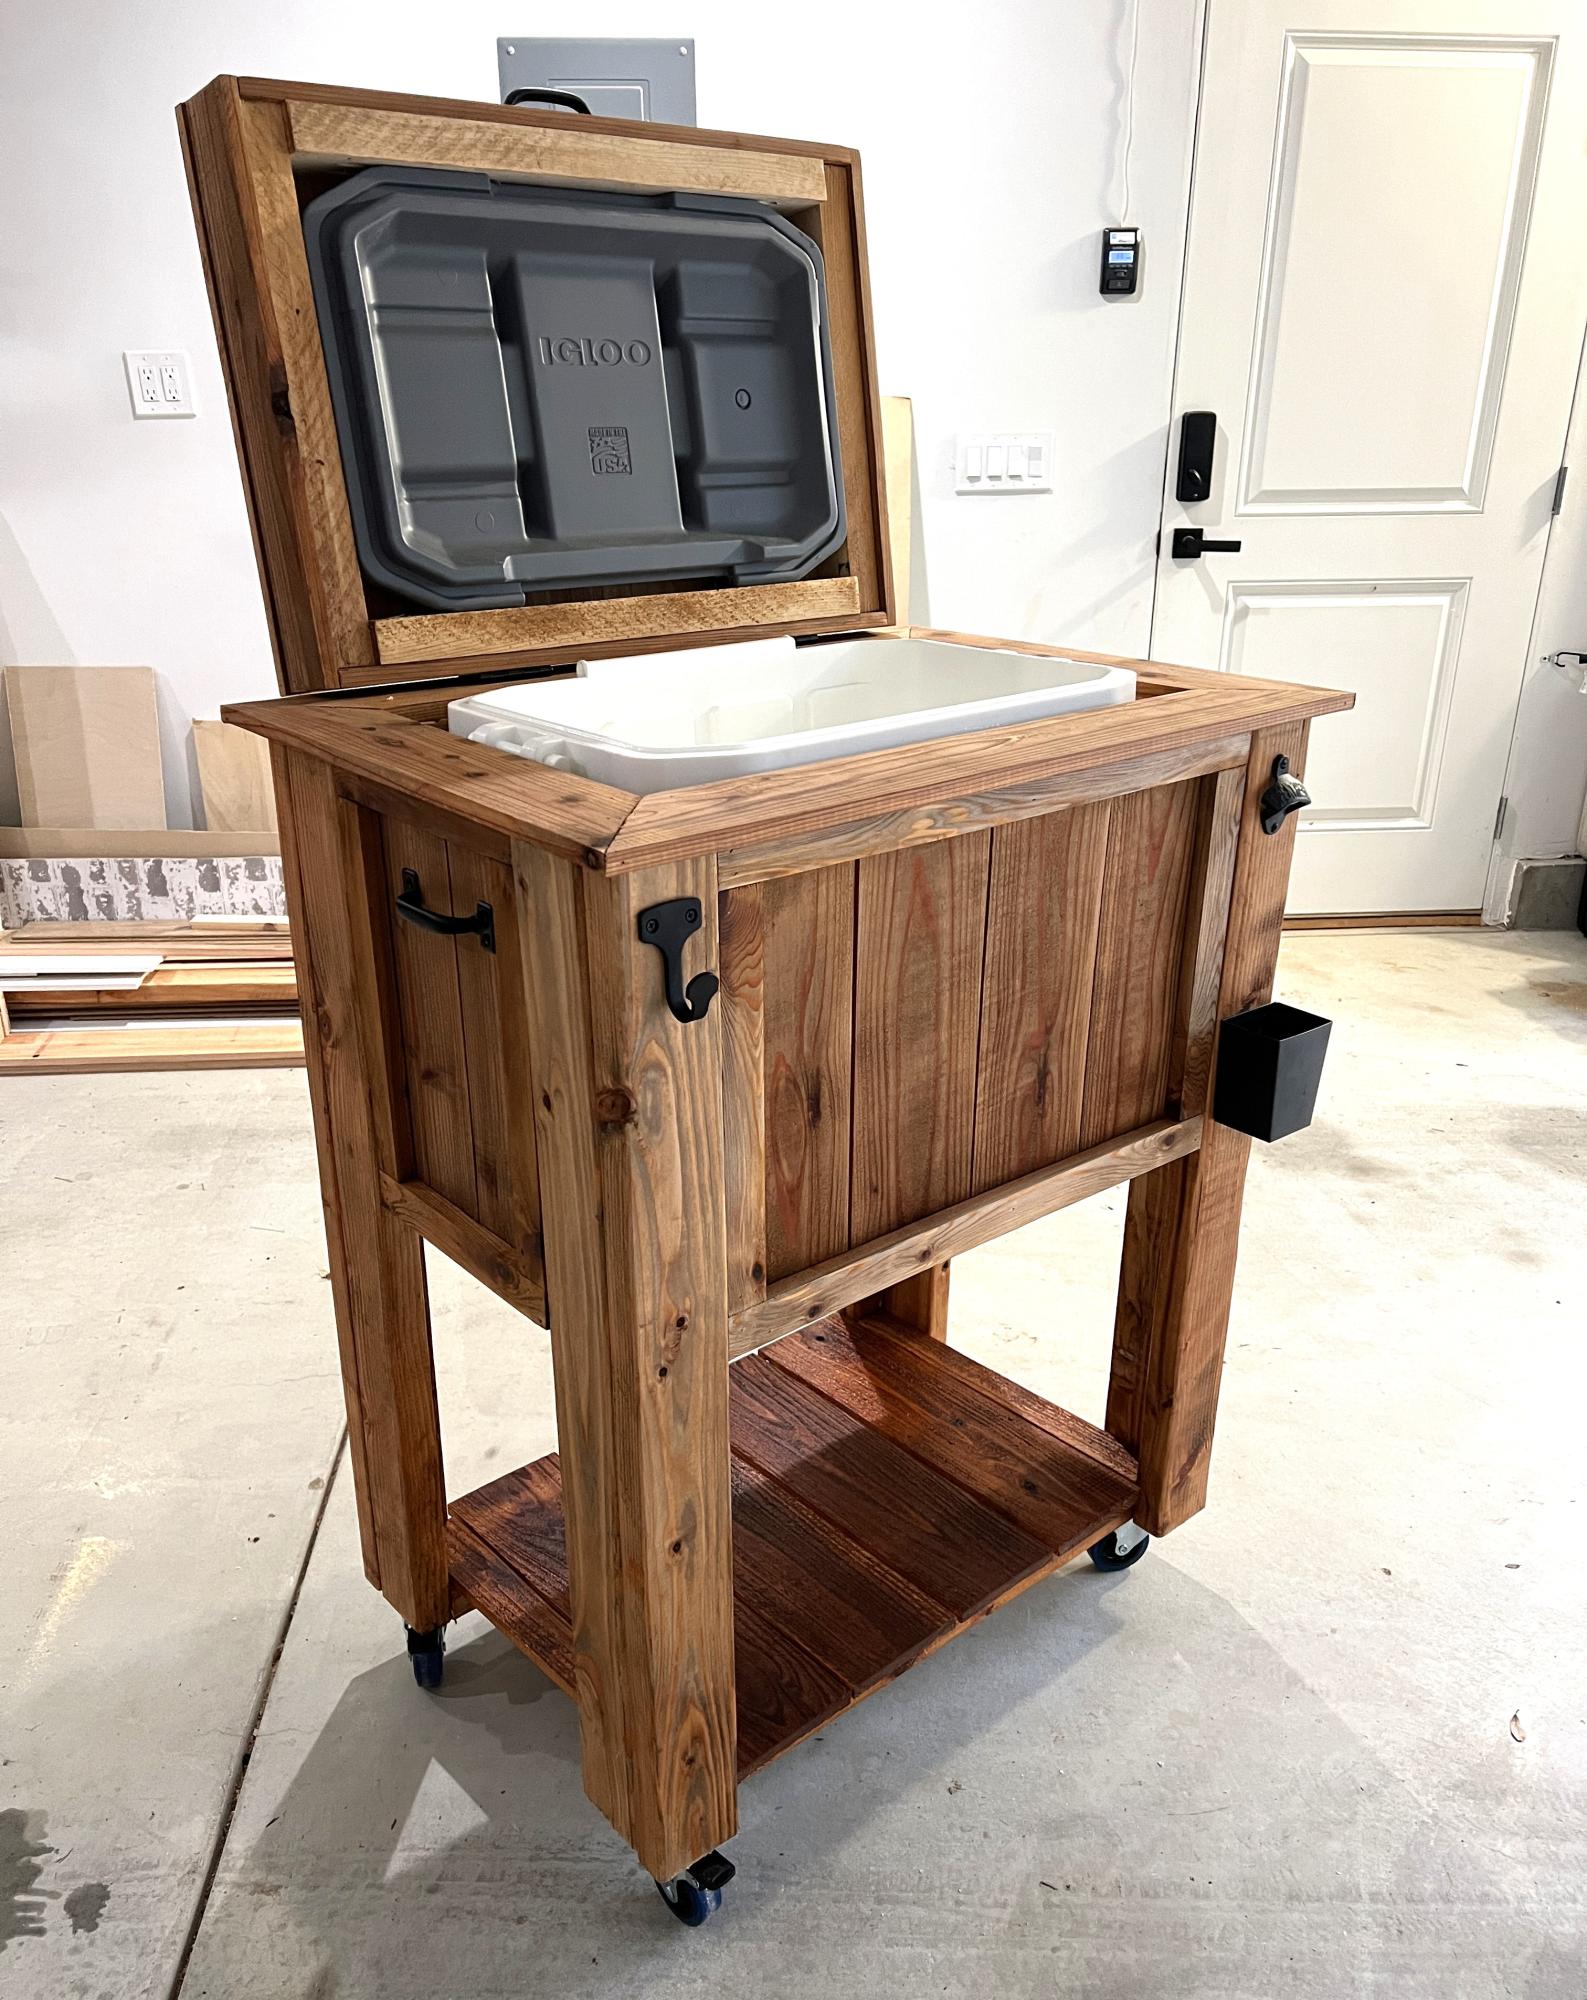
I made this Ice Chest Cart for my son’s schools silent auction. It features a spigot for drainage, bottle opener, hook for a bar towel and I also set it on castors so it can be easily moved.
Built from Plan(s)
I made this Ice Chest Cart for my son’s schools silent auction. It features a spigot for drainage, bottle opener, hook for a bar towel and I also set it on castors so it can be easily moved.
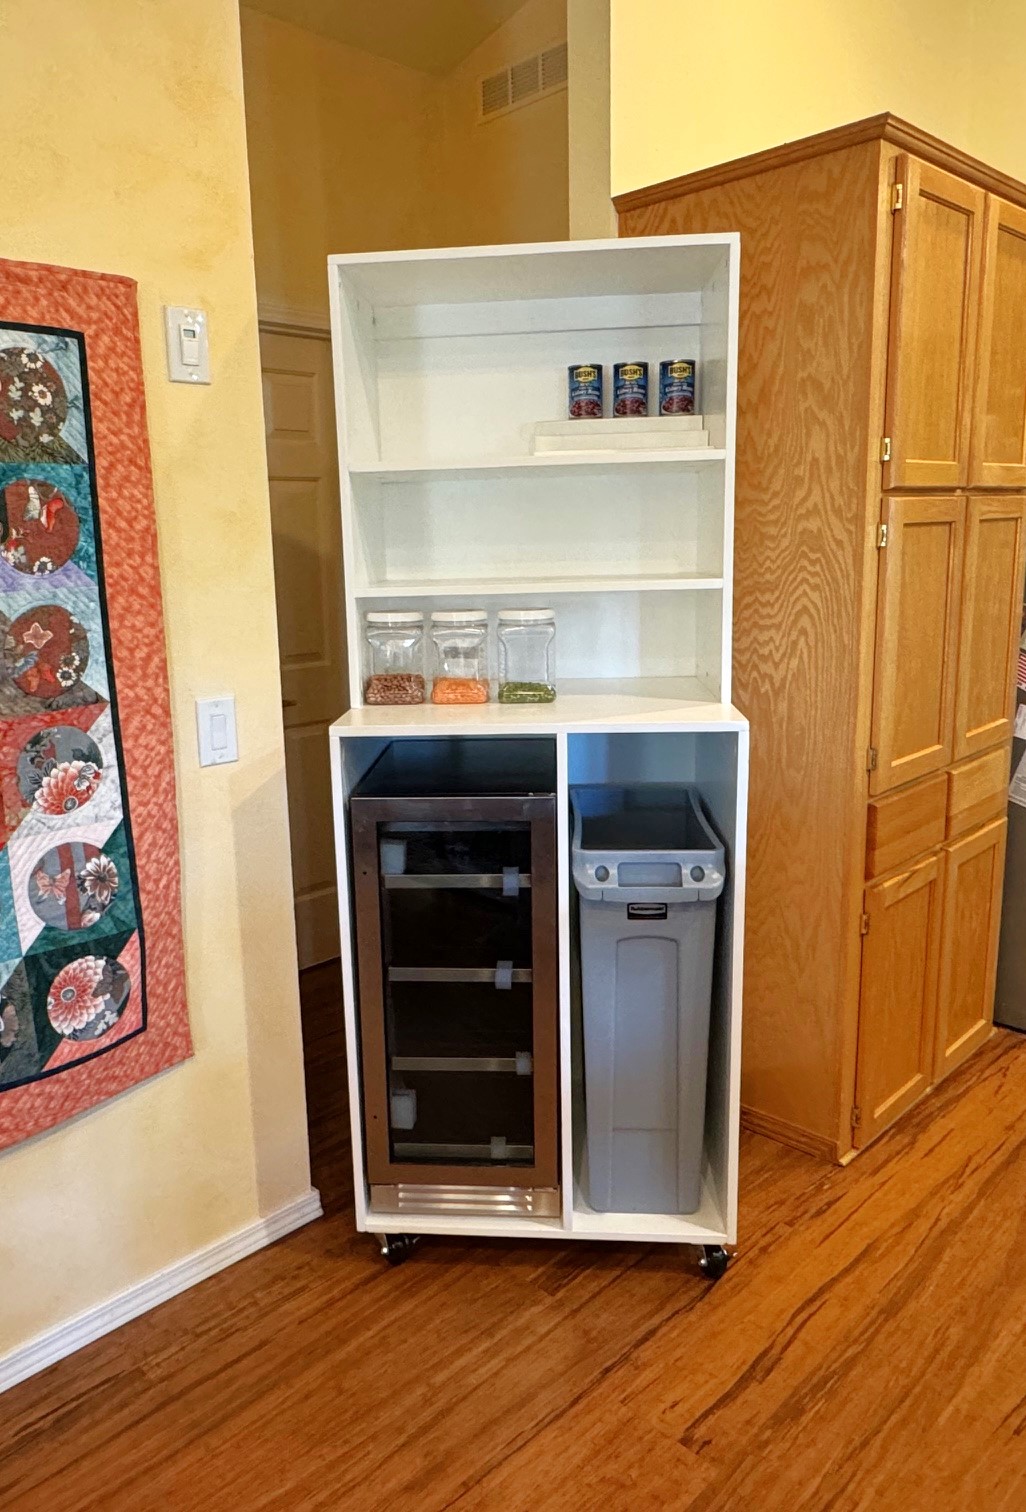
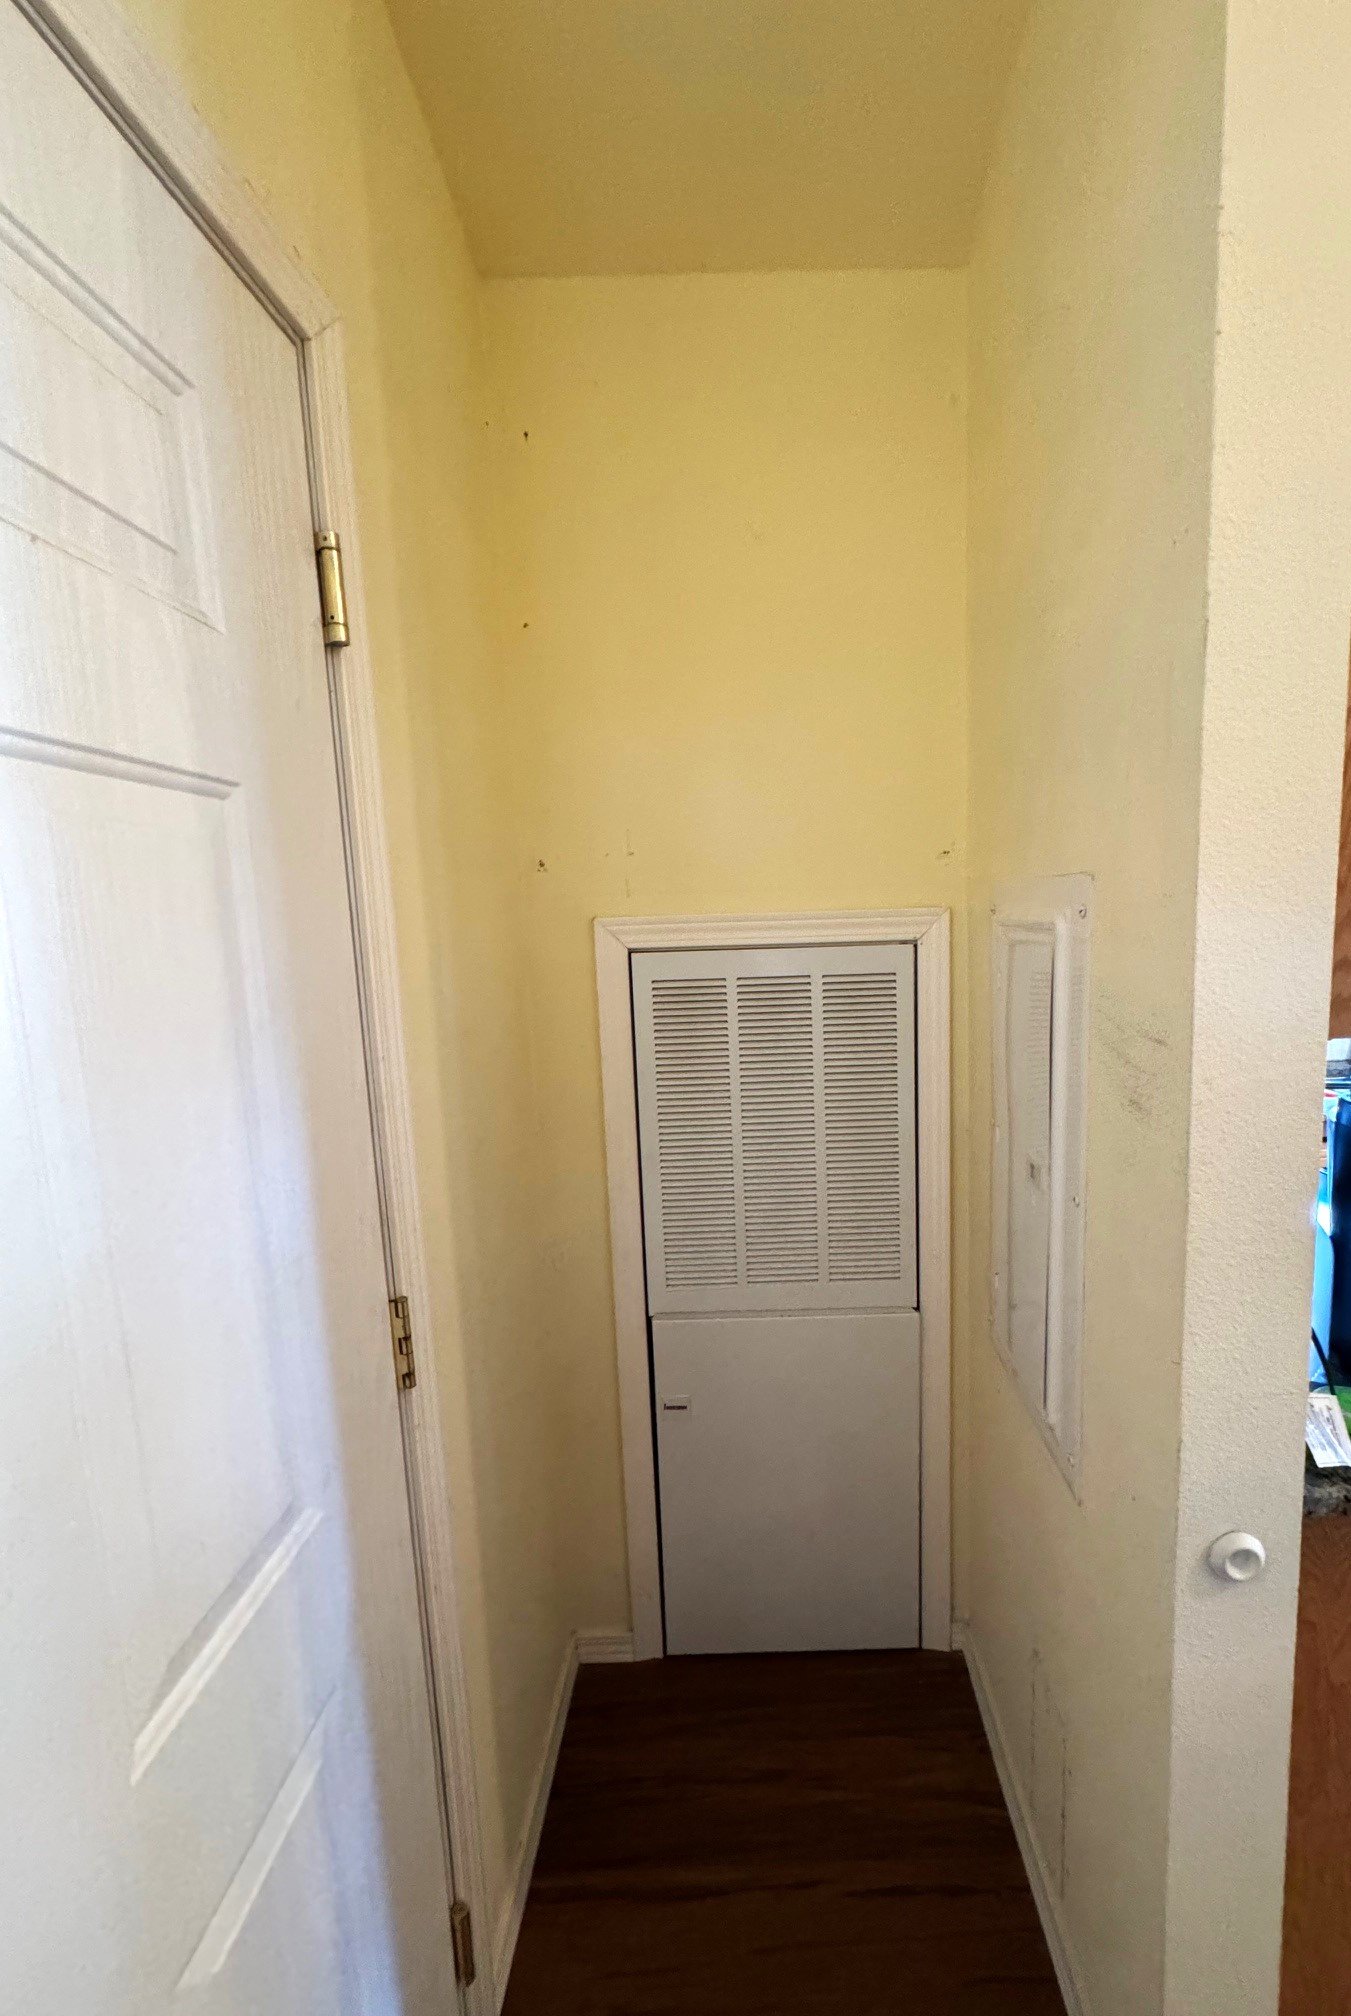
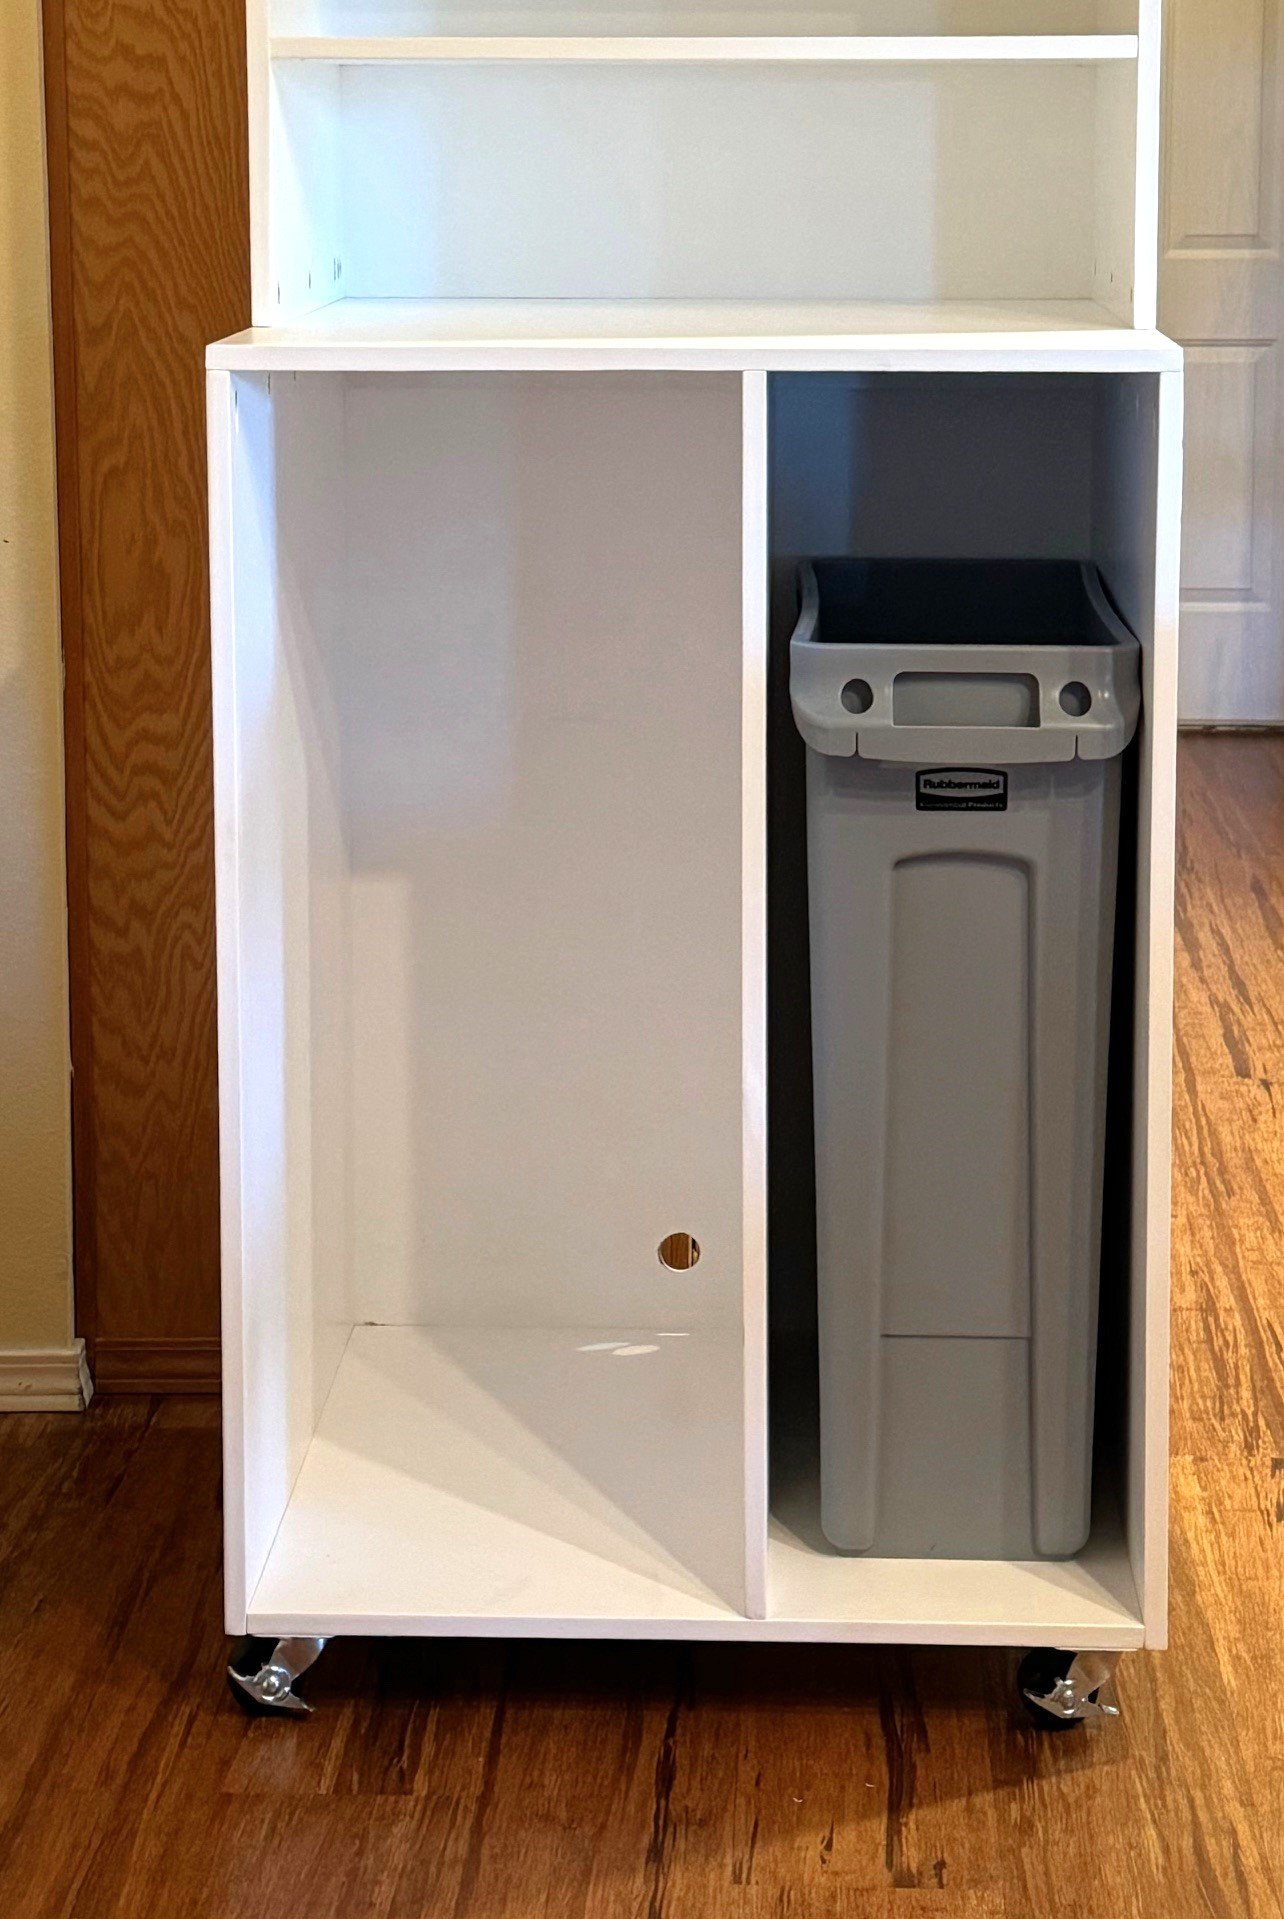
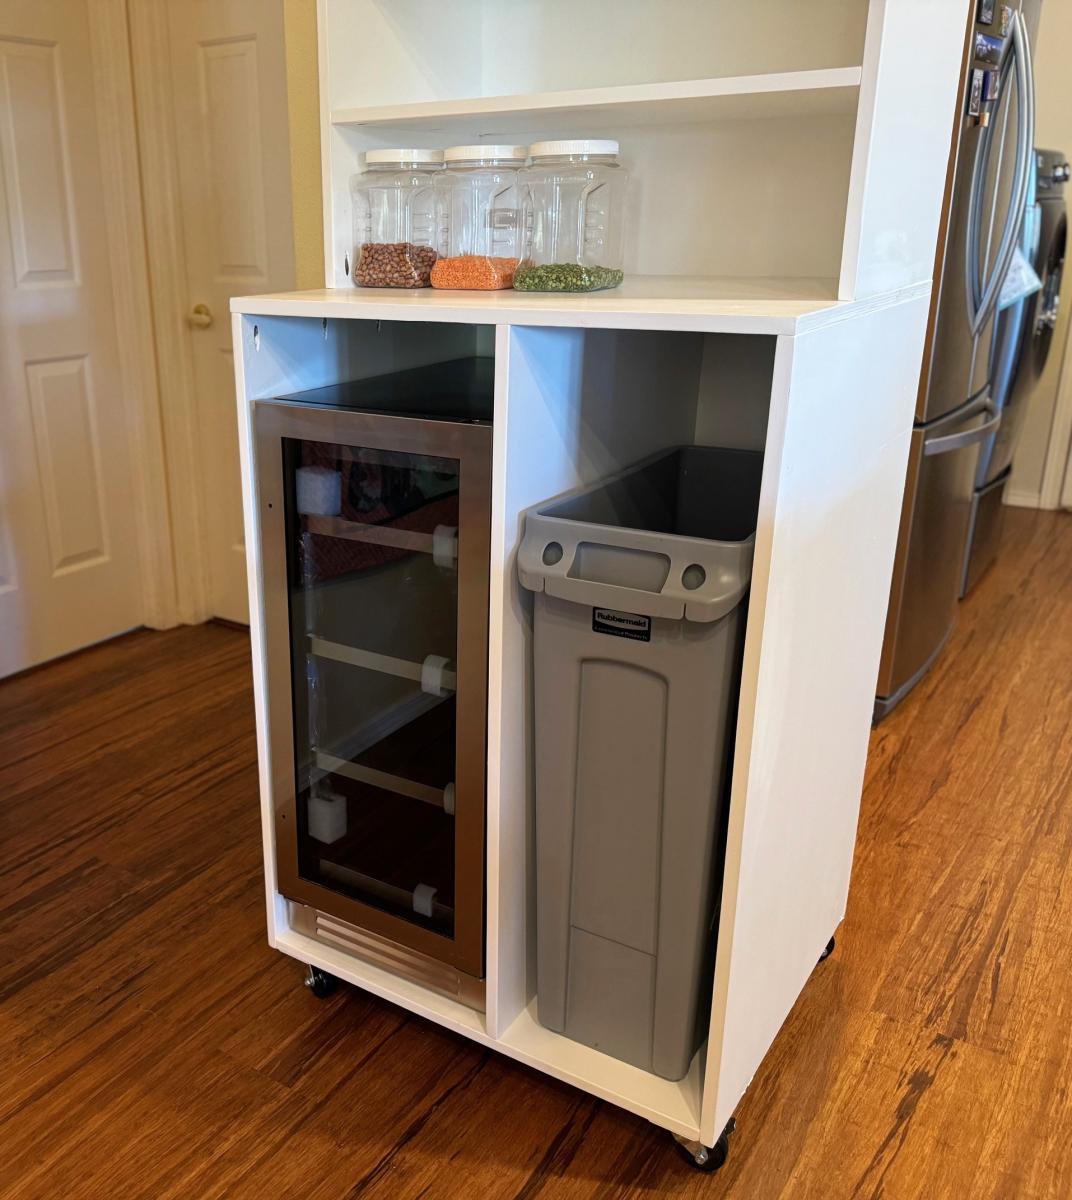
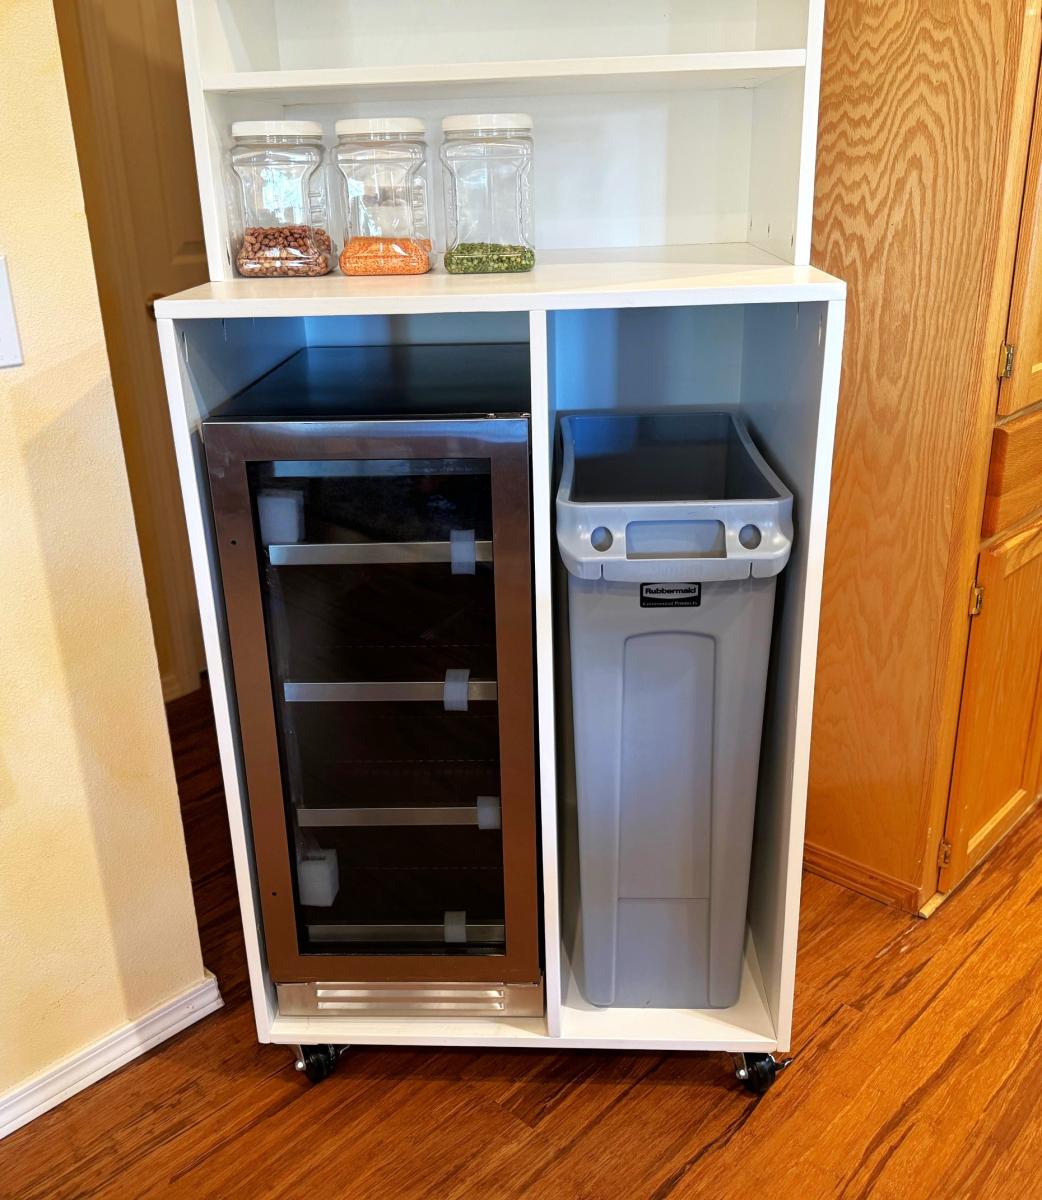
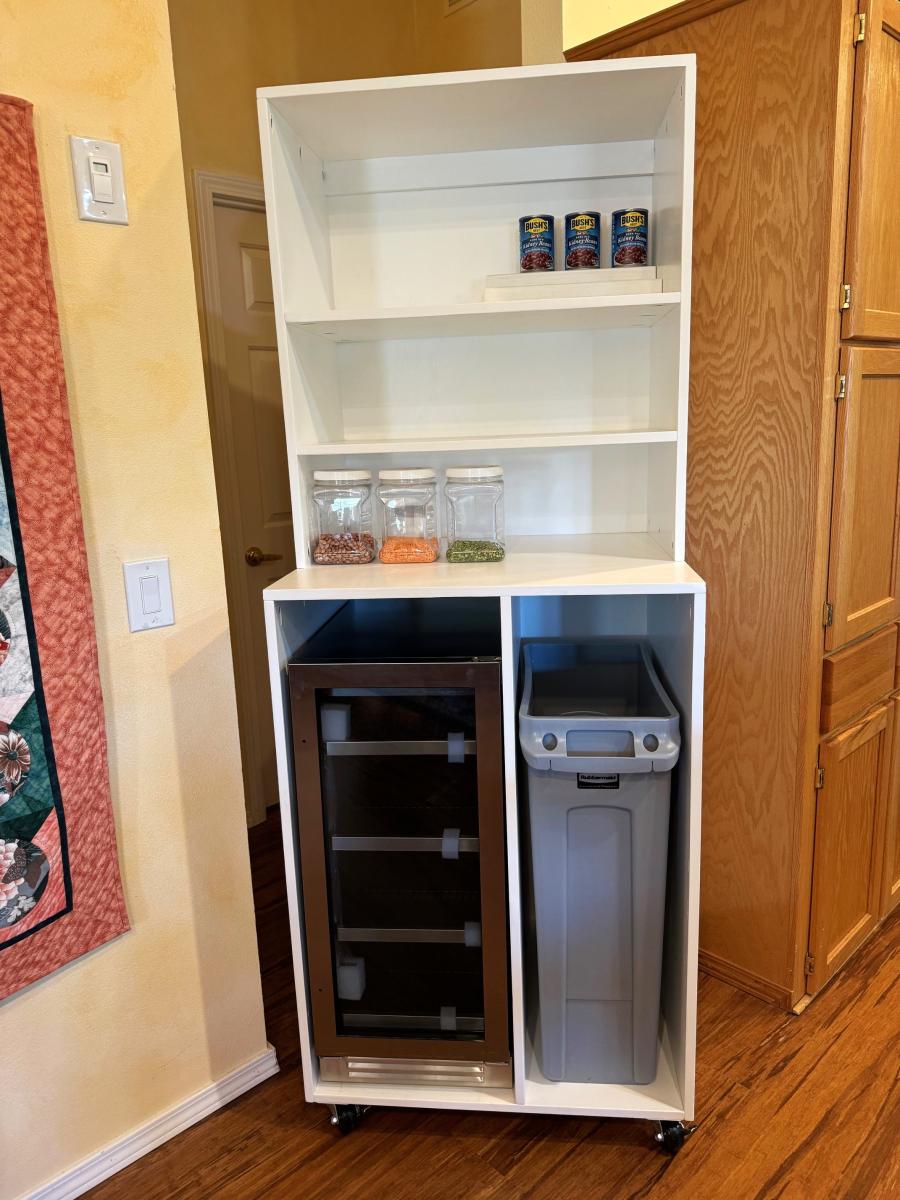
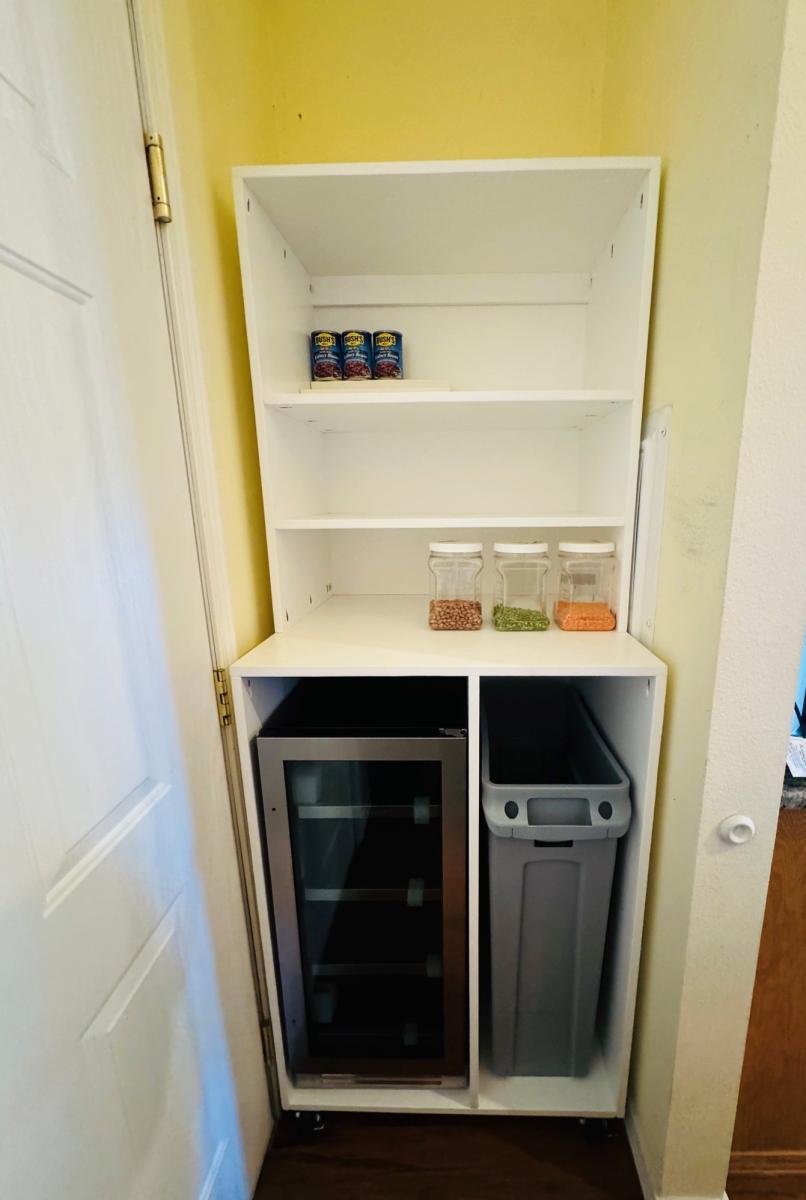
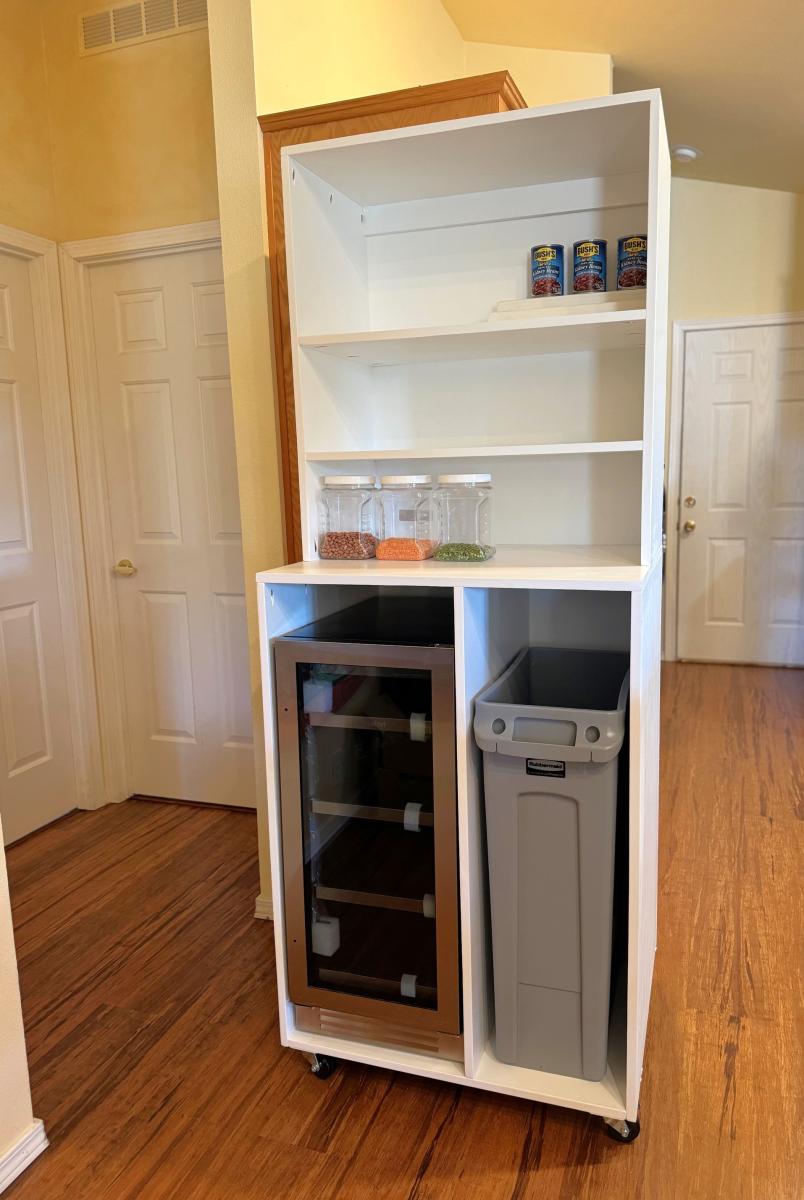
My dad and other mother asked me to build them a rolling pantry to house a fridge, recycle, canned good organizer and sized to fit their existing dry food containers. Using Ana's free design tool, I was able to incorporate all of their asks making this little alcove much more functional! It took some figuring finding the perfect fridge and recycle bin that would fit the space. I left room at the top of the recycle so there would be plenty of room for larger recycle items. The heavy duty casters allow this unit to be moved around easily if needed. I built this in 2 pieces with pocket holes, added edgebanding to the front and added a hole for the power cord placement.
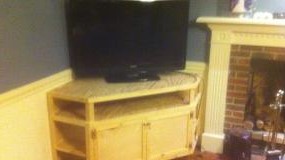
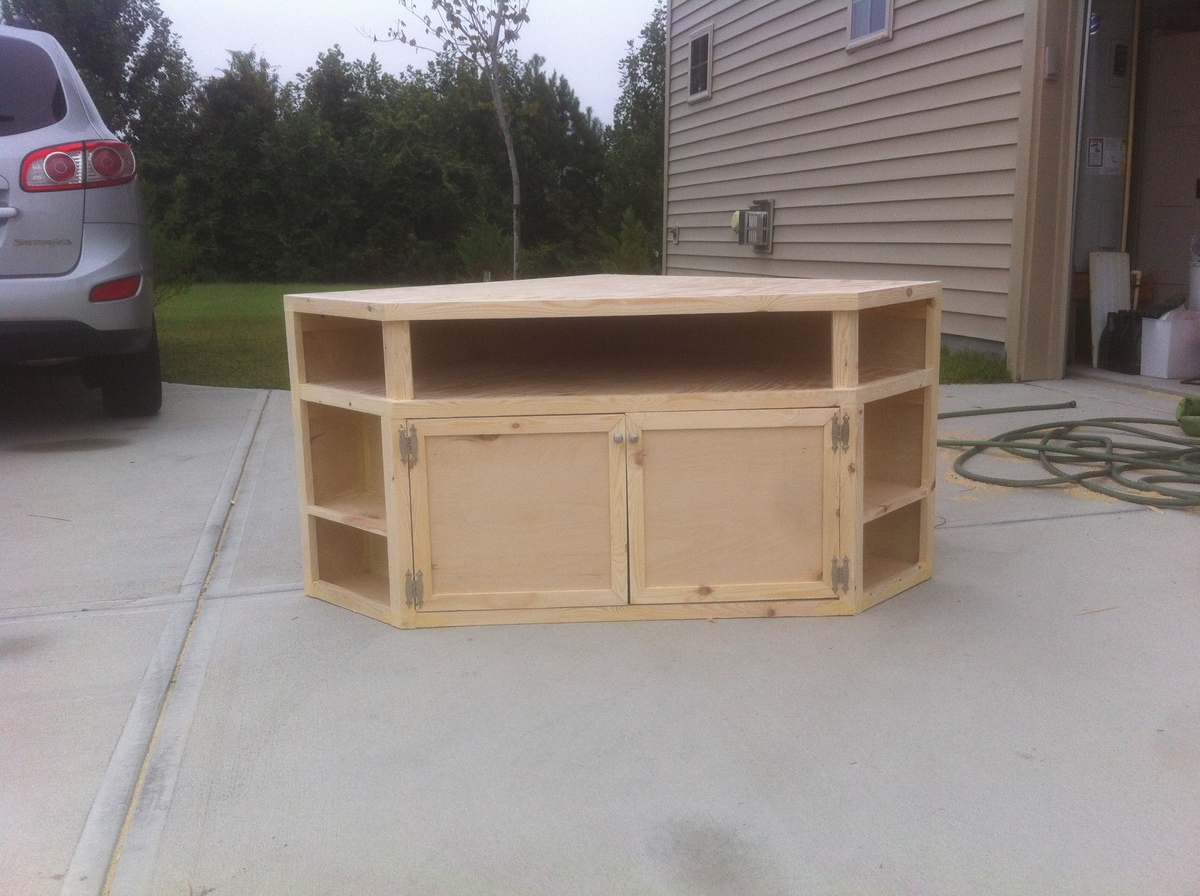
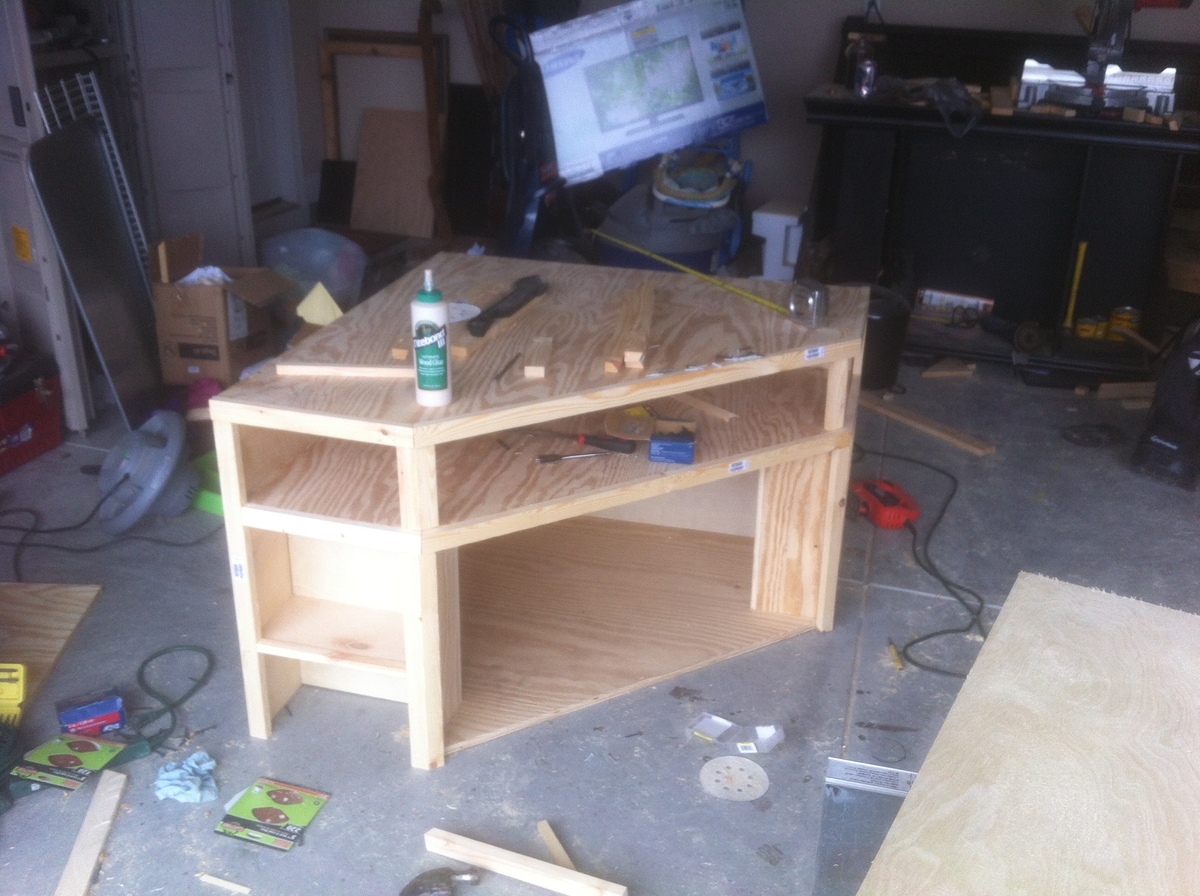
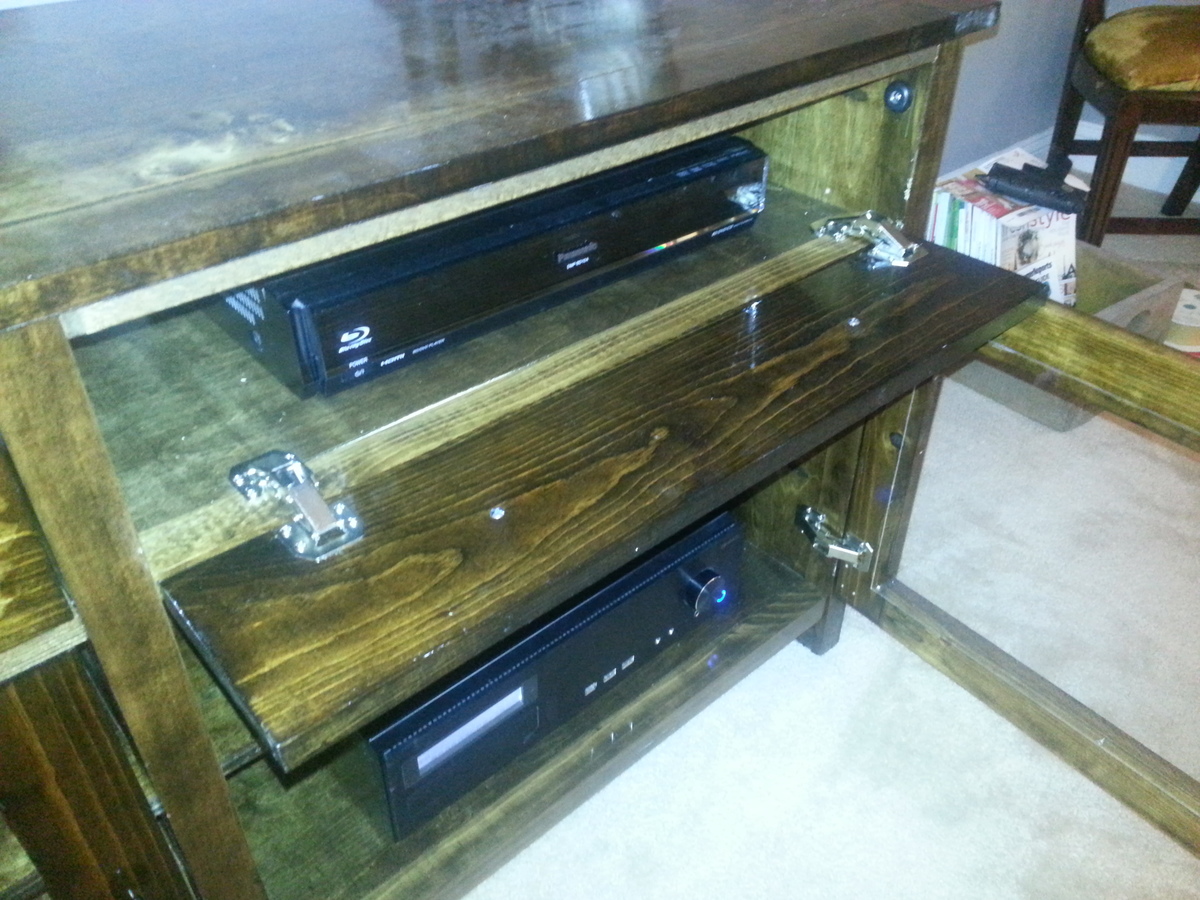
This is a corner entertainment stand. I didn't have a plan to follow so I made it up as I went. The dimensions are 40" L xW and 27" tall. It has a base hidden underneath it help support the weight and is also screwed into wall studs to prevent tipping. The angle for the front cross section is 22.5 degrees. I made this for a friend. She is going to paint it unfortunately. Materials cost only around $120. 3 sheets 3/4" plywood, some 1x2s and a couple hinges and cabinet knobs.
Sun, 01/06/2013 - 04:49
This is REALLY a nice looking corner unit. In our living room, the ONLY place for the tv is in the corner. I have a prebuilt unit now that cost me quite a bit, and we hate it. Its all modern with glass shelves. This corner cabinet is EXACTLY what I want to build. I have a 1 year old so having doors to hide the electronics is a must.
I would VERY much like to build this. Are there any more detailed pictures or a plan I could download? Ive been searching for the last few days an just cant seem to find anything that catches my eye like this one.
Looks great!!
Sun, 01/06/2013 - 06:18
The shelves are made out of premium plywood. For the top, bottom, and the middle shelf, I measured and cut out on pieces of plywood. Then used plywood for the "walls" of the unit. I trimmed it with 1x2s. The doors are also plywood. I just rabbit jointed nice wood for the frame of the doors. Underneath the the TV stand is a 2x4 set back a little bit to give it that floating looking. It is anchored to the wall on the inside of the unit with screws going into the studs of the wall. I hope this makes since.
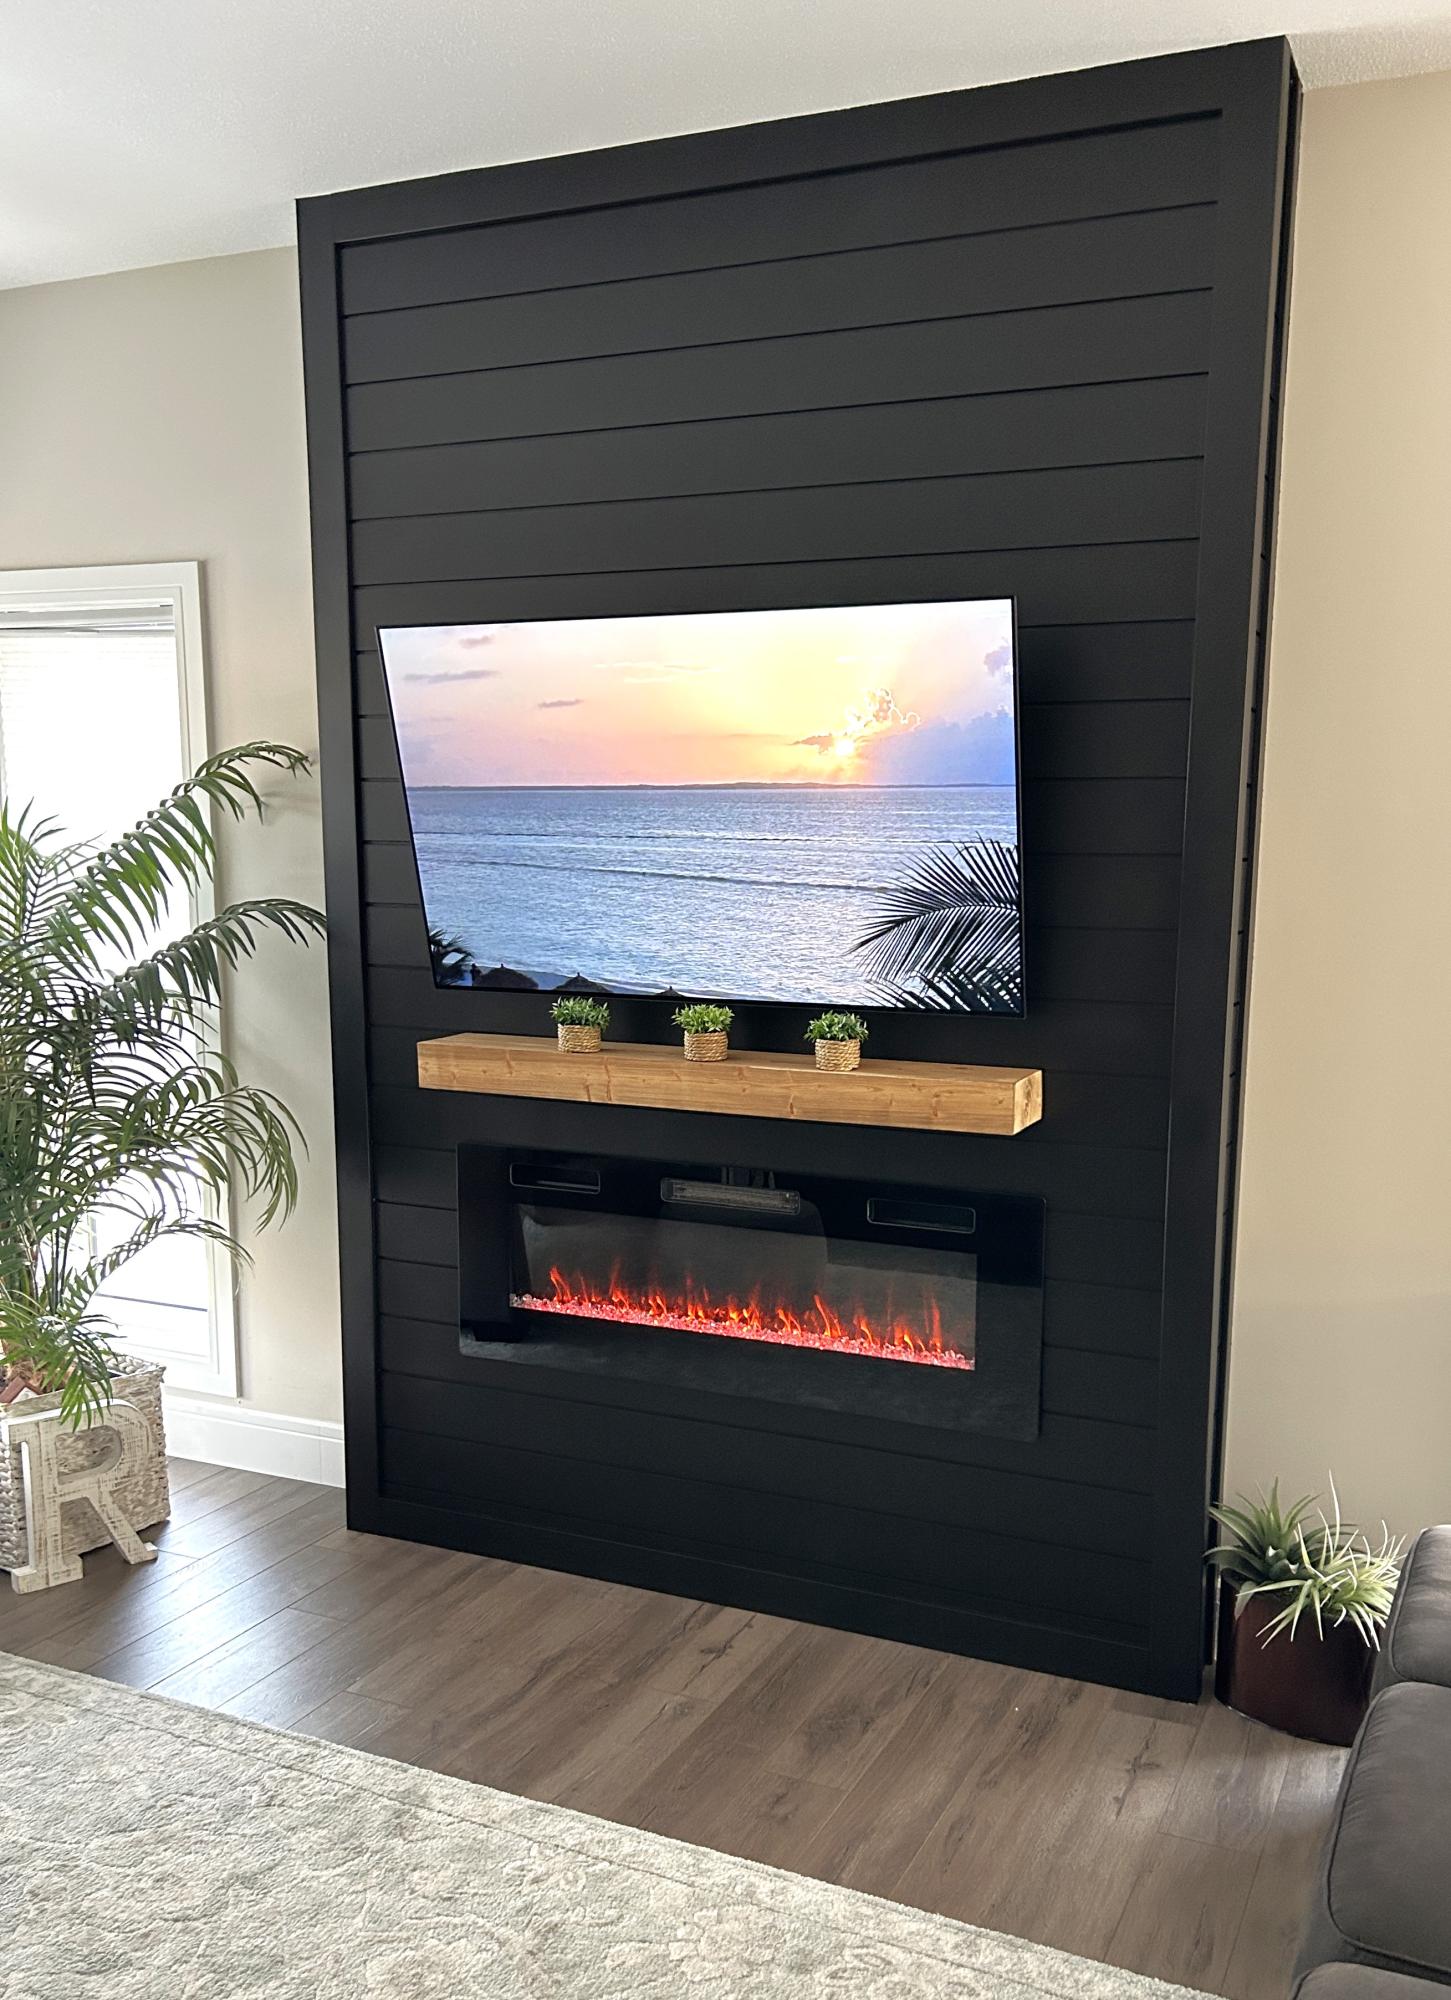
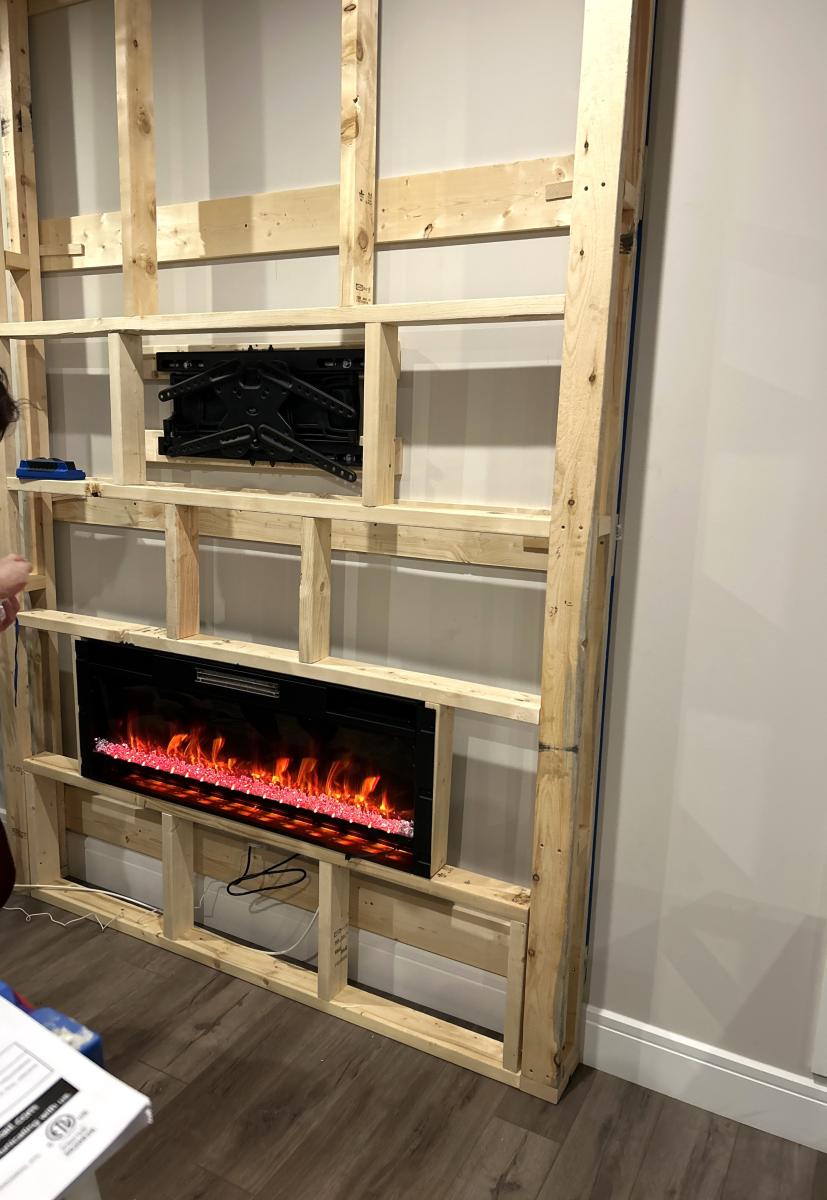
Livingroom mantle and fireplace.
Todd Richards
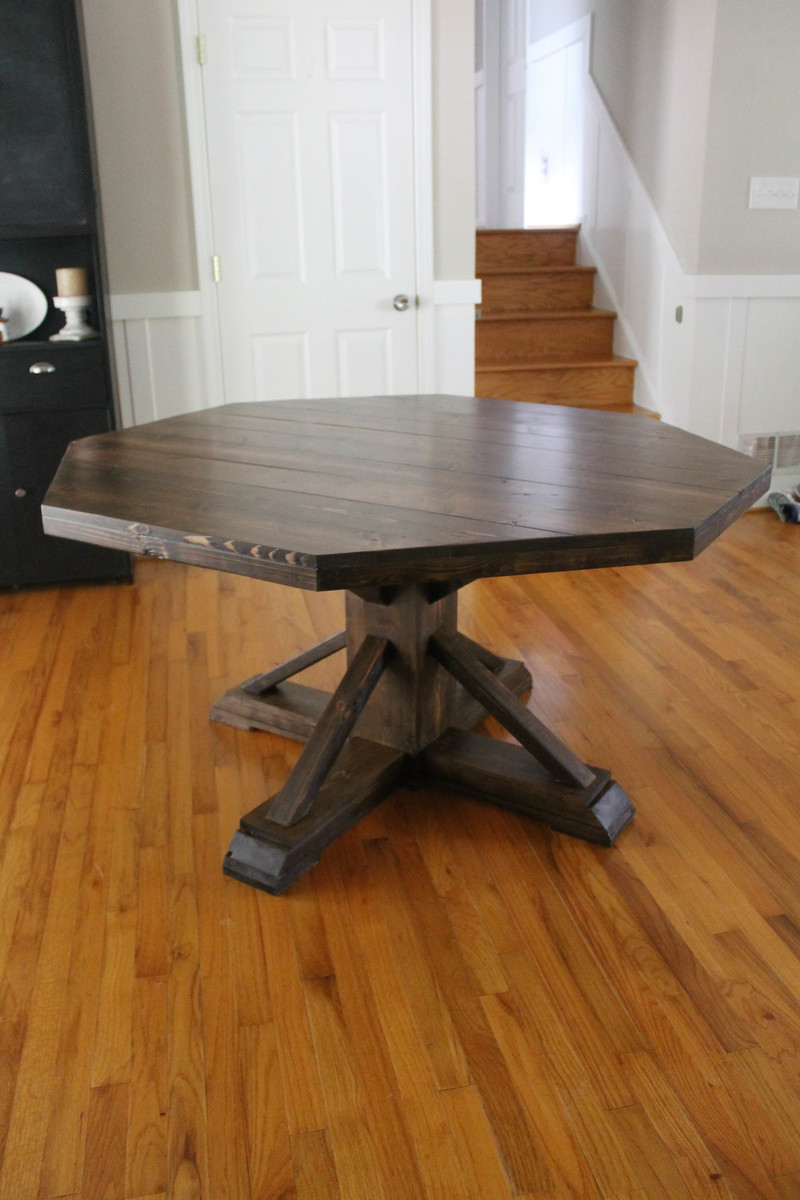
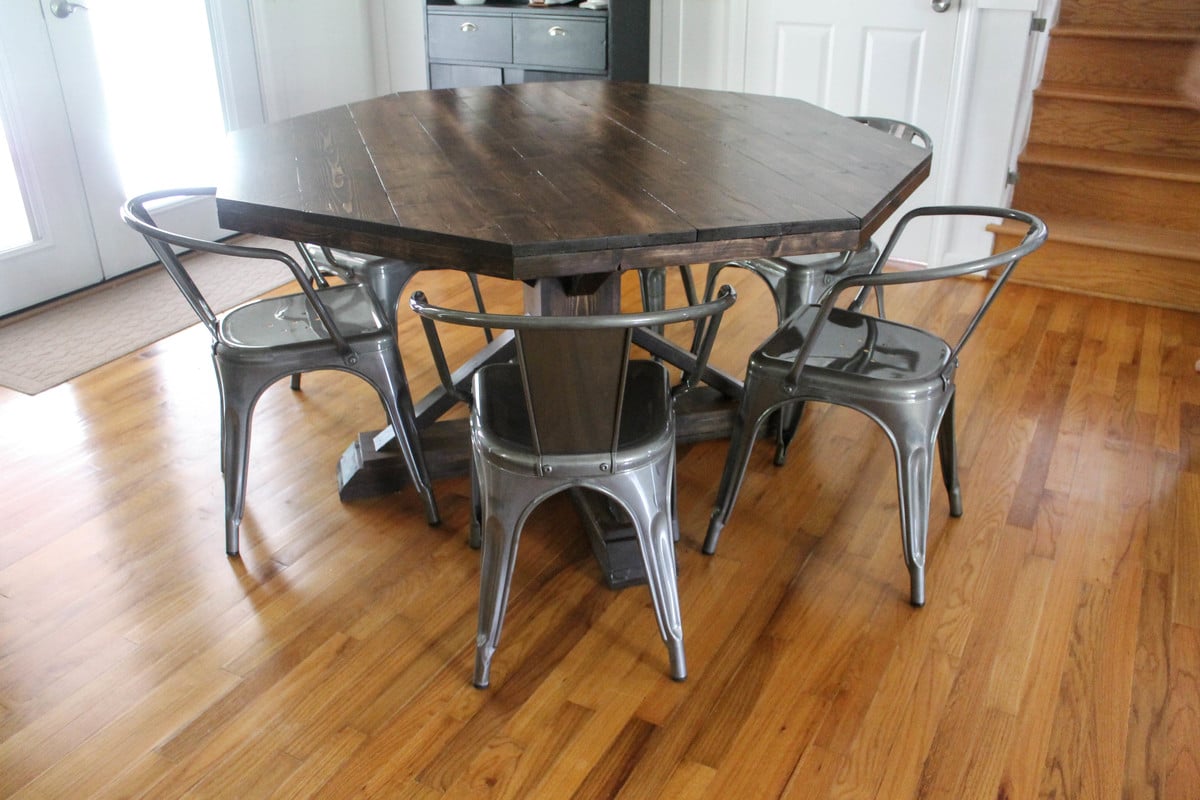
Why an octagon shape? I wanted a round table and my husband wanted square, so we met in the middle and built this! Very easy and fun to build!
Wed, 08/20/2014 - 09:51
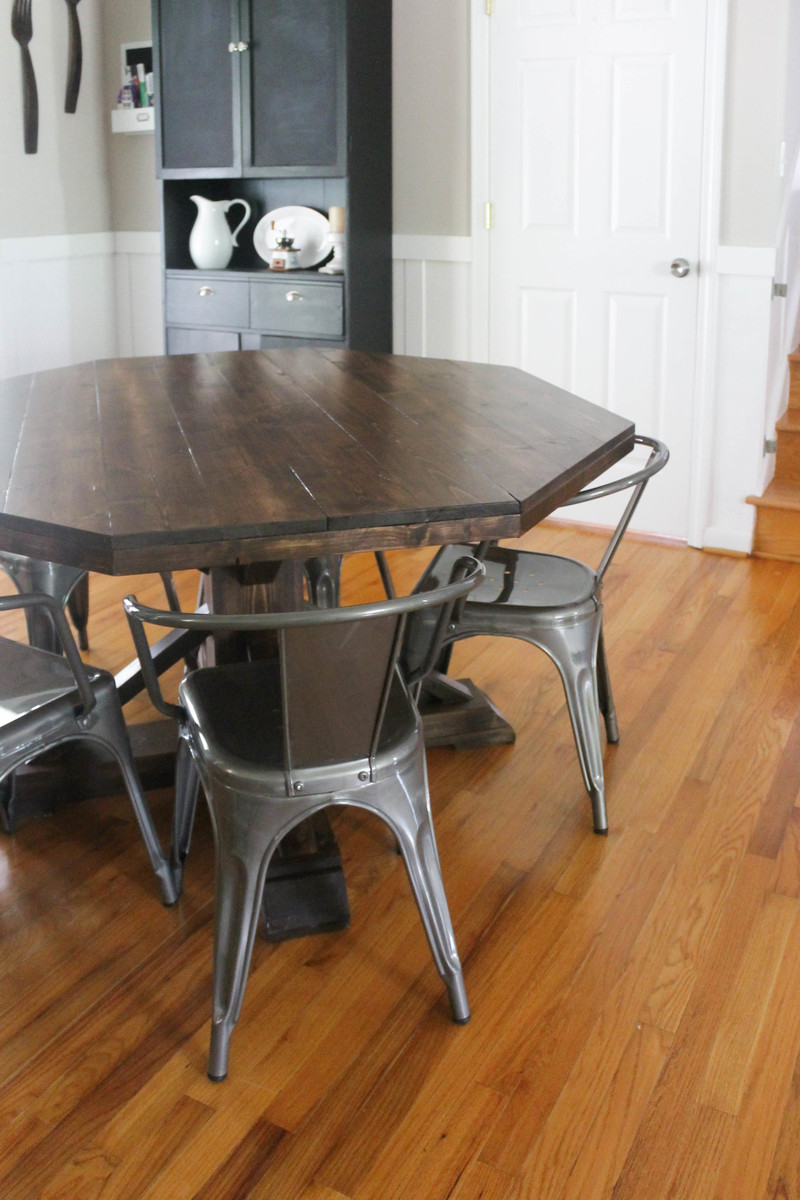
I love this! It looks great and sturdy (and heavy! lol). just curious, where did you get your chairs?
In reply to I love this! It looks great by booksnotbombs
Wed, 08/20/2014 - 17:50
Thank you! I got the chairs from Target from the carlisle collection. :)
Thu, 08/21/2014 - 07:40
Thank you for the reply! We have a beautiful old solid wood turned-leg farmhouse table (and matching chairs) that has been in my family since the 60's that needs to be refinished, but it just isn't our style. So we're thinking of building our own in our more modern style but would have to get chairs to accompany it. I LOVE these, so I think we've found our new chairs! I hope our table turns out as beautiful as yours.
I still have plans to refinish the old table and pass it along to someone who will show it as much love (aka abuse) as it received in my childhood...

Hi Ana,
My wife and I wanted to creat a caboose bunk bed for our boys. When we saw the cabin bed plans we loved the look for the caboose. We used your plans as a guide and made a few modifications. We are really happy with how it turned out! It just needs a ladder and maybe some train wheels. Thanks for sharing your wonderful ideas. They have inspired us!
Travis and Krista Lundell

Tue, 07/09/2019 - 19:32
Hey there. Do you have measurements or a description of how the top modification part was done?
my father wants to make a caboose bunk bed for my train Fanatic Son.
Thanks,
-Amanda
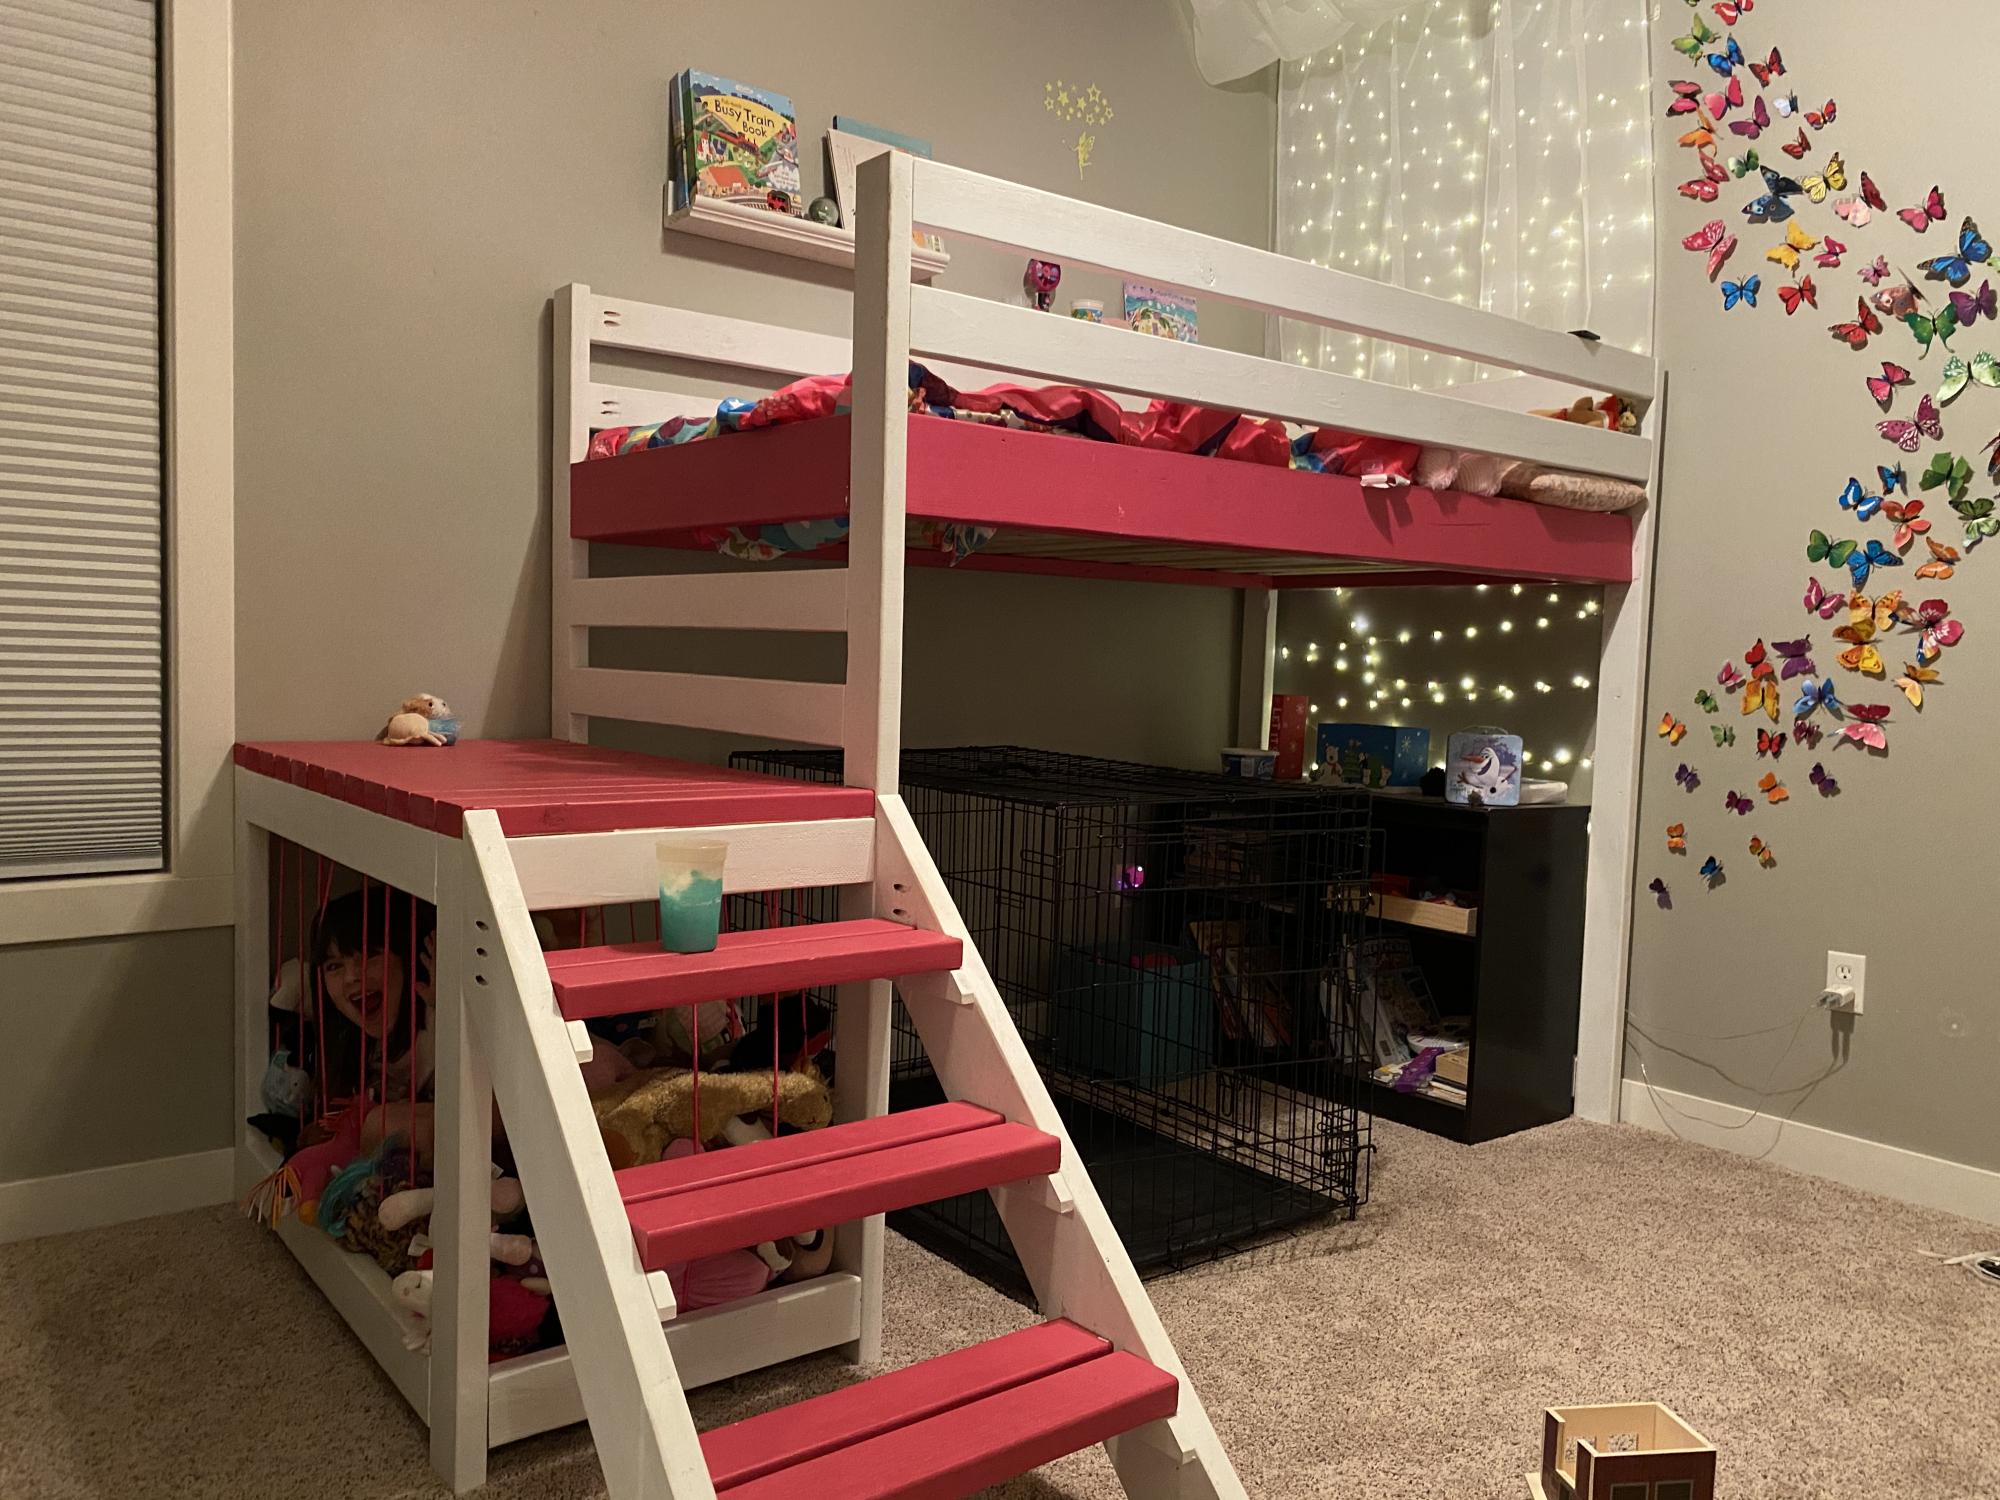
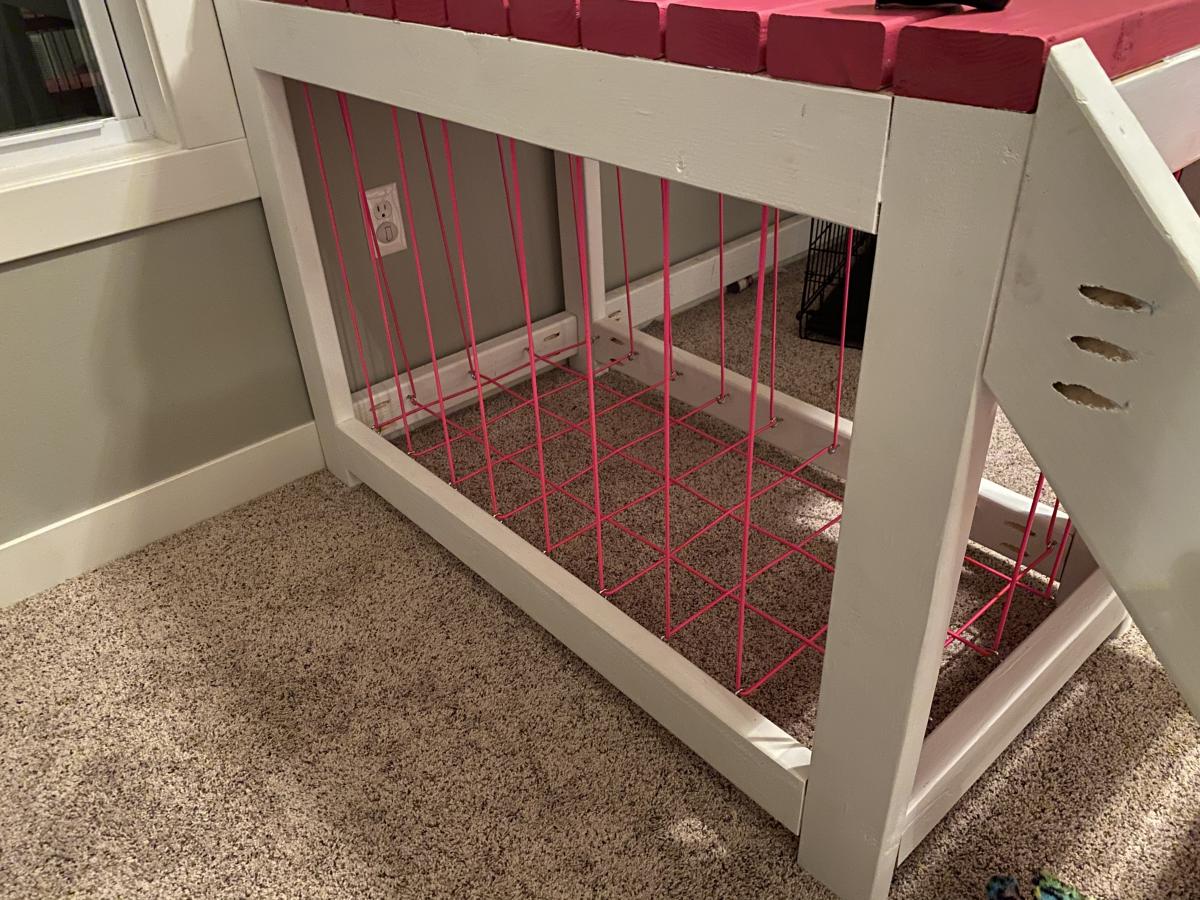
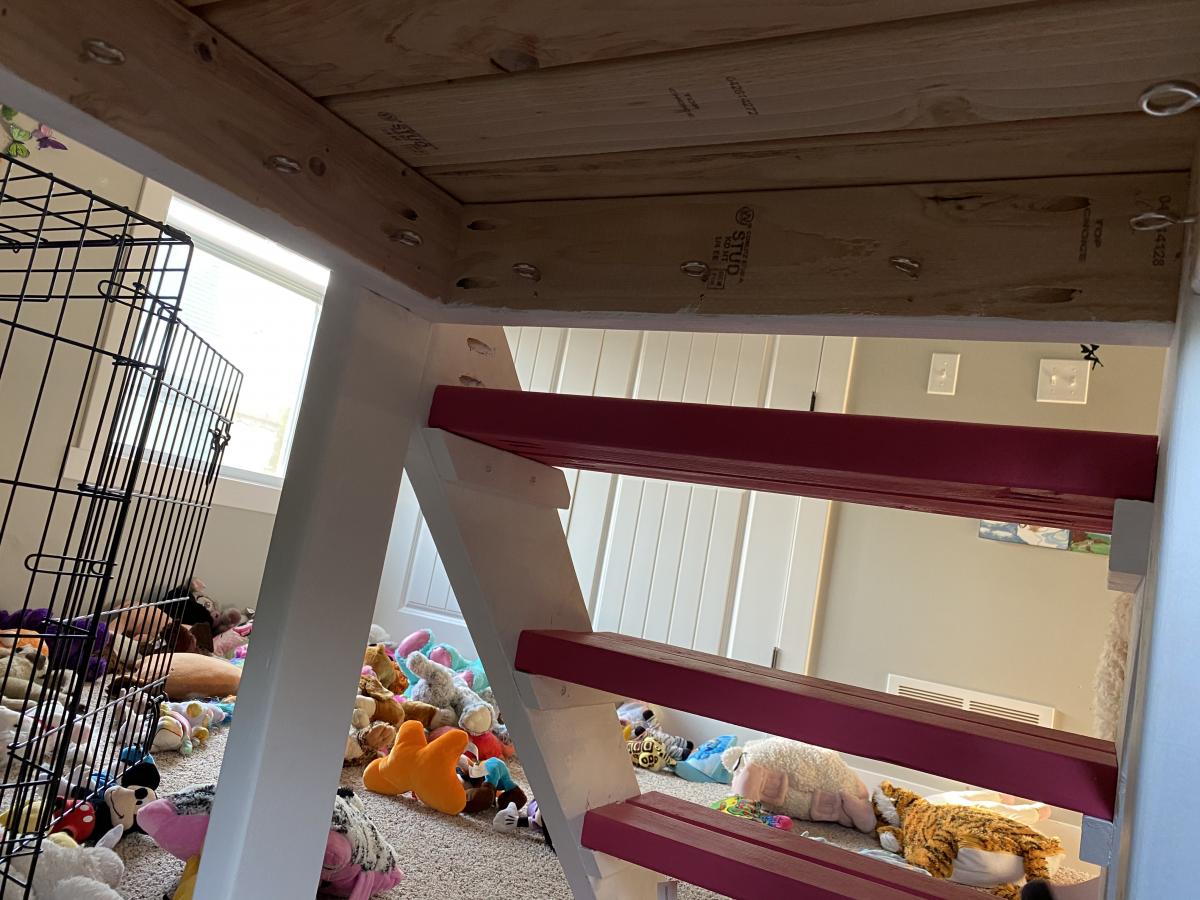
I made the loft bed for my 6yr old back in March. This weekend we took care of another issue, stuffed animal storage. So I added 3/16 bungee cord I found on Amazon. I bought 100 foot spool and it was plenty. Also found on Amazon 50 count of the 1.6 inch eye screws and had 2 leftover. I had to add 3 boards to the existing bed to complete this project.
It took some practice to get the cord threaded the way I liked it. I wasn’t overly concerned with the cord going straight up and down but I knew I didn’t like the diagonal look. I also wanted the stuffed animals off the ground to prevent a spider haven.
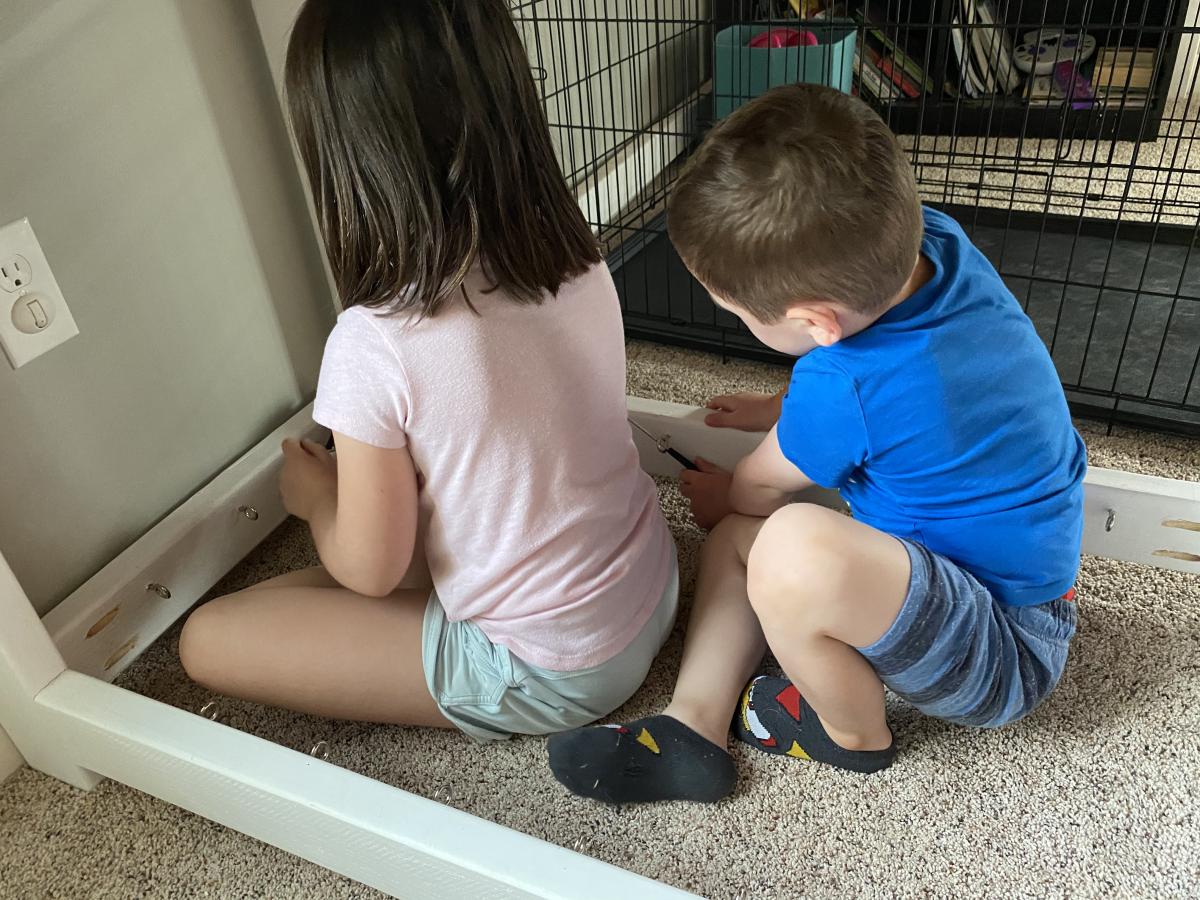
We used a drill to start pilot holes for the eyelet screws 1 inch from the edge of the board at 4.5 inches apart. Then the kids used small screwdrivers to twist the screws in. It was a real hand saver.
I hope this motivated someone to take care of that stuffed animal storage for good!
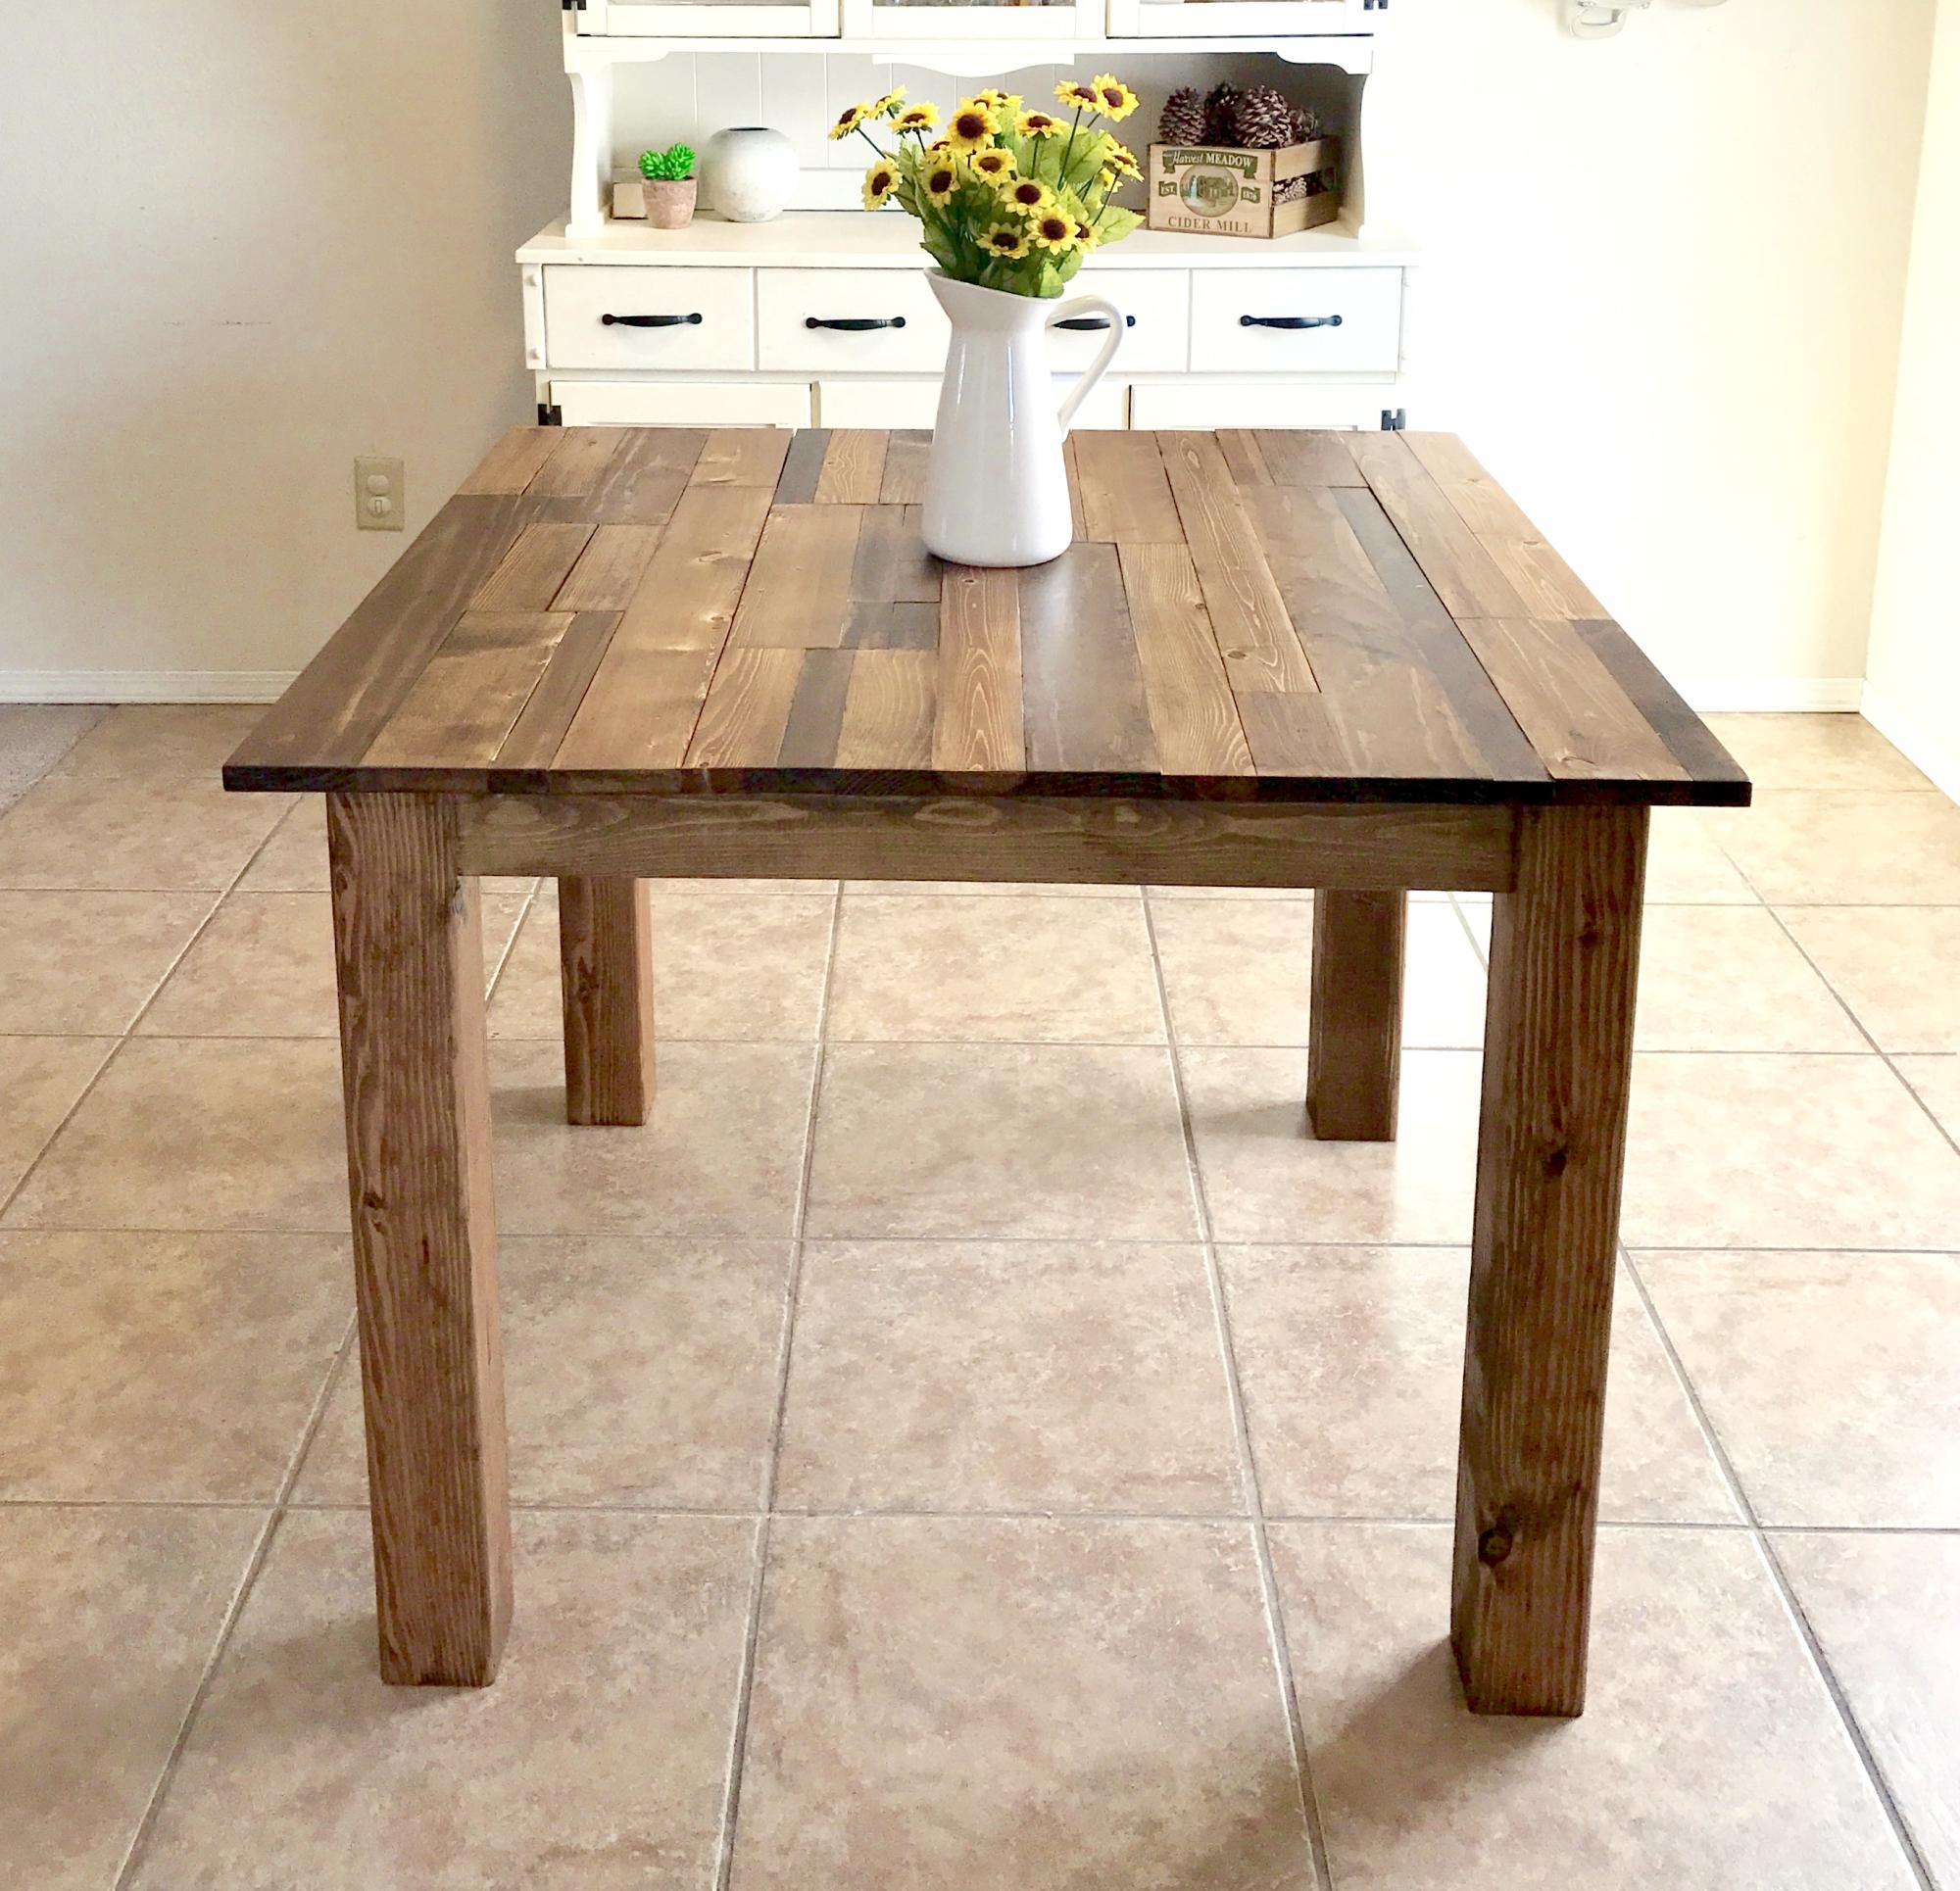
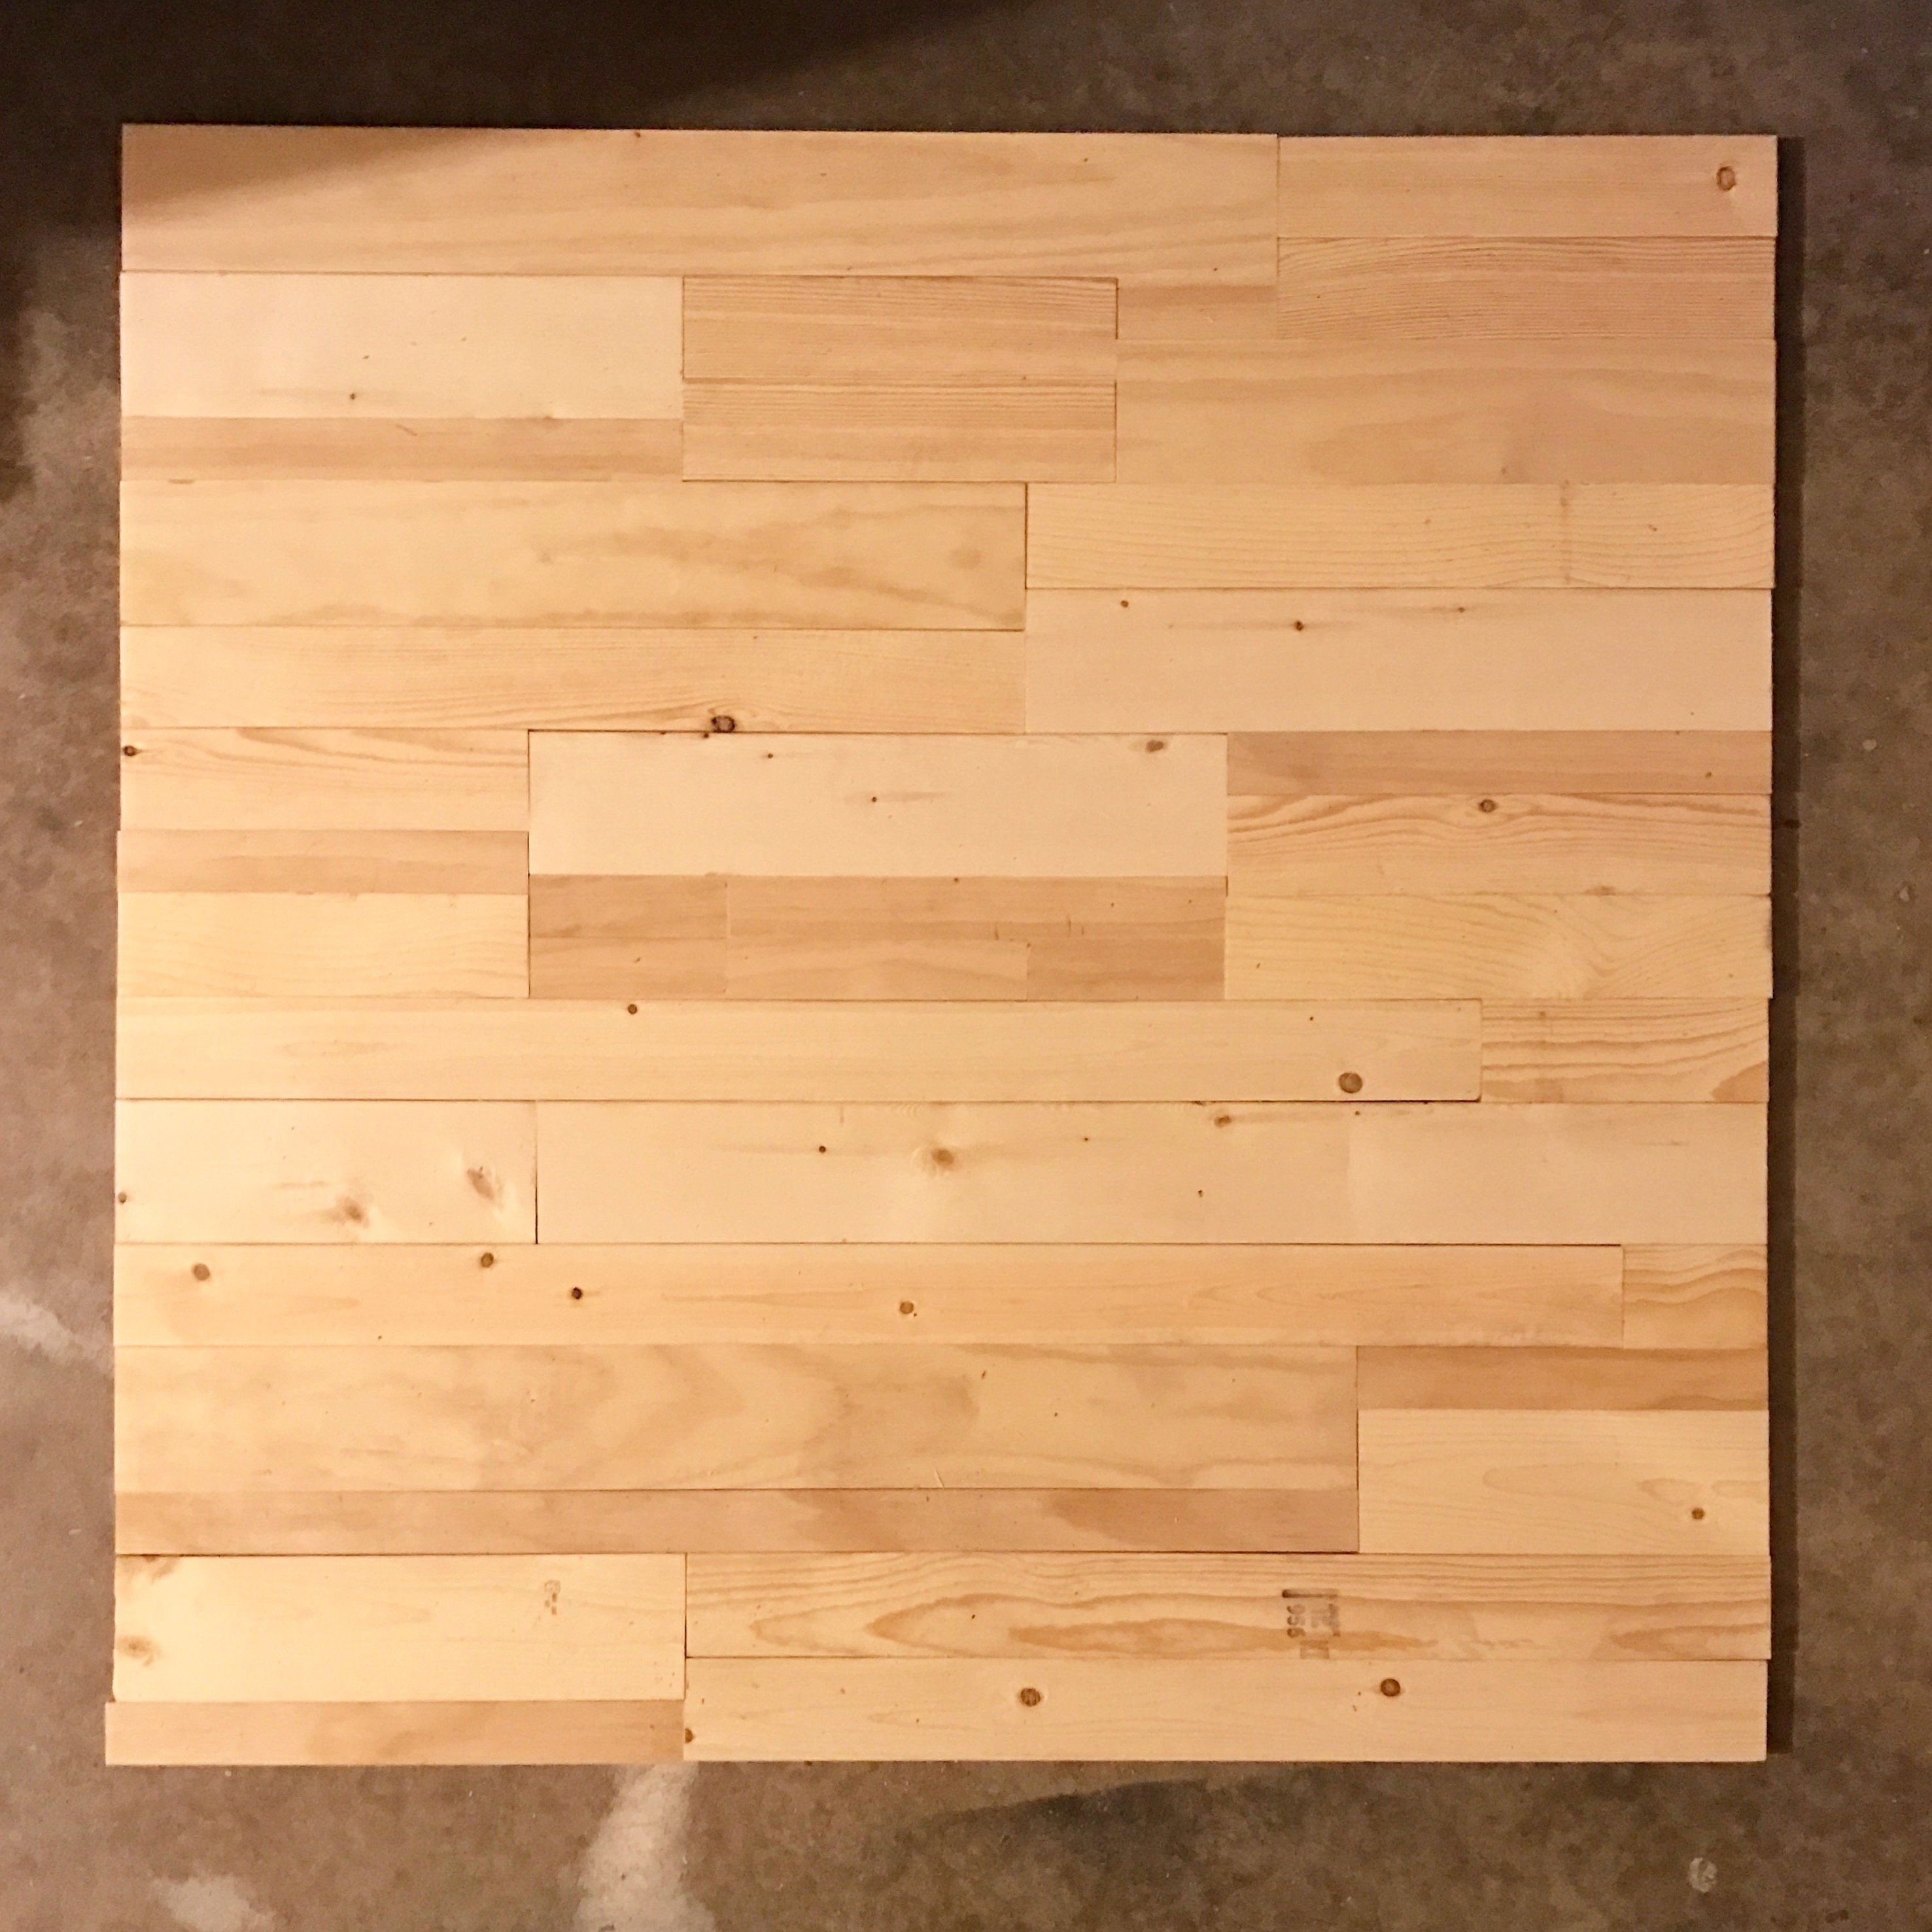
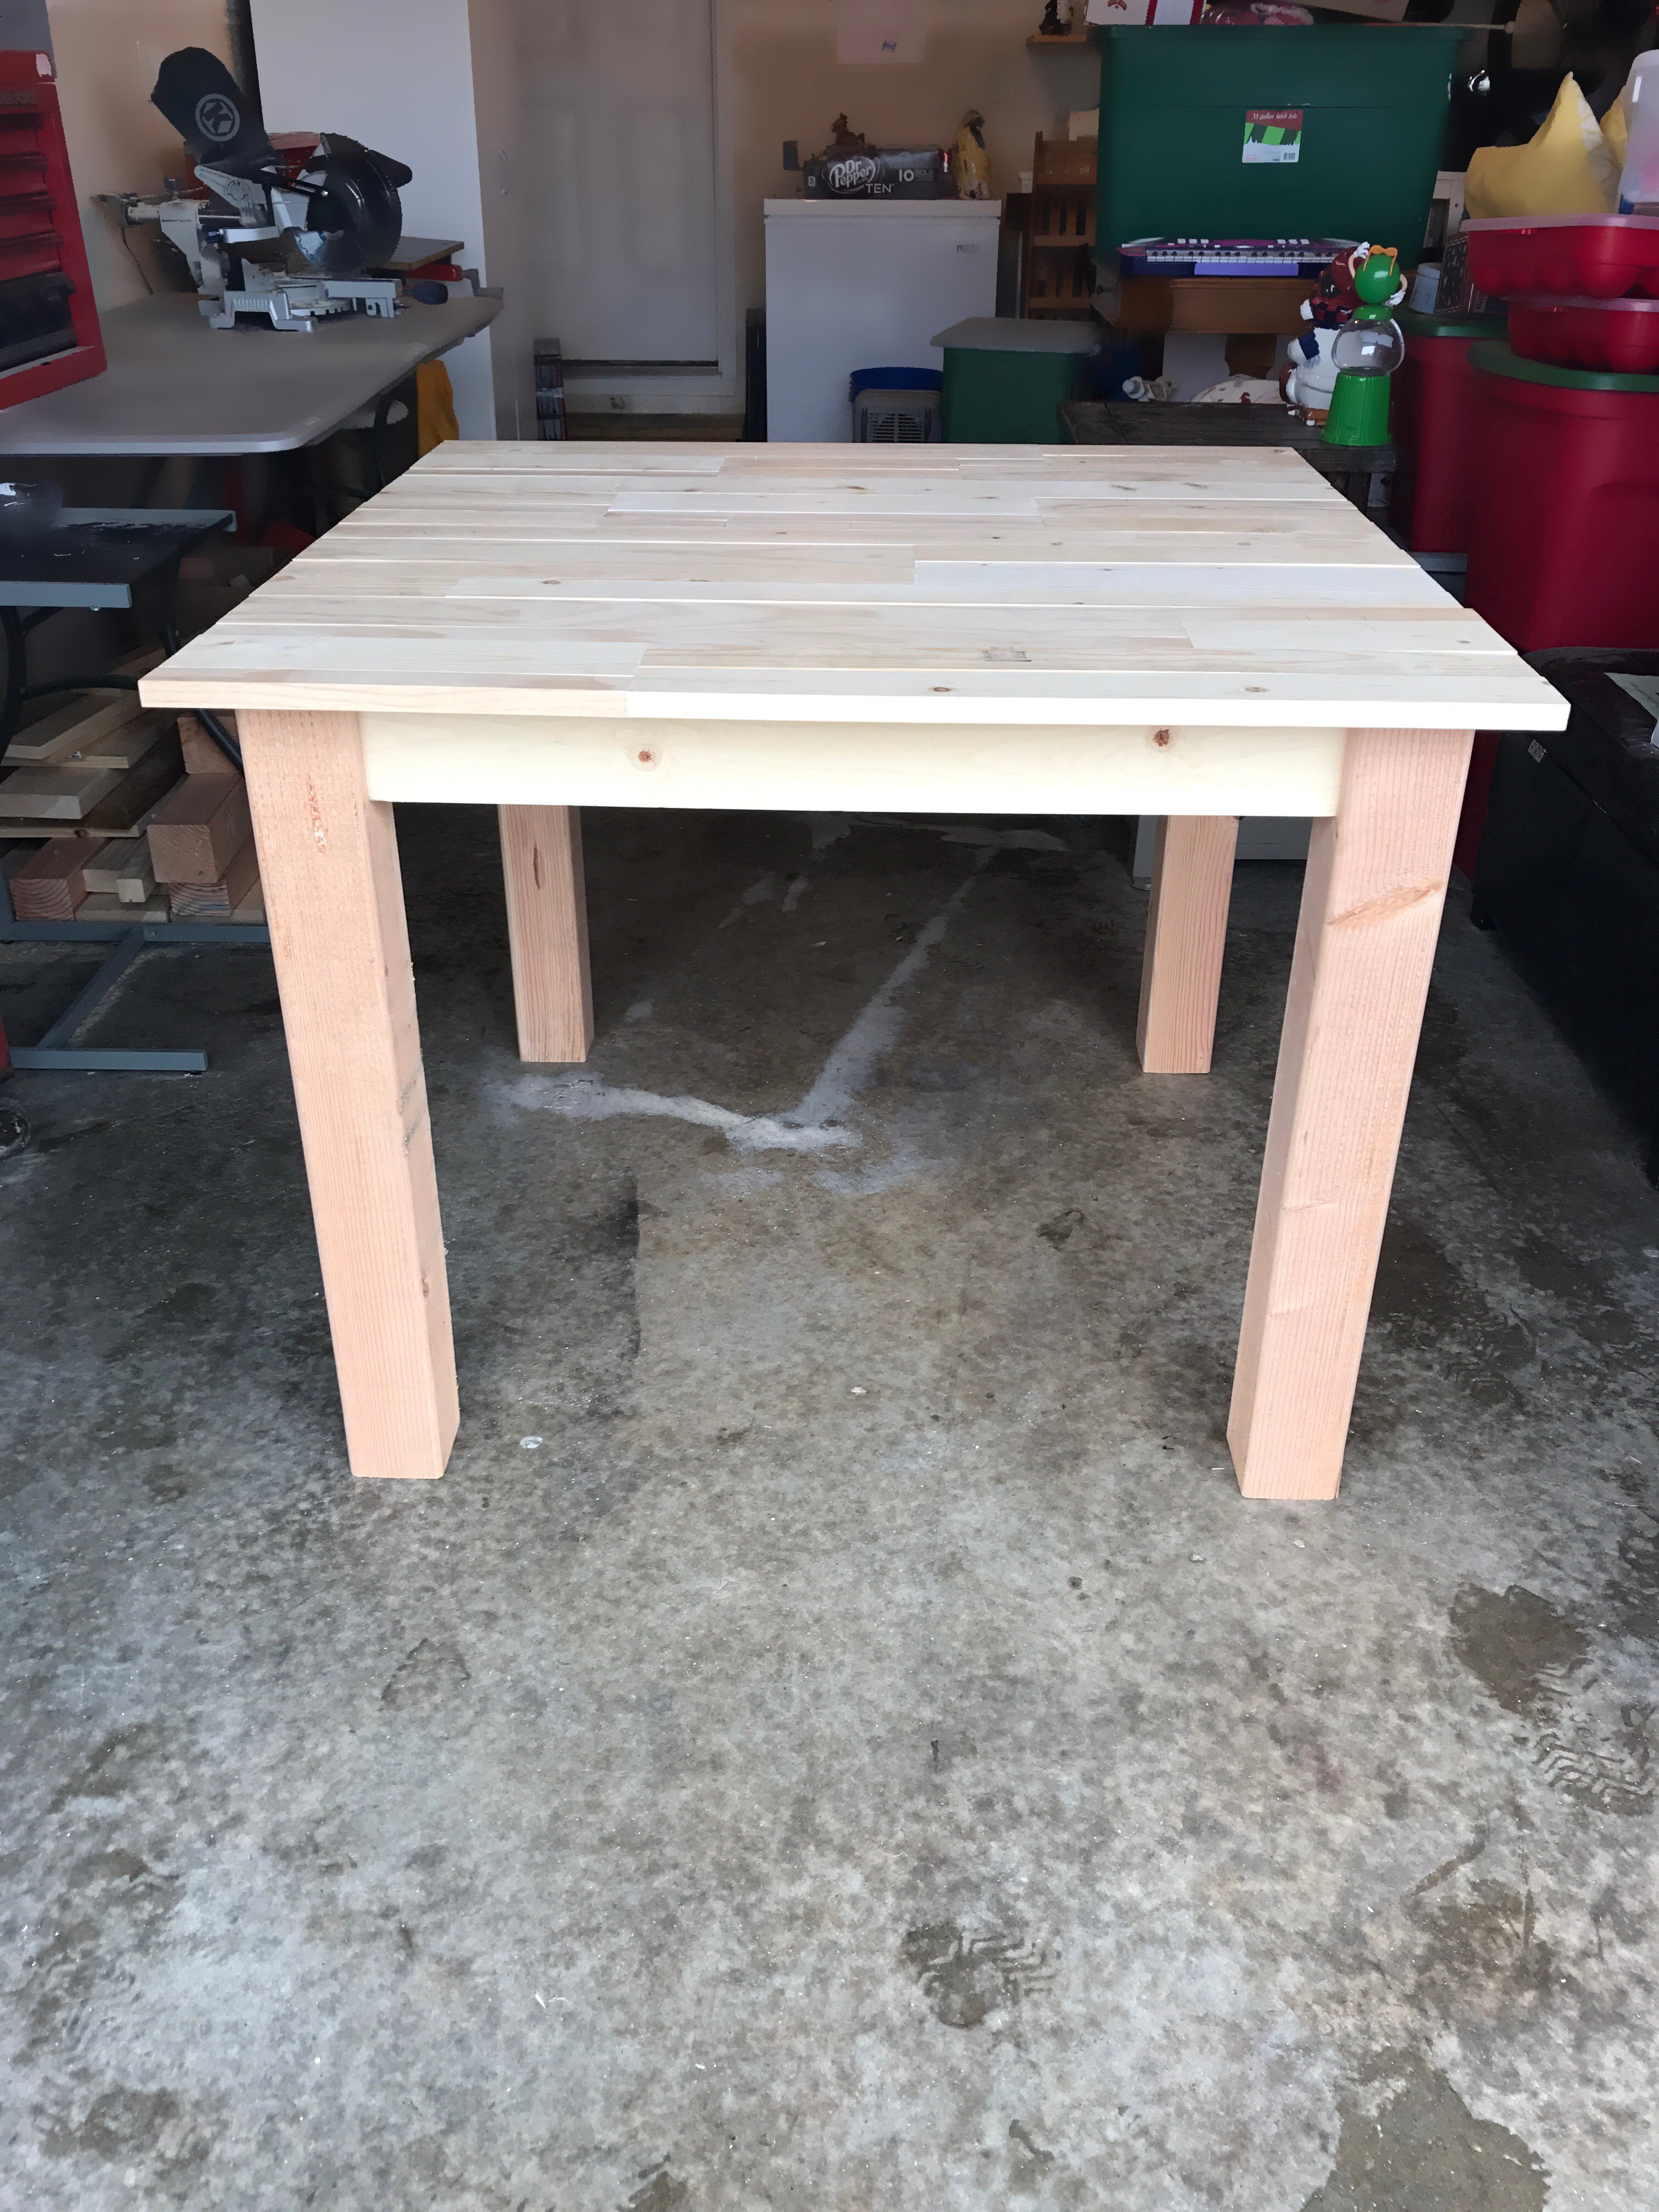
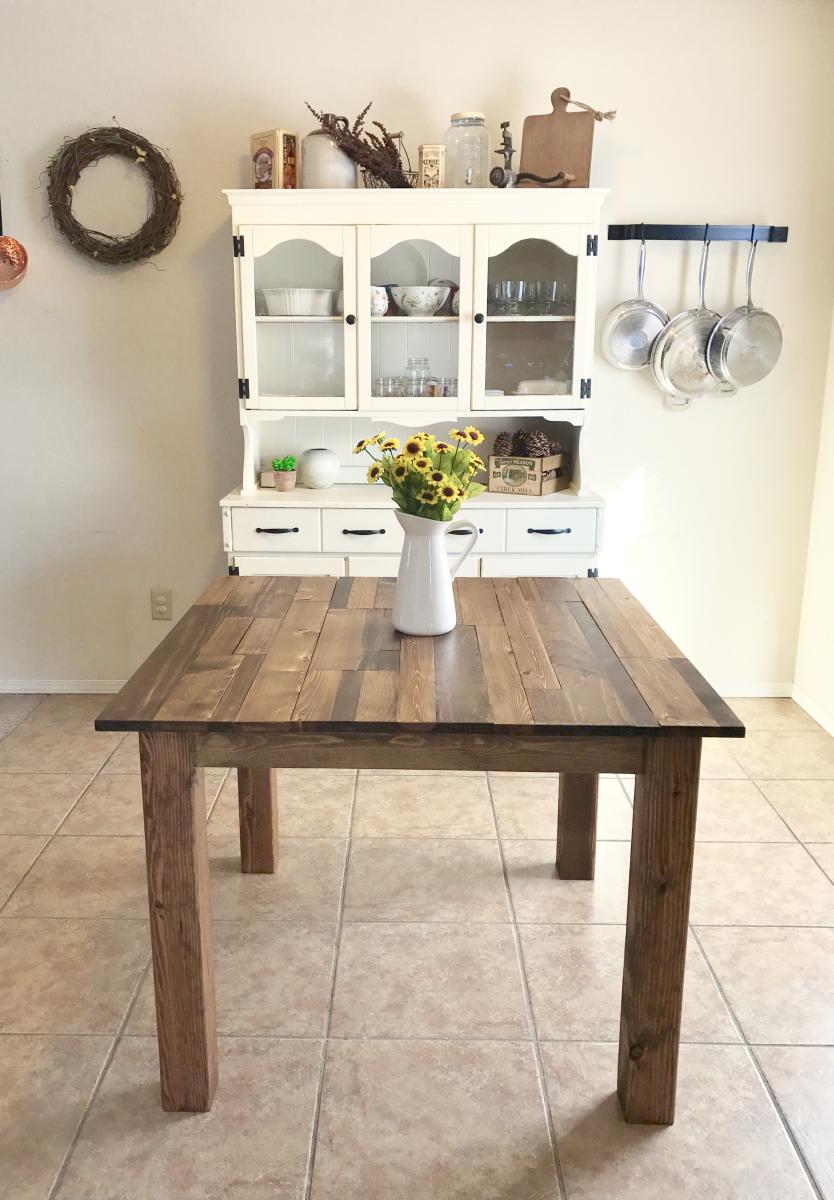
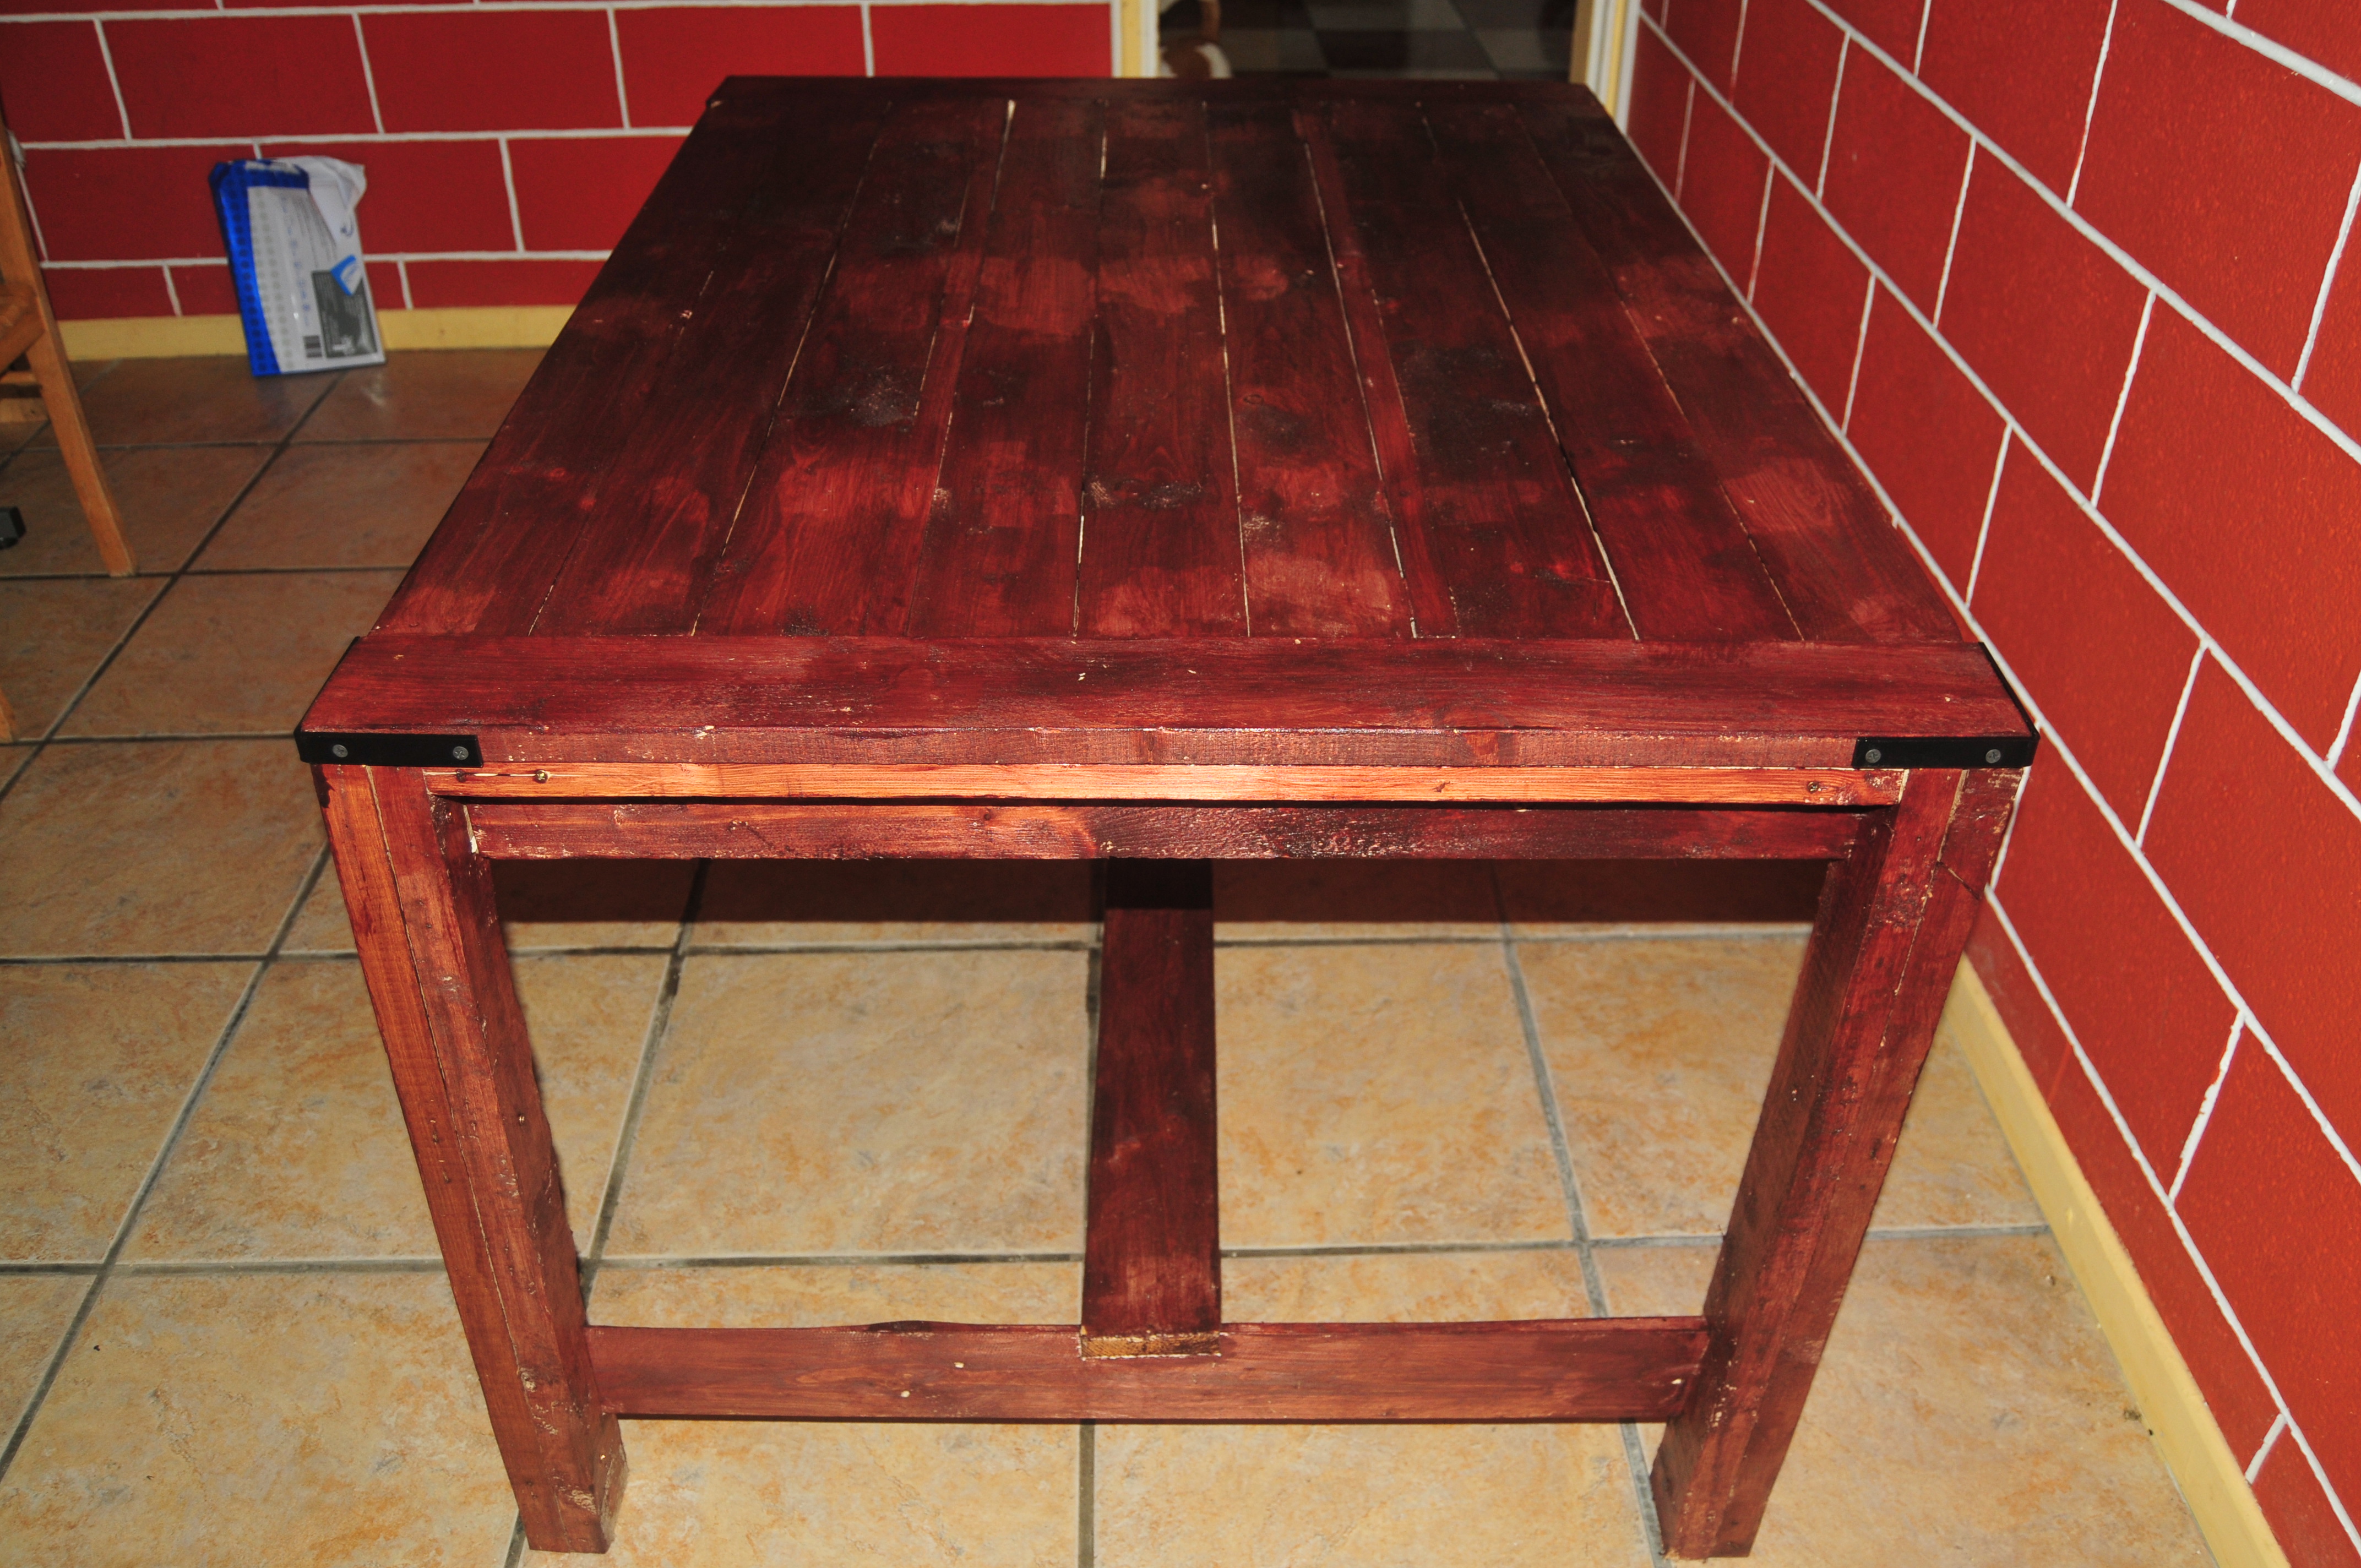
I built this table for a friend who wanted a rustic, plank-top kitchen table. She wanted a square table with 4x4 legs. Since I don't have clamps, I used pocket holes and wood glue for the table top. Also, I only have a 7&1/4" miter saw, which means the 4x4s were too thick to cut. So I made one cut in the legs, then flipped them and made another. It worked! :) I sanded down the sides of the table top with 80 grit. They needed to be evened up since some of the planks were a little longer than others. I back braced underneathe the top with (3) 1x3s. Then, I sanded all over with 120, vacuumed, then wiped it down with a damp towel. Fun build!!
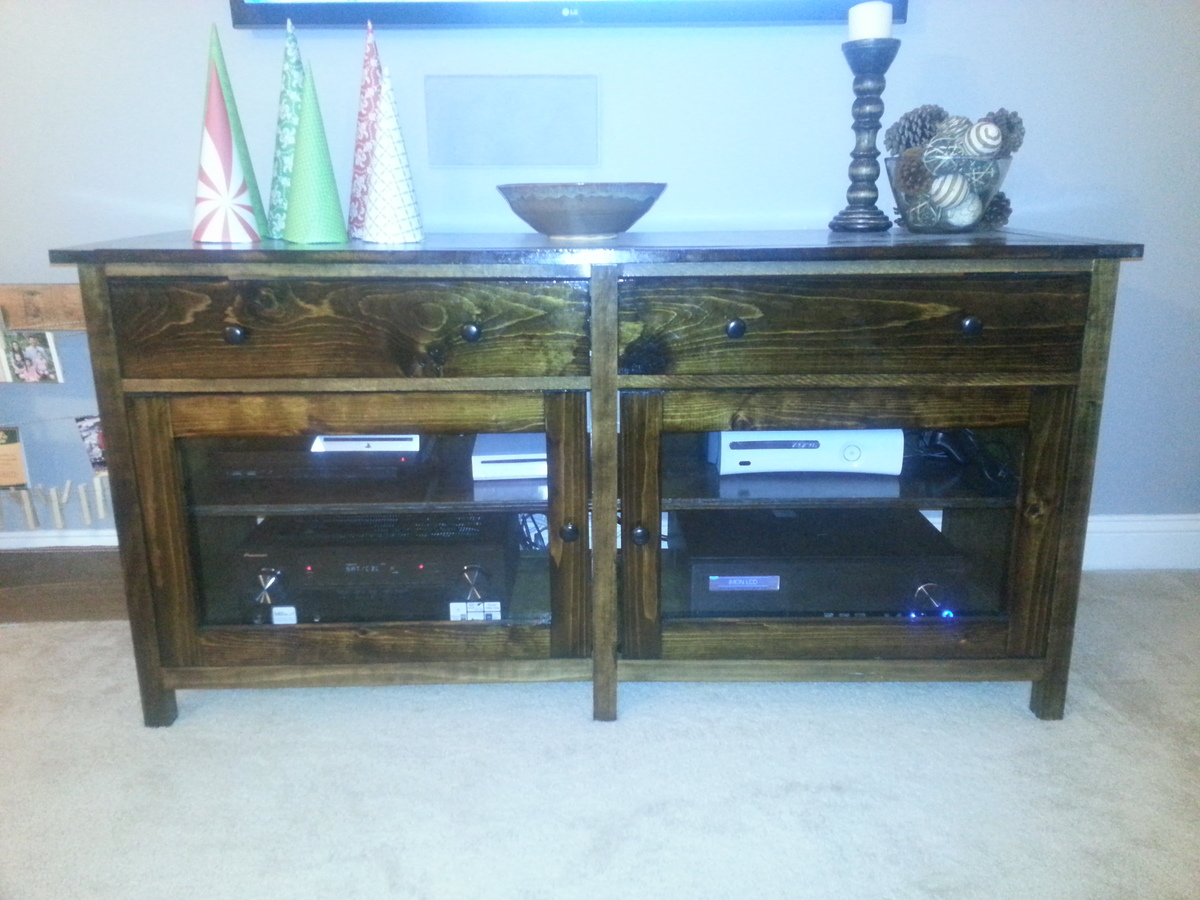
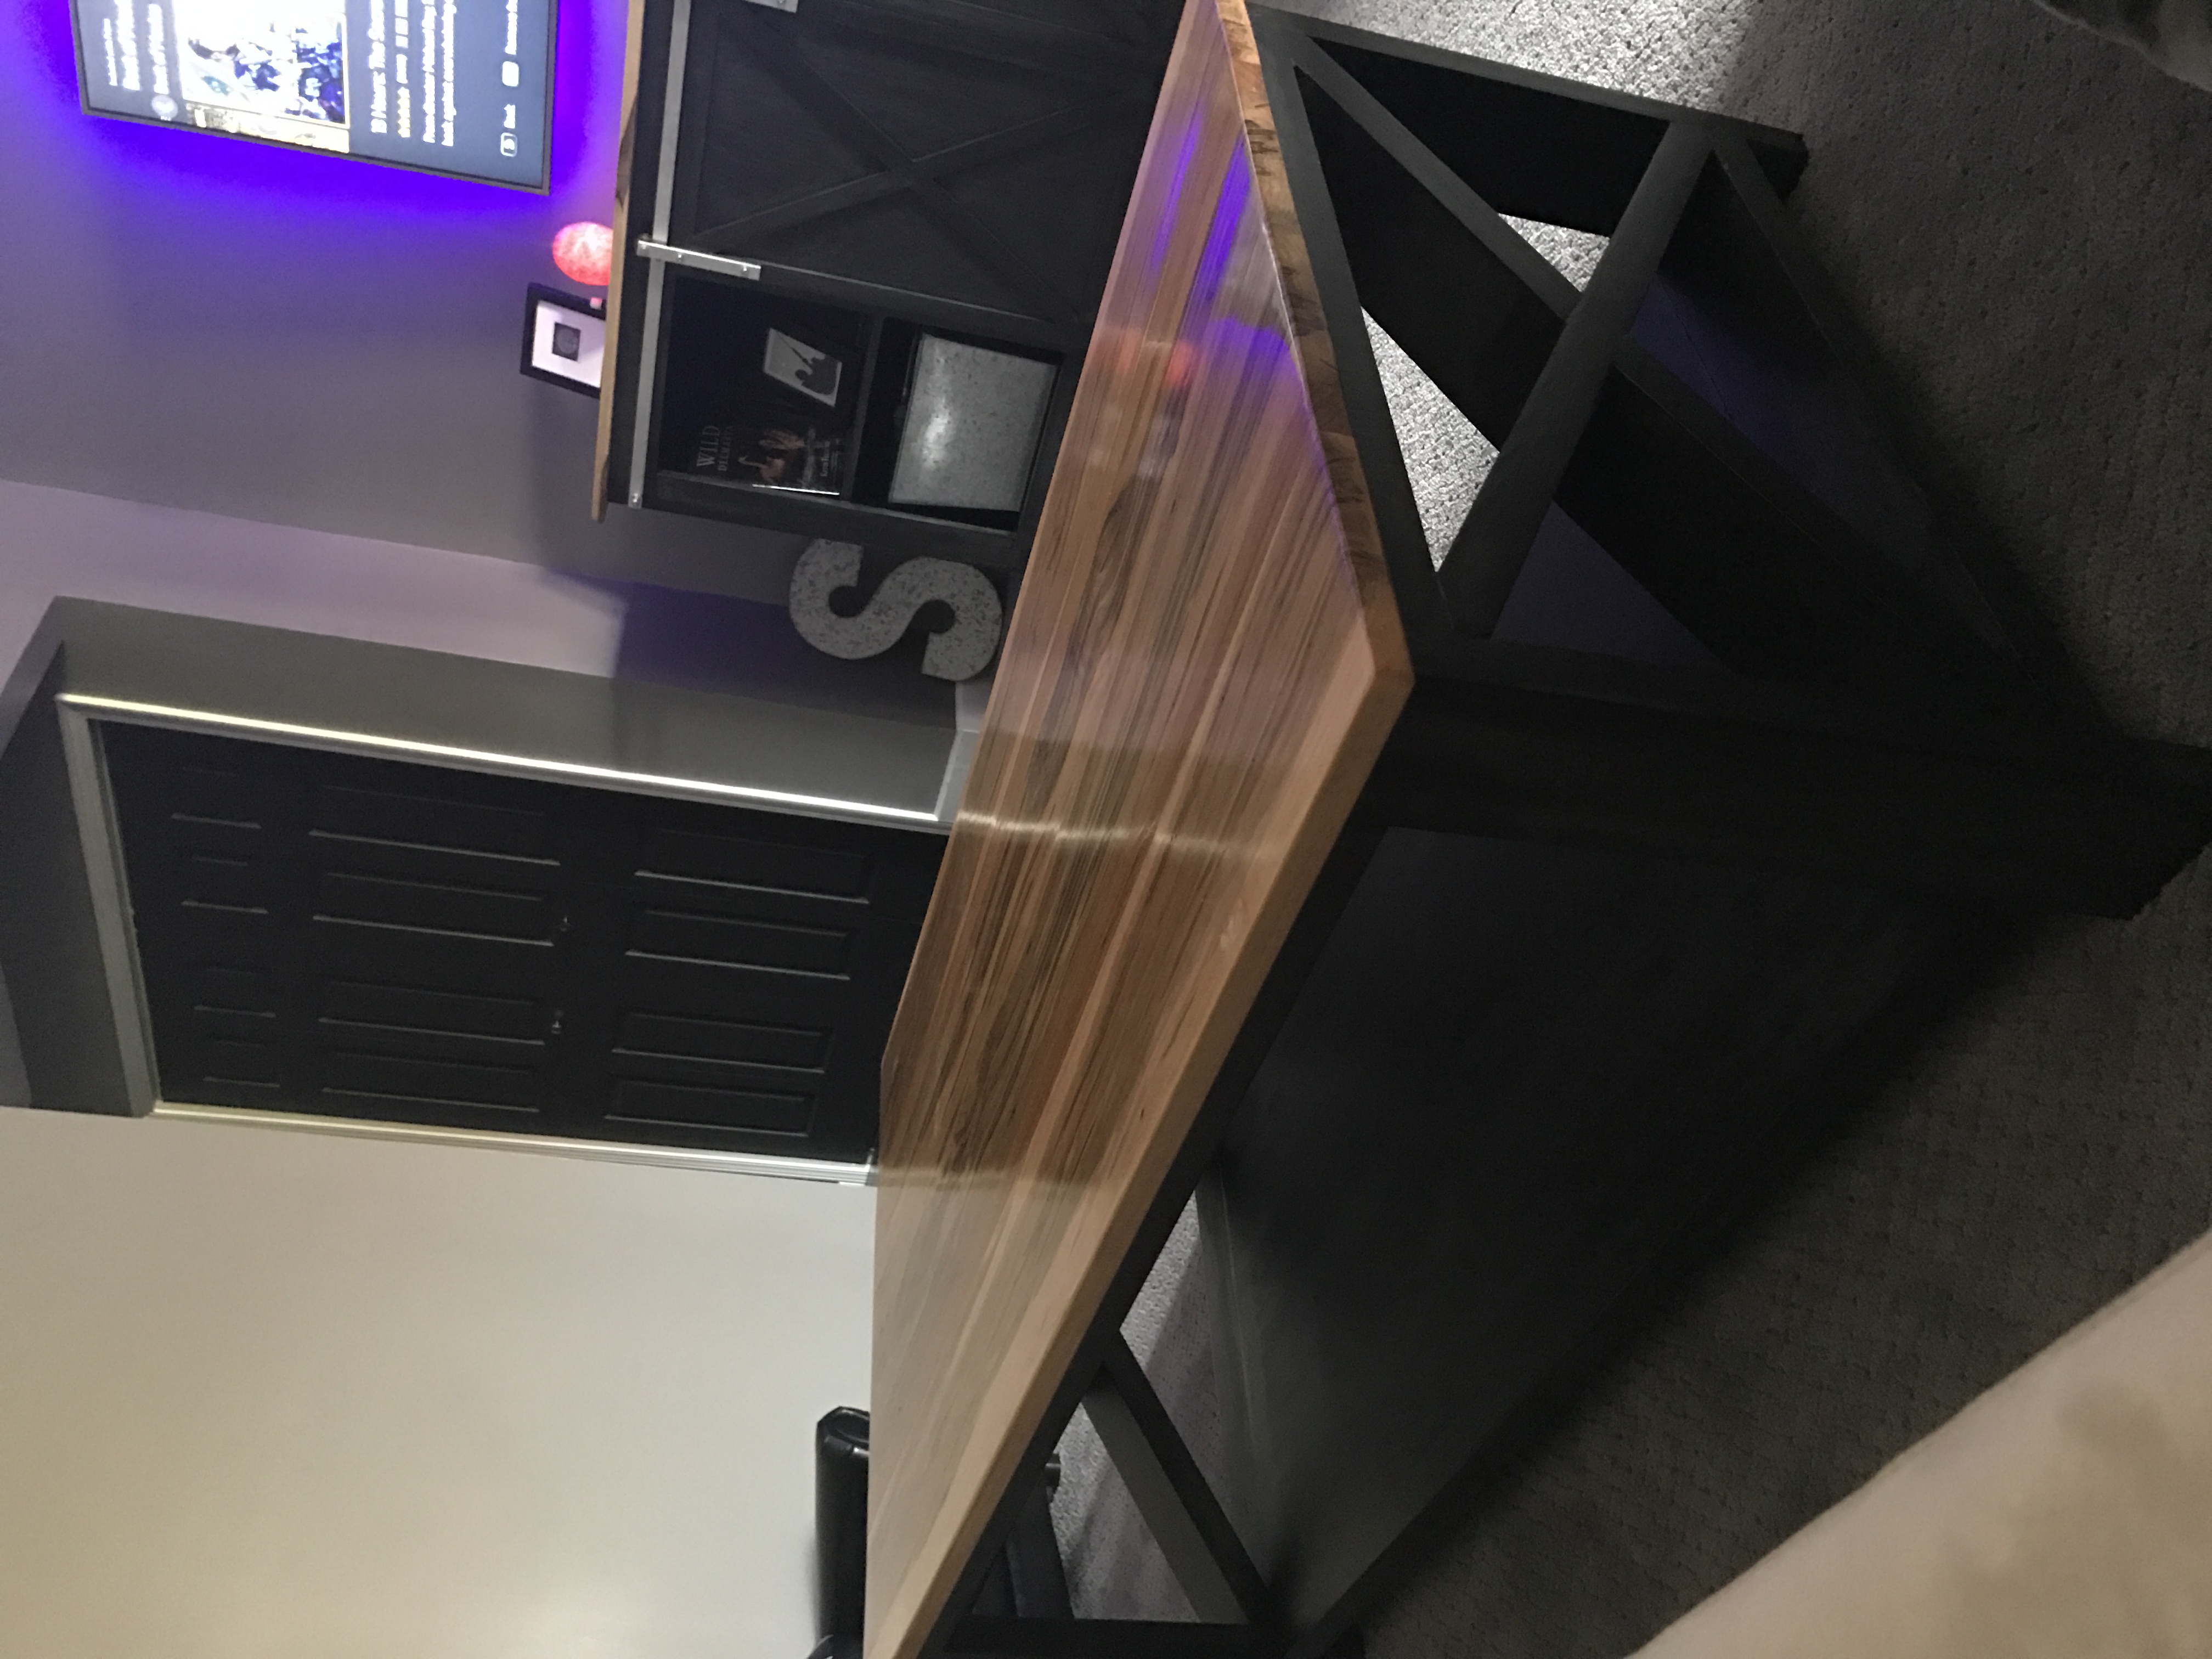
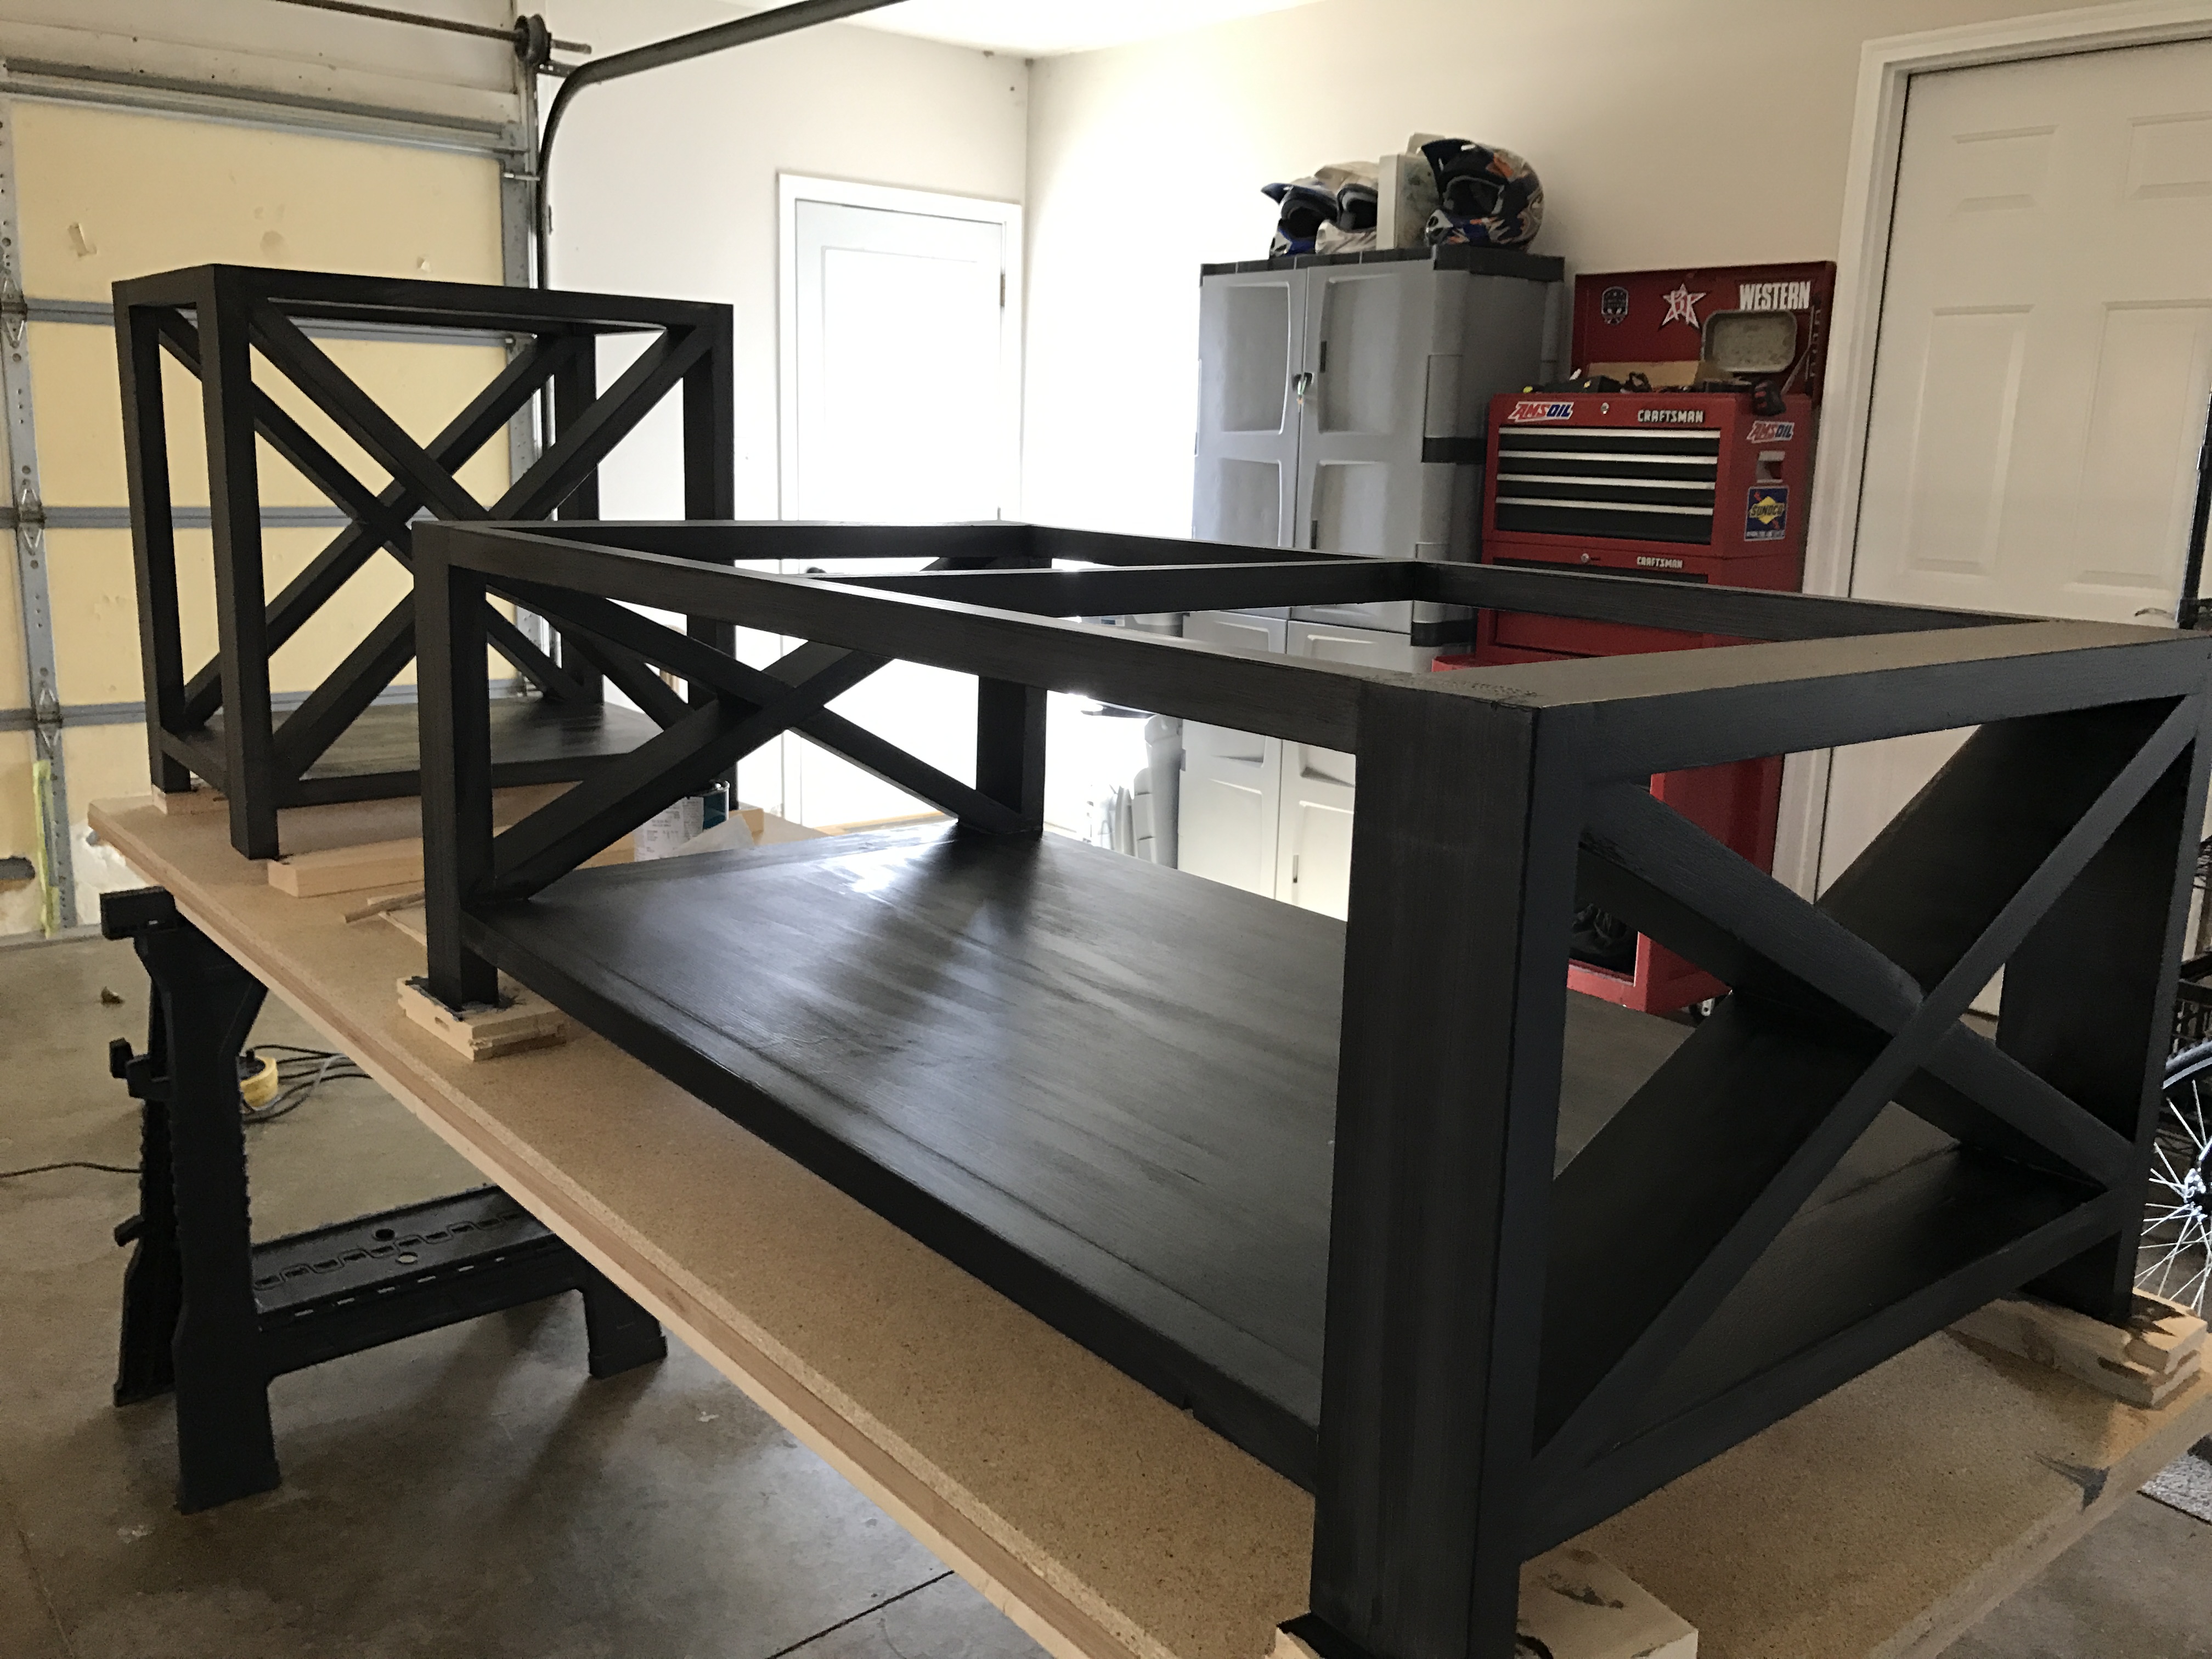
My wife and I wanted a nice TV stand for our new living room. Like always, we did not want to spend tons of money and I thought about building something anyways. My wife found the Benchwright series at Pottery Barn and loved it, but for almost $1,000 that was not in our budget. Of course I came straight here and found these plans! I had a great time building this. The measuring and cutting took only an afternoon, and the staining took a long time as this was my first real staining project. I also wanted to get nice glossy coats of clear coat, which took time.Overall we are thrilled with how it turned out! The biggest headache was the euro hinges. I followed the directions that came with them and they did not turn out right at all. It was trial and error to finally get this placed correctly.
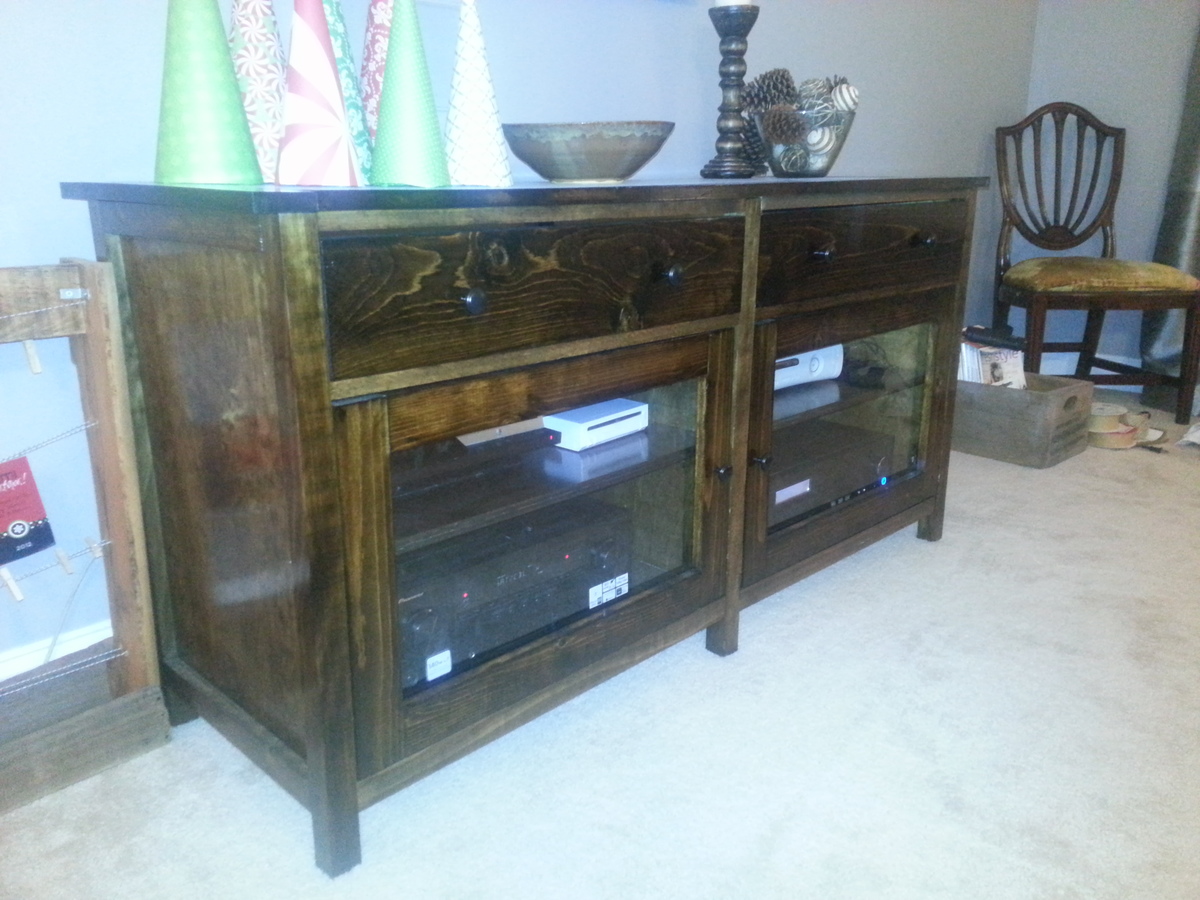
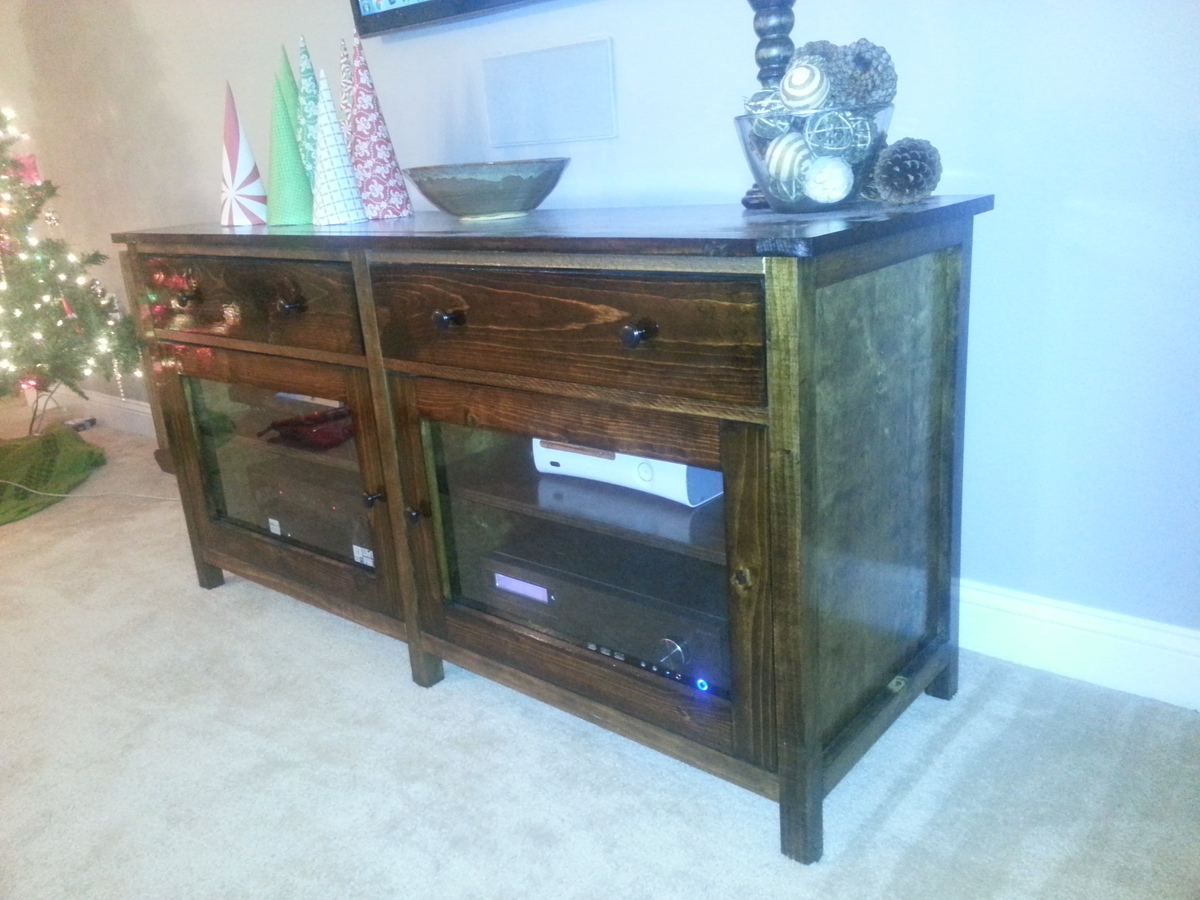
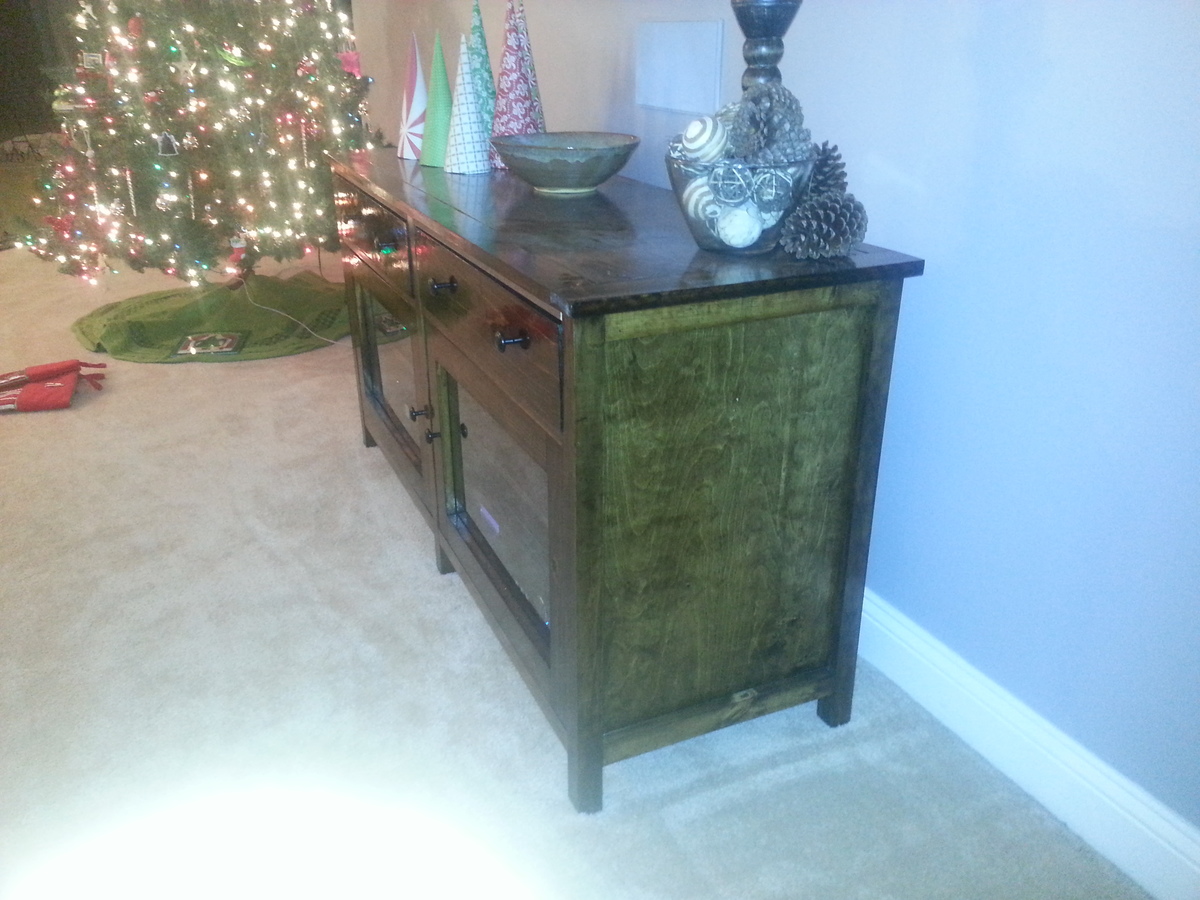
What a fun build, the whole family helped!
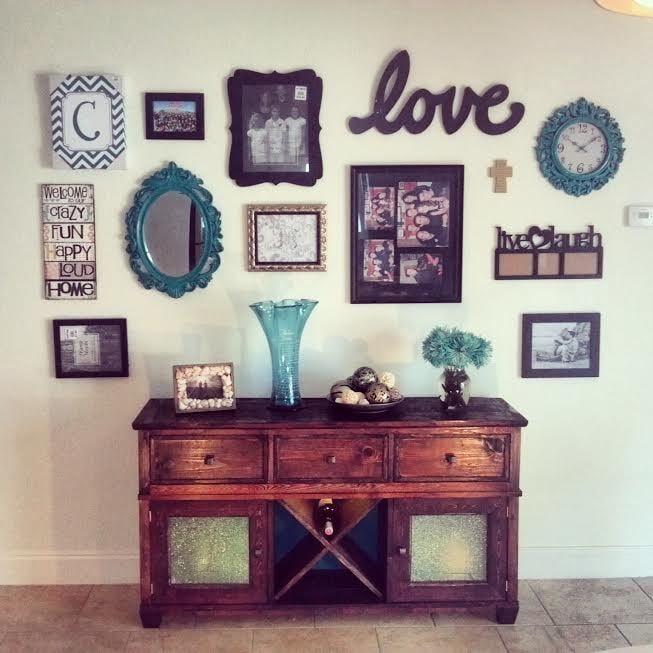
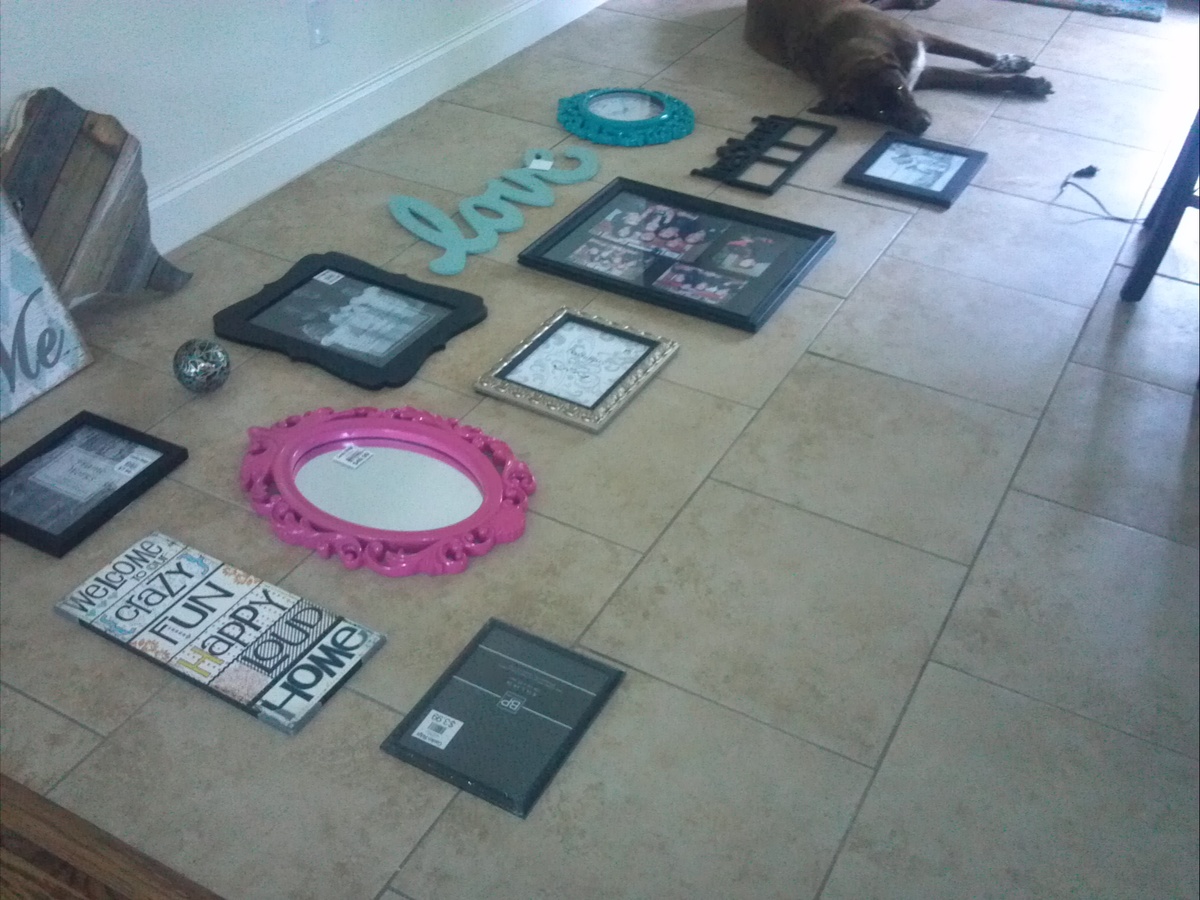
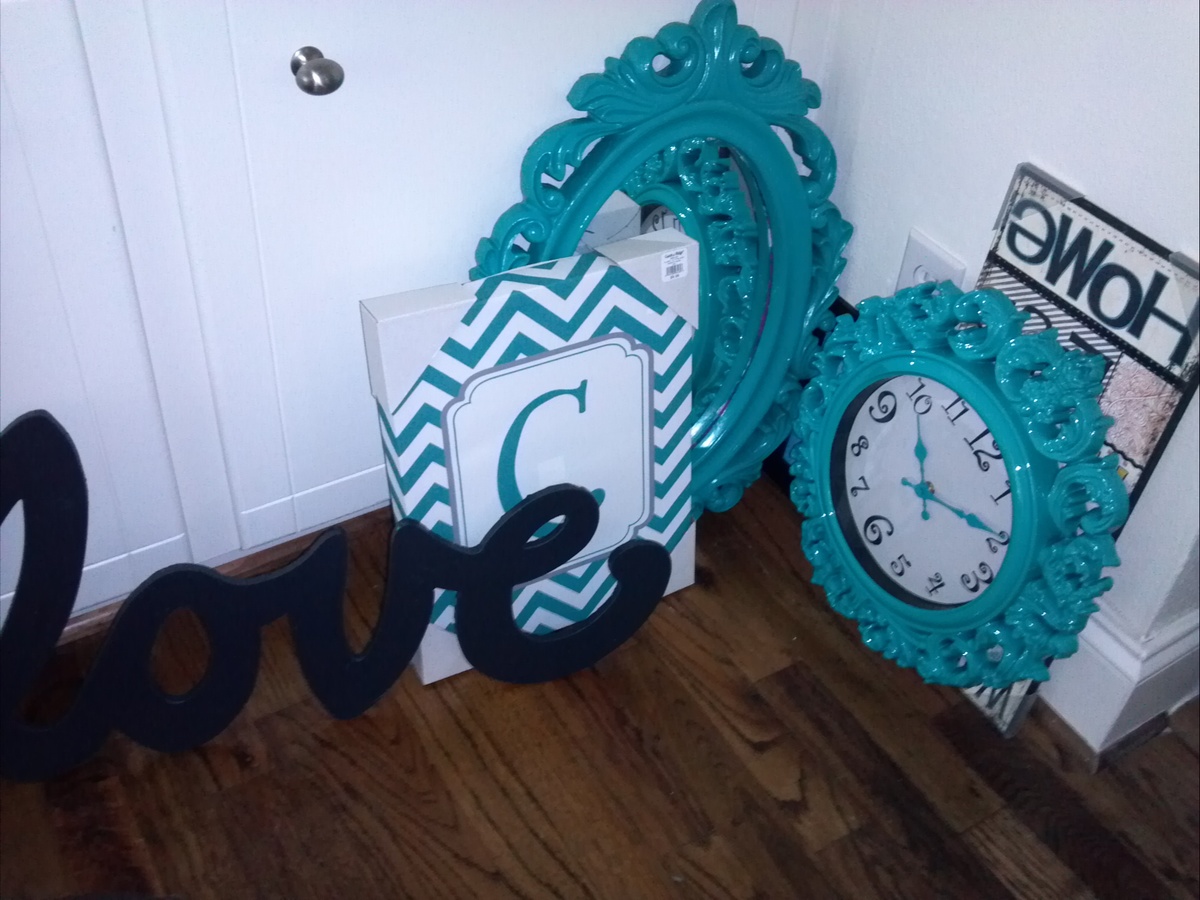
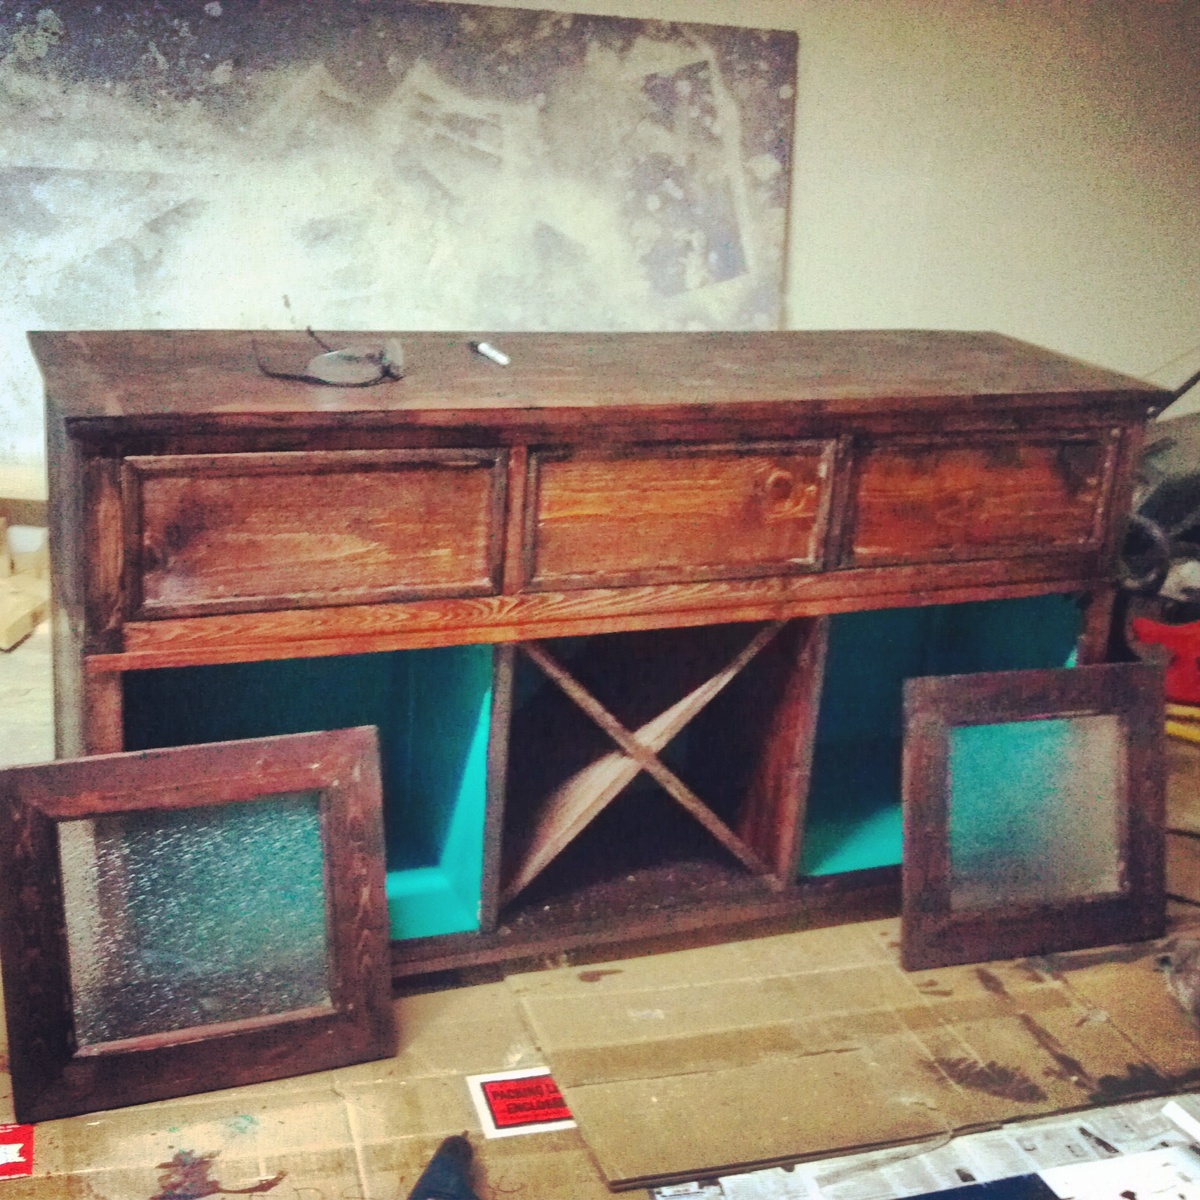
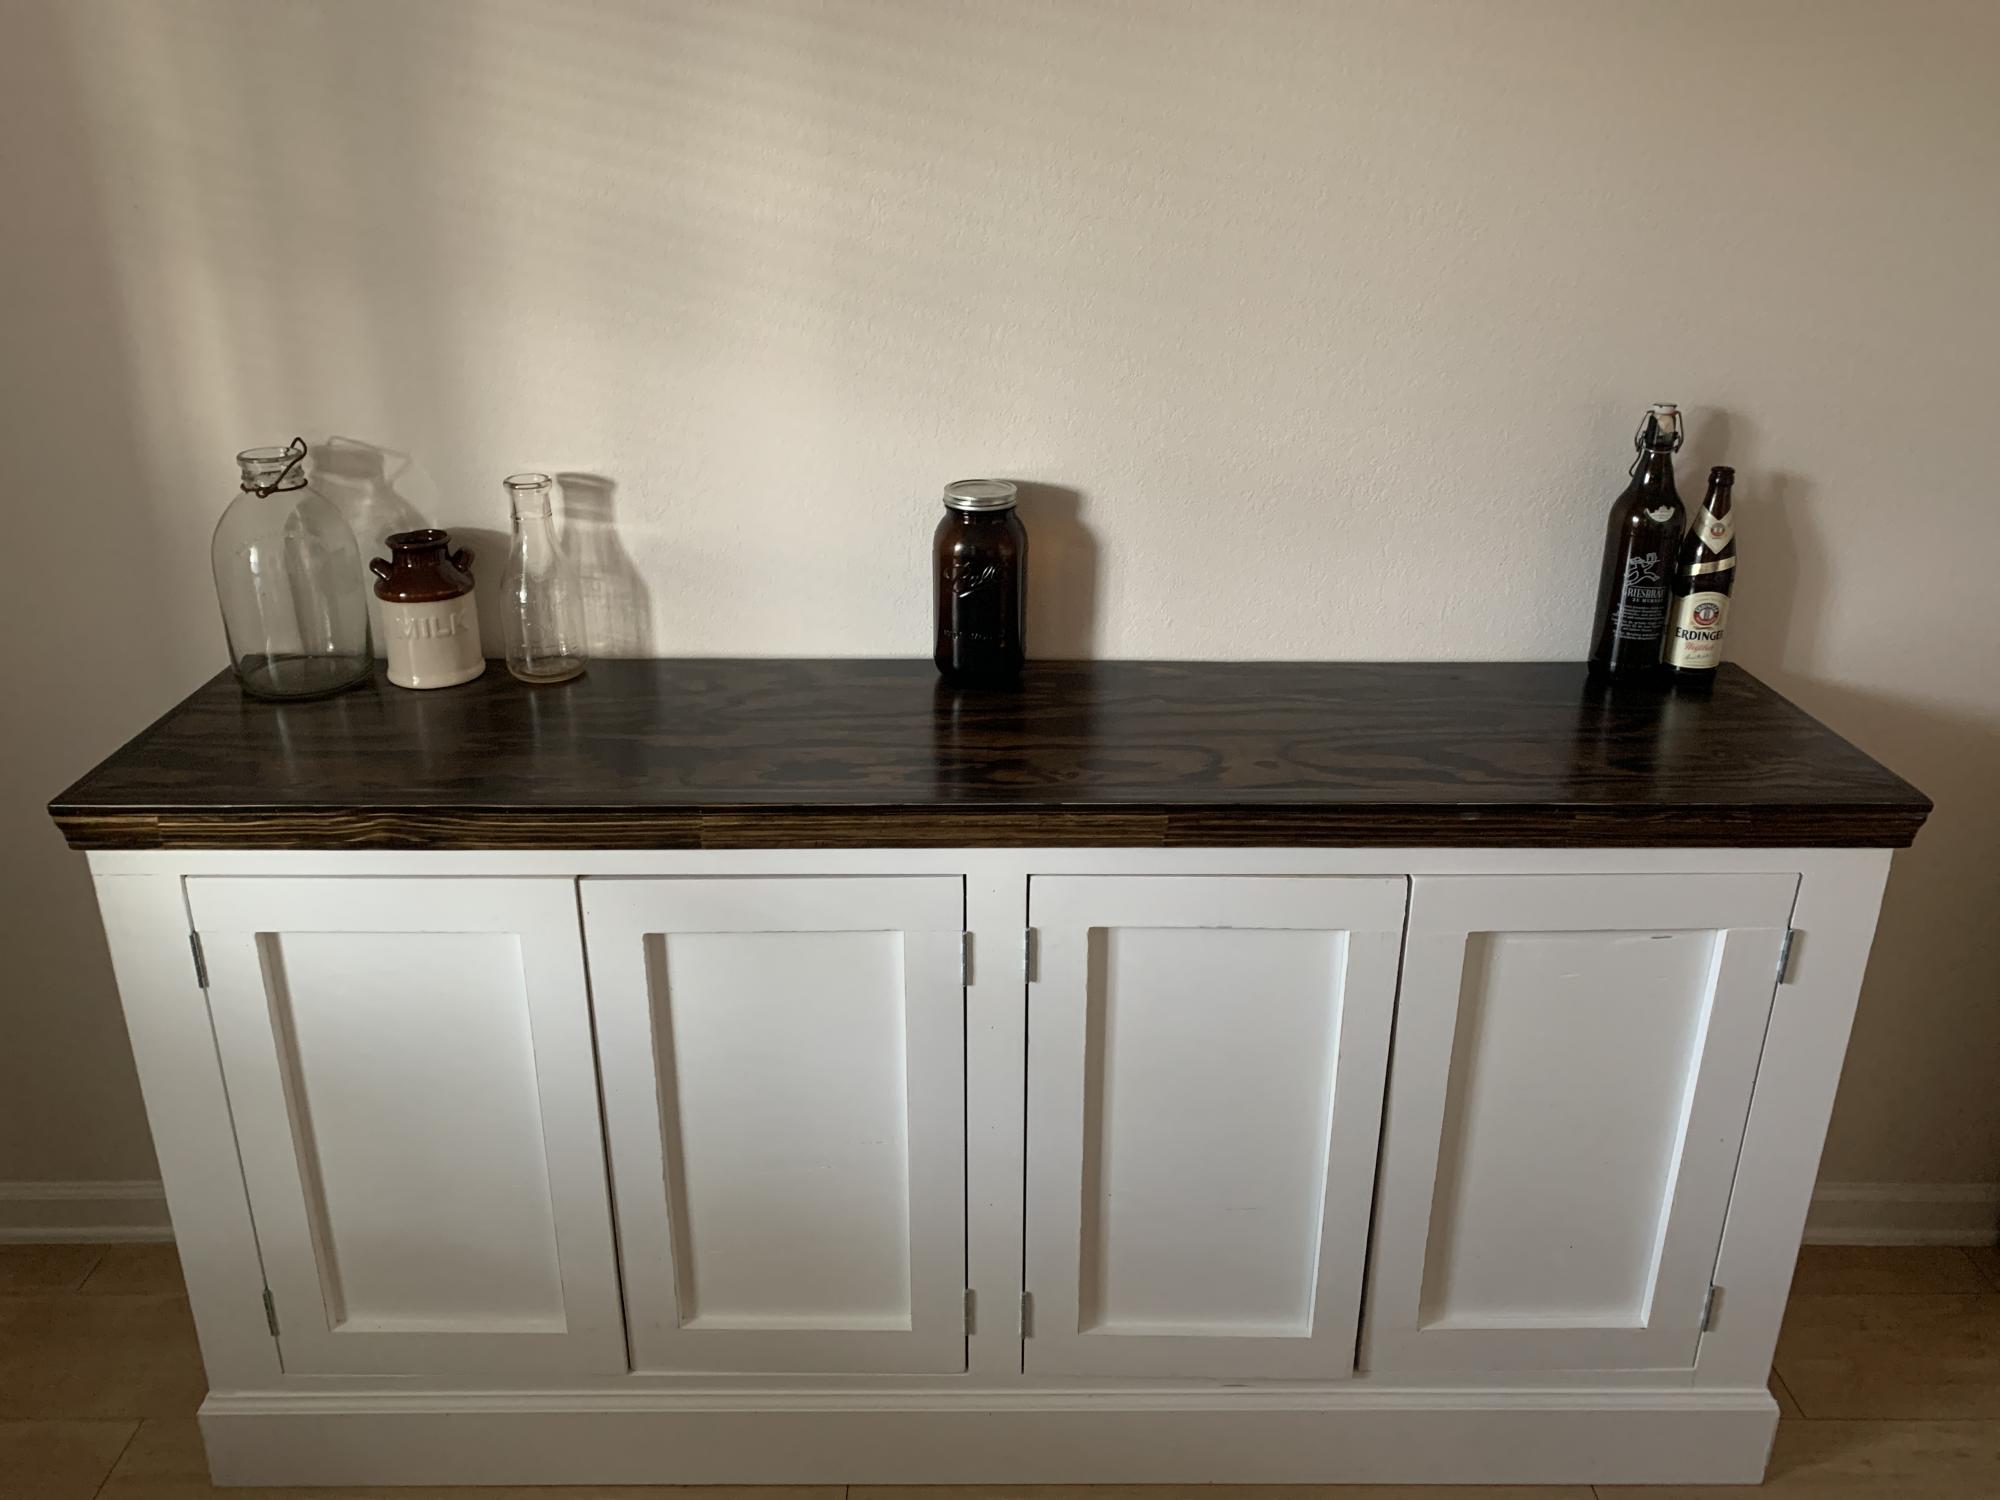
My wife wanted something to fill up a large wall in our kitchen so I designed a collage centered over a buffet table. I used the plans from the Salsa Console that I found on this website for the table. I had to modify the plans quite a bit in order for the table to fit the space that we had. After I had the design the way I wanted it, my wife and I found the frames that we needed and painted them with a black, brown, and terquoise theme. I built the hutch using pine that I bought from the hardware store. I used quarter round moulding strips to accentuate the drawer faces and the cabinet doors. I added glass to the center of the cabinet doors and then backed the glass with the material from one of those cheap ceiling light panels to give the glass a 3D frosted appearance. I then painted the interior of the cabinets with that same terquoise color and ran lights inside the cabinets so that the terquiose color would show through the forsted glass. I finished the table off by staining it with a dark red maple stain (to match our kitchen table and island) and then added a few simple drawer/cabinet knobs. Everything came together nicely when we hung it all up over the table. Now all we have left to do is add our pictures to the frames.


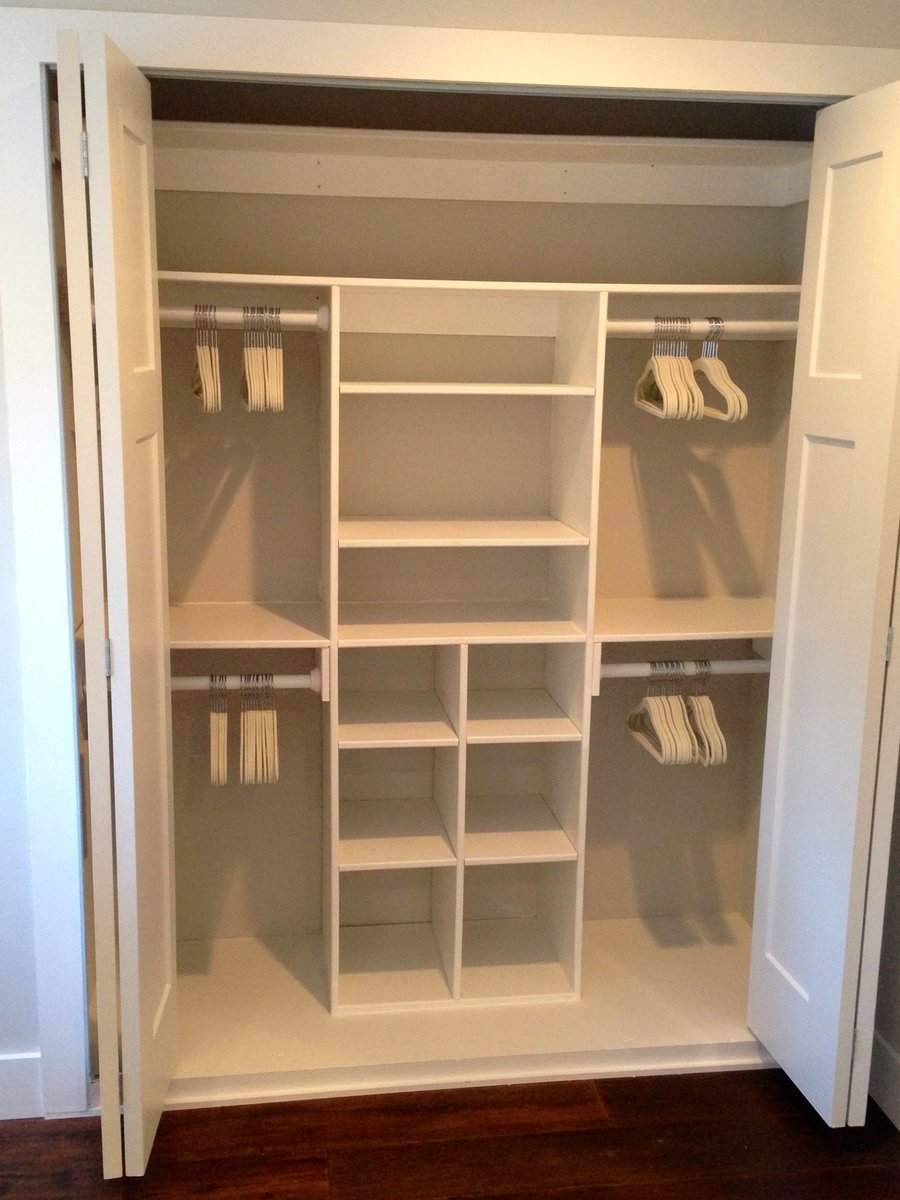
Just My Size Closet!
Built this from Ana's plans with a few modifications.
Started with a big empty box after ripping the old stuff out and finished with this look.
Adjustable shelves and all !
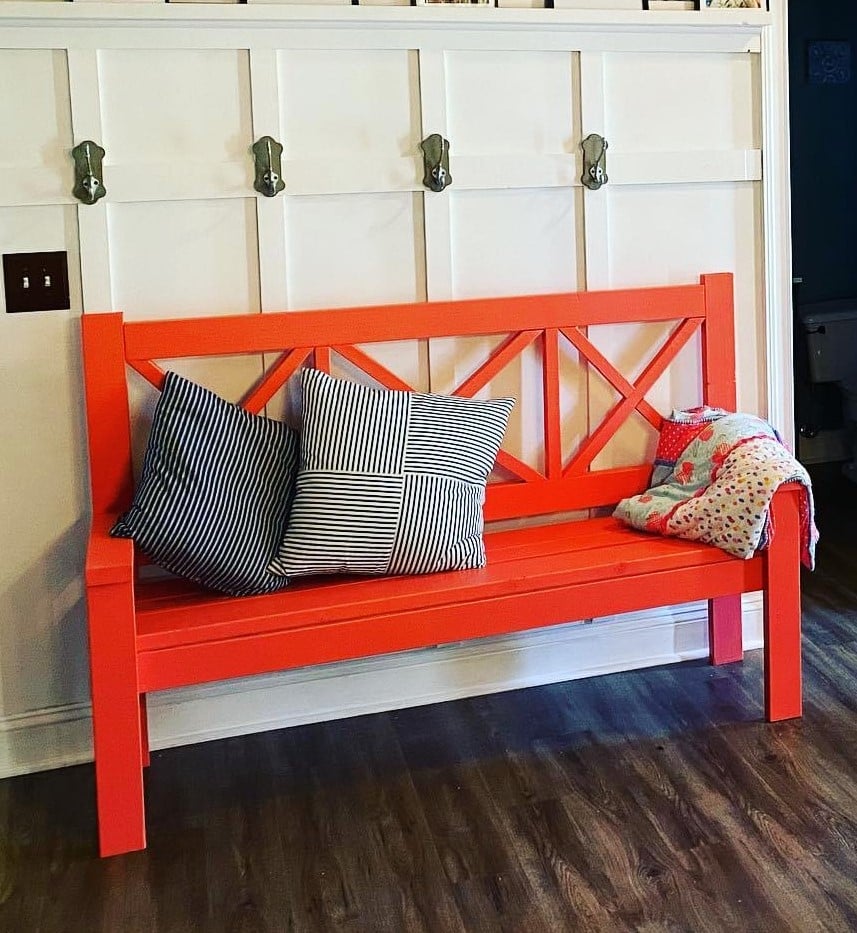
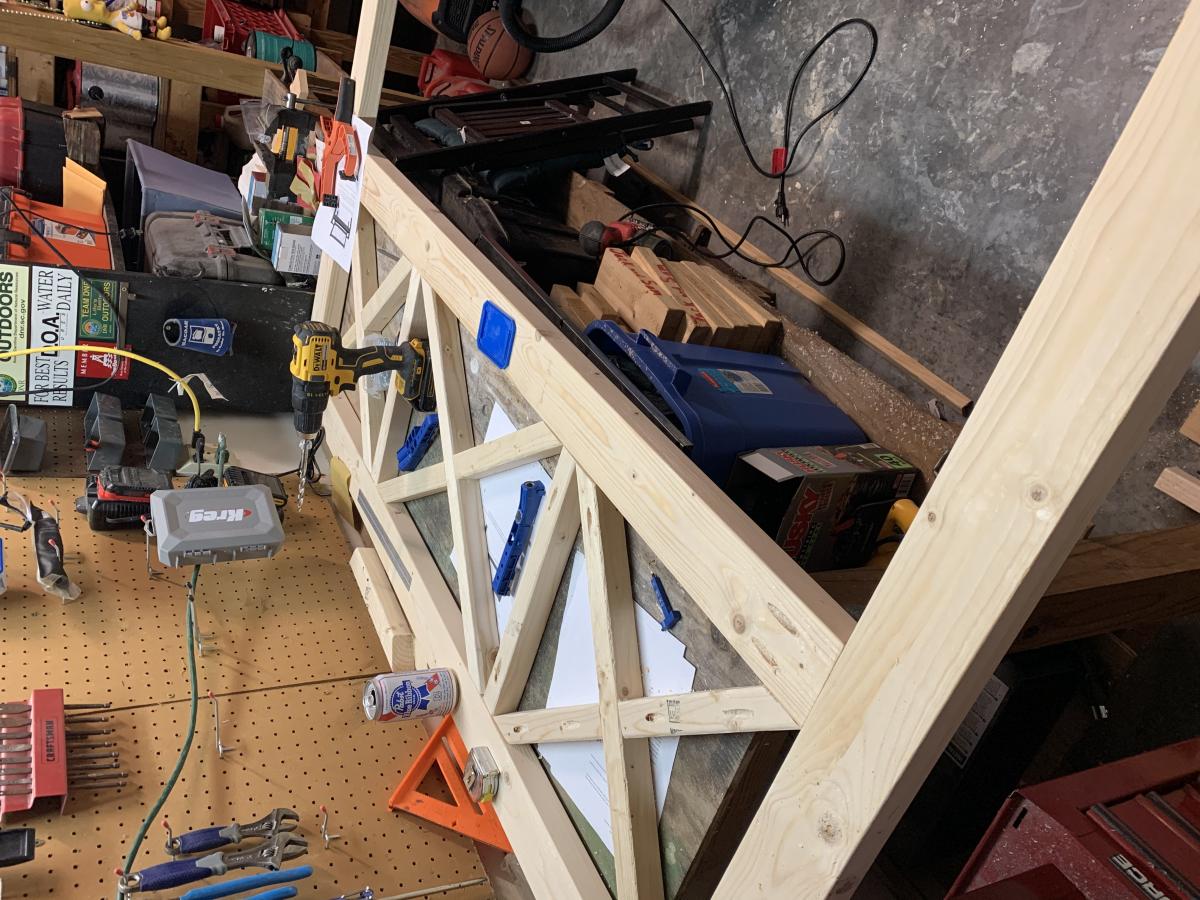
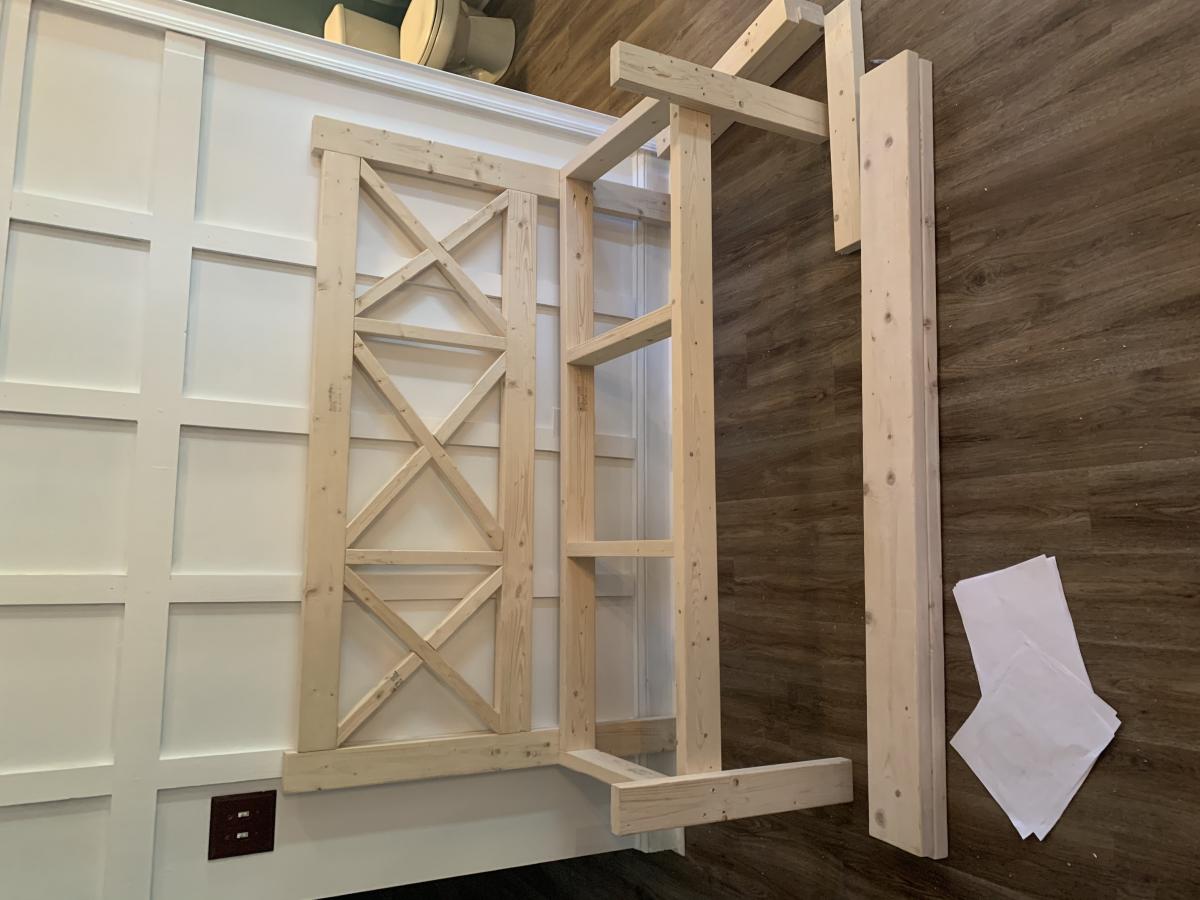
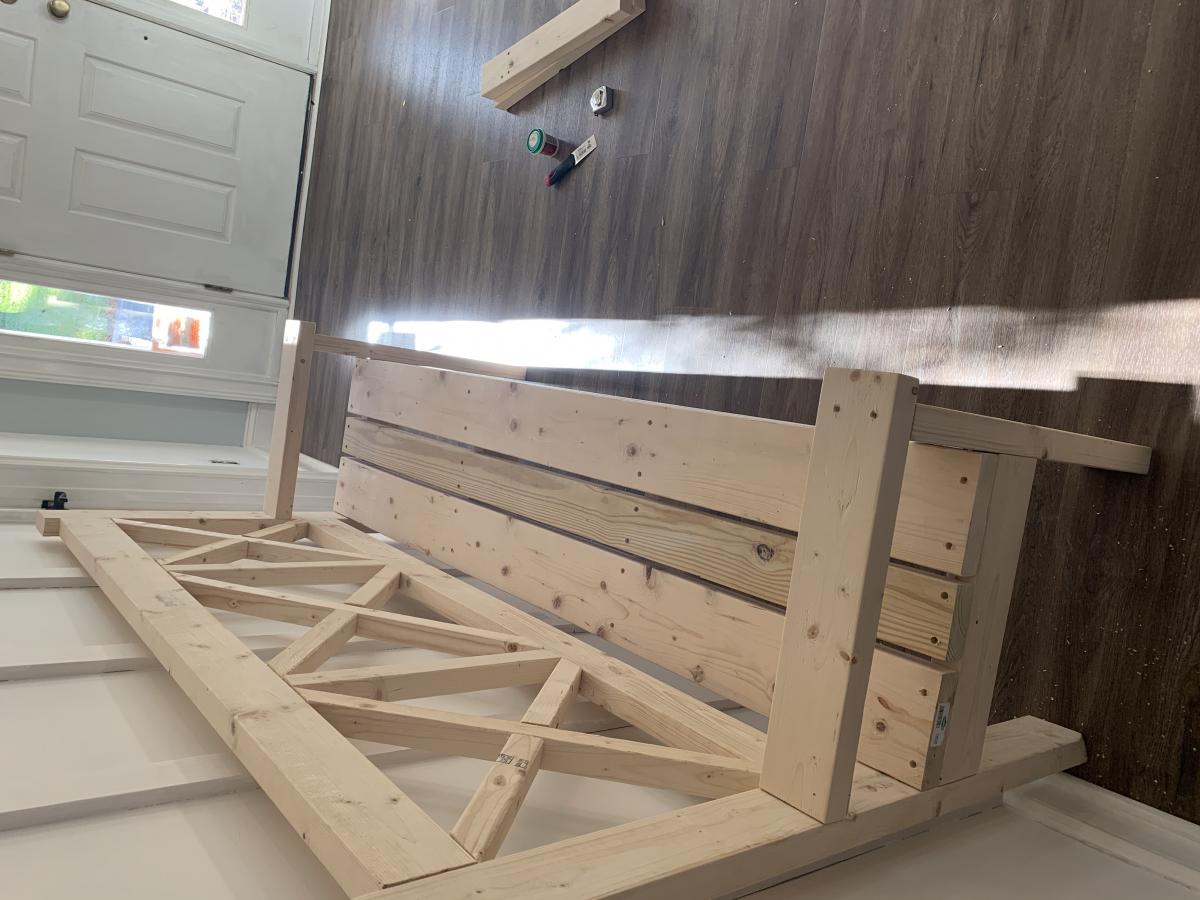
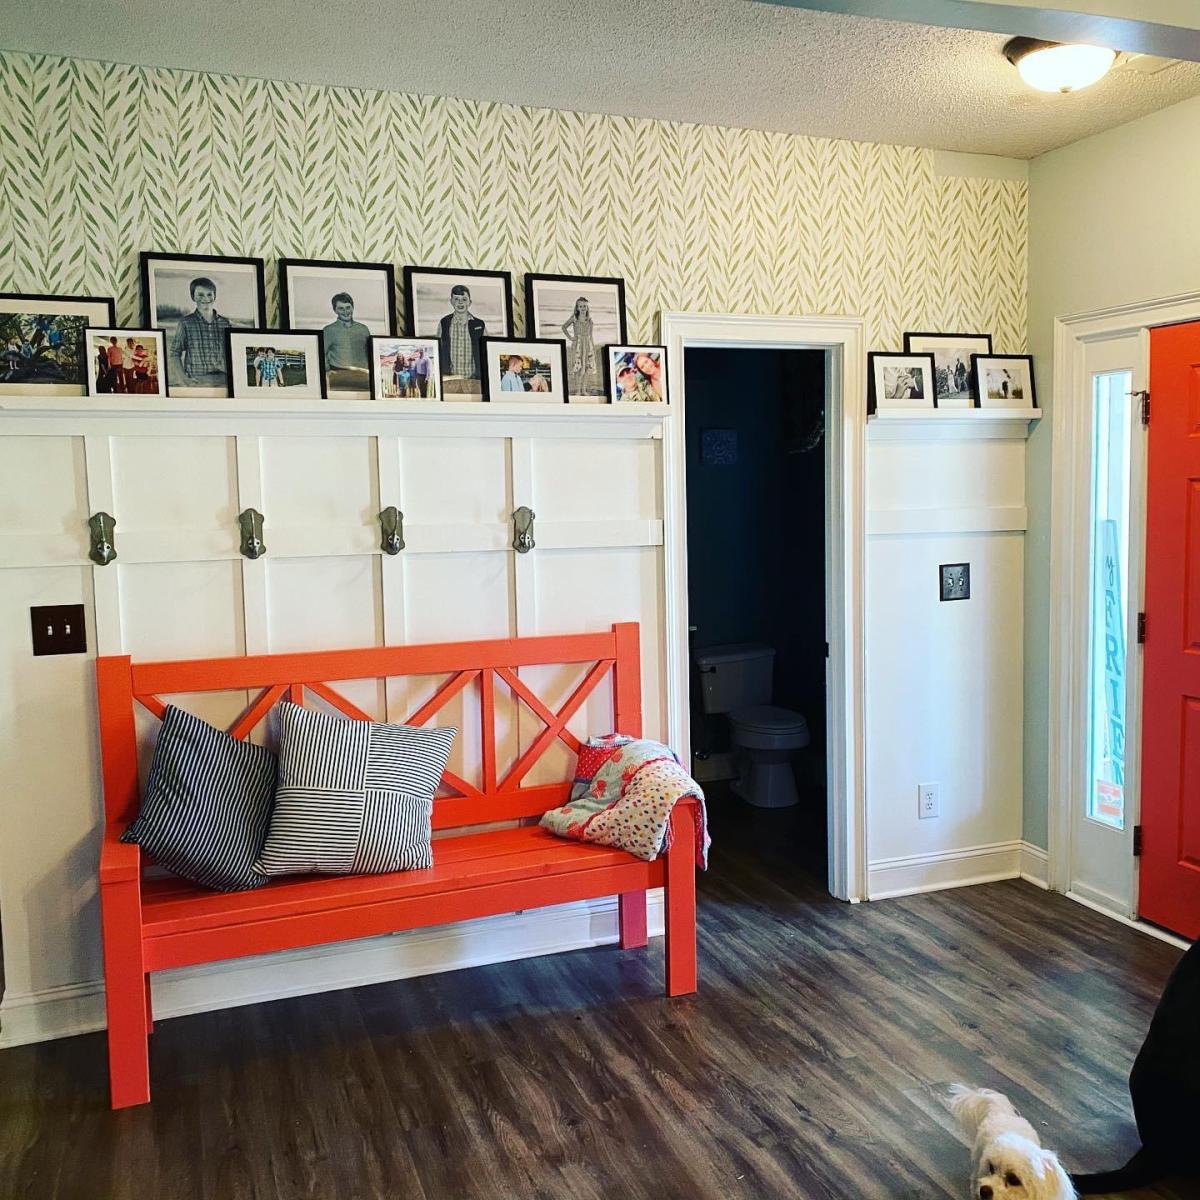
Using the Ana White plans of Large porch Bench with X backs I was able to create this amazing area in the entrance way of our home. The bench was part of a larger project where I added the modeling and shelves to the wall. The plans were great, I just made the bench a bit smaller, as the original size was a bit overwhelming inside the home.
Tue, 11/10/2020 - 09:06
And the red pop, love it! It looks great against that wall:)
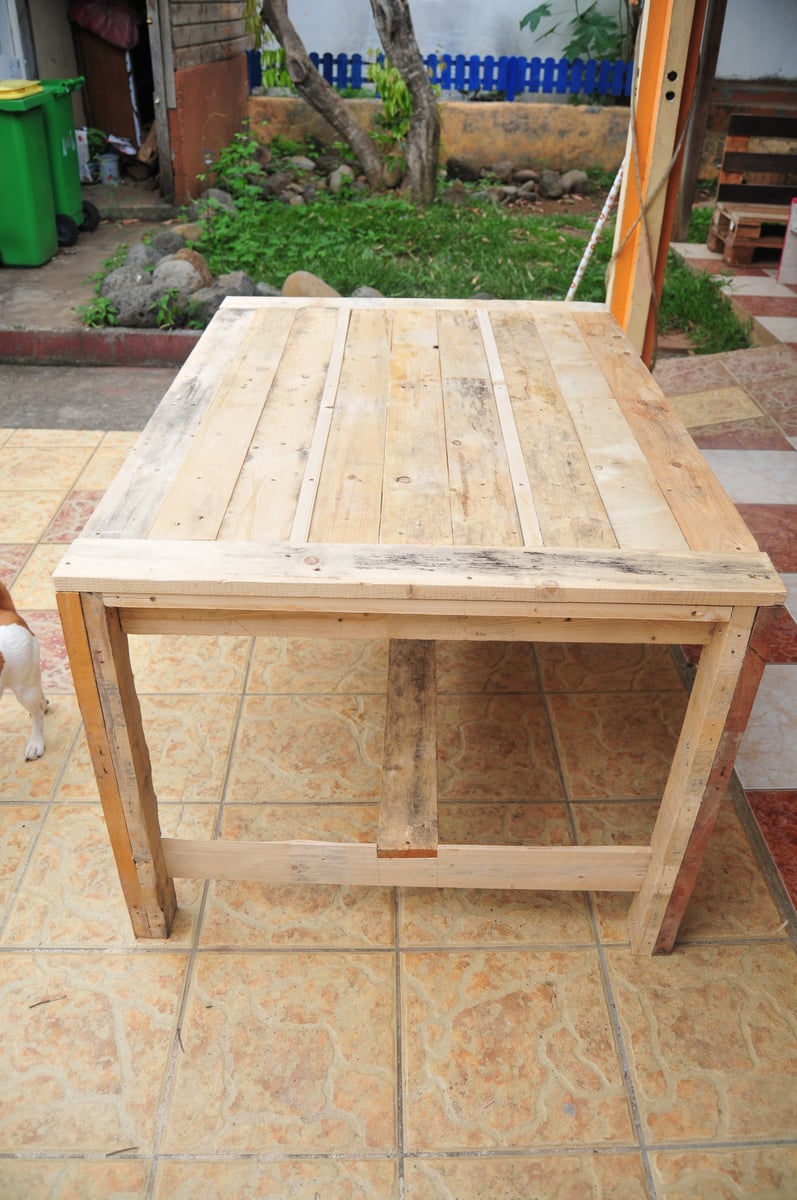
Hello, I'm doing furniture with wooden pallets and I found your awesome website with nice explanations and plans so I decided to make this nice farmhouse table but with wood from shipment wooden pallets.
Thank you very much for all your work and plans !
I will make other furnitures from your plans with wooden pallets :D and post the brags here soon.

Fun and easy project. I couldn't be happier with the end results. Great plan from Ana White.
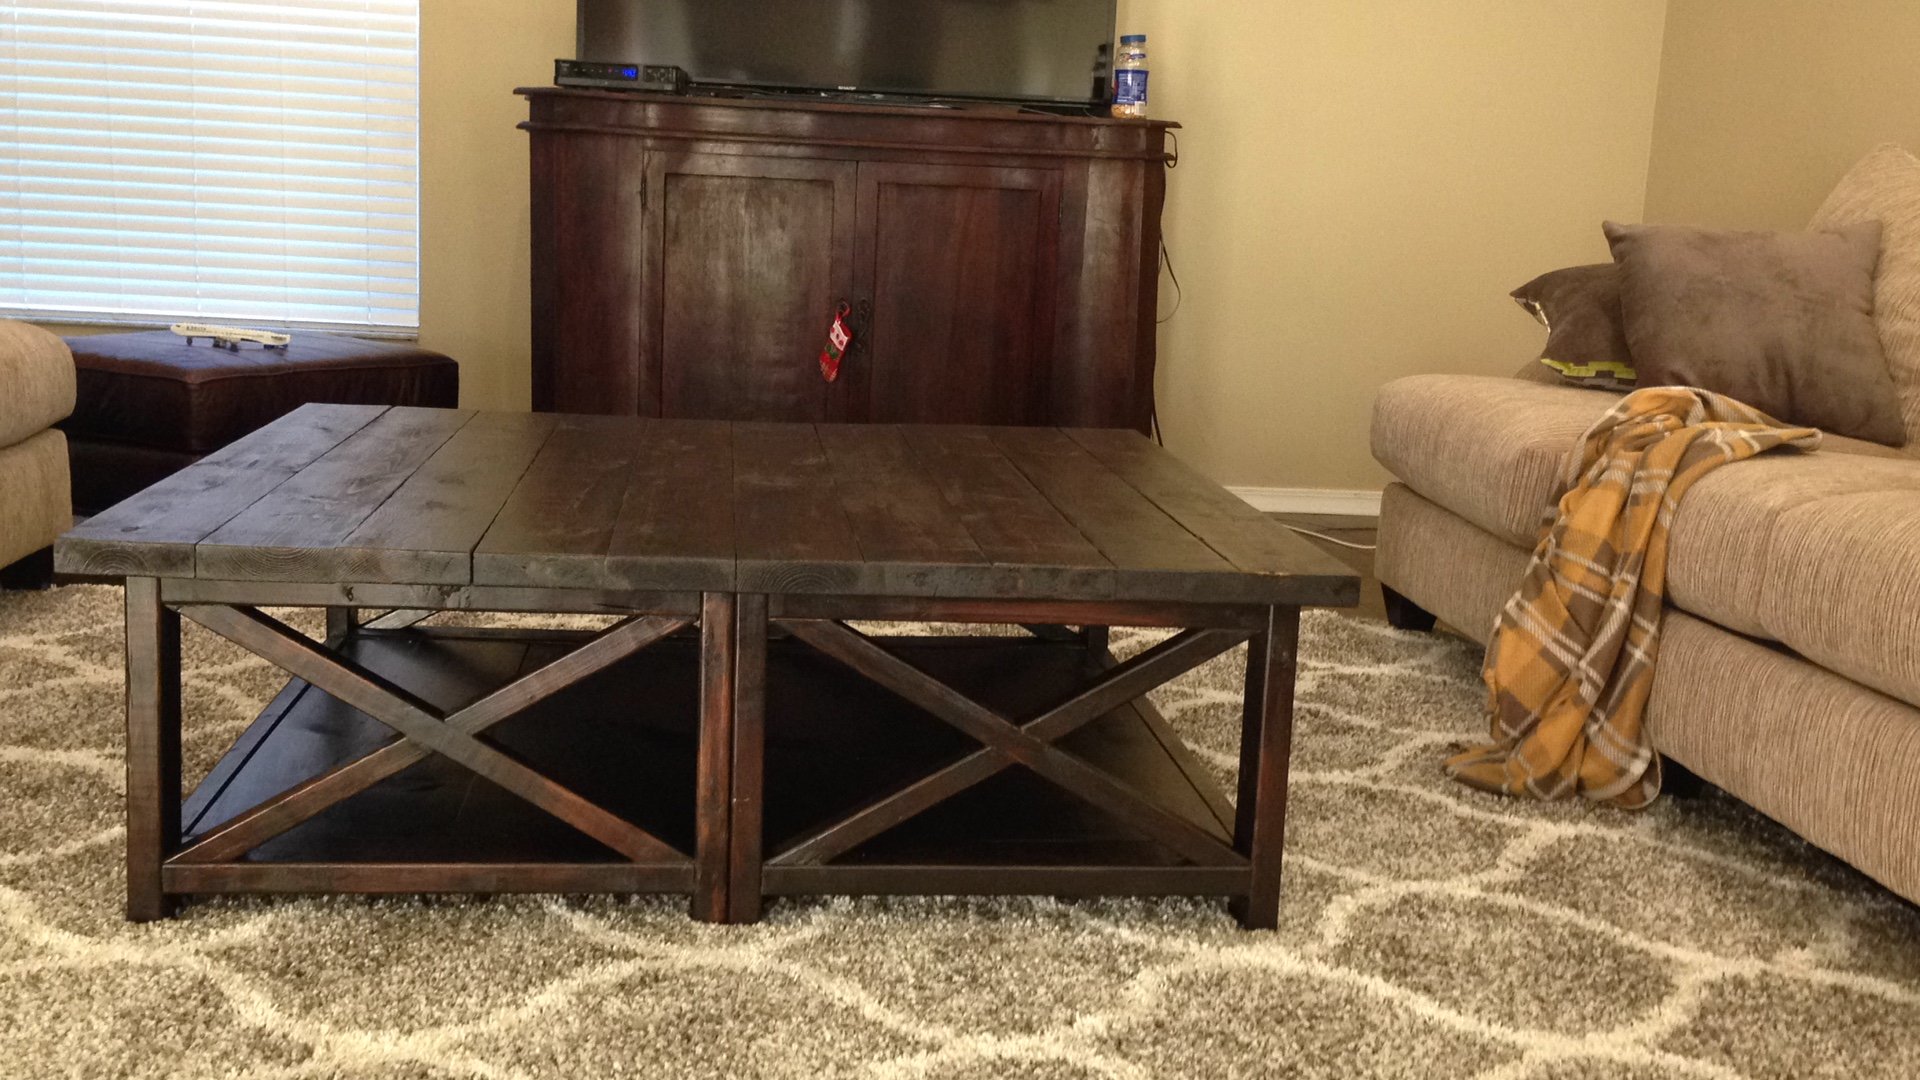
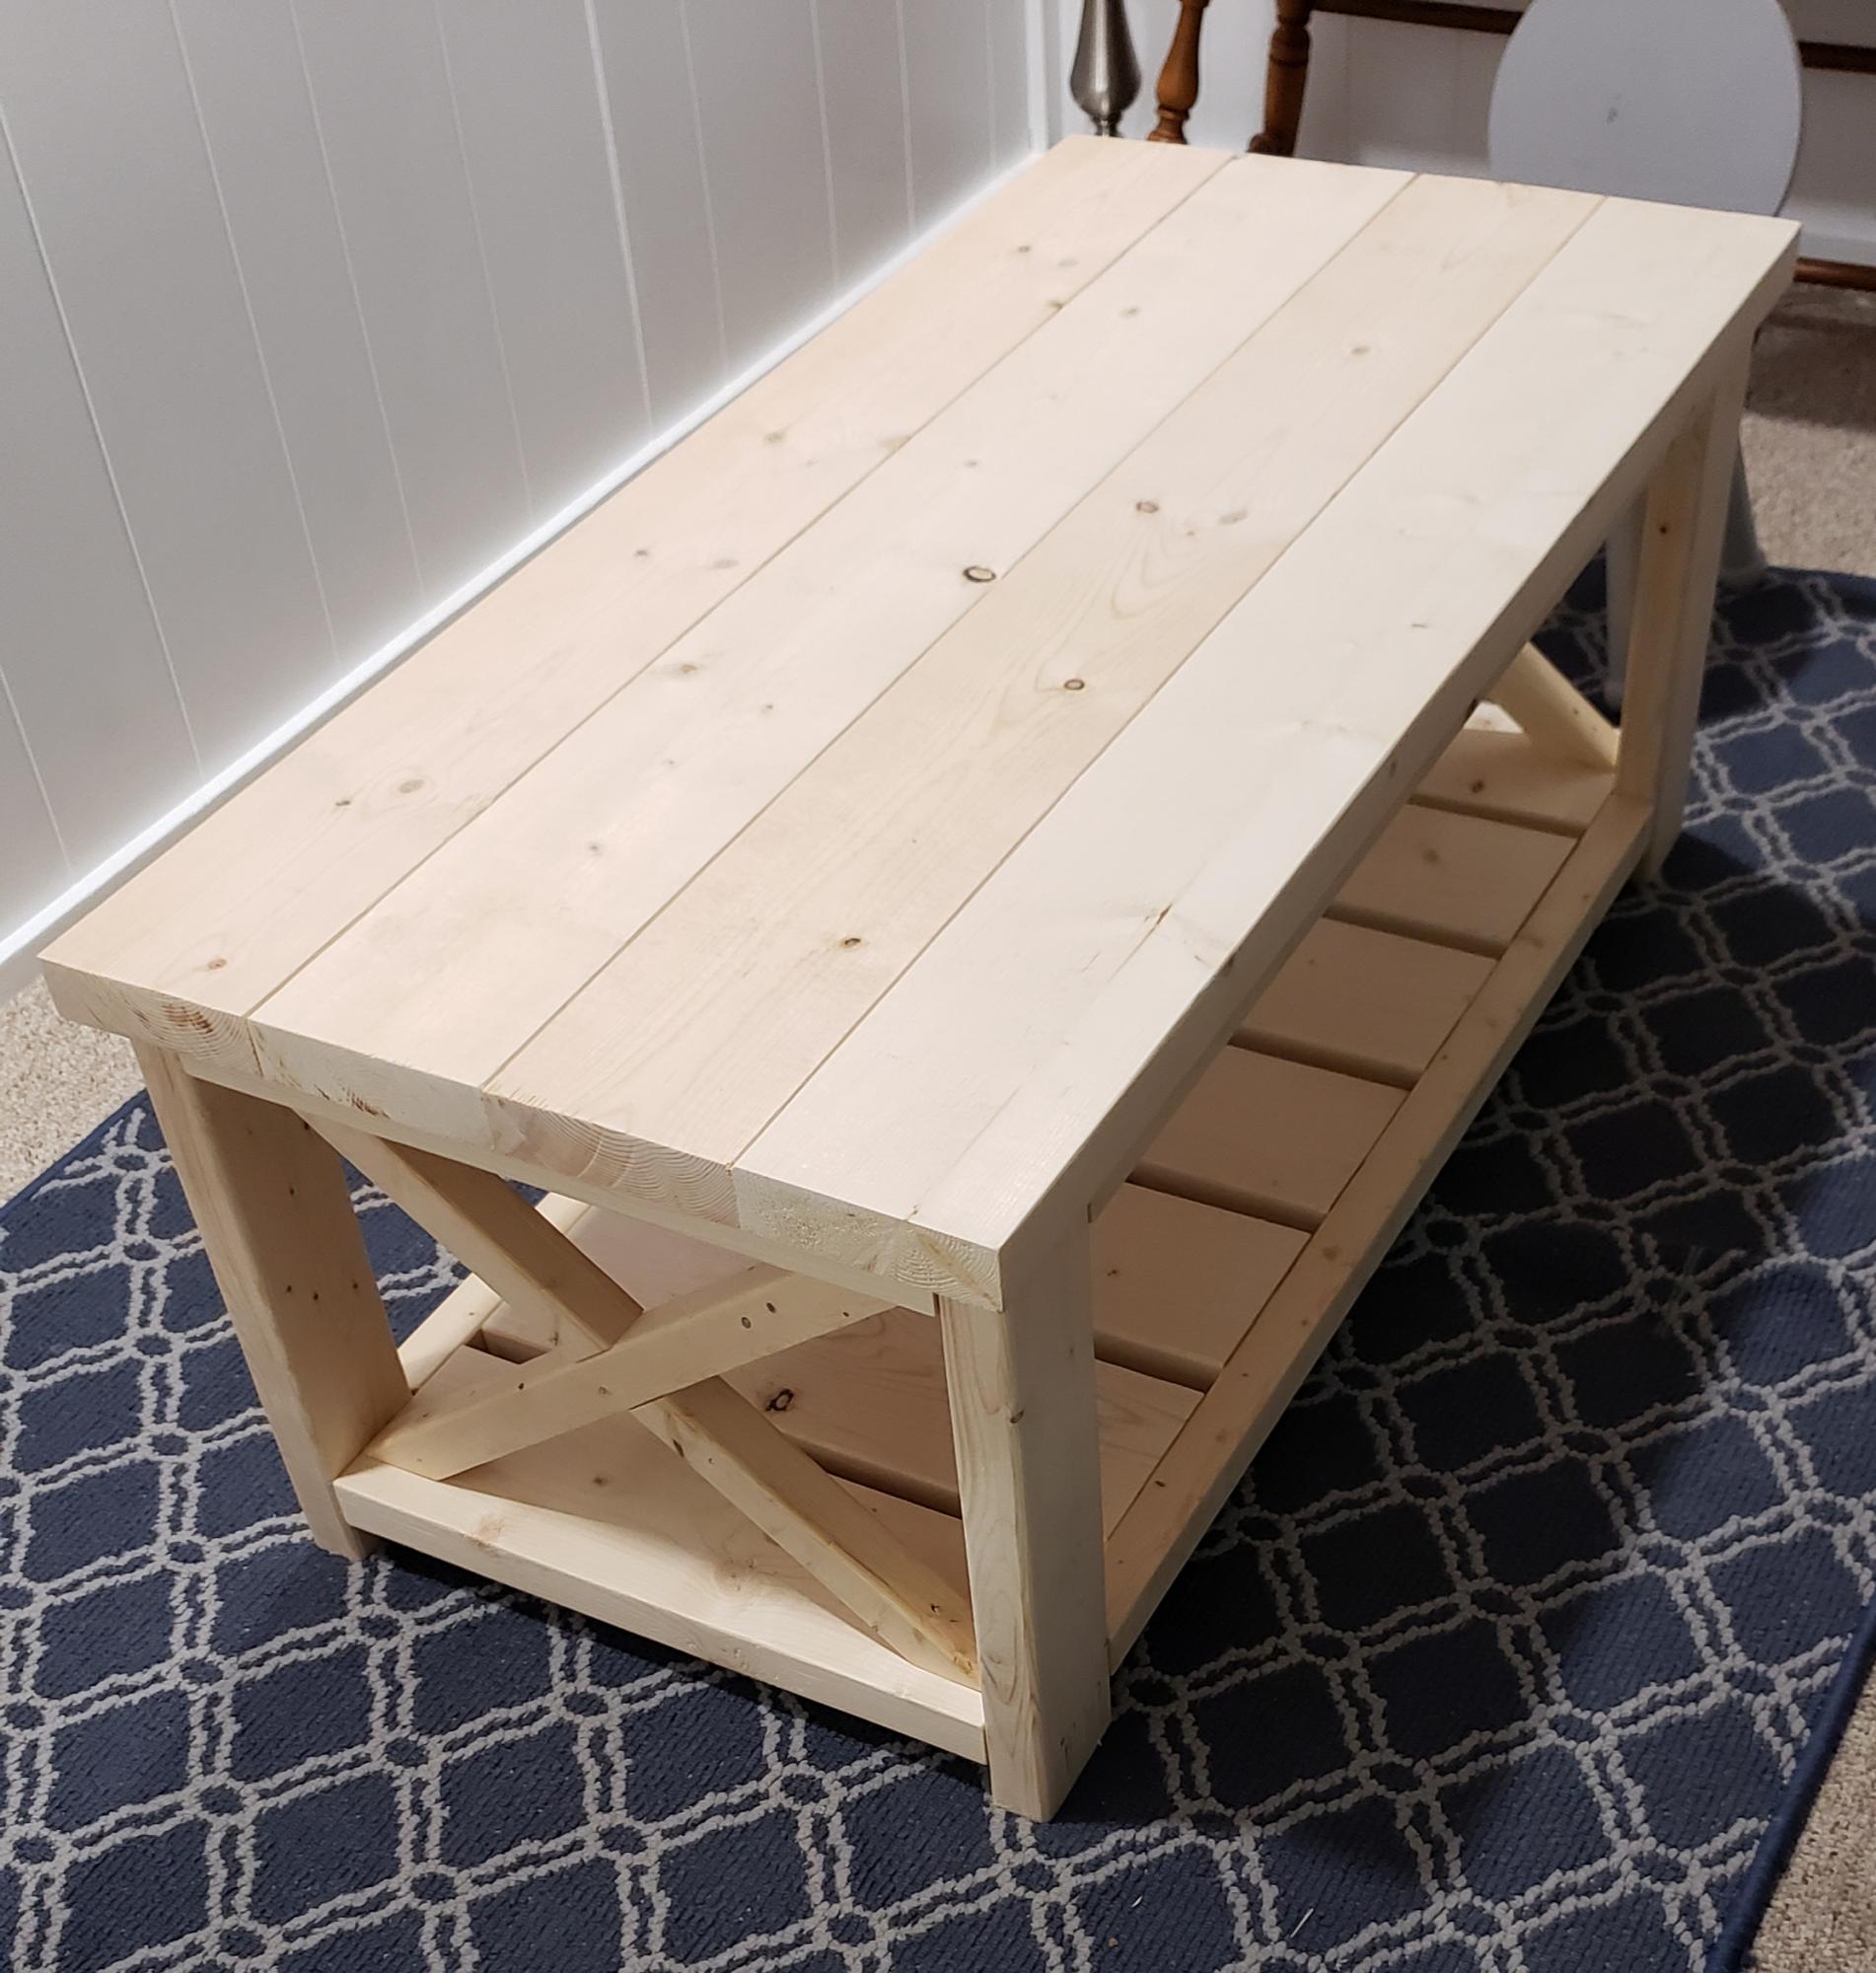
We could not find a large enough coffee table that we wanted so we decided to make our own. We loved the Rustic X plan and thought if we put two tables toghether we could get the pefect table size for our living room. Project cost us around $120 and it took us a week to complete, but we are happy with the results. The color is a dark expresso.

This is a wishing well I made for my sister for her wedding. It will be used during the wedding for people to drop "wish you well" cards into and afterward she can use it as a planter in her yard.
I followed ideas from multiple plans here on Ana-White.com, but I didn't follow any specific plan. Mostly I followed tips and instructions for cutting angles, drilling pocket holes and some finishing tips. This is the first "big" project I've done and I"m quite proud of it.
With everything, it measures 44.5 inches high. The well measures 21 inches across and 15 inches high. The roof measures 22.75 inches by 23.75 inches.
I hope y'all like it. I worked hard on this! :)
Thank you, Ana and everyone who contributes to this site. It's been so much fun and I've got lots of ideas for more stuff. If I was any good at all at Google Sketchup I'd put up the plans but I'm not. If anyone could help me with that, that would great. :)
Have a great day!


Mon, 07/21/2014 - 20:04
Anyway you can please tell me the angle for the boards ont the walls. I reallly like your well, and would like to build this for my wife but im not sure on what angles to use thank you

In reply to wishing well by bellows86
Sun, 07/10/2016 - 17:10
The 8 sided wishing well is going to be 22.5 degrees all the way around. hopes this helps
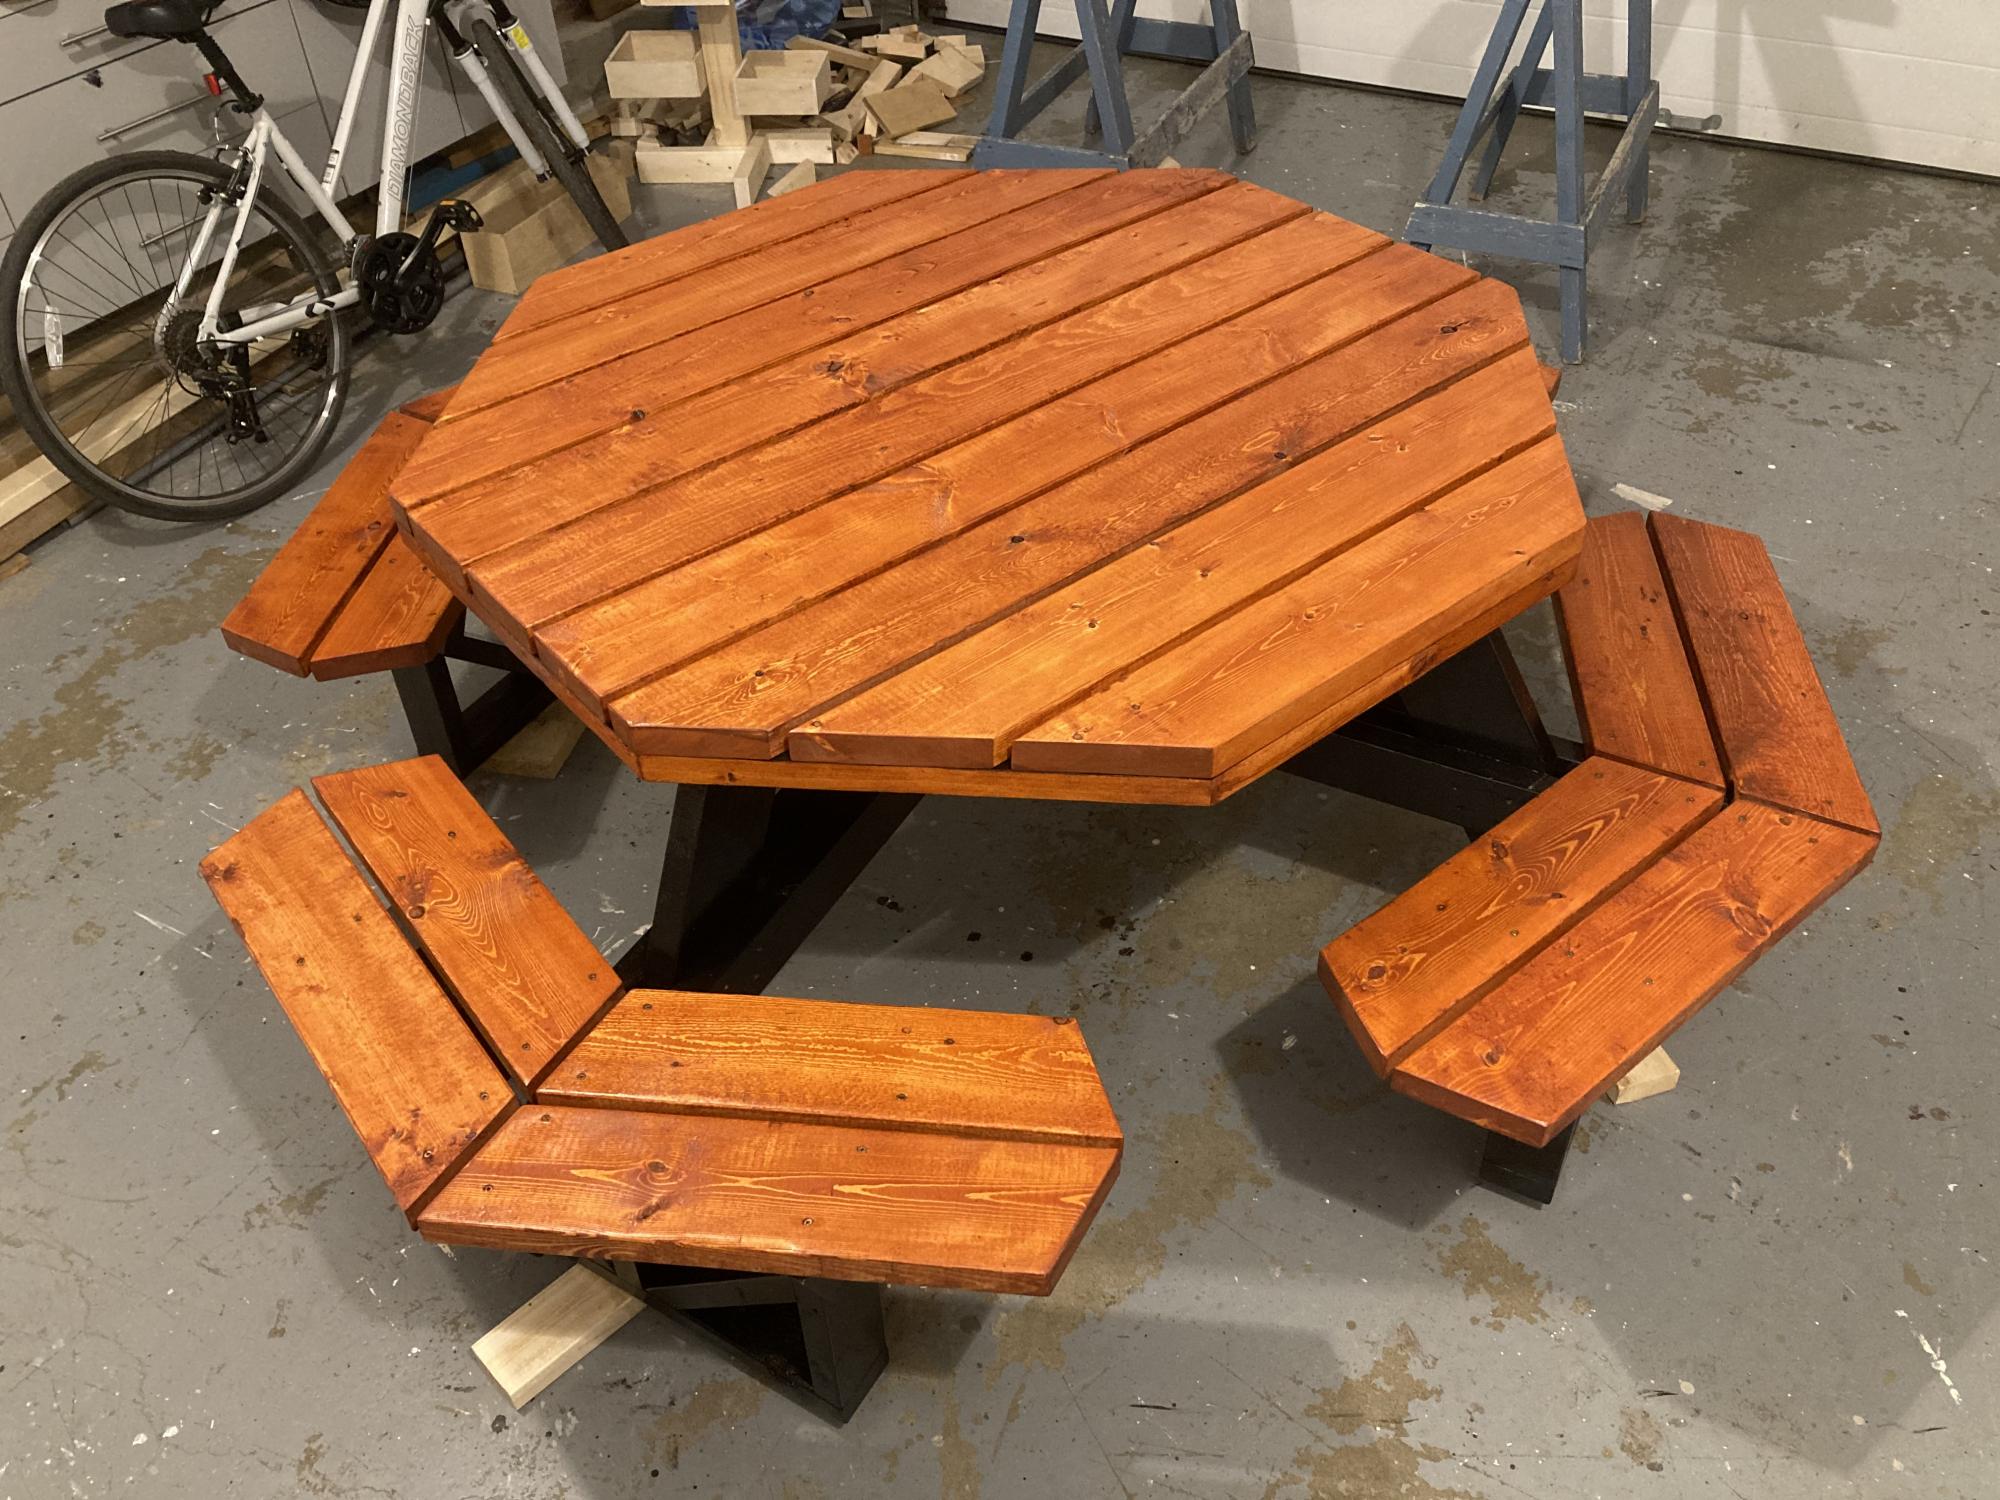
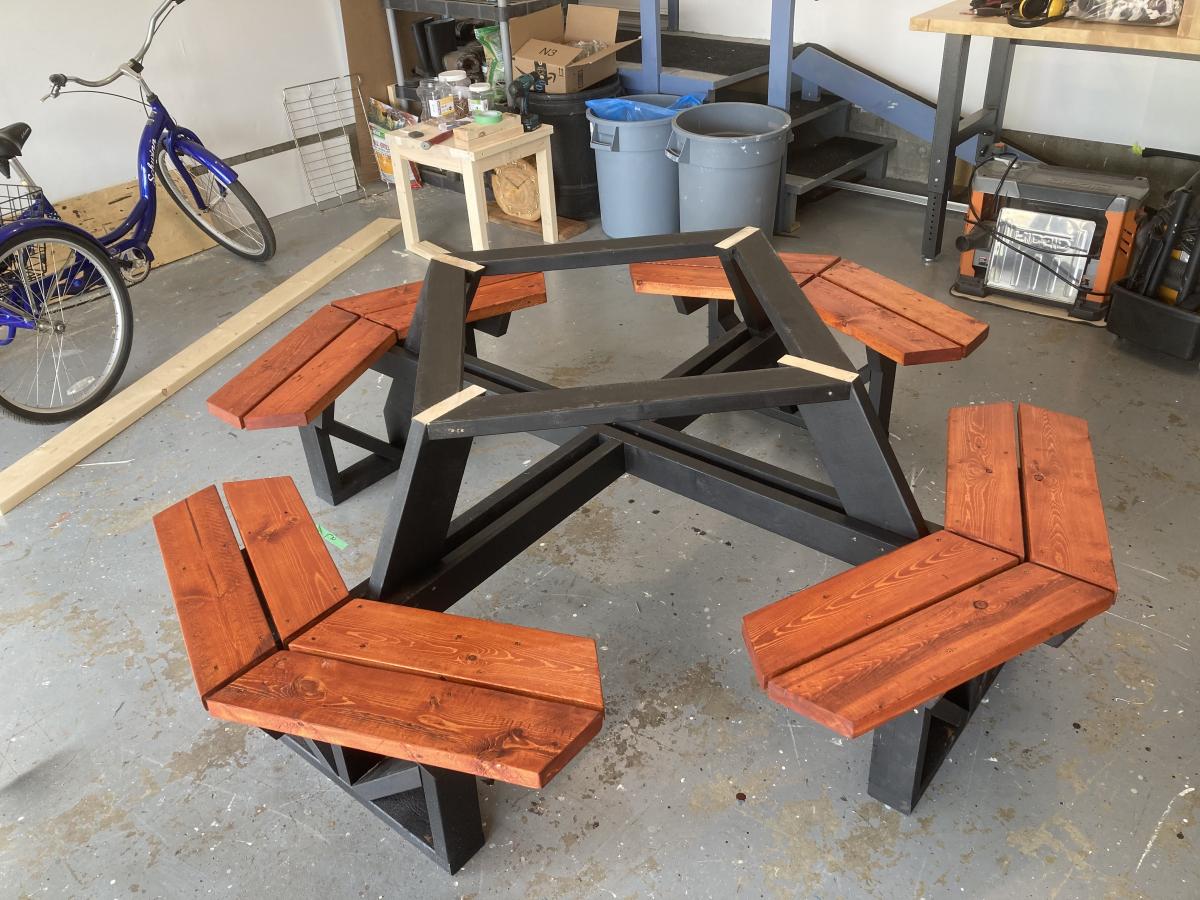
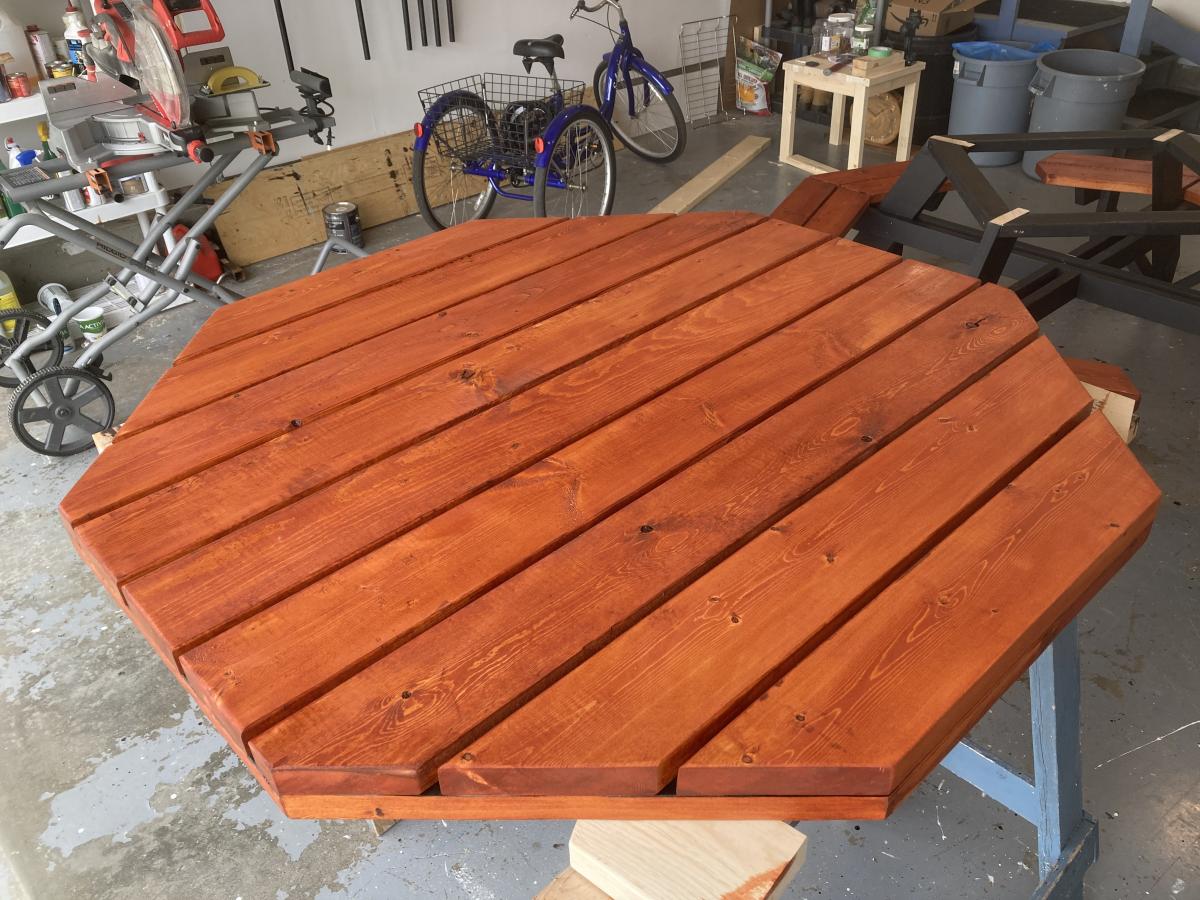
To say this was a complicated build is an understatement. Lots of pieces, lots of different angles and lots of screwing it together. It was really tough to keep everything perfectly square but in the end it turned out well. It is a very heavy table. I want to get it outside on a sunny day for some photos.
Sat, 05/29/2021 - 10:33
A picnic table that will last! Love your finish choices, thank you for sharing:)
Wife fell in love with these plans from Ana White. Took longer than I want to admit to finish, but looks amazing! Thank you for the plans Ana!
This was my first major project for my wife with a set of new tools to start into woodworking.
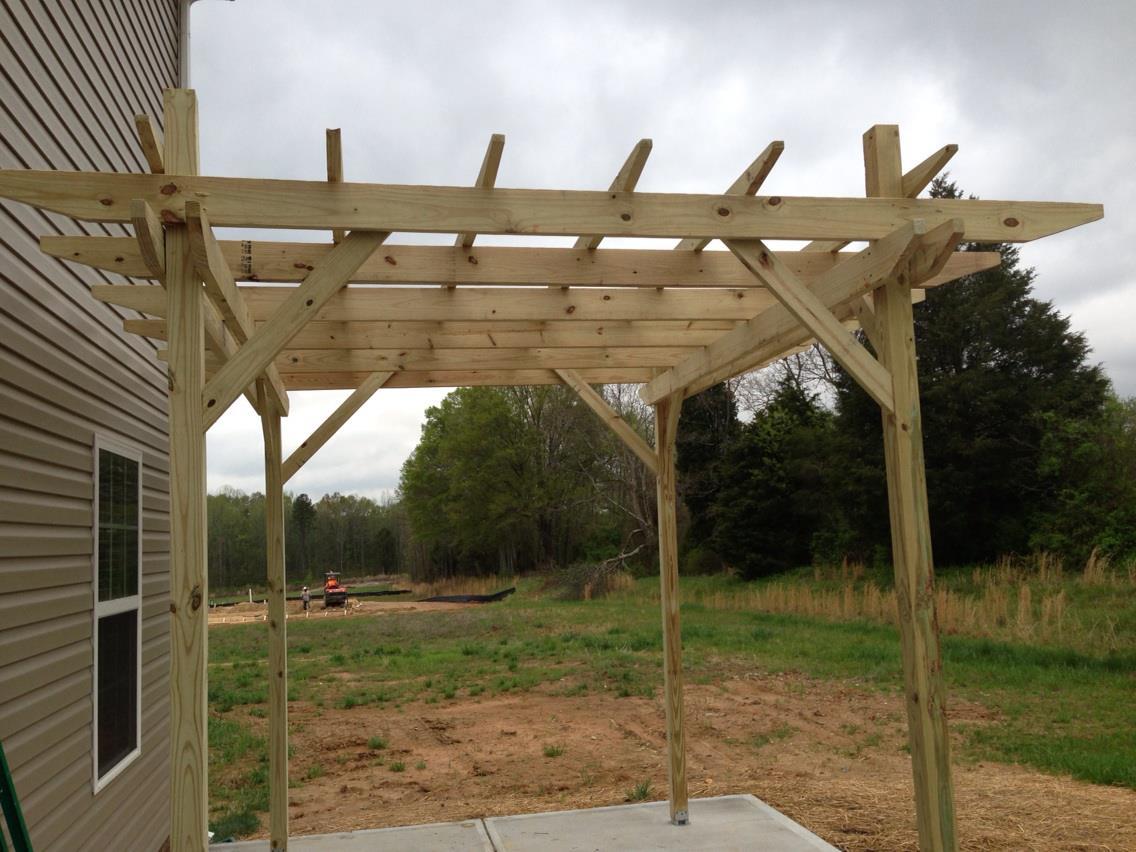
I have wanted a pergola for years and since we moved into our new construction in Dec. '12, I decided to finally go for it and add it to our new backyard plans. When I stumbled onto the plan on ana-white.com, I couldn't be more thrilled to see how simple of a project it was. I do not mean that it was an easy build by any means. I wanted a "beefier" look to it so I used 2x6 and 2x4's. The 4x4 posts are 10ft long (I was going to use 12 ft until I realized just how tall they were!). I stole the steel anchor post idea from the Popular Mechanics site and the "look" of the pergola from the Weatherly plan. I decided not to notch each beam due to time constraints and I just didn't think I need to. I did use zinc L brackets to secure the 2x6s to the support beams (also 2x6s). The top is stiff as can be but the bottom has a slight give to it since it is only four 4x4s sitting on post anchor brackets. I am planning on adding about 6 inches of concrete around the base of the posts (after my HOA "approves" the pergola) to stiffing the structure and then trim around the base for a more "custom" look to it. It will be similar style to the Weatherly except wider around the base so that I can set drinks on it. It took about 8 hours total and about an hour of that was setting the steel anchor posts (measuring and installing 2 1/4" red head screws into the 4" concrete slab patio).
I will stain it with a semi-transparent (BEHR brand) redwood-ish color in a few months after the PT pine dries.
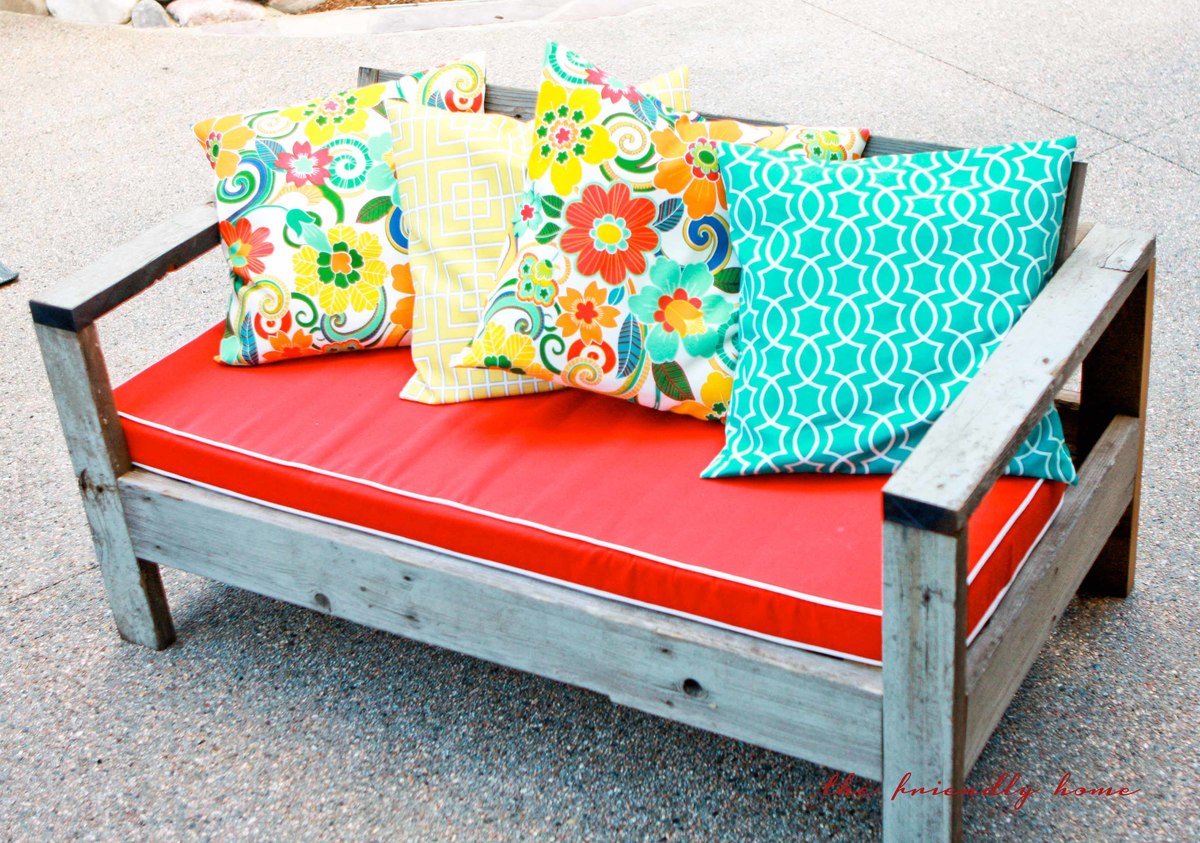
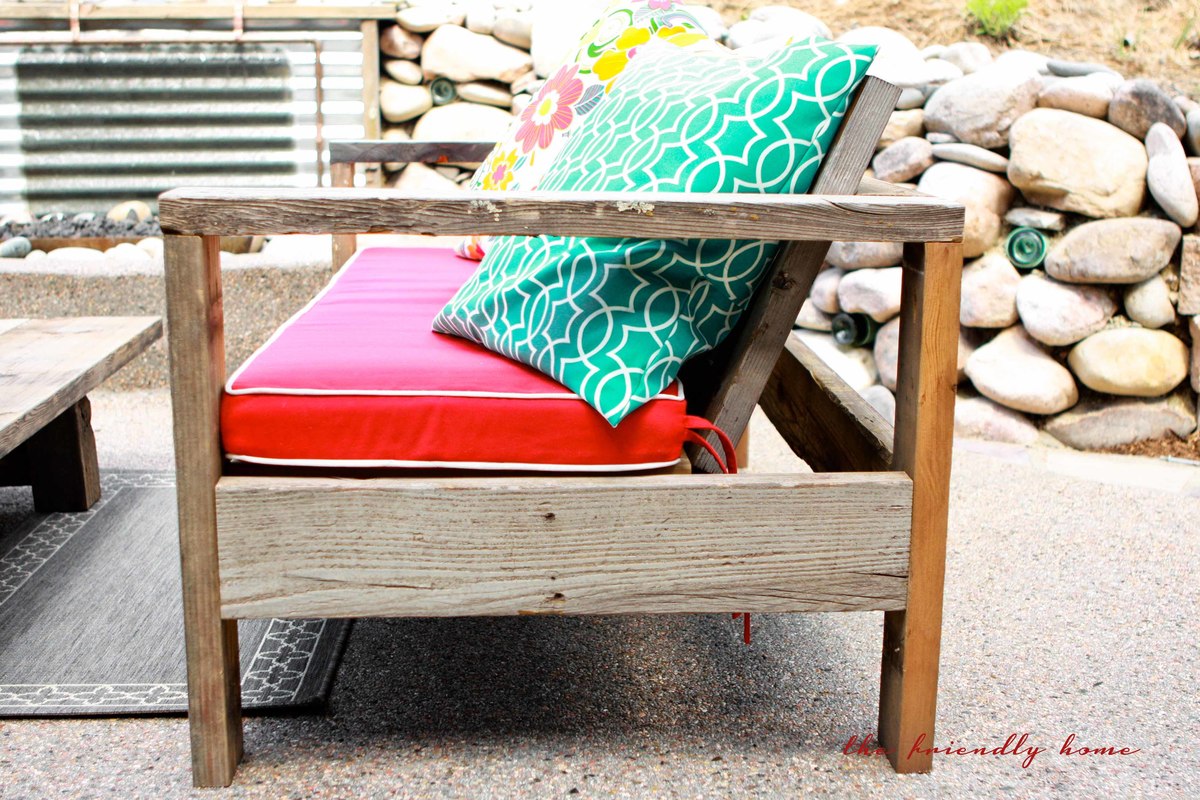
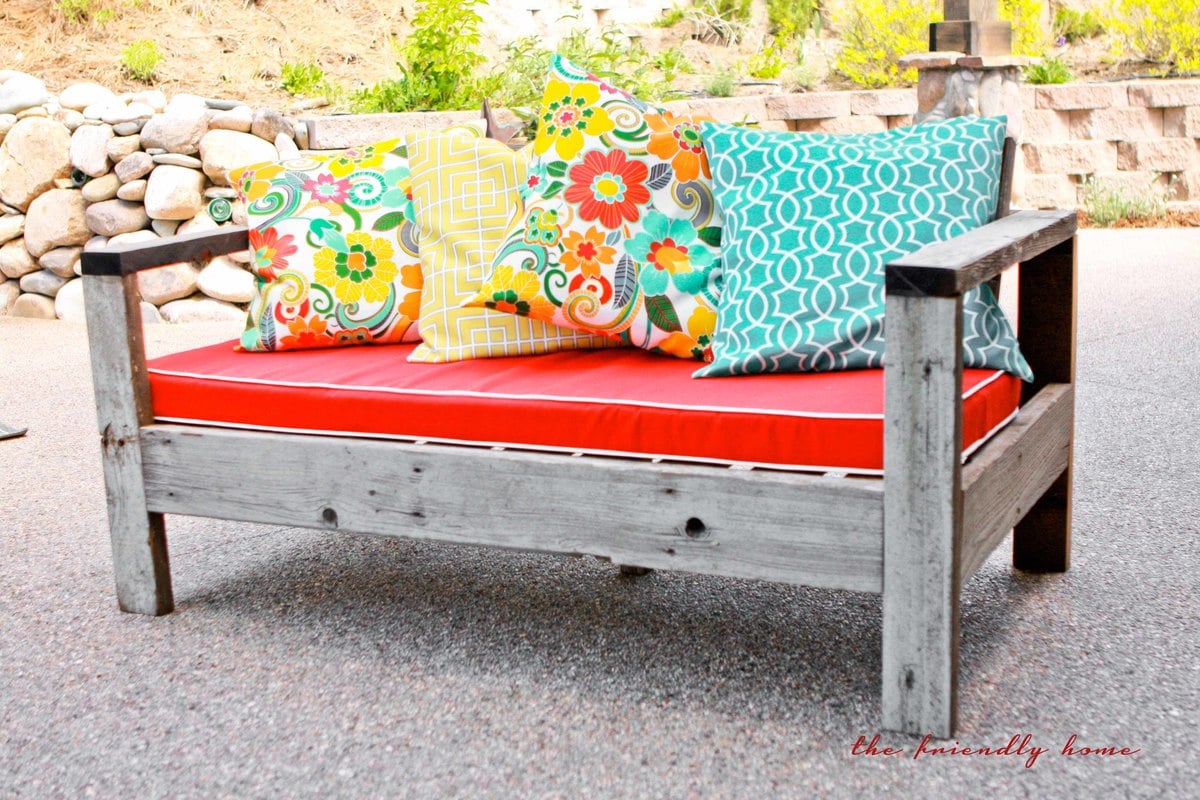
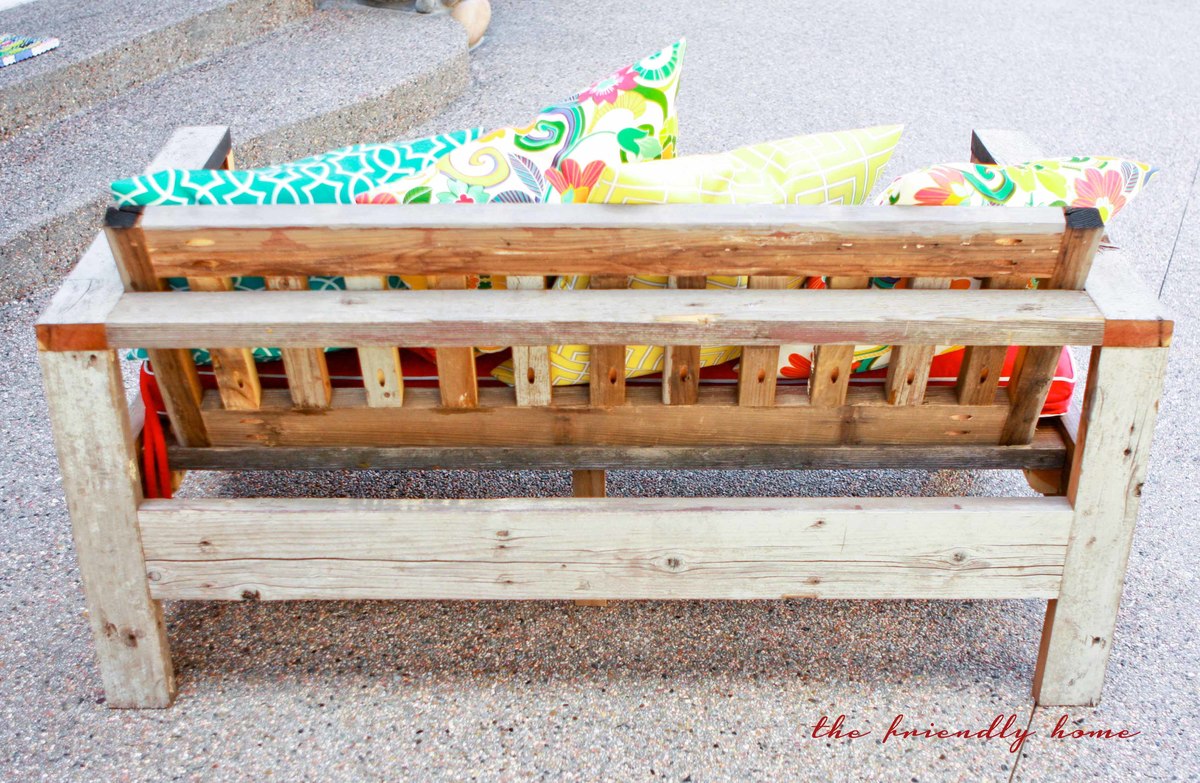
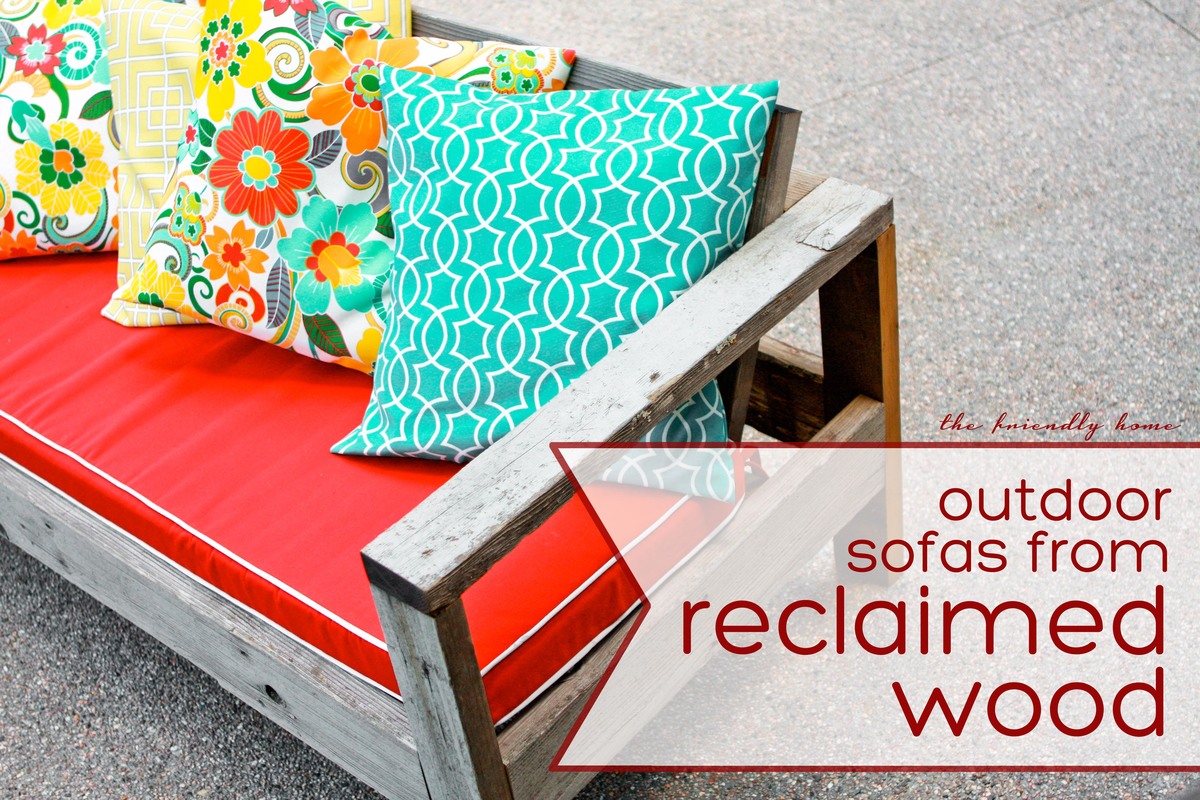
Using Ana's plan as a guide, I built two of these sofas to fit an outdoor cushion I already had. I used wood from our old deck -- a great way to re-use and save money, too!