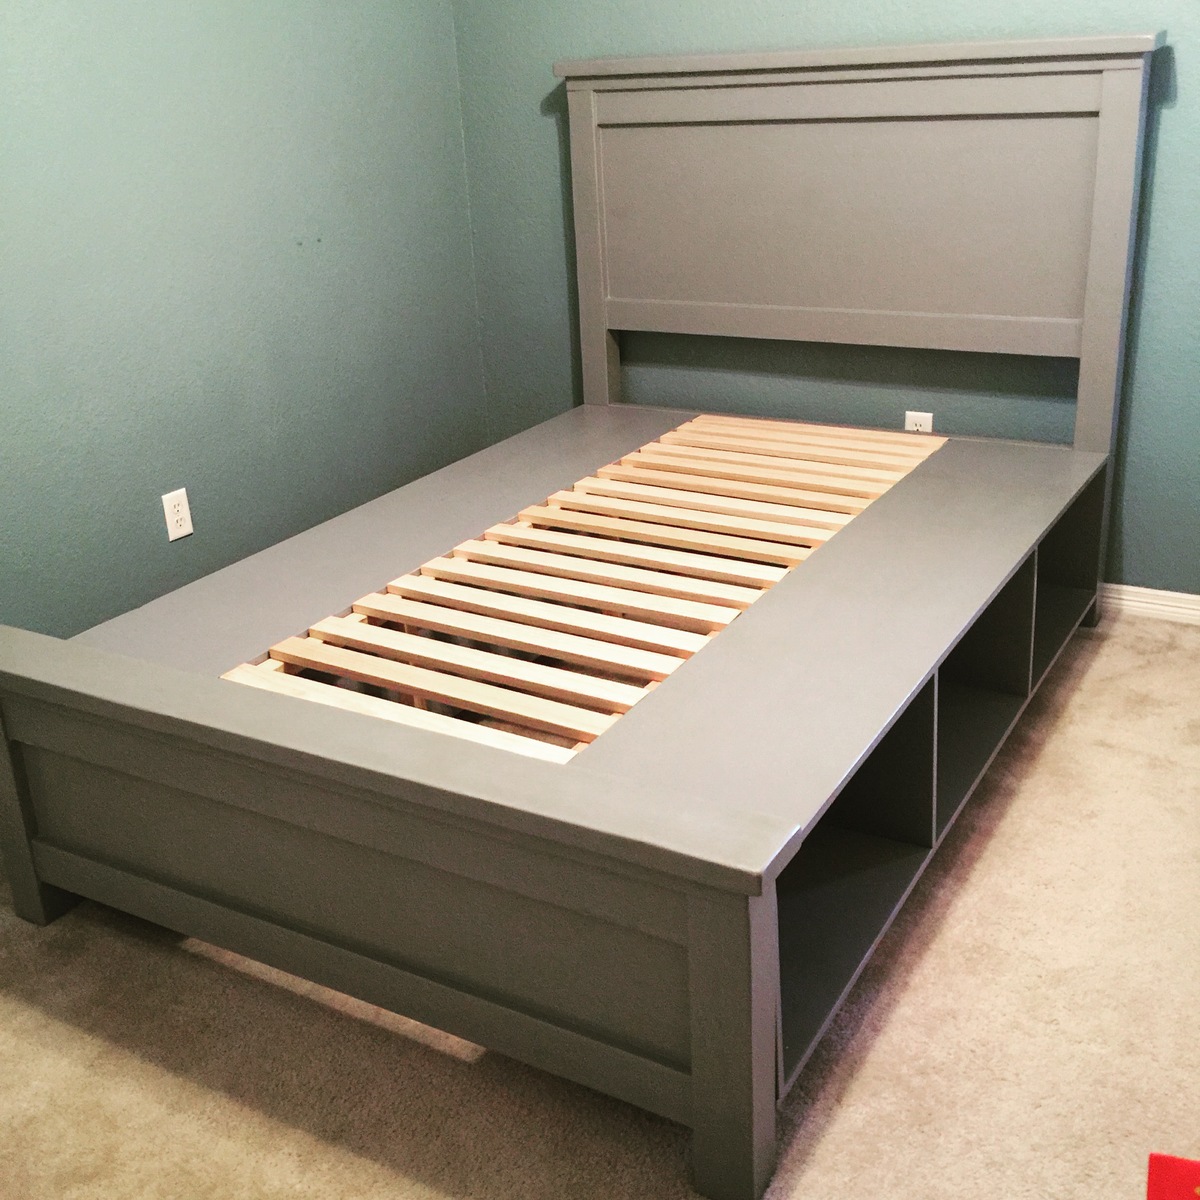
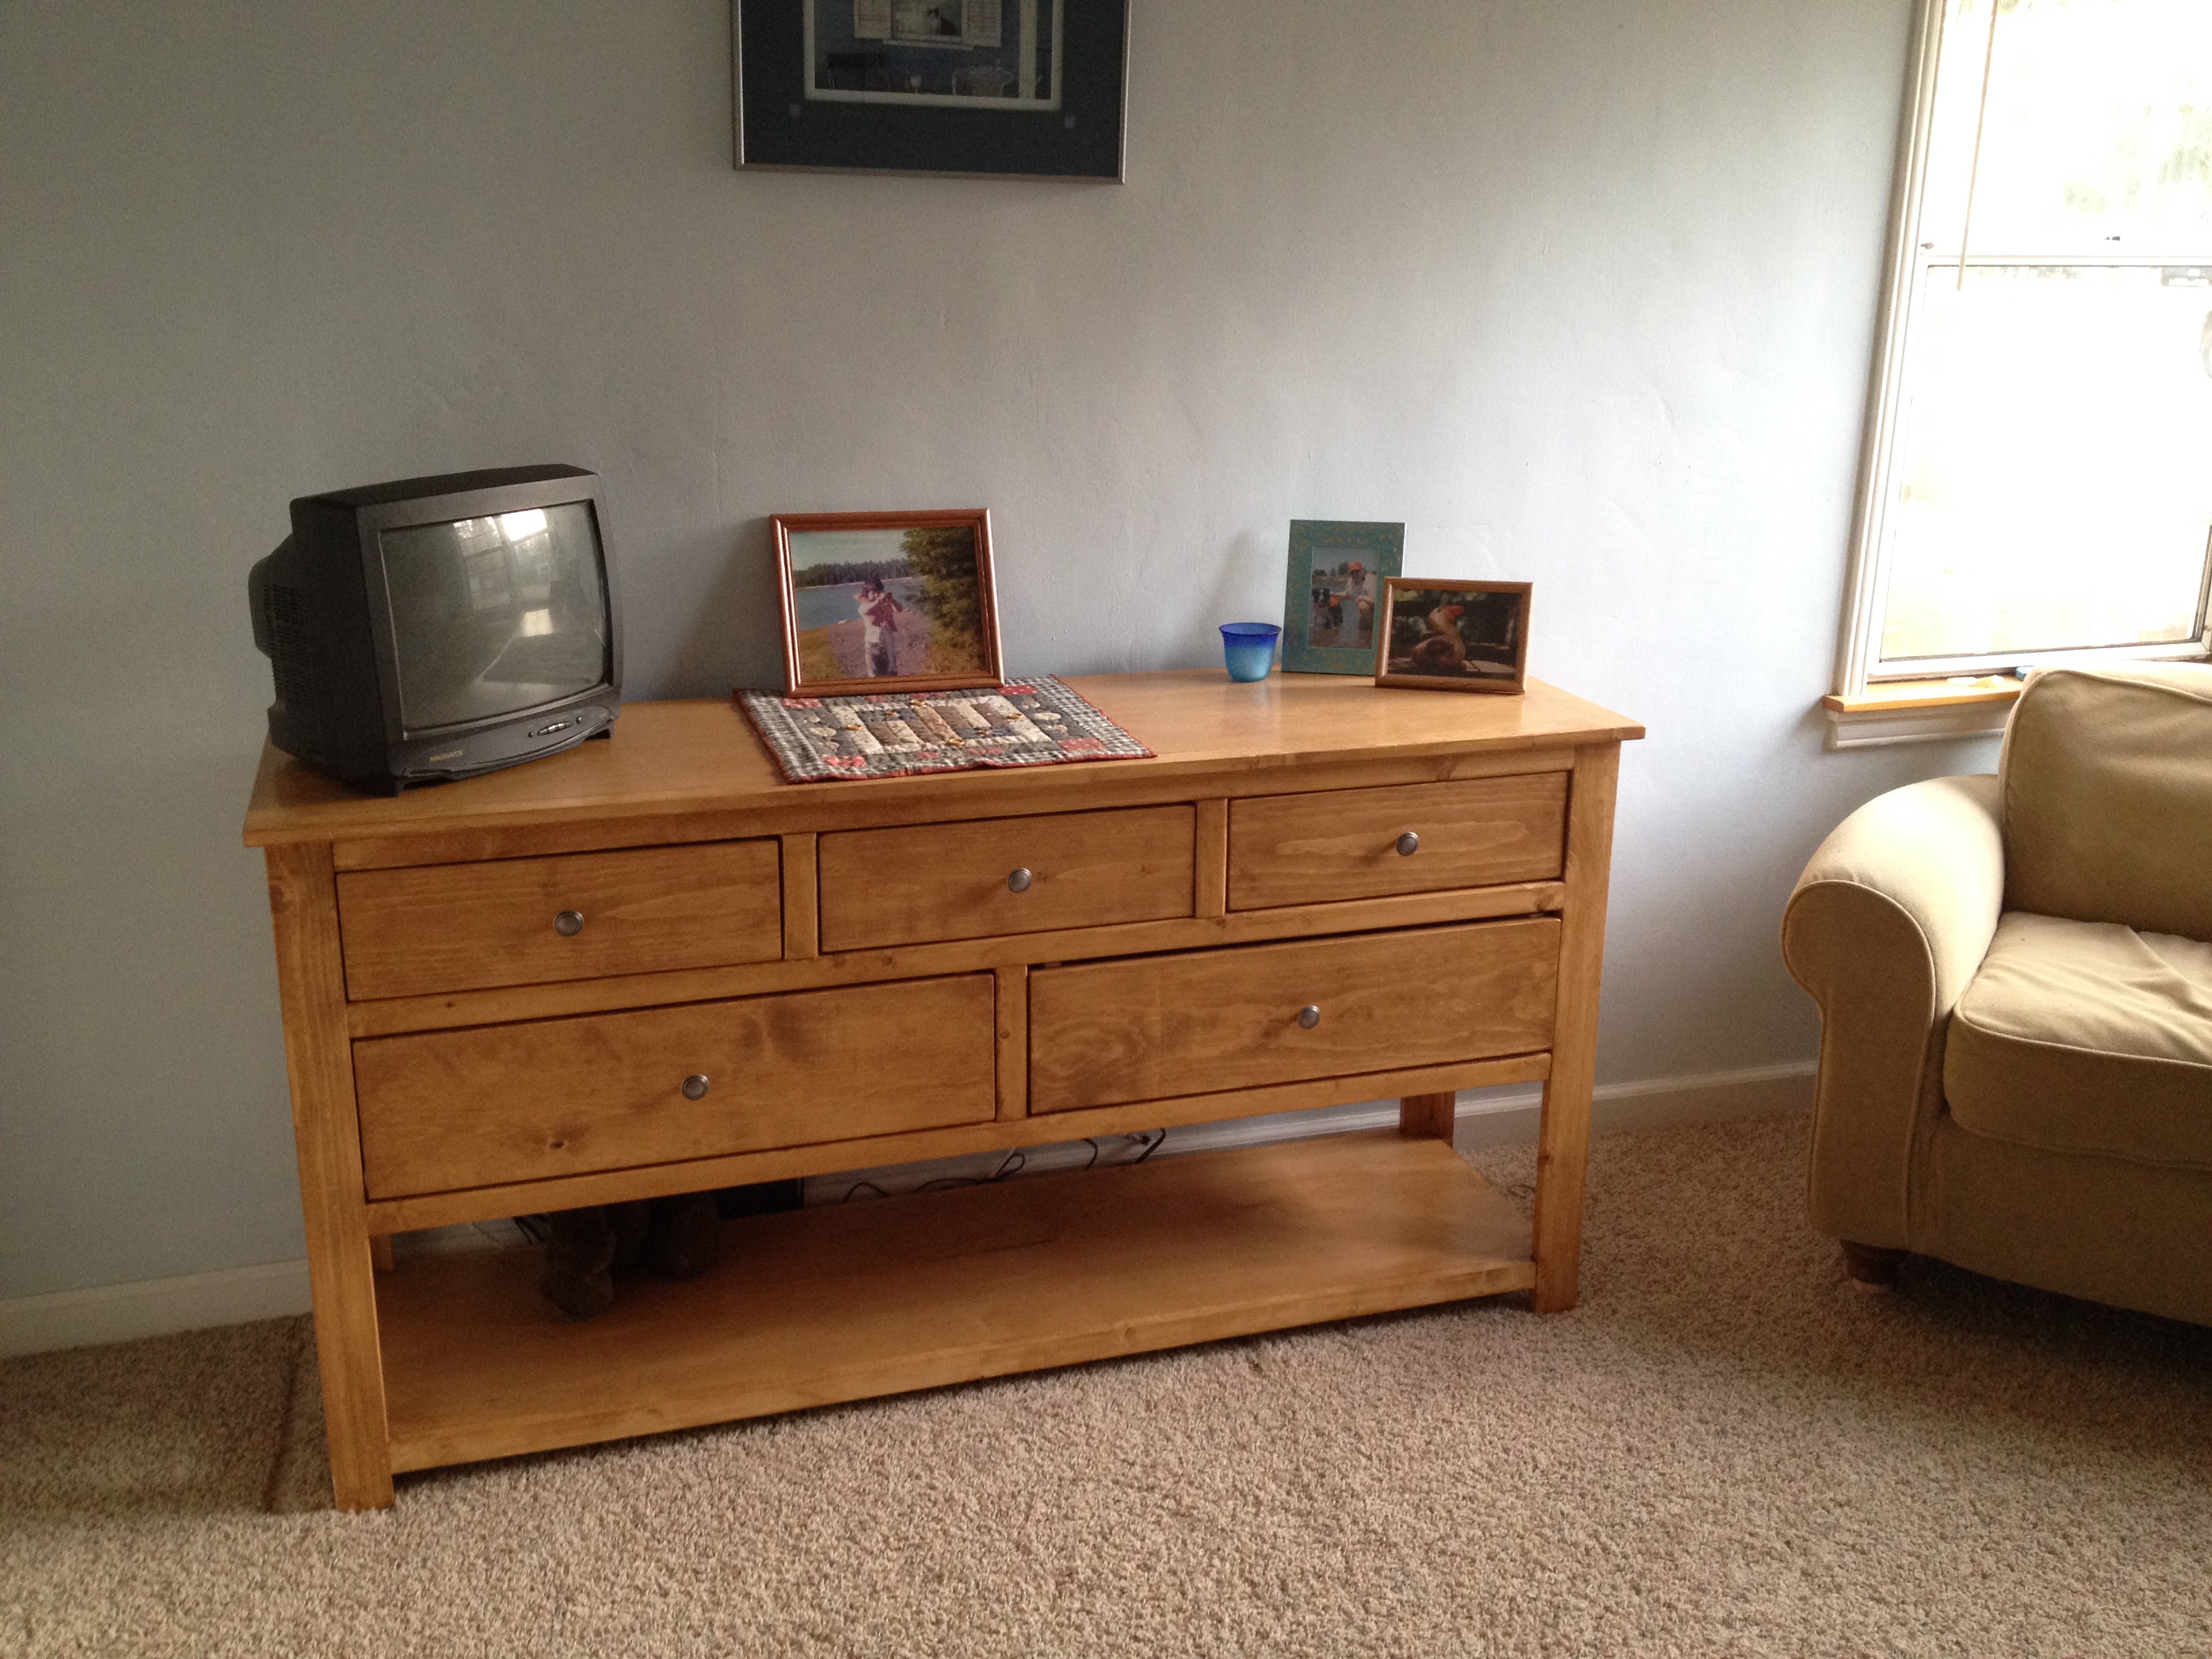
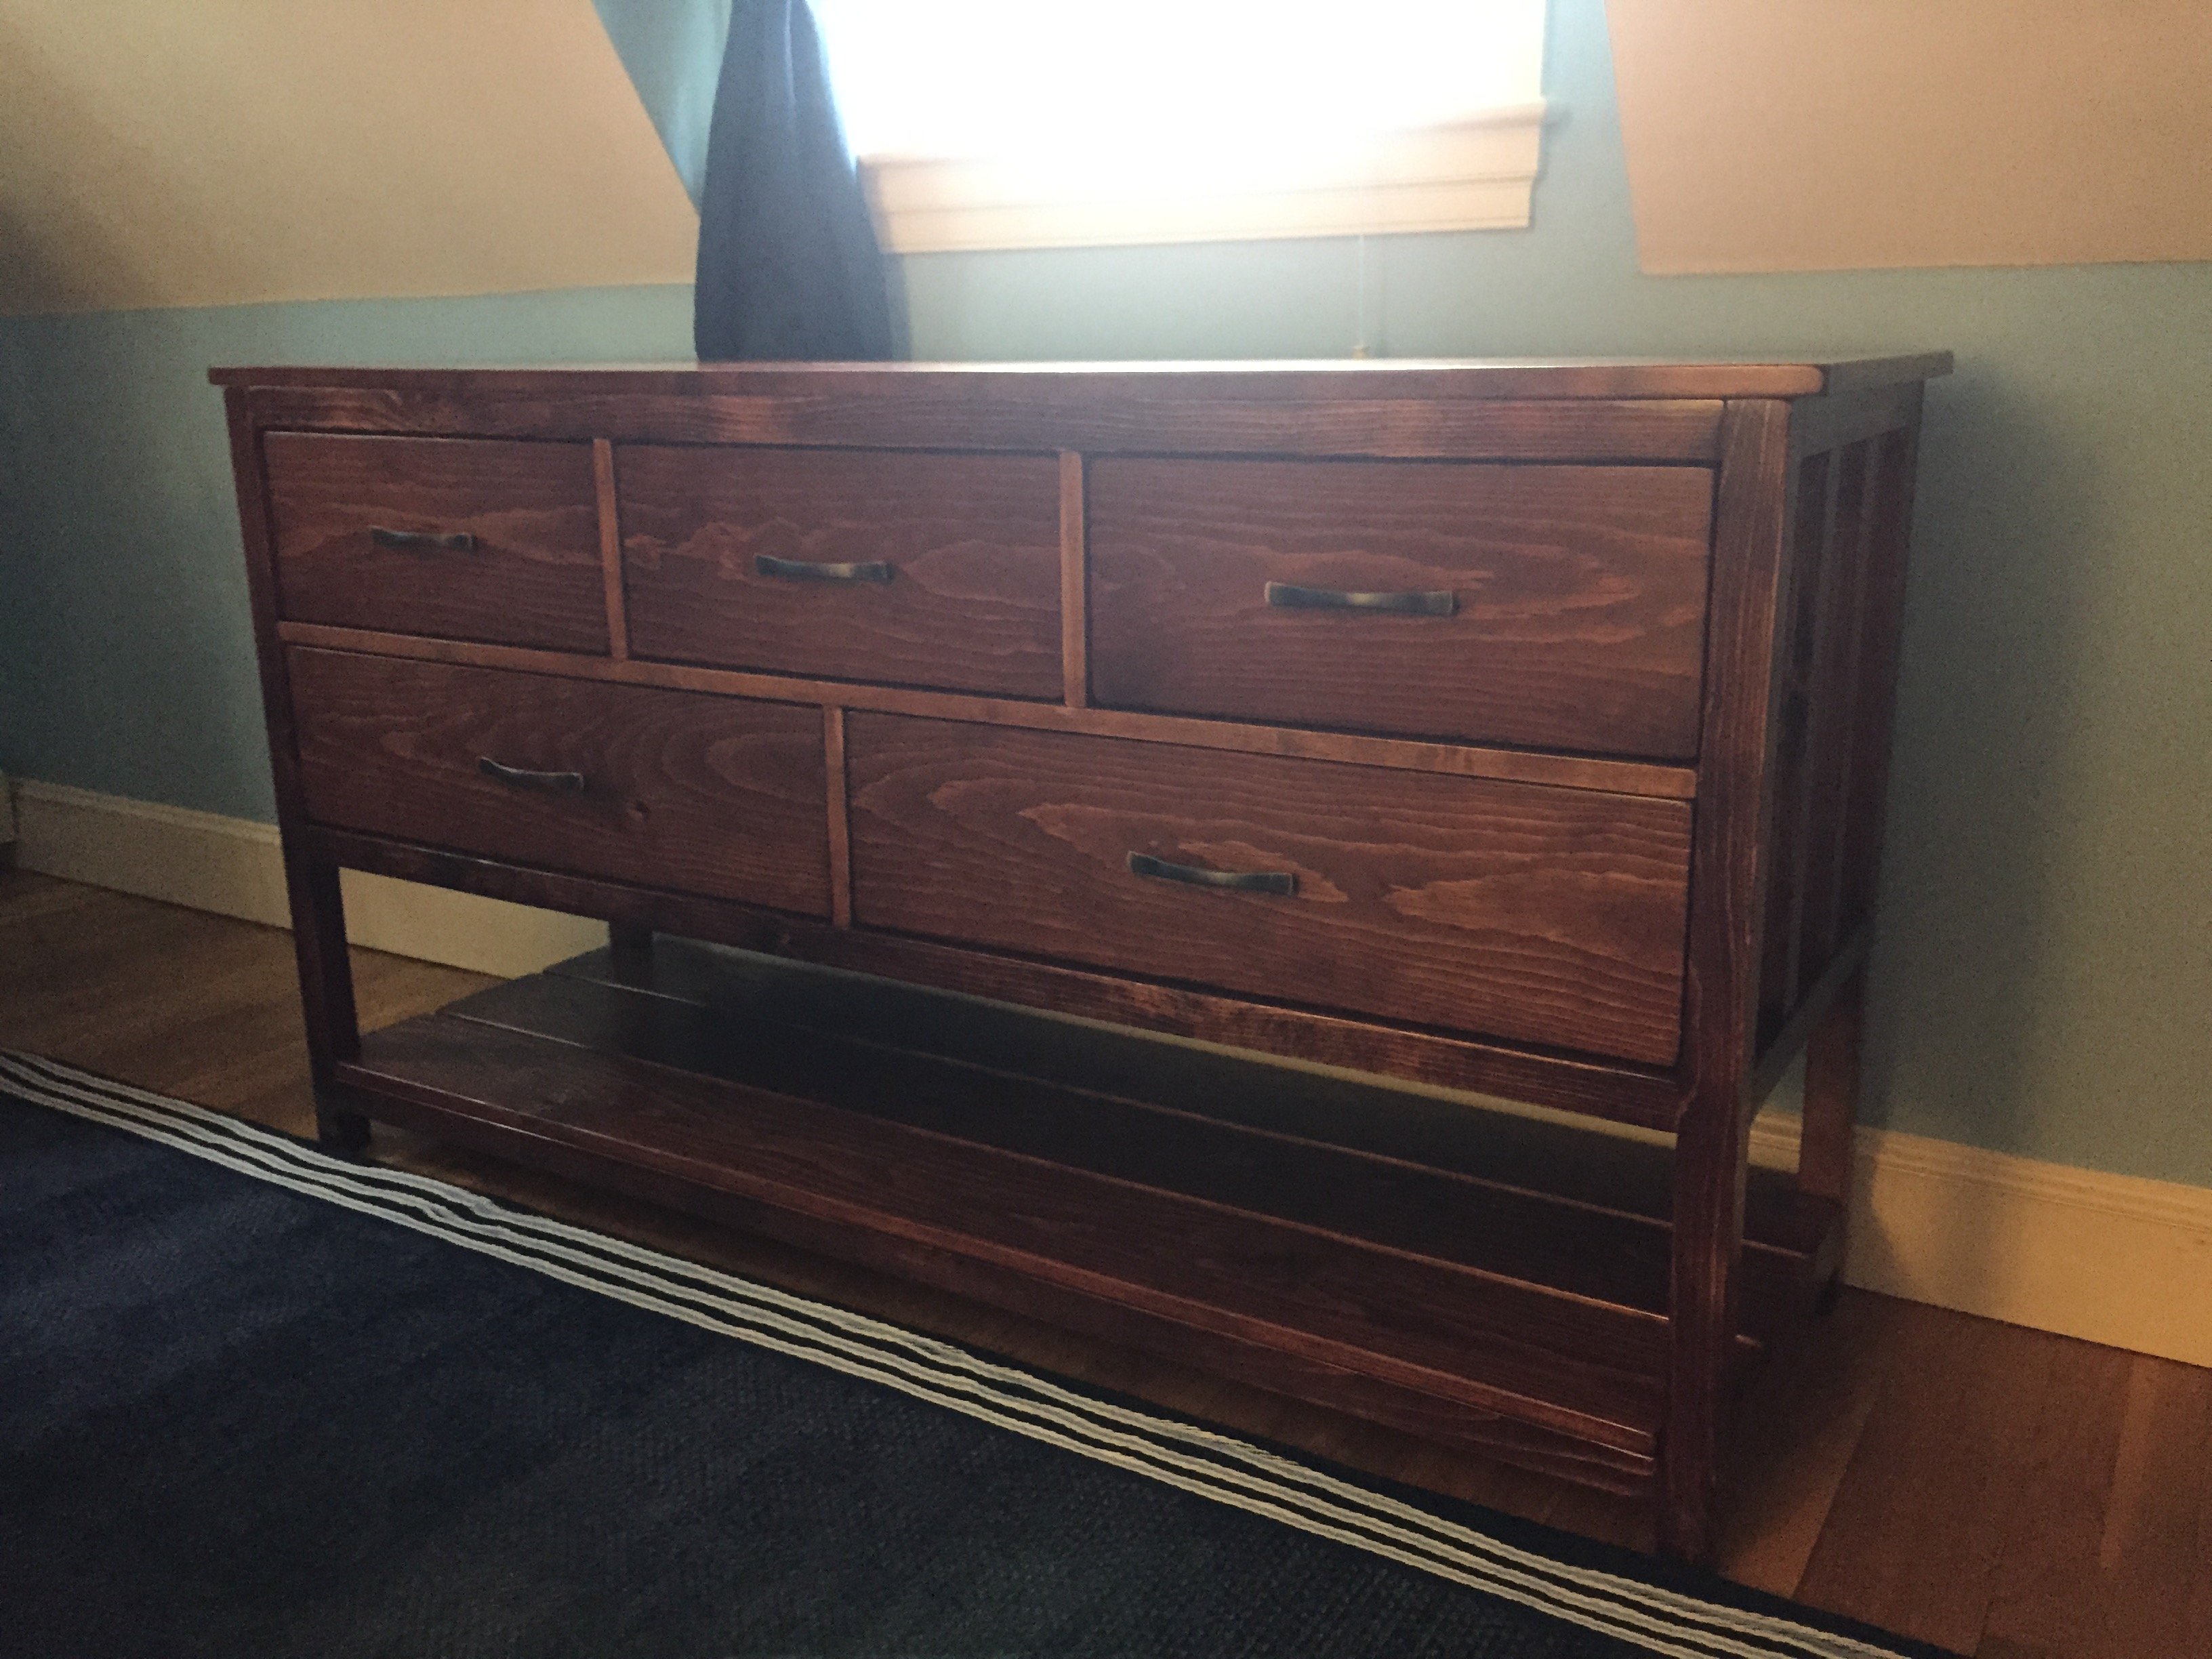
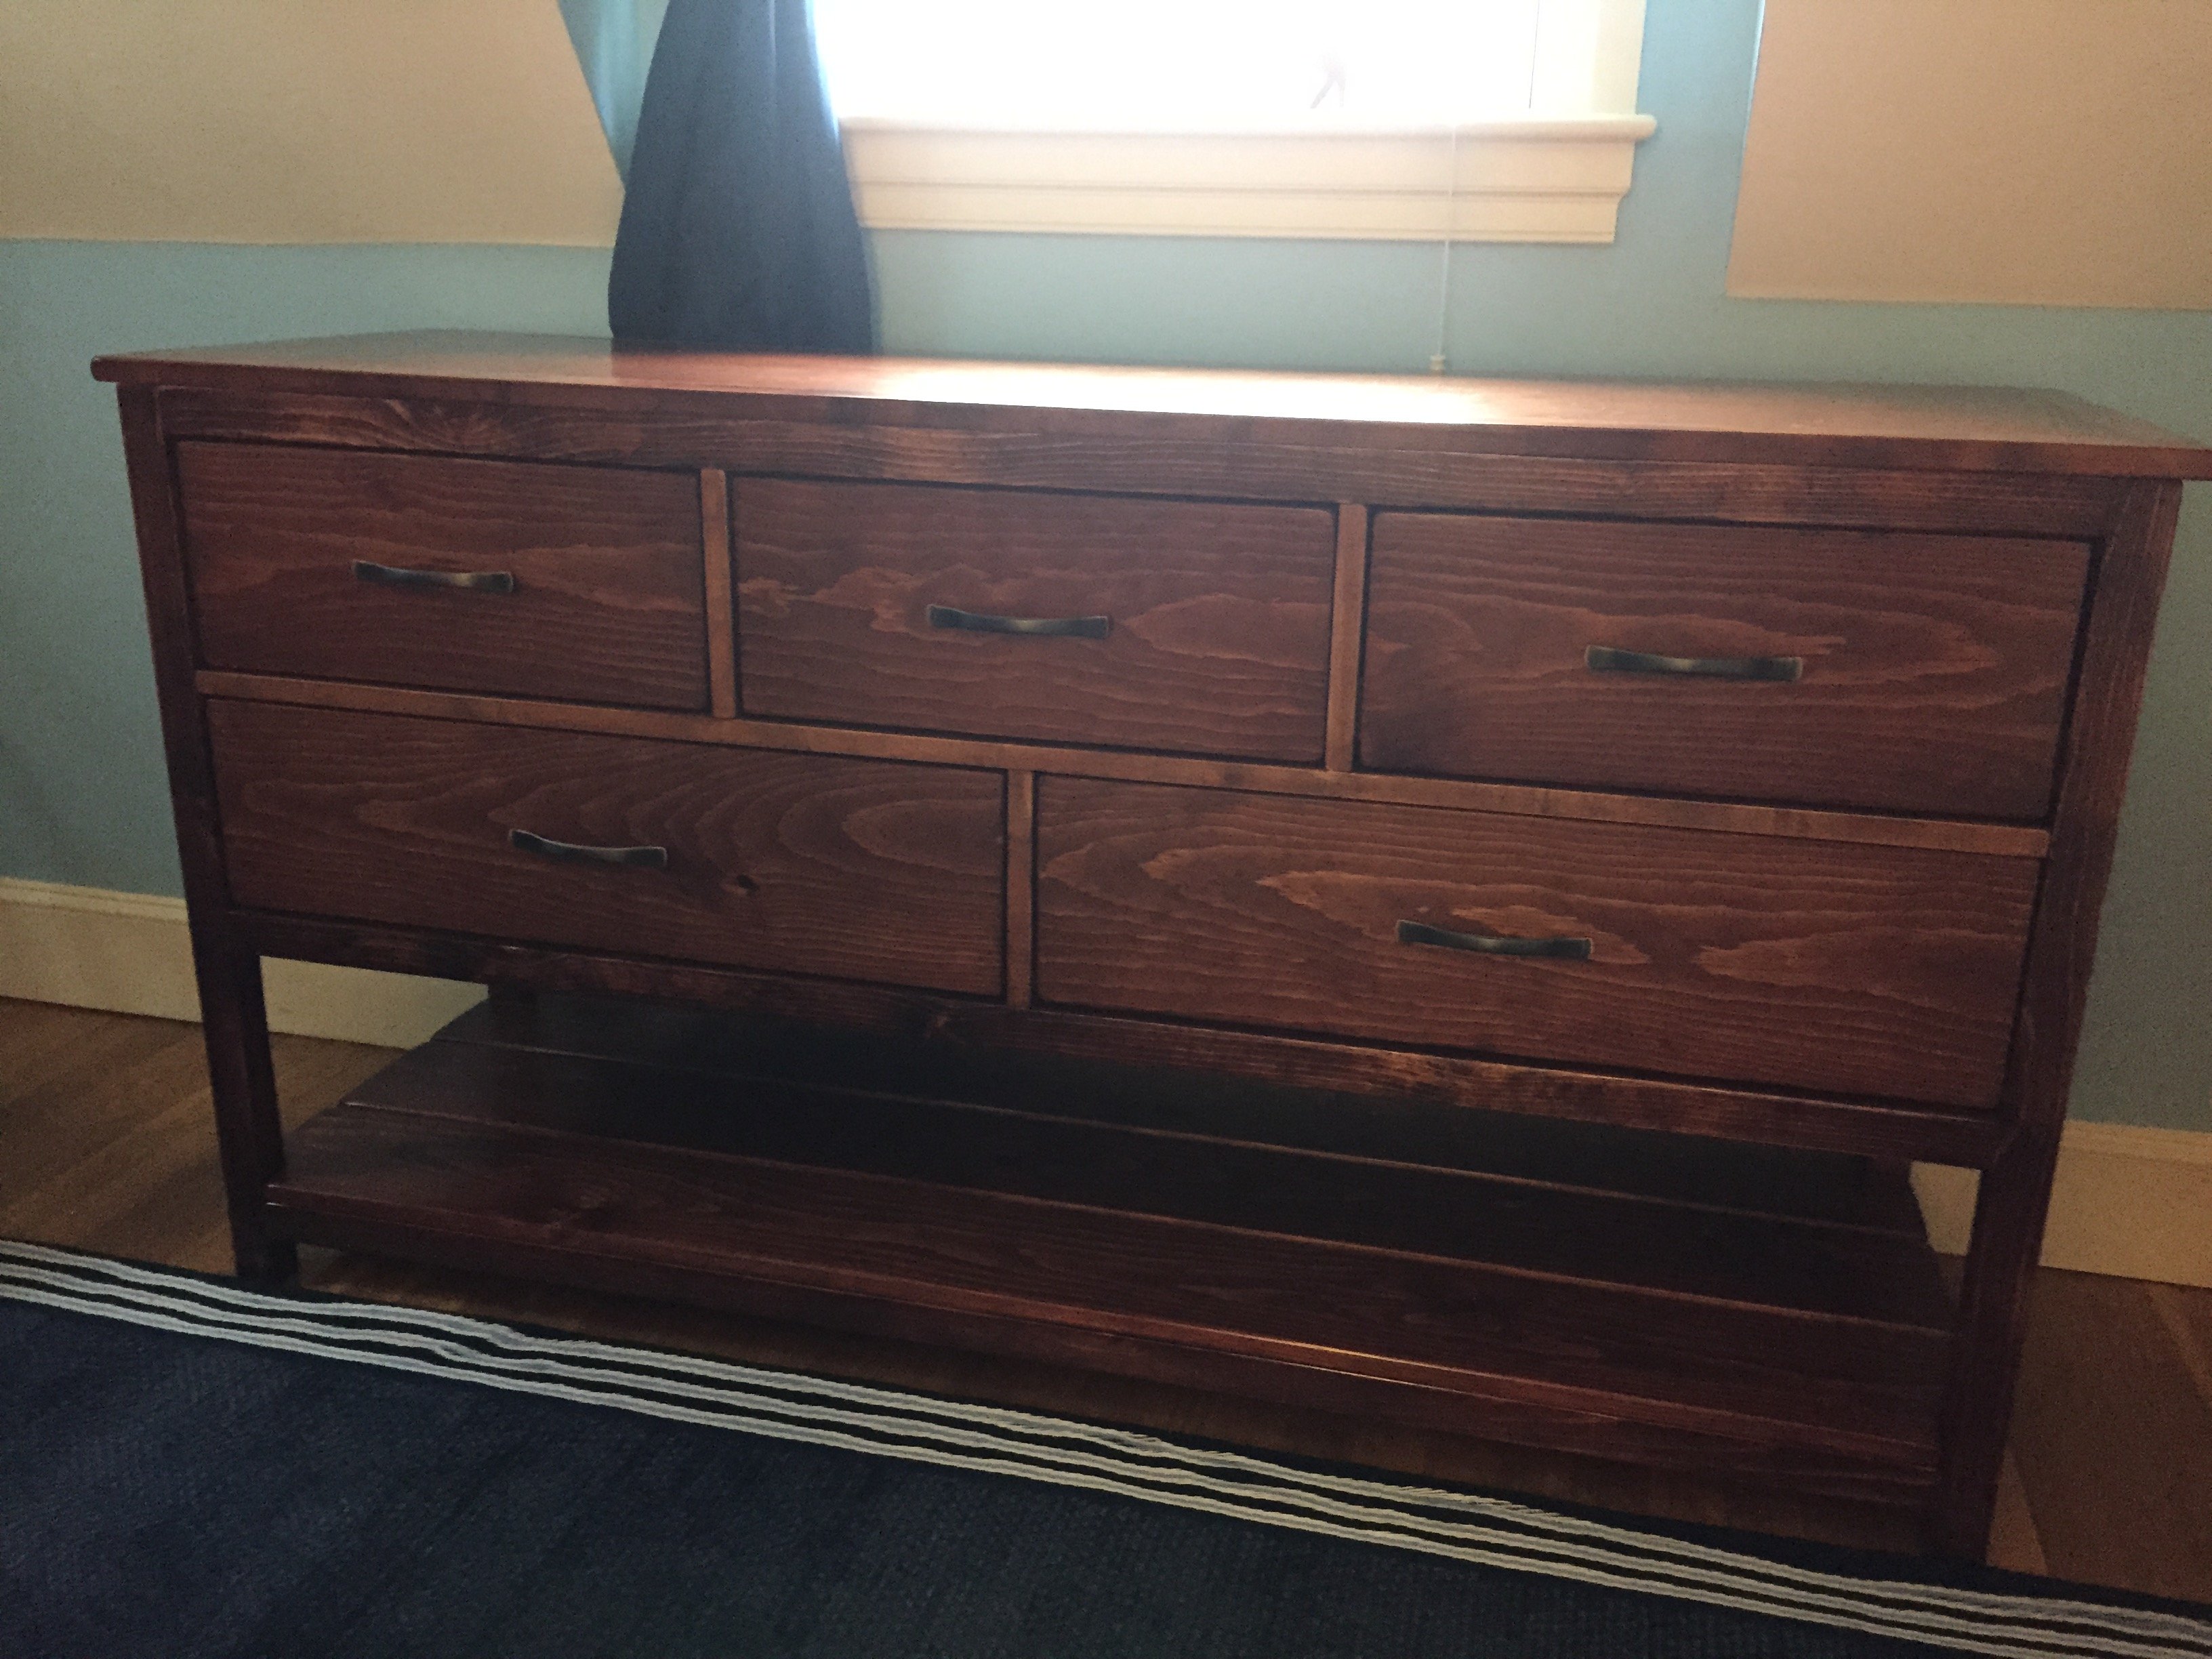
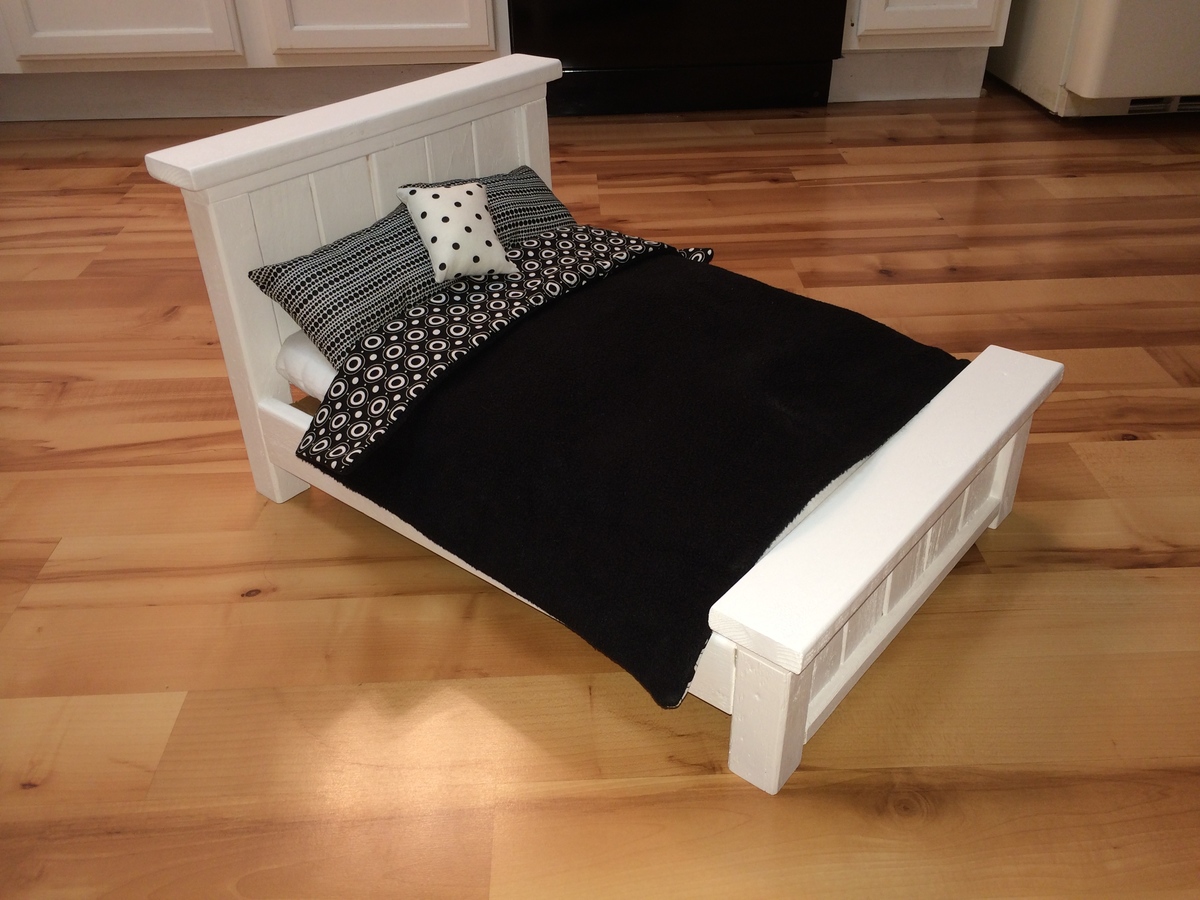
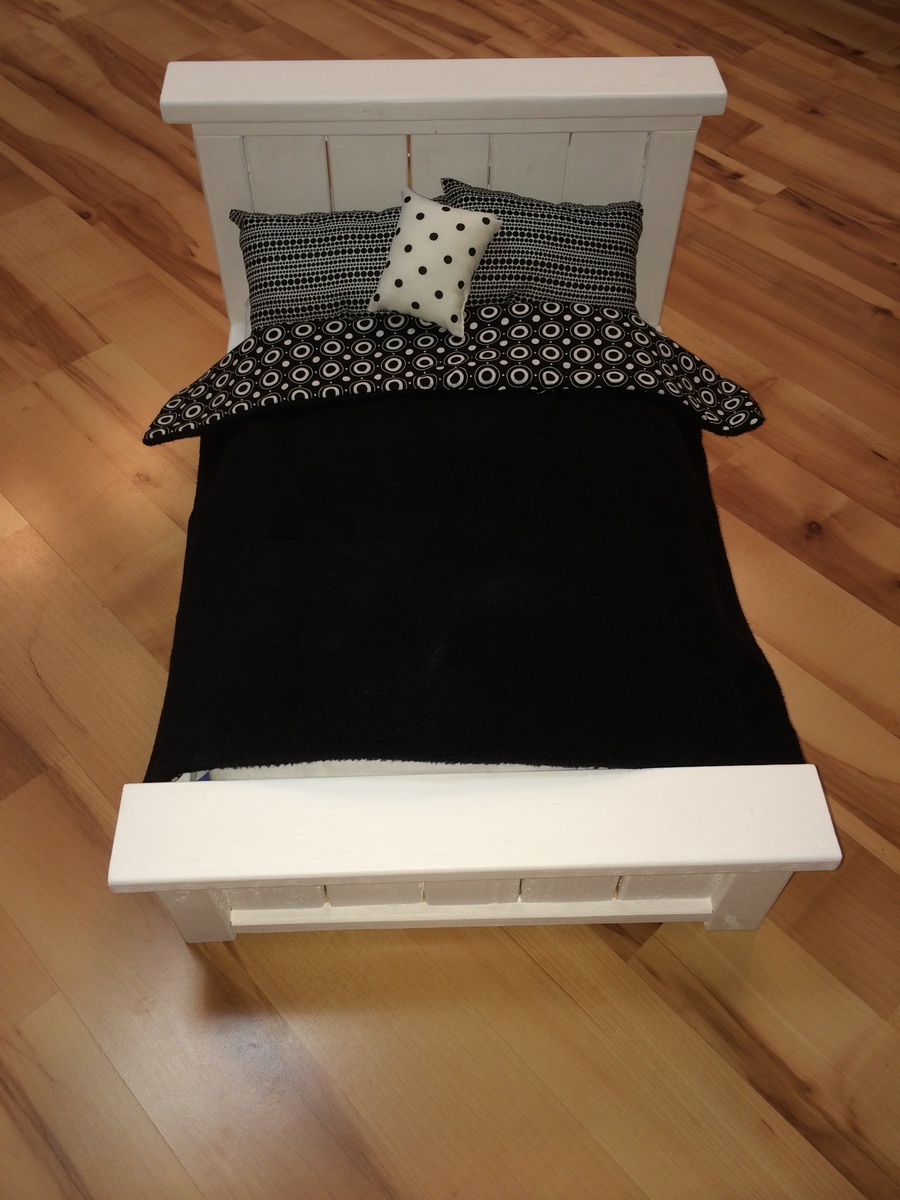
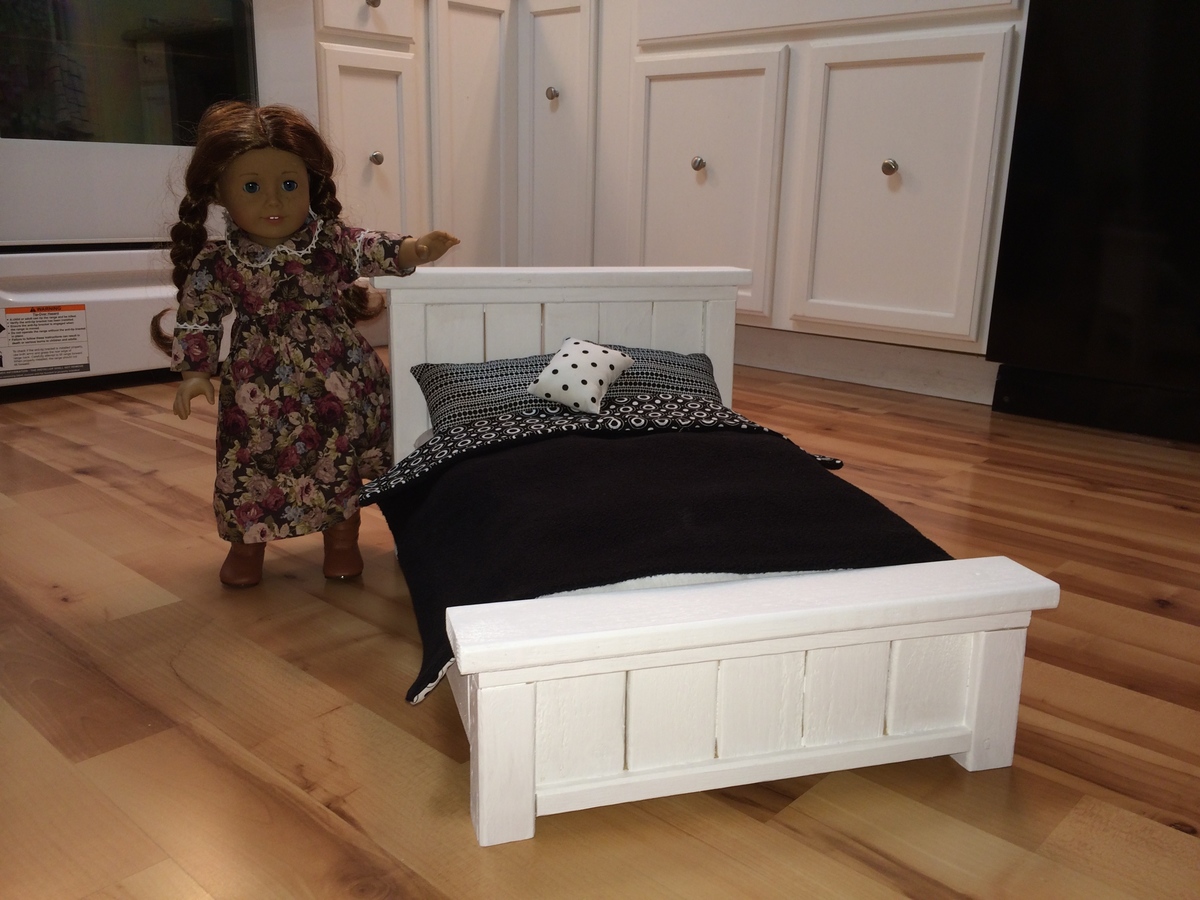
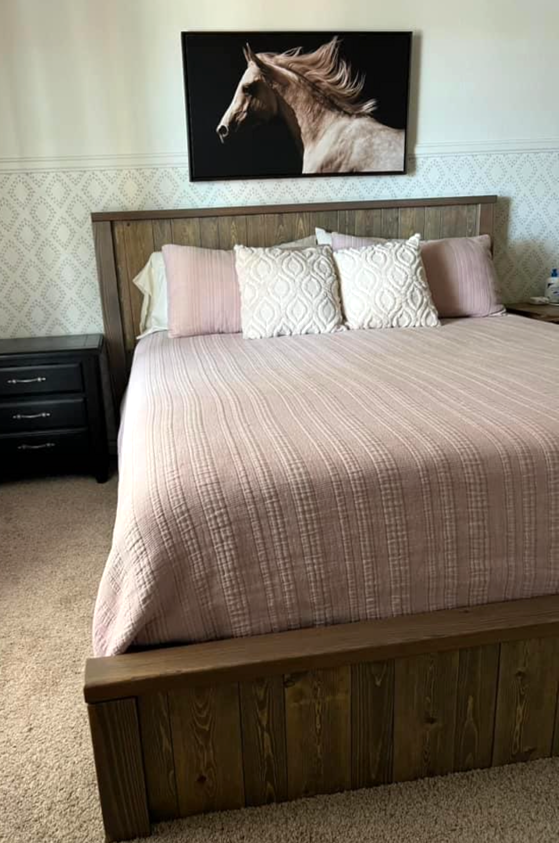
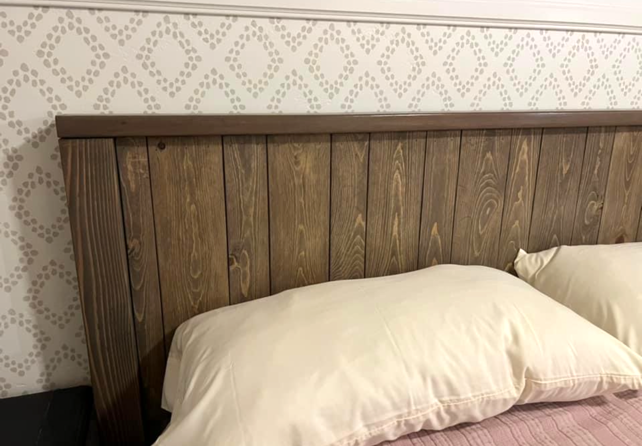
Farmhouse bed
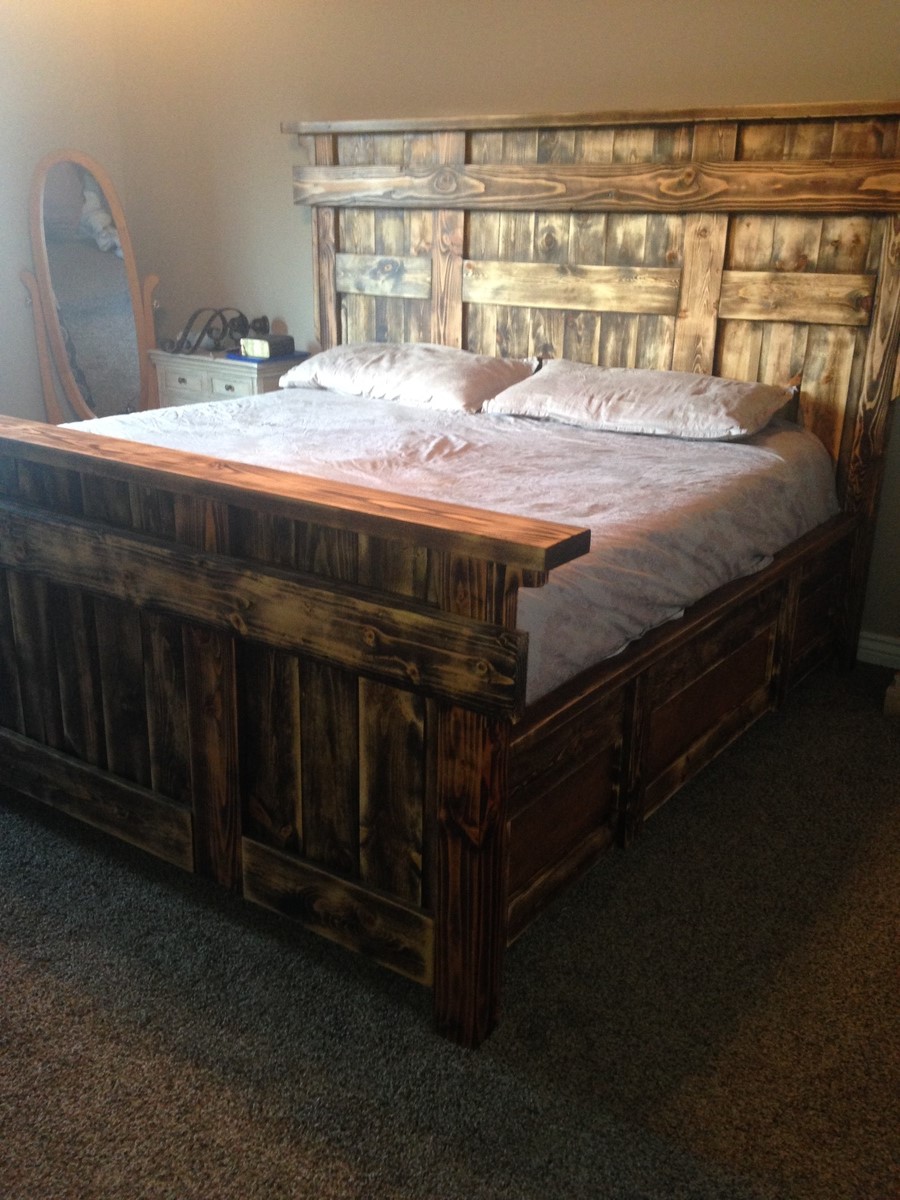
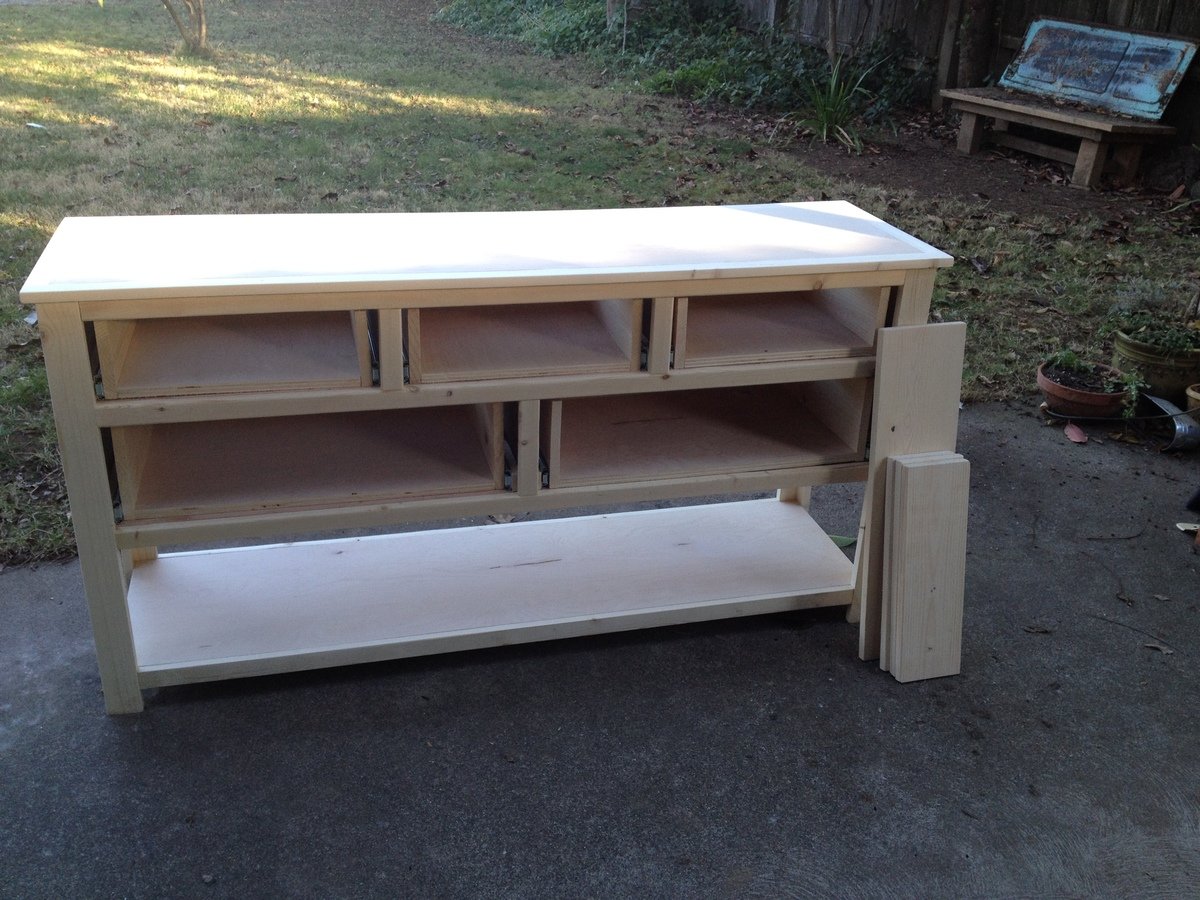
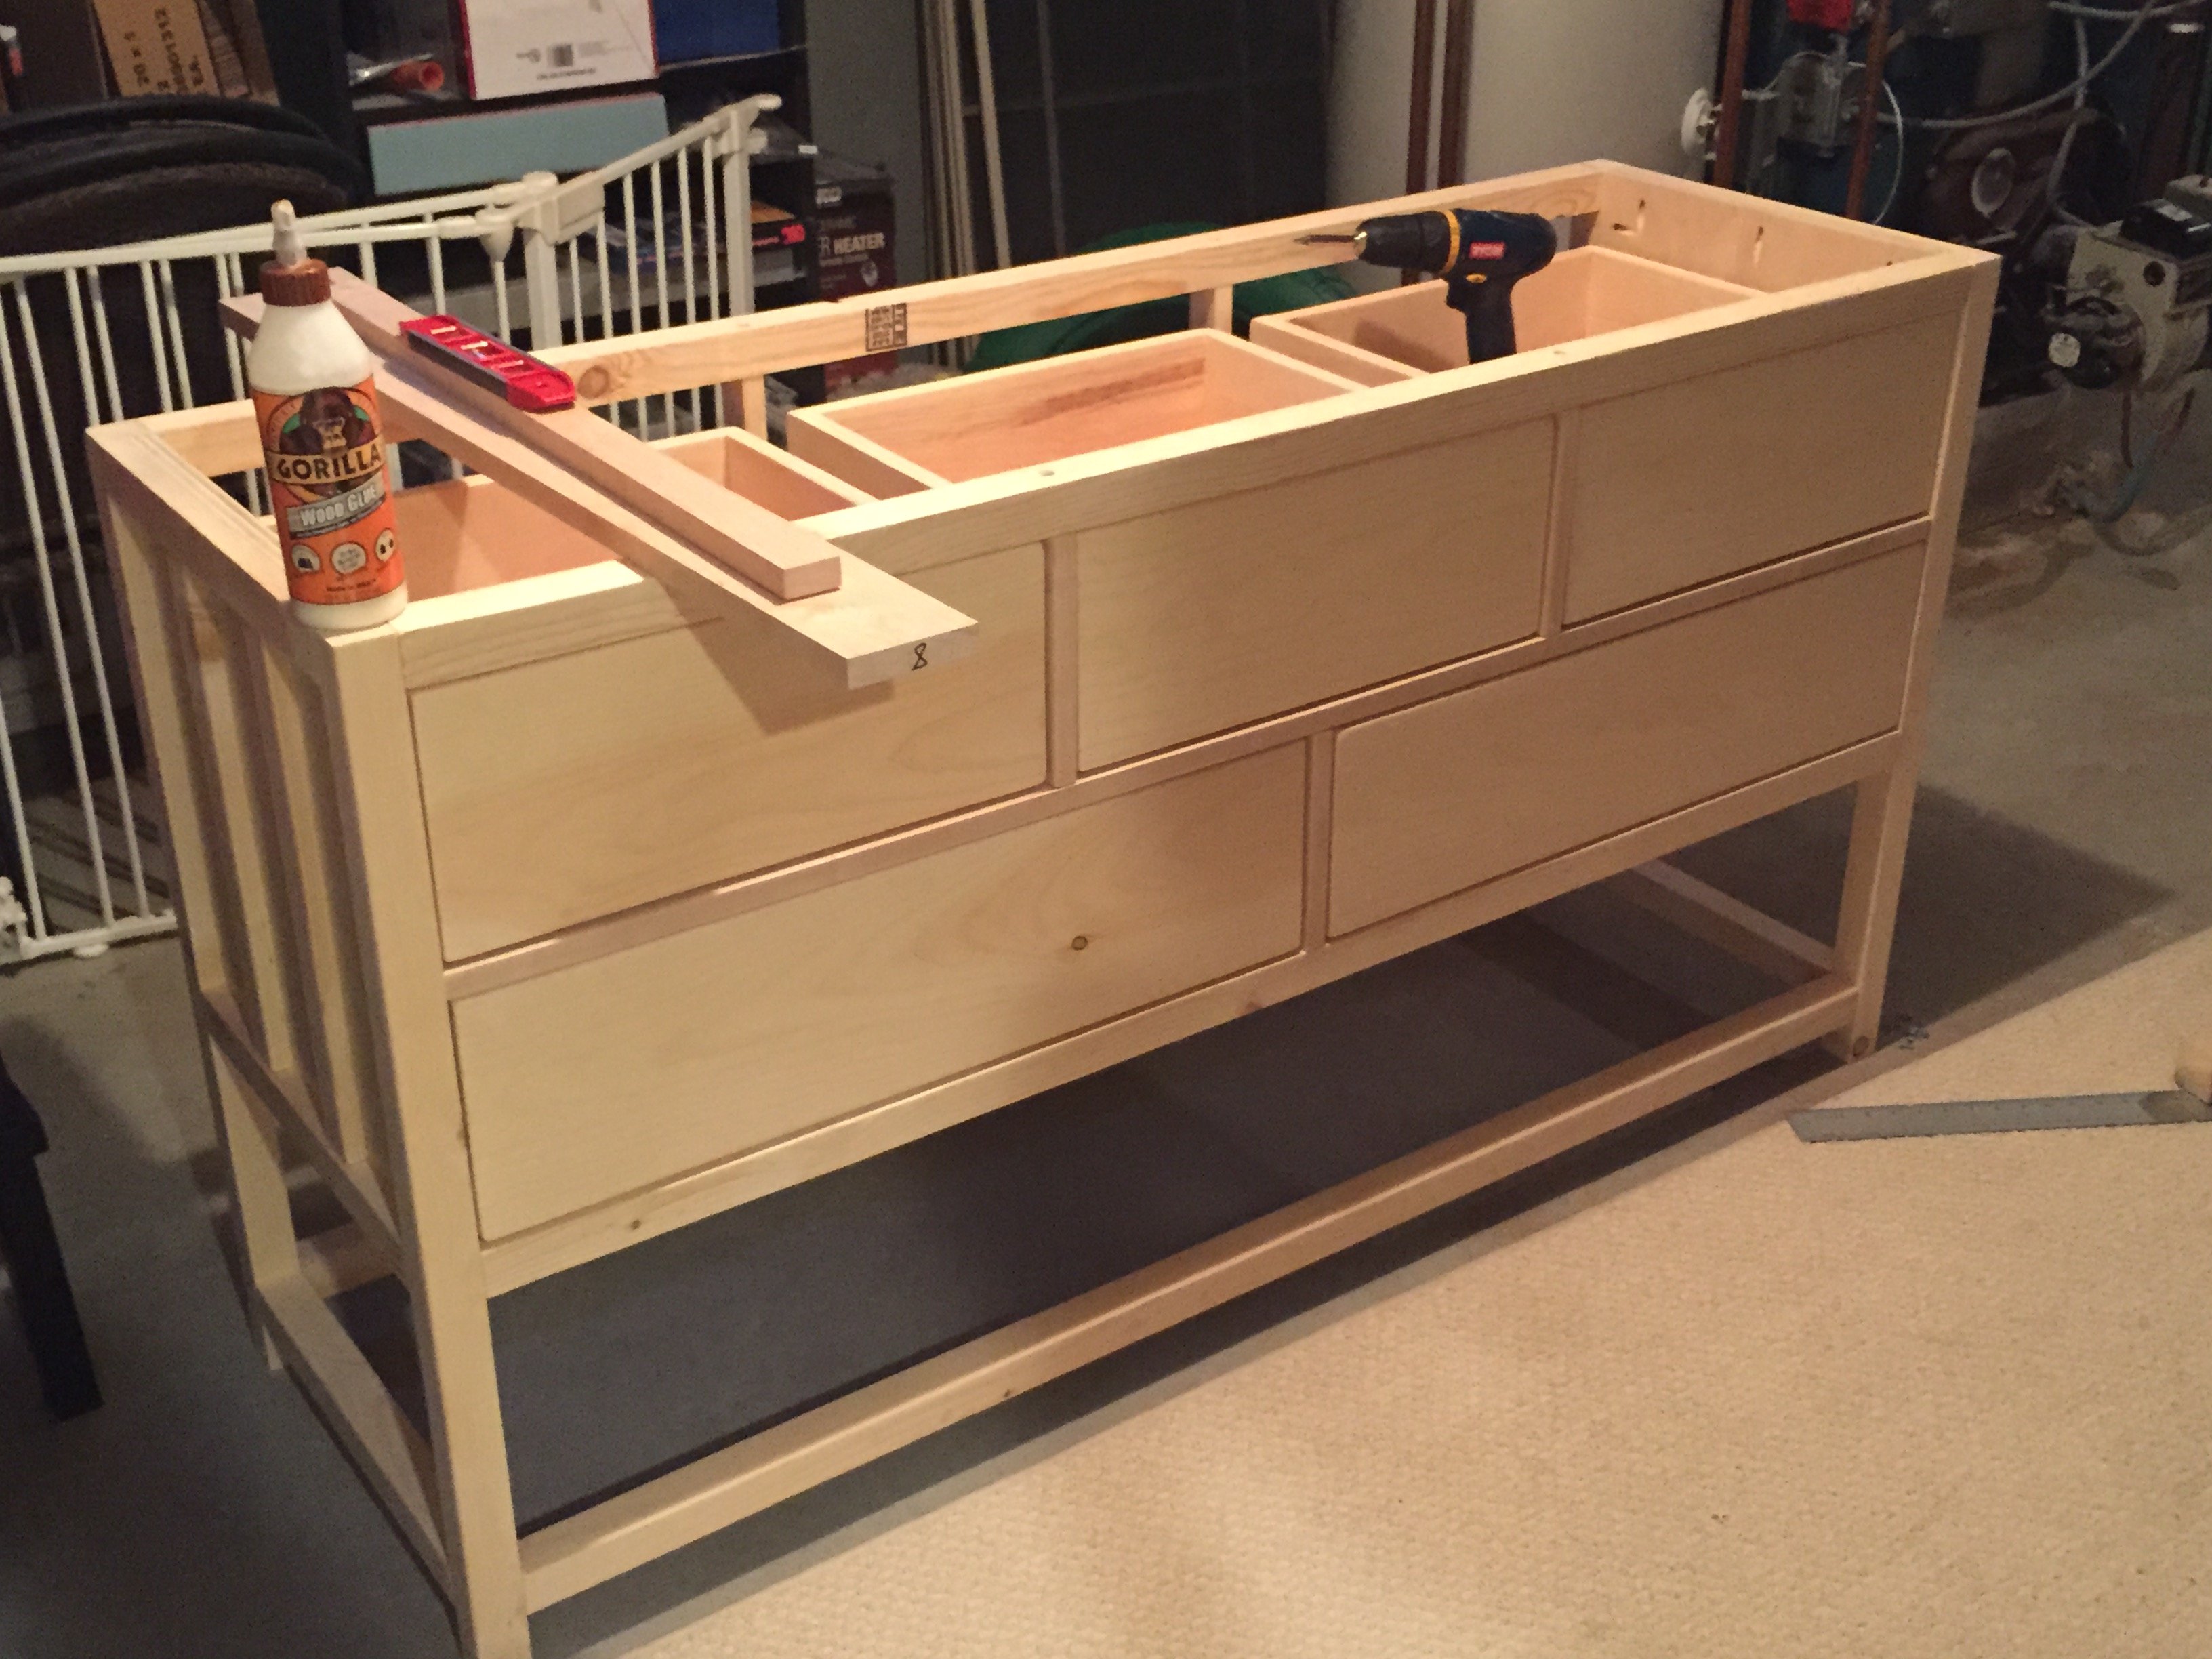
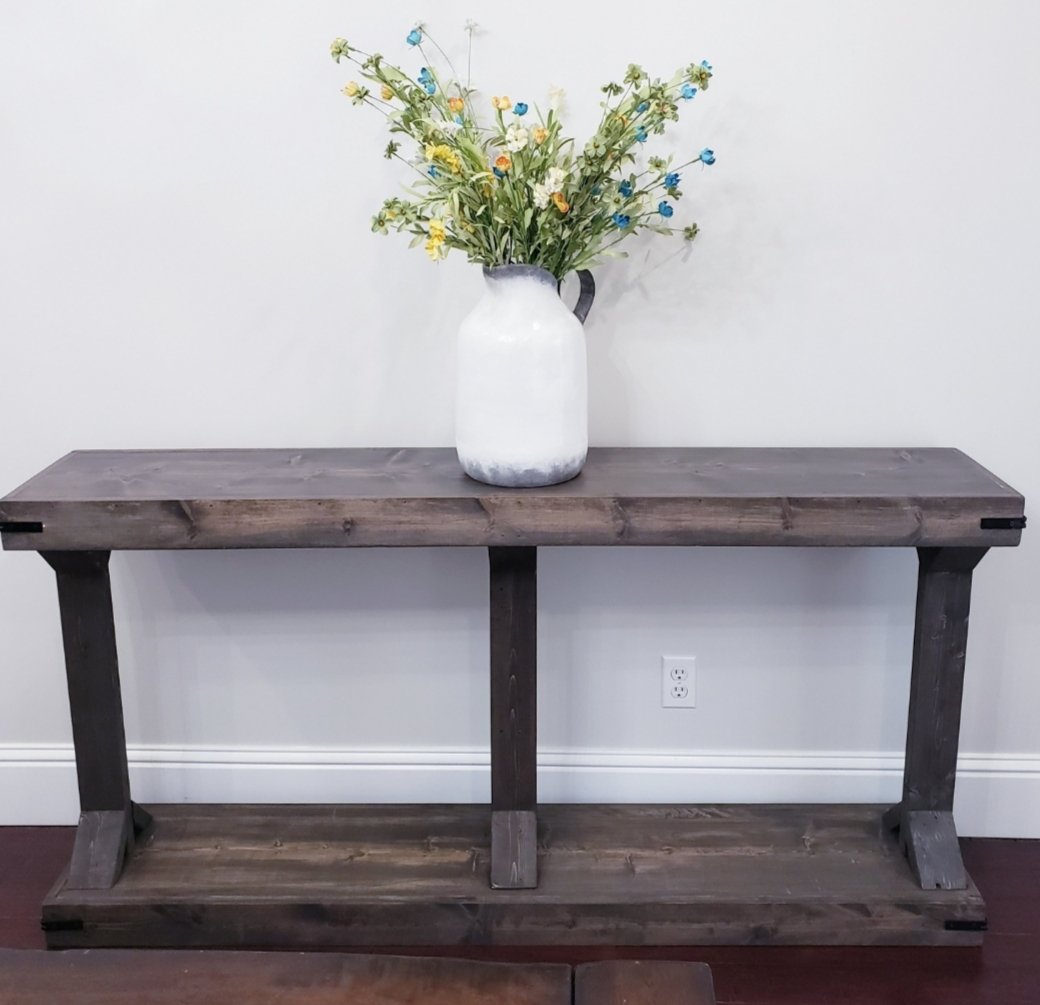
Plans were perfect. This was my first build.
Built from Plan(s)
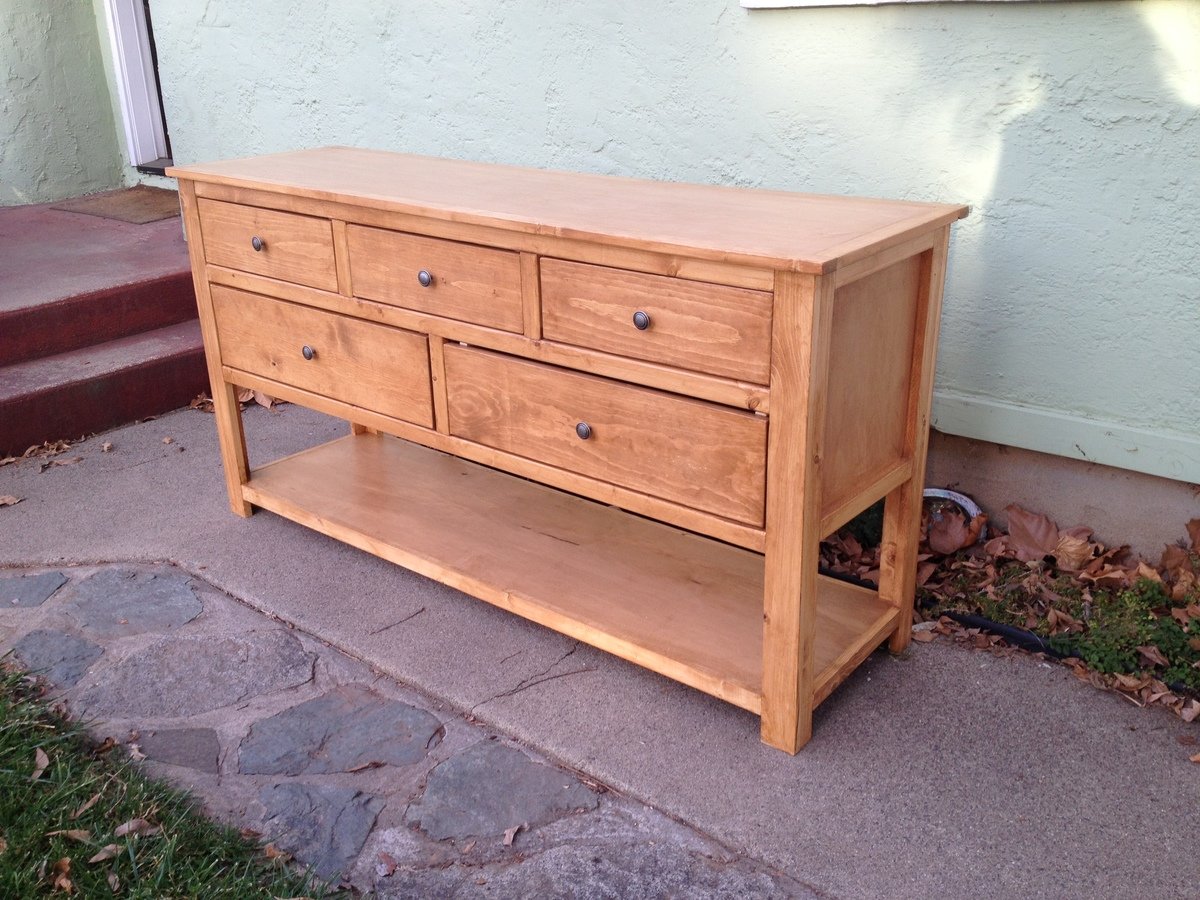
Estimated Cost
Under 400.00
Estimated Time Investment
Week Long Project (20 Hours or More)
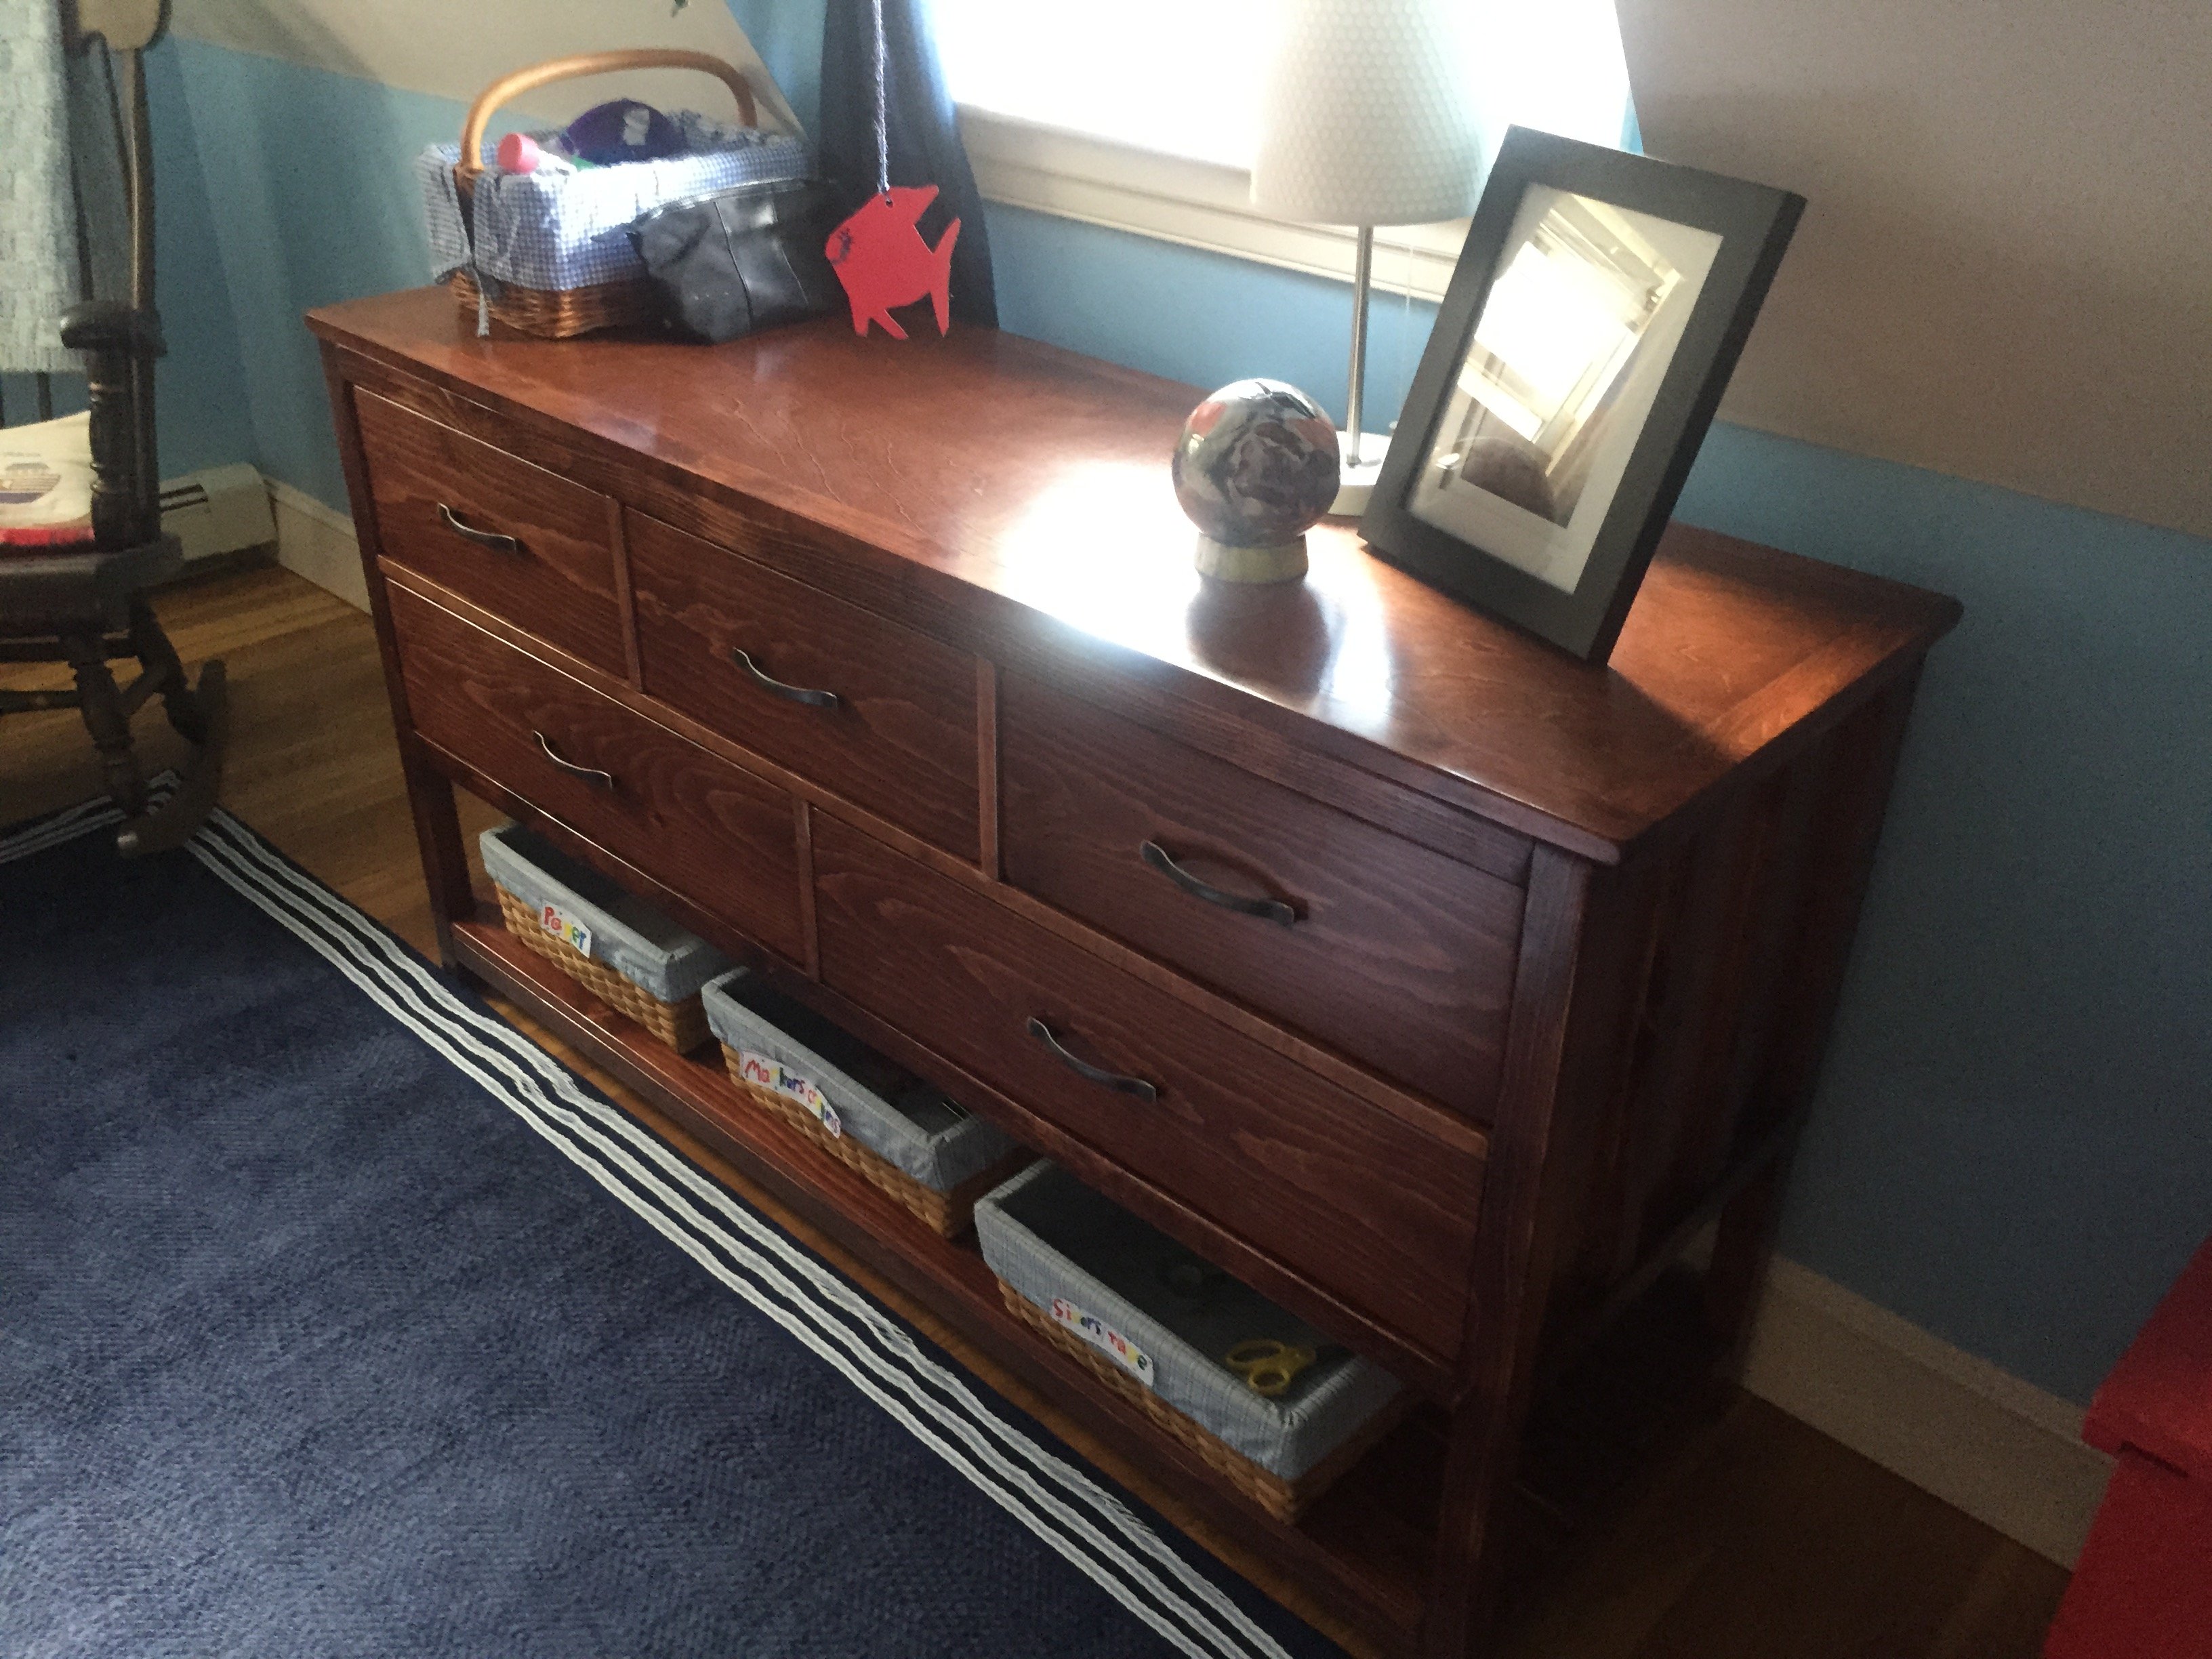
Finish Used
Plans were the perfect size. Thanks Ana
Recommended Skill Level
Beginner