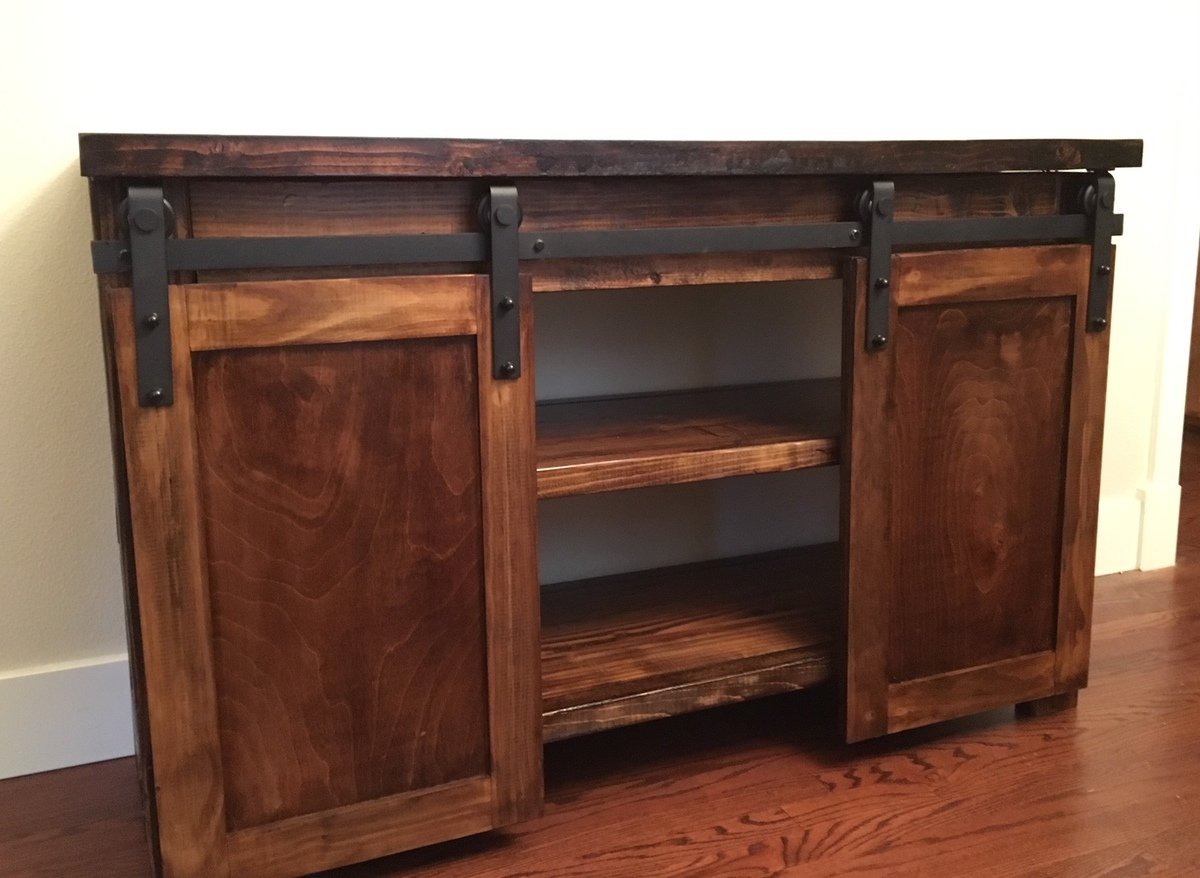
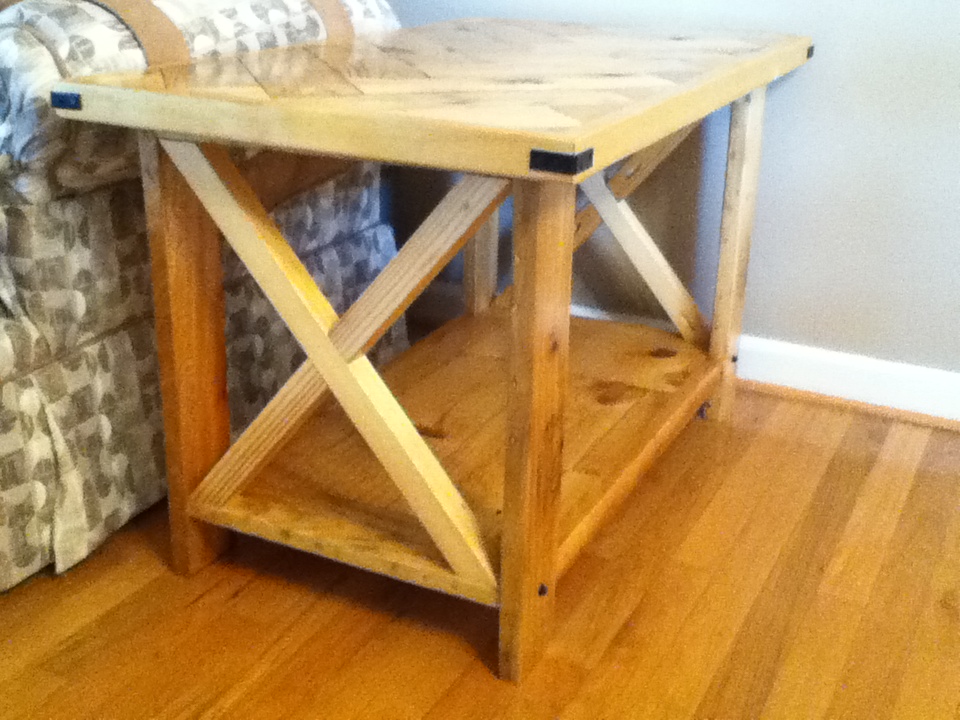
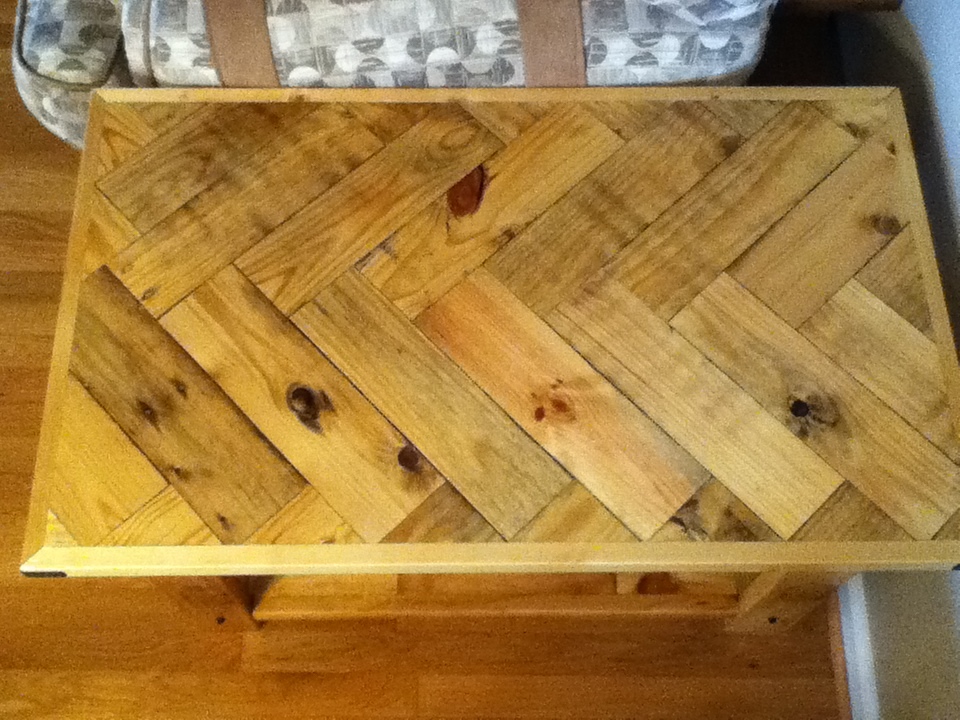
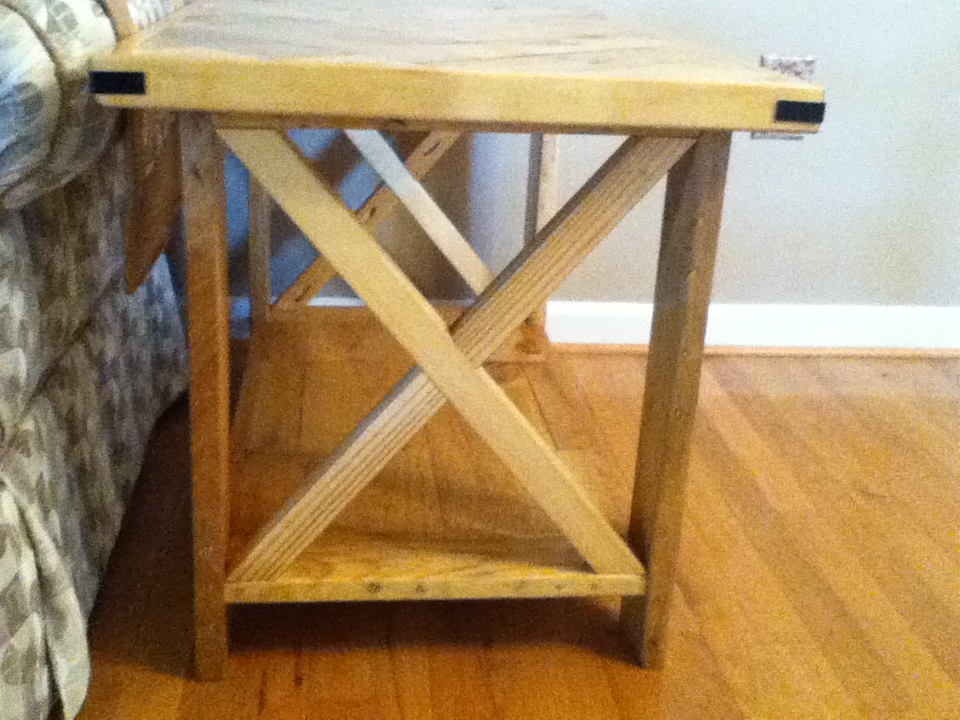
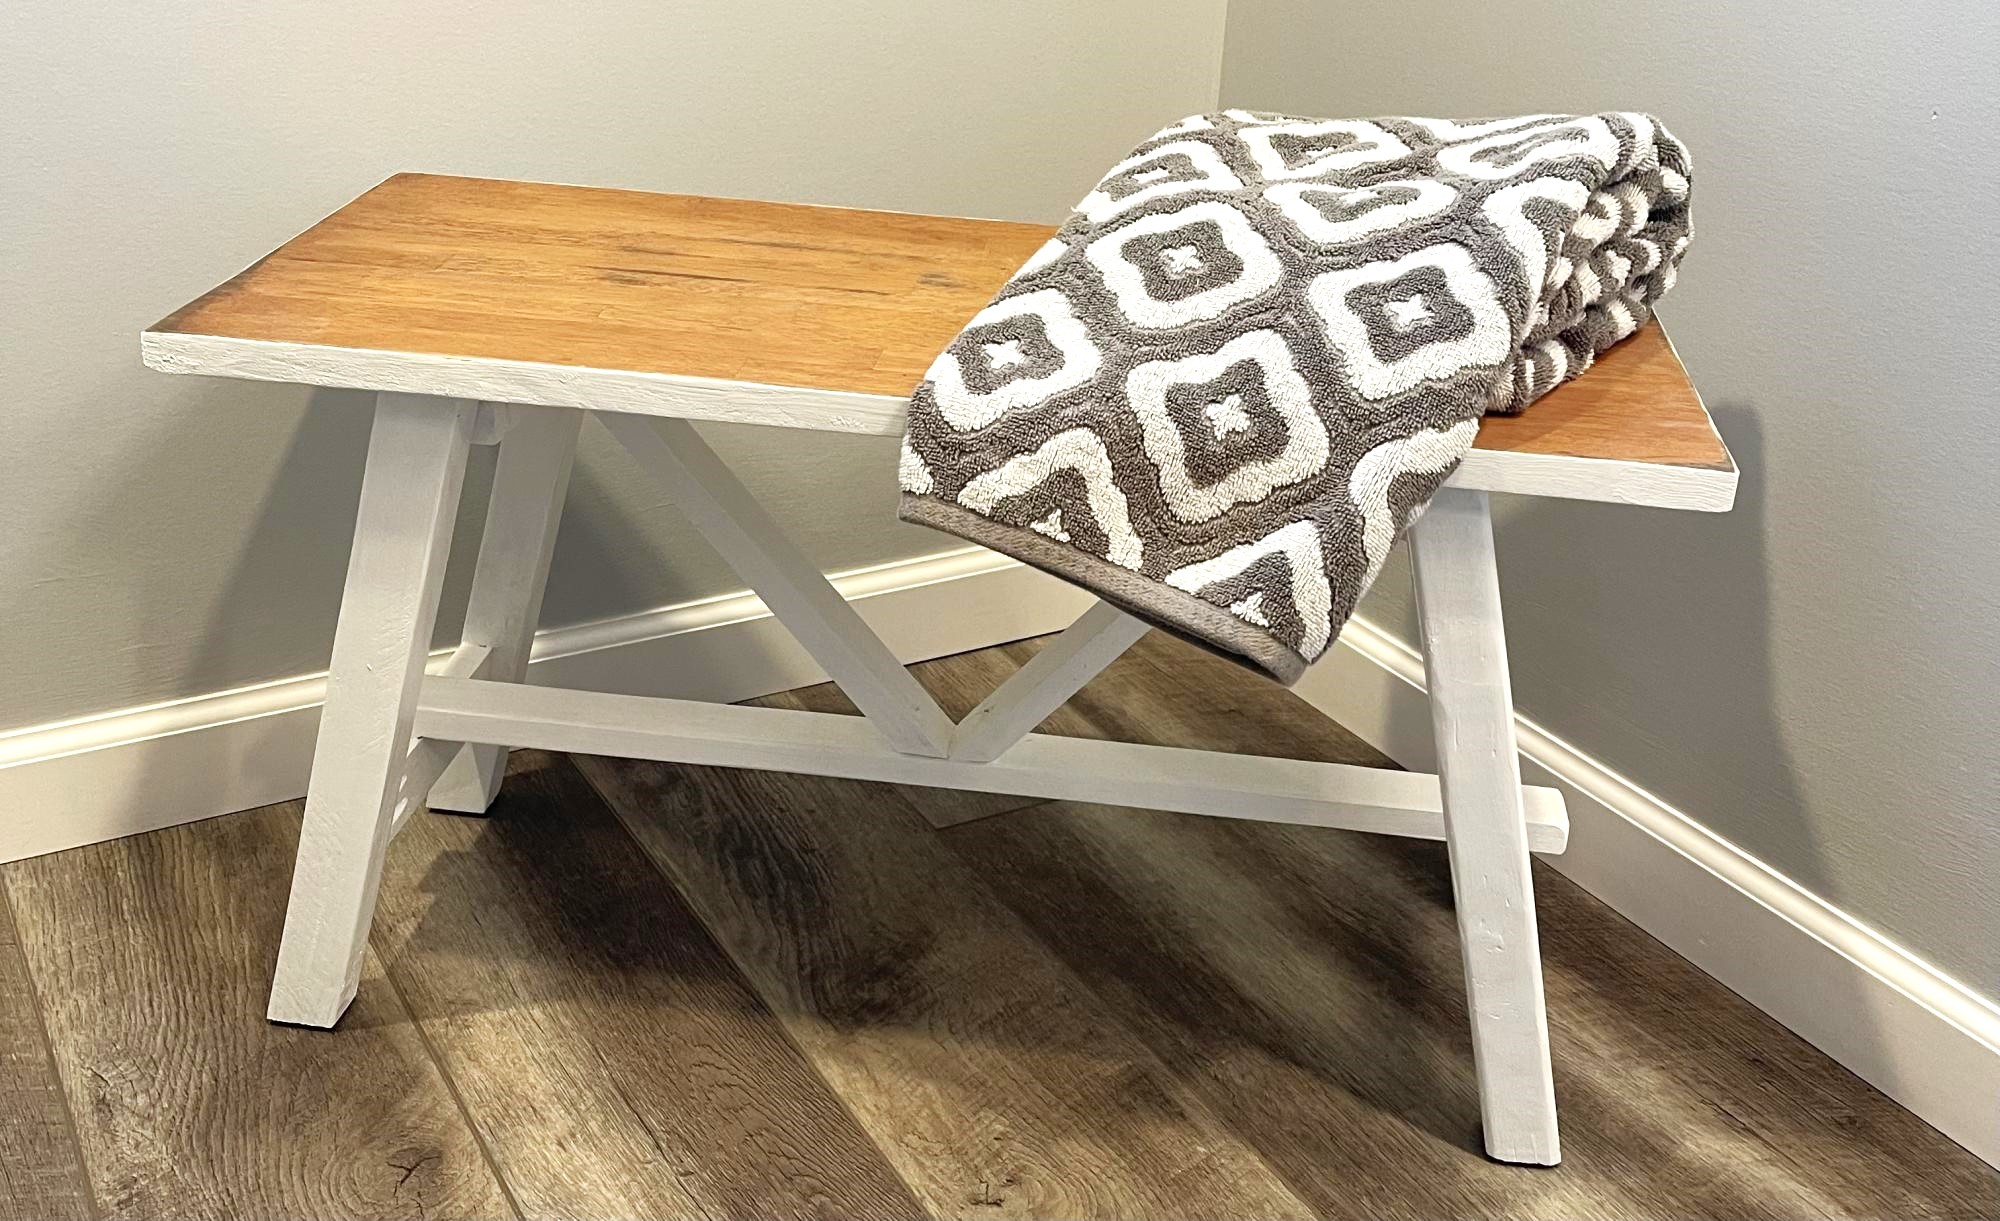
I modified the original plans to fit the height and length of my sofa as well as to show off the chevron planks. I was offered some pallets...so, I greedily accepted them, to which my husband rolled his eyes and sarcastically said, "Great, more wood!" I tried to make all of the table from the pallets but I ended up using pine for the table edging and the "X."
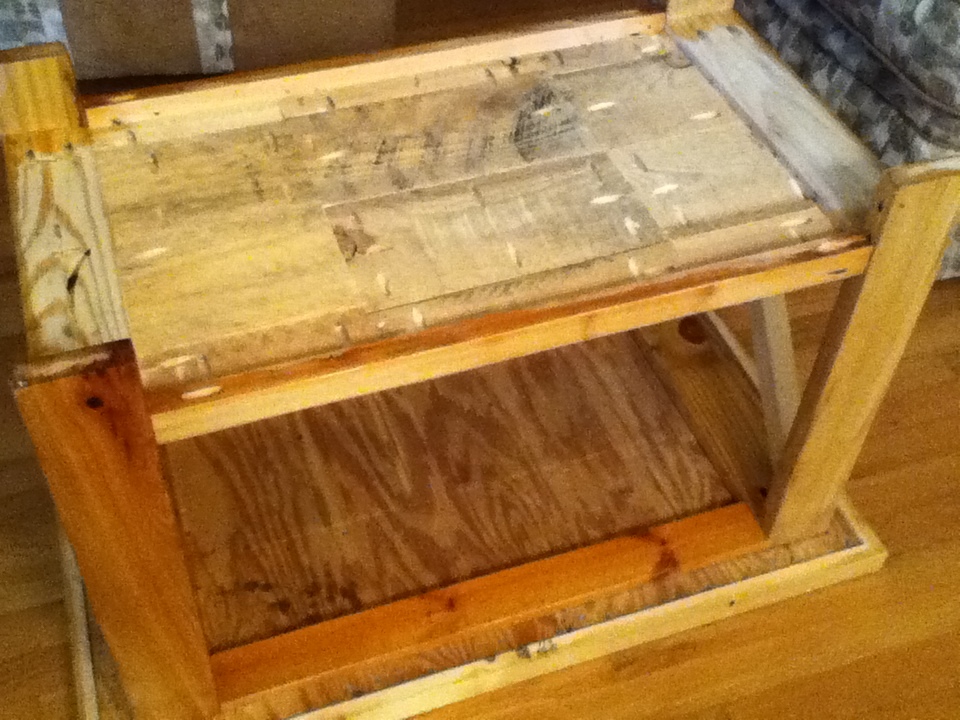
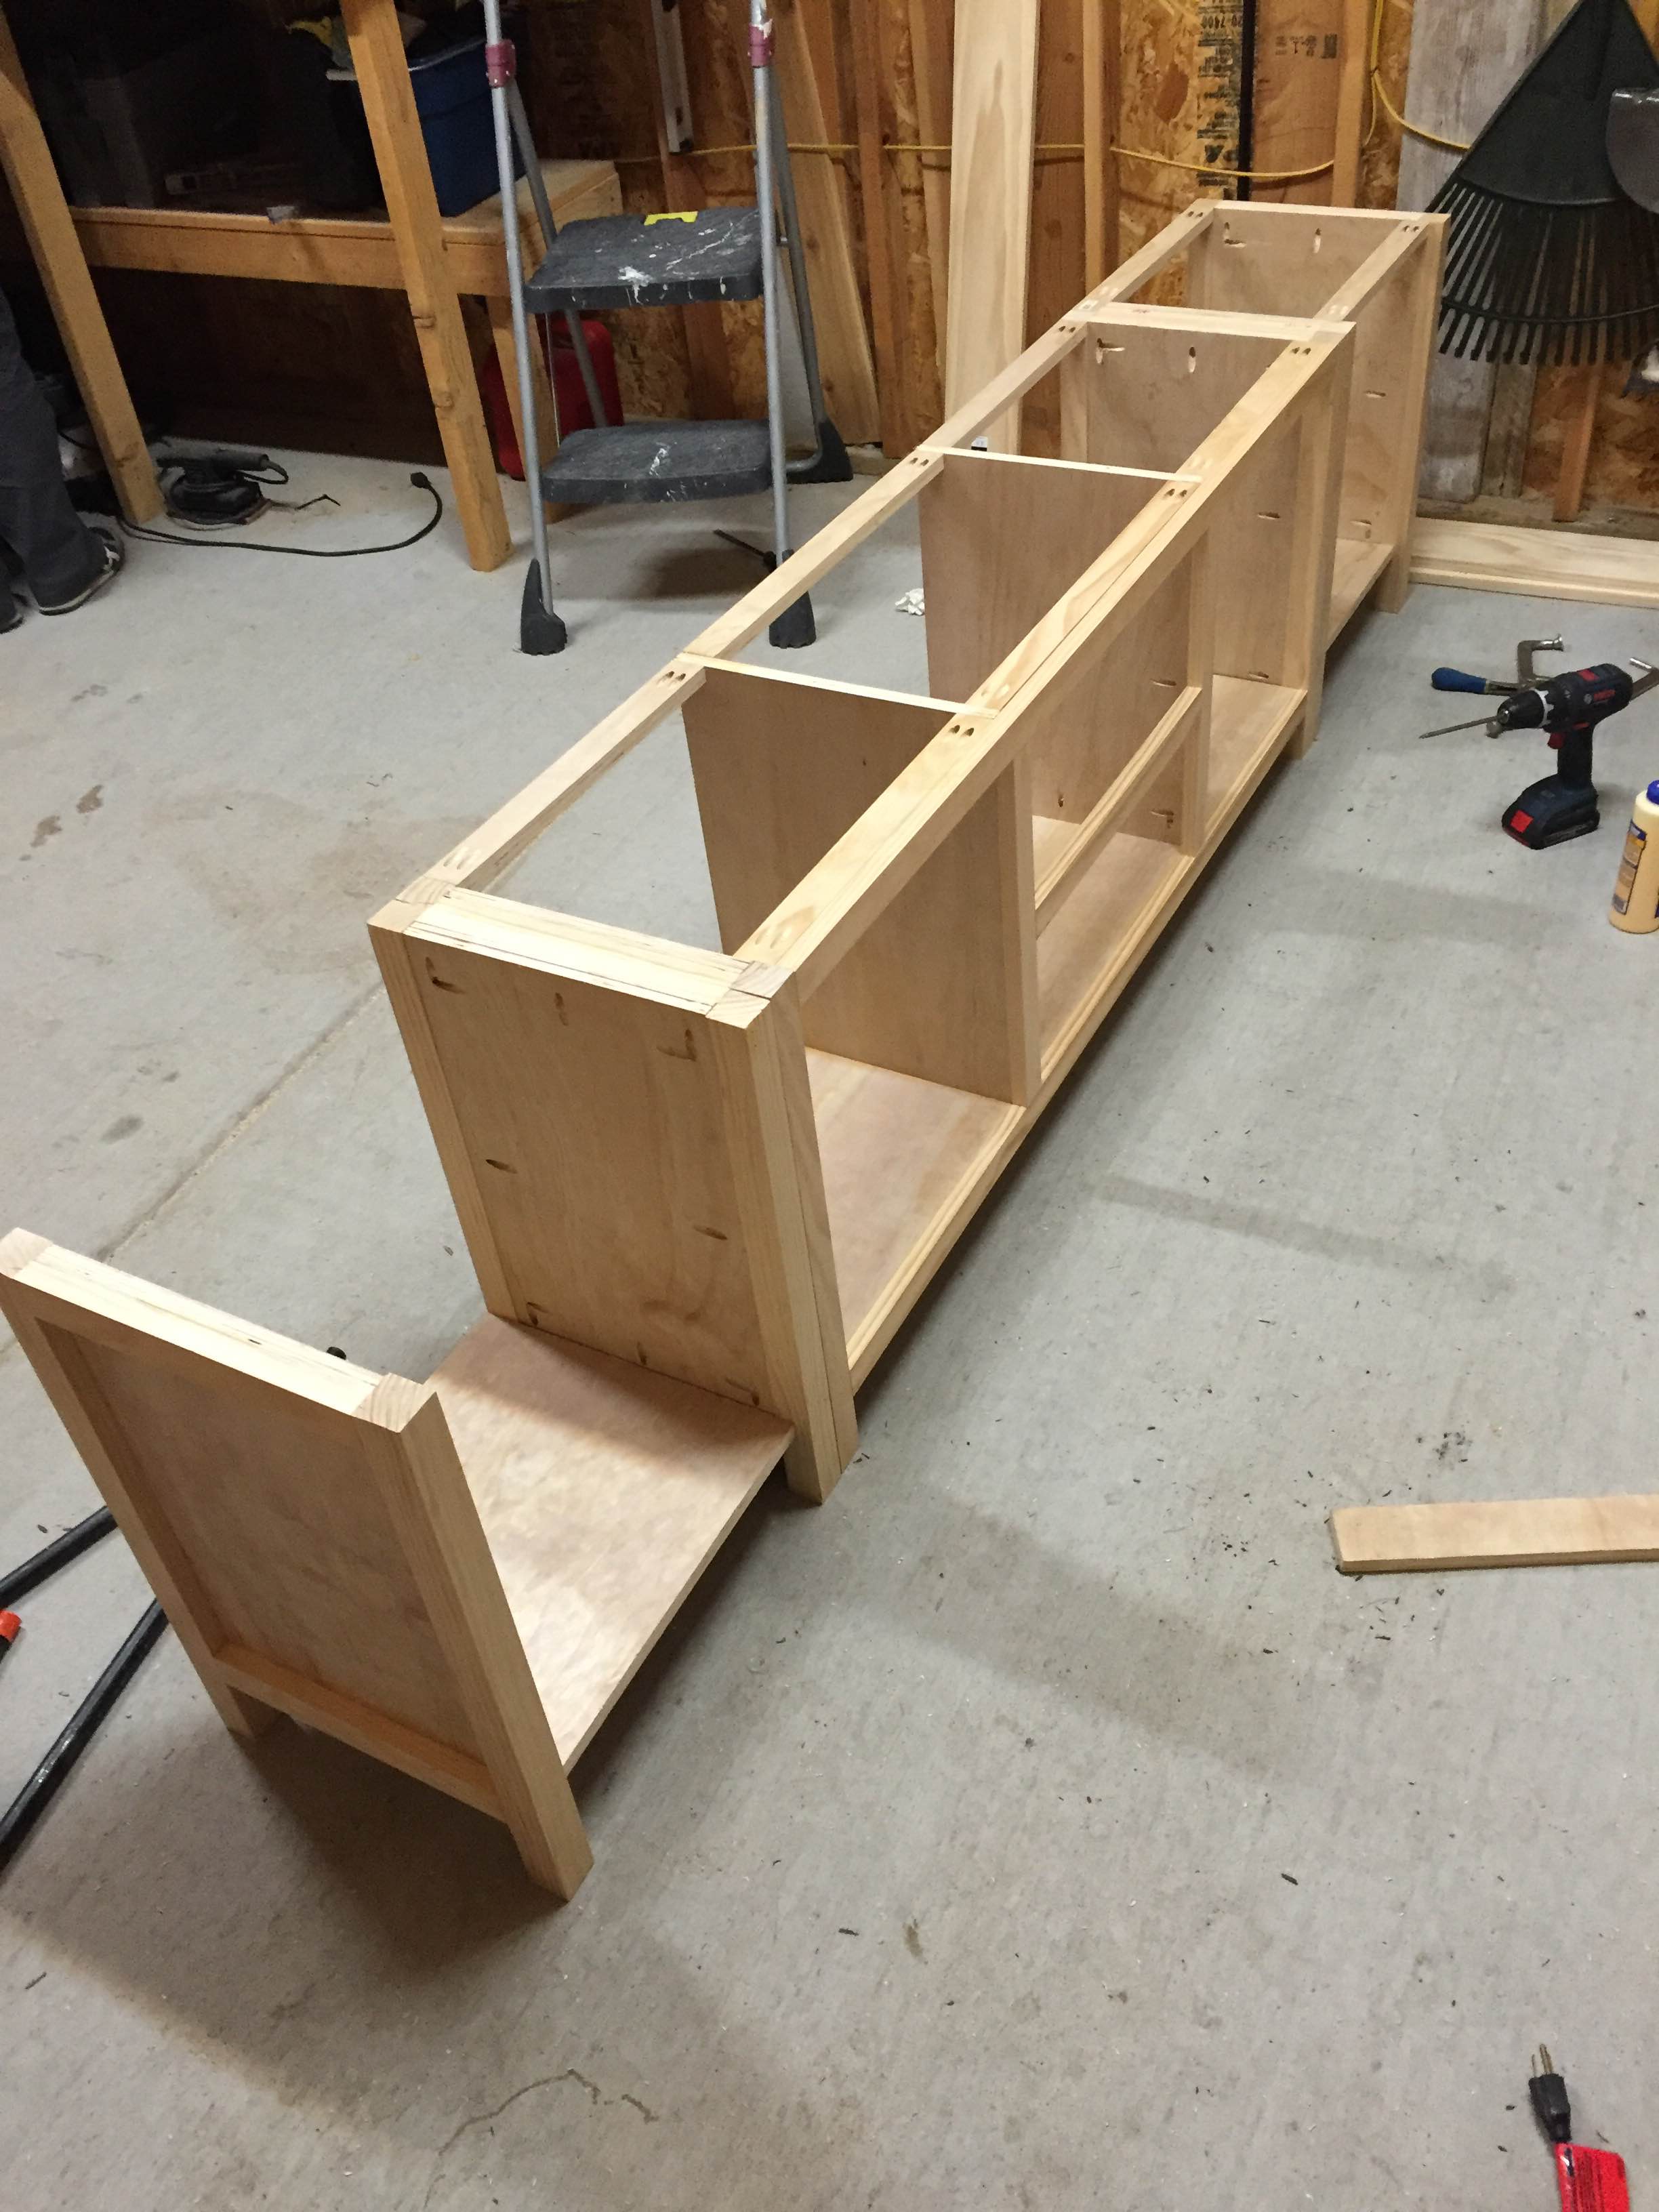
I laid out the table top in a chevron style on 1/2in plywood, glued and screwed them in from the bottom with wood screws. I attached edging with pocket holes. For the bottom part of the table, I attached larger pallet boards using glue and pocket holes instead of attaching to plywood. I actually attached the edging first to the bottom boards and then attached to the table rather than attach the bottom edging and then try to make the boards fit. I sanded the top and bottom tables with 40, then 80, then 120, and then 240 grit sand paper until smooth. I also sanded the legs the same way. To say that total time sanding for the entire project was 20 hours maybe an understatement. If you look at the underside picture, you can see the roughness of the wood...and I had already lightly sanded them! I ripped my own 1x2's for the edging and "X" from 2x4's with my table saw because I could not find anyone who sold unwarped wood...so frustrating!! The wood was so much straighter when I ripped them. I will rip my own wood as much as possible for now on!!
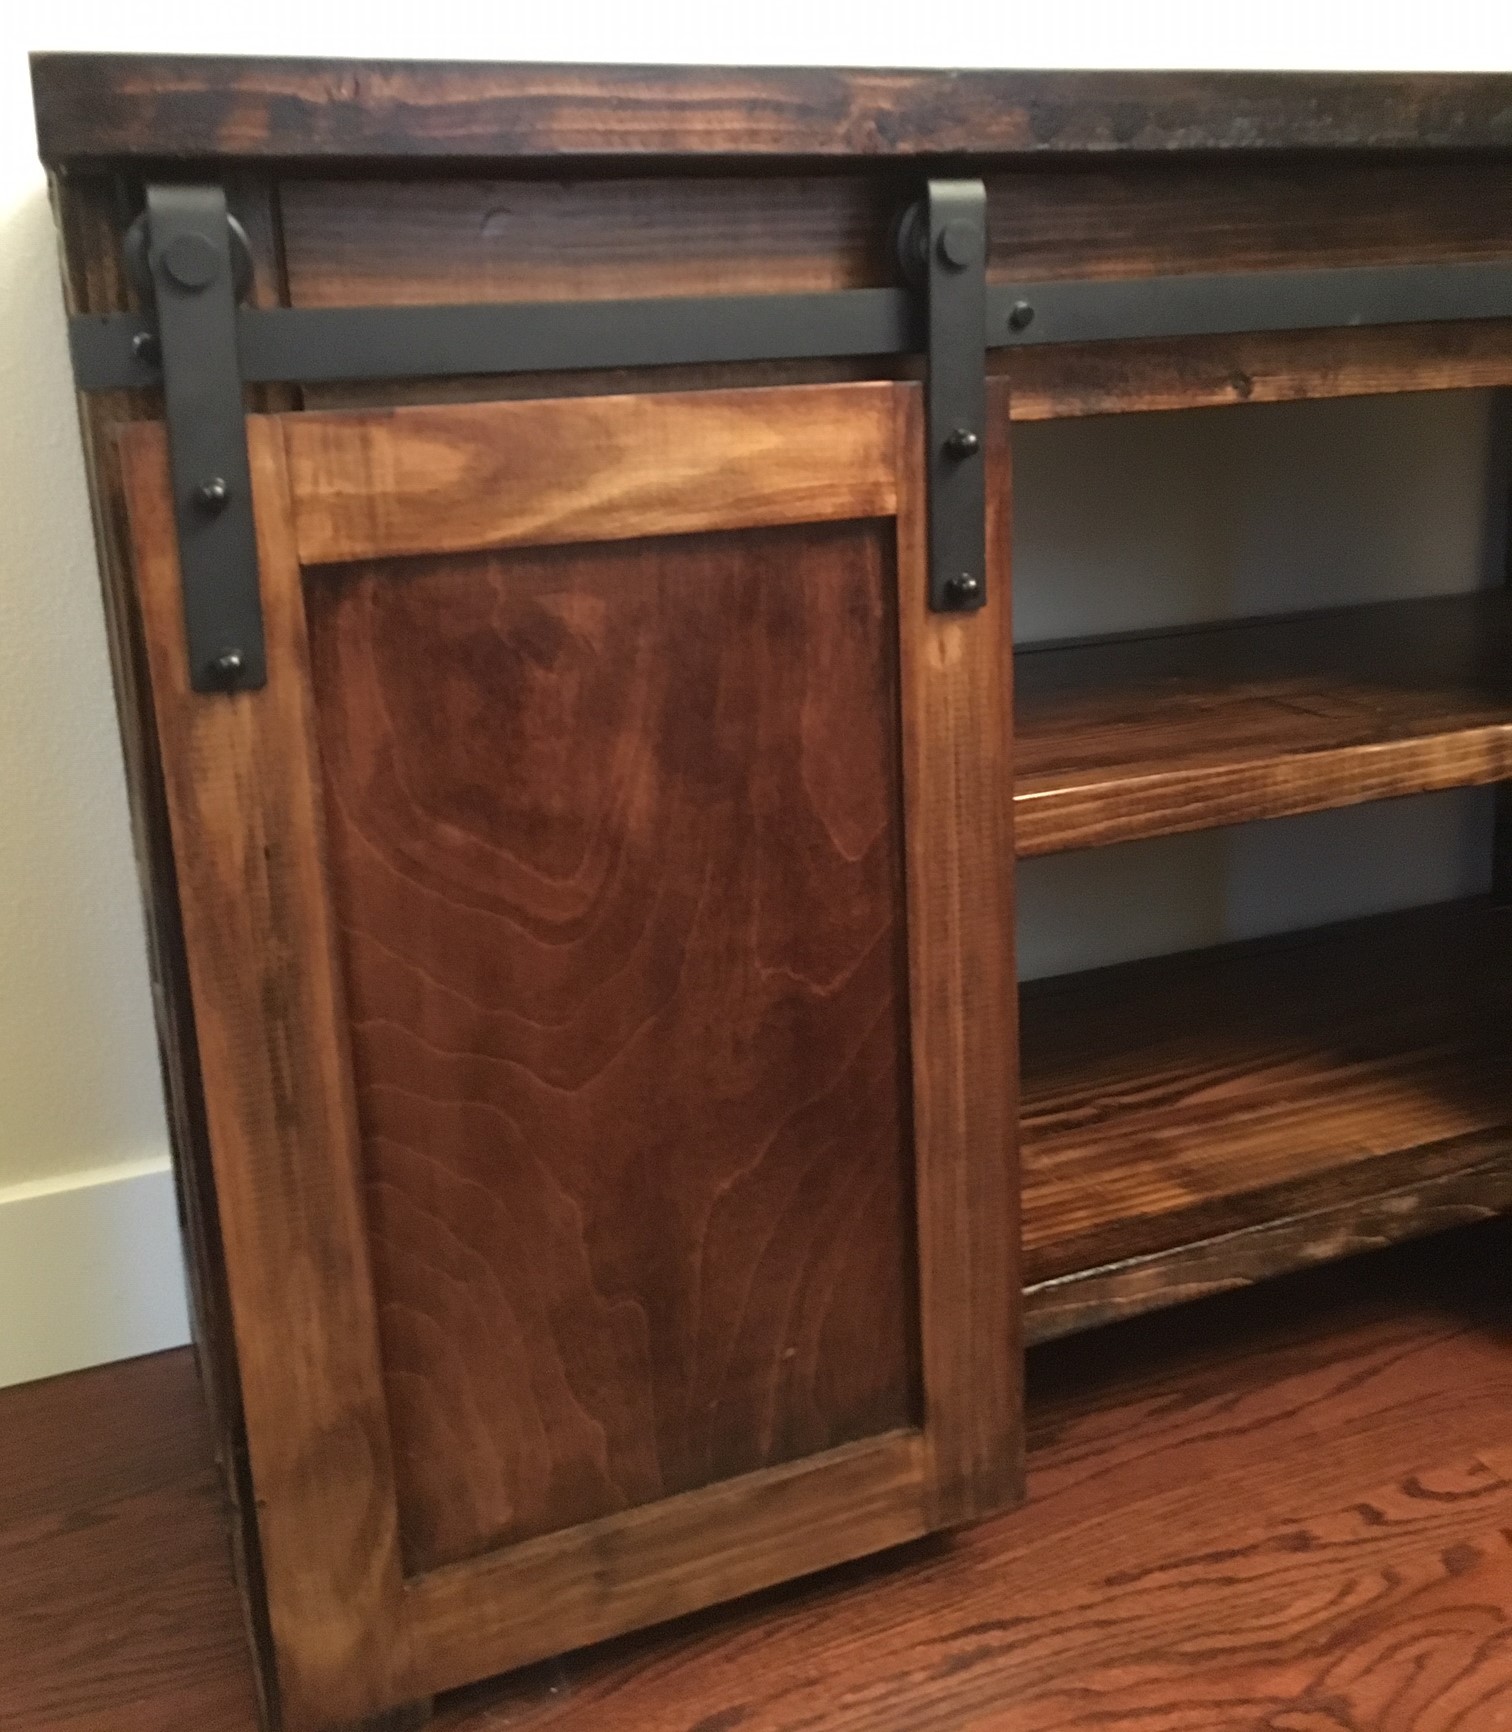
The "X's" were a challenge and I ended up cutting the ends at a 47.5 degree angles. I do not know why I had such a problem. I had right angles, but the wood is imperfect in many ways and not perfectly straight. I attached the "X's" together and to the table with glue and pocket holes. The legs had ink stamping, so I tried to keep that and not sand the ink completely off.
I added the metal "bling." I dulled the metal, primed and painted with metal paint. The paint chips off easily. So I think will end up replacing these pieces later on. The bolts were originally black, so they will stay.
Total time...several weeks because of all the sanding. I cannot devote whole days to woodworking because of family and work and I can only sand one hour at a time before my hands start to go numb. Also, the Waterlox requires at least 24 hours between each application. Cost: approximately $15...for the pocket holes screws (fine Kreg screws), hardware, other wood screws and 1 8ft 2x4. Everything else I already had (I already had the Waterlox, bolts, screws) or was given to me (pallets).
Estimated Time Investment
Week Long Project (20 Hours or More)
Finish Used
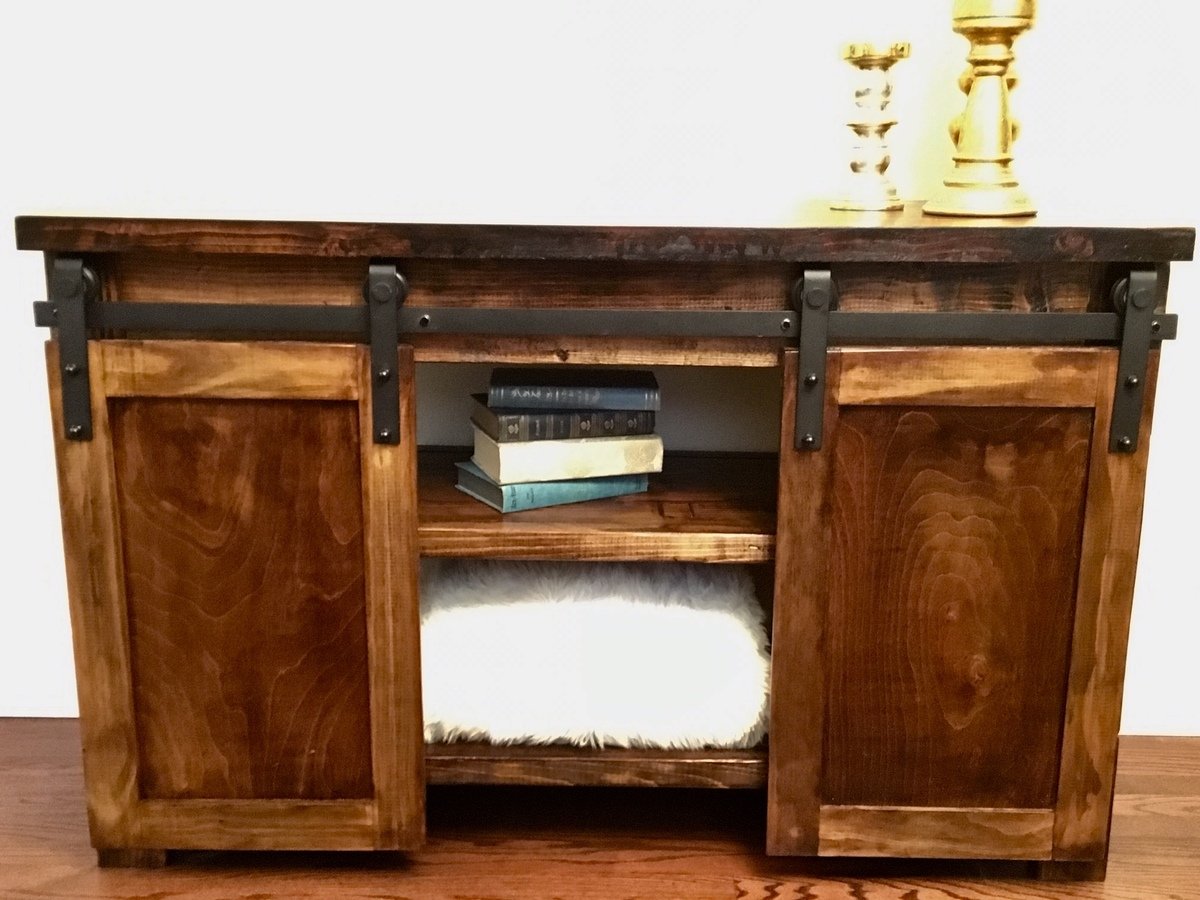
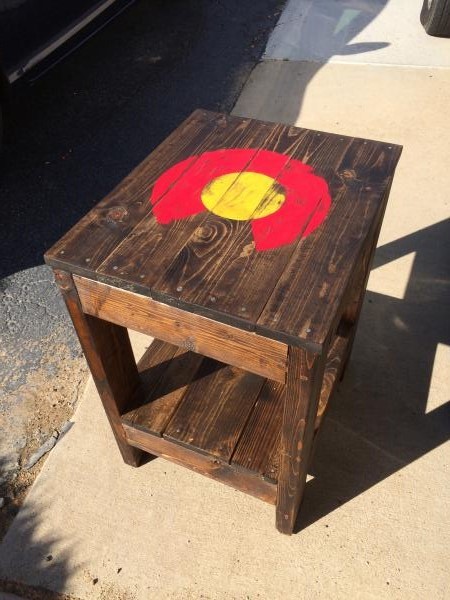
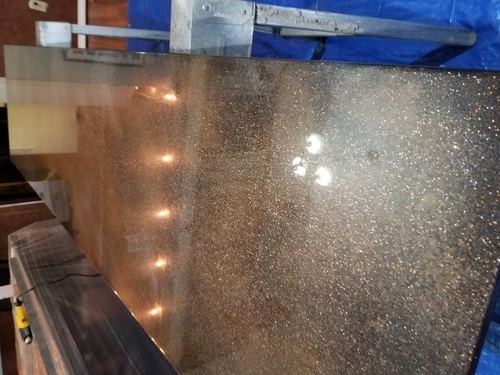
Waterlox. I have a friend who does beautiful woodworking and he considers staining (and polyurethane) a sin. Because pallet wood has unique coloring, grains and textures, I nervously leaned towards his "no stain" stance and did not stain. I used Waterlox sealer, 3 coats original and 1 coat gloss, for protection. The Waterlox brought out a lot of color in the pallet wood, but since the pine has less color to bring out, the pine looks a little lighter than the pallet wood, which may look odd in the pictures but is really cool looking.
Waterlox is expensive, but I like it much better than polyurethane. Waterlox is easier to work with in that I do not get ANY bubbles or brush marks. Polyurethane seems to dry before I am finished, making it so difficult to work with and to get nice look. The Waterlox may take 24 hours to dry between applications, but I can apply it and keep "working" it until I like the way it looks and then it dries evenly without drips and without dull or uneven looking patches. Also, in the future, if I want to add more coats, I can without stripping. When the Waterlox is dry, it does not have a plastic look to it and it does not yellow, so my pine will keeps it color.
Recommended Skill Level
Intermediate


Comments
Ana White Admin
Fri, 10/16/2015 - 11:44
Very nice!
That is wonderful, thanks for sharing!