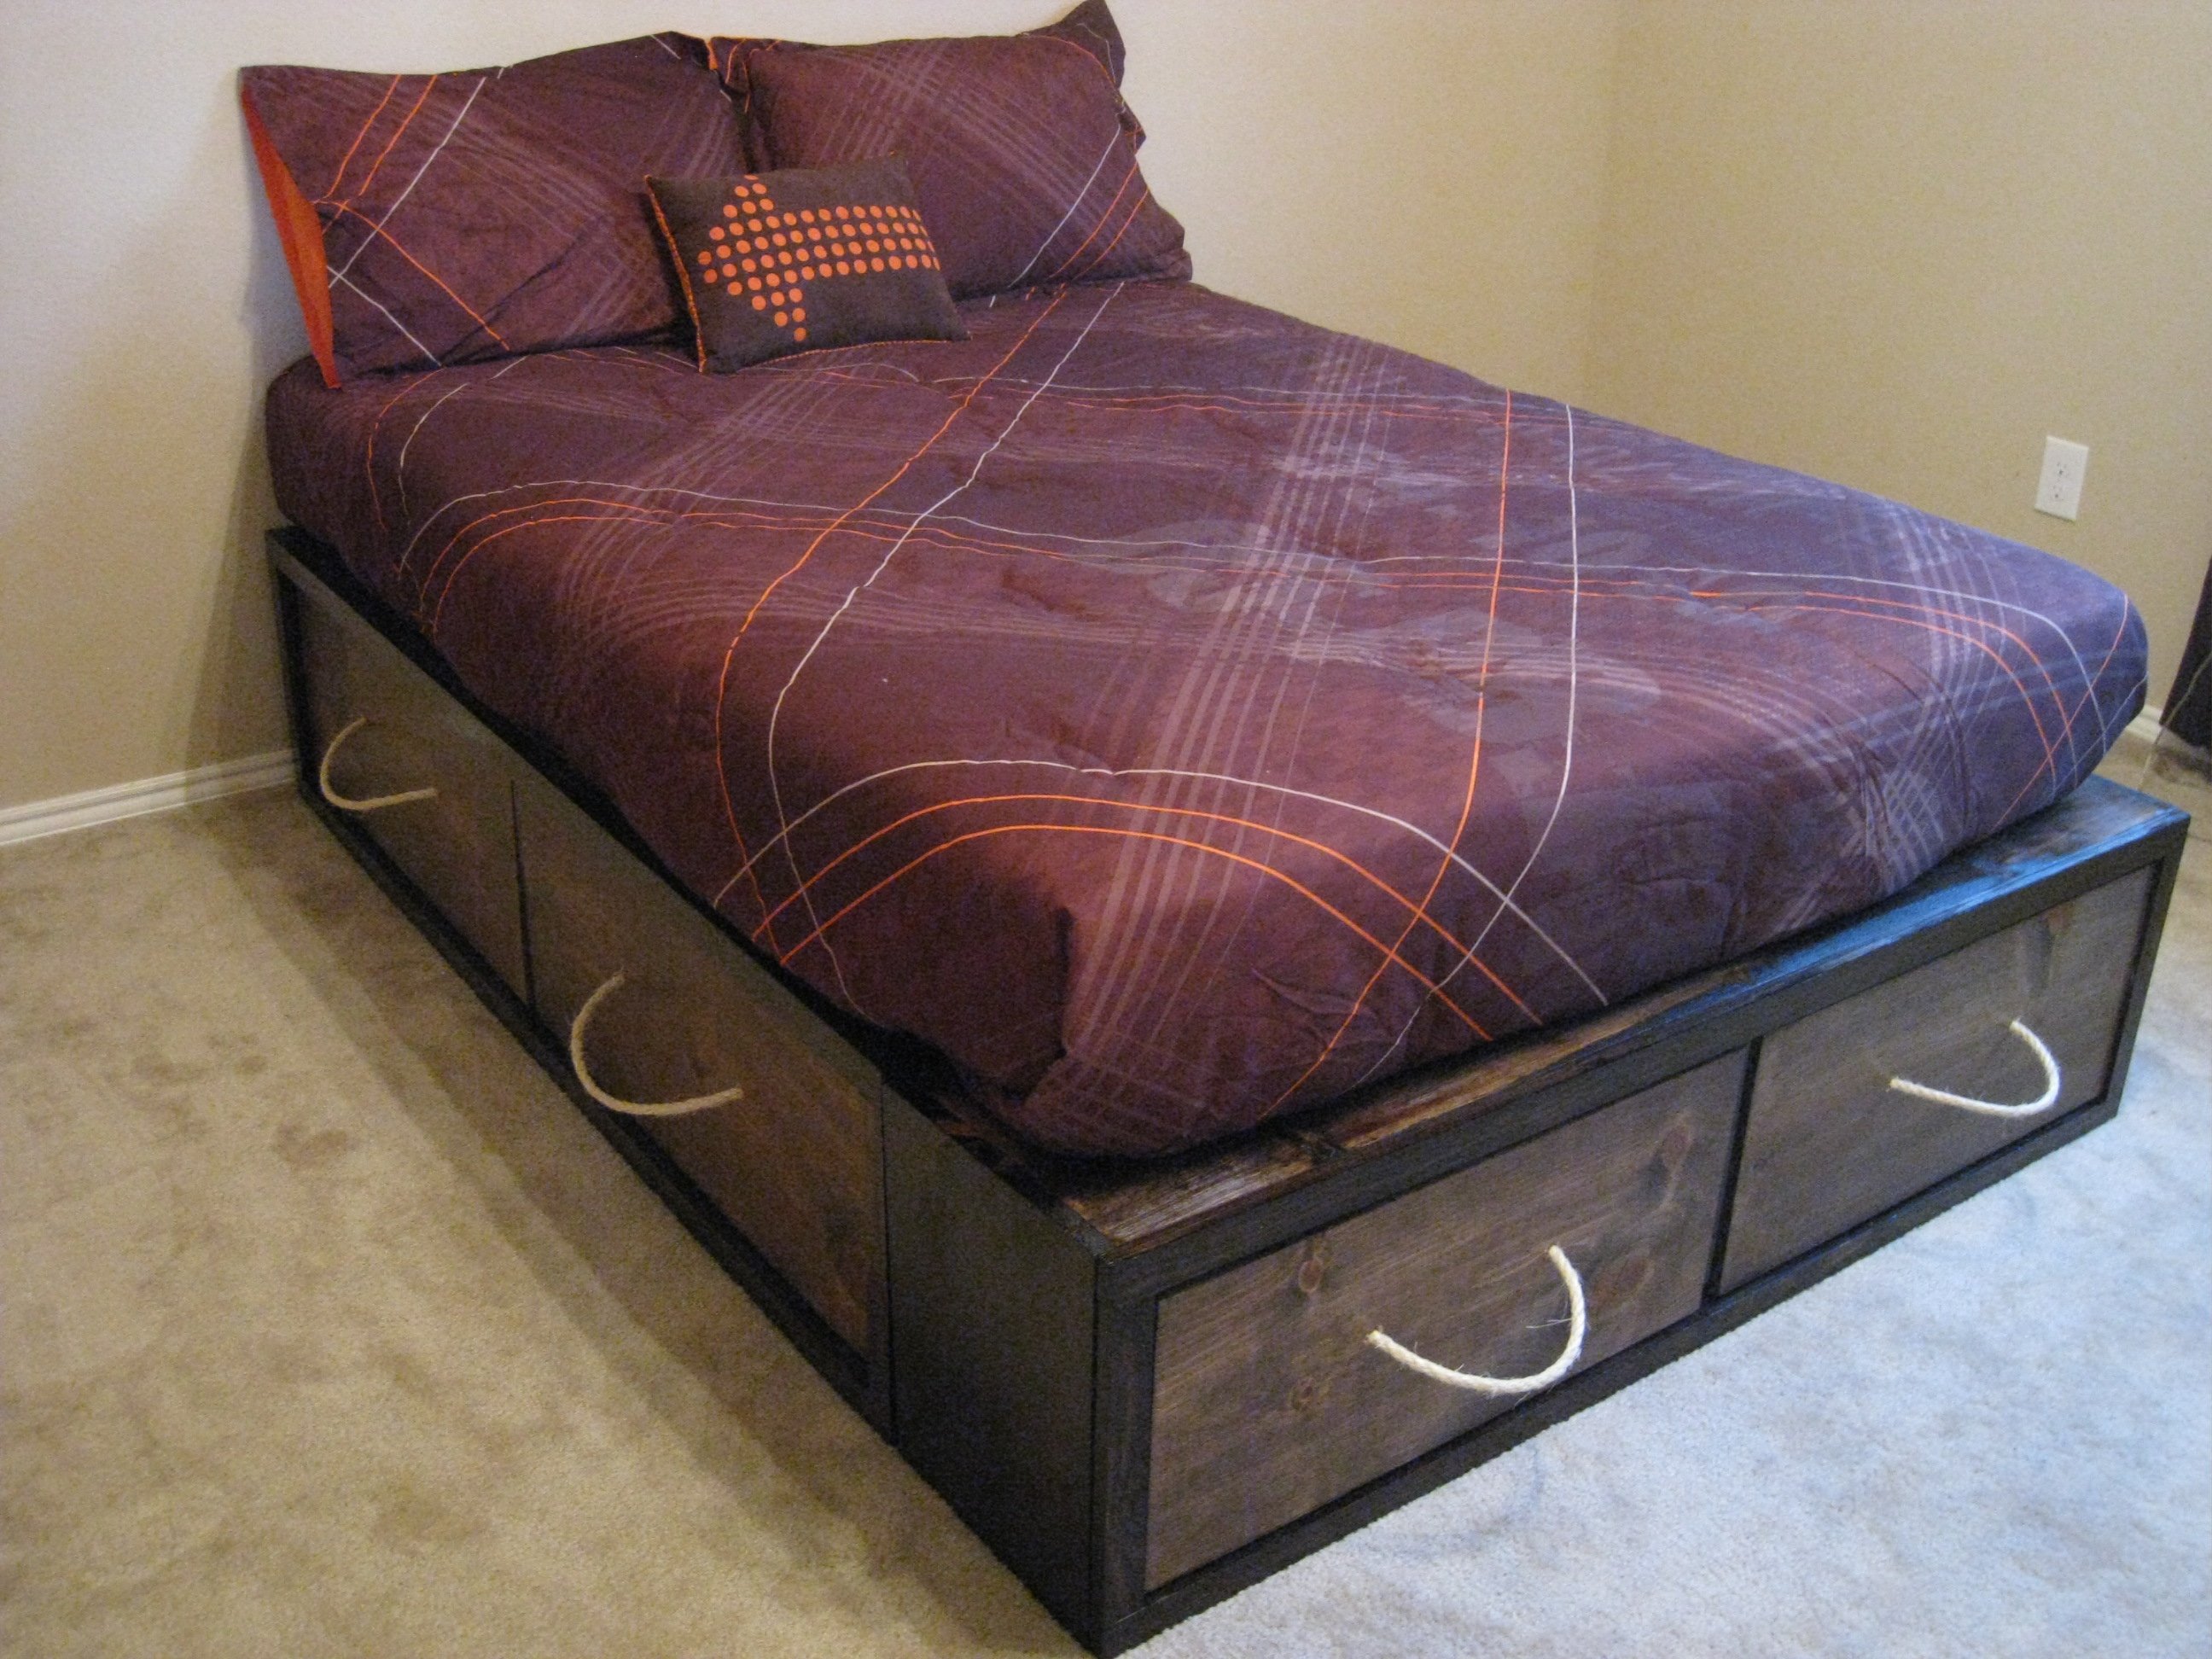
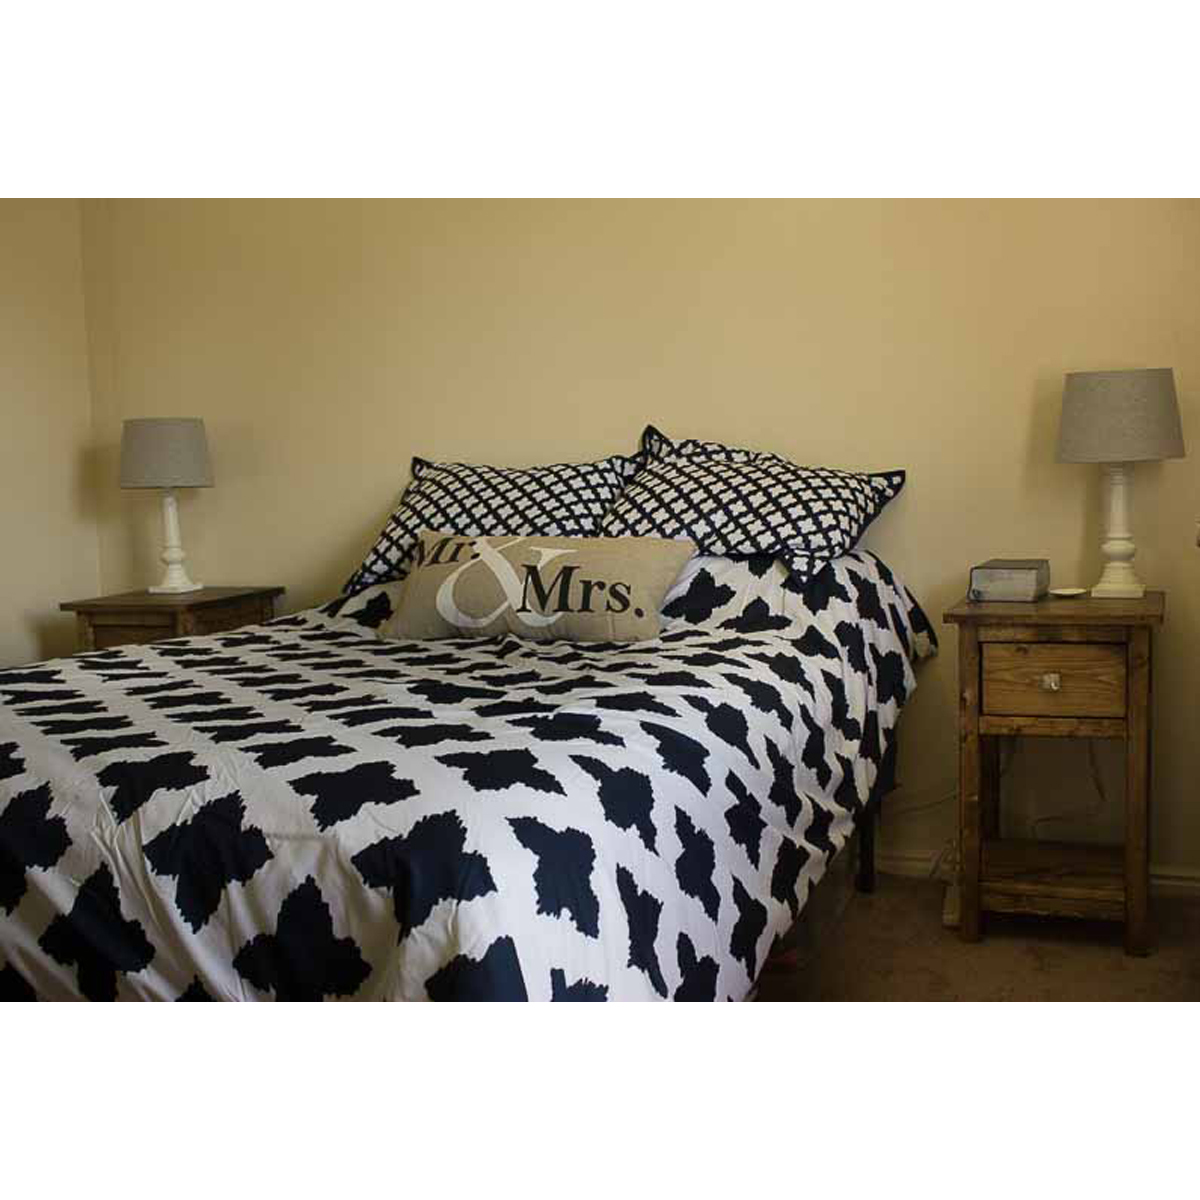
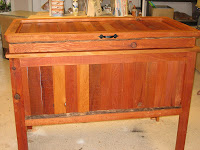
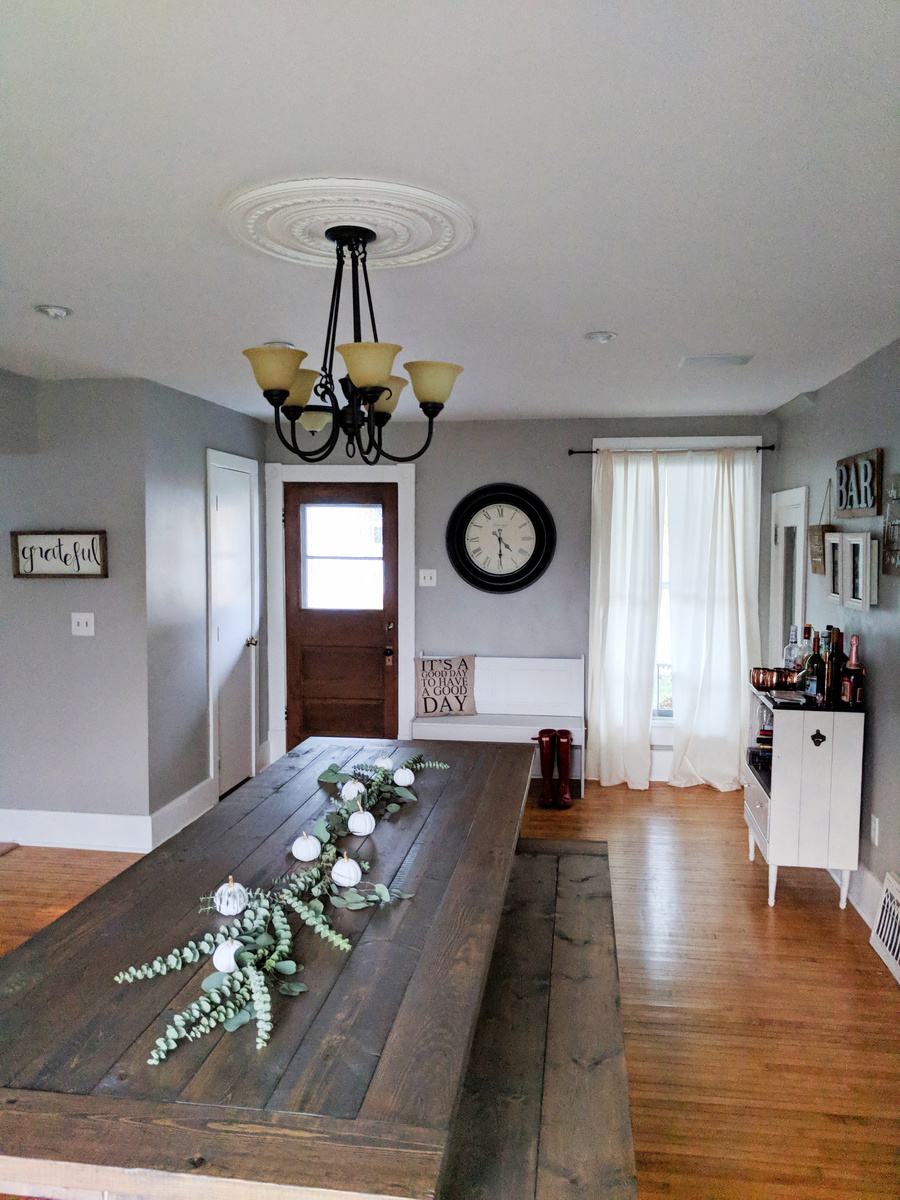
Modified Farmhouse Bed
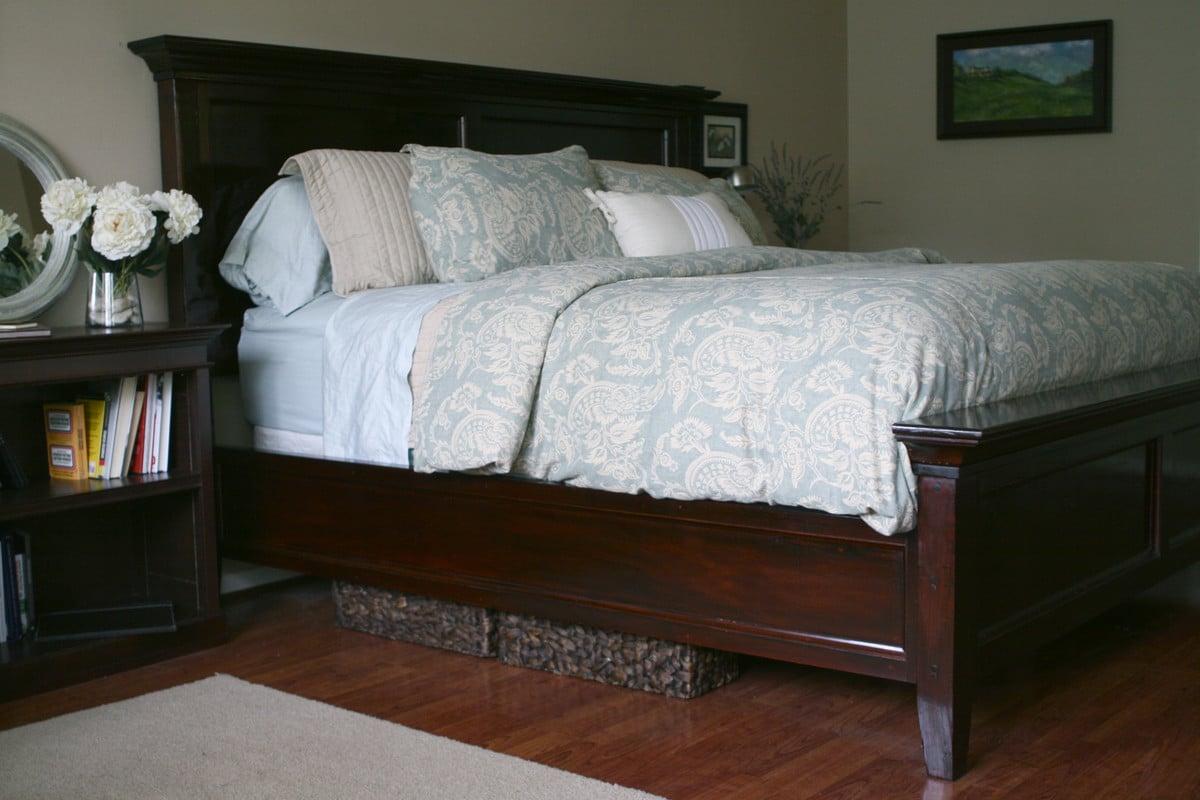
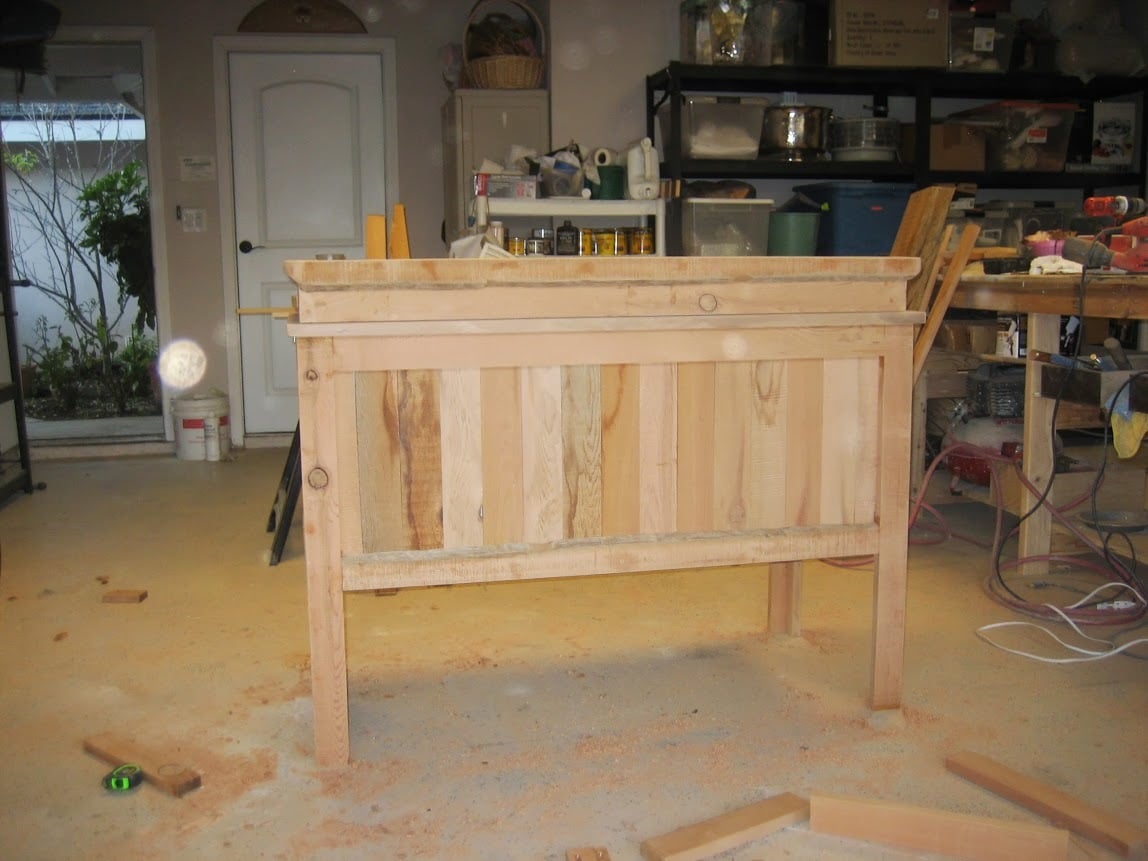
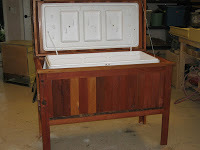
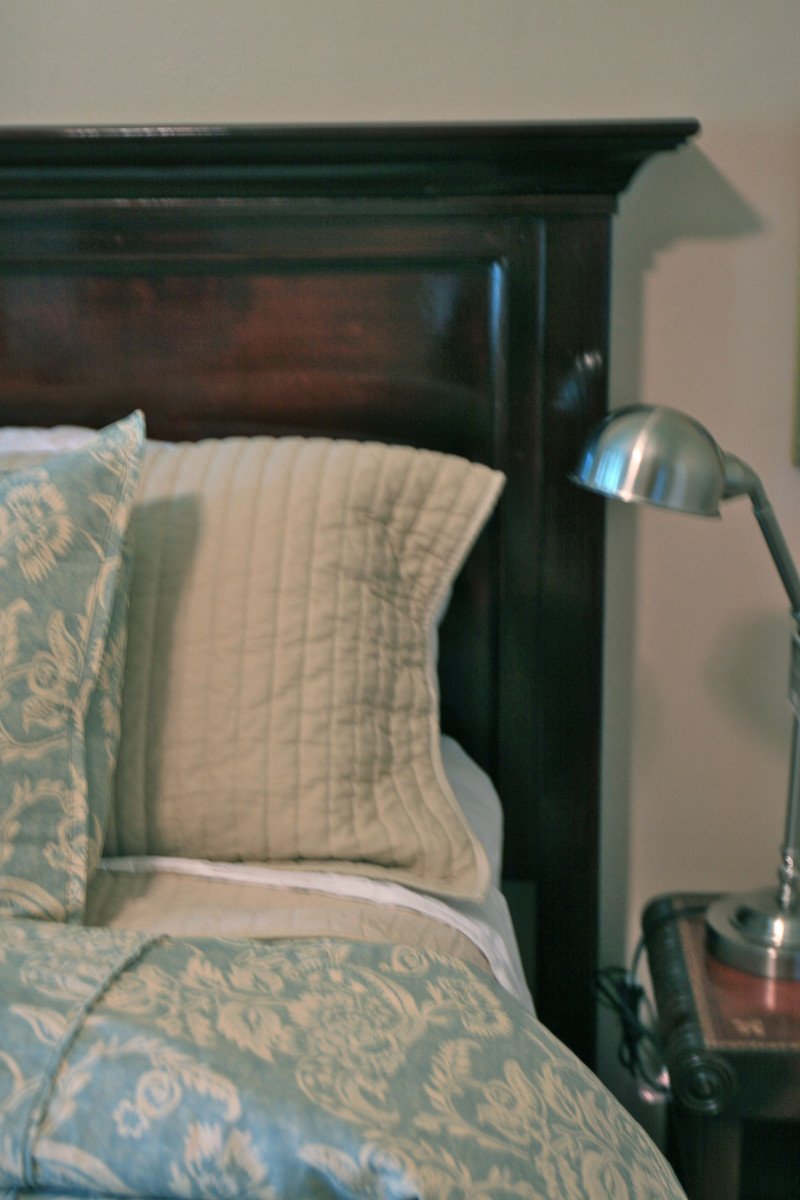
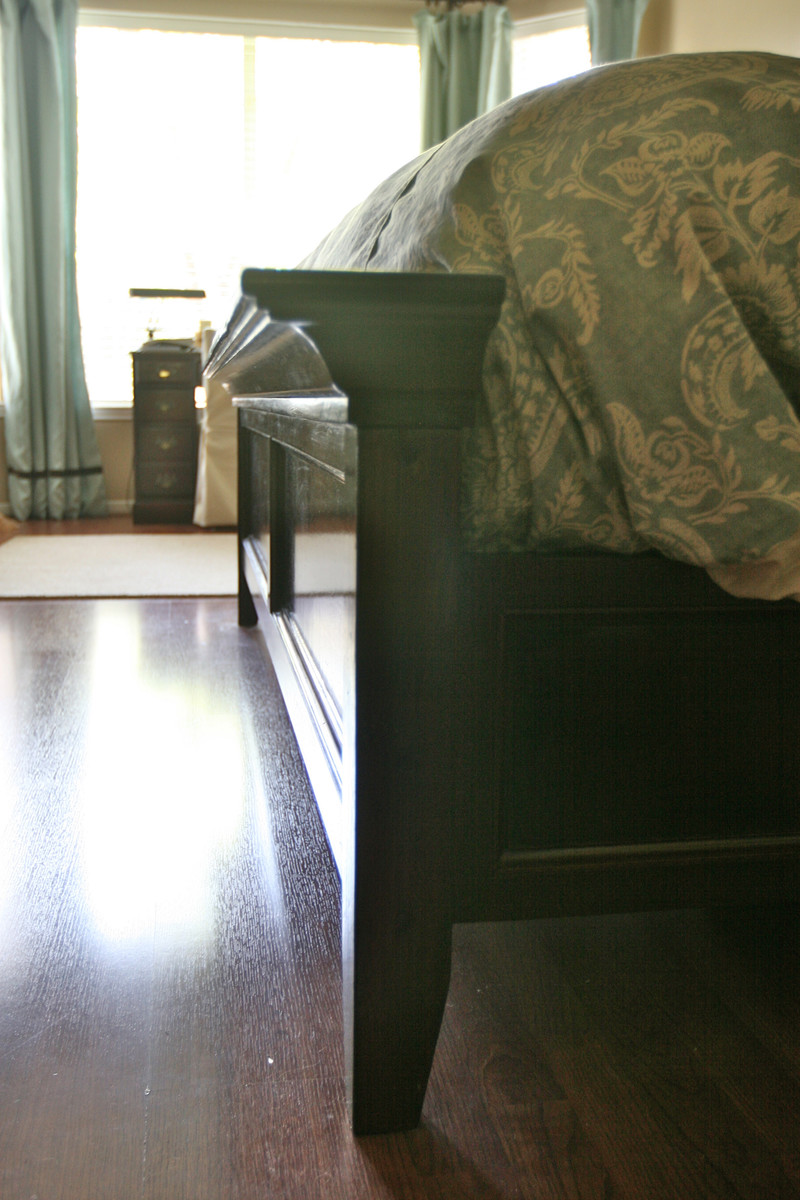
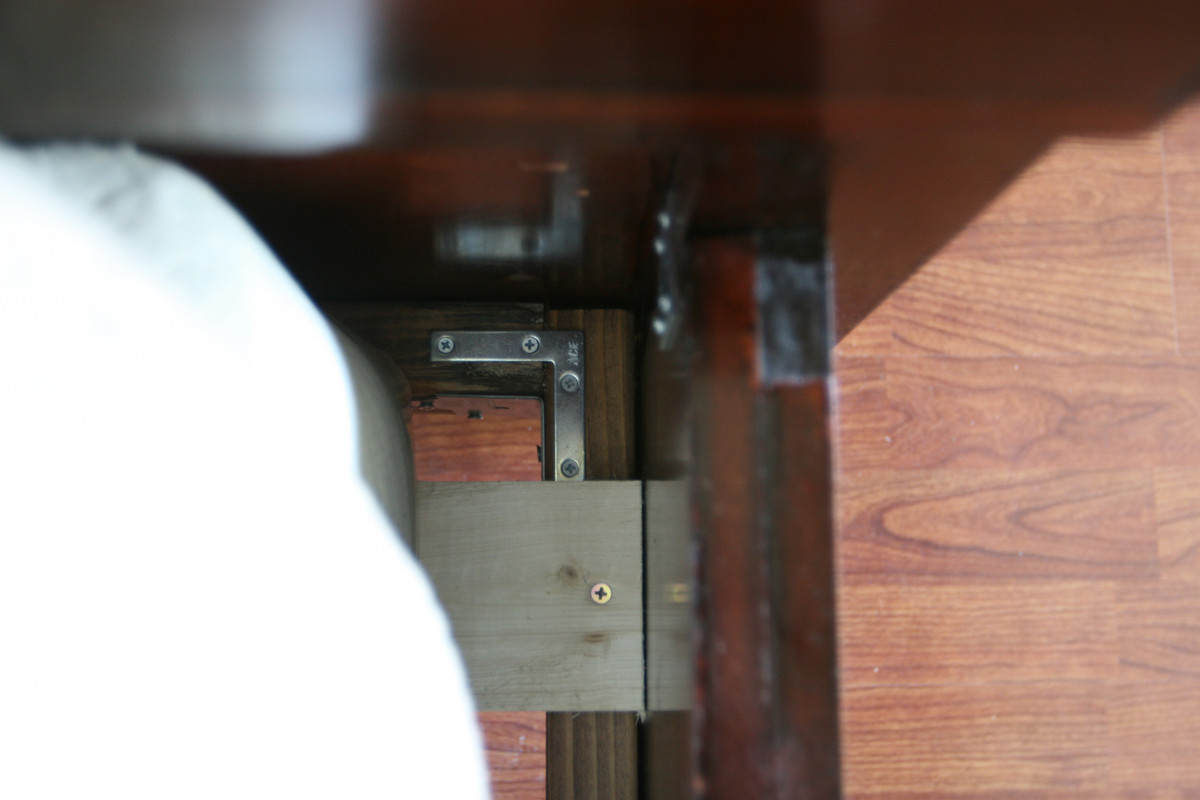
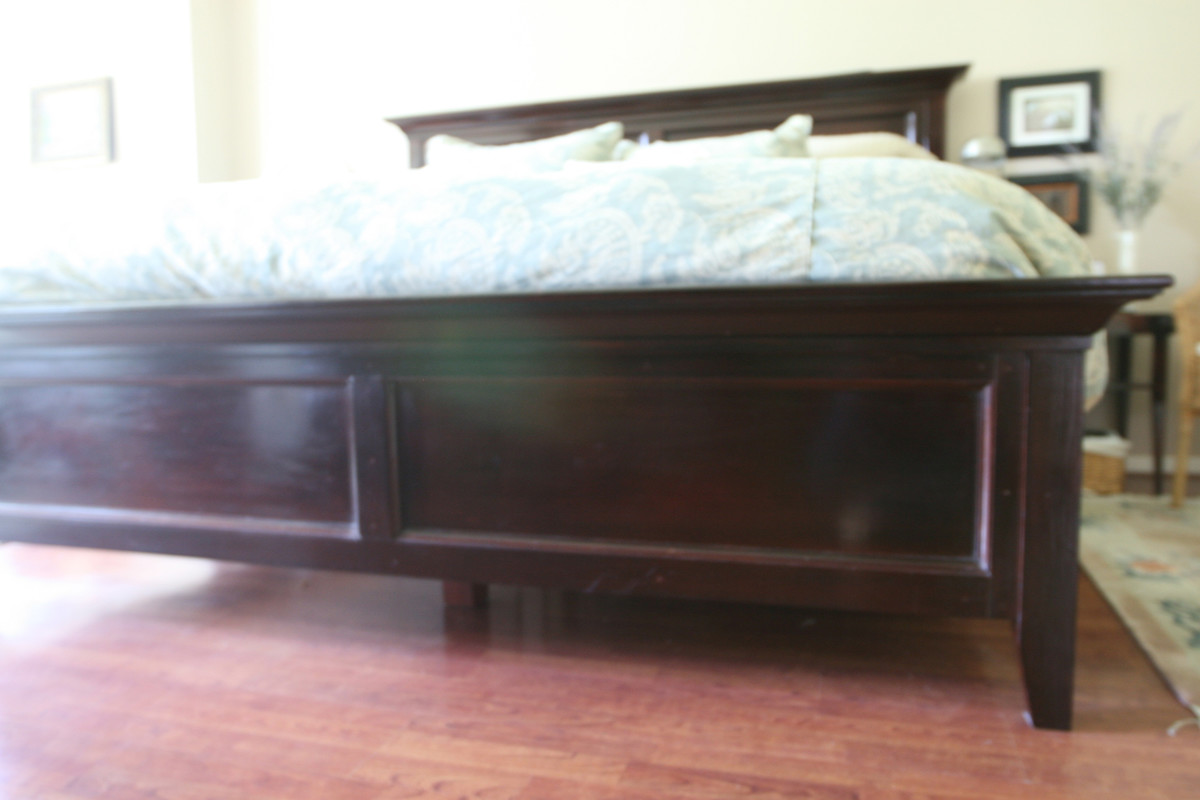
This was our first project. My husband and I took the Farmhouse bed plans and modified them to look more like the Hudson Bed from Pottery Barn. This is a King size bed with removable side rails and under bed supports so that it can easily be collapsed for moving.
Built from Plan(s)
Estimated Cost
$600
Estimated Time Investment
Day Project (6-9 Hours)
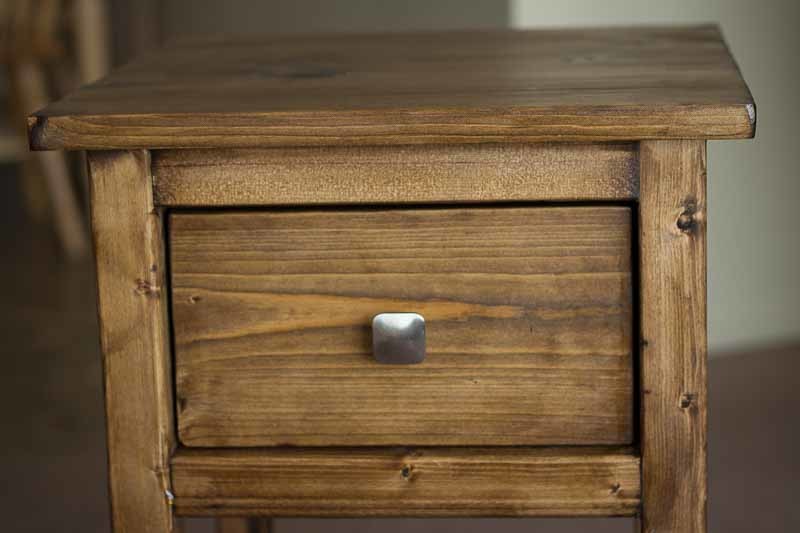
Finish Used
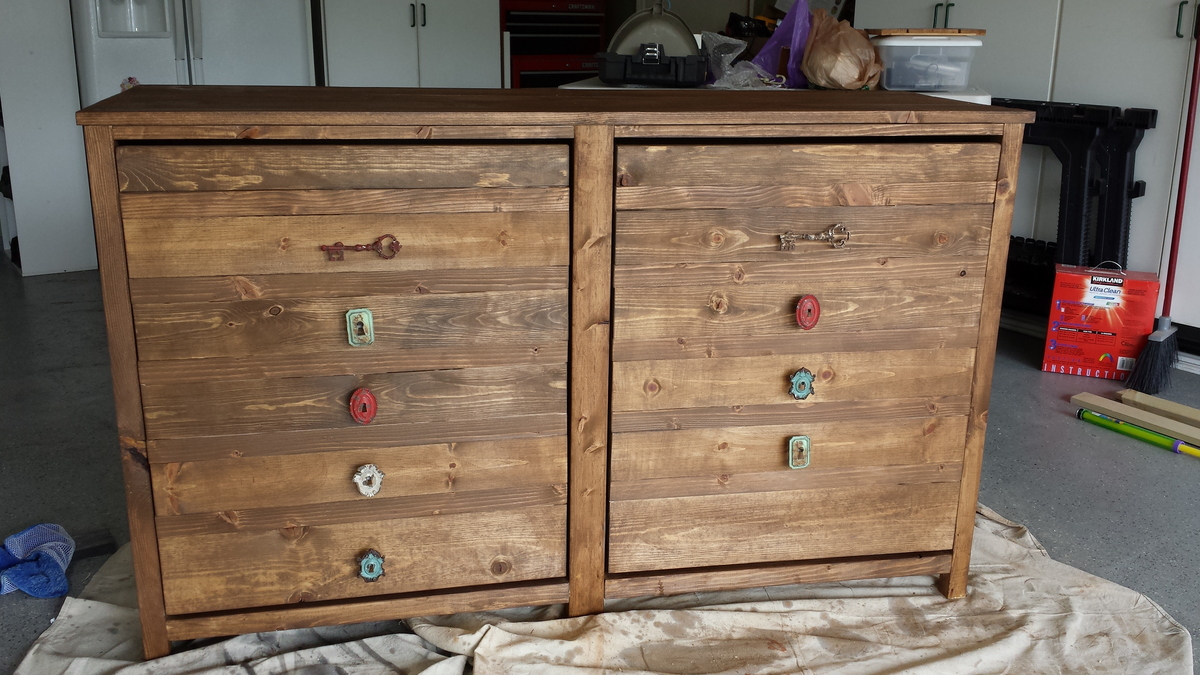
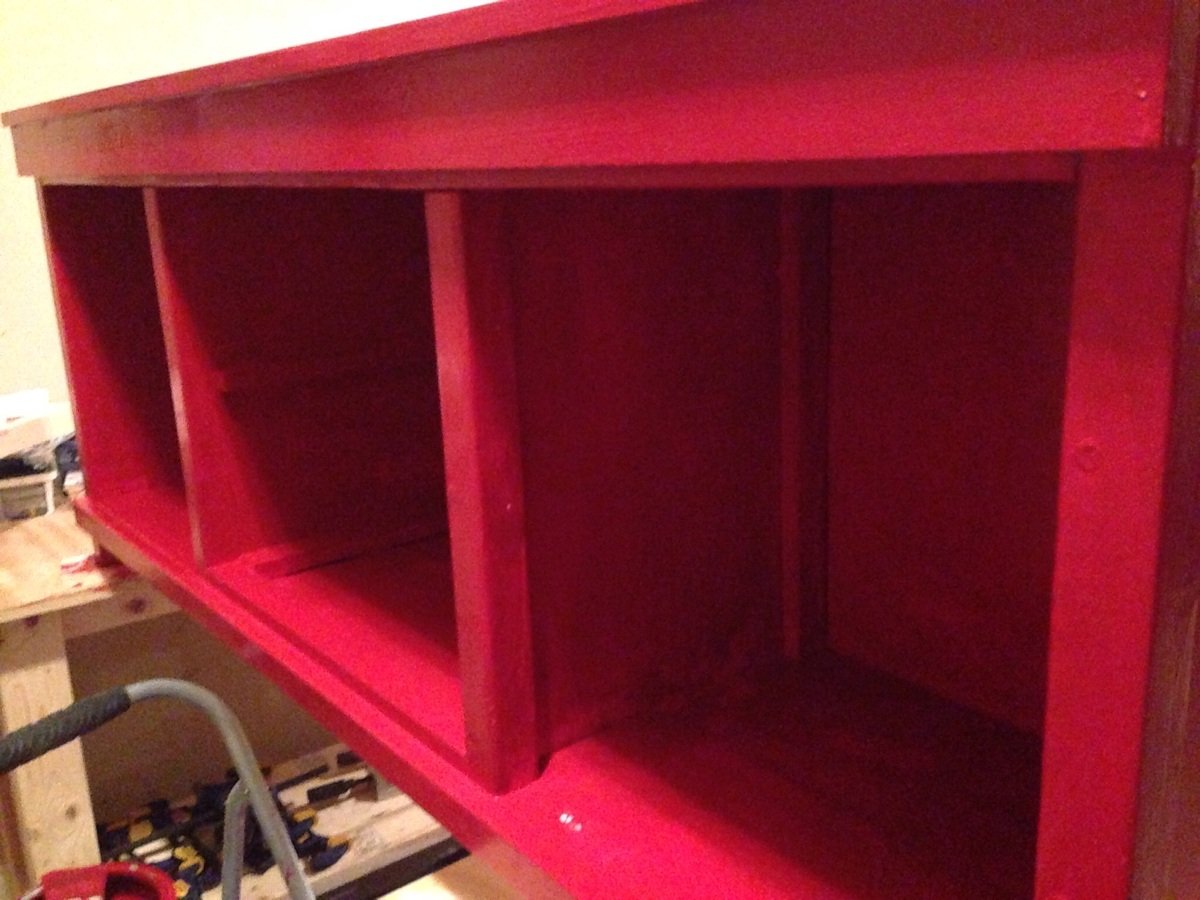
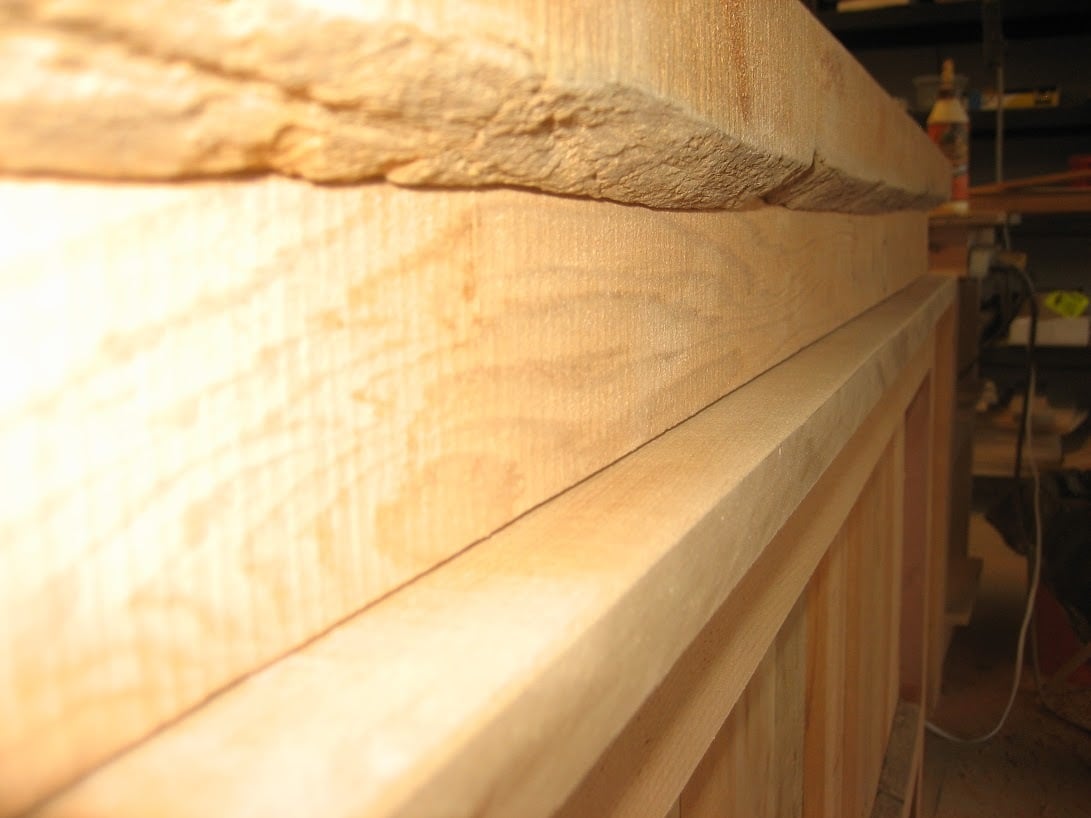
I had to dye the wood using a mahogany dye to unify the woods and then applied three coats of mahogany and english chestnut stains mixed together and then mixed with lacquer and lacquer thinner. The drying in between was long. Next time I would paint poplar or use a different wood.
Recommended Skill Level
Intermediate