Community Brag Posts

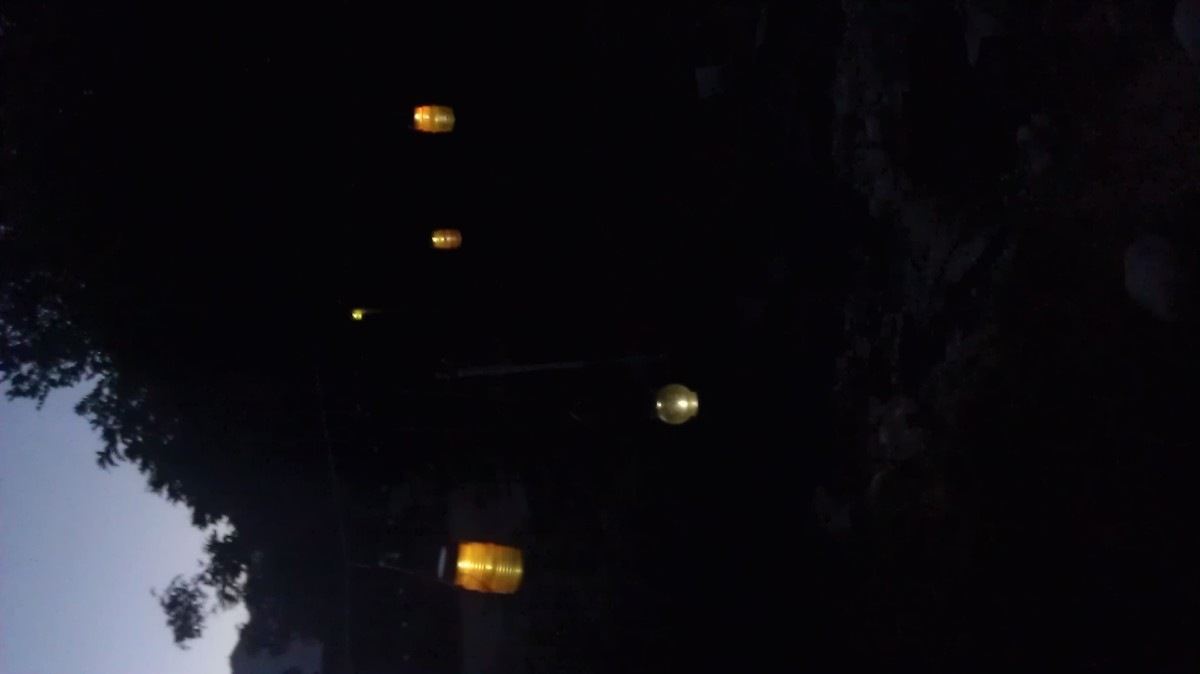
Hanging Solar Lantern

Submitted by lowryitis on Sat, 07/07/2012 - 21:17

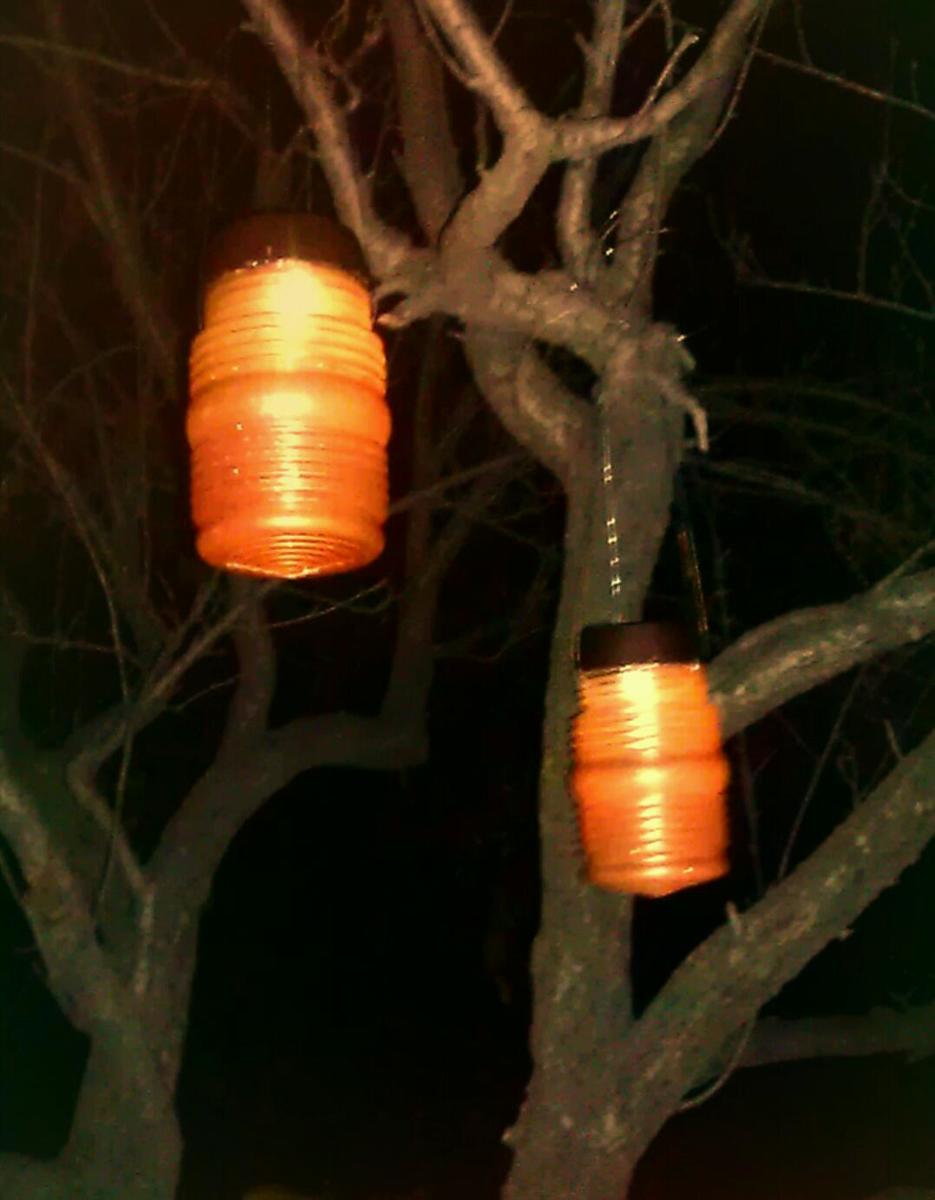
Taking the top of solar footlights & glued them to the top of a painted lamp cover then add the fishing line to hang & presto chango! You now have a hanging solar lantern for under $7!

Estimated Cost
7-10
Estimated Time Investment
Afternoon Project (3-6 Hours)
Recommended Skill Level
Starter Project

Comments

King Farm Bed

King size Farm House Bed. Project took about 30 hours of work (1-3 hours per night). Built with White Board and Pine woods. Pine was used for the head and foot boards slats. We made the mistake of making our bed head board and foot boards 6 inches too wide (mental brain fart). So our options where to scrap or figure something out. After some thought we decided to place a step on the running boards using a 1X3 (pine). The effect was stunning. Also added "vine" vertically to the end of both foot and head board, it looks better in person (you'll have to zoom into image). We took care in sanding all boards, staining using Wood preconditioner, then Minwax Colonial Maple, and then Semi-Gloss Minwax Polyurethane. We love the sturdiness of the bed! as our friends that have seen it have continuously repeat "It's beautiful, this is how furniture used to be made" couldn't agree more!

Estimated Cost
450.00
Estimated Time Investment
Week Long Project (20 Hours or More)
Finish Used
Minwax Wood Conditioner
Minwax Colonial Maple,
Semi Gloss Polyurethane Minwax
Recommended Skill Level
Beginner

Comments

Storage Bed

Submitted by Anonymous (not verified) on Tue, 07/26/2016 - 06:01

Over the winter we decided to upgrade our daughter's bed from a single to a double.  We wanted her to be involved in the concept and design.  Here is what we came up with!  

More builds/projects/tool info can be found at my YouTube page.  Would love to have you stop by!

http://www.Youtube.com/ericgreaves

Estimated Time Investment
Week Long Project (20 Hours or More)
Finish Used
Semi Gloss White Paint
Recommended Skill Level
Intermediate

Raised Planter / Jardiniere

Submitted by WoodON on Sun, 05/17/2020 - 23:11

Not much to say apart that some internal measures were different (!?) and that I used treated wood and covered everything with recyclable plastic.

Oh yeah, of course.... Thank you Ana!!

Built from Plan(s)
Estimated Cost
31$ CAD
Estimated Time Investment
An Hour or Two (0-2 Hours)
Finish Used
None
Recommended Skill Level
Beginner

Custom Garage Shelves

Submitted by Anonymous (not verified) on Tue, 01/16/2024 - 17:19

I just finished shelves on both sides of my garage using your video.  I built a coat rack and boot rack.  I also made space for tall items like tools and ladders near the garage door.  I had to also build in a gun safe, freezer and my work bench.  Everything came together and now I have everything in bins on shelves. 

Gary Hoffman

Entry Console

My entry was filled with a huge armoir/bar, that made the entire house feel cramped...So, I moved it and replaced it with this beauty!

I wanted a shelf, so I used a 1x12 trimmed with 1x2's for this.
I modified and went with 5 drawers instead of 4...I have 5 boys, this way they each get a drawer for their stuff.
I also alternated finishes on the top boards to create a striped look.

Notice something missing? The hardware for the drawers! I cannot make up my mind on which ones to buy. ;) Any suggestions would be greatly appreciated!

I like the straight lines of this piece, so I want the pulls/knobs to be somewhat contemporary.

Built from Plan(s)
Estimated Time Investment
Day Project (6-9 Hours)
Finish Used
for the top- alternating stripes of natural and early american by Rustoleum
everything else- early american stain by Rustoleum
followed by 2 coats of satin poly
Recommended Skill Level
Beginner

Comments

Farm Table

Submitted by mrcoolcom on Mon, 04/28/2014 - 06:21

Was so easy with ANA instructions and the results were an a amazing accomplishment!

Estimated Cost
175
Estimated Time Investment
Day Project (6-9 Hours)
Finish Used
White wash pickling wood stain
Recommended Skill Level
Intermediate

Comments

First project!

Submitted by ranlim on Thu, 07/28/2016 - 14:33

First wood- building project I have ever attempted. It seemed crooked for most the time i was building it, which stressed me out and somehow it all worked out in the end! Very sturdy and think it would definitely sell for more than i paid for. Proud of it!

Estimated Cost
$20
Estimated Time Investment
Day Project (6-9 Hours)
Finish Used
Haven't finished yet. Not sure if i should stain or paint. Waiting to move into our new place to decide which way to go
Recommended Skill Level
Beginner

Coffee Tablr

Submitted by Anonymous (not verified) on Wed, 05/20/2020 - 10:45

Fun project. Really enjoyed this one

Estimated Cost
$50.
Estimated Time Investment
Afternoon Project (3-6 Hours)
Finish Used
Minwax Pre-Stain and Min-Wax Early American Stain then added a thompsons water seal.
Recommended Skill Level
Starter Project

Big Crate Shoe Box (A Test in Bri-wax)

Submitted by Joni on Fri, 07/13/2012 - 11:03

I needed a large box to use at the base of my stairs for shoe storage, so this is it! I made 2 compartments, and put handles on the side for easy moving. Being solid wood, this thing is heavy and a lot larger than it looks.

I wanted to do Bri-wax as a test on a smaller project before possibly messing up a larger one. Bri-wax advised me to wait a week to let the stain 'cure' prior to using the product. The stain was beautiful prior to using Bri-wax, but didn't look nearly as good when the wax took off some of the stain and kind of changed the color. I love the look of the Bri-wax finish, but probably won't be using it again (unless the finish has been cured for a long time). Bri-wax also told me not to use it over varnish or poly, as it would damage that surface. I would be interested in hearing from you guys who have used it successfully on top of other finishes.

Finish Used
Mixture of Minwax Water-based stain in American Walnut & Ebony, followed by Bri-Wax in Light Brown and Tudor Brown (3 coats)
Recommended Skill Level
Beginner

Comments

American Herit…

Sat, 07/14/2012 - 21:00

Hello Joni,
I've used Briwax over a clear, satin poly finish without any damage, though typically, I apply a 100% Briwax finish on the majority of my pieces as I prefer the natural finish and find it's complimentary to the reclaimed wood I use.
Simply a personal preference.
Looking at your other projects want to commend you on your table too. Nice color distinction and accents. Very nice!

Mike

Sweet Pea Garden Bunk Bed

Submitted by Beth Allen on Wed, 04/30/2014 - 12:01

My dad built this for my daughter.

Recommended Skill Level
Intermediate

Comments

Hexagon Picnic Table

Submitted by JohnNH on Tue, 08/02/2016 - 06:20

Thanks for the plans.  My little brother from Big Brothers Big Sisters and I made this table and had lots of fun doing so.  We made a few modifications which might be useful to others:

1.  We modified the center joints (at the lower and table level) so that one 2x4 could continue across the entire diameter of the table for greater strength (see pictures for details).

2.  As recommended we extended the seats out 4".  This made it very comfortable to get in and out.

3.  We started the center with 2 pieces of 2x6 rather than 6 with the thought being that this would help strengthen the center of the table.  (see pictures for details).

4.  We added a stiffener at the center 6-way joint on the lower level to help really strengthen that center joint.  This was made out of 2 pieces of 2x6 as shown in the pictures.


Thanks,

John


Built from Plan(s)
Estimated Cost
$80
Estimated Time Investment
Weekend Project (10-20 Hours)
Finish Used
Semi-transparent Redwood Stain
Recommended Skill Level
Intermediate

Office Corner Desk with Hutch!

Being my first DIY project - it was a pretty big task not using a saw before or doing any building. Following the plans was easy, just took a lot of time to learn how to do things for the first time.

I modified her plans to have 3 drawers on the one side to match the pb design.

After finishing the table, I knew I needed to create the hutch that is sold along with this desk. After some rough paperwork estimates I went ahead and built the hutch.

Looks pretty amazing and similar to the real deal.

Check out my blog for further pics and details of paint, primer and drawer slides I used. Leave a comment if you'd like me to work on getting a hutch plan organized.

With doing the hutch without real plans, this project took me a while to get those cuts organized and completed.

Estimated Time Investment
Week Long Project (20 Hours or More)
Finish Used
Benjamin Moore Antique White Paint
Recommended Skill Level
Intermediate

Comments

onehandymommy

Sat, 07/21/2012 - 09:56

I would love to see the plans you used to make the hutch! Also, I can't seem to find your website. The site on the picture isn't working. Wonderful corner desk, is it very heavy?

webdevandasaw

Sat, 07/21/2012 - 15:08

I will work on getting some hutch plans up.. I did it sort of on the fly from a rough estimate on paper.. I will post up on my website and a link here when I do.. might take a bit of time to get it up and learn how to draw it up all nicely on the computer. Not sure why the website won't load for you? http://www.webdevandasaw.com/ should work. Had a few people test it :S

The desk is pretty heavy and solid. I was able to bring each part up a flight of stairs myself (all three parts of the hutch are seperate) - and the desk top is seperate, as well as each drawer I took out before bringing it up the stairs.

allenml2

Mon, 08/08/2016 - 19:50

It's been a while since you built the corner desk with hutch that is posted on Ana White website, and I had a question. do you have a new blog or website where you have posted details on the paint and drawer slides you used as well as the plan for the drawers and hutch that you create? Thanks.

Maureen

Adirondack Chairs

Submitted by Beoncia on Mon, 05/05/2014 - 06:15

"Beginner" doesn't begin to describe me! I didn't know the difference between a skill saw & a miter saw before starting this project, but thankfully, my husband is a Mechanical Engineer & knows his way around a few tools. We're very happy with the end result, but they're not perfect. We learned a lot & I'm confident that the next project will be better. A couple of things I learned along the way--no need to buy exactly double the wood for two chairs. Probably obvious for those that are experienced, but I bought exactly double & could've saved a little $$ if I knew what I was doing. Not counting the investment of the saws & other equipment (that will now last my lifetime!), the chairs were less than $50 each for the wood, paint, screws, etc. We used the cheapest wood (whitewood, per the recommendation) available & now that I'm a bit more knowledgeable, I'll upgrade for my next project. The paint is regular Glidden Exterior, & the Home Depot reps were kind enough to mix samples of the two lighter colors so that I didn't have to buy a quart for such a small amount. Colors are Peach Crayon, True Peach, & Tropical Coral. It should be noted that samples aren't available in exterior, but the chairs will be used mostly on a screened porch--out of the direct sun and rain--so I didn't worry too much about it.

Built from Plan(s)
Estimated Cost
<$50 each
Estimated Time Investment
Weekend Project (10-20 Hours)
Finish Used
Glidden Exterior
Recommended Skill Level
Beginner

Comments

Seasonal And Holiday

Stackable Kids' Chairs

Submitted by Anonymous (not verified) on Thu, 08/04/2016 - 16:30

Super proud of these! Made them on my own while 7 months pregnant! Wonderful plan! Thank you!!!  

Estimated Time Investment
Weekend Project (10-20 Hours)
Recommended Skill Level
Beginner

Hall entry bench

Submitted by Anonymous (not verified) on Sun, 05/24/2020 - 21:28

First piece of furniture using your plans for inspiration. Keep those plans coming I am learning as I go along.

Built from Plan(s)
Estimated Cost
40
Estimated Time Investment
Day Project (6-9 Hours)
Finish Used
Mahogany to go along with our floors. It was a stain and poly in one. Did 2 coats.
Recommended Skill Level
Beginner

Freestanding Mudroom

Submitted by Anonymous (not verified) on Tue, 02/06/2024 - 09:05

Built from recycled yellow pine bleacher seats my school I worked at wanted me to toss. No plans just made it up as I went along.

Tim O’Kon

Our New Sandbox

I followed lady goat's instructions but made the seat back taller and the sandbox wider (4'x5'). I have more details here:

http://www.statelykitsch.com/diy-sandbox-with-lid-benches/

Built from Plan(s)
Estimated Time Investment
Day Project (6-9 Hours)
Finish Used
Paint and Stain
Recommended Skill Level
Beginner

Comments

In reply to by Lady Goats

Heidi Sentivan

Thu, 07/19/2012 - 05:02

The kids do really like it but it has been so hot it hasn't gotten much use yet. I am hoping once the weather cools off they will be out there more. The one other addition that I haven't gotten around to is adding a pvc pipe on the inside so that the beach umbrella will stay in place better.

Camp loft bed with stairs

Submitted by themombot on Fri, 05/09/2014 - 13:27

I had my dad and father-in-law come help with this project. We are all pretty much beginners, but have done some building in the past.

Because I'm not experienced, I didn't find the plans to be in depth enough. Some parts weren't not fully explained and took some guesswork.

I also didn't know what a Kreg Jig was or how expensive it was! This upped my cost by $100. It was well worth buying however, and will be used again in future projects.

We added a railing to the platform since the bed is up against a window with a screen. If the kids were to fall off the platform and hit the screen, they could fall 2 stories. The railing is just screwed into the side of the platform and can be removed at any time.

Overall, I love how it turned out and so do my kids! It fits the toddler-sized DIY bed that my husband and I built right underneath so my 4 year old and 2 year old can now share a room.

More details and pictures are on my blog: http://themombot.com/crafting/2014/05/09/details-our-diy-bunk-bed

Estimated Cost
$150-$250
Estimated Time Investment
Week Long Project (20 Hours or More)
Finish Used
Minwax wood stain in Jacobean, with pre-stain conditioner and 2 coats of polyurethane
Recommended Skill Level
Intermediate
Back