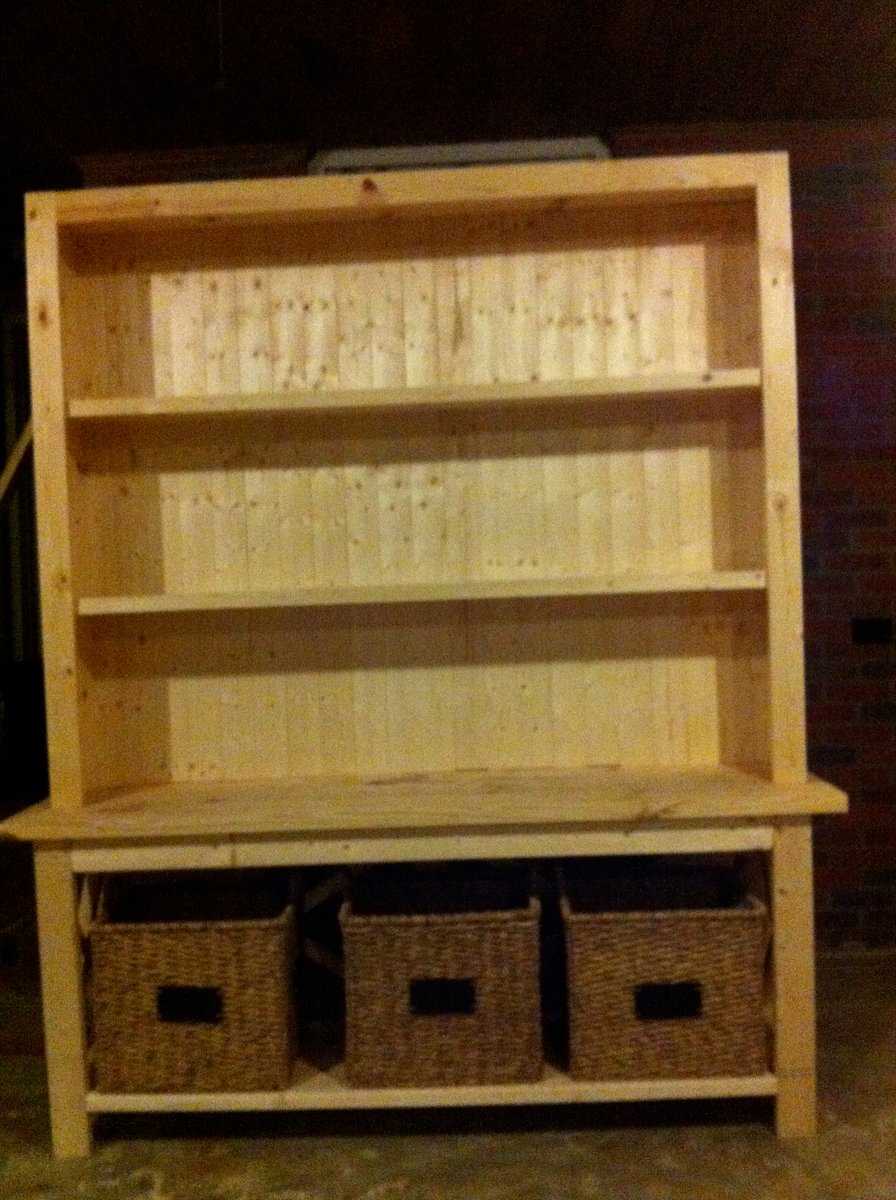
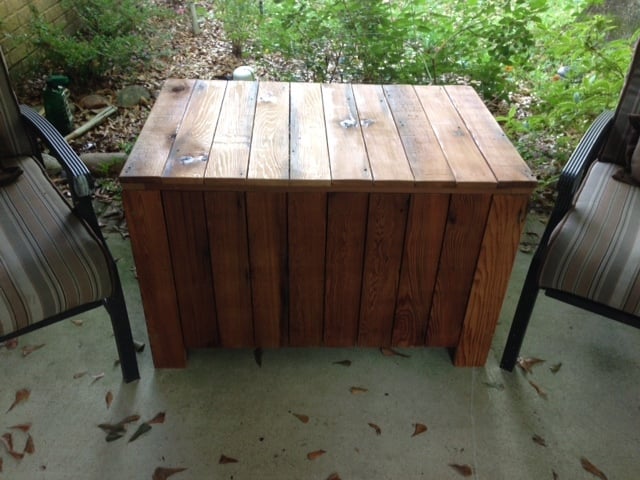
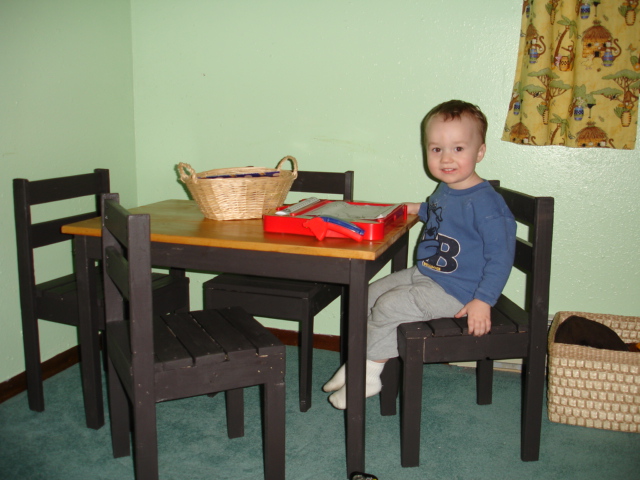
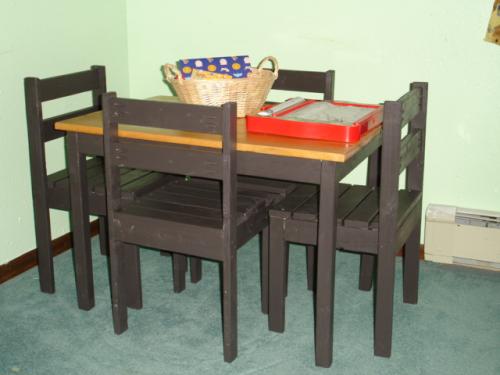
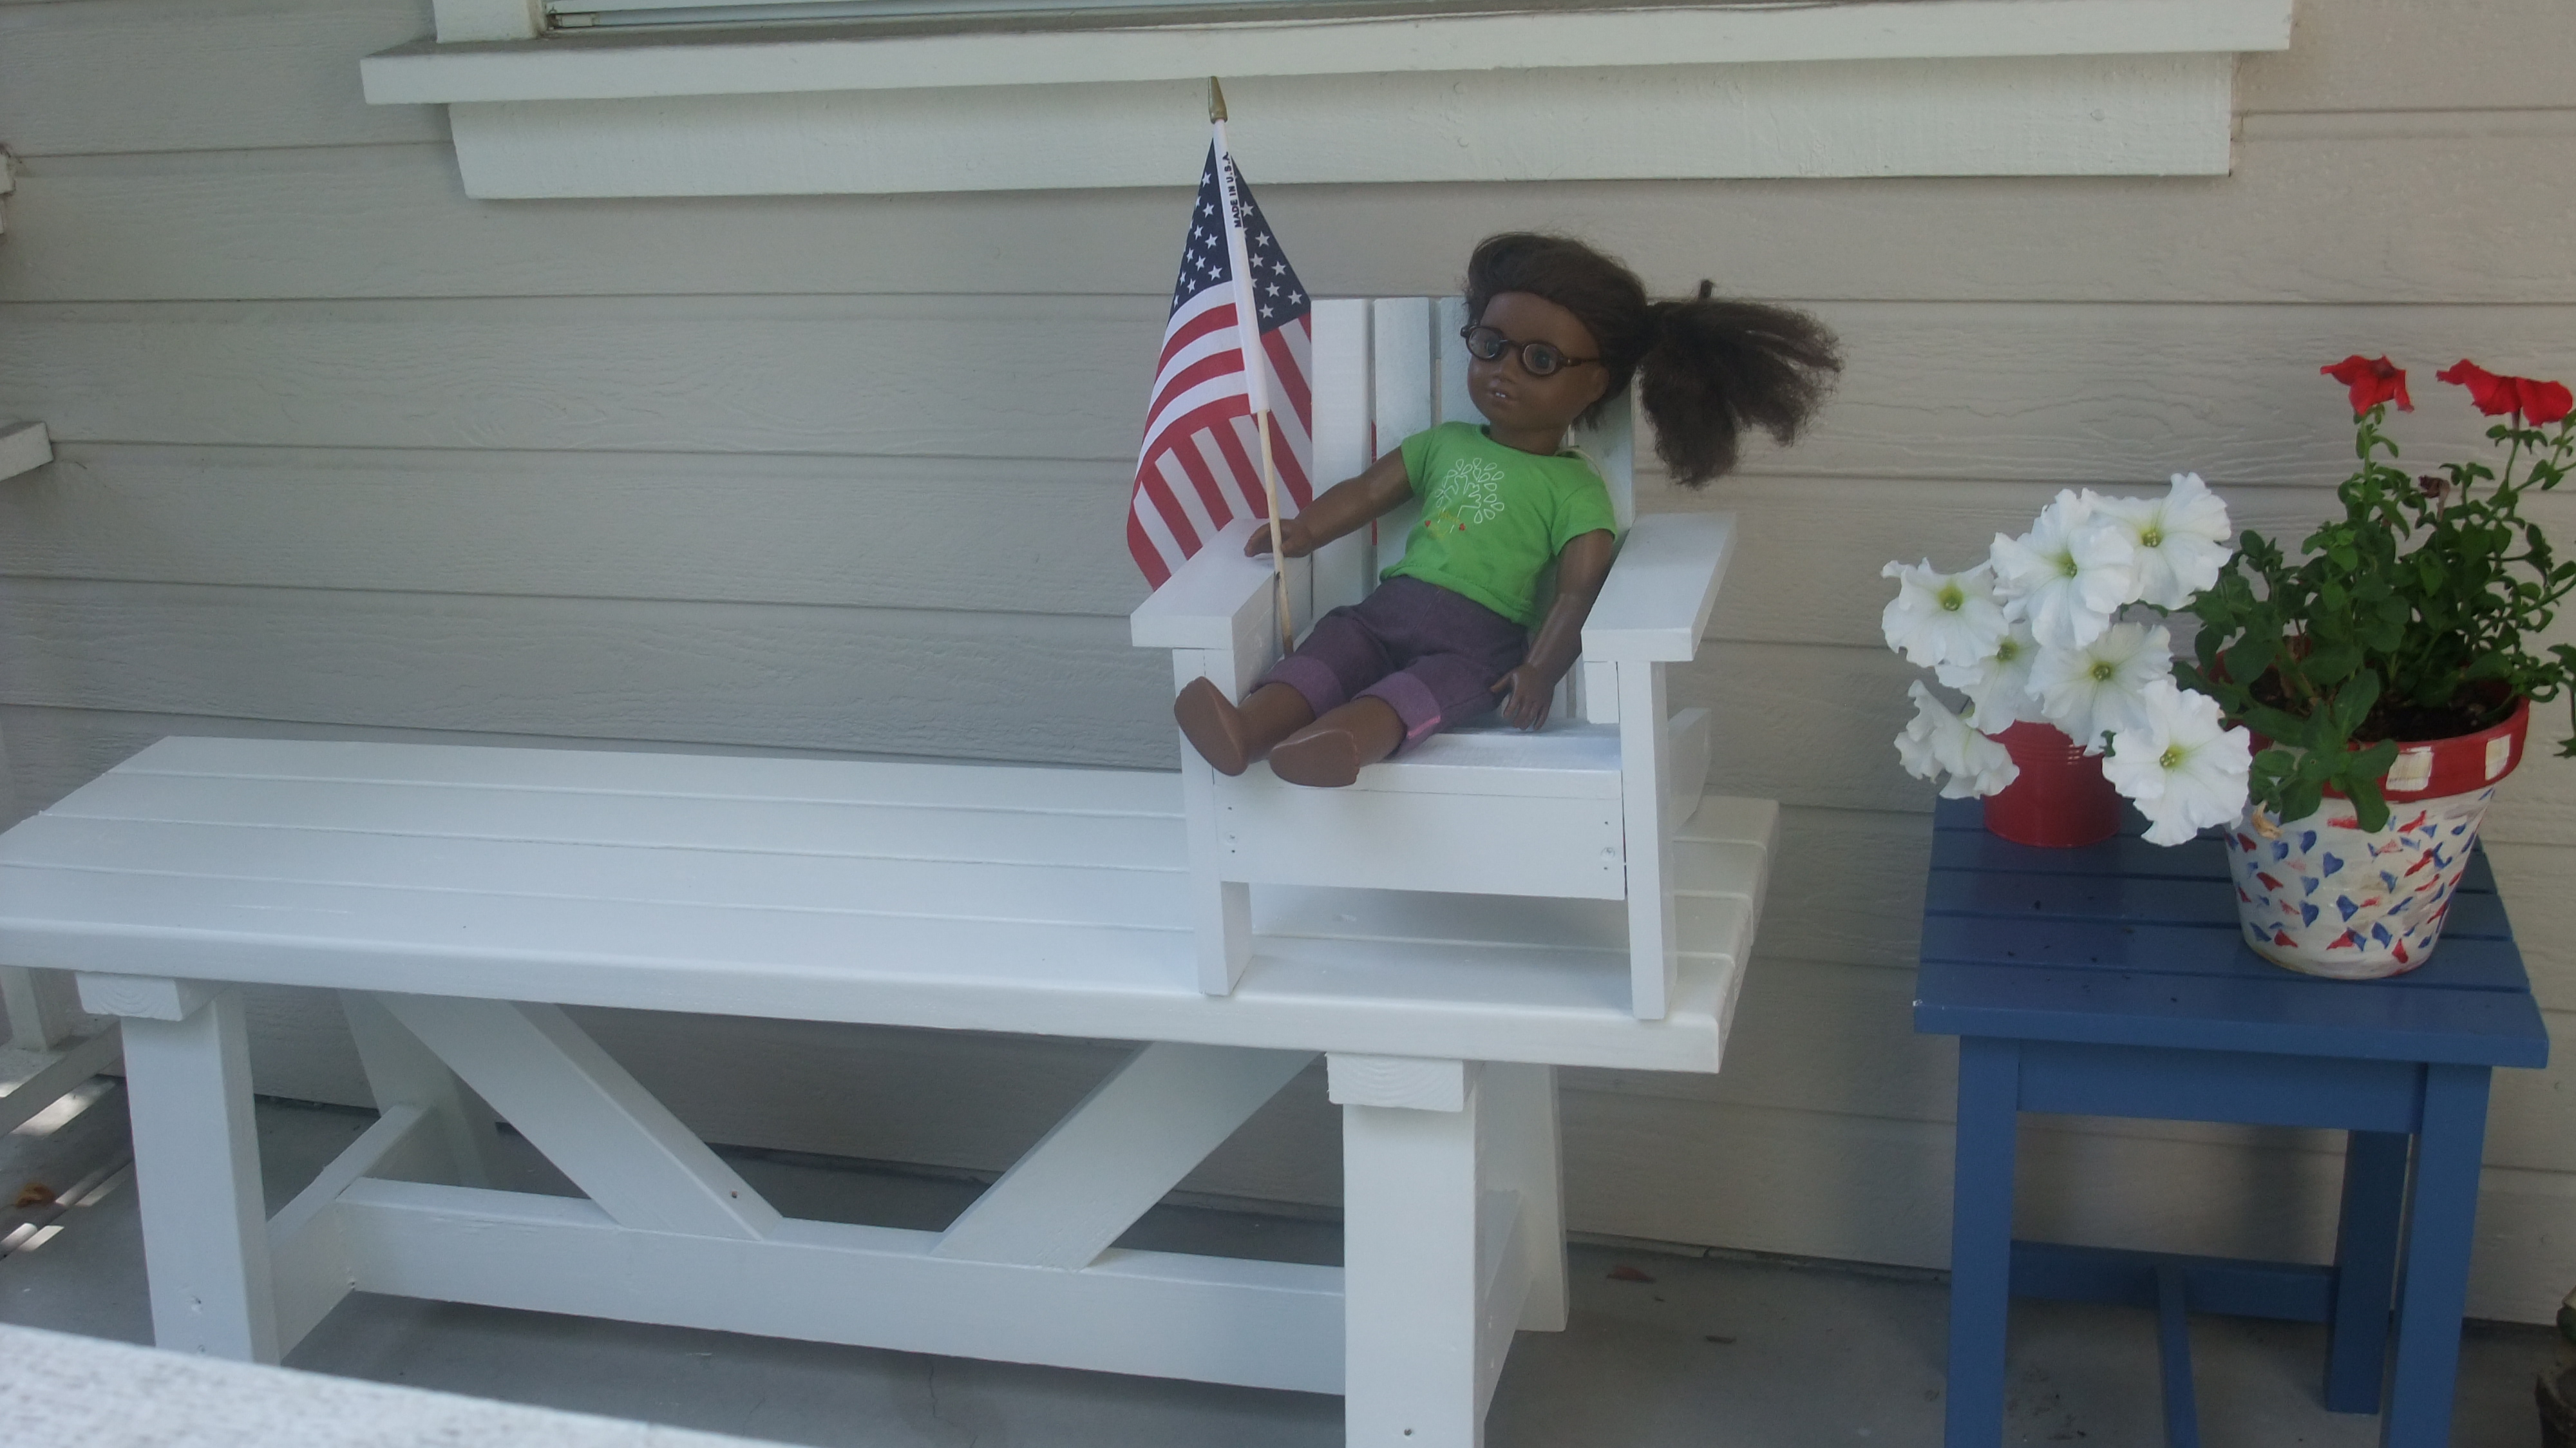
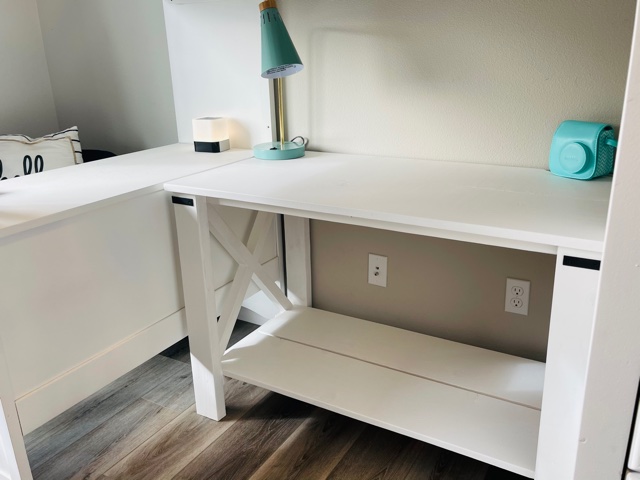
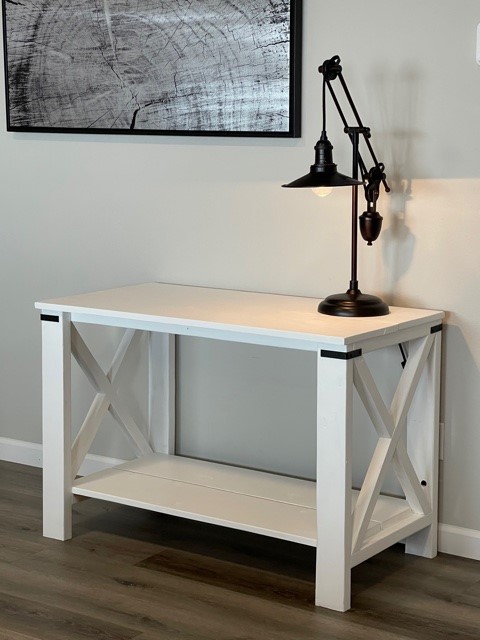
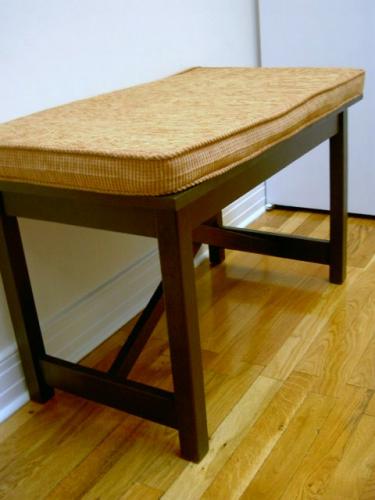
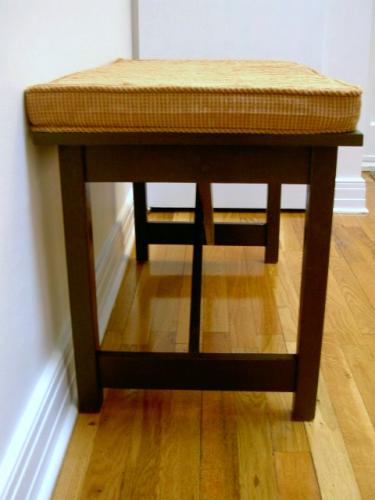
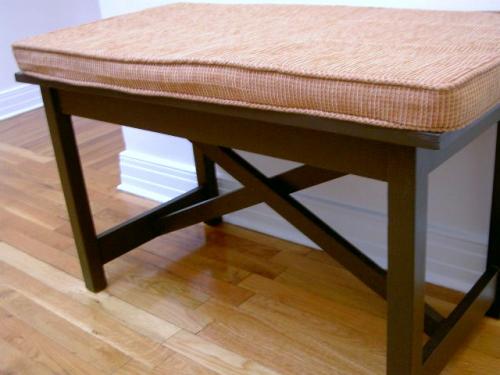
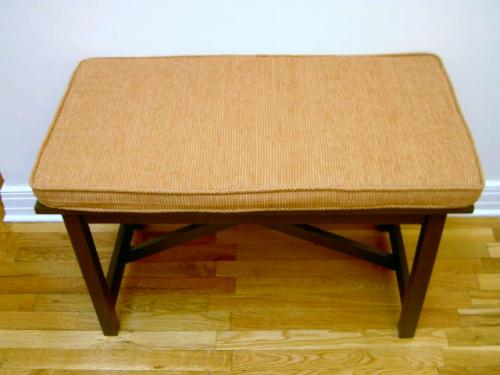
bench
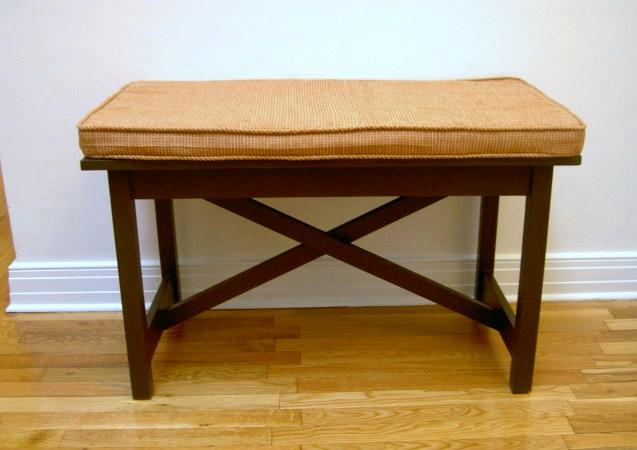
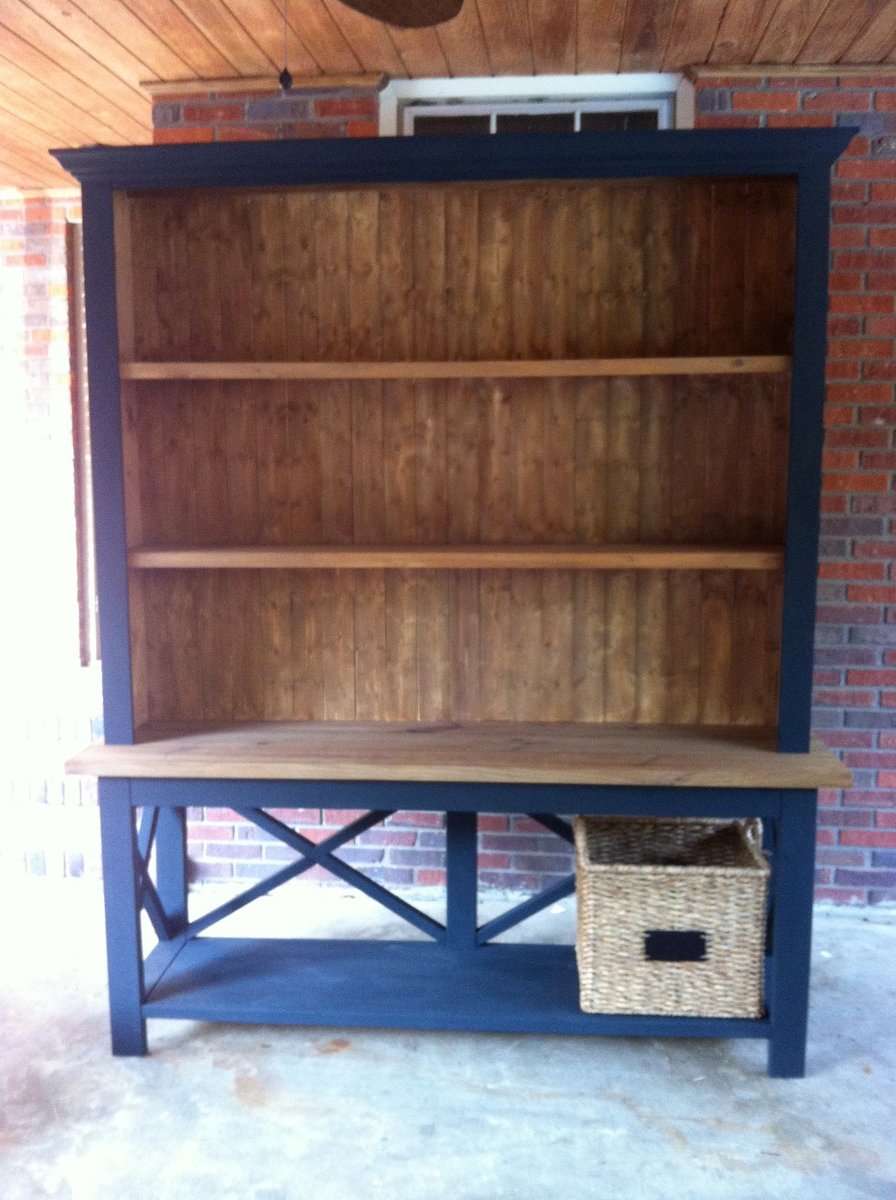
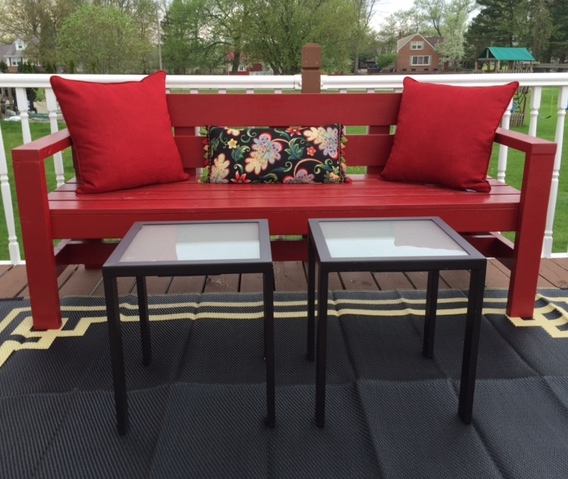
Entryway bench, modified size to fit space and added cushion. ** Cost includes foam and fabric for cushion. Bench itself cost about $60.

Built from Plan(s)
Estimated Cost
$90.00
Estimated Time Investment
Day Project (6-9 Hours)
Finish Used
1. one coat paint with primer, Behr French Roast semi gloss
2. sanded 120 grit, then 220 grit
3. two coats paint with primer, Behr French Roast semi gloss
2. sanded 120 grit, then 220 grit
3. two coats paint with primer, Behr French Roast semi gloss
Recommended Skill Level
Intermediate