Community Brag Posts

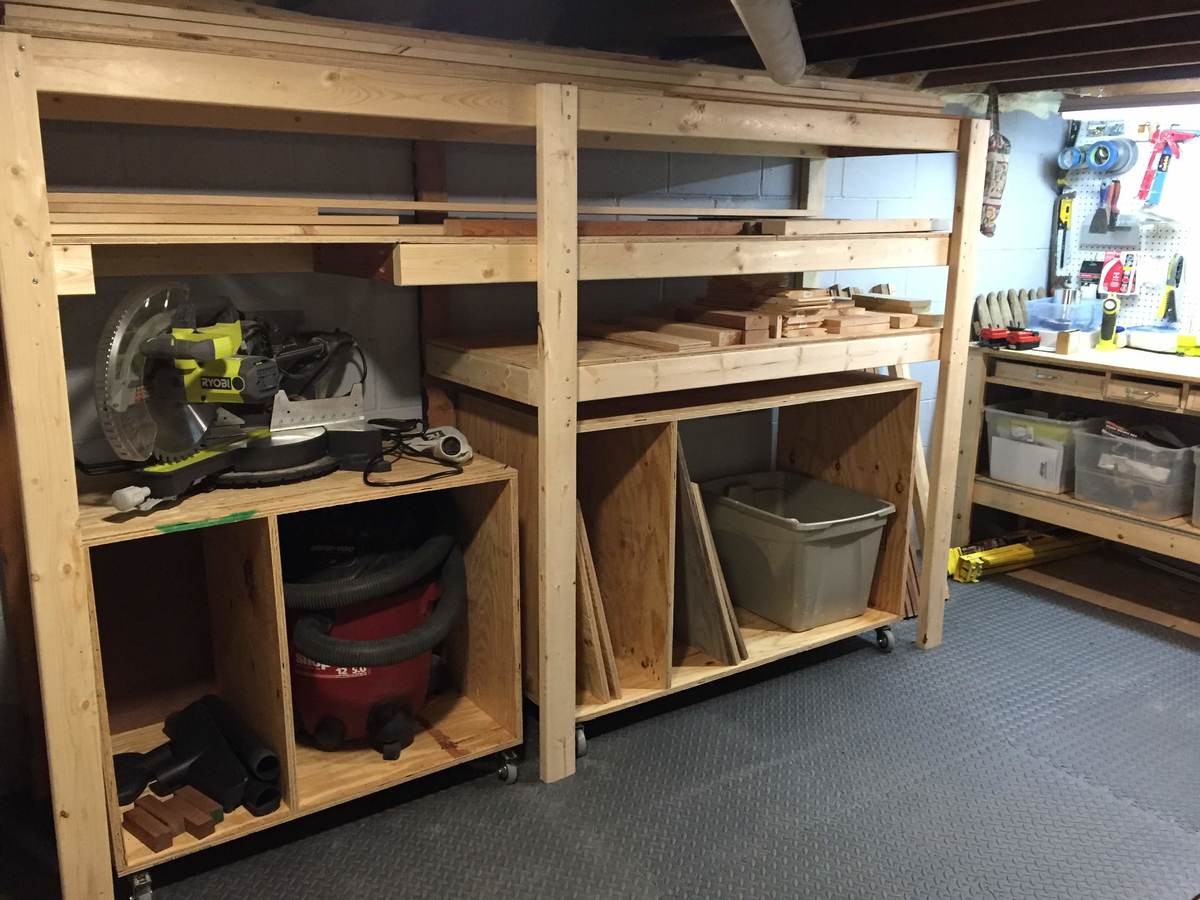
Functional Workspace

Submitted by jvos on Fri, 01/11/2019 - 20:19

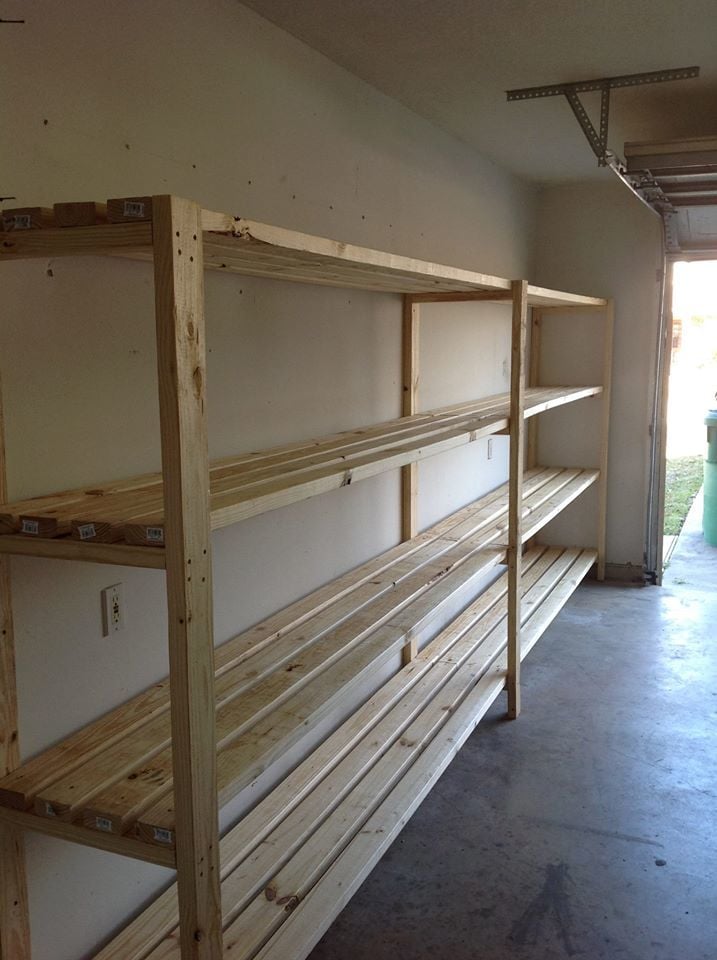
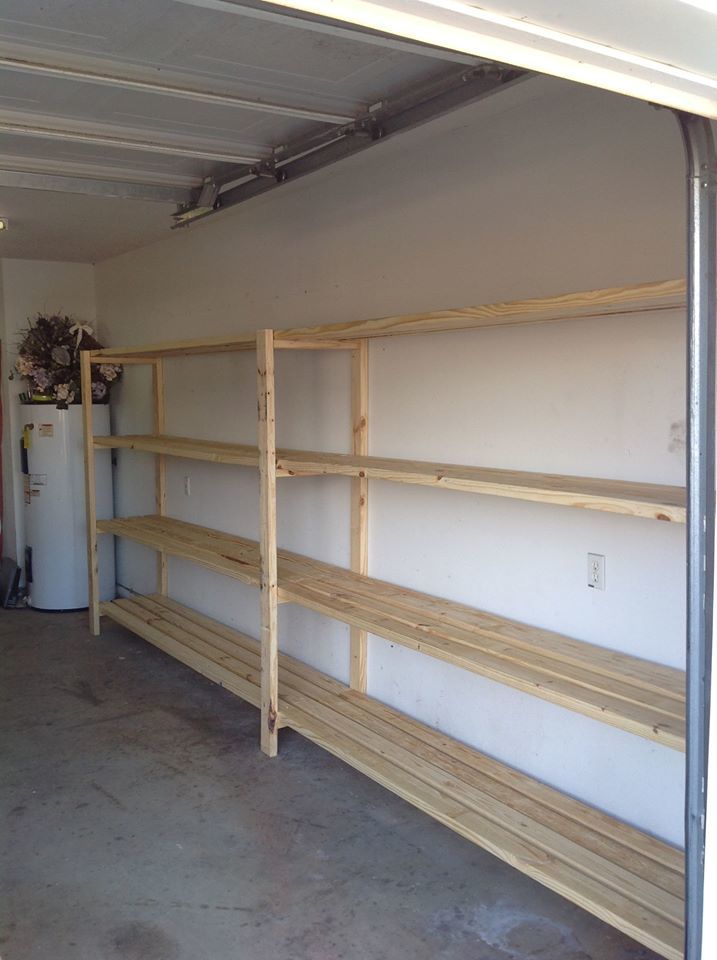
I don't have much space for a workshop in my home - just the corner of my basement.  This plan was the answer!  It adds so much storage and functionality.  I plan to add some shelves to both units but love them already.  Thank you so much!

Estimated Time Investment
Afternoon Project (3-6 Hours)
Recommended Skill Level
Beginner

Kitchen Island

Submitted by Laurie Mac on Sun, 09/18/2011 - 16:09

Our daughter asked for a kitchen island so my first stop was Ana's website to see what plans I could find. I built the base while my husband was out of town one week. This was a zero trip to Lowe's project as I raided our wood rack and scrap bins. My husband came home and built the countertop.

Built from Plan(s)
Estimated Cost
Not known as all the wood was pulled from the rack or scrap bin
Estimated Time Investment
Week Long Project (20 Hours or More)
Finish Used
Butcher block oil was used on the top and Howard's Feed-n-Wax (a beeswax/orange oil product) was used on the base.
Recommended Skill Level
Beginner

Comments

Lori E (not verified)

Tue, 09/20/2011 - 08:32

Wow! This is Gorgeous!! Beautiful work.

Wendy M

Sat, 11/28/2015 - 04:09

Where do I get the plans to make this!?  Beautiful! 

Small Garage Workbench

Submitted by dmozer74 on Fri, 12/18/2015 - 21:17

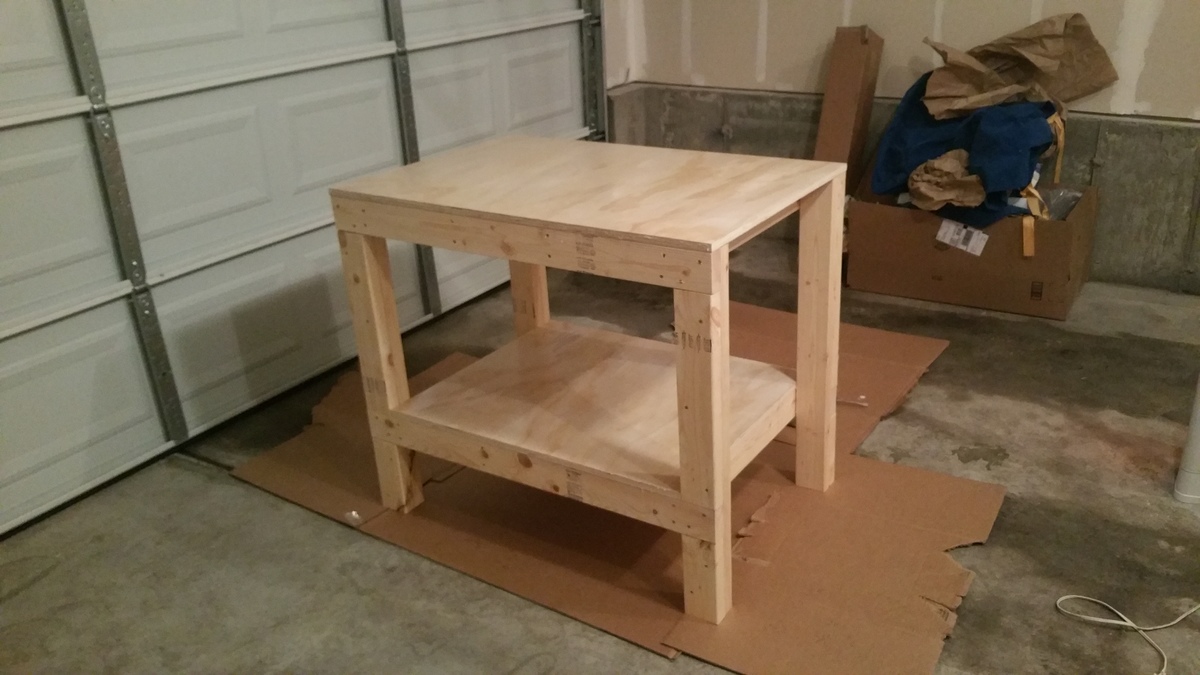
Easy project. I needed this bench a bit smaller due to space constraints so this is 28" x 42". I kept the height the same and finished the surfaces with some thick polyurethane. It should be noted my cost was a bit higher due to buying a sanded plywood, coated self-tapping screws and a more expensive polyurethane. I also went a bit slow on this project and it took about 2.5 hours including application of the single coat of poly.

Estimated Cost
$75
Estimated Time Investment
An Hour or Two (0-2 Hours)
Finish Used
Satin polyurethane.
Recommended Skill Level
Beginner

Comments

Farm benches

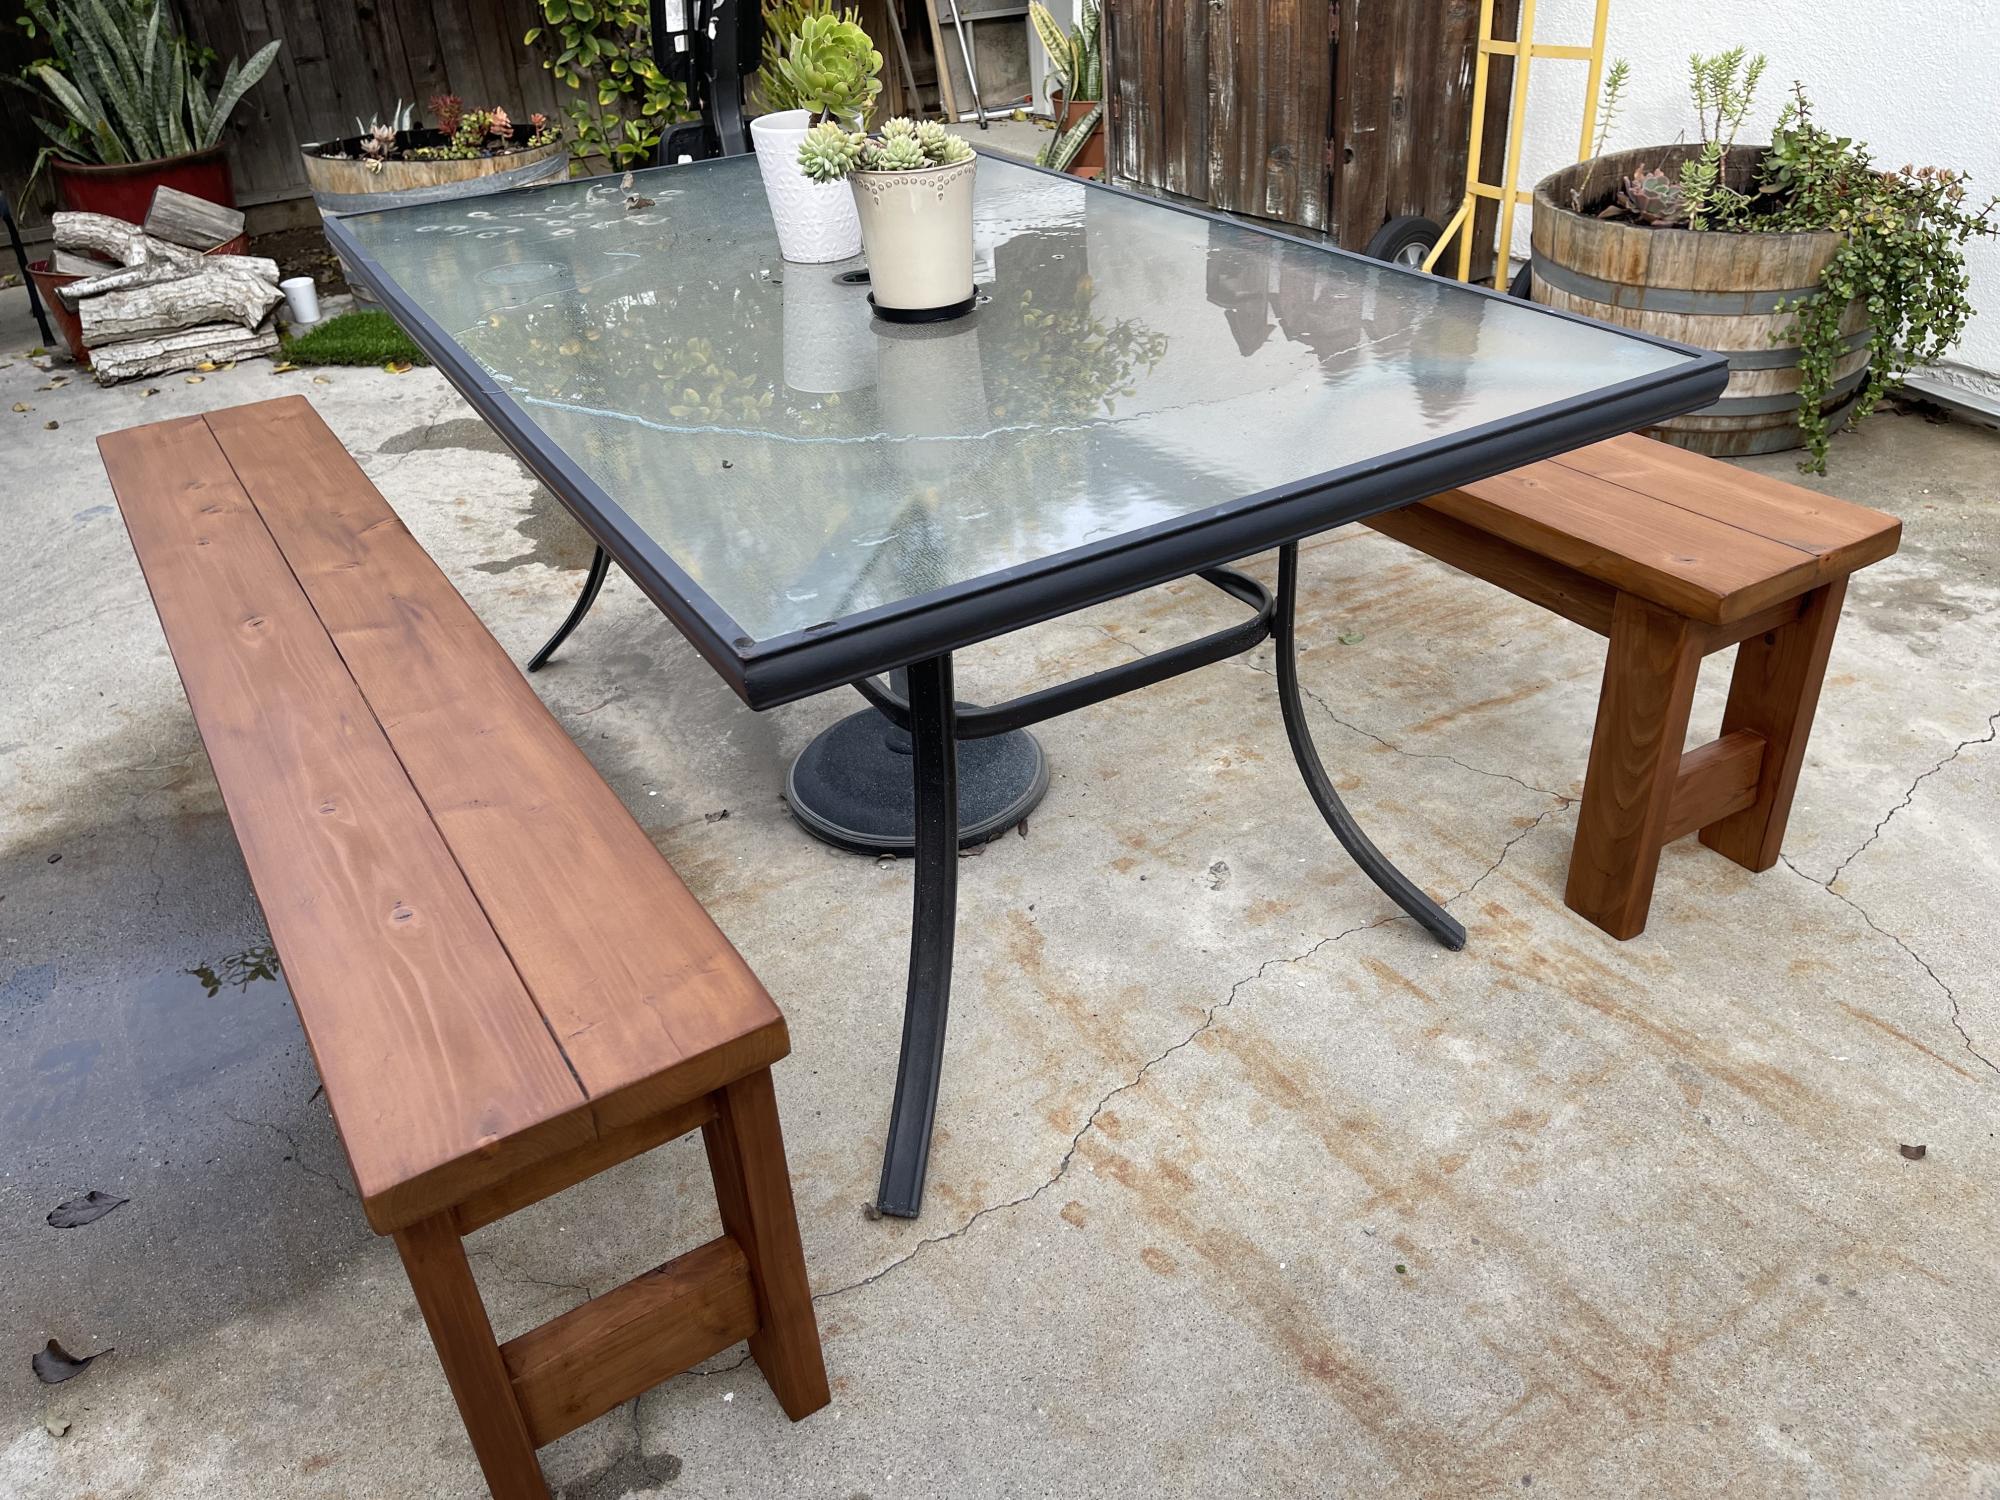
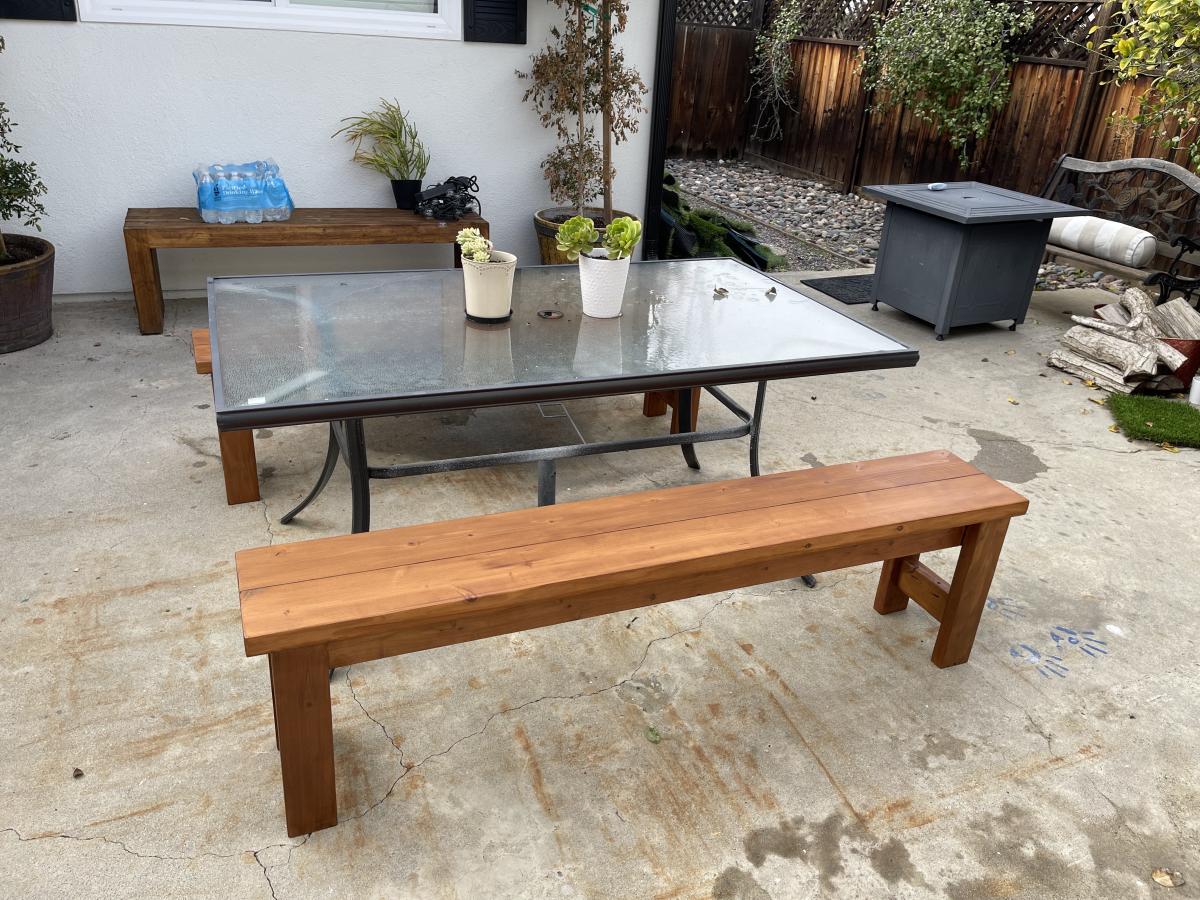
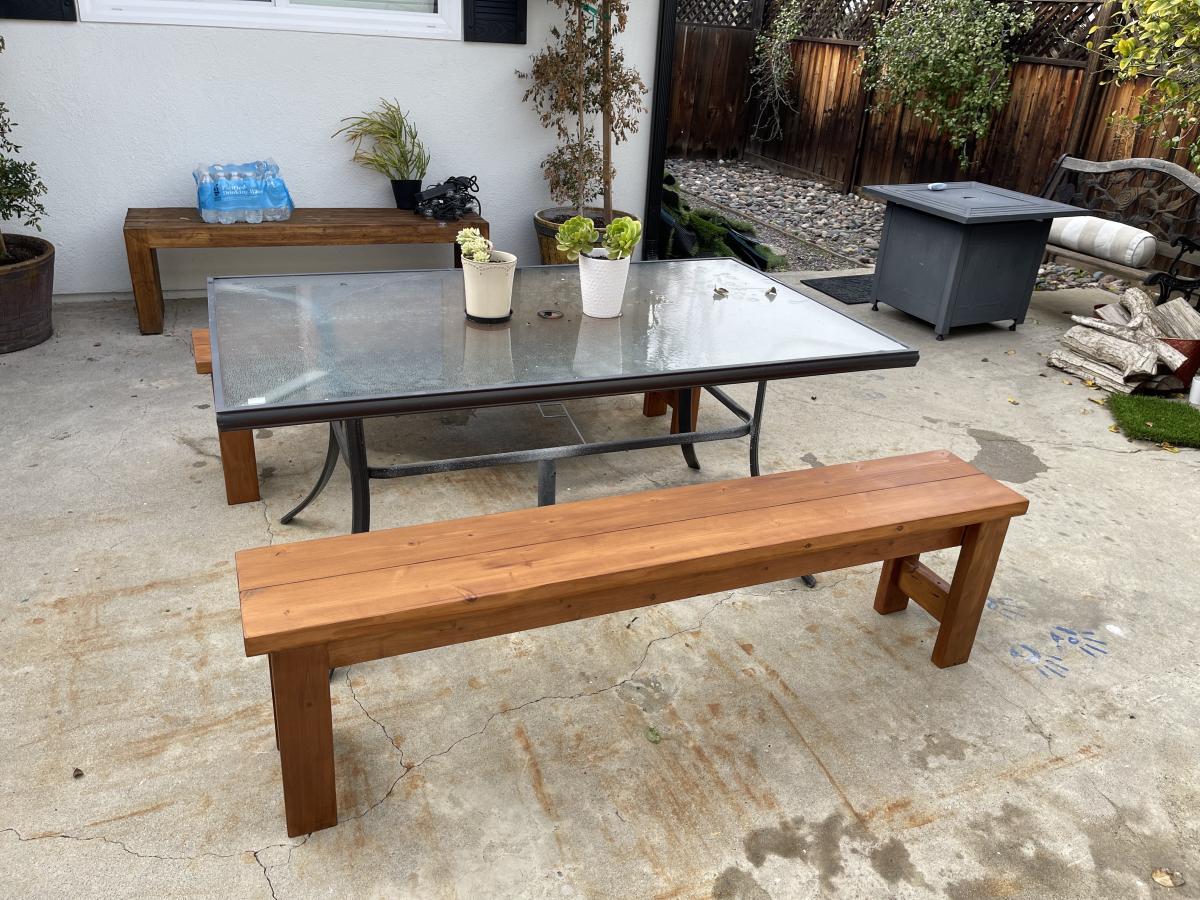
A set of beautiful farm benches for our outdoor table. I built these beauties with redwood wood using only pocket holes to avoid exposing any screws. The only place where I had to use pocket holes plugs was in the leg stretchers to avoid seeing the pocket holes.
I applied pre-stain wood conditioner and then stained them using Dark Brown transparent stain. I wanted the wood grain to be visible through the stain and this allowed me to do just that.

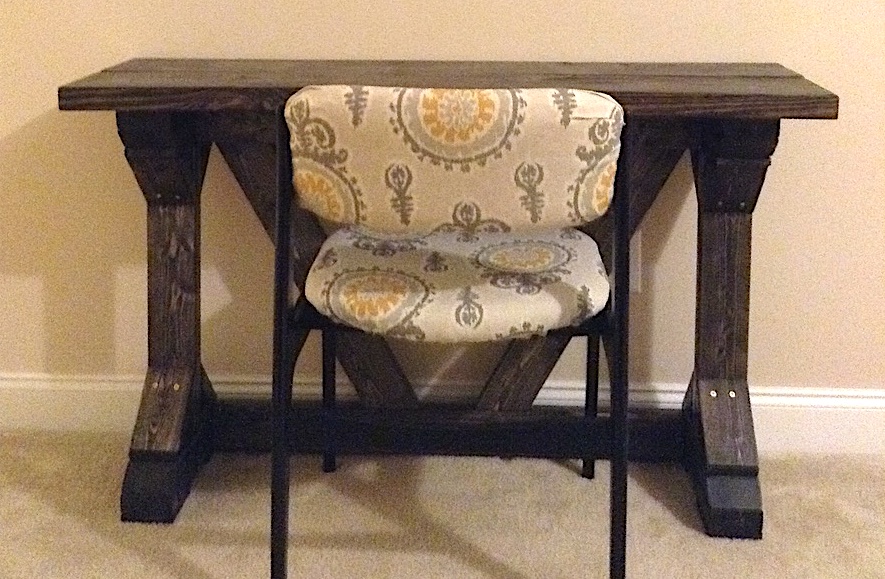
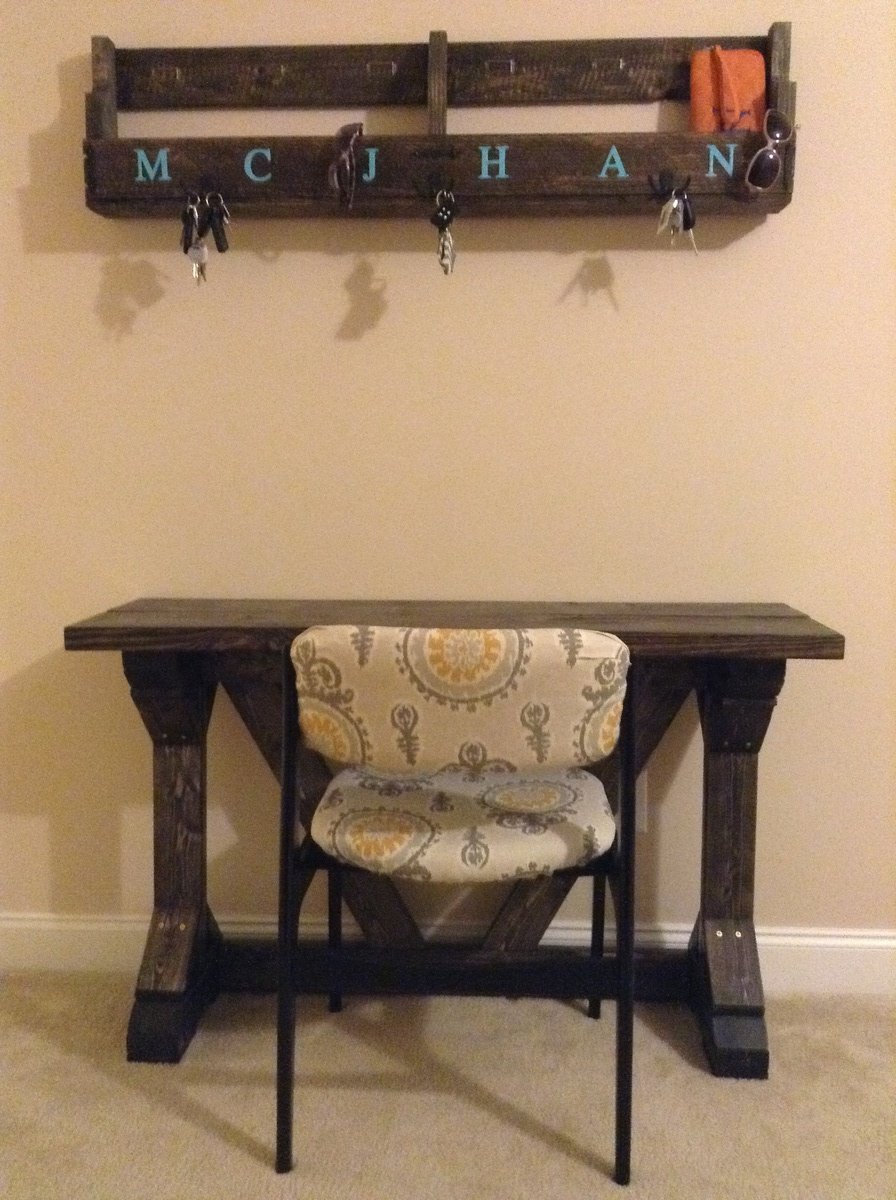
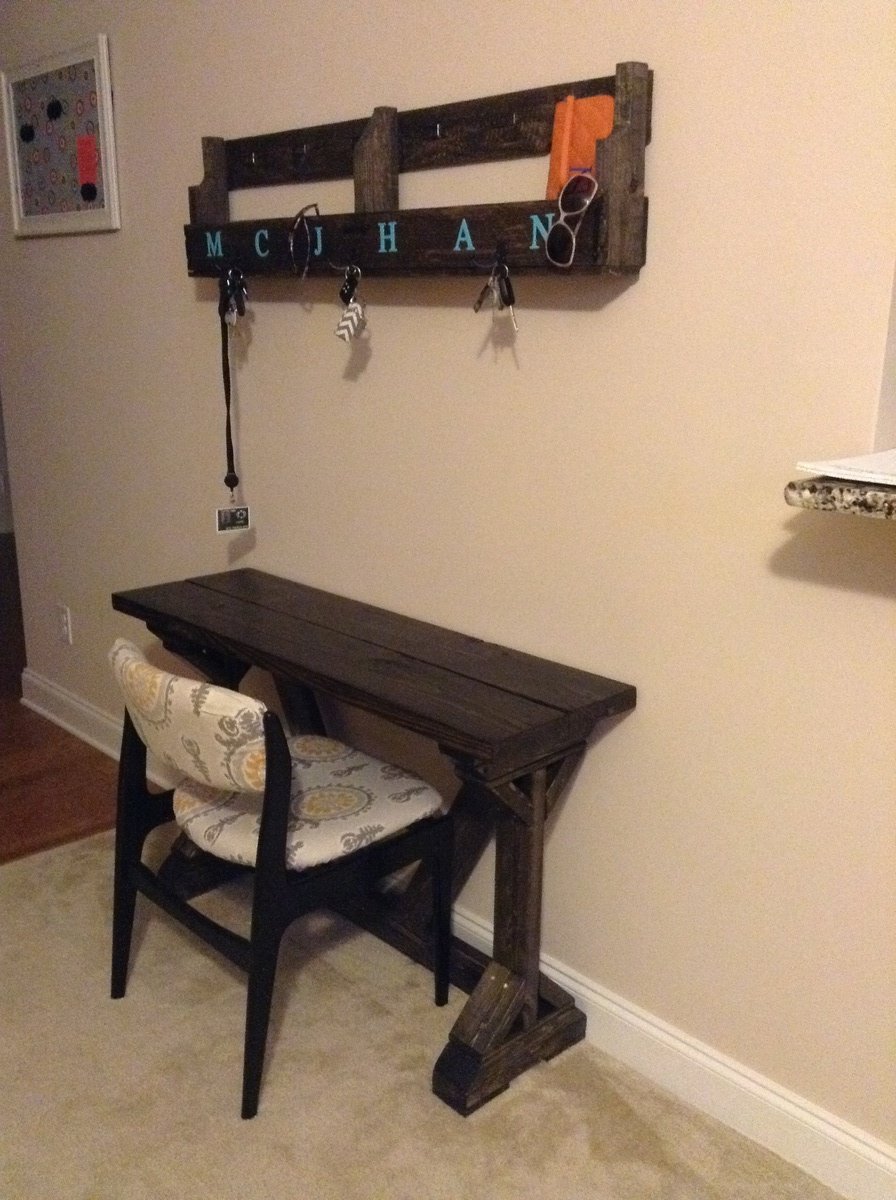
Small desk for Family Command Center

Submitted by CAHJMAMA on Tue, 10/01/2013 - 17:40

Easy project and so cheap. I love the way it turned out! We tweeted the measurements to fit in the small space we had for the desk. It looks an d works great.

Built from Plan(s)
Estimated Cost
$35
Estimated Time Investment
Day Project (6-9 Hours)
Finish Used
Black ebony stain (one coat) and 2 coats of polyurethane
Recommended Skill Level
Beginner

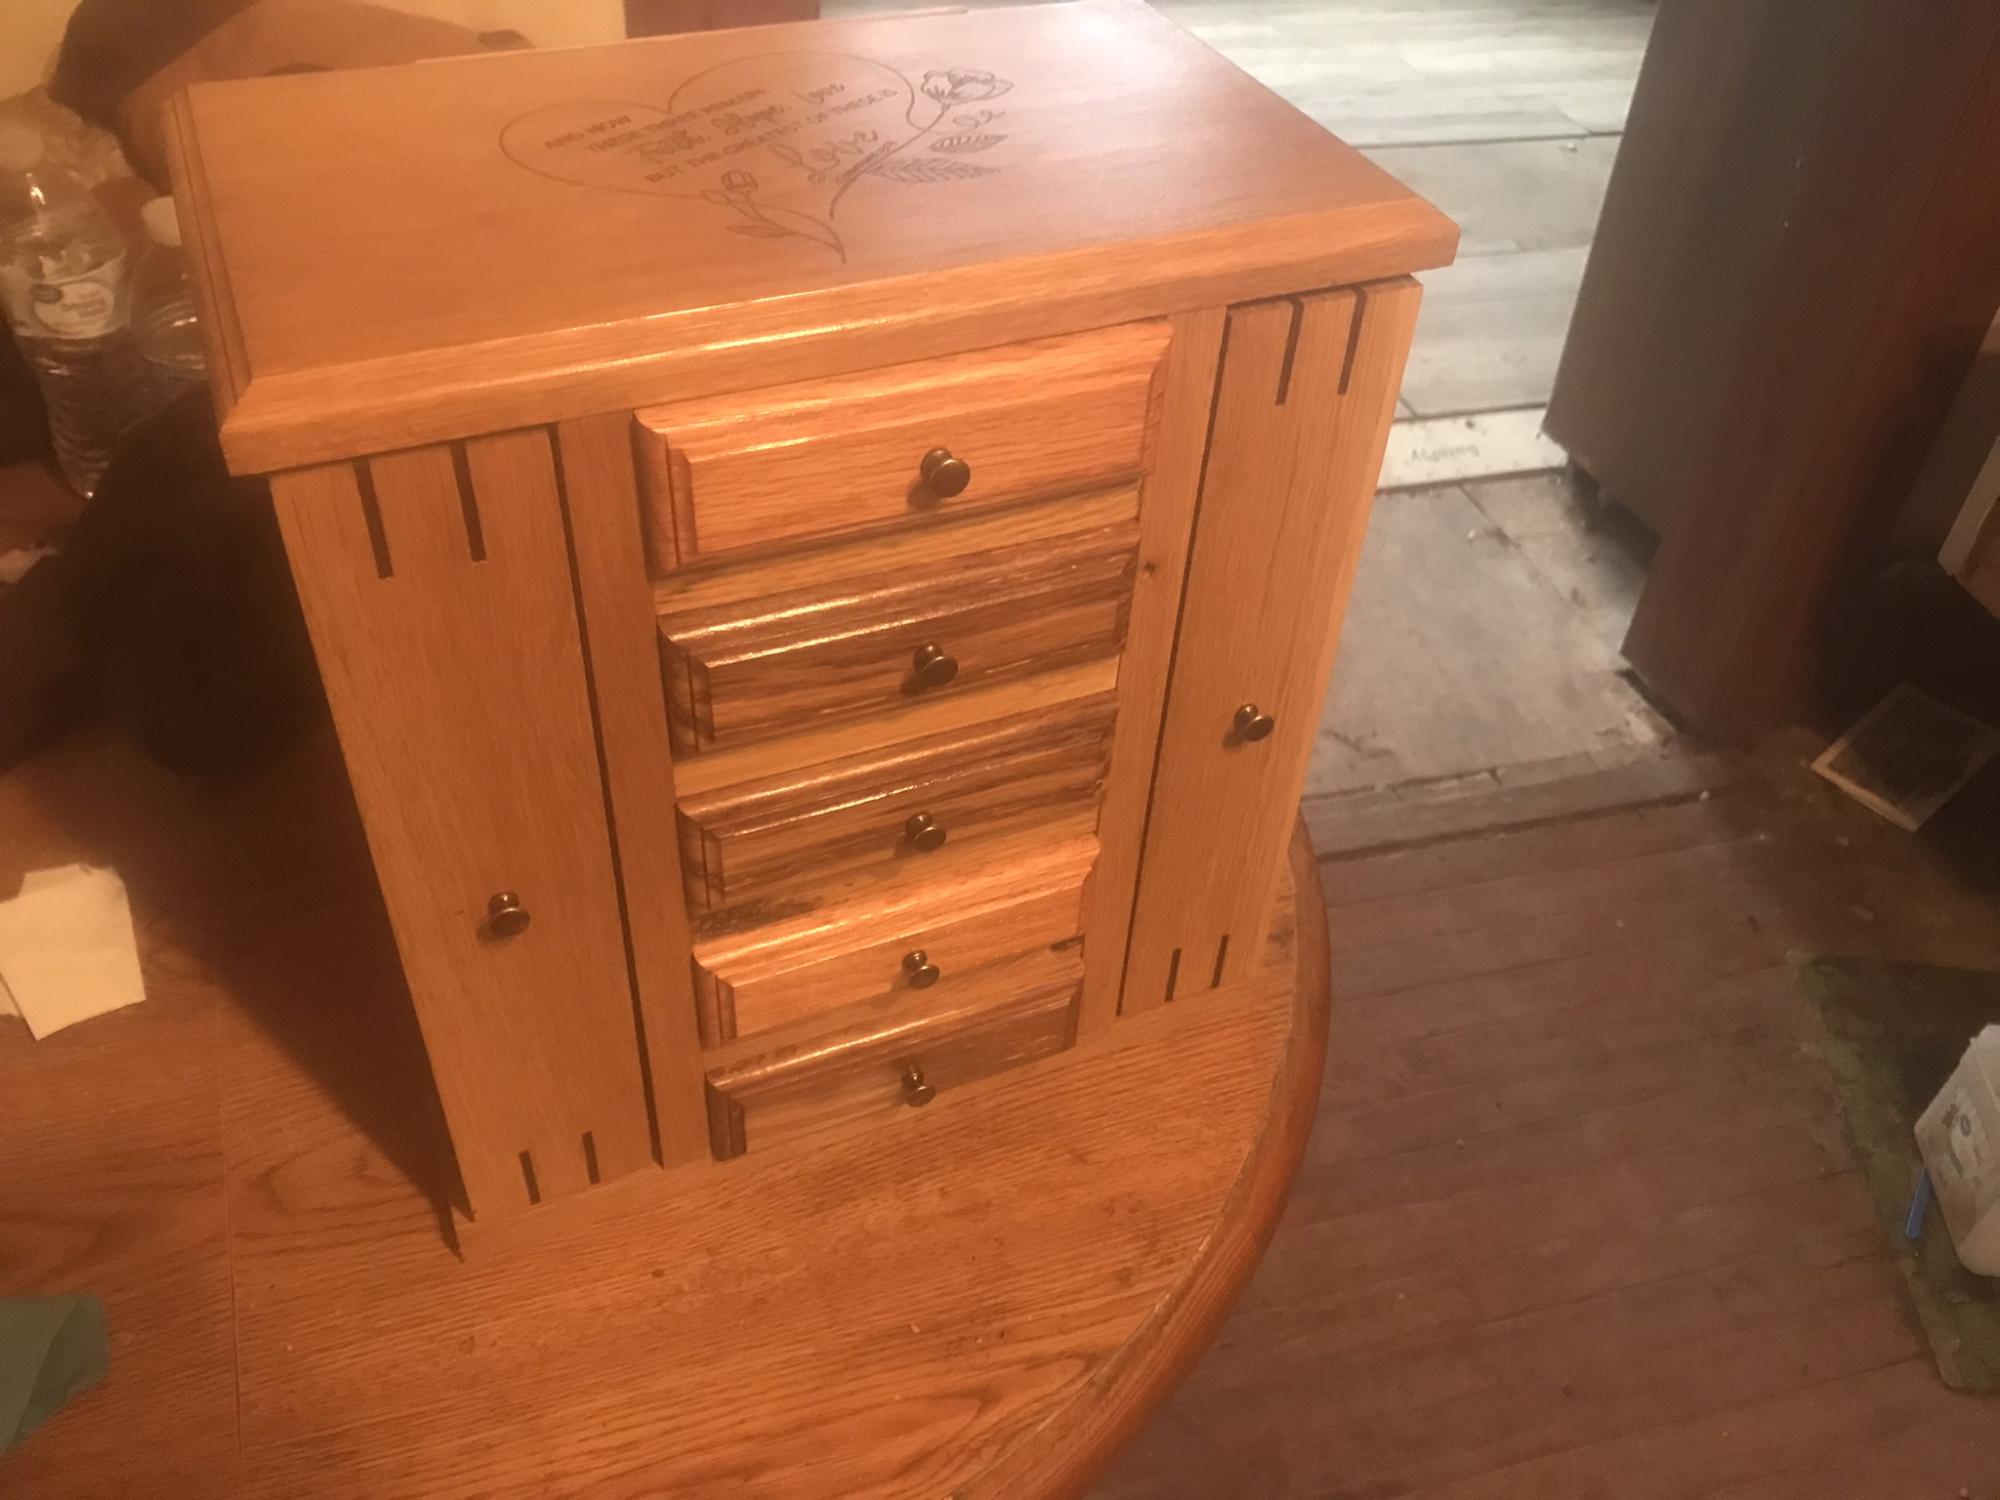
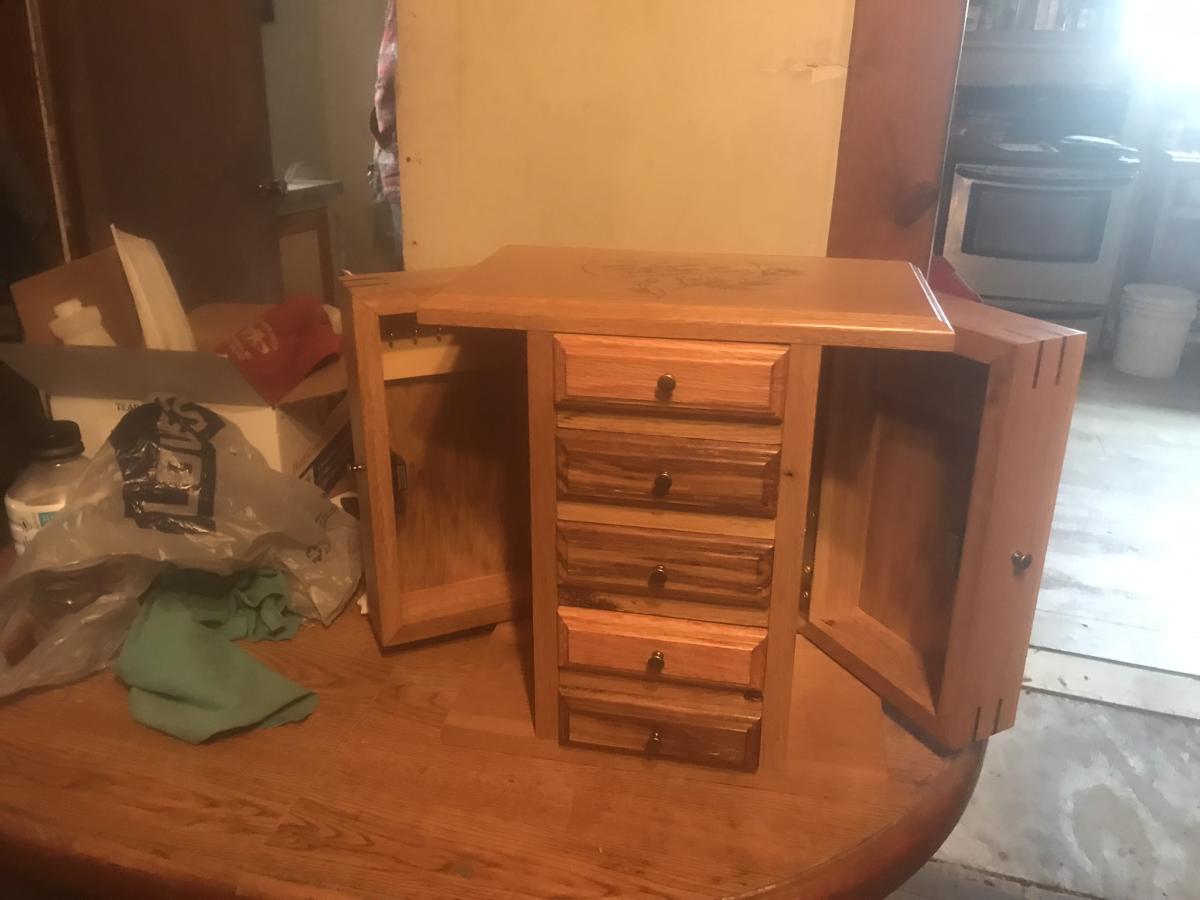
Fancy Jewelry Box

Submitted by Anonymous (not verified) on Fri, 01/27/2023 - 11:53

Made from white and red oak with laser engraved top

Built from Plan(s)

Comments

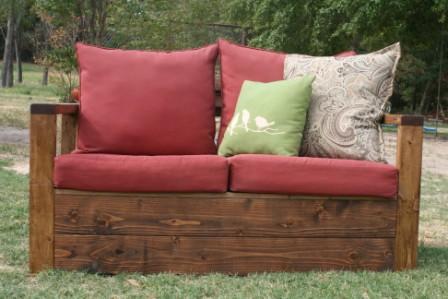
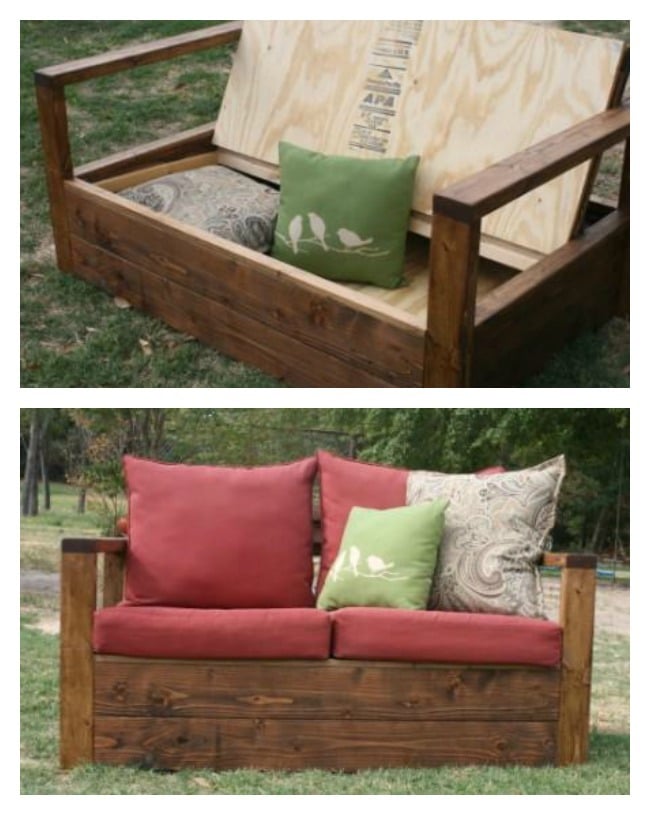
Simple Outdoor Loveseat with Storage

Submitted by kareylynn on Wed, 10/19/2011 - 10:20

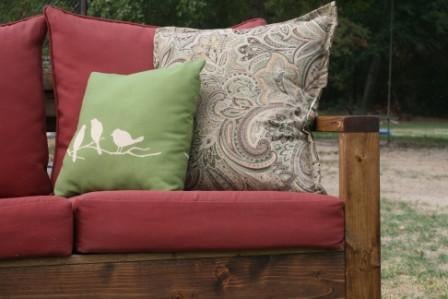
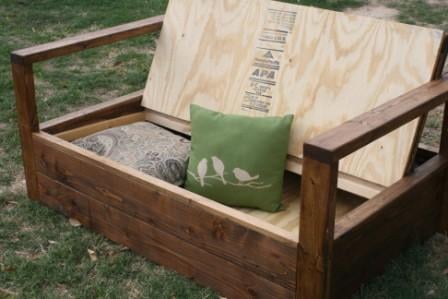
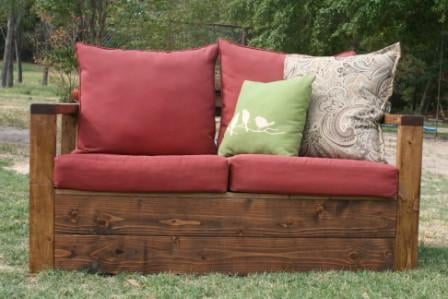
I added storage to the bottom of the simple outdoor loveseat by creating one big board from 2 2x6 boards for each of the front, back, and side aprons using my KregJig. Then I added cleats around the bottom for a sheet of plywood, extra cleats around the top edge for the seat, and put the hinge on the original seat support board.

Estimated Cost
$120 for the lumber and $300 for the cushions.
Estimated Time Investment
Week Long Project (20 Hours or More)
Finish Used
Provencial stain with two light coats of Poly.
Recommended Skill Level
Advanced

Comments

Seasonal And Holiday

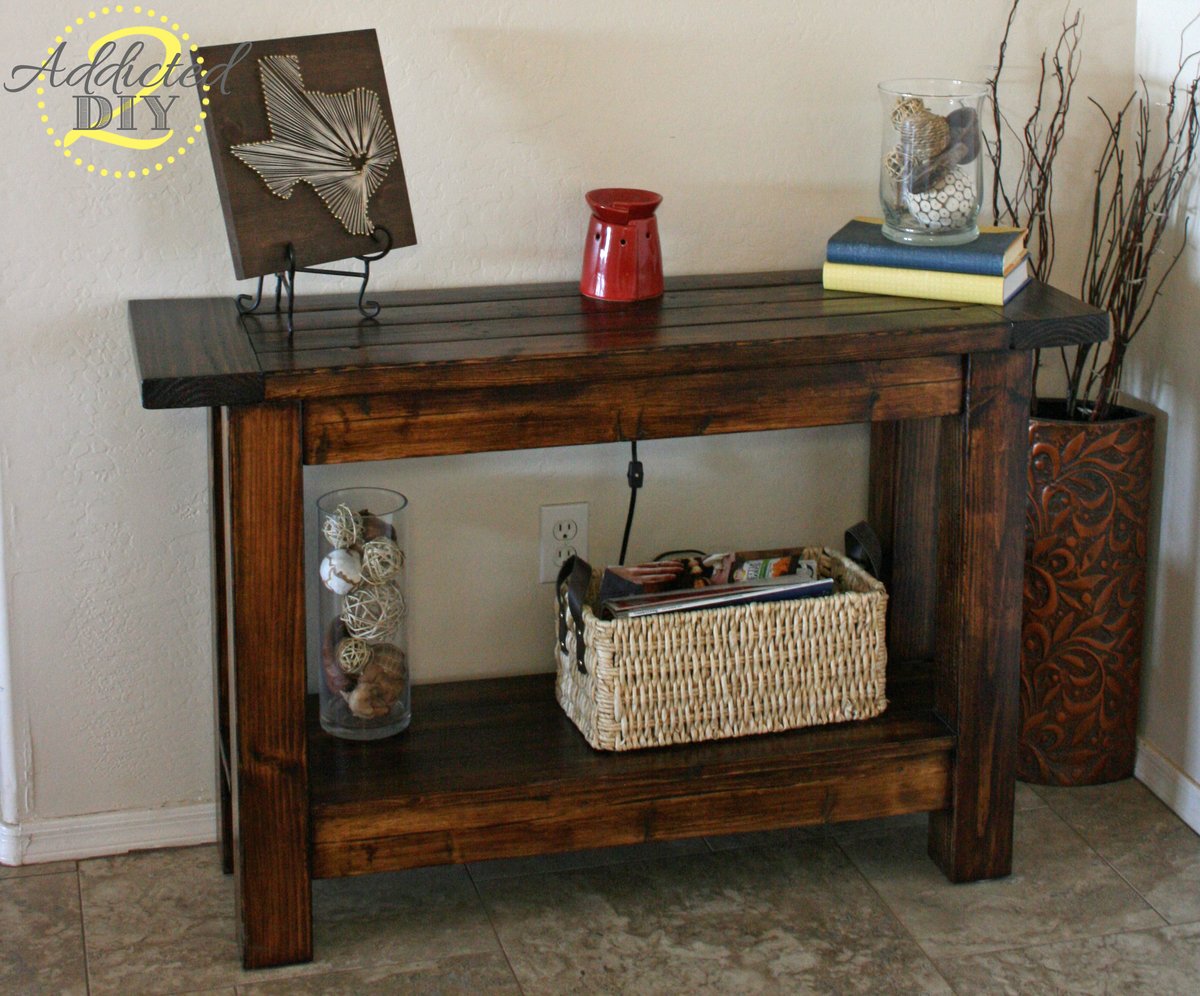
Pottery Barn Inspired Console Table

Submitted by katie0910 on Tue, 10/15/2013 - 12:03

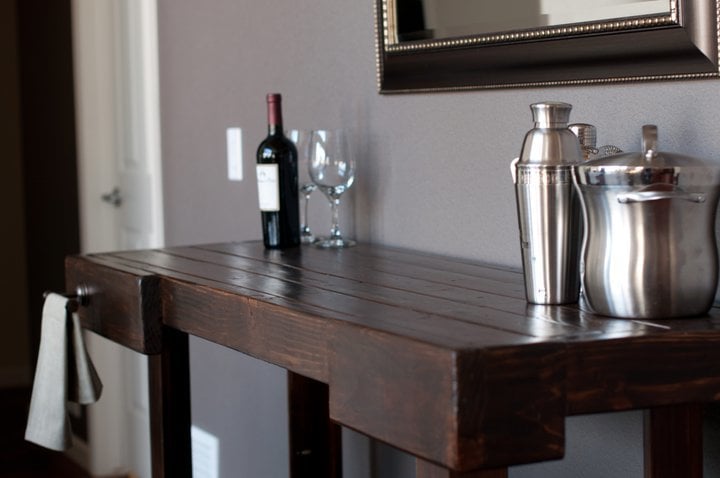
Our very first build! I love how it turned out and I am so excited to have a great piece of furniture for a fraction of the price!

Built from Plan(s)
Estimated Cost
$70
Estimated Time Investment
Weekend Project (10-20 Hours)
Finish Used
Minwax Polyshades and Minwax Polycrylic
Recommended Skill Level
Beginner

Comments

Great Plans!

Submitted by Anonymous (not verified) on Thu, 01/07/2016 - 09:46

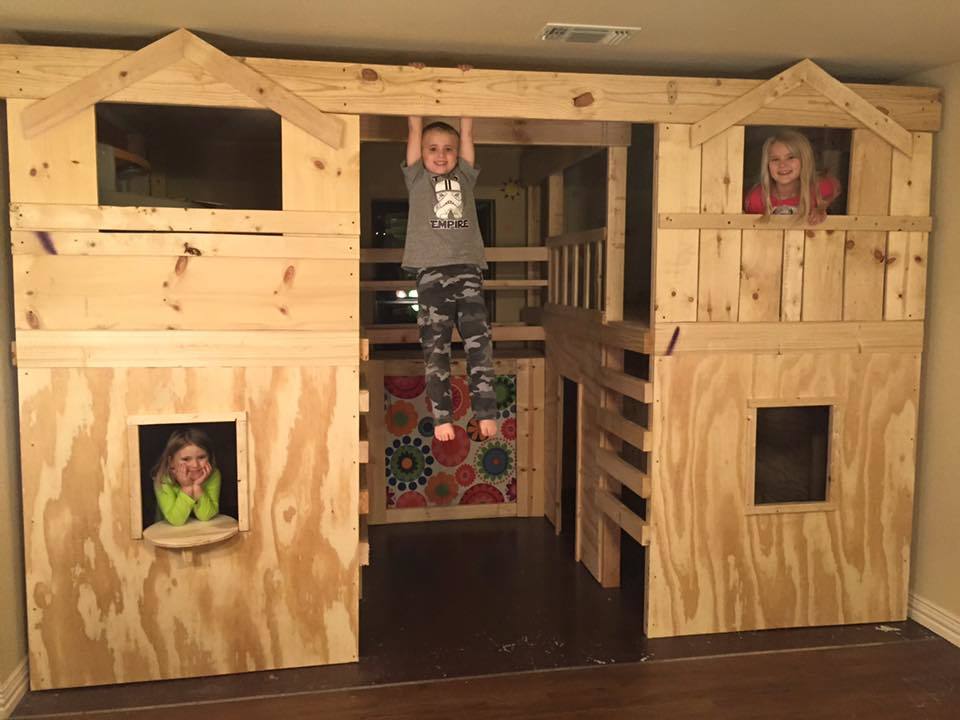
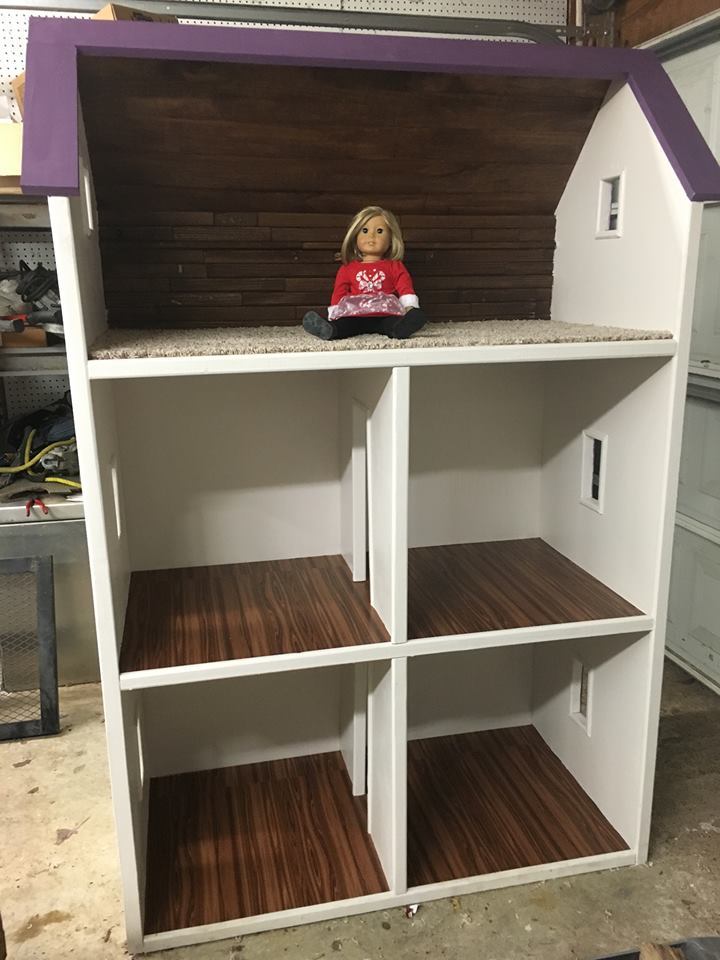
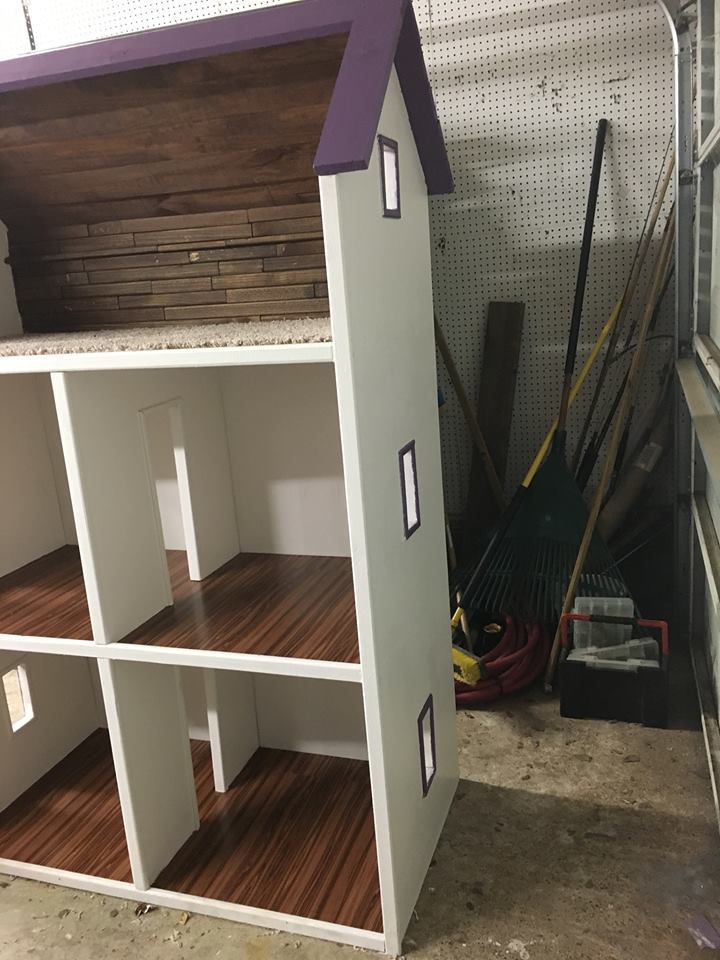
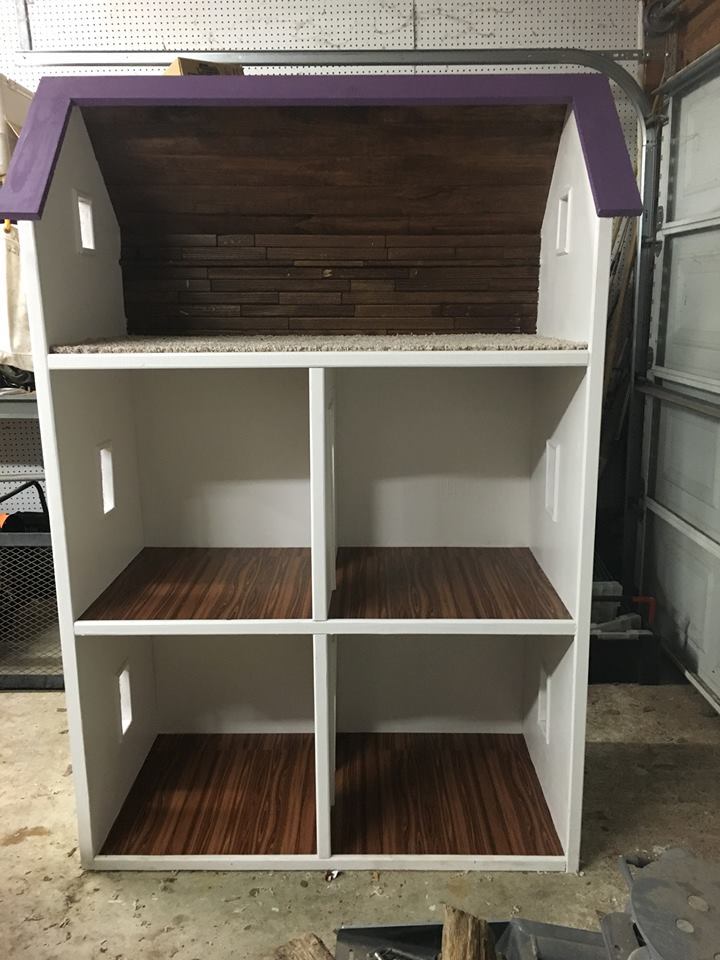
My friend & I made this doll house for a Christmas present for my daughter.  The plans were easy to follow!

I put carpet on the top floor & then used contact paper that lookes like wood for the other flooring.

Estimated Time Investment
Weekend Project (10-20 Hours)
Recommended Skill Level
Intermediate

patio living room - modified from modern chair plan

Submitted by herbsuprb1 on Wed, 06/12/2019 - 09:09

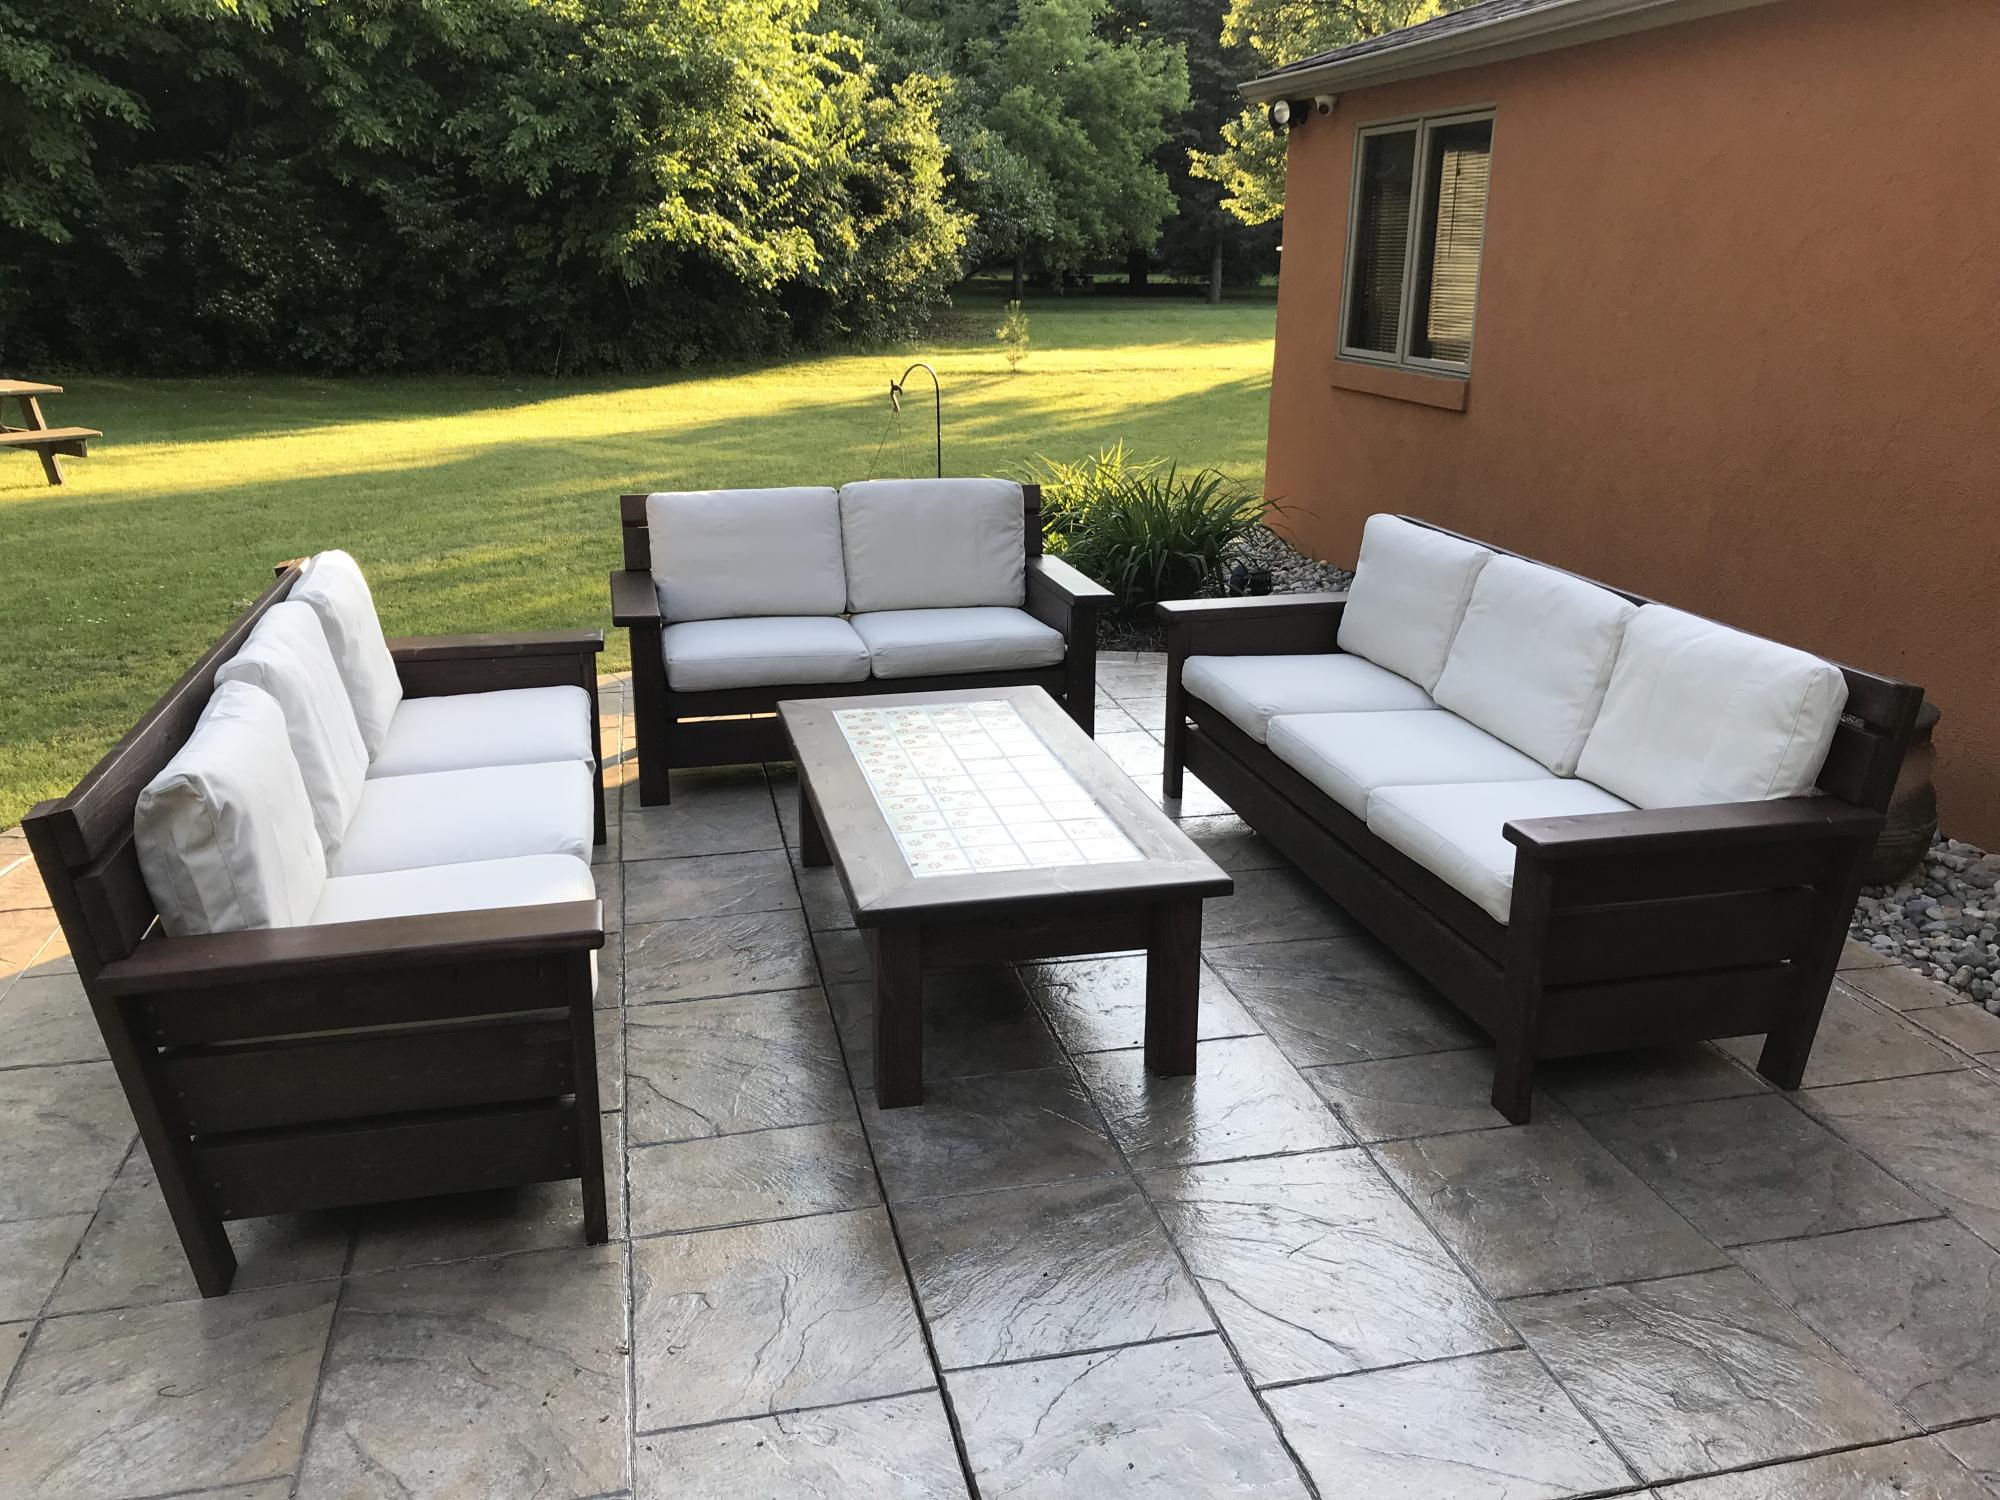
I created two sofas, a love seat and a table by modifying the modern chair.  I added a back extension, tipped the back back 10 degrees, and angled the seat platform down a few degrees.  Considered doing Adirondack arms, but my wife preferred the rectangular shape.  The table is a variation of the 2x4 patio table (base construction similar), but we substituted pine 4x4 legs for the 2x4s, and implemented a 2x6 "picture frame" around Mexican tile on top.

I used pocket screws to attach the arms to the sides, and also to hide screws on the table "picture frame".

All-in-all, I would say this is an elegant-looking patio set that should last quite a while.  Very solid, very heavy to move around (my only complaint).

We plan to add some colorful throw pillows.


Estimated Cost
This project was created from a Menard's metal siding trim "shipping crate" that they refused to take back on return - so the many 16 foot 2x6s came to me for free. With hardware, stain, sanding pads and the pocket screw jig, I would guess I have about $300 there. The cushions were somewhat expensive, but are built to last - got those from Ikea - "Duvholmen" and "Folsom" haha - 24 1/4" x 24 1/4" cushions, 24 1/4" x 16" back pillows. Those were about $65 (per SEAT) .. so 8 for this project ($520). The cushions only come in this light tan, or medium/dark grey.
Estimated Time Investment
Week Long Project (20 Hours or More)
Finish Used
Behr semi transparent outdoor stain (Padre Brown). First sofa was assembled then stained (mistake). The other pieces were cut, sanded 60/120 and stained. Arms were additionally sanded with a 320 grit prior to staining. Stained all pieces two coats with small roller, then brushed over. Assembly after staining produced a cleaner look on the stained finish.
Recommended Skill Level
Beginner

Comments

Queen Size Farmhouse Bed with Storage

Submitted by Anonymous (not verified) on Tue, 02/02/2016 - 10:42

Using Ana's original plans, I made this farmhouse storage bed with almost no modifications. It was a Christmas gift to my fiancée. To give the board on top of the footboard/headboard just a little bit of an upgrade, I used my router with a cove bit along the edges. The drawers weren't that hard to make, they just took some time and ensuring that they were square. I used plywood and MDF for the drawers as opposed to solid wood planks to save money. There is one drawer that has trouble opening and closing. I think it might be just a hair too wide for the opening ... someday I'll fix it! I also added a few blocks (leftover from my 4x4 posts) underneath the bed to support it; otherwise, it was lifted only by screws. I tried using lag bolts to connect the boxes to the posts, but then realized the bolts would stick out and hit the drawers when I slid them back in, so I just used regular screws to attach. This thing is heavyyyyy, but solid as a rock! Love having additional storage in our 1930s house.

Estimated Cost
$250
Estimated Time Investment
Week Long Project (20 Hours or More)
Finish Used
primer, white paint, weathered oak stain;

I primed and painted the entire bed first, then sanded by hand to get the distressed look. After that, I wiped the stain on the exposed wood to darken it, as well as over parts of the paint to darken parts of the white paint.

If I had to do it over again, I probably would have painted the wood a darker color first and then the white over that. I think it would have made the distressing process a little easier, and allowed the other color to show through better. All in all, I still like how it turned out!
Recommended Skill Level
Intermediate

Sunroom chair

Submitted by Anonymous (not verified) on Fri, 04/28/2023 - 01:44

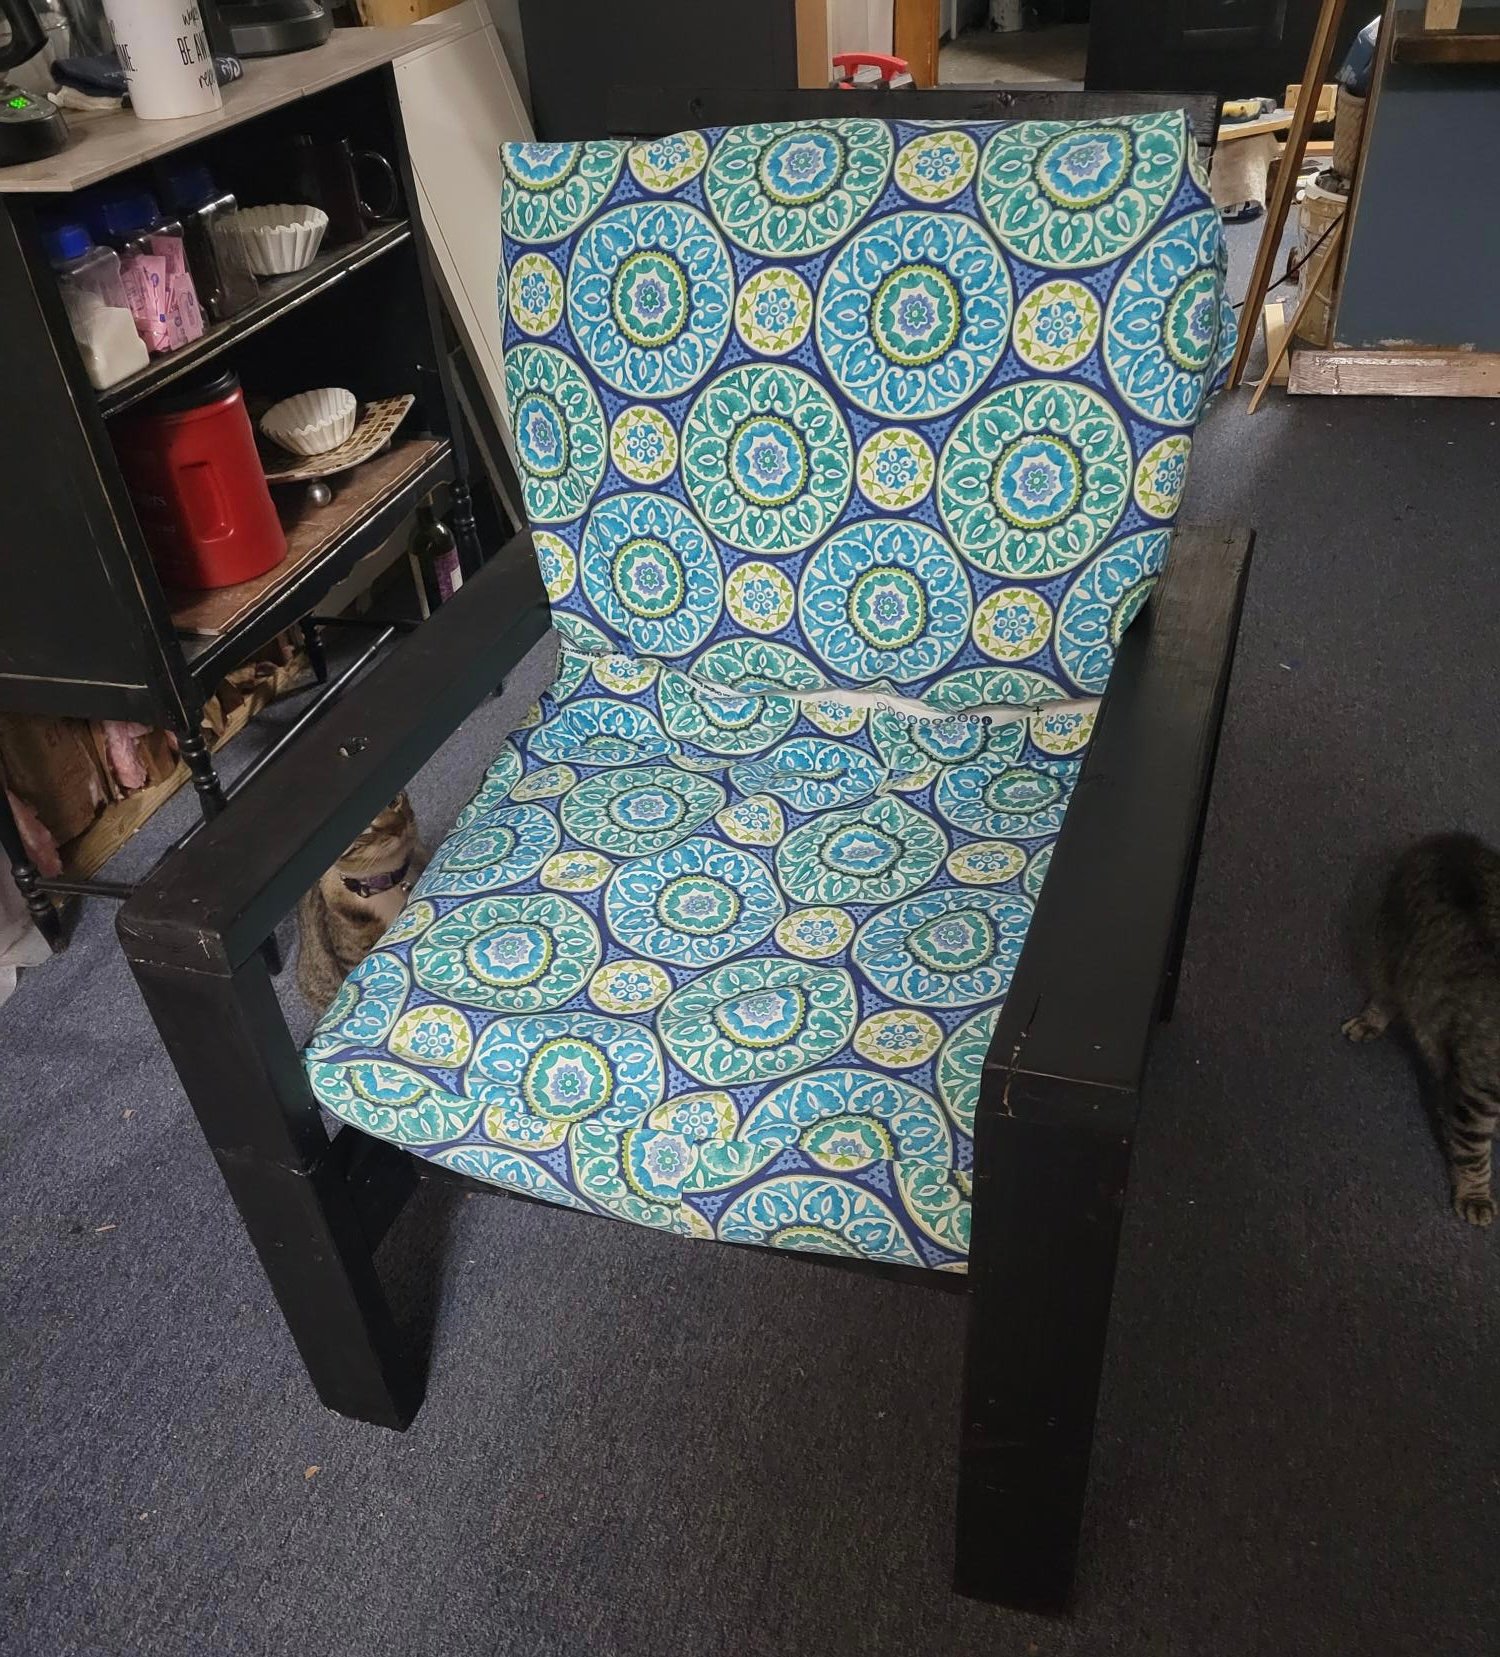
I saw your outdoor chairs so decided made 2 out of 2x4 from your plans. I put the 1 that is finished in my sun/ coffee room. I love it and ha e had many brags so I give them your info and a couple of friends are making them. Thank you

Comments

Cute Ladder Plant Stand

Submitted by Cheryl on Fri, 12/30/2011 - 20:37

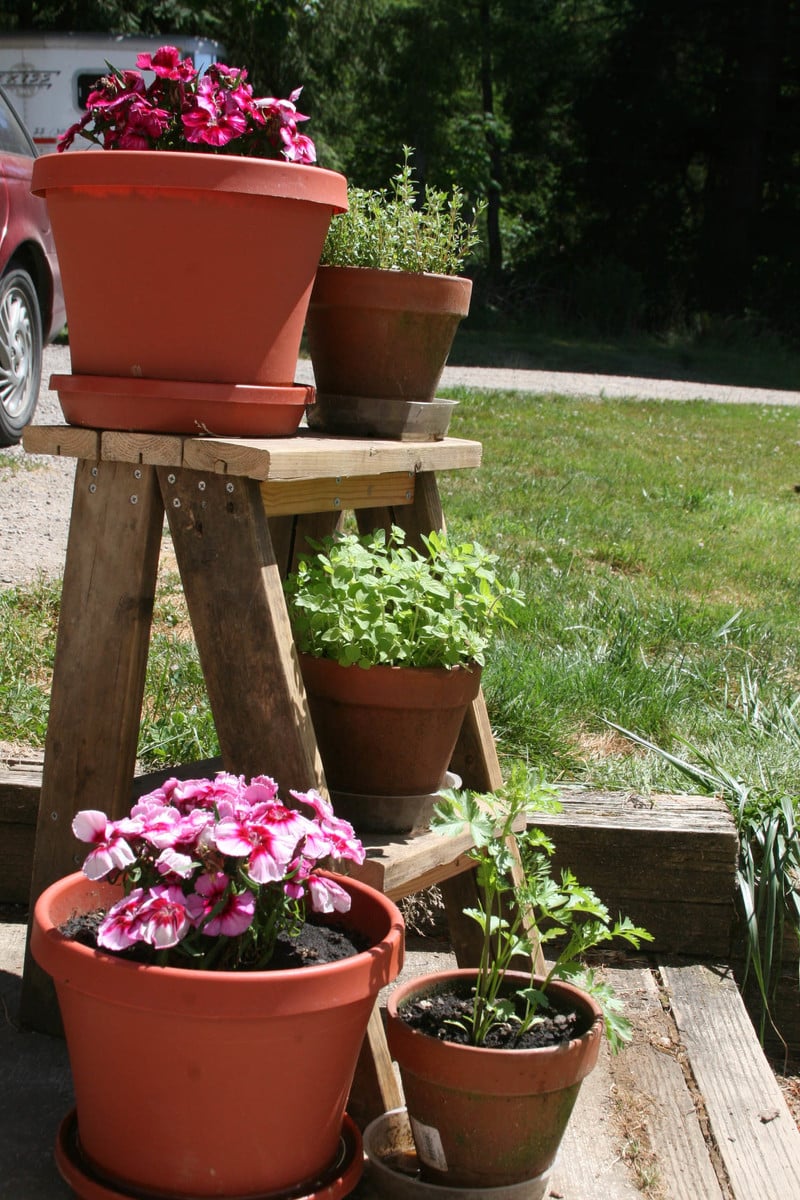
This is my first project from Ana's plans. I found a big pile of old wood left by the previous home owner. It looked like it was from old fencing. We used some for fire wood, some for fence repairs and still had a big pile. I was looking at it one day after finding Ana and thought it would make a really cute plant stand for my yard. My first project turned out great!

Estimated Time Investment
An Hour or Two (0-2 Hours)
Recommended Skill Level
Beginner

Comments

Carmen O (not verified)

Mon, 06/04/2012 - 05:37

I went to Lowes to get some plant stands and thought to myself, I am not paying $25 for that!!! I came across this blog while looking for ideas for diy plant stands and so glad I did! We made this stand yesterday and it turned out great! my husband had a ton of wood left over from prior house projects and we got pretty oops paint from Lowes for $3 dollars. Can't bit that! I am hoping to make another two before the week ends. Thank you!

Thank you!

Submitted by Anonymous (not verified) on Sat, 02/06/2016 - 17:12

Thank you for the plans!  Love the shelves! 

Estimated Cost
$150
Estimated Time Investment
An Hour or Two (0-2 Hours)
Recommended Skill Level
Starter Project

Nightstands

Submitted by kwlogue on Sat, 05/06/2023 - 20:08

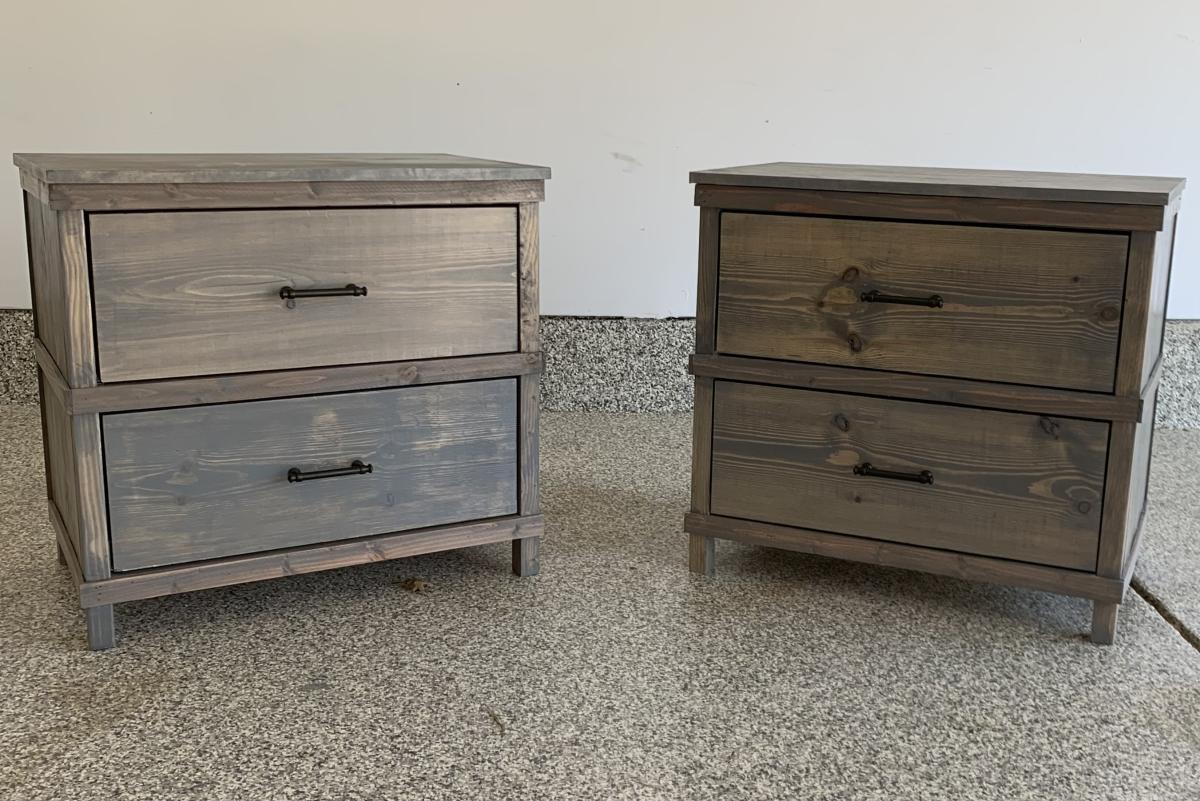
Fun and rewarding projects to finish. Took me way too long to finish, but 2 sever TBIs will do that to a person. Made a few modifications to the original King and nightstand plans but worked out fine. Thanks for these plans Ana!

Built from Plan(s)

Comments

A small twist on the legs

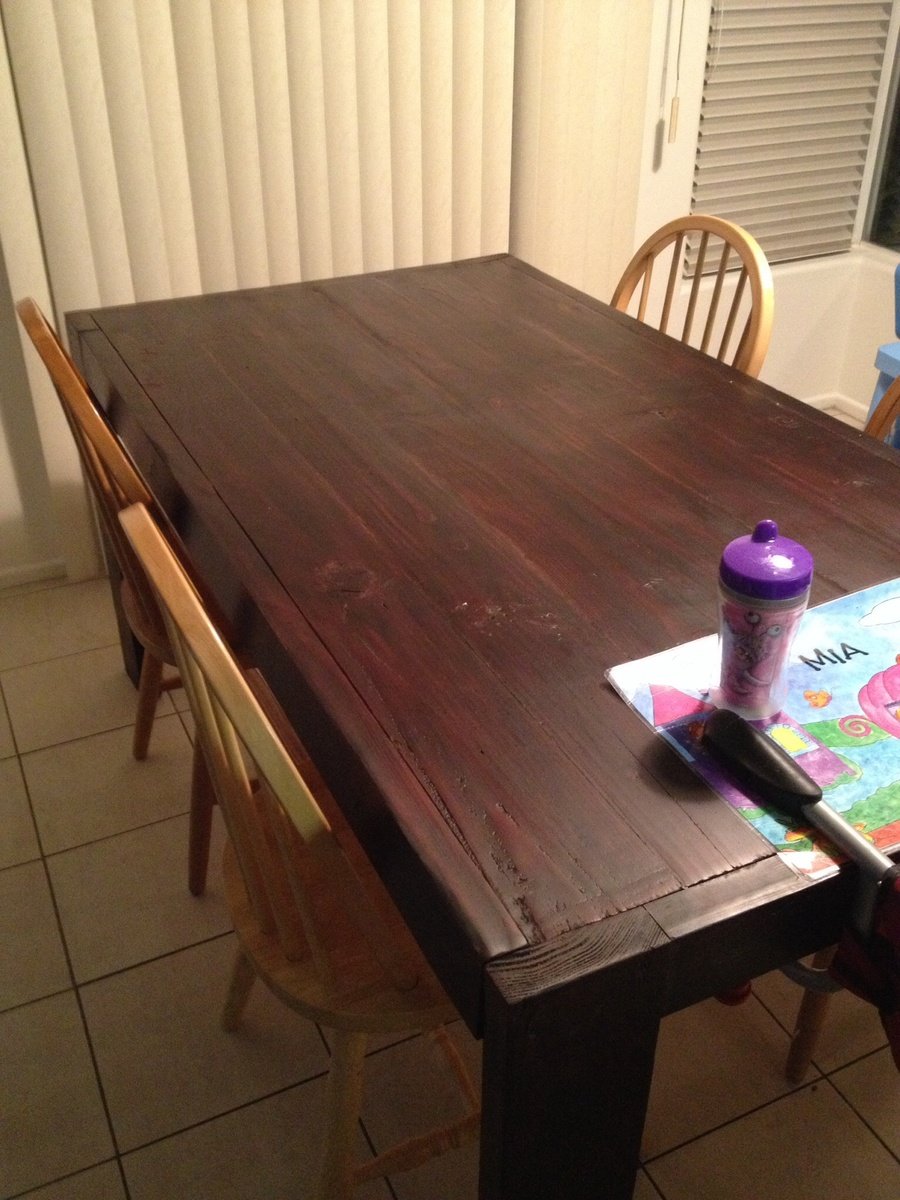
This was a fun project that I made for my wife. I saw a Crate & Barrel table with legs that alternated directions. The plans were easily adapted to match. I stained the standard pine boards with Minwax Prestain, Minwax Red Mahogany stain (2 coats) and sealed with a matte polyeurathane. The matte finish cut down any shine and should prevent any fingerprints from showing up, though witha 2-year and 6-year old this is inevitable. I may still add some small 3-4" triangular braces on the ends of the table at the legs to add stability, but it seems quite stable as it is. The bench is next on the list, but this will have to wait until after Thanksgiving.

Built from Plan(s)
Estimated Cost
$80
Estimated Time Investment
Day Project (6-9 Hours)
Finish Used
Minwax Prestain, Minwax Red Mahogany, Polyeurathane matte
Recommended Skill Level
Beginner

Farmhouse Table

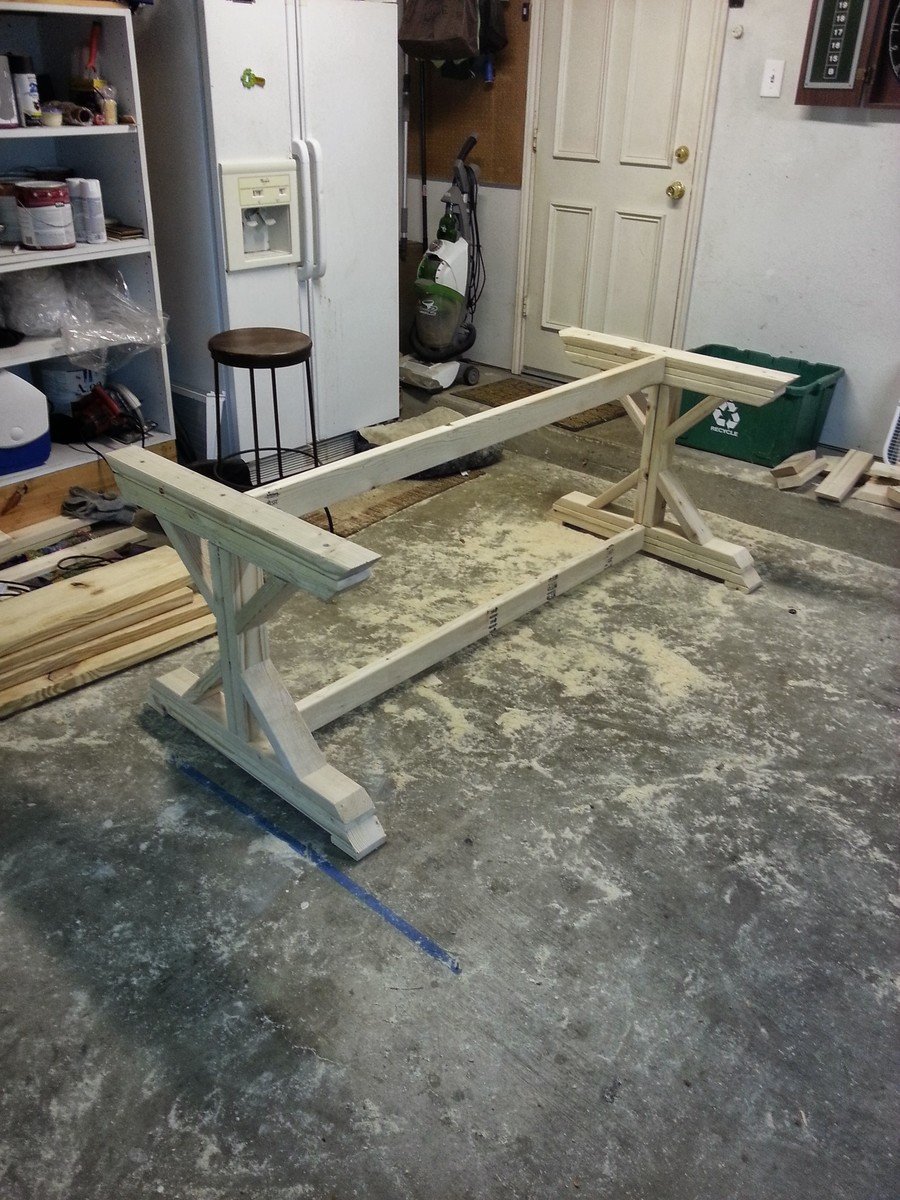
Submitted by glanzer on Fri, 11/29/2013 - 14:13

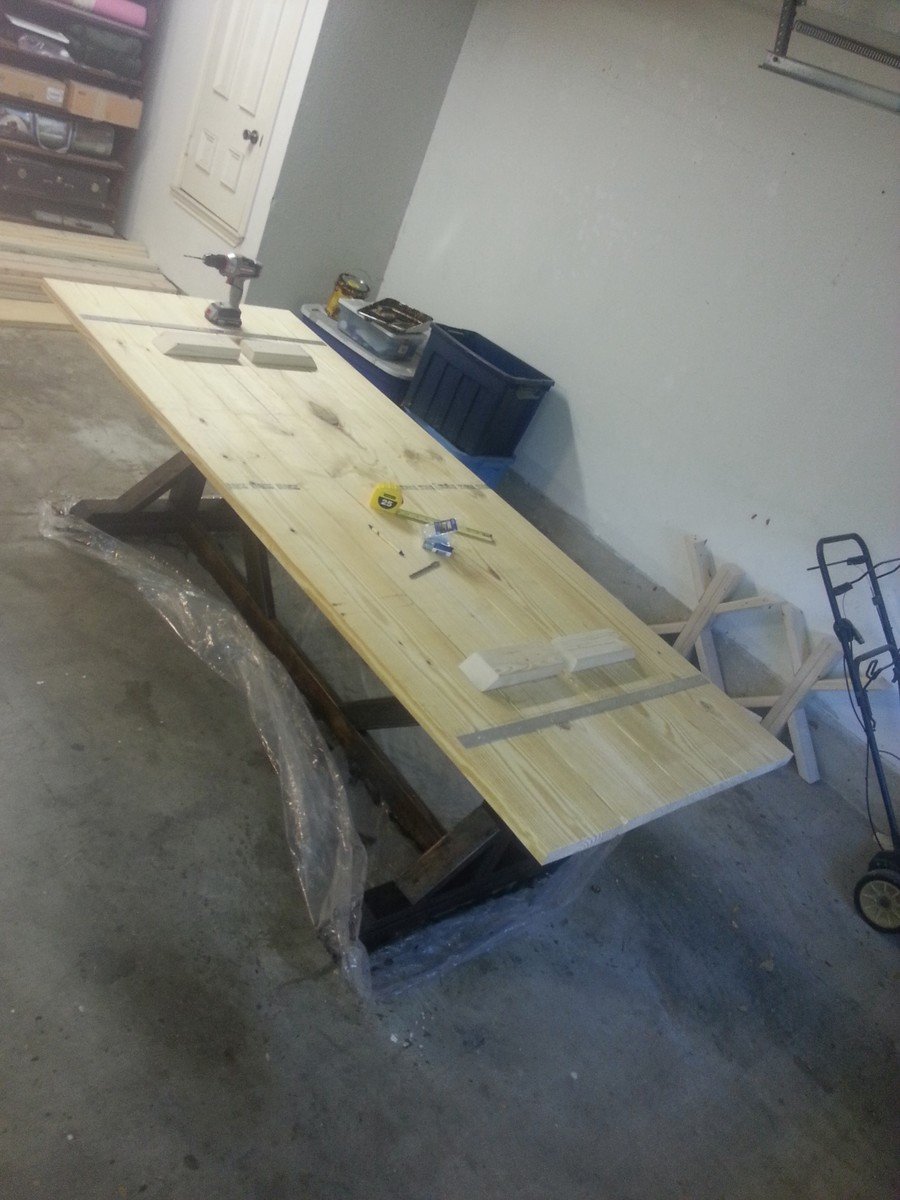
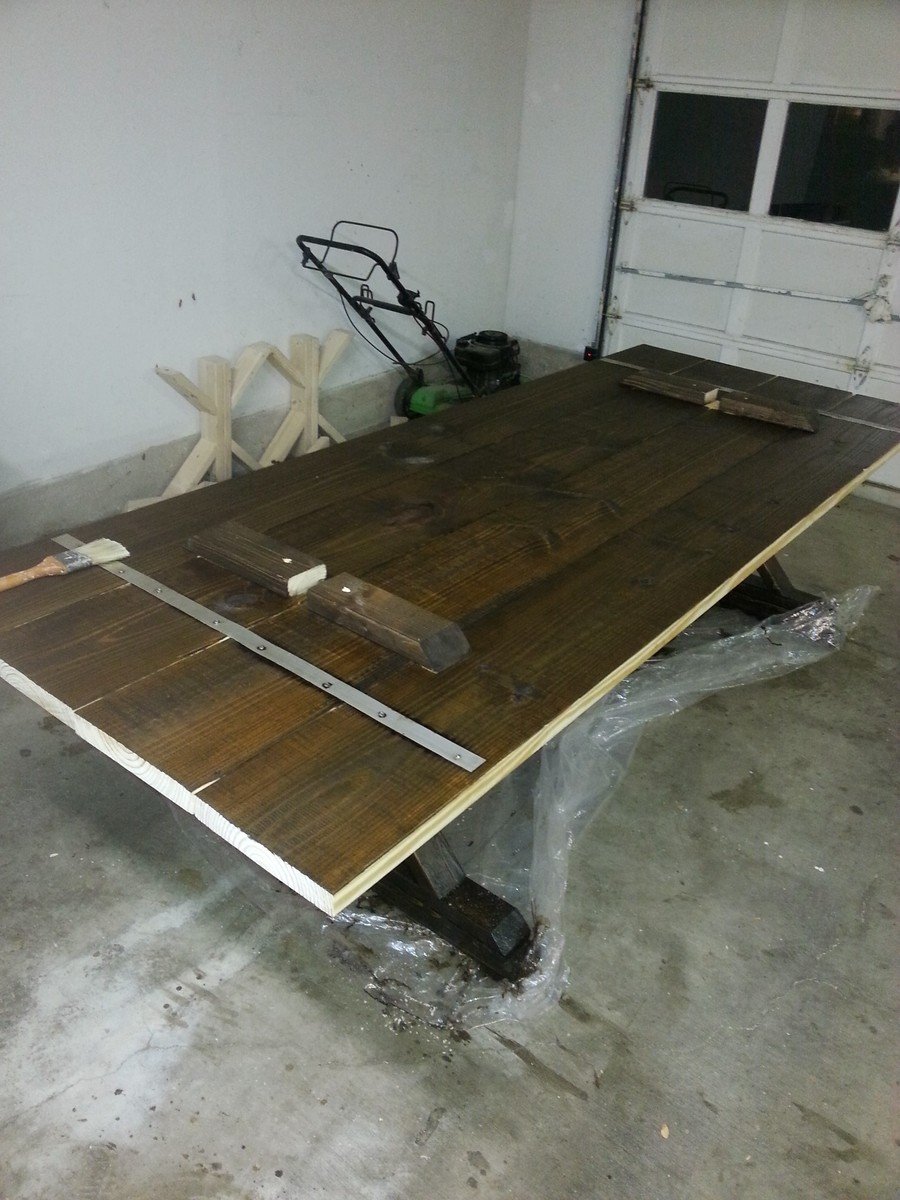
I had a few hiccups in the early stages building those X shaped bases. I relied a lot on eyeballing it and firmly holding things into place by hand. Very touch-and-go. I took them apart multiple times and rebuilt them.

I wasn't quite sure how to go about attaching the table top, and I finally decided that NOT attaching it was the way to go. I built some braces that firmly held the top onto the base without actually being attached permanently. This helped to move it into the house and will help in the future if we ever want to move it, as it's two very separate pieces.

After that it was pretty much smooth sailing. I had some issues with the staining, but that was largely due to the humidity in the area at the time. Once the temp cooled, the stain dried and all was fine.

From start to finish this project took me about two months, but I only worked on it once or twice per week for a few hours at a time. I'd say I spent 20-25 hours of actual time working on this.

I received 94 likes on Facebook for my project which I consider a win.
Built from Plan(s)
Estimated Time Investment
Week Long Project (20 Hours or More)
Finish Used
Minwax
Recommended Skill Level
Intermediate

Comments

SmileyFamily

Fri, 12/06/2013 - 13:54

Hi,

I was wondering now that you have used the table- do you think the top is secure enough to be unattached with kids around? Like does it move or tilt at all- what if you put heavy items on the side?

Thanks!

Corn Hole Boards

Submitted by Anonymous (not verified) on Sun, 05/28/2023 - 10:53

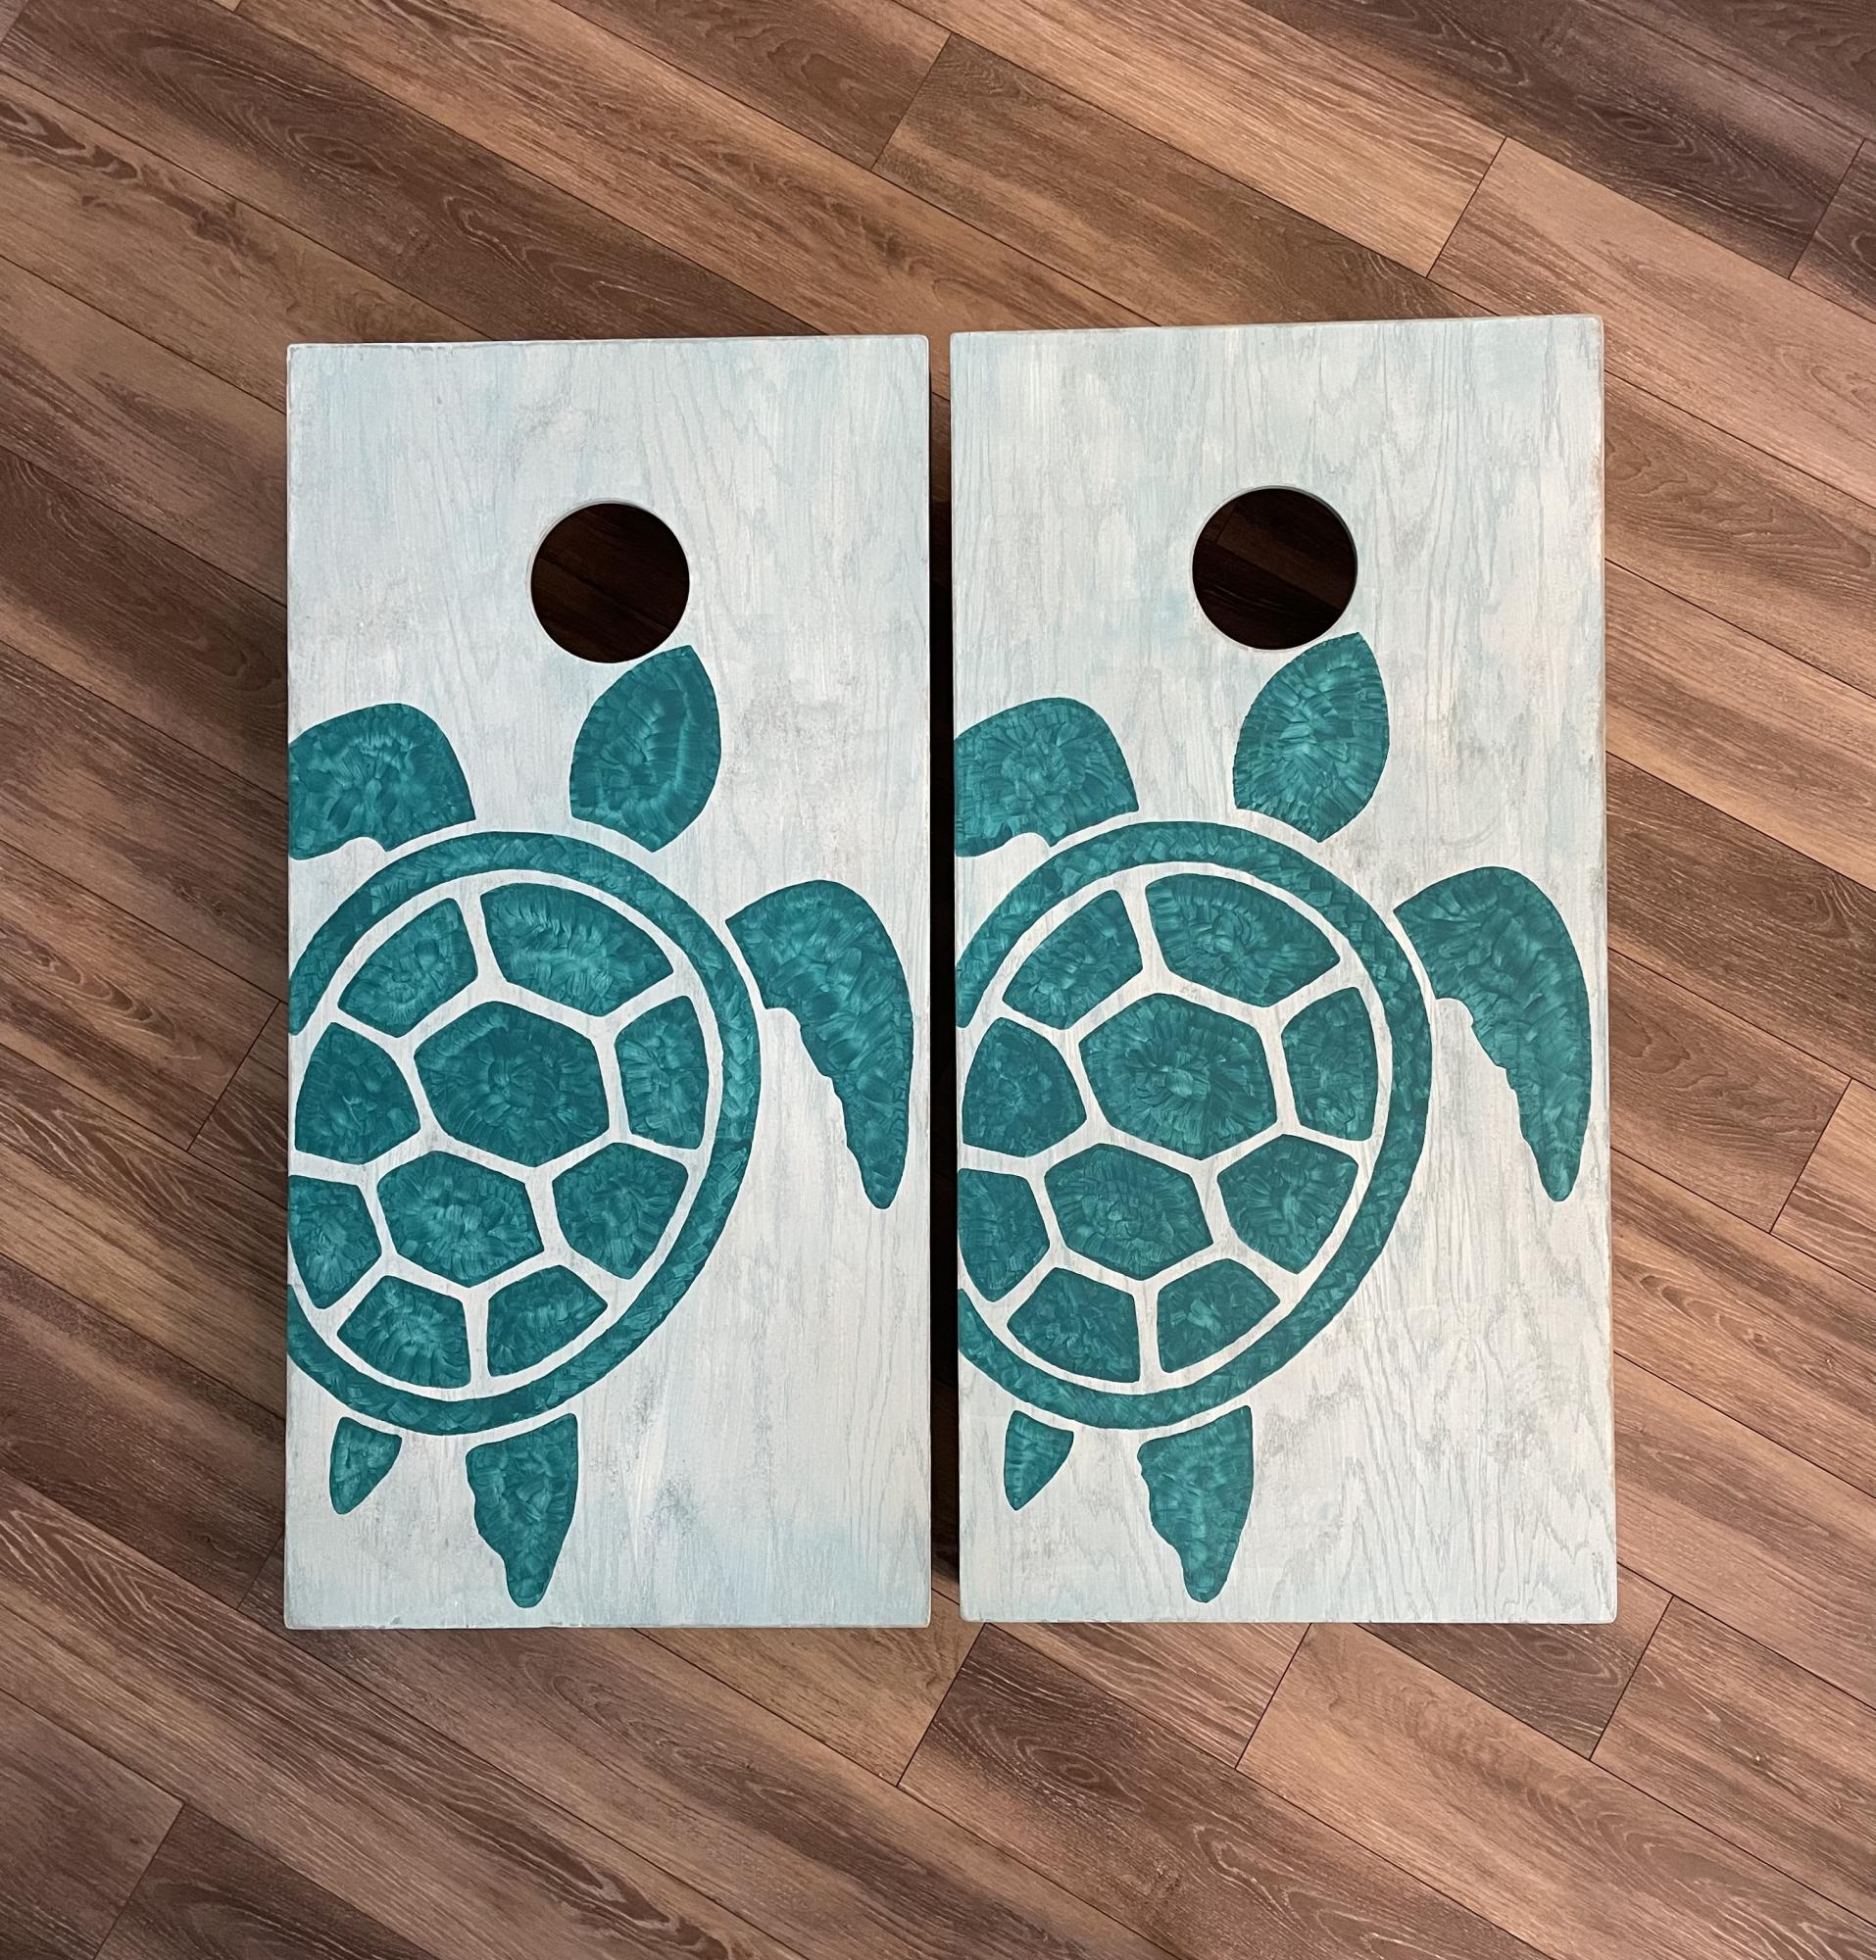
The Ana White corn hole board plans were straightforward and easy to understand. Building was a breeze. Our boards turned out great!

Comments

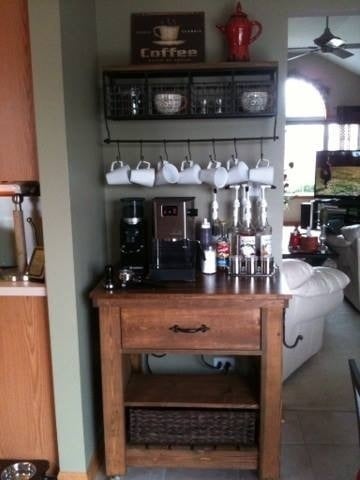
Coffee bar with kitchen island

Submitted by Bachdenise on Sun, 12/08/2013 - 10:23

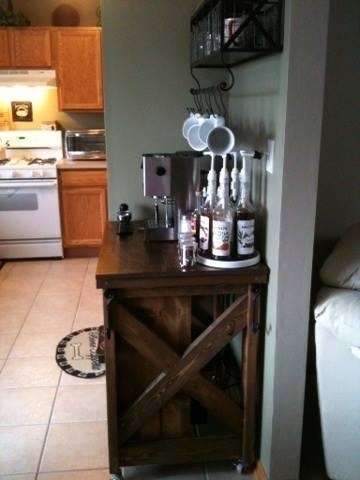
Built to be used for my coffee bar.

Estimated Time Investment
Weekend Project (10-20 Hours)
Finish Used
Followed the plan exactly. Used early american stain.
Recommended Skill Level
Intermediate

Comments

My First Project

Submitted by Anonymous (not verified) on Mon, 06/19/2023 - 15:34

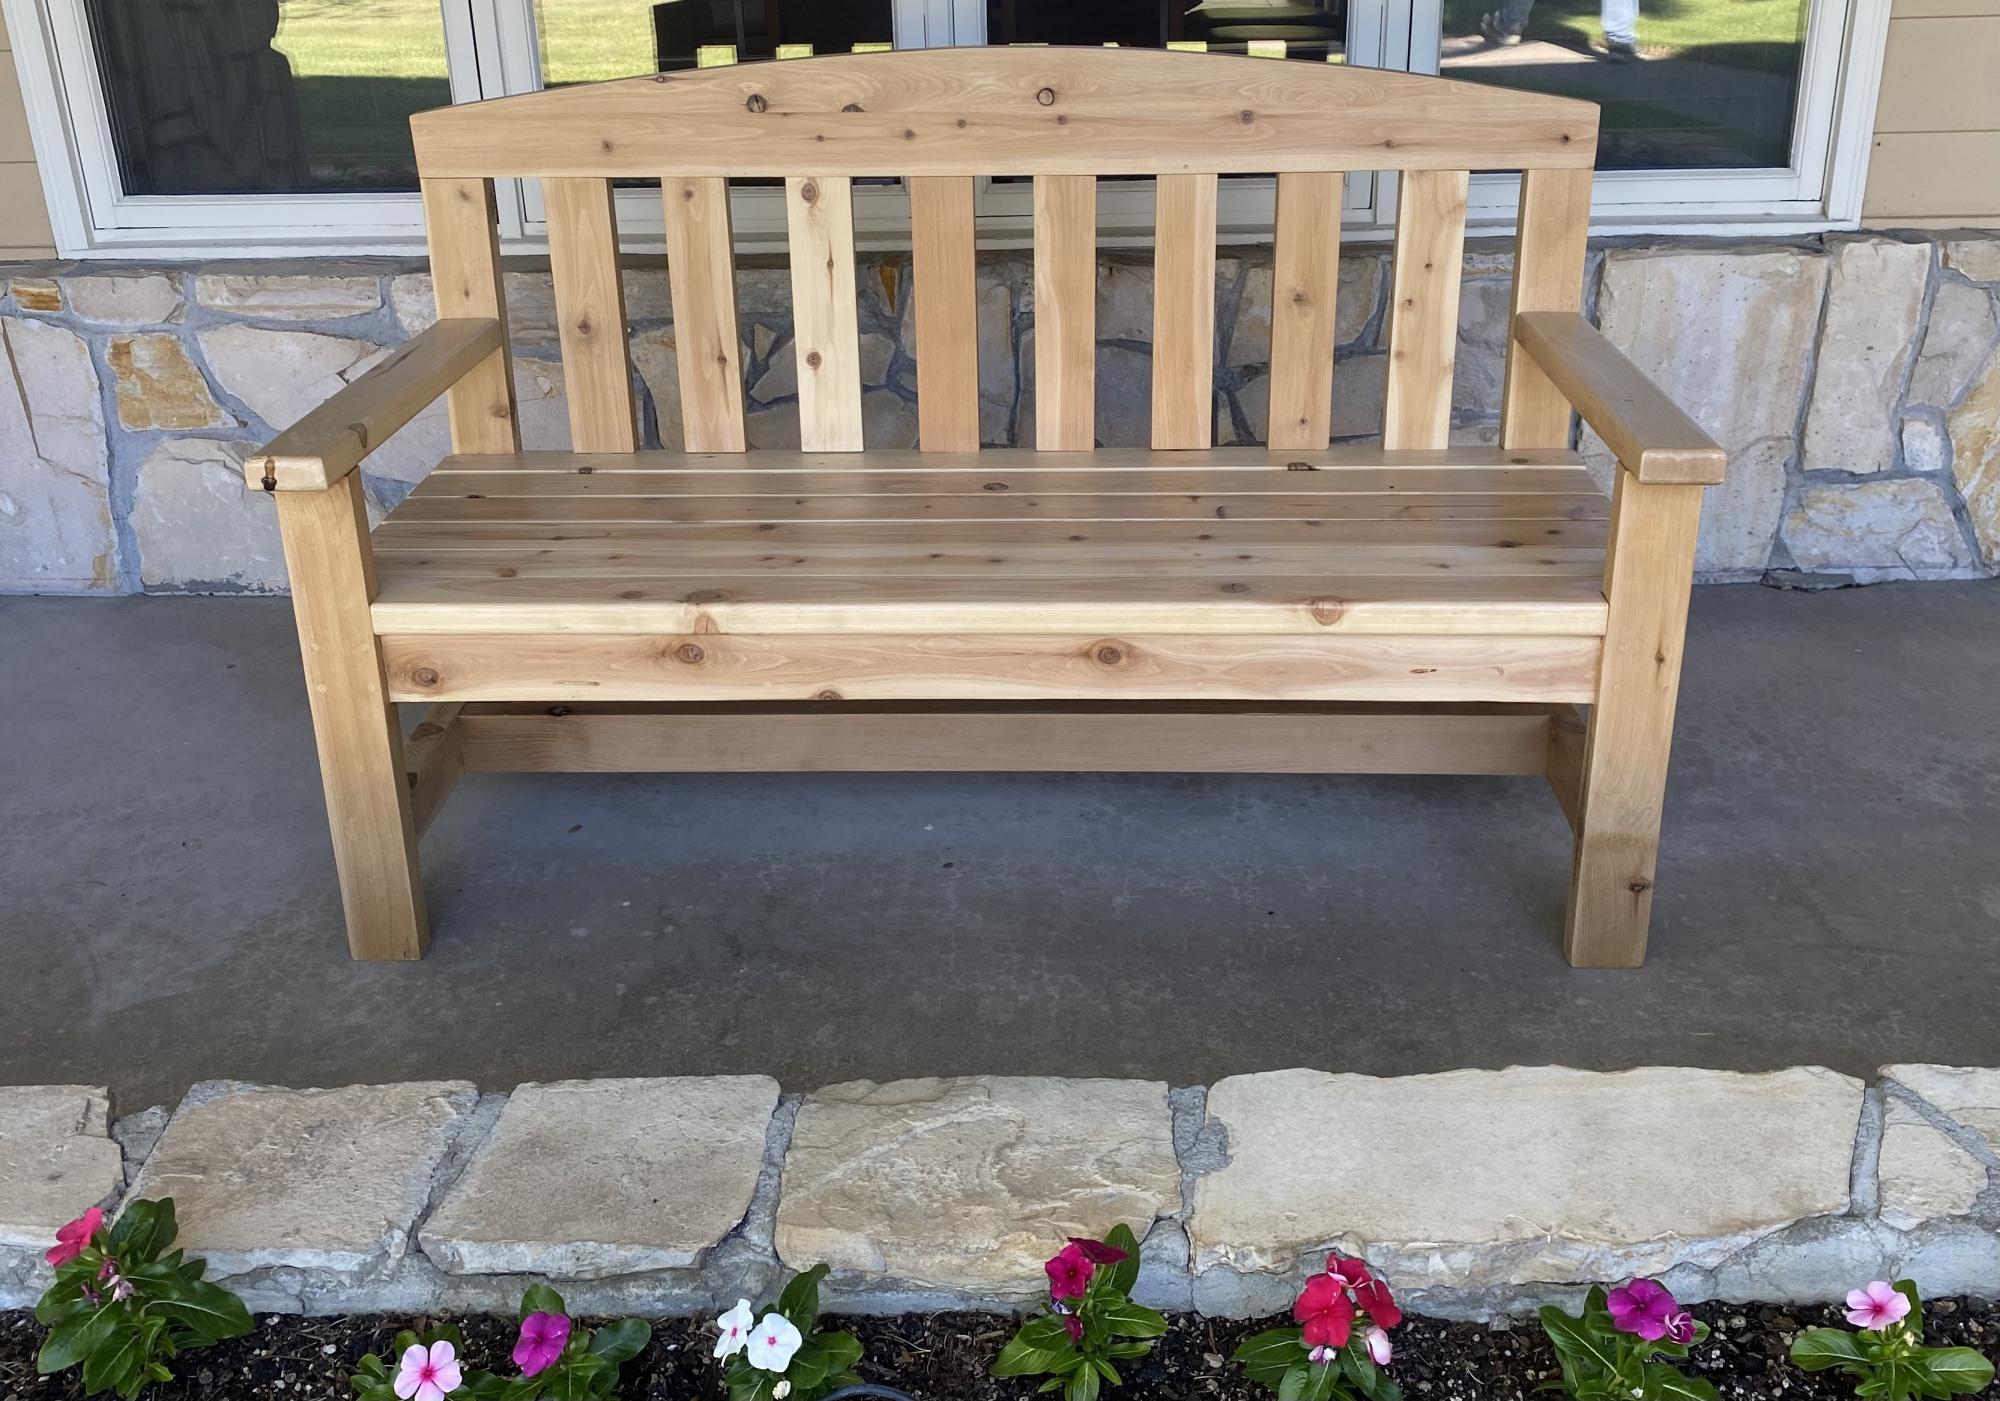
I took a woodworking course through the community college and built this cedar bench for my front porch. I learned so much throughout this process and am proud of how it came out. I am now building up my own arsenal of tools and supplies. I can’t wait to choose my next project!
Plans from myoutdoorplans.com/2x4benchplans

Comments