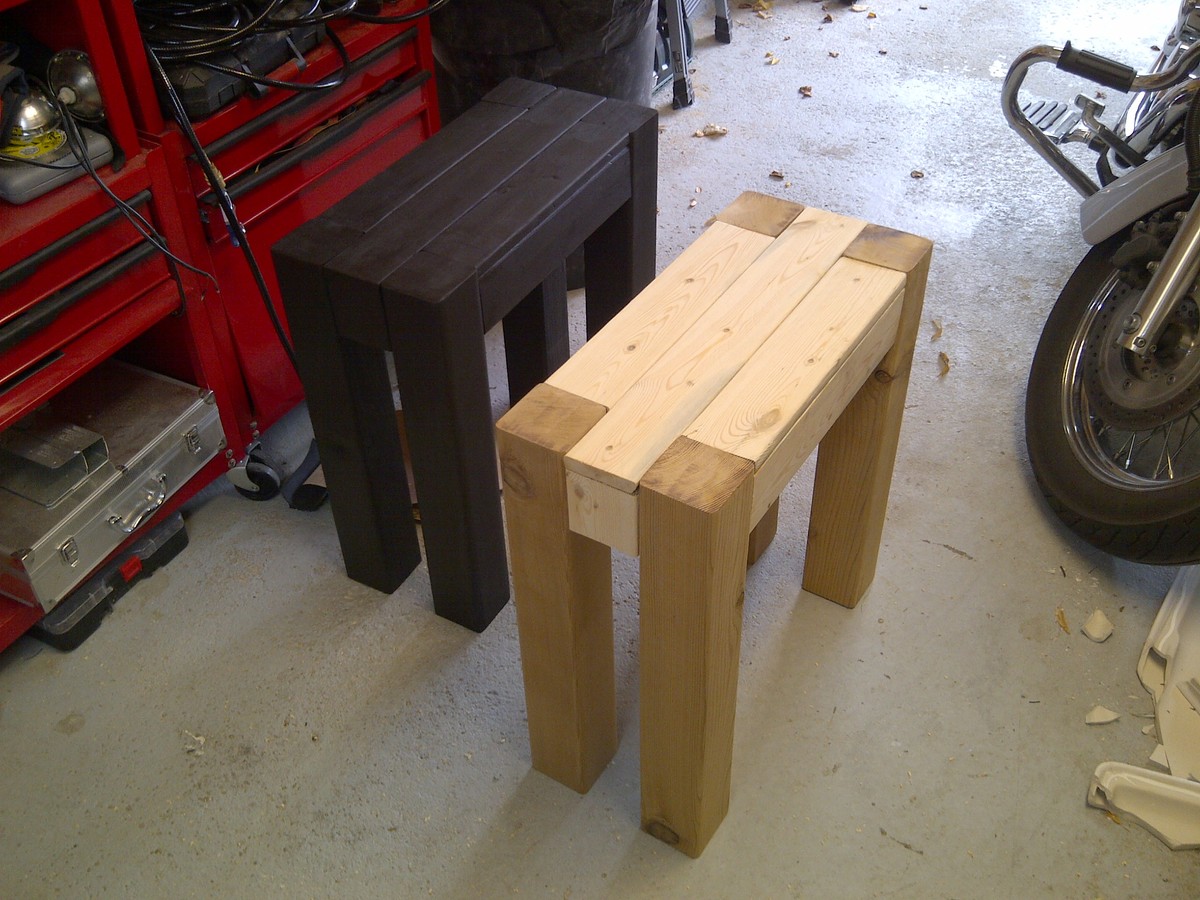
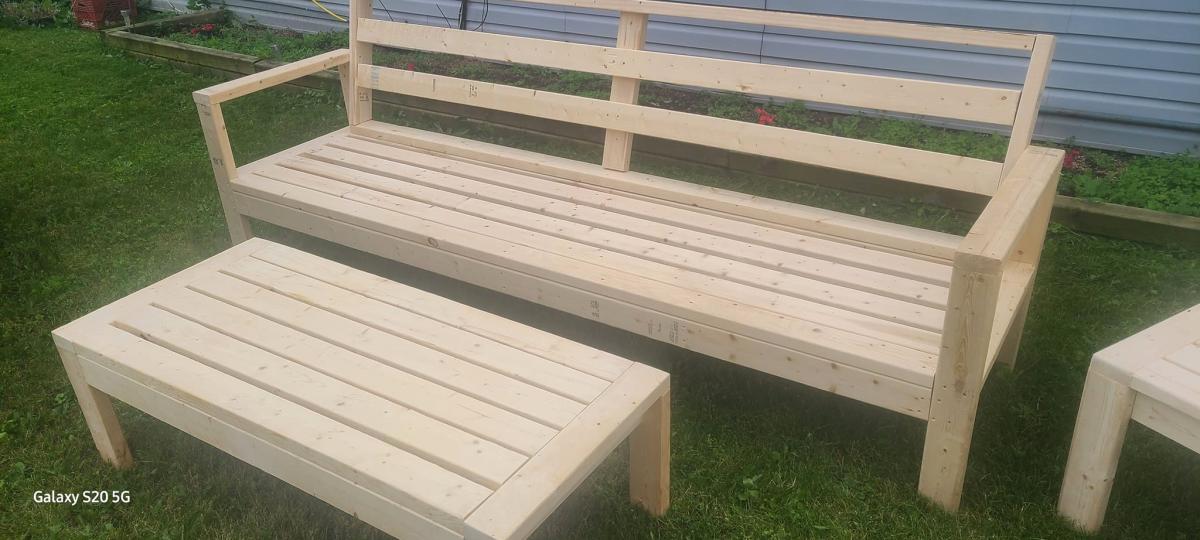
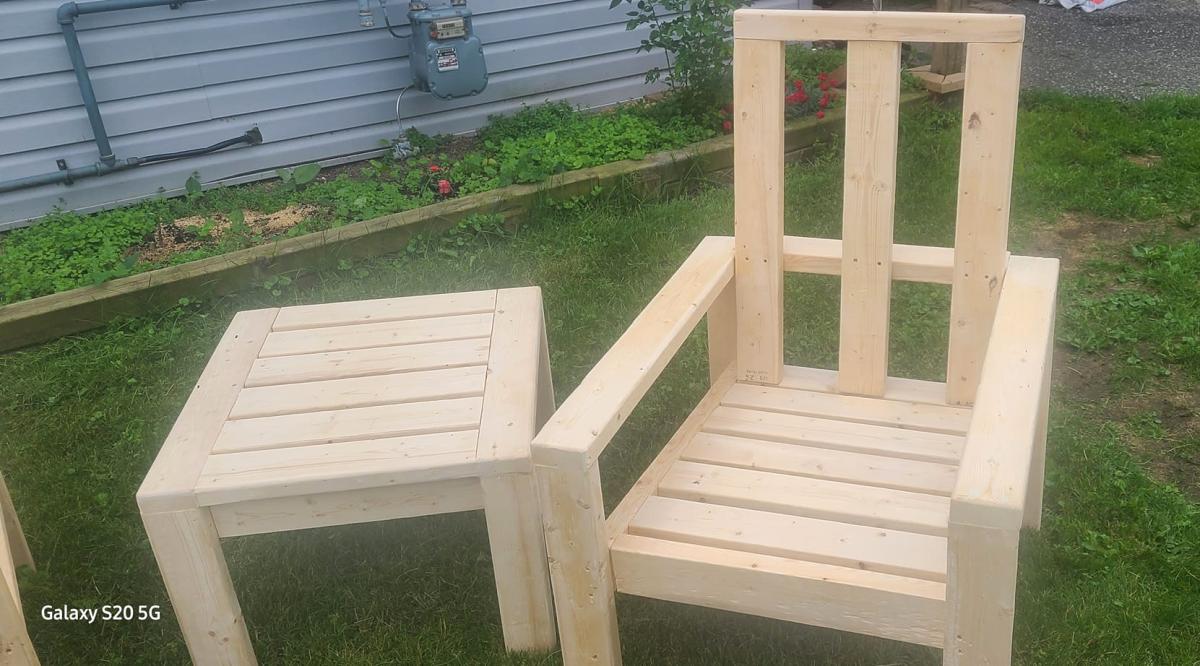
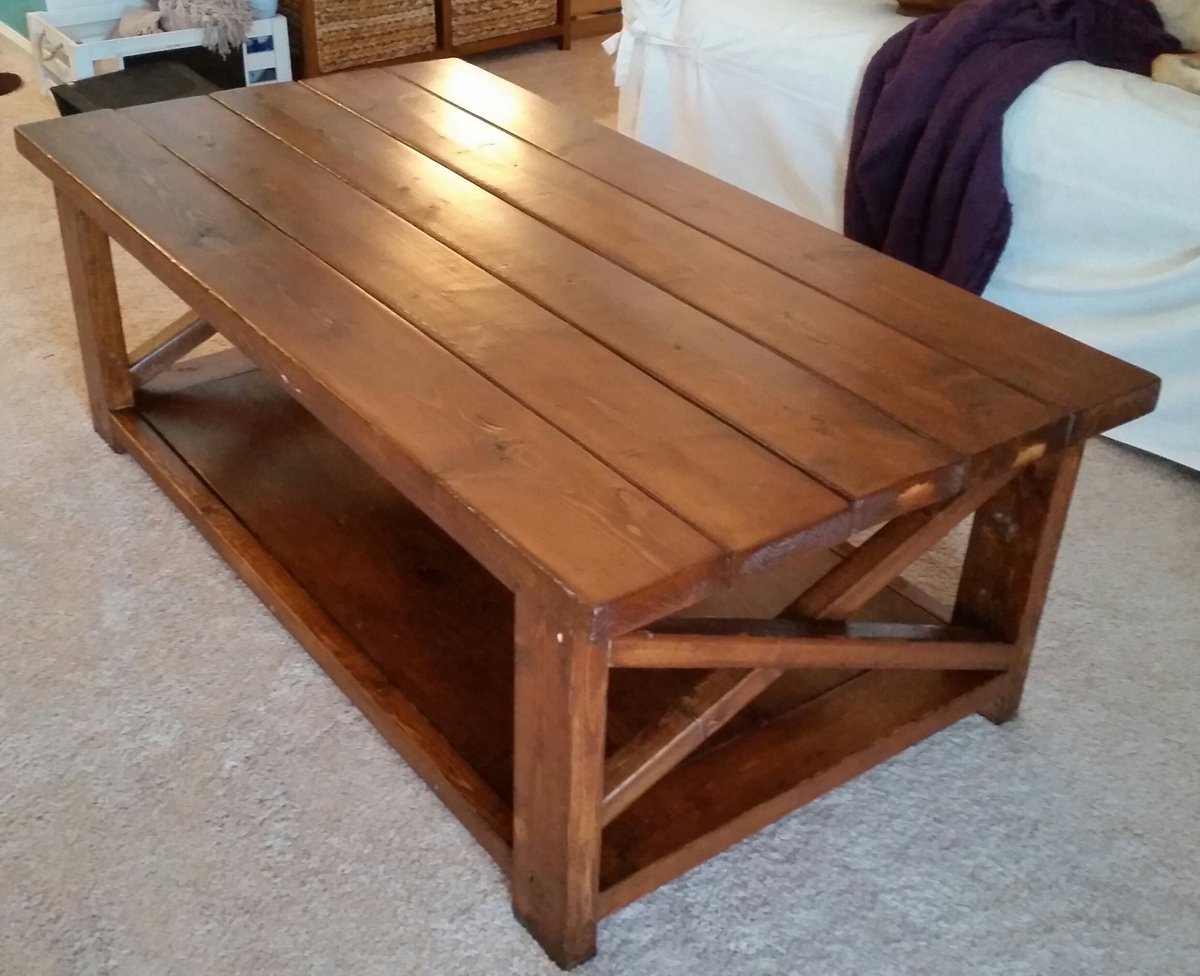
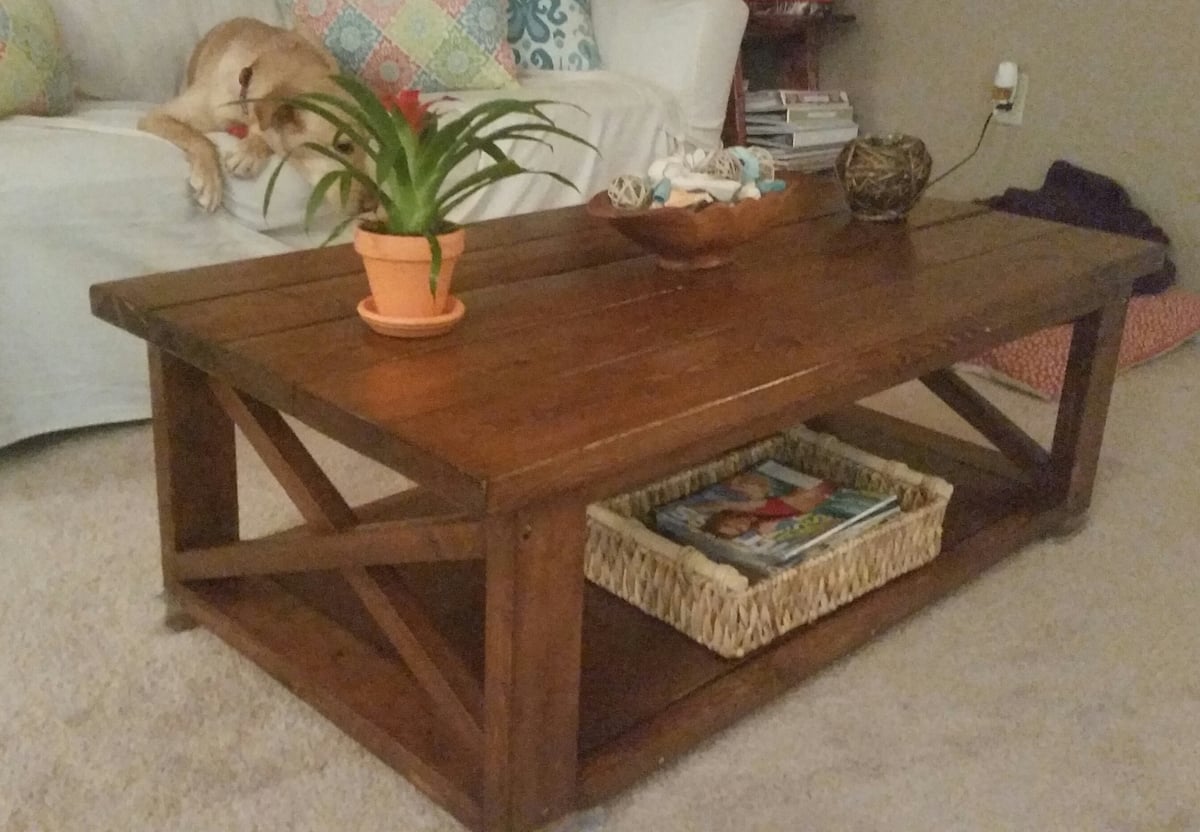
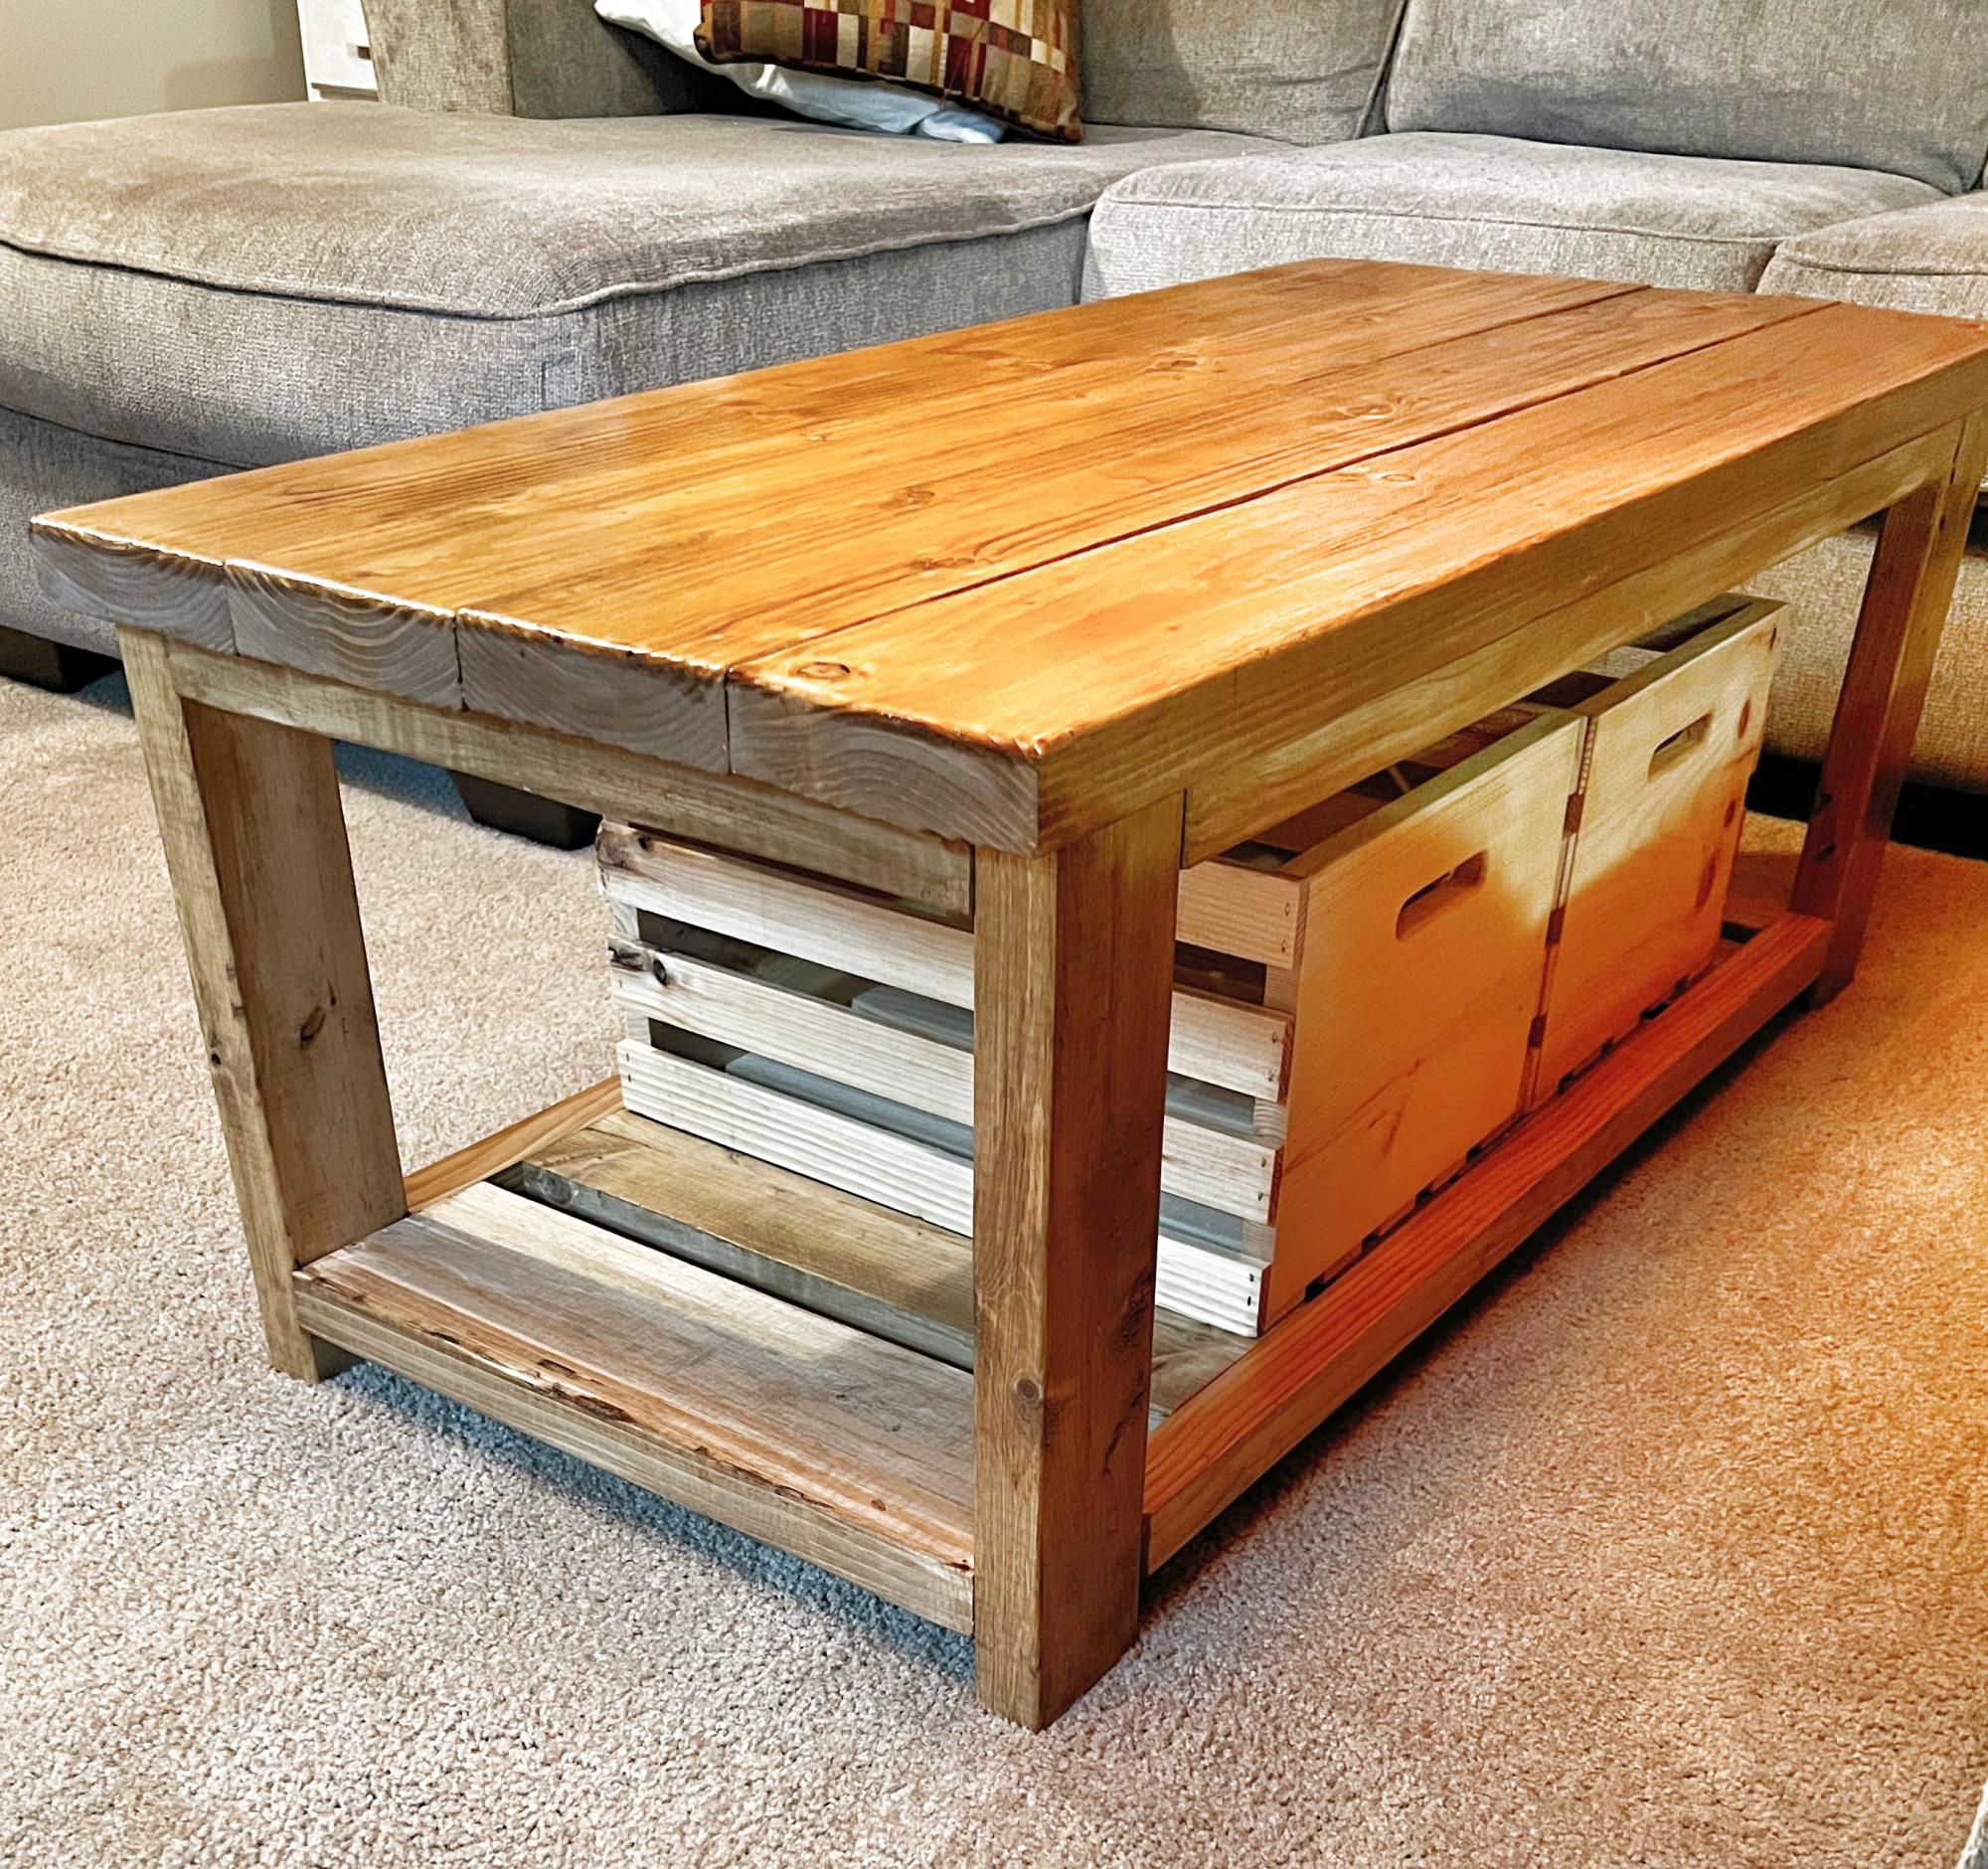
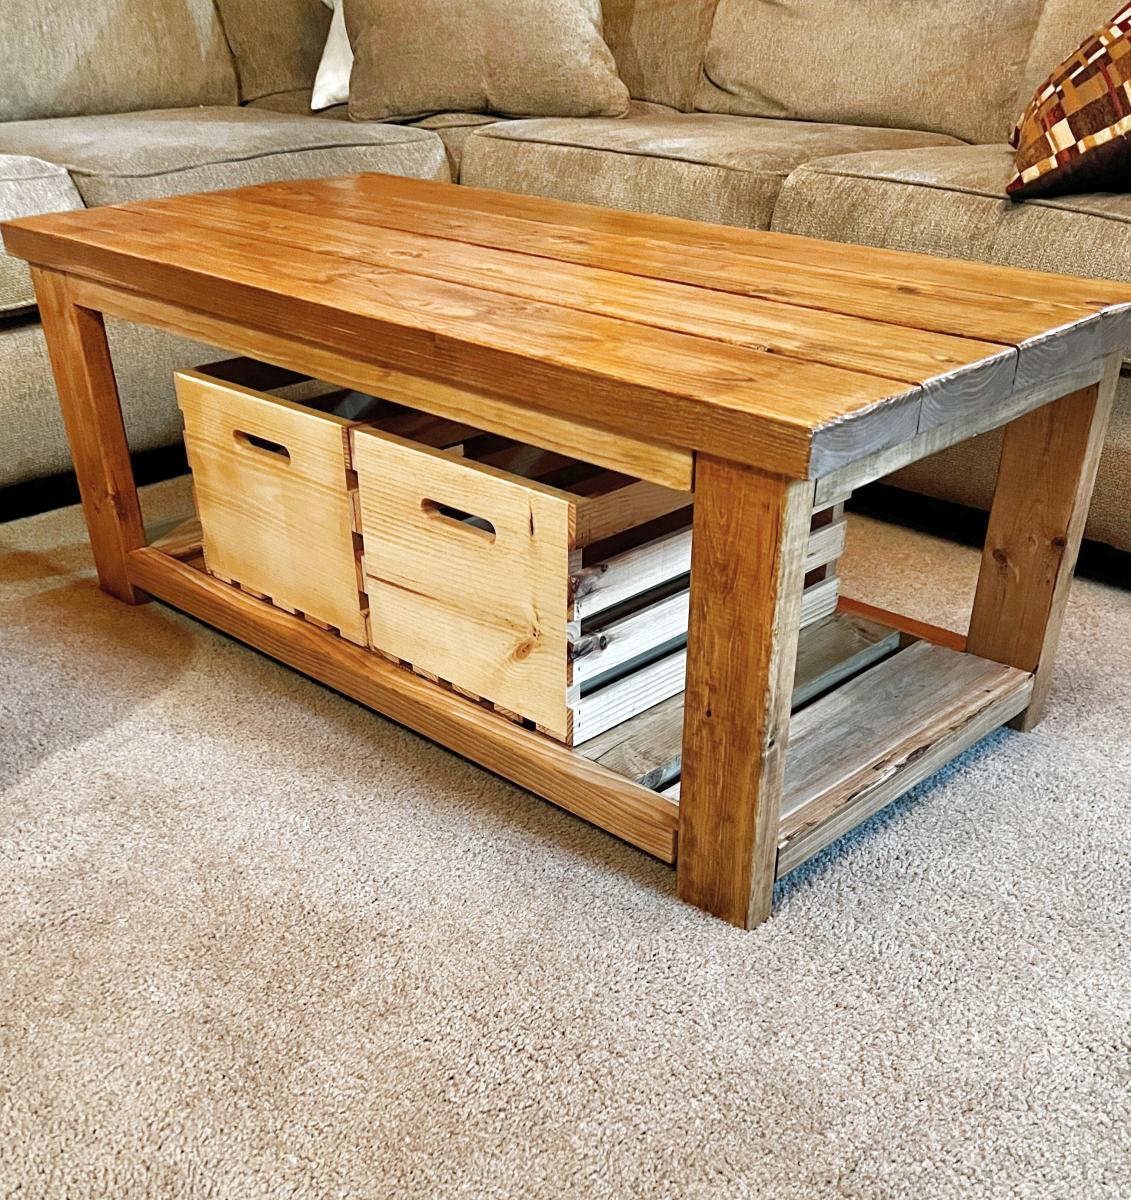
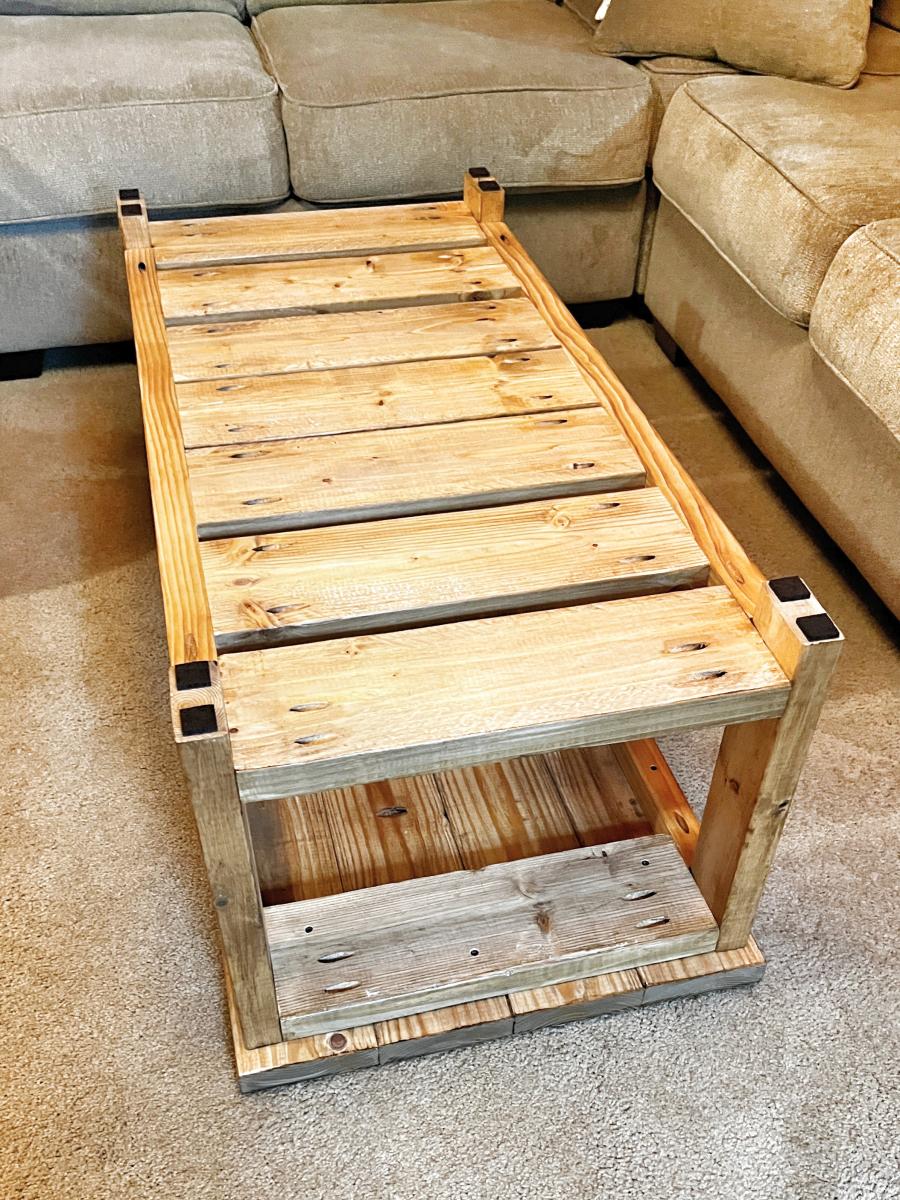
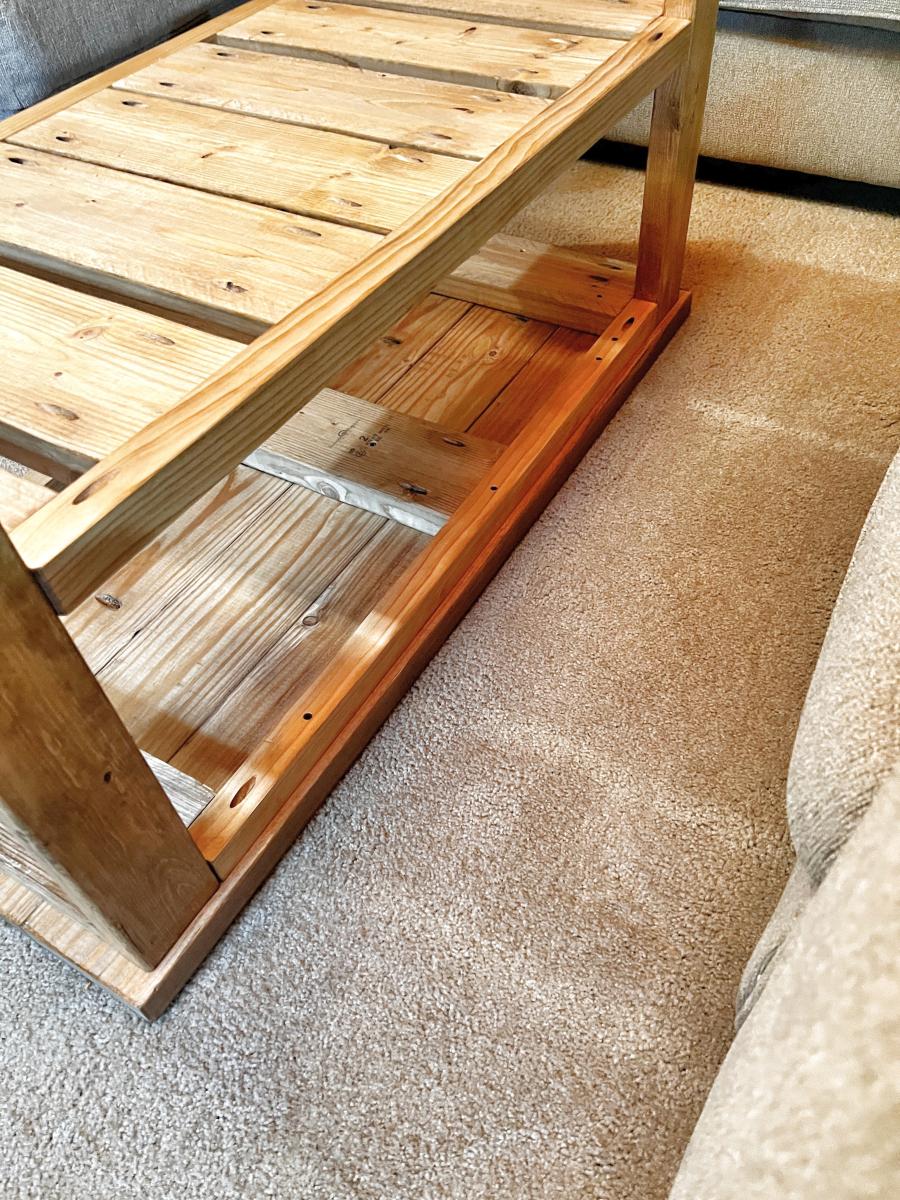
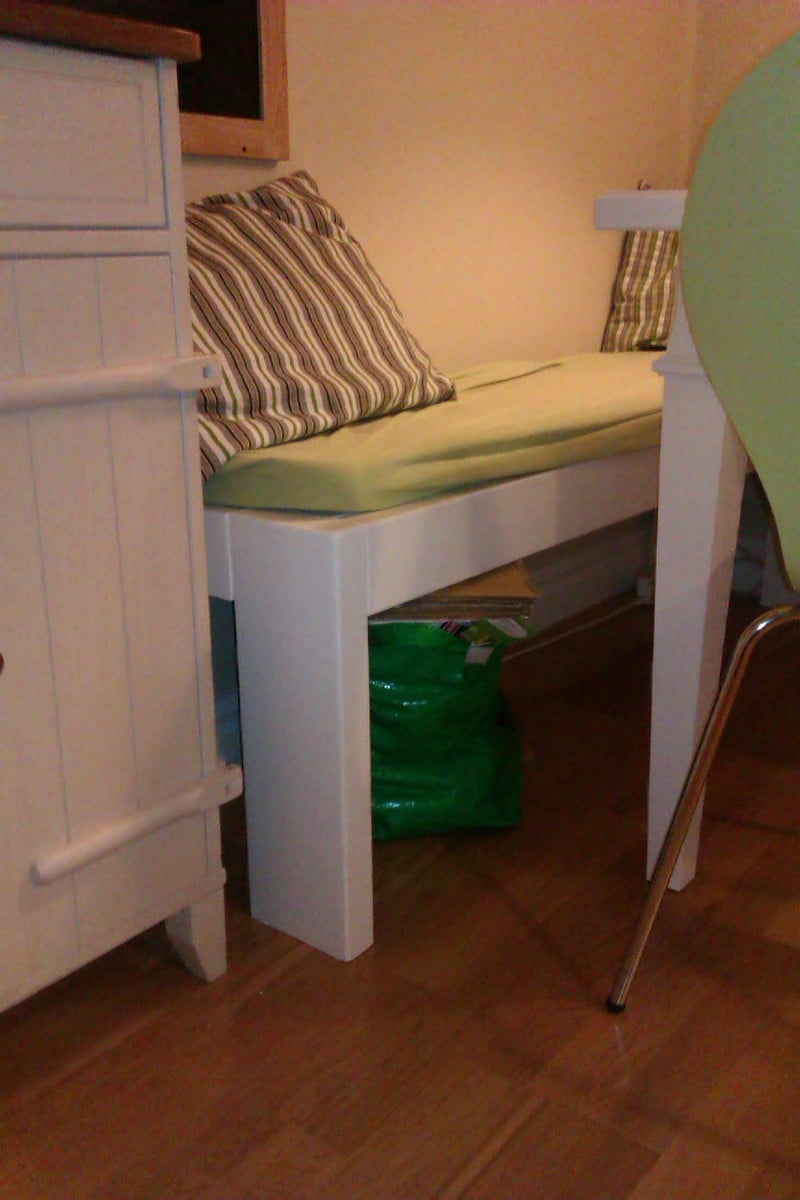
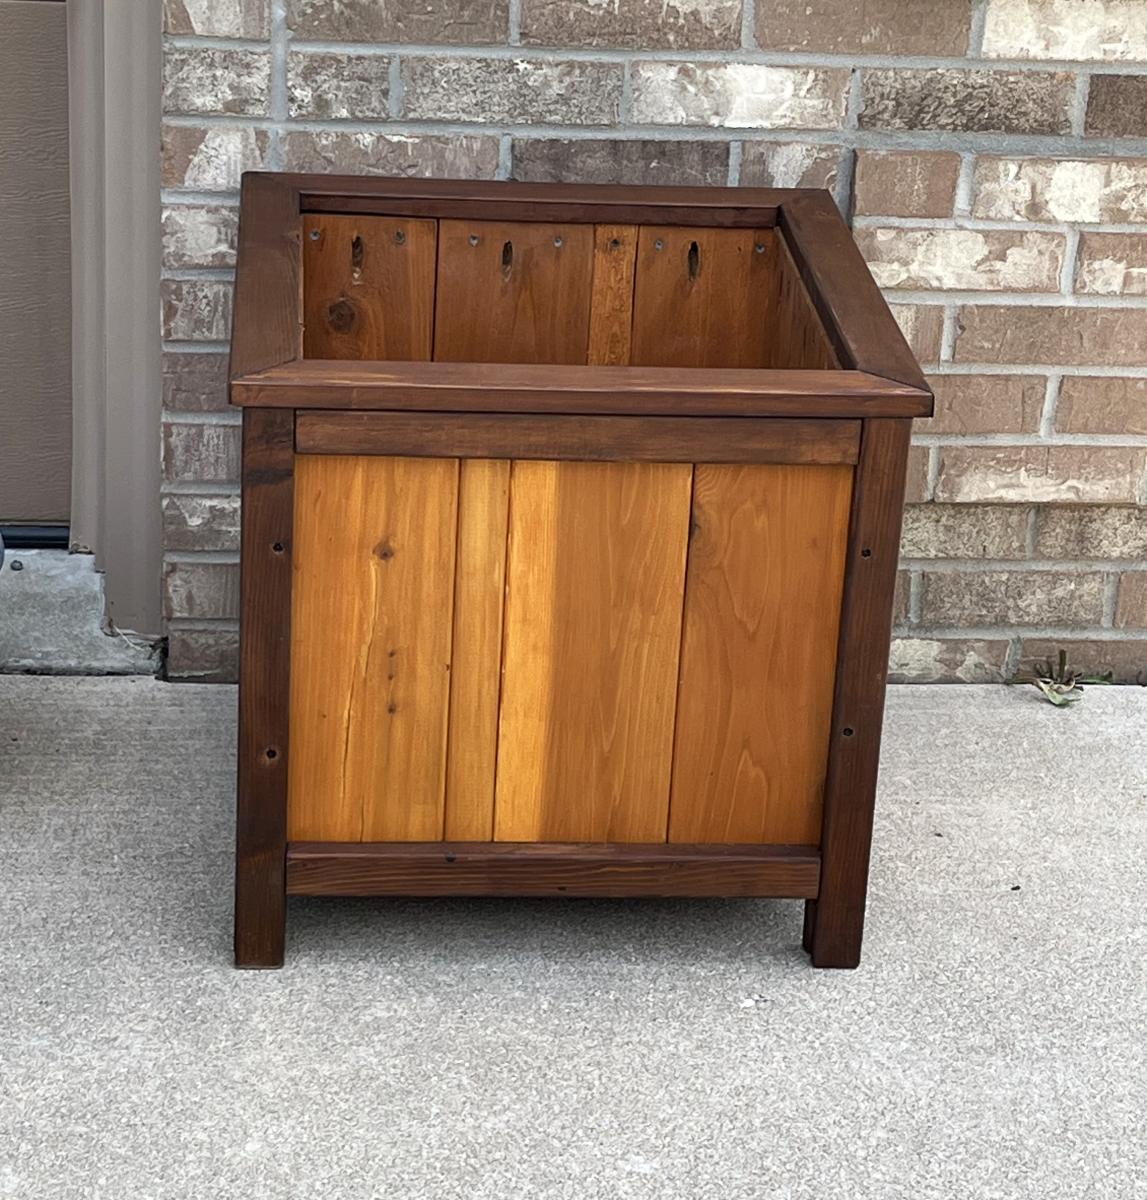
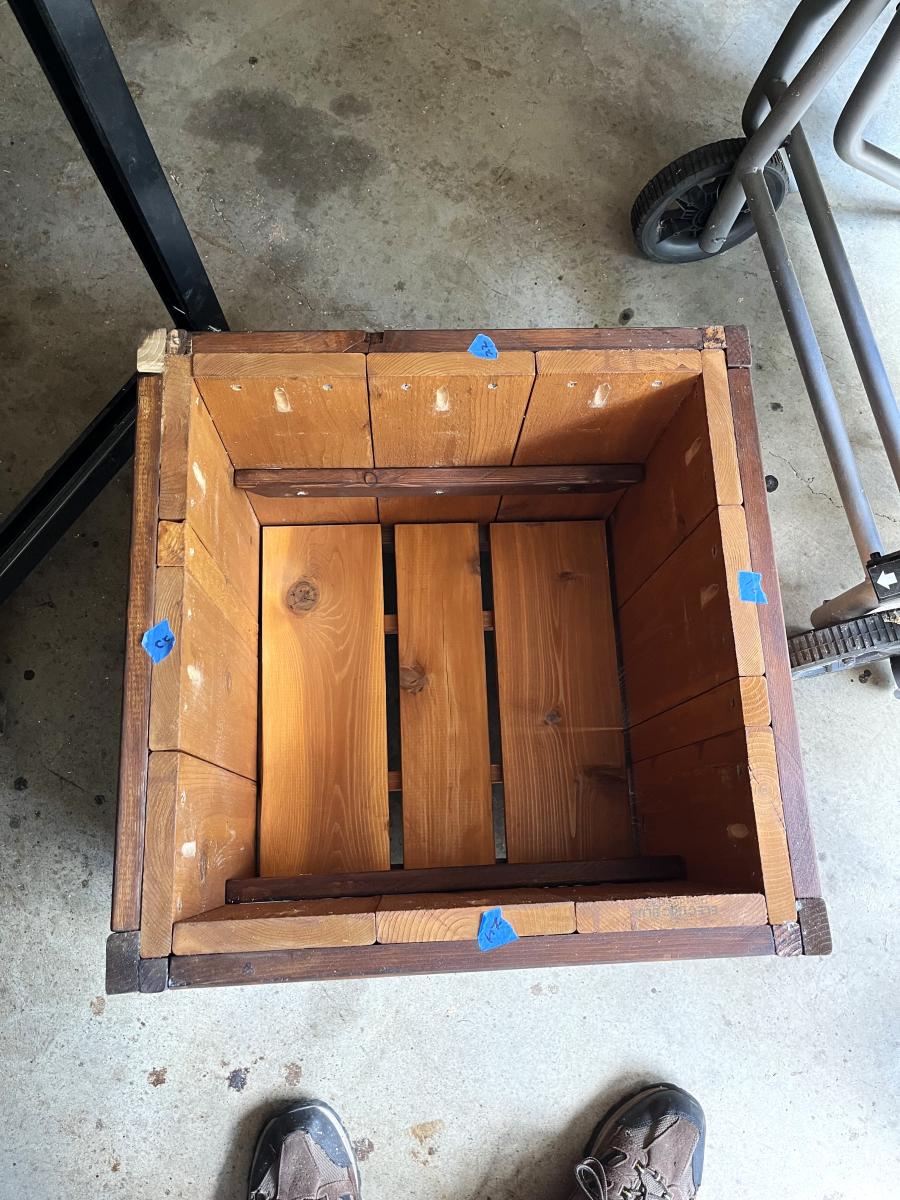
Ottoman
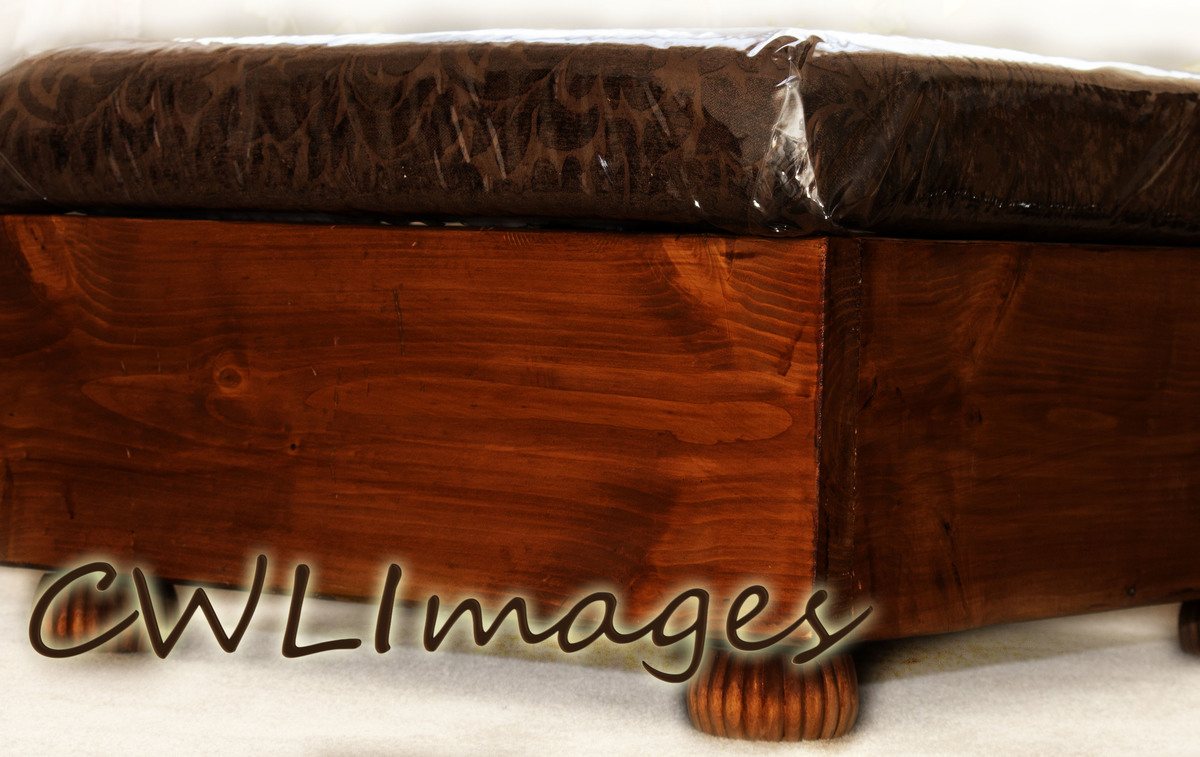
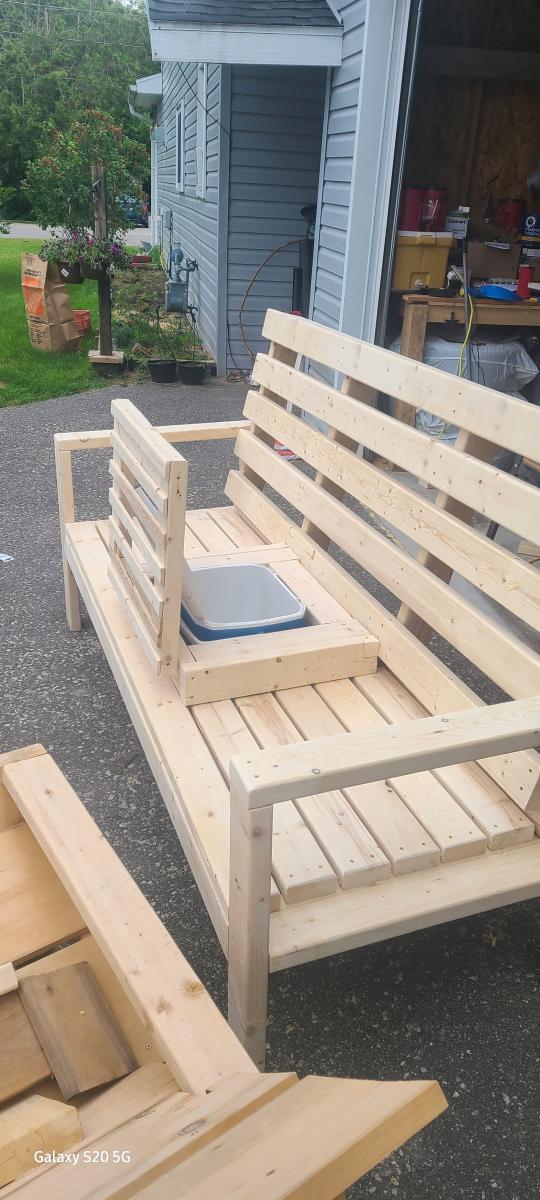
This is my 3rd completed project. This has storage, individual hinges was used.
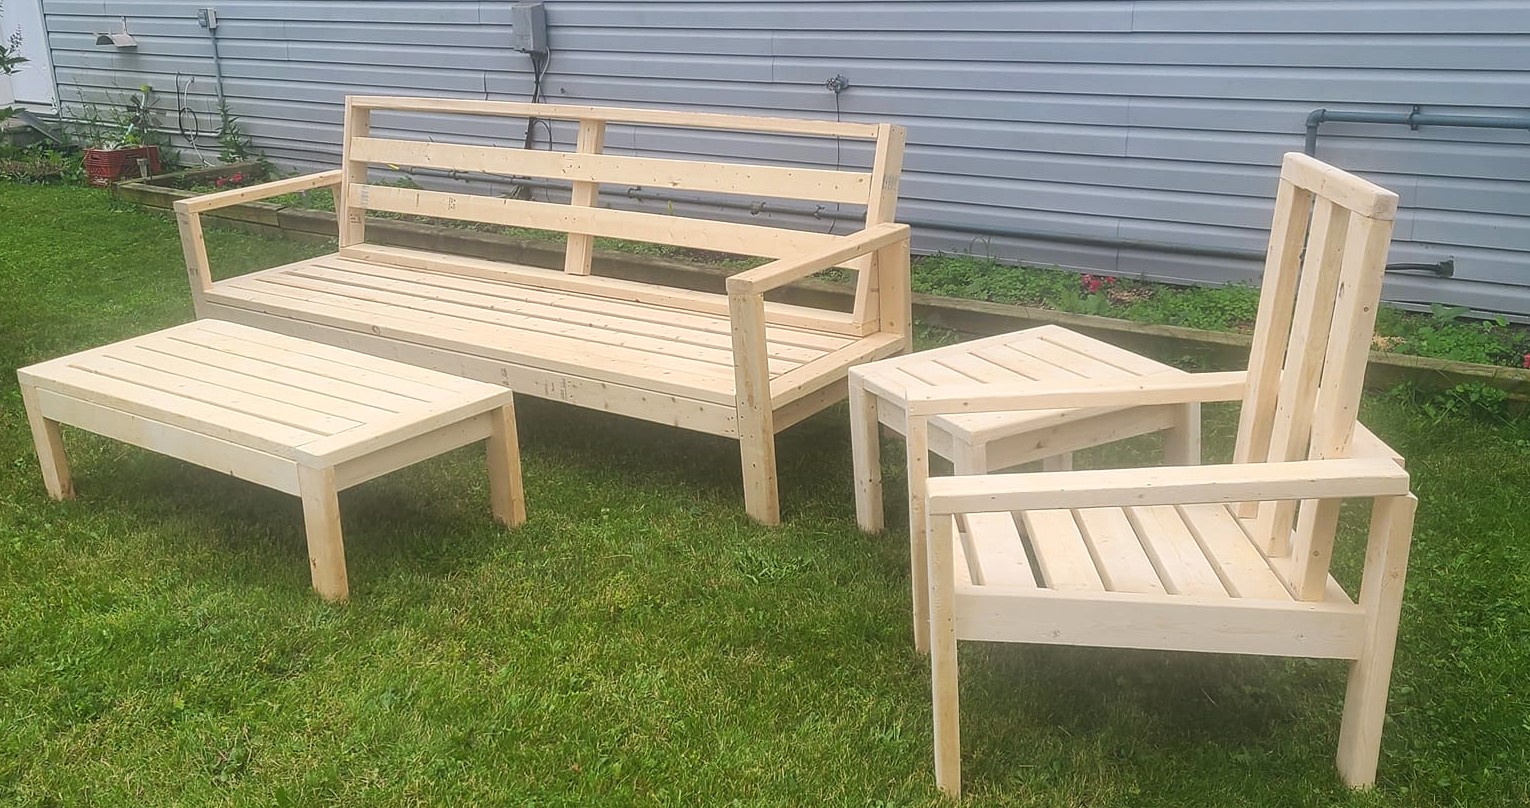
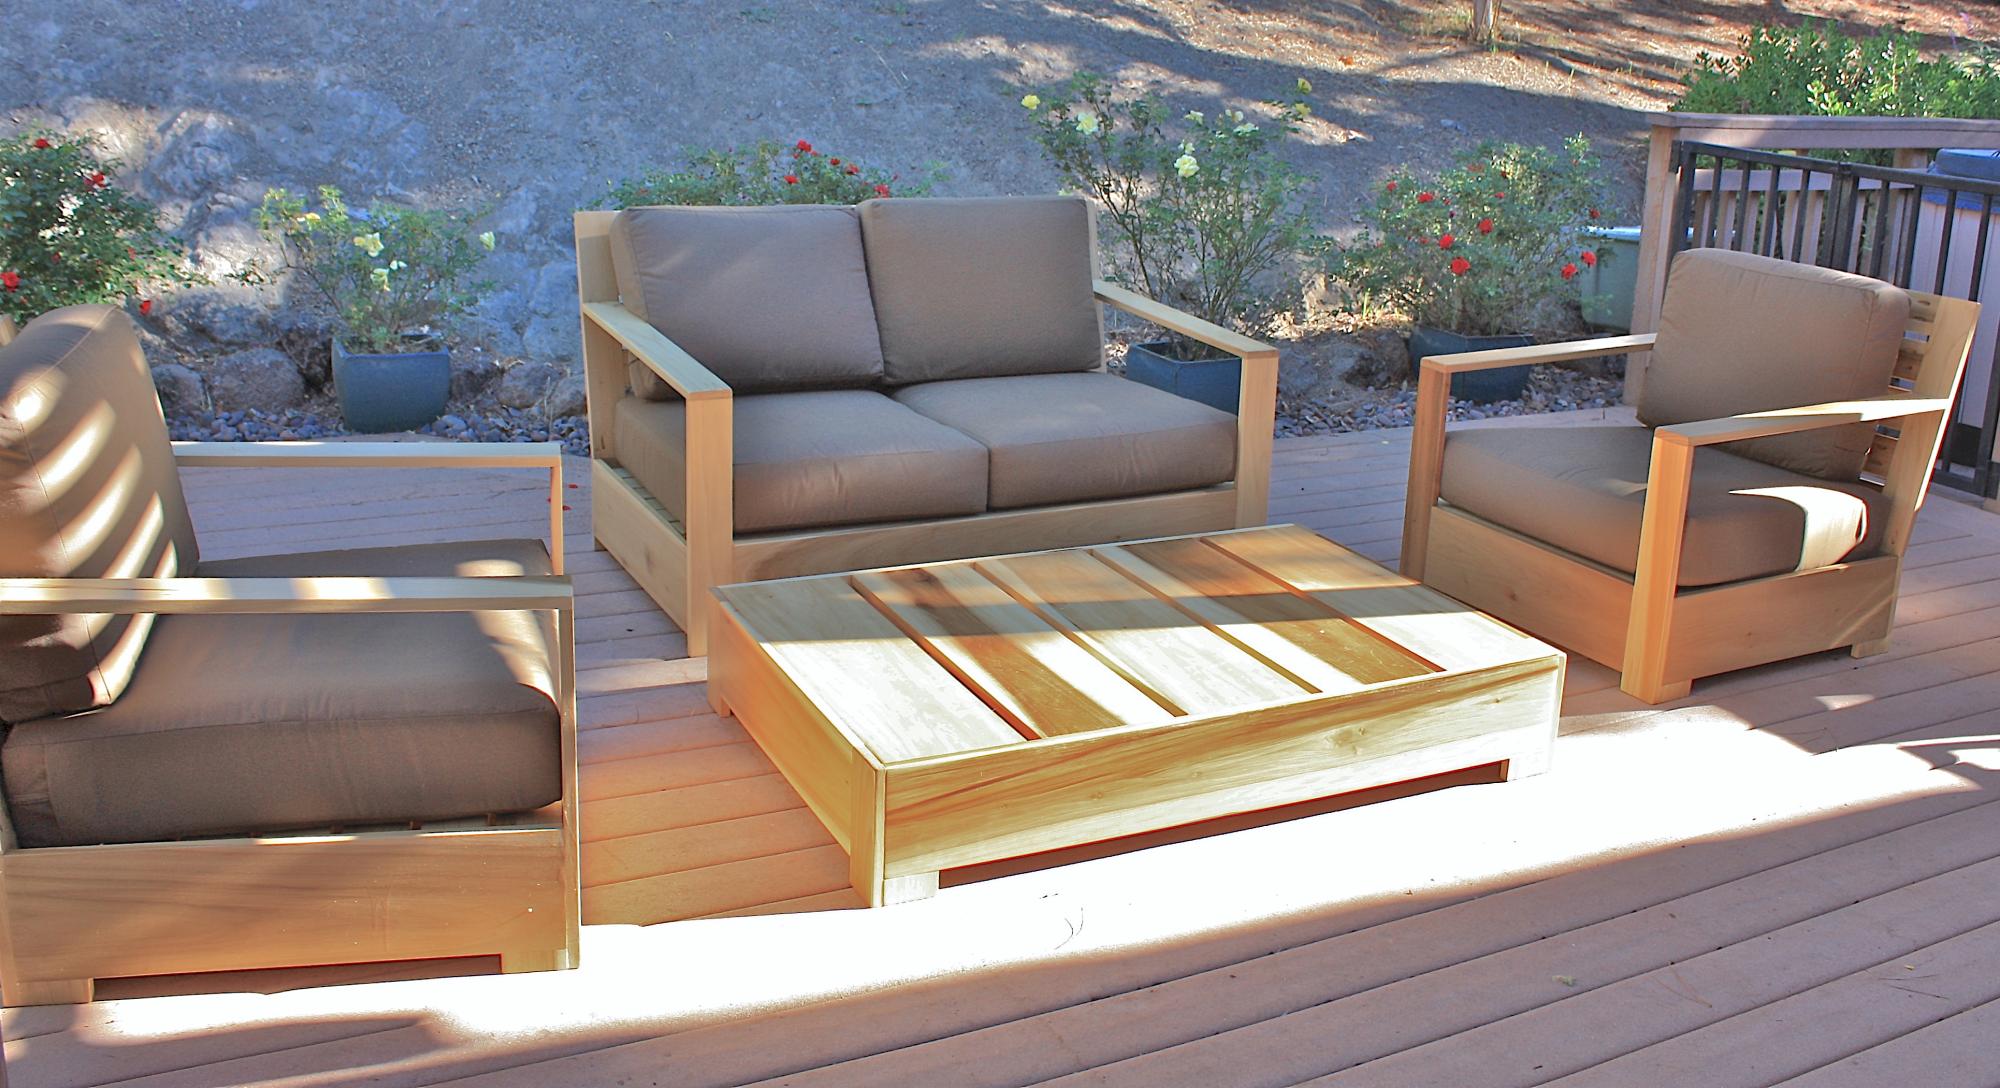
I am still on the sofa after 9 months could not decide if I wanted to make storage.

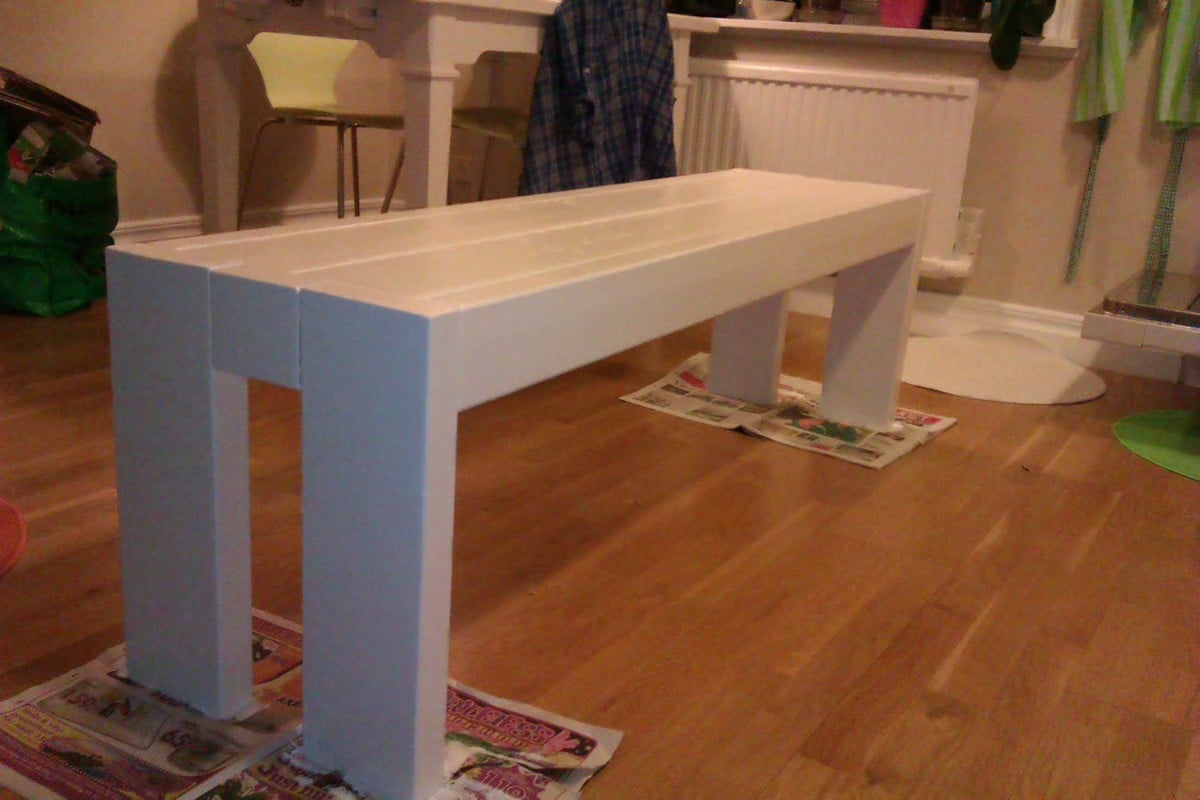
Built from Plan(s)
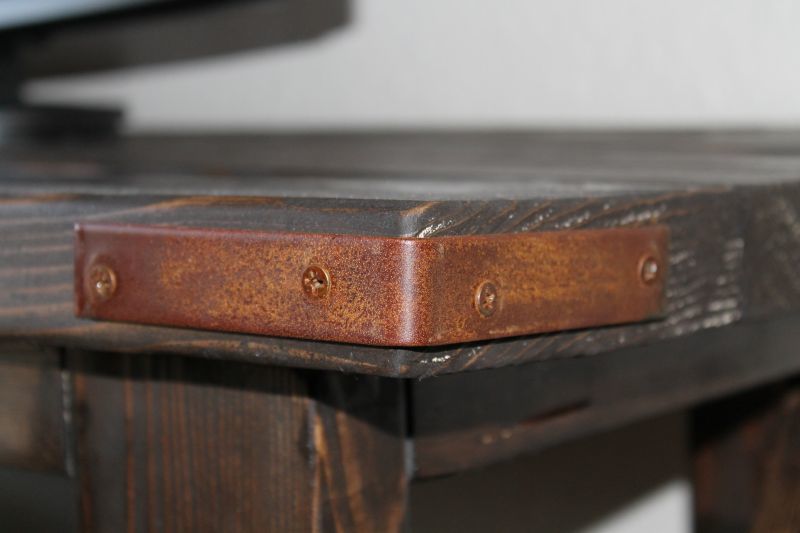
Estimated Cost
estimate cast was $55 dollars, and that was due to the coast of the fabric covered top with plastic covering.
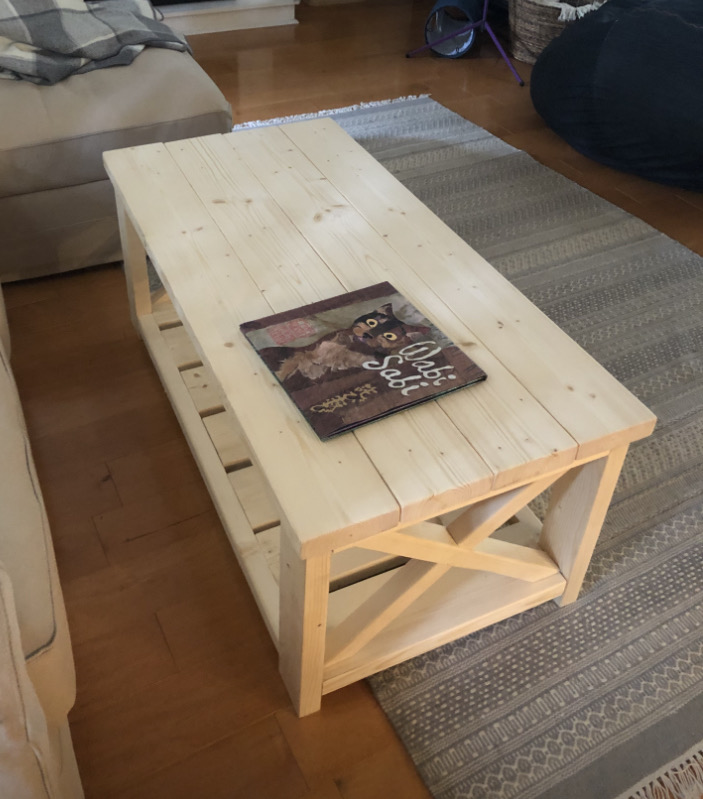
Estimated Time Investment
Day Project (6-9 Hours)
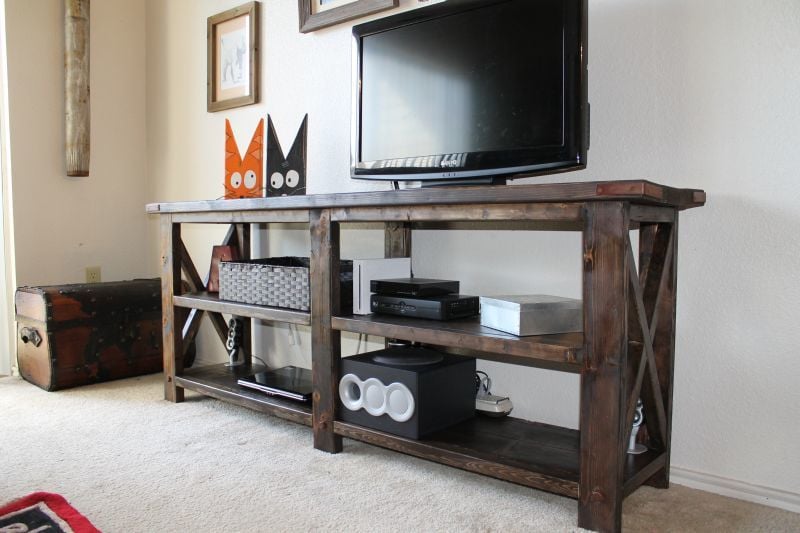
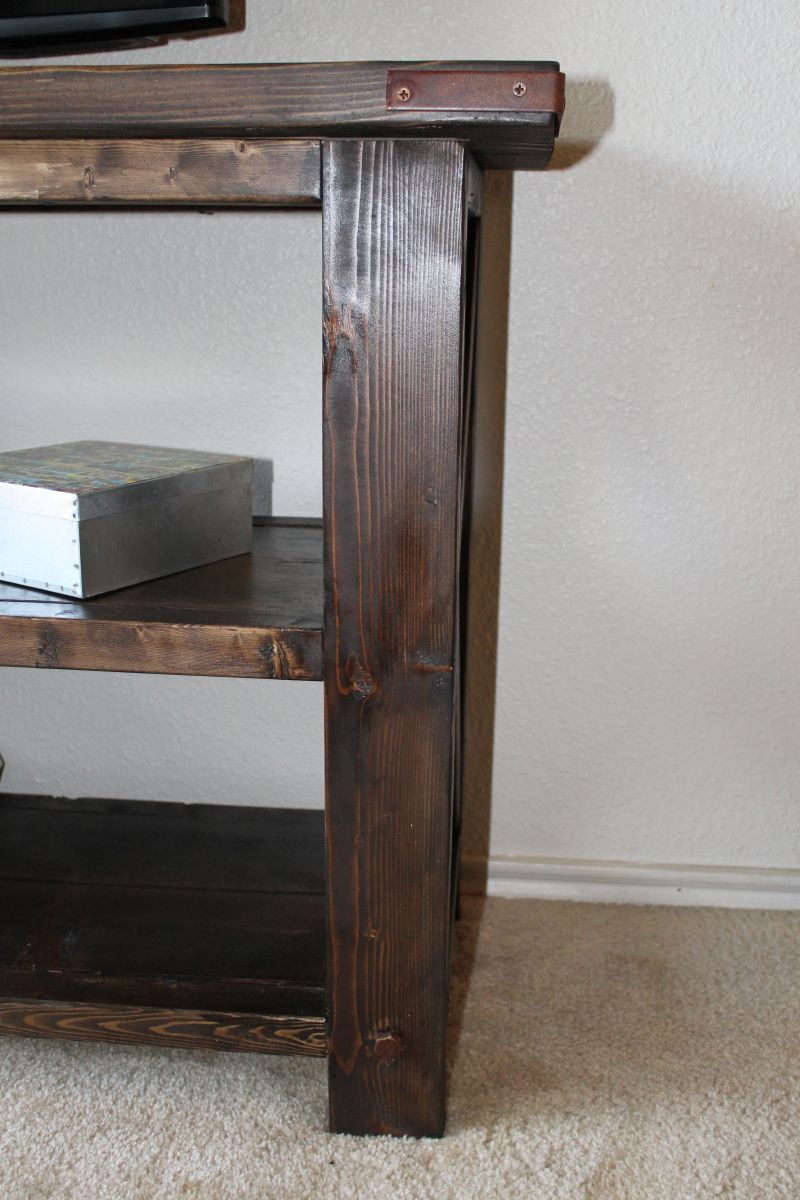
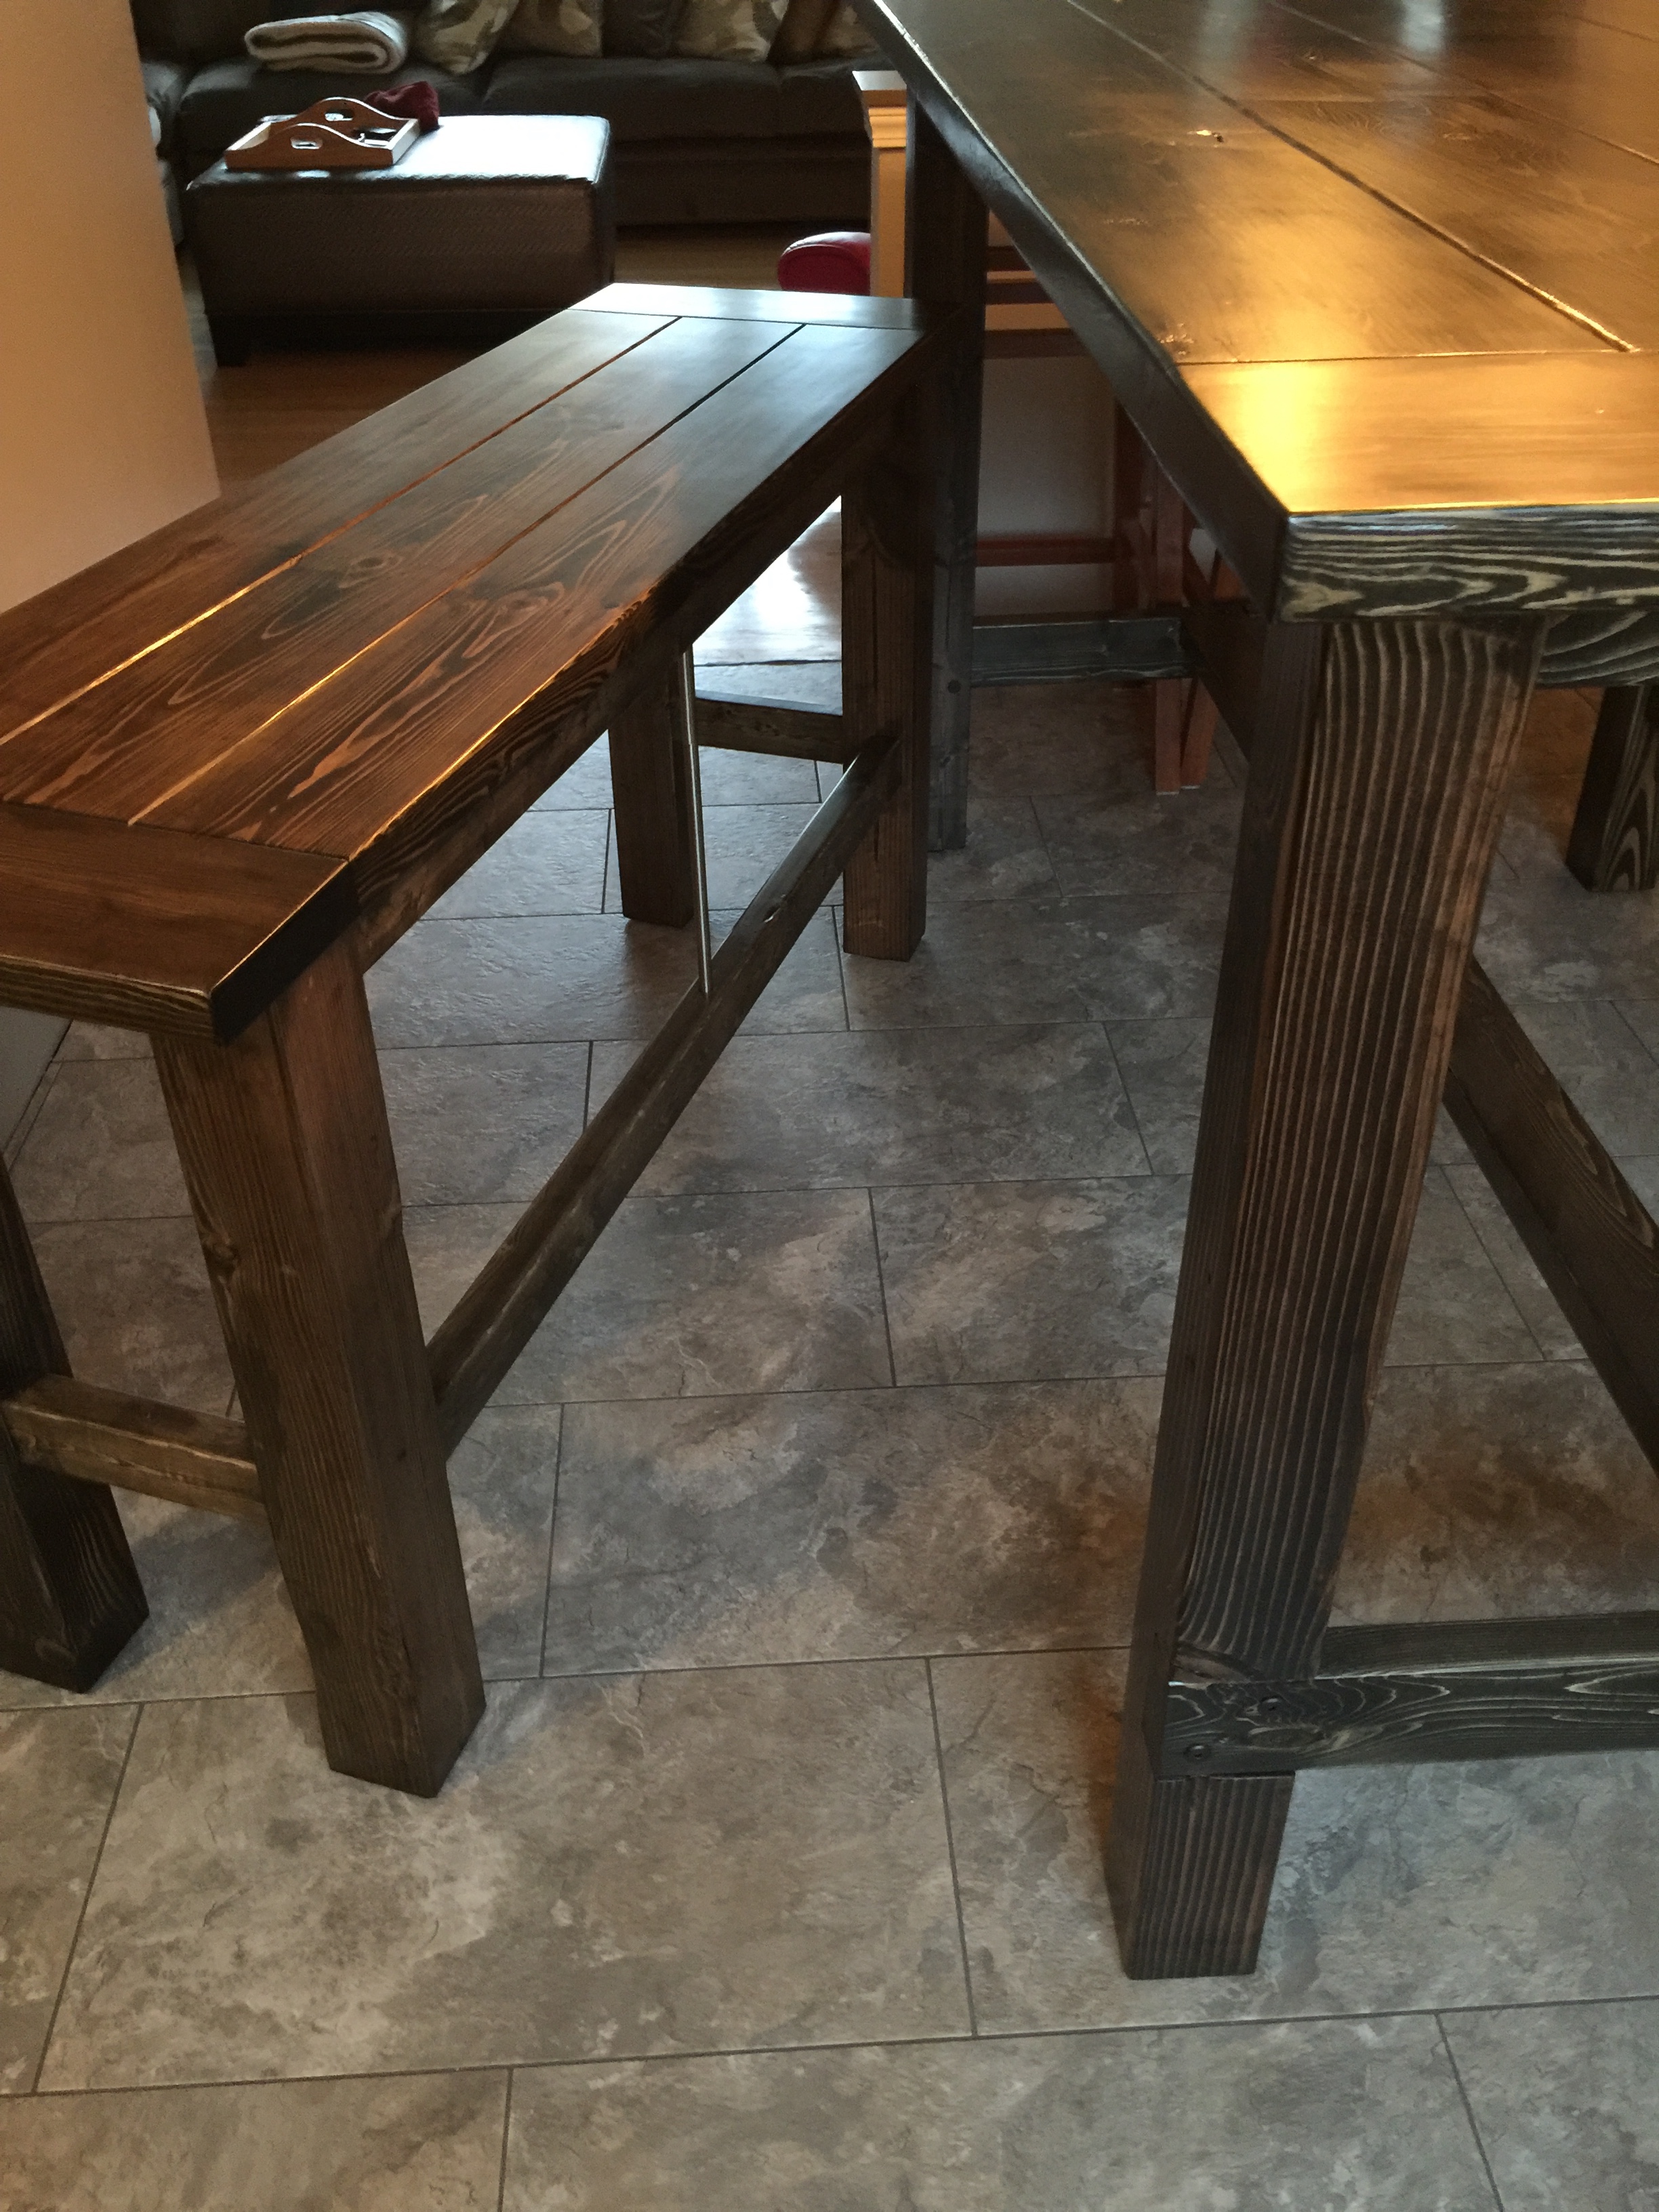
Finish Used
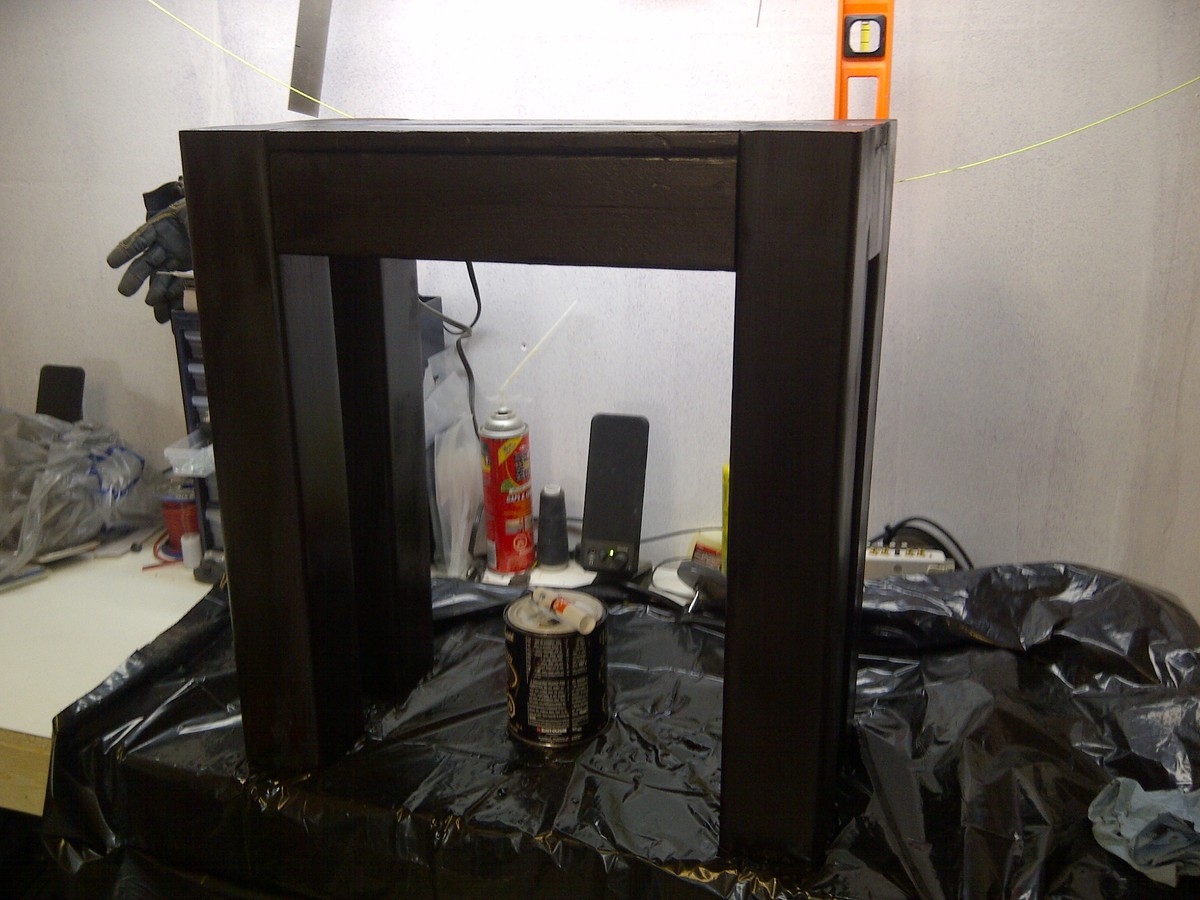
I sand the piece with 120, 220, 500 grit. Then stain/protection, it was suppose to be walnut, and it turn out this color. Can't complain, the cats are happy about it.
Recommended Skill Level
Intermediate