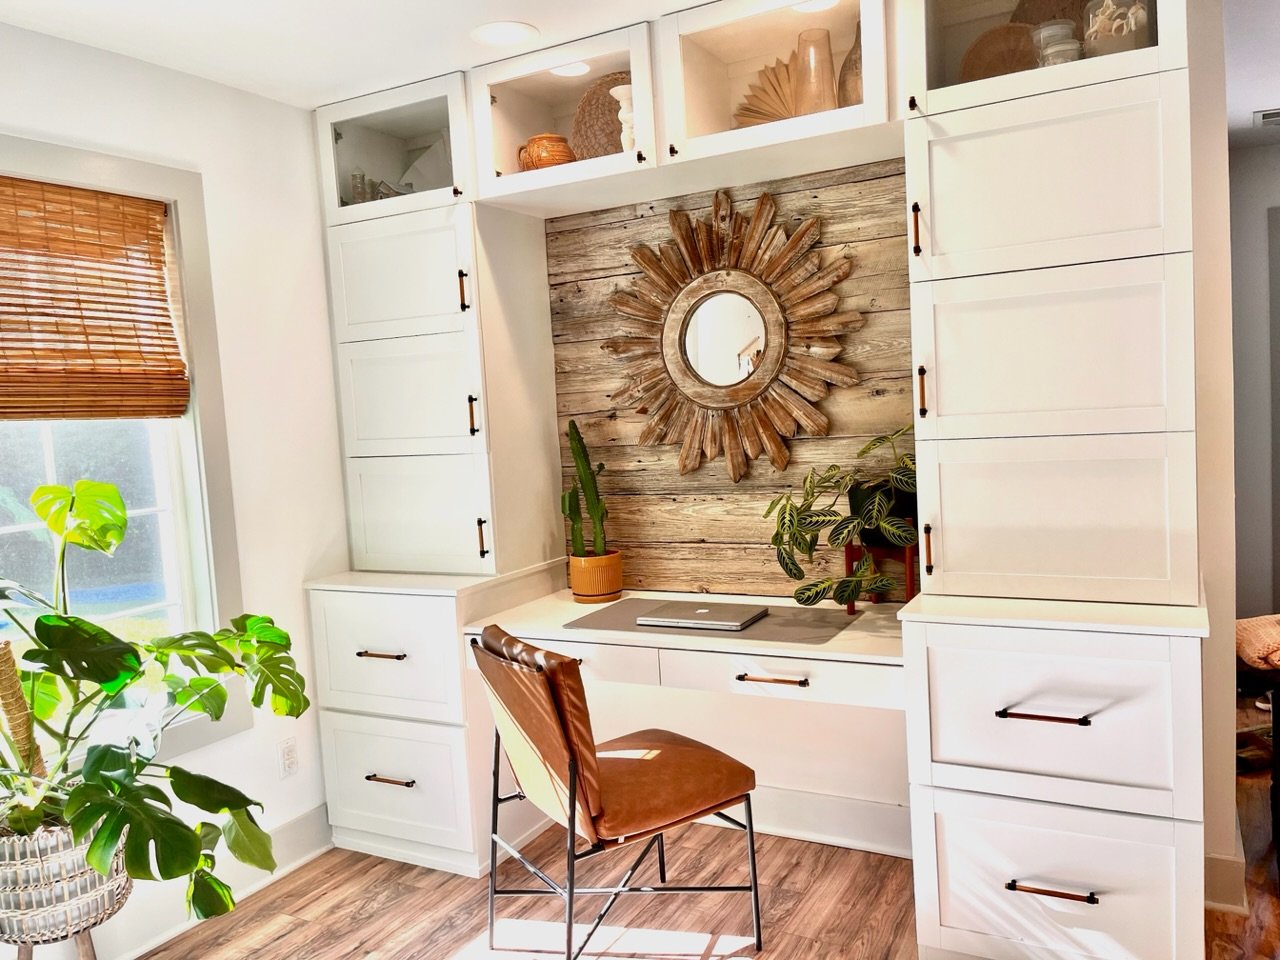
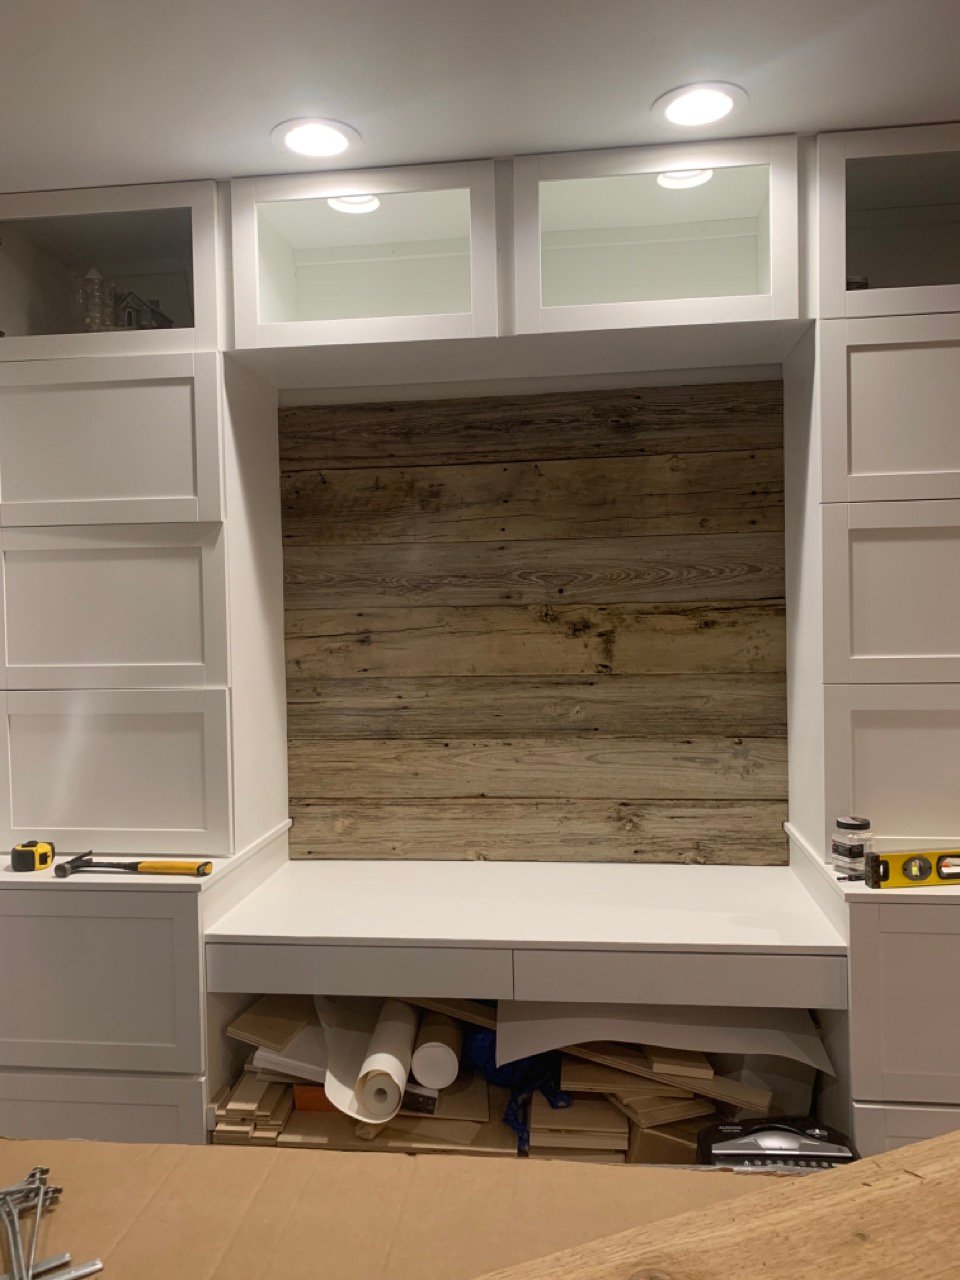
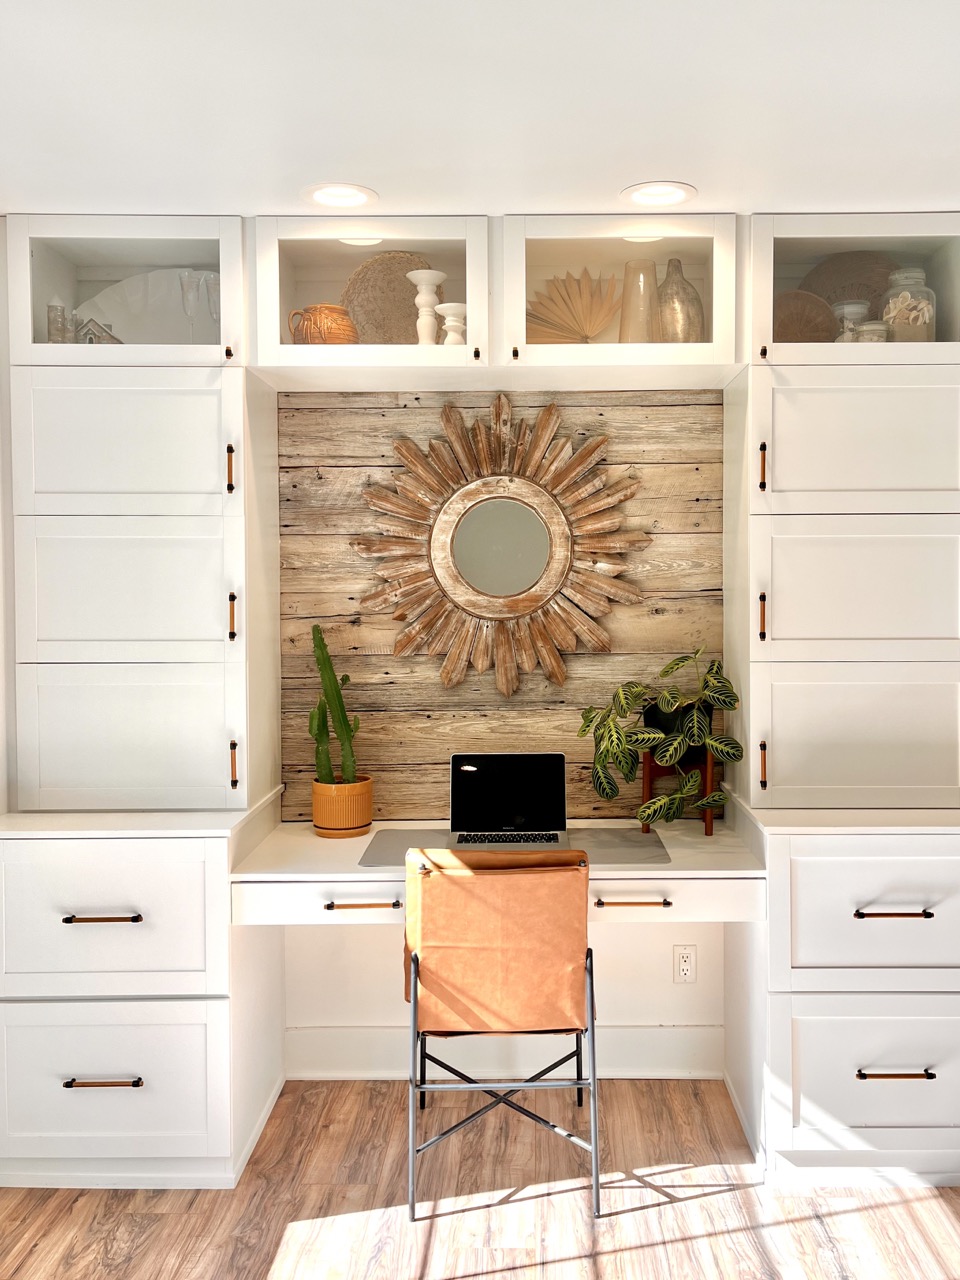
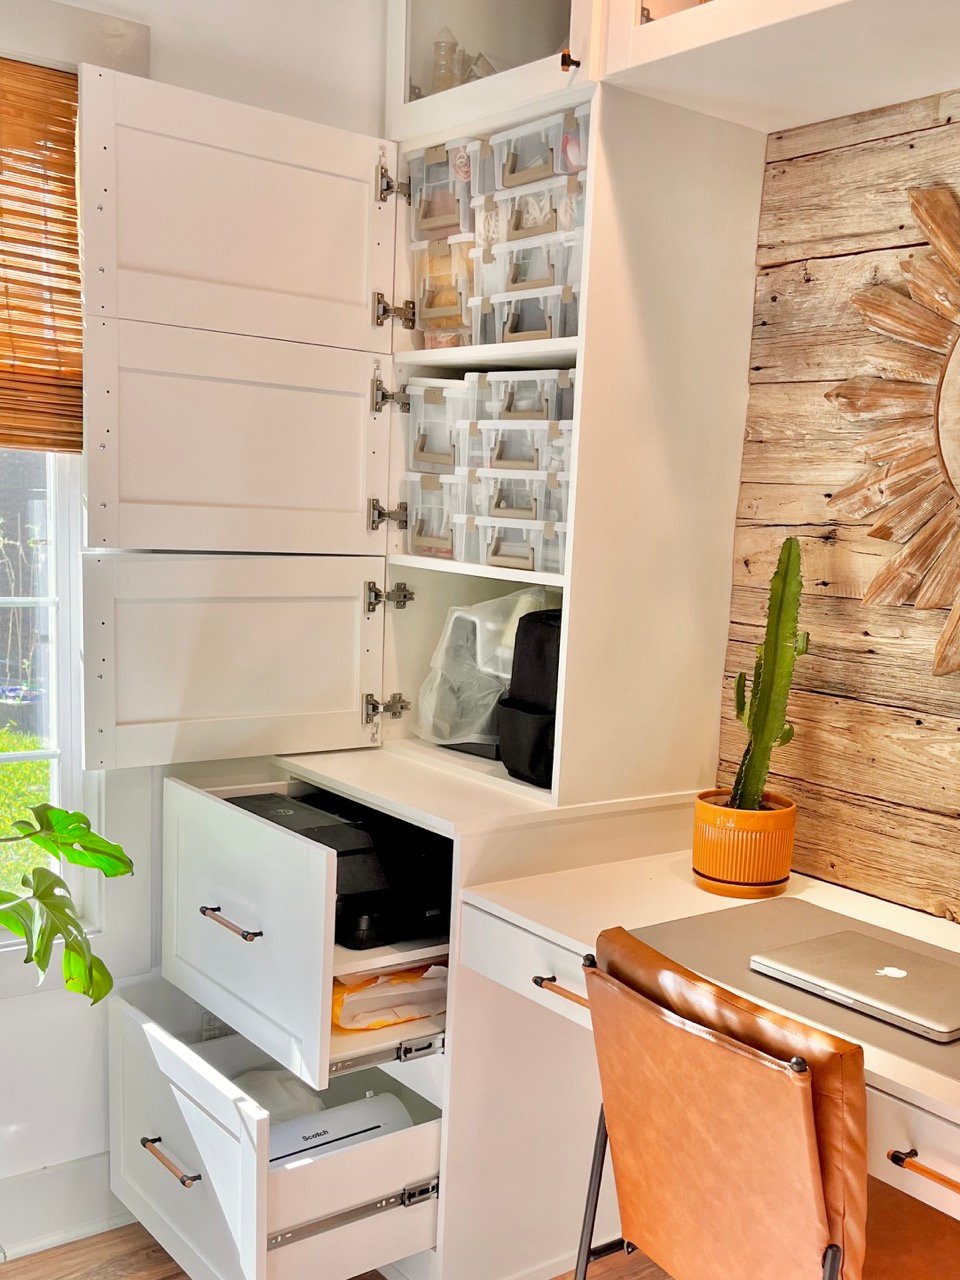
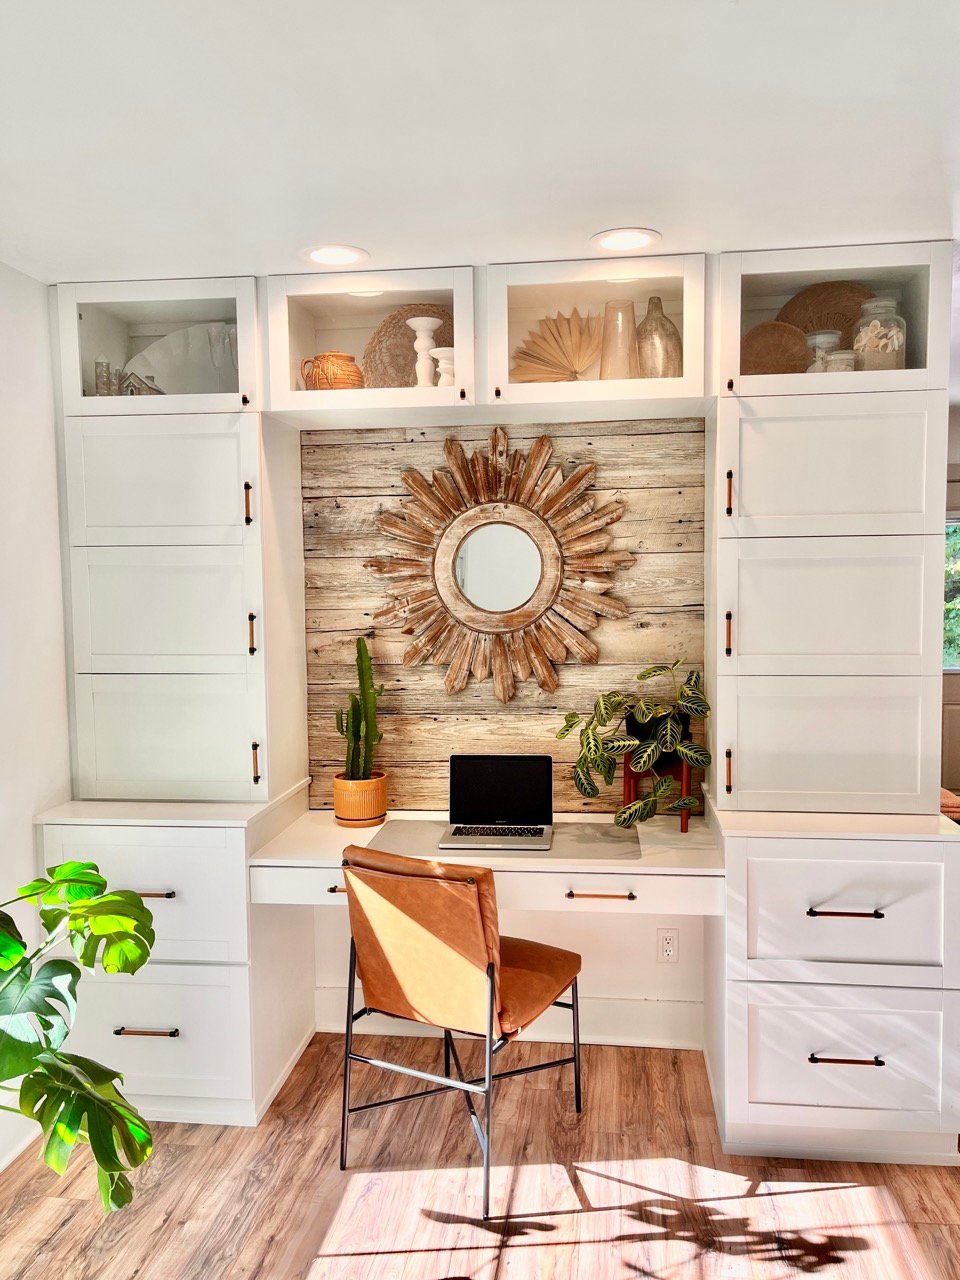
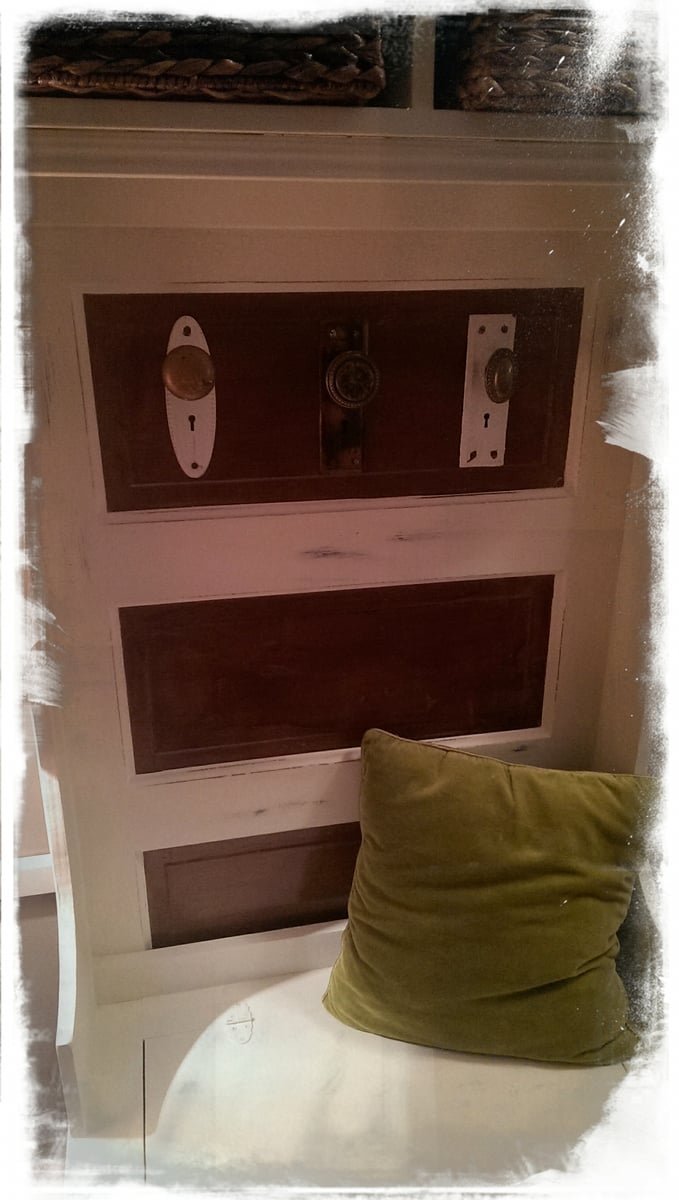
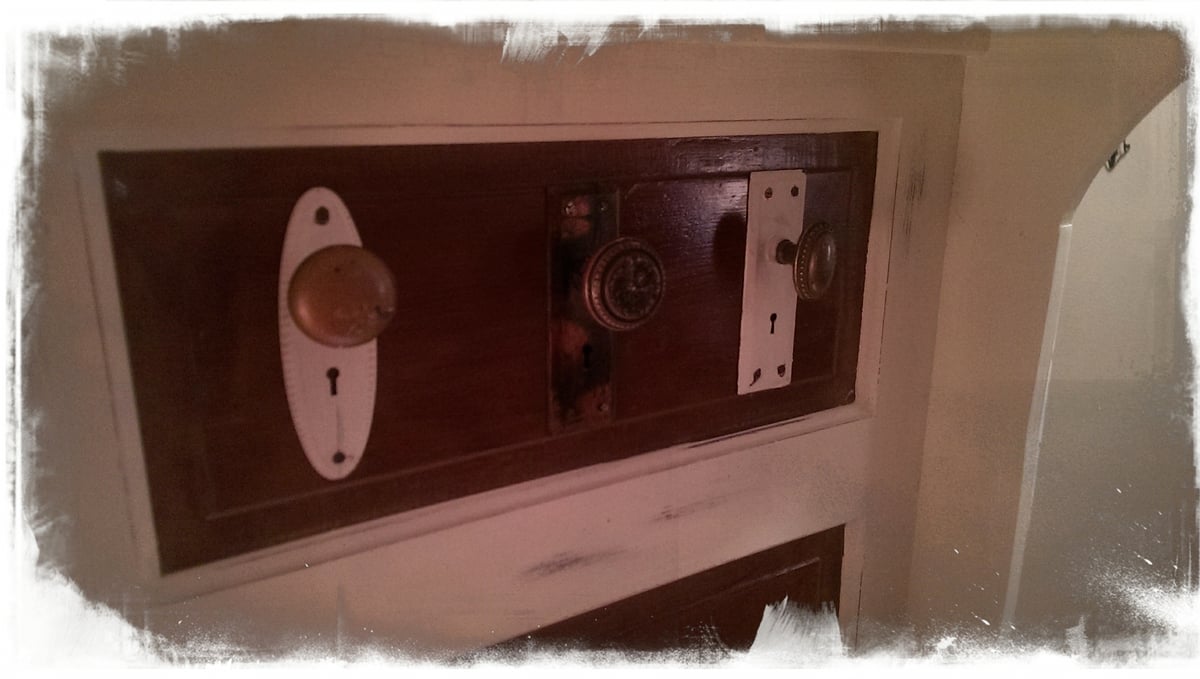
Desk Wall System with IKEA Door Faces

Seasonal And Holiday
Thanks for the awesome plans Anna! God bless.
Eddie Jimenez
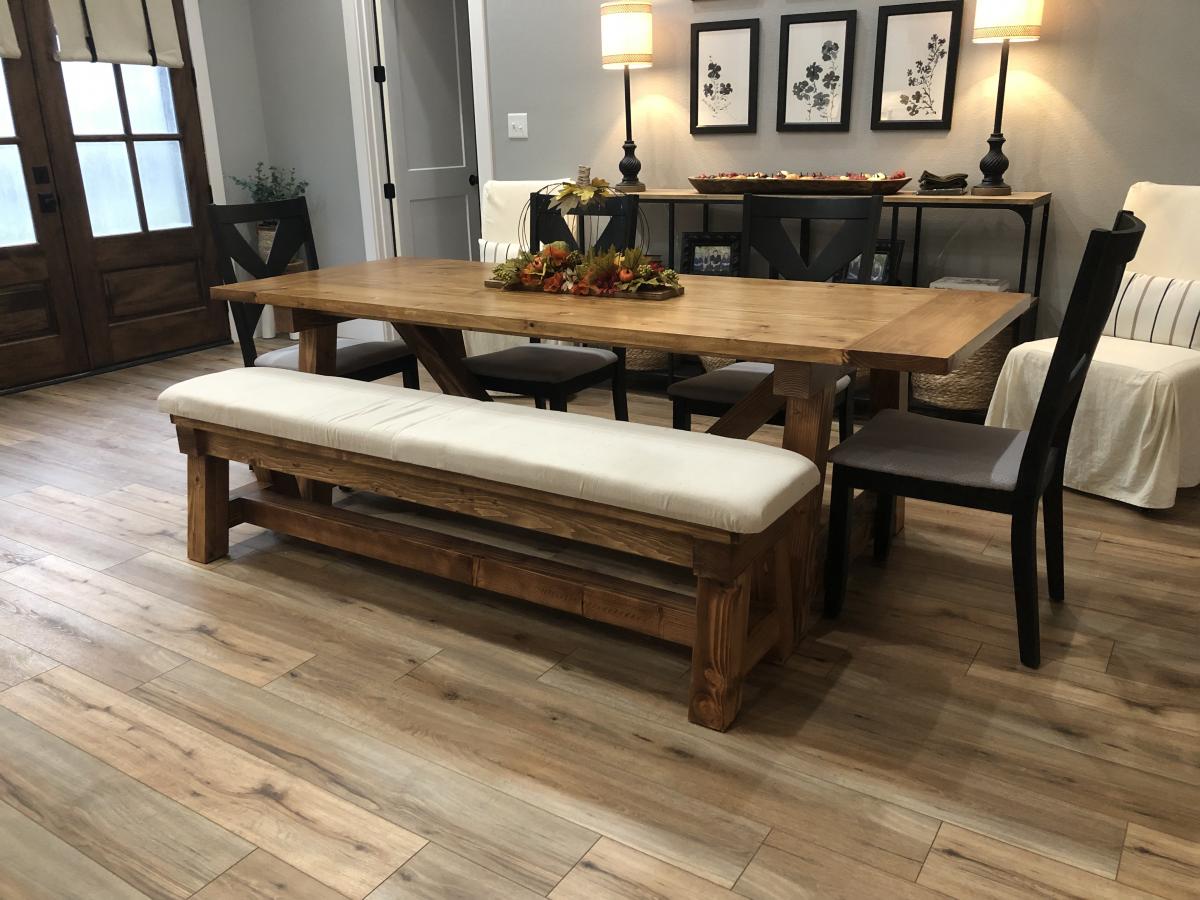
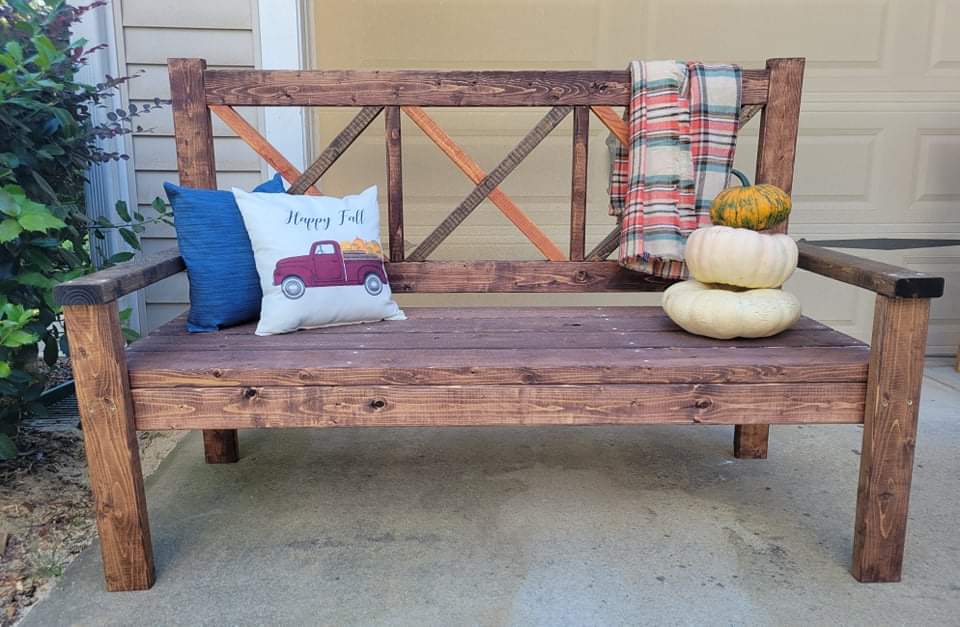
The plans were very easy to follow for non avid woodworkers. We decided to upholster the seat on the bench.
Tue, 10/05/2021 - 10:43
Looks professionally done and well built, the upholstered bench is a beautiful addition!
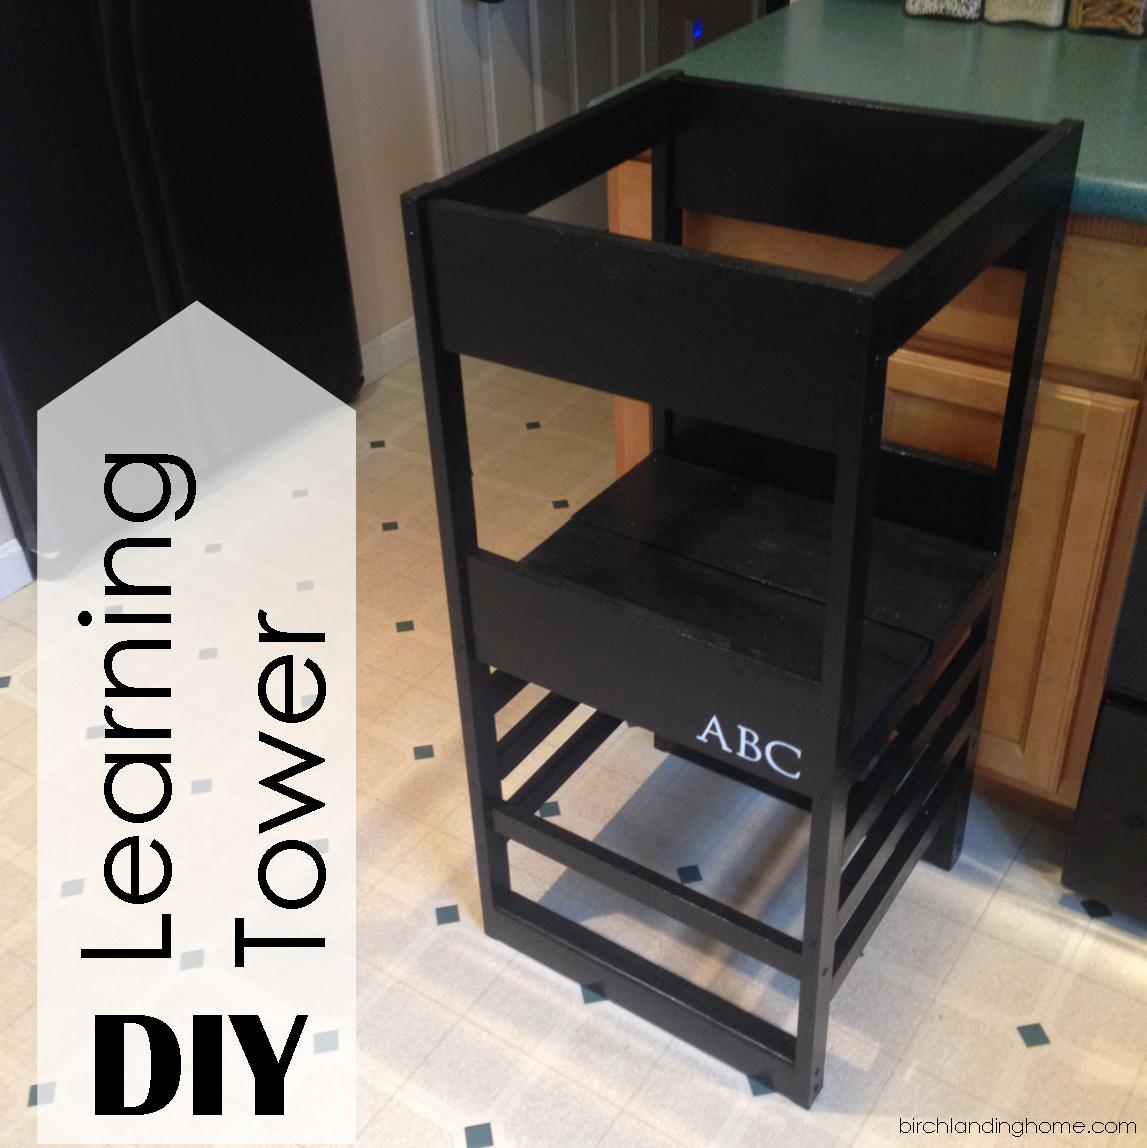
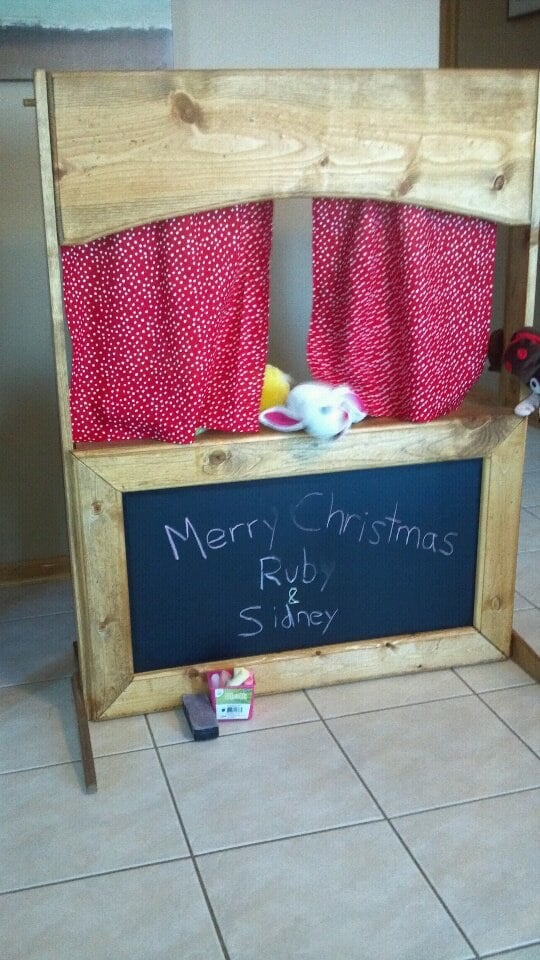
Our little one may be happily playing independently but the second I go to make dinner she demands to be held and refuses to be put down, making cooking impossible. To help keep her occupied but still involved I've been eyeing a learning tower / kitchen helper on Amazon for months now, but at $200 it just wasn't in our budget. My sister-in-law had made a learning tower from a plan by Ana White and suggested I try to make one too. I was unsure at first, I've never made anything more complicated than a birdhouse, but I decided to give it a go!
Please see my blog post for additional photos and lessons learned during this project.

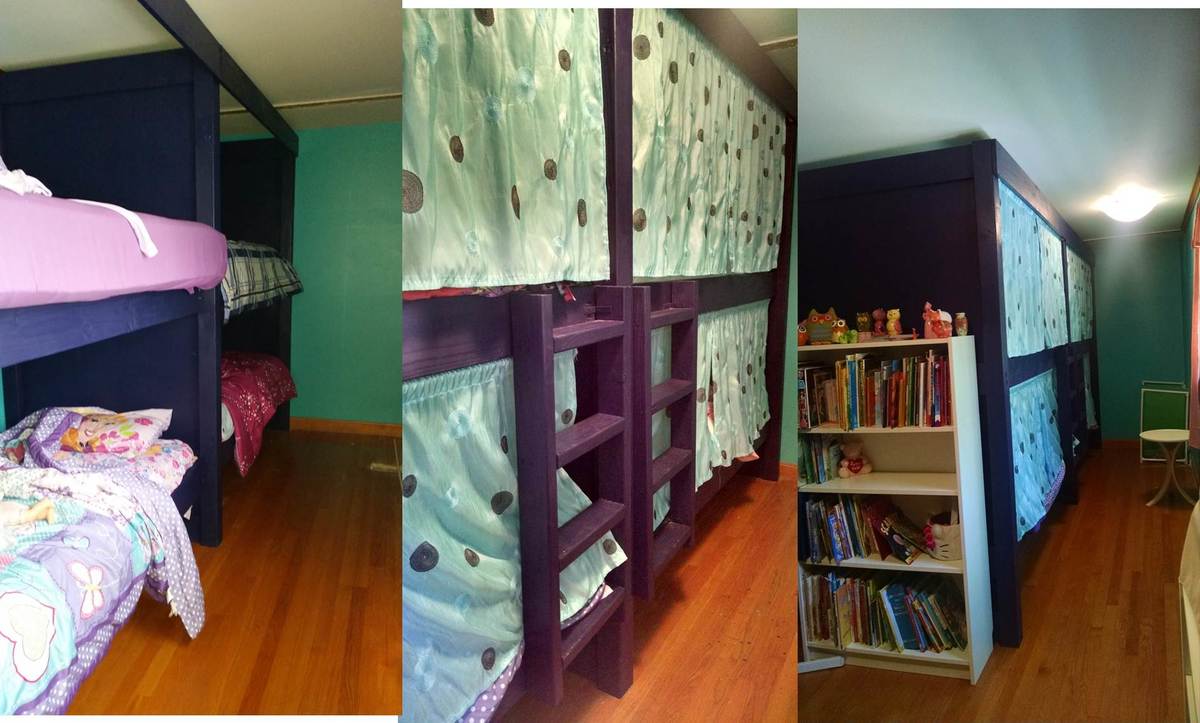
We used the Build a Simple Bed plan and the Bunk Bed from Simple Bed. I modified the plans to build a double bunk bed. We needed a way to fit up to 6 small children in a long, narrow room. Although we haven't built the trundle beds yet, each bunk will also have a trundle bed. The kids especially love their "privacy" curtains!
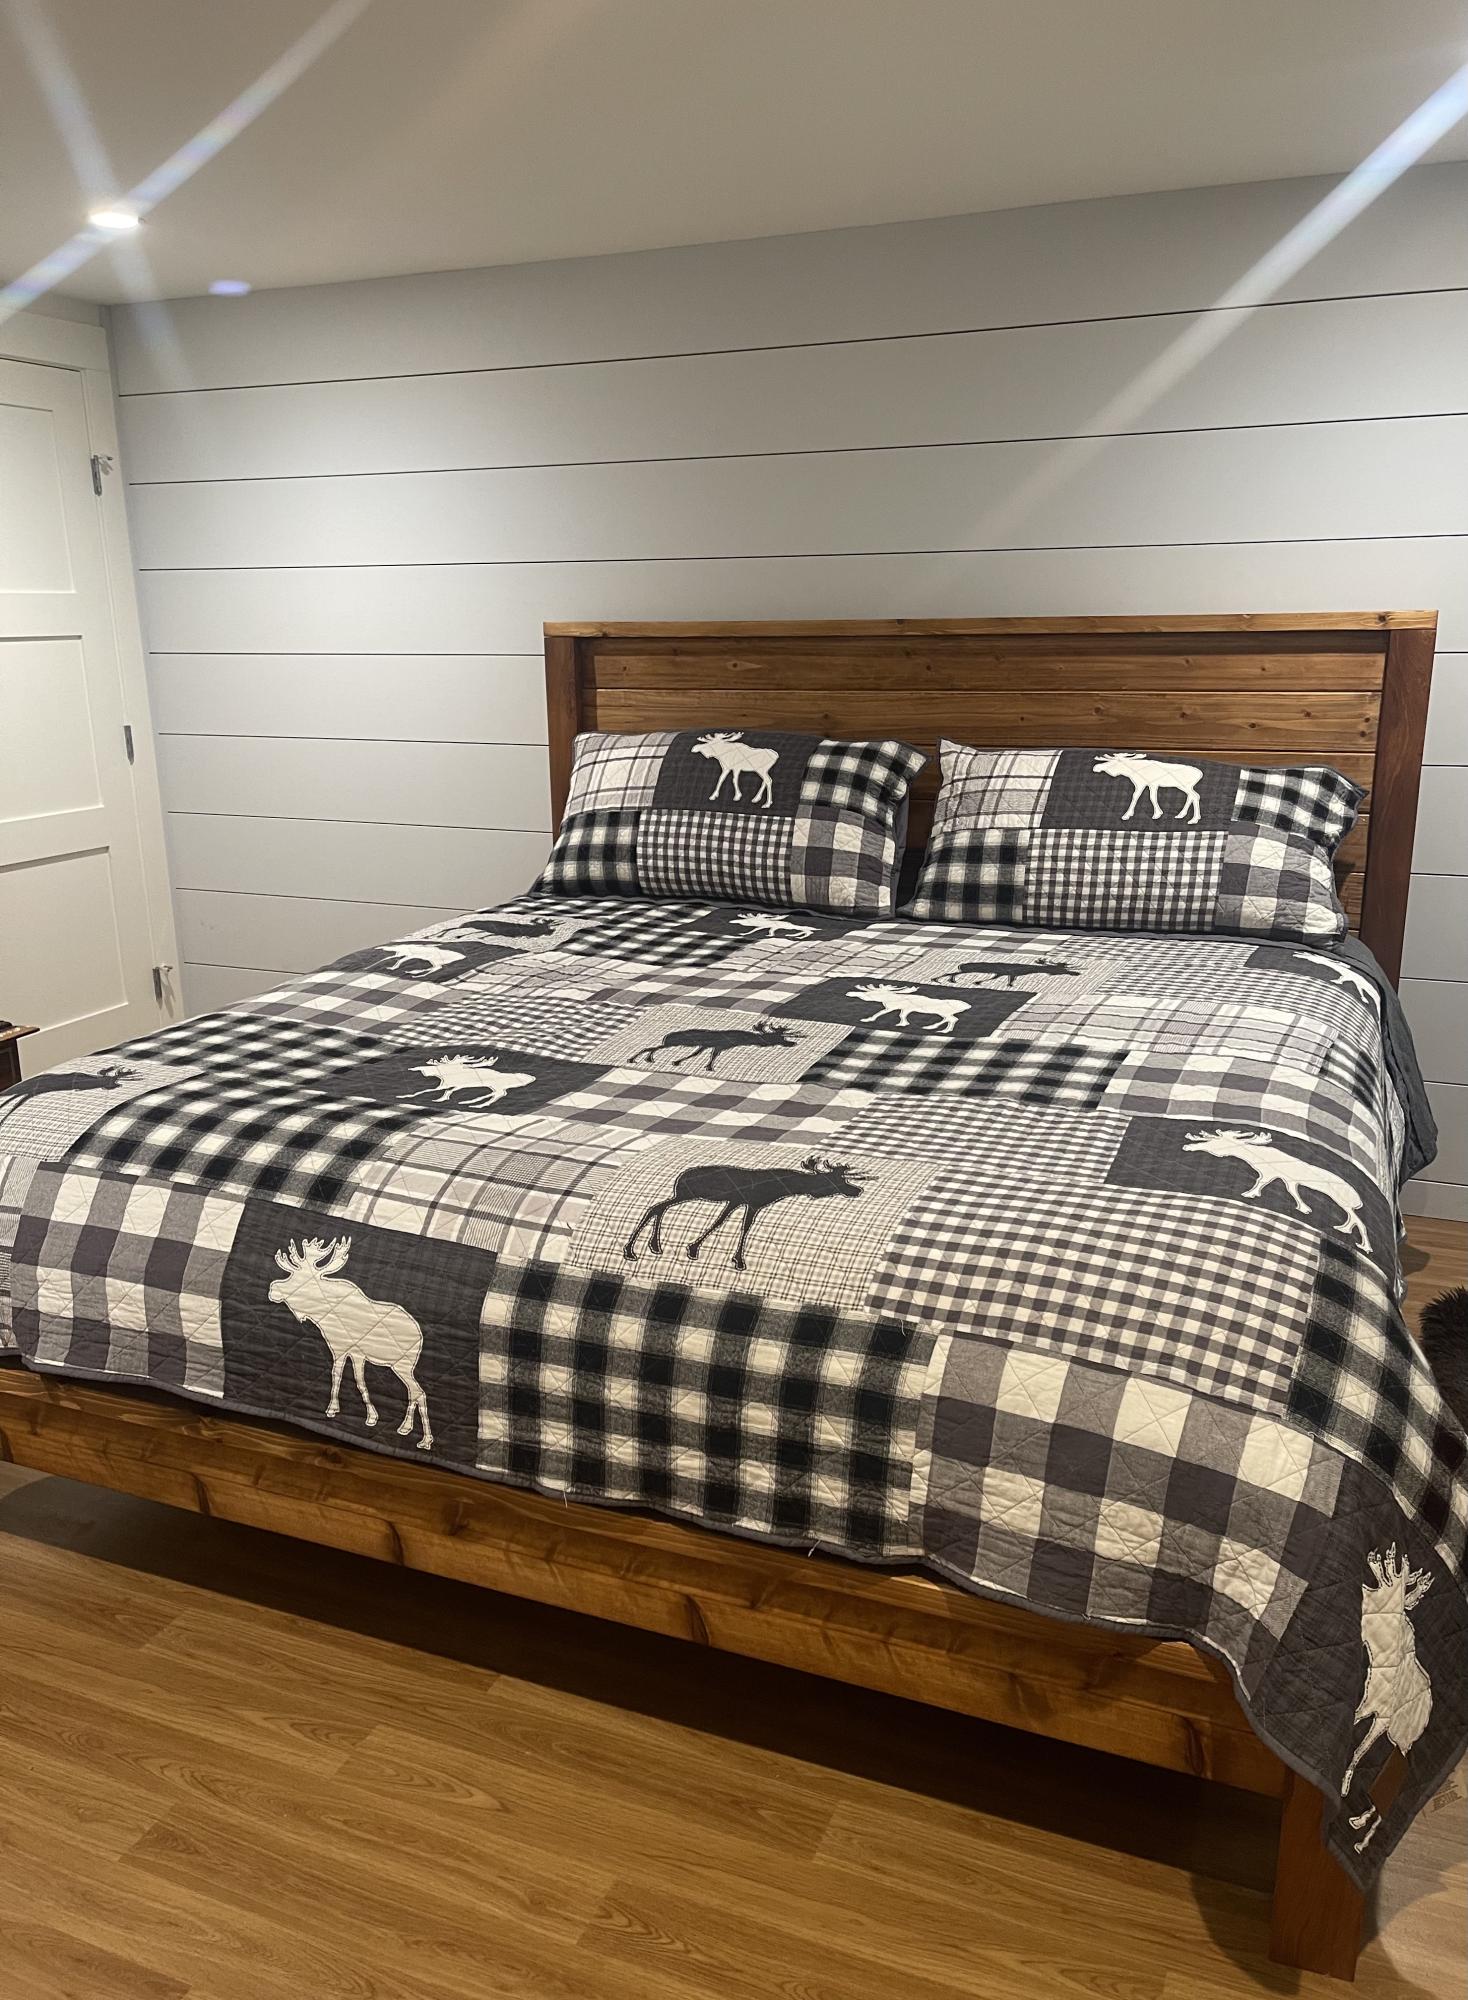
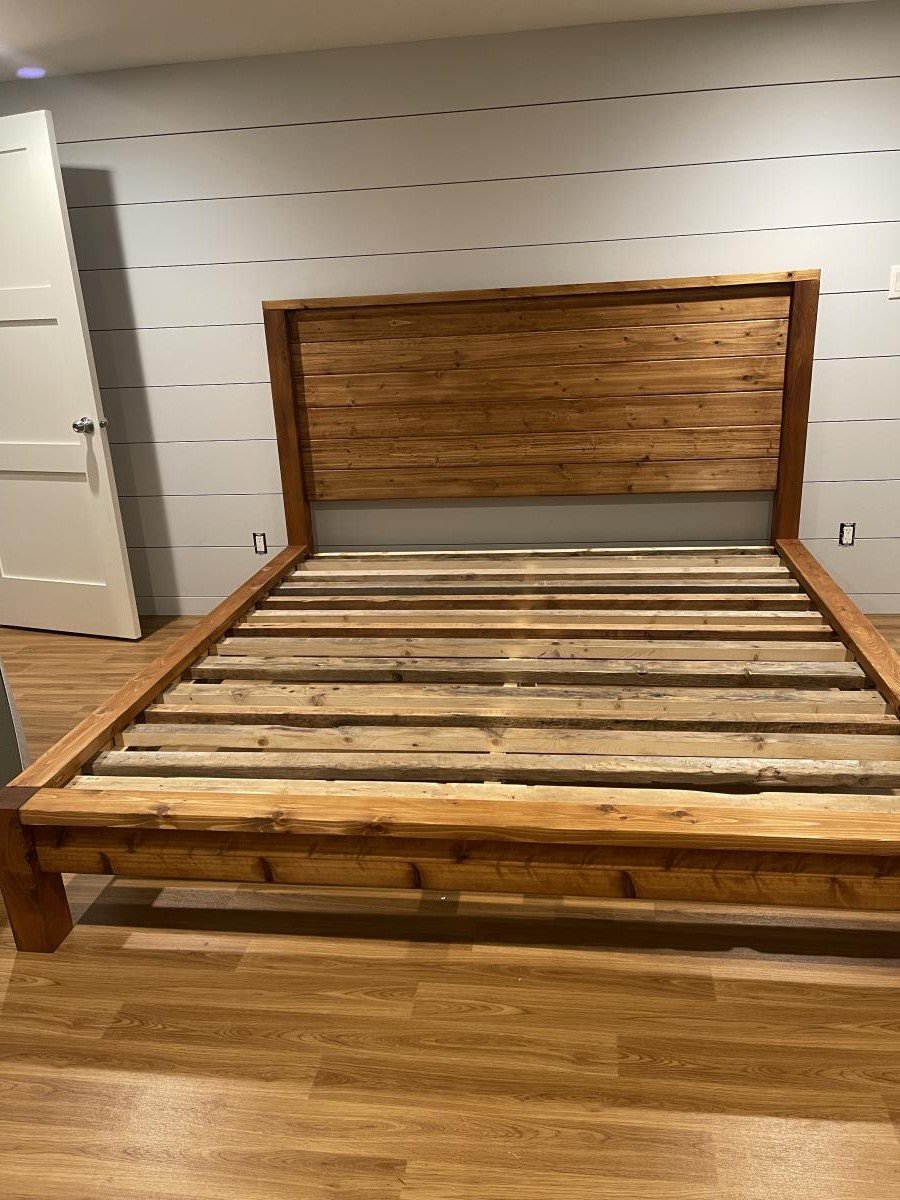
I love how this bed frame turned out! Everywhere that has stain is cedar and the rest is all scrap spruce. Thanks for another great plan Ana!
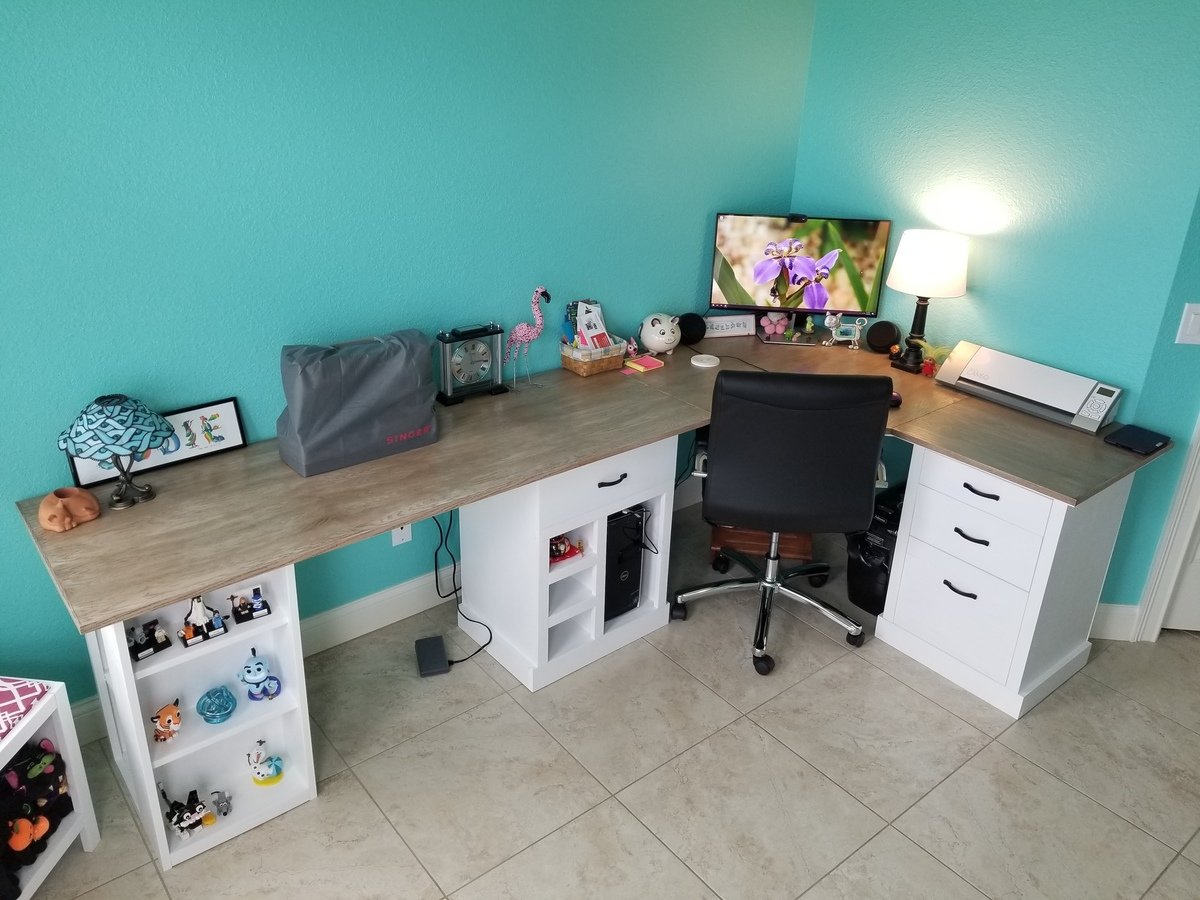
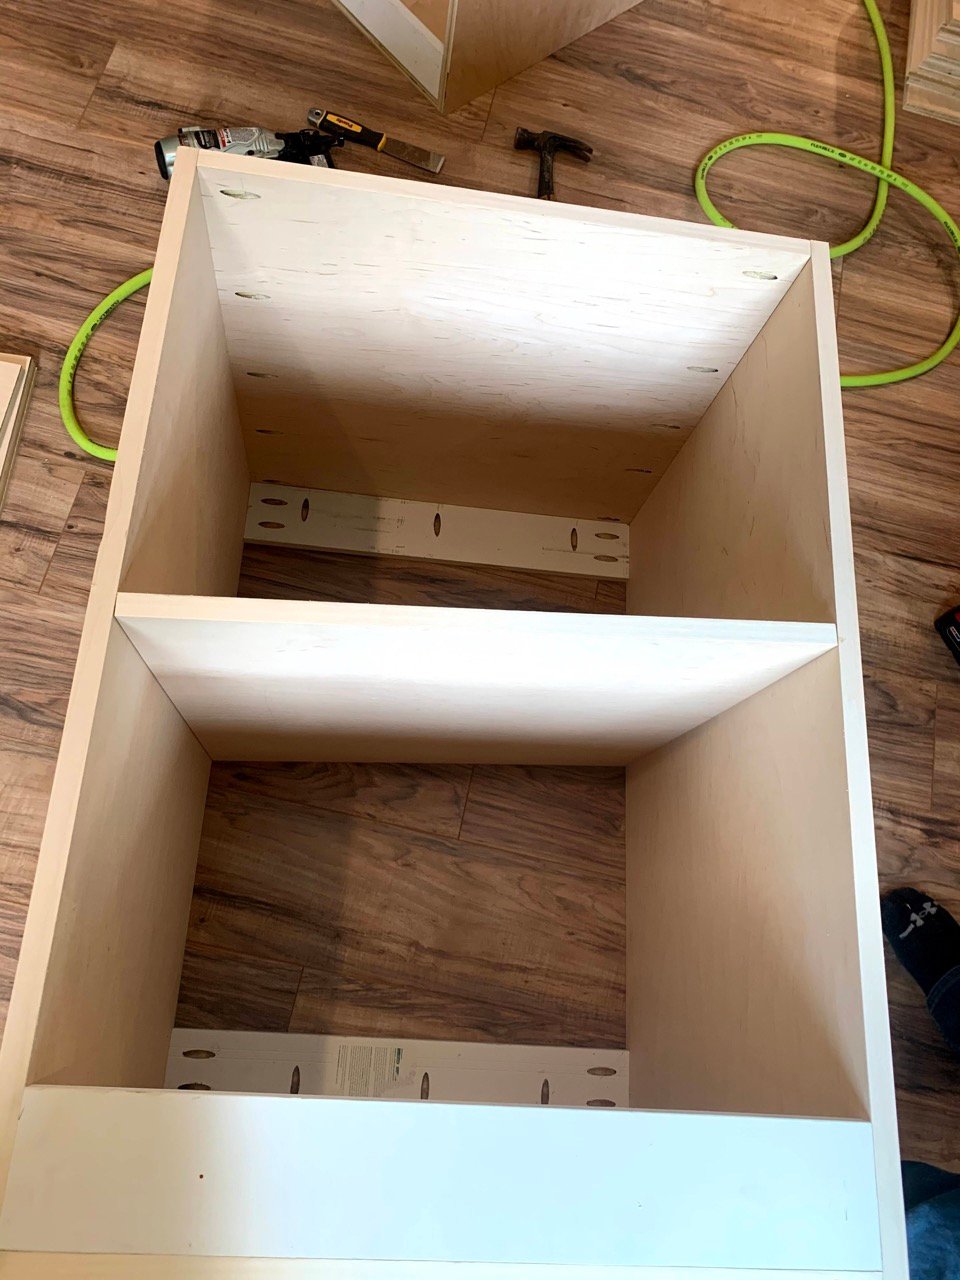
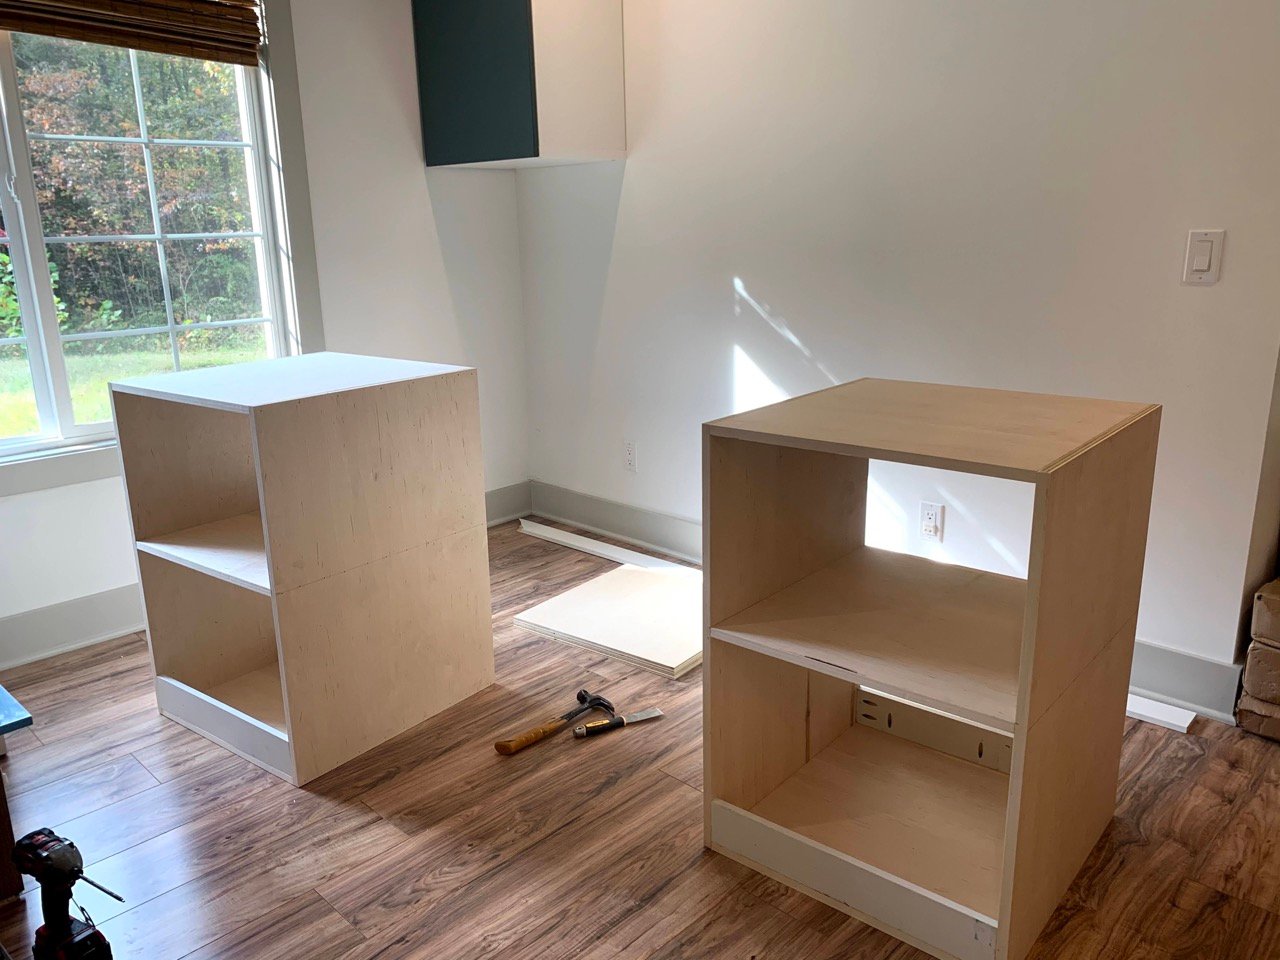
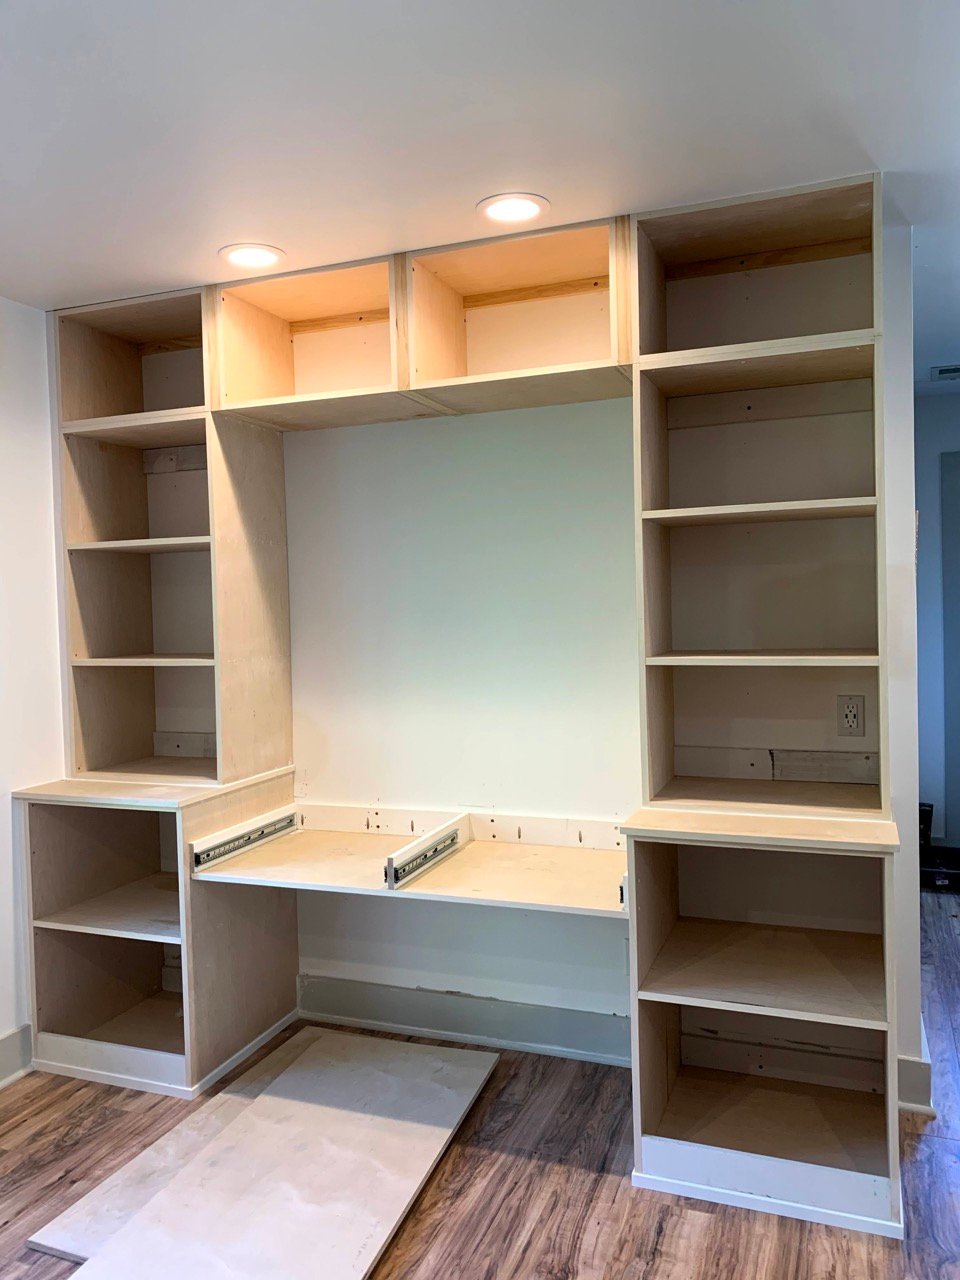
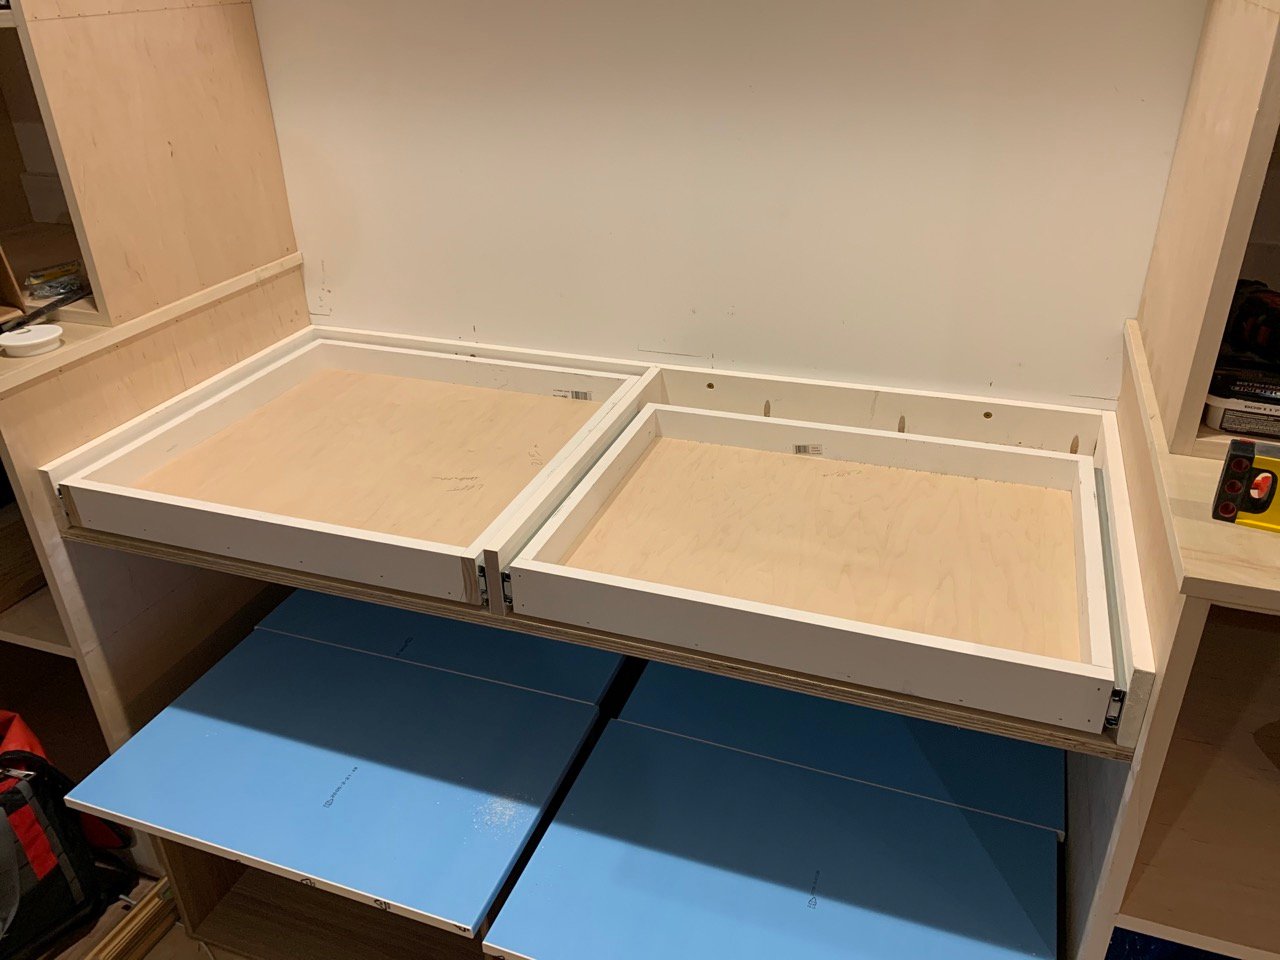
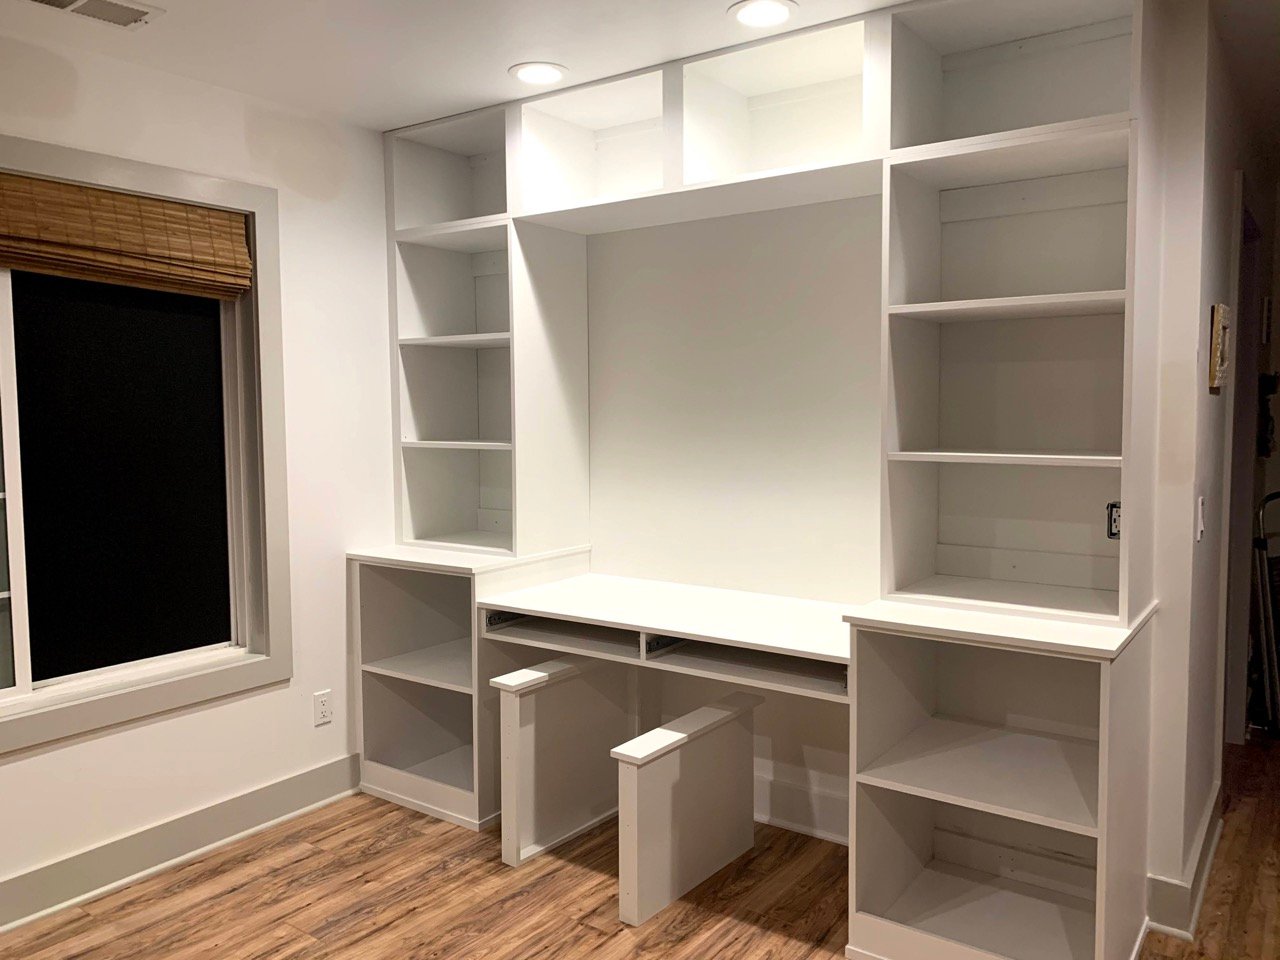
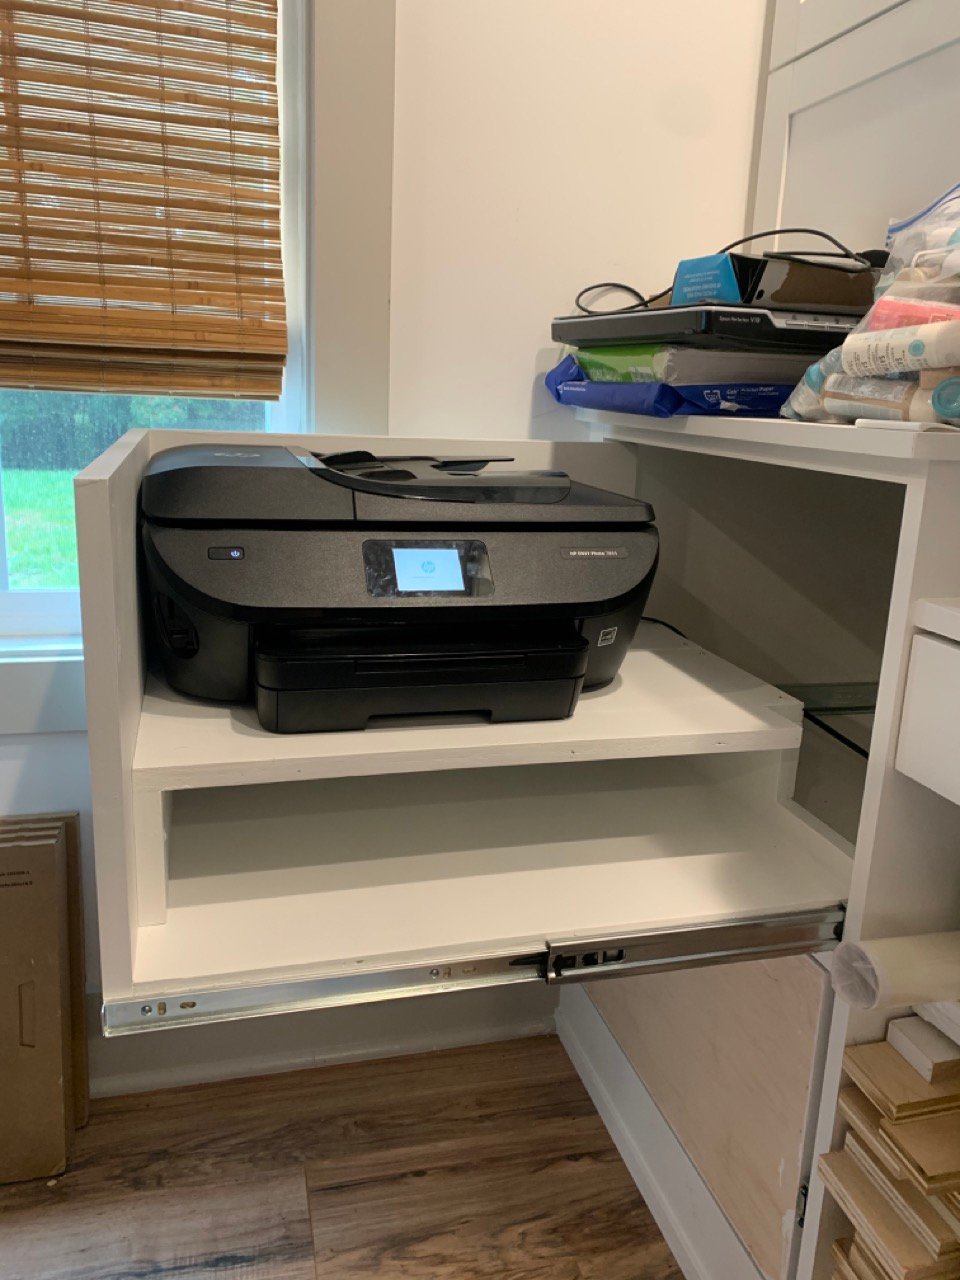
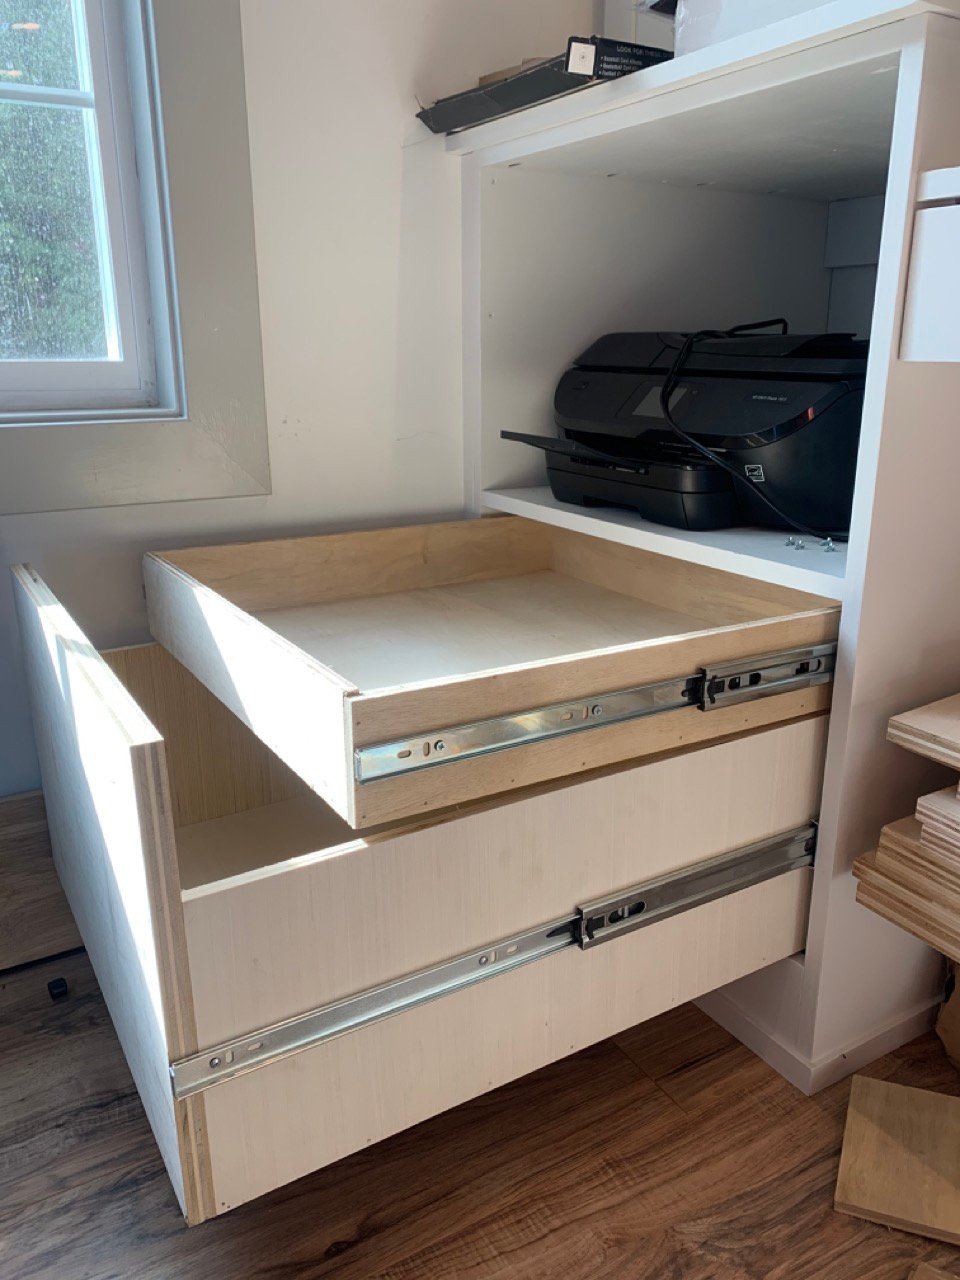
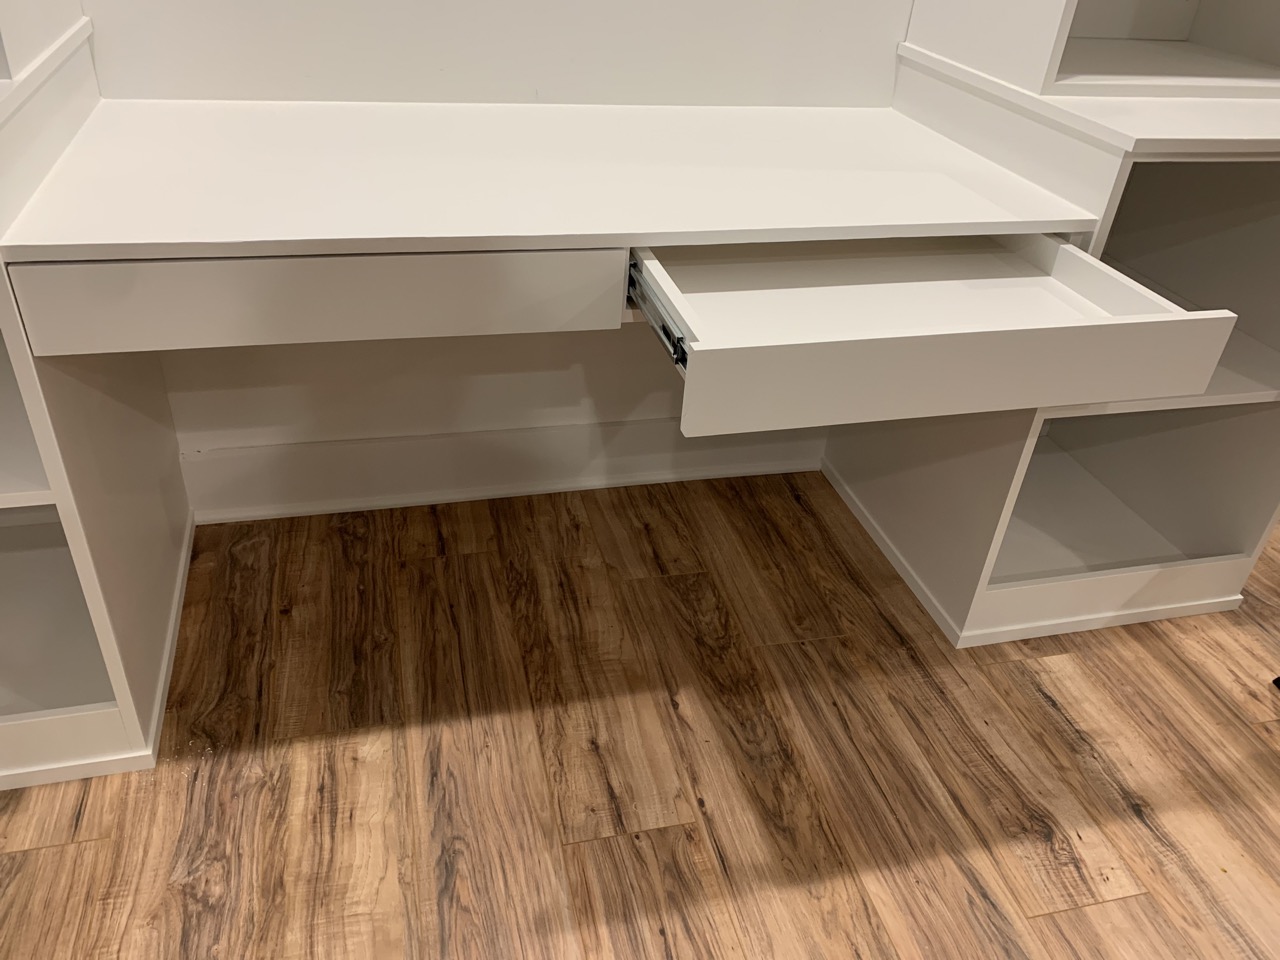
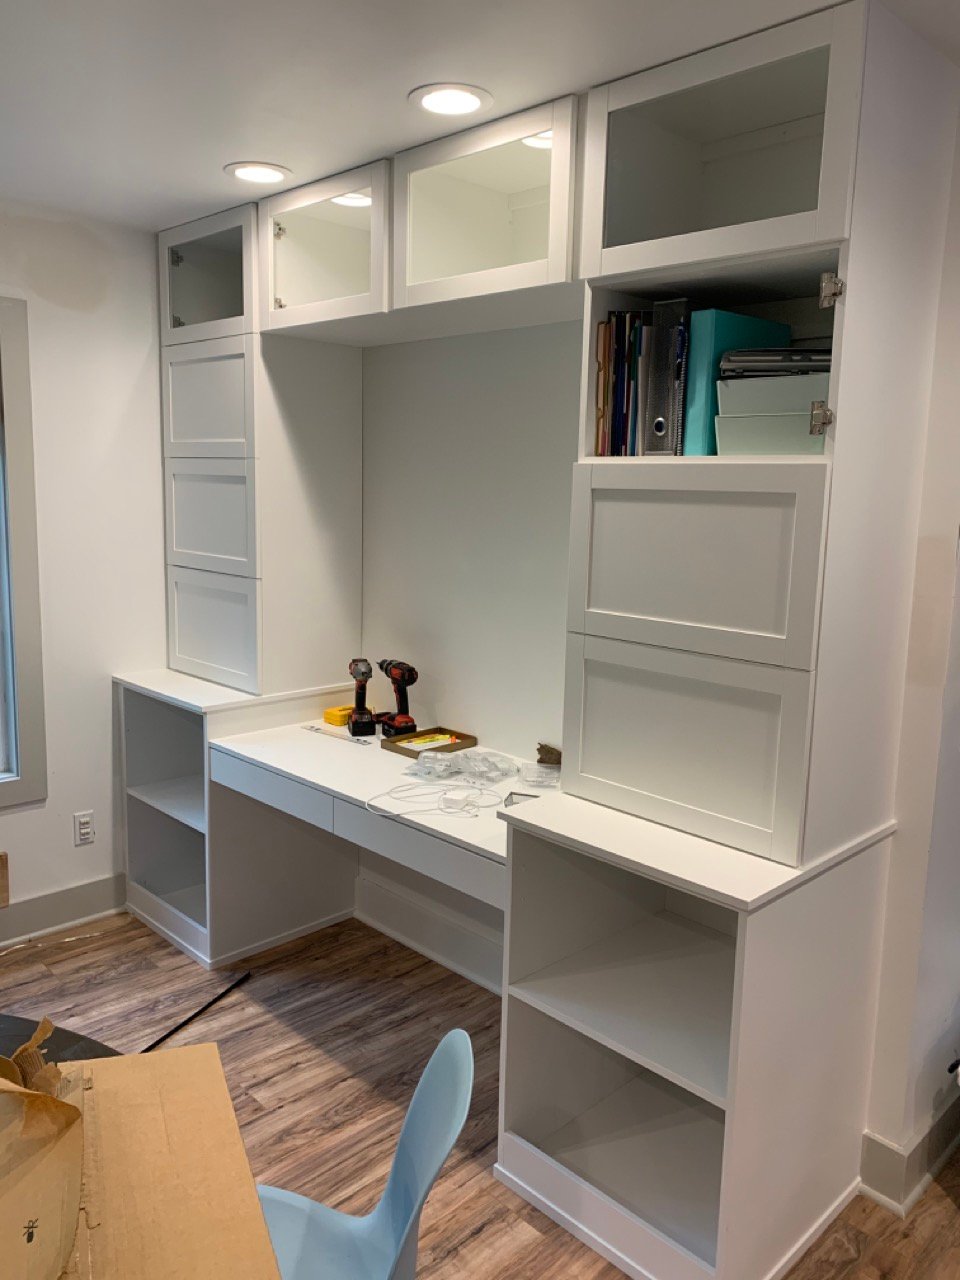
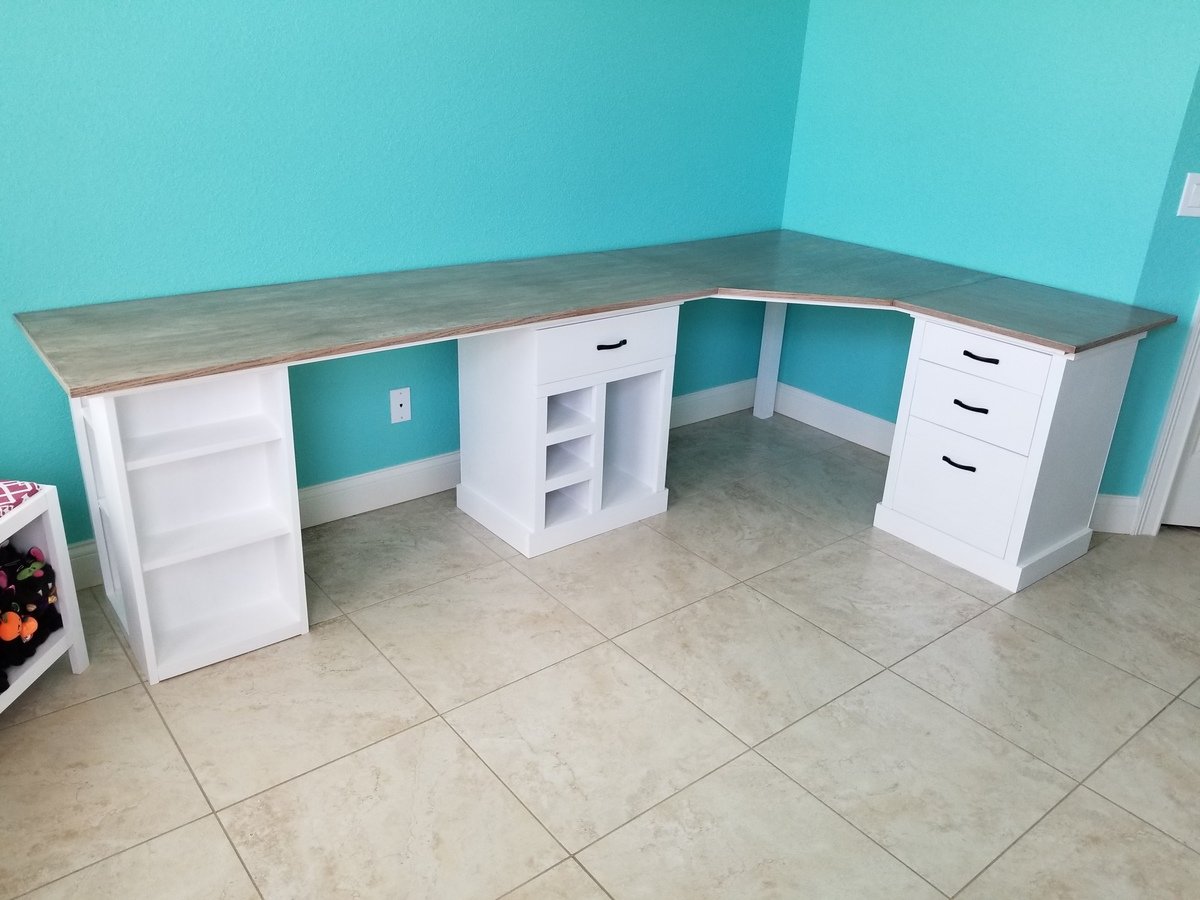
I started creating the furniture for my new craft room by making the Easy Three Cube Benches I found here. I modified them so that my cats could lay on top and look out the windows. The cube benches gave me the confidence to design a printer stand. Using Ana White's technique of "build the box" and then add the rest, I designed a custom printer stand I am so very proud of! After the printer stand, I moved on to the final piece that would complete my craft room, a modular desk with plenty of workspace to complete any craft I want. I modified each module a little to keep with the theme design of the room. I created three modules. The last one being a bookcase that is a modification of the Modern Craft Table bases. I used better quality Oak plywood for the desk top, and good pine and whiteboard plywood for the modules.
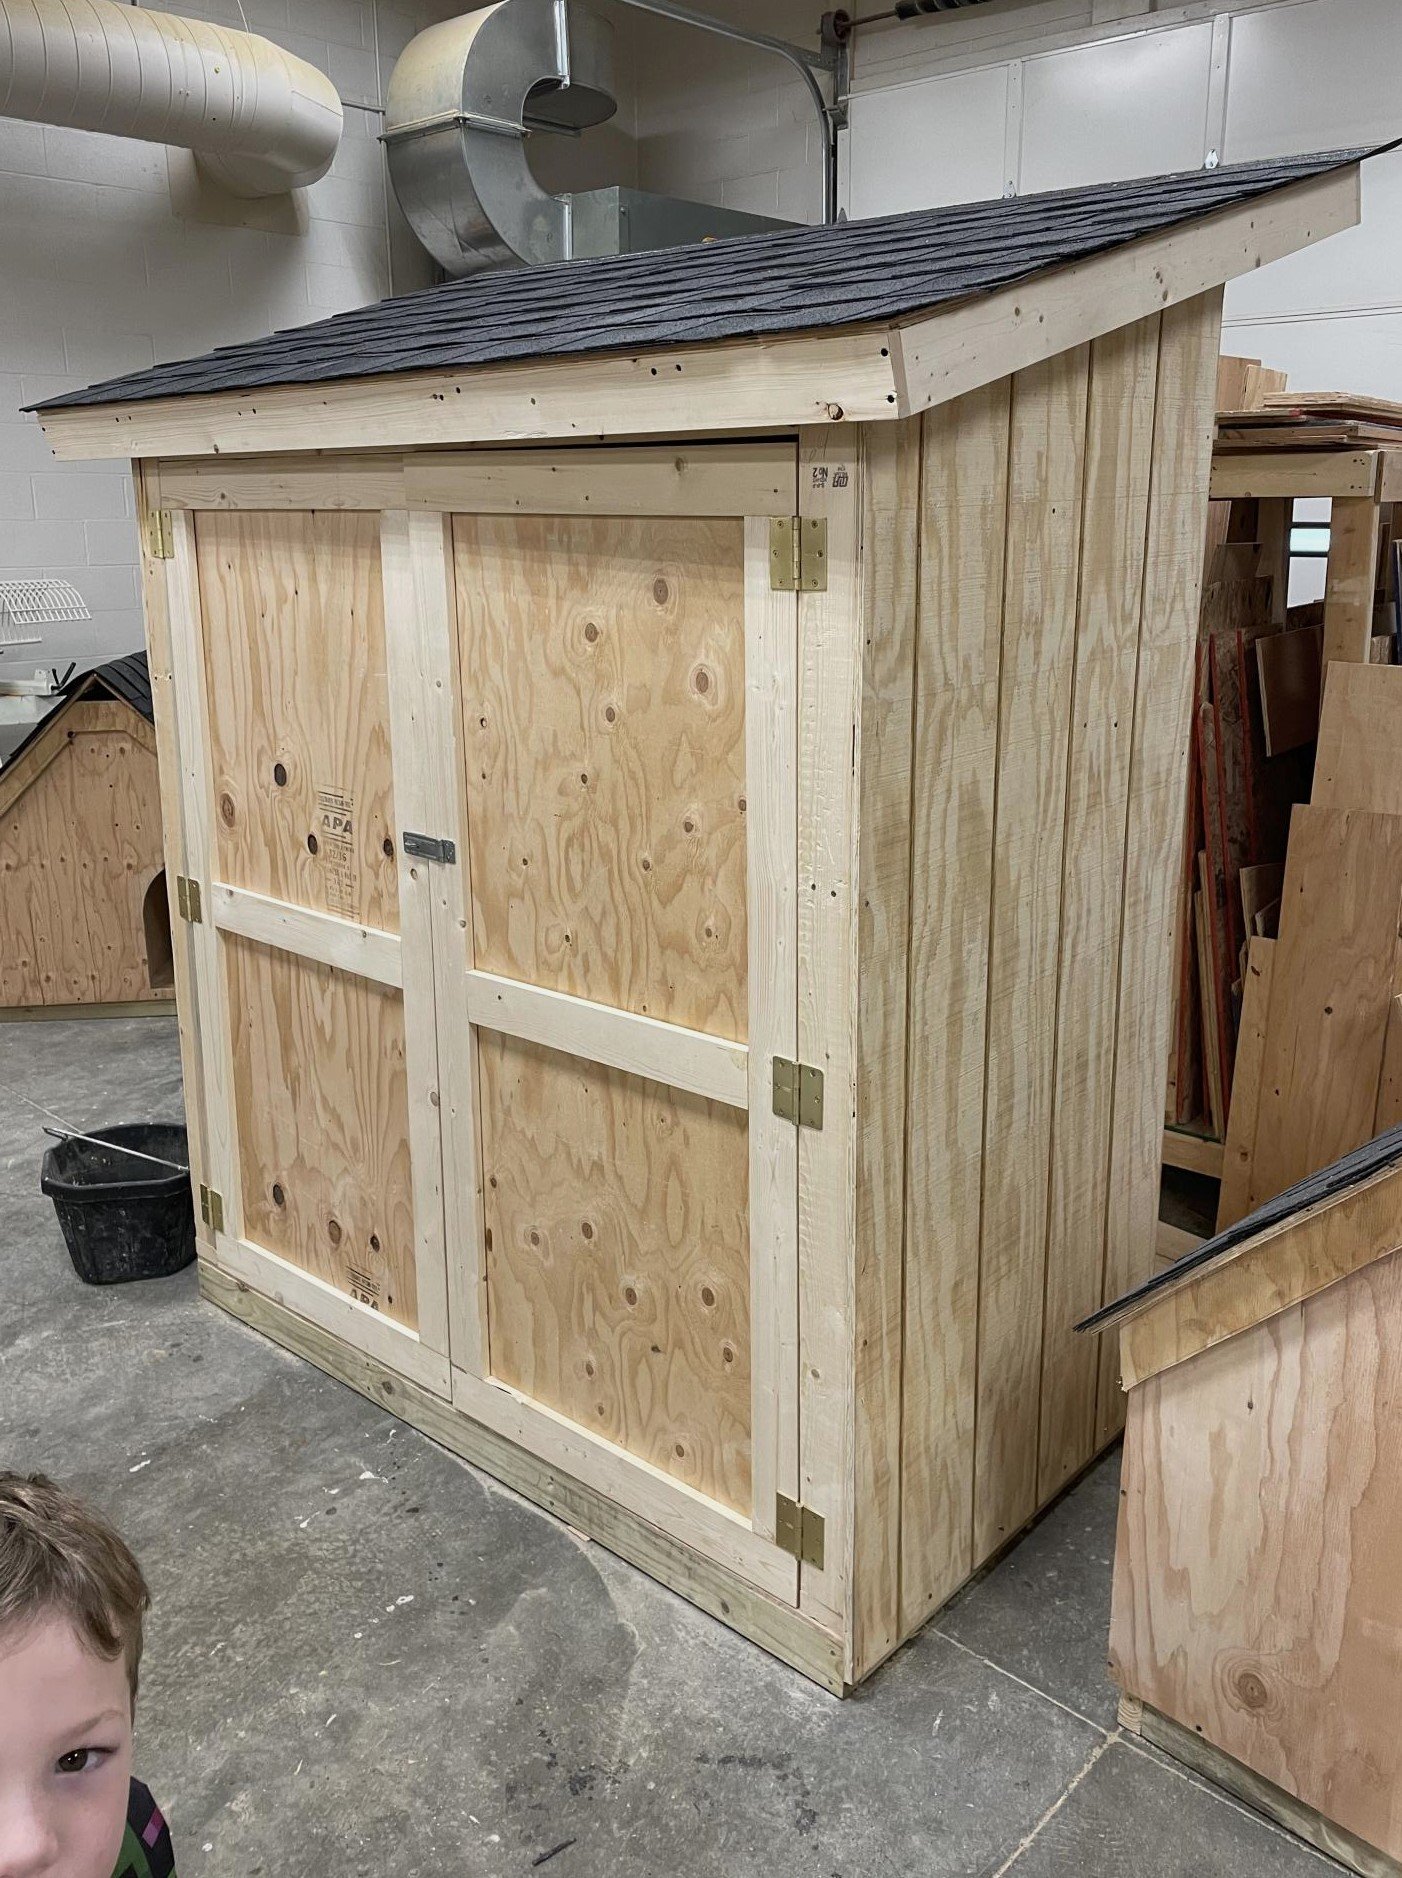
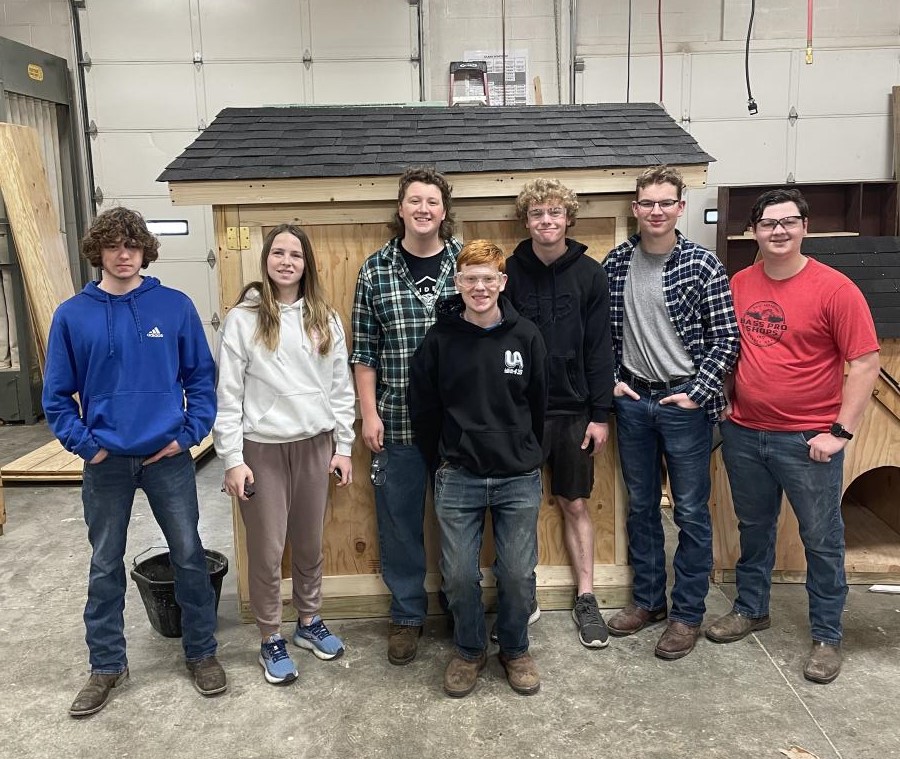
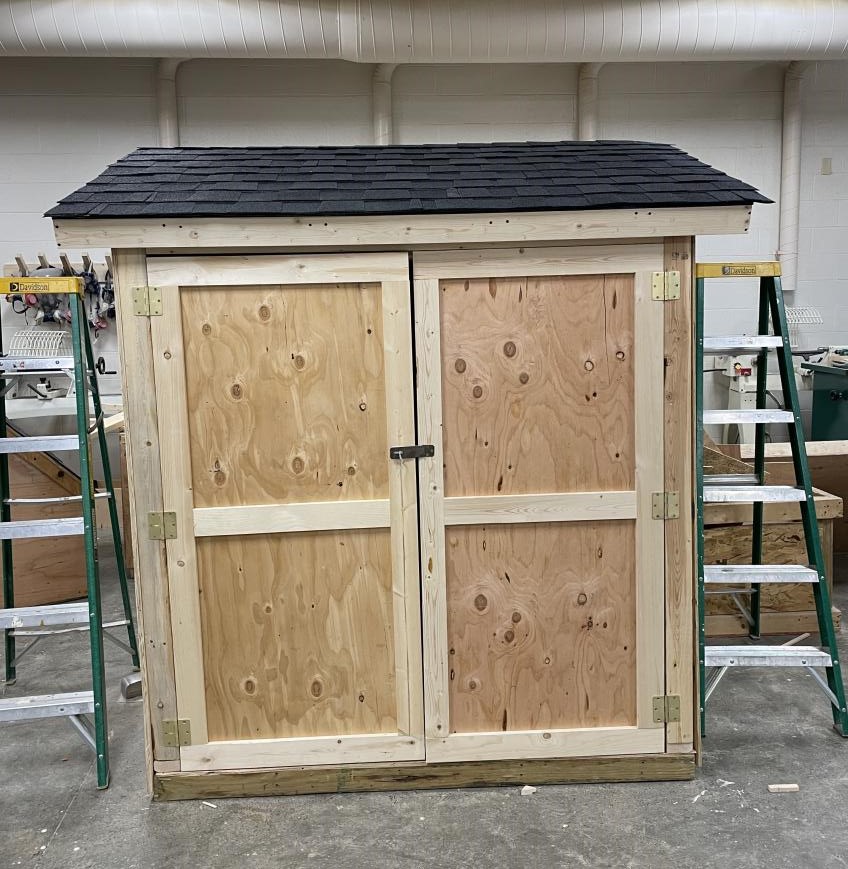
I’m a first year teacher of construction class at Waterloo High School in Illinois. We recently used your Small Cedar shed instructions with some modifications for a class project. It’s a bear getting cedar right now, so we used T1-11 for the outside and 2x4 for the frame.
Sat, 03/25/2023 - 09:14
Very fun and job well done! Thank you for sharing.
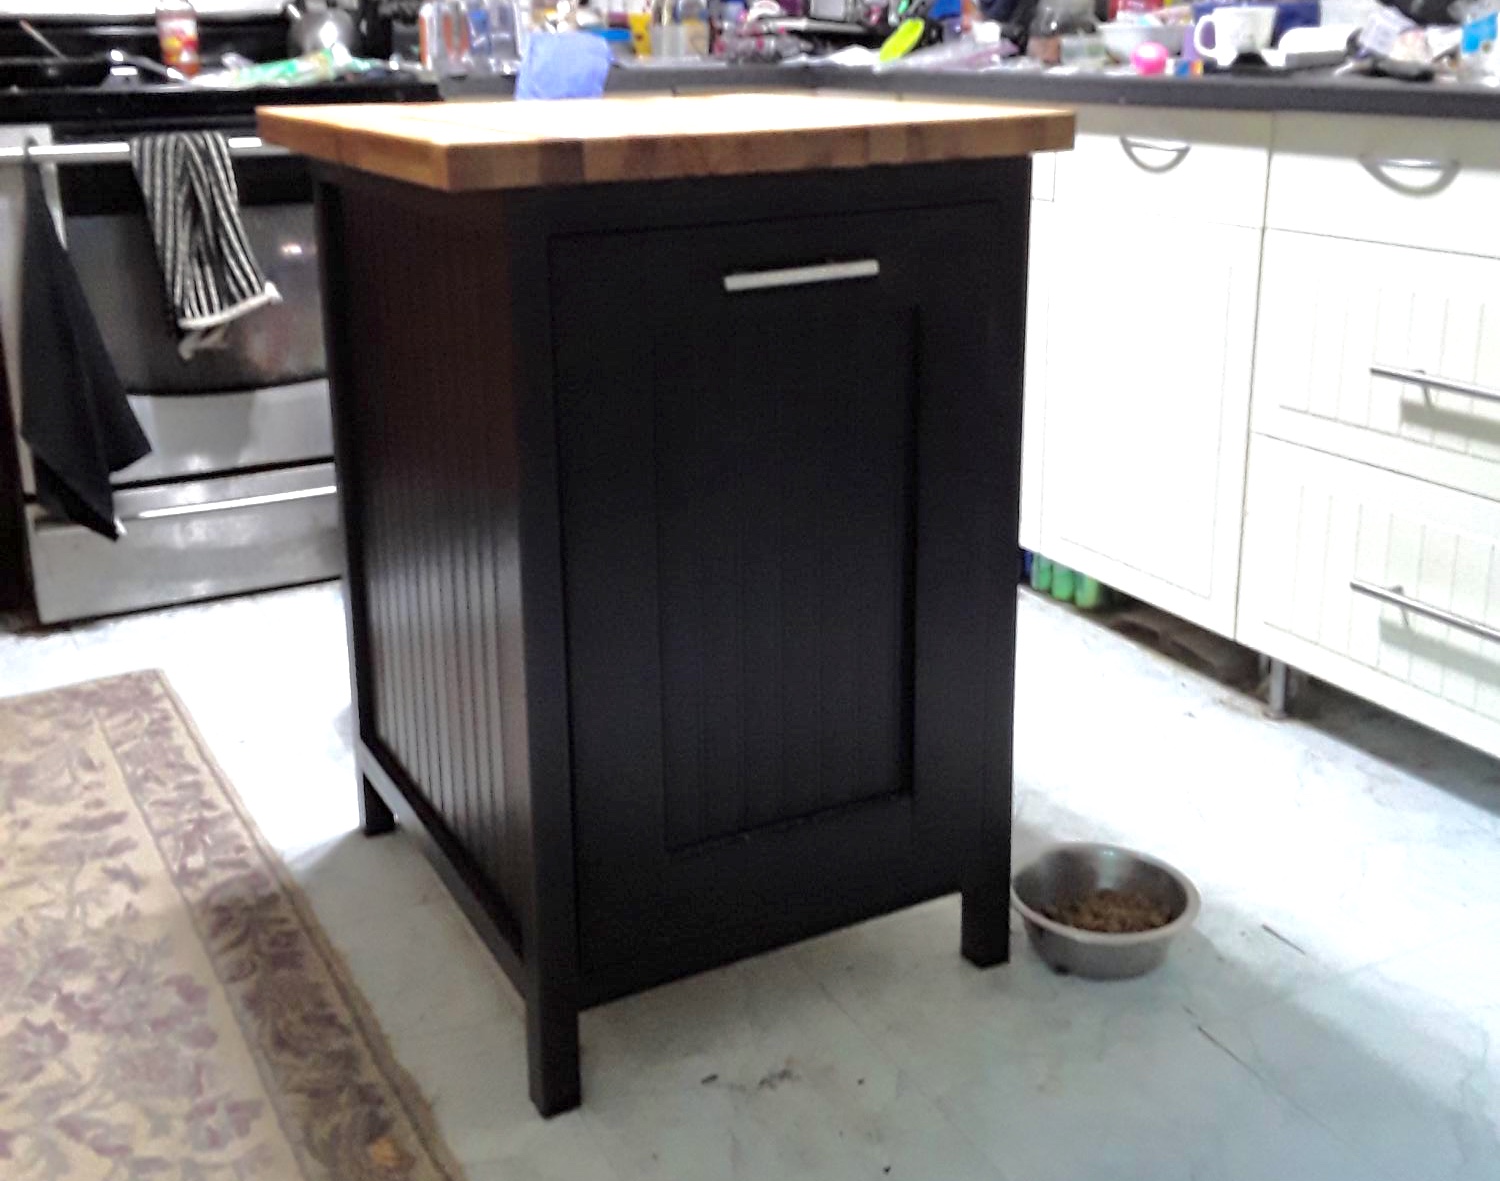
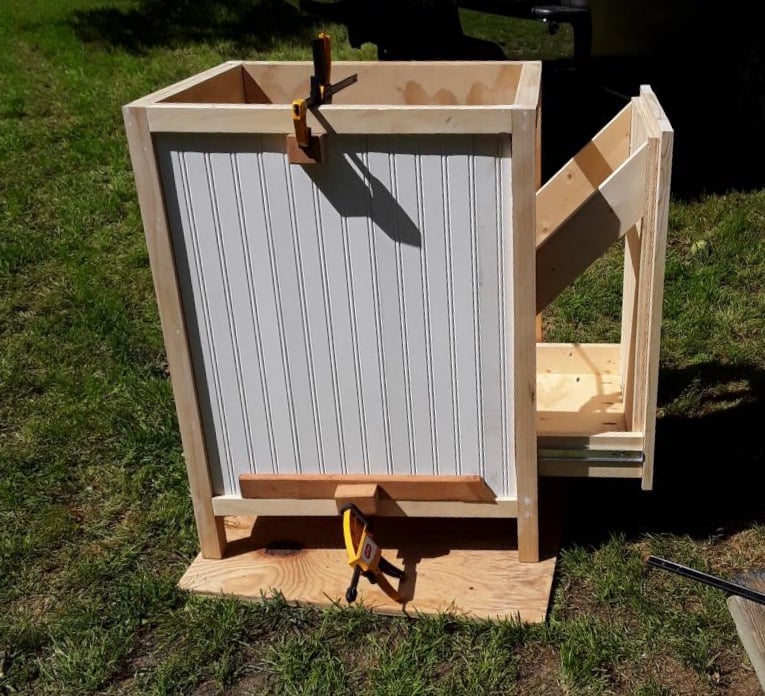
This was a mommy do during work furlough. Wasn't too hard. I have minimal experience with saws, but with hubby help, we got it done. Some of the instructions didn't make sense, but but we were able to figure them out or change them to work. I used bead board on the front and sides that we added over the existing sides. I used a manufactured butcher block that had to be cut down. Looks great and now my trashcans don't walk around the kitchen when the dogs play. The downside, the dog bowls slide under the island. If you have to cut down butcher block, make sure you have the proper blade.
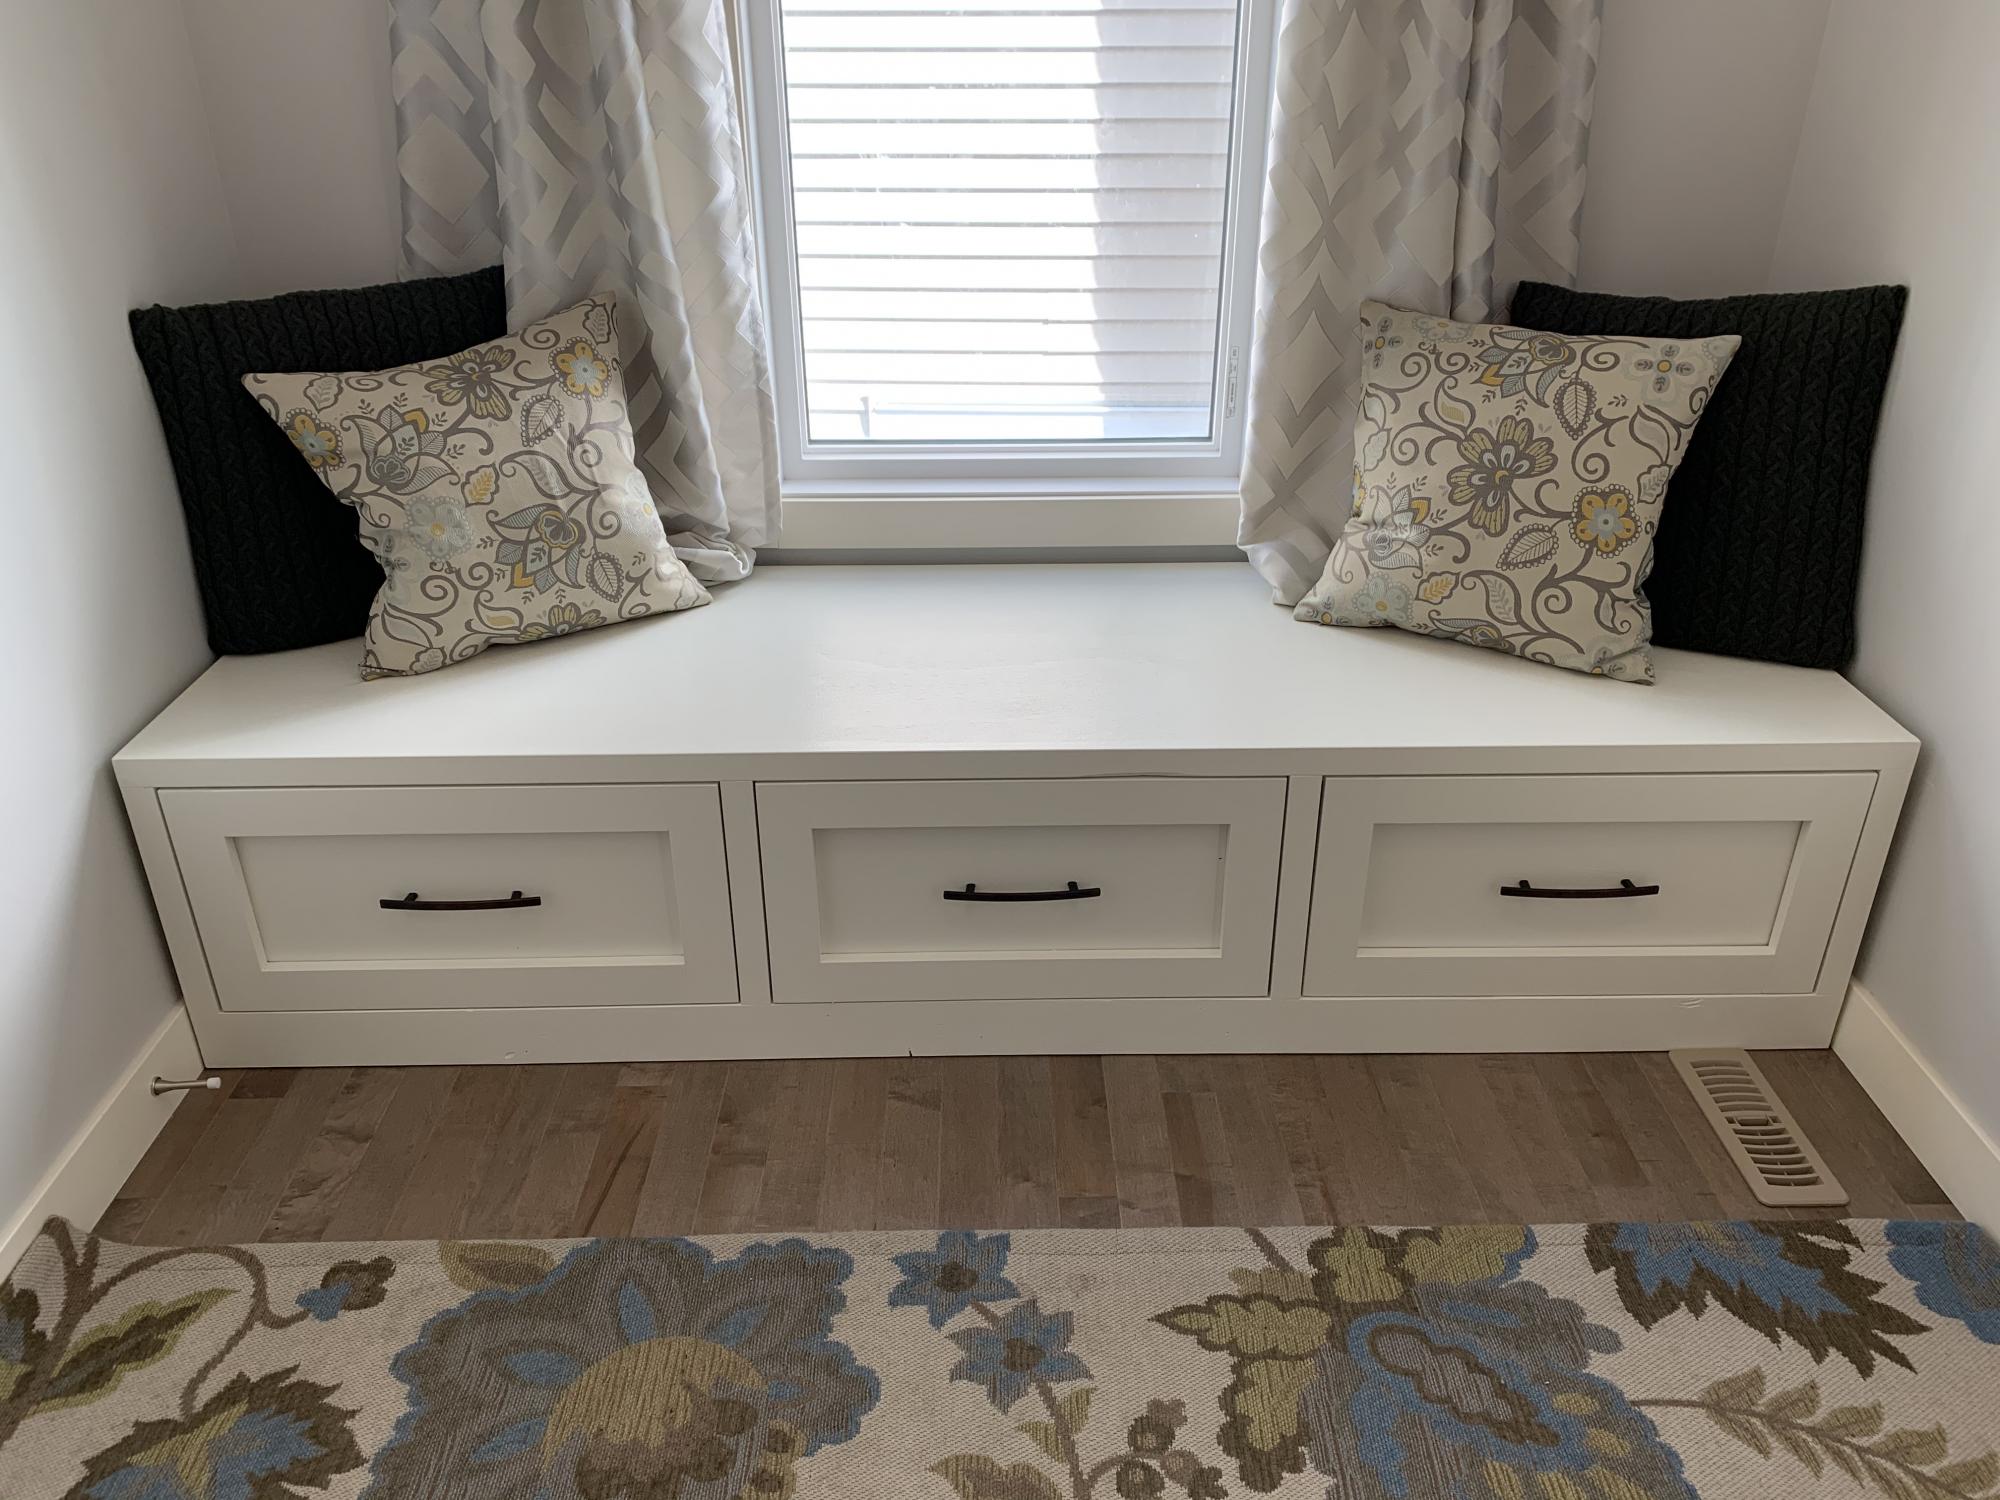
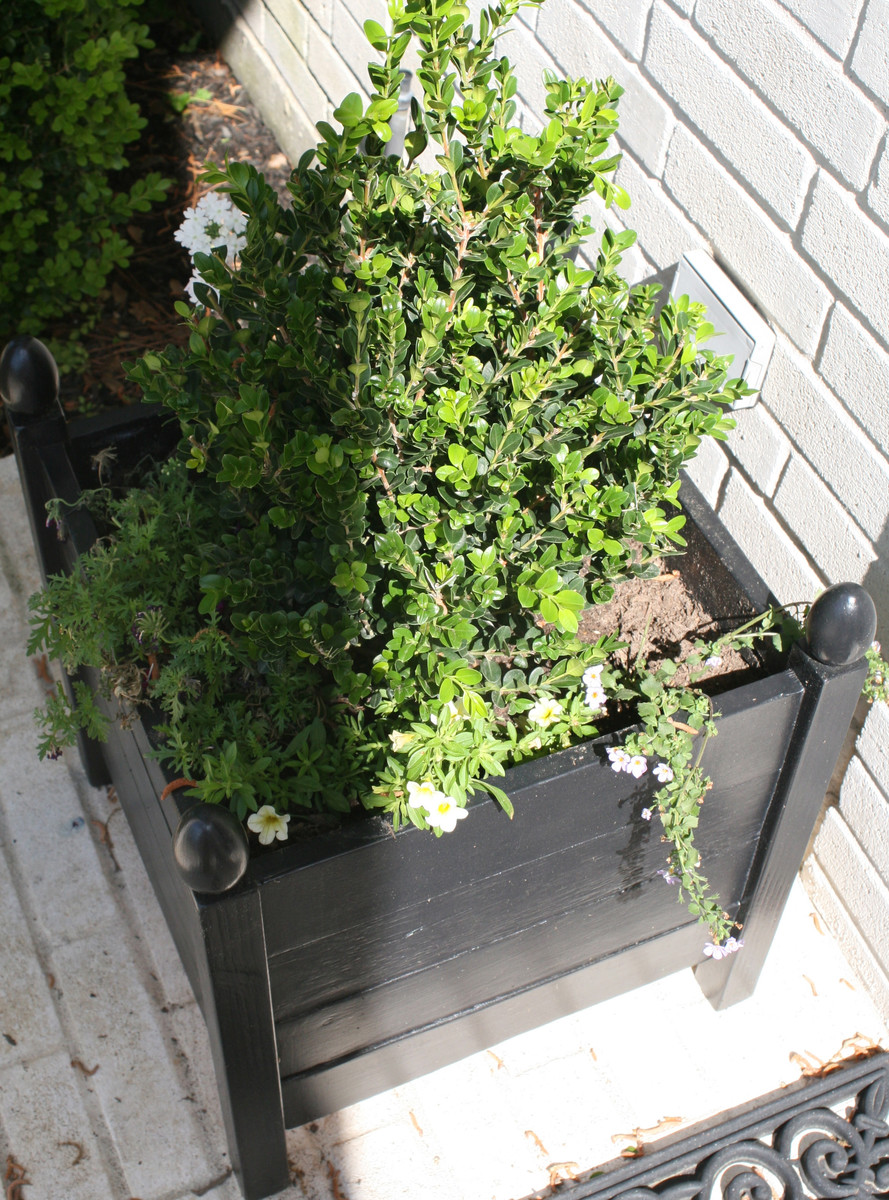
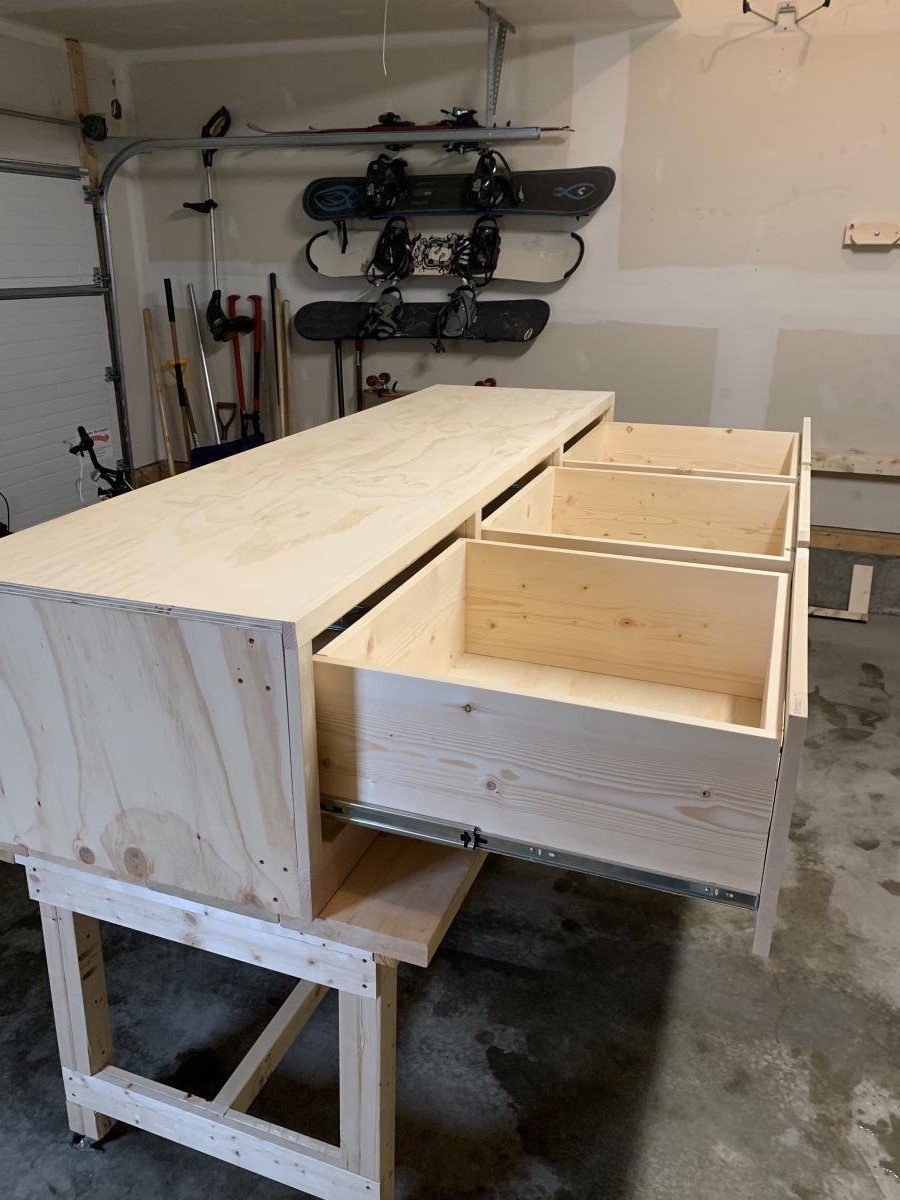
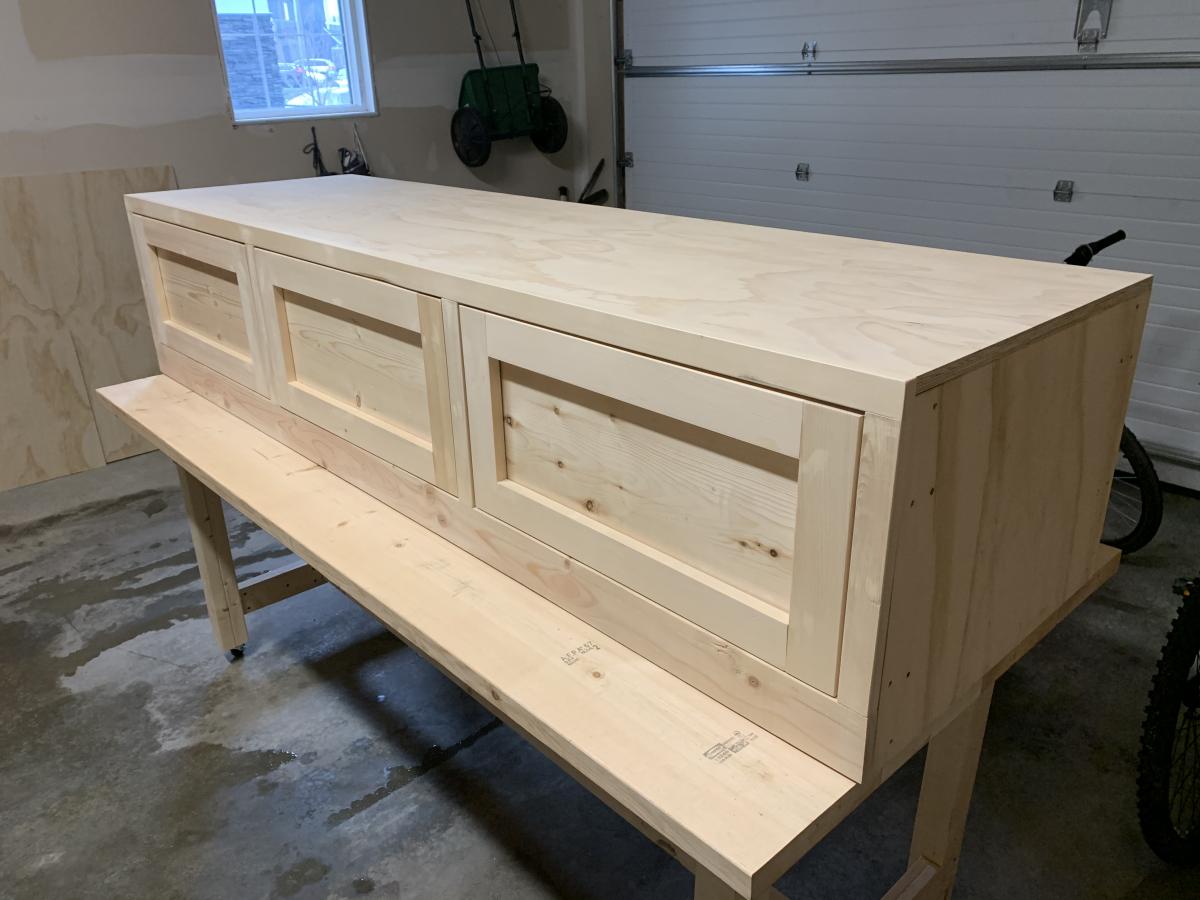
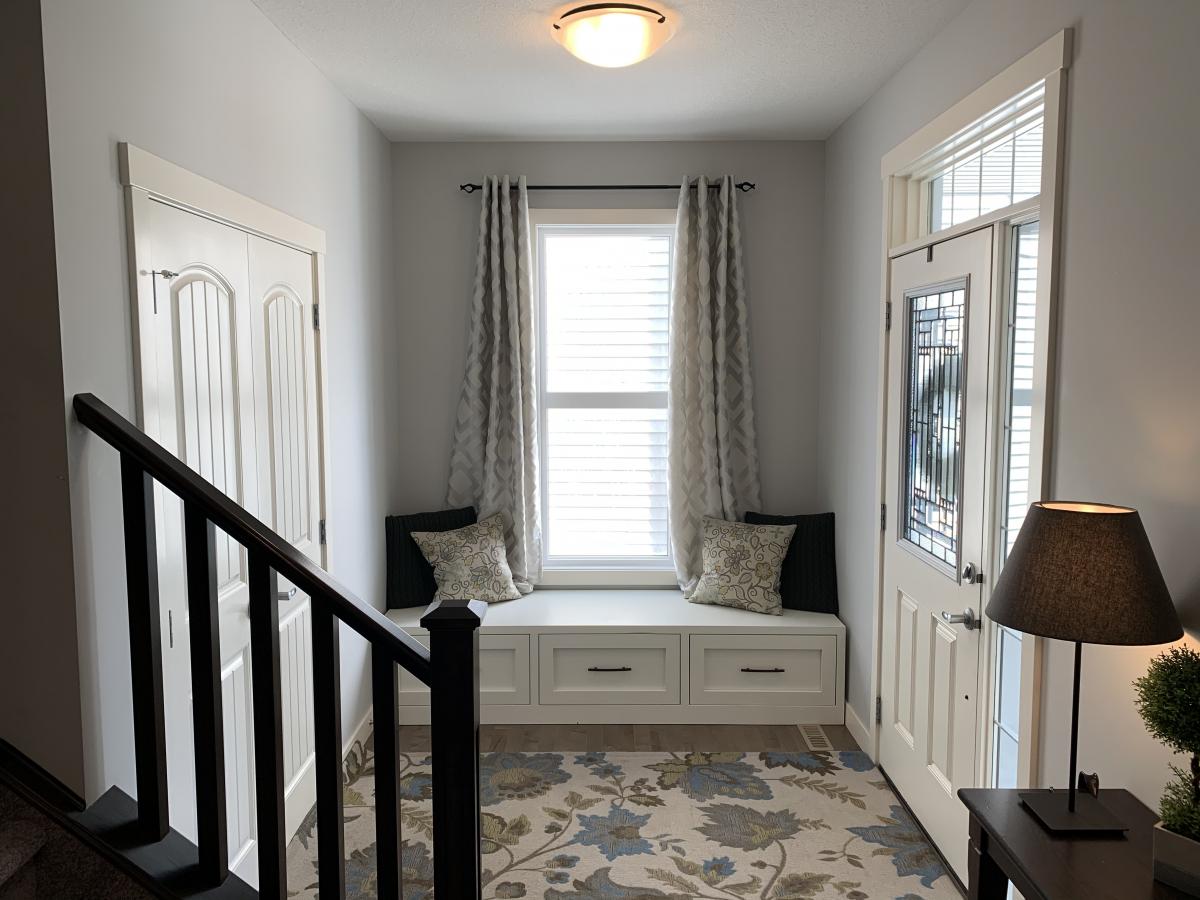
We needed a bench to fill the space in our front entry and provide some storage for seasonal gear. We couldn't find anything to buy that would work for us, so when my wife found these plans, I had to try it! Couldn't be happier with the results. We widened the bench by a foot to 84" to fill the space. Basically, it just made each drawer 4" wider. Everything else was built to plan. The most expensive thing was the soft-close 24" drawer slides (~$100). As soon as you go above that 24" depth, they get pricier! It was also tricky to get the drawers to catch properly on the soft-close mechanisms, but I made sure to take the time to get it right before closing it all in. Now I just open and close the drawers for the pure satisfaction of it! I used premium pine plywood for the top and I find it still doesn't give that smooth finish I like, even after sanding. I think I'll create a new top out of joined knotty pine planks later and just attach it to the top.

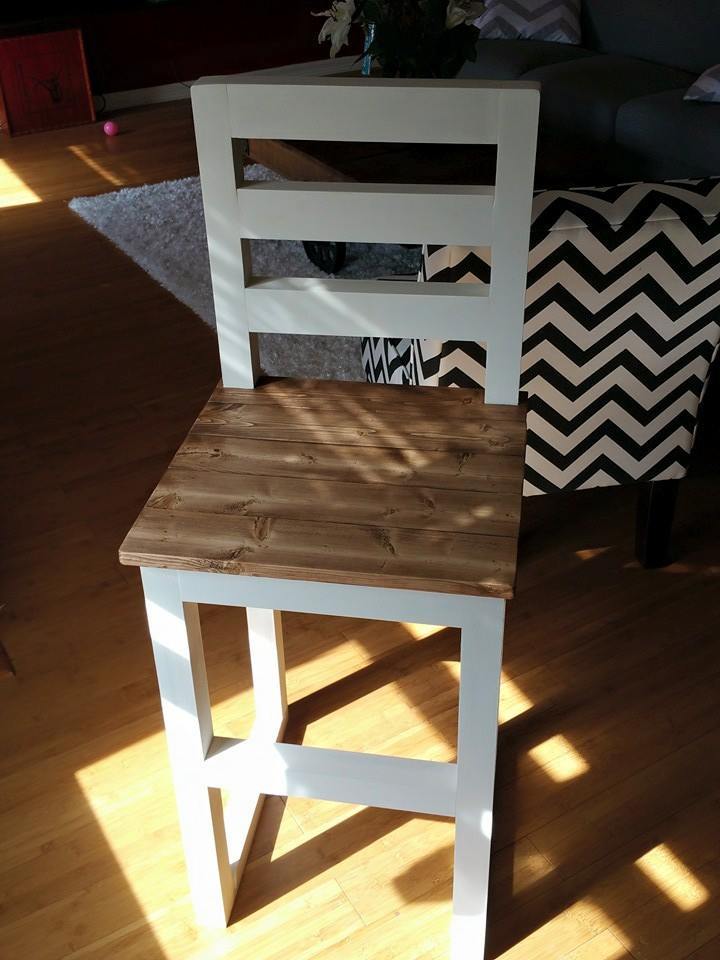
Love my new bar stool, now to build 3 more. I think it turned out great.
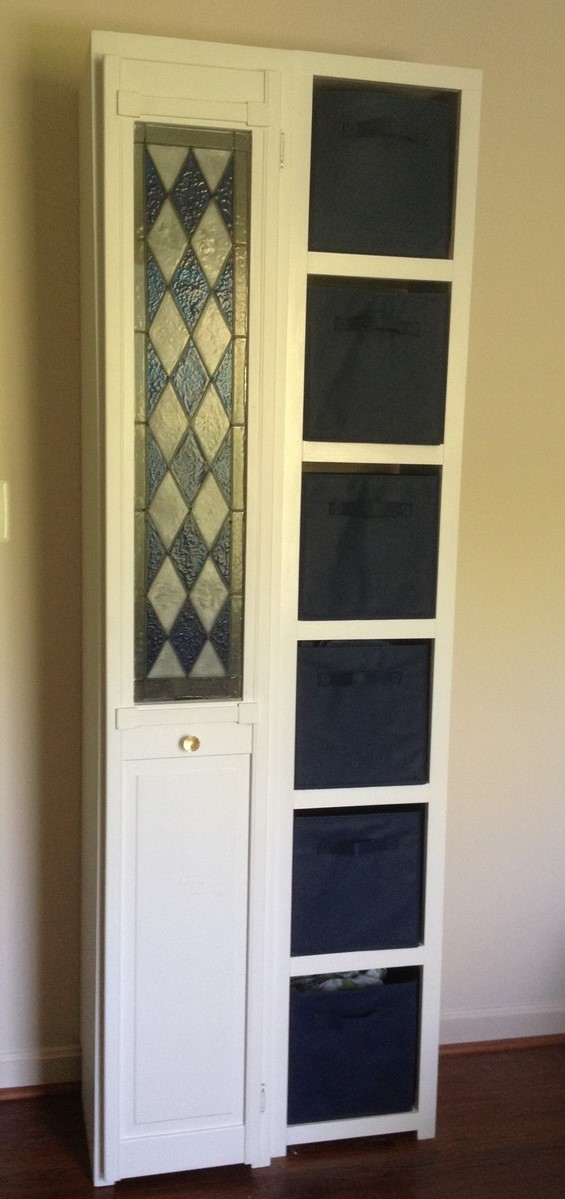
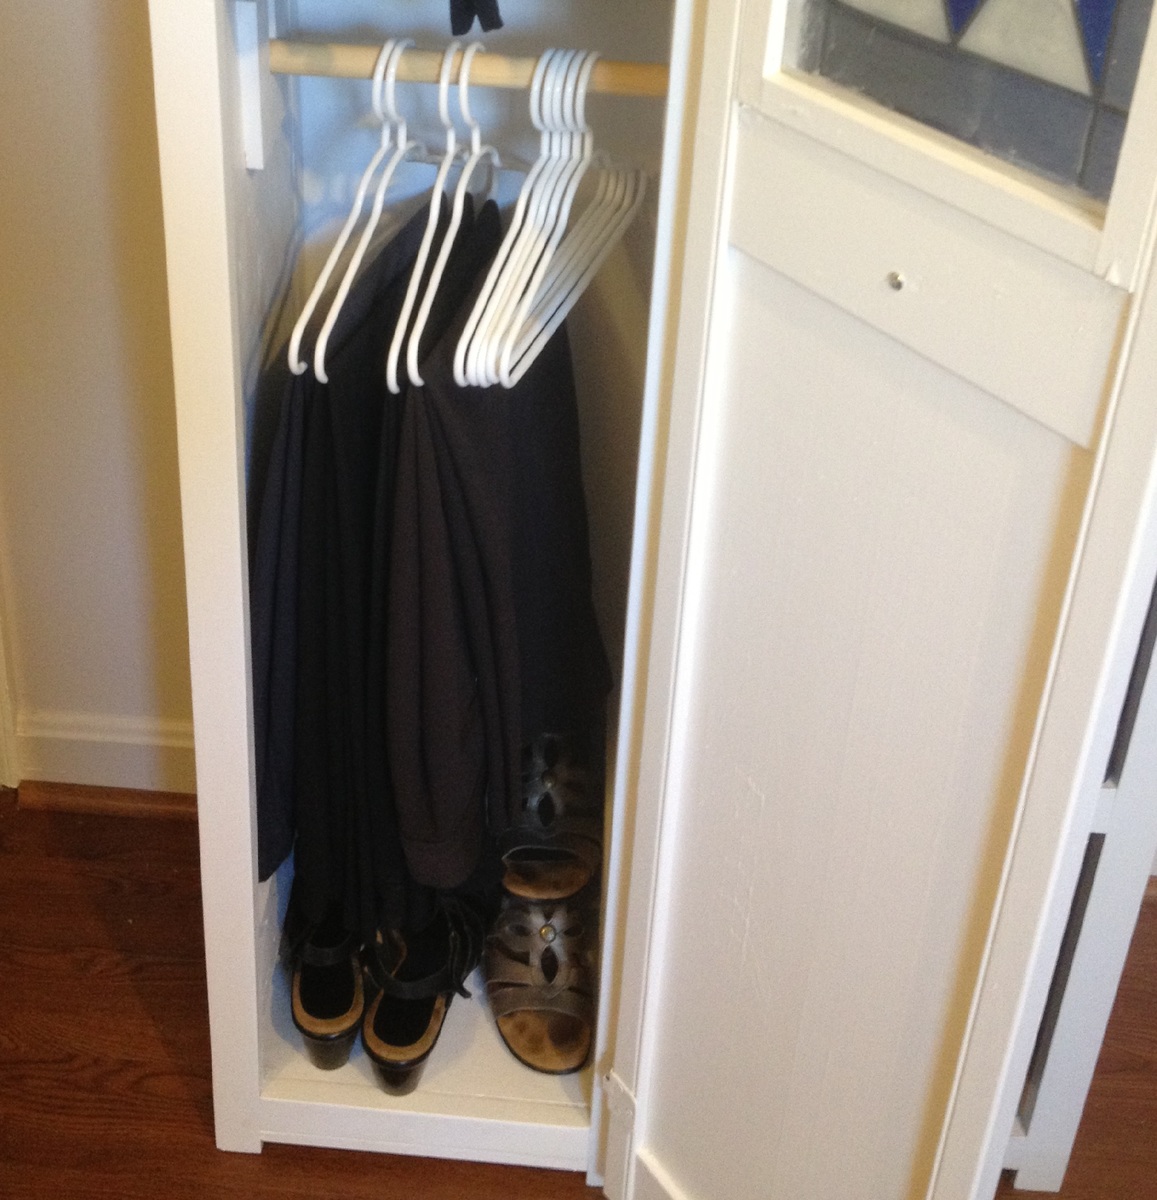
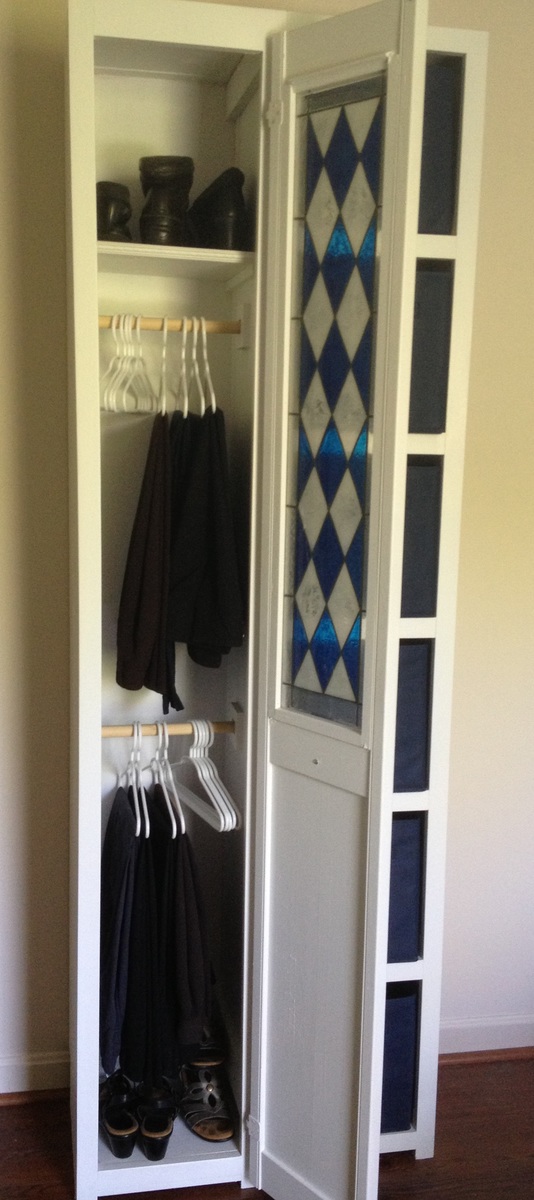
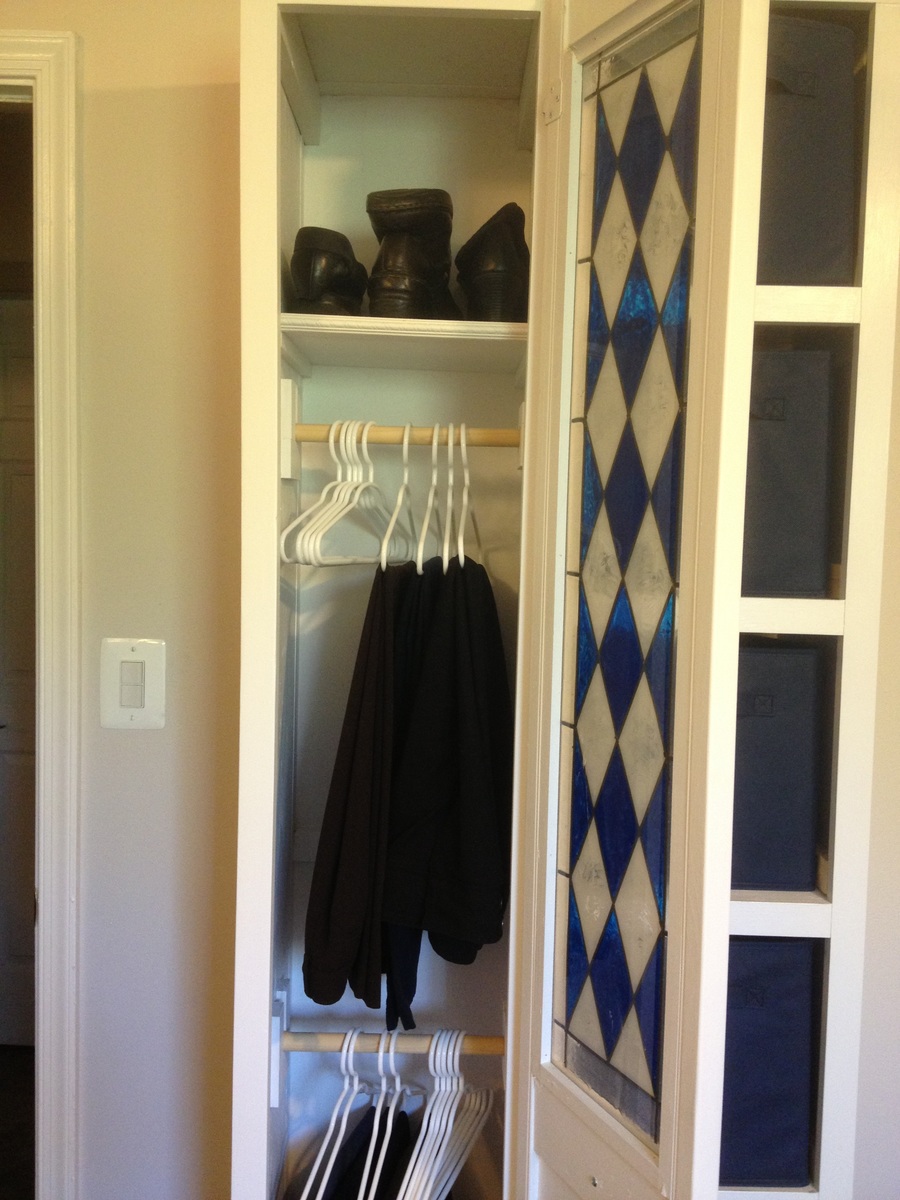
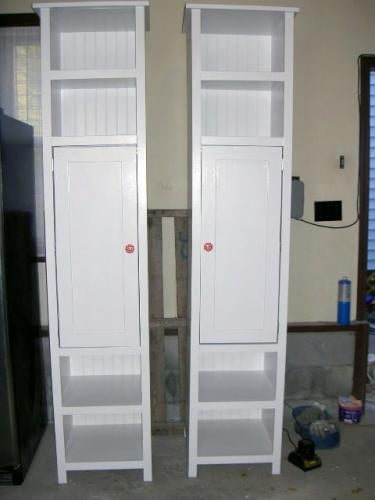
This closet tower is from the Craft Room Storage Tower plan, and made mostly with left overs from other projects. I wanted a shallow tower storage just deep enough to hang pants and slacks in, and to use a 12" wide door I already had in my garage. At Target I found some kid-size hangers that were just the right size - about 12" wide. Trouser hangers are about this same width, but they weren't available in-store so I went with what they had. The only things I bought for this project are the knob, hinges, some 1x2's, and the hangers. The sides are from a lengthwise half-sheet of C/D plywood, ripped down to 12" strips on the table saw, with 1x2 edge joined at the back to create a "toe kick" to clear the baseboard. The front is trimmed out in 1x2 with a scrap of 1x3 to trim the top. The removable closet poles are from a flagpole, and the ends are held in place with some 1/2" craft boards. The back is 1/4" plywood. The longest part of this project was the sanding, because the plywood wasn't the pretty kind - used lots of wood filler on the knots and as a grain filler, then sanded it a lot. This project took about 9 hrs total, (sanding took the longest), construction with the Kreg jig and nailgun was very quick, and then paint and adding the door and poles. The removable shelf was added as an afterthought and is a scrap of plywood, with some S4S to hold it up, and a 12" scrap of moulding across the front of the shelf. It is 82" tall, 13 1/2" wide, and 14 1/4" deep. It's a perfect pair with the 6-cube tower that I built from Ana's cube tower plans a couple of years ago.

Fri, 08/30/2013 - 17:56
This is such a clever build! :) Thank you for sharing in detail how you put this together. =D I love how tall this is and how little floor space it takes up, which is especially a big issue for smaller home dwellers like myself. =D

Sat, 08/31/2013 - 06:23
Yvonne, thanks so much for the nice comment! I just love tower storage, you get so much for such a small 'footprint' in the room. We've replaced our bulky dressers with towers, which makes the room look much more spacious. If you build some, I'd love to see pictures!
There are 2 other items not mentioned above, that I added during this build: I added the 1x3 at the top of the insides, to help keep the joined side boards tighter together at the top (at the time I was thinking the joint might try to pull apart if it got humid). The second thing (you can hardly see this in the photo) is a 12" piece of 1x2 attached across the back, spaced between the 2 closet poles. This was added to help keep the side pieces the same distance apart when attaching the back, and provided an additional place across to nail it. I thought it would help make it more rigid. This piece is used every day, and so far it has held up great. :)
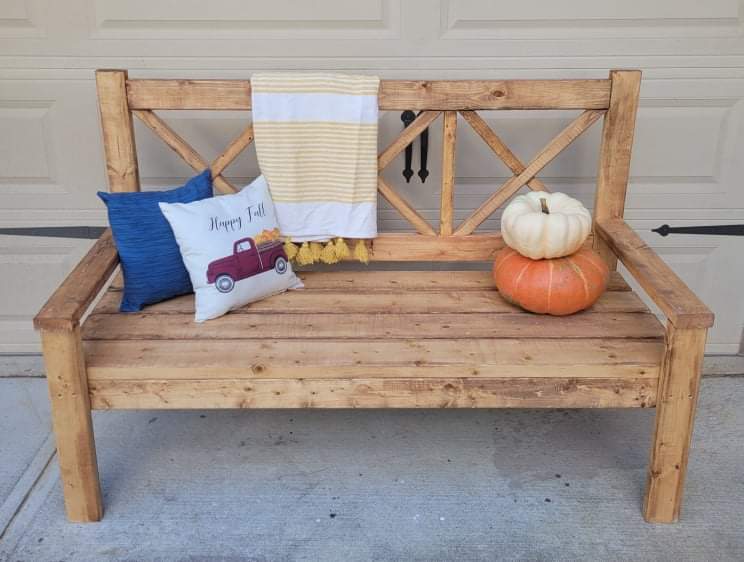
What a fun project, and great bench. We had someone ask us if we could make this for them, and we decided to make 2 while we were at it.....now we just need to find a spot big enough for the second one at our house. Loved this build, and look forward to sipping coffee on it on a cool morming.
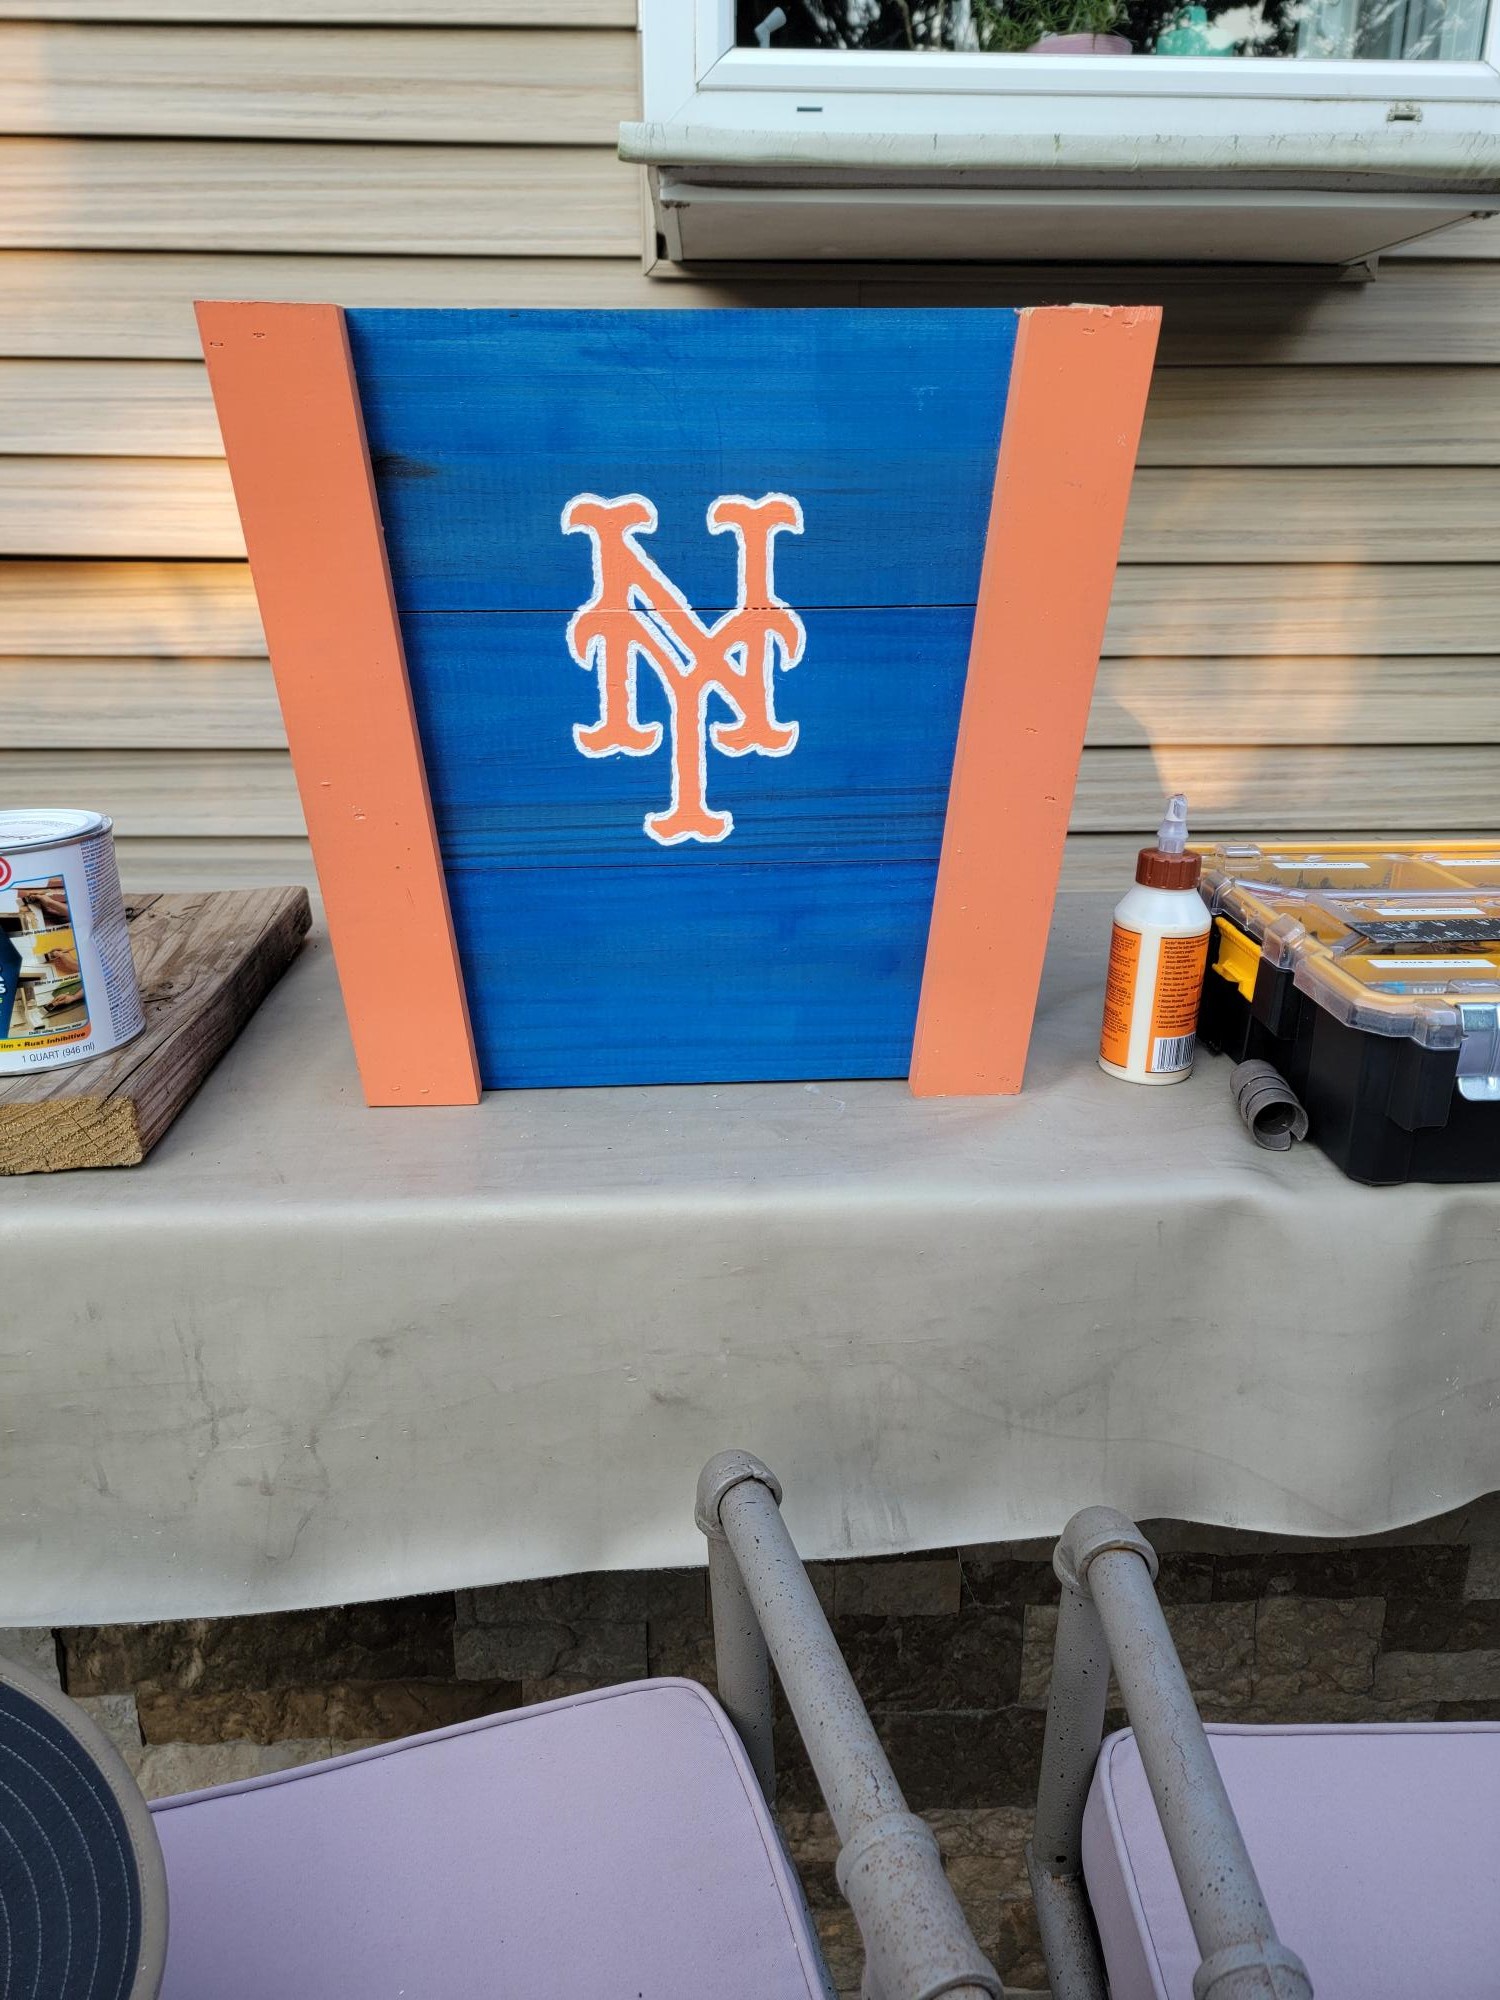
Started with the 3 plank plans from Anna's project, then dremeled the logo.

Custom tower shelves with hanging space and four shelves.


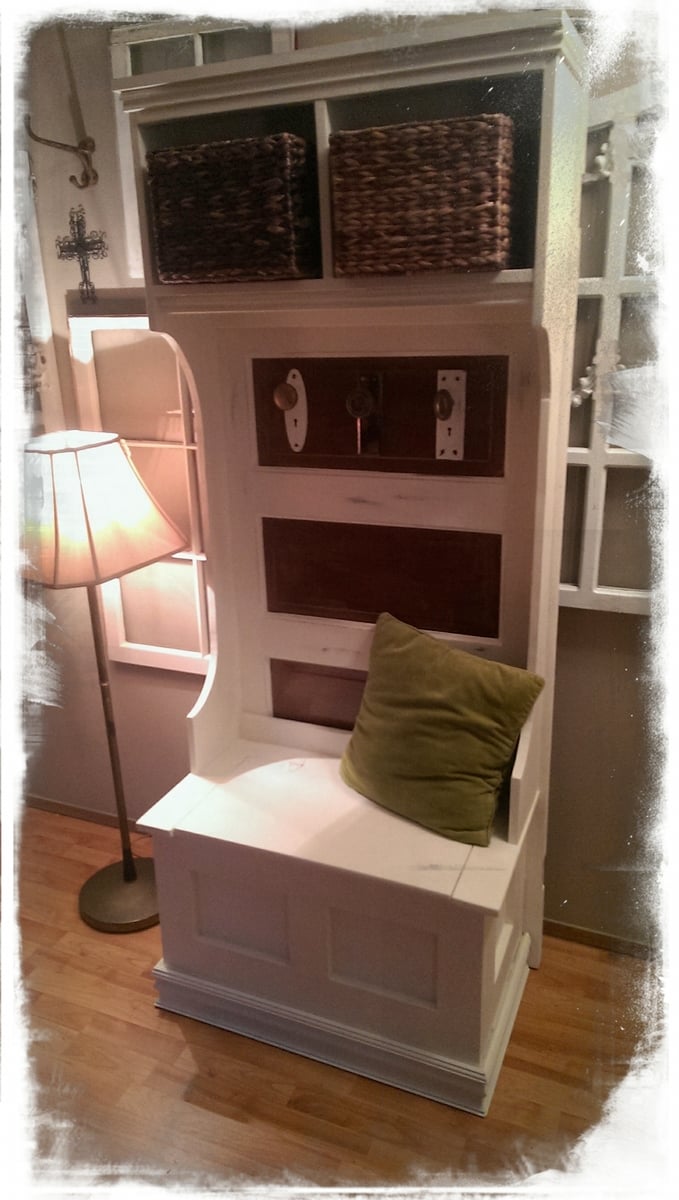
This is my first Ana-White build and I love it so much! I used a 100 year old door for the back and antique knobs for the hooks. I plan on making a farm house table next :)
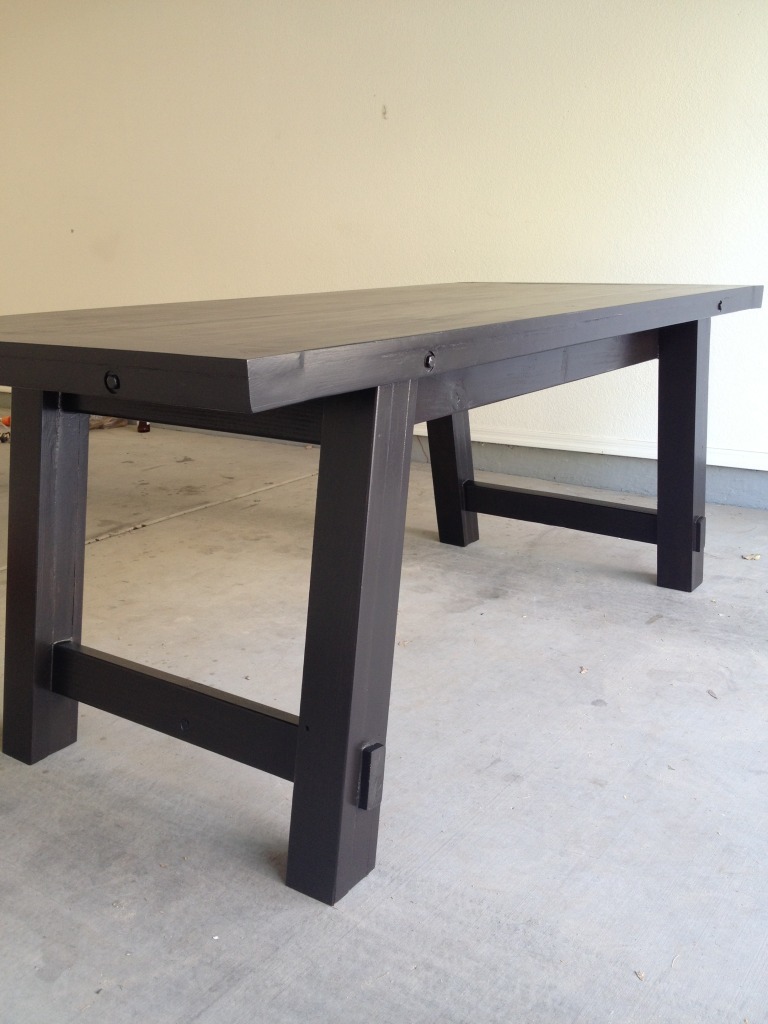
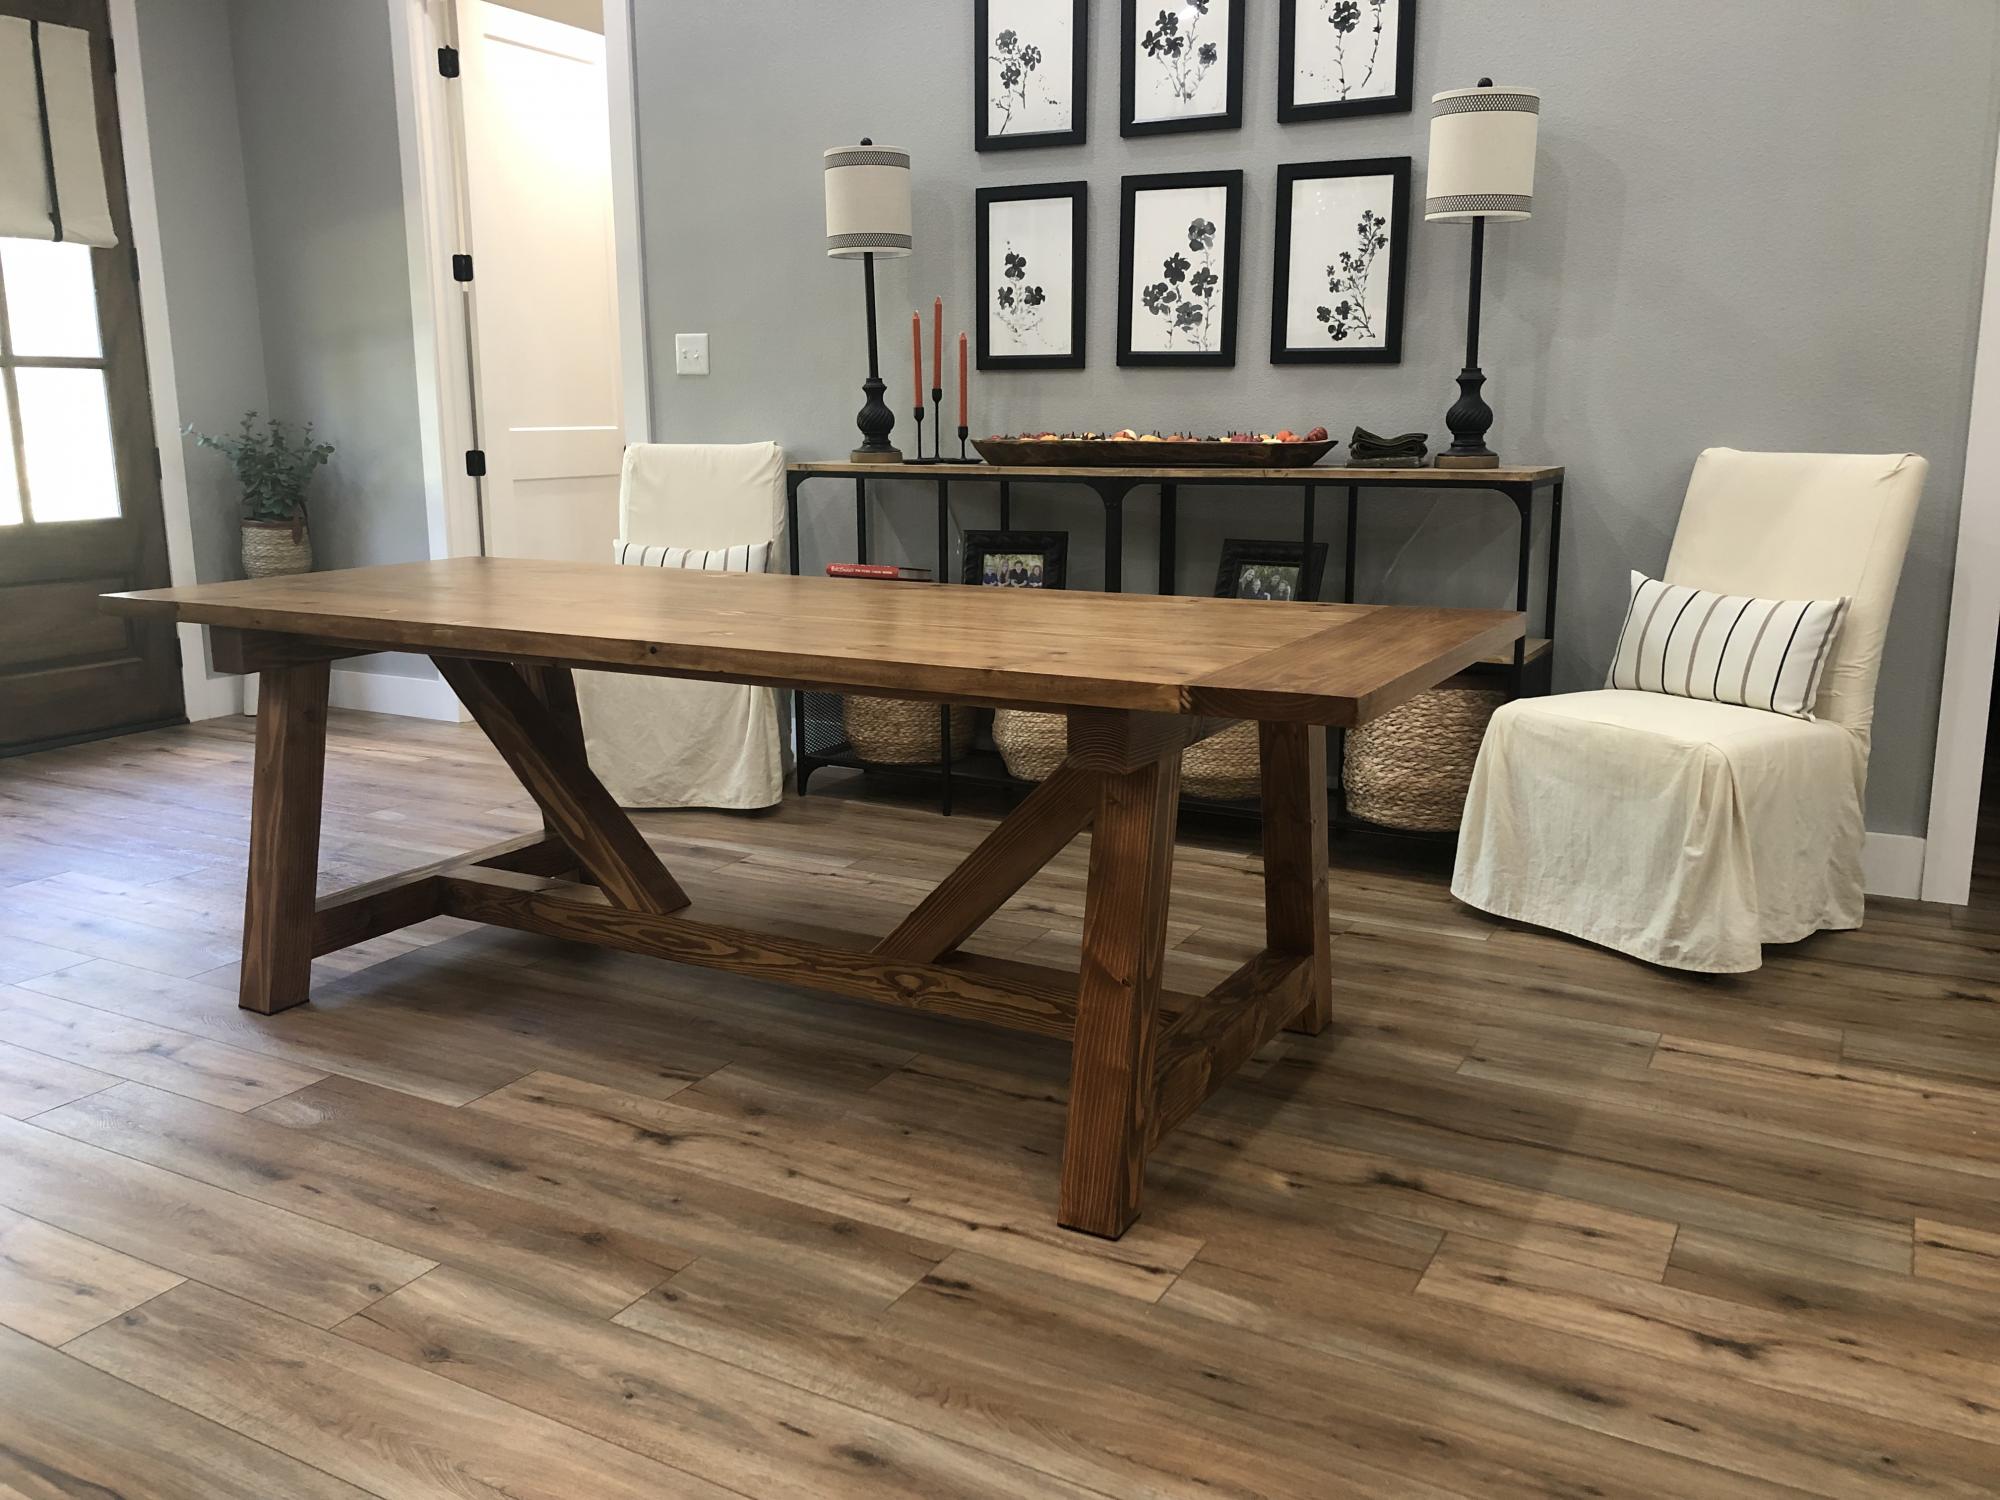
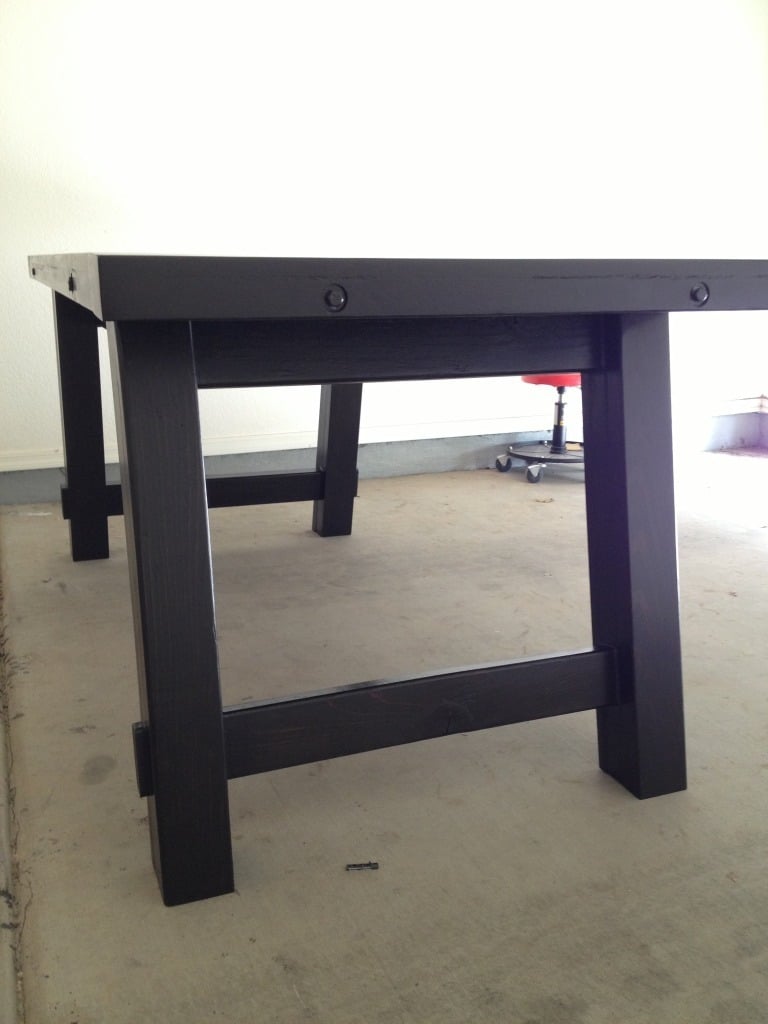
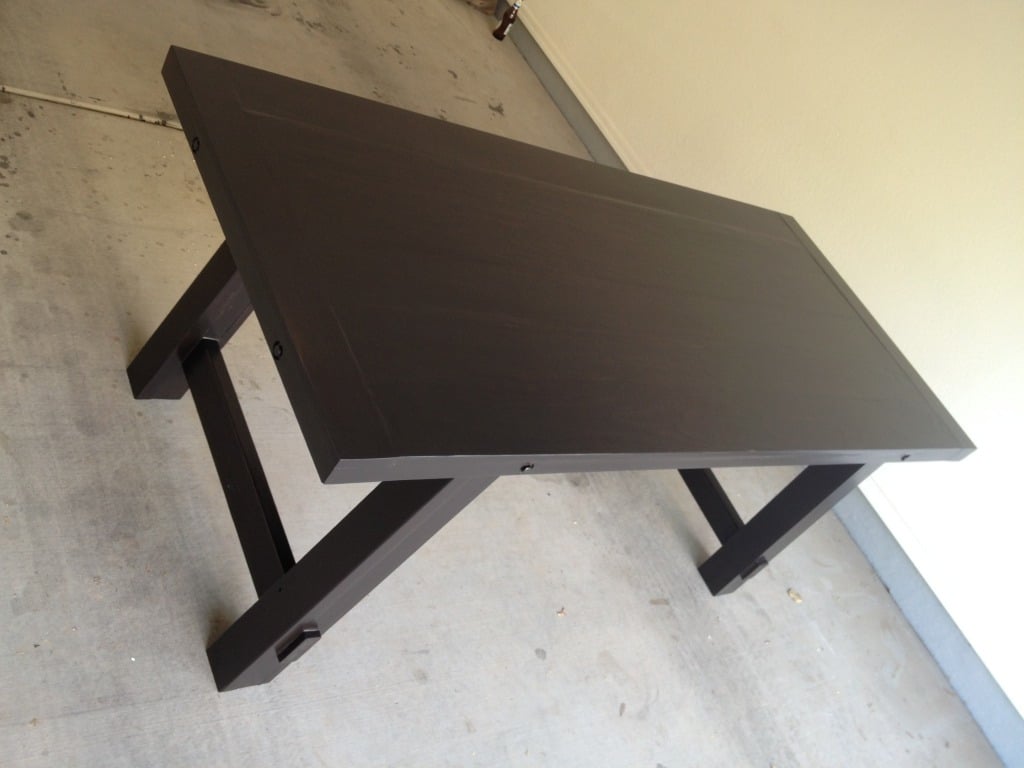
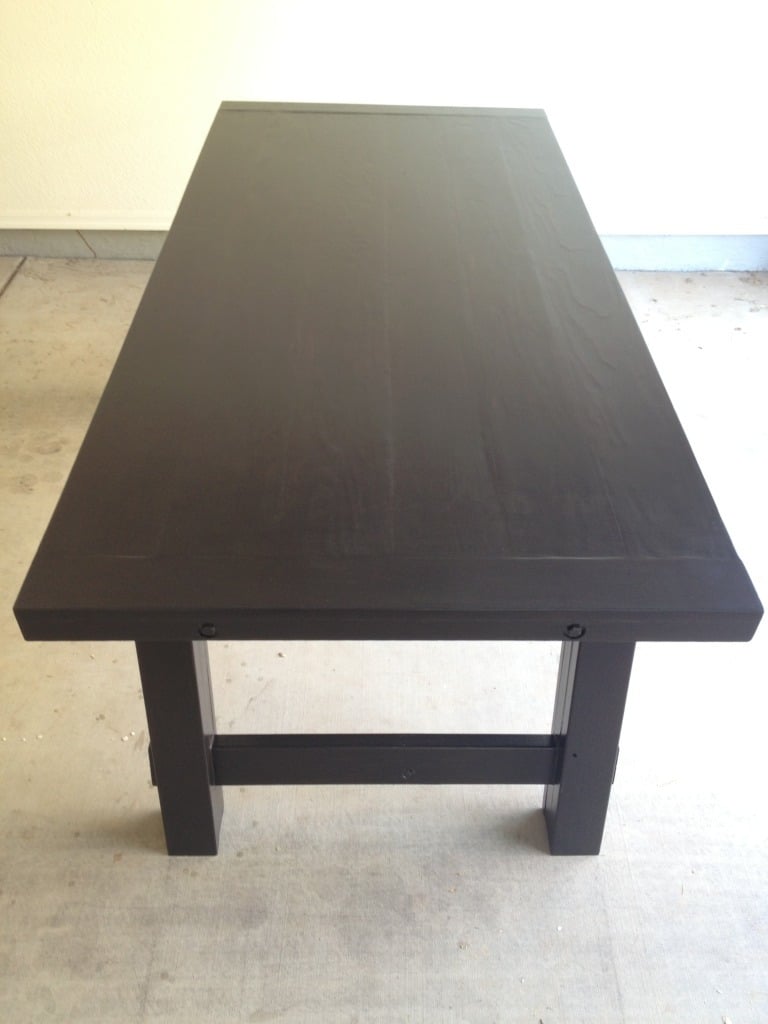
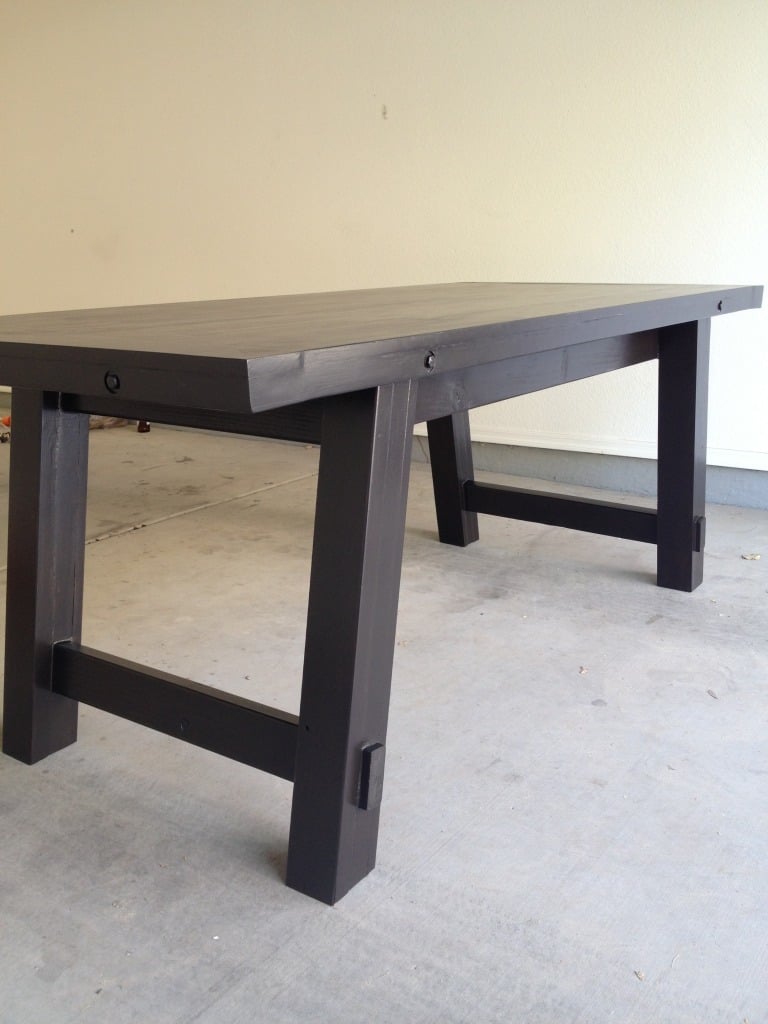
After doing my first build, pallet media center, I was hooked. My family and I desperately needed a dining room table. We wanted a rustic looking table and I was thankful I found the benchright table plan. Thanks Ana!! This build was fairly easy. I did mess up a couple times with the angle/bevel cuts. Totally ruining a couple boards. Which I had to run back to Lowes and purchase a couple more boards. I used 3/8 hardware bolts/washers/nuts in galvanized for the sides (3") and breadboards (6"). The stain basically painted them, which we love. I still need to add the hardware for the bottom (threaded rods, turnbuckle, nuts/bolts/washers, etc). The pics above really dont show the detail with the stain. The pics make the table look black. But you can actually see the wood grain on the table top. The table looks amazing in person, we love it!!! Thanks again Ana!!
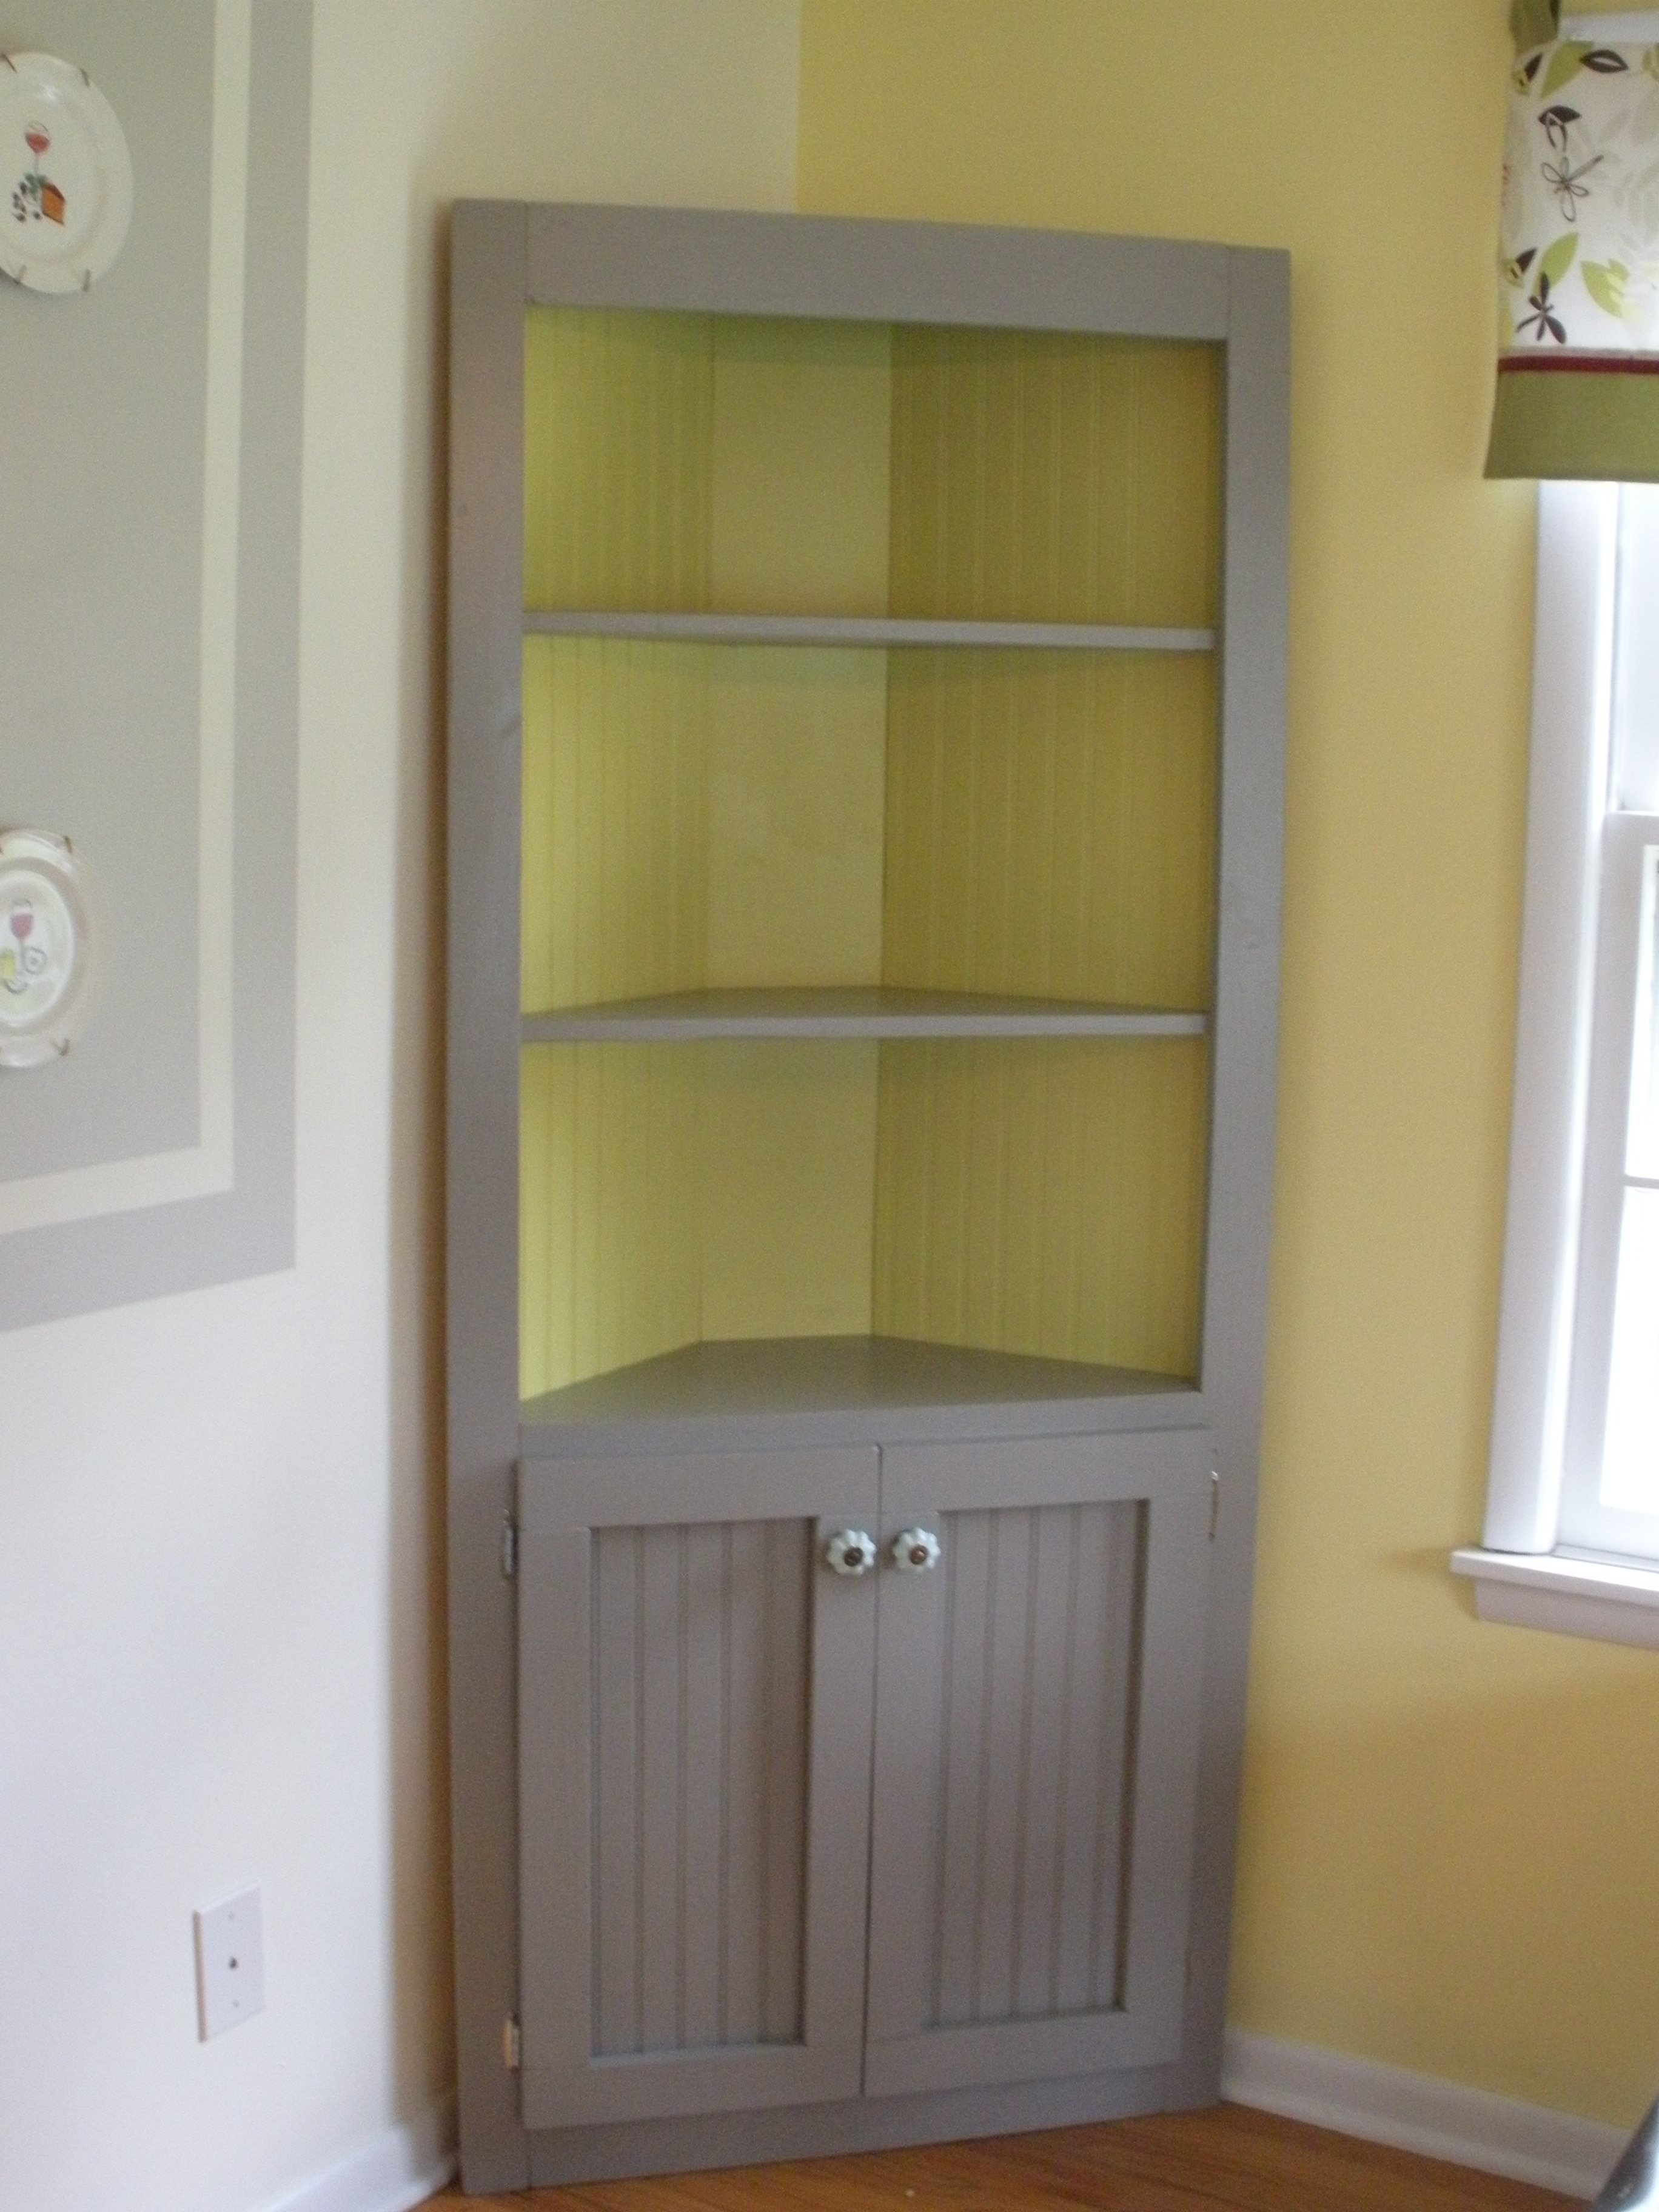
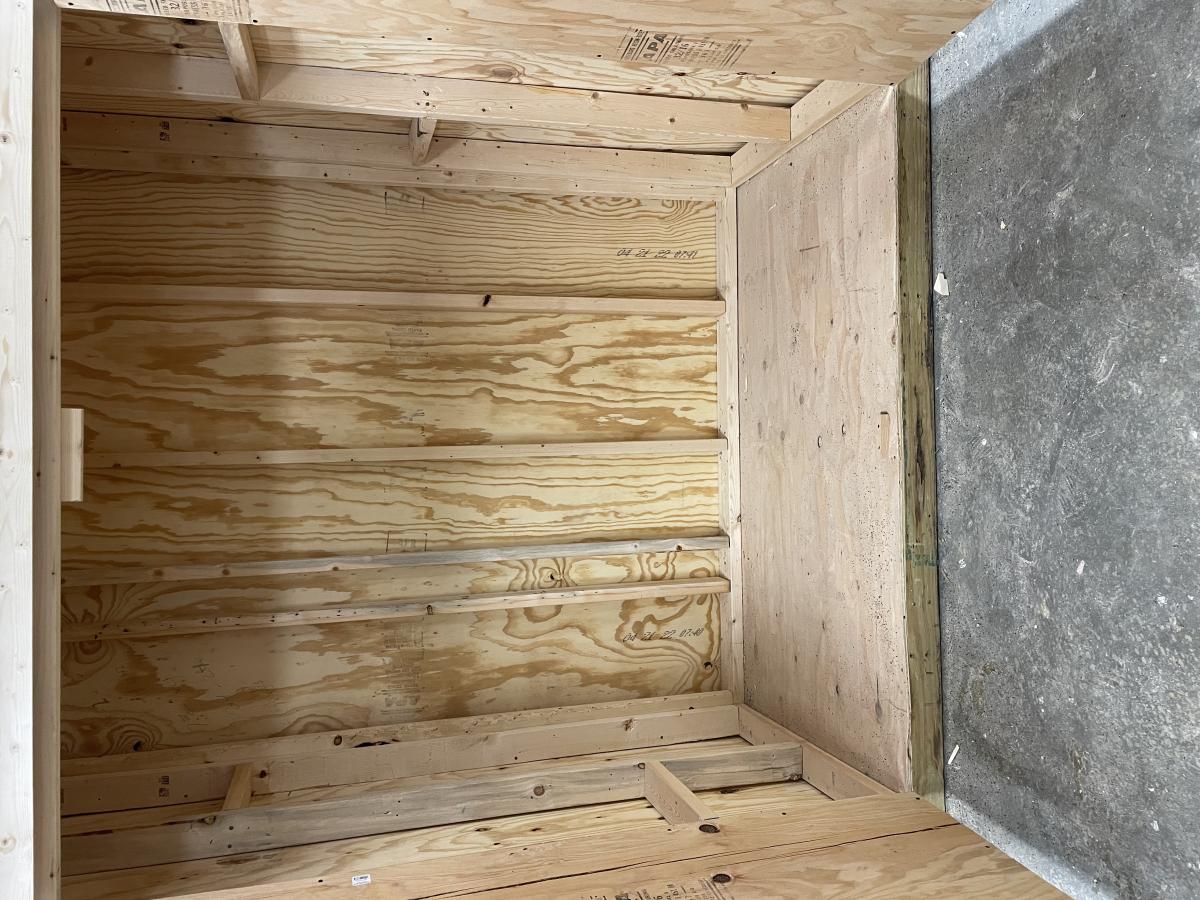
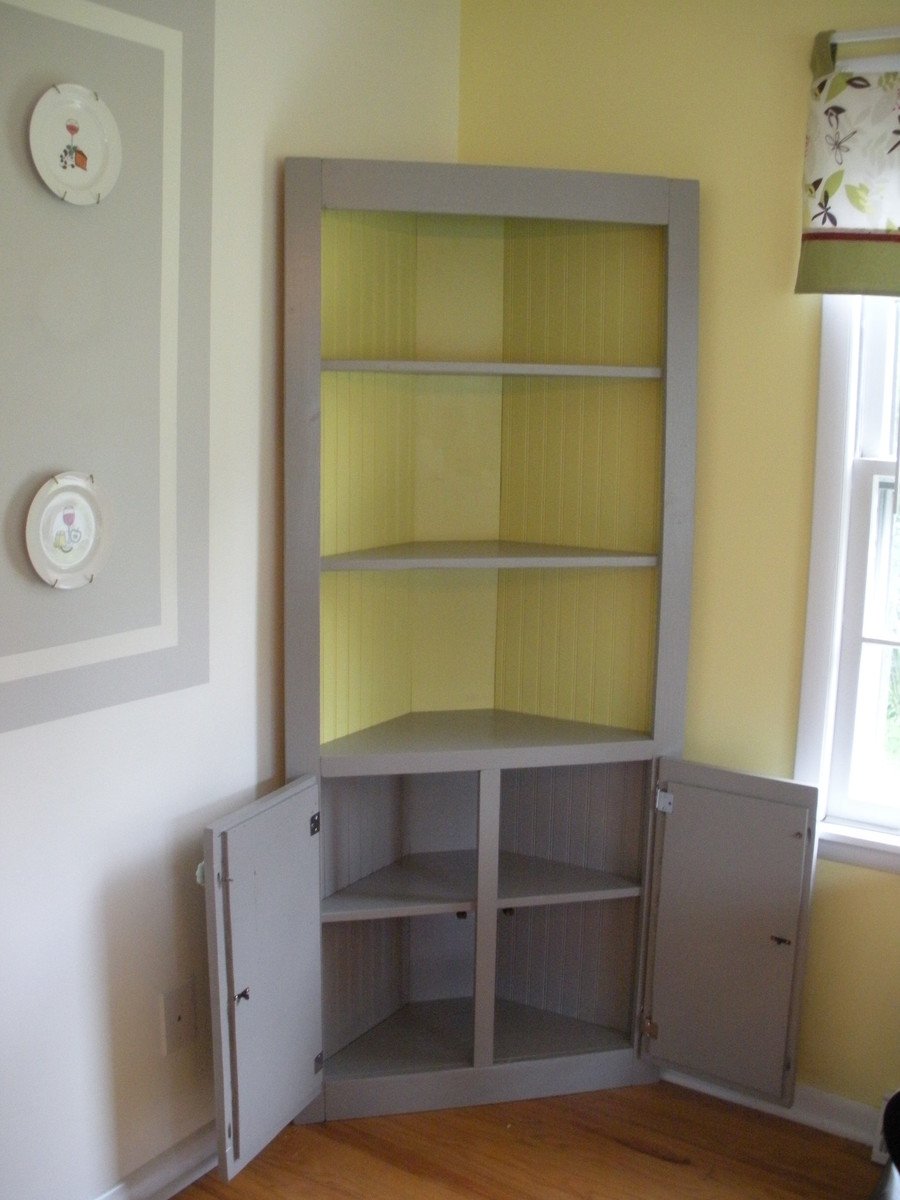
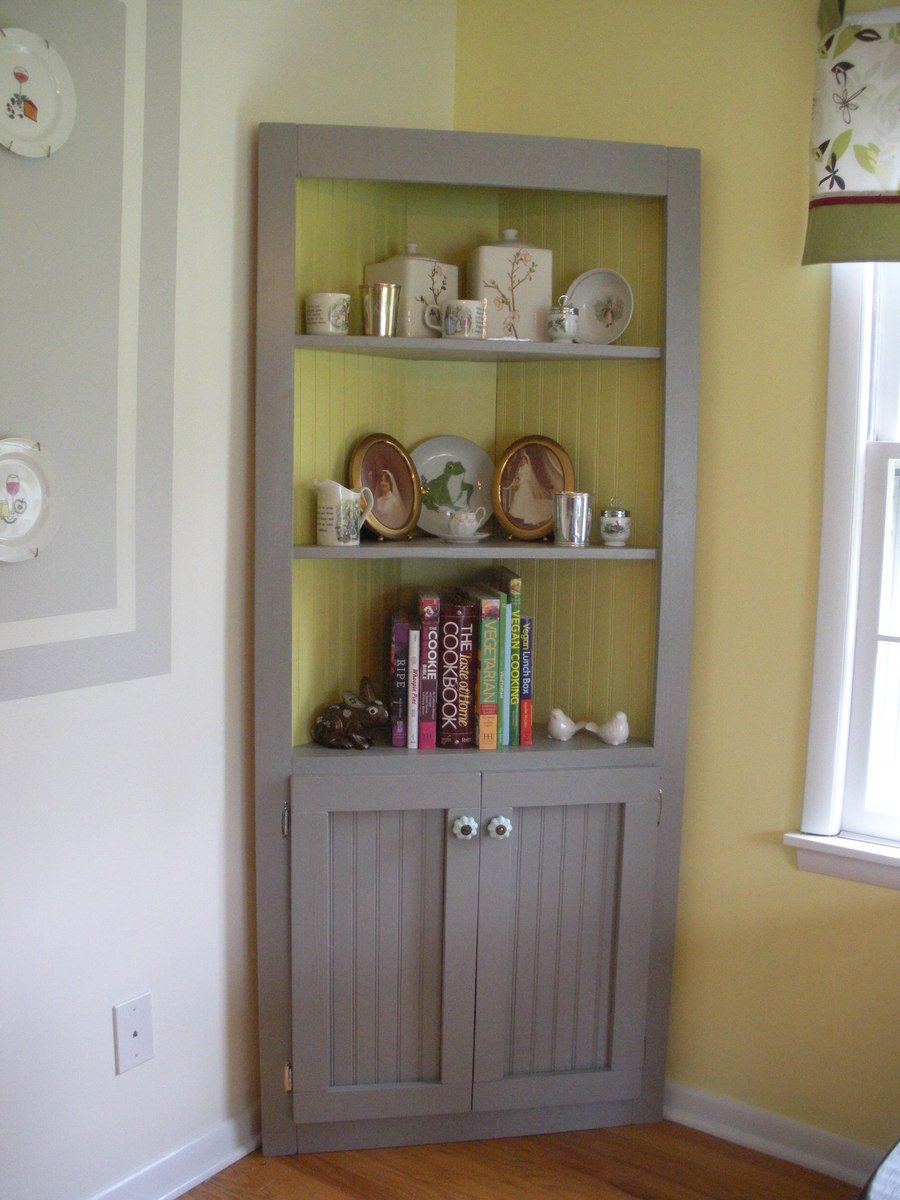
This project took me the majority of a three-day weekend to complete, but it was well worth it! I had the lumber store cut the beadboard panel for me so that it would fit in my car. This was also the first time I built something with doors on it, which was a bit of a learning curve, but came out alright in the end. I used pocket holes to build the face frame, and attached the shelves to the frame first before attaching them to the 1x8 back. I used 1 1/4" pocket hole screws and 2" wood screws. I left off the trim at the top and didn't bother to cut out the footer, but I think it still looks pretty cute.
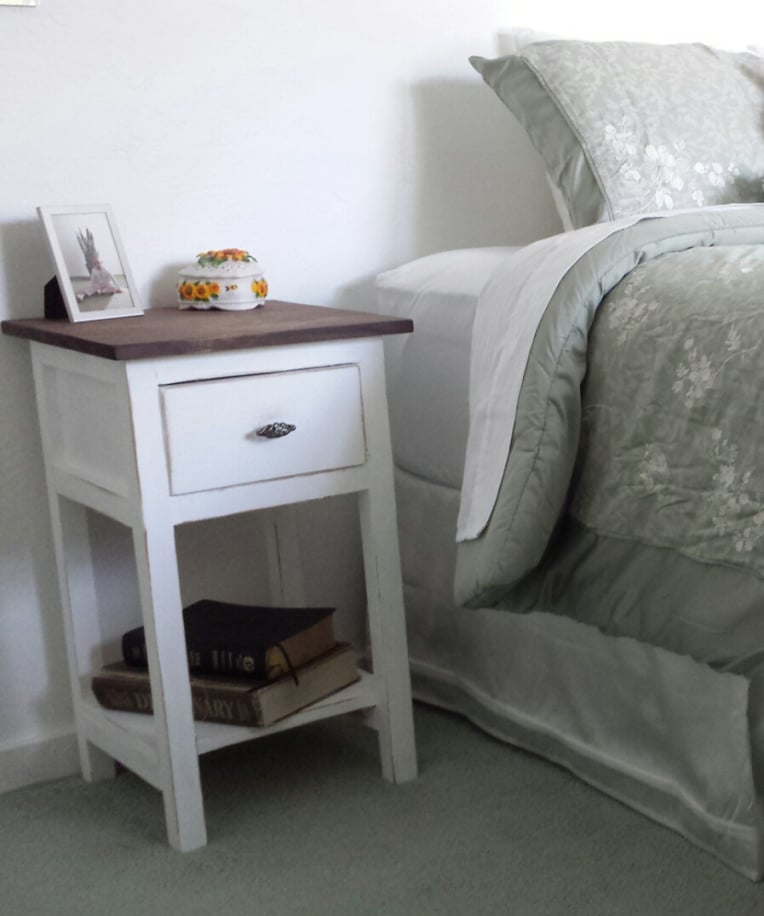
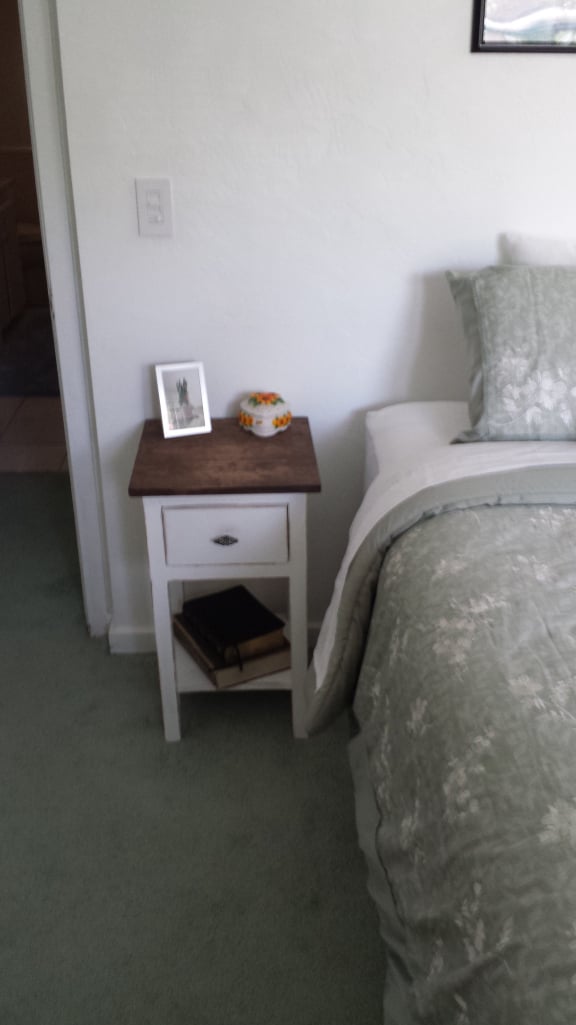
I built this nightstand when my wife and I purchased a new bed. We had to rearrange the bedroom and as such, I no longer had a desk or table on my side of the bed. I wanted something "country" style and after searching through several different plans I found a brag post that fit exactly what I was looking for. Well, technically, I found the original Farmhouse Bedside Table plans and modified them to fit what I needed. It wasn't until after I completed the project that I realized there was a "Mini" version as well. What can I say, I'm not that great as using search. I actually built this over a year ago at this point, and it was the second project I ever built. I learned quite a bit on this project, including the fact your project will only come out as good as your lumber selection! This build actually created my addiction for DIY and woodworking. Thank you Ana!
Mon, 09/14/2020 - 18:41
this is going to be a perfect first project for me and my daughter to tackle!
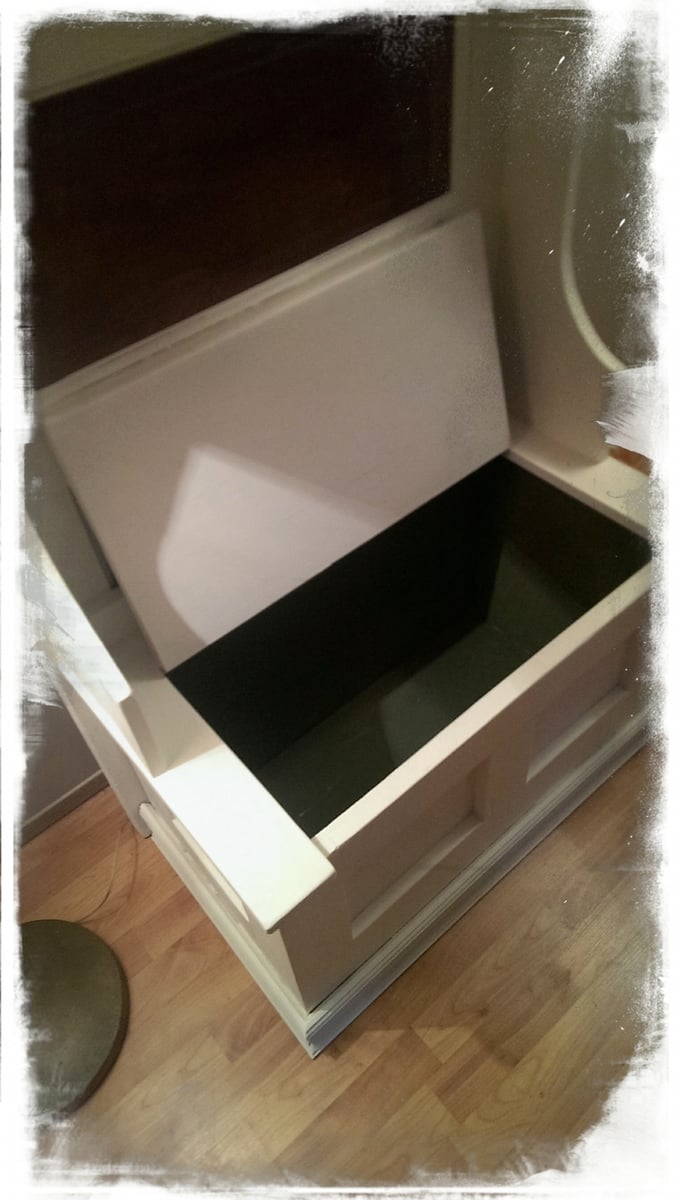
This was a fun easy build...I took the toy box plans and used 1X4s instead of solid sides and bottom. I cut the legs short and put finals on.