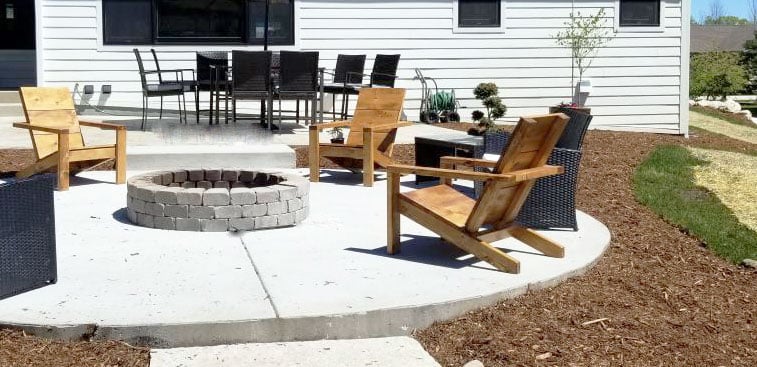
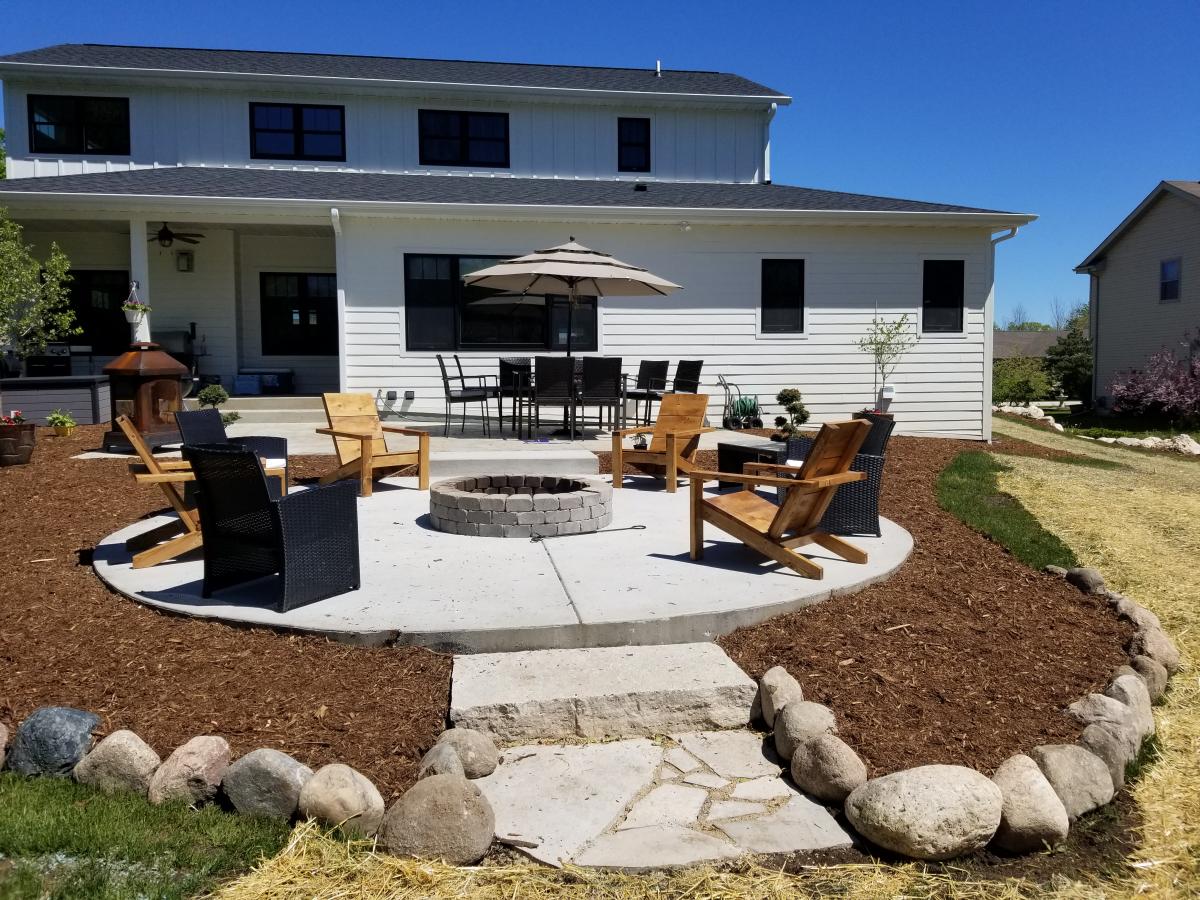
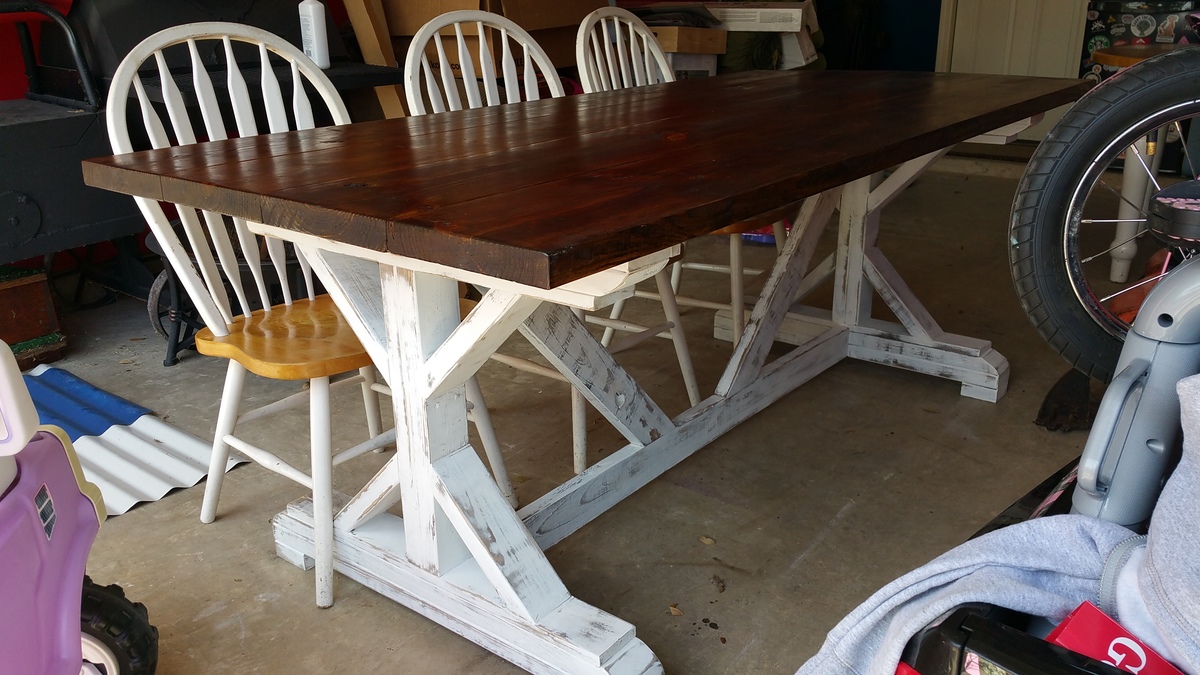
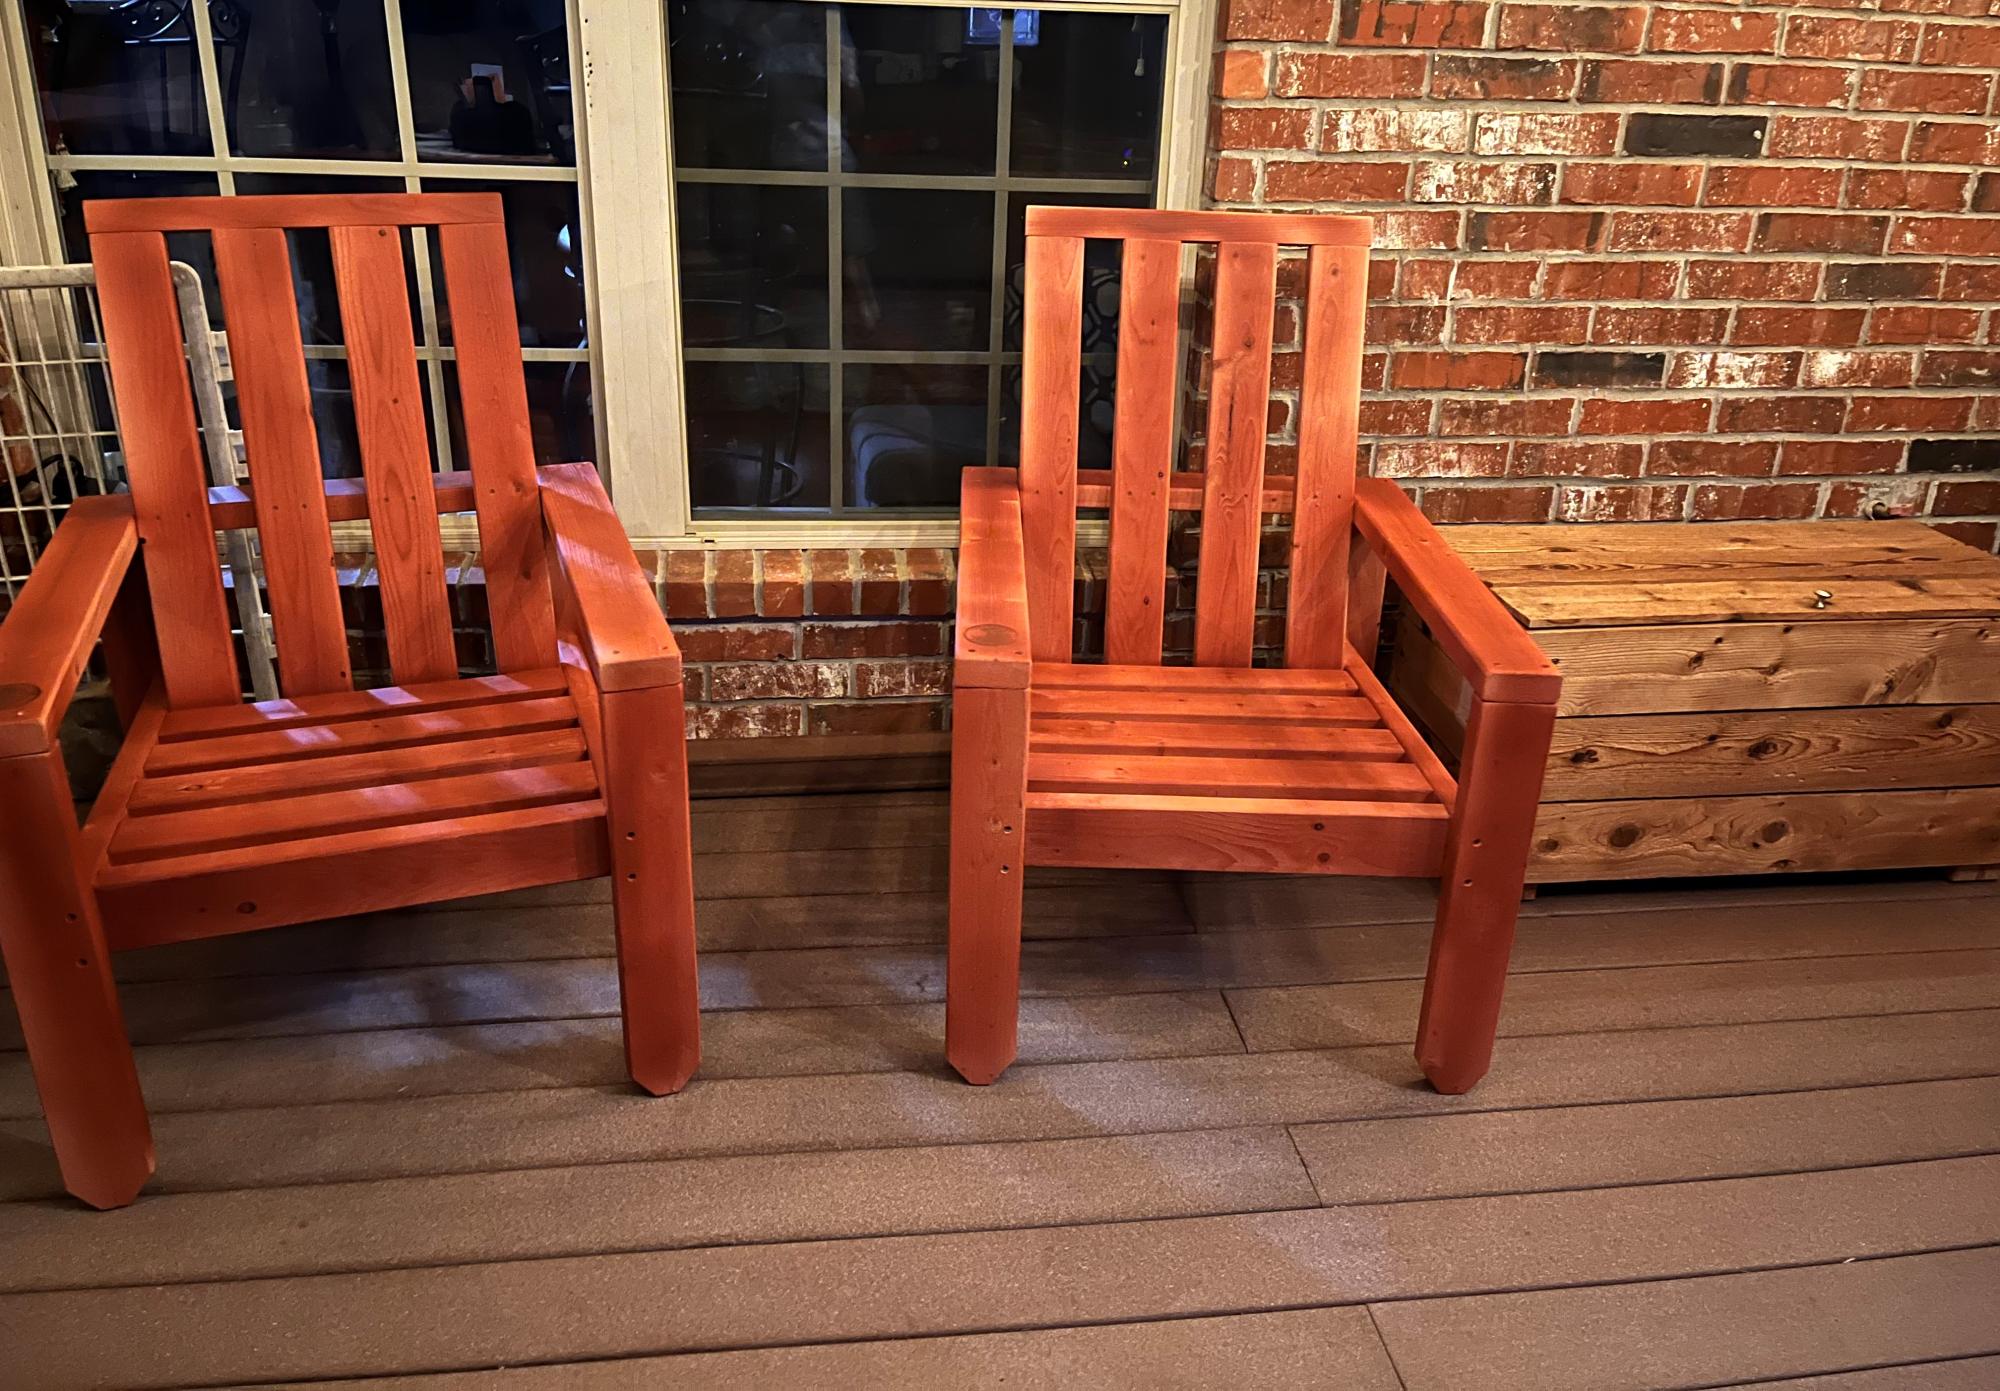
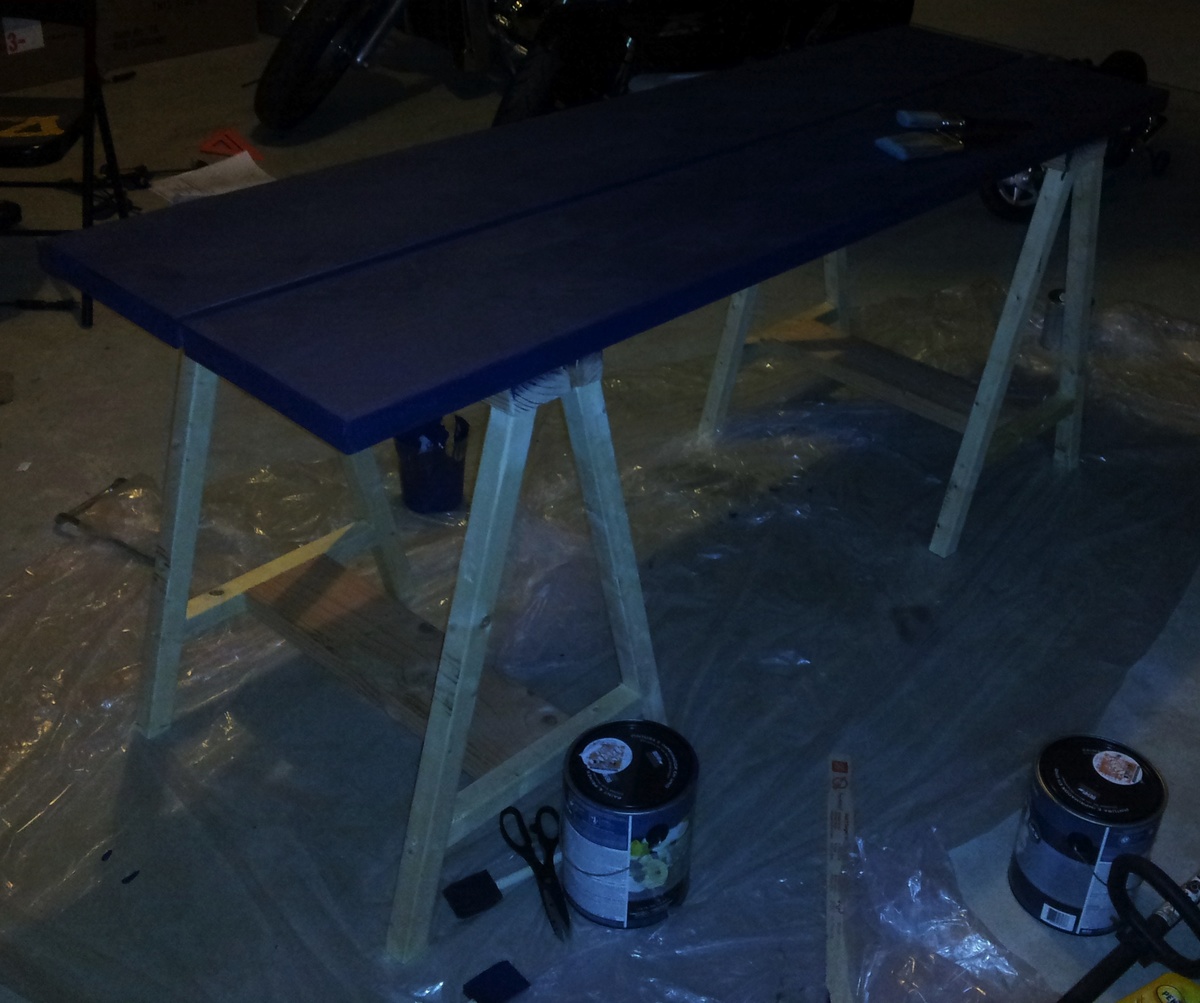
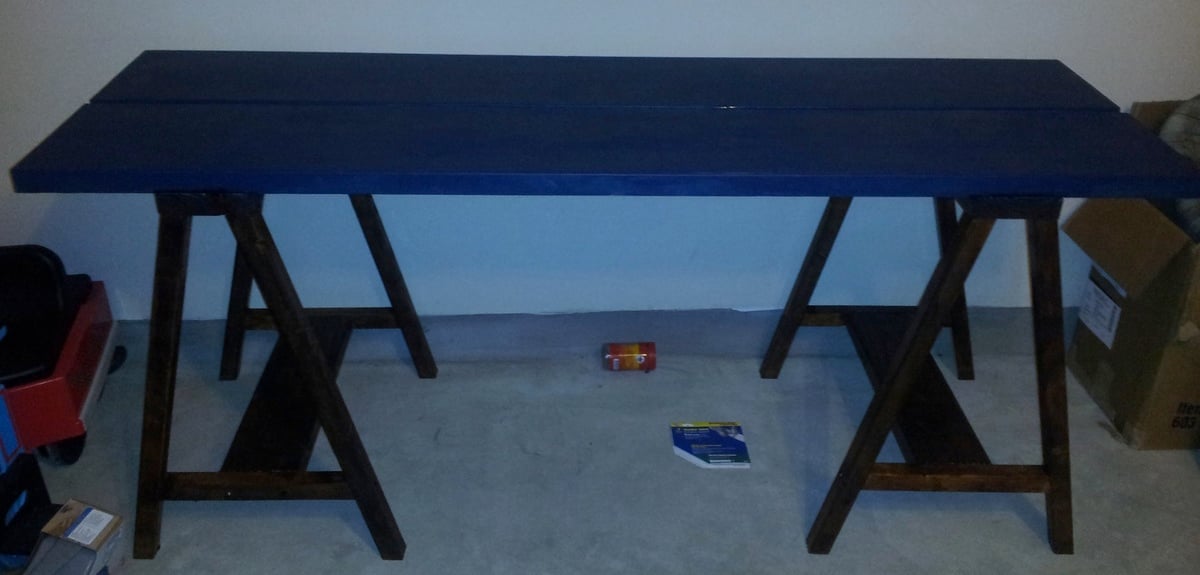
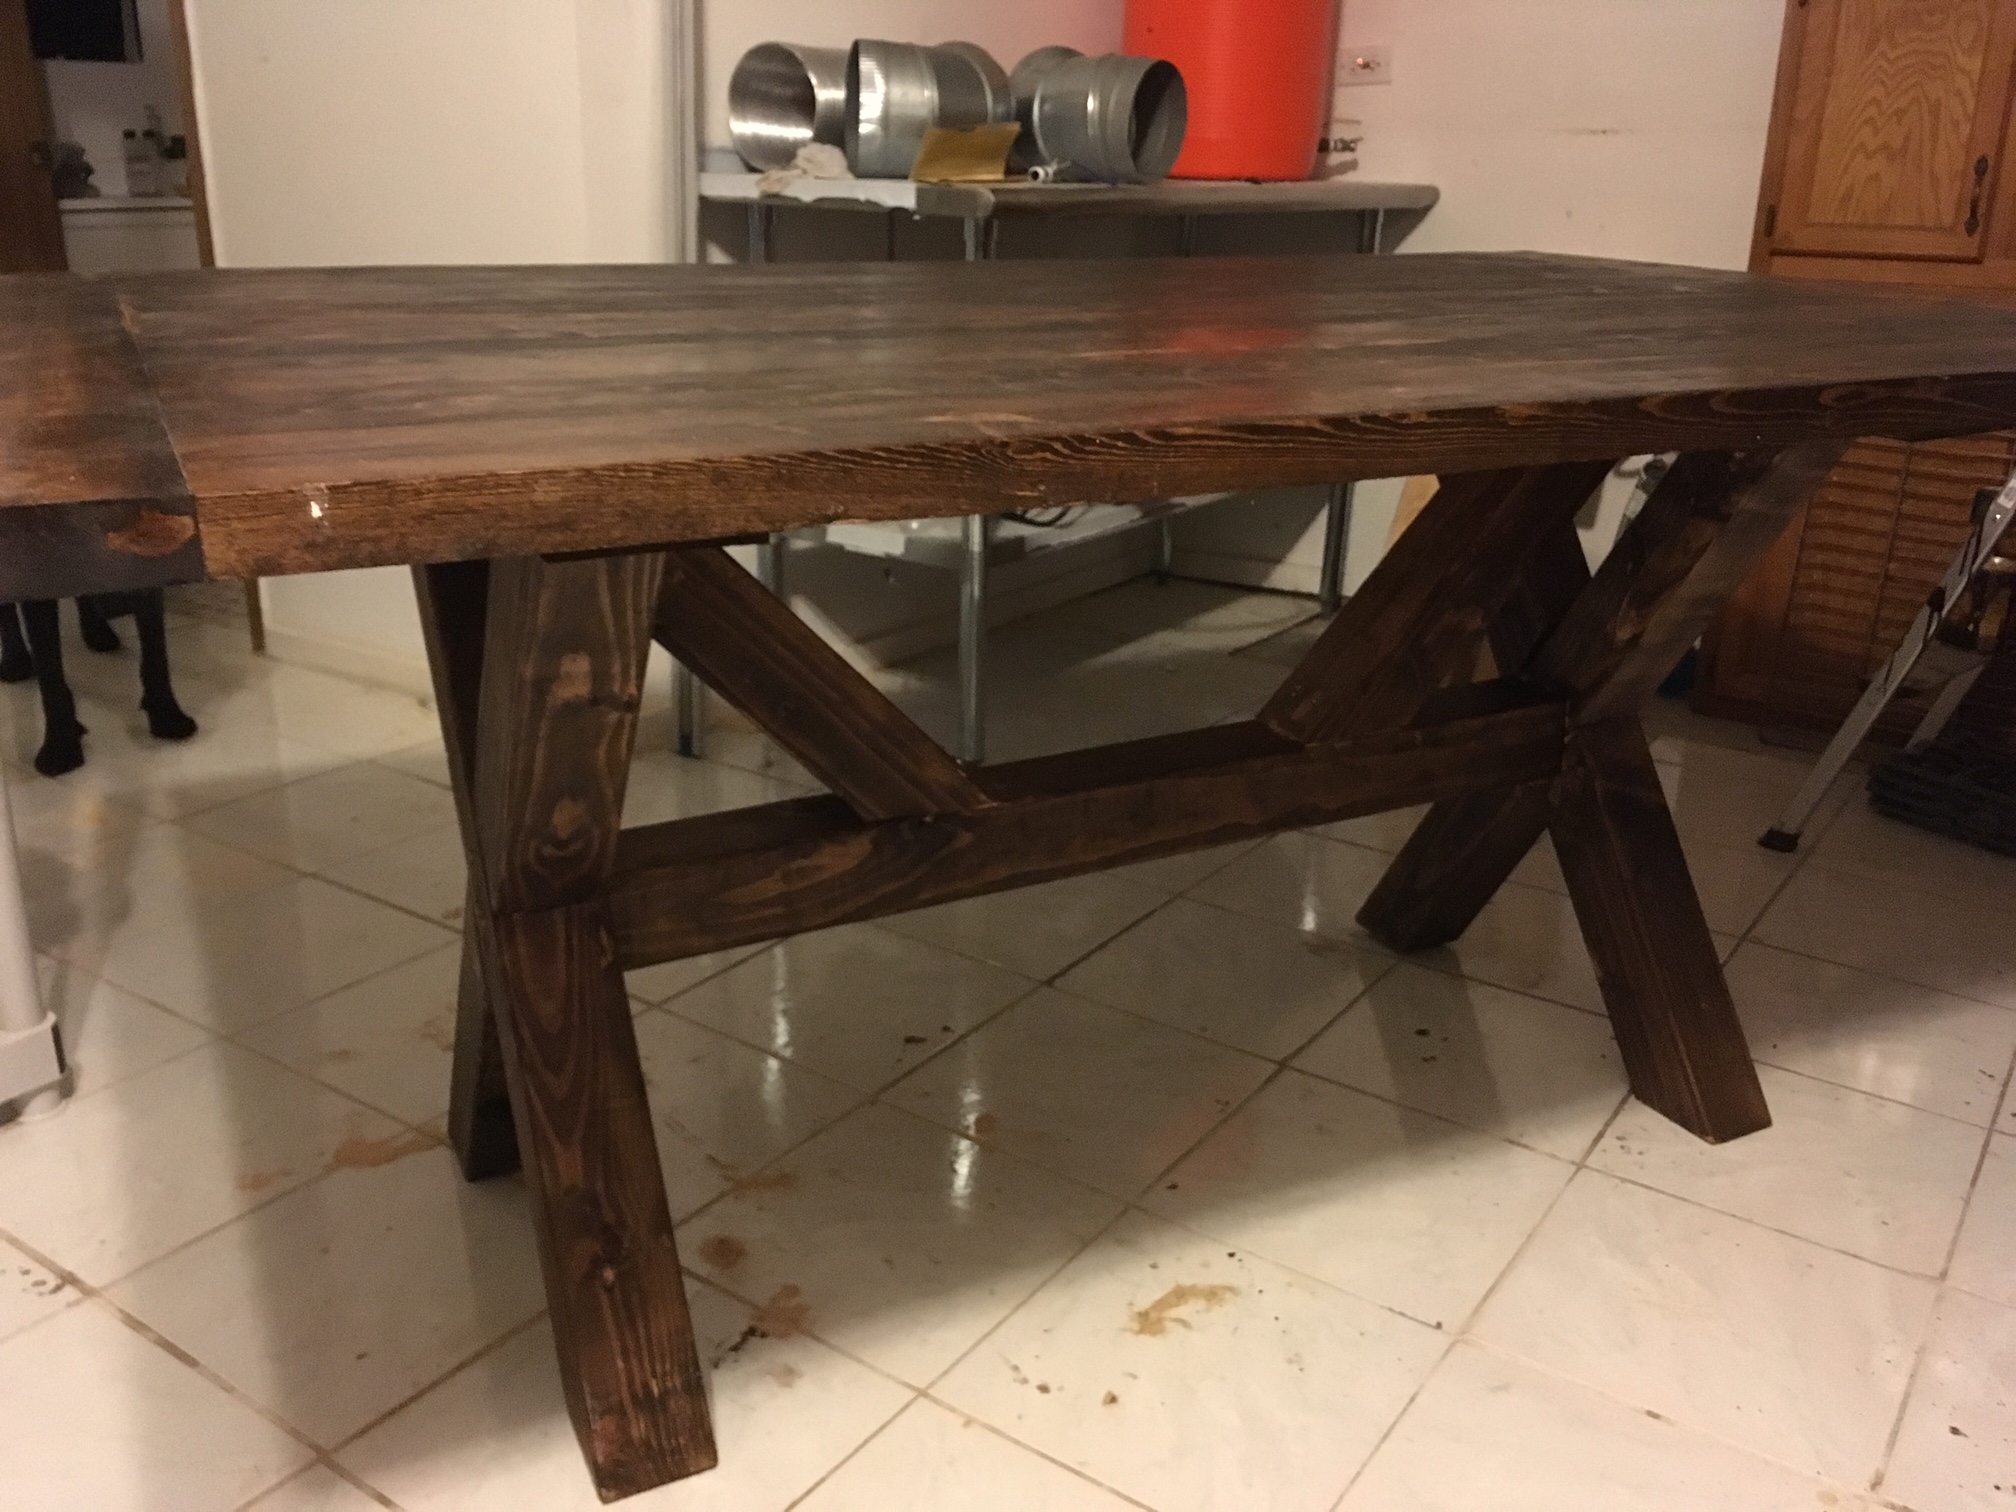
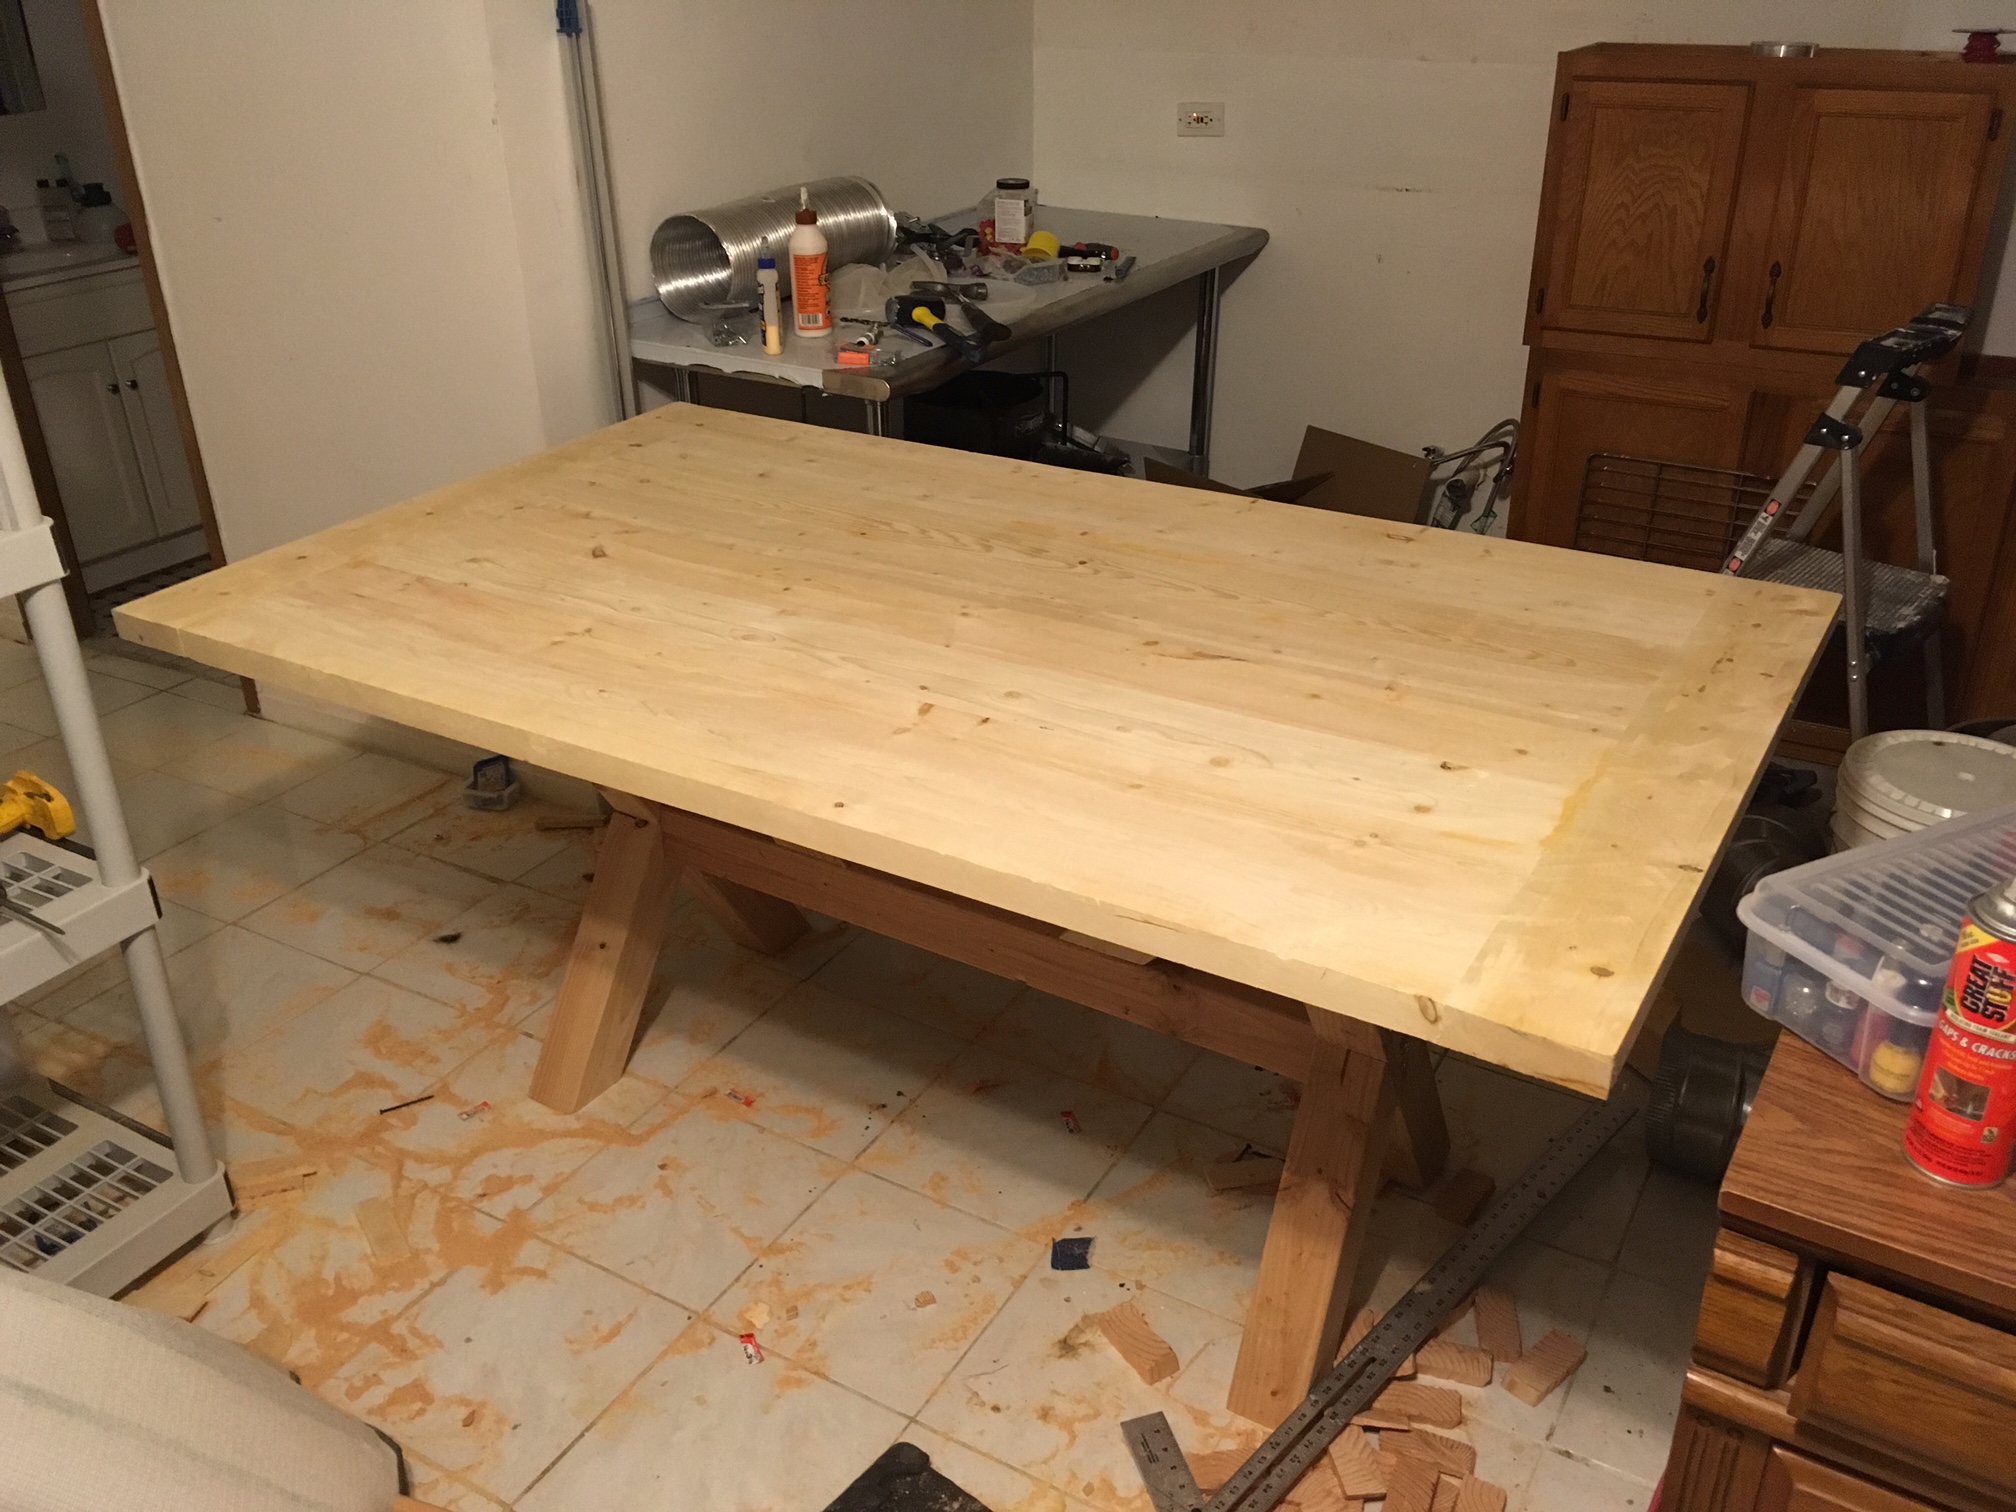
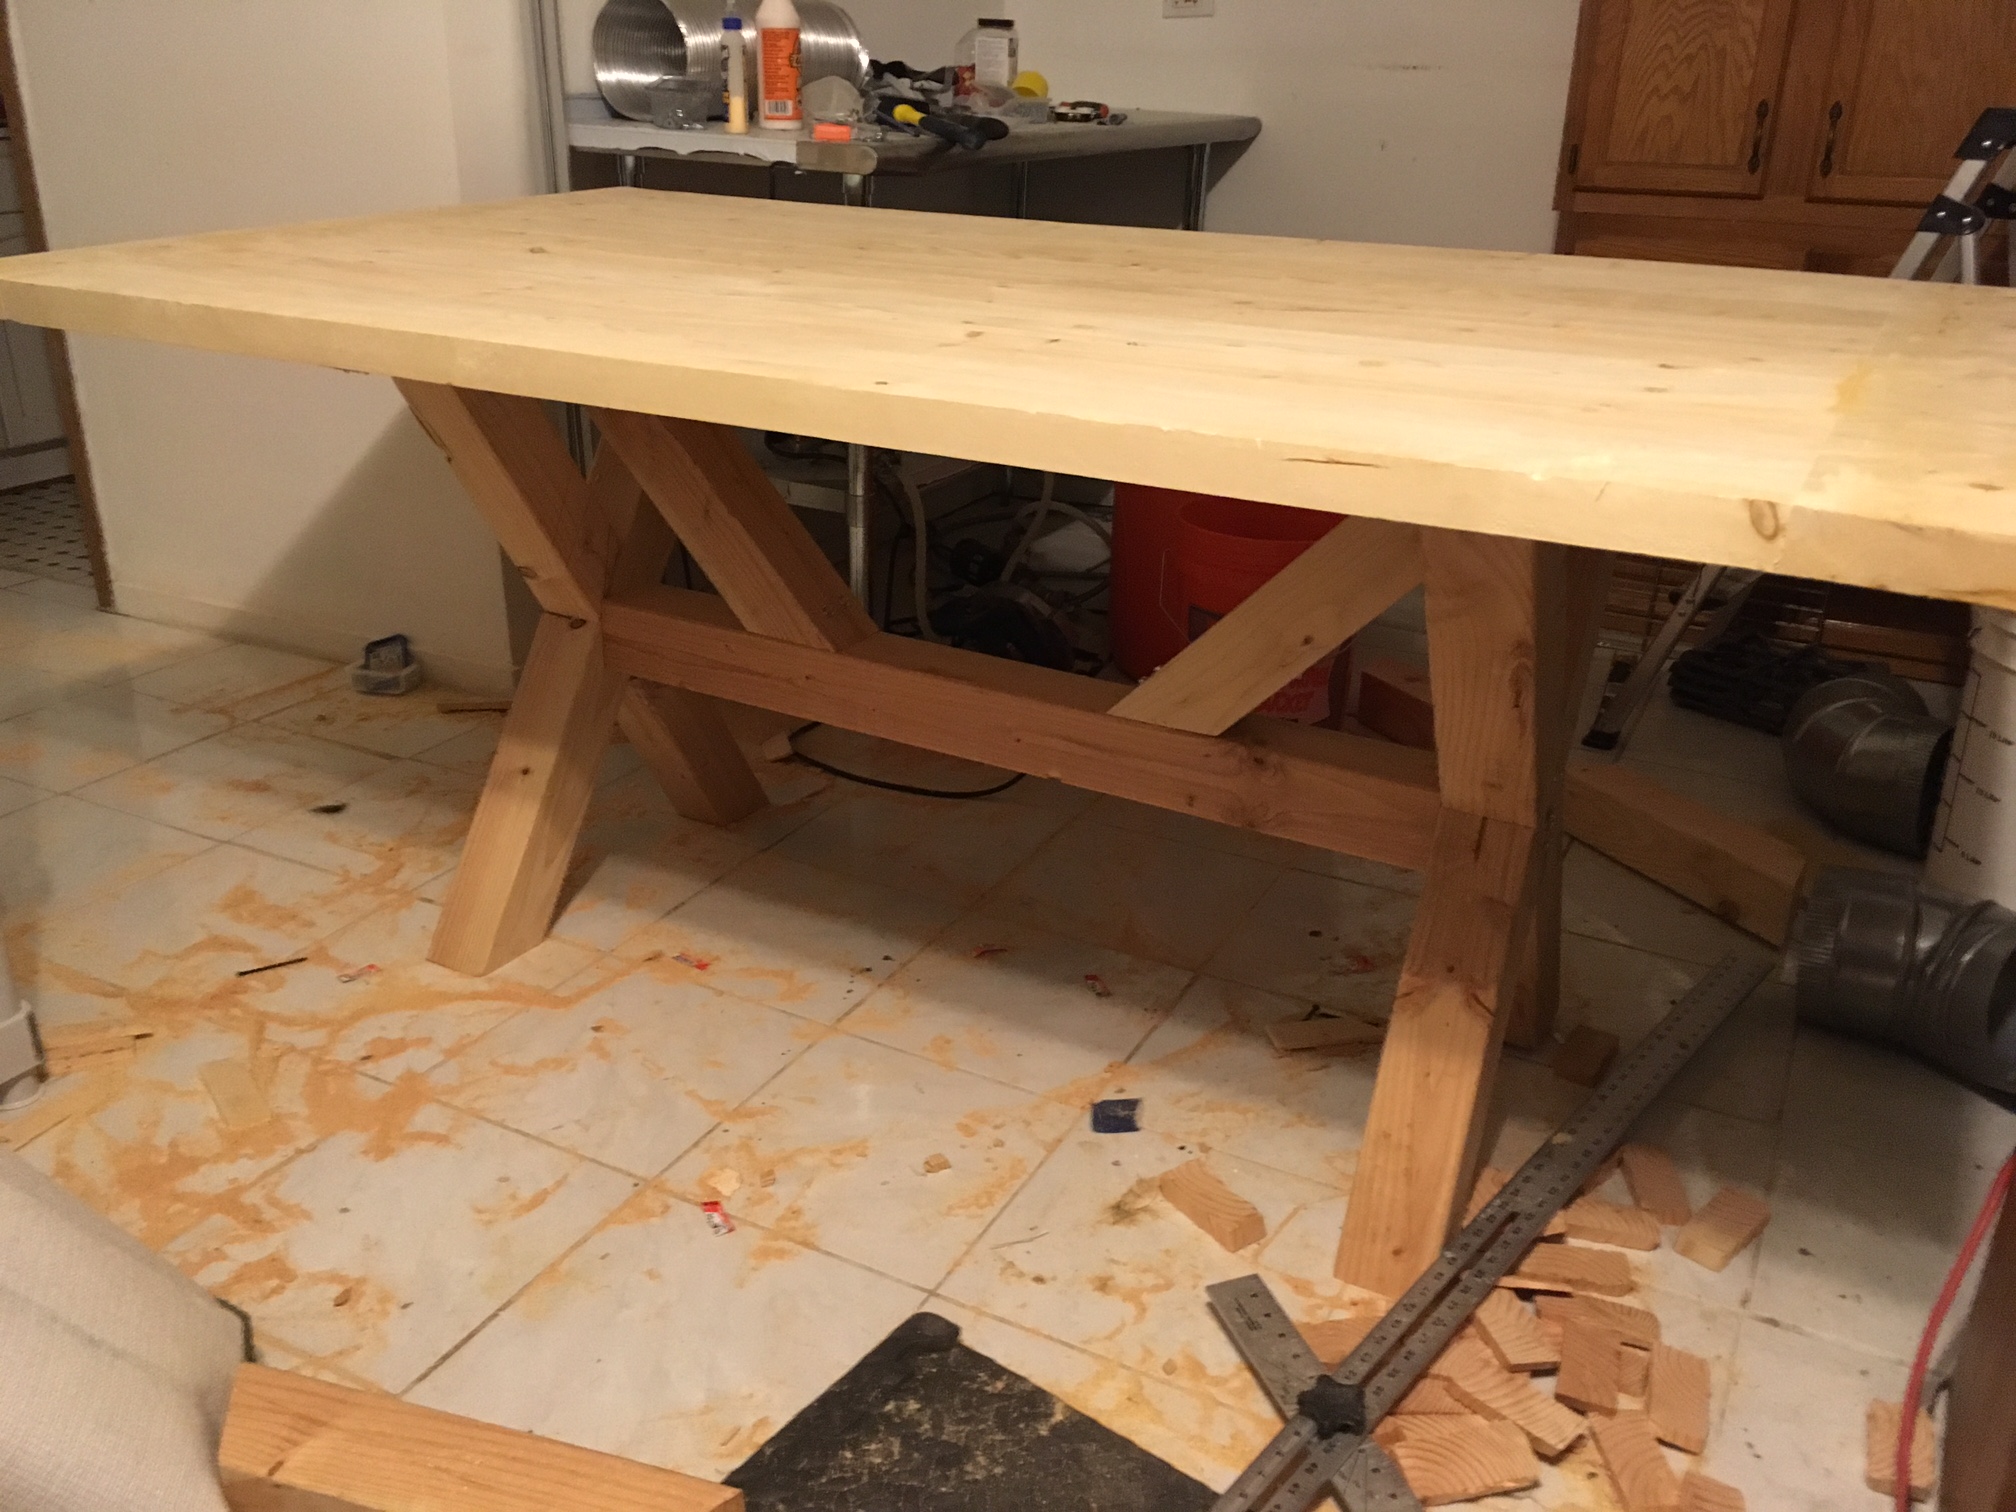
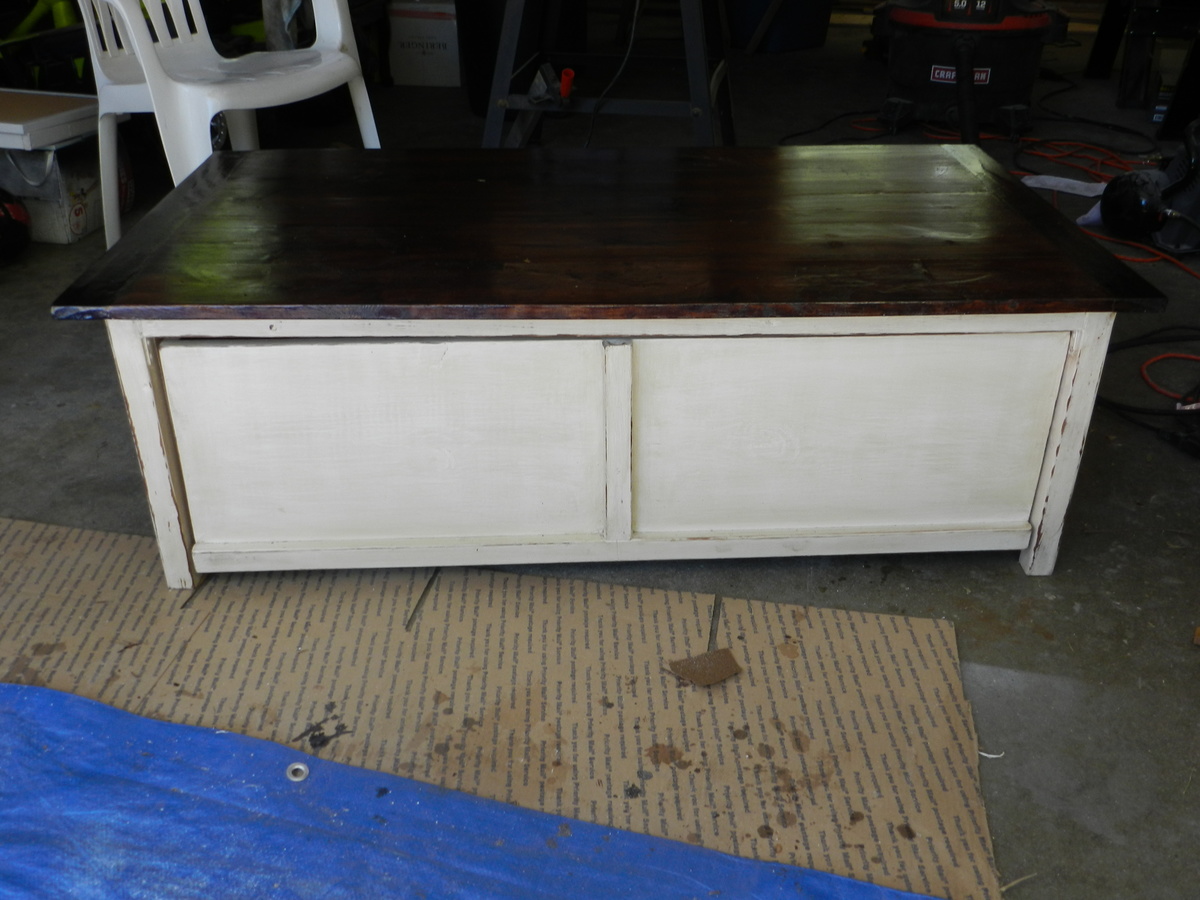
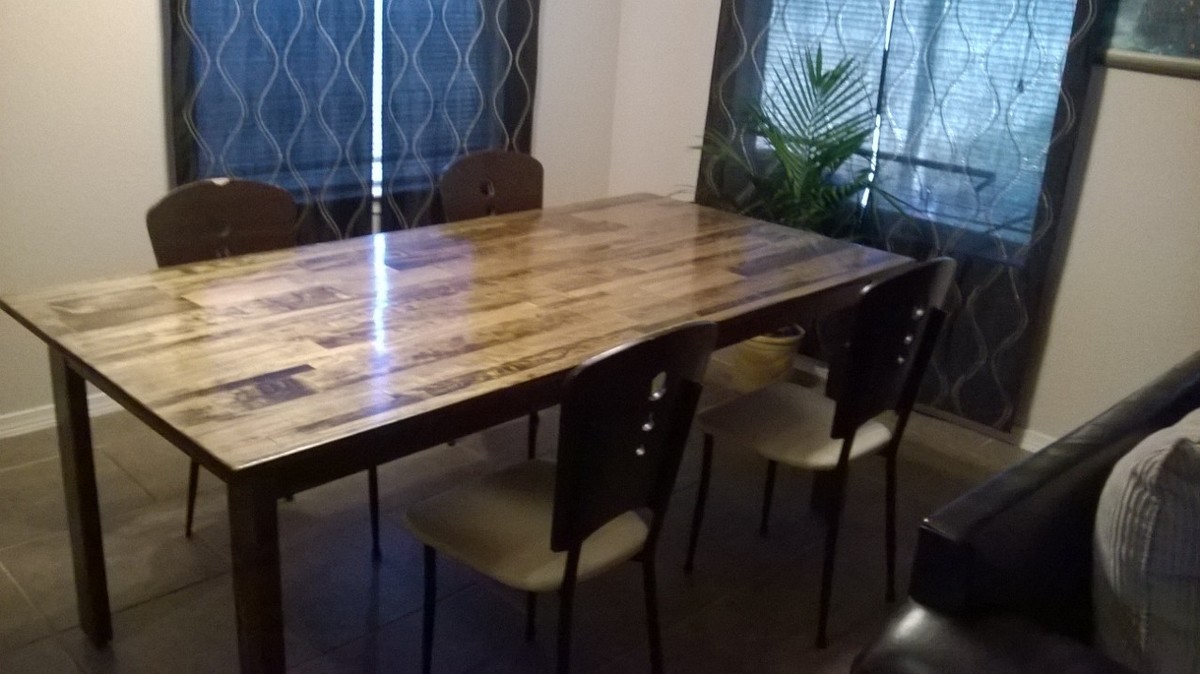
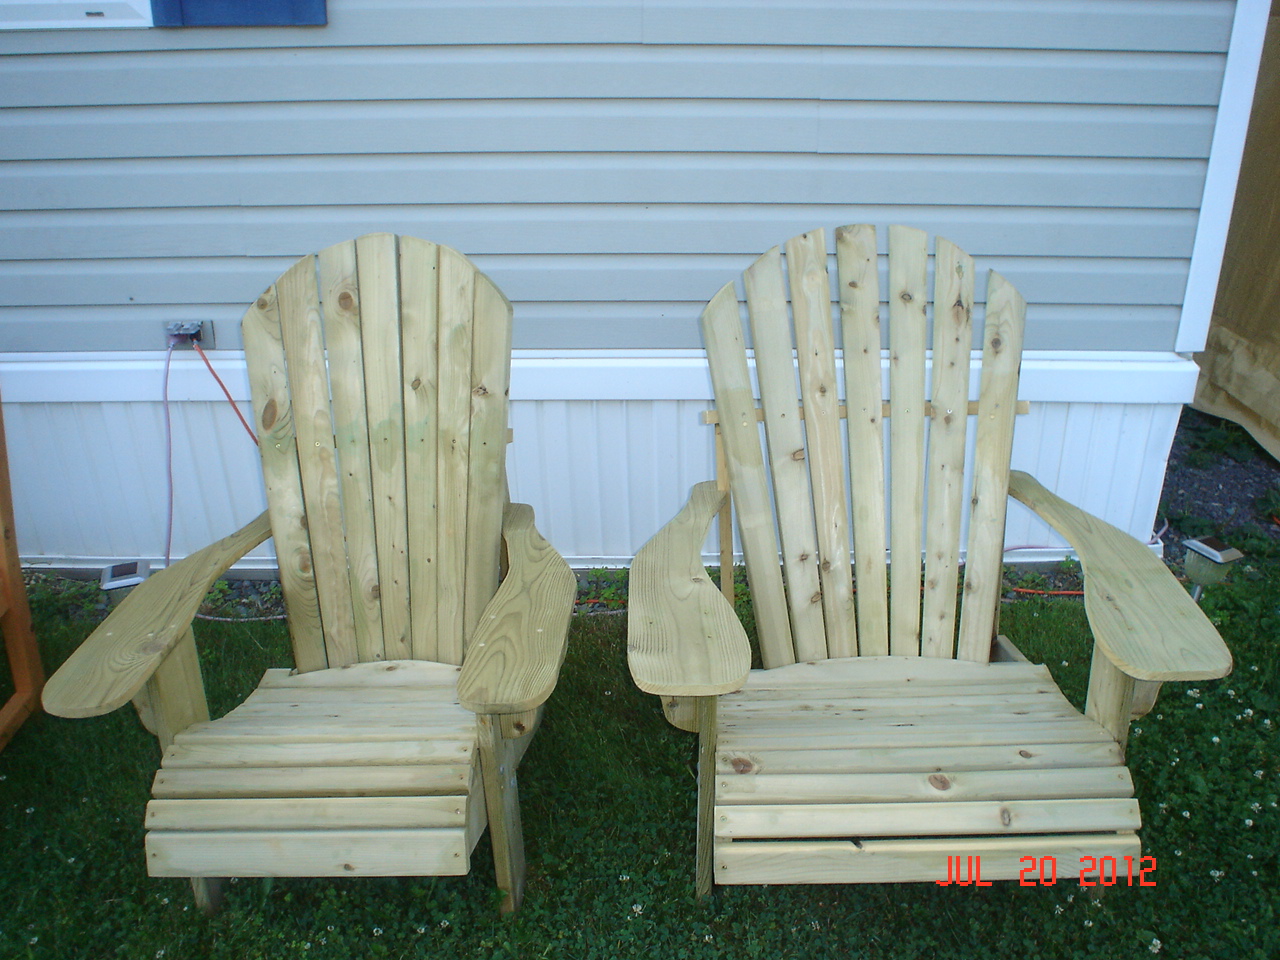
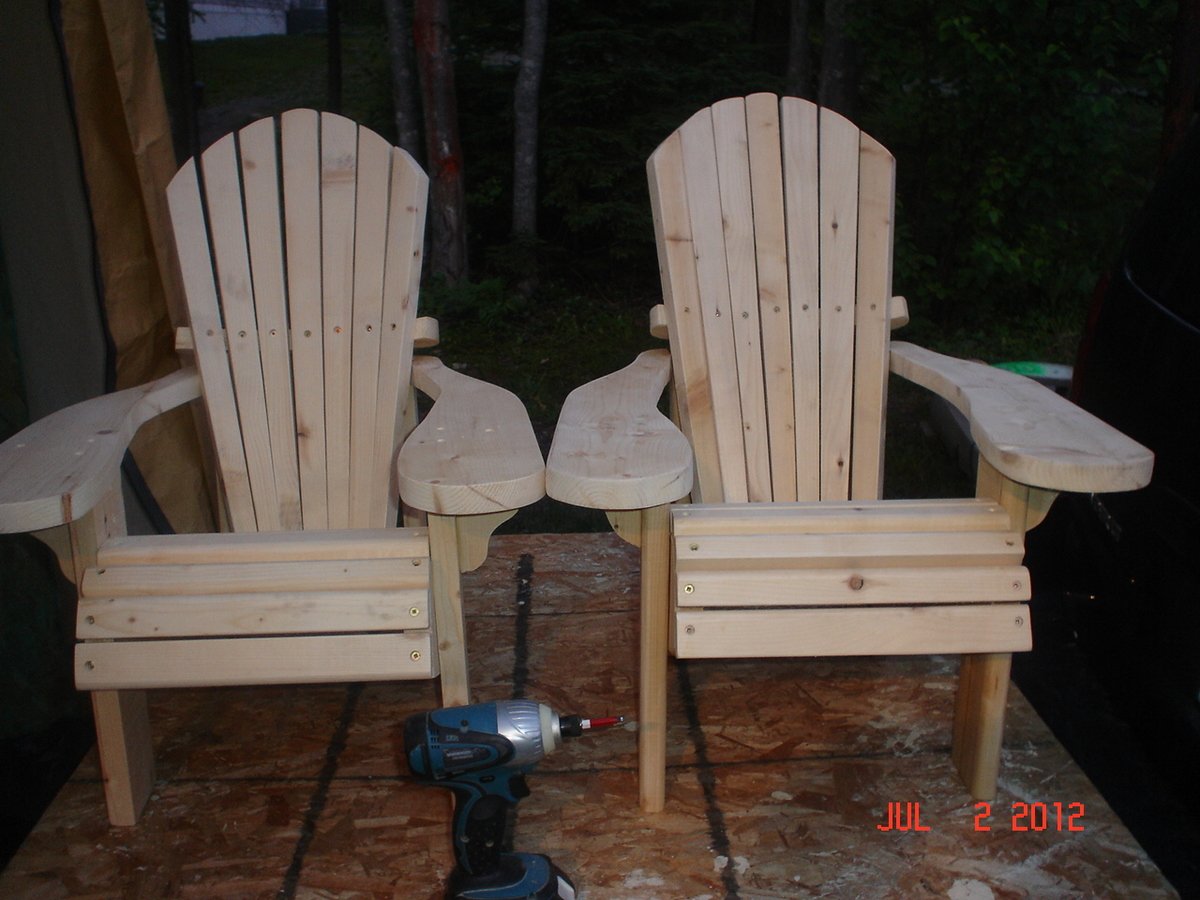
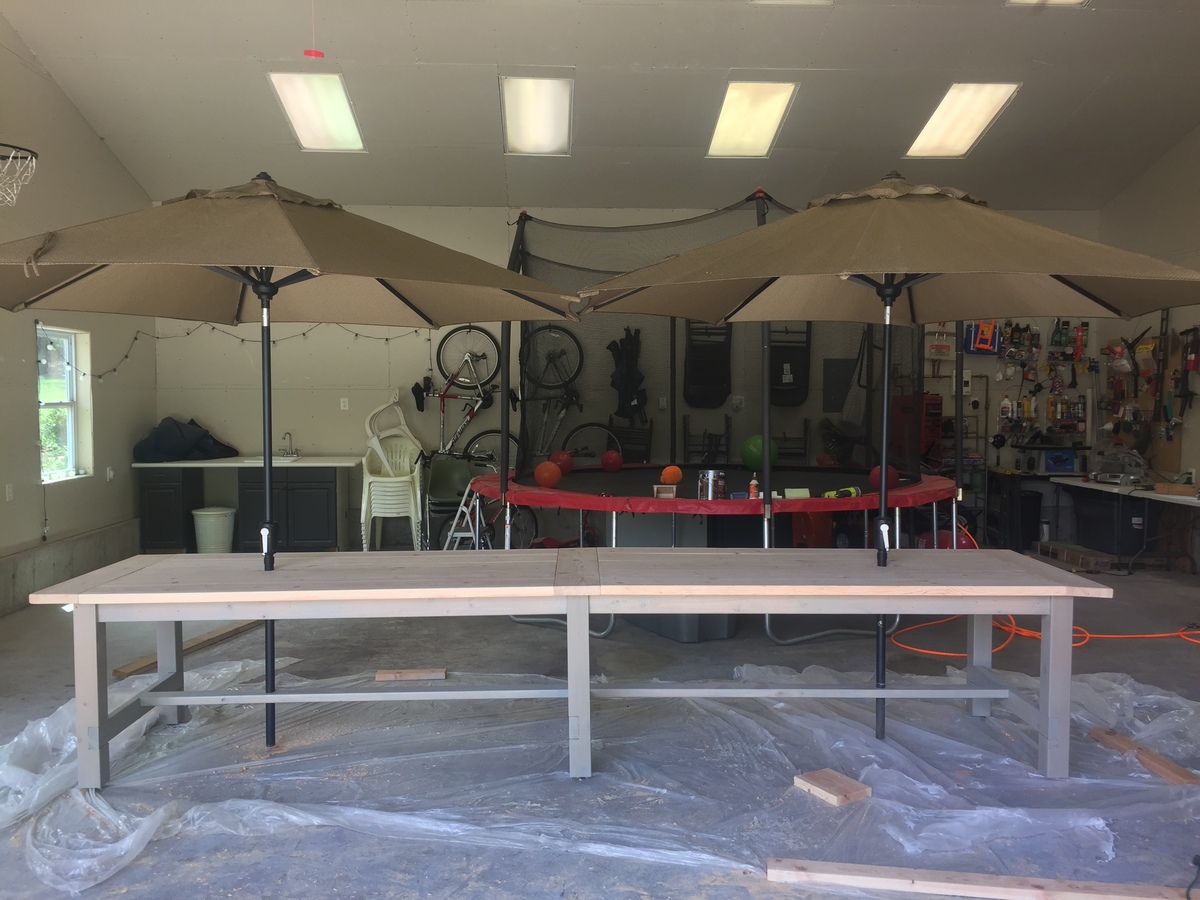
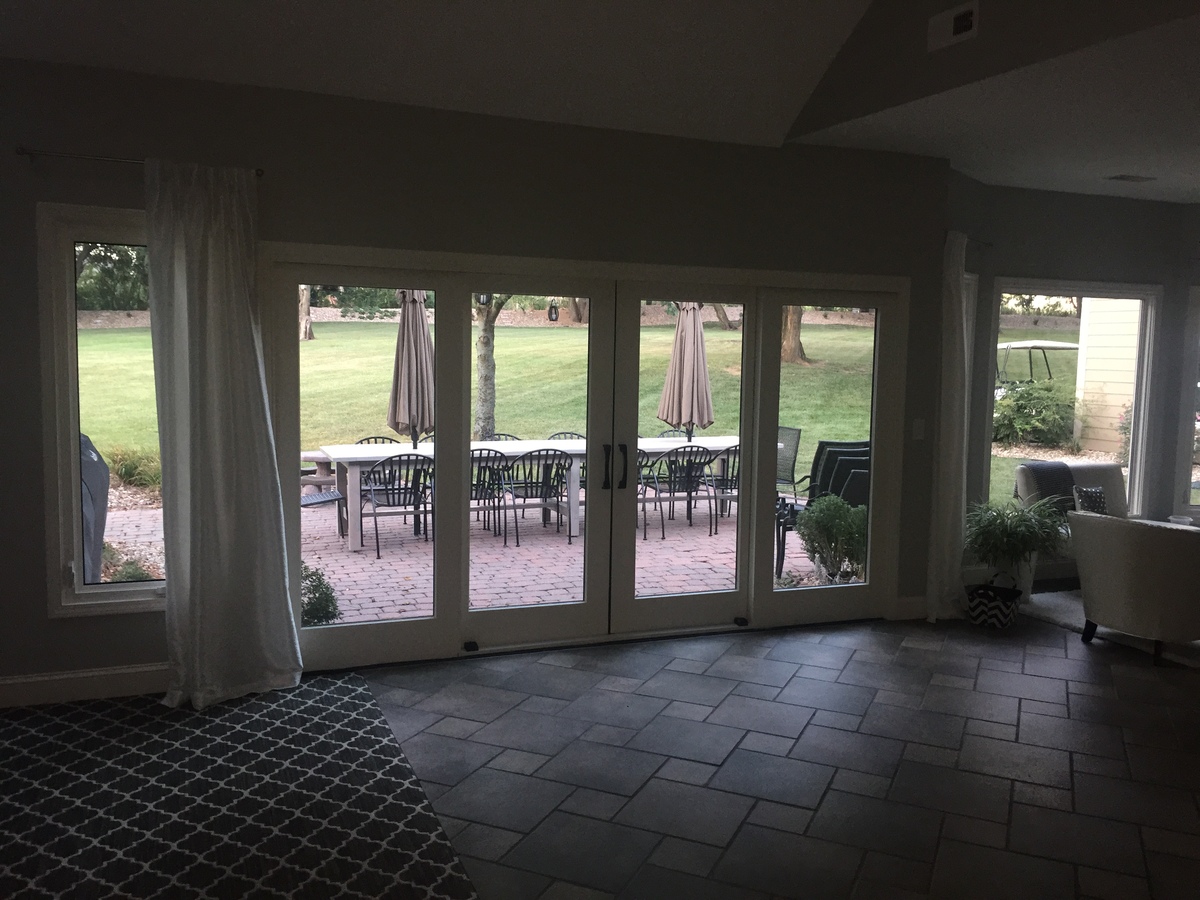
14 person farmhouse table
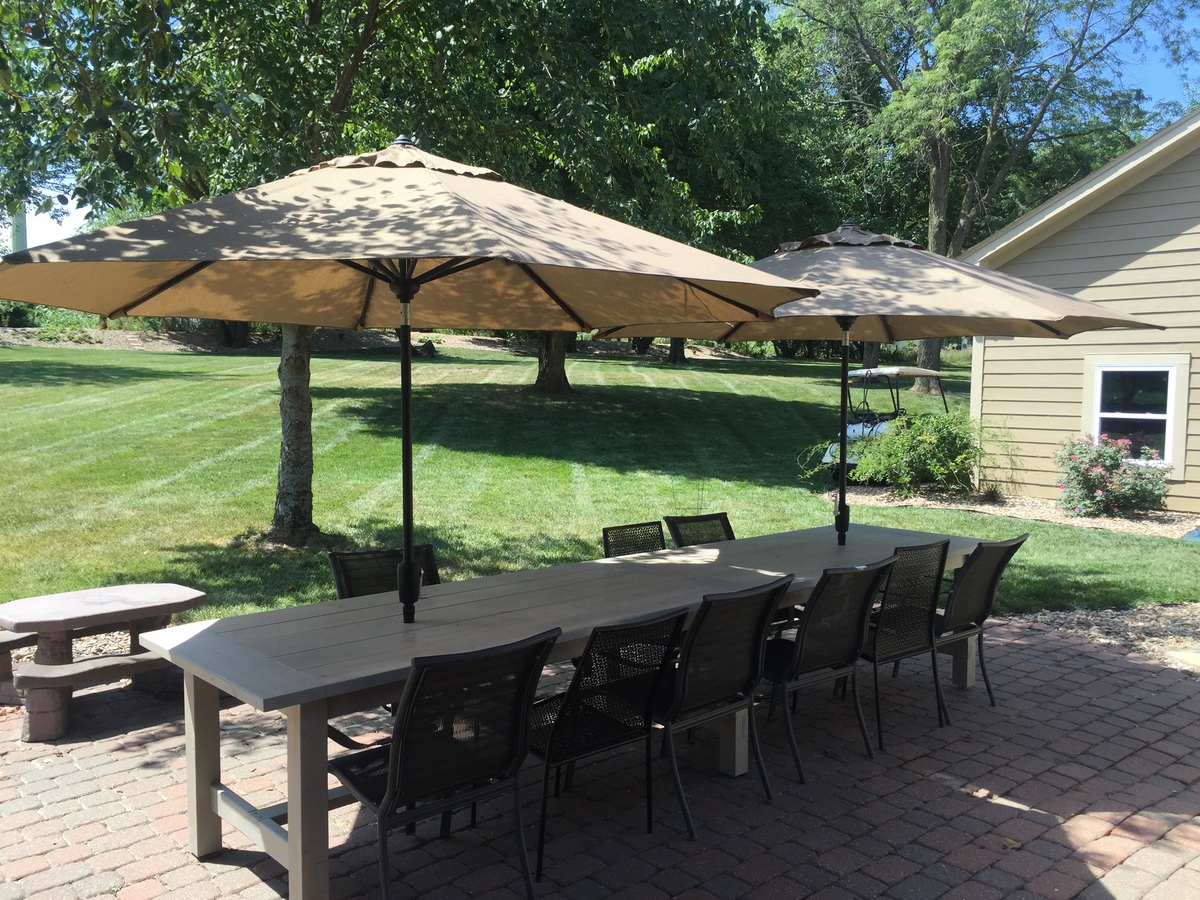
My wife wanted to seat 14, so I basically doubled the plan with a few extra inches on each side. We also wanted umbrellas, so drilled holes where they would just meet. The stain is the Behr semi-transparent deck stain and sealer in Harbor grey.
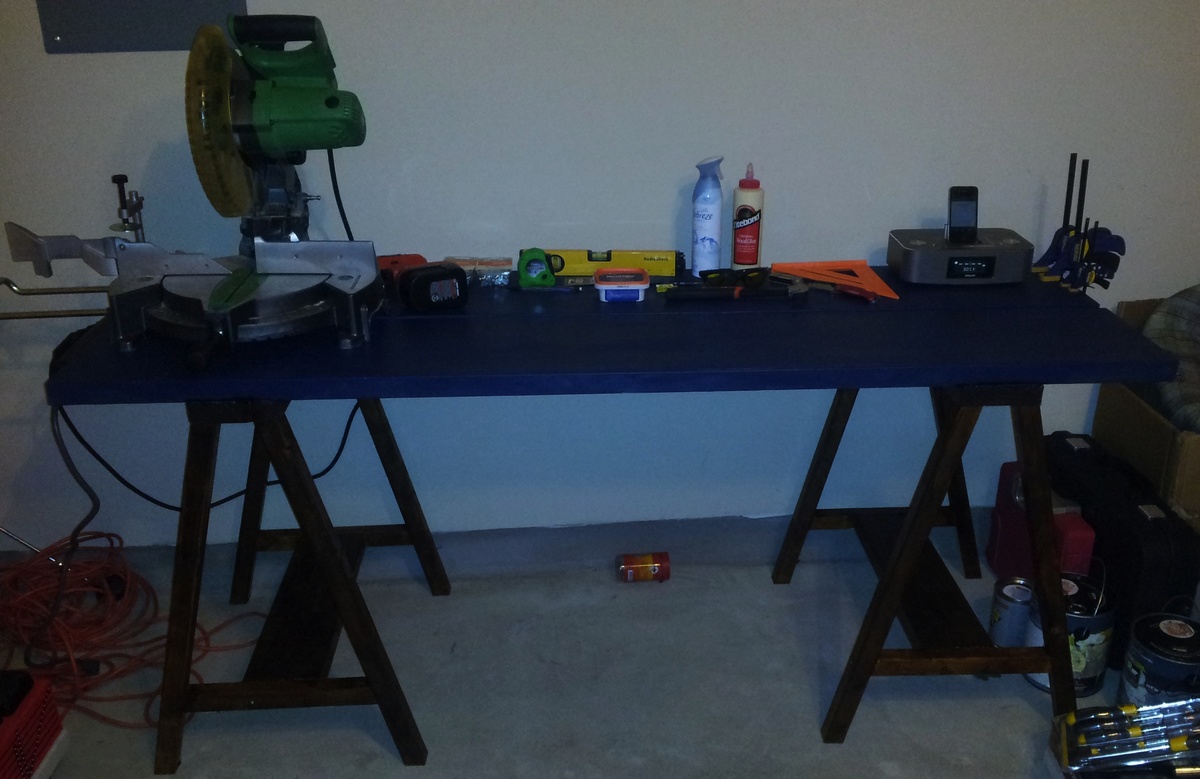
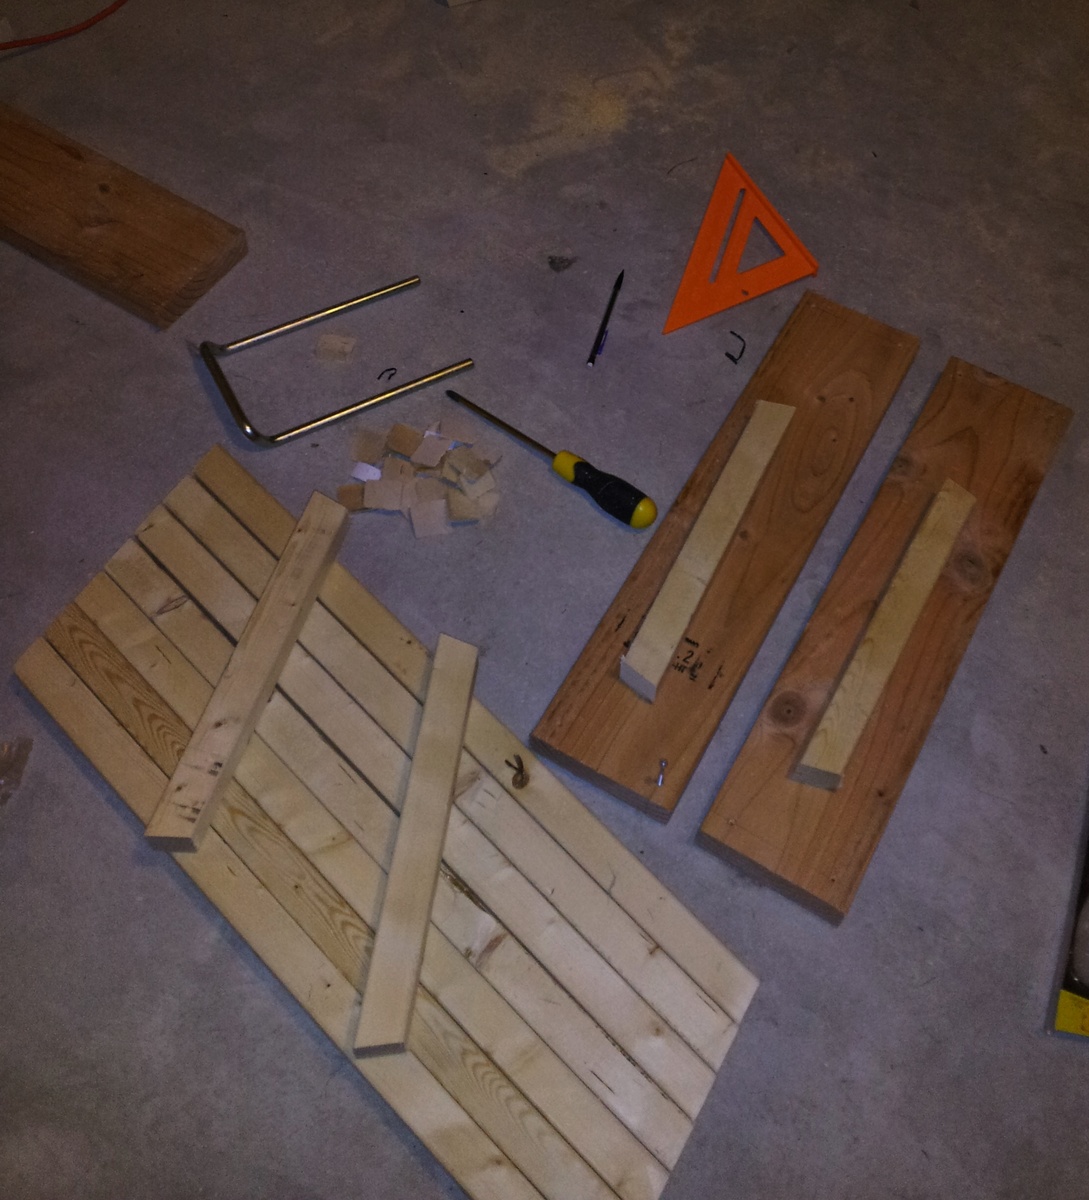
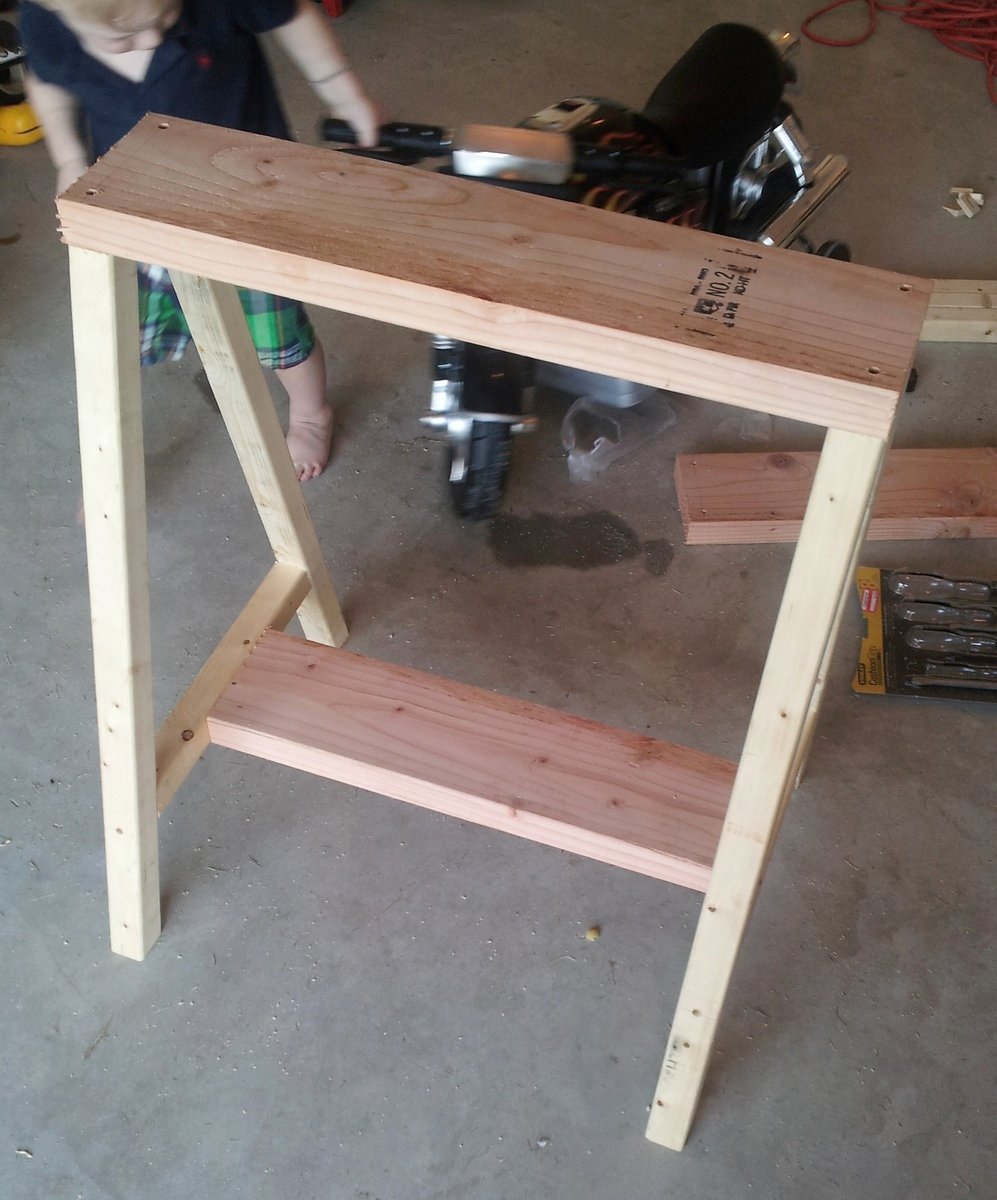
Estimated Time Investment
Weekend Project (10-20 Hours)
Recommended Skill Level
Beginner