Community Brag Posts

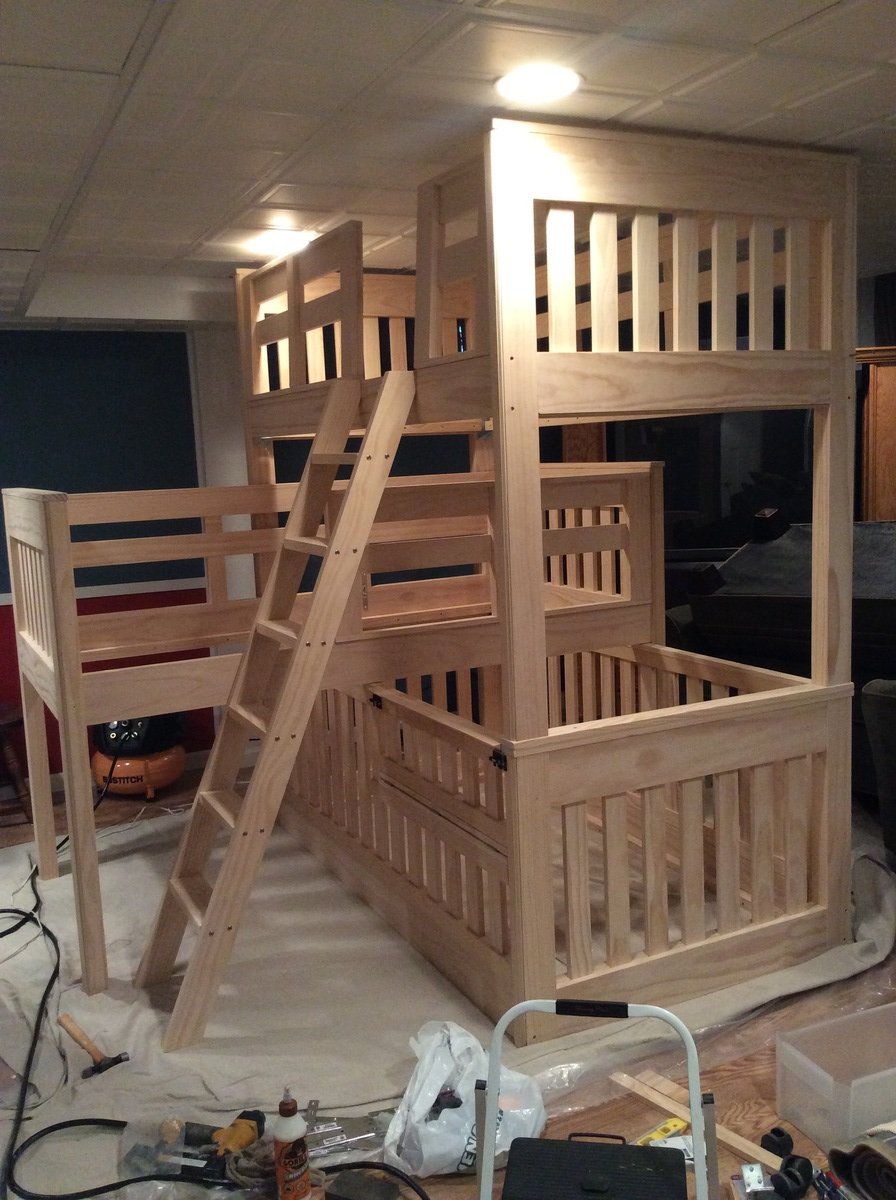
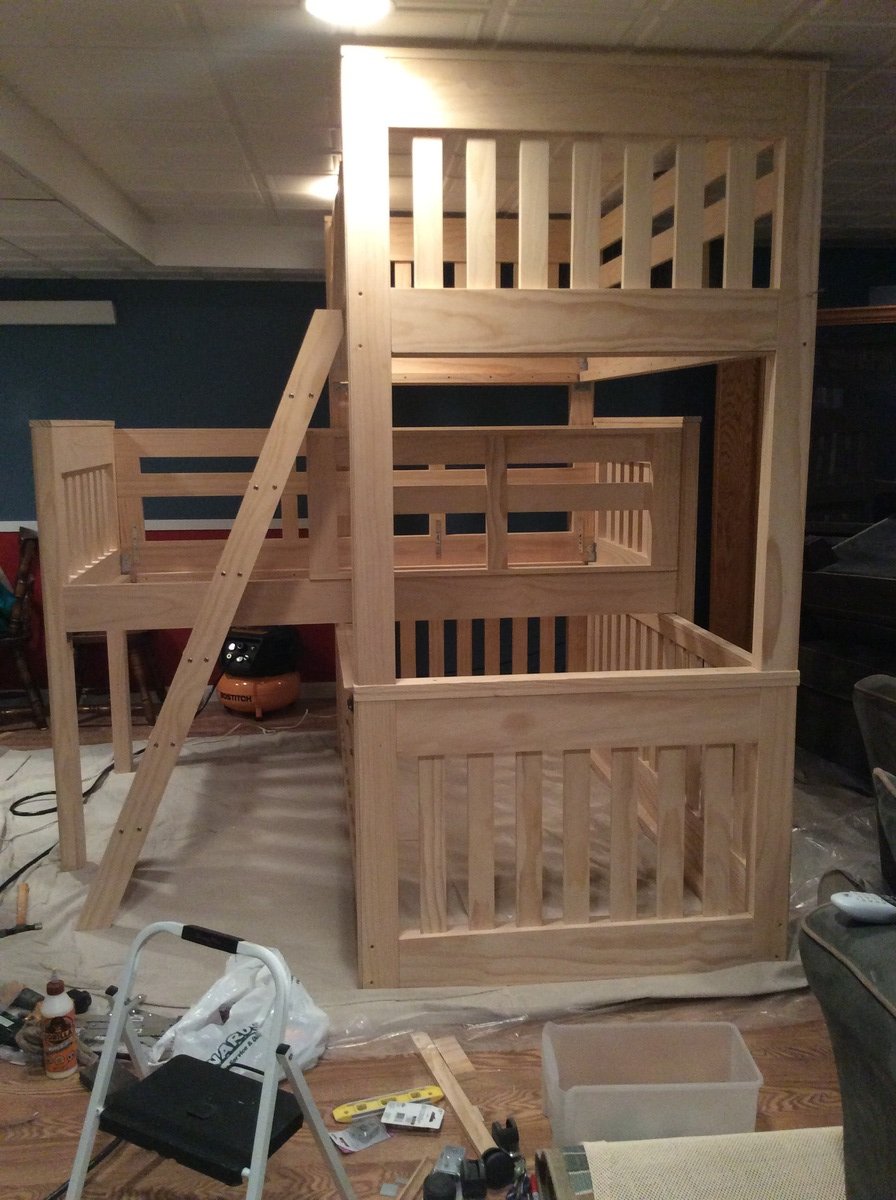
Triple bunk beds with crib

Submitted by lazlolaz on Sun, 06/07/2015 - 08:09

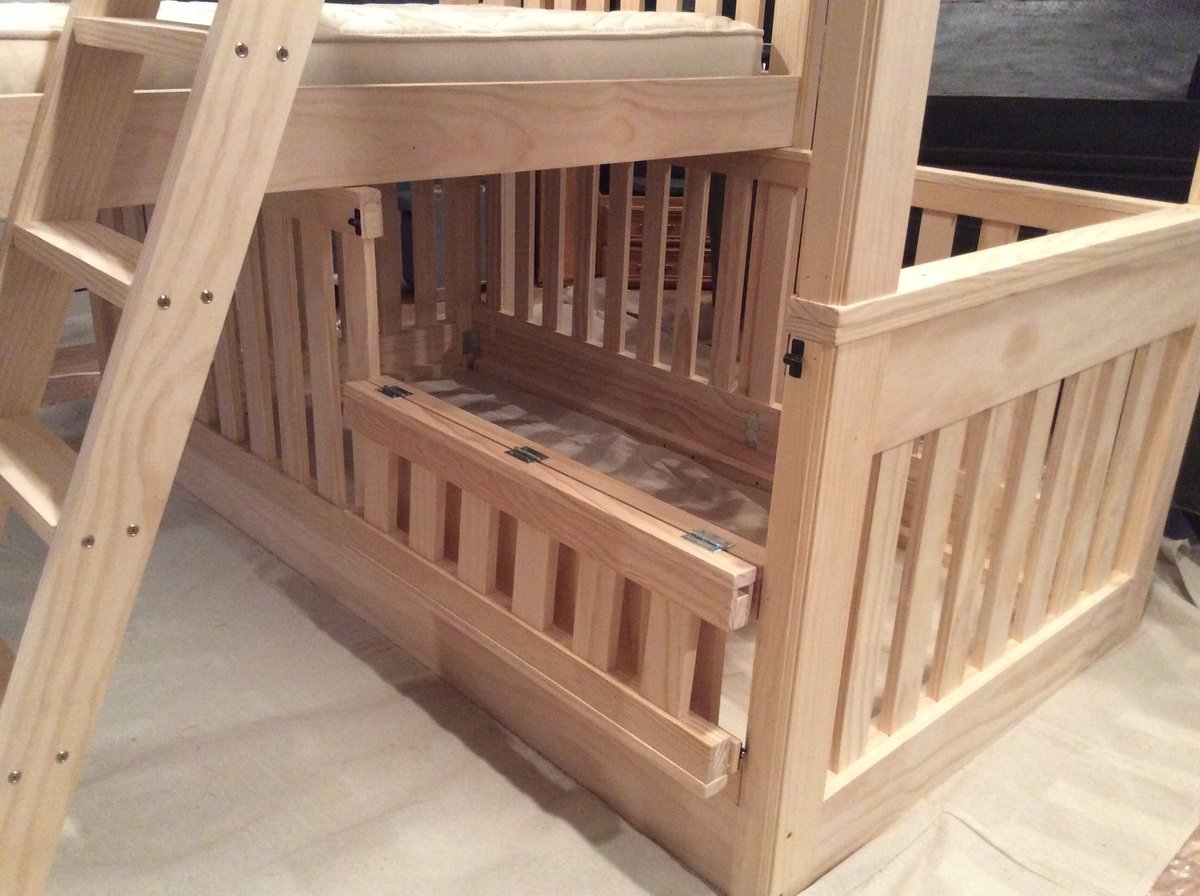
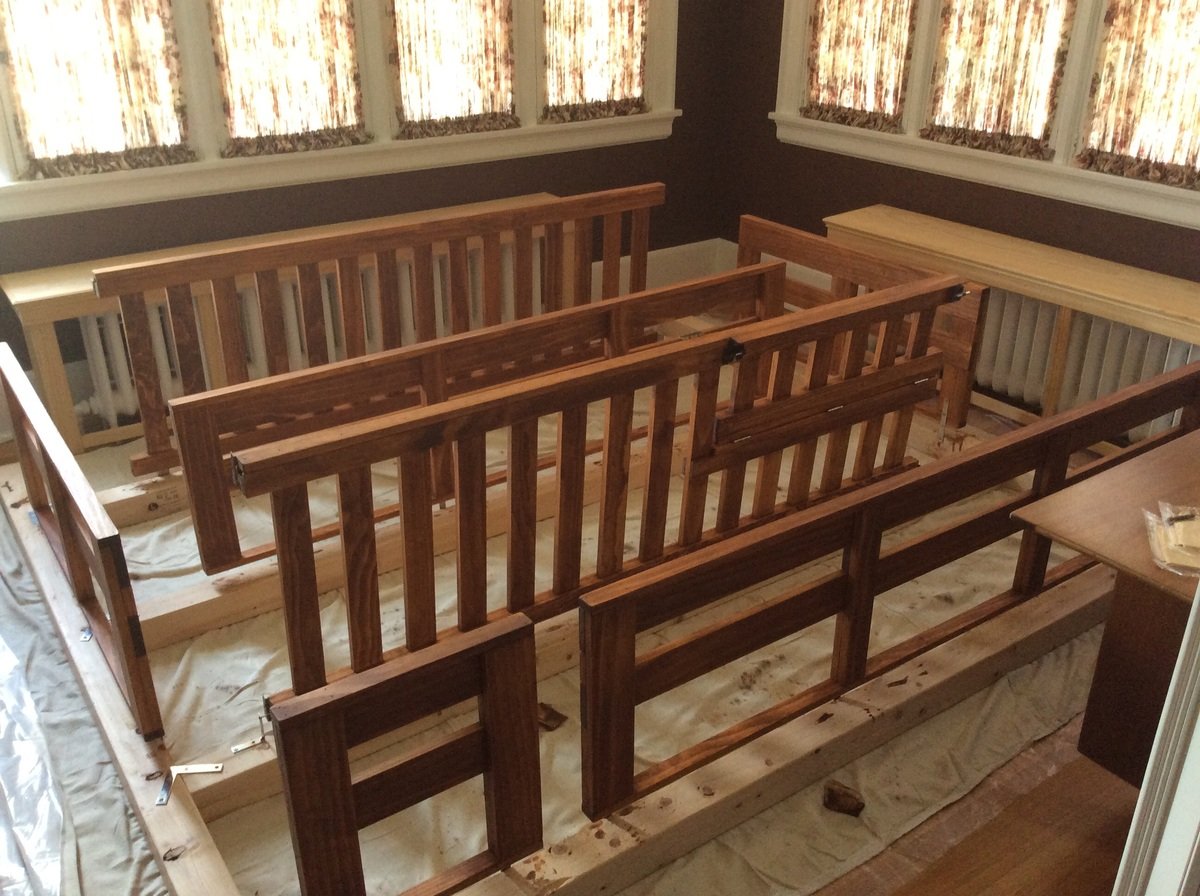
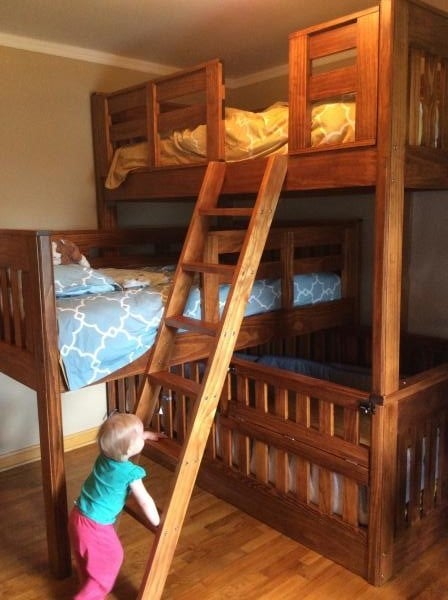
We needed beds for 3 children, one of which is 14 months old, in a small bedroom and with the simple bunk bed plan to start with I came up with this. The kids love it, although it took the 14 month old a few tries before she accepted the change from her regular crib in another room to this crib/bed and sharing a room with her siblings. Now it's all good!

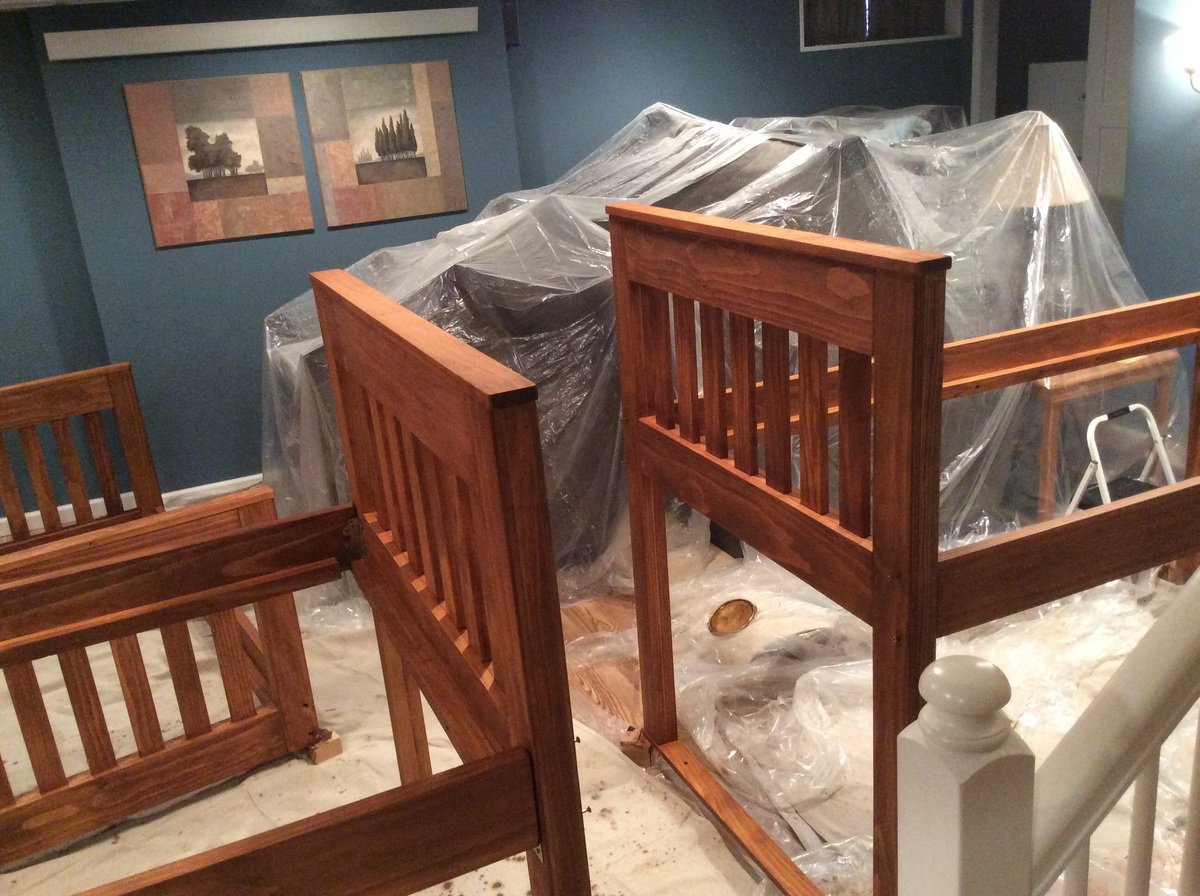
The beds can also be used separately. The top bunk and the middle bunk will stand 30 inches off the floor when used as separate beds, so like loft beds with storage space underneath for a dresser, reading nook, toys, etc. All side safety rails can be removed for unstacked beds as I finished them all separate from the beds. The bottom "crib" bed side rails can also be removed for single bed. At this point it would just sit on the floor as a single bed also but I may come up with some sort of feet to get it up off the floor when the time comes. They really wanted this set of bunks to be able to be used separately also. The fold-down portion of the "crib" side rail was designed to give easier access for changing sheets, etc. for the "crib". This "crib" bed also uses a regular twin mattress.

Estimated Time Investment
Week Long Project (20 Hours or More)
Finish Used
Oil based Stain and wipe on varnish.
Recommended Skill Level
Intermediate

Comments

YoshiMama

Wed, 11/23/2016 - 08:45

I have three boys (youngest is 10 months right now) and we're getting these built for us this summer. How did the baby take to it? Also, How tall was the bunk. I'm thinking about ceiling height.

cwoitas26

Fri, 05/01/2020 - 12:50

Thank you for this idea! We have special needs son who won't stay in bed unless he has a rail. Now that he is 7 this might work. Keep him with his brother in the same room too.

The link for the plans is not the same bunk bed. Is there another set of plans or do I need to just improvise based on the photos?

Thanks again!

Fancy X farmhouse coffee table

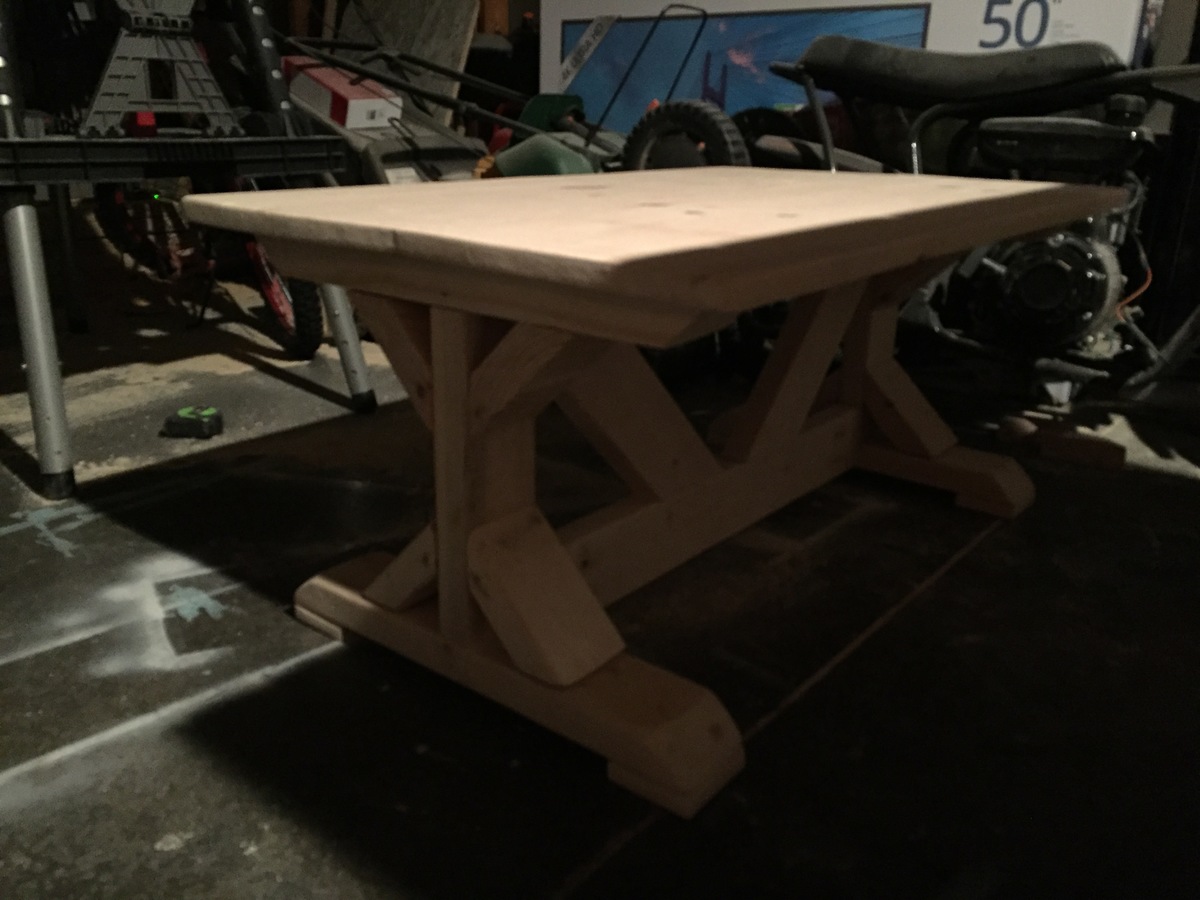
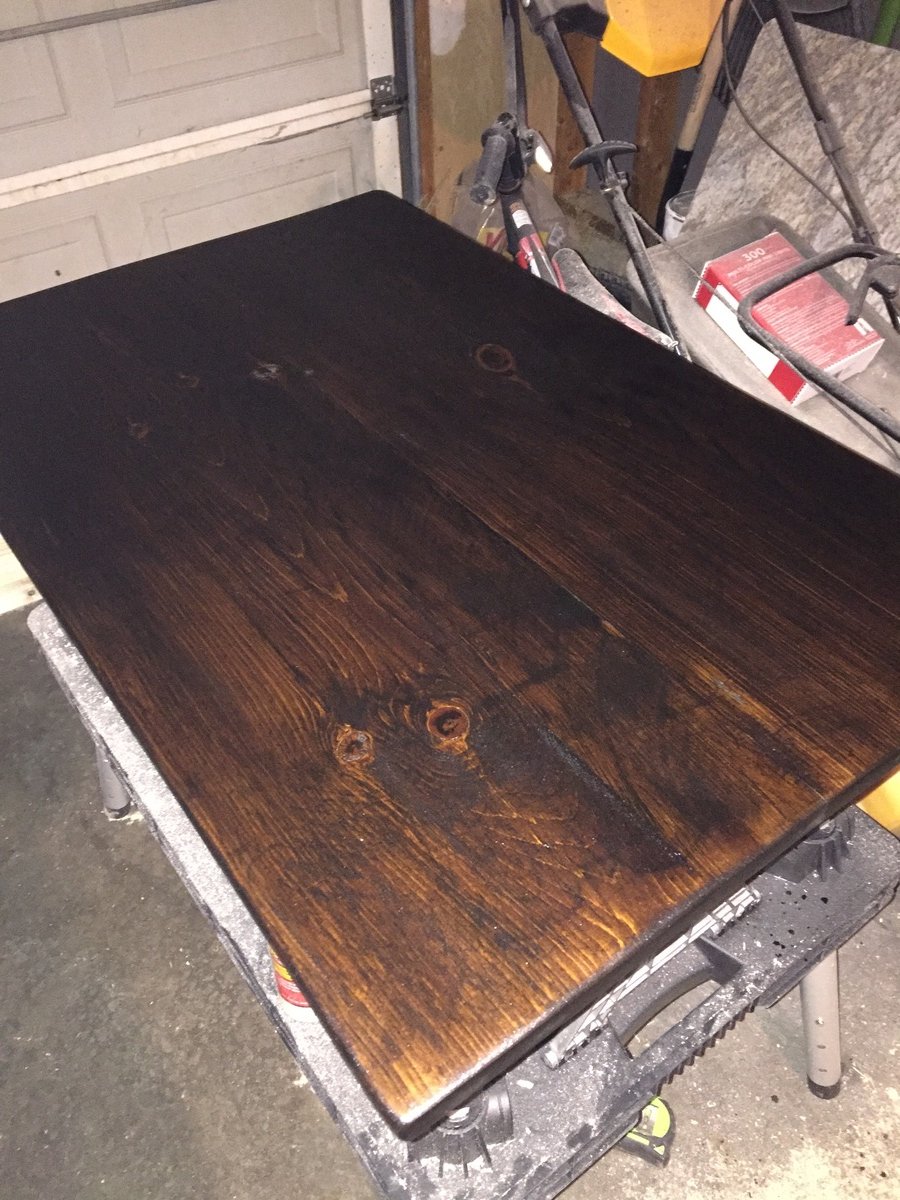
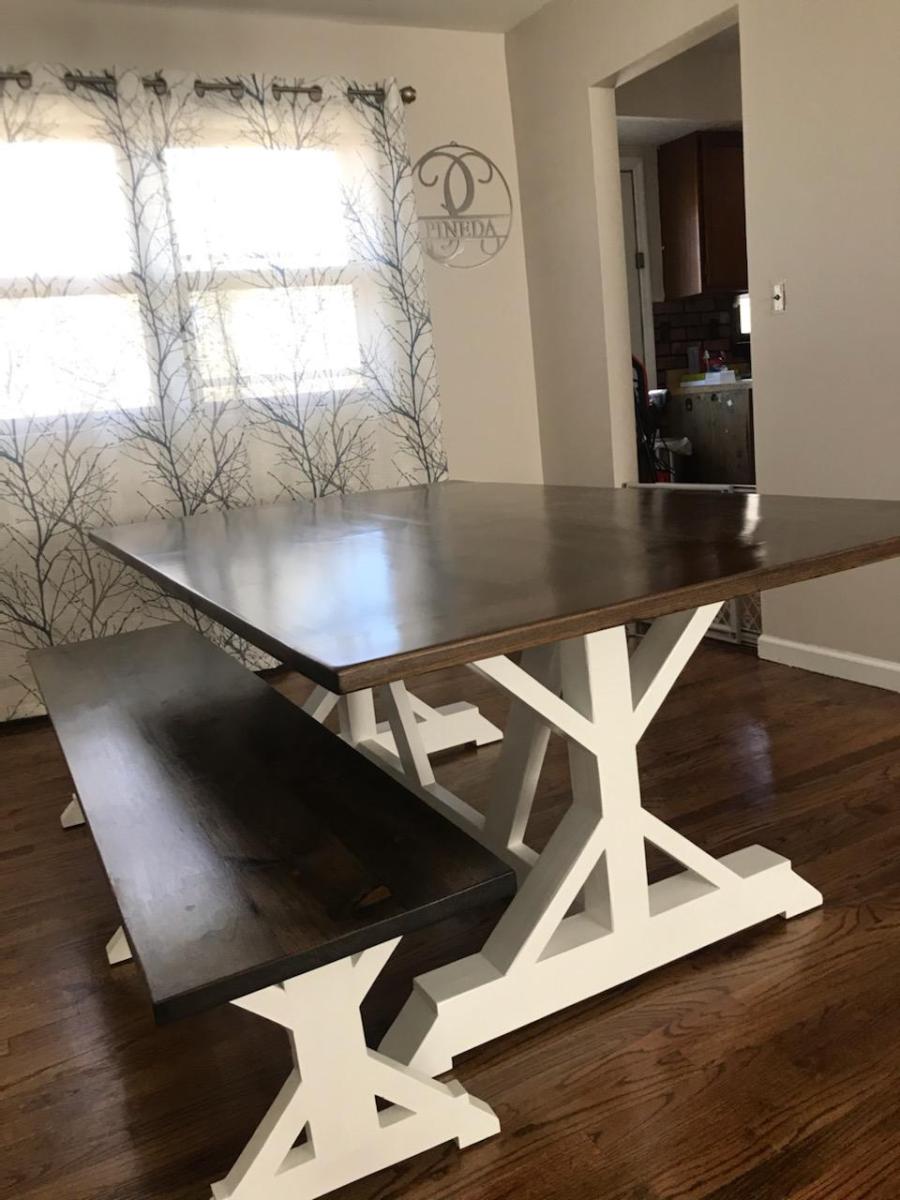
It’s not done yet, but I wanted to share my coffee table with y’all. I made it with the same proportions as Ana’s fancy x kitchen table just 3ft wide and 16 inches high. It’s going to be the same finish as Ana’s too. Dark walnut with satin polyurethane.

Built from Plan(s)
Estimated Time Investment
Afternoon Project (3-6 Hours)
Finish Used
Dark walnut
Recommended Skill Level
Beginner

Comments

Covid projects

Submitted by Anonymous (not verified) on Sun, 12/26/2021 - 14:58

Merry Christmas Ana, Just a few of my projects inspired by your great work. I have no carpentry experience other than shop class 40 years ago. Love doing wood work thanks to you.
Happy New year Mikw

Comments

Dresser with Open Bottom Shelf for Changing Table

Submitted by karahart on Wed, 04/27/2011 - 13:46

My husband and I built this dresser to use as a changing table in our daughters nursery. I explain the build process (with photos) in this blog post : http://mekhart.blogspot.com/2011/03/nursery-room-biggest-build-yet.html and the finishing process in this blog post : http://mekhart.blogspot.com/2011/04/nursery-room-finished-dresser.html . I'm so thankful to Ana...I love that almost every element of her nursery is home made!

Estimated Cost
150
Estimated Time Investment
Week Long Project (20 Hours or More)
Finish Used
Paint with a whitewash over top and glazing on the edges. To see more details on how to replicate this finish, check out my blog post here : http://mekhart.blogspot.com/2011/04/nursery-room-finished-dresser.html .
Recommended Skill Level
Advanced

Hubby's First Build

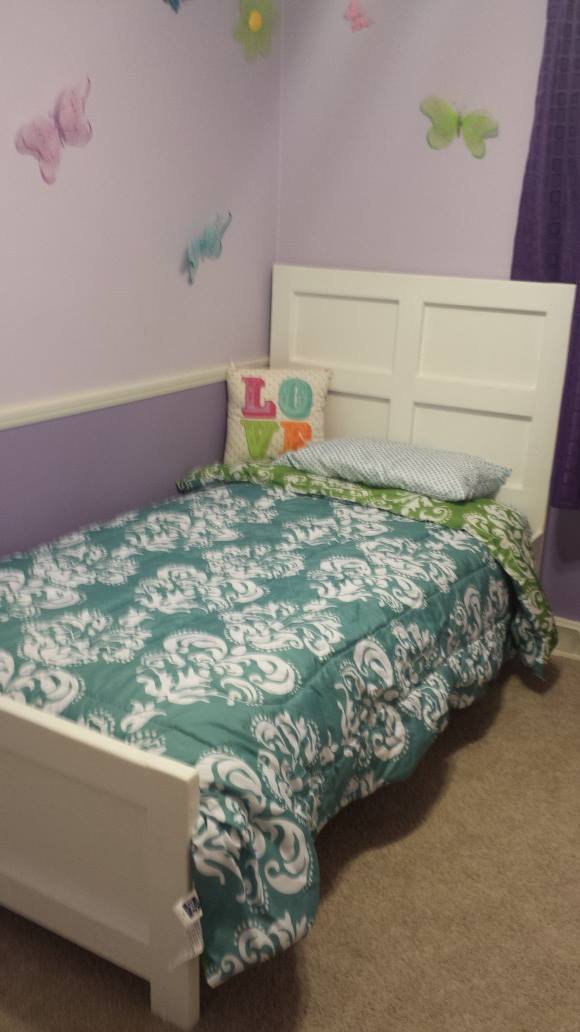
After searching and searching for a decently priced bed for our two year old and failing to find anything that I liked under $400, I decided to do a google search and came across the directions for the Emme twin bed. I loved the design and the color of the stain in the instructions but had to go with white as everything in our toddlers room is white. My husband said the instructions were simple to follow. I think he did a wonderful job for his first time ever building anything. Not to mention my little girl loves the bed. Thank you Ana!

Estimated Cost
100
Estimated Time Investment
Weekend Project (10-20 Hours)
Finish Used
Dutch Boy Dura Clean Paint in Moonlit Snow
Recommended Skill Level
Starter Project

Comments

vpihoney

Tue, 03/11/2014 - 07:49

Hello - Your bed looks great! How did you attach your rails? I'm at this point in the build and trying to figure out the best option as my bed brackets aren't fitting.

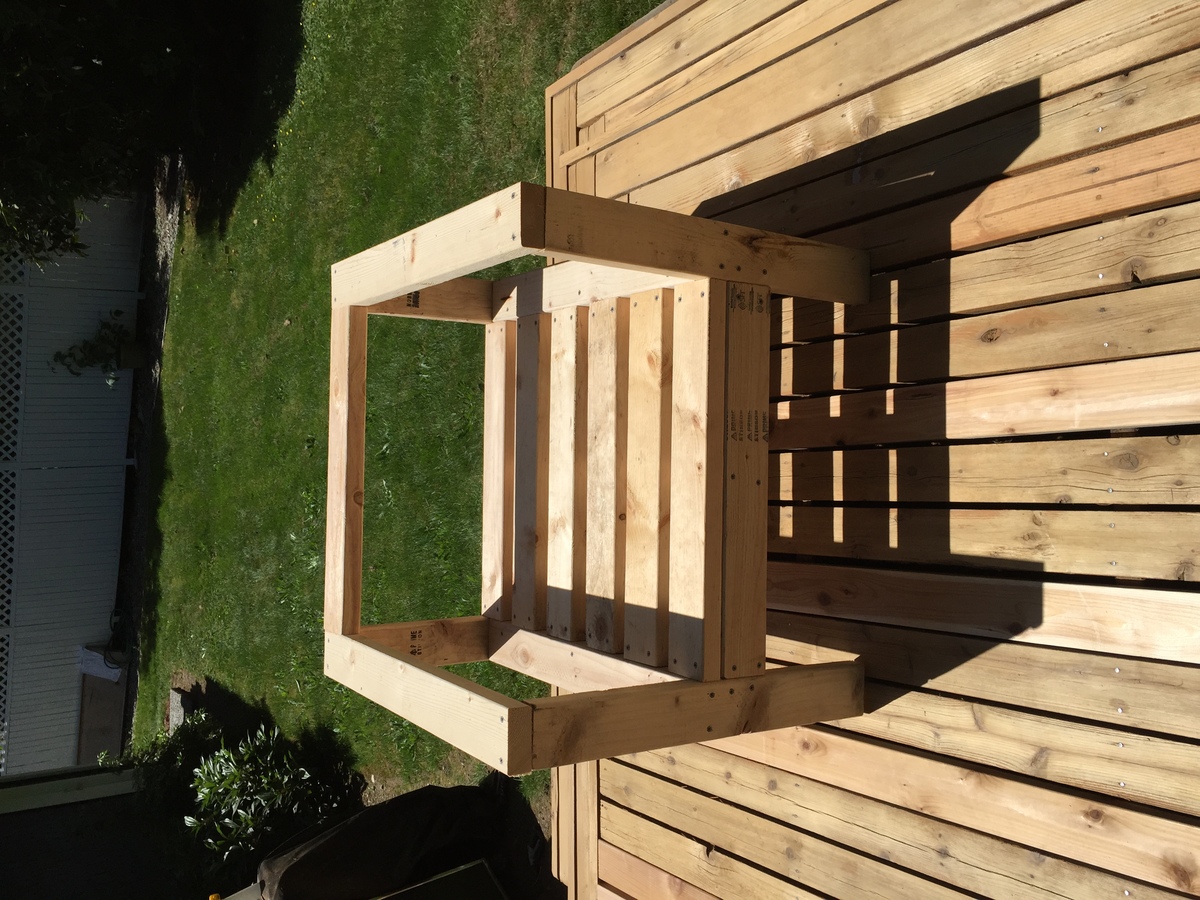
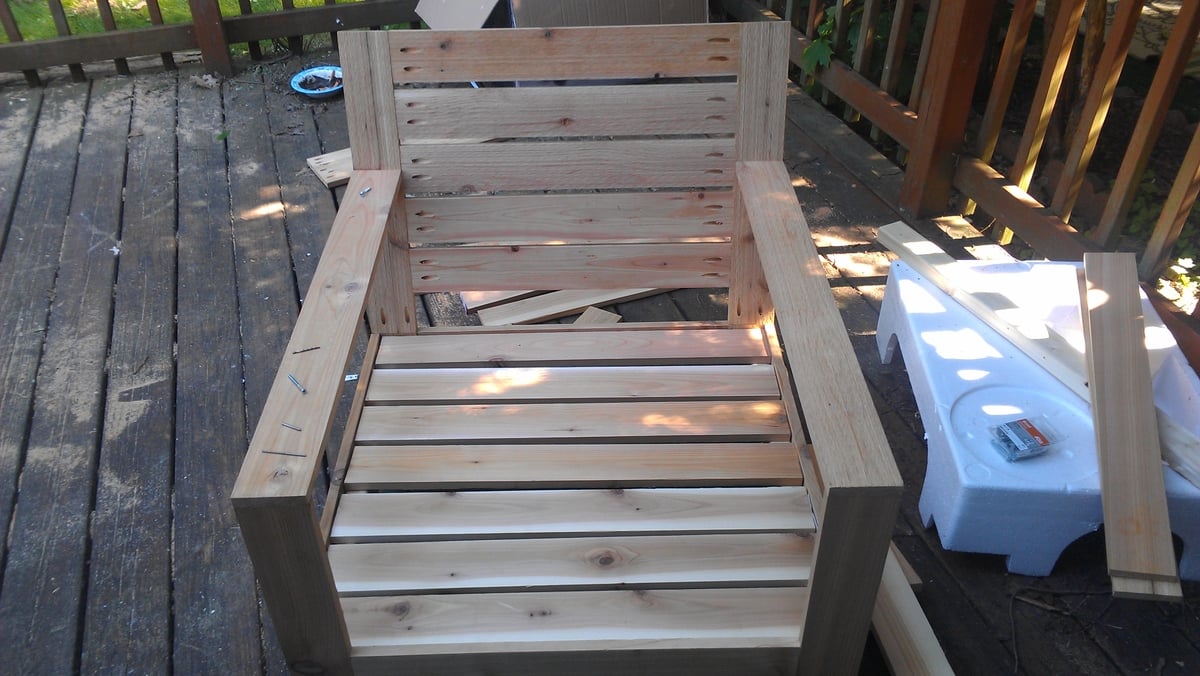
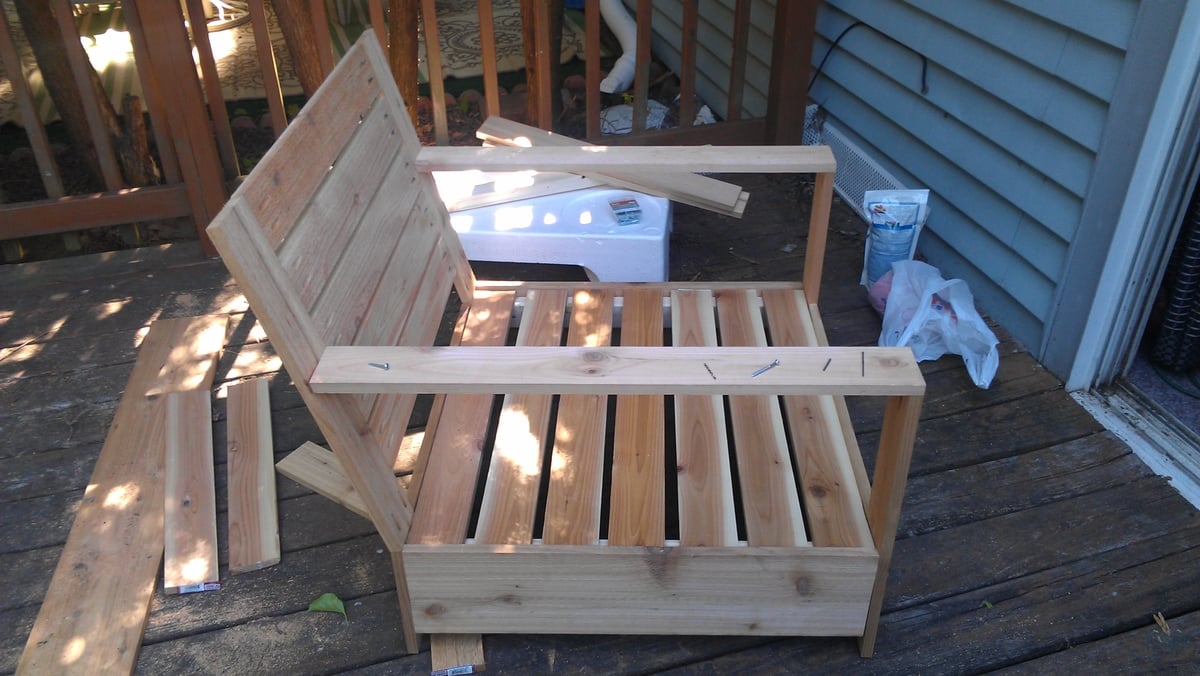
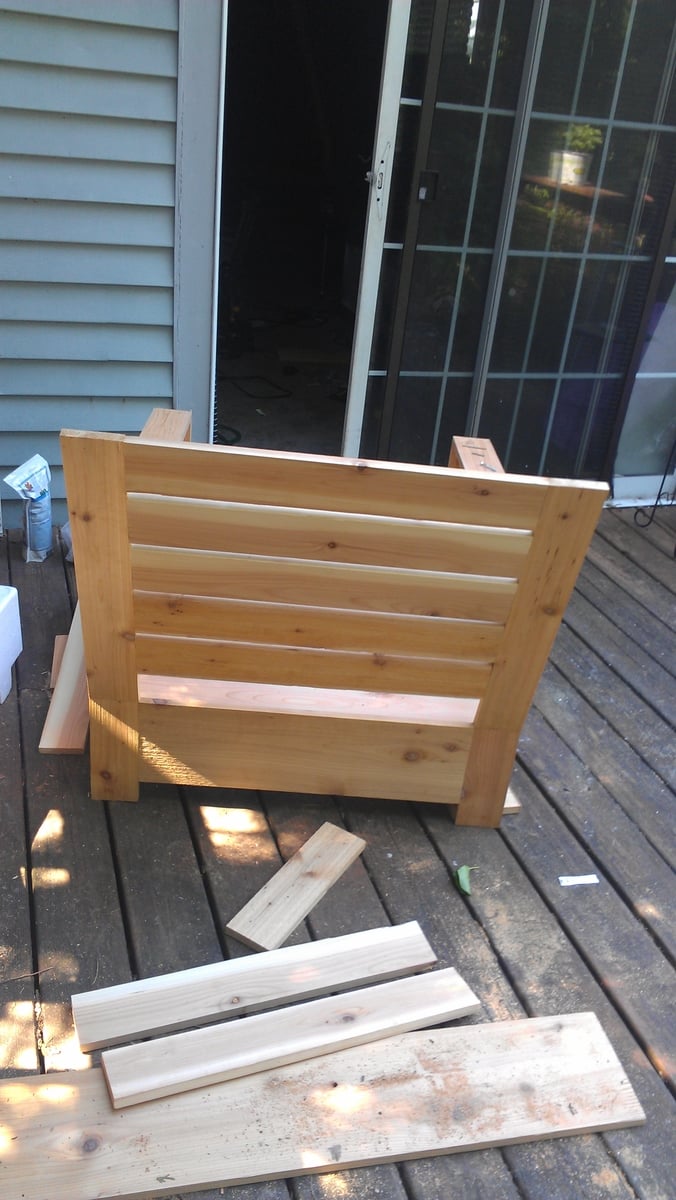
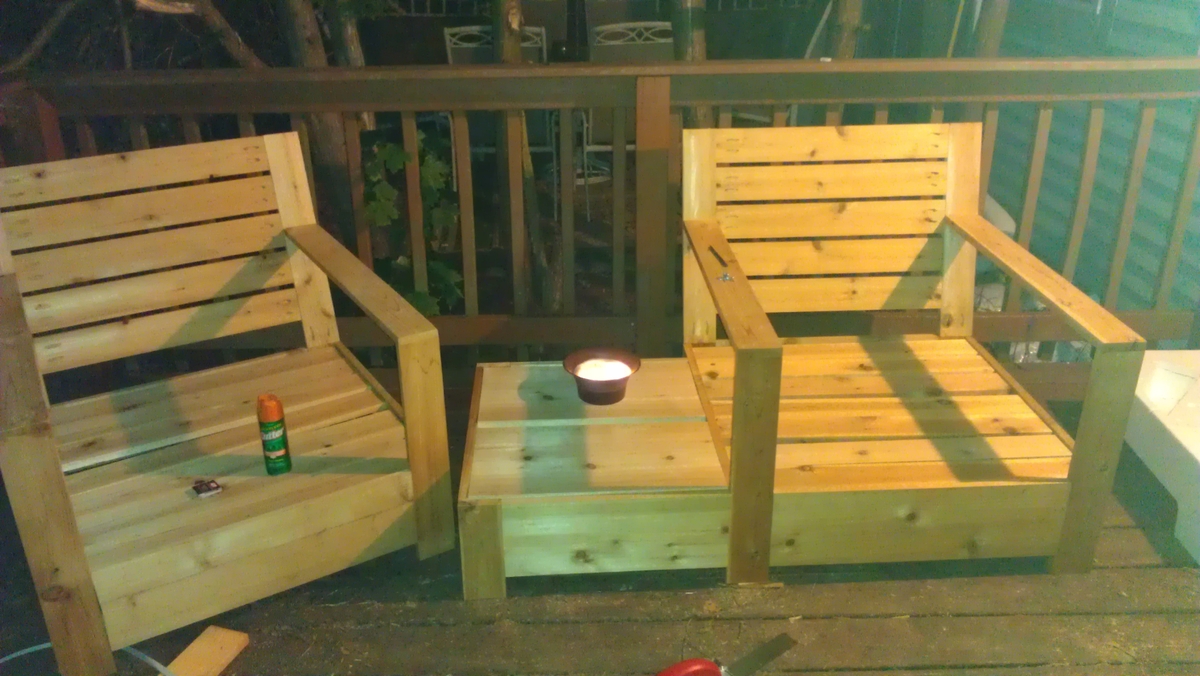
Modified version of the 2x4 outdoor sofa

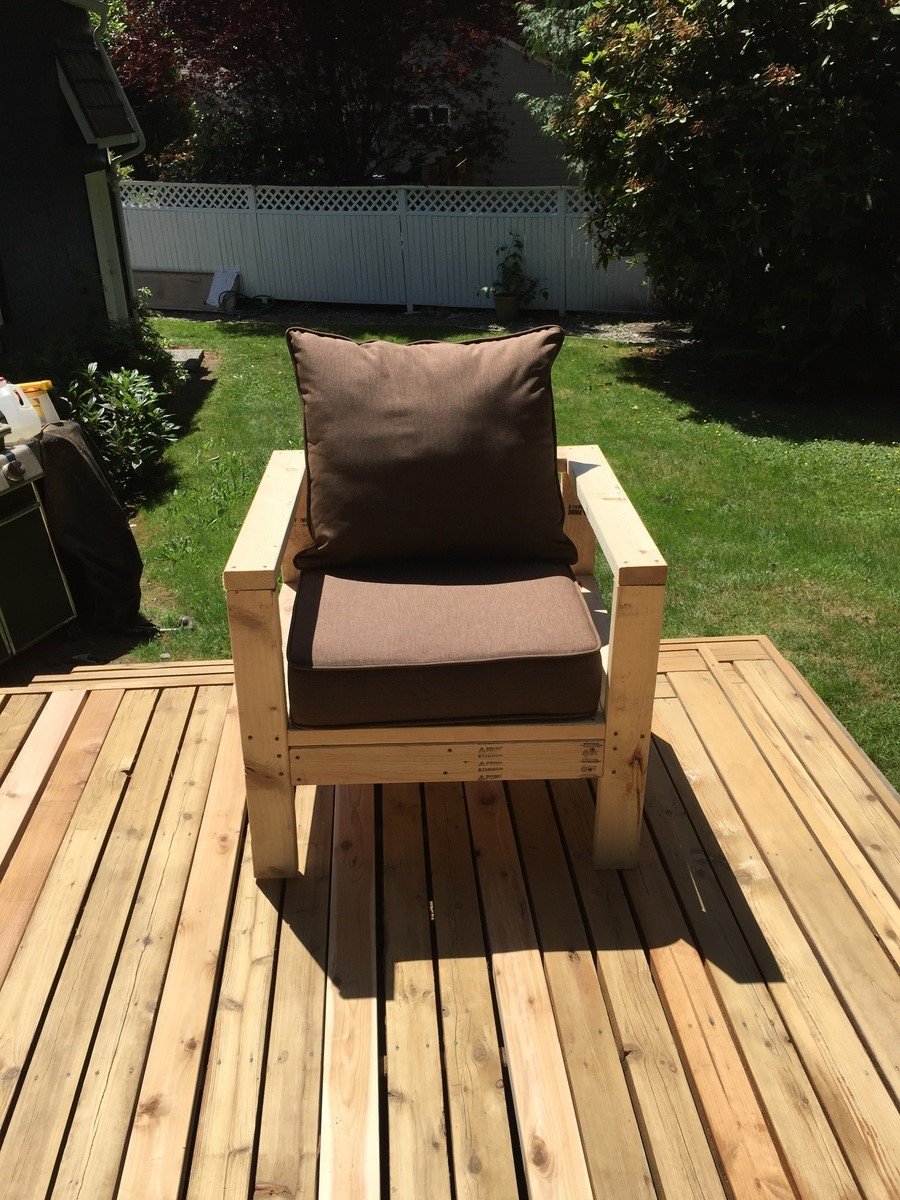
Clearly, not done with my project yet (sanding, priming/painting) but I was so excited I wanted to share right away. I've been checking Ana's site for about a year now and never had the courage to build anything... until today - I am thrilled I did. I had some cheap 2x4's studs at home so if I failed, no big waste of money. To my surprise... this was incredibly easy to build and that seat is sturdy. I modified the plan and intend to build 1 more chair and 1 sofa that accommodates 2 people. Thank you Ana! Amazing site and now I am so much more confident on my ability to build beautiful projects myself :)!

Estimated Time Investment
Afternoon Project (3-6 Hours)
Finish Used
Not finished yet - but will use deck solid stain (Behr) all in one from the Home Depot.
Recommended Skill Level
Beginner

Bristol Lounge Chair

Submitted by bruno3288 on Fri, 06/28/2013 - 07:29

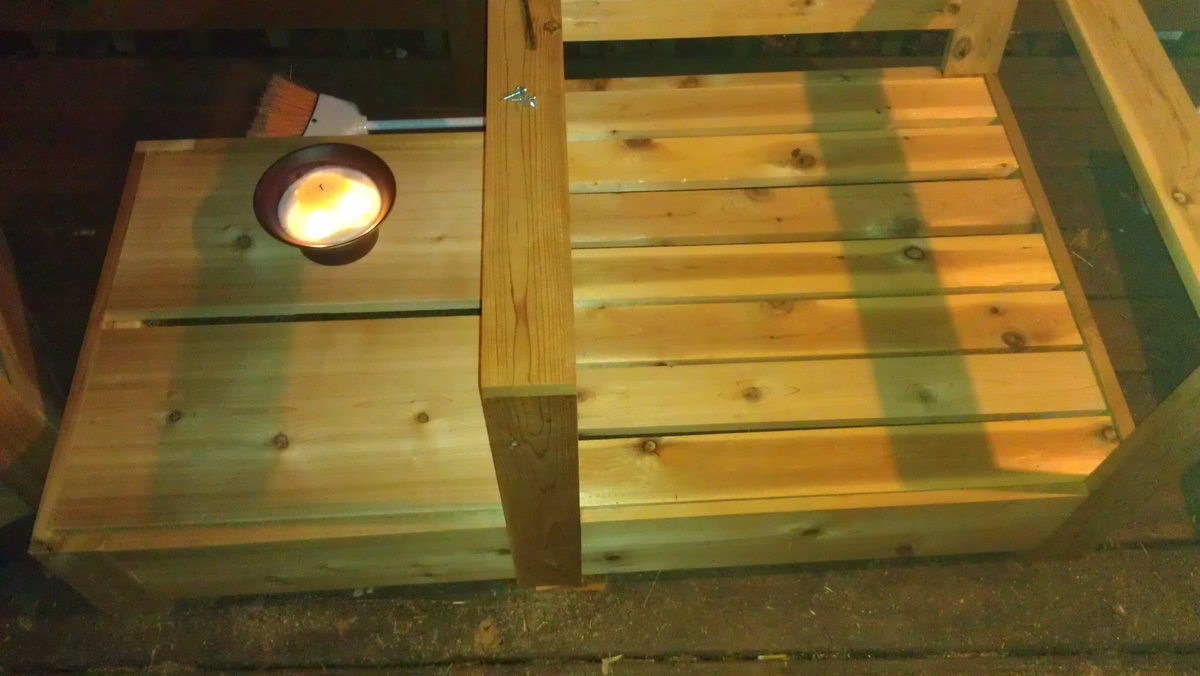
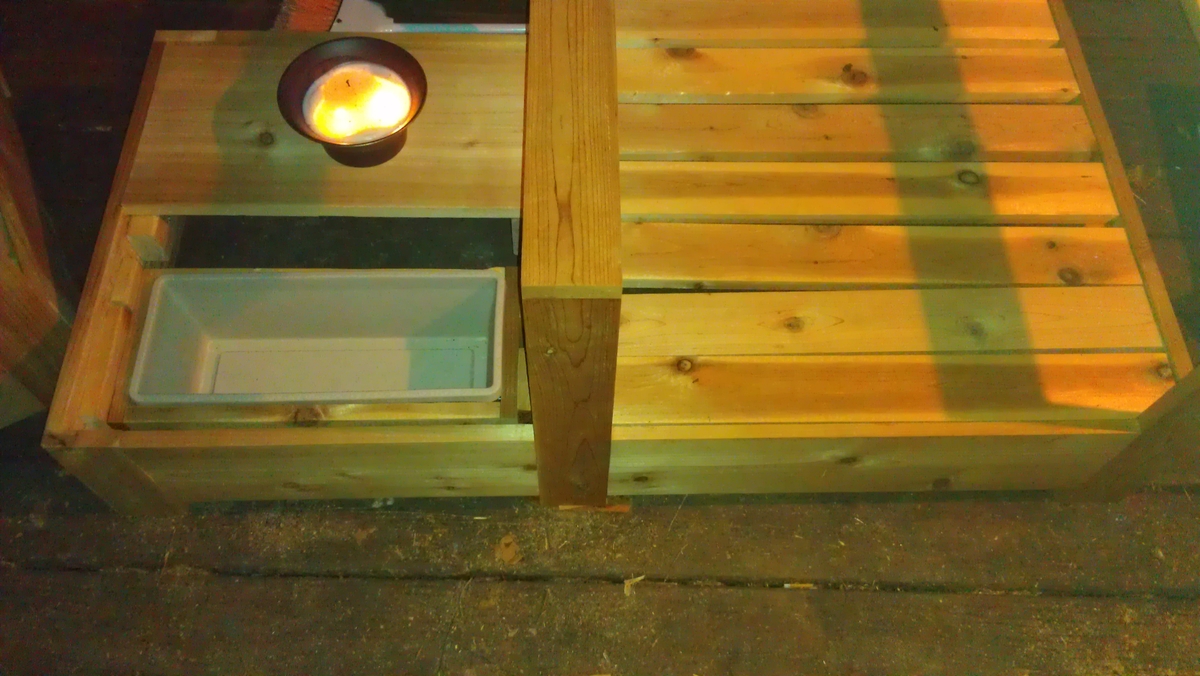
Bristol chairs with an attached side table. I added a planter box under one of the boards to fill with ice and beverages.

Estimated Cost
60-65
Estimated Time Investment
Day Project (6-9 Hours)
Finish Used
None as of yet but that is only because I have to sand some of the other boards.
Recommended Skill Level
Beginner

Tiki Bar from Potting bench!

I wanted a Tiki Bar for my deck big enough to store bottles and trinkets, and put a spread on to eat outside. The simple potting bench was my base plans and i just expanded from there. I increased the depth by 4 inches and the width to 46 inches. I increase the height to 7 1/2 feet at its highest point. I used treated 4x4s for my legs and to provide the upright height. I used 2 (8 inch) Lag bolts where the roping is to keep it sturdy on top. All additional parts were bought at Lowes.

This ended up being about $200.00 but will last for a long time.

Estimated Cost
$200
Estimated Time Investment
Day Project (6-9 Hours)
Finish Used
Nothing yet.
Recommended Skill Level
Intermediate

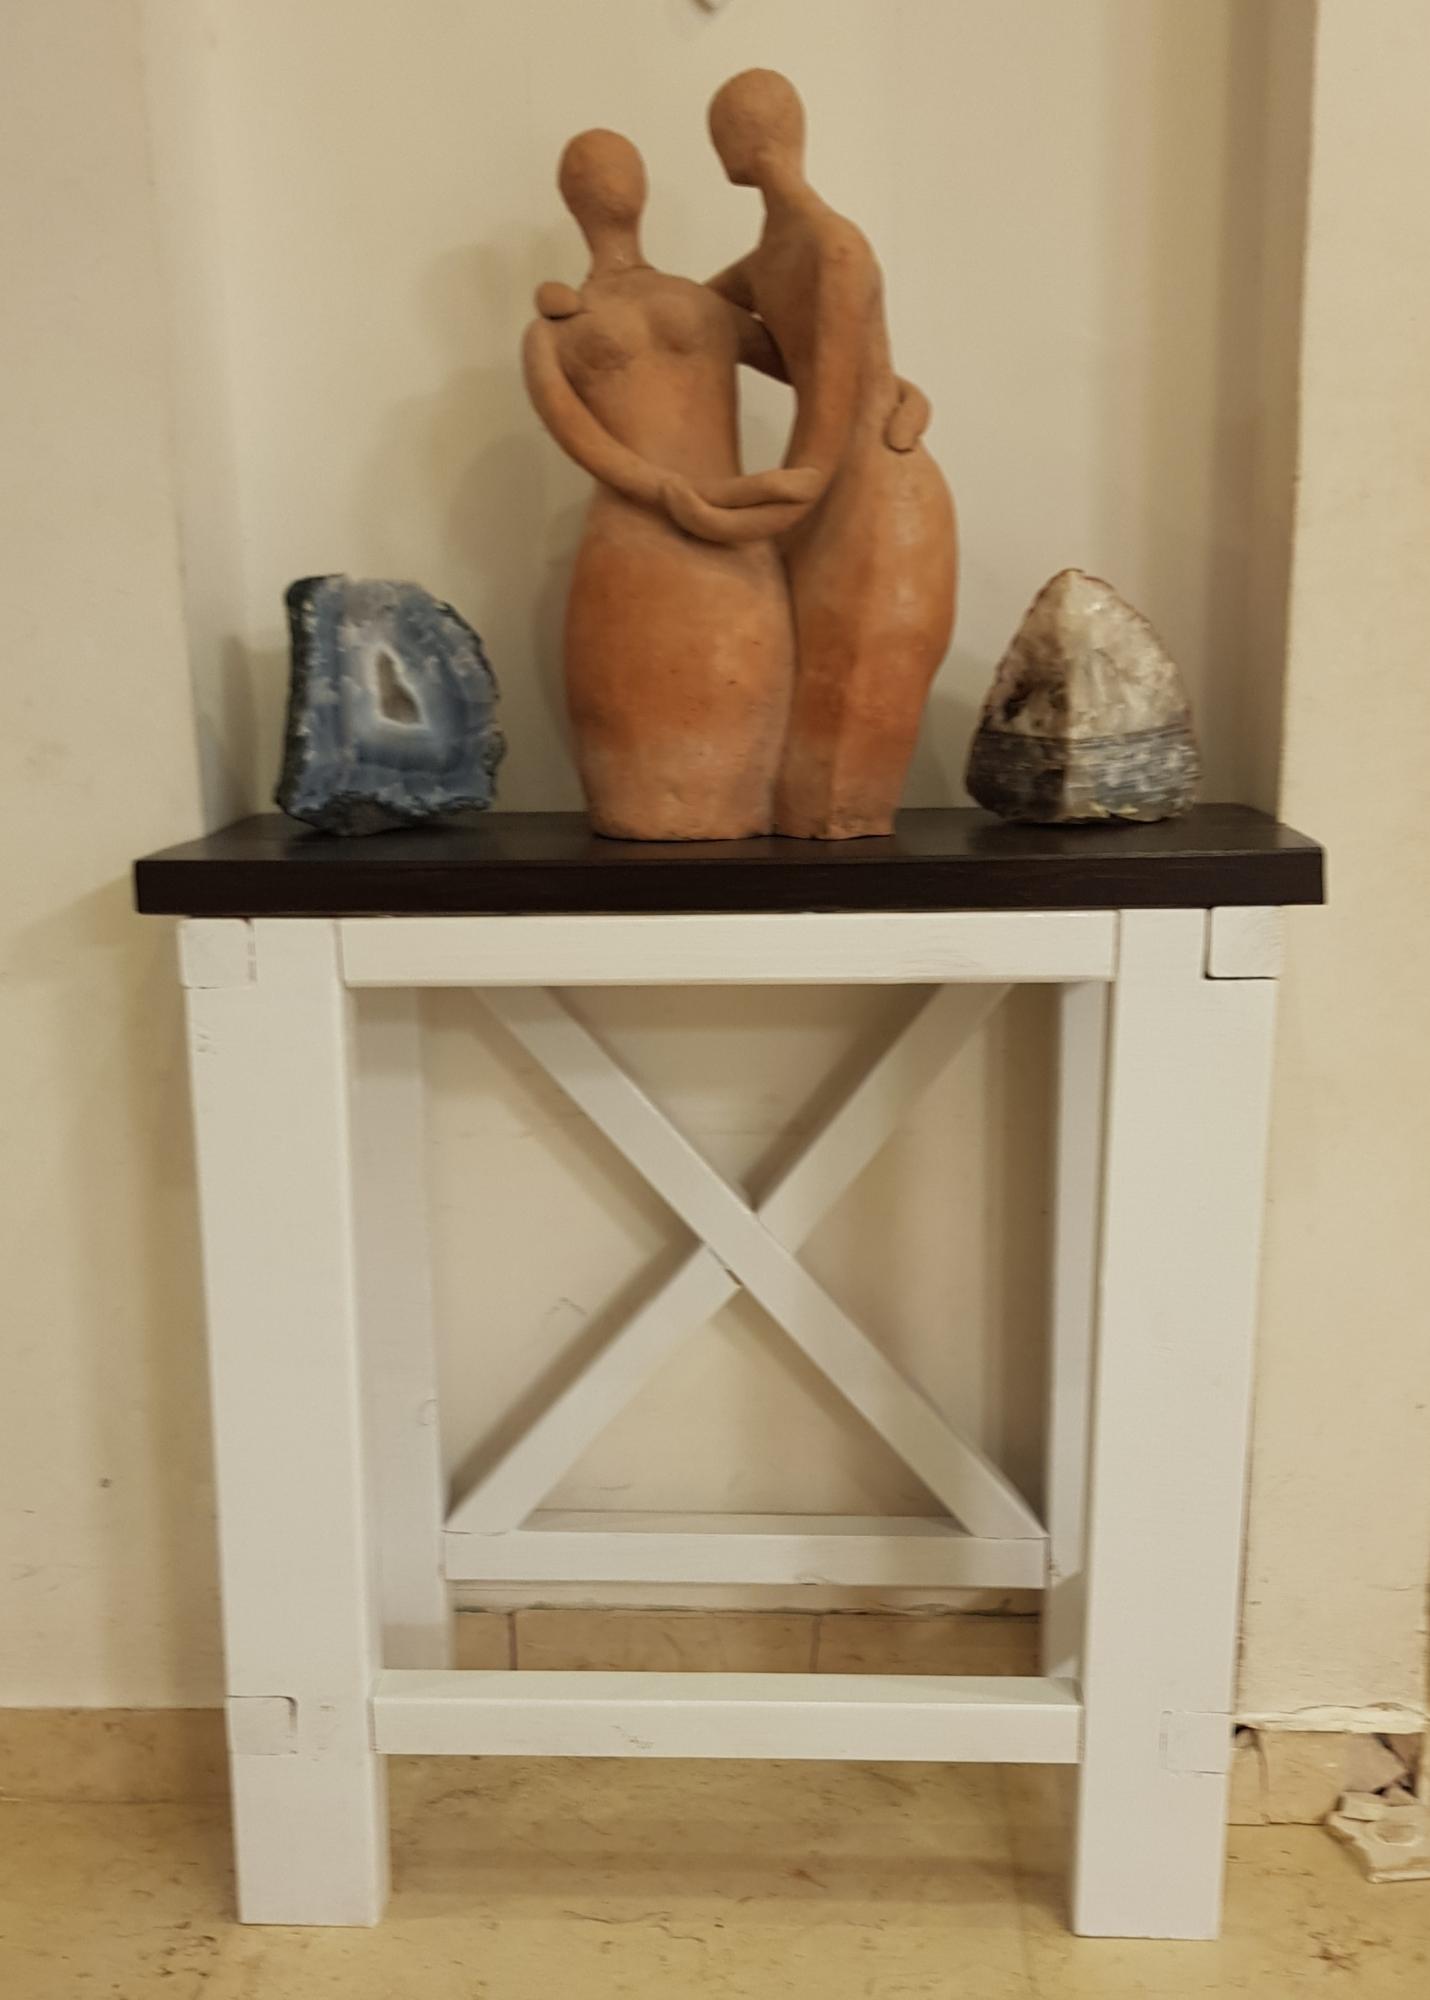
Small Rustic X Console

Submitted by Anonymous (not verified) on Mon, 12/27/2021 - 02:36

My first project!

Built from Plan(s)

Comments

Simple White Nightstand

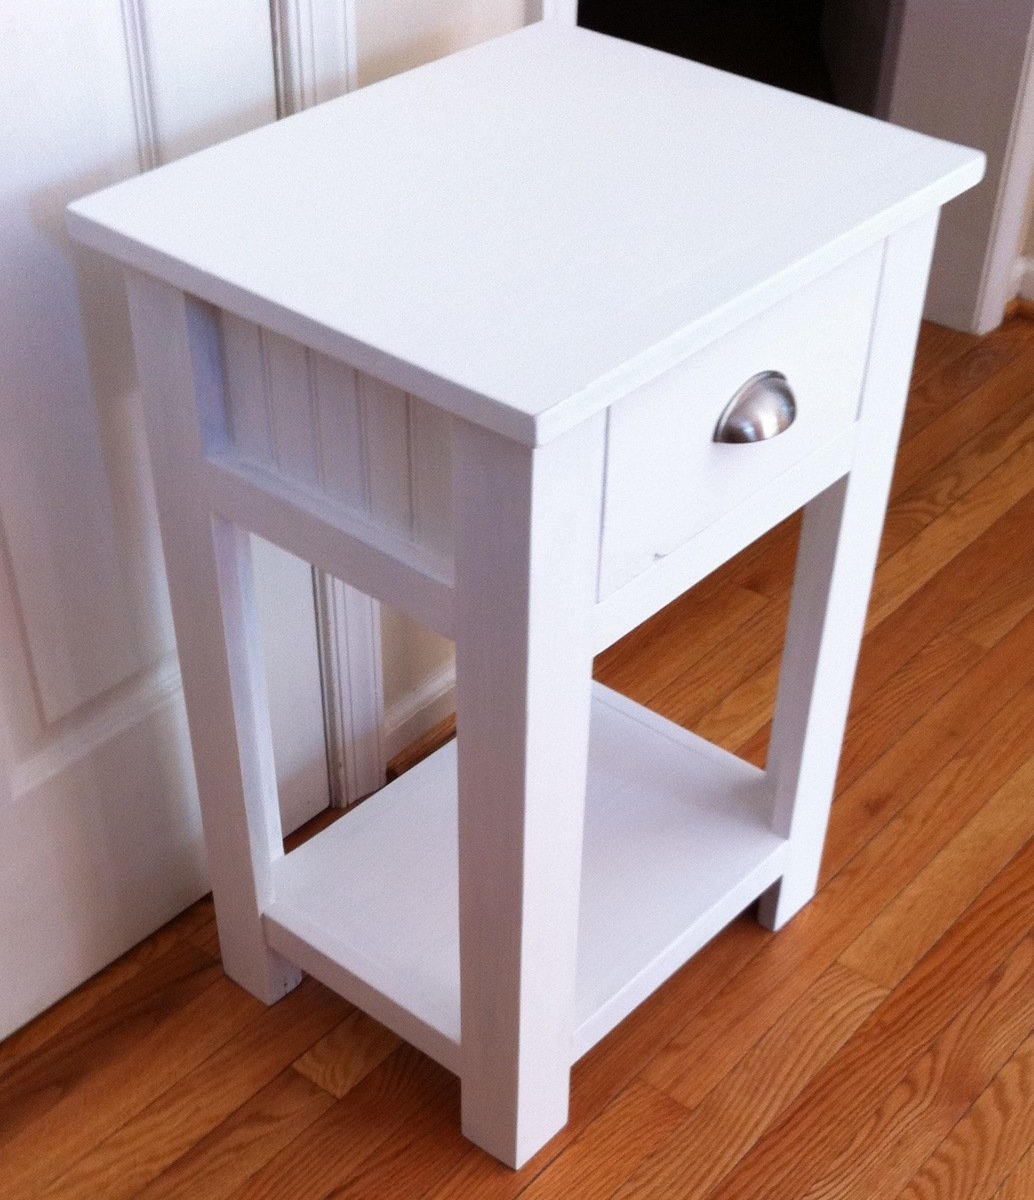
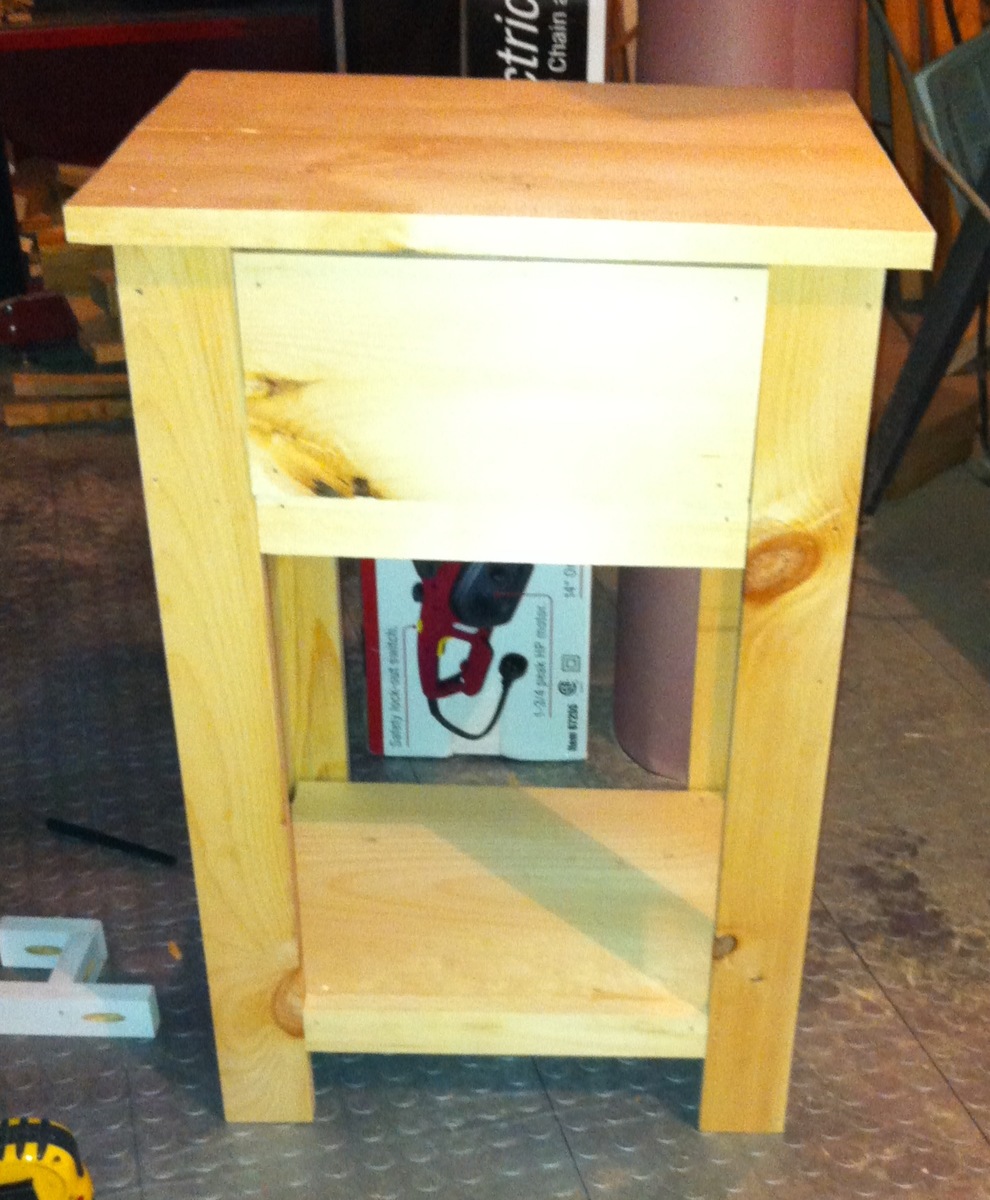
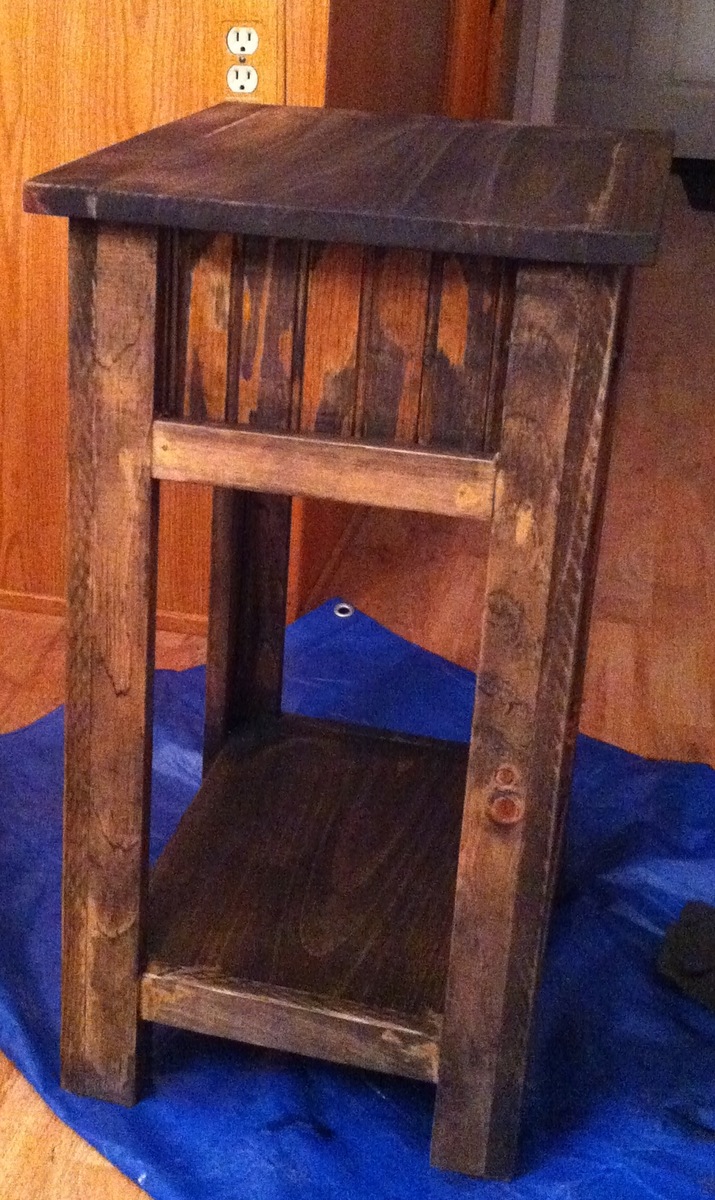
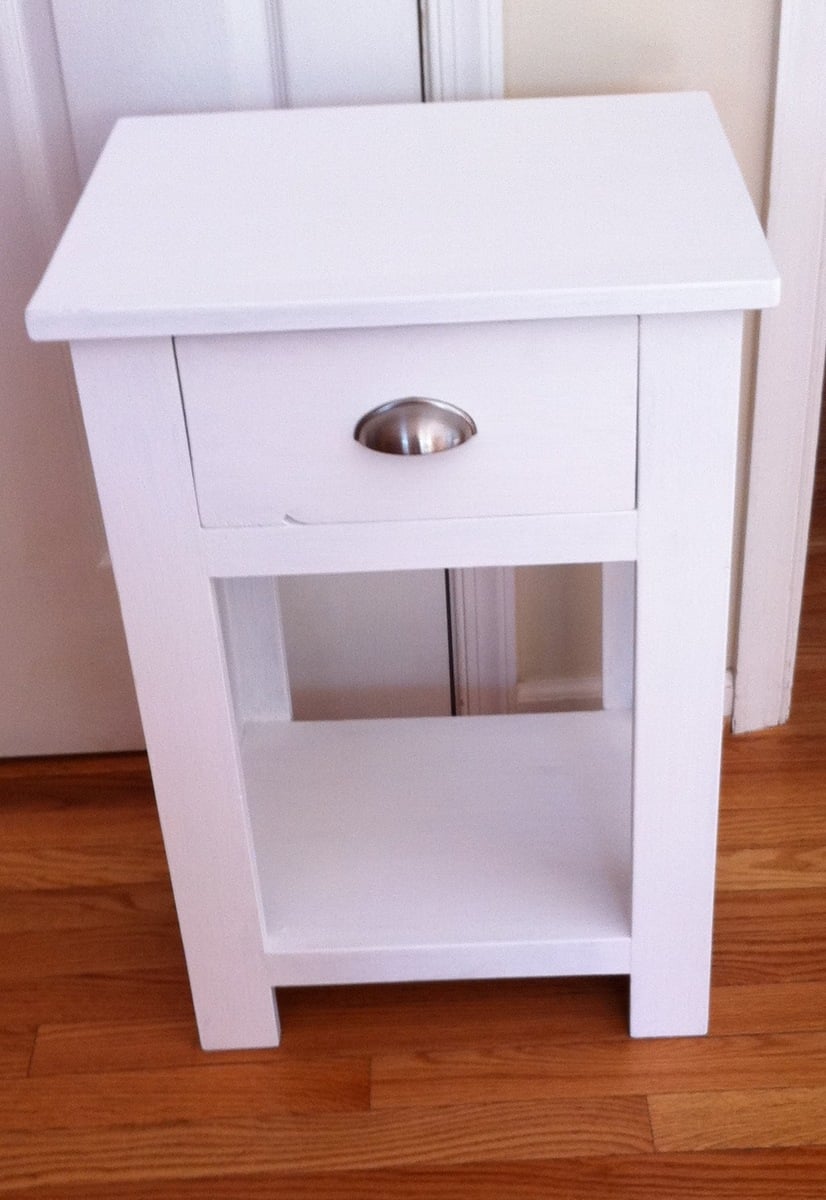
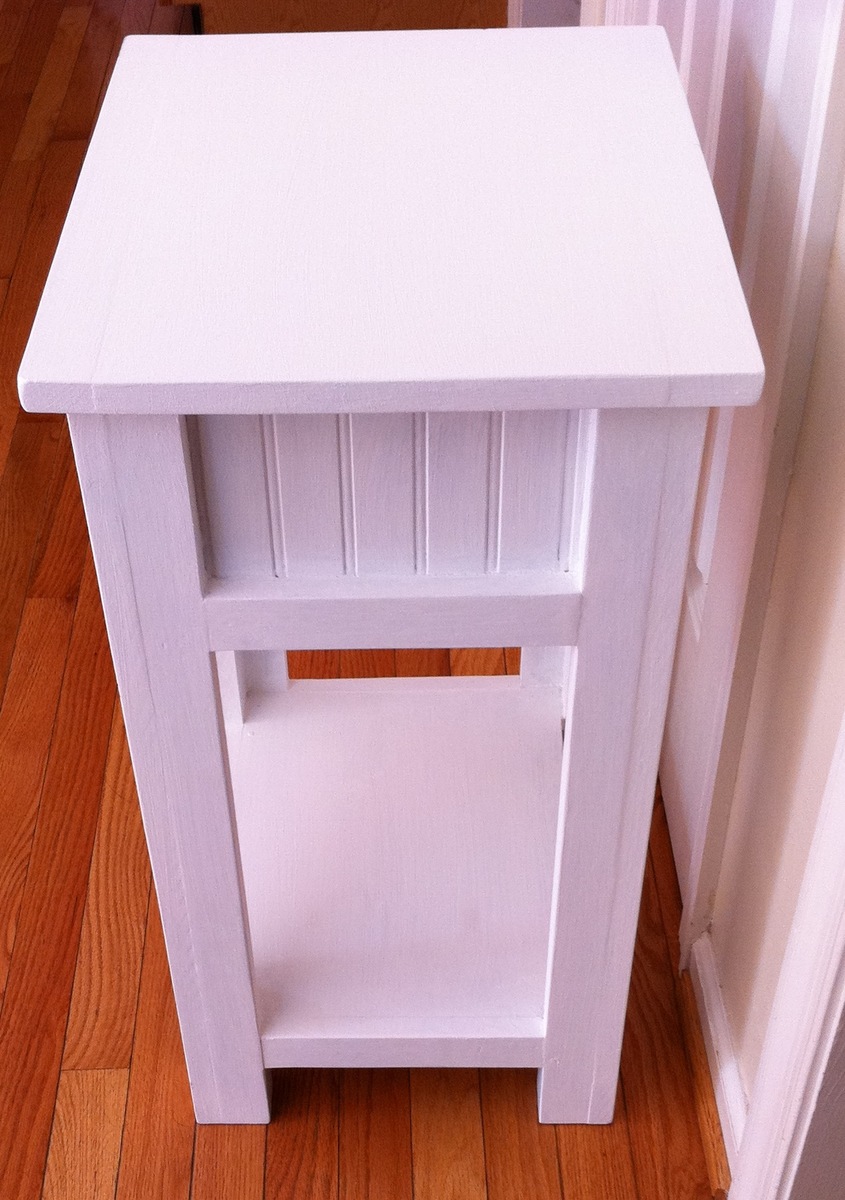
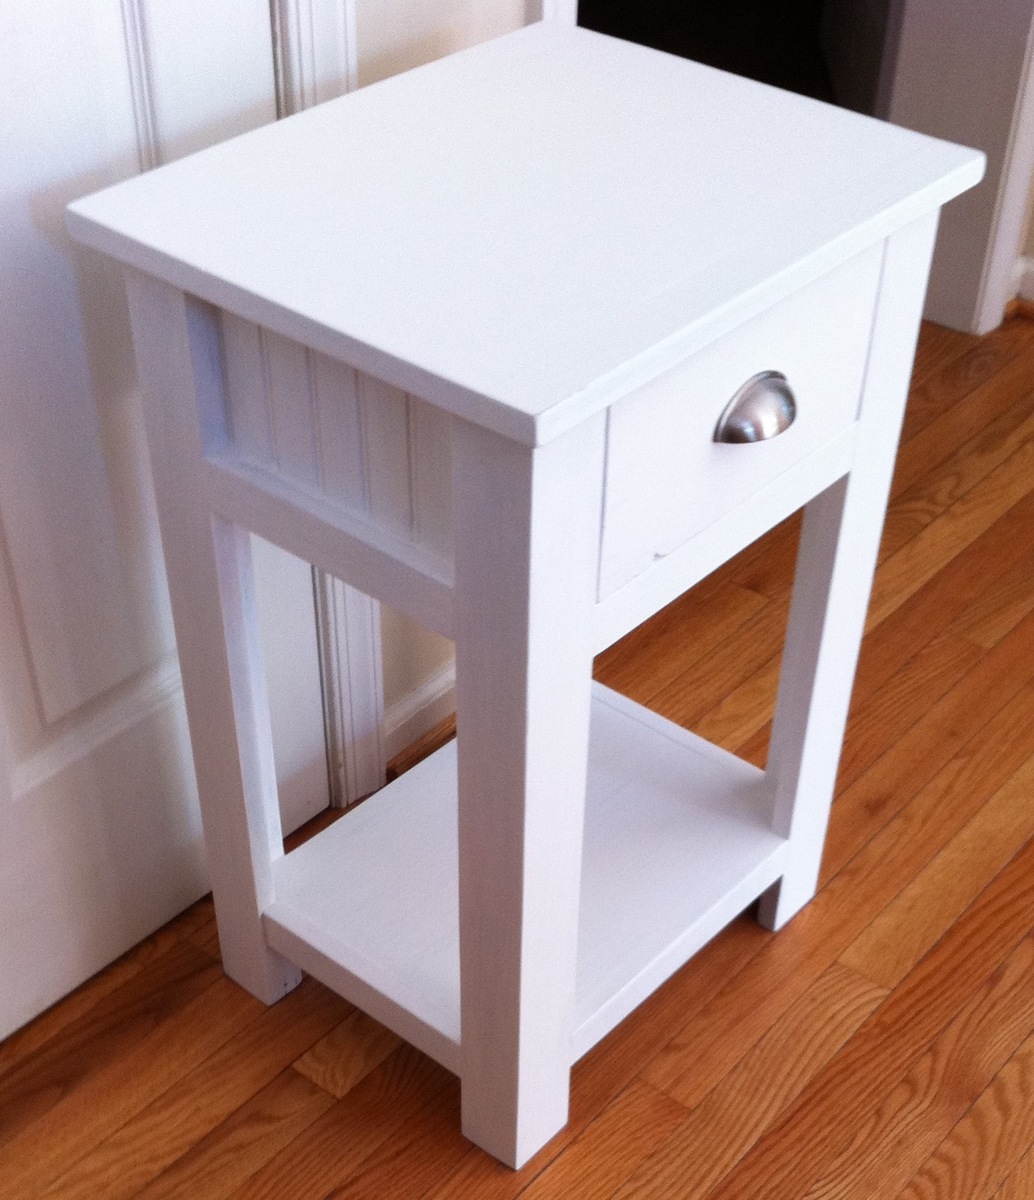
It is a friend's birthday on 5/6 and I noticed she didn't have a nightstand so instead of buying a present, I decided to make her a nightstand. I really liked how the person who built "Lee and Beth's Simple Nightstands" used bead-board on the sides, and I have a lot of bead-board left over from our master bathroom renovation, so I decided to use it, too, and that way I wouldn't have to buy the wood for there, because I didn't have any extra plywood to use there. I also used the bead-board on the back and as the bottom of the drawer.

It looks more modern-cottage than it does modern, like I wanted, but it still looks good.

Pictures are of what it looked like pre-sanding and wood-filling, with 1 coat of the stain on it, and then finished with white paint.

With the combination of scrap wood and new wood, I only spent $20 on new wood for the project, and $5 on the drawer pull!

For the top, instead of a 1x12 and 1x3, I used a 1x12 and and then flanked it with 2 1x2s - for a more balanced look. I also cut the 1x12 at like 19 1/2 inches instead of 18 1/2.

Built from Plan(s)
Estimated Cost
$25
Estimated Time Investment
Weekend Project (10-20 Hours)
Finish Used
I originally wanted this to look just like the one that Ana has posted (minus the distressing) - in an espresso stain with the brushed nickel pull on the drawer. I forgot to add the pre-stain and put the stain right on the wood and it looked horrible. The wood did not take the stain well, nor was it even, and the wood filler was visible all over the place. I decided to paint it a flat white instead. I put on 2 coats of white primer and 3 coats of FLAT white paint. I don't really like glossy paint as I feel like it's harder to get it to cover right. I haven't done it yet, but will add a couple coats of satin polyurethane to protect it.
Recommended Skill Level
Intermediate

Comments

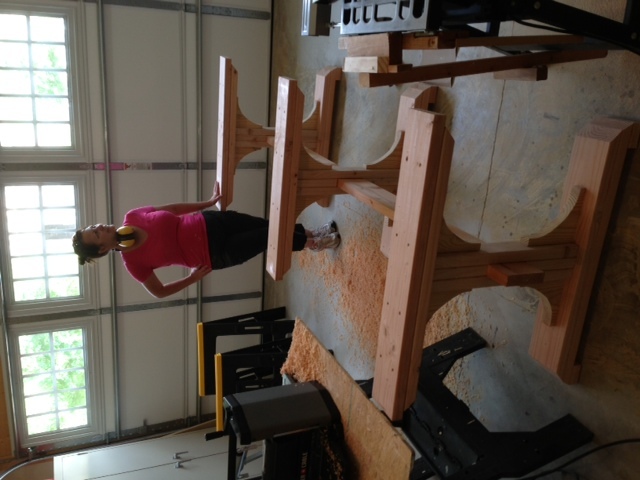
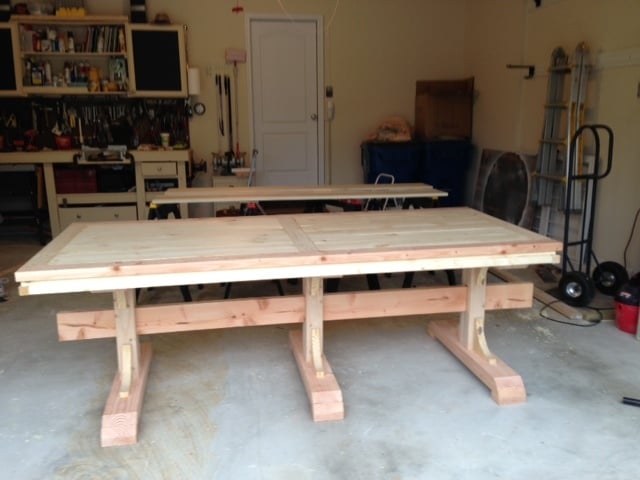
Farm House Table

Submitted by lscrandall on Mon, 07/01/2013 - 08:23

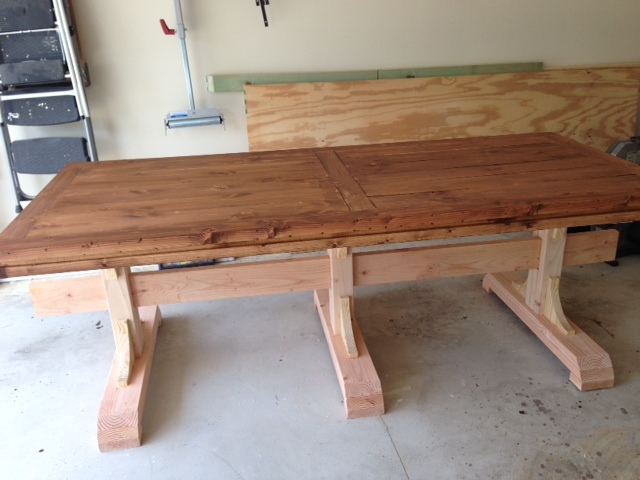
Ana thank you for the wonderful plans. It was my first major project, and it will not be the last. I purchased your book this weekend and love it!!! Thank you for all you post to your site.

Estimated Cost
$127.50
Estimated Time Investment
Weekend Project (10-20 Hours)
Finish Used
I also conditioned the pine wood before I stained so it would not become so blotchy like pine wood can.
Recommended Skill Level
Intermediate

Comments

sgilly

Mon, 07/01/2013 - 10:50

This really turned out nicely! Great job.
I'm really impressed with your clean garage floor, too! :-)

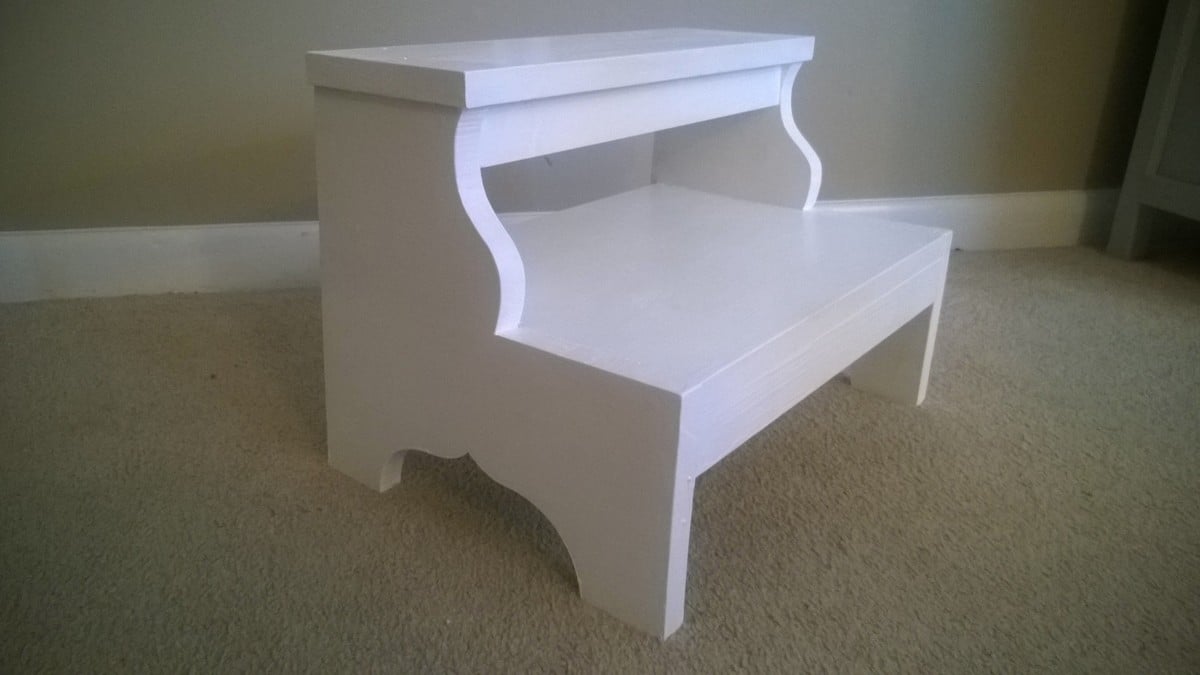
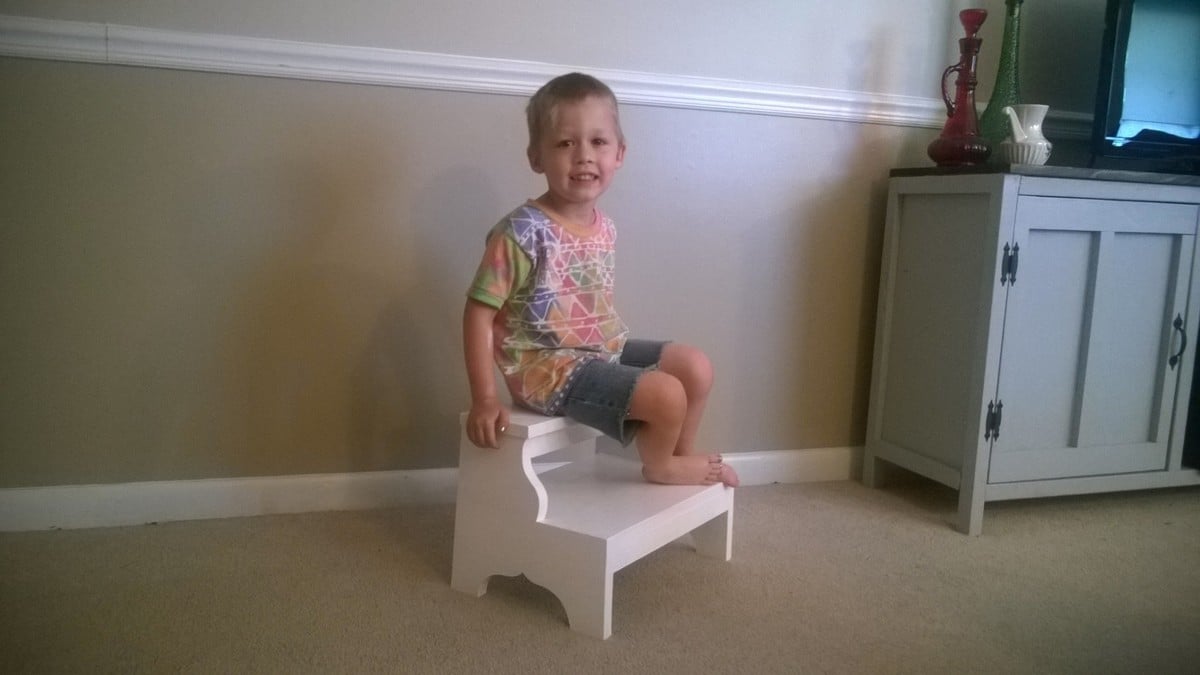
Step Stool

Submitted by cjlaw on Mon, 06/22/2015 - 11:55

I was able to make this with some leftover wood from other projects.

Built from Plan(s)
Estimated Time Investment
An Hour or Two (0-2 Hours)
Recommended Skill Level
Beginner

Headboards

Submitted by fiddlepics on Mon, 01/08/2018 - 07:31

Built these for my boys room- these headboards are for highrisers so I did not use legs- they end at the bottom of the slats.  I used 1x3 furring strips for the slats to keep the costs down, I believe I used 10 slats. In order to mount the headboards, they are completely mounted on the wall and not attached to the bed at all. I used 3-2'' Z clips,  at the top, tried to get them drilled into wall studs. To keep the headboards even more secure, I used corner braces on the bottom- 2'' braces, drilled into the wall with anchorless screws and then drilled into the bottom of the headboard frame. 


I also did not cut the wood at the hardware store- I purchased a circular saw and was very happy with the decision. Was MUCH better to cut as I built. 

Estimated Cost
$75-$100
Estimated Time Investment
Day Project (6-9 Hours)
Finish Used
Minwax penetrating stain- 2 coats dark walnut, 1 coat red mahogany. Spray Minwax Lacquer in Satin
Recommended Skill Level
Beginner

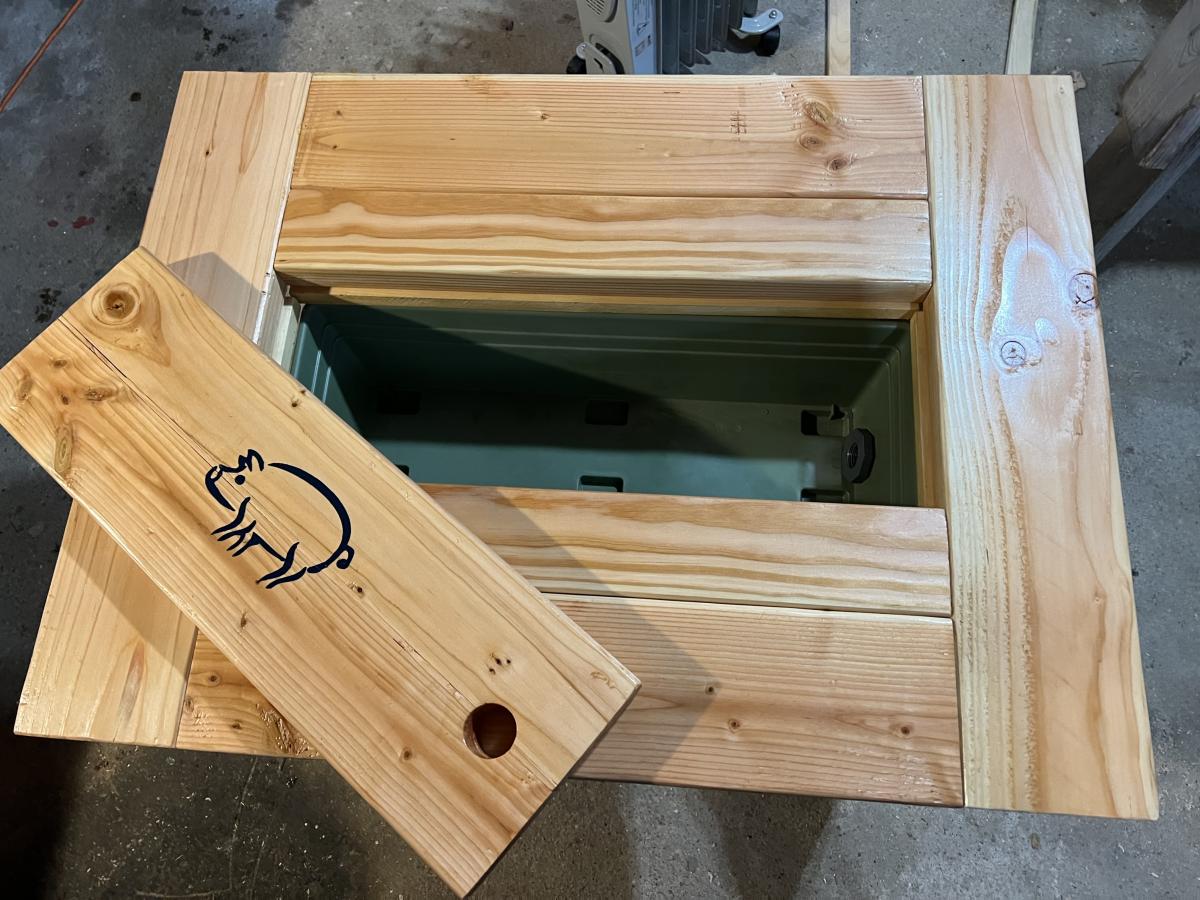
Ice Trough Table

Submitted by SHiggins03 on Mon, 12/27/2021 - 11:37

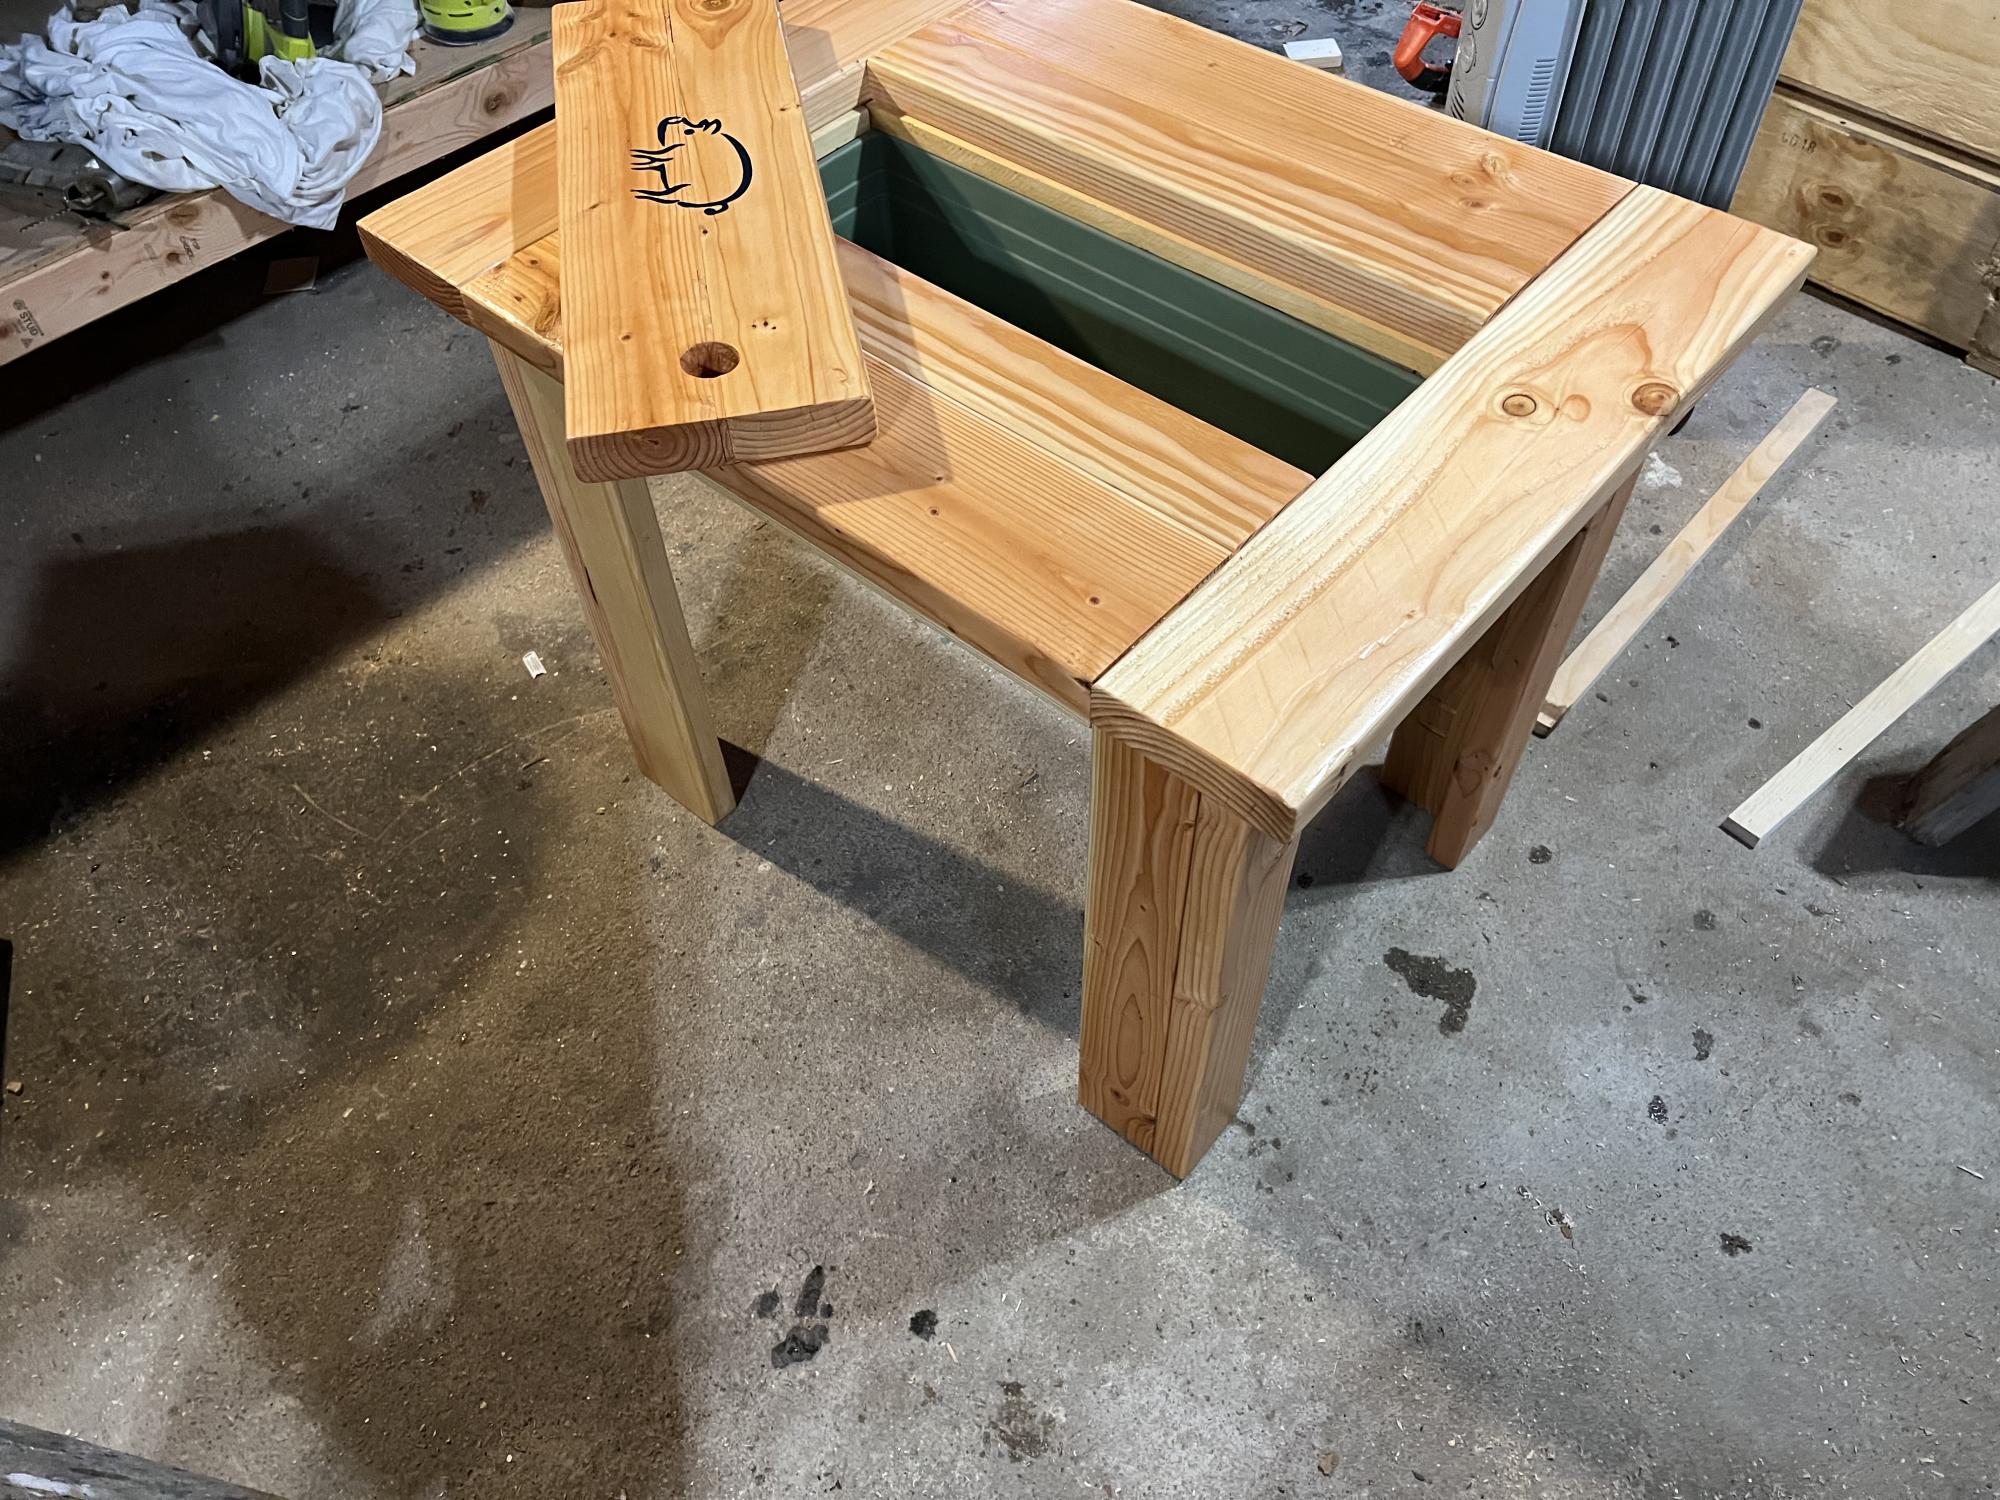
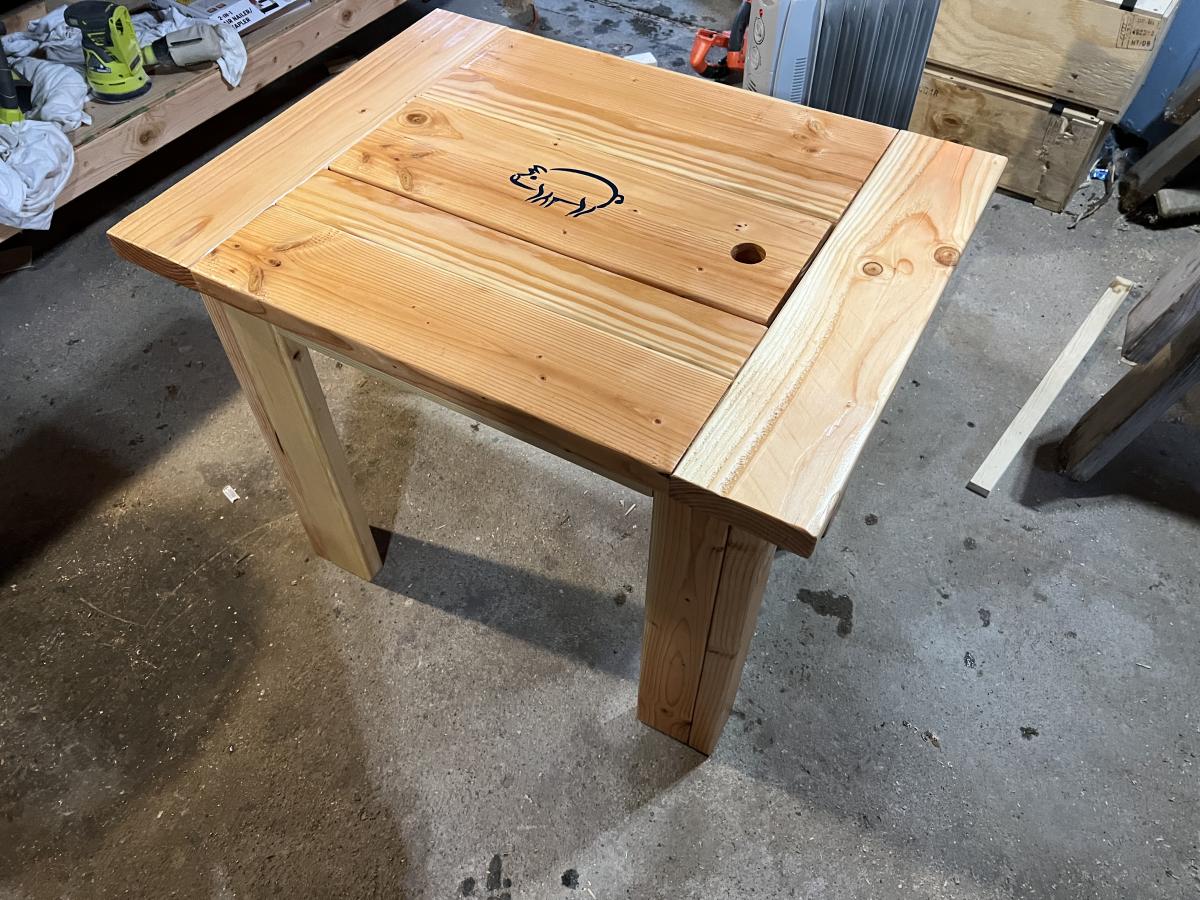
Wanted to try something different for my Secret Santa gift. Didn’t have the exact plans I needed so I based it off others. Built this to fit in and out of an RV entry door. It also has a drain valve underneath. This was my first without a plan project

Comments

Not so "Rhyan" Nightstands

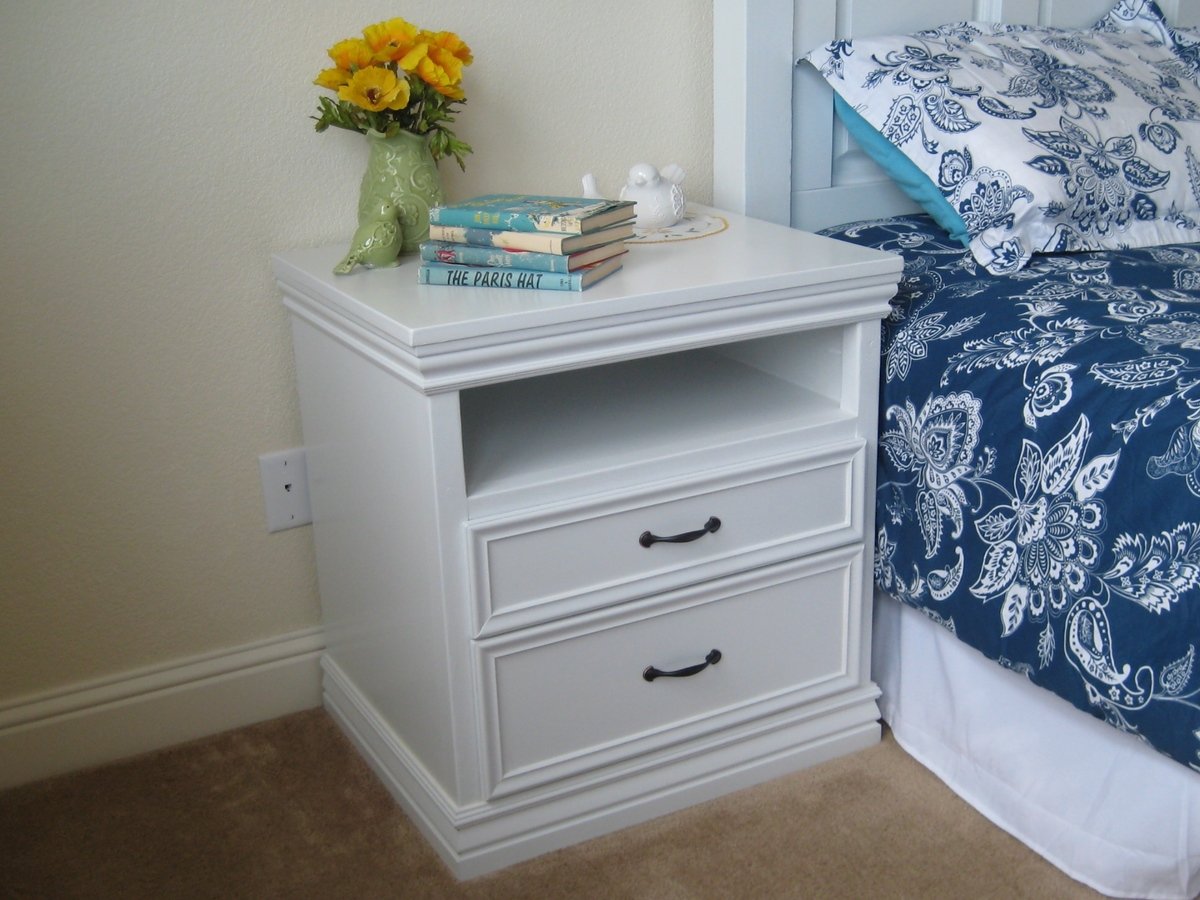
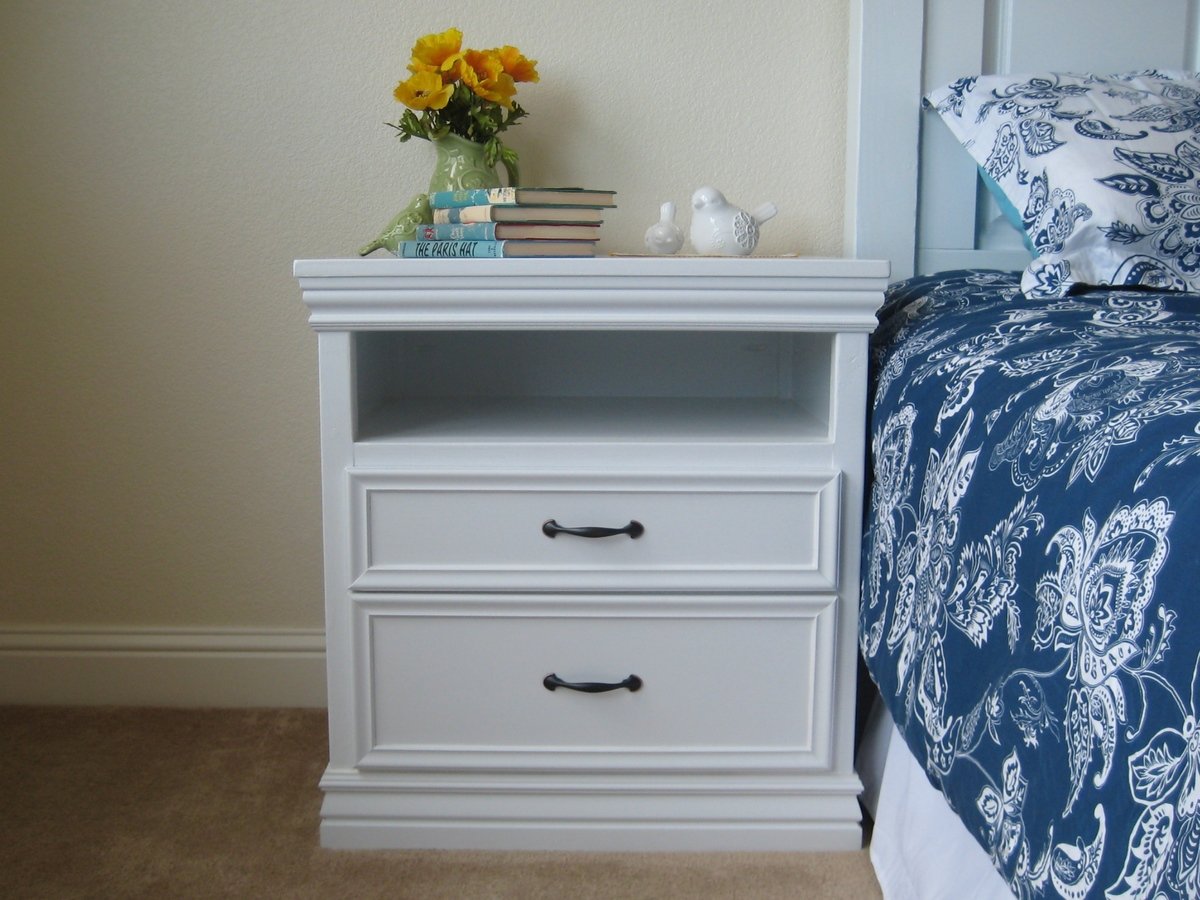
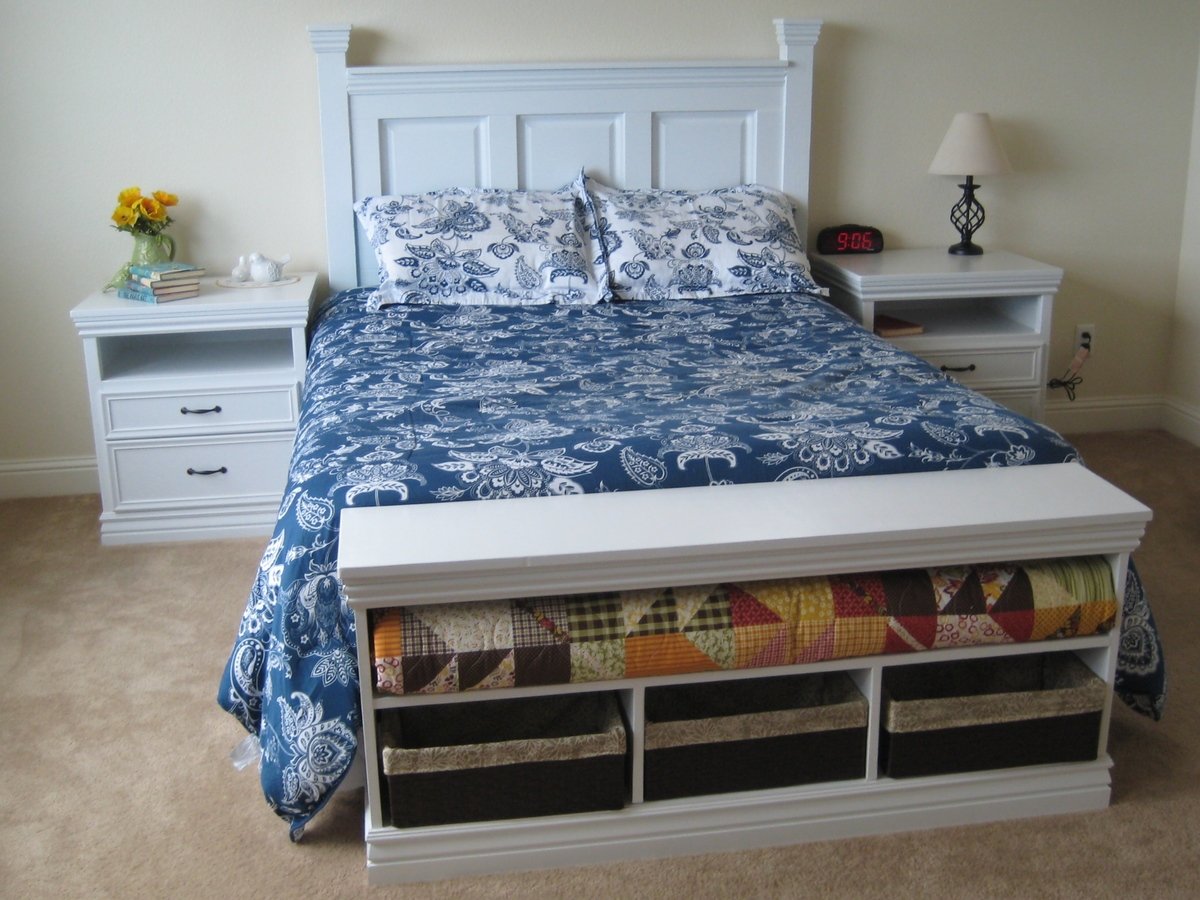
Submitted by Kimbers on Sun, 05/08/2011 - 19:05

I used the Rhyan end table plan (with a few alterations) to make my nightstands. I changed the dimensions so mine turned out to be 20”D, 25”W, 27”H, I extended the side and back panels all the way to the top to close in the shelf and I made the bottom drawer larger. I decided to use under mount drawer slides but I think I will try out the side mount slides in the future though.

I wanted them to match the headboard and bench that I made for my bed so I added the same molding that I used on those pieces to finish it off.

I pre cut every piece for the main body of the nightstand and predrilled all of the Kreg holes which made it a really quick piece to put together! I purchased the Mini Kreg jig for this project and am so glad I did. Totally worth the money!

Built from Plan(s)
Estimated Cost
About $80 For 2 Nightstands
Estimated Time Investment
Weekend Project (10-20 Hours)
Finish Used
I painted with Rust-oleum painters touch semi gloss white and then sprayed a few coats of polyacrylic on the top.
Recommended Skill Level
Beginner

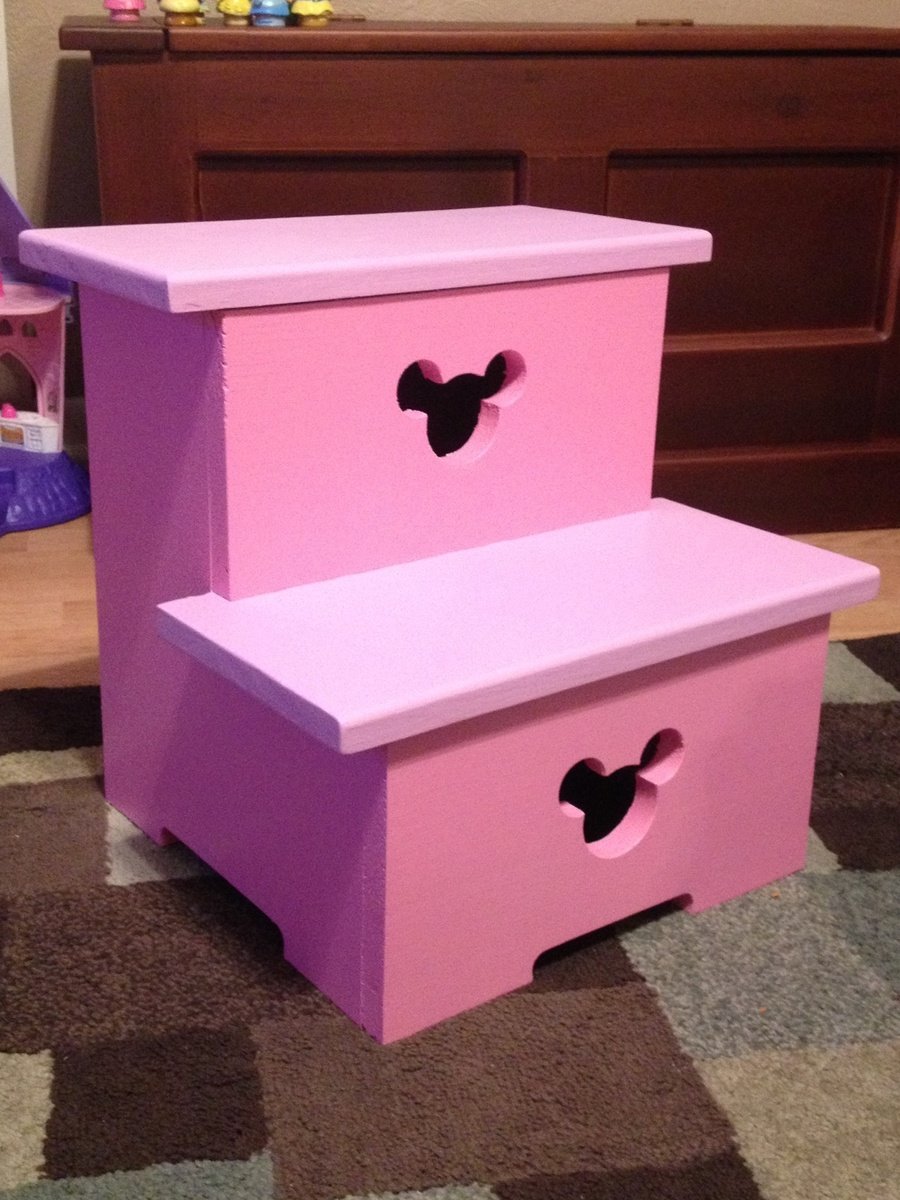
Minnie Mouse step stool

It was time for potty training and when it came time to wash her hands her arms were a little too short. So I threw this step stool together over a few hours and with the little one being a Minnie Mouse fan I had to add the Mickey head. Great project for those wanting something easy and quick.

Estimated Cost
$15-20
Estimated Time Investment
Afternoon Project (3-6 Hours)
Finish Used
Disney paint from wal-mart and Rustoleum clear coat.
Recommended Skill Level
Beginner

Comments

disneynut

Fri, 07/05/2013 - 05:37

I loooove this! Nice job! I will have to add this to my to-do list. Thanks for sharing :)

Outdoor Sofa

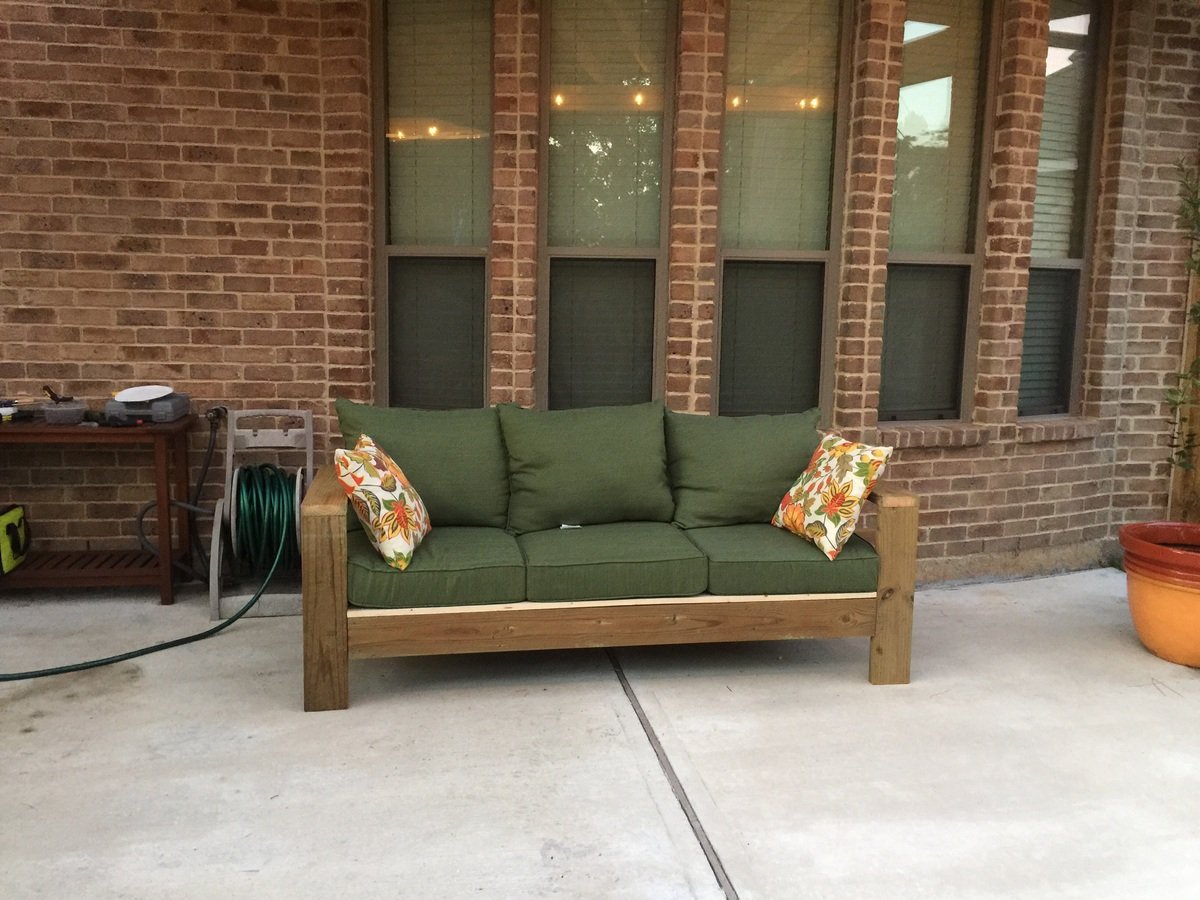
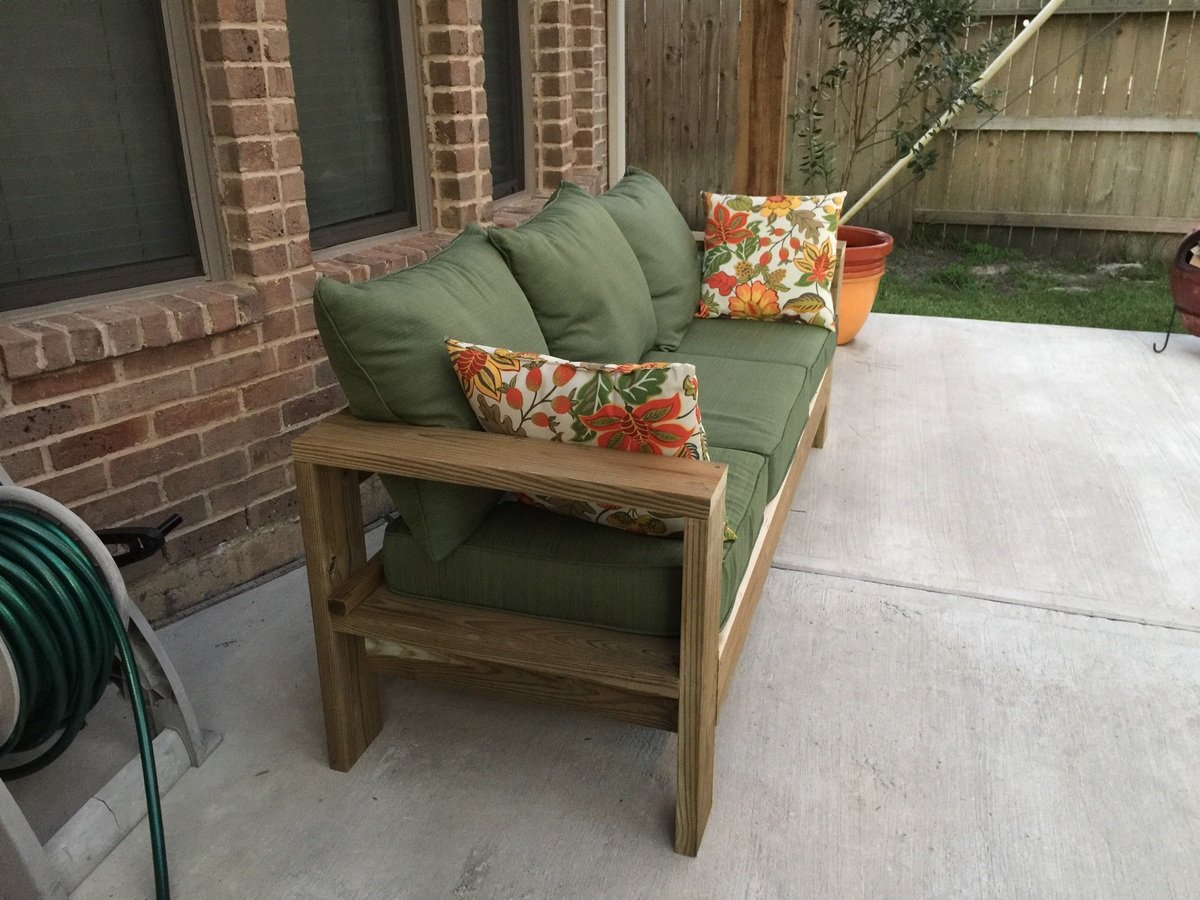
I created this sofa from 2x6s that were left over from a pergola we built. I got the cushions at Lowes for $57 per set (3 sets). This is the first thing I ever built and I did it all by myself including cutting the boards to length. In total it took about 4 hours. I am so proud!!! Thank you Ana White for giving me the confidence to build this furniture. I will never, ever, ever pay outrageous retail prices for wood furniture again.

Estimated Cost
$180 pillows, Leftover lumber $0
Estimated Time Investment
Afternoon Project (3-6 Hours)
Finish Used
None
Recommended Skill Level
Beginner

Comments

Kim N.

Fri, 06/26/2015 - 09:27

I love the way your couch turned out in 2x6s! I, too, plan to build this soon. I really like the cushions you chose, too. I ordered mine from Amazon for about the same cost (a little more $, but without exorbitant WA state tax!). Thanks for sharing!

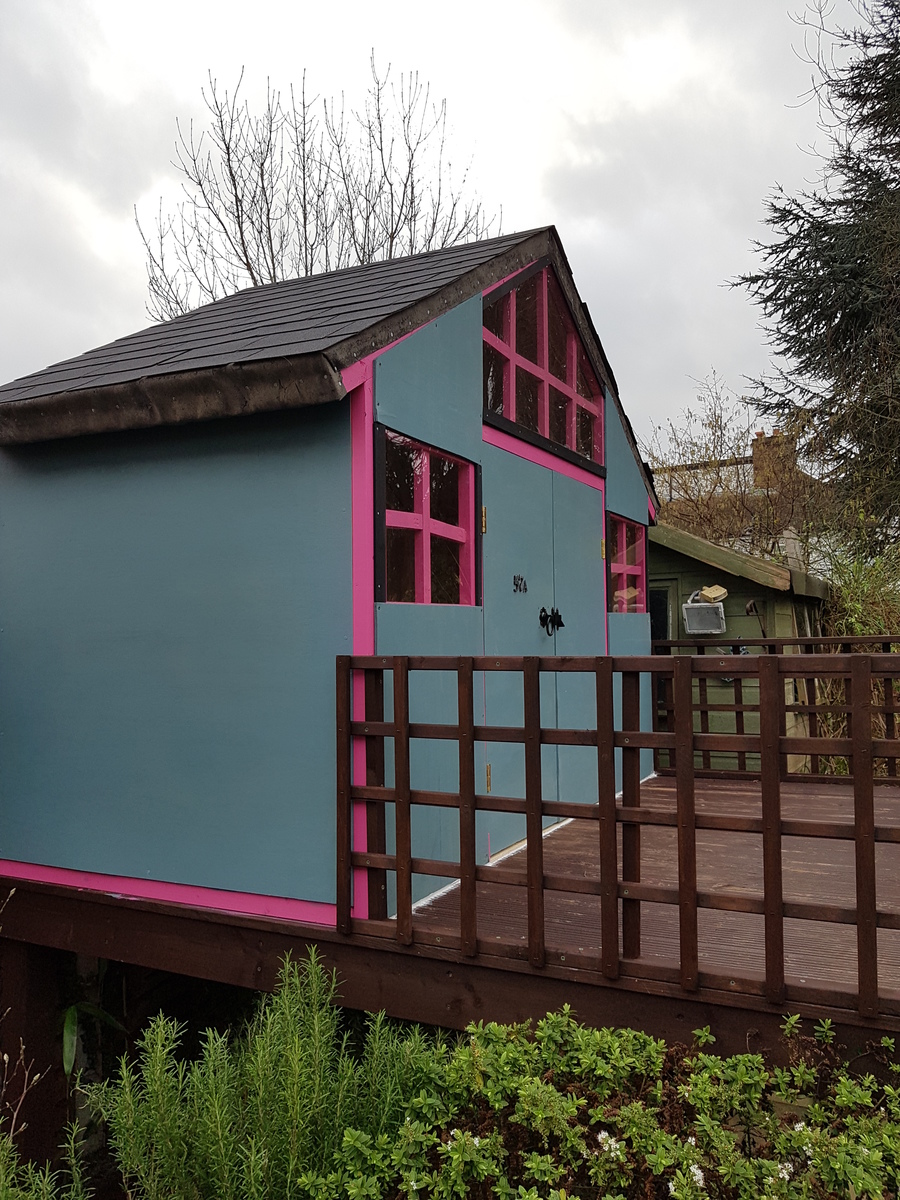
Craftsman style playhouse with raised deck (and power/lights)

Submitted by Ruth Ward on Sat, 01/13/2018 - 06:27

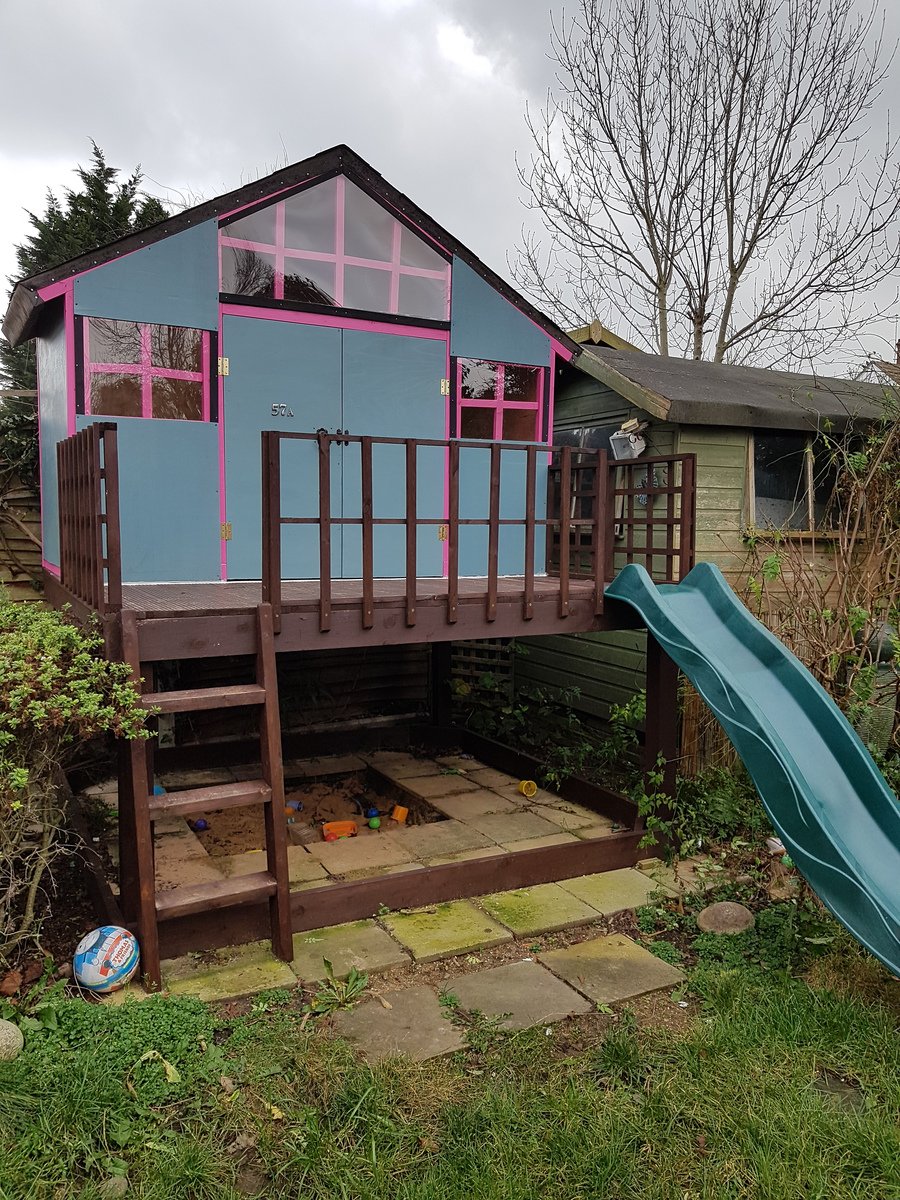
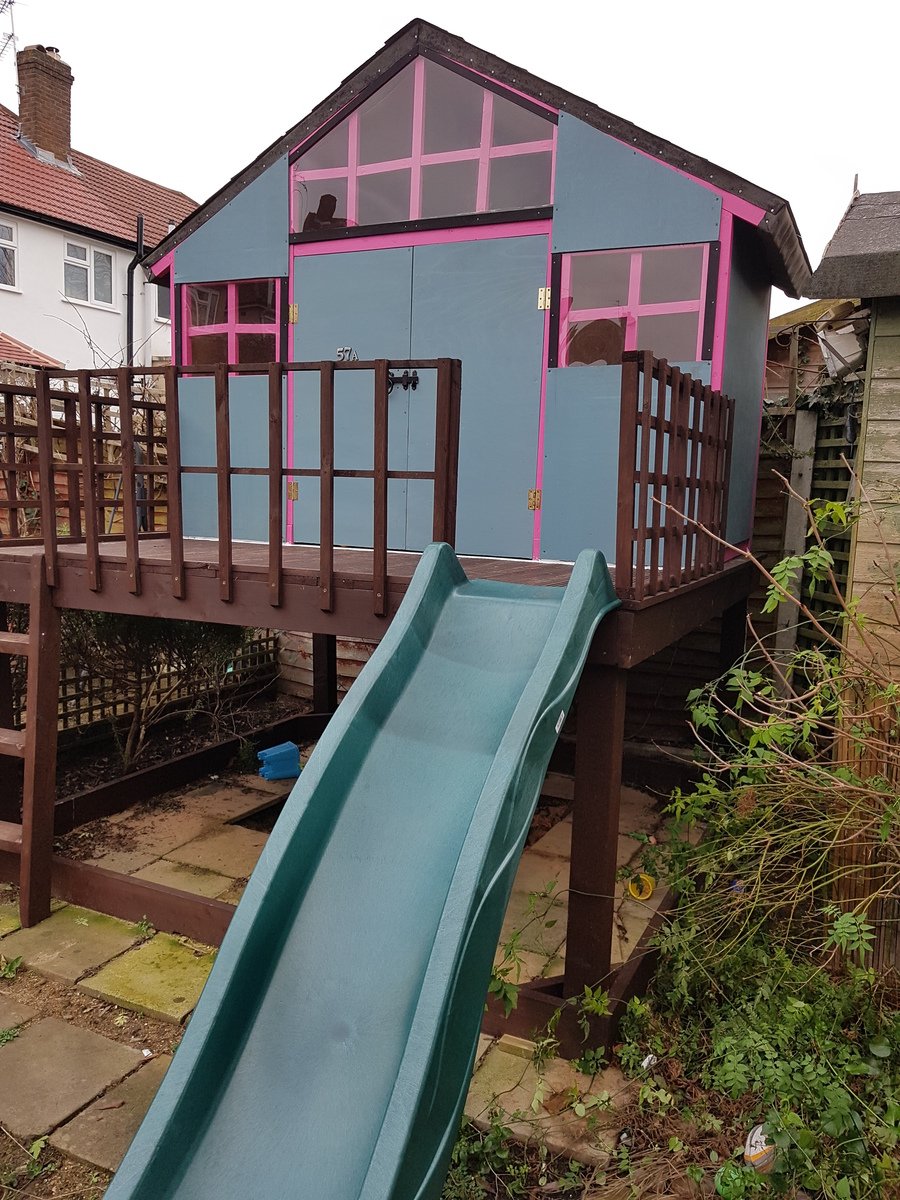
I needed a project to keep me together during 2017, as I took maternity leave after the birth of my second son. I wanted something that both boys could grow into, and enjoy, for many years to come. I also wanted to challenge myself to go big.

Our garden is tiny, so I was really attracted to the idea of raising a playhouse up and gaining the space underneath too. This corner was taken up by a big wooden raised pond, which wasn't wildlife friendly because of the high sides - and that meant you couldn't see the water unless you walked right up to it, either, so it seemed like a bit of a waste of space.

First of all I took out the old pond, and dug up tons of invasive bamboo that was growing around it. Then I lifted and relaid the concrete paving slabs underneath, leaving a smaller pit for a sandpit in the middle. With that all in place, I was ready to start building.

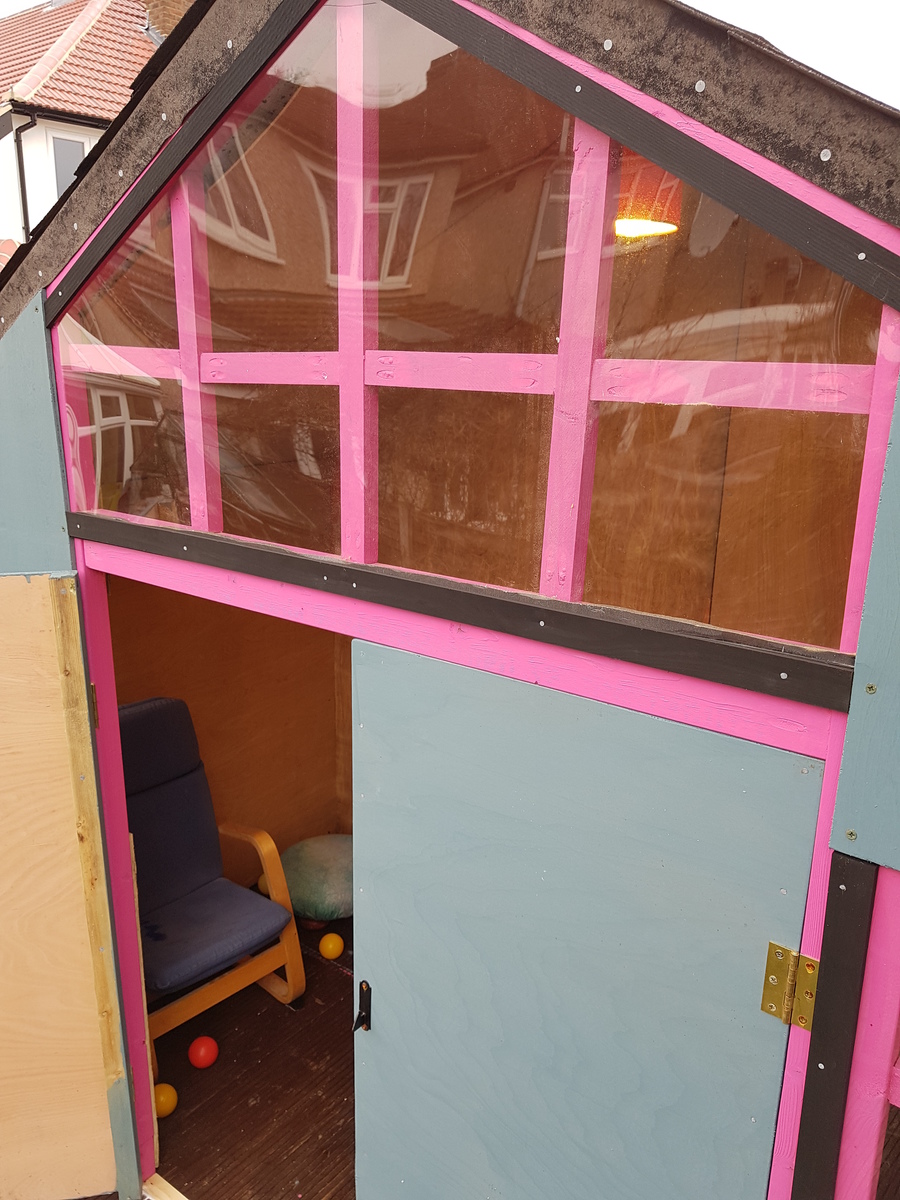
Wood tends to be expensive in the UK, and given the amount of rain we get I wanted to get the roof thoroughly waterproof and the windows covered. I also included a layer of polystyrene insulation behind a additional plywood inner walls, and I painted the whole thing in rot-proof garden paint. Everything added up, and the materials cost was probably £1k or more.

If I'd been able to work continuously, I reckon I would have completed the whole project in a week or so. However, I was mostly only able to get out in the garden when both my sons were napping (about 2 hours a day) or at the weekends when my husband could watch them. Given the time constraints, I was expecting this to be a long project. I started in April 2017 and completed the build late in October.

The deck was finished in June, and the sandpit in the shady space underneath was a great resource on the hotter days of summer.

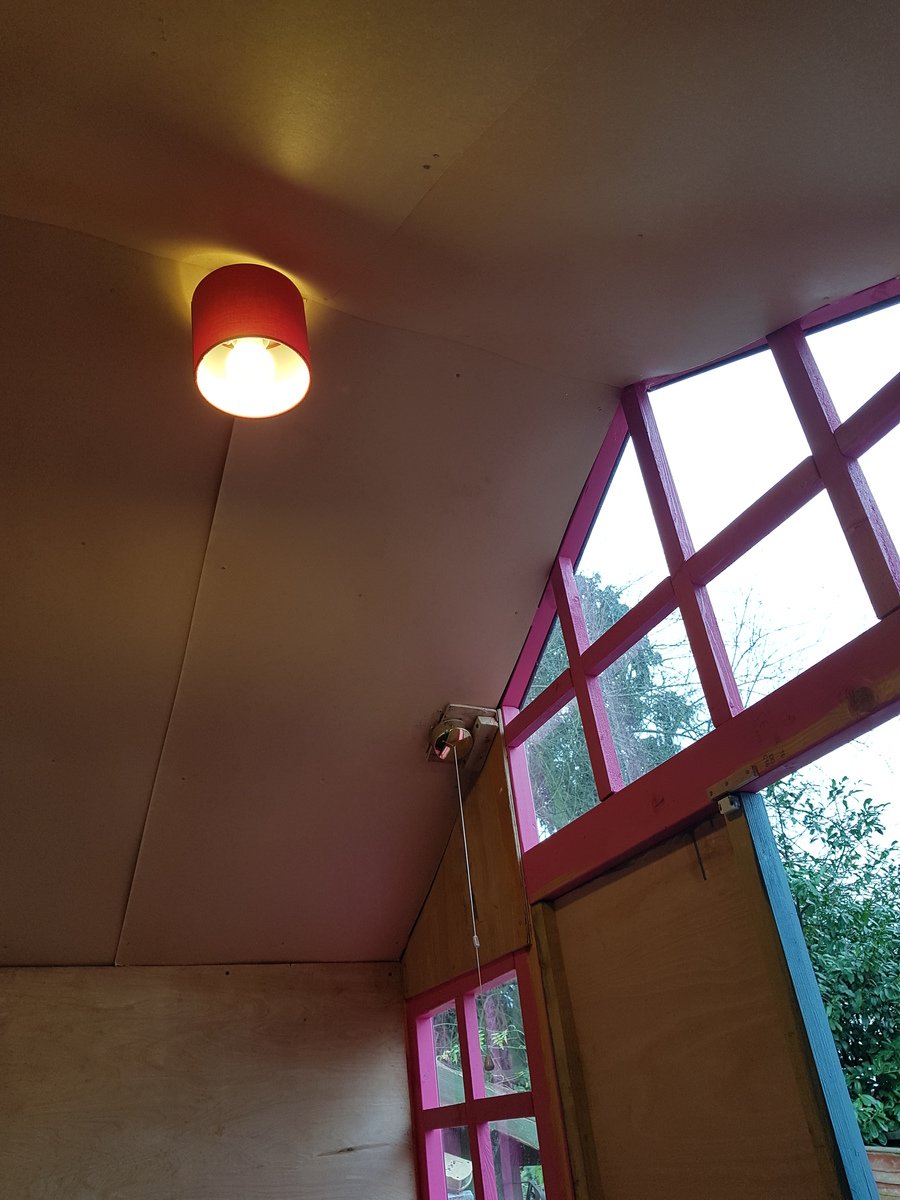
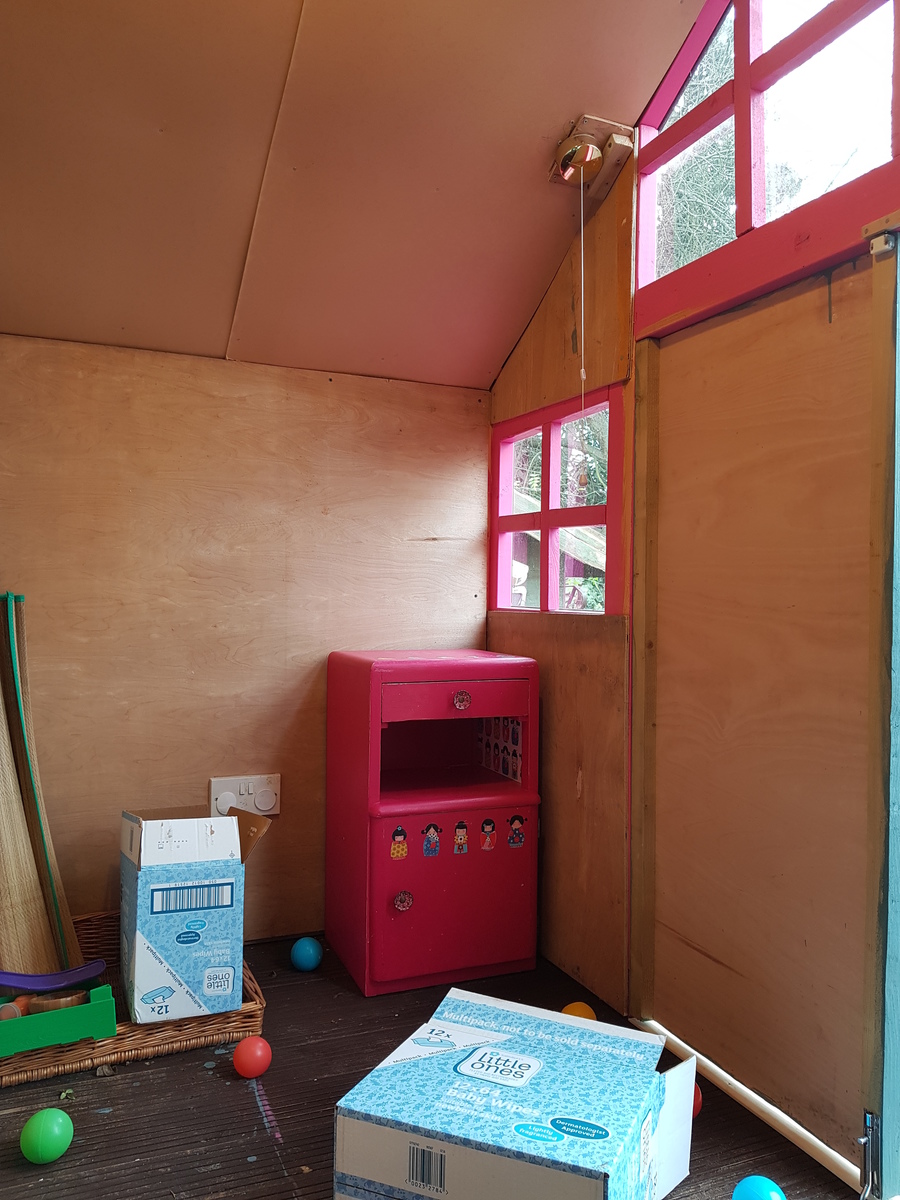
The old garden shed we inherited when we moved in here is rotting away, but it had power and lighting which the electrician told us was sound. I transferred the circuit into the playhouse, securing it behind the inner wall and installing a plug socket and a ceiling light. Having the power socket means that we can take a little electrical heater out there, and (under supervision) the three year old has been able to play in his little house throughout the winter.

One issue has been that water tends to pool on the deck in front of the house, and then seep under and into the house. When a big furry throw got left out there for a couple of weeks it acted as a wick and sucked the water up and into some of the plywood at the back, making it a bit manky and mouldy. We've learned our lesson and I've now run a bead of general purpose sealant along the front of the house, preventing water running in. The decking boards came with grooves for added grip, which helped channel the water along, and this was worse by the doors because I kept the doors a centimetre or so above the floor, leaving a gap. I've added a thin strip of wood for a lintel and sealed that too.

Now that we're on top of the damp issue I'm planning to paint the interior, add some old water-resistant flooring boards that I found in the shed when we moved into the house, and generally spruce things up. I hope this will be a comfortable den for the boys for years to come.

Thanks, Ana!
Estimated Cost
£1k-1.5k
Estimated Time Investment
Week Long Project (20 Hours or More)
Finish Used
Cuprinol outdoor paints (blue and pink); Wickes own brand wood preserver (dark brown)
Recommended Skill Level
Beginner

Rustic Modern Hall Tree

Submitted by Anonymous (not verified) on Wed, 12/29/2021 - 02:48

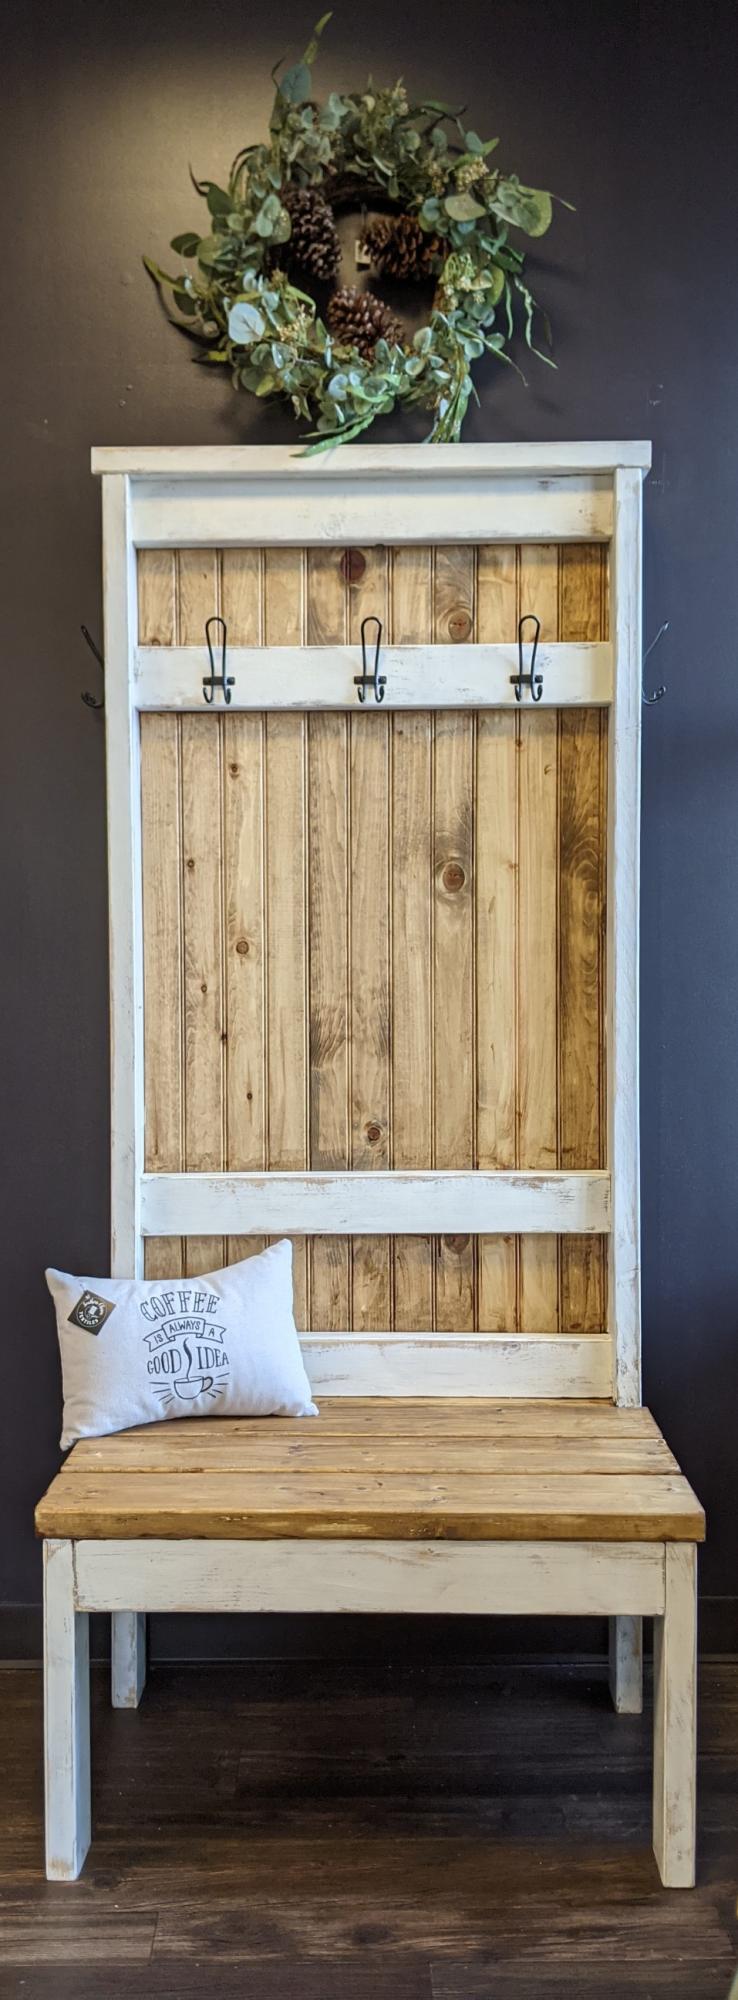
I made this slightly smaller version of Ana’s Hall Tree to fit smaller spaces. I added beadboard to the back to put an added farmhouse touch. Finished in Golden Oak and white.

Built from Plan(s)

Comments

Allen/ Ana White Island

Submitted by tfj1283 on Sun, 07/07/2013 - 17:16

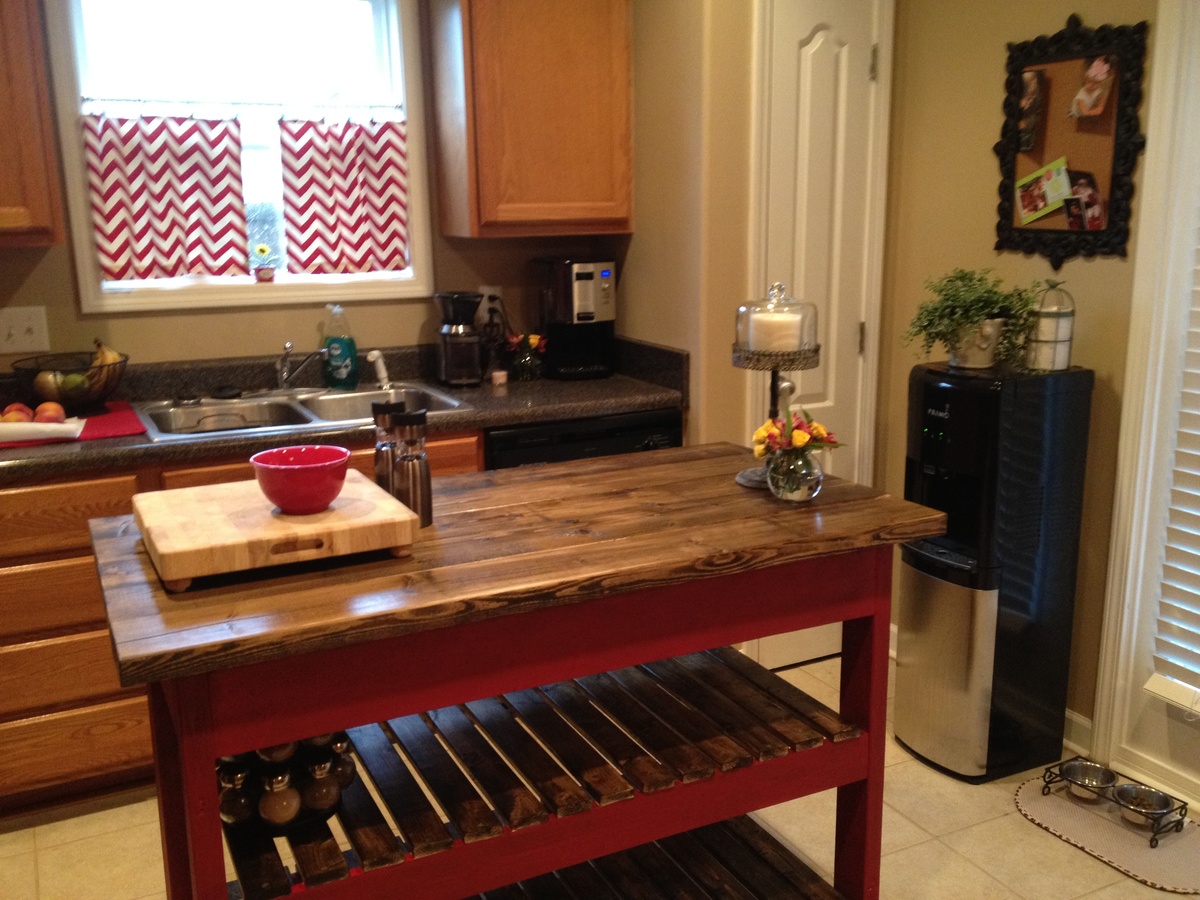
This was my husband and my first DIY project and we were thrilled at the outcome! It took us a day to build and then a couple days to stain and paint.
Built from Plan(s)
Estimated Time Investment
Weekend Project (10-20 Hours)
Finish Used
It is stained with min wax Jacobean and painted with Martha Stewart's Barn red. This was a super fun project; thanks Ana White!
Recommended Skill Level
Beginner