Community Brag Posts

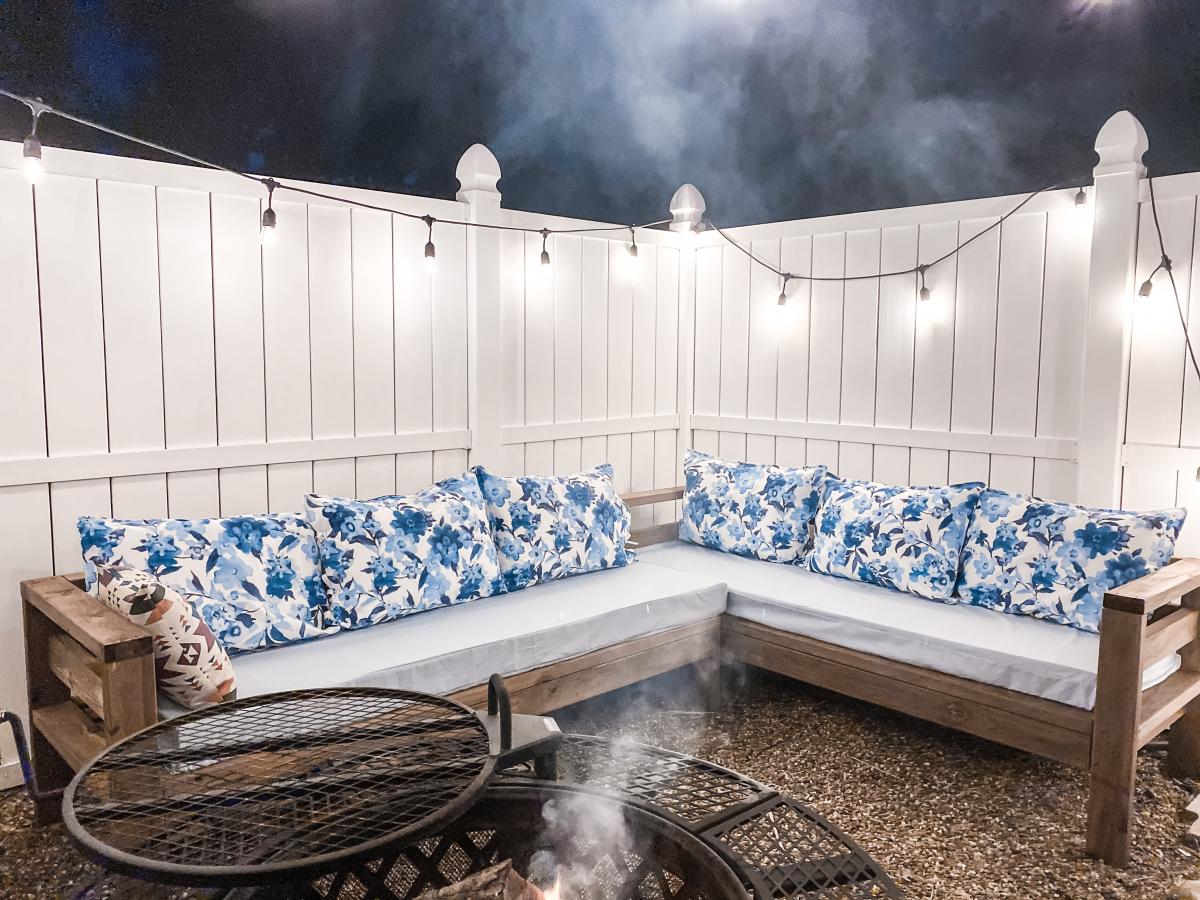
Outdoor Sectional

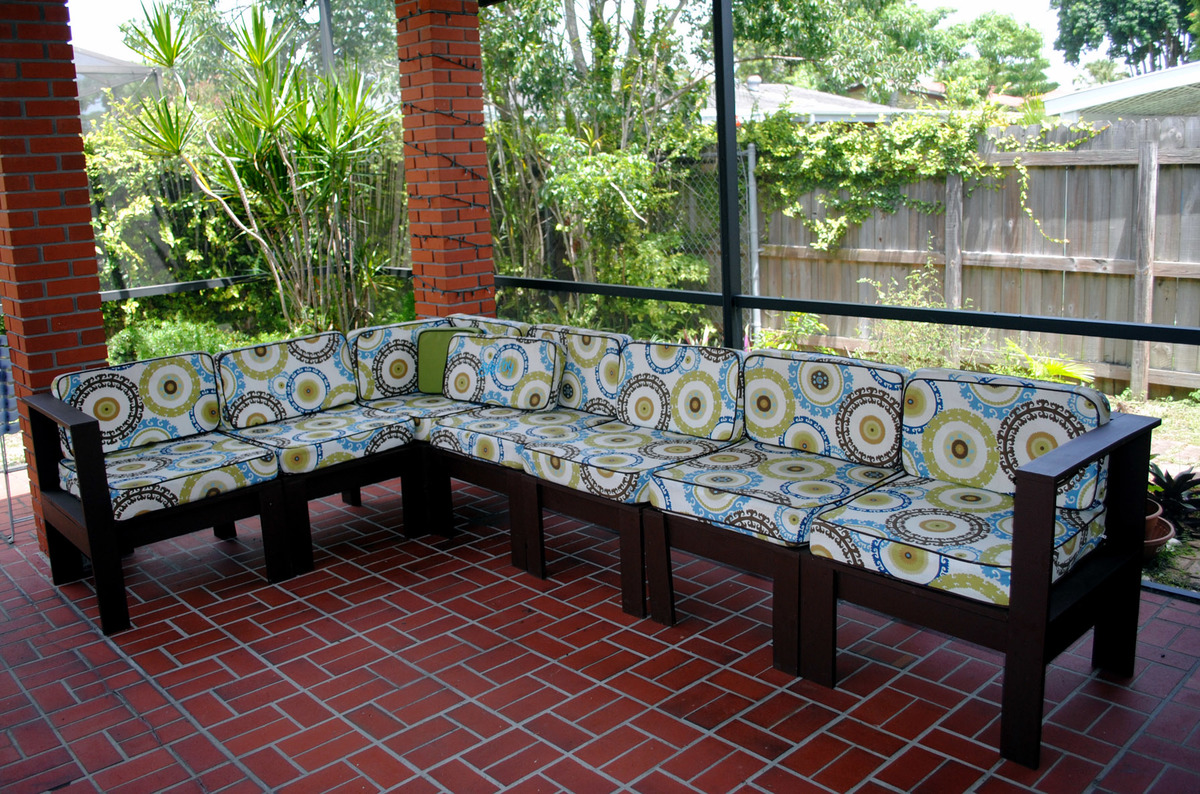
We have been looking for a deal on an outdoor sectional for a whole year. Nothing. The cheapest we could find was $899 for one that was much smaller than this one and with thinner cushions. So we upped and drove to the lumber yard and purchased the lumber on the list and got to building. The total cost of lumber was $200, the Spax screws we already had on hand. We used pocket holes for the joints. The wife made the cushions herself. She had most of the fabric on hand, we just had to buy 3 yards for the back cushions, which are made of standard size pillows. They have been sprayed with fabric protectant for outdoor use (I think she used the Scotch brand). The seat cushions are 5 inches thick (they are wrapped in silk film to protect them from getting soaked when it rains or when someone who just got out of the pool sits on them), around $100 for both. It took her a couple of days to sew the box cushion covers.
Estimated Cost
$400
Estimated Time Investment
Weekend Project (10-20 Hours)
Recommended Skill Level
Beginner
Seasonal And Holiday

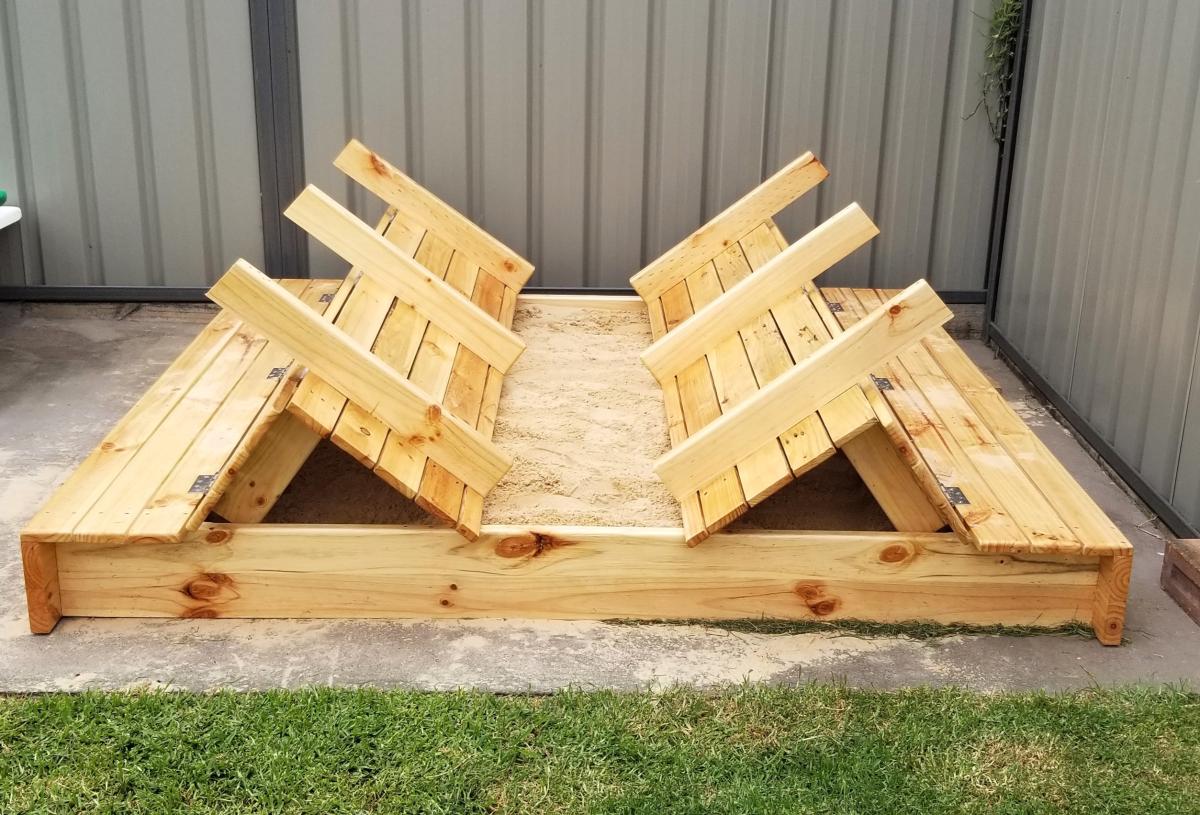
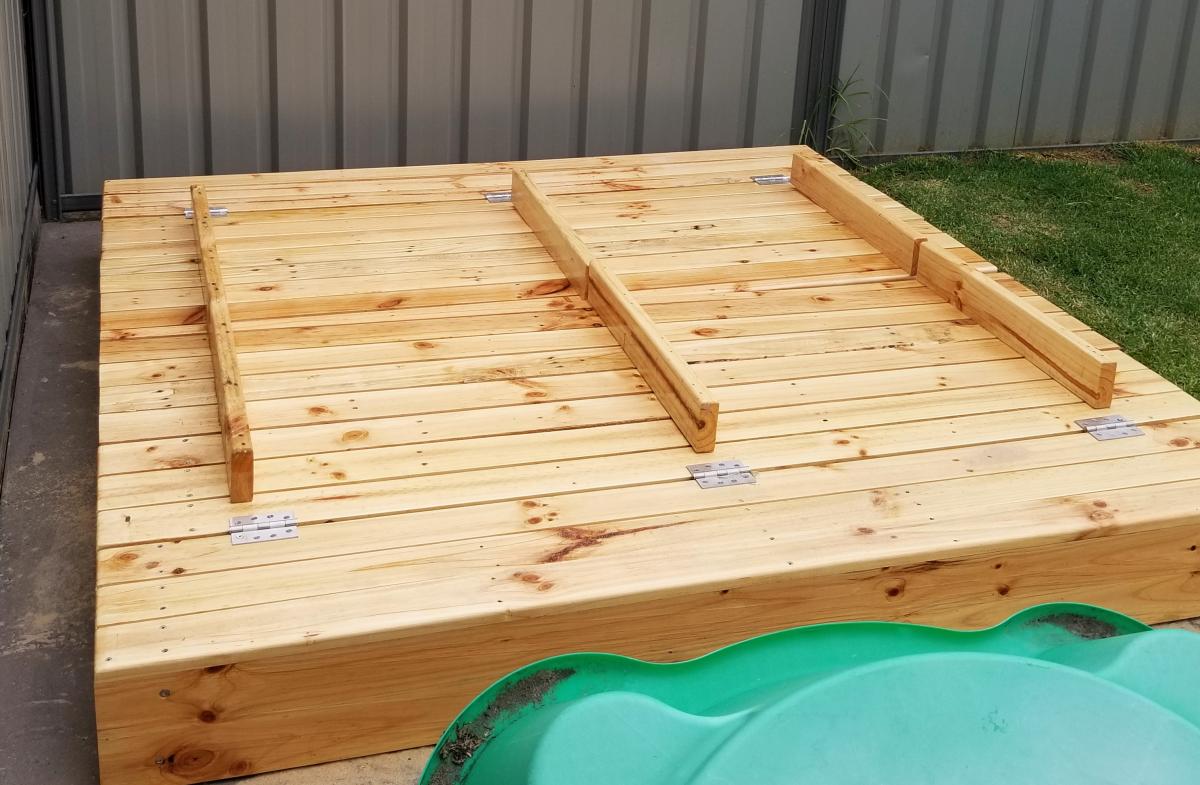
Wood Covered Sandbox with Built-in Seats

Submitted by Anonymous (not verified) on Thu, 02/15/2024 - 11:04

Hi Ana
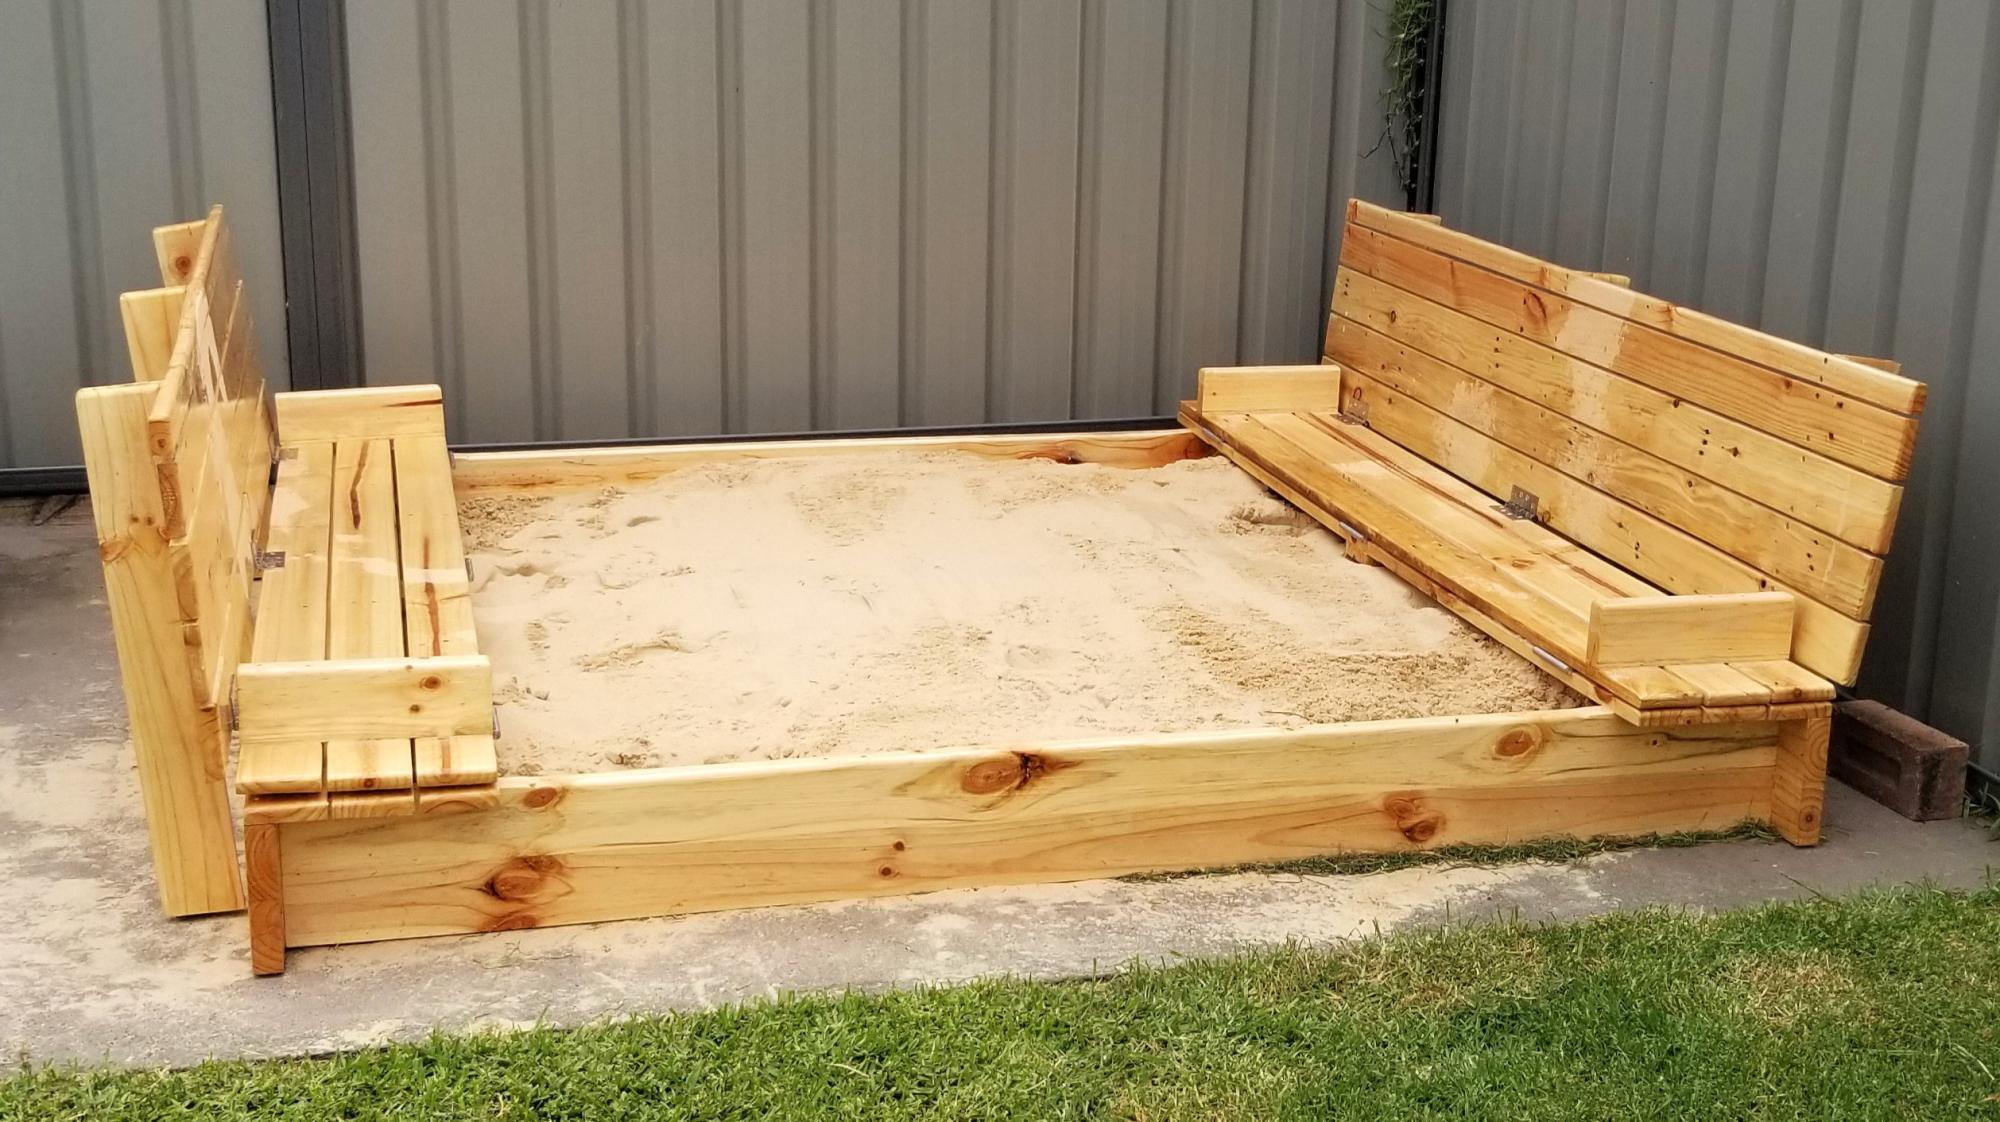
Well, was inspired from your plans on sand pits, so I made a custom one for my first Grandson Brax, it's around 2 meters square. With larger seats etc., was made completely out of recycled pine timber pallets. used waterproof glue, stainless screws and hinges as we live in Belmont NSW which we have lake Macquarie one side ocean on the other so it a battle with salt air. Finished it with a marine clear lacquer. Still lots to do like a pool fence keeps the dogs out and a shade over it. Love your site has great ideas and projects.

Chris Burt, Belmont NSW Australia

Seasonal And Holiday

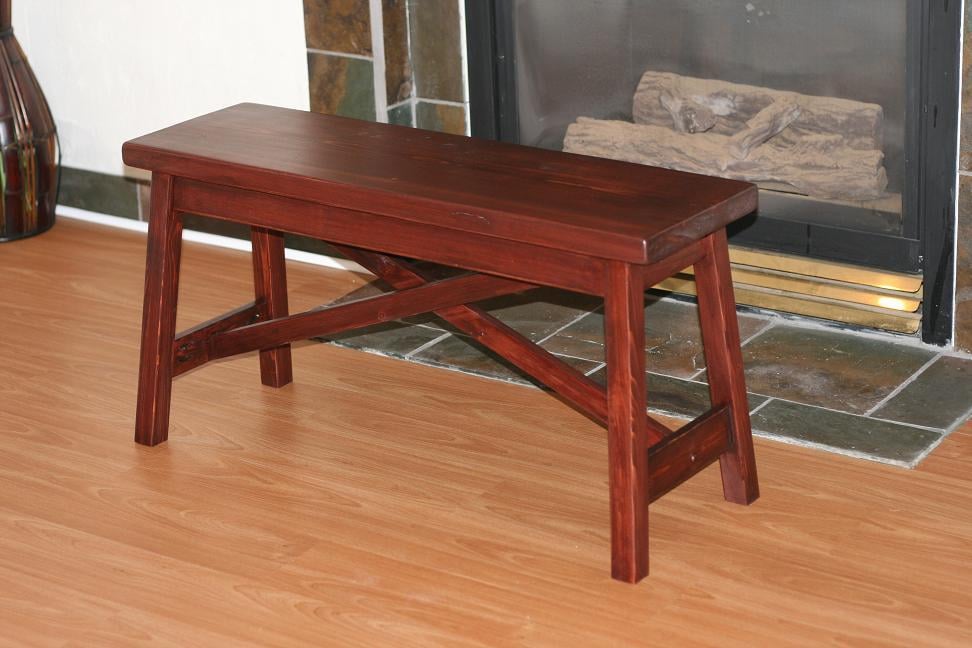
Rustic X Bench

Submitted by Aisha on Mon, 07/23/2012 - 10:11

Created the small easy rustic x bench, it was super easy to build even with all the small angles. Very good plans, the video was also nice to watch before getting started especially since I made mine 36" long and the handy tip on how to cut the cross braces helped. I also decided to use a 2x12 for the bench top as opposed to the 1x12 because it felt even more rustic to me.

Estimated Time Investment
Afternoon Project (3-6 Hours)
Finish Used
One coat of Varathane's Red Mahogany and two coats of Poly.
Recommended Skill Level
Beginner

Outdoor High Top Patio Set

I designed and built this "Caribbean Inspired" outdoor patio set based on the plans for the "Vintage Bar Stool". Once the stools were built, I designed the table to fit the height of the stools. The table top has stone mosaic tile and all surface are painted bright Caribbean colors. I do need to add the finishing touch of a cooler on the bottom shelf, but that's coming!
Built from Plan(s)
Estimated Cost
$225 for the material for the whole set (Not including the solar powered LED umbrella)
Estimated Time Investment
Weekend Project (10-20 Hours)
Finish Used
Behr exterior primer & paint, bright Caribbean Colors!
Rust Ole um clear lacquer spray finish (For sealing the paint & protection.)
Recommended Skill Level
Beginner

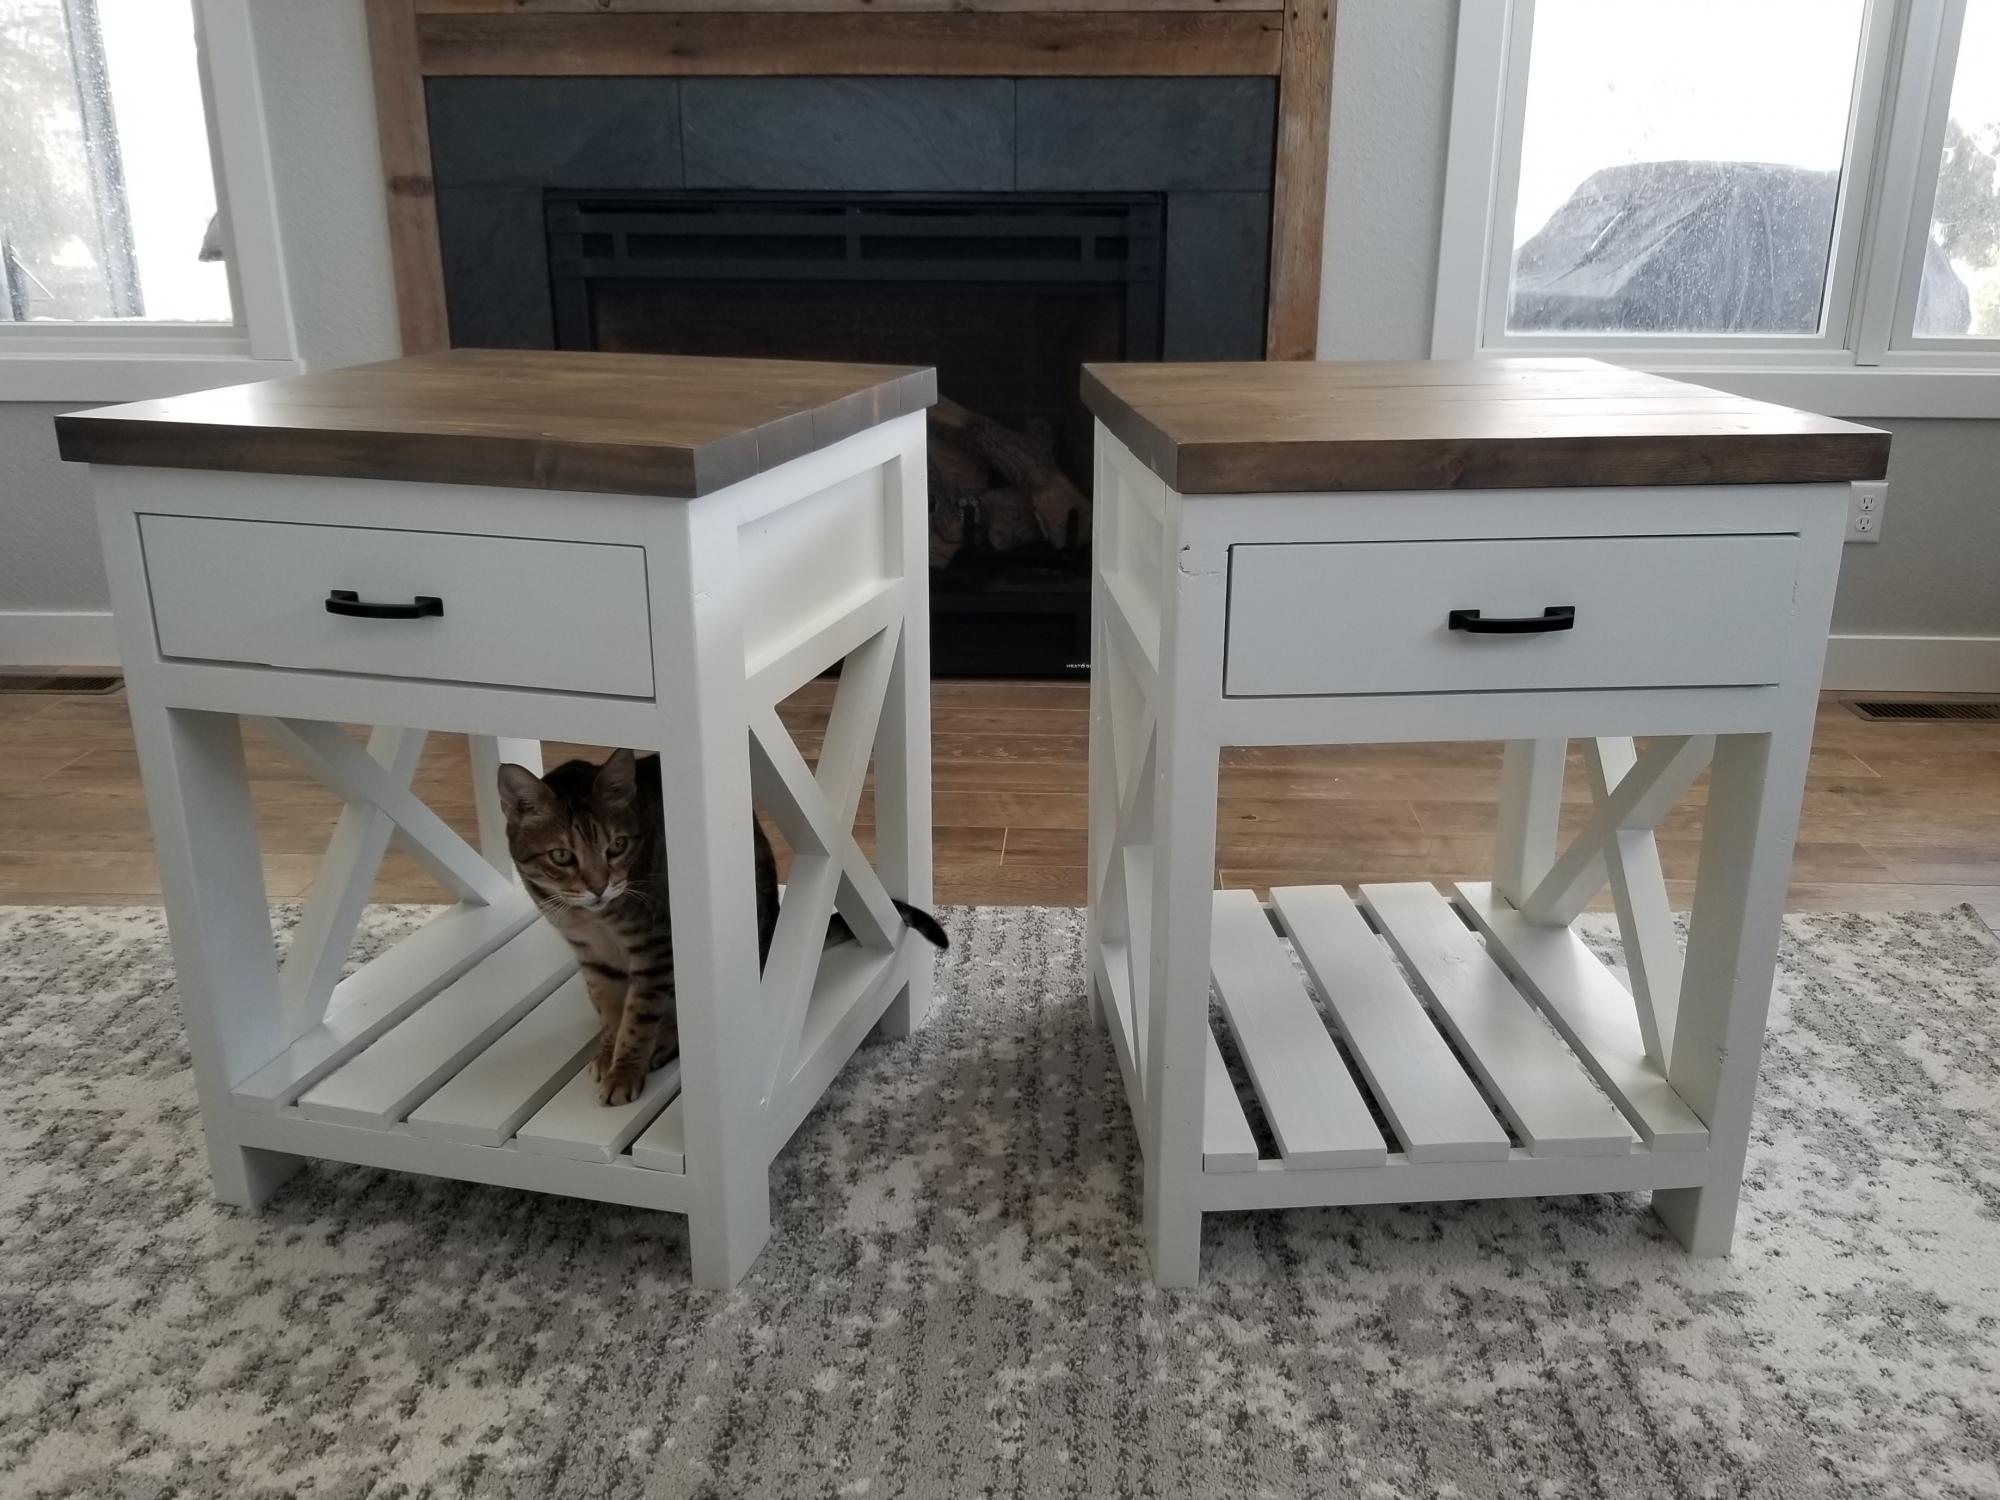
Farmhouse Nightstand

Submitted by rendall28 on Sun, 05/31/2020 - 14:10

This was my first furniture piece that I have made. I made two night stands, one for each side of the bed in our master bedroom. I chose to modify the plan so I could have ball bearing drawer slides.
Built from Plan(s)
Estimated Time Investment
Week Long Project (20 Hours or More)
Finish Used
Briarsmoke Stain for table top...Special order white paint to match the white woodwork in our home.

Modern Outdoor Sectional

Submitted by jtcalypso on Wed, 07/25/2012 - 10:02

Loved doing this as my first ever building project. Ana's plans made it easy and I found a tutorial for making the cushions at Sew Mama Sew. It's not perfect but we love it because it seats so many people comfortably and is exactly the right size for our patio. (All of our friends have complimented it like crazy, too!)

Estimated Time Investment
Week Long Project (20 Hours or More)
Finish Used
Opaque stain
Recommended Skill Level
Starter Project

Comments

spiceylg

Wed, 07/25/2012 - 10:34

You did a great job and those cushions are fab. I am a sewing novice and was too afraid to take them on.

JoanneS

Thu, 07/26/2012 - 16:32

You did such an awesome job on this. And it's your first project -- wow, it looks like it came right out of a furniture store and cost thousands! The piping on your cushions is a wonderful touch and it looks so flawless. Just beautiful!

Michelle212 (not verified)

Mon, 10/22/2012 - 08:15

Wow, this is really great. I love that color - How did you do the stain/paint? Is it meant for outdoor use?

Outdoor Lounge Chair

Submitted by Goldy272 on Mon, 05/19/2014 - 09:44

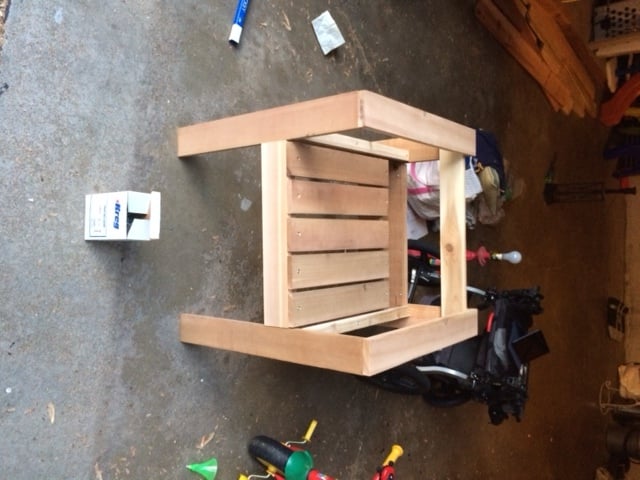
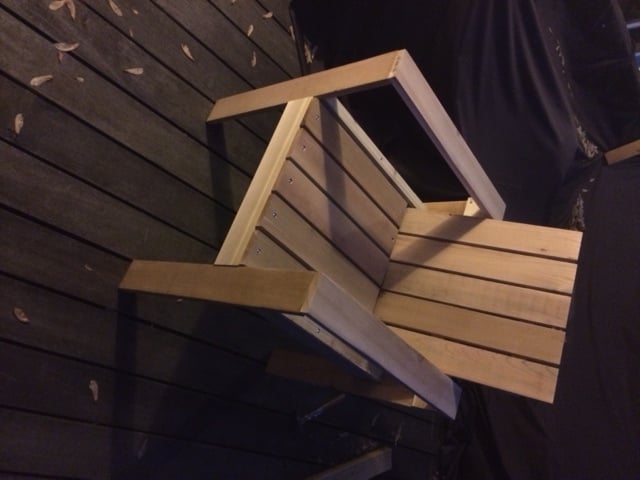
Simple outdoor lounge chair for use on our deck. This is a good design though if I had to do it over again I would make a few alterations:

- It's a bit flimsy, so for the chair frame, I would use 2x4's instead of 1x's.
- We are going to use them for seating at our patio table so I will make the others a bit shorter. The depth is awfully big for a dining chair but would be good for lounging.
- Used a 1x4 on the inside of the back frame to make the chair back more upright (as it said in the modified plans) would definately recomend.

Built from Plan(s)
Estimated Cost
$25
Estimated Time Investment
Afternoon Project (3-6 Hours)
Finish Used
None yet.
Recommended Skill Level
Intermediate

My take on Ana White's design

Submitted by Anonymous (not verified) on Sat, 08/20/2016 - 05:11

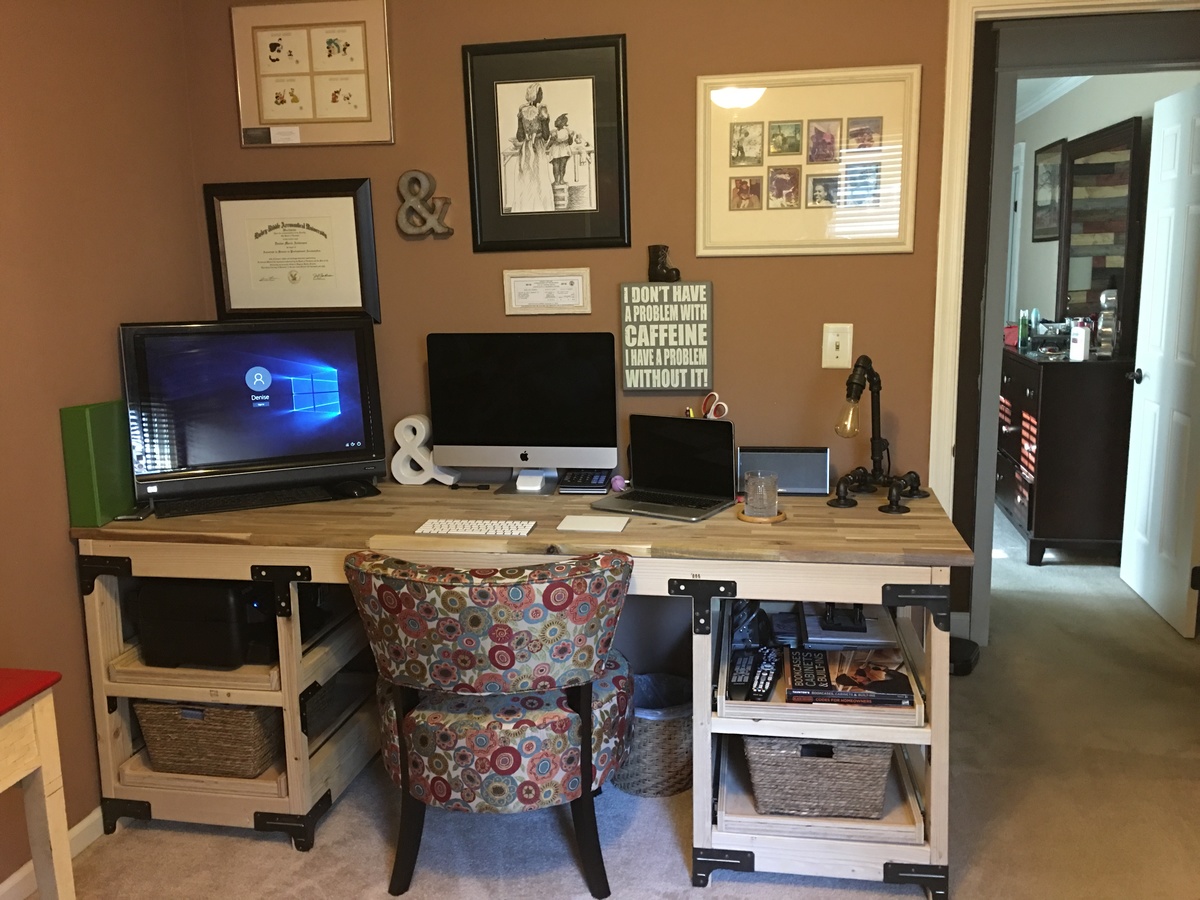
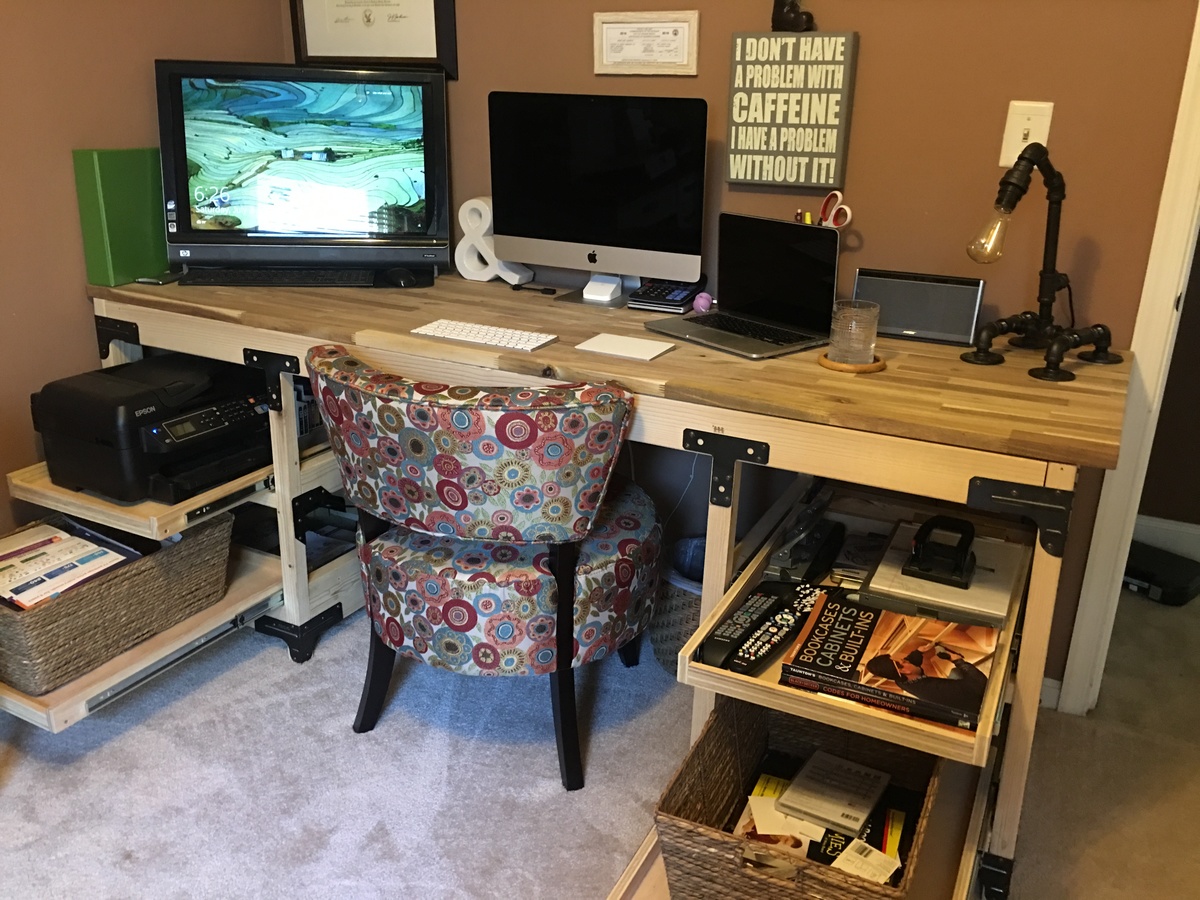
I used Ana White's awesome design, but needed access for my printer scanner combo, so I modified the design and created sliding shelves. I also substituted a sheet of butchers block for the top in lieu of plywood.  

Thank you for an incredible design, that has been used by at least 3 of my friends because they loved mine so much!!

Built from Plan(s)
Estimated Cost
$250
Estimated Time Investment
Weekend Project (10-20 Hours)
Finish Used
Home office desk
The slides used for the "drawers" are readily availabe at Home Depot. As deep as the shelves are, I ended up using the 24" model which is slightly shorter than the depth of the shelf. Just be sure to cut a cable way hole in your shelf, so your cords don't get pinched when closing the shelf/drawer.
Recommended Skill Level
Intermediate

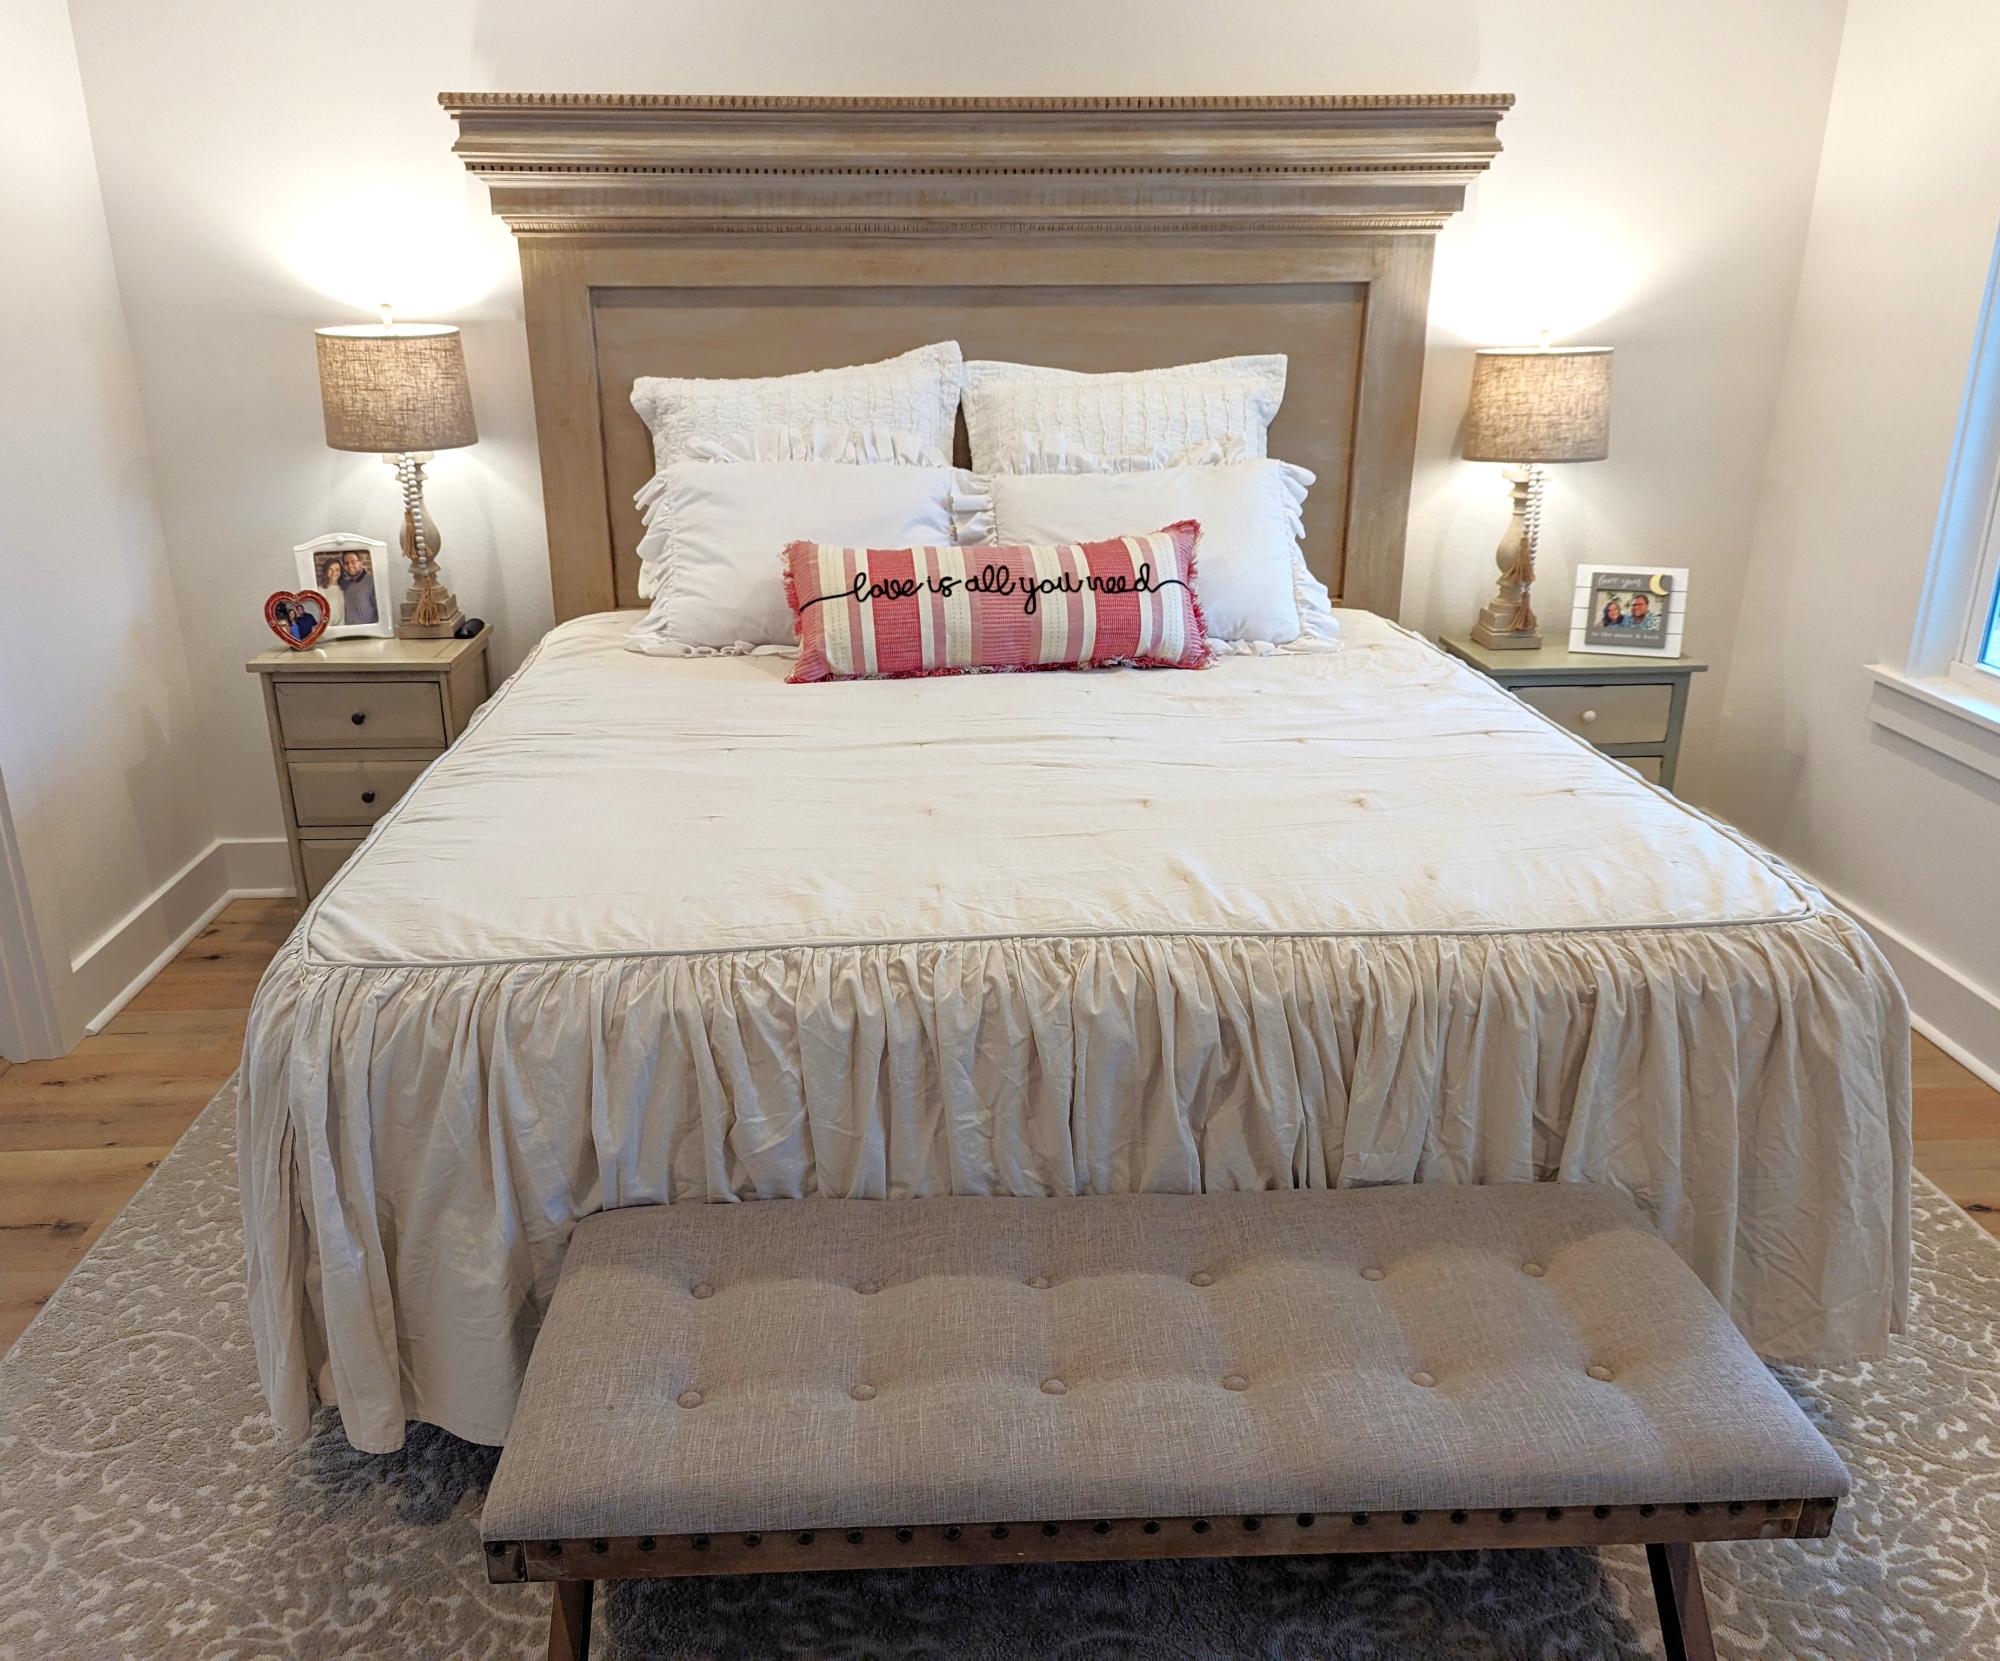
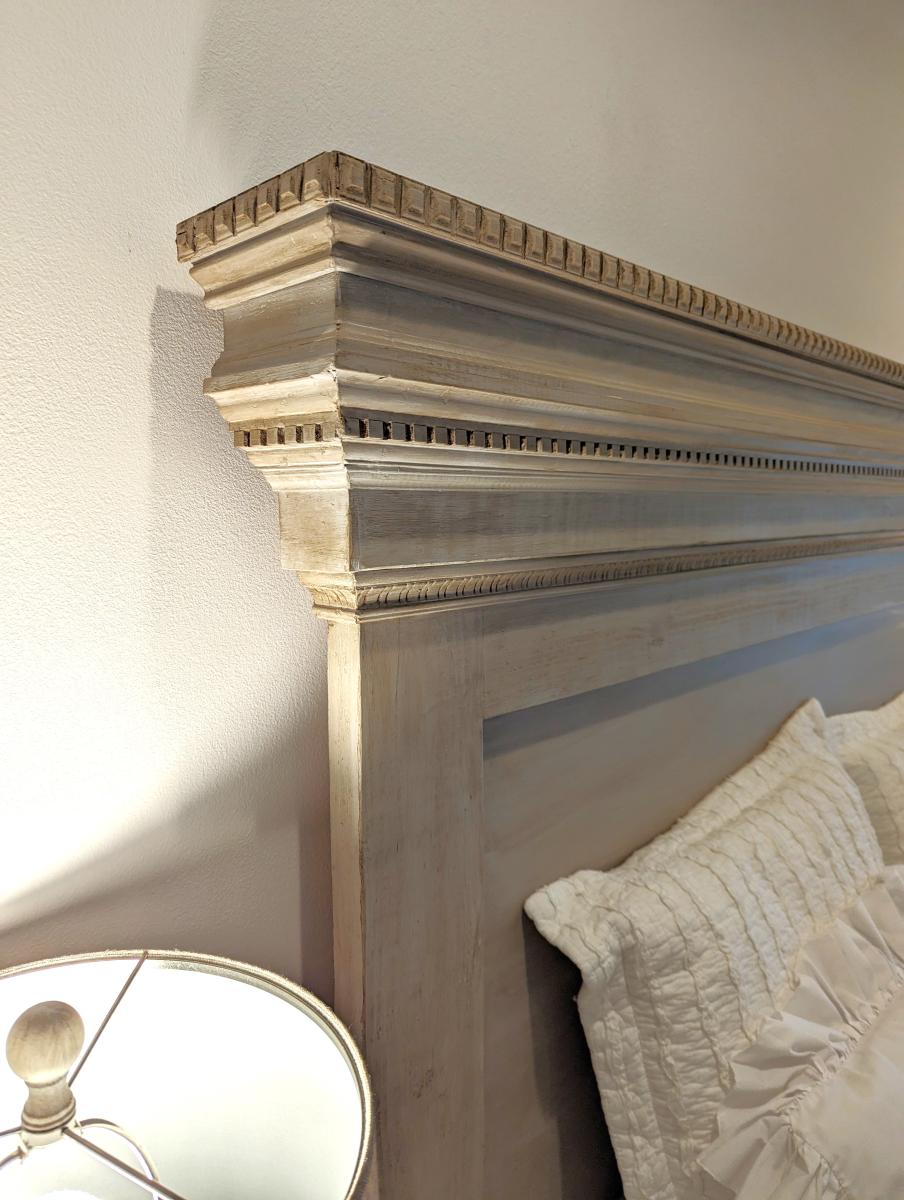
Tall Fancy Headboard

Submitted by Anonymous (not verified) on Thu, 02/29/2024 - 07:39

Upsized to a king. Couple of changes:
Mitered all the trim. Routed a rabbet in the back for the plywood panel. I mount to the wall with an offset to clear the baseboard (I attach wood blocks on the back and use adjustable furniture feet for leveling and floor protection.


Built from Plan(s)

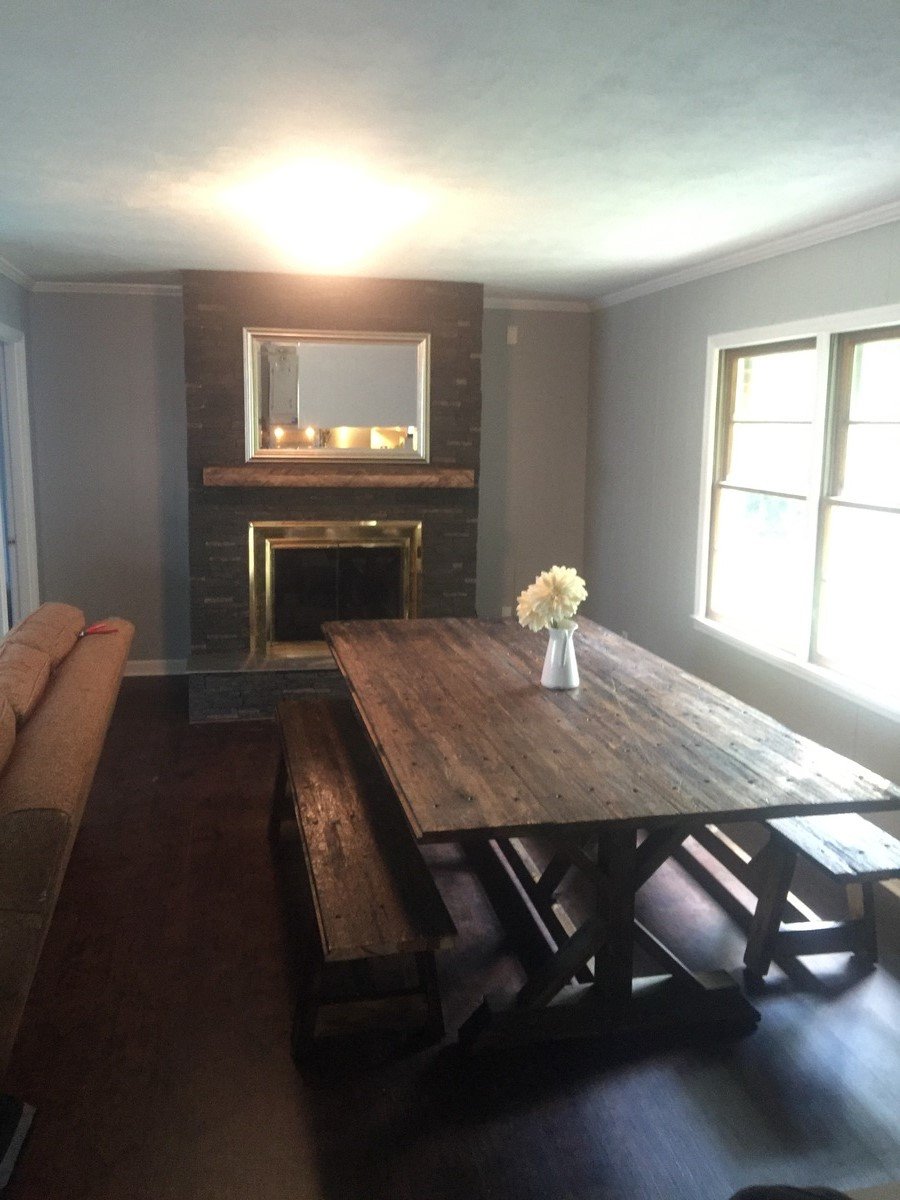
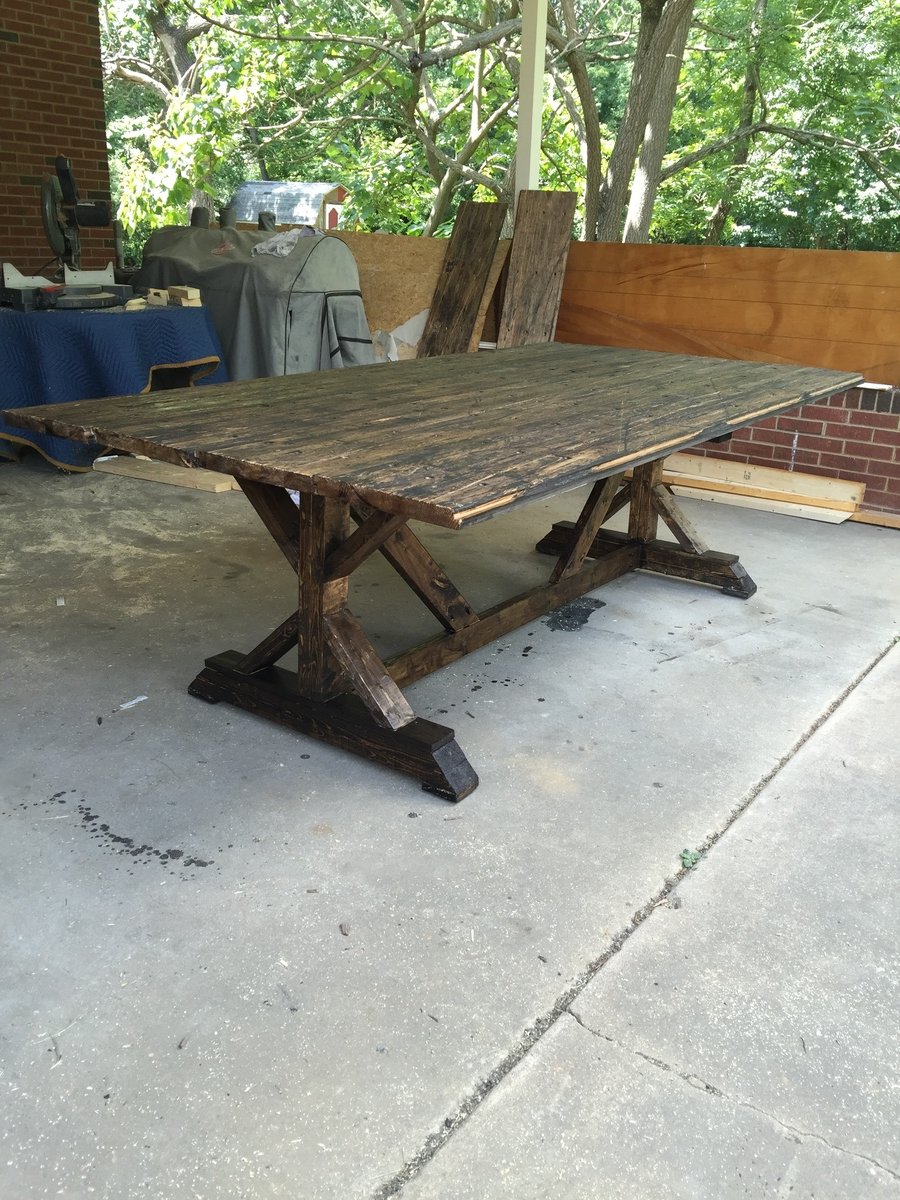
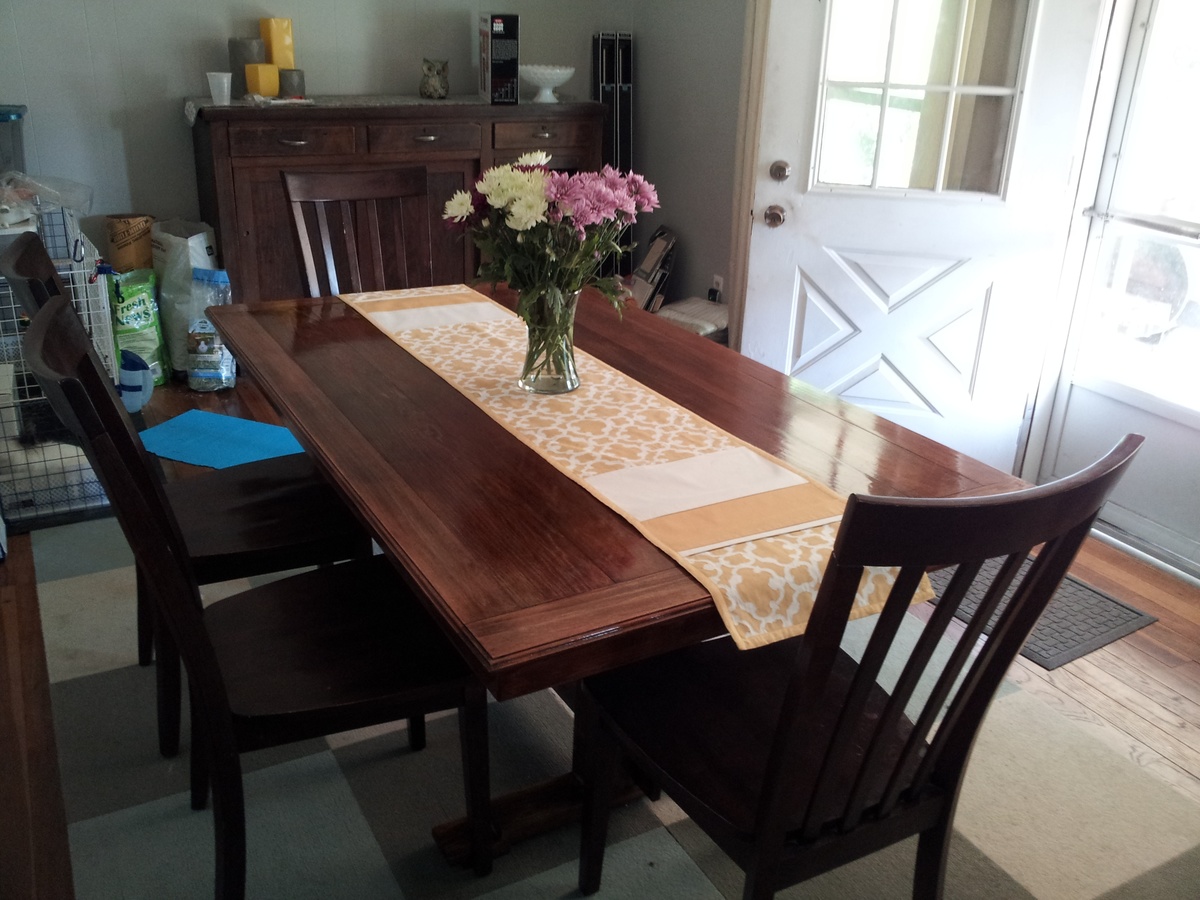
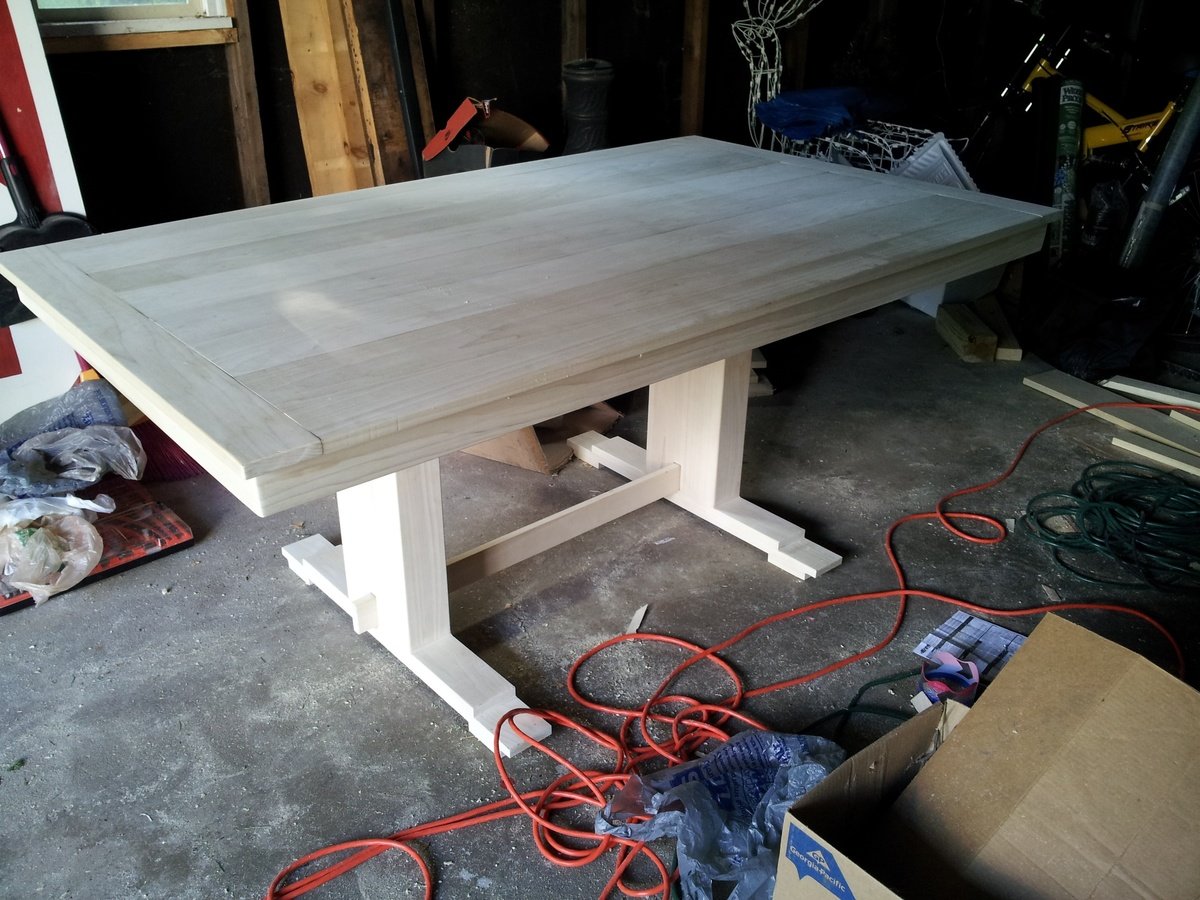
Modified Trestle Table

Submitted by Ryan on Fri, 07/27/2012 - 06:24

This is the kitchen table that I made when my wife said I "wasn't handy", I'm pretty sure she meant she wanted me to replace the ceiling in the dining room...

I took the Farmhouse Table plans and changed them a bit to create a true trestle table. I'm pretty happy with the results.

Unfortunately there isn't anywhere to put the Google SketchUp of this project.

Estimated Cost
$250
Estimated Time Investment
Week Long Project (20 Hours or More)
Finish Used
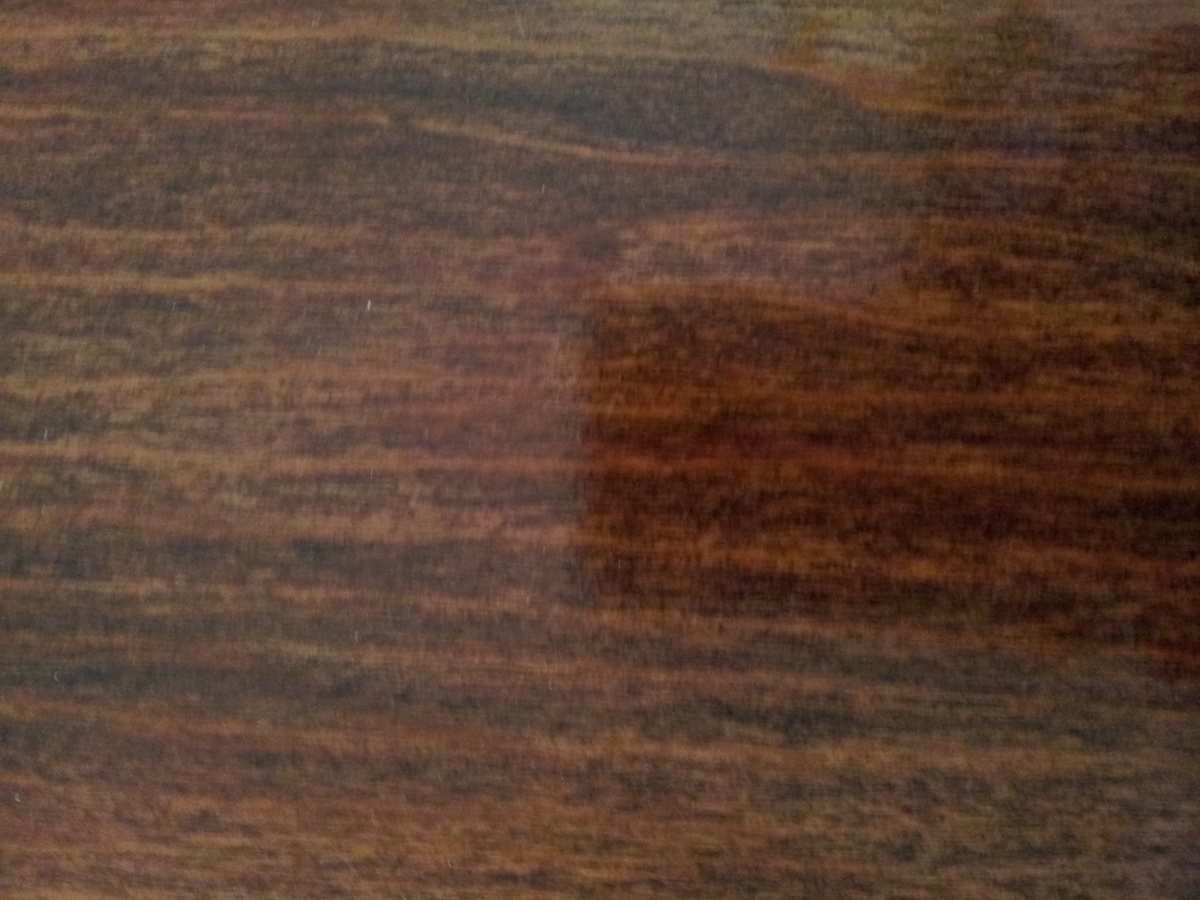
I used a cherry gel stain and a jacobean traditional stain, finished with poly. Two coats of cherry followed by the jacobean and three coats of the poly.
Recommended Skill Level
Intermediate

Comments

Ryan

Wed, 09/05/2012 - 11:57

Basically I combined the farmhouse and trestle table plans that Ana has up here... I didn't want to use a metal bar to fasten the legs, so I used a wood cross brace. Though honestly with the large box legs, the table is very sturdy even without a cross brace. I have a Google SketchUp of this project if you want it.

MaryMurray

Sun, 12/01/2013 - 20:05

I love the color of the finish. I am just about ready to start building my farmhouse table and was looking for a nice color for the finish. Thanks for sharing!

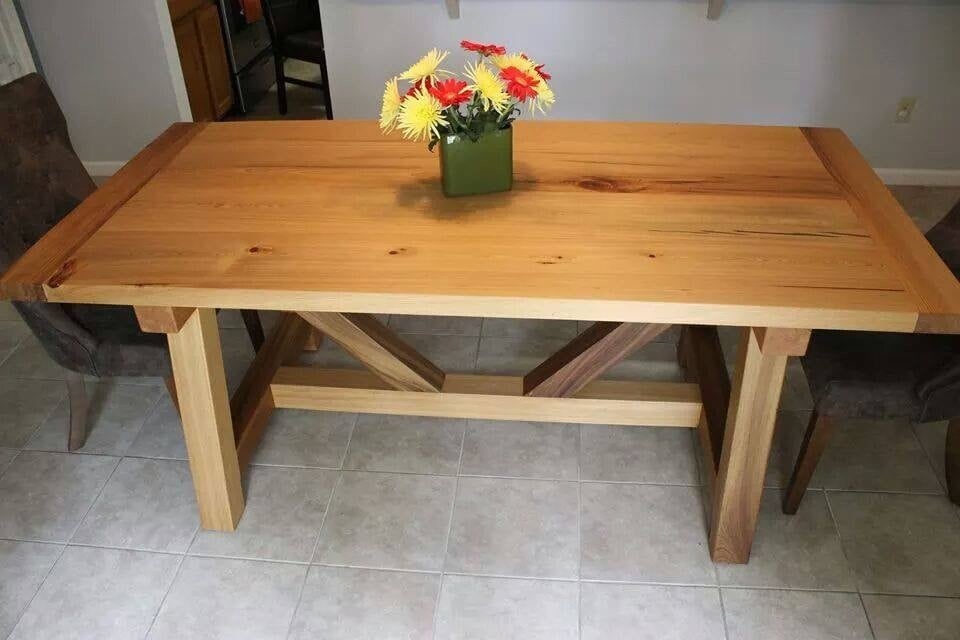
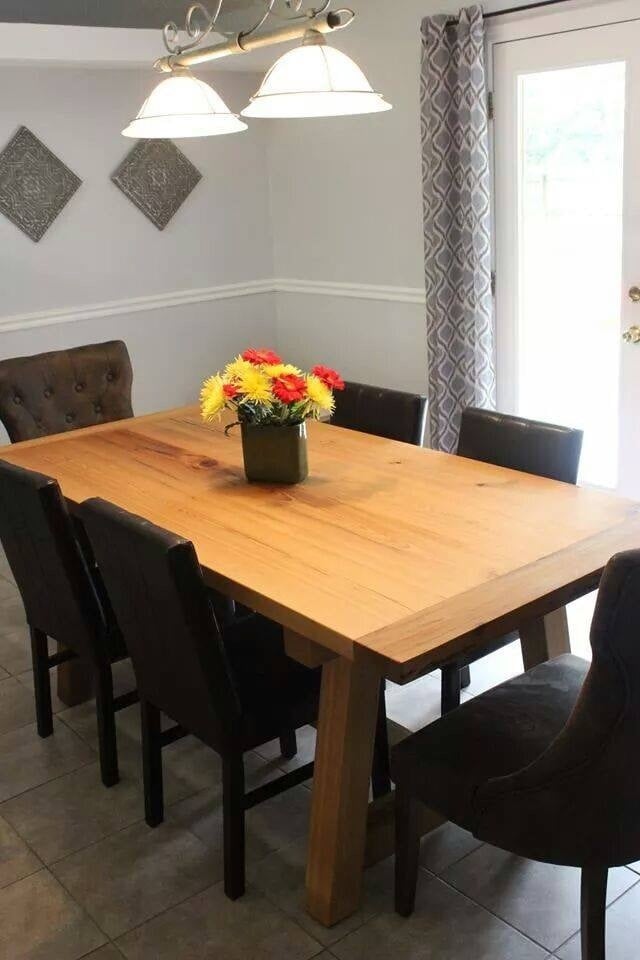
Florida Cypress Truss Beam Farmhouse Table

Submitted by Abesurfman on Thu, 05/22/2014 - 19:37

Here's my take on the Truss Beam Farmhouse Table using native Florida Cypress which was cut to size from raw logs at a local cypress mill. Thanks so much for the inspiration and plans. My wife loves it and it looks great in our first home.
I finished it with Odies Oil and a combination of Odies Oil and Odies Butter for the table top to preserve the natural beauty of the wood while protecting it from food and liquids.
I probably spent $600 in all but I got a killer deal on the wood which should have cost around $800-$900. I would guess that if I were to try to buy a table like this one out of the same wood, it would have easily cost over $3,000.

Built from Plan(s)
Estimated Cost
$600
Estimated Time Investment
Week Long Project (20 Hours or More)
Finish Used
Odies Oil & Odies Wood Butter. Both are rub on applications.
Recommended Skill Level
Intermediate

Comments

spiceylg

Fri, 05/23/2014 - 11:07

This table is on my must have build list. This is a beautiful build and that wood is gorgeous!!!

Jake'n'Leelo

Mon, 11/10/2014 - 08:16

Hi! Your table looks amazing! Did you modify the size? If yes, what tabletop size did you end up going with? I am going to have to modify mine to fit my dining space but am concerned about how it will affect the truss beams.

In reply to by Jake'n'Leelo

Abesurfman

Wed, 01/07/2015 - 08:05

I modified both the tabletop and the base.
The final length of the top was about 69" (+ or - an inch or two). In the pics you'll notice the breadboard ends are half the original size. These pieces were pecky cypress and one of them was very pecky which would have made it difficult to join.
As for the base, because of how sturdy the table top joints are (pocket screws and wood glue) and the smaller breadboard ends, I decided it wouldn't matter if the table legs were directly bellow the breadboard end joints. I also preferred extra legroom clearance (tall people problems) so I made that the priority and adjusted the base for the desired legroom. Not sure the exact measurement but it looks like it was about 15" on each side. After almost a year of everyday use it seems that I was right, supper sturdy and going strong.

jefsocmw

Thu, 08/06/2015 - 10:19

Your table looks awesome. I am preparing to make this also and during my research I have found comments over the concern with attaching the breadboard ends. Instead of pocket holes, the true woodworking suggestions are to use mortise and tenon joints with gaps to allow for expansion and contraction a described here, http://goo.gl/Or5HJM. What method did you use and how is it holding up? My goal is to build a table that will last and that looks professionally made our as close to it as I can get. 

Farmhouse Table

Submitted by Anonymous (not verified) on Mon, 08/22/2016 - 13:56

I tried to replicate the original post on this site (which is awesome by the way!)  I did make a few changes so this might help others:

1. Made total table length 72" to fit our dining room.

2. Flipped the stretcher boards towards the inside part of the table for more leg room while sitting on either end of the table

3. 2 inch pocket hole screws to attach table top to the frame (instead of 2 1/2 inch so they wouldn't go through the table top)

4. Two 2x10s (instead of 2x8s) for the breadboards.  For extra support, I used four 3 inch metal brackets (purchased at Lowes) that I painted white and attached under each breadboard (8 total brackets used- 4 under each side)

5. Olympic brand latex white eggshell paint for the legs/apron for the table and bench.  I then applied 3 coats of Minwax Polycrylic Matte (water based) to help protect the water based paint.

6.  To help with the gaps between the boards that create the table top (I have two kids so you can imagine the crumbs!), I used Dap white caulk in between the boards and wiped away the excess.  I then proceeded with the Rust-Oleum chalked ultra matte white paint (using 1:1 ratio of water and paint) to create that lighter foundation for the next step.

7. After using the Minwax Dark walnut stain 2716 (one coat), I used 3 coats of Minwax Fast Drying Polyurethane clear satin to finish and loved the result.  


Estimated Cost
$225
Estimated Time Investment
Week Long Project (20 Hours or More)
Finish Used
The following was used in this order:

Table top:
Foundation color: Rust-Oleum Chalked ultra matte paint (1 coat whitewash finish and wipe away any excess like for staining)
Stain: Minwax Dark Walnut 2716 (1 coat)
Finish: Minwax Fast Drying Polyurethane Clear Satin (3 coats)

Apron & Legs for table frame and bench frame:
Paint: Olympic True White Latex eggshell (2 coats)
Finish: Minwax Polycrylic water based matte (3 coats)
Recommended Skill Level
Beginner

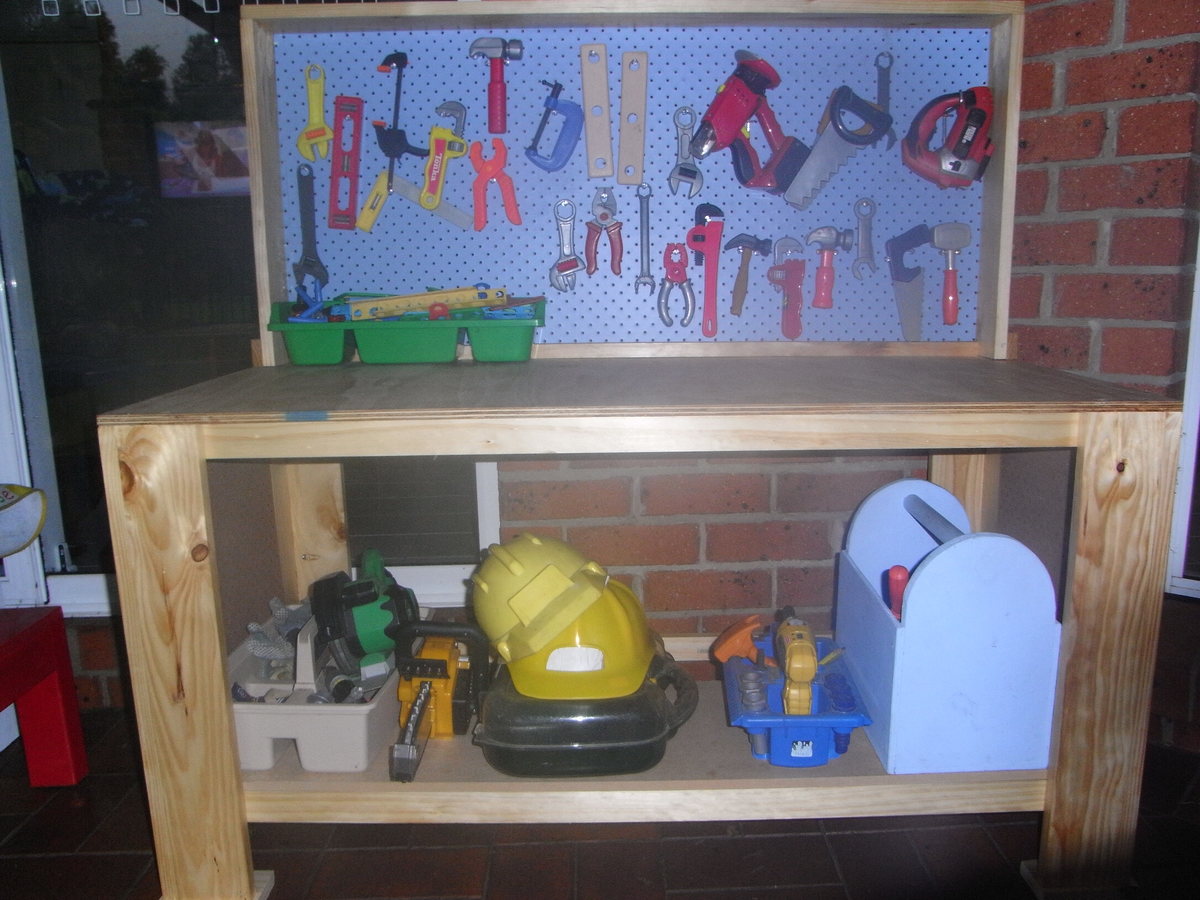
workbench

Submitted by vic b on Mon, 07/30/2012 - 13:43

kids workbench

Estimated Cost
$60
Estimated Time Investment
Afternoon Project (3-6 Hours)
Finish Used
clear finsih
Recommended Skill Level
Beginner

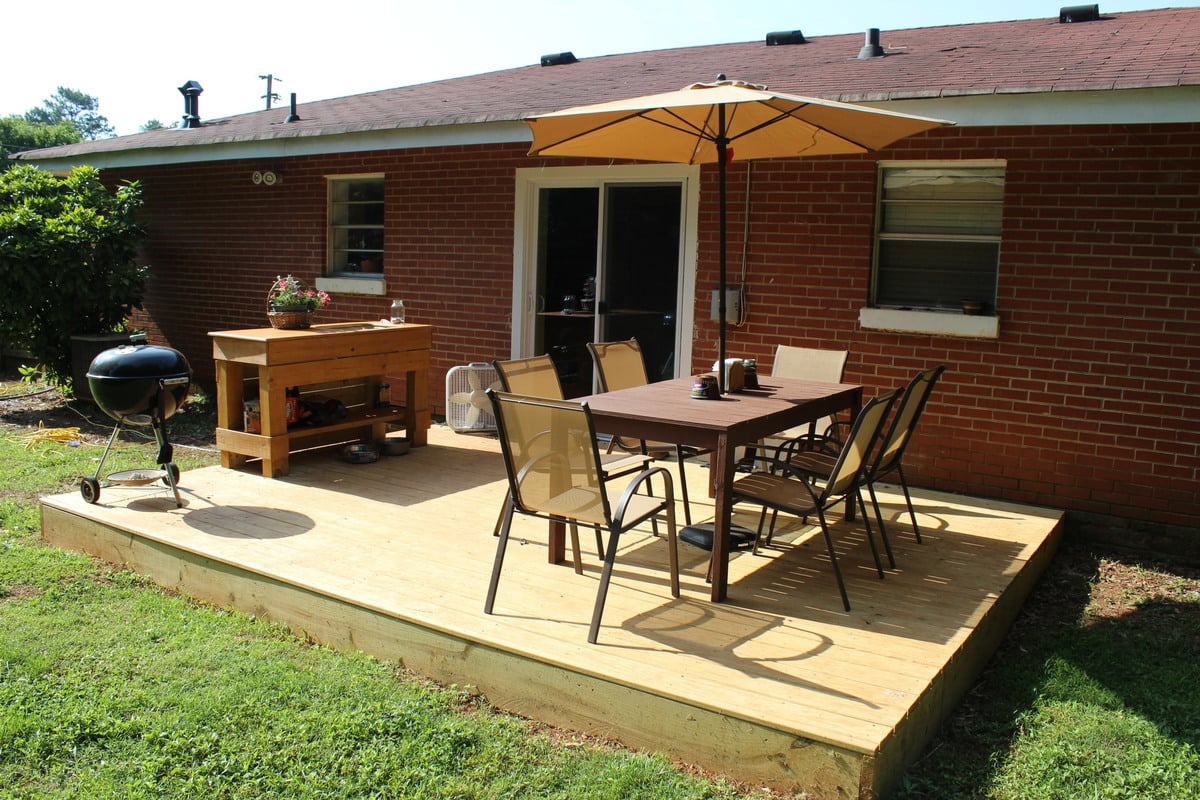
OutDoor dining table

My wife and I were looking for a larger table for our deck and after searching and seeing that everything out there was 300 dollars and up for something decent I decided I would try building something. This table was perfect for our needs and looked easy enough for me to put together. The most time consuming part was staining all of the boards as I went but it was totally worth it in the end. I also deviated from using screws and used my nail gun along with some glue to put the top frame together and the slats on but I did use some 2inch deckmate screws to attach the legs. One problem I did run into was I was about half a board short on the slats which wasn't a big deal just ripped one on the table saw, not sure if I miss measured or what but either way. We love our table and will entertain around it for years to come.

Built from Plan(s)
Estimated Cost
Around 80 Dollars
Estimated Time Investment
Day Project (6-9 Hours)
Finish Used
I used a Behr deck stain that was solid the color is called Russett and I did with a 3inch brush.
Recommended Skill Level
Beginner

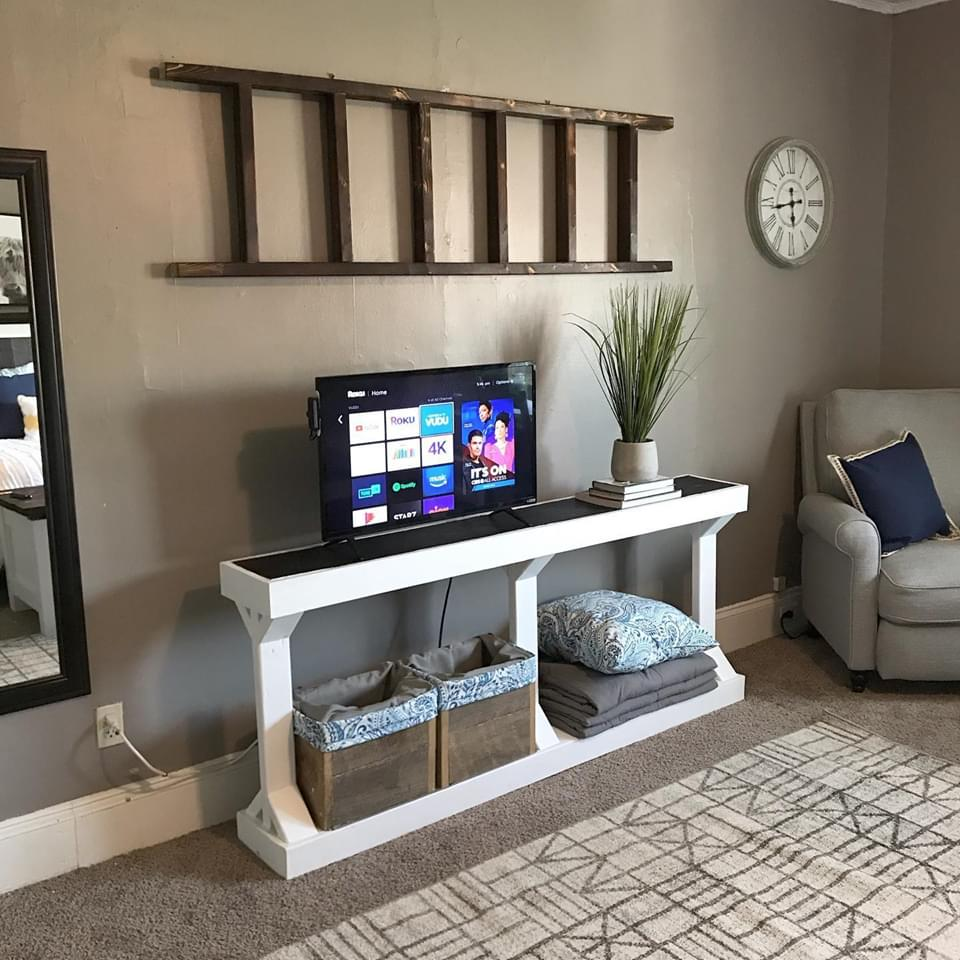
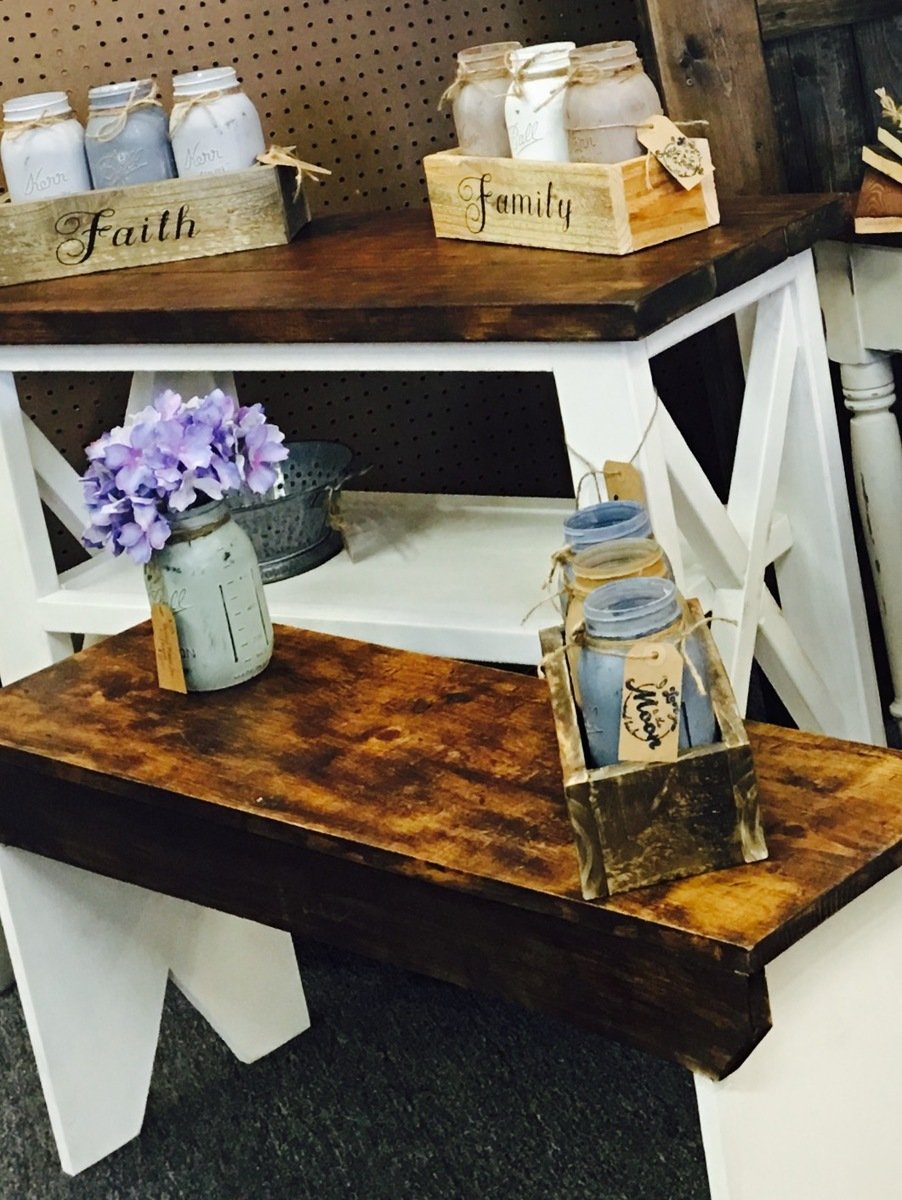
Rustic X Console with 5 board bench

Submitted by Rifka on Fri, 08/26/2016 - 08:42

I wanted this console but not as long. 

Built from Plan(s)
Estimated Cost
$20
Estimated Time Investment
Weekend Project (10-20 Hours)
Finish Used
Annie Sloan white paint on base
Dark wax and sealer on top.
Light distressed
Recommended Skill Level
Beginner

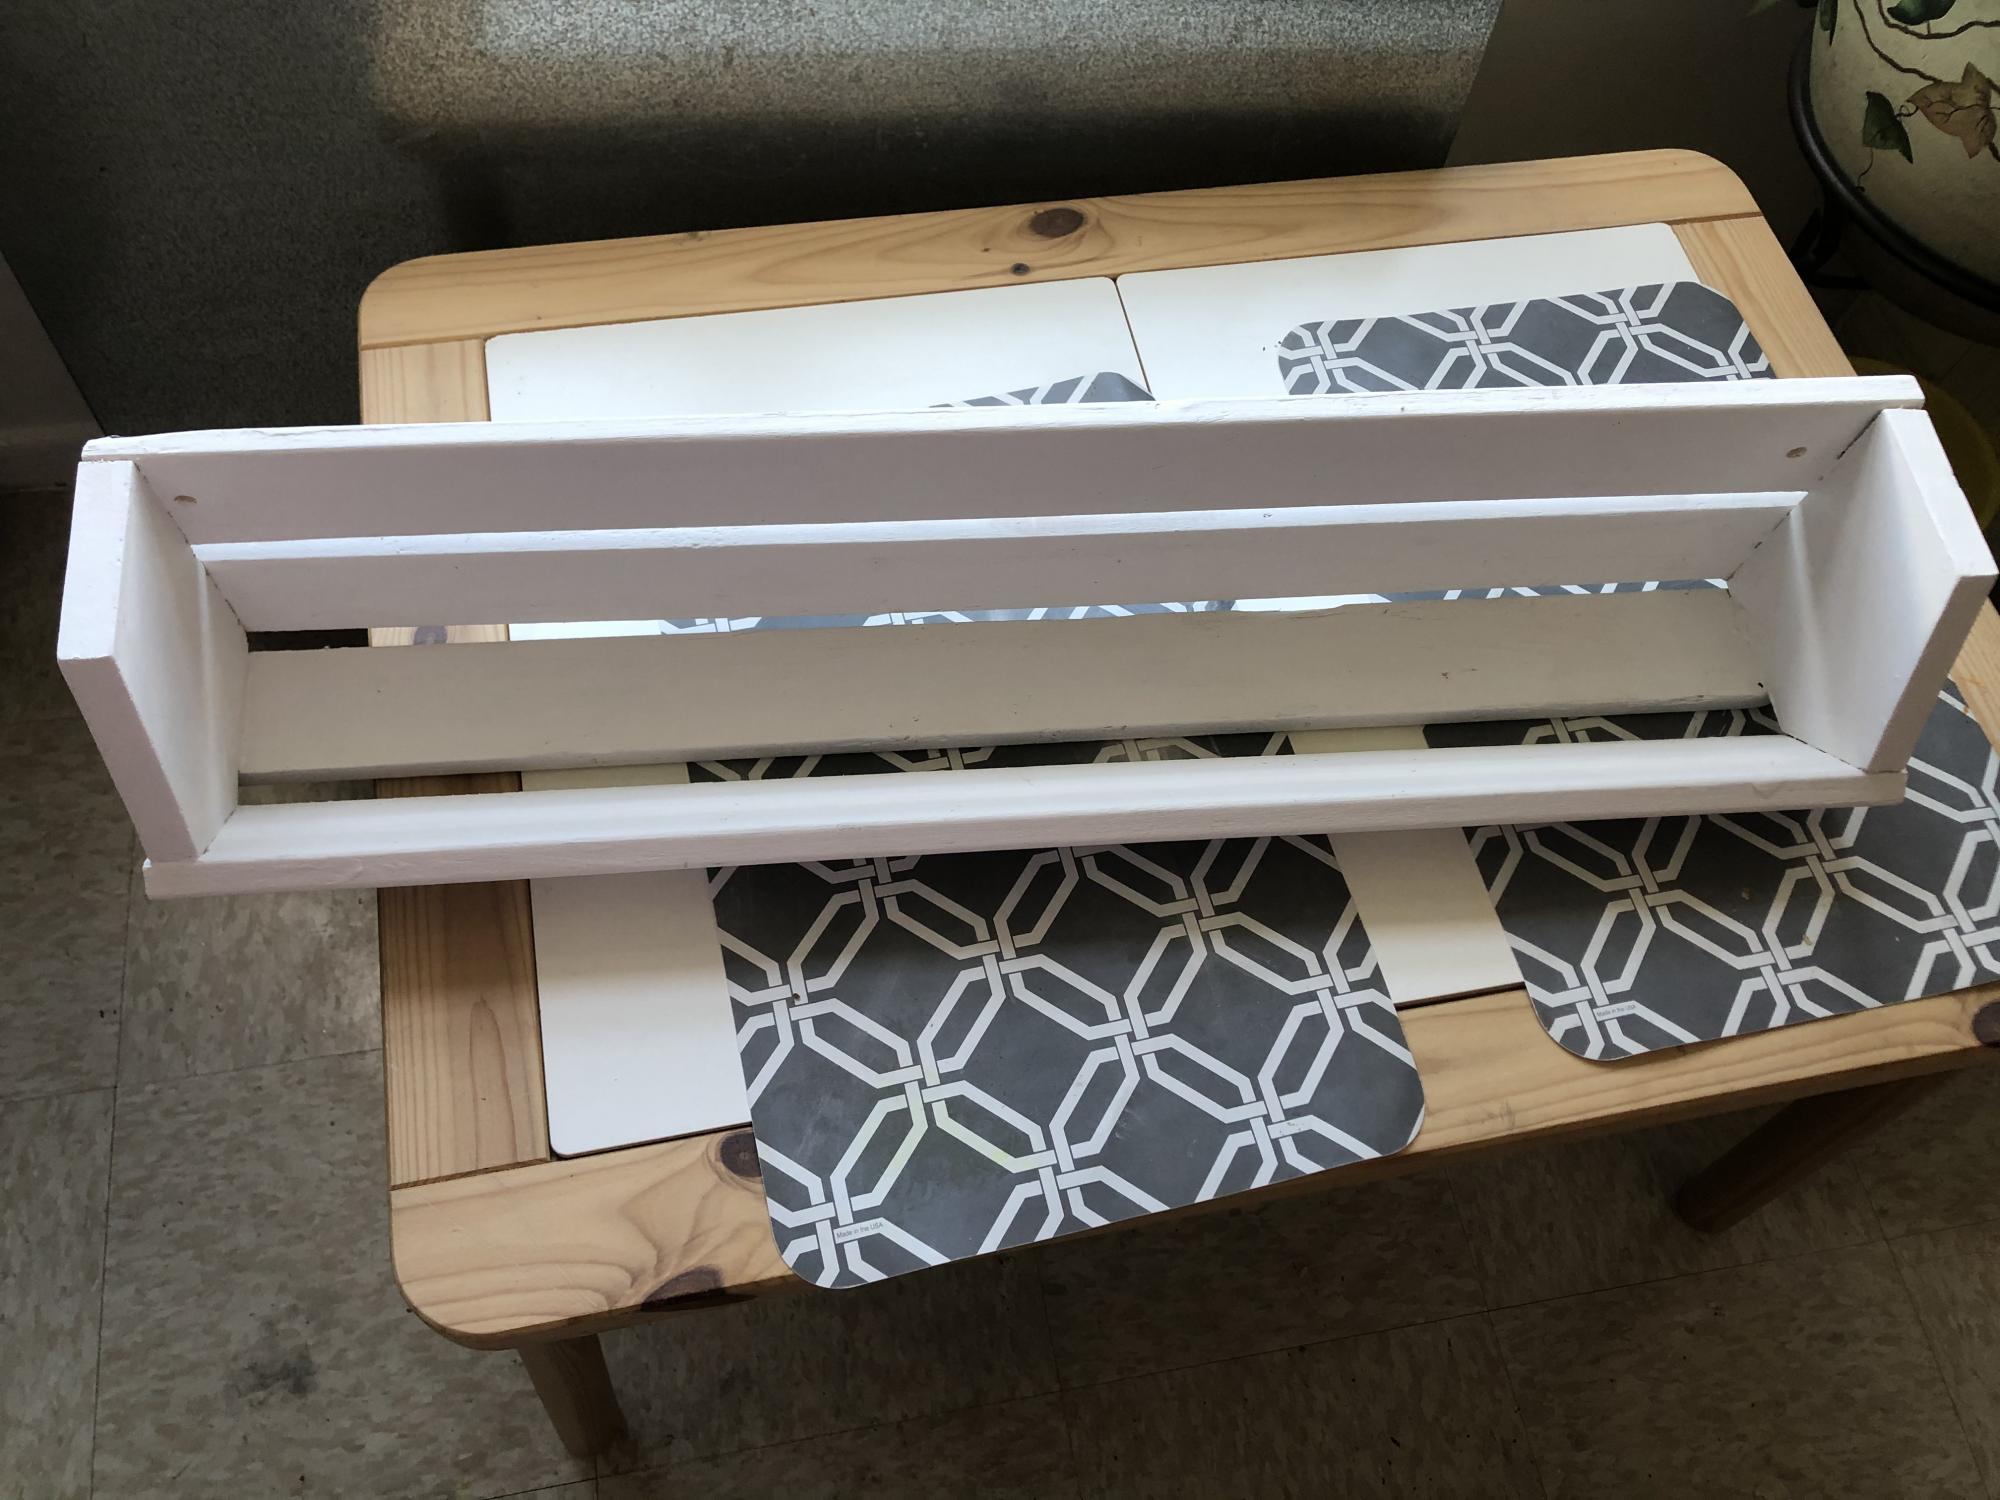
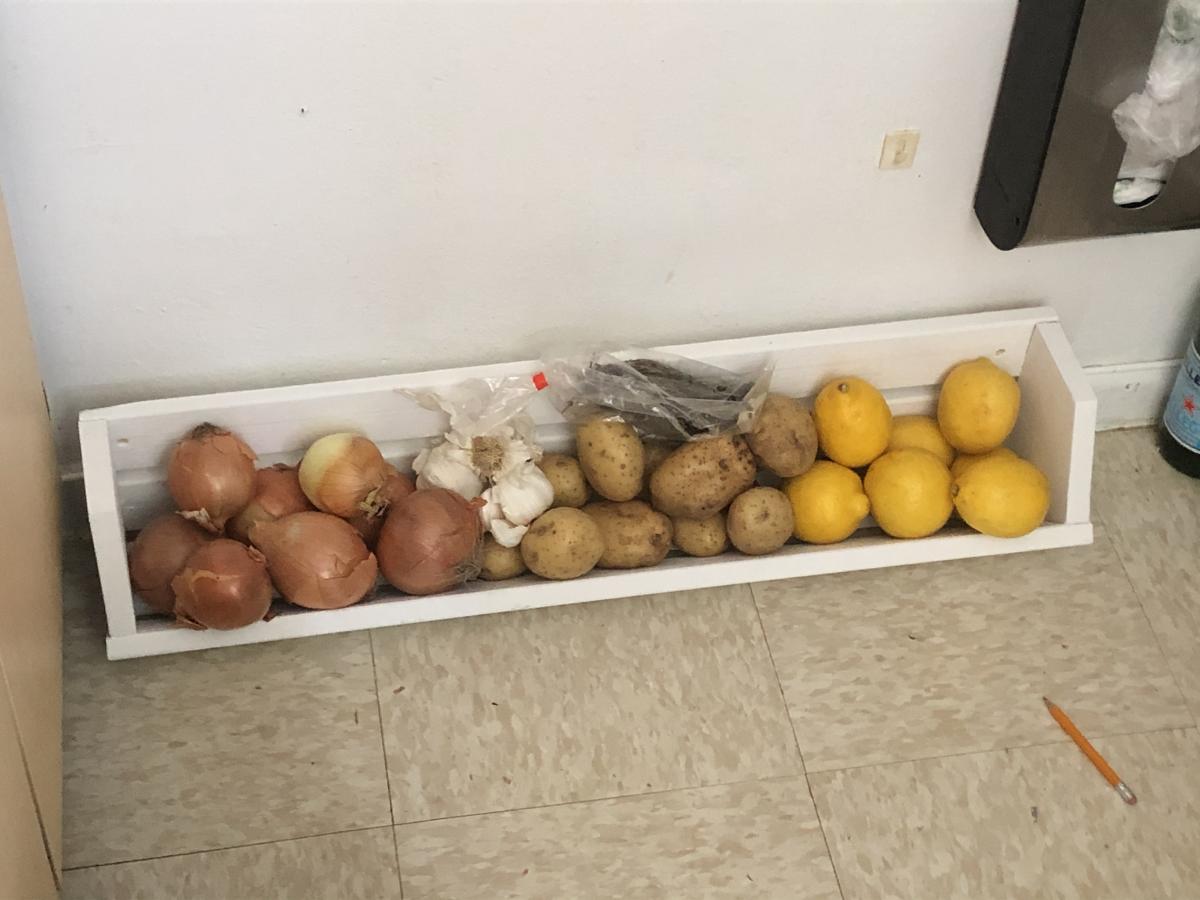
Potatoe bin

Submitted by Anonymous (not verified) on Sun, 06/07/2020 - 13:04

I loved this project. Took me a couple hours. Since I didn’t want to go out and buy material I used what I had which was 1x3s. I altered a little but still has the same look. Love it.

Built from Plan(s)
Estimated Cost
$0
Estimated Time Investment
An Hour or Two (0-2 Hours)
Finish Used
None. Just paint
Recommended Skill Level
Beginner

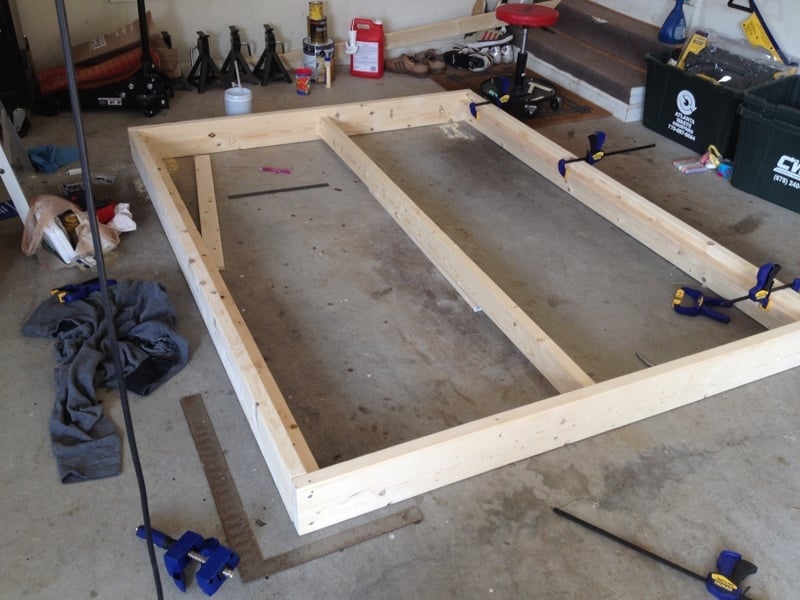
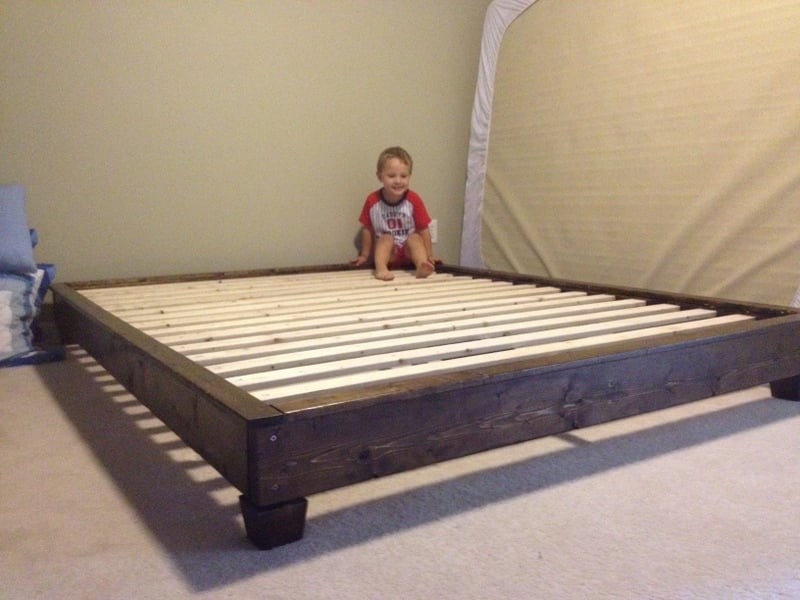
New Bed for my 3 year old!

Submitted by red98dawg on Thu, 08/02/2012 - 13:49

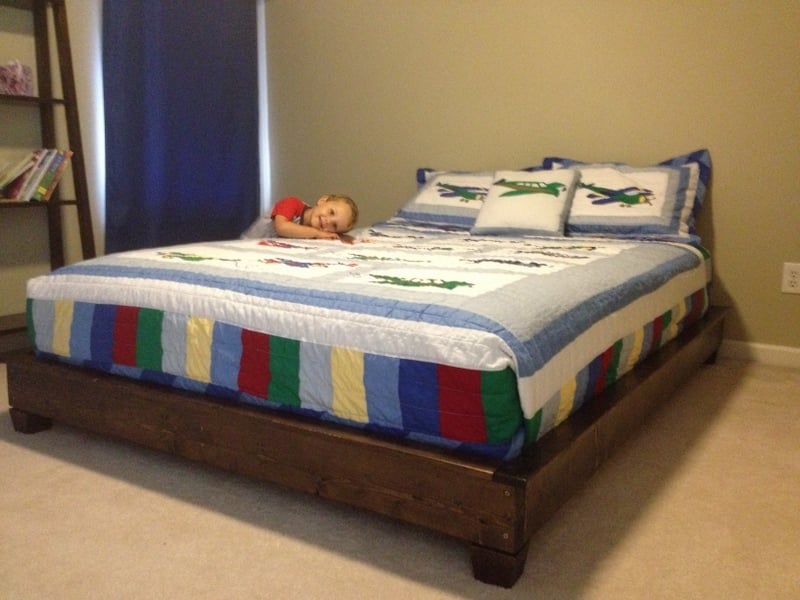
I had been on a search for a while for new furniture for my son’s new big boy bed room but couldn’t justify the money for new furniture and couldn’t find anything remotely nice on craigslist. I ran across this plan on Ana’s site and just had to have it so it became my first large furniture project.
It was fun to build and very rewarding when my son told me he loved his new bed!

I did have some issues with using the kreg jig on the platform so I did use wood screws on the outside frame. I had better success with the kreg jig on the headboard, guess I just needed practice.

There were a few things I did to make it easier to move the bed if needed:
I did not attach the slats but I did lay them on a non skid grip (like you put under rugs on wood floors).
I attached the headboard to the platform using carriage bolts so it could be taken apart easily.

The plans were really easy to follow.

Estimated Cost
$170
Estimated Time Investment
Weekend Project (10-20 Hours)
Finish Used
Minwax - Jacobean, 1 coat
Minwax - Fast-Drying Polyurethane, 2 coats
Recommended Skill Level
Beginner
Back