Community Brag Posts

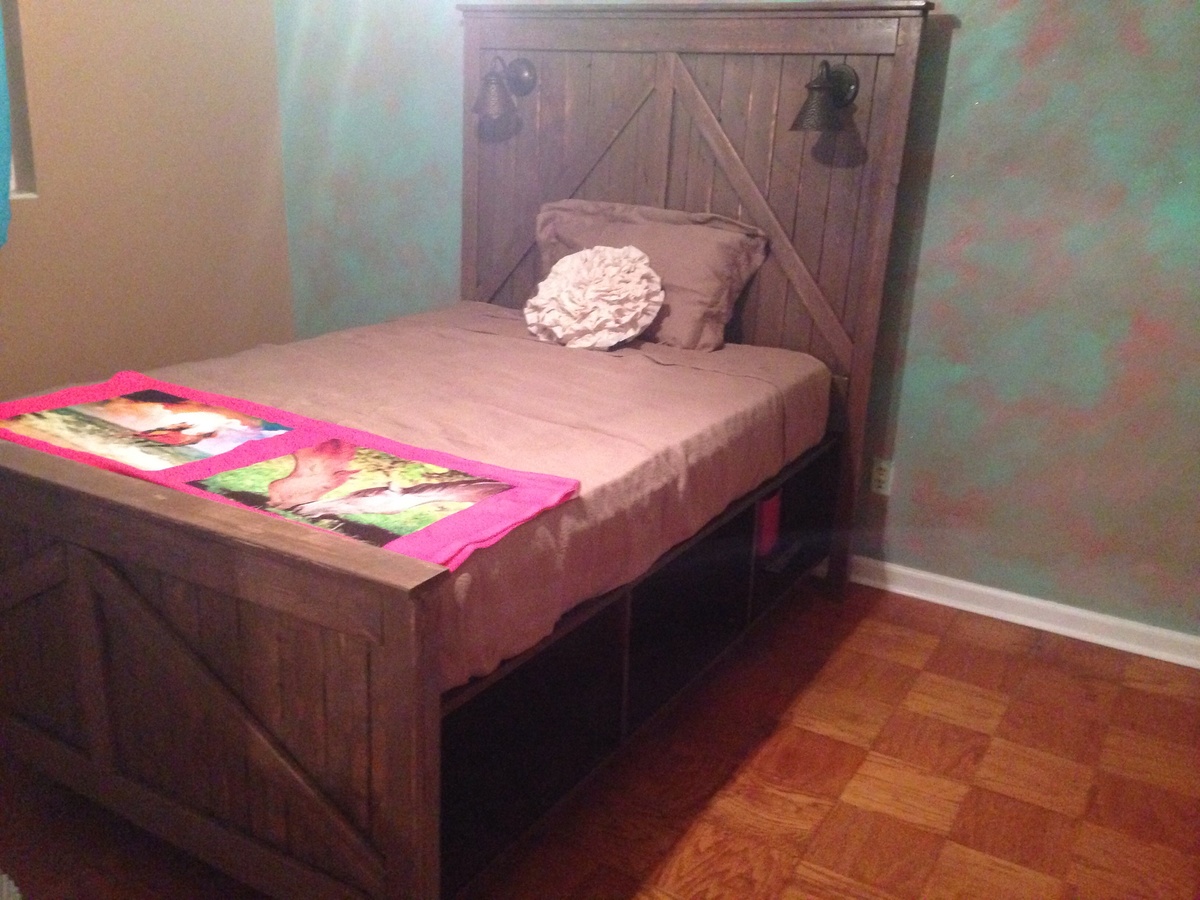
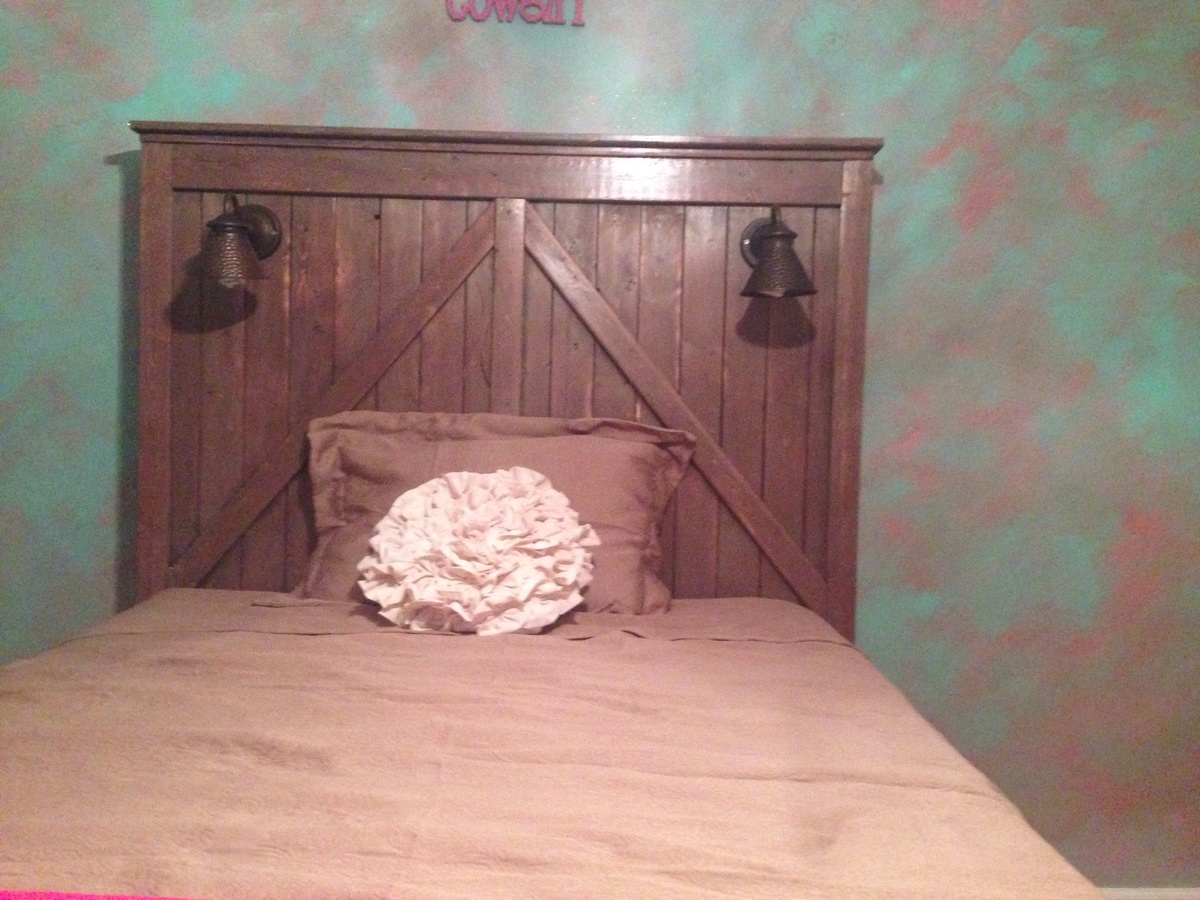
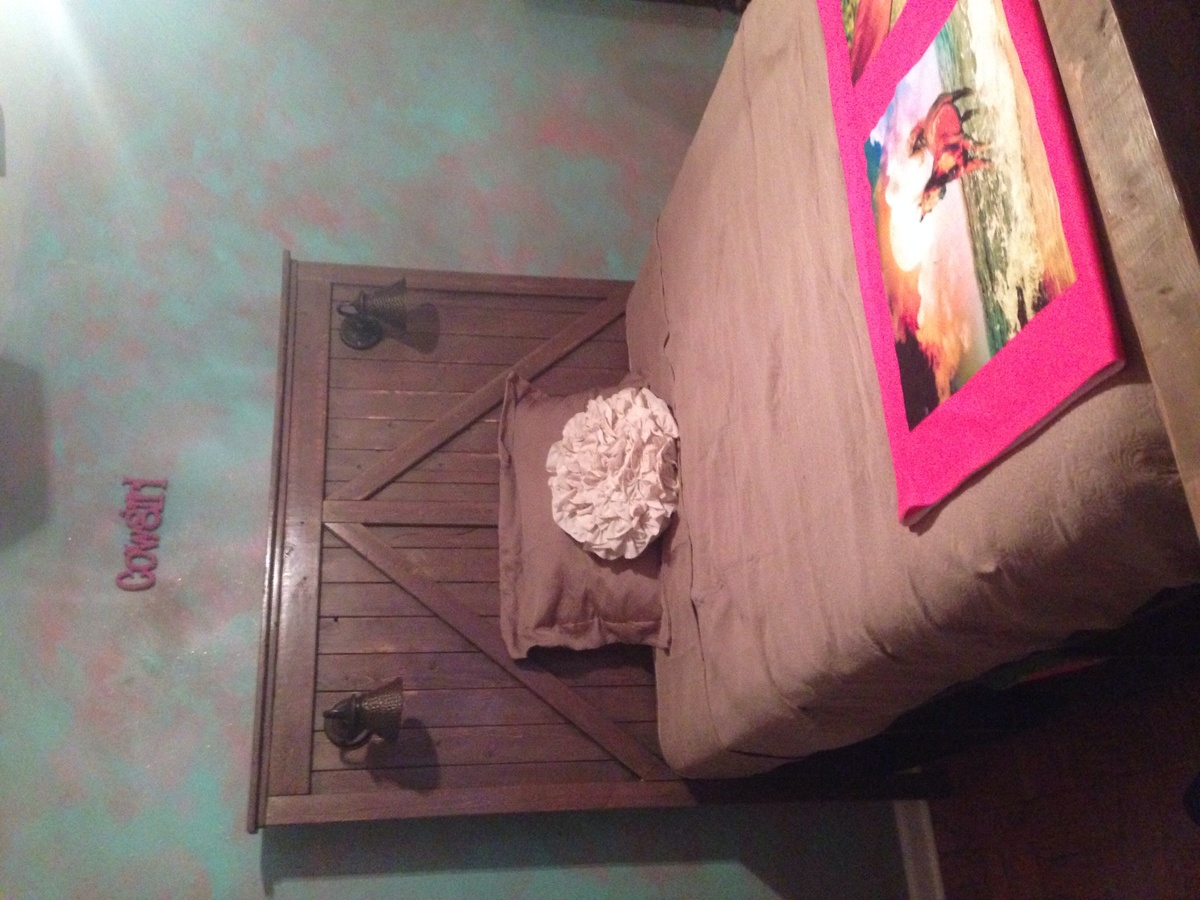
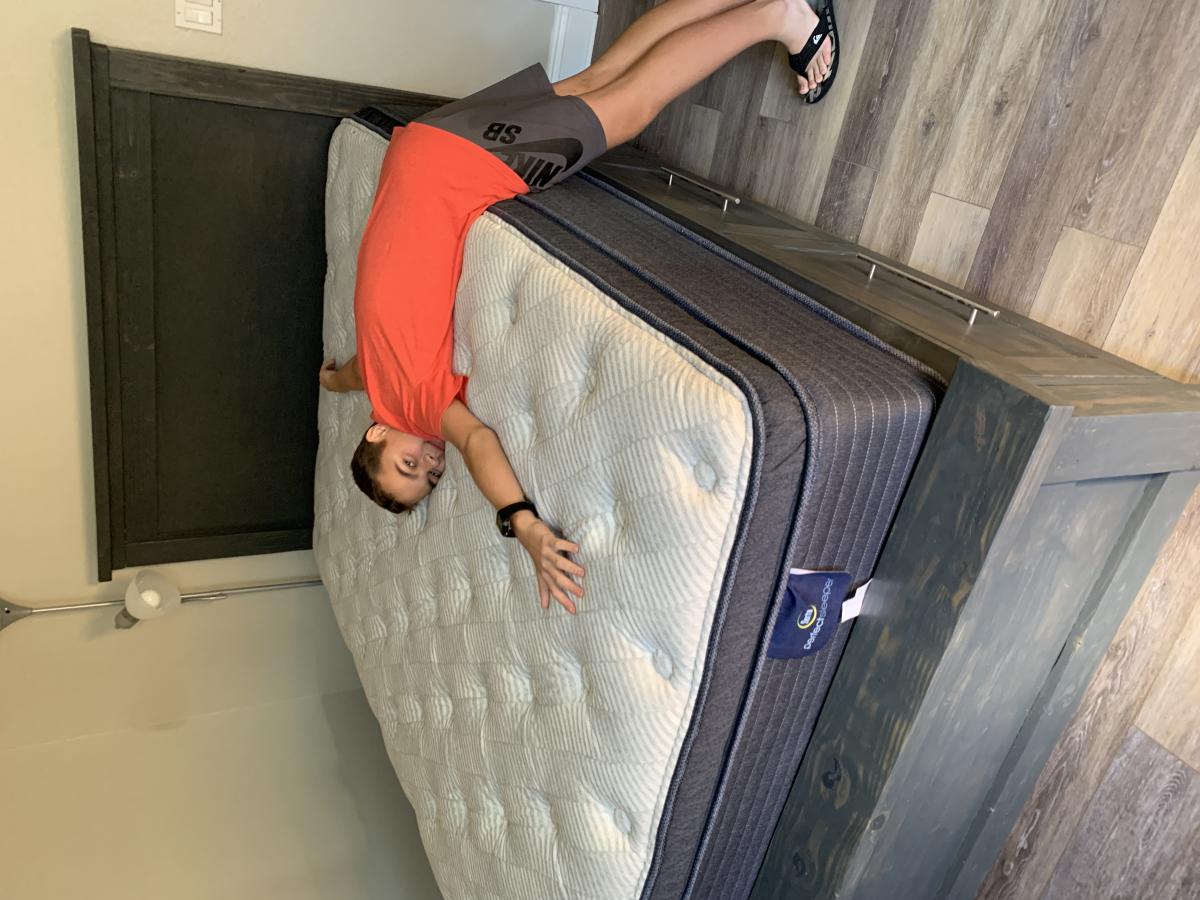
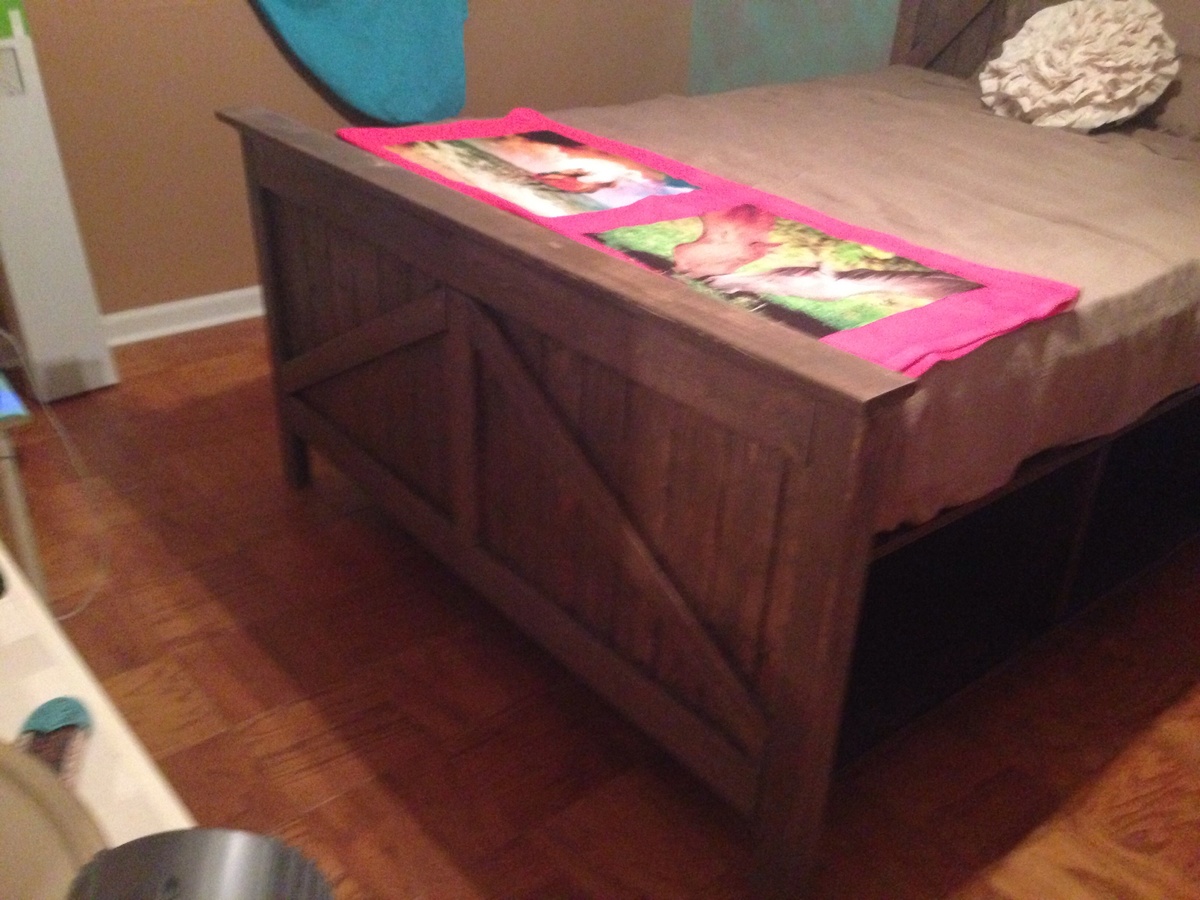
Brookstone storage bed

Submitted by ajordan on Sat, 01/18/2014 - 16:48

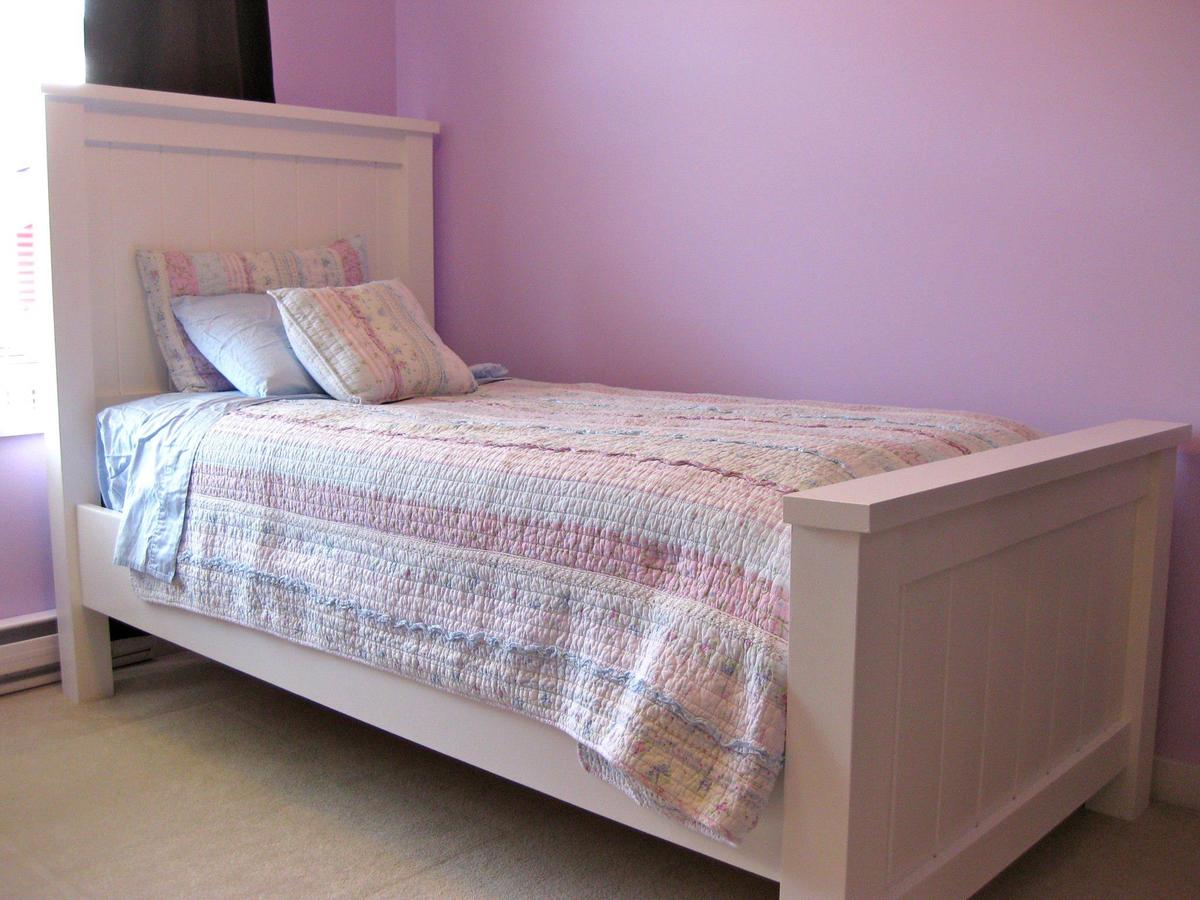
This is the first project I have done; we used a couple of different plans to make this bed. I had to change dimensions to make this into a full size bed. Overall I am very happy with the way it all came together. We made this for our 8 year old daughter and now I'm working on a vanity! I used the twin headboard plan made taller and wider for a full, I made a footboard to match and the storage bins bellow are from the modified farmhouse queen made a little smaller to fit a full.

Estimated Cost
$250 with the lights
Estimated Time Investment
Week Long Project (20 Hours or More)
Finish Used
Minwax Red mahogany first coat, min wax sun bleached second coat and then I used Martha Stewart bronze metallic paint. I watered down the paint to make a wash then I put it on and wiped it off like I did the stain which gave it a little brown color and shimmer!
Recommended Skill Level
Intermediate

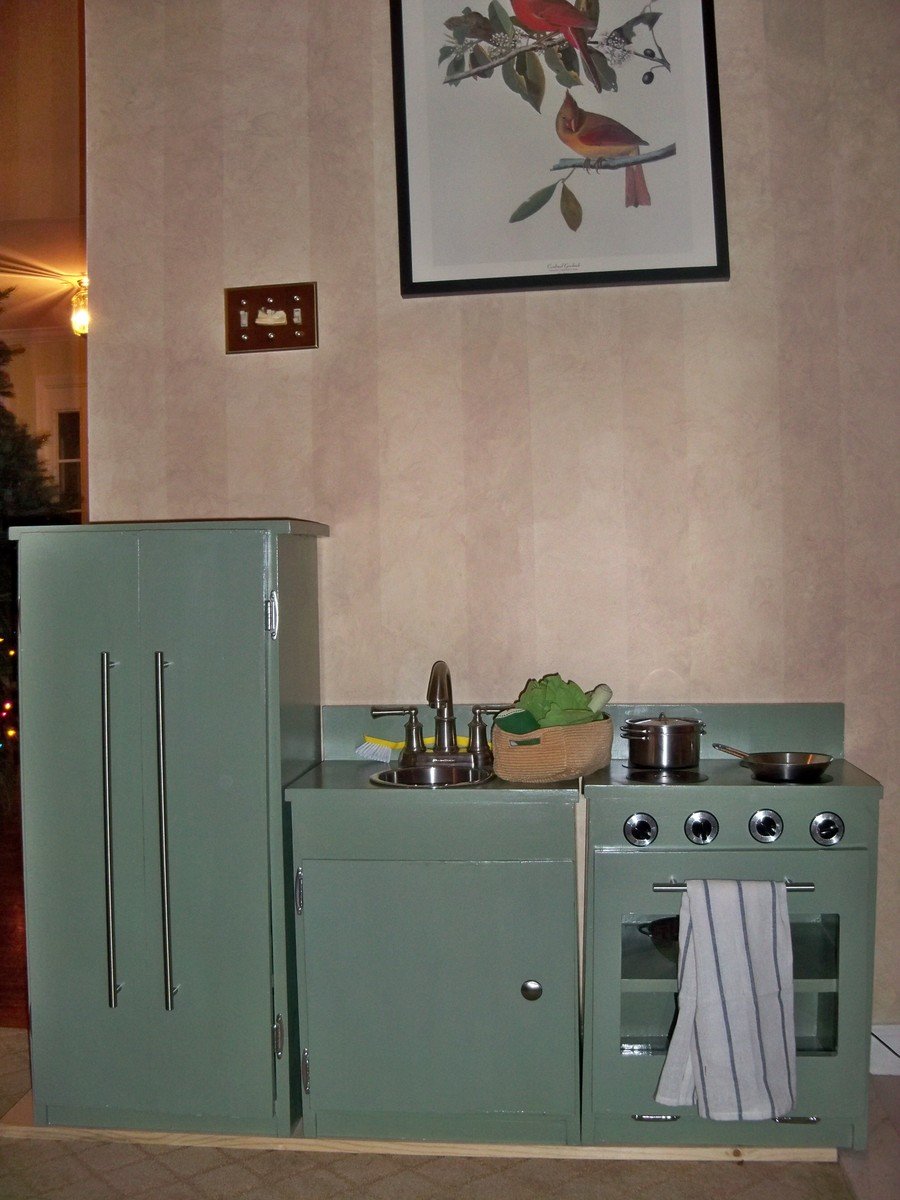
Play kitchen for Christmas

Submitted by vacookie on Thu, 04/05/2012 - 18:18

I never built anything before this. I really wanted a sturdy wooden kitchen for my son for Christmas but they were sooo expensive. Then I found this plan and decided to give it a try. And I did it! All by myself with no real experience (seriously, I had to buy a drill for the project). It isn't perfect but my son doesn't know (or care) and I had fun doing it. Note that as we have it placed across the threshold from carpet to tile floor, I currently have a board underneath to level it. I modified to put a door on the sink since I don't sew and thought the curtain might look a bit feminine on my son's kitchen.

Estimated Cost
hard to say since I had lots of start up costs, maybe $130? could do for more or less
Estimated Time Investment
Weekend Project (10-20 Hours)
Finish Used
I believe the green paint is "Olivine".
Recommended Skill Level
Beginner

Mudroom lockers and shoe storage

Submitted by tommybo76 on Mon, 01/20/2014 - 19:04

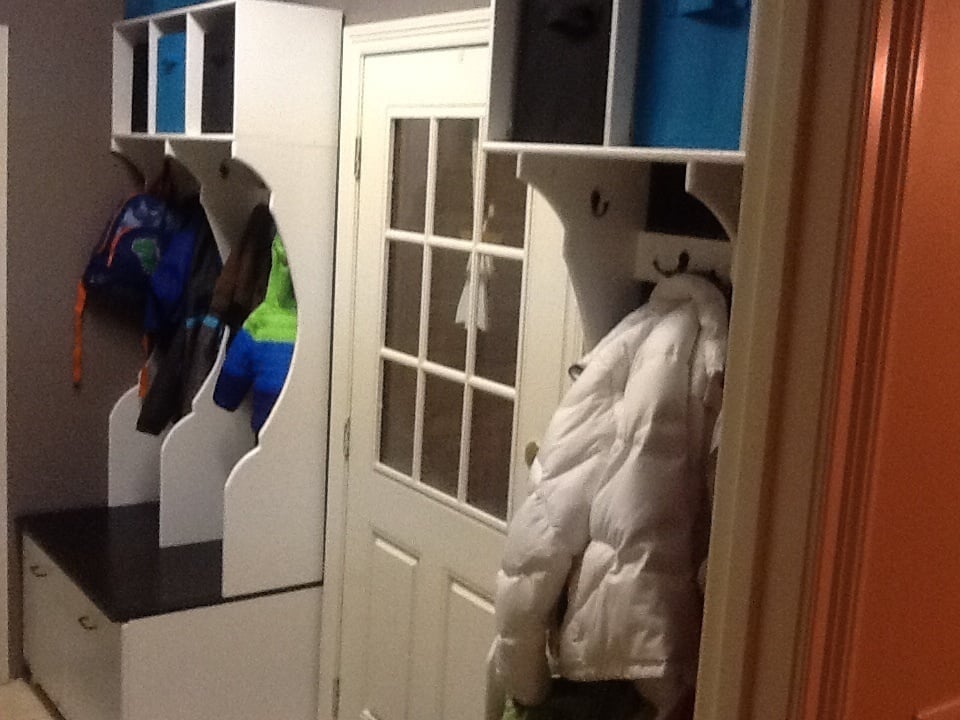
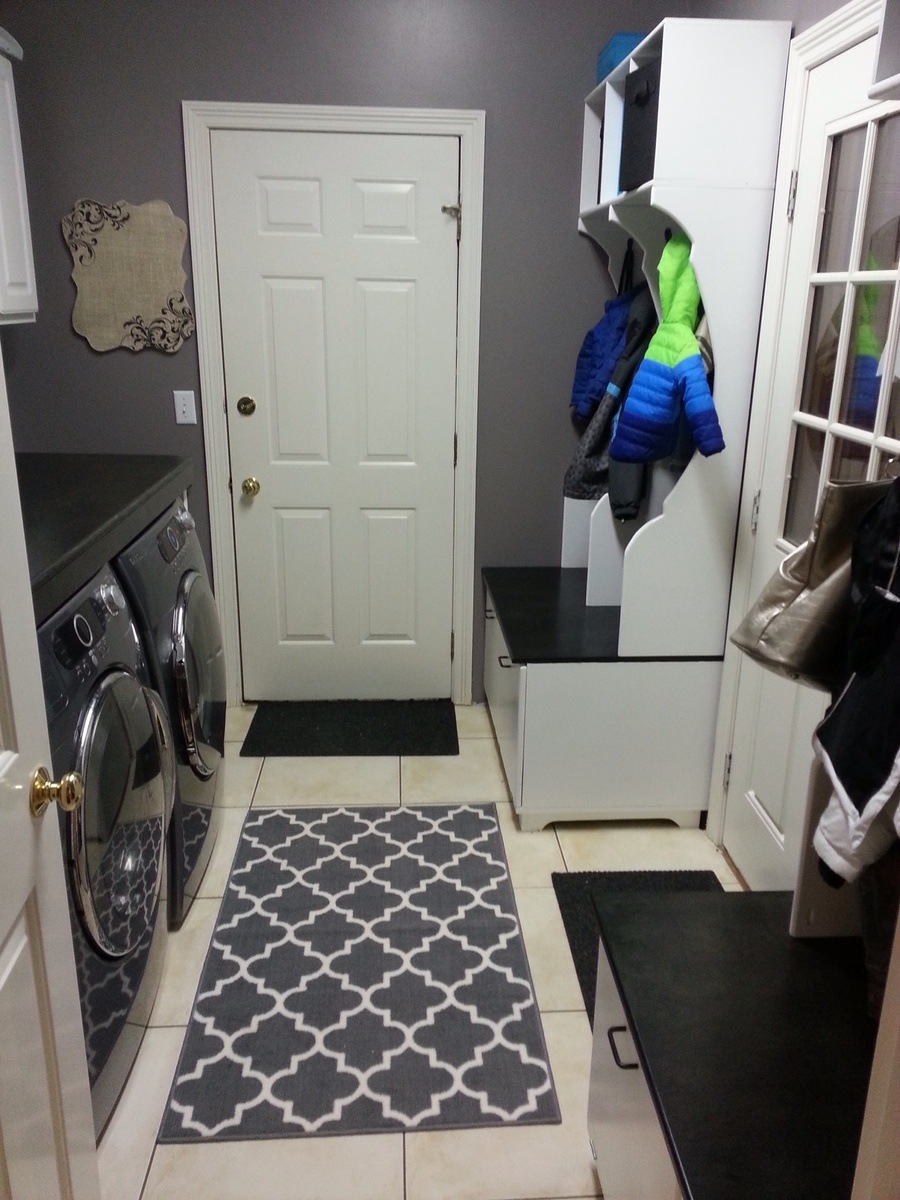
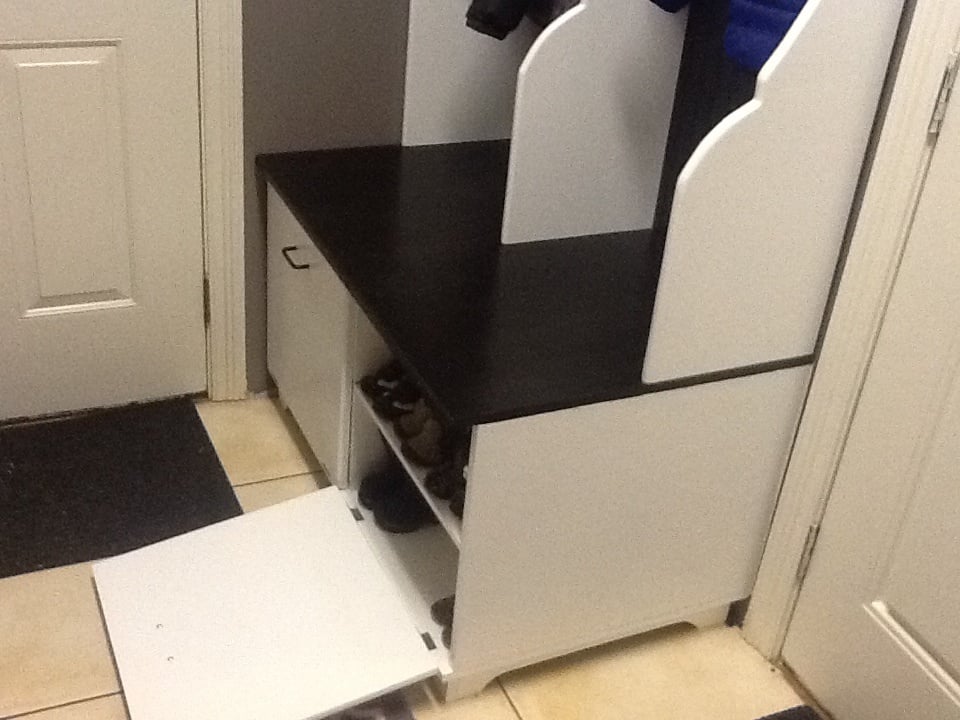
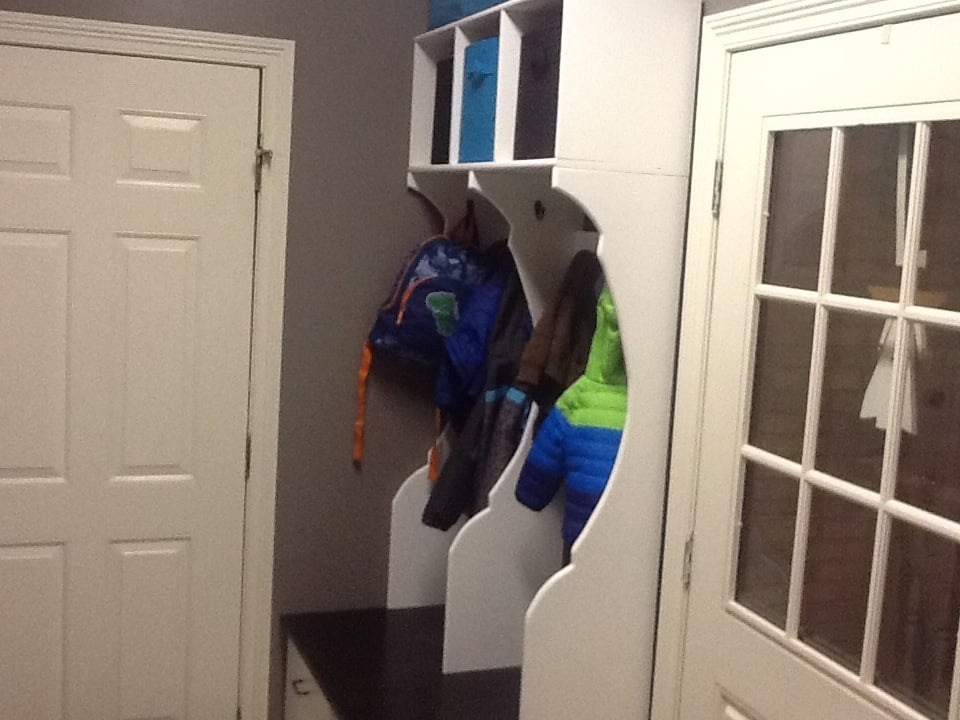
My wife requested this project as a Christmas present. Since we have a door in the middle of the room, I decided to build 2 identical hutches with storage areas for all 4 of us. I used 3/4 plywood that was cut to 2'x4' sheets at the store to make transport and further cutting on my table saw manageable. I connected the main pieces by using the kreg jig. After attaching the bead board to the back with screws and nails, the hutch was very sturdy. We had trouble finding baskets to fit the squares which I designed to fit a 12" square basket that we already had in the house. It proved very difficult to find that size so we went with a slightly smaller basket (I wish we would have researched this ahead of time). The color scheme came from another brag on Ana's site.

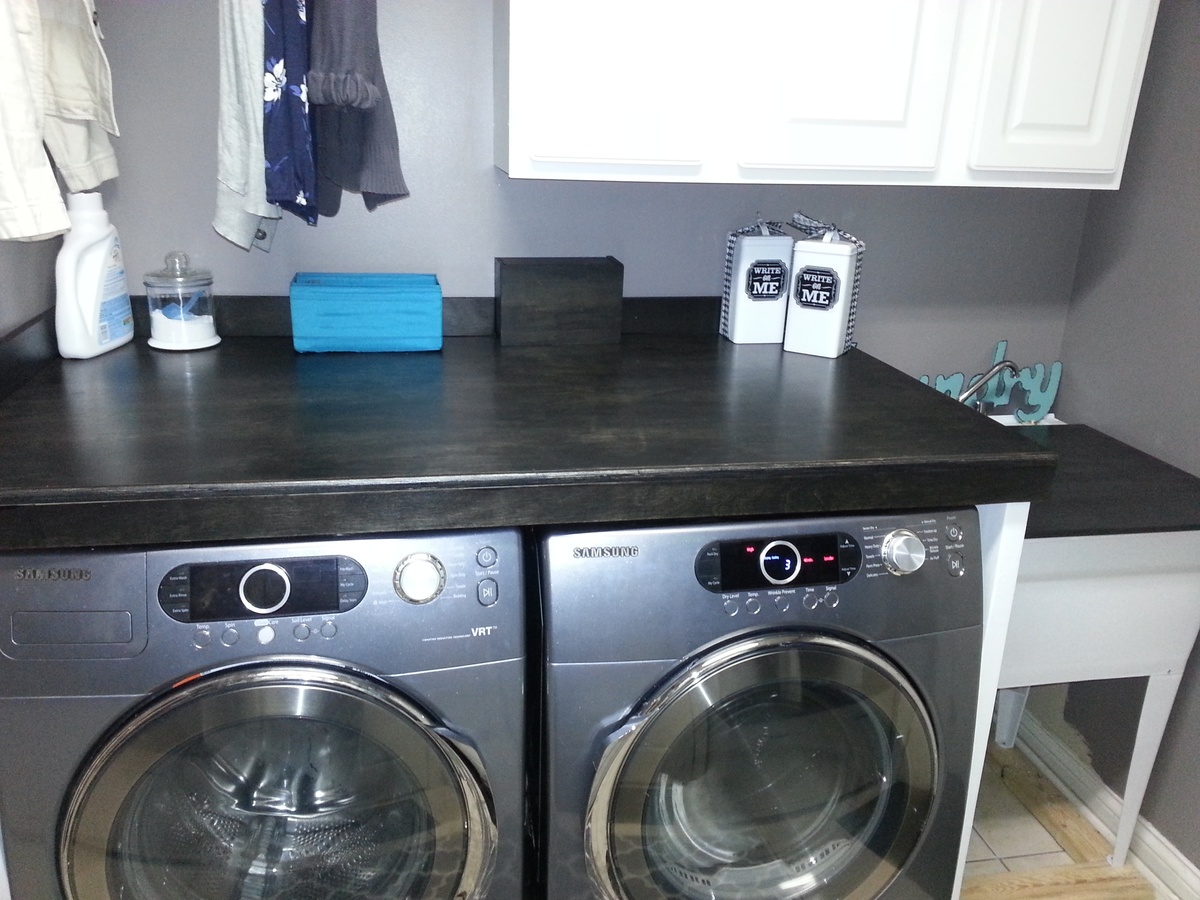
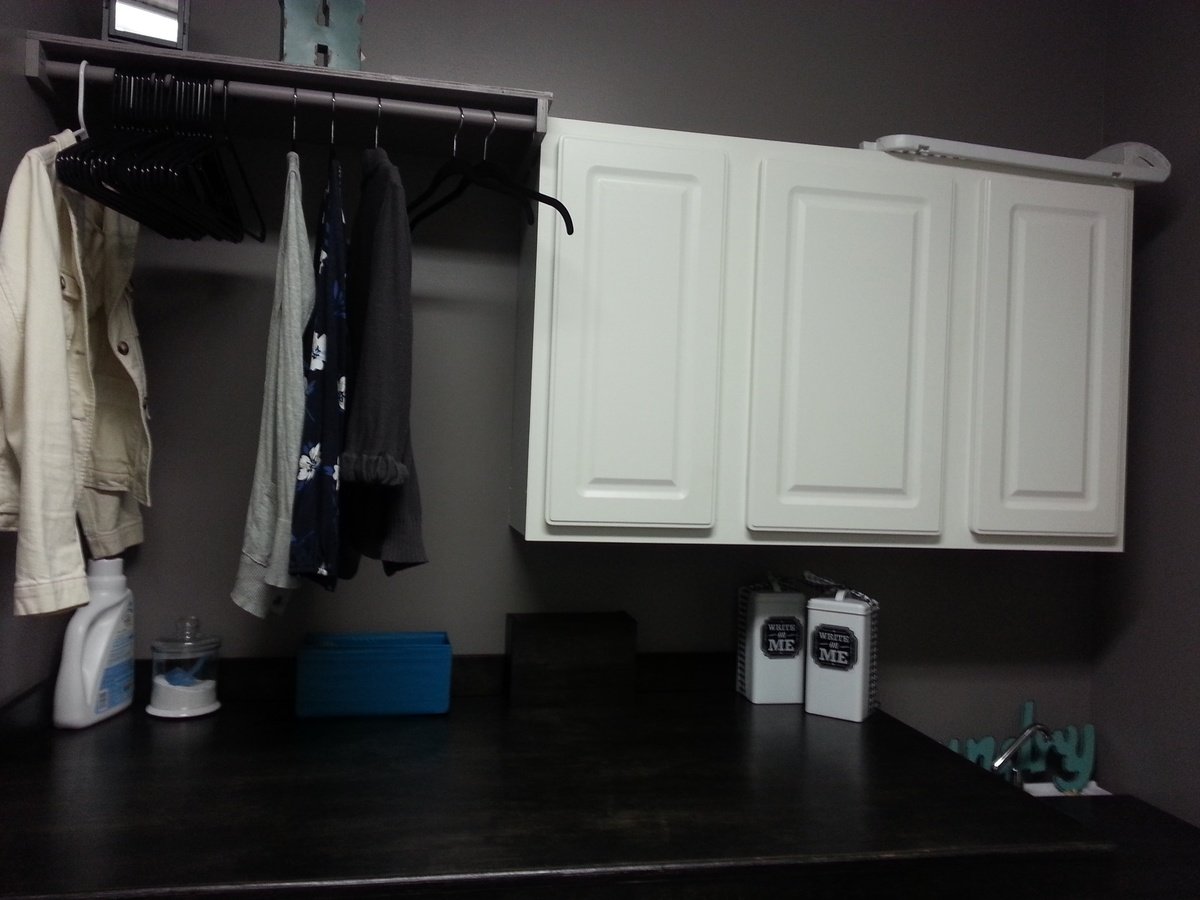
After completing the hutches, Patti mentioned that someday she'd like to take the washer and dryer off the pedestals and add a table across the top of them to fold clothes...so before putting away the tools I decided that was the "someday" LOL. I stained the tabletop to match the hutch and painted the 2x4 legs white. I then added a 1 inch dowel to hang clothes and a shelf above the dowel. Of course, the new room would not have been complete without new paint! I plan on building a cabinet for the laundry sink with a pullout drawer for recyclables in the near future.

It's fantastic to have a spot for all our coats, shoes and hats/gloves. It makes it easier getting two young boys out the door for school when you know exactly where their items are stored and makes the room look so organized compared to before. Thanks to all for your inspirational posts/brags!!

Estimated Cost
150
Estimated Time Investment
Week Long Project (20 Hours or More)
Finish Used
Ebony stain, polyurethane, white paint
Recommended Skill Level
Intermediate

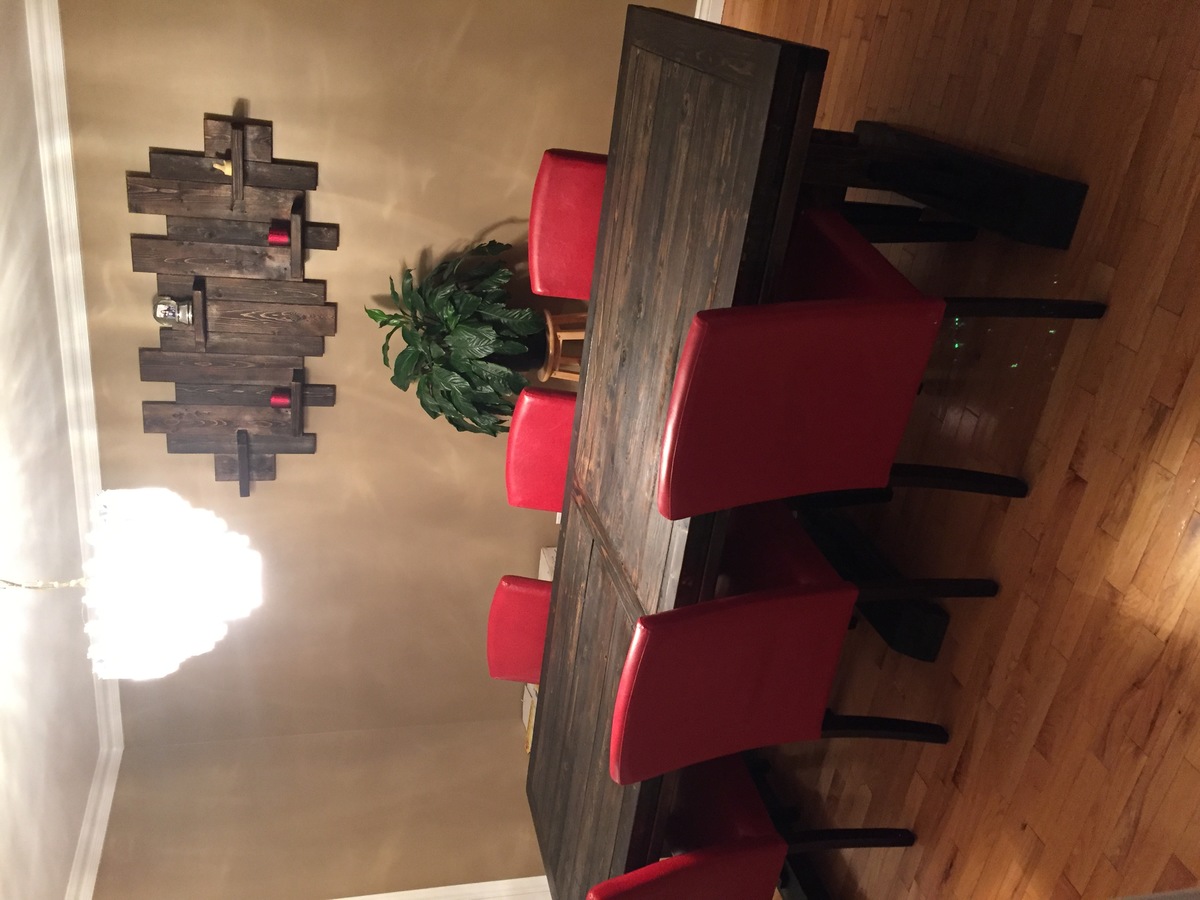
3 pedestal farmhouse table

Submitted by Anonymous (not verified) on Wed, 04/13/2016 - 18:00

Just love how this turned out
The plan was so easy to follow
I stained with black then sanded to give it a rough look marking up the corners etc and then applied dark walnut
I am waiting on brass studs /nails to trim the apron in the centre applying brass corners will keep you posted

Built from Plan(s)
Estimated Cost
150.00
Estimated Time Investment
Day Project (6-9 Hours)
Finish Used
Minwax
Recommended Skill Level
Advanced

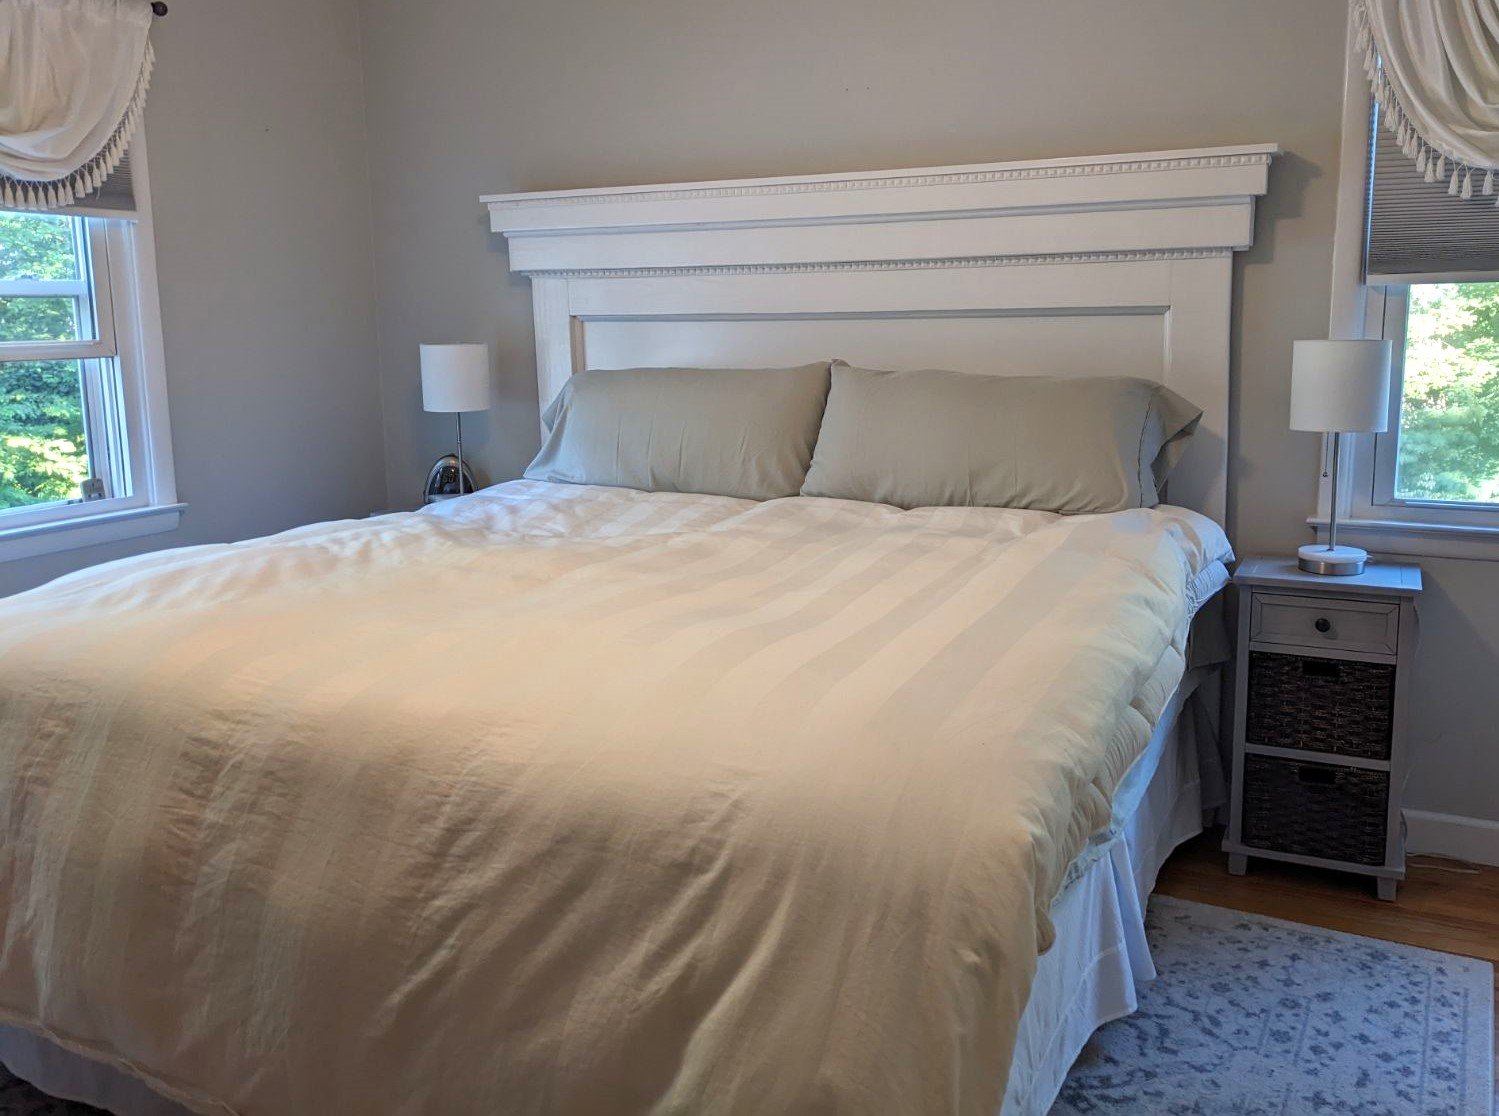
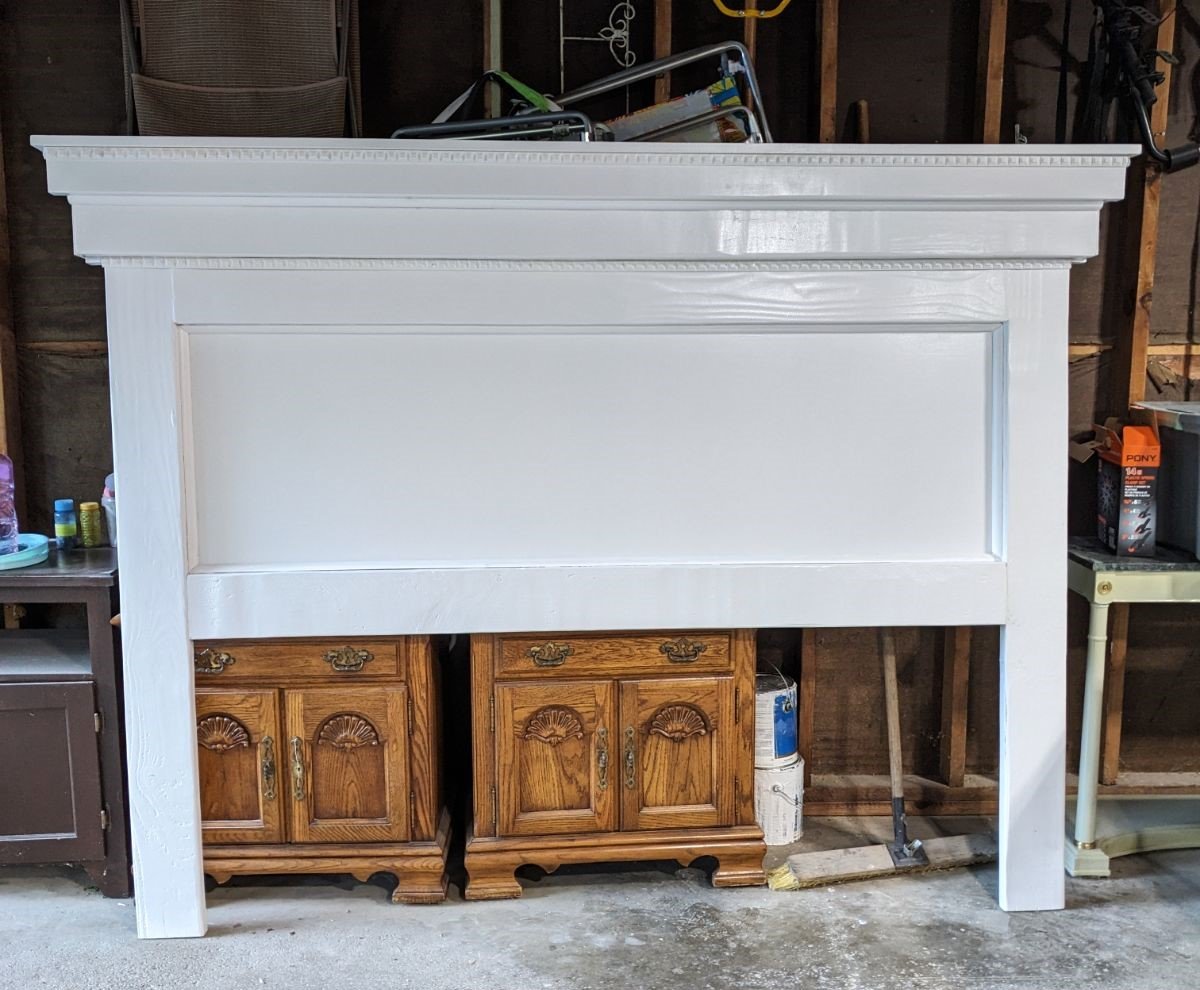
King Size Mantel Headboard

Submitted by Anonymous (not verified) on Fri, 09/01/2023 - 13:26

Mantel headboard king size, I used 2x6 construction grade lumber. Sanded it down. If I did it again I’d used 1x6 and a better grade lumber. It’s quite heavy. With thanks to Matt Brooks twindaddedesign

Vince D

Built from Plan(s)

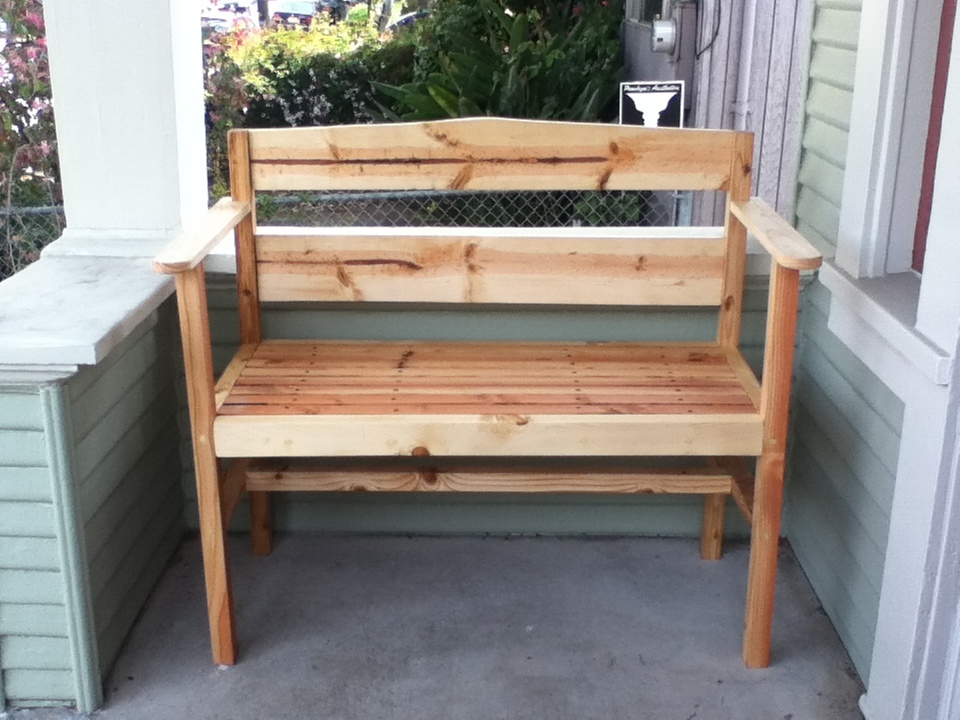
Garden Bench on a diet

This bench was perfect for our front porch, but after I bought all the lumber I realized how big and substantial it would be. So, I slimmed it down and swapped out the following: seat slats 1x2, posts and supports 2x2, arms 1x3, backrest 1x6, aprons 2x3. Looks great and feels like a better fit for our porch. Enjoying the afternoon sun in style now, thanks!

Built from Plan(s)
Estimated Cost
$25
Estimated Time Investment
Day Project (6-9 Hours)
Finish Used
Thompson's Water Seal
Recommended Skill Level
Beginner

Comments

momejojo

Wed, 05/01/2013 - 09:31

I would like to make the bench on a diet since my front porch is smaller aswell. Are the cuts the same as original plans?

Step Stool

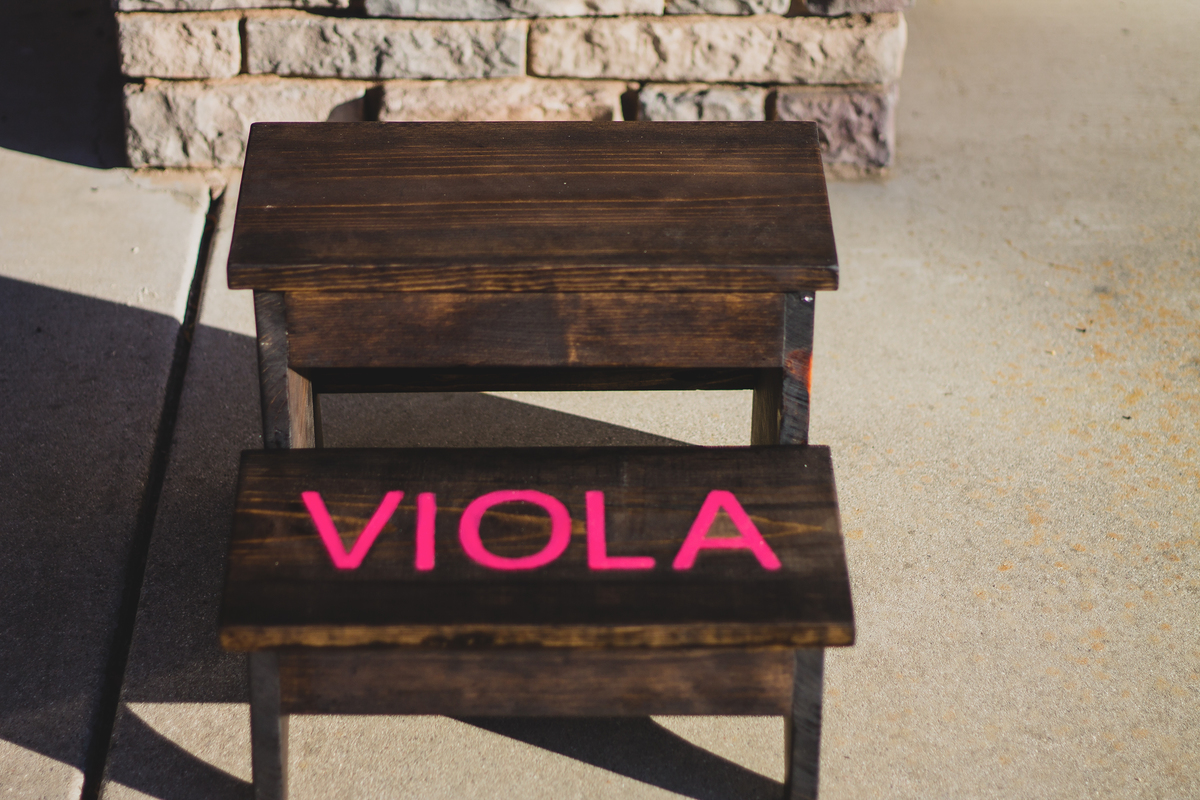
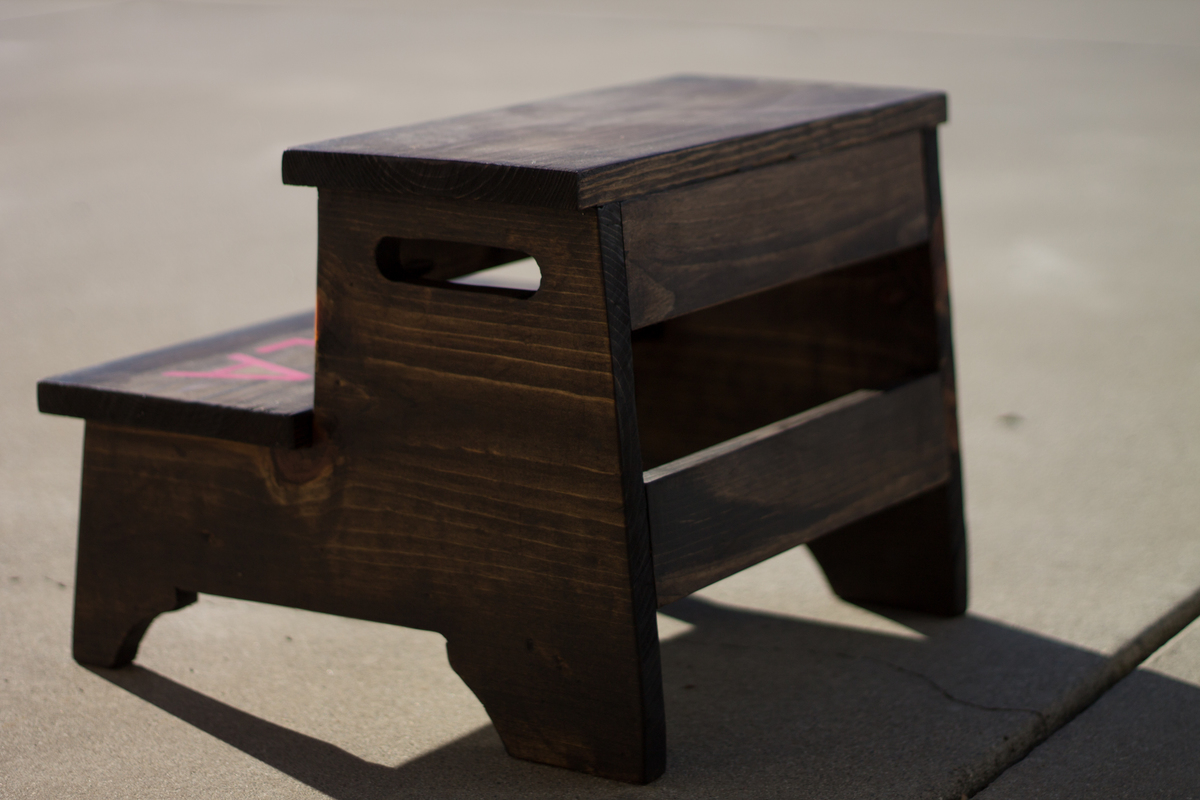
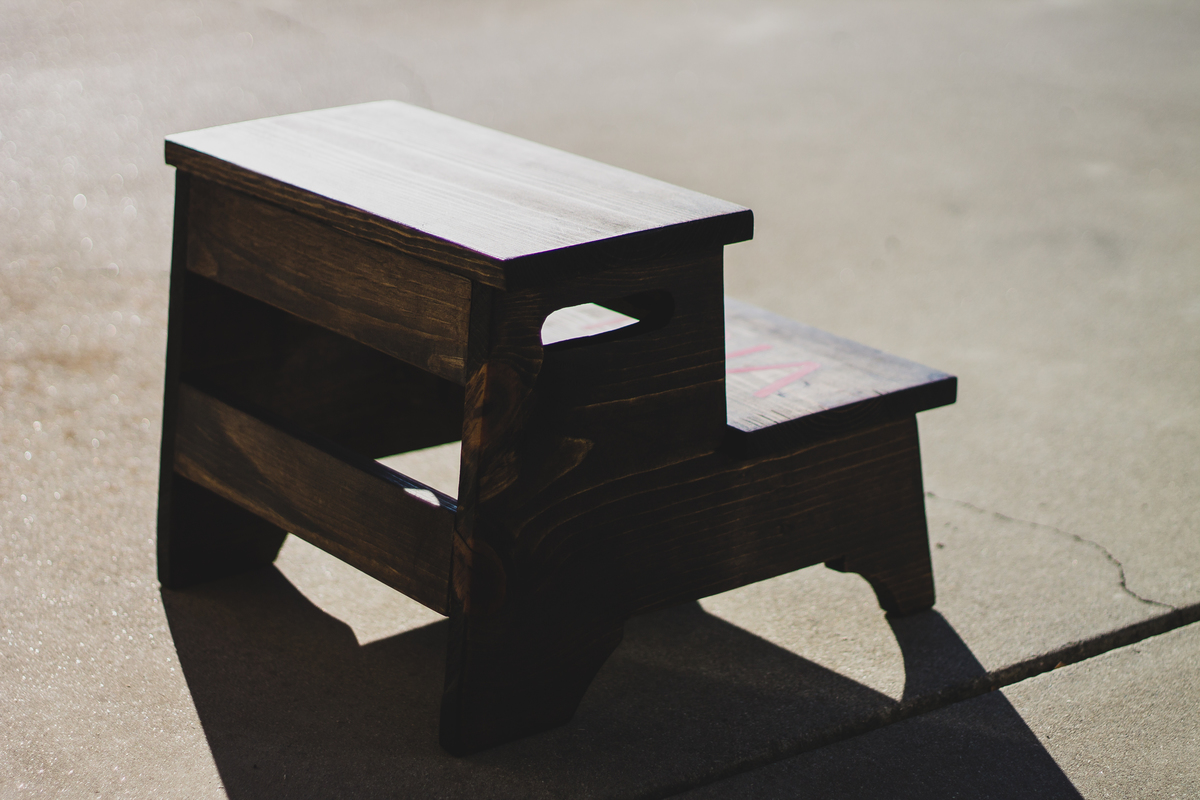
we made two of step stools for two little girls for Christmas! we personalized them. we drill some wholes so, it'd be easy for the girls to carry around.

Built from Plan(s)
Estimated Cost
$20
Estimated Time Investment
Afternoon Project (3-6 Hours)
Recommended Skill Level
Beginner

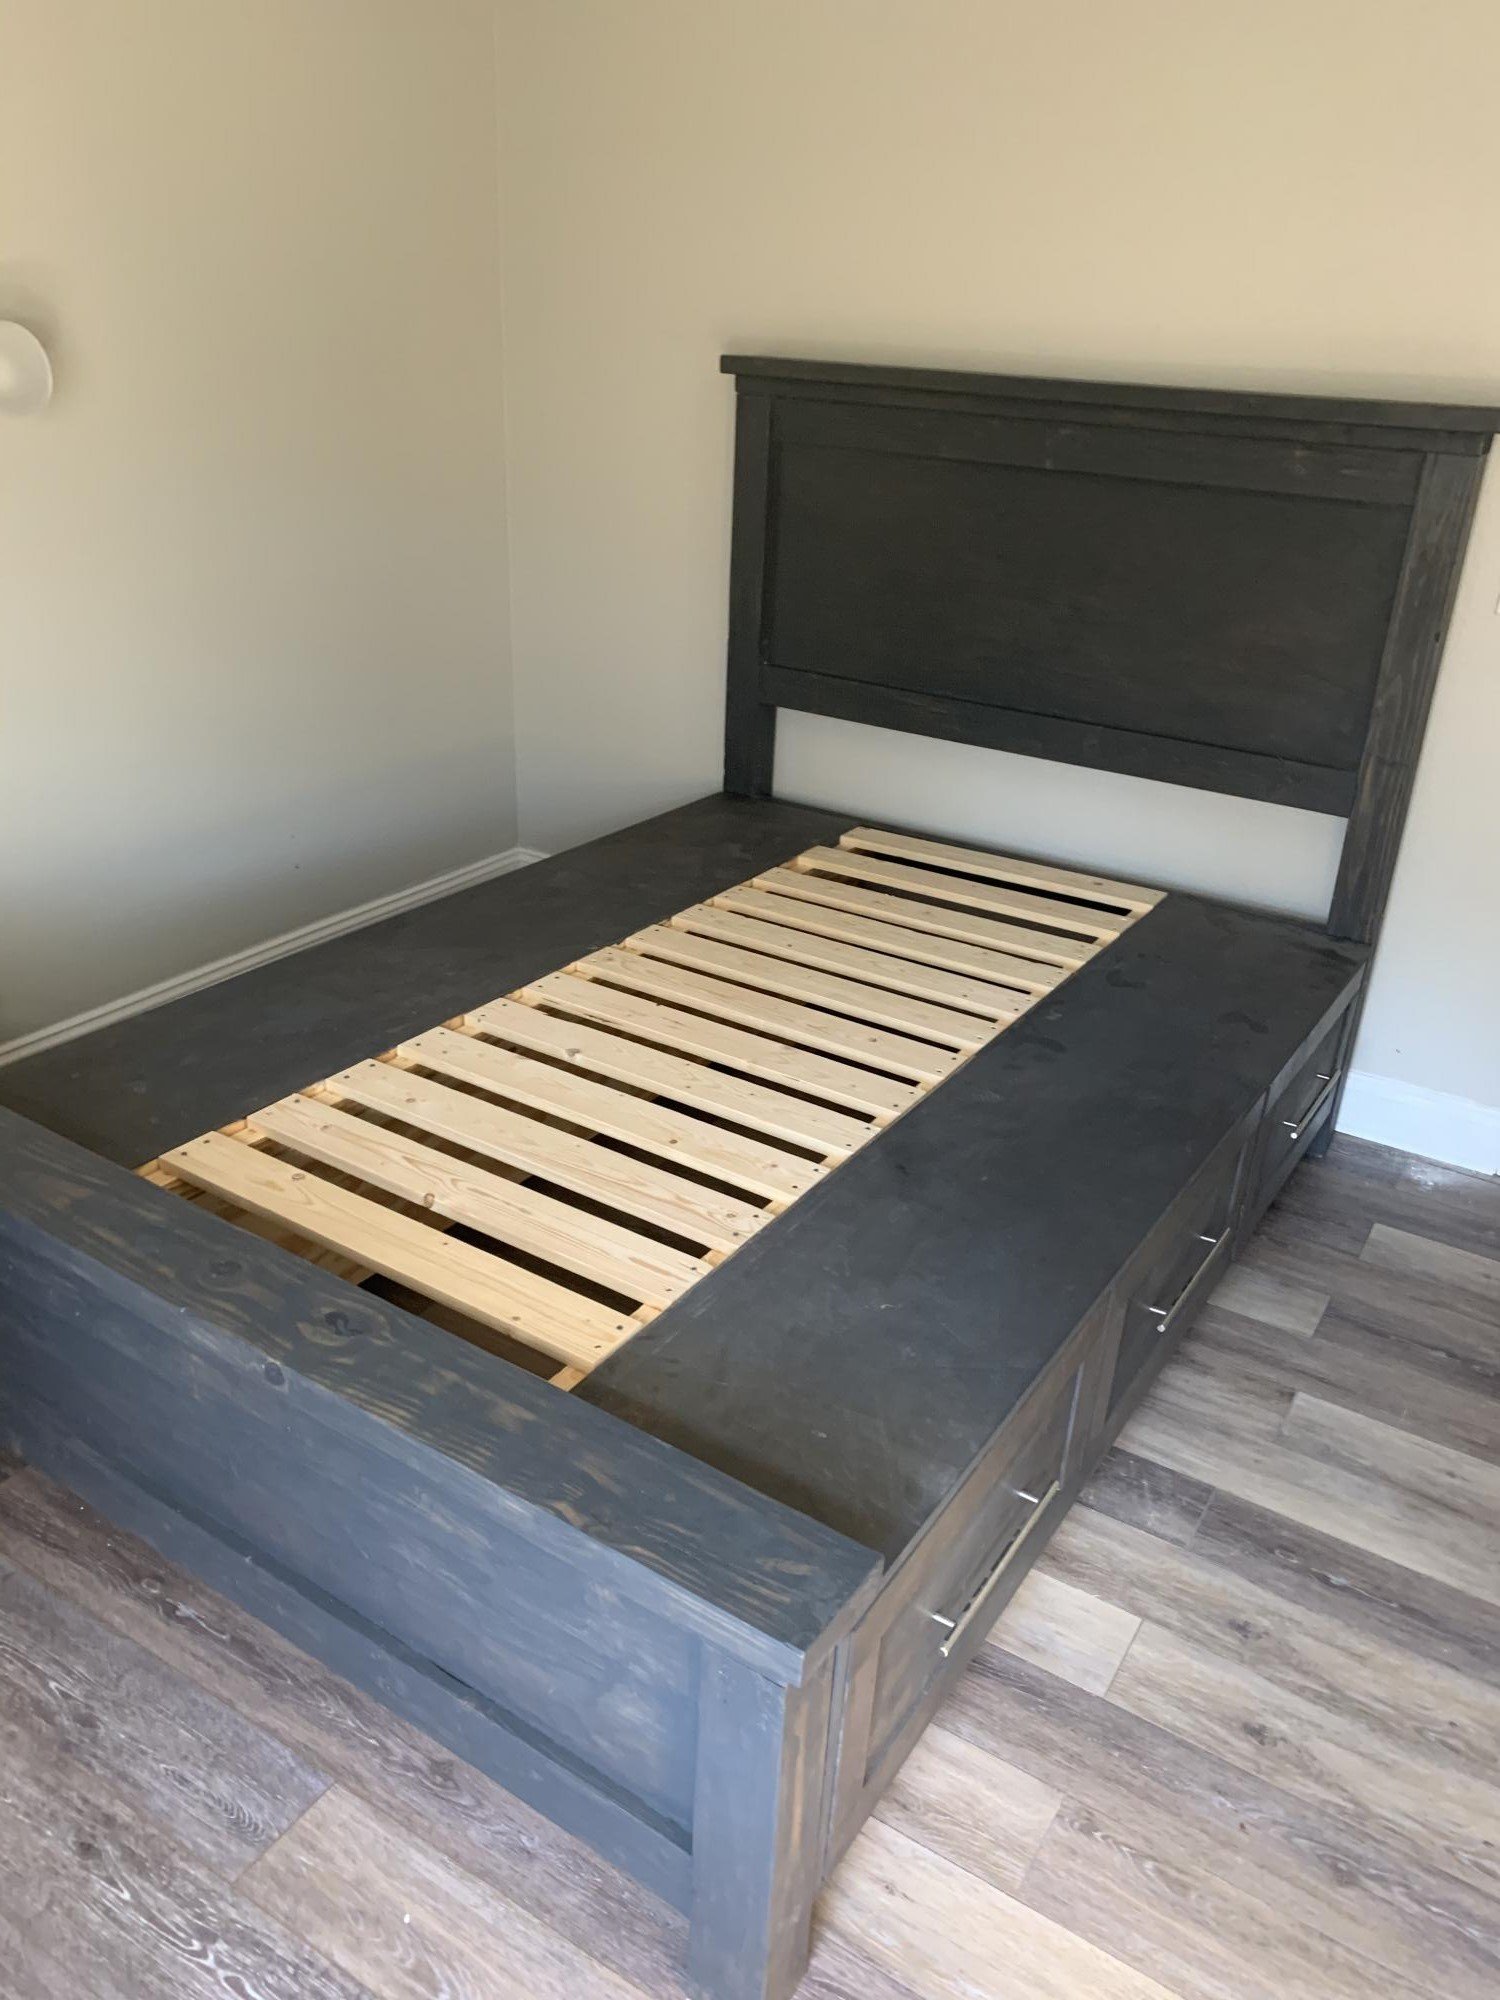
Twin Farmhouse Bed

Submitted by lauralaine on Tue, 04/10/2012 - 12:31

My handy Dad built this for my daughter using the awesome Plan as a base. Made a couple minor modifications (raised it up so more space under the bed; added brackets so the siderails can easily be removed; etc). Turned out perfectly!

Built from Plan(s)
Estimated Cost
$250 (CDN)
Estimated Time Investment
Weekend Project (10-20 Hours)
Finish Used
One coat of primer and two coats white semi-gloss paint.
Recommended Skill Level
Intermediate

TV Hutch for Existing Dresser

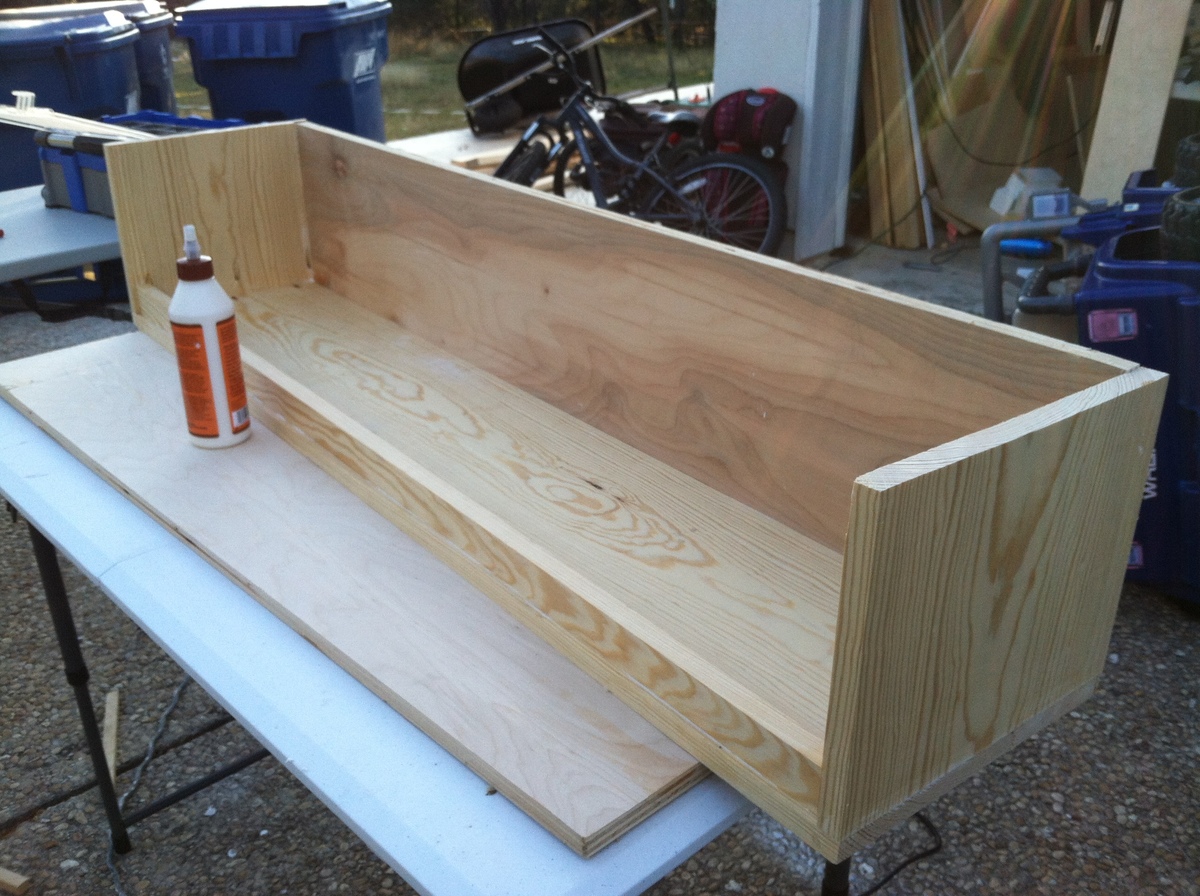
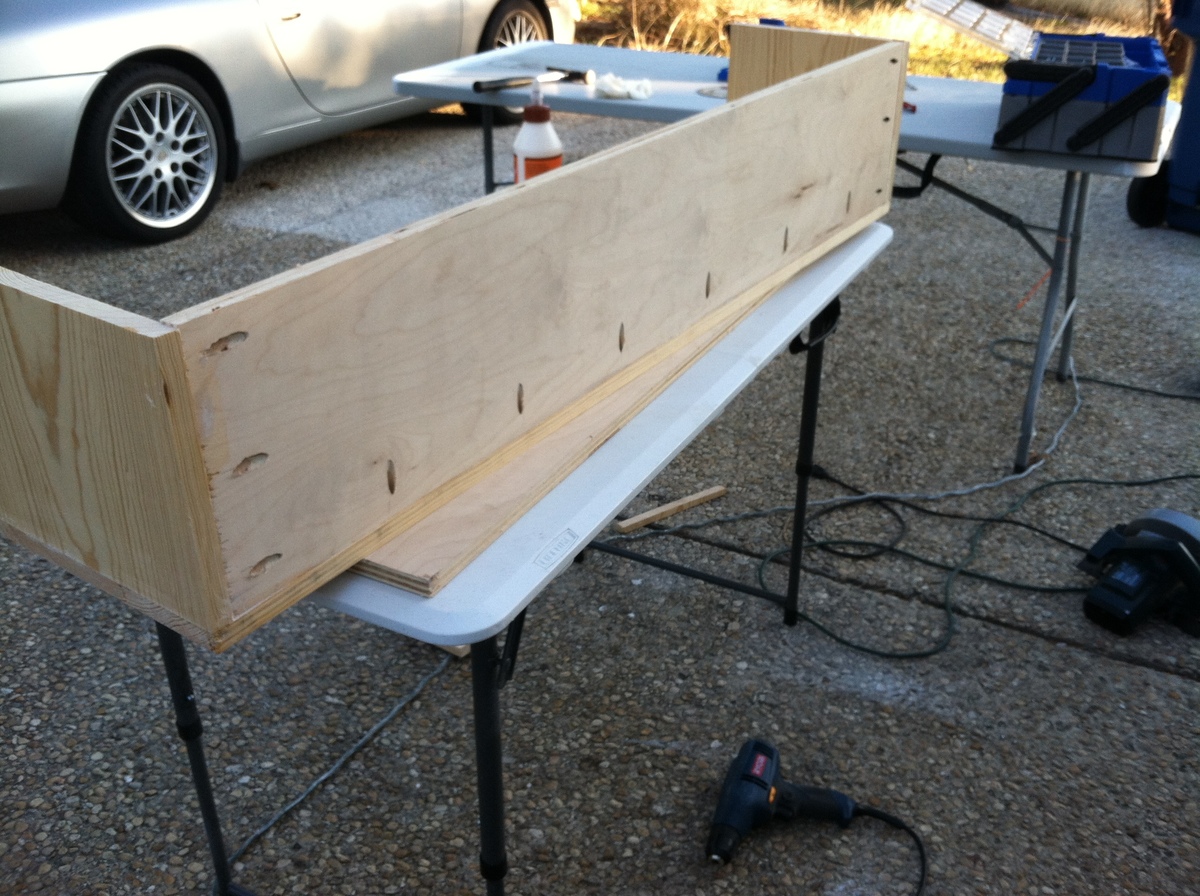
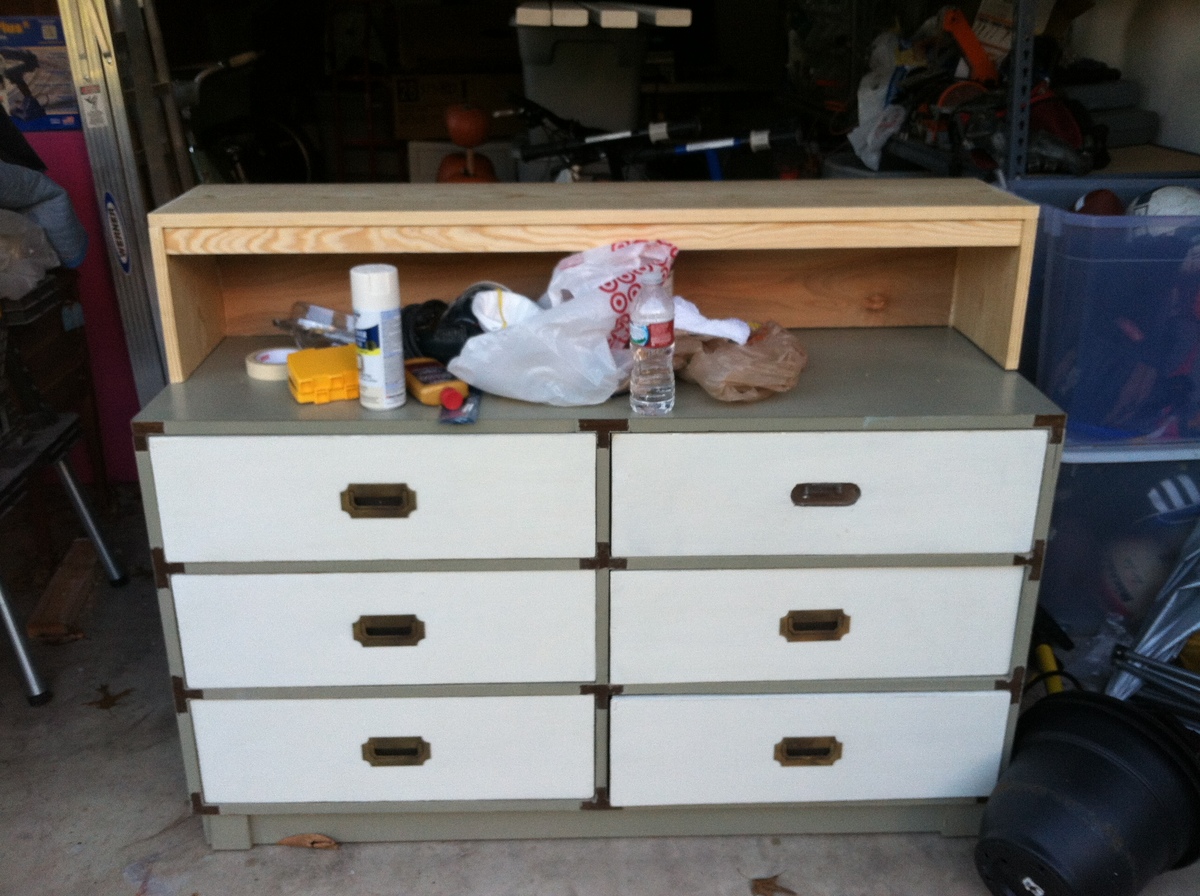
I bought a campaign dresser off of CL that I wanted to use as a TV stand, but it was too short. I searched Ana's plans for "Hutch" and figured out how she builds hutches, and made a simple hutch for the dresser. That's my favorite part about Ana's site...I'm gaining knowledge and experience to be able to build whatever I want!! I used 1 x 10 boards for the body of the hutch, 3/4" plywood for the back, and a 1 x 2 for the trim.

Estimated Cost
$20
Estimated Time Investment
An Hour or Two (0-2 Hours)
Finish Used
1 coat primer and then Sherwin Williams Duration latex in "Envy"
Recommended Skill Level
Beginner

Comments

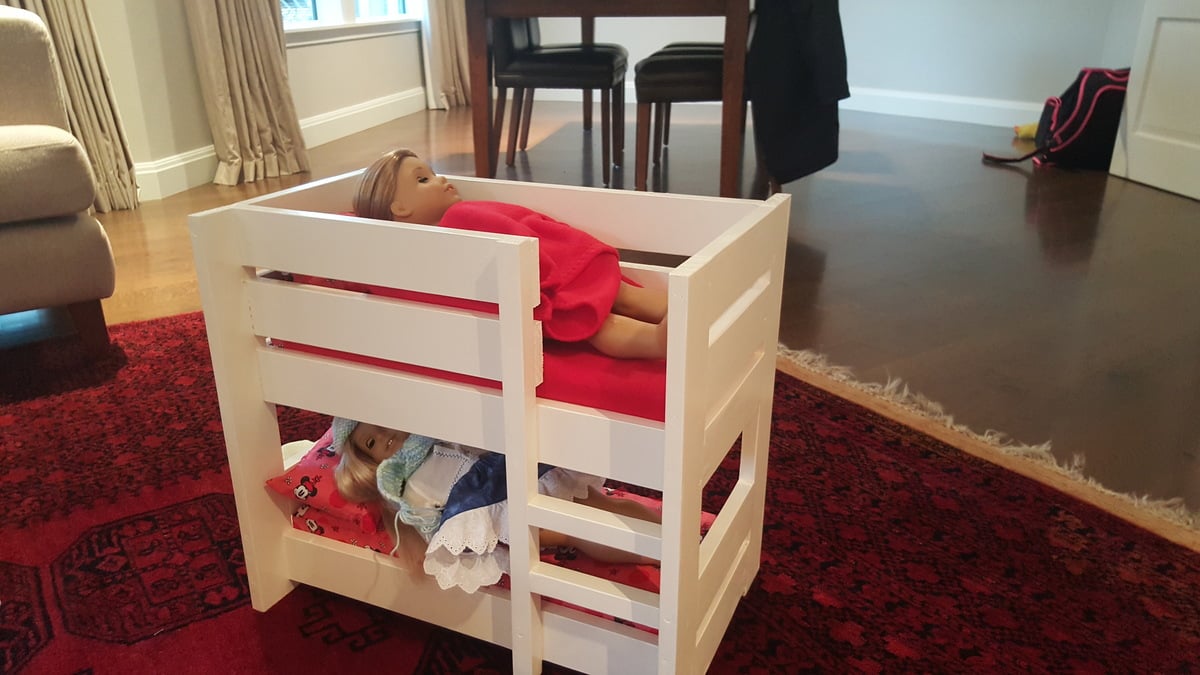
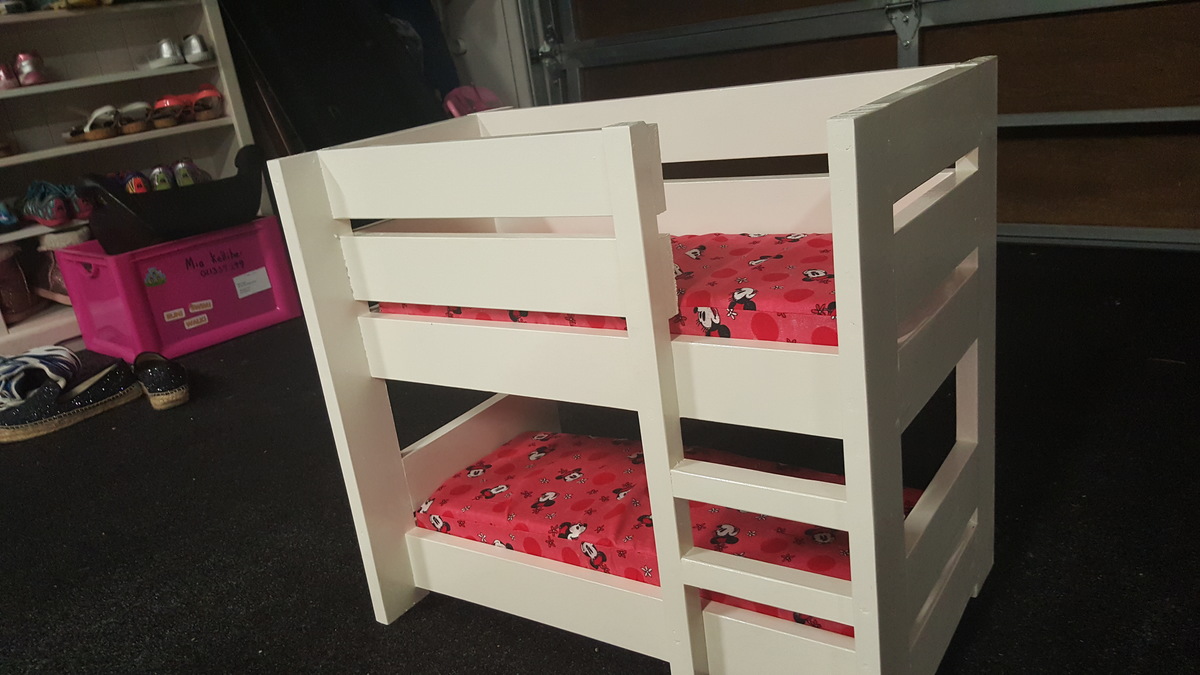
Birthday Present

Submitted by Anonymous (not verified) on Tue, 04/19/2016 - 01:27

My daughter wanted a second doll for her birthday and we stupidly caved in. This of course meant she needed bunks.

Recommended Skill Level
Intermediate

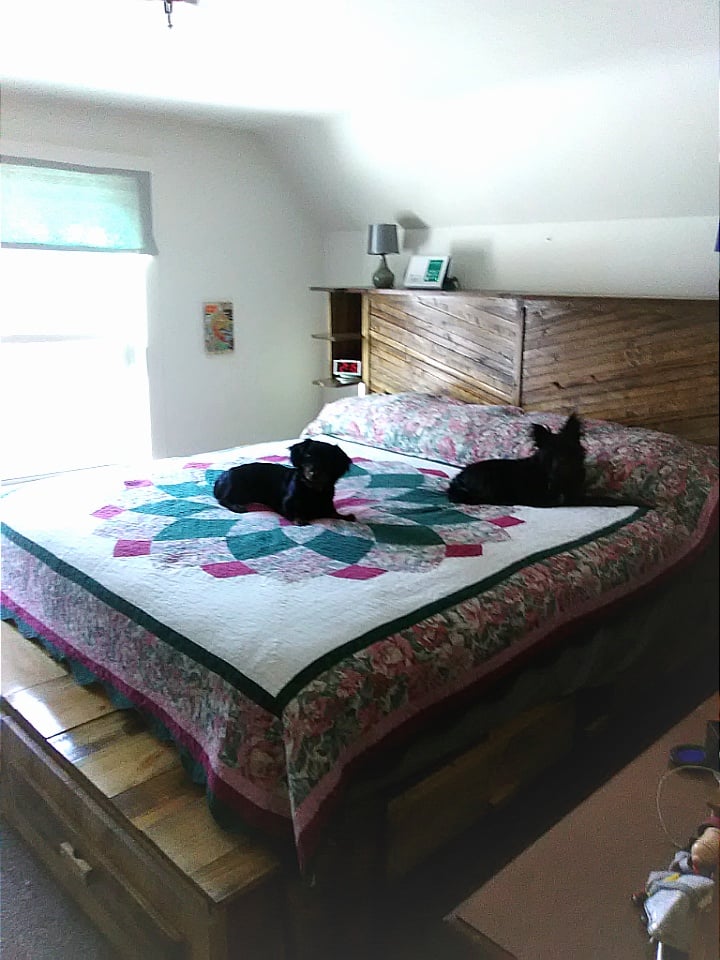
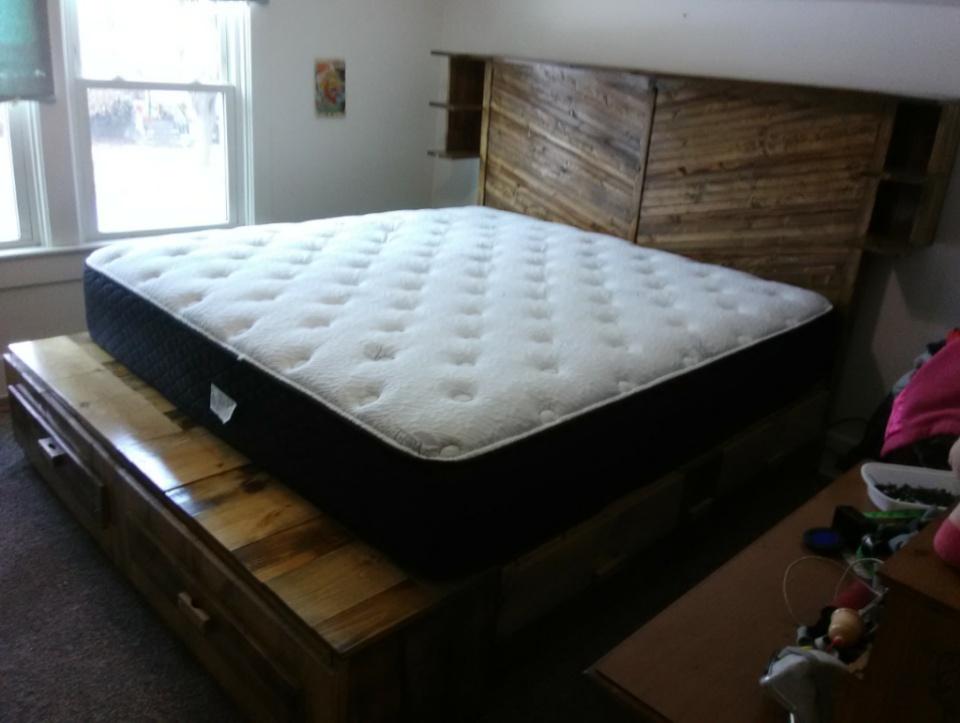
Brandy Scrap Wood Storage Bed with Drawers - KING

Even with having severe disability's with my hands and a lot of help from my wonderful husband, this plan was perfect for me. I did add a head board with selves and extended the length of the sides to allow for a bench seat. I am so proud of this beautiful bed, Rebel and Zeus love it too.  Thank you, Ana White.

Estimated Cost
$135
Estimated Time Investment
Week Long Project (20 Hours or More)
Recommended Skill Level
Intermediate

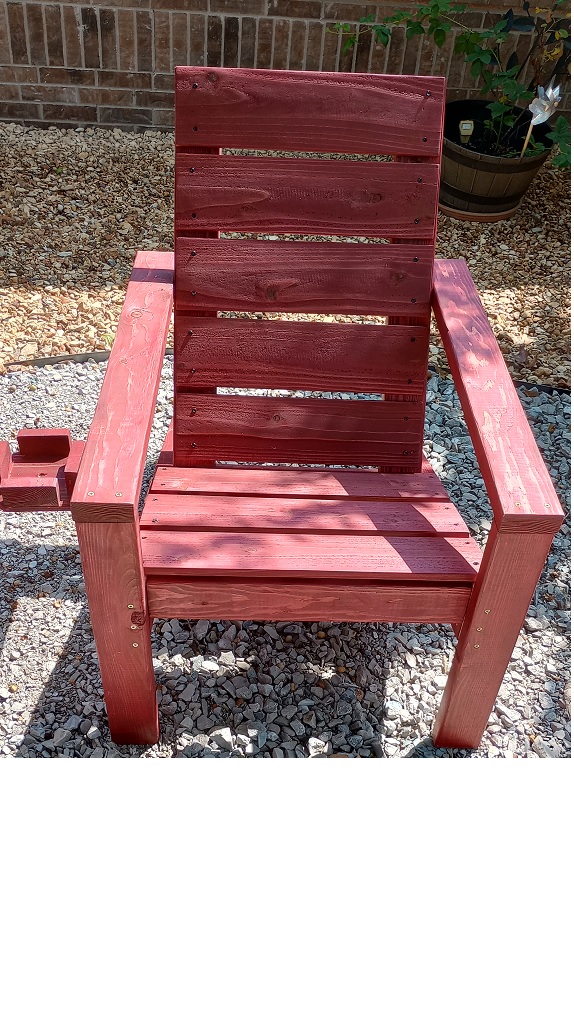
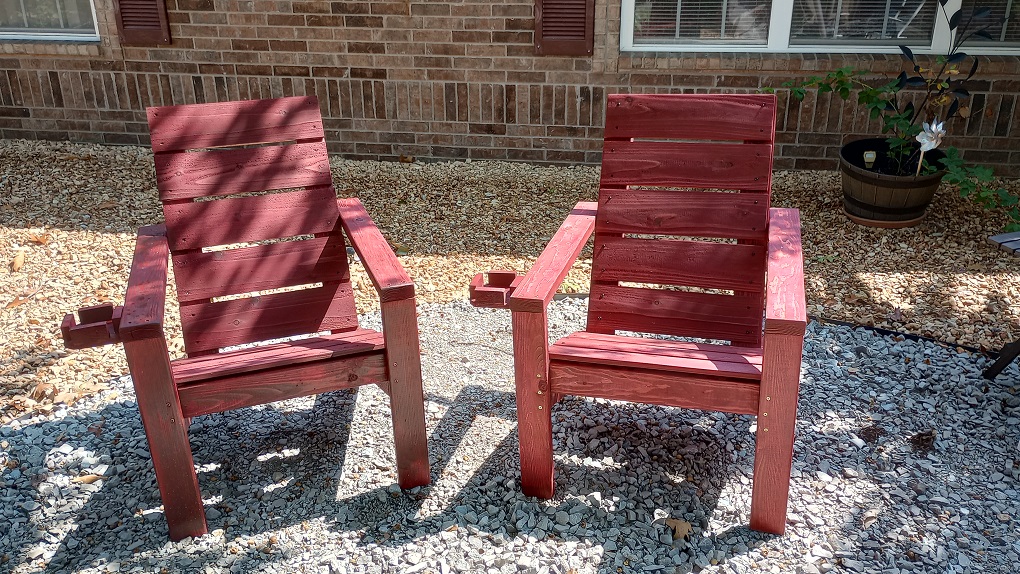
Essential Adirondack Chair - Brad's Mod

Submitted by Anonymous (not verified) on Fri, 09/08/2023 - 13:09

I modified the design to better suit my senior body.
I added 3 inches to the seat height by using 2x6s, made it 1 inch wider, and added clunky drink holders.
I also used cedar fence boards for the seats and backs because I like the look.
I went with Barn Red Stain and Thompson's Water Seal for the finish.
Thank you for this design. They are quite comfortable.
The cost was less than $40 each.

Dress-Up Storage

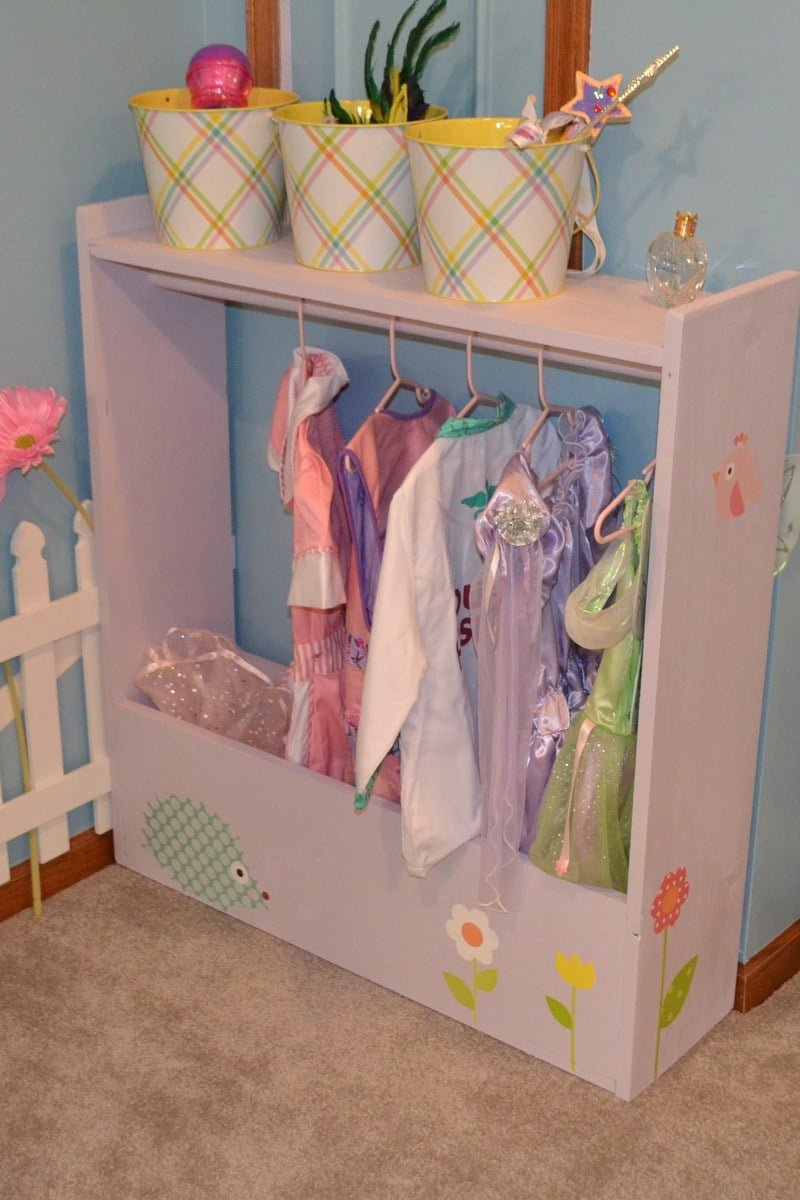
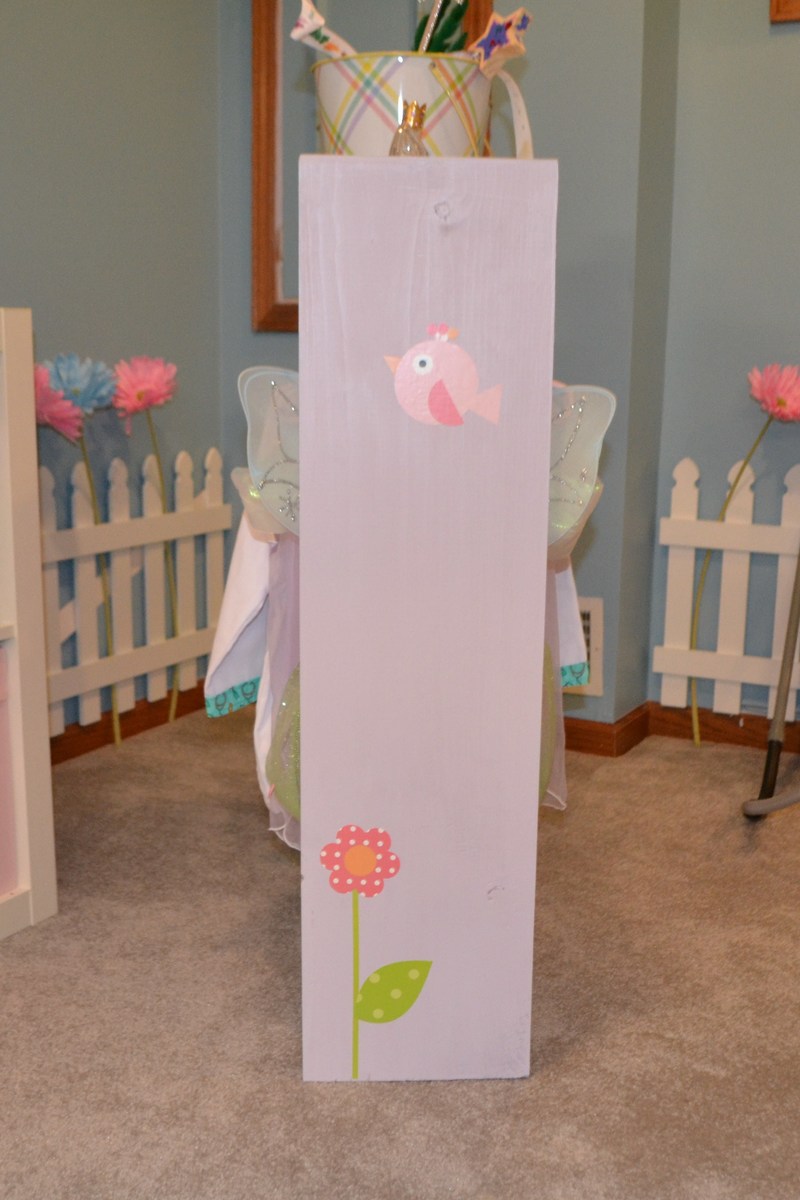
This was my first woodworking project, so I kept it simple. The one modification I made was to square the edges at the top, rather than rounding them out, as I just prefer clean lines. I used some leftover paint (Behr Foxgloves) and added a few vinyl wall decals that match the decal on the main wall of the play area. A few buckets on top store her jewelry and accessories.

I didn't add casters because we have rather thick carpet in the basement, but won't rule it out for the future.

Estimated Cost
$30
Estimated Time Investment
An Hour or Two (0-2 Hours)
Finish Used
Paint (Behr Foxgloves)
Recommended Skill Level
Beginner

Restoration Hardware Inspired Media Console

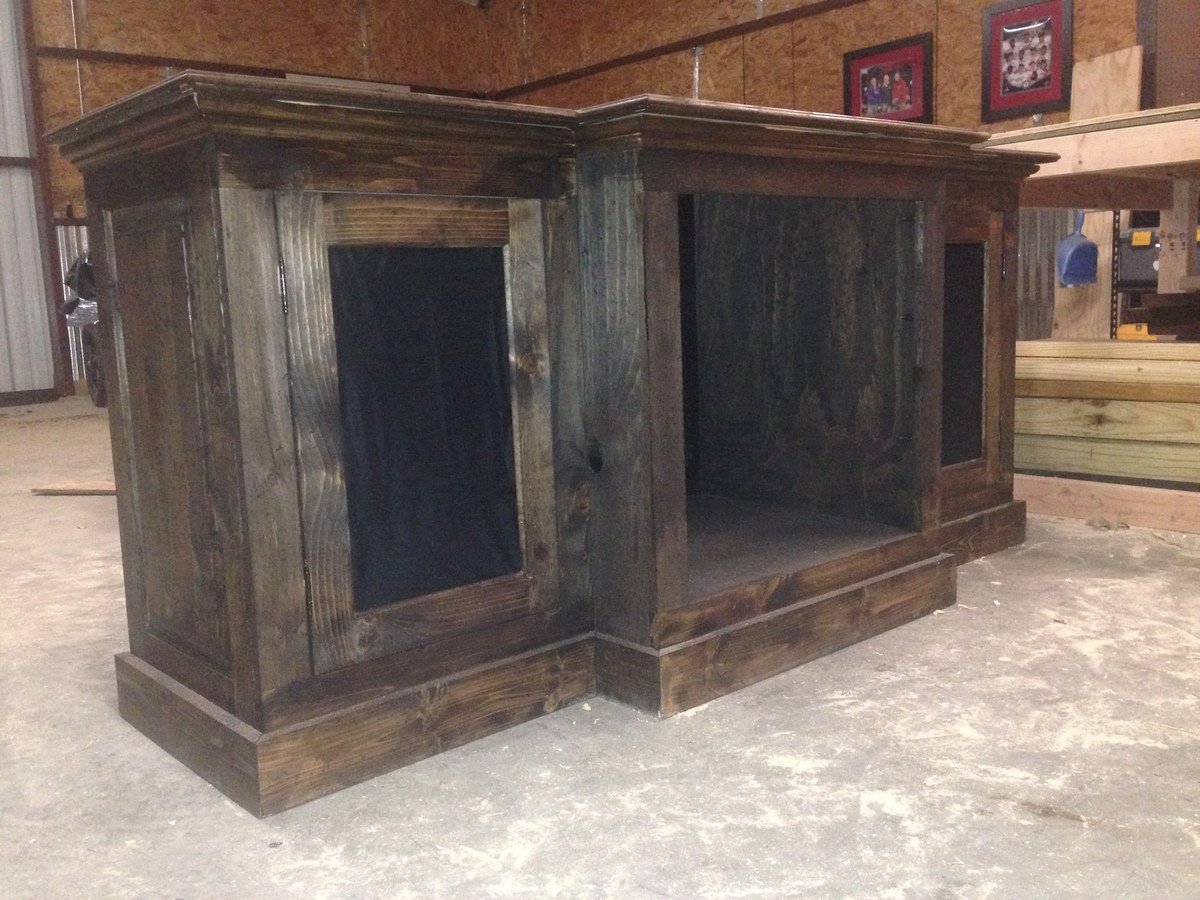
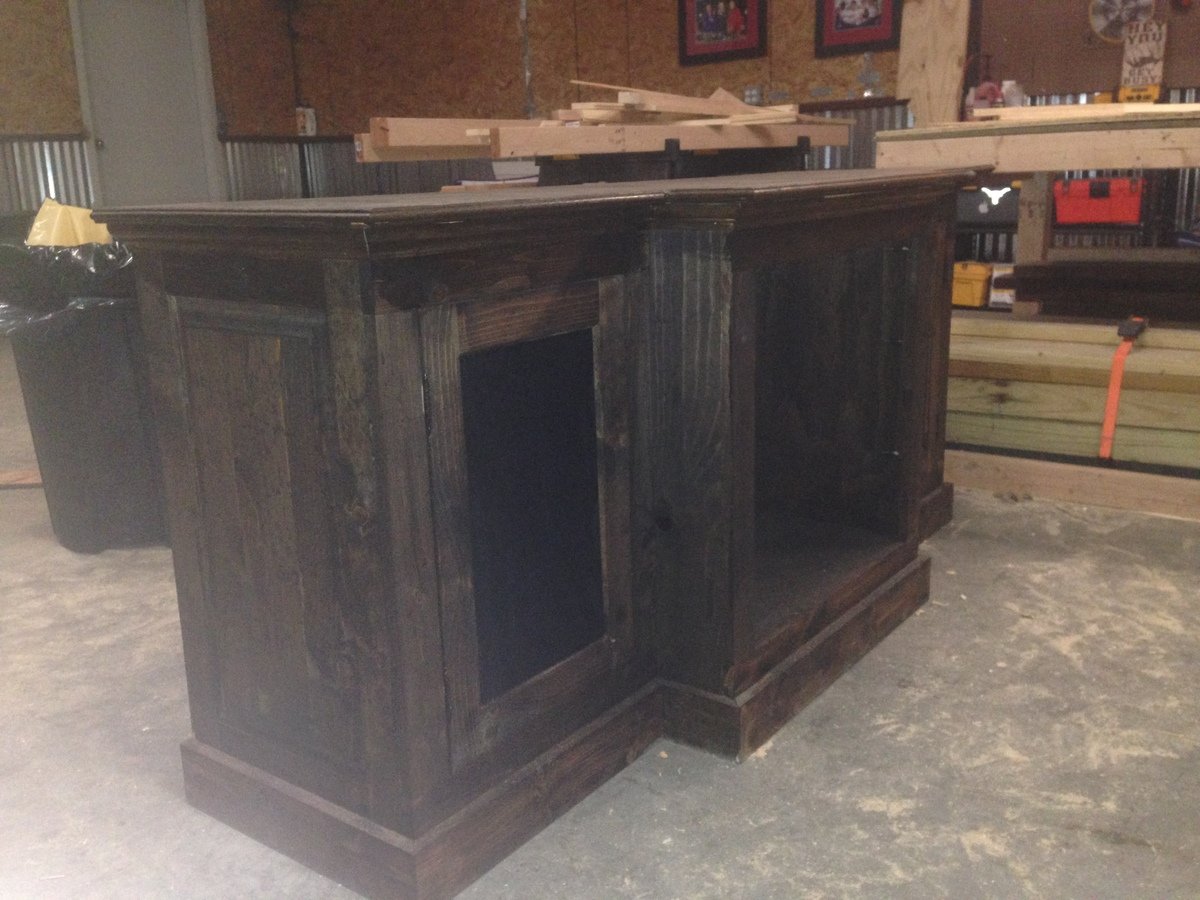
We got some new furniture and realized that the TV stand we currently have just wasn't going to work. We found a media console at Restoration Hardware that we really liked (http://www.restorationhardware.com/catalog/product/product.jsp?productI…). Well, we liked everything but the $1,300 price tag. With a couple sheets of 3/4 plywood, some 1x3's, 1x4's and 1x6's we built this for a fraction of the price. We even modified it so the two side doors have speaker mesh instead of solid panels so we can enjoy the sound without the eyesore of the speakers.

The stain is still drying so I don't have a final installed photo.

Estimated Time Investment
Weekend Project (10-20 Hours)
Finish Used
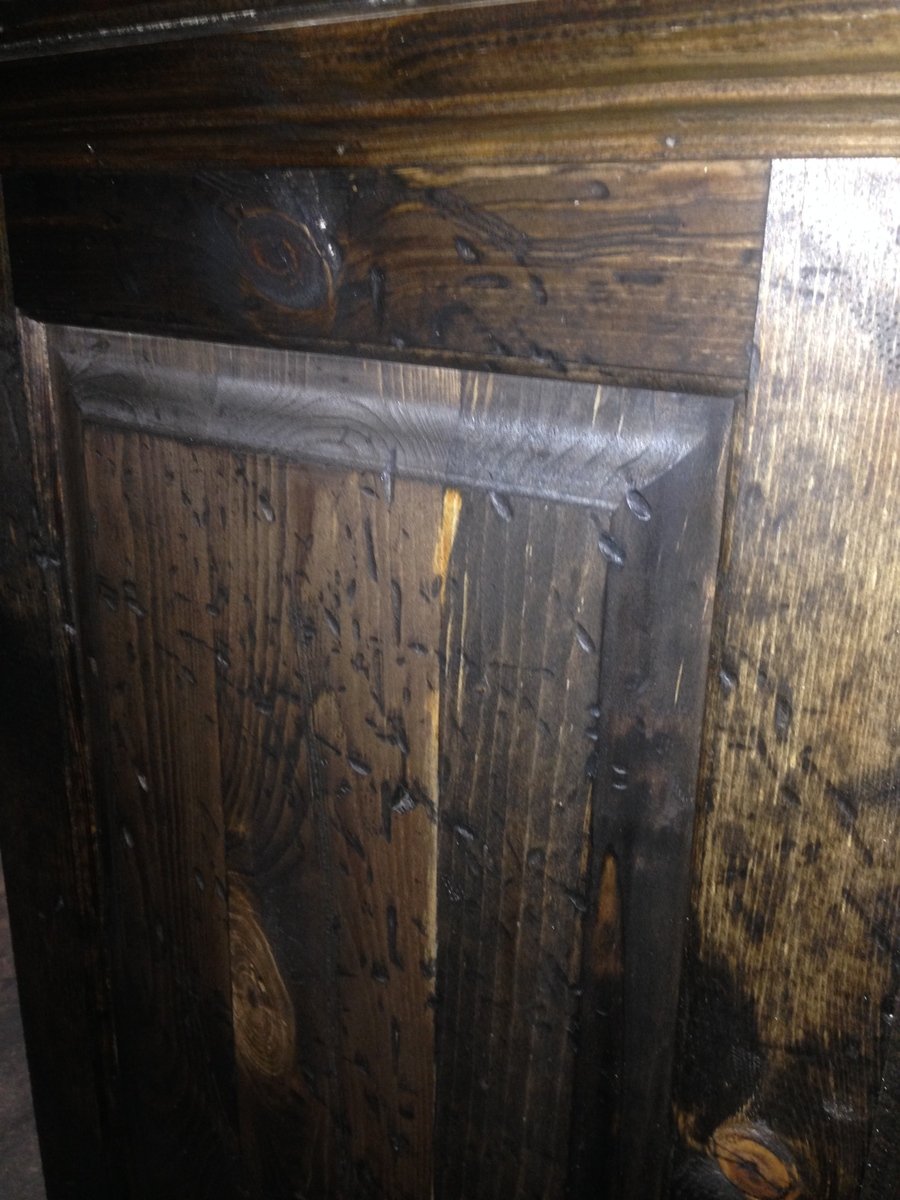
Once built, I beat it with chains, burned it with a torch and put one coat of MinWax Dark Walnut.
Recommended Skill Level
Intermediate

Comments

meggiefrue

Fri, 09/05/2014 - 11:23

I was curious if you had any kind of plans for this peice or if you could at least tell me what sizes of wood you used. I am very interested in building this!
 

Thnak you,


Meghan

szilvaierika

Sat, 03/14/2015 - 08:18

I am trying to build a similar style cabinet with the middle part coming out. Could you please let me know, since the middle section of the cabinet comes out, is the bottom and top cut out of one piece of wood? You can email me at [email protected]. Any help would be greatly appreciated. Thanks so much! Erika

shawnubis

Mon, 01/25/2016 - 08:33

I see several people have commented and asked for plans, but no one has responded :(
 

Jlplant

Sun, 10/16/2016 - 20:00

 Hello! This is a beautiful piece. Would love to see the plans, if they are available. Please let me know! Thank you! 

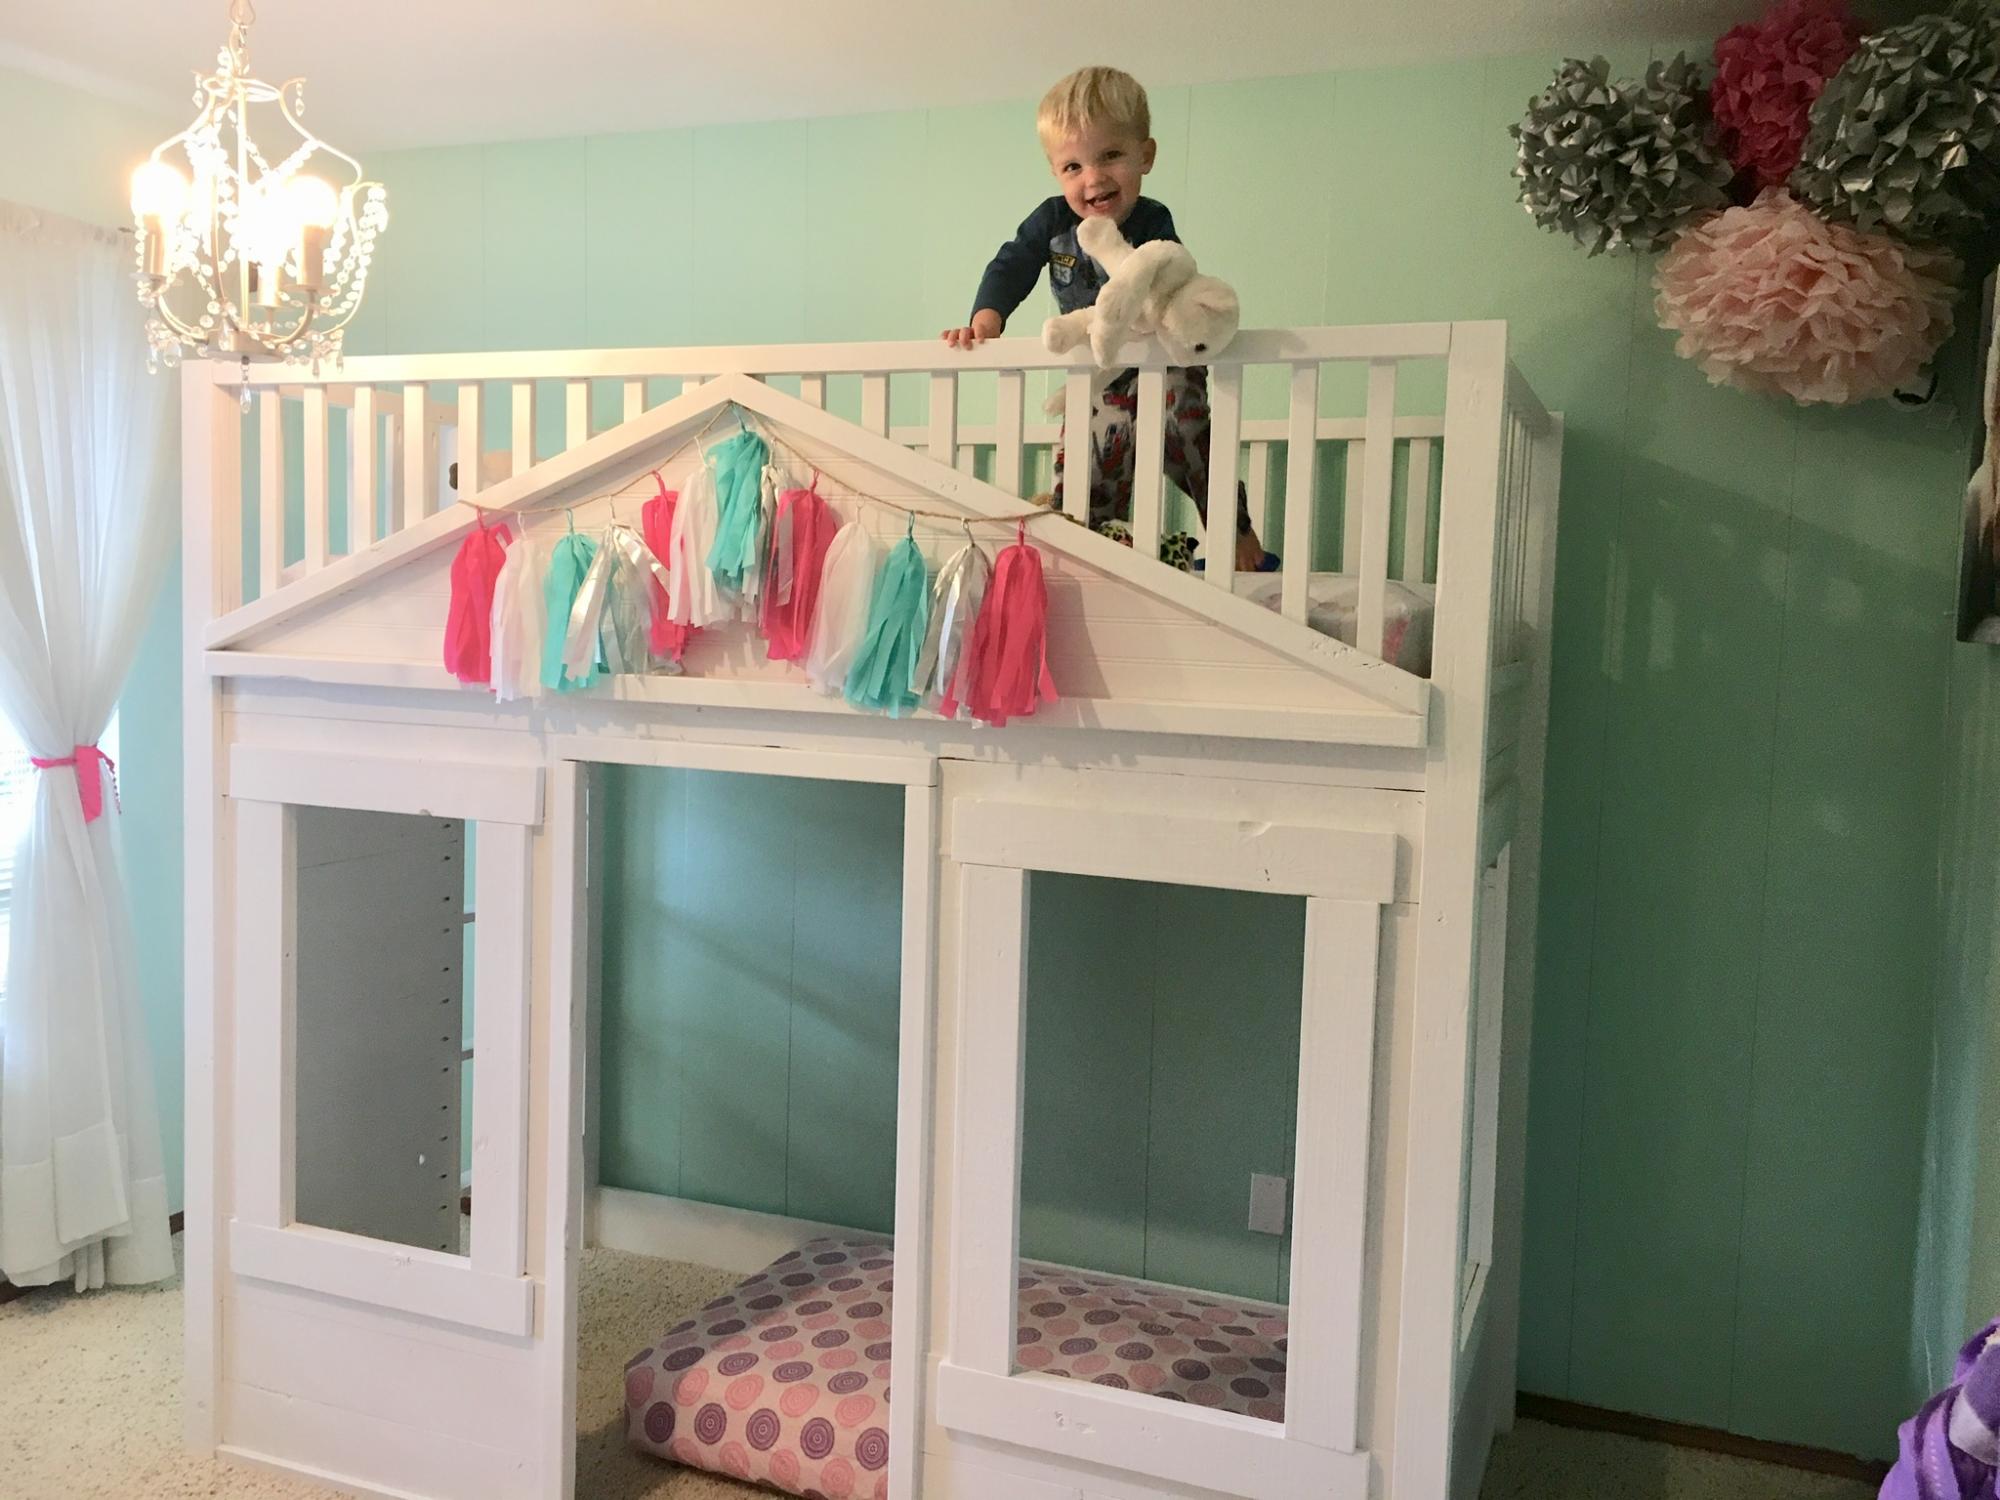
Camp Loft Bed

Submitted by Anonymous (not verified) on Fri, 04/22/2016 - 12:21

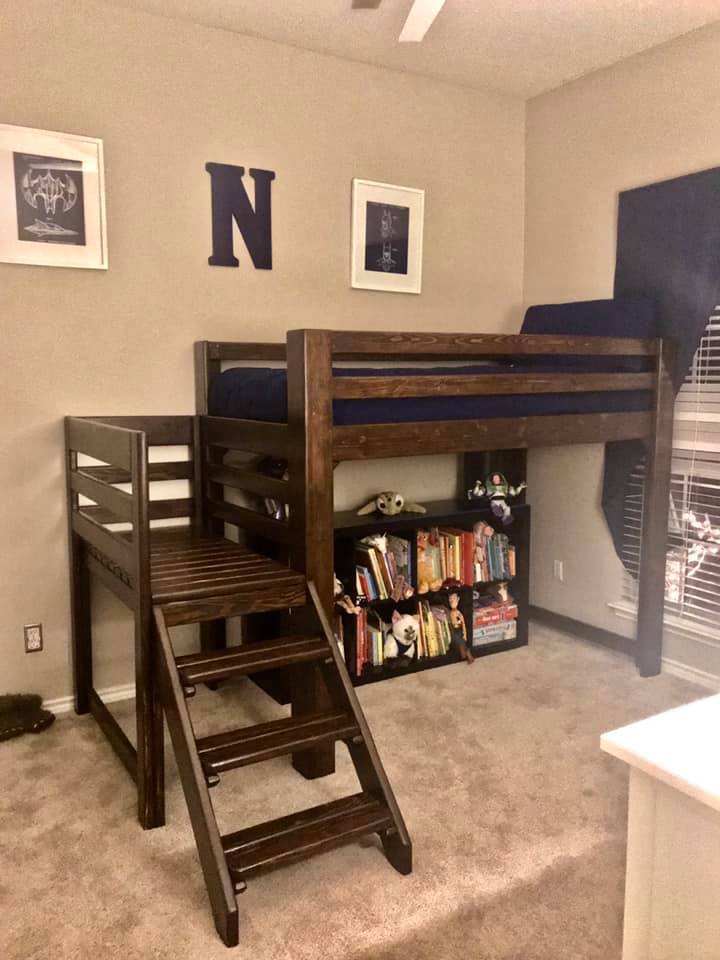
I used the Camp loft bed with stair plan. I raised the height by 4 inches to accommodate taller items being pushed under it. I also added the "railing" due to not being pushed up against the wall on the stair side.

Estimated Cost
About $75 dollars in lumber and $30 in stain and screws.
Estimated Time Investment
Weekend Project (10-20 Hours)
Finish Used
Rustoleum Drift-wood stain.
Recommended Skill Level
Beginner

Camp Loft Bed

Submitted by msjo62 on Tue, 01/14/2020 - 12:31

Created for my grandson.  He woke up Christmas morning so excited!  He loved it!

Thank you for the plans!

Back