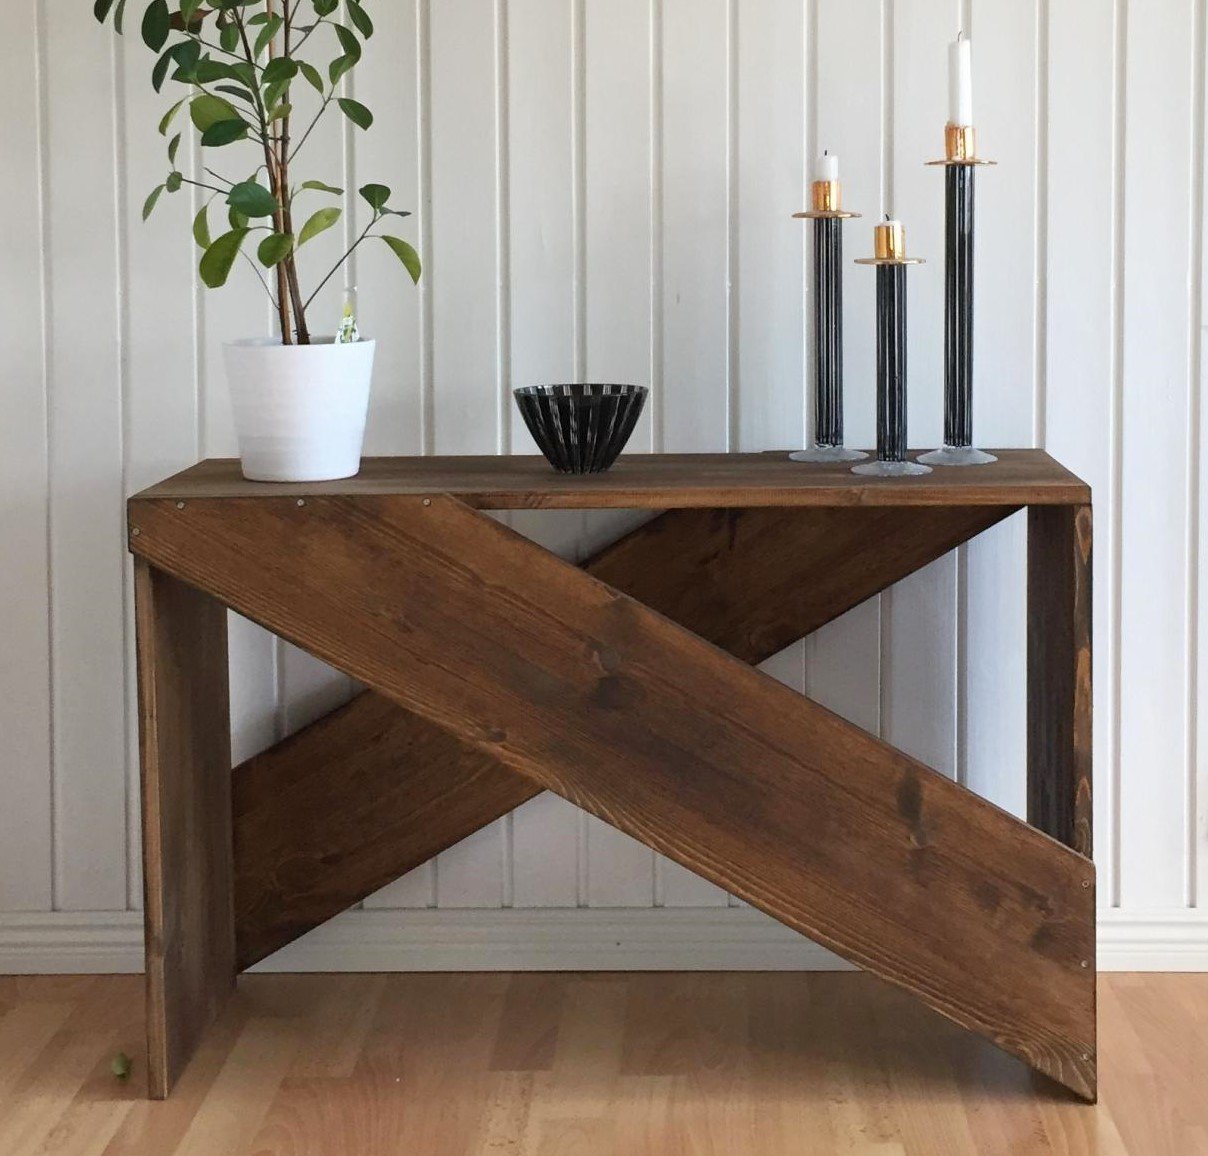
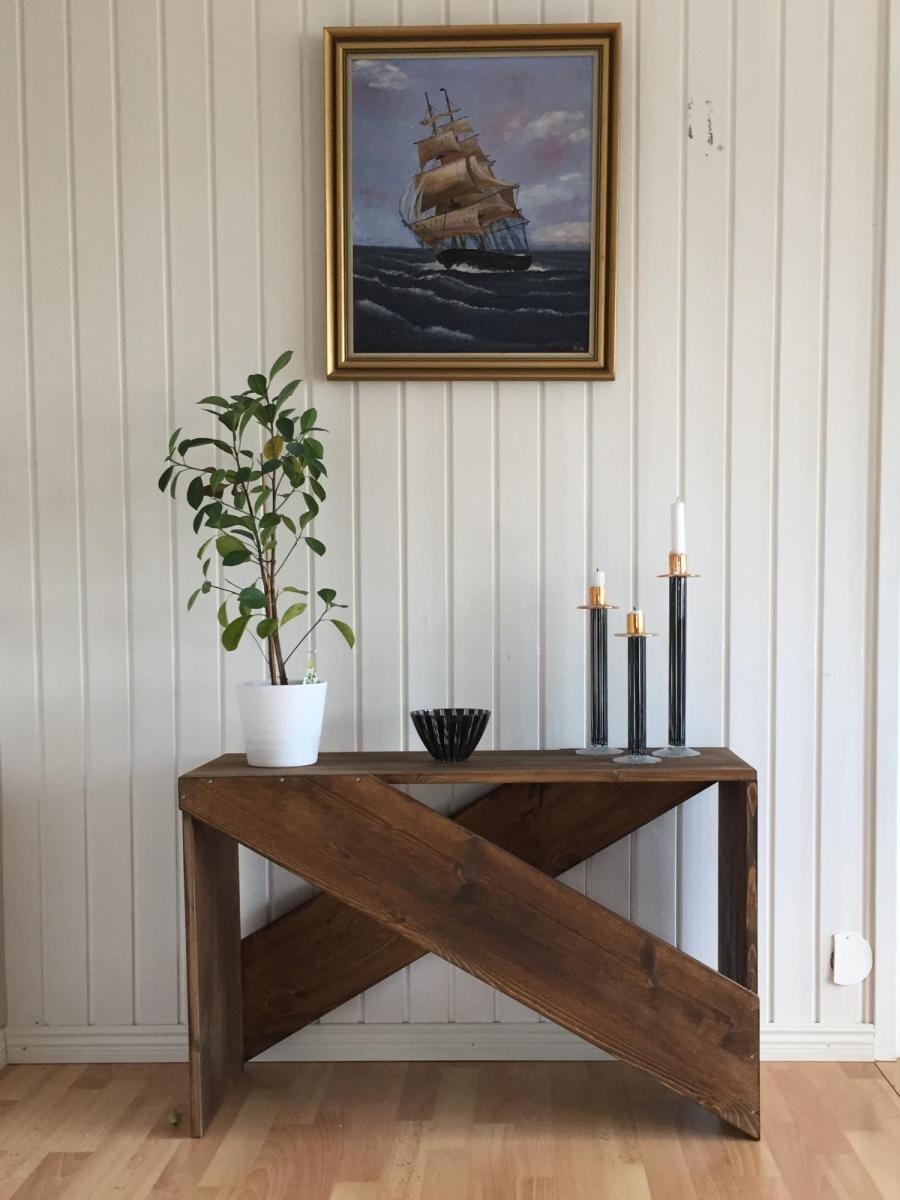
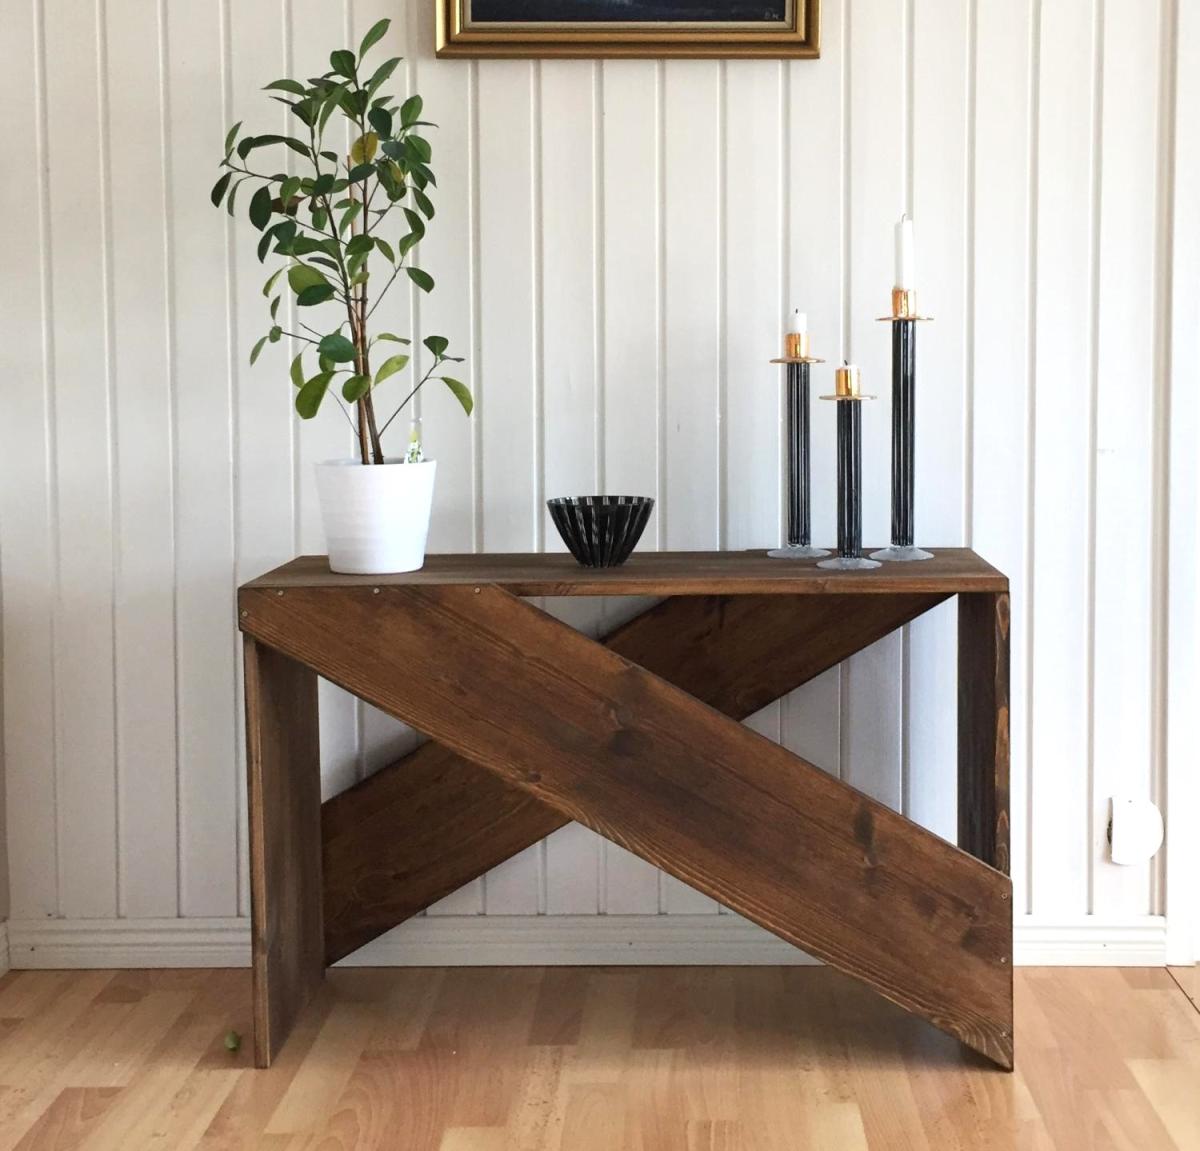
Toybox
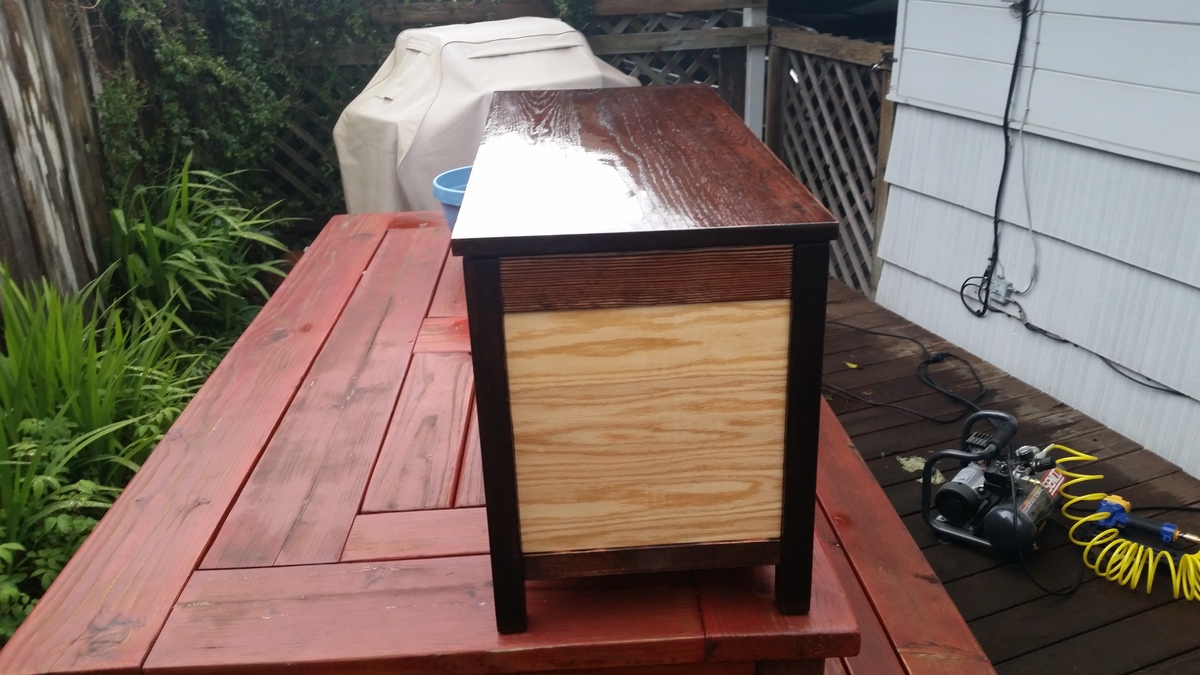
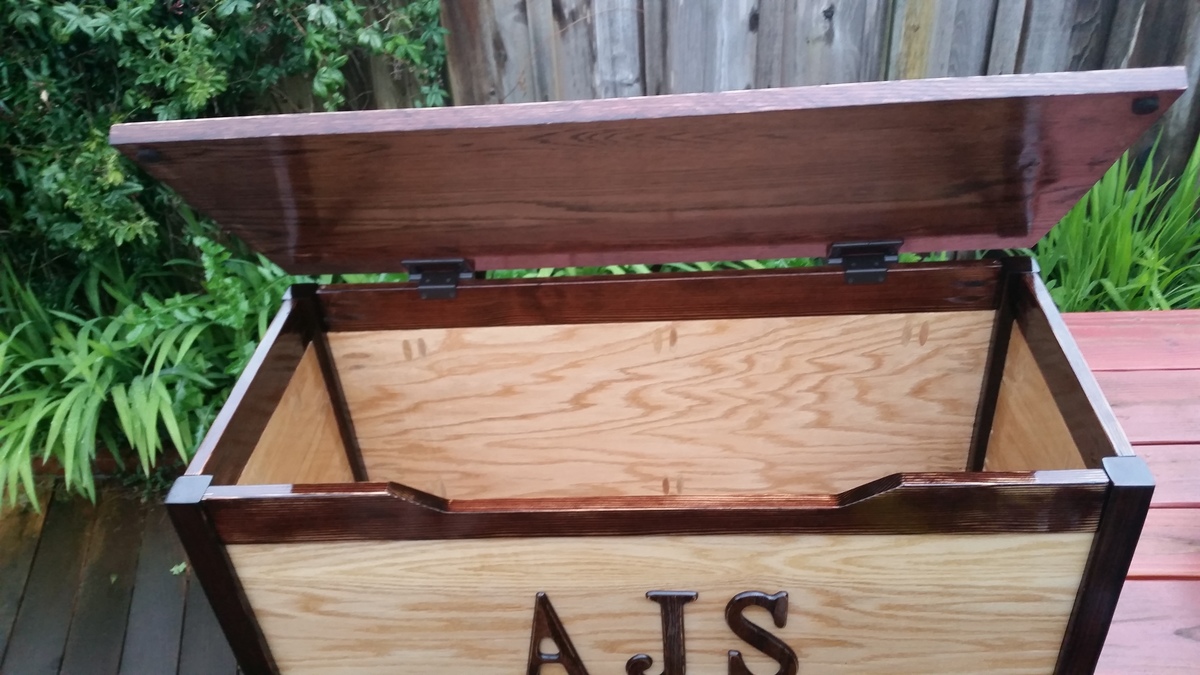
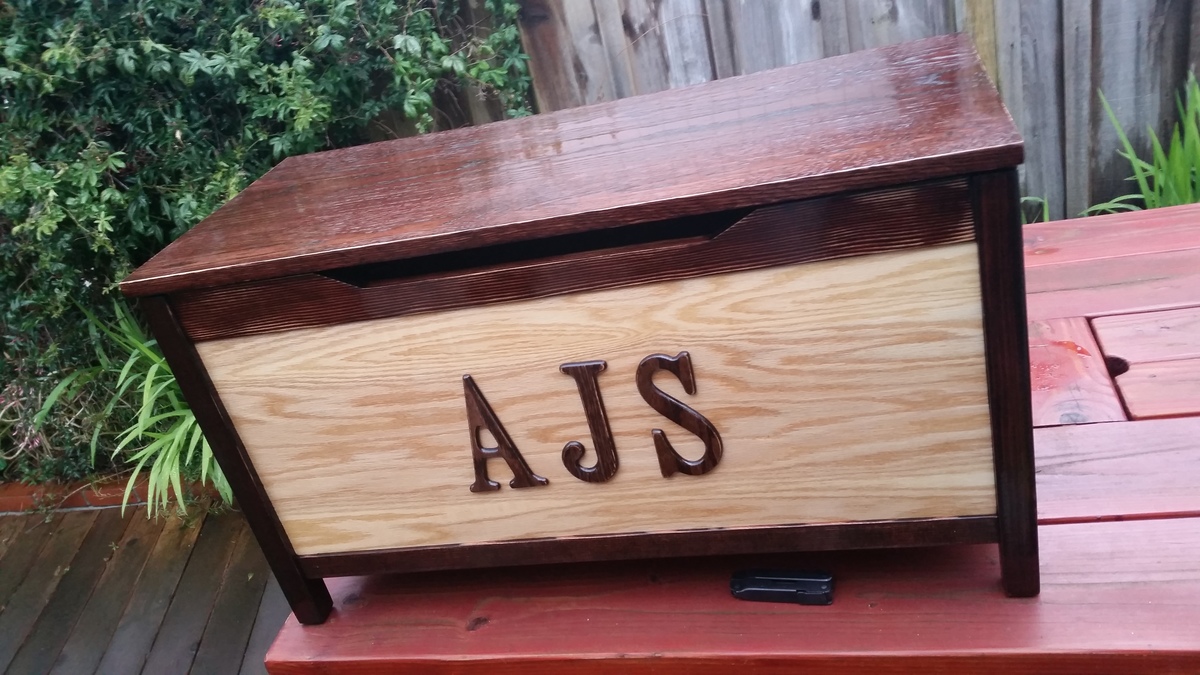
I'm just a novic so this was a challenge and lots of fun! I Made this one and just finished. I used oak plywood, oak lid, rocklar hinges, stained and poly coated ever thing about 3 times. Looks great! Those hinges a expensive but work great.
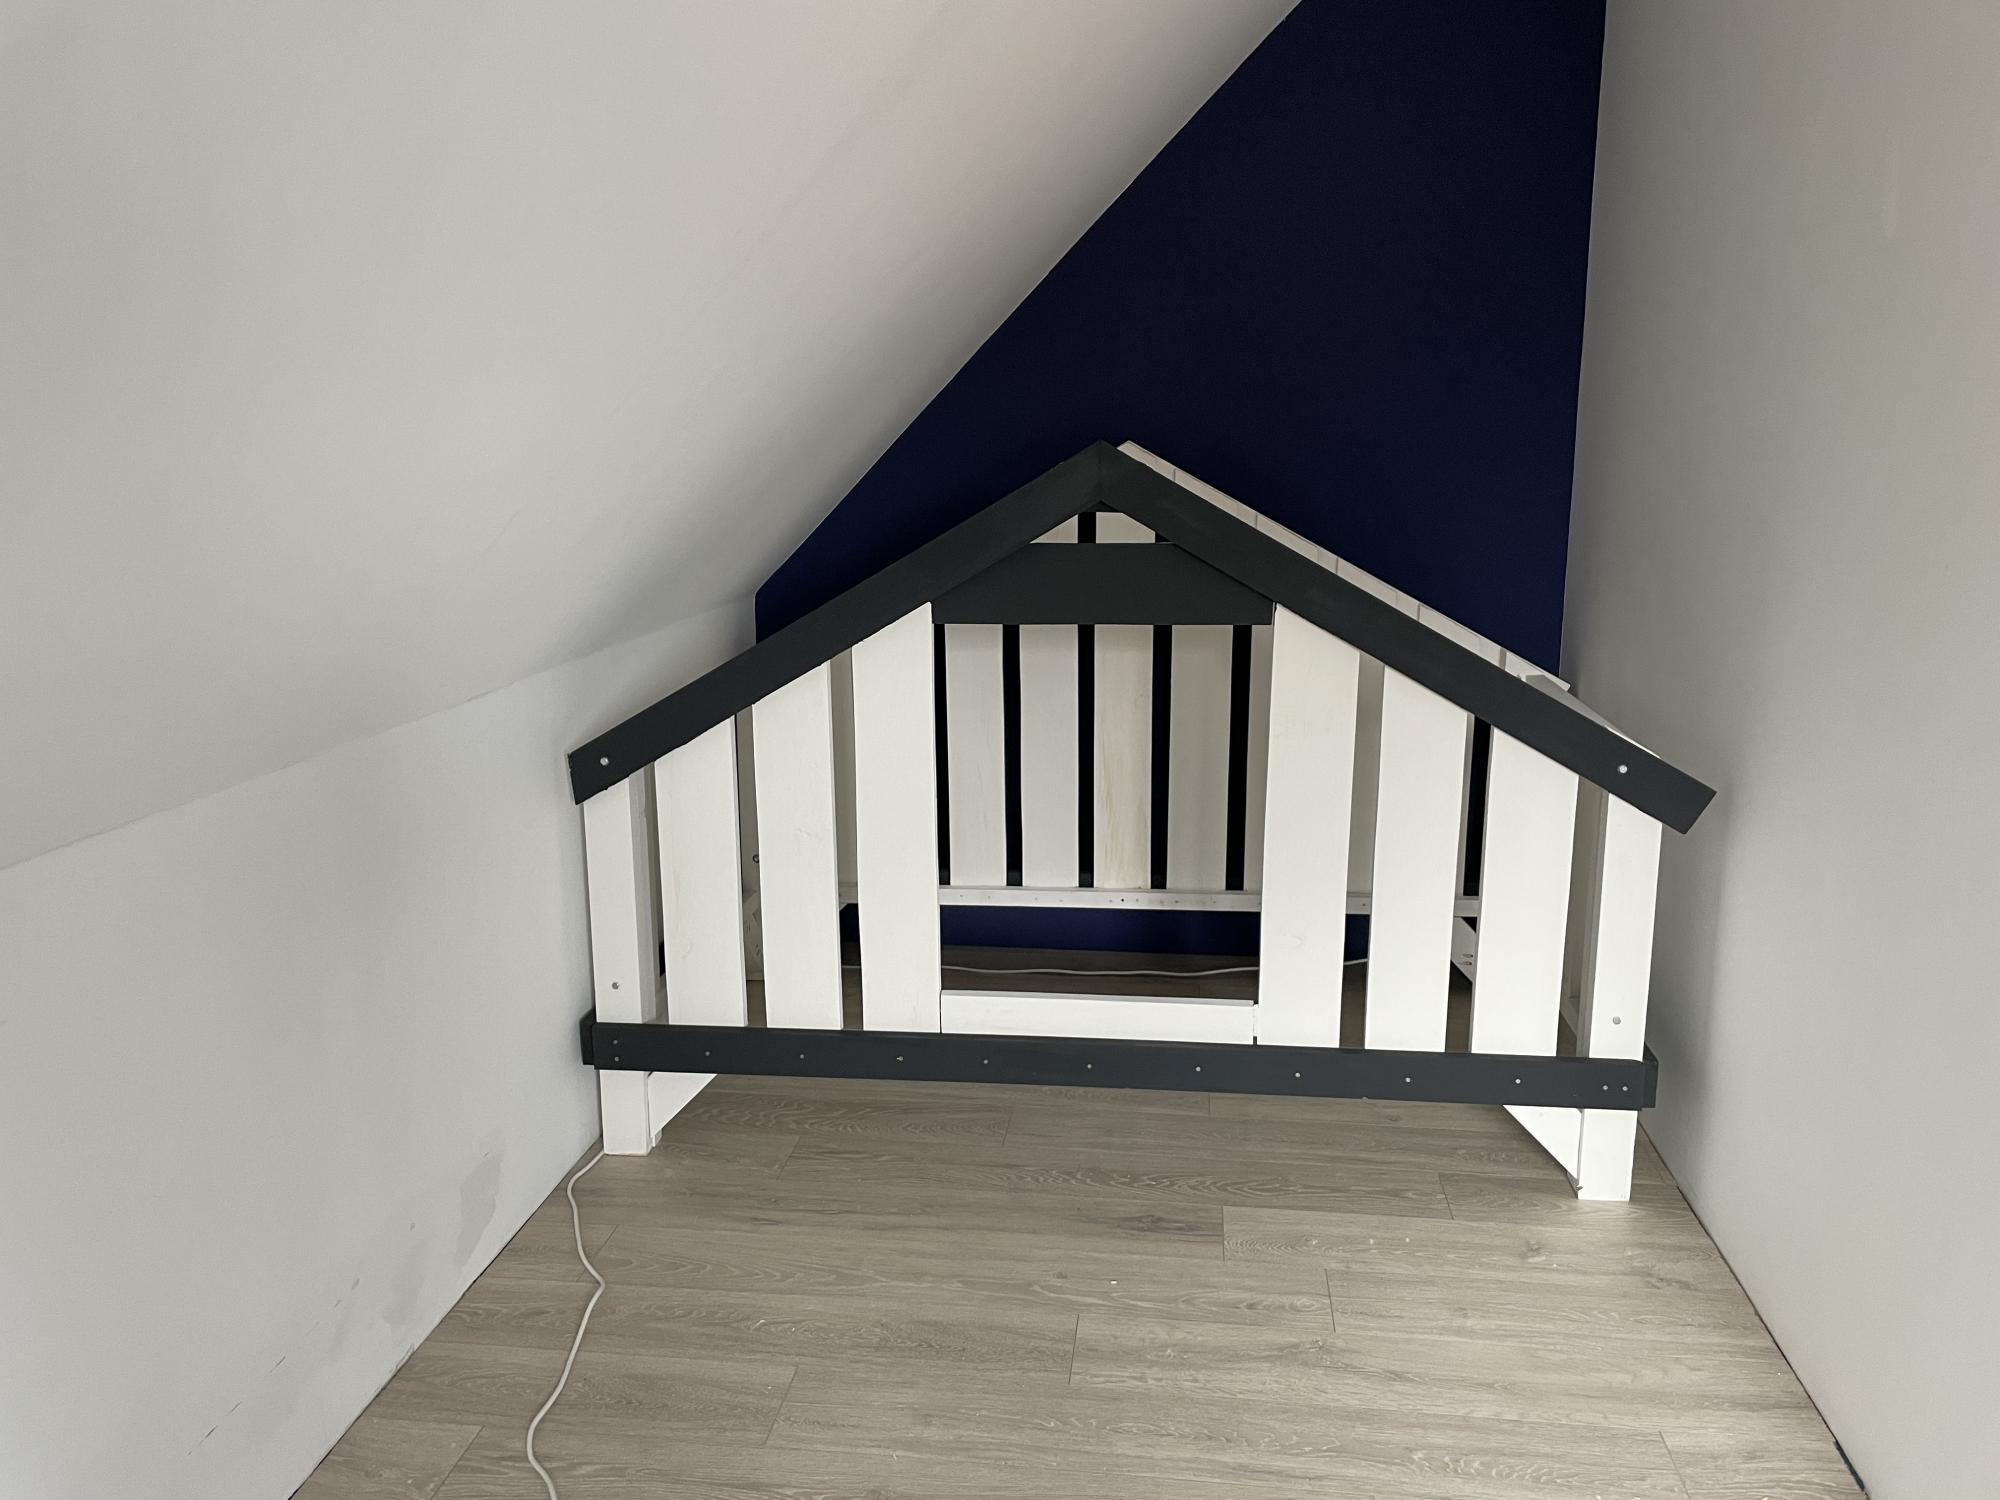
Come across these plans when looking for a new room/bed for my 2,5yo. Unfortunately the room is under the roof so I had to lower the entire house. I am currently building a drawer from leftover wood that fits under the bed (for bed linnen or maybe even a mini bed for our dog to sleep in 🥰)
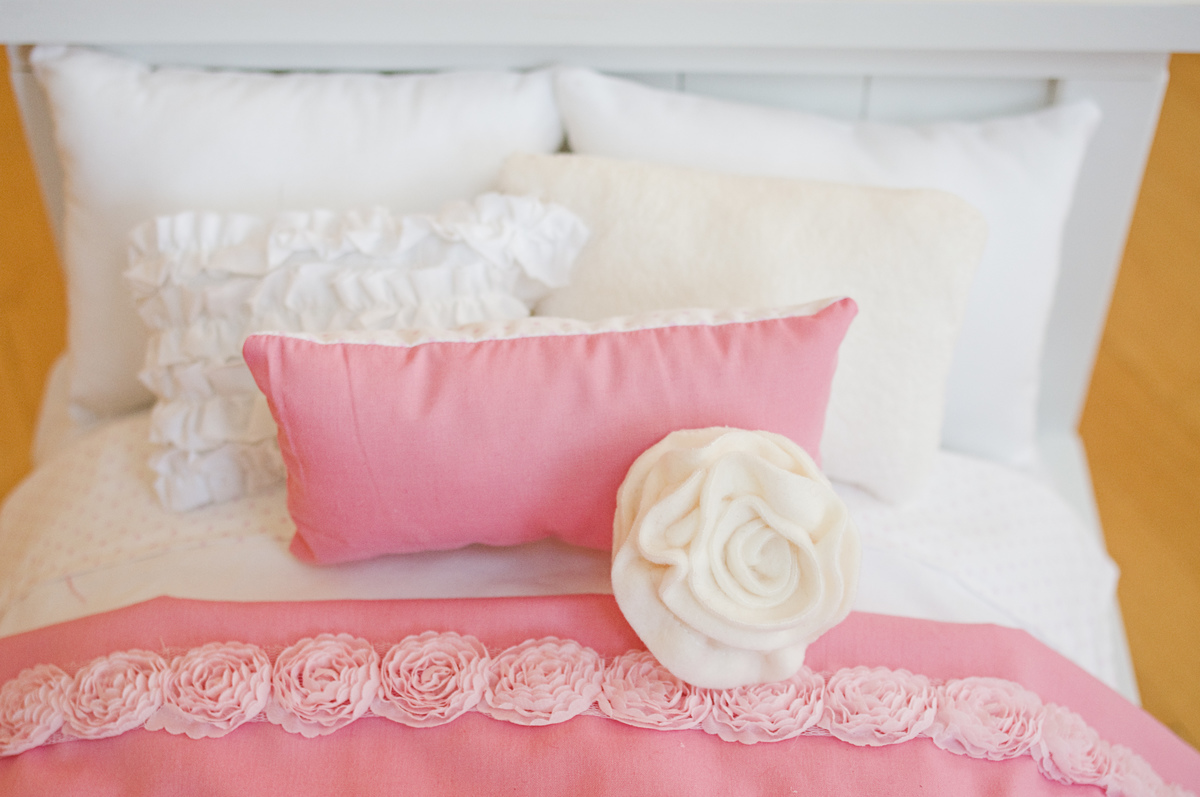
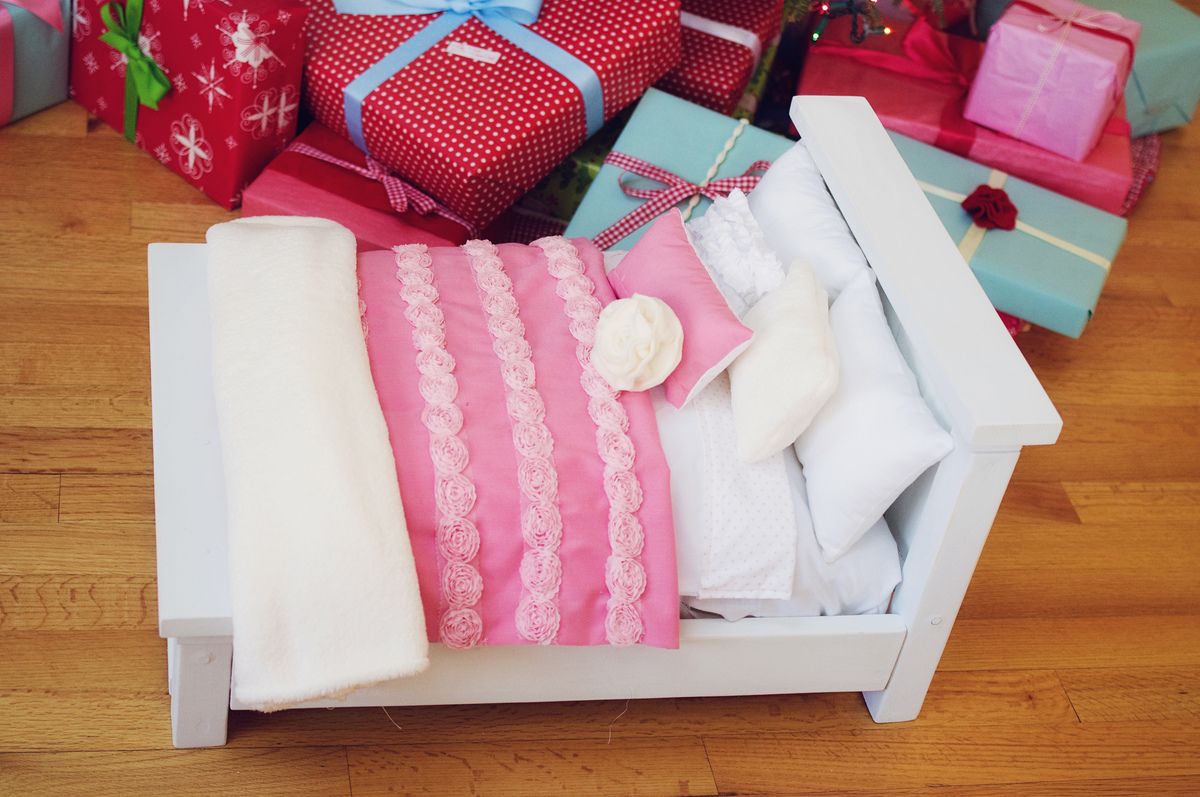
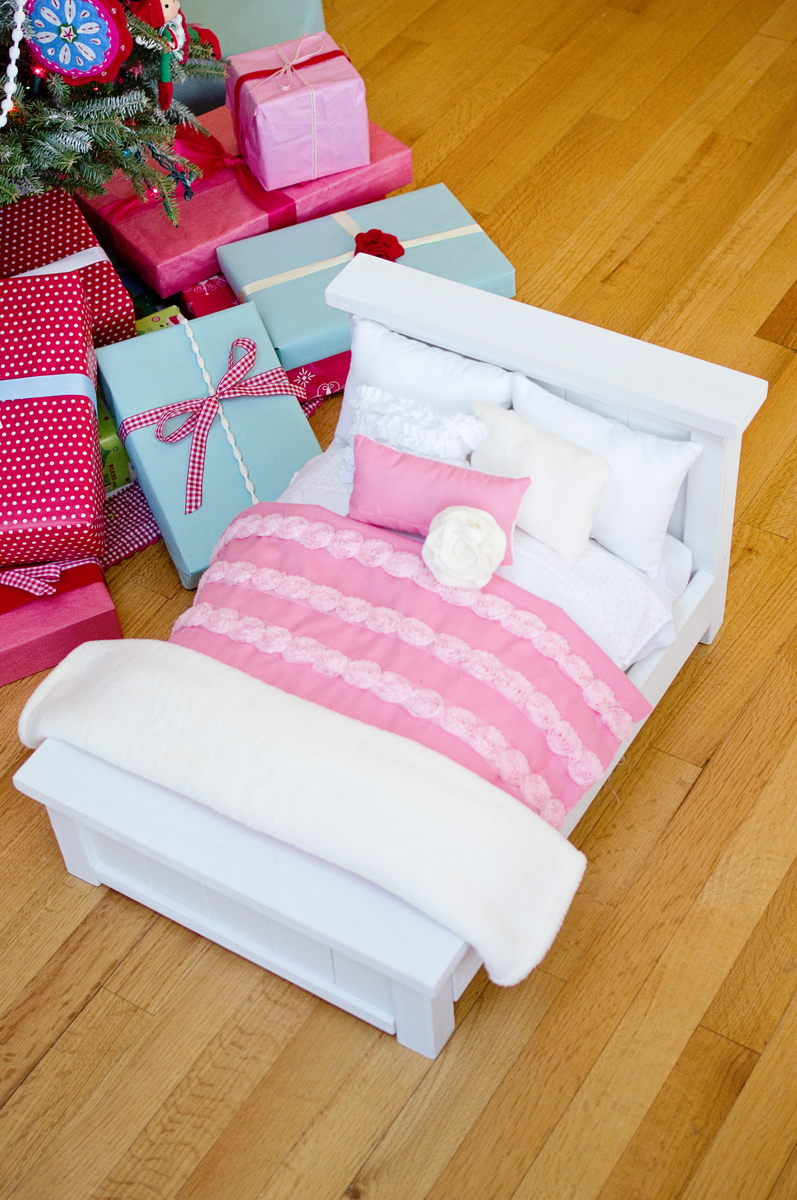
Made this for our daughter's American Girl doll for Christmas. The mattress is a basic box pillow, made out of the cheapest bleached muslin from Joann, and stuffed with polyfill. I had to make a couple before I got it right. It needed to be a little longer and wider than the dimensions of the bed to fill the space all the way. It's been a while since I made them, but I'm pretty sure I cut the box corners at 2" and added an inch to the width and length of the actual bed measurements, plus a 1/2" seam allowance on each side. It makes for a feather bed look. The coverlet is 2 pieces of broadcloth sewn right sides together (leaving an opening to turn) and then turned right side out. Then I sewed trim in rows down the front. The blanket at the foot of the bed is furry minky fabric from Joann. It was really fun to build this bed and design the bedding. Thanks for the plans! My daughter loved this!
This was my first build, I never picked up a drill until now, but my mom really wanted something nice to hold her microwave but everywhere we looked for an island that would support it was just to flimsy so when I saw these plans and how cute it looked I told her I'm gonna build you this. I didn't add a drawer manly to force my family from putting junk in there that doesn't belong in a kitchen. I had a lot of fun building this and definitly learned a lot. Thanks for the plans.
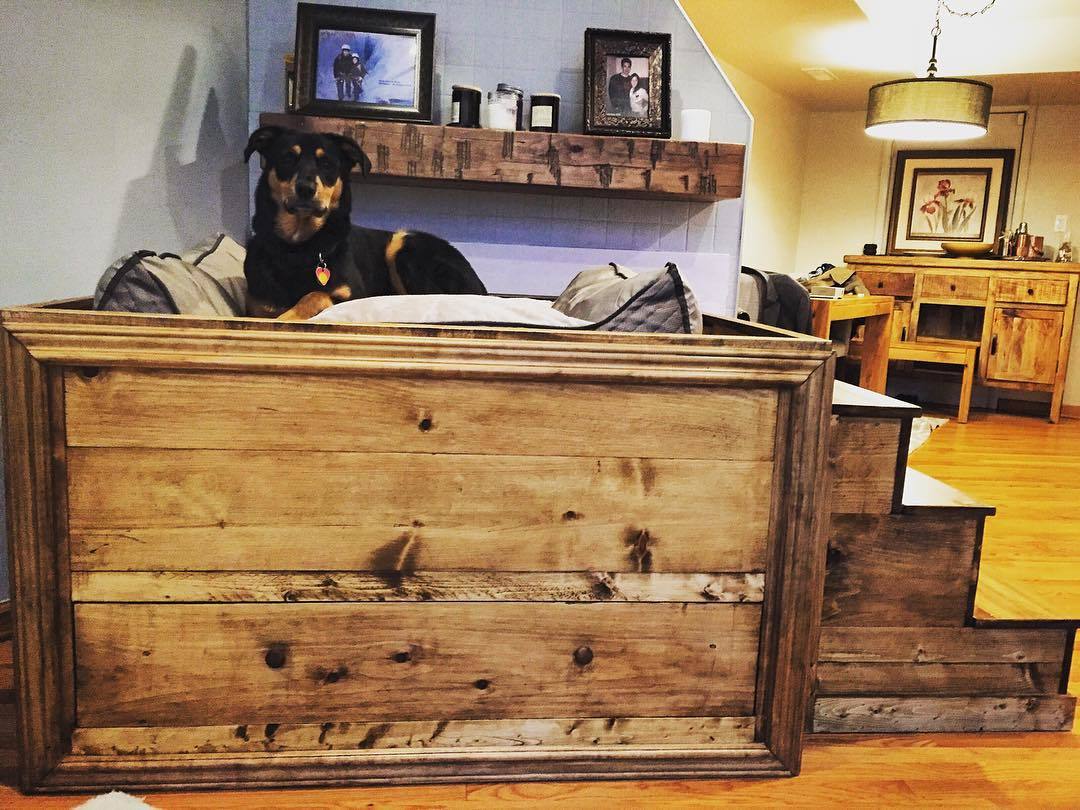
This dog bed was built with furniture grade pine and stained in Minwax Golden Oak. I added stairs and a storage drawer in the bottom.
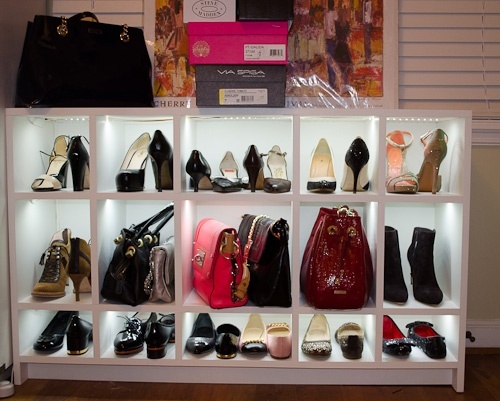
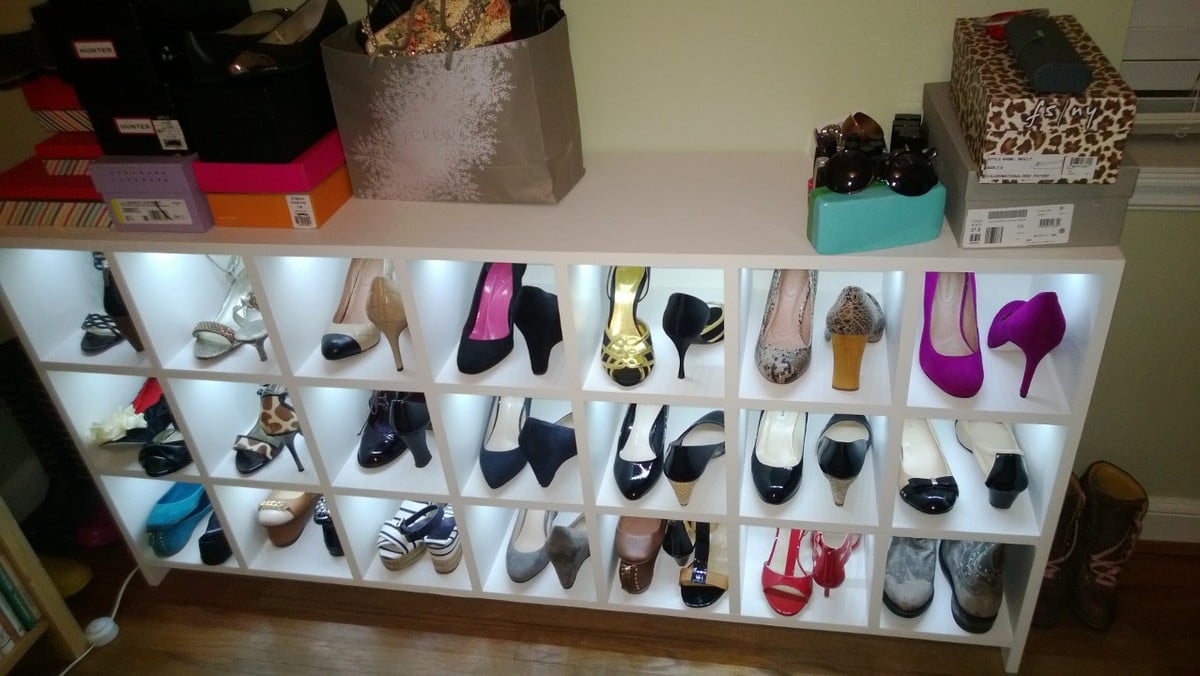
This is an adaption of the shoe shrine shelves. Since I didn't have a closet or other room than the bedroom to put these, I put them on their side. I modeled these off the shoe shrine shelves.
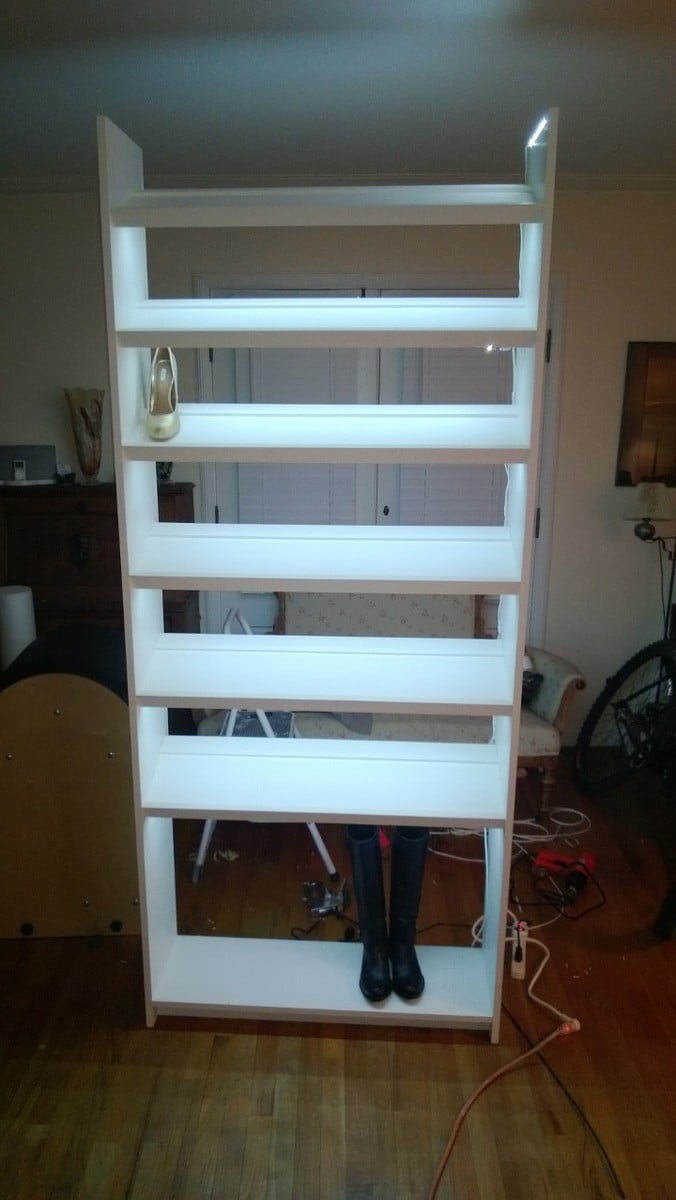
Each cubby is 11 3/4 deep x 8 x8 for the long version. The 2nd version I made was only 48 inches wide and did not divide well so I simply left the center cubby wider. I also made the 48" version to have different height shelves for purses in the middle and flats on the bottom.
I basically flipped the shoe shrine's on their sides and added LED lights. This also inspired a tall version for a cubby we had upstairs.
I used a panel saw to cut the plywood and then assembled with a Kreg pocket hole jig for horizontal pieces and biscuits for the top and the dividers. I did not want to fill the holes or I would have used Kreg instead of the biscuits.
I used 3/4" paint grade plywood and a 1/4inch back panel.
LED lights came from LED wholesalers on amazon. This step requires electrical knowledge! Not much more than a wiring a light but do not attempt if you are not qualifed to do so. LED strings required a fine tip soldering iron, wire and heat shrink.
Fri, 03/22/2013 - 08:18
Great job! Your closet now looks like a fancy shoe boutique!
Fri, 03/22/2013 - 11:50
The LED's came after we designed them. I was like there is no light where these are going and its hard to see inside the cubbies. This is true for the bottom cubies which are only 5 inches tall. So for 30 bucks a cabinet it was a quick and easy addition that really made them pop. Only downside is it can make the room look like you are in Nordstom's :) so she doesn't leave the lights on regularly.
Thu, 09/18/2014 - 01:42
Very nicely done. Do you mind telling me more about which particular LED product you used and the process to wire them in? Did you mill out any part of the cabinet to set the lights? How are they activated? Thanks in advance. You can also email me at [email protected]. Much appreciated!
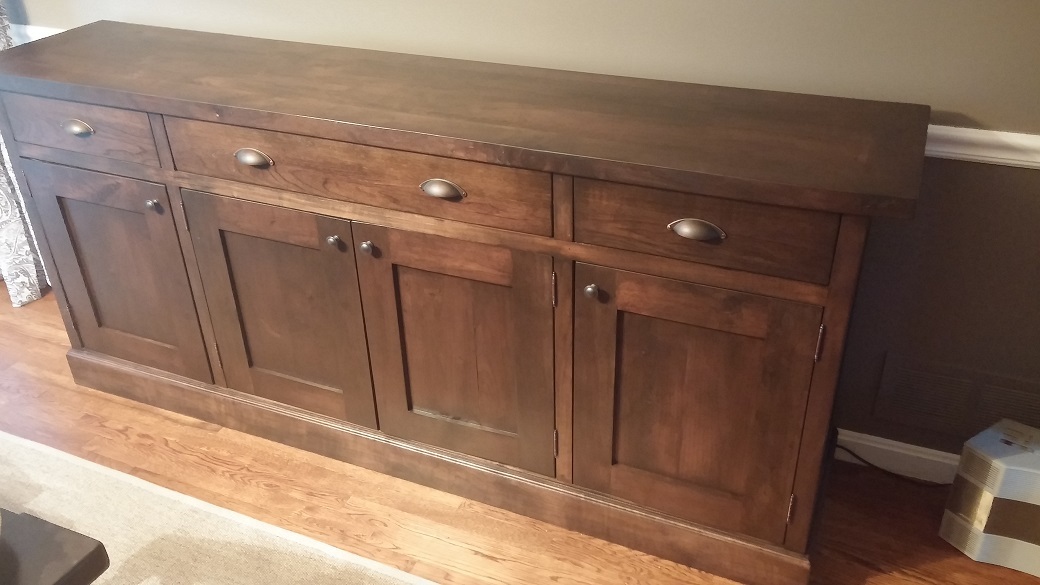
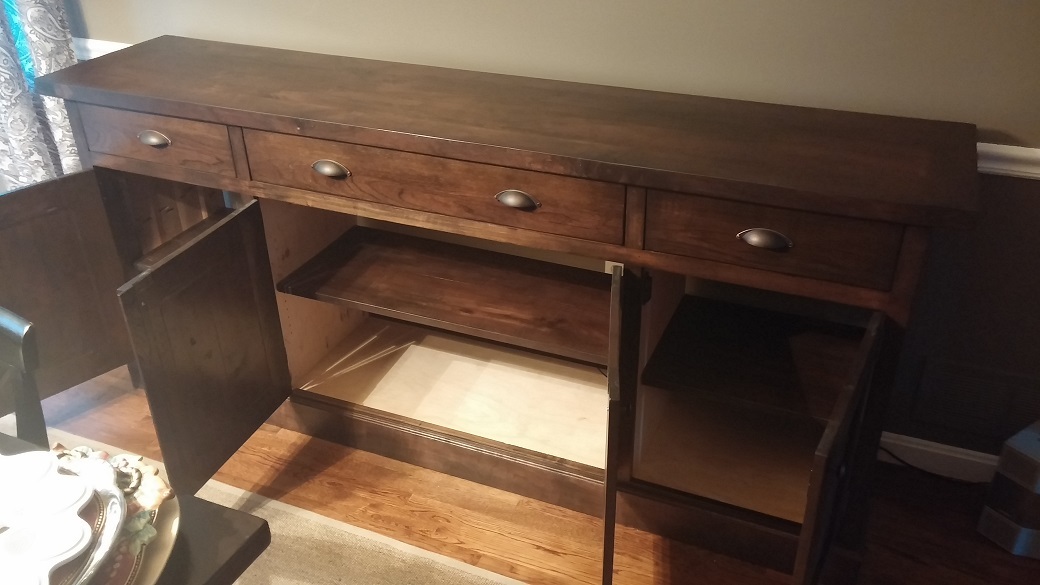
This project was a labor of love for sure. It took me an hour here, an hour there over the course of several months before I finally finished it. I have never felt so proud of something I built, and I truly could not have done it without the plans written up on this site! Thank you so very much for the service you provide with your free plans!
I started with rough-cut American walnut from a guy's basement. It had been stored for over 50 years in a nice dry climate. After planing it, running it through a jointer, and trimming off the crooked parts with my table saw, I was able to get everything to line up pretty well. I will say the drawers sure gave me a run for my money! Those are so difficult to get perfect!
The stain I used is a Kona stain from Varathane. I truly couldn't be more pleased with how it turned out.
Mon, 02/02/2015 - 18:10
This walnut sideboard has real Wow factor! Absolutely love! The finish looks awesome, and I'm so impressed with all the work you put into making the old walnut boards ready for building. It's an Instant Heirloom!
Mon, 02/02/2015 - 19:23
That walnut is gorgeous! What a beautiful piece. I wish I could find some 50 year old walnut from some guy's basement.
Wed, 02/04/2015 - 06:14
Thanks for the comments! I should also mention, that table was the "Rustic Farmhouse" from this site as well. And since that picture was taken I have built two more pieces from this site. I found a source for rough-cut oak lumber, and also managed to win an auction for a huge stack of maple that is currently drying in my basement. Hopefully I'll have many more projects coming soon. =)
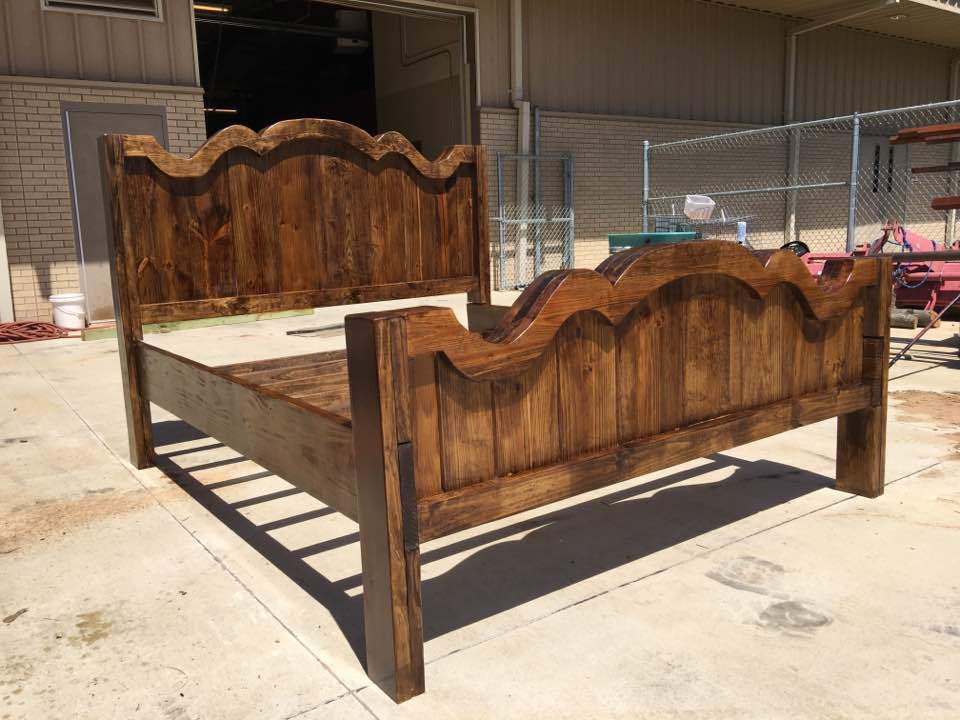
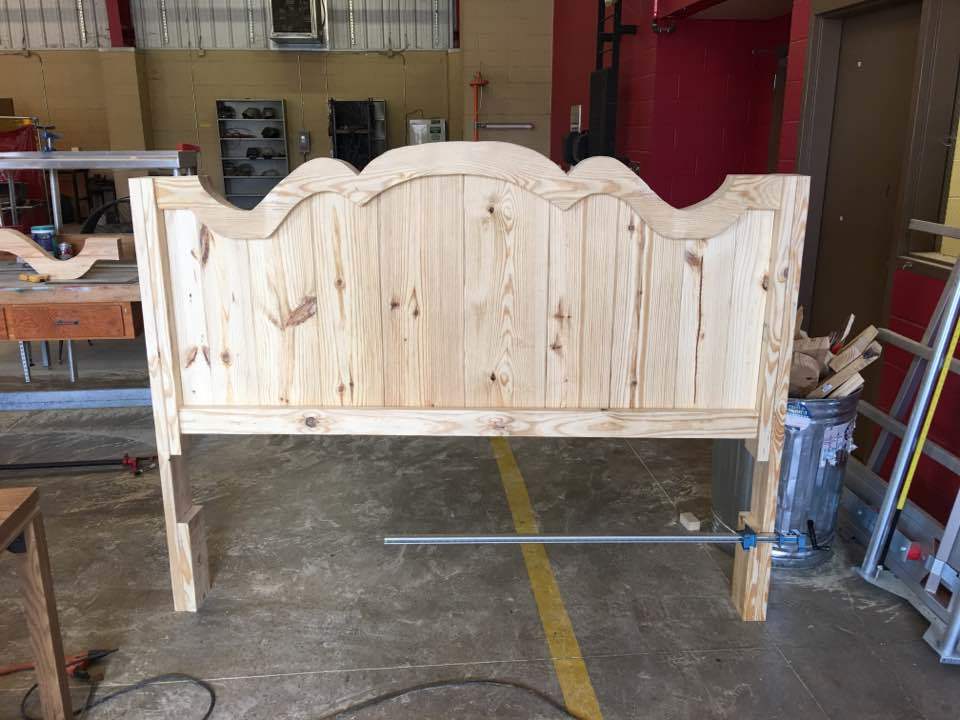
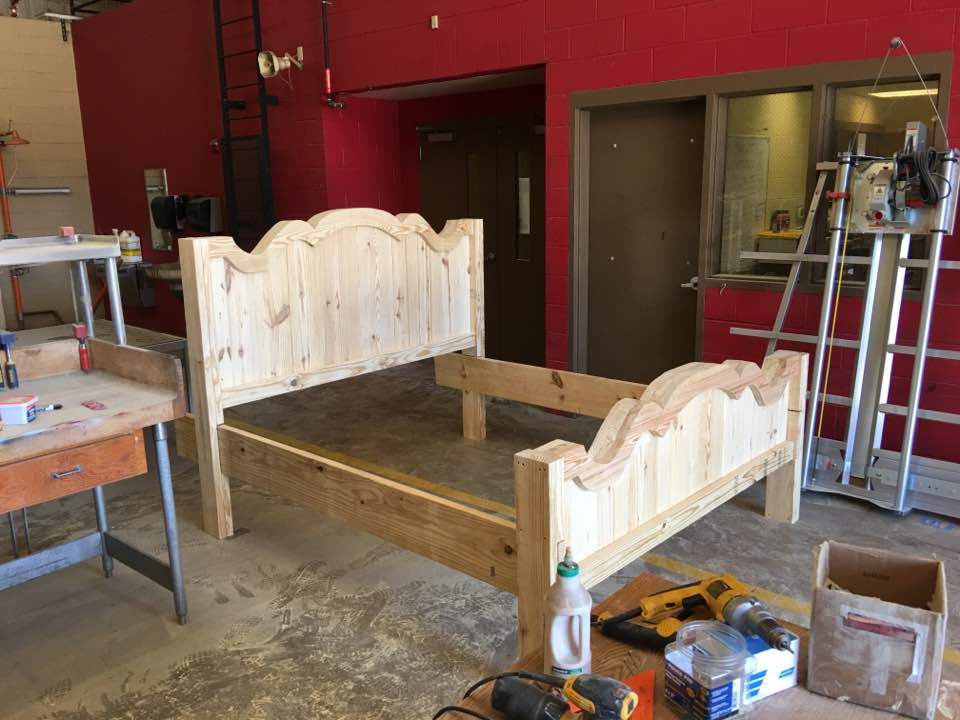
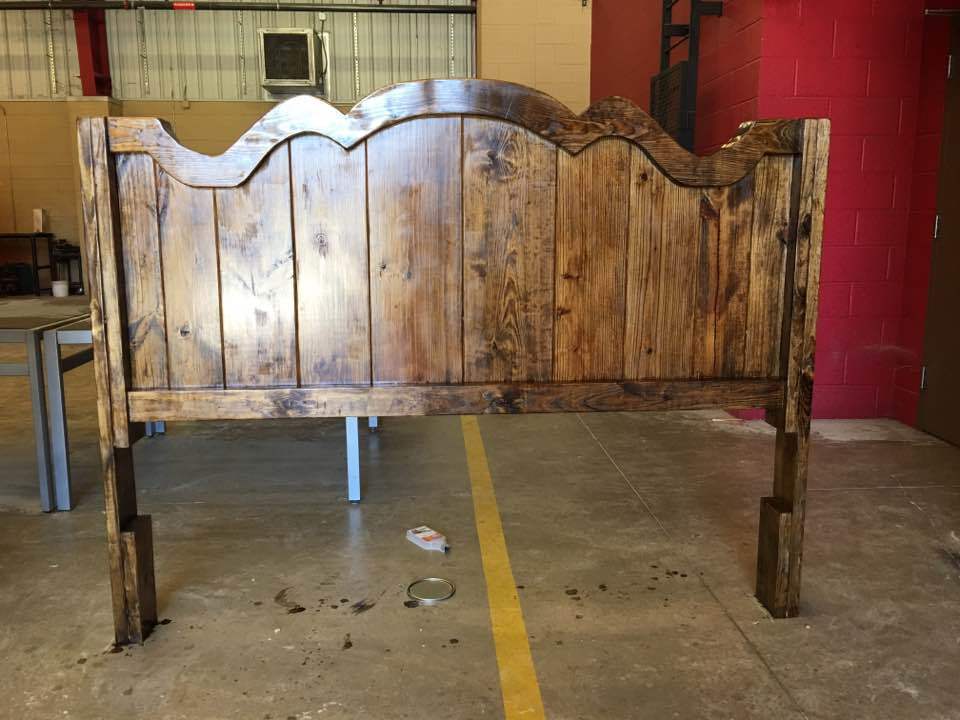
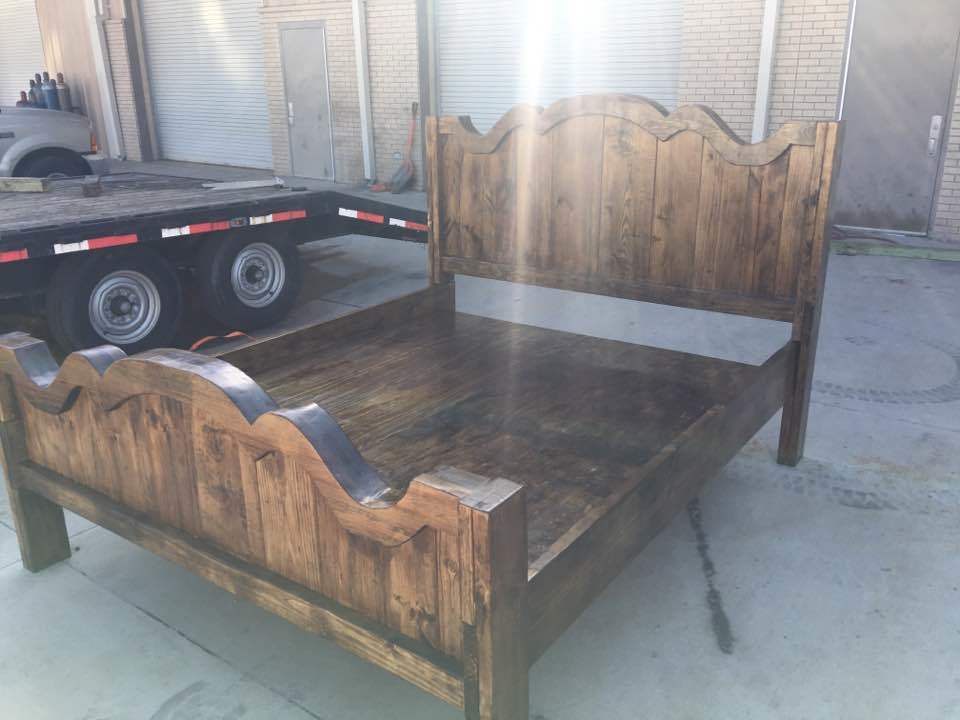
After showing my wife the plans, she did not like that flat top so I did some drawings until she liked what I had. I Modified the plans so that we could get what we liked. I used all 2" lumber instead of 1" because I wanted it to be nice and heavy. Raised the base of the side rails by 3" so that there would be more ground clearance, and used plywood under the slats so that we didnt need to use a box spring. I think it came out well.
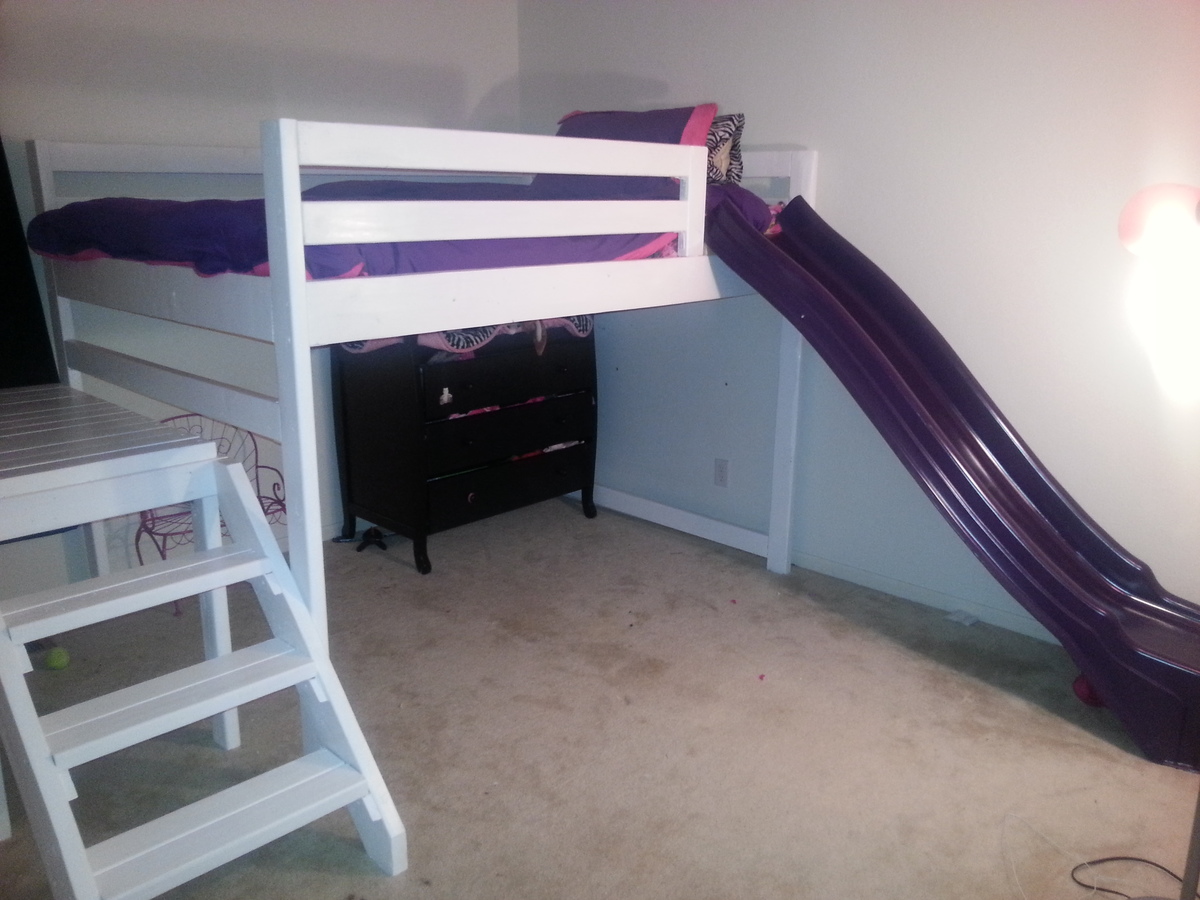
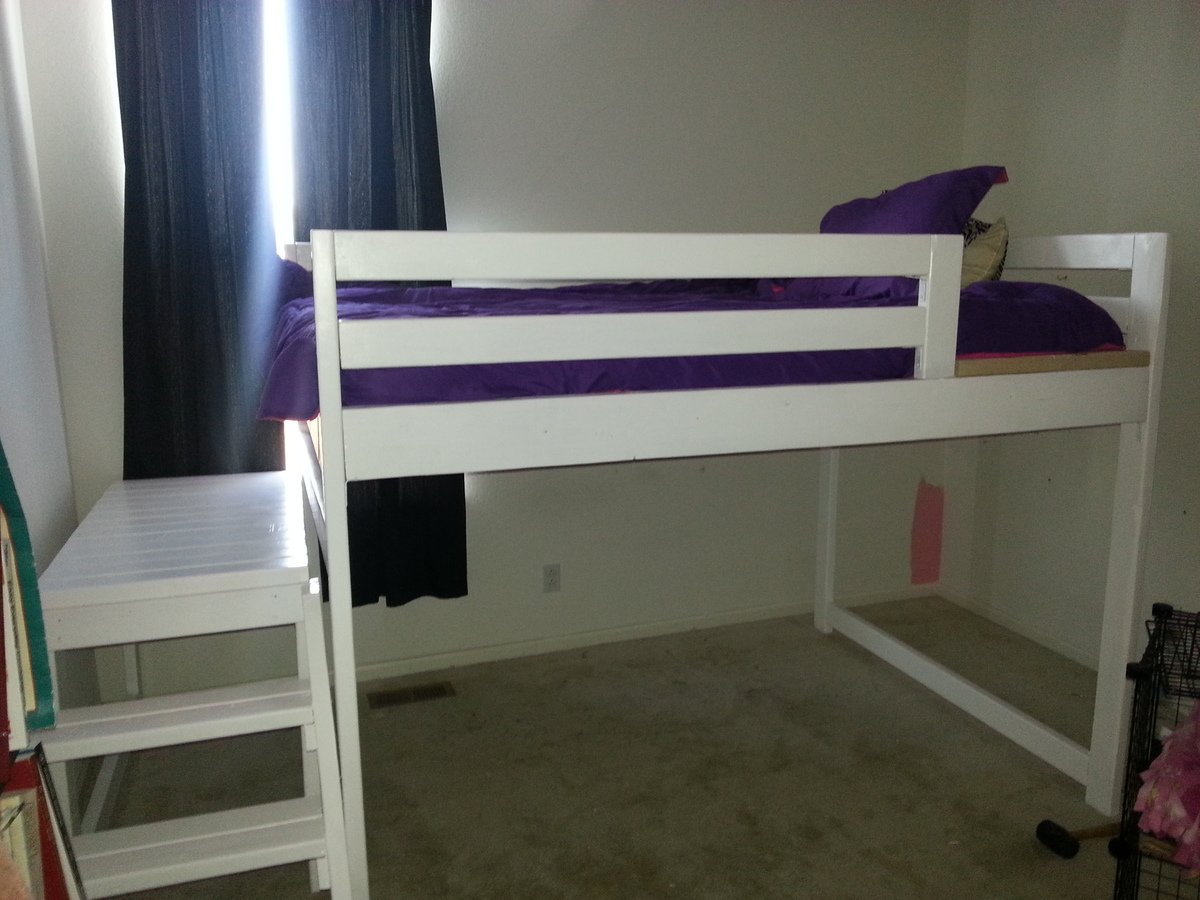
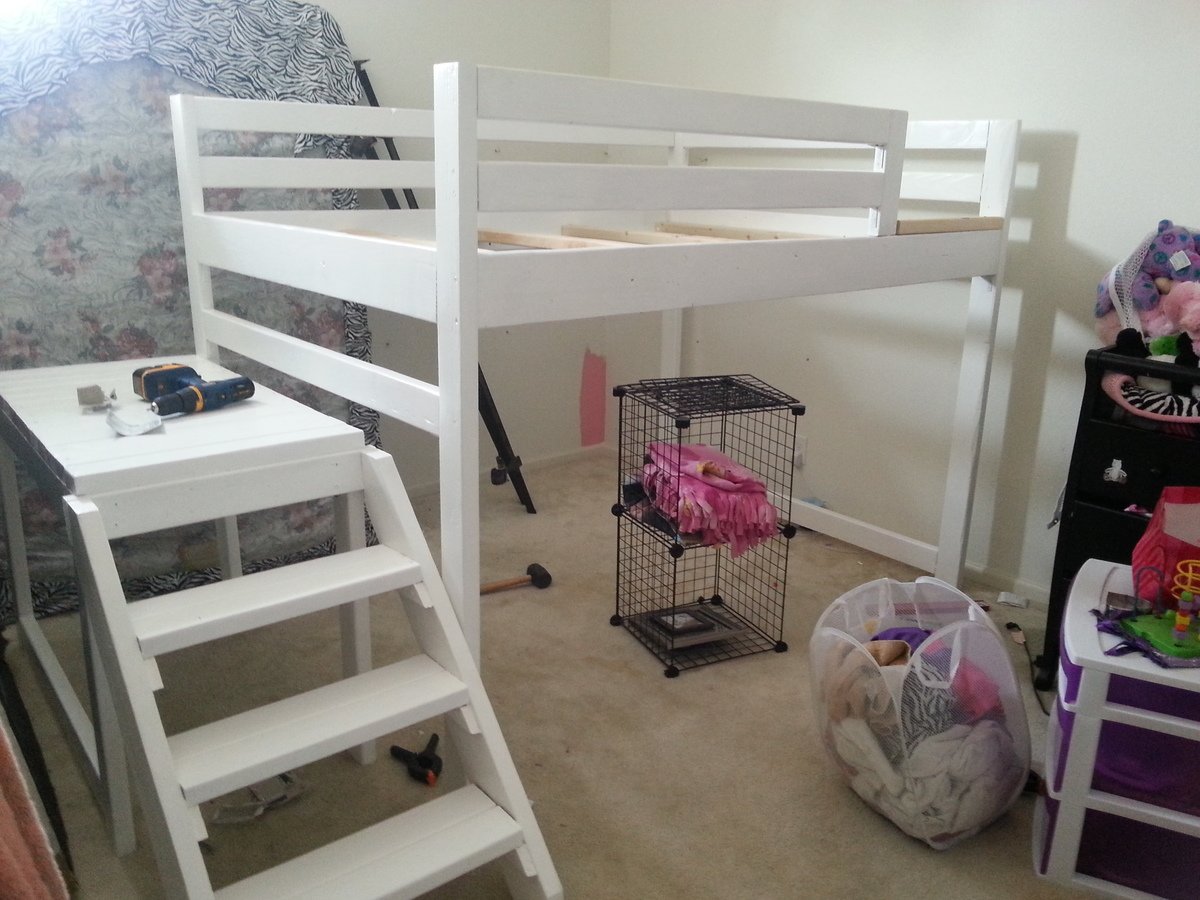
I started with the Camp style loft bed, and modified it. Since we had a full sized bed, we knew that we needed it to be wider. Also, we knew we wanted a slide, since baby girl LOVES slides. We found one on CraigsList that was too long, but we cut it down and found a way to attach it. We also aren't very good carpenters (yet), so we had some issues with our stairs being wider then our platform, and had to add an extra piece. Overall, this project took us 3 weekends and a few nights after work. Also, we were using the plans which suggested it would only cost around $50, wasn't quite the case with us...I am pretty sure we spent over $200, but we didn't really have paint, sandpaper, the slide, etc. So that is pretty all-encompassing. Very happy with our results, and We cannot wait for the baby girl to see the outcome!
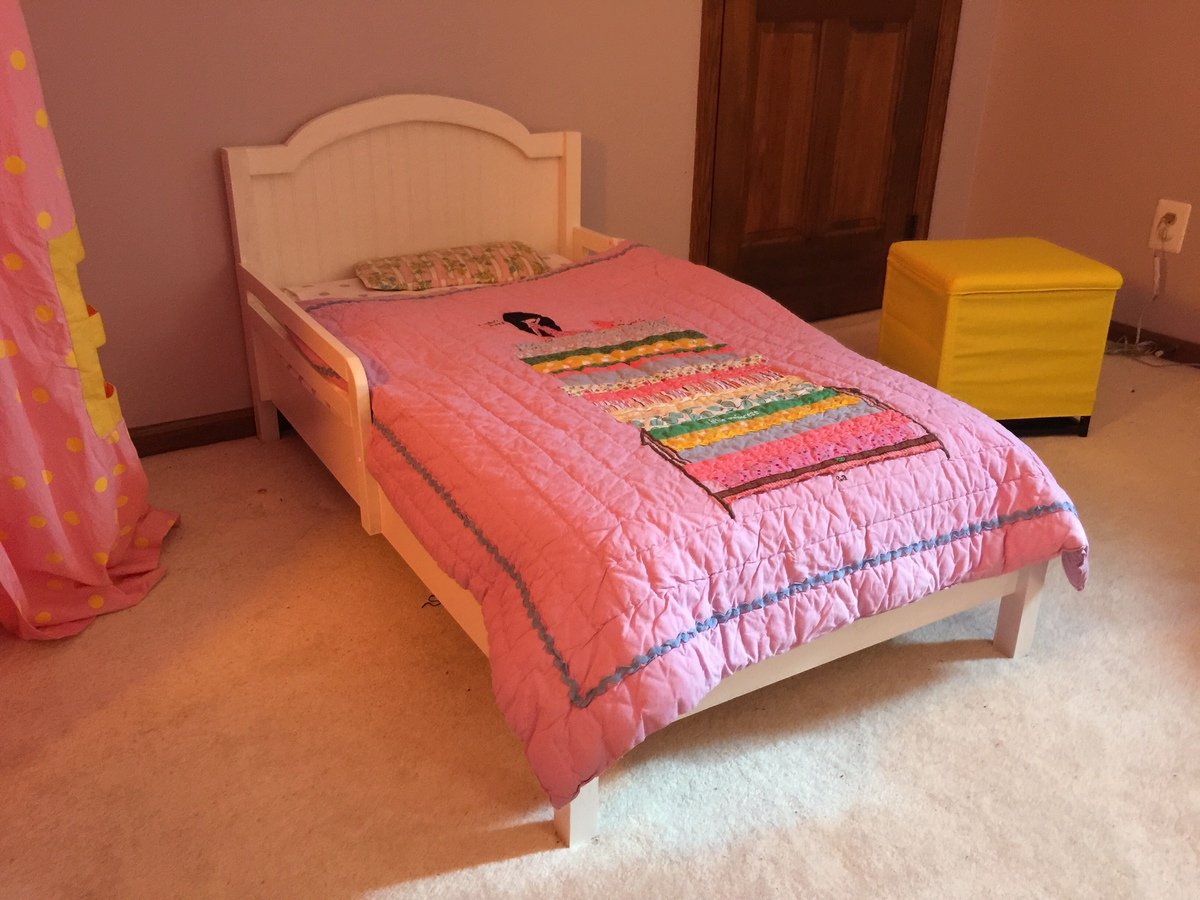
With another baby on the way in a few months, we decided to move our 2+ year old daughter across the hall into her first big girl room. I built big sister the Kendal Extra Wide Dresser, Traditional Wood Toddler Bed, Letter A Shelf and a Dollhouse Bookcase and matched the colors with her new comforter, lamps and princess canopy tent from the Land of Nod outlet.
A lot of people have done some pretty cool modifications to this project, but at the end of the day, we decided to follow the plan verbatim and build the Pottery Barn design. This build was super easy. Probably spent most of the project time sanding over and over in order to ensure that it was splinter-free, smooth, and safe for our princess. I do note that the side rails in the project design are somewhat low after you put the mattress down. However, this was really only a concern during the first few weeks. Although our daughter somehow was able fall to the floor during the first night (without incident--she did not even wake up--thank god for carpet), after she became accustomed to the bed, the lower side rails actually work rather well. Our daughter, a insanely crazy sleeper, usually wedges herself against the side rails at different parts of the night. She might hang a limb or two over the rails, but never through the rails, and she never falls off the bed.
One of my first DIY projects.
Thanks for the inspiration!
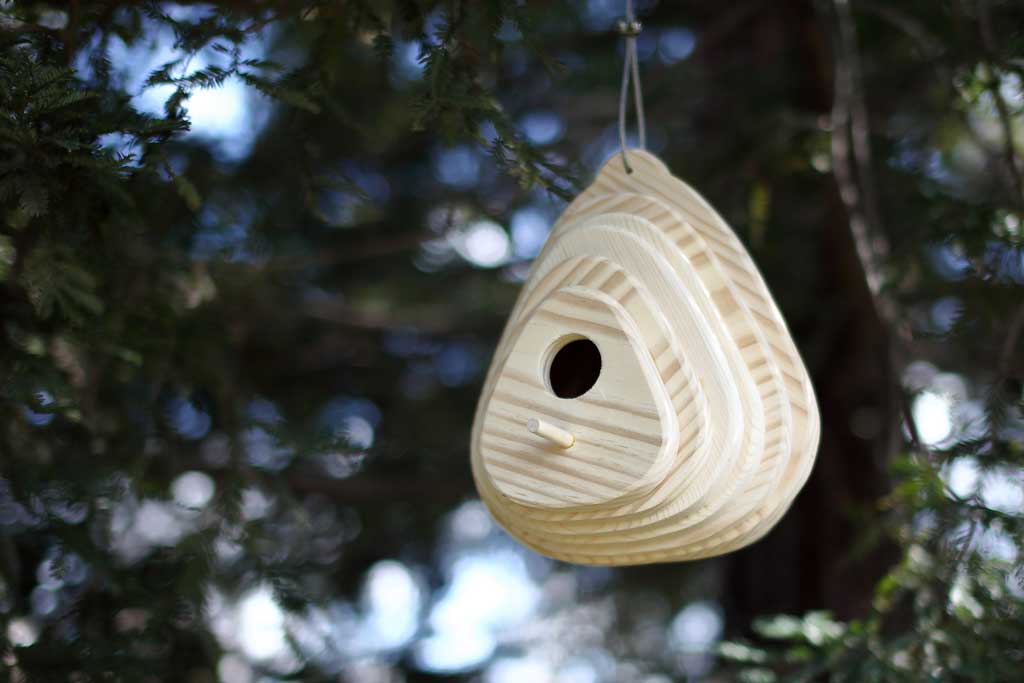
Having a home for your feathered friends will encourage the birds to keep visiting your backyard. If you have a garden, you want to attract birds to establish a healthy balance. Birds consume thousands of insects, especially in the spring when they’re feeding their young. To help support this environment, I’m made DIY Birdhouse Plans from scrap wood. If you have scrap wood laying around, you could easily build this birdhouse for your backyard.
A simple bird nest box with correct dimensions will help a mother bird with a reliable place to live in and raise her young. This helps mother nature to keep the cycle of life in order.
See my website for additional pictures and how I've built it, THeDIYPlan.com
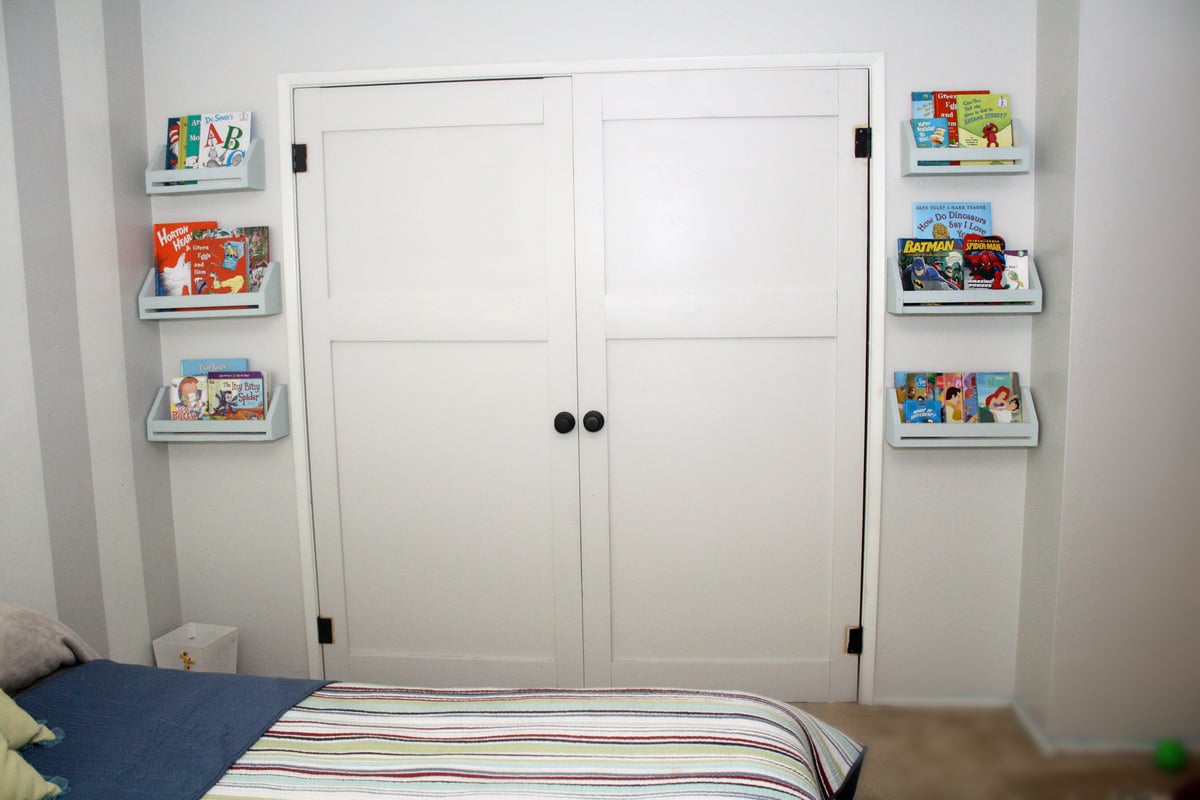
I have had these for a while but never finished with the painting, the most dreadful part...but found some chalk paint that I love, and will always use chalk paint to finish all my projects now.
Wed, 03/27/2013 - 23:38
Love these. Also love that you mixed up your own chalk paint. :) Shelving in my daughter's room is definitely a toss up between photo ledges and these now.
Thu, 03/28/2013 - 15:54
Thank you, can't wait to start on their new bed. ;0)
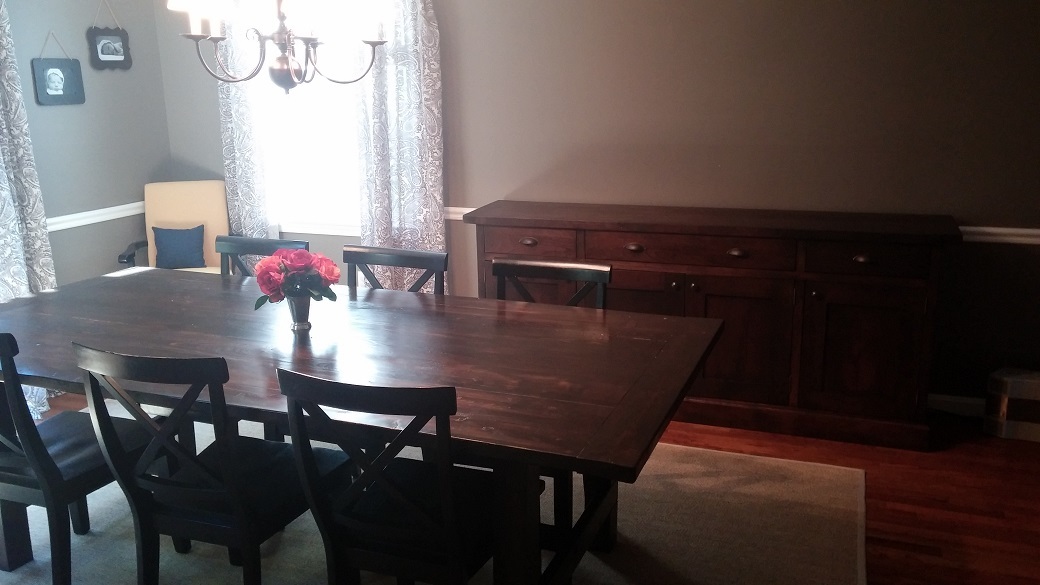
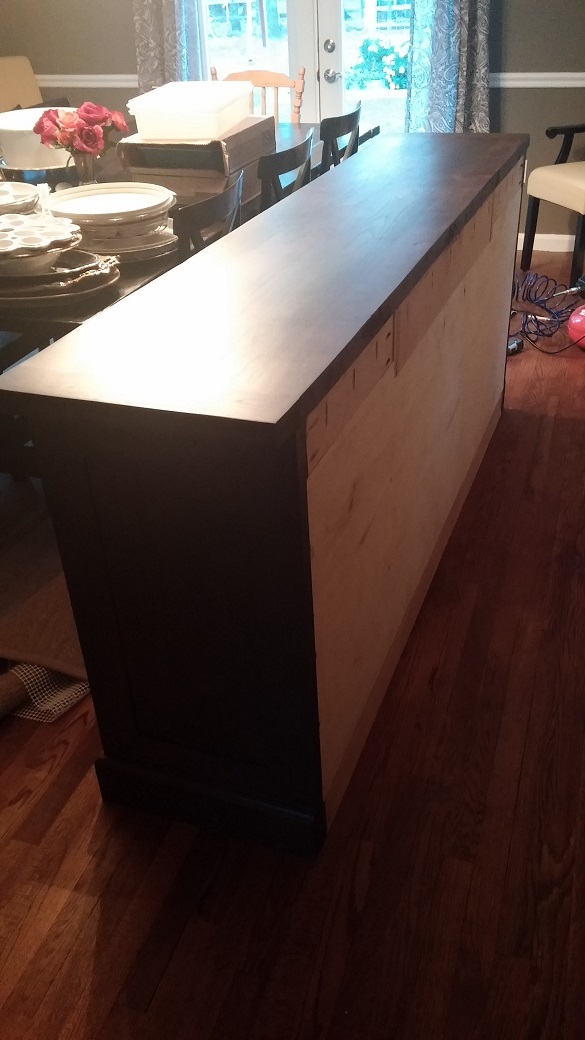
I modified the size to fit my dining room and I am so pleased with the results!
Tue, 02/10/2015 - 05:44
I love the finish on your floating shelves, they really look like old barn wood. Table is gorgeous!
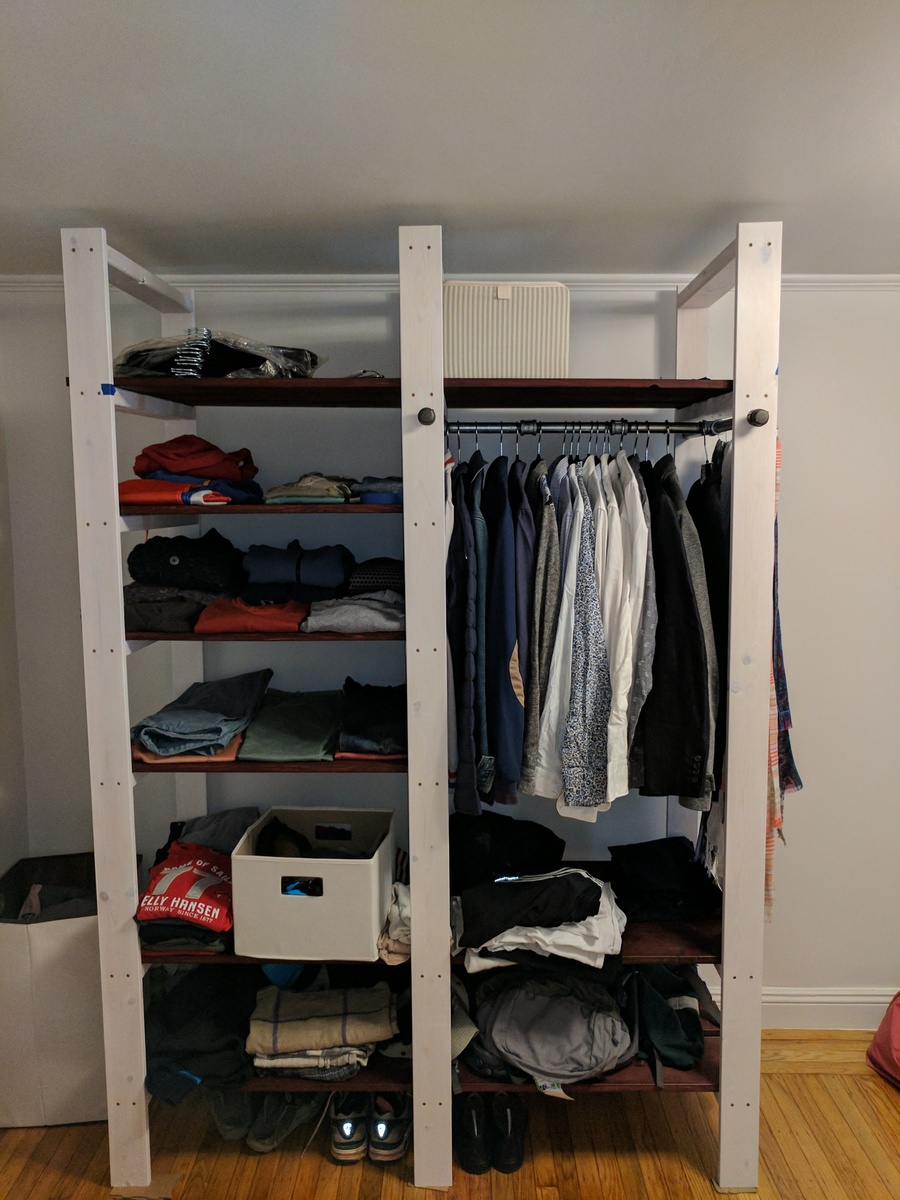
I couldn't find any wardrobe that I was really happy with - and then I stumbled upon Ana's design, and I loved it! I went for two different colors (white for the supports and rosewood for the shelves) to give it more presence. Dimensions are 60" wide X 22" deep x 86" tall
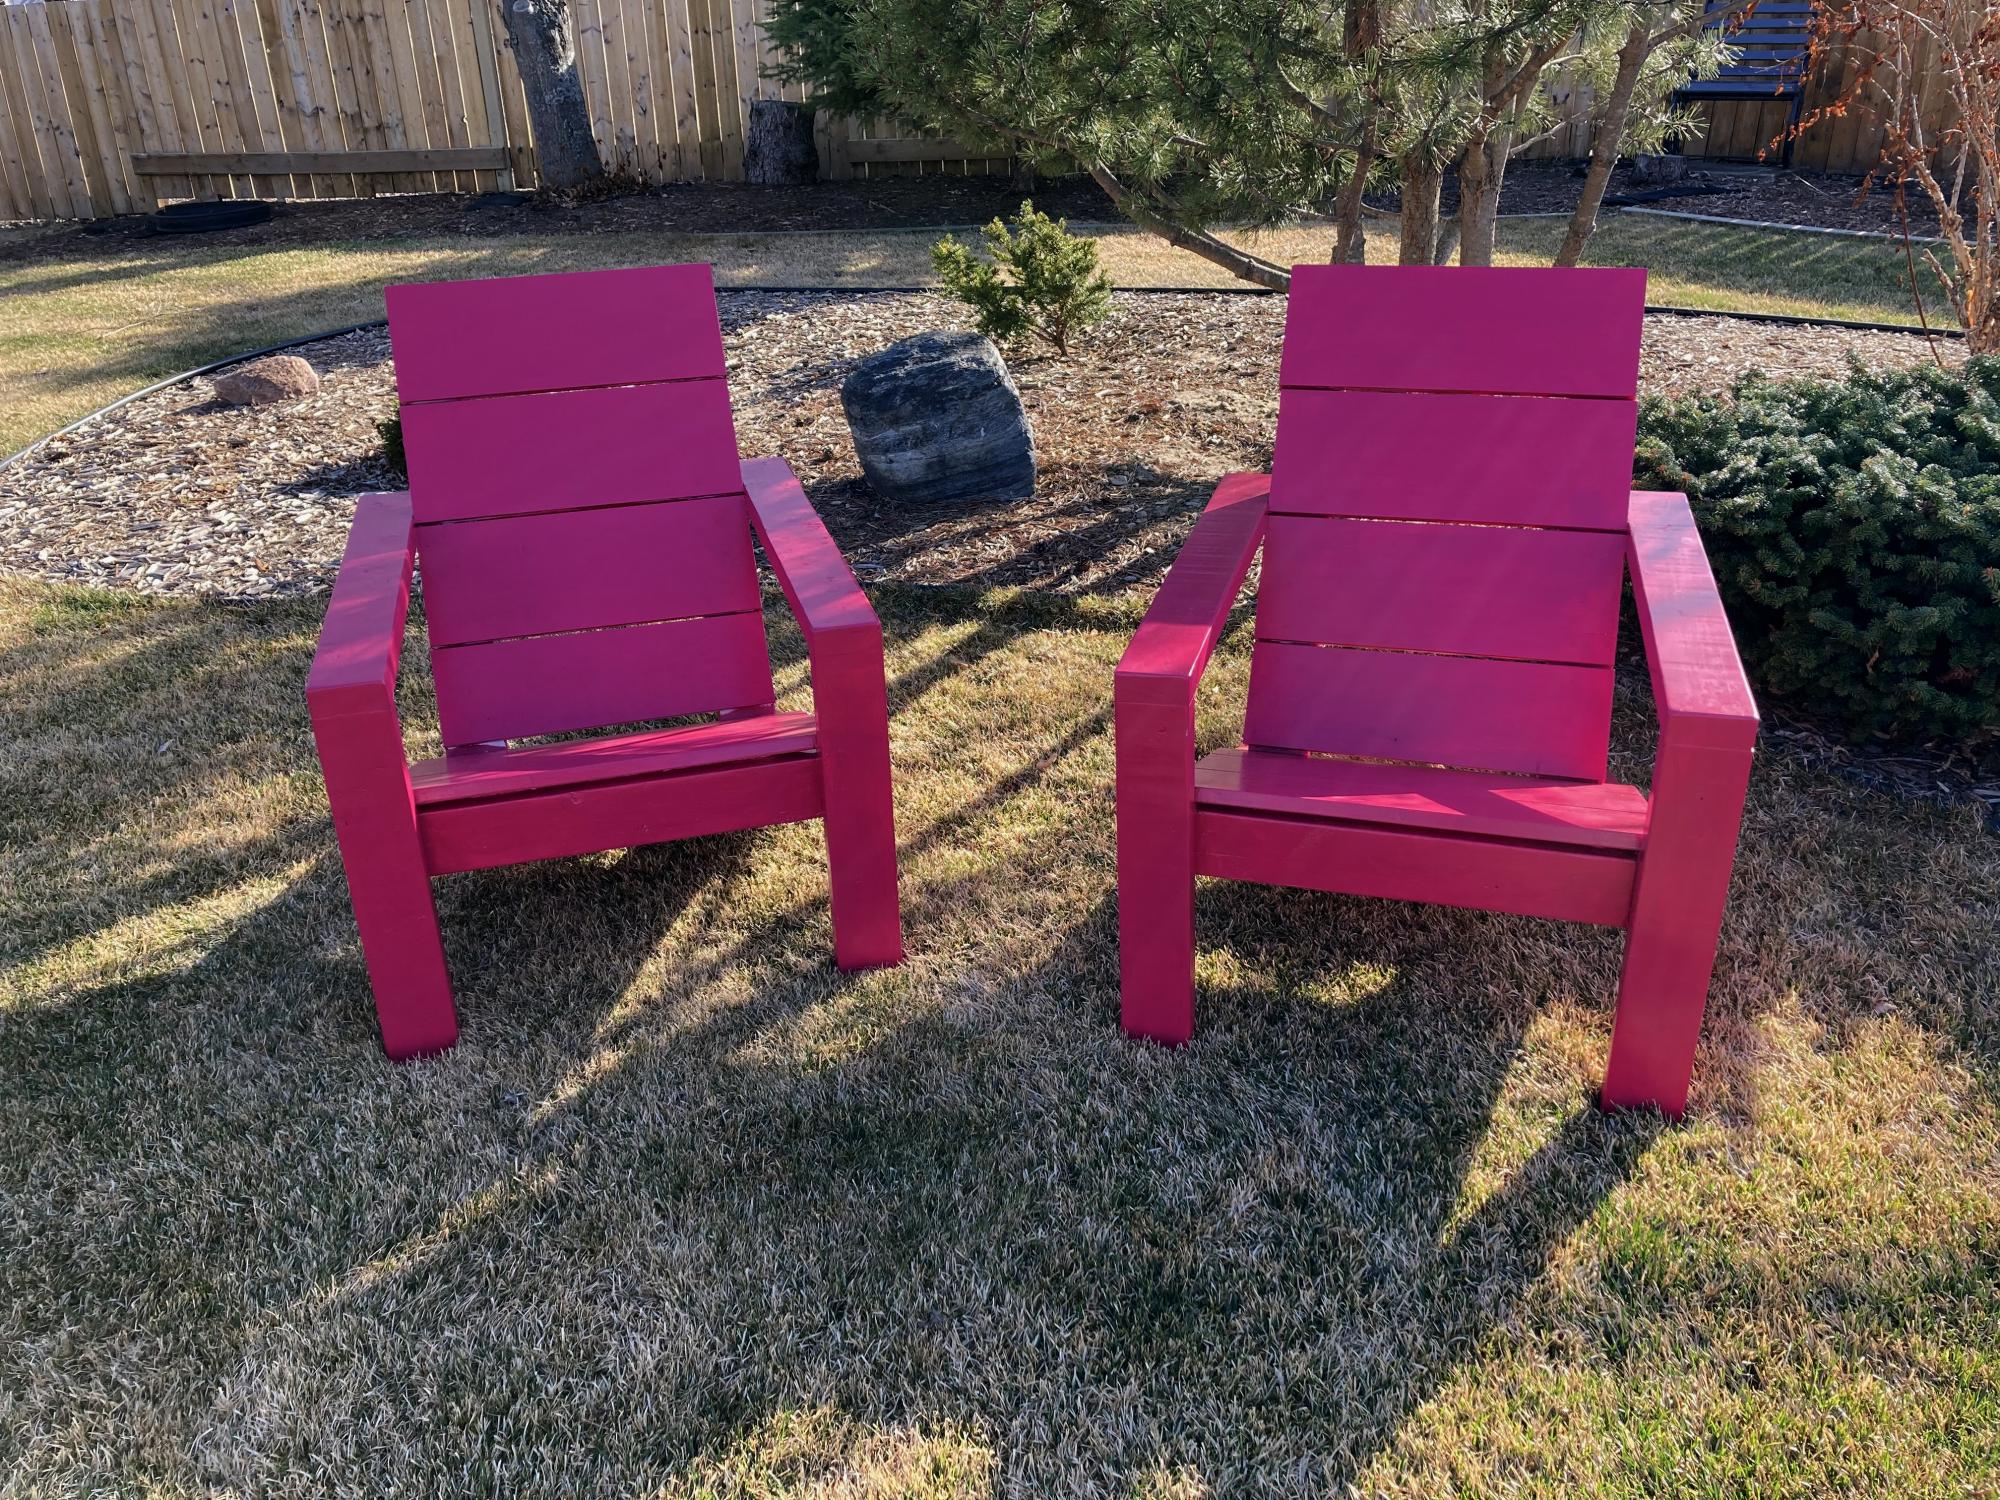
This was a nice simple build. The only problem where I live (near Edmonton, Alberta) is that the price of lumber has gone crazy. I think it is the same everywhere. 2 x 4's are running about $8.50 (CAD) each. I can see myself building a few more of these as the neighbours like them. Chose to go with a funky magenta colour to add some colour to the backyard. Very comfortable to sit in but I think I will add some cushions. I should have taken Ana's advice and painted the boards (especially back and seat) first. Once assembled I had to go in with a small brush to get the sides.
Had a lot of fun completing this project. I was assisted by my fiance and her little brother.
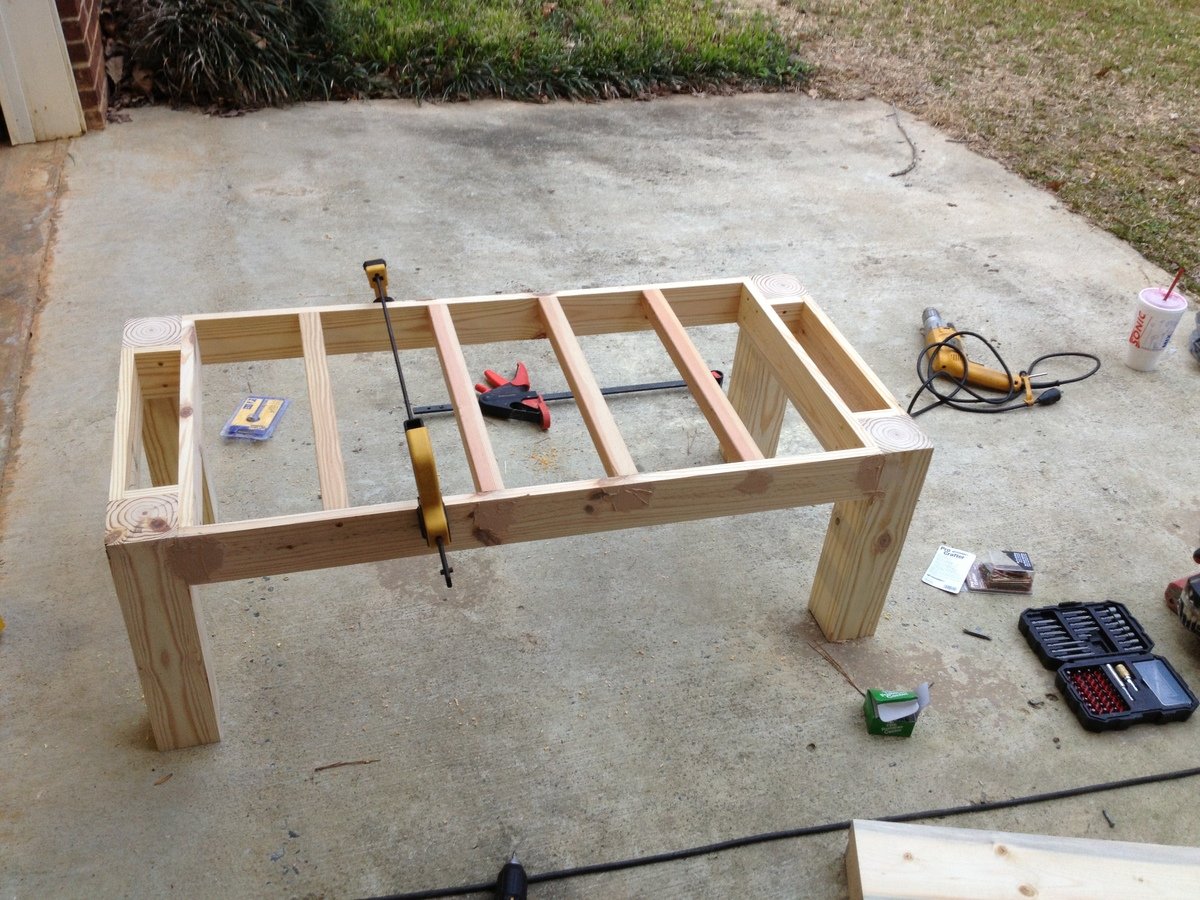
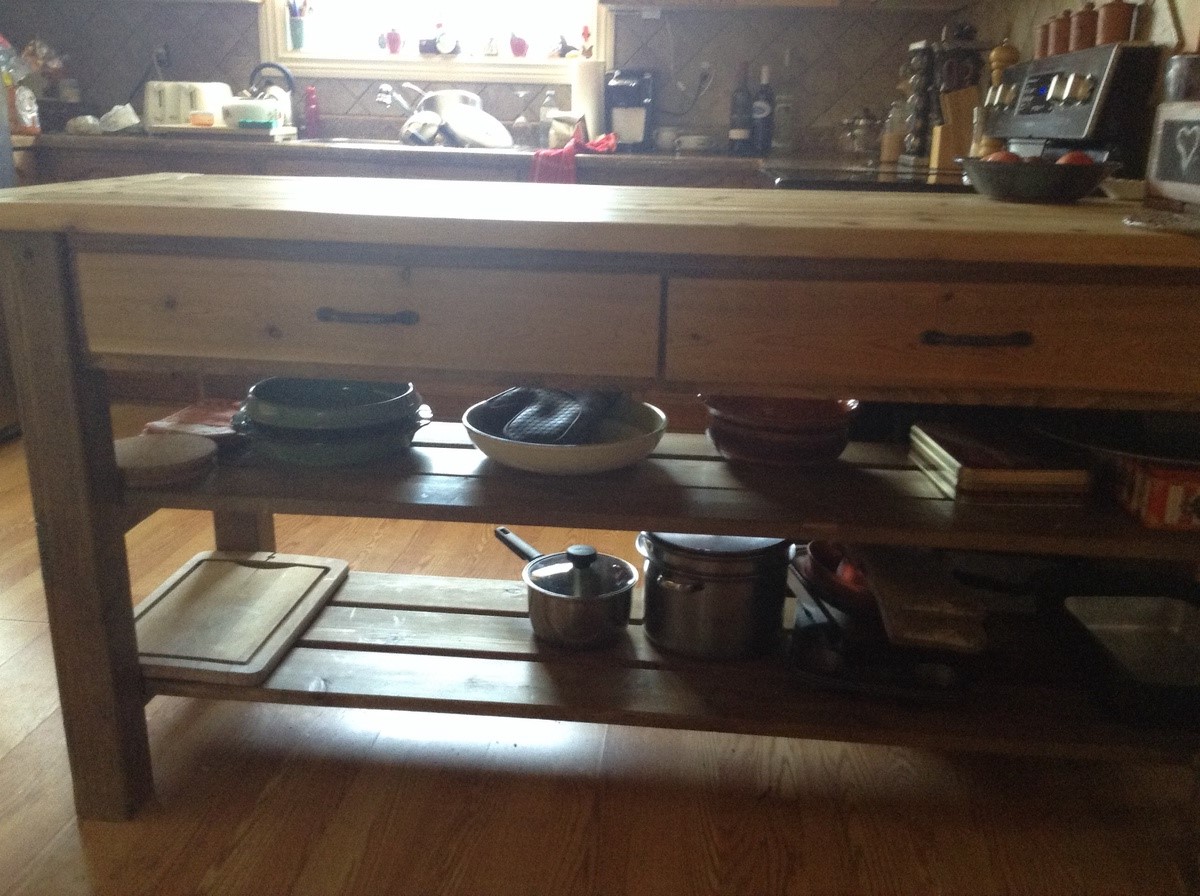
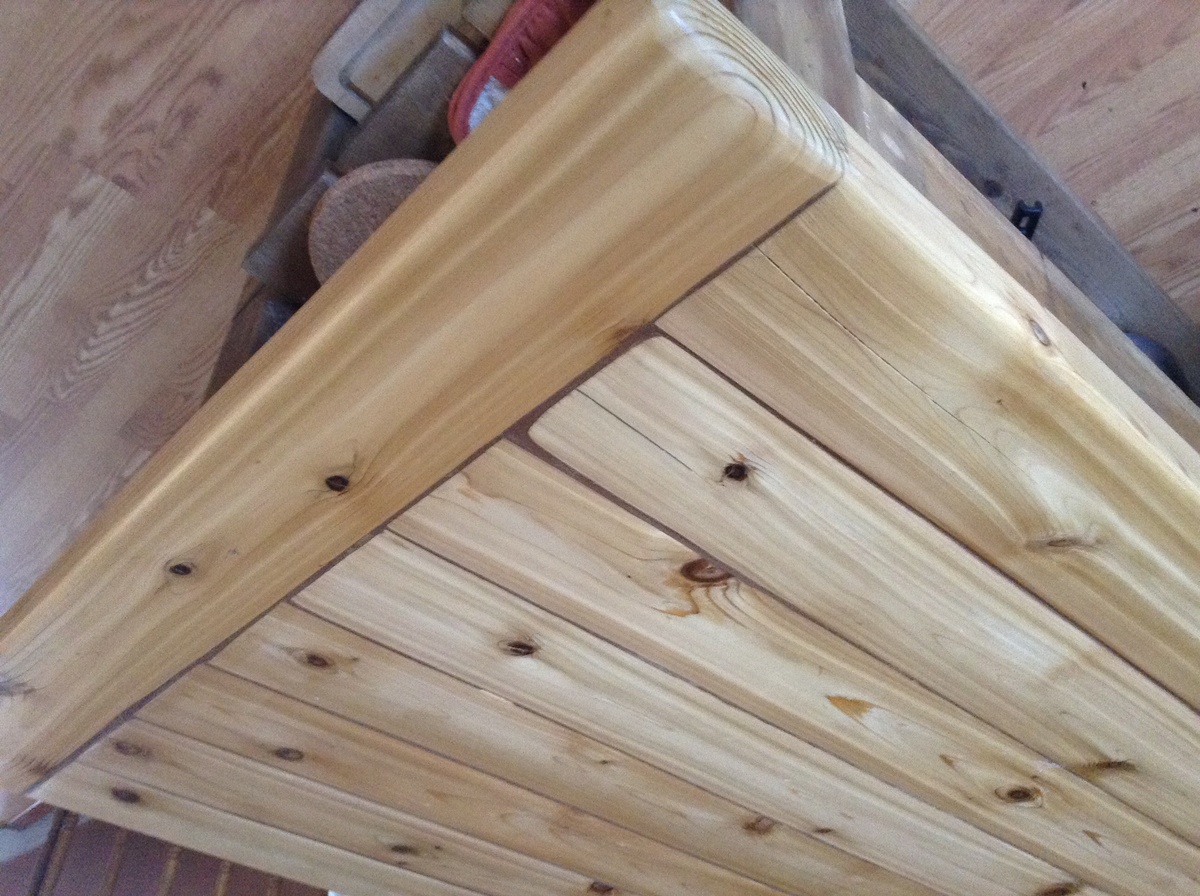
The original plans were altered to measure 6 feet long to fit the space. The top is all cedar which I had planned to keep unfinished and oil each month. Well, that was the plan until I found that it was very hard to clean with kids eating on it and because the 2x4 boards were screwed down, they allowed a lot of food, water to seep through. Some of the boards began splitting and warped considerably. Then I discovered the pocket hole jig!! I took the top off, gave a good sand to them and attached all with pocket hole screws which tightened them up so much that I needed to add an extra 2x4 to adequately cover the top of the island. I also added a breadboard to the end to give it that finished look. To fill in the grooves I used wood filler with a dark pigment, and gave it a really good sanding after it dried. I then applied Varathane in 4 coats to the top after using steel wool in between coats. Gives it a lovely natural cedar patina and keeps the breadcrumbs out.
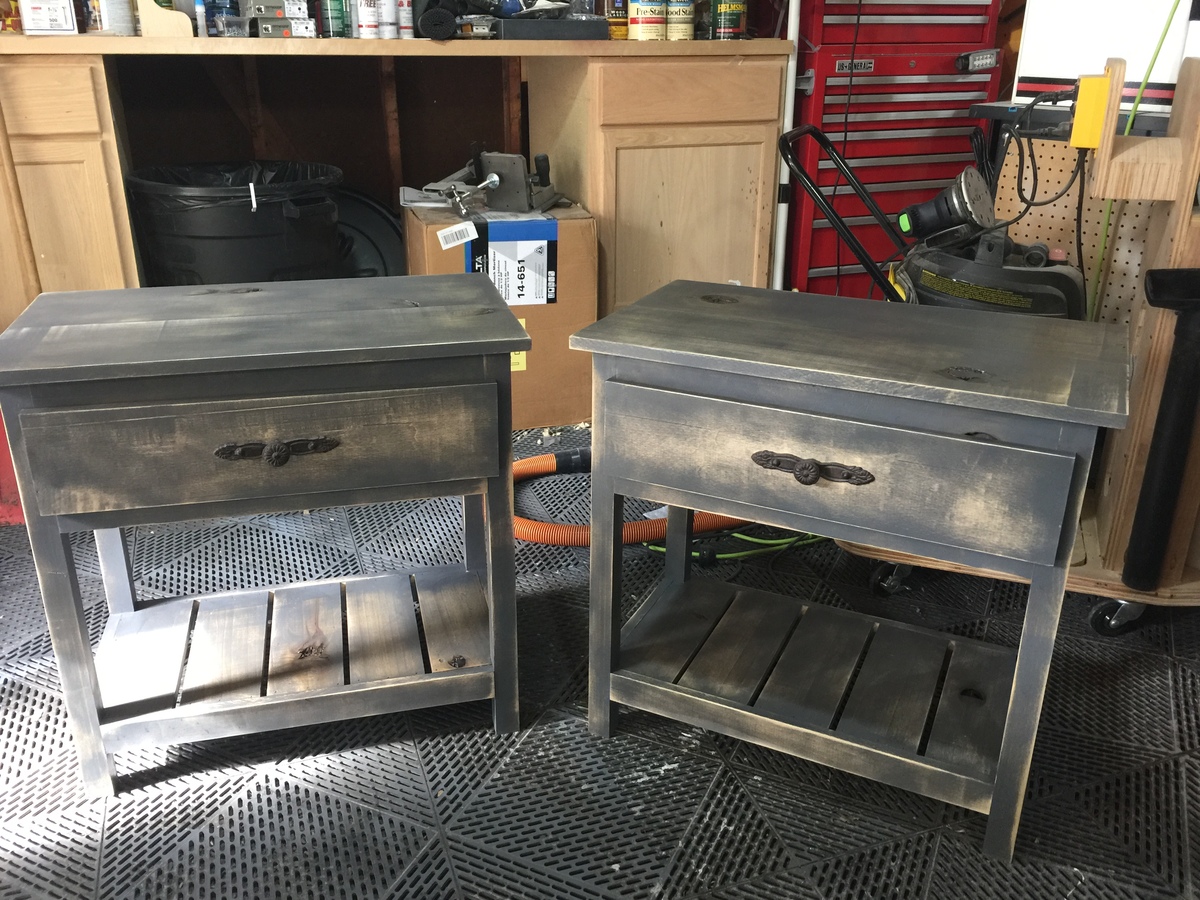
Needed new nightstands for our new house....these worked out perfectly.
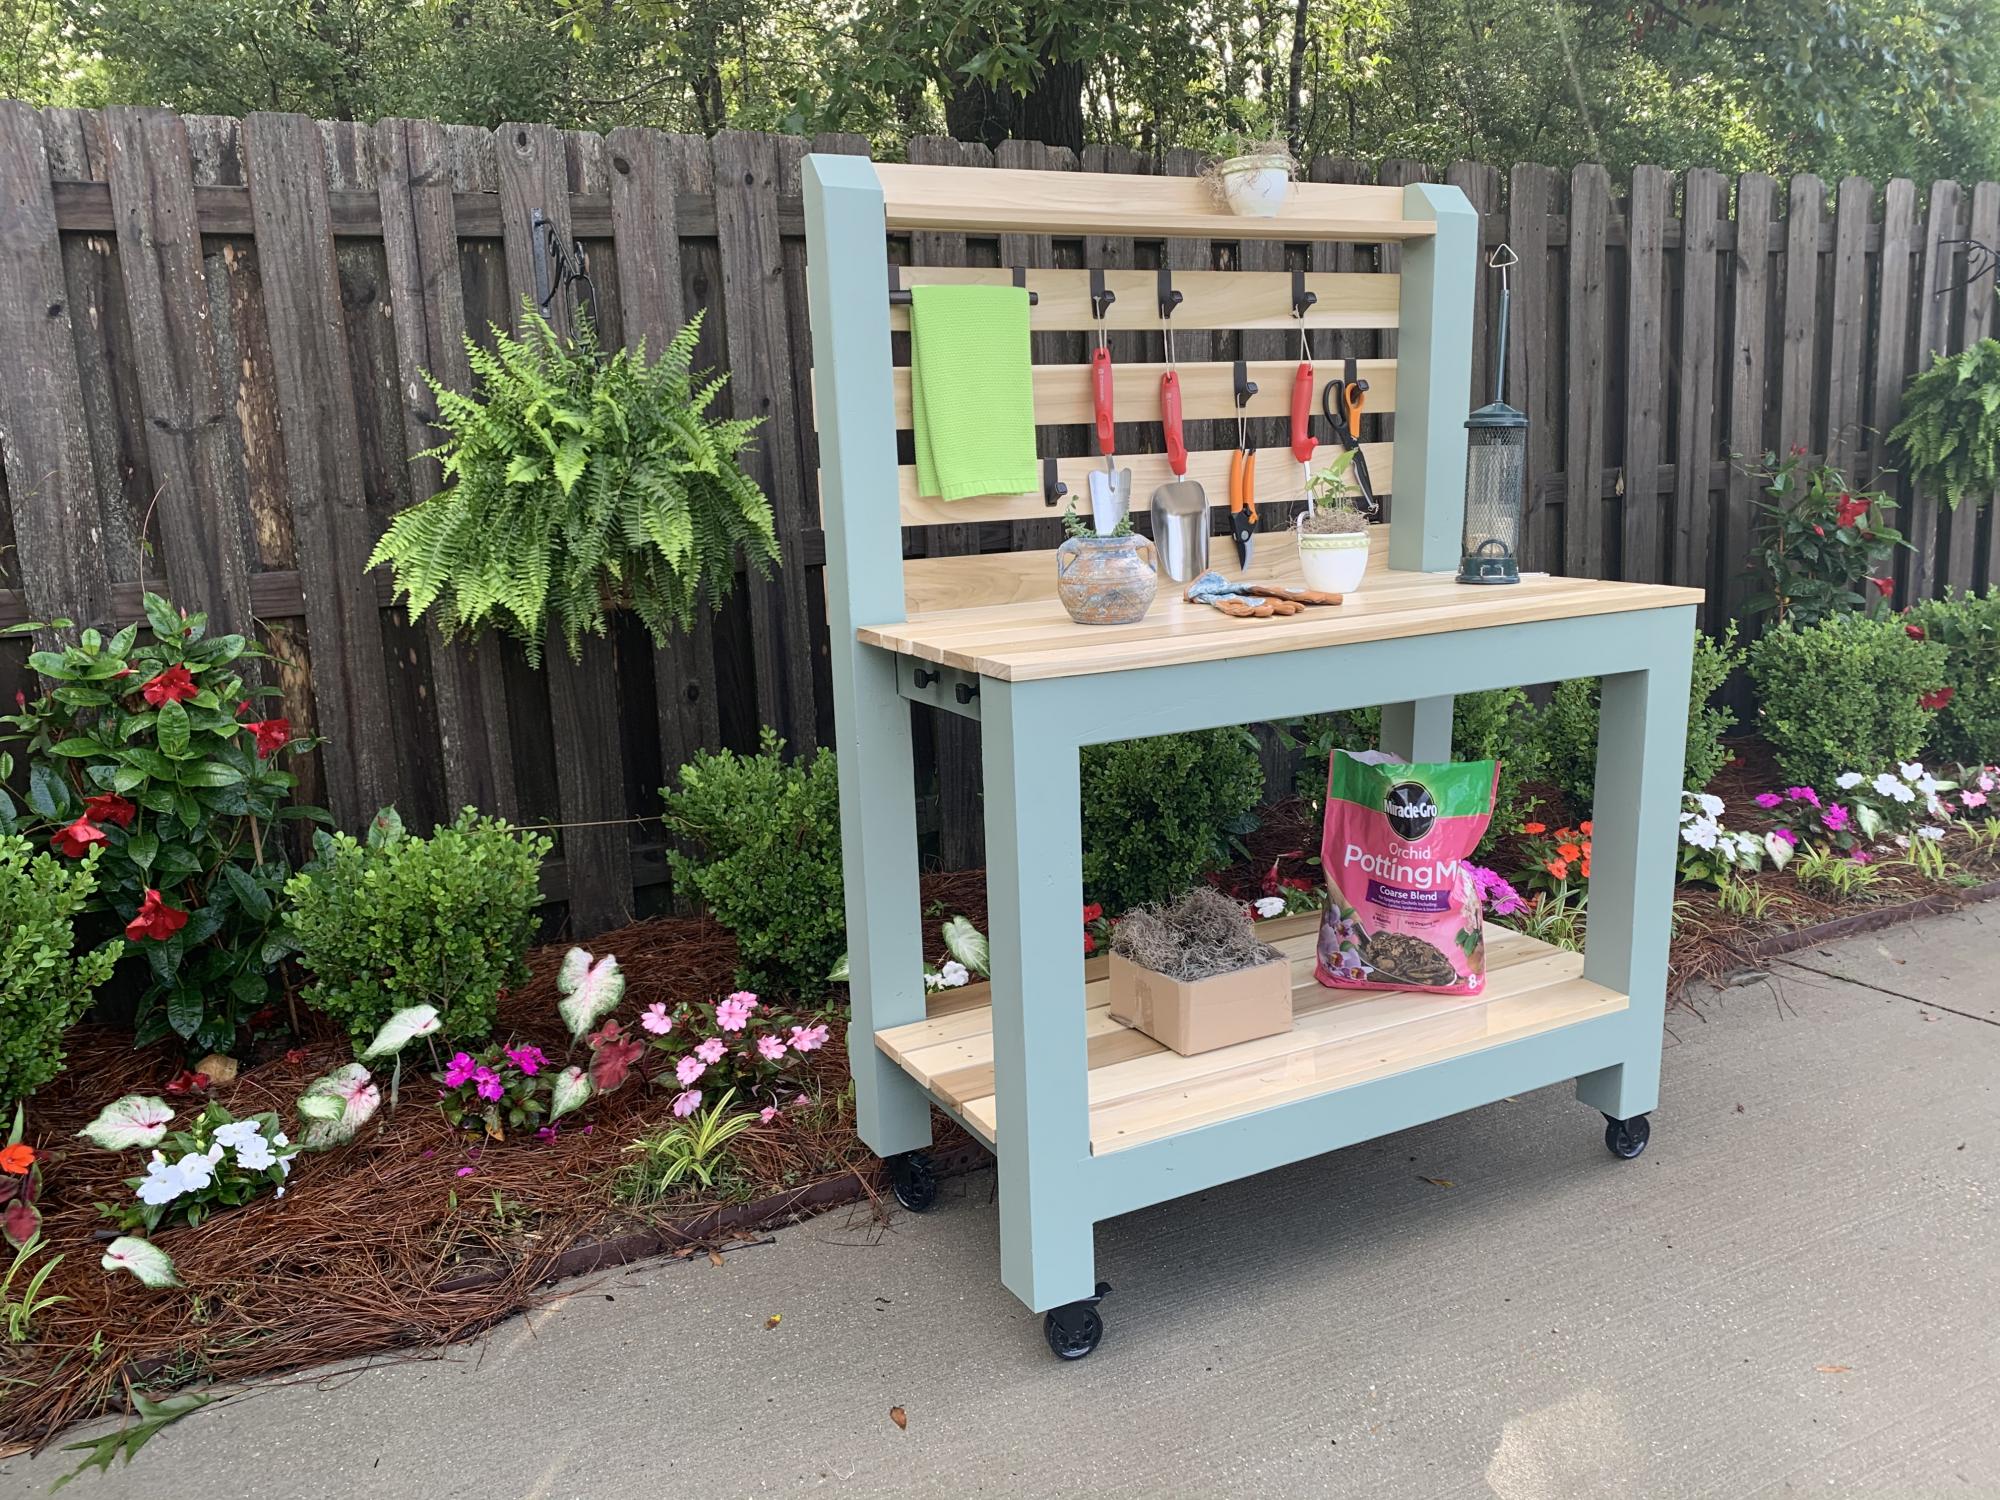
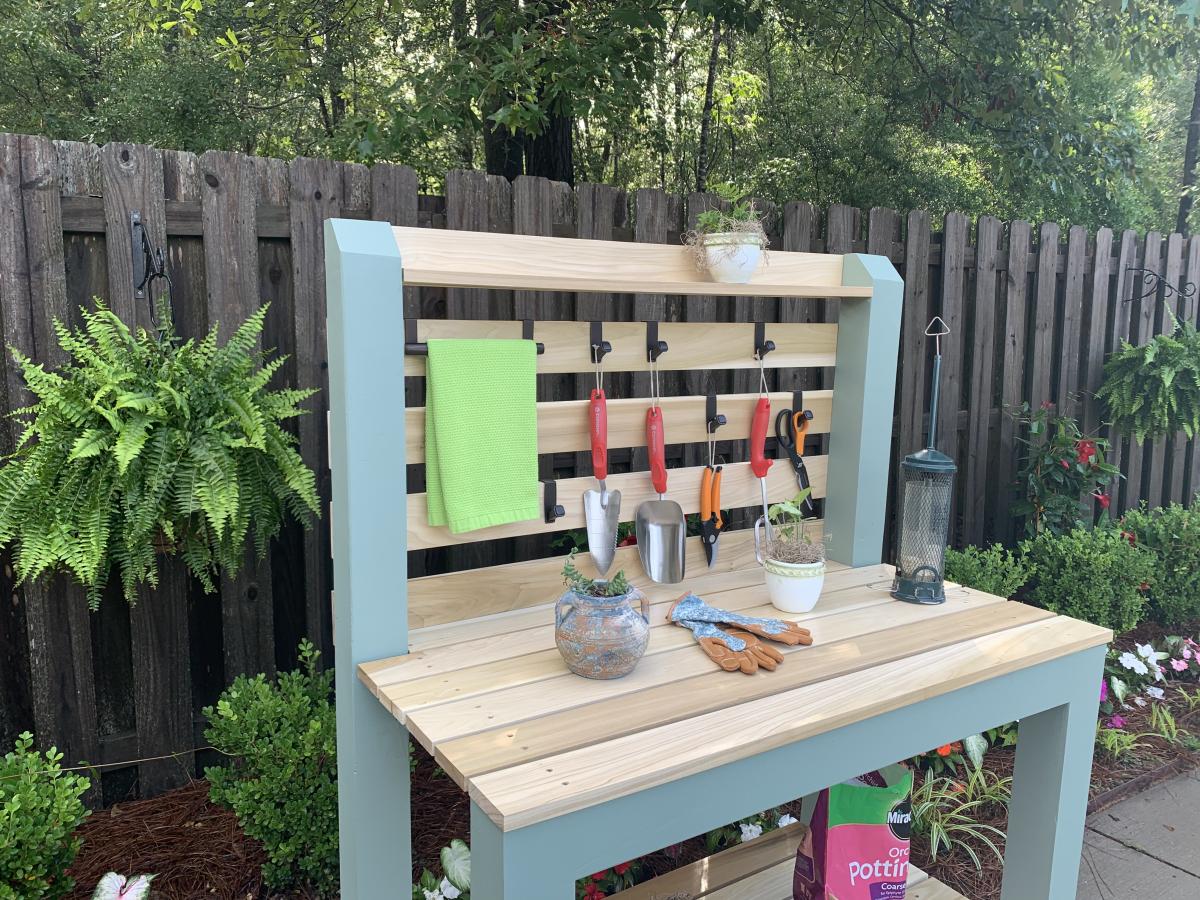
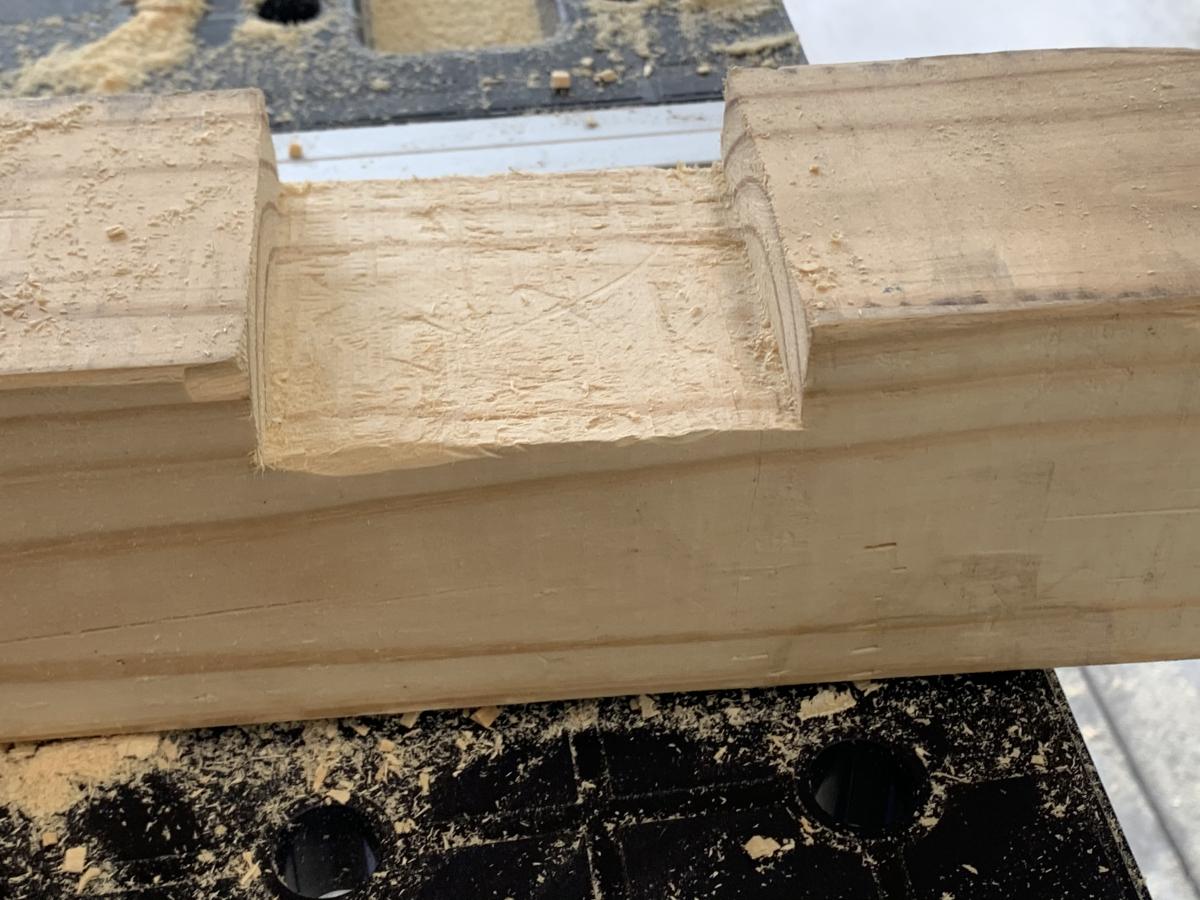
I was intrigued by Ana’s Simple 2x4 Potting Bench. The project seemed simple enough and it would be used as a means to clean up clutter in the garage. My main focus was to make it semi-portable and weather resistant. Instead of using 2x4’s for the corner posts, I used 4x4’s to accommodate casters. I also shorted the length of the posts by 4 inches to compensate for the height of the casters. To provide extra rigidity I did a dado for the 2x4’s that connect the front and rear legs. In retrospect, I wish that I did not dado the legs because it made it more difficult to attach some of the shelf planks. I painted the frame green and left the shelves and backboards clear for beautiful contrast. My wife is ecstatic with the result.