Scrapwood wooden houses
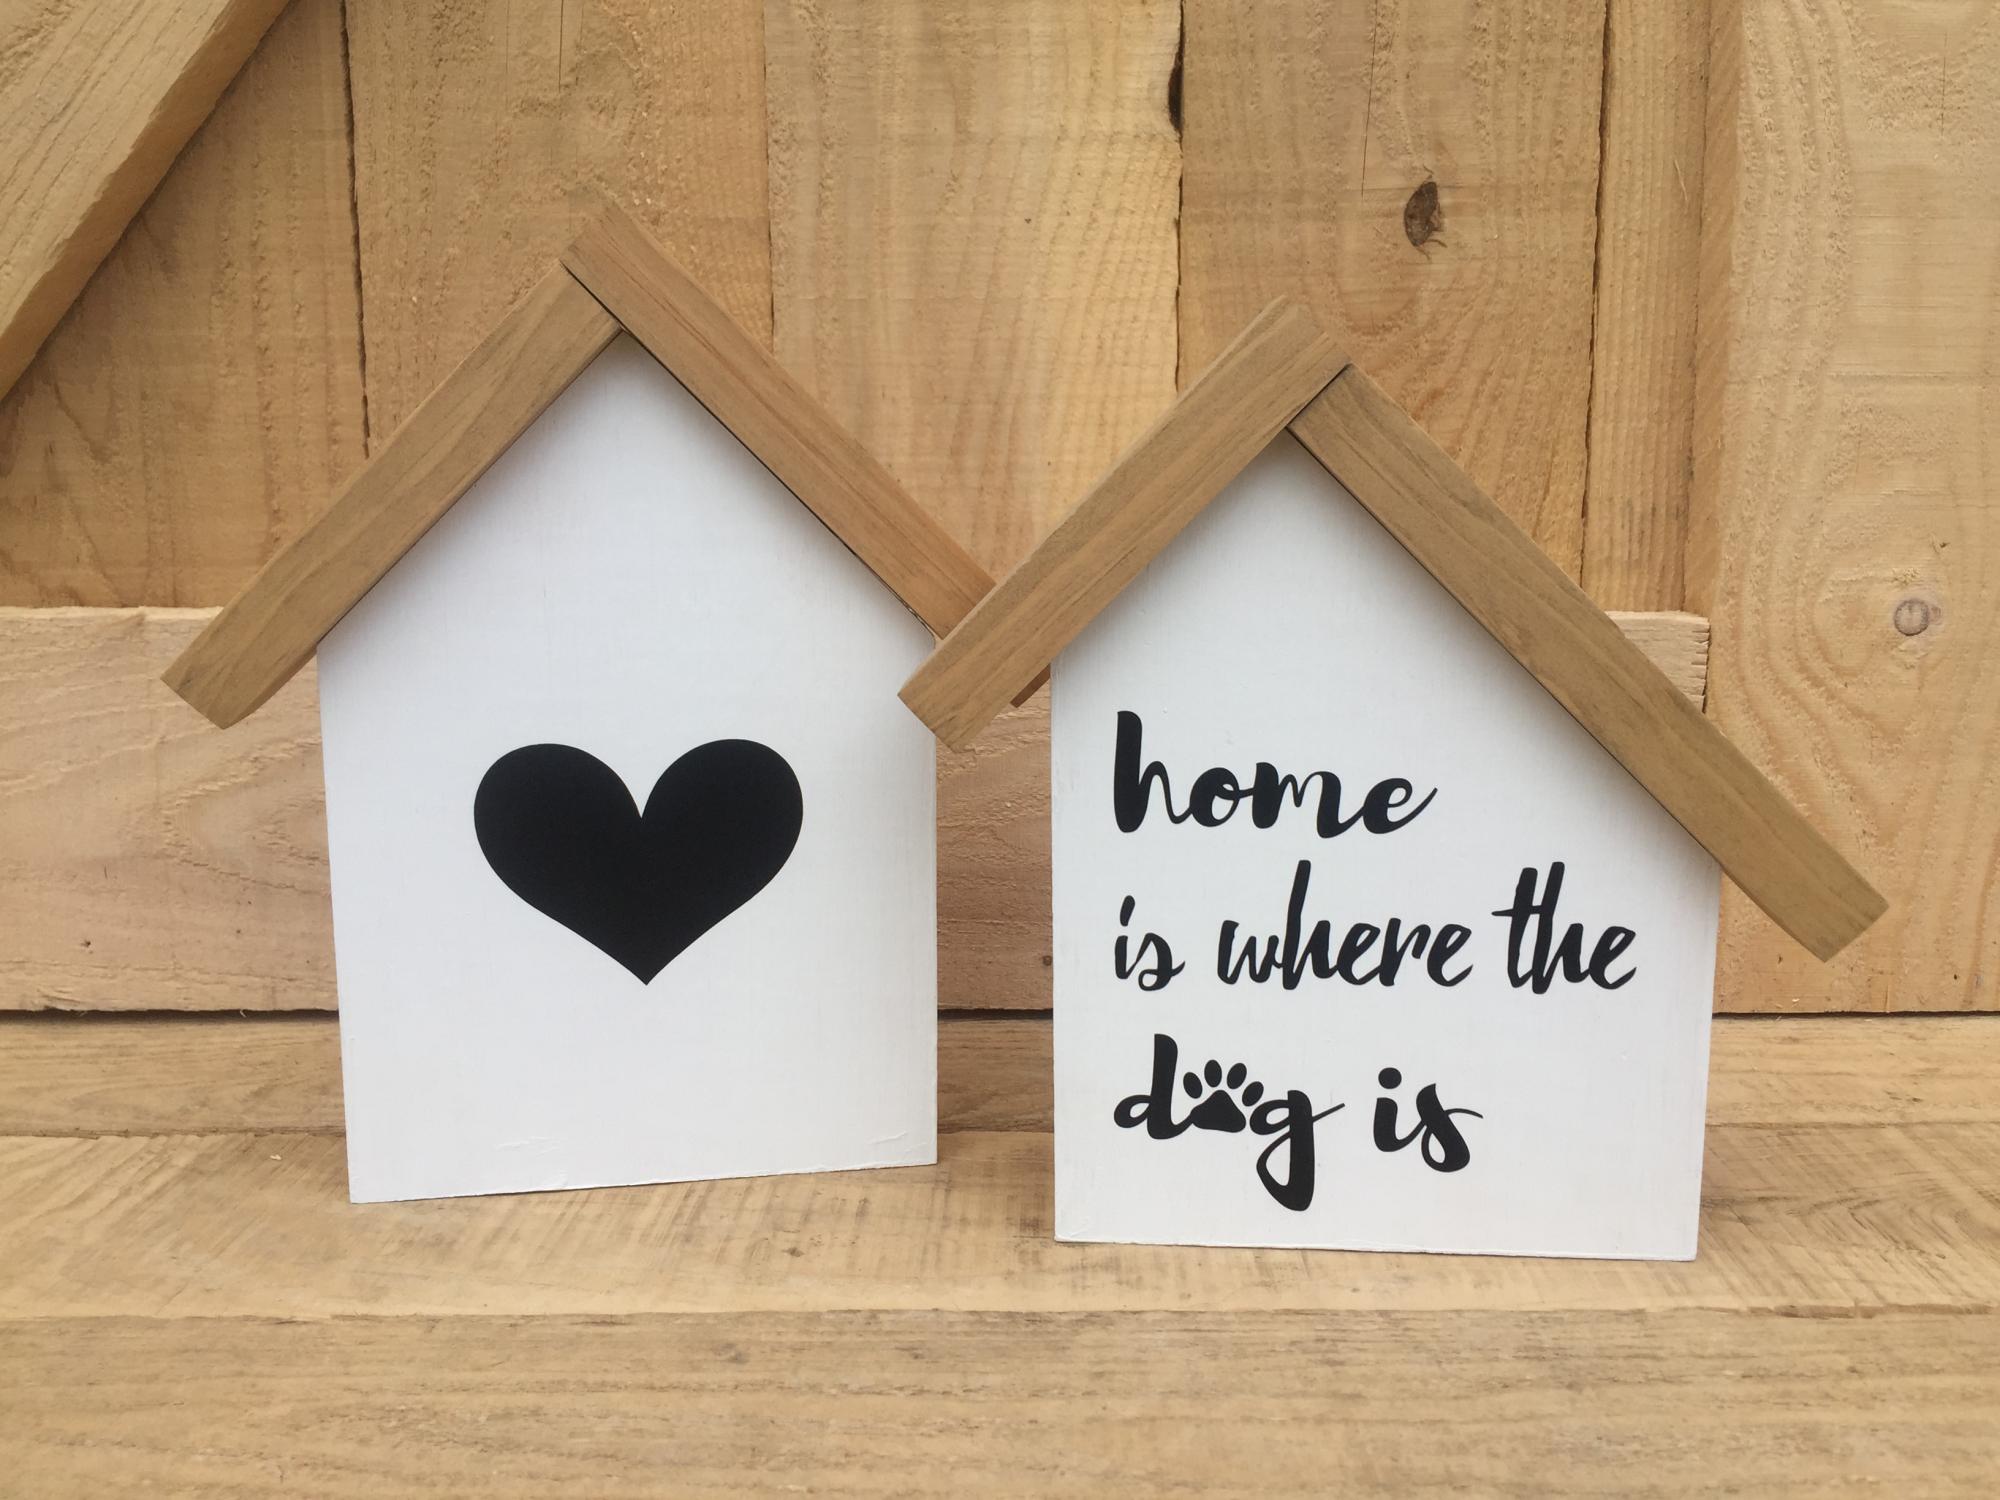
I built these cute little houses with scrap wood. They are easy to customize!
I used 1x6 boards for the house and 1x2 boards for the roof. I attached the roof with bradnails.
Estimated Cost
0$
Estimated Time Investment
Afternoon Project (3-6 Hours)
Finish Used
Paint and stain
Recommended Skill Level
Starter Project