doll bed #8 and #9
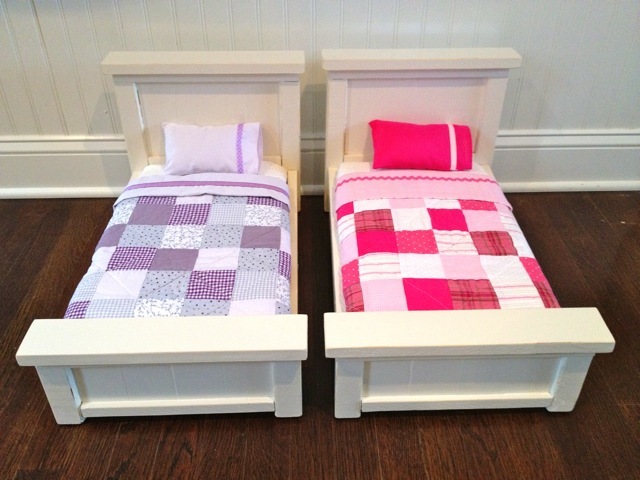
Farmhouse style doll beds modified width one less slat.
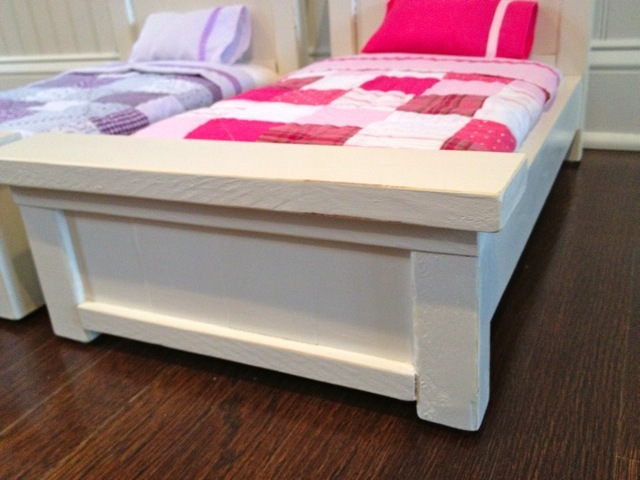
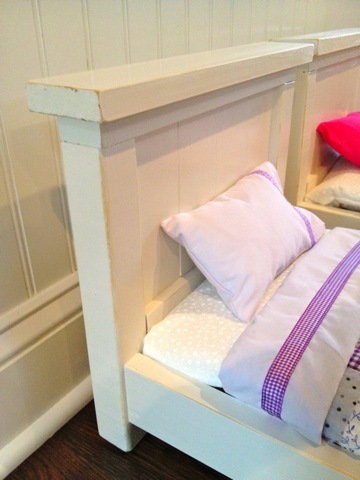
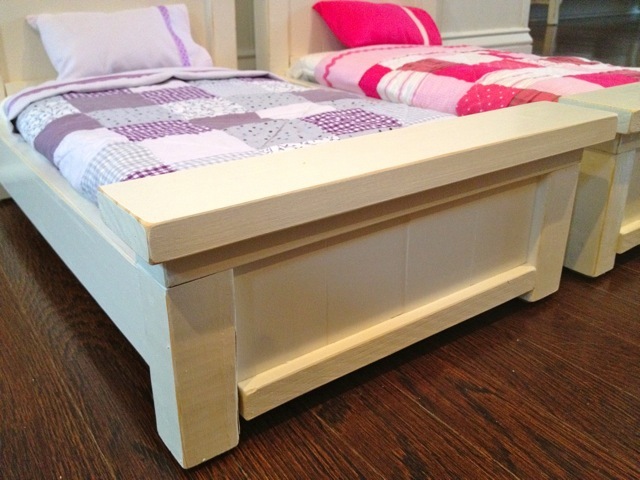
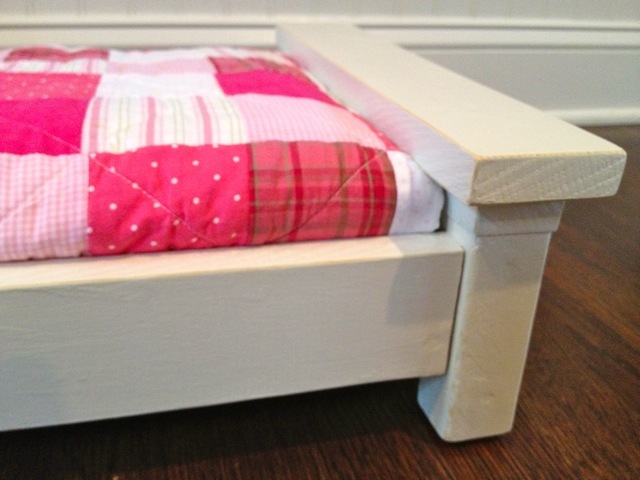
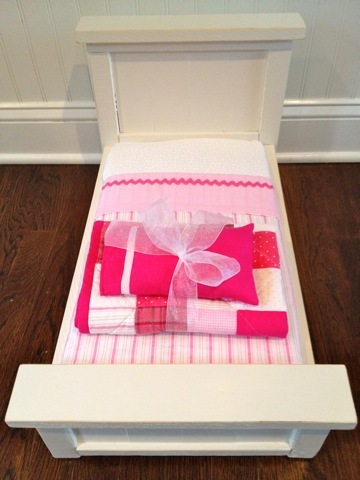
2. Two coats Behr off white
3. Distressed and seal Minwax clear satin poly

Farmhouse style doll beds modified width one less slat.


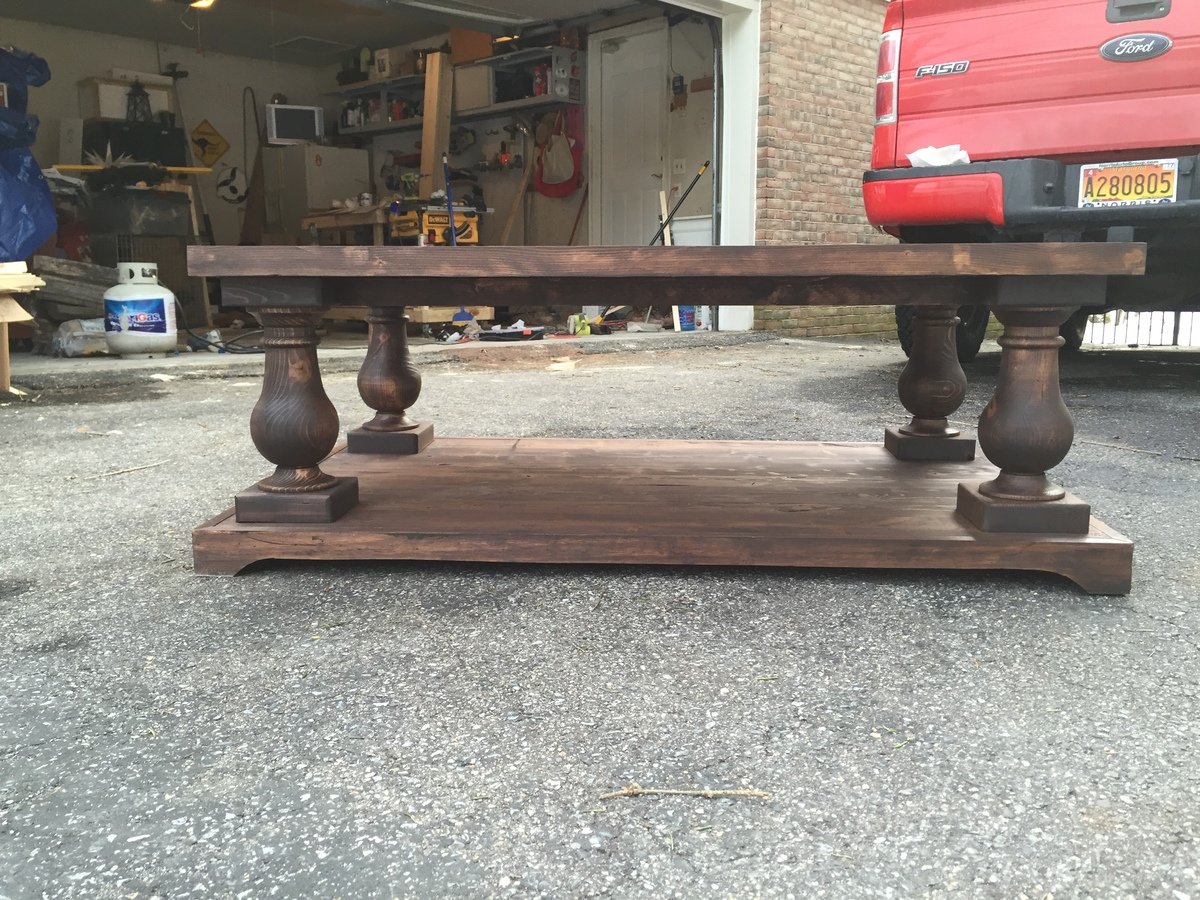
250$ I didn't use pocket screws because I wanted the wood to be able to expand and contract as it should. I used biscuits. All Home Depot pine. Distressed. Belt sanded. Orbital sanded. Upgraded "feet" trim out of 1x3. Made the brackets to secure the top to the bottom with a table saw. Grooves cut with biscuit joiner. This was a gift and I wanted it to be perfect. Total of about 32 hours. Could've done the original plans in 15-20.
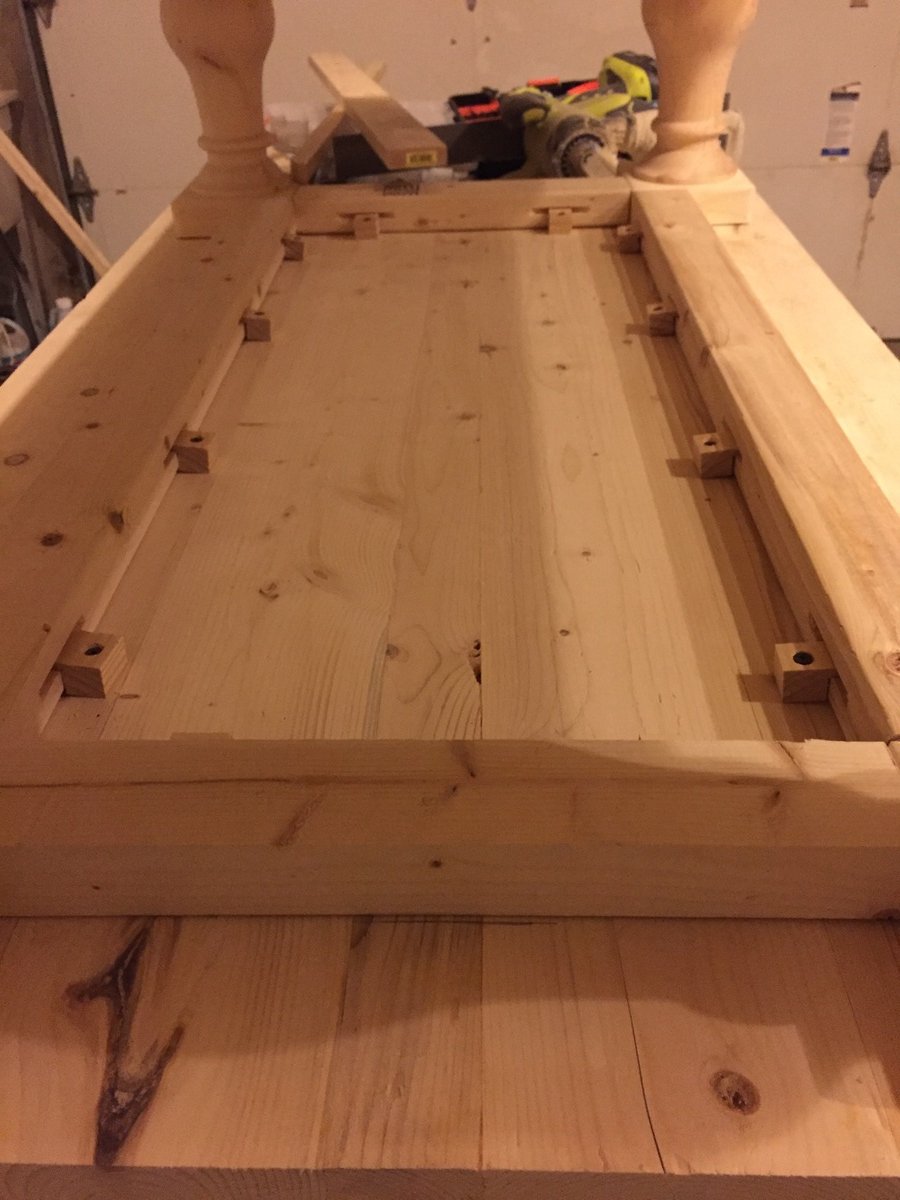
Plans by DIY with Pete

Our family uses the dining table for homework and work with laptops. I have drawers in a window seat, so I added the stick on dividers to create laptop storage in the drawer. This was super quick and easy.
I used ripped 1/2” thick plywood pieces.
loved the results! So easy and exactly what I needed!


Finally completed my Farmhouse table and bench today and couldn't wait to post pics (brag). Many, many thanks to Ana for sharing her talents with us. I am thoroughly enjoying my new hobby.
Fri, 12/30/2011 - 00:58
What a breathtakingly beautiful farmhouse table and bench! Thank you for sharing, I'm so impressed and inspired!
Sun, 01/08/2012 - 12:40
I love this! You should sell this or any other woodworking you have like on Etsy. If you did I would definitely buy this! Awesome job!
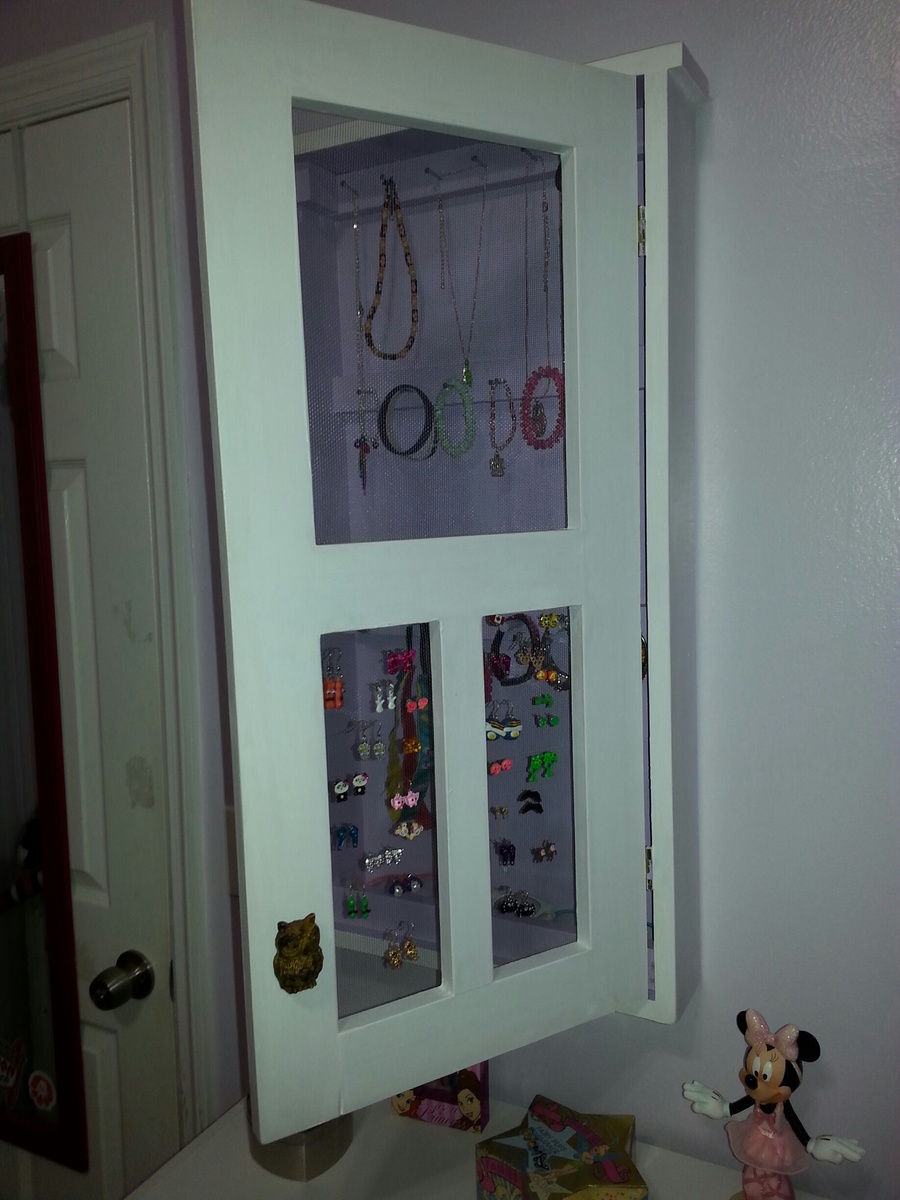
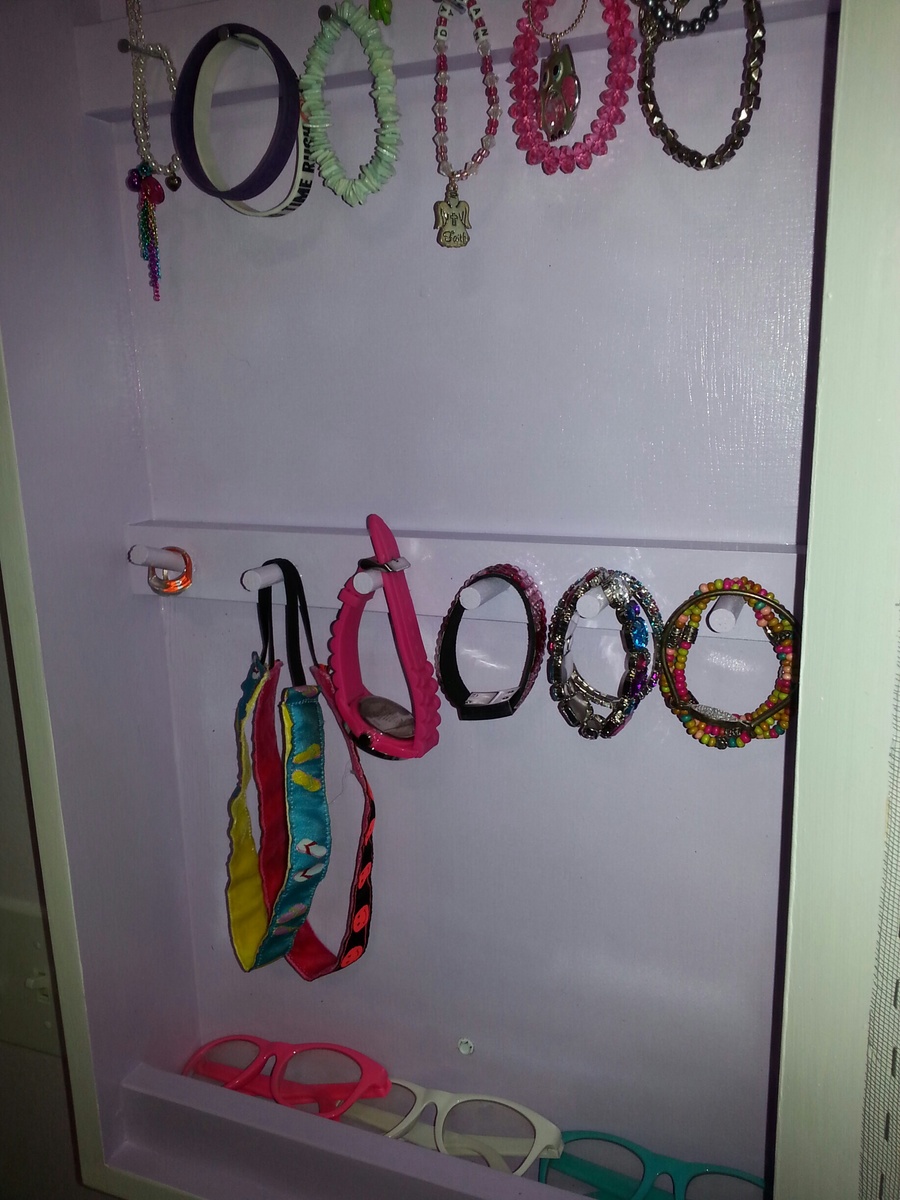
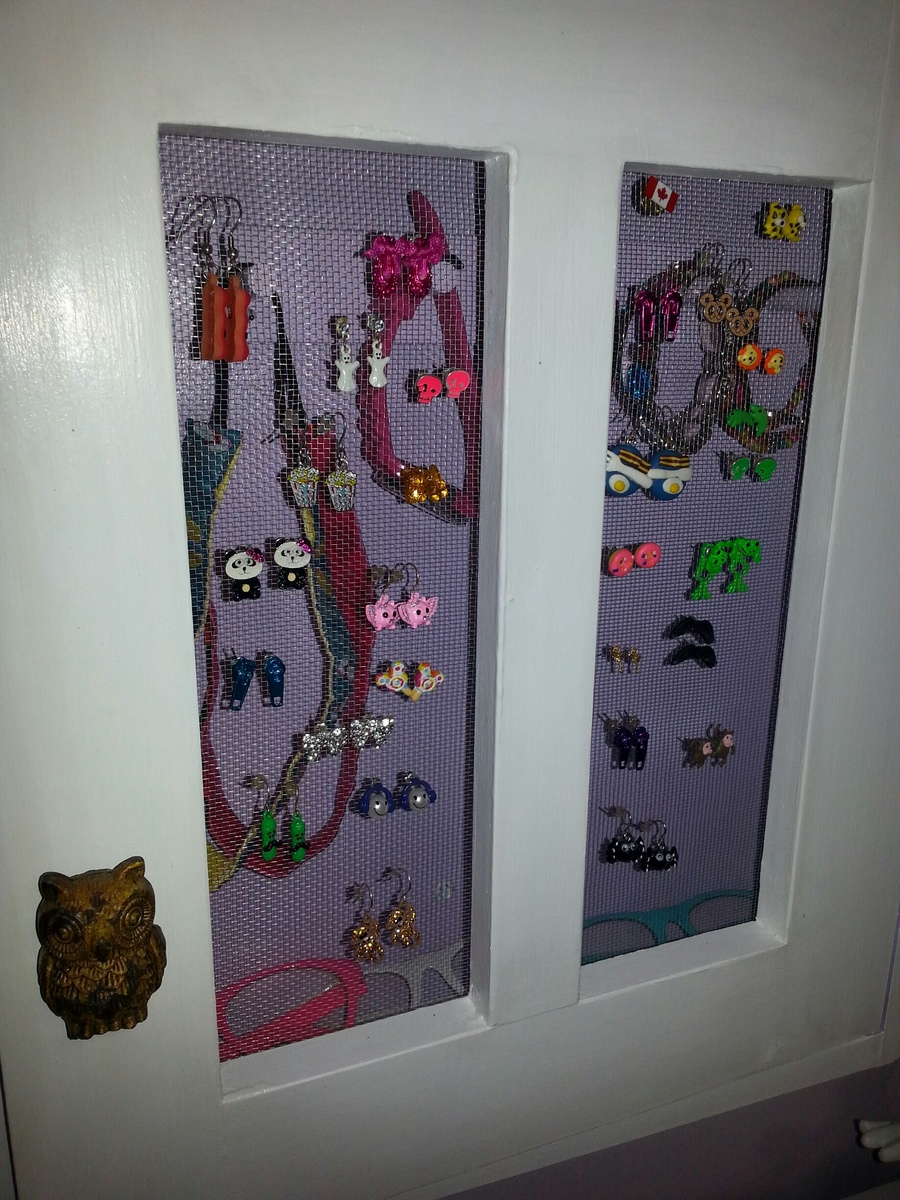
Needed something to help my daughter keep track of all her jewelry and especially earrings. This plan seemed to fit.
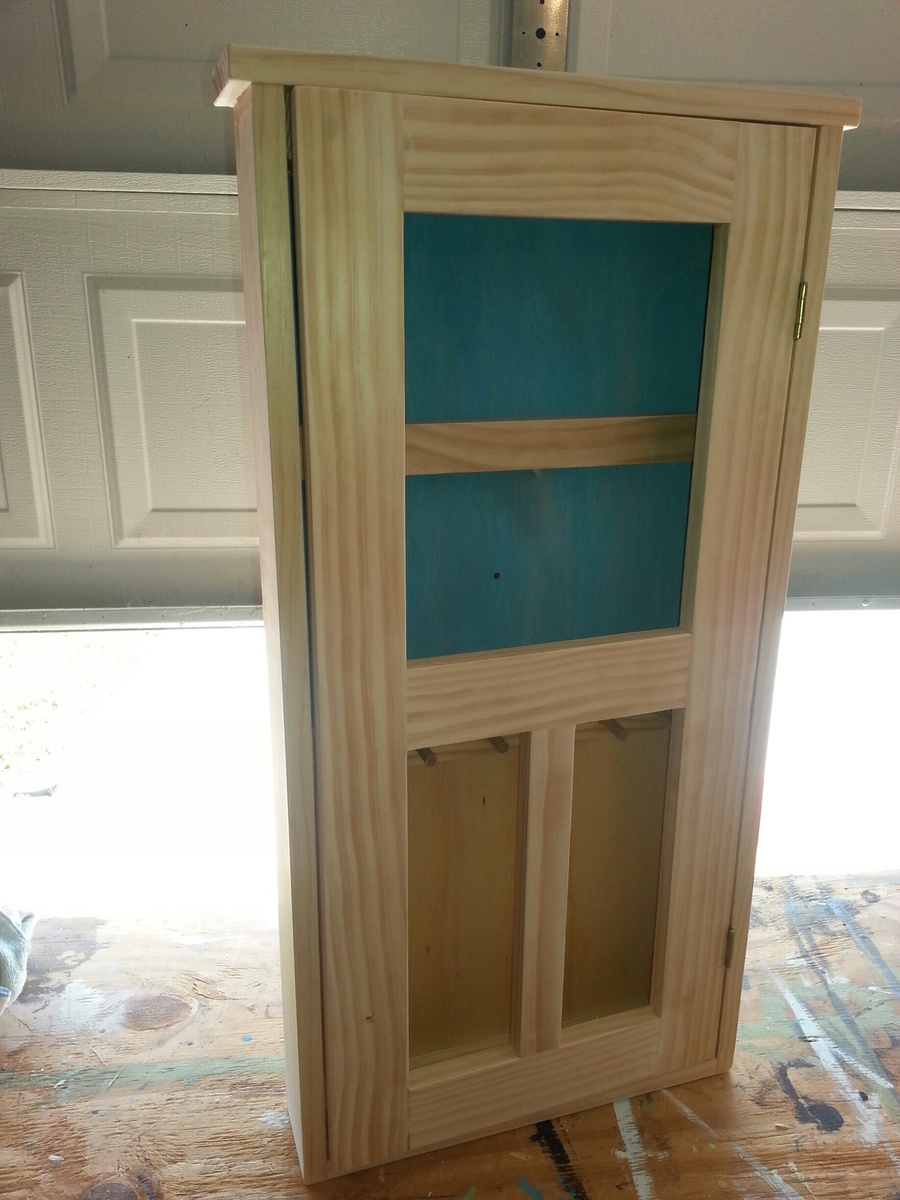
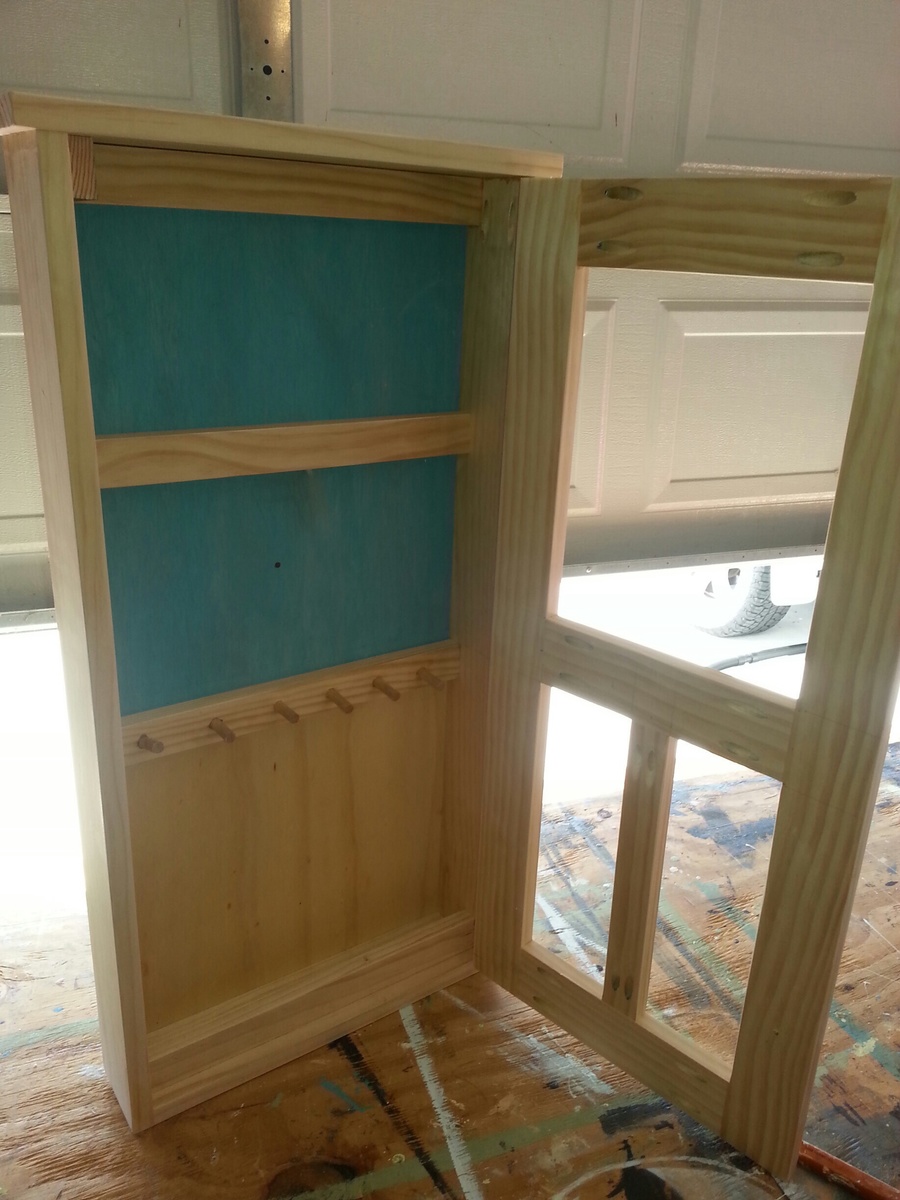
I decided to use small wooden dowels on one section and angled one for rings. For the doors I used metal window screening and stapled it on.
Sun, 11/17/2013 - 17:53
Looove this! What a brilliant idea for hanging the jewelry with dowels! And I absolutely love the "screen-door" look. It's fabulous!
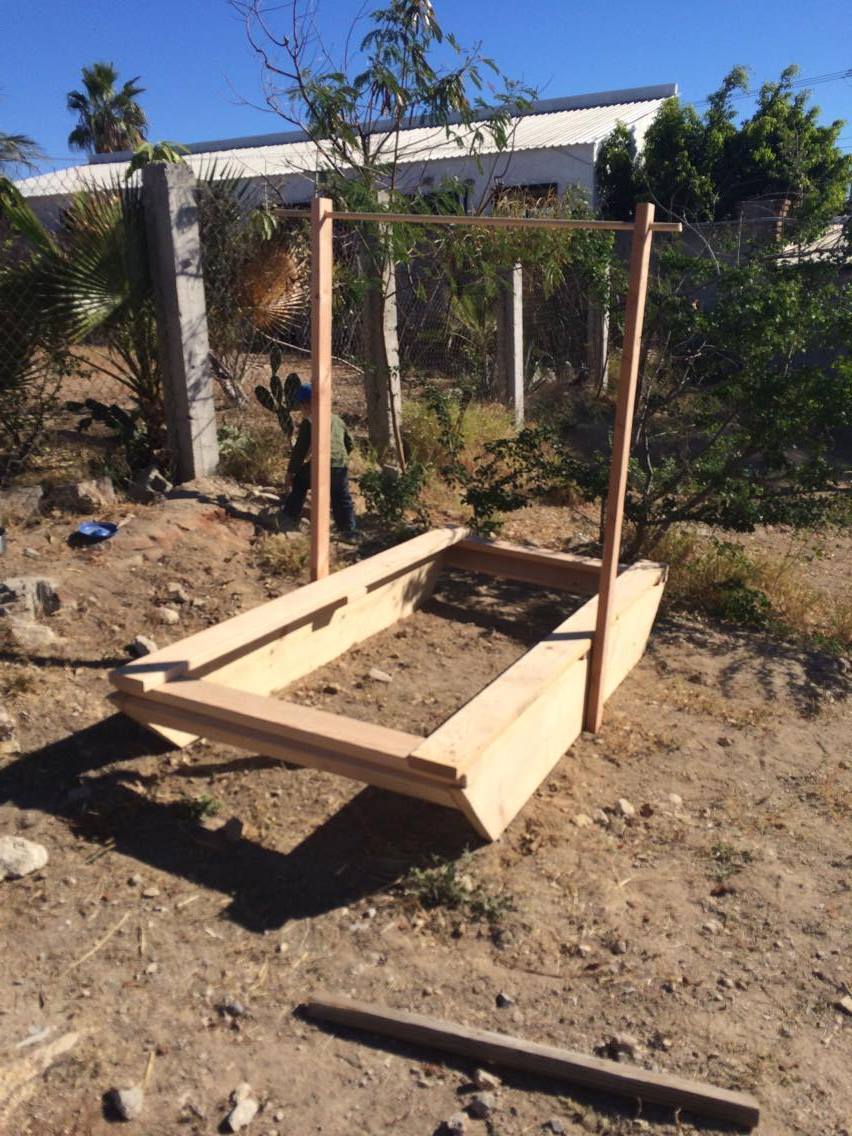
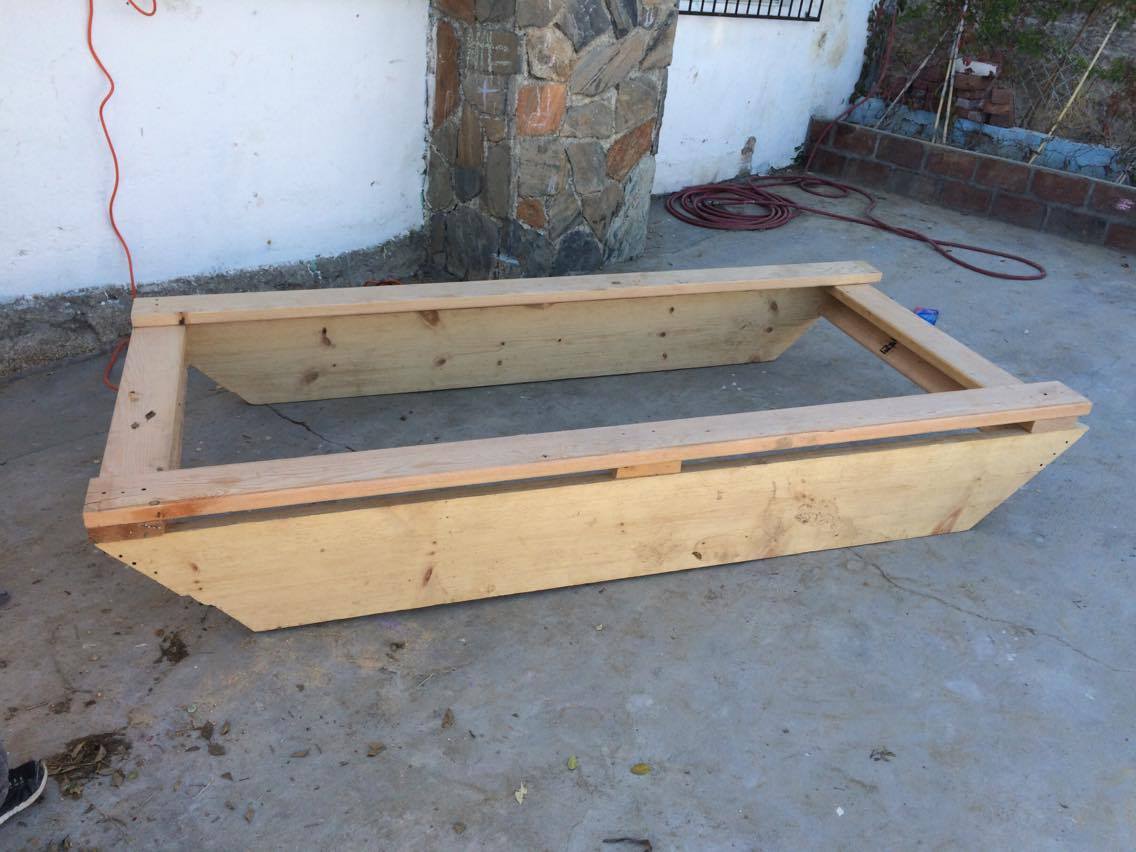
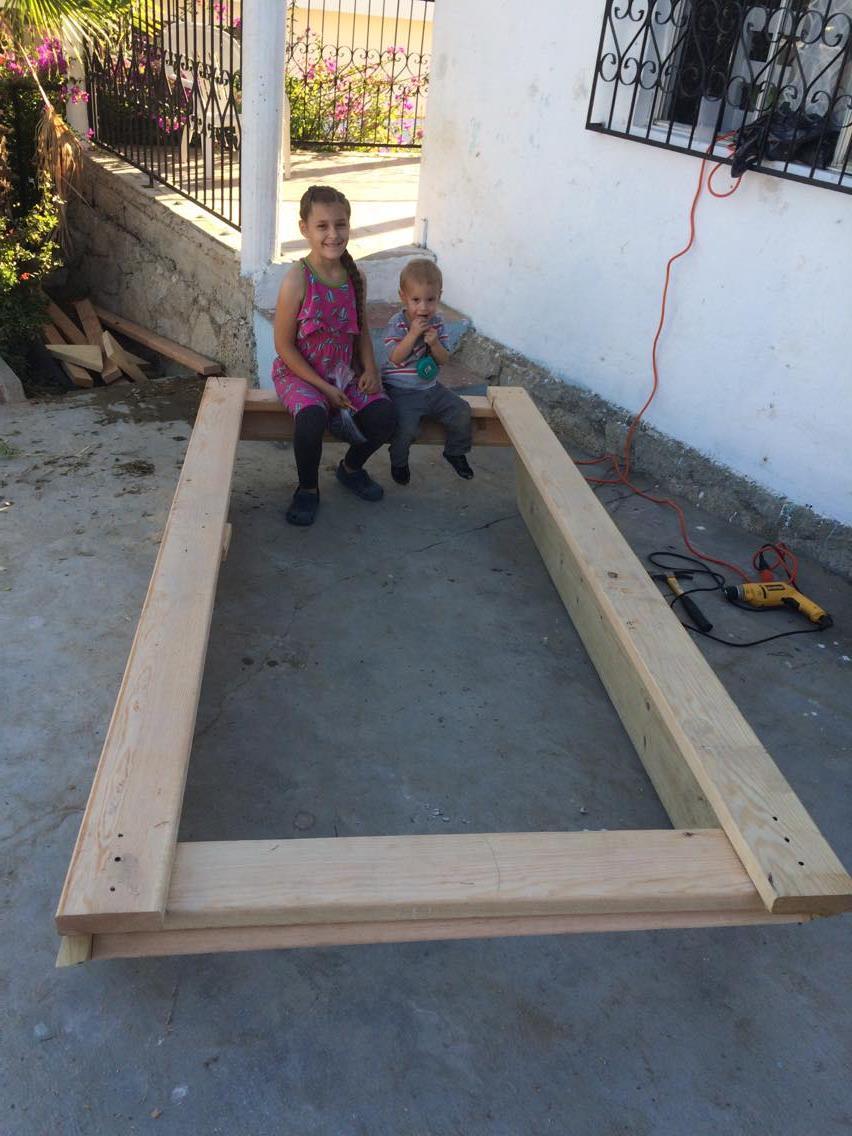
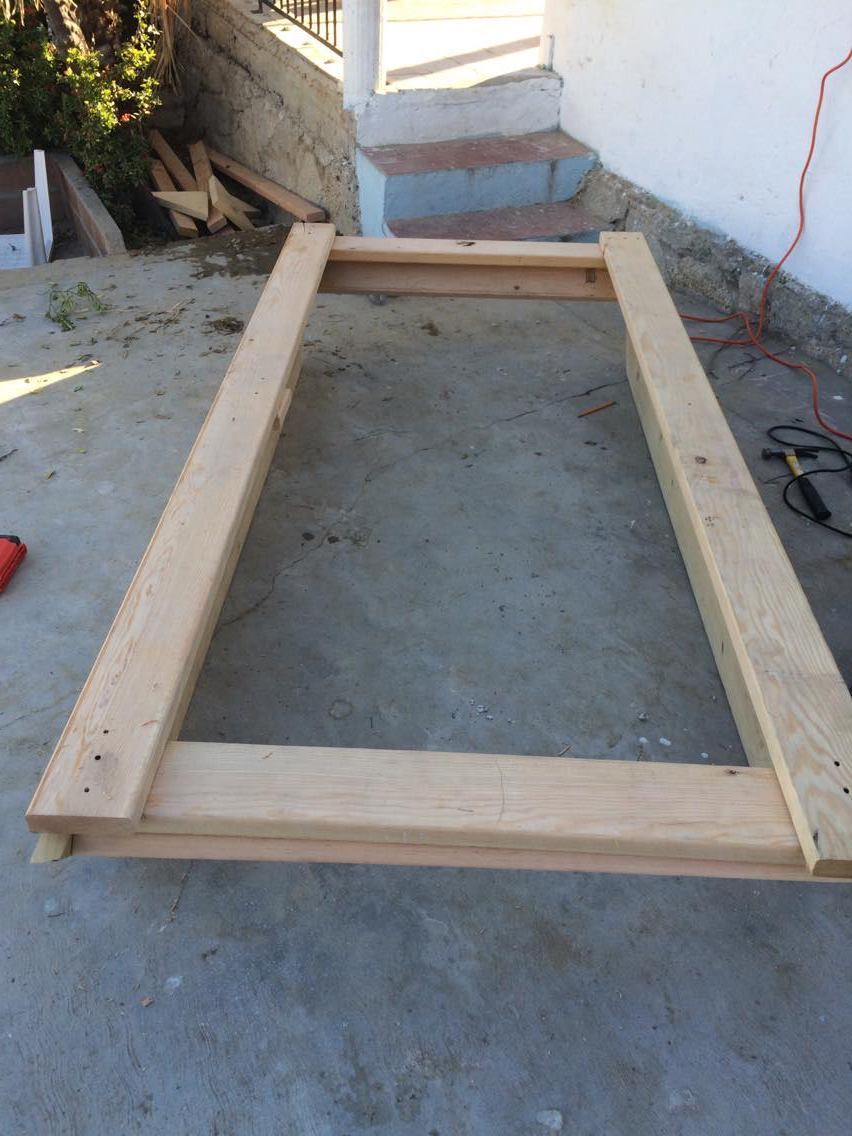
We live in Los Cabos, Mexico, and the sun is hot and bright! My kids love playing outside in our backyard, but we had no shade. I started looking around, found this site, and though I have few tools and only helping experience with carpentry, decided to give it a go. It's a big hit with the kids and they assure me that it's a nice shady place in the yard! No sand added as we have plenty of dirt and cactus as it is. Tools used: a hand saw (!) and a drill. I really enjoyed it, so I need to go buy a circular saw soon.
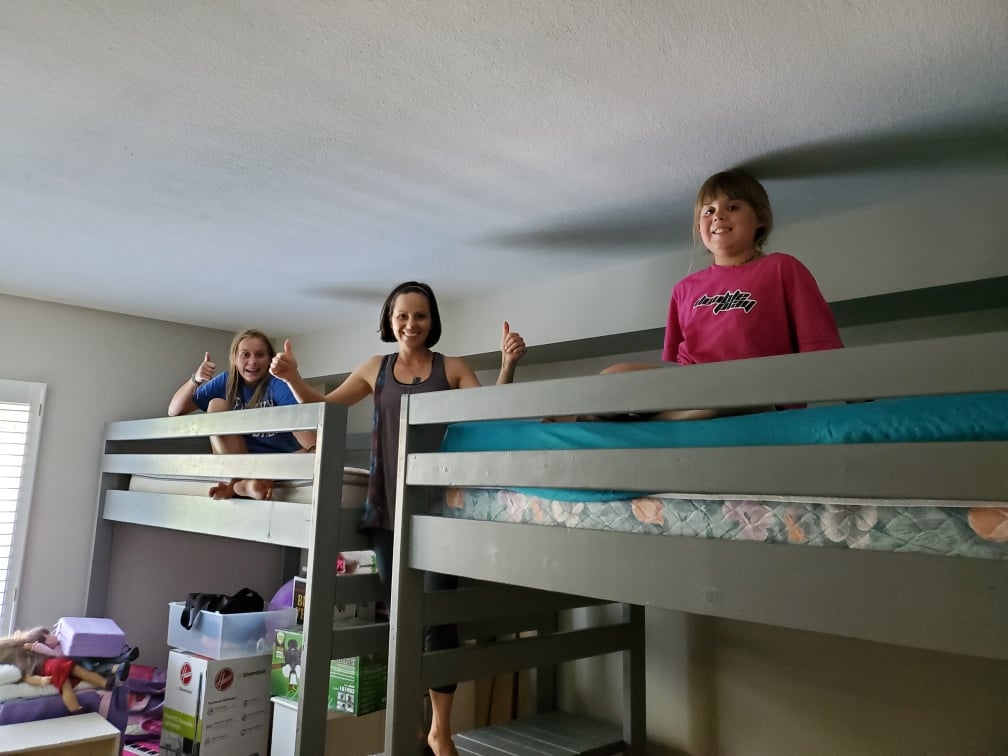
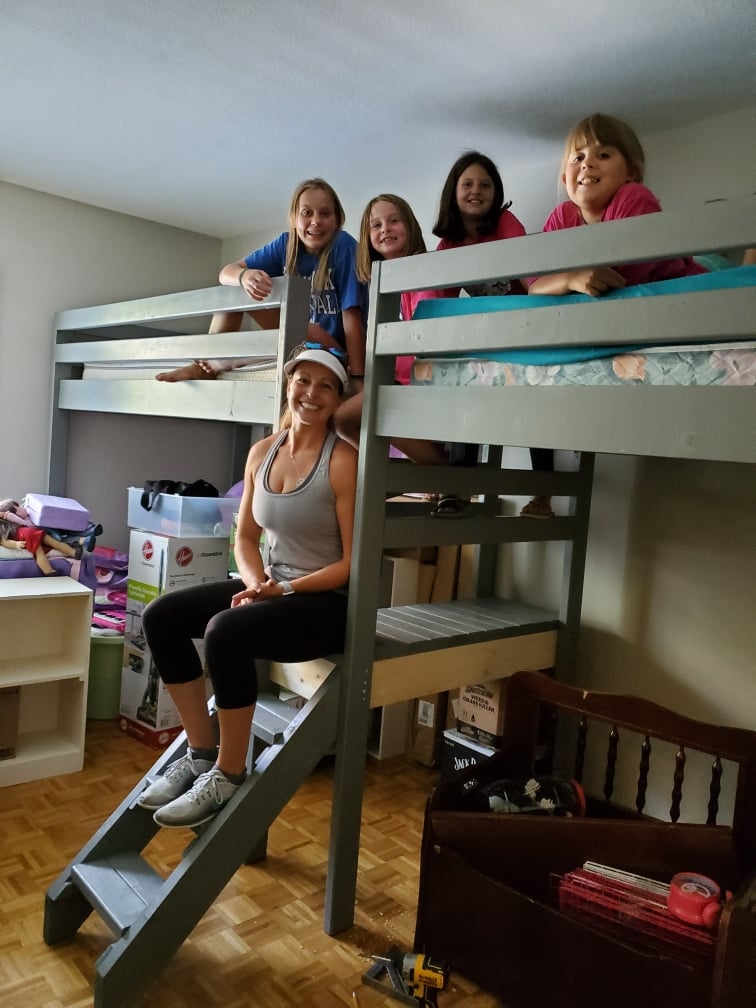
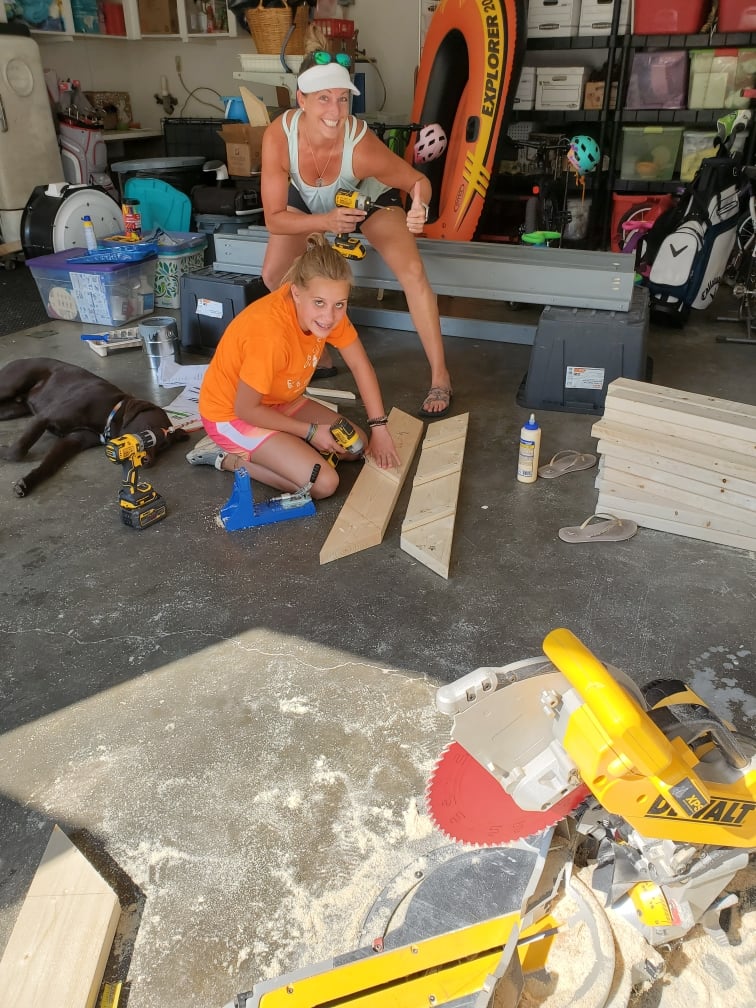
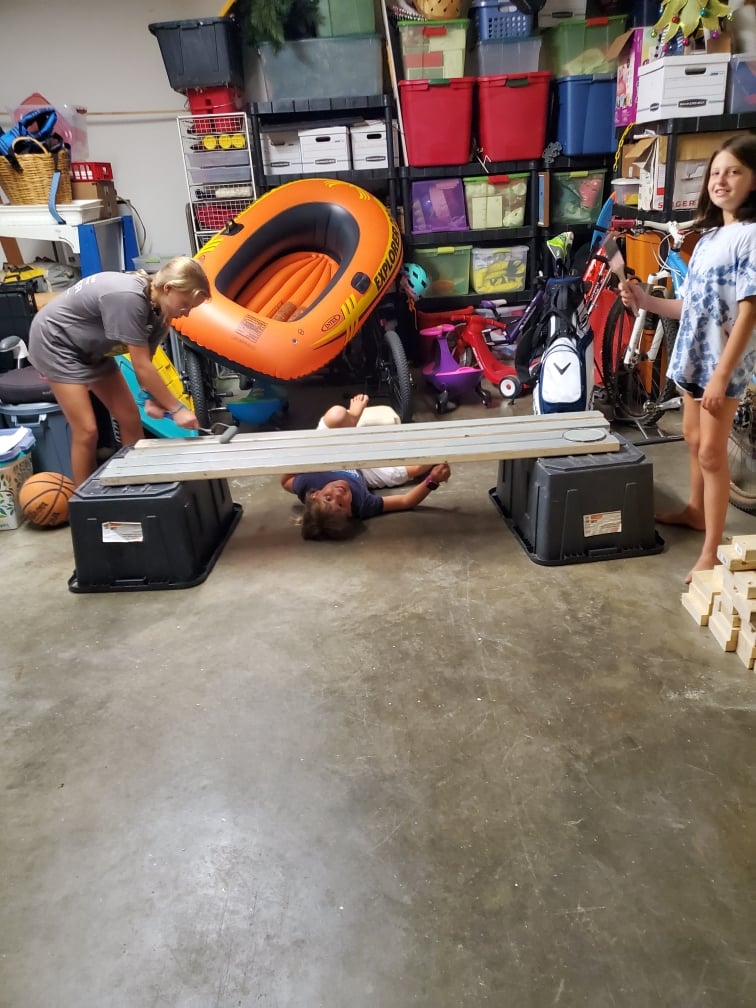
My very good friend was down sizing, and now her girls would be sharing a room. Since these girls are a little older I made the over all height 10” taller. We also had to modify the platform size to accommodate the space, and just have to paint the platform frame... but the girls love it. We even had the girls help assemble, sand and paint! They learned so much, and appreciate the beds that much more!

Used sturdy workbench plans with 2x6 cedar top for outdoor sink. Turned out much better than I expected!!
Tue, 05/02/2023 - 07:09
Way to go, it is beautiful and functional! Thanks for sharing.

I did this bed today in just a few hours. I am new to this site and have lots of project to be posted. I thank my wife for the lovely display. I am stationed in the Navy overseas and good furniture is hard to come by. The Euro makes stuff expensive and the military store carries lots of expensive "cheap" stuff. I started with a picnic table for the kids this past summer and my Facebook went out of control with request to build stuff. So, I do a lot of look a likes. I get to build things and my fellow service members get nice furniture for the cost of wood.(I get a little for me too). I hope you enjoy my projects because there are many more to come. If you want plans just ask I keep them in my head and can type them down and email them to you. Thanks Ana White for the great ideas! Happy New Year everyone.
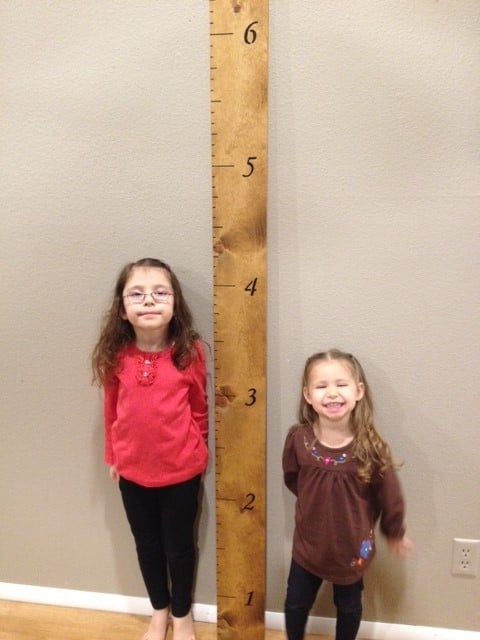
This was a super easy project and I like the way it turned out. I just got a 1x6 board in pine (that cost about $3.50) sanded it, stained it and marked all the inches with a pencil. I then used a painter's pen in black along with my square to get all the lines straight. Then I used some stencils to do the numbers - also with the painter's pen. The whole project took probably an hour to do (besides waiting for the stain to dry).
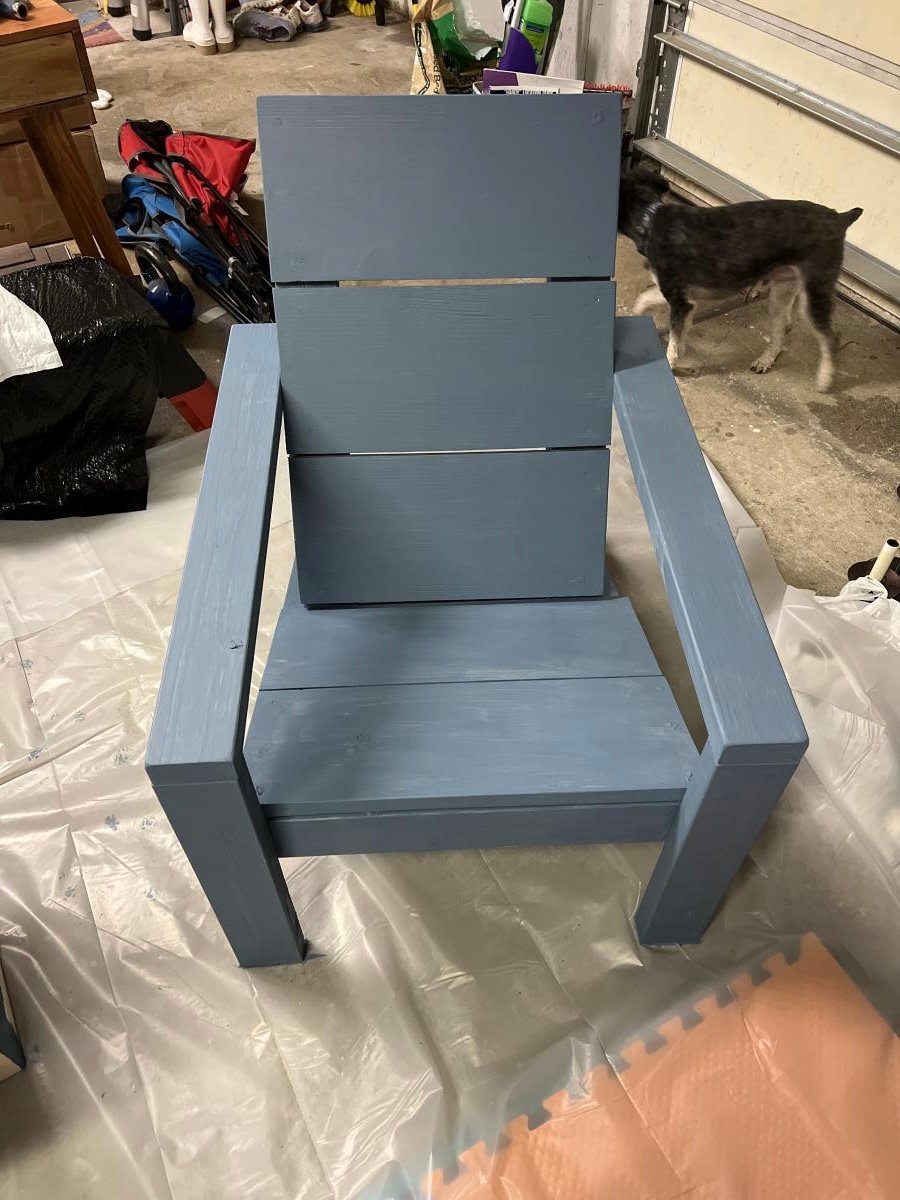
So I followed the plan except I tried to use more pocket hole screws. I managed to use them for all parts except the seat and back. Looking at them I see how I can use them for those areas too ( just a little pre planning next time)
I’m using Behr Wedgwood waterproofing stain and sealer to complete the project.
I love all your plans and can’t wait for my next project.
Sat, 05/06/2023 - 07:39
The chairs loolk really great, love the finish! Thanks for sharing.
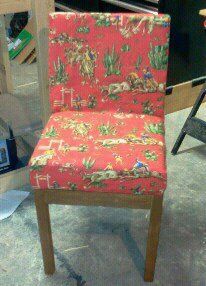
Made this for my son's playroom. I added the cross supports in the base to make a sturdier chair.
Thu, 01/05/2012 - 07:25
I LOVE the fabric! I could never get tired of cowboys!
Really simple edition to make this project portable and efficient for group functions. Add some legs lol. Measure the height you want from your kitchen seat, cut, and screw to the bottom. The pictures should help with how to place them.
Hope you like it
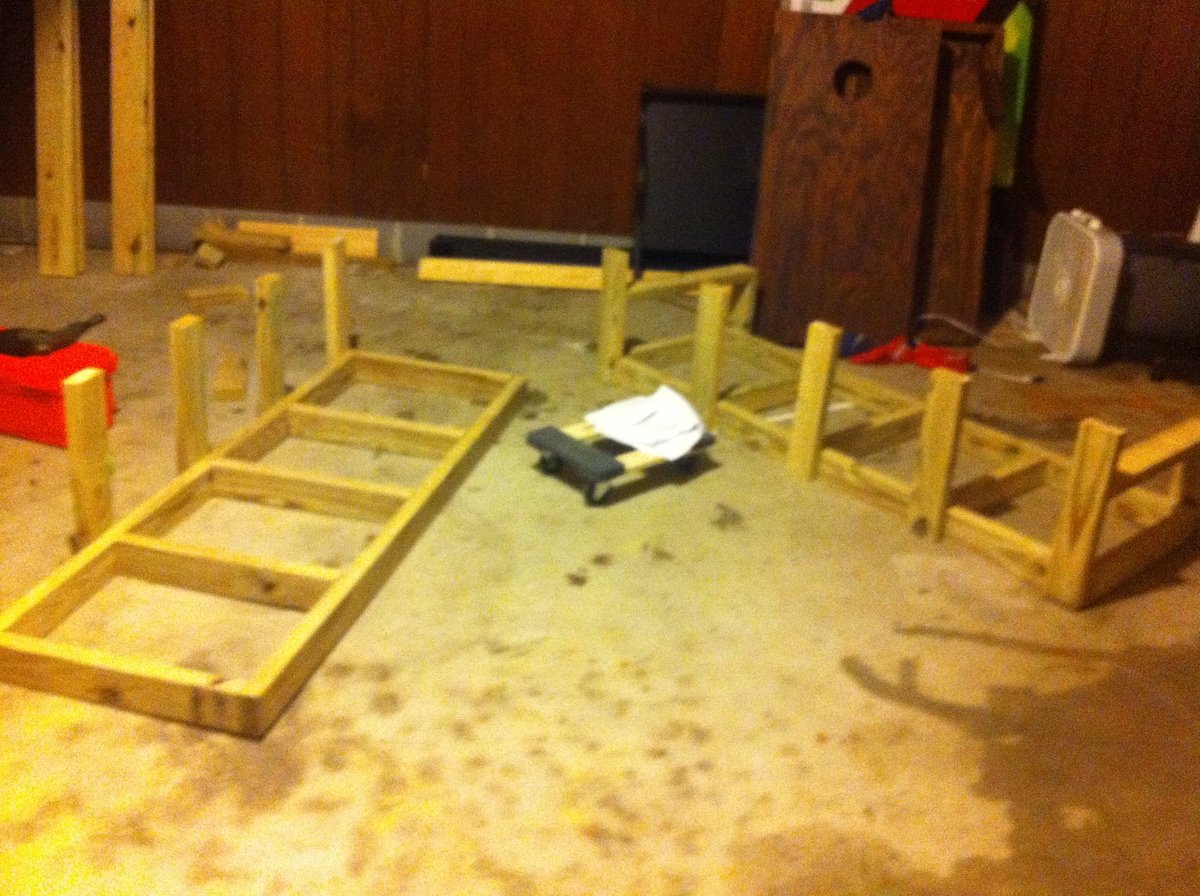
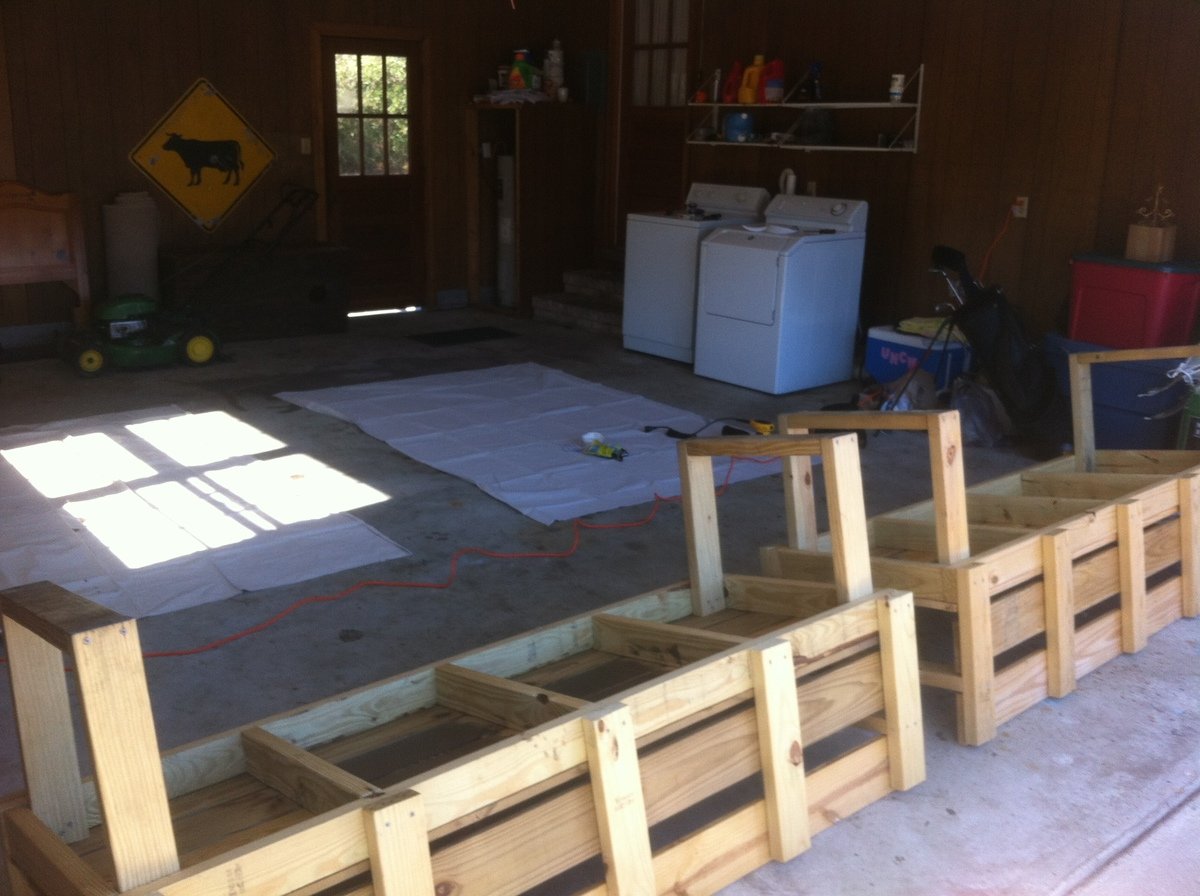
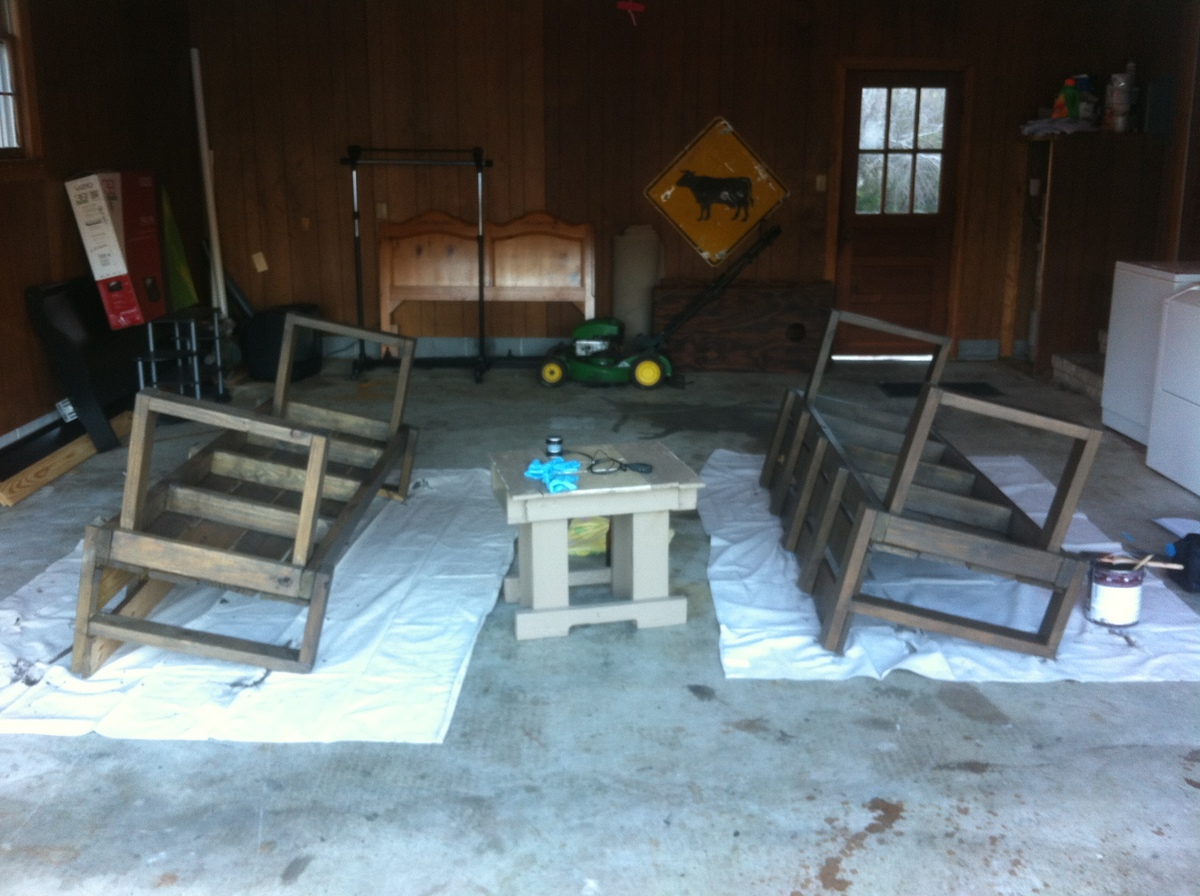
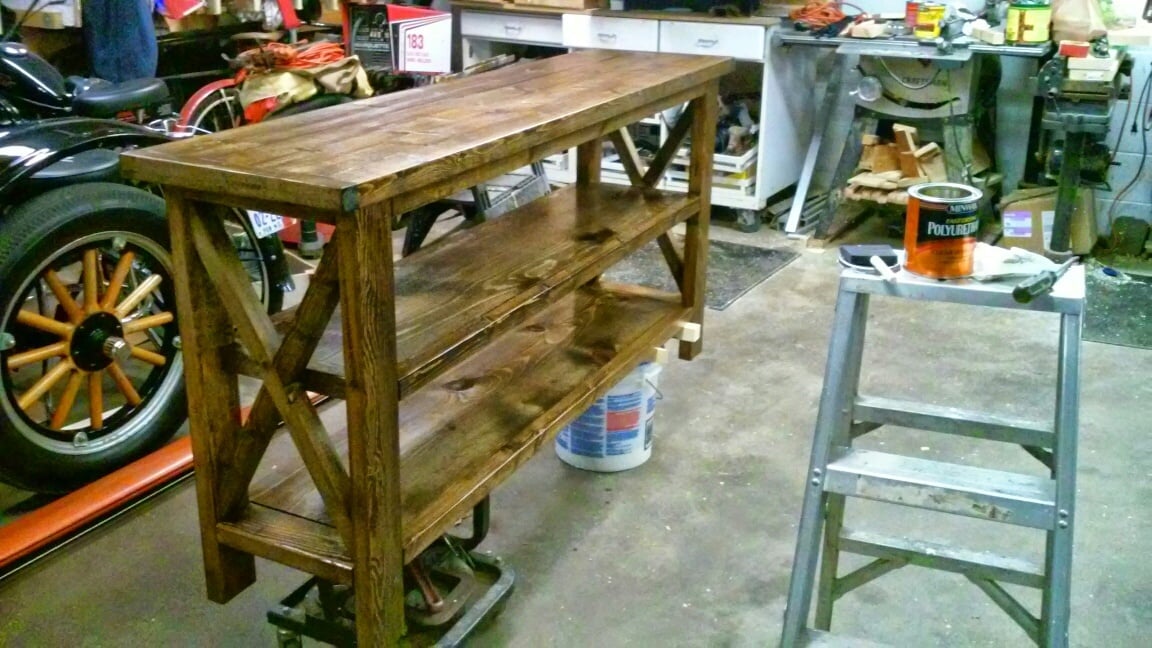
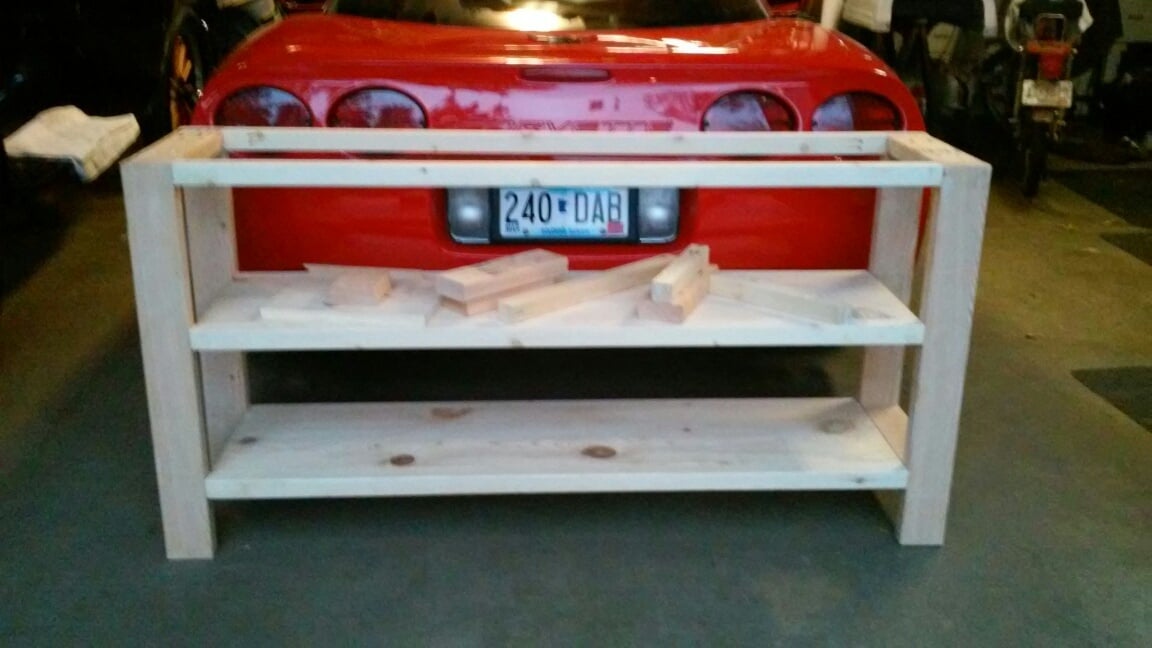
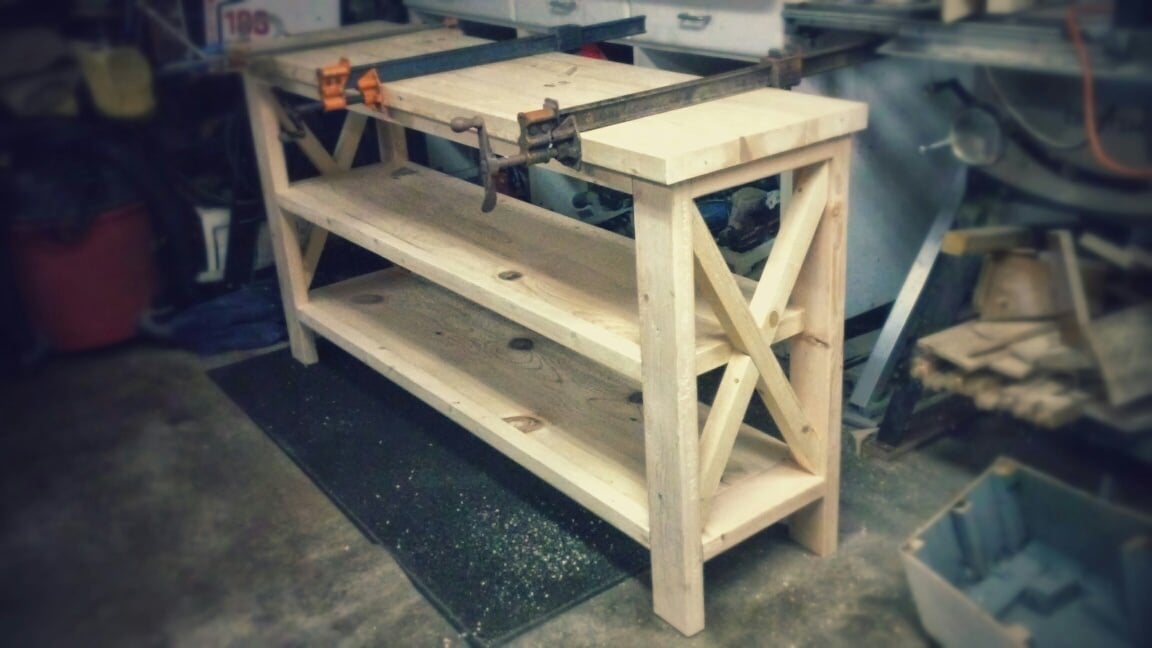
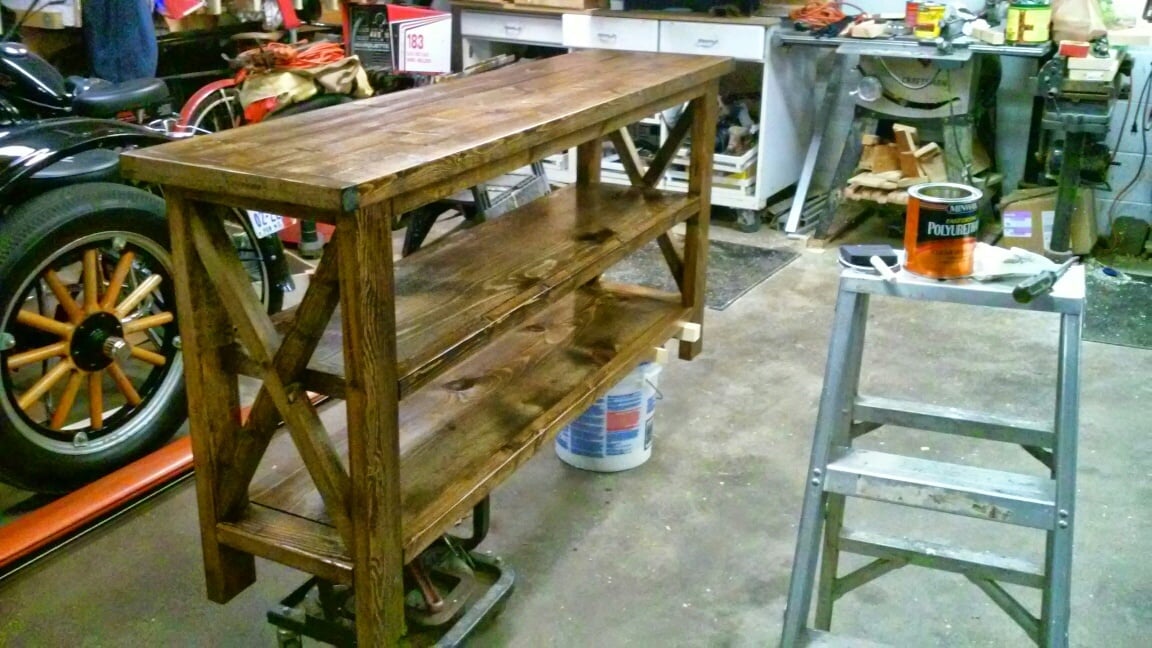
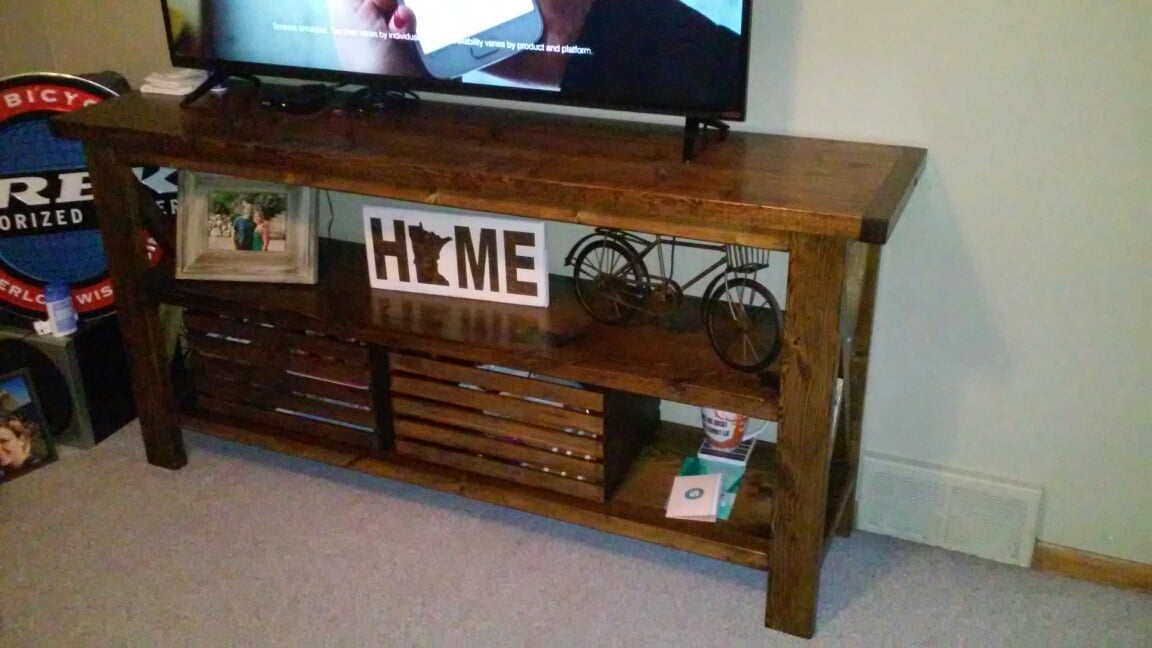
I started the project on a day off and finished it over a few long nights in the garage after work. It turned out pretty nice. I ommitted the middle legs, shortened it from the original plan to 65" long, and made it 31.5" tall. I also added breadboard style ends to the top to show less end grain. It is shown with a 55" TV on top of it for perspective.
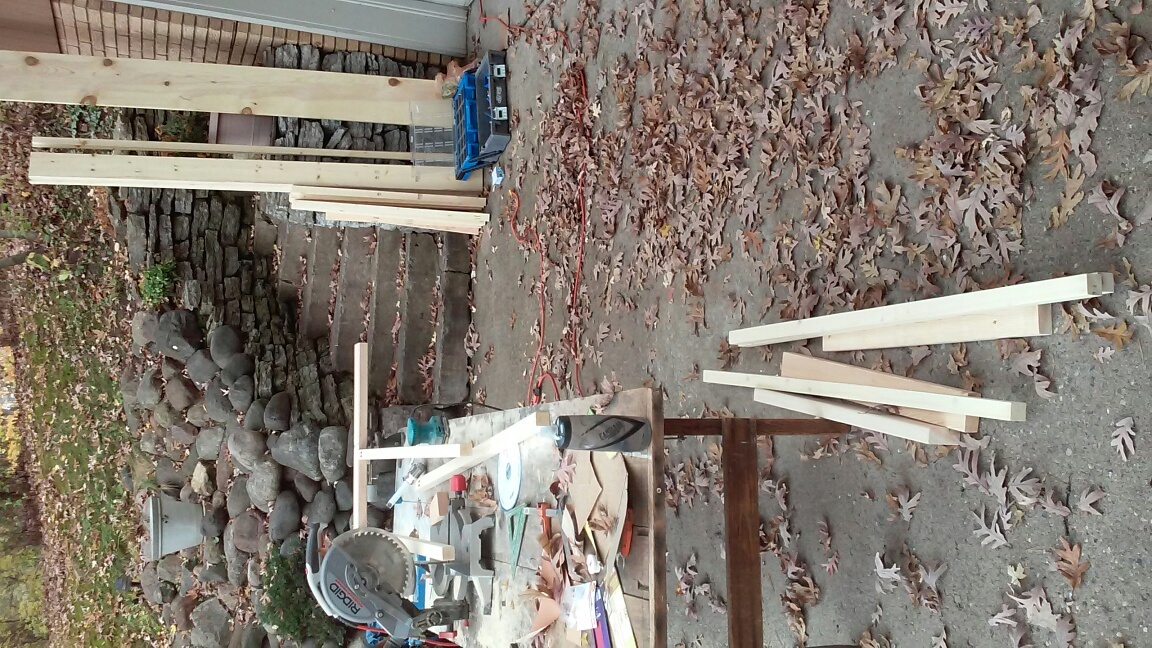
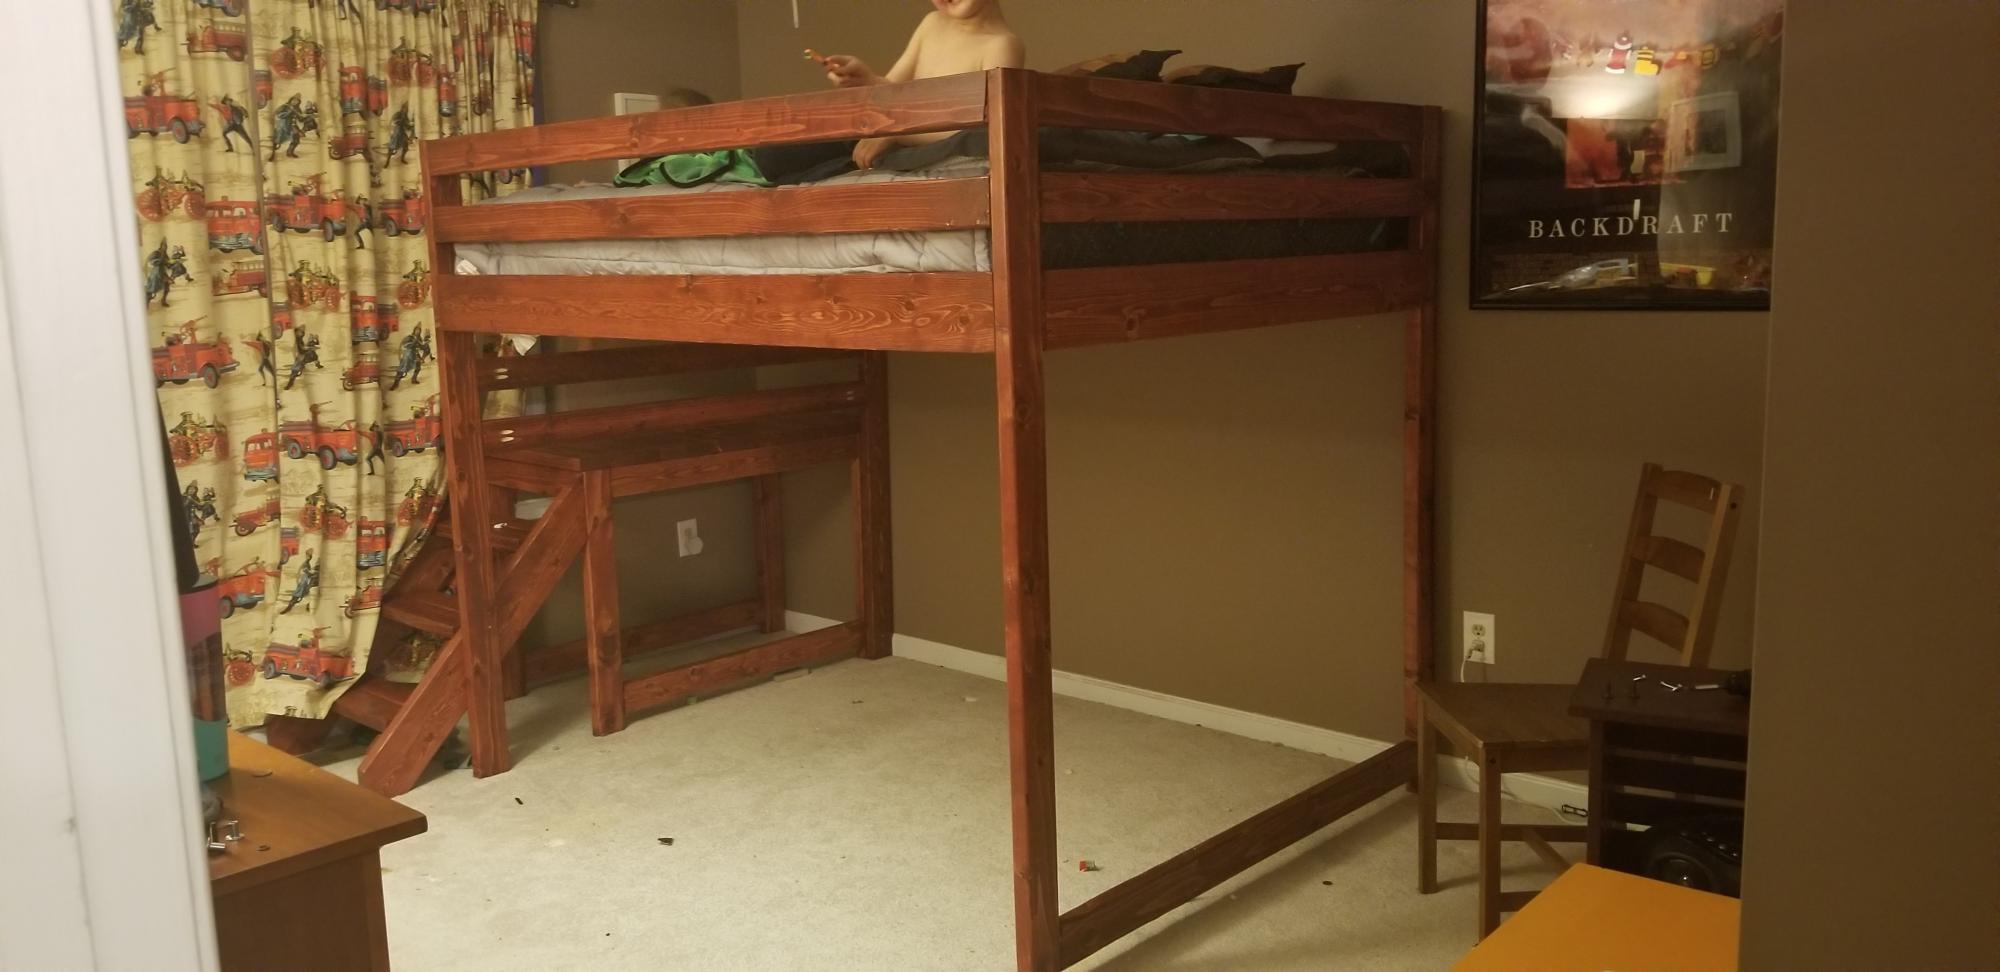
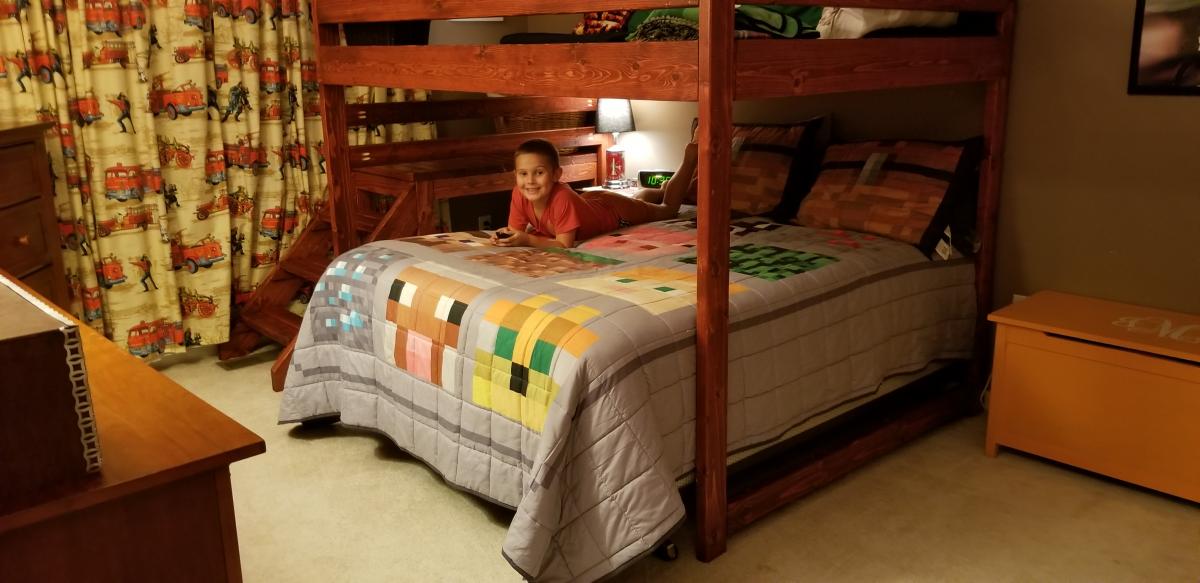
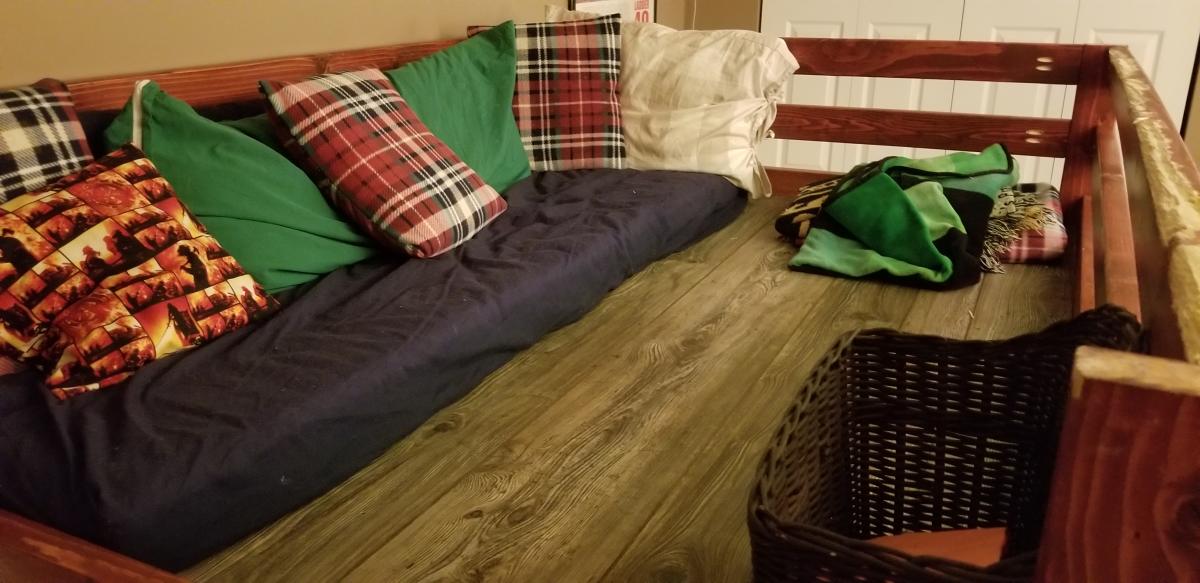
Initially, I made this loft bed so my son would have more room to play on the floor, but what I found out was that he was playing in his bed and sleeping on the floor. About 3 months after having the bed in his room, we put his bed underneath, on a frame, and I put plywood and wood looking wall paneling on the bottom to make a floor. We moved the twin mattress from the floor to the loft, so now he has a place to play with his friends.
Mon, 07/11/2022 - 14:26
What adjustments did you make to the slats. I’m wanting to build a slightly oversized full loft bed for my daughter. The extra space is for a reading chair and maybe shelves. Dimension would be ~100 x60. I’m nervous about the slats spanning the 60 inches and what I need to modify from the junior loft instructions
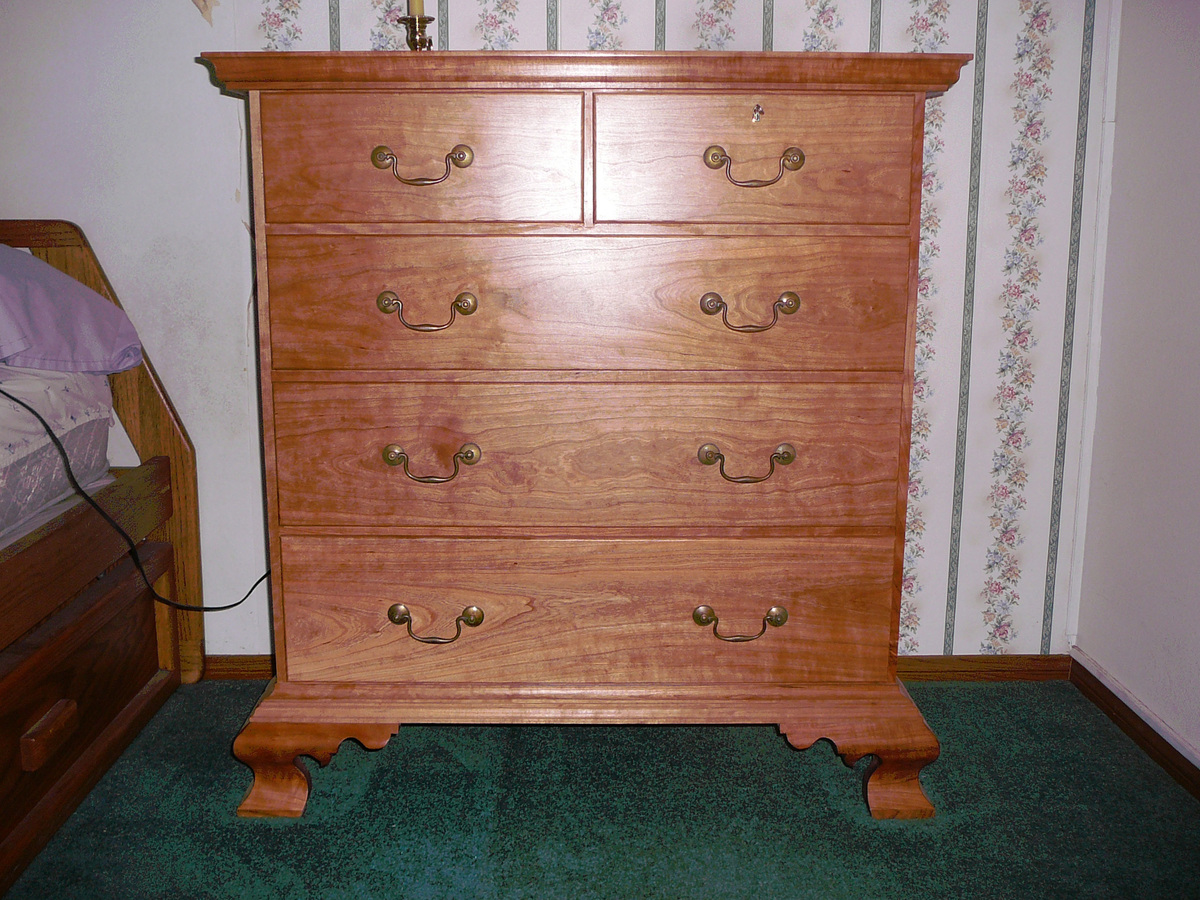
This is a Chippendale Chest of Drawers in Cherry. I did it a couple of years ago and it is still holding up very well. It was my first experience with ogee bracket feet and I was very happy with the way the feet turned out. It is a lot easier than it looks. There is no secondary wood, it is wholly out of American Black Cherry (prunus seritina). It took about four months to build and it has exposed dovetails on the top as the carcass is dovetailed together. Brasses are from bail pull type brasses.
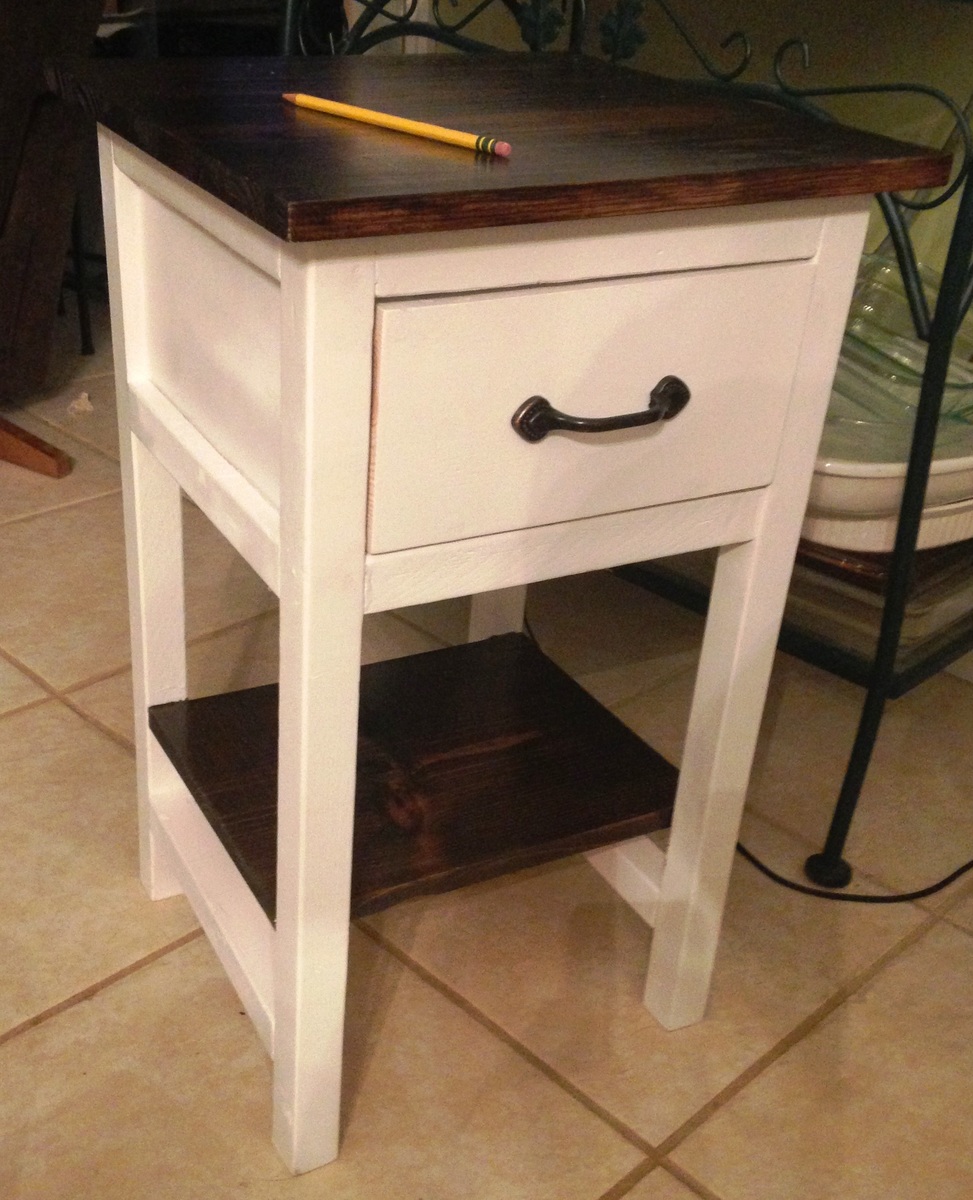
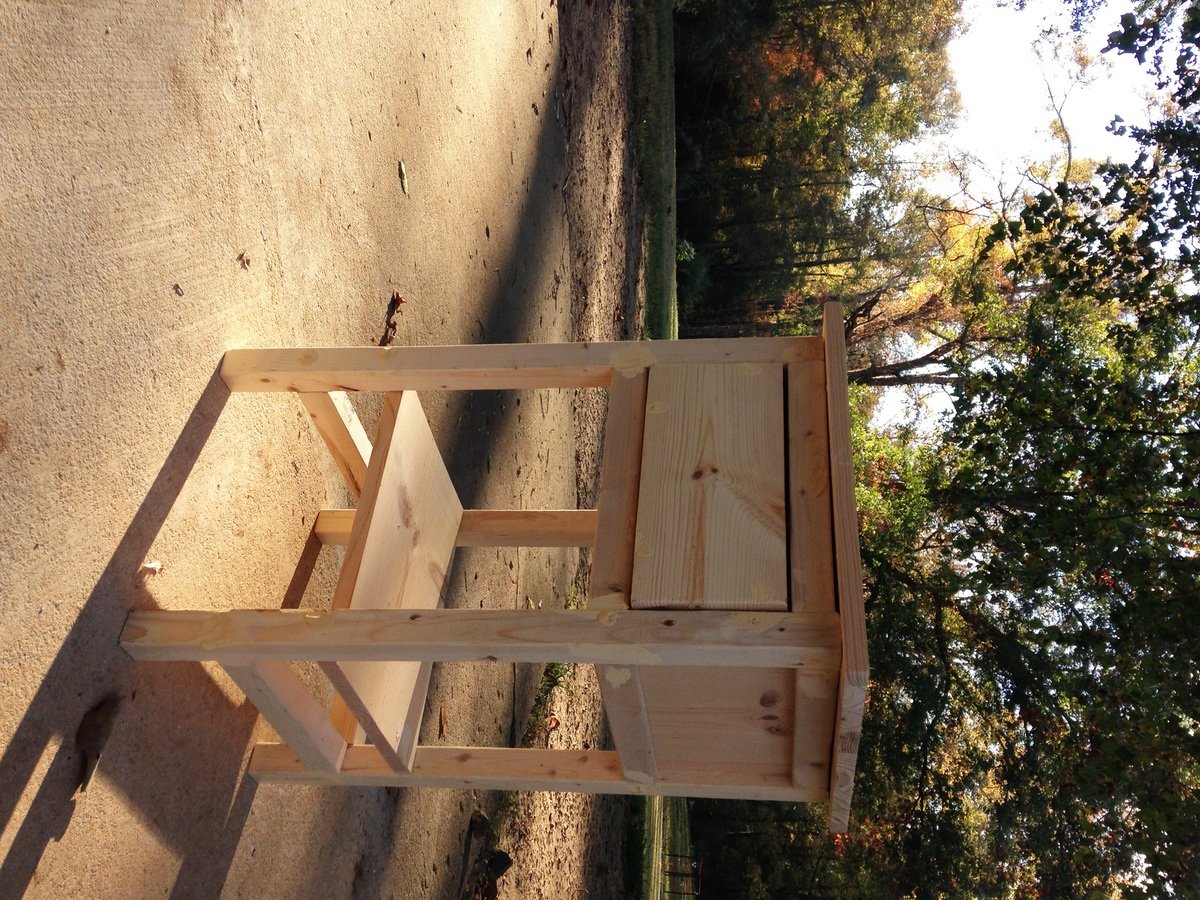
I made the mini farmhouse bedside table as my first attempt at wood-working! It was really fun, and turned out pretty good for my first shot. I need to learn how to cut more consistently and get better at making things square. Thanks for the plan!
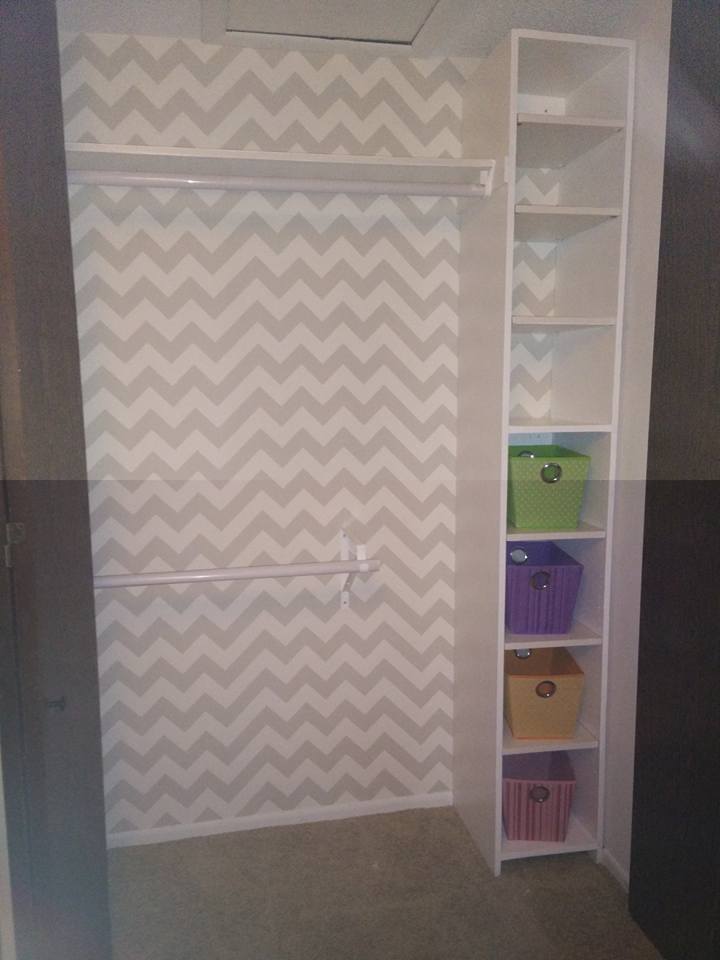
We are slowly remodeling our 1972 townhouse and it was time to do the guest bedroom closet so that we could get a bit more storage in the house. I contemplated getting a pre-made organizer but decided to make my own after perusing Ana's site. Its my first "from scratch" furiture-type of project and I chose the cheapest quality plywood, which was a mistake and cost me extra hours in trying to "pretty" up the wood. but overall I'm happy with how it turned out!
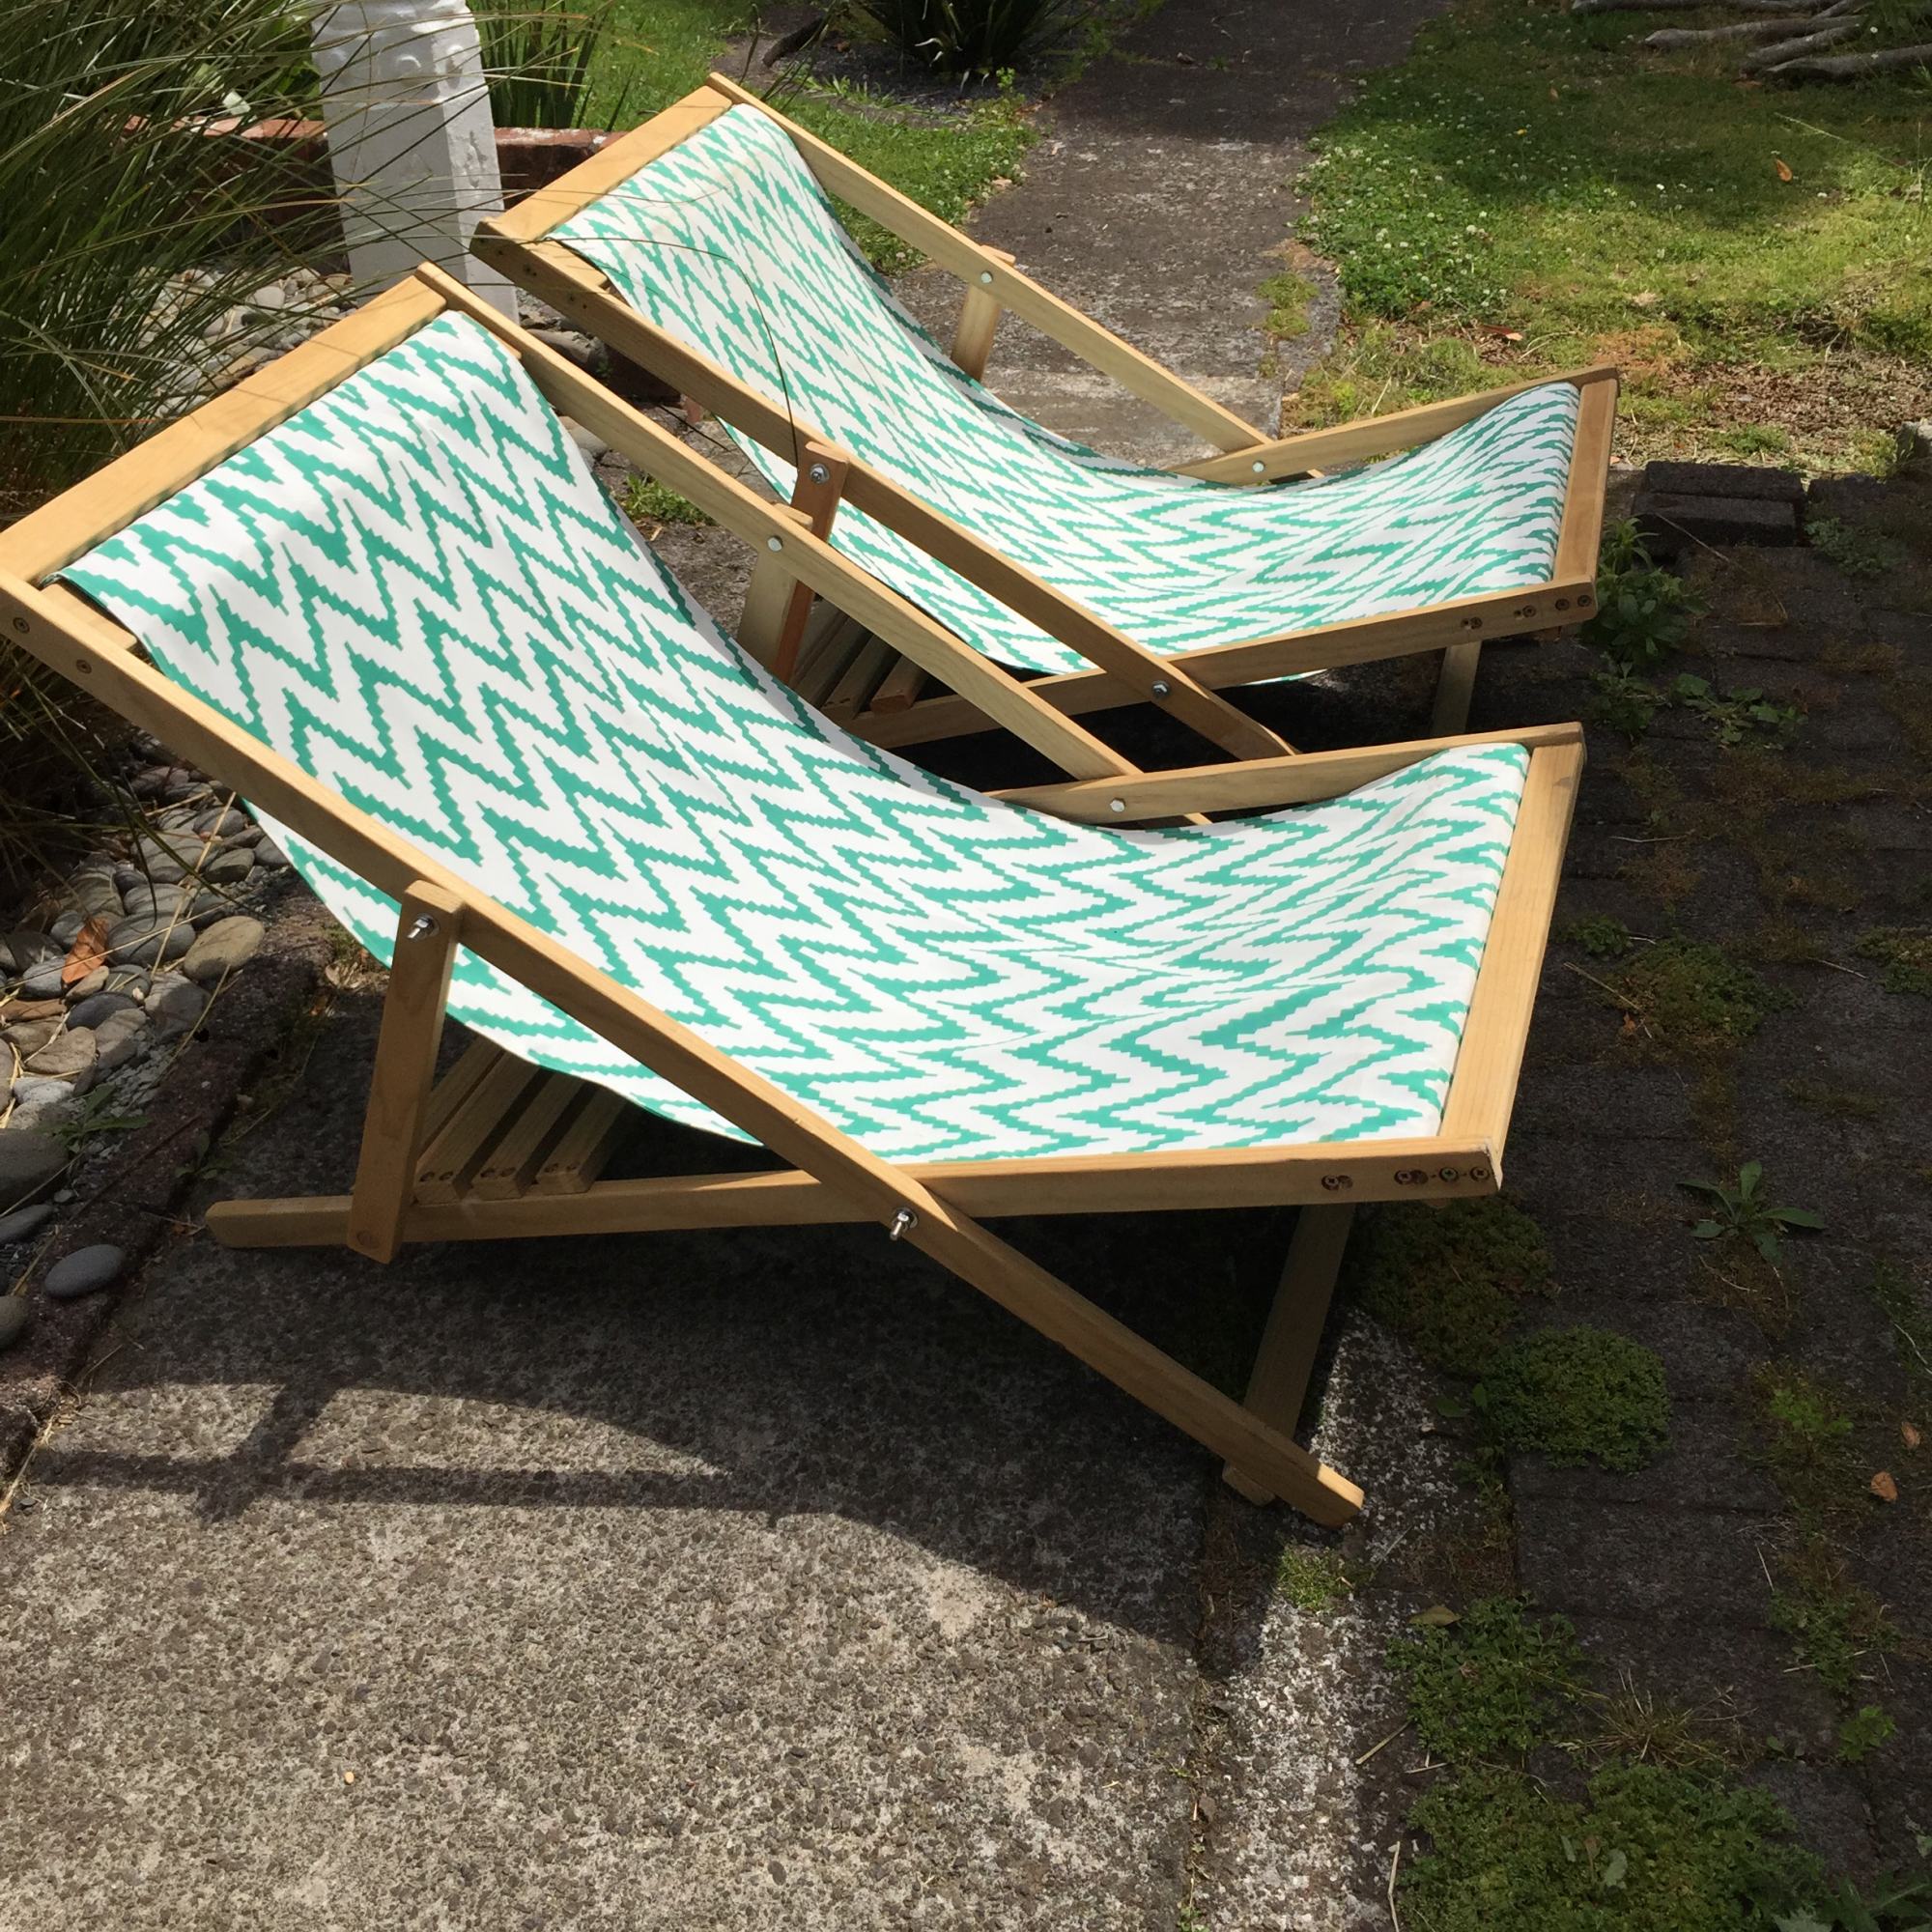
Wood working is a hobby I got into because my wife realised I needed something to take my mind off my job. I worked in IT when I started and I was coming home frustrated, annoyed, and often angry. I think she had an ulterior motive because when I suggested wood working she seems to have come up with a bunch of projects pretty quickly from Pinterest.
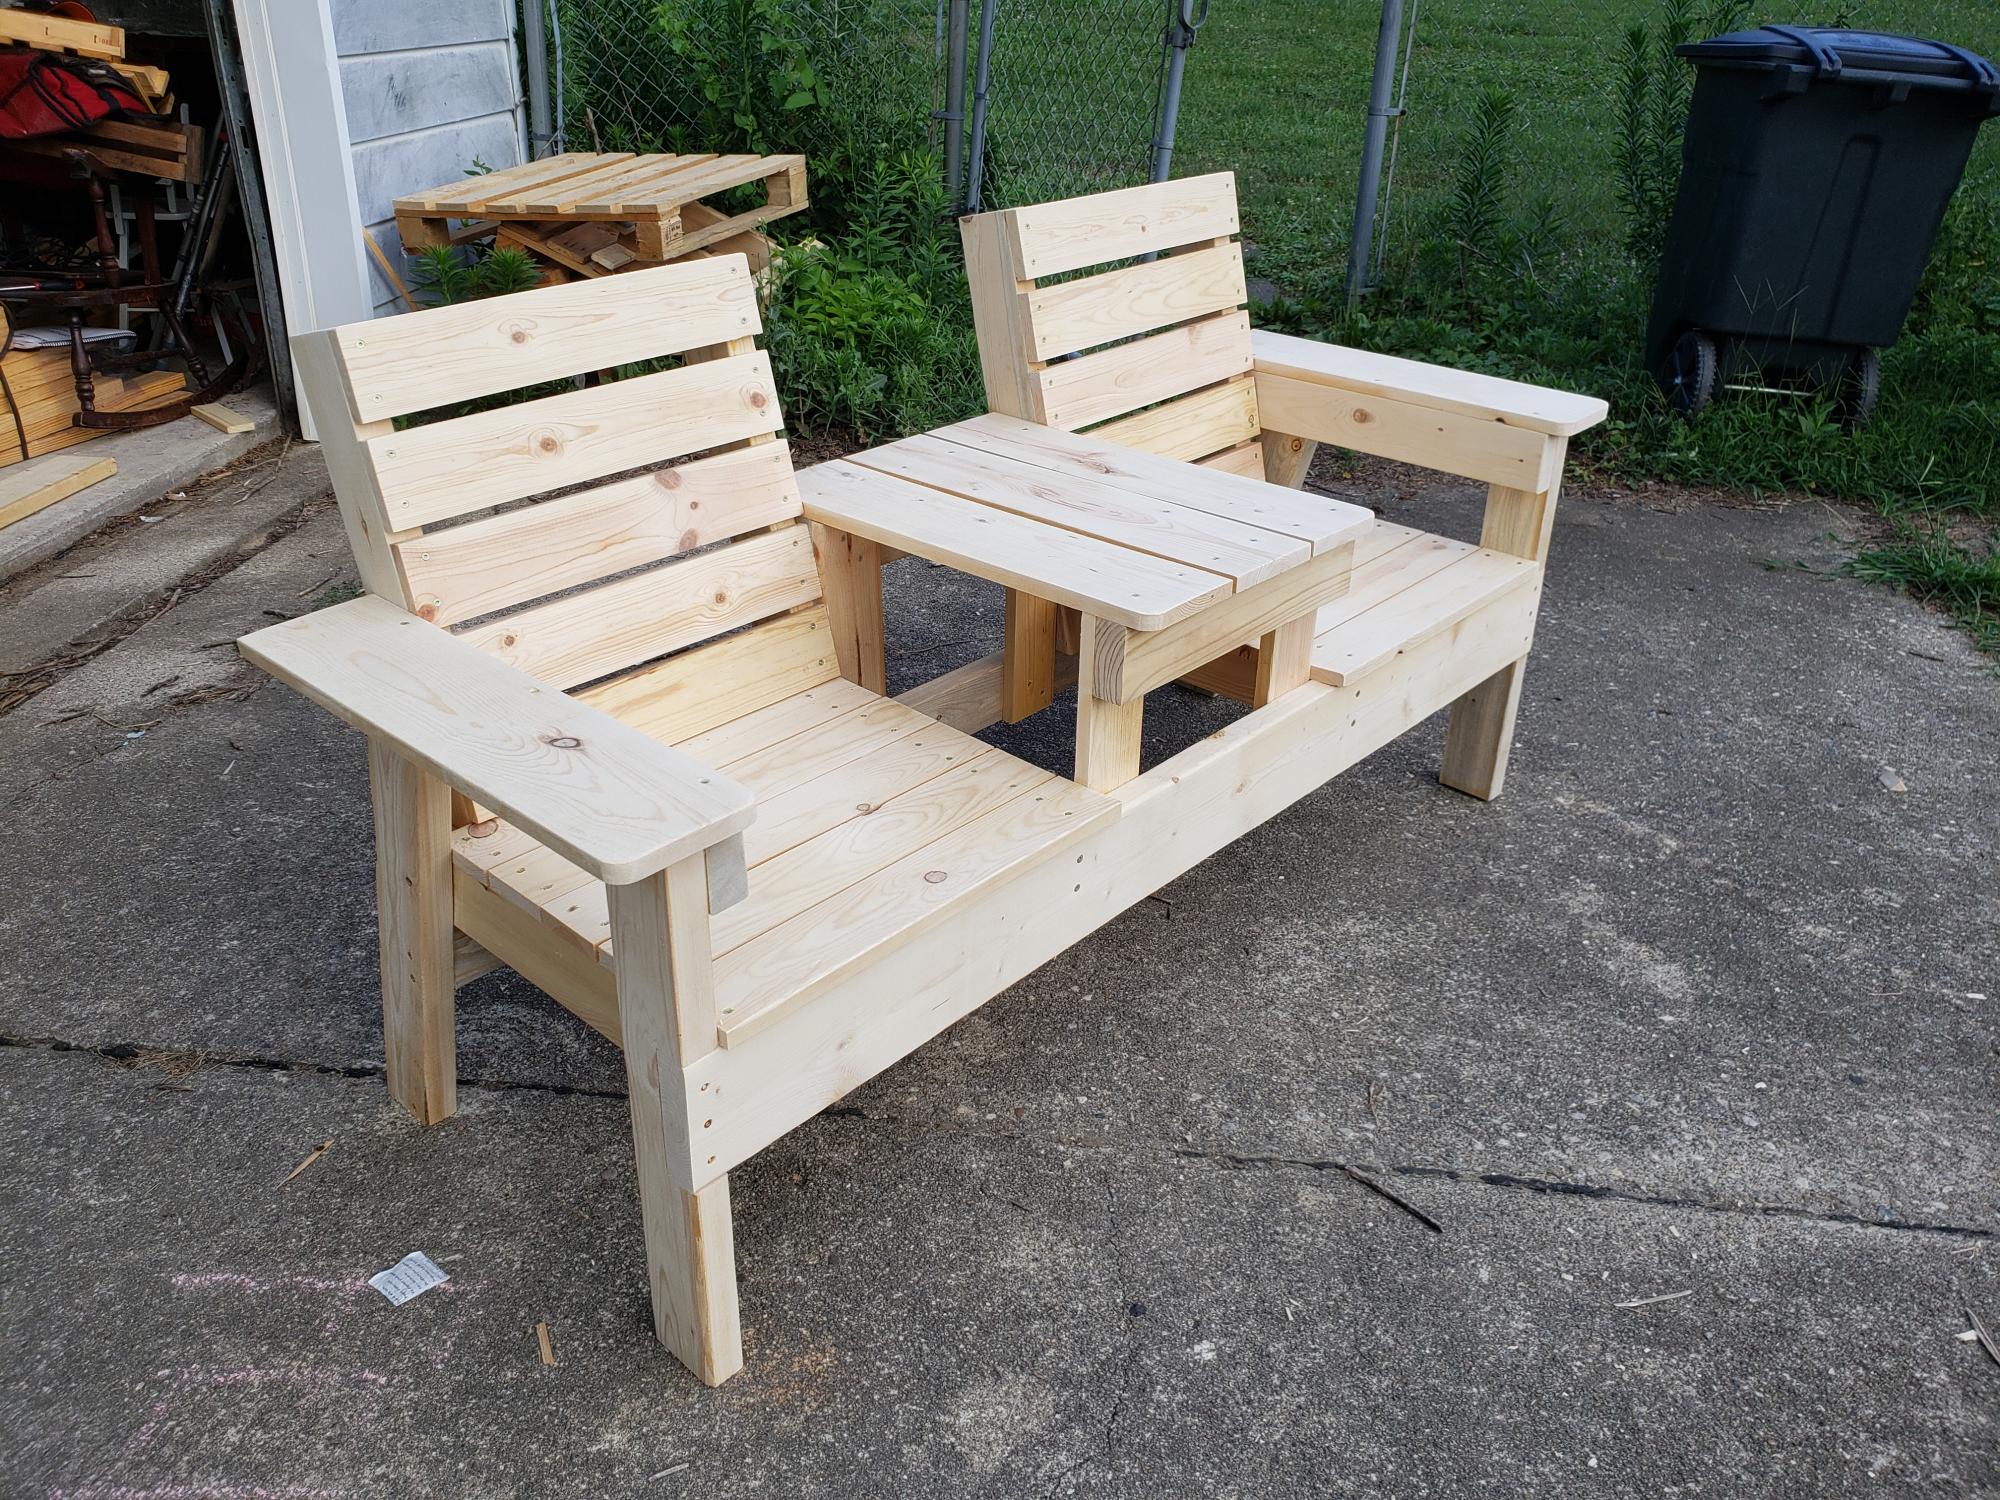
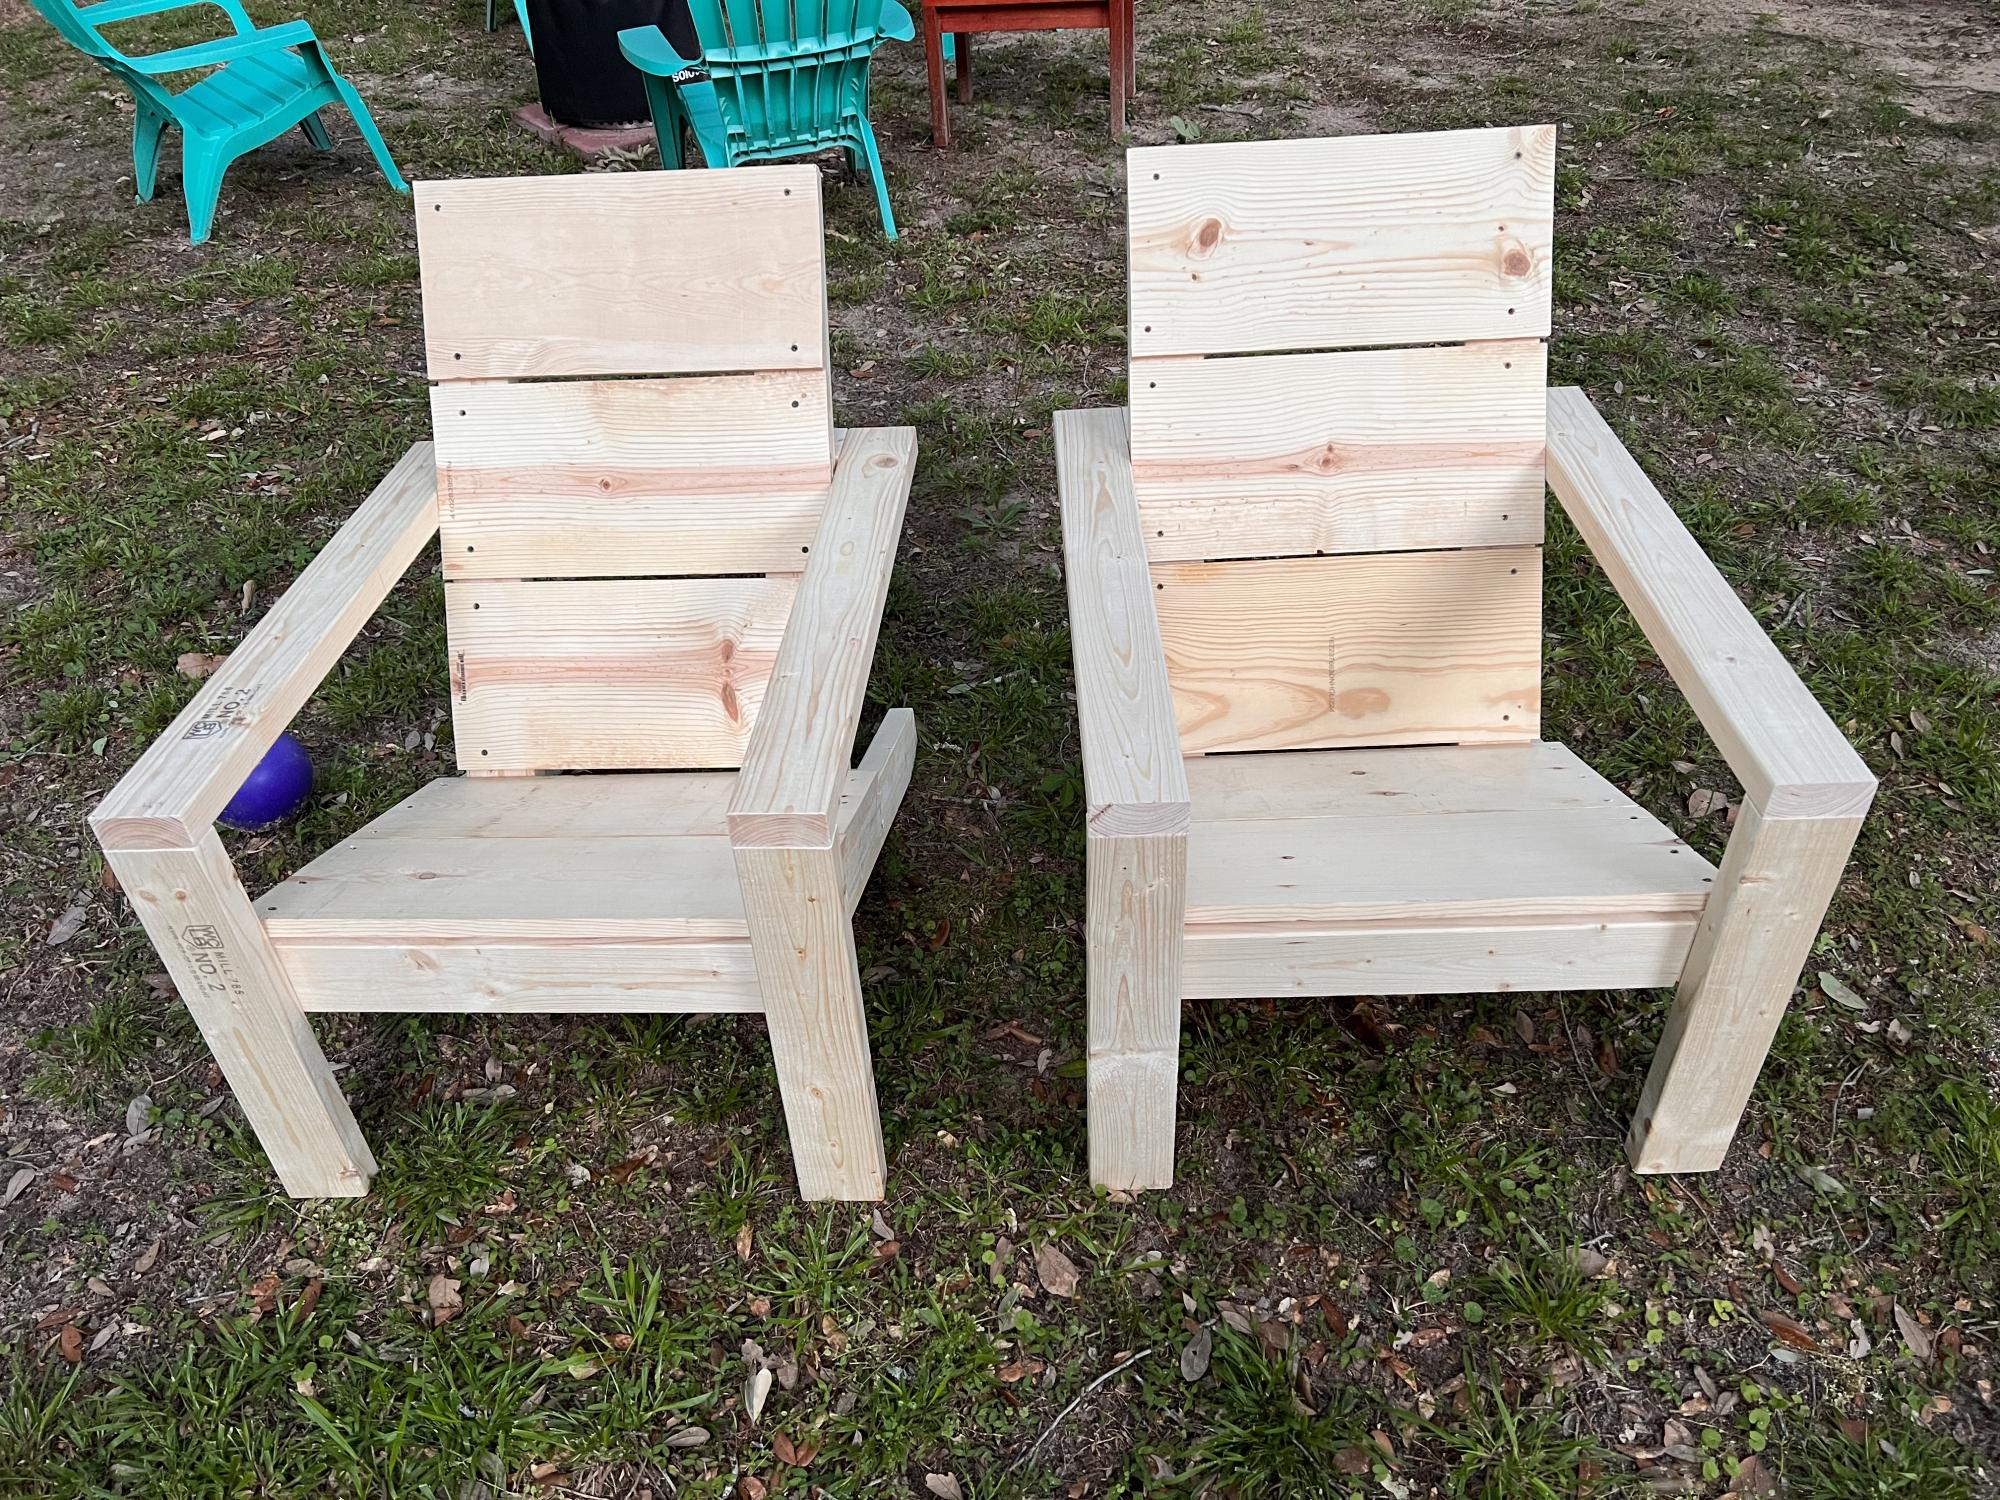
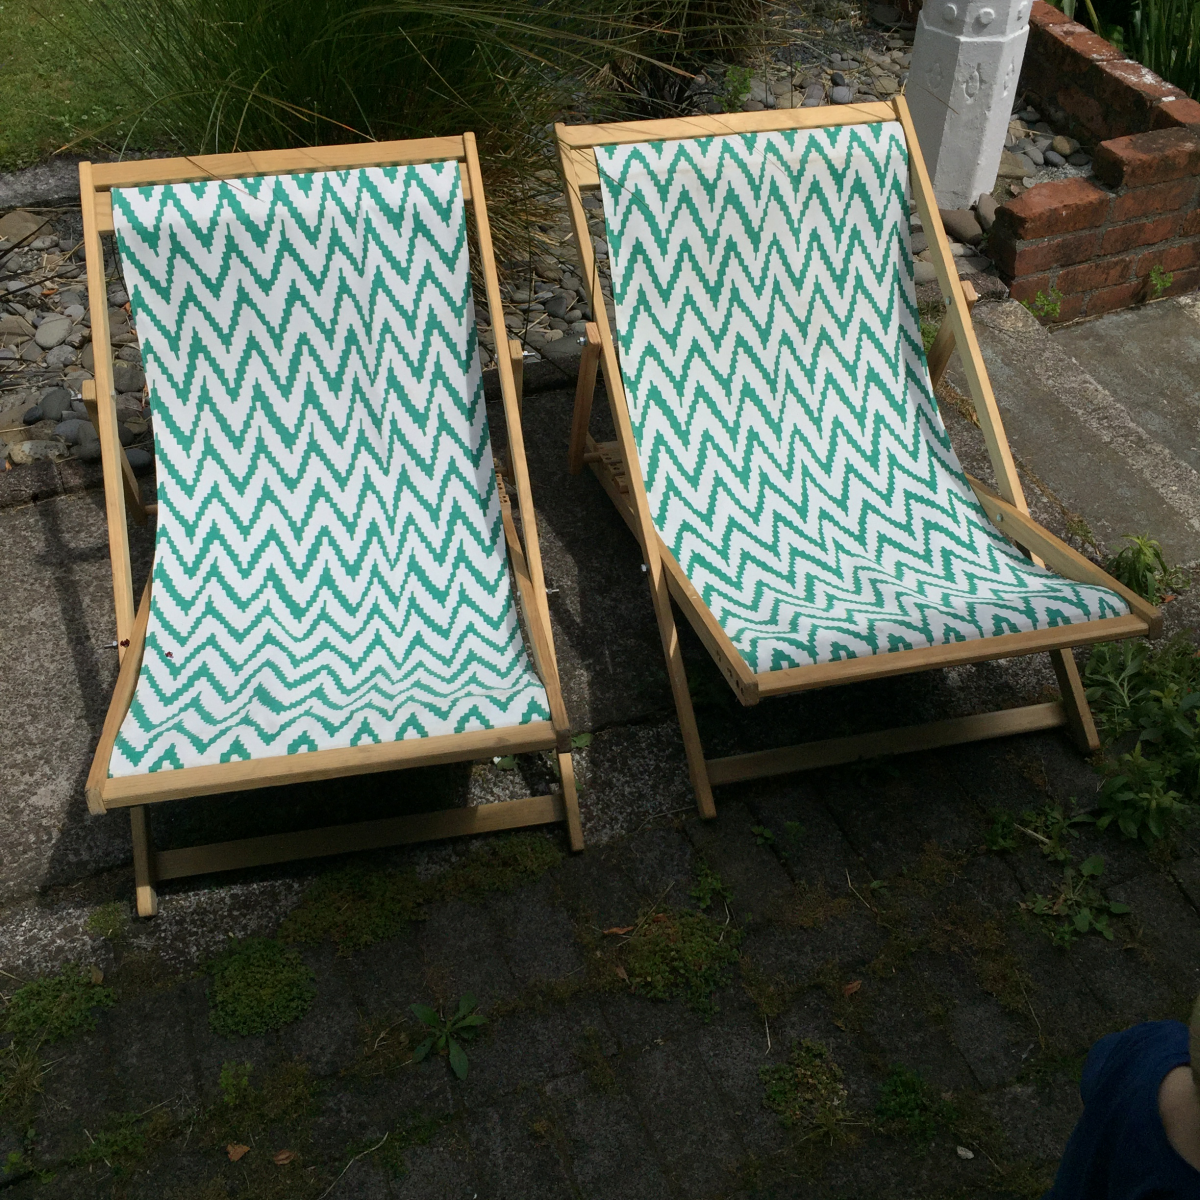
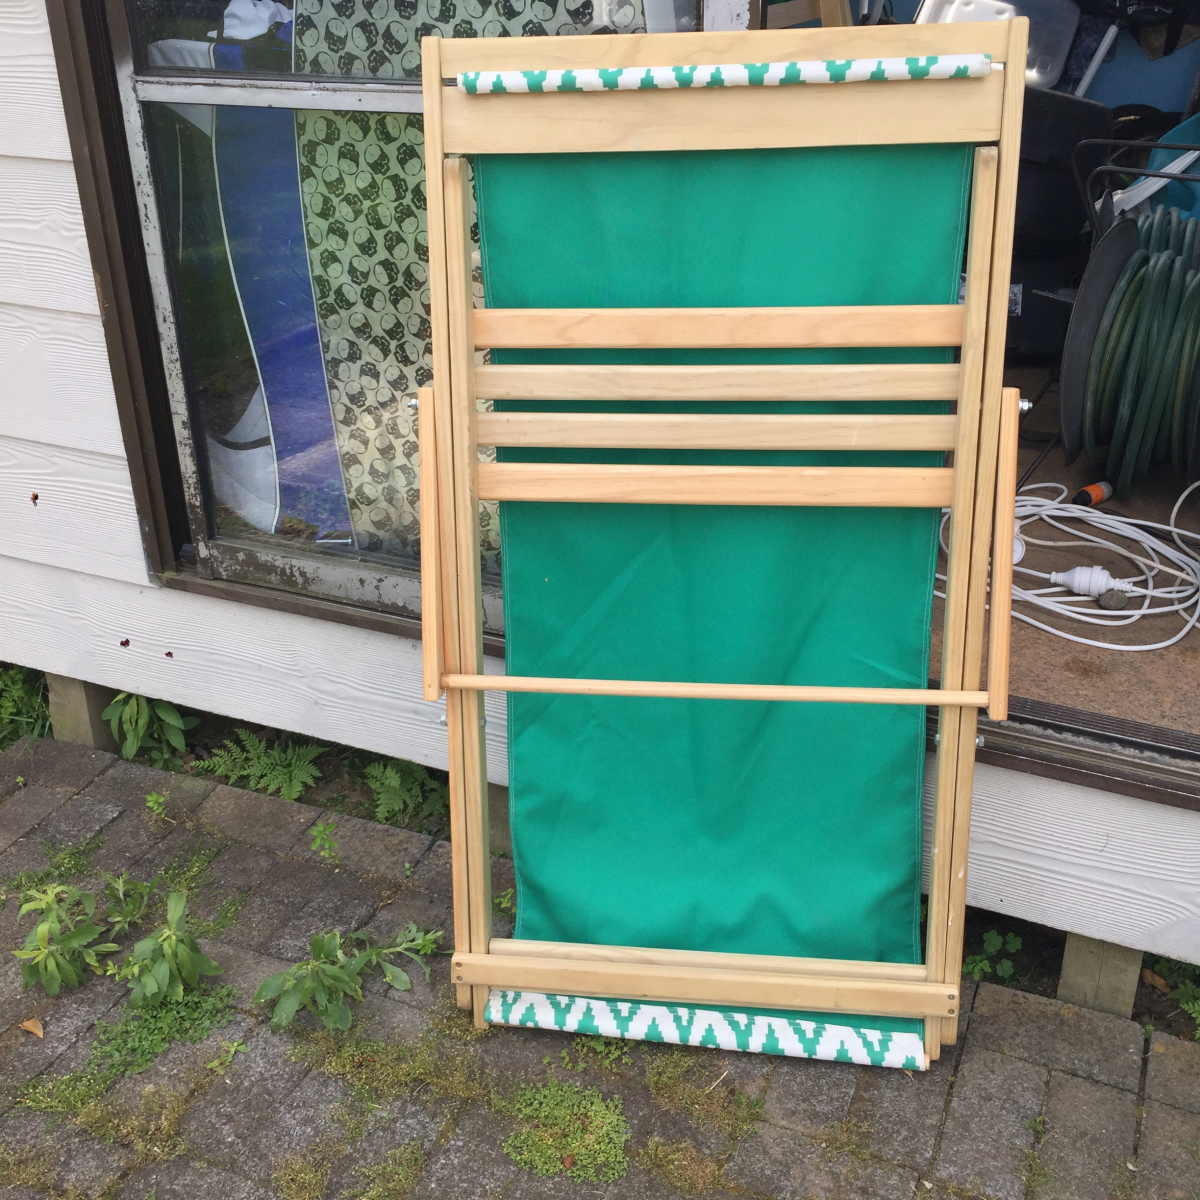
My first real project these deck chairs which I really enjoyed making. I've made a couple of changes to these since making them by removing the bolts and replacing them with 20mm dowel with a 4mm dowel pin. These work really well and stops us from getting shredded by the bolts.
I purposely left unfinished because I was basically developing them at the time and then just kind of liked the look as they got older. Basically these chairs are now about 6 years old and still going strong.
I'm looking at making some more sets for friends.
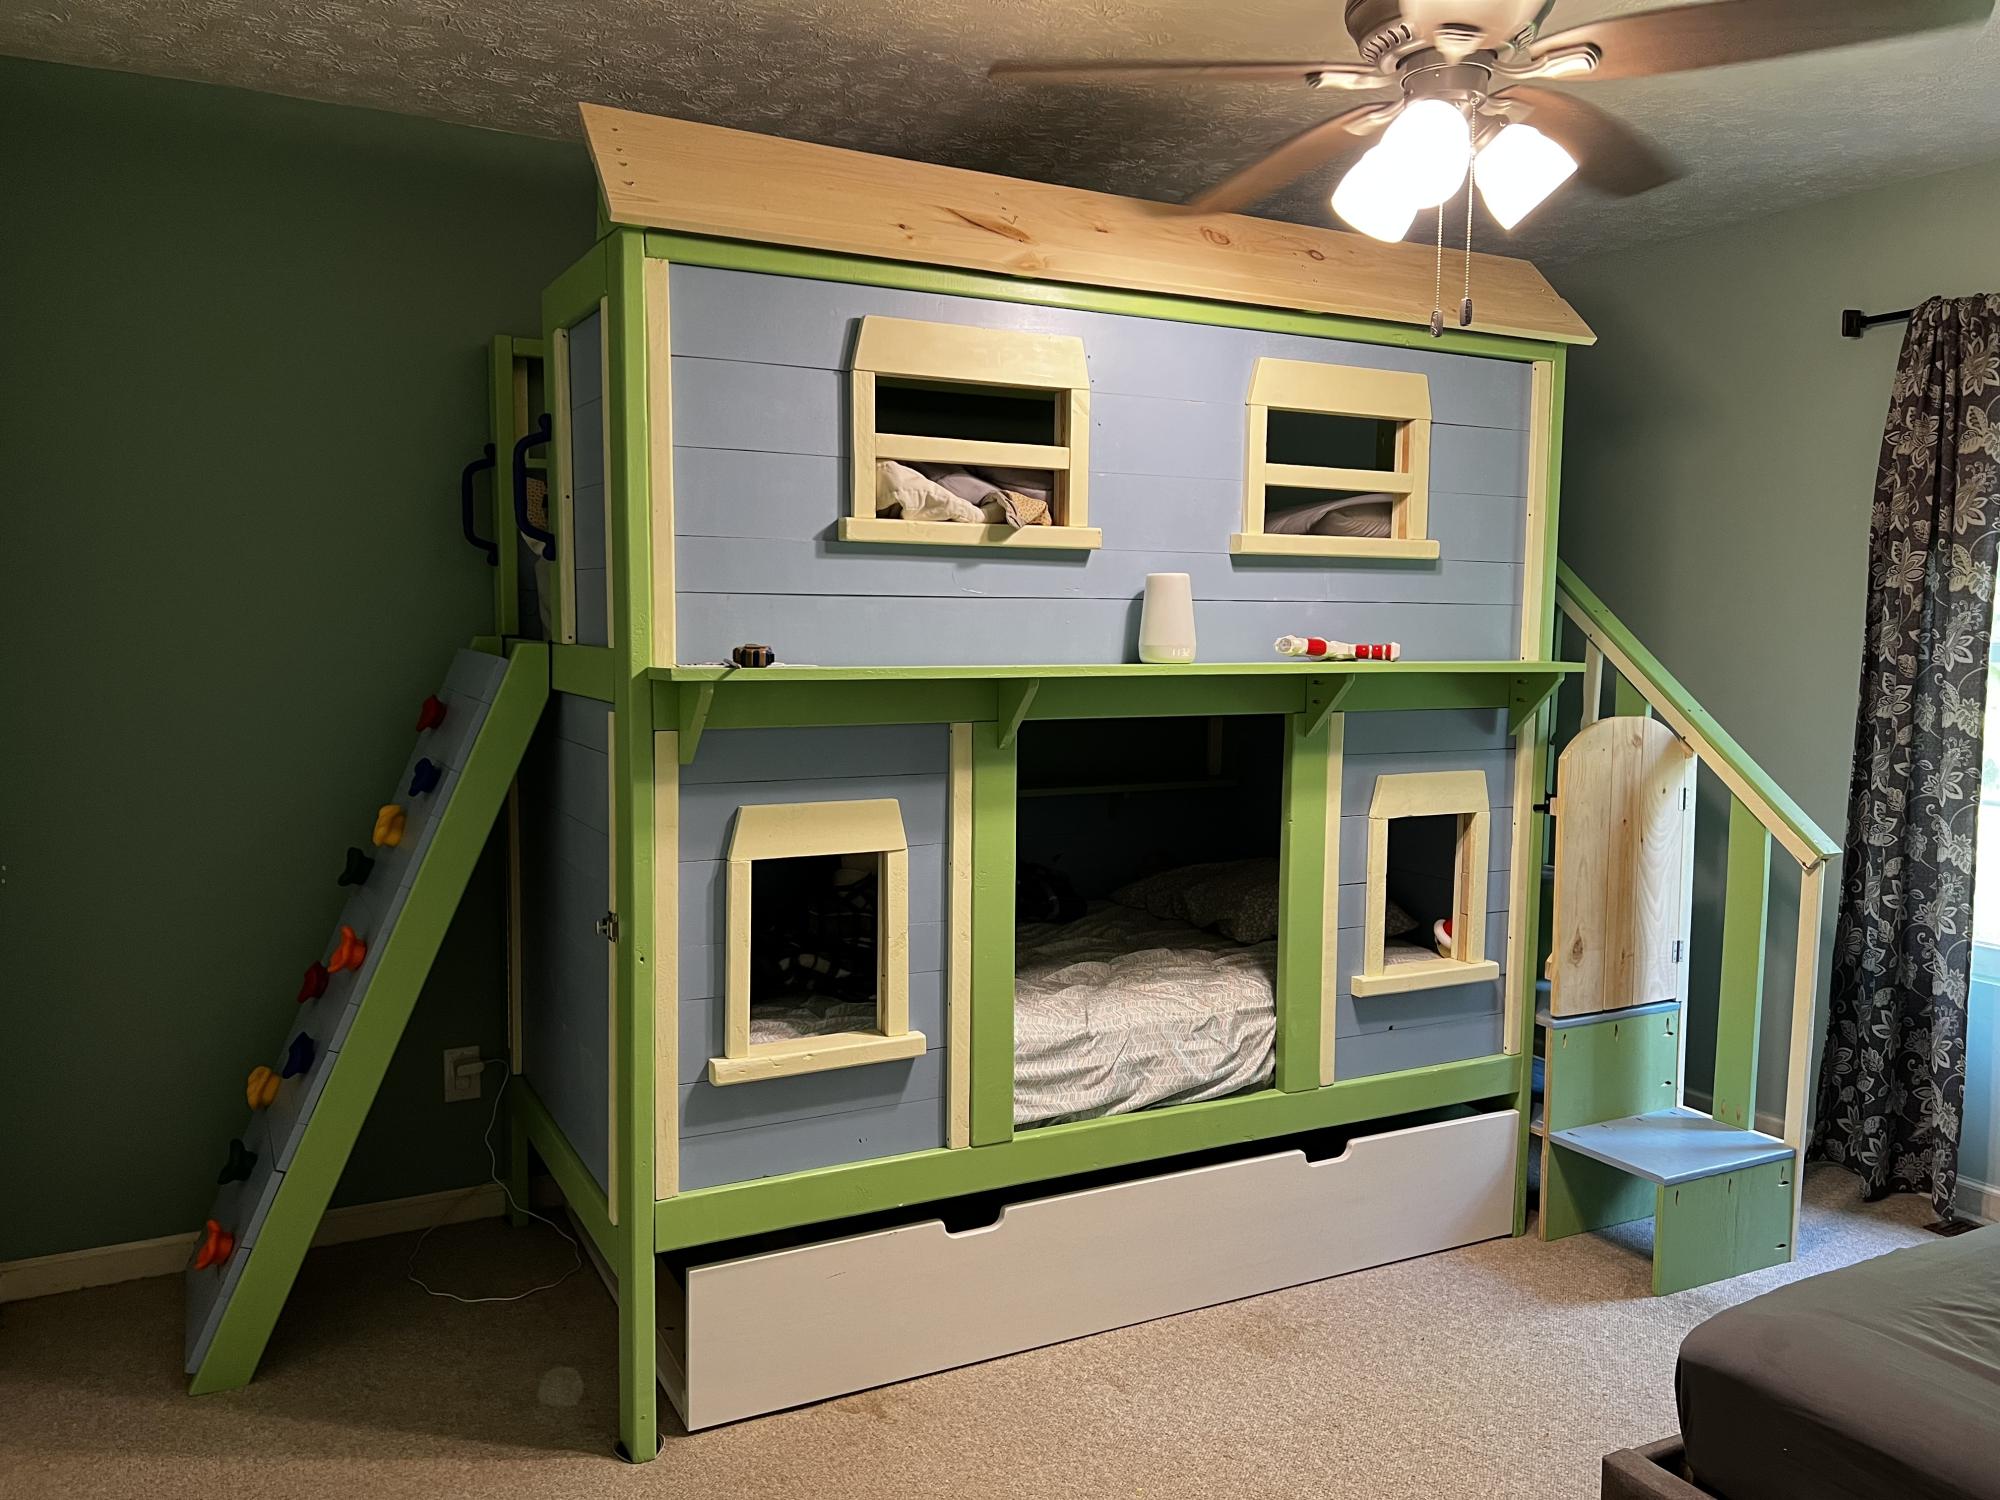
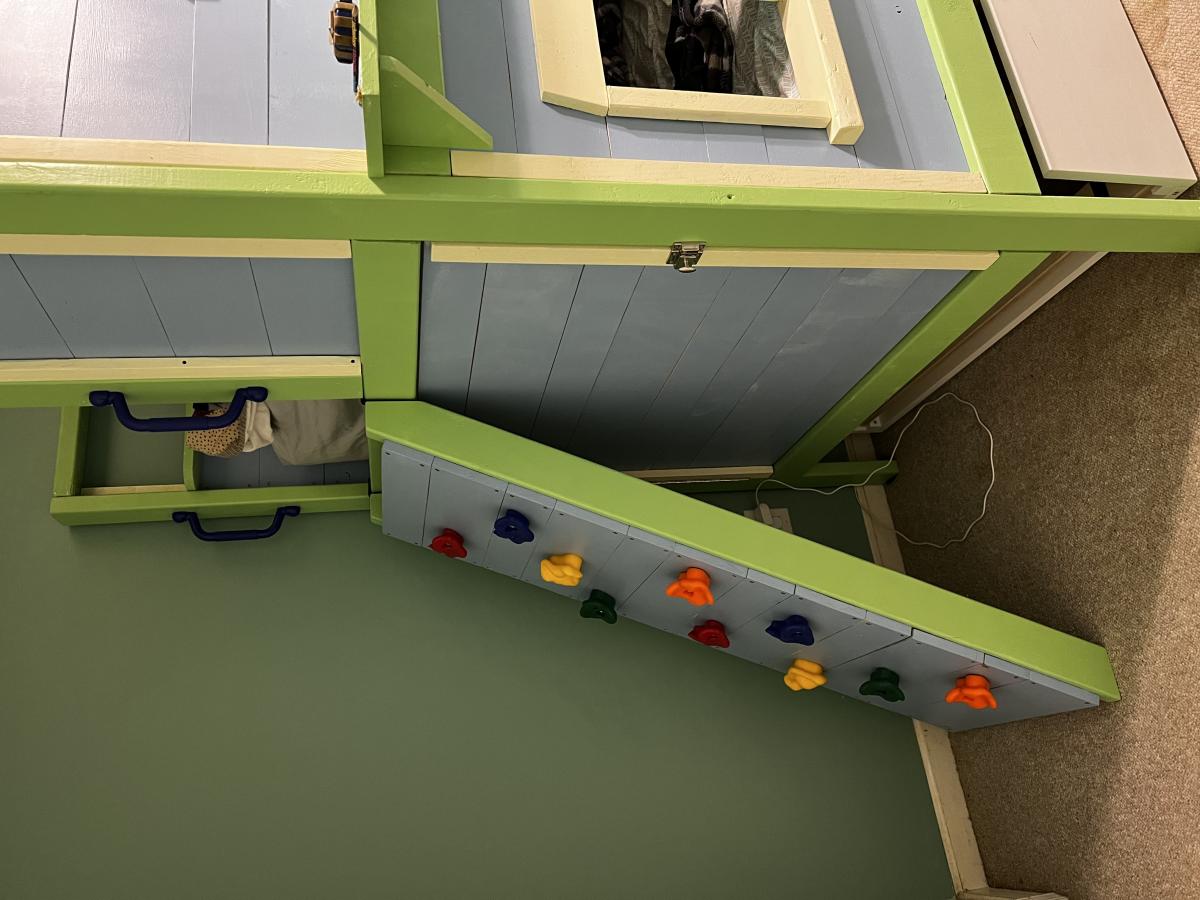
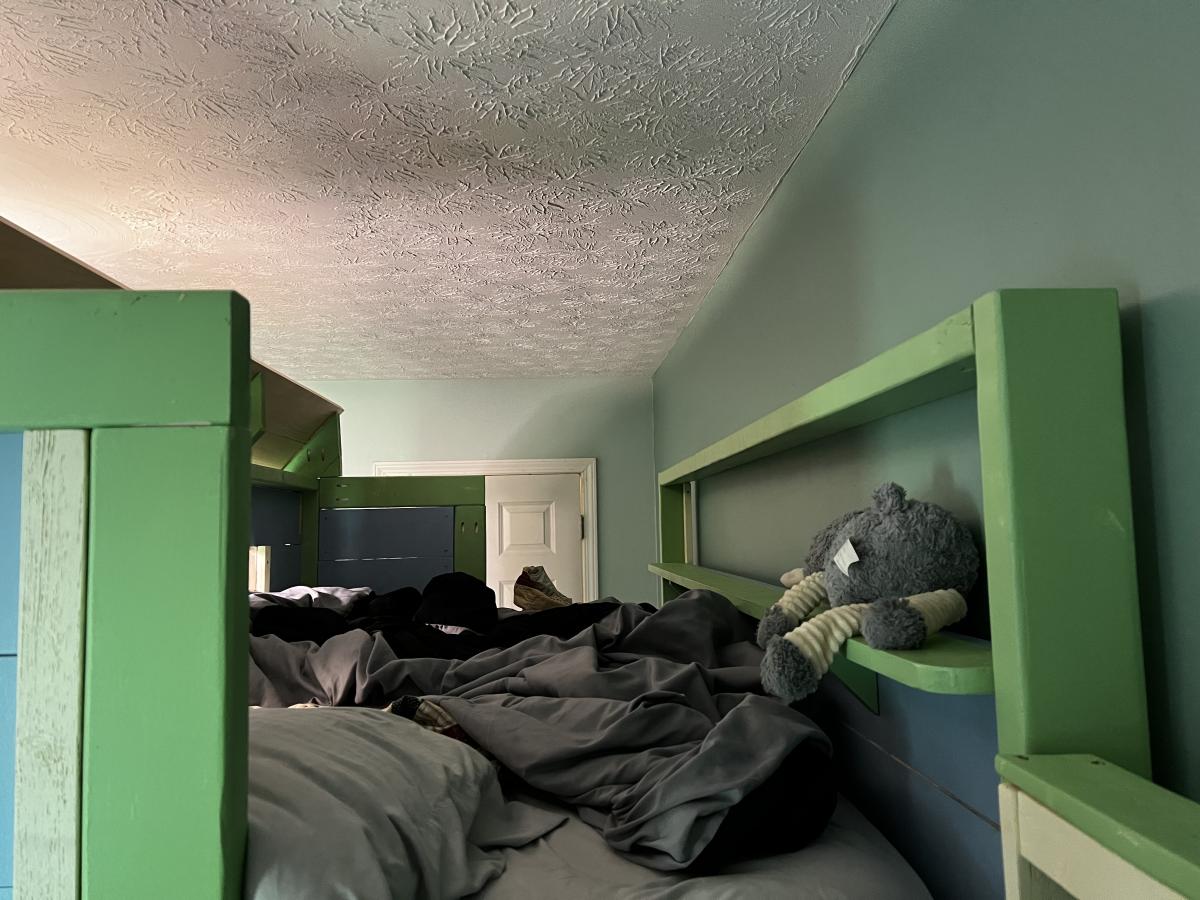
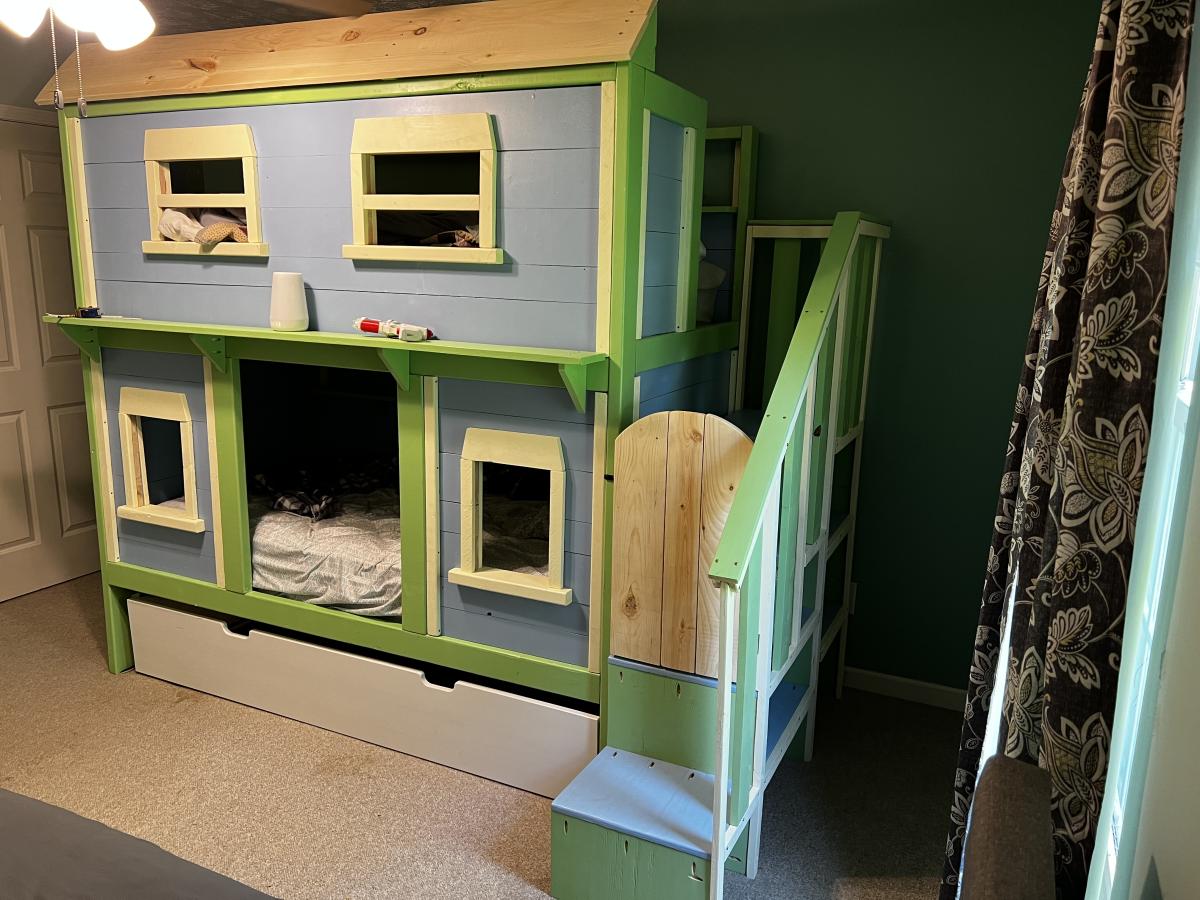
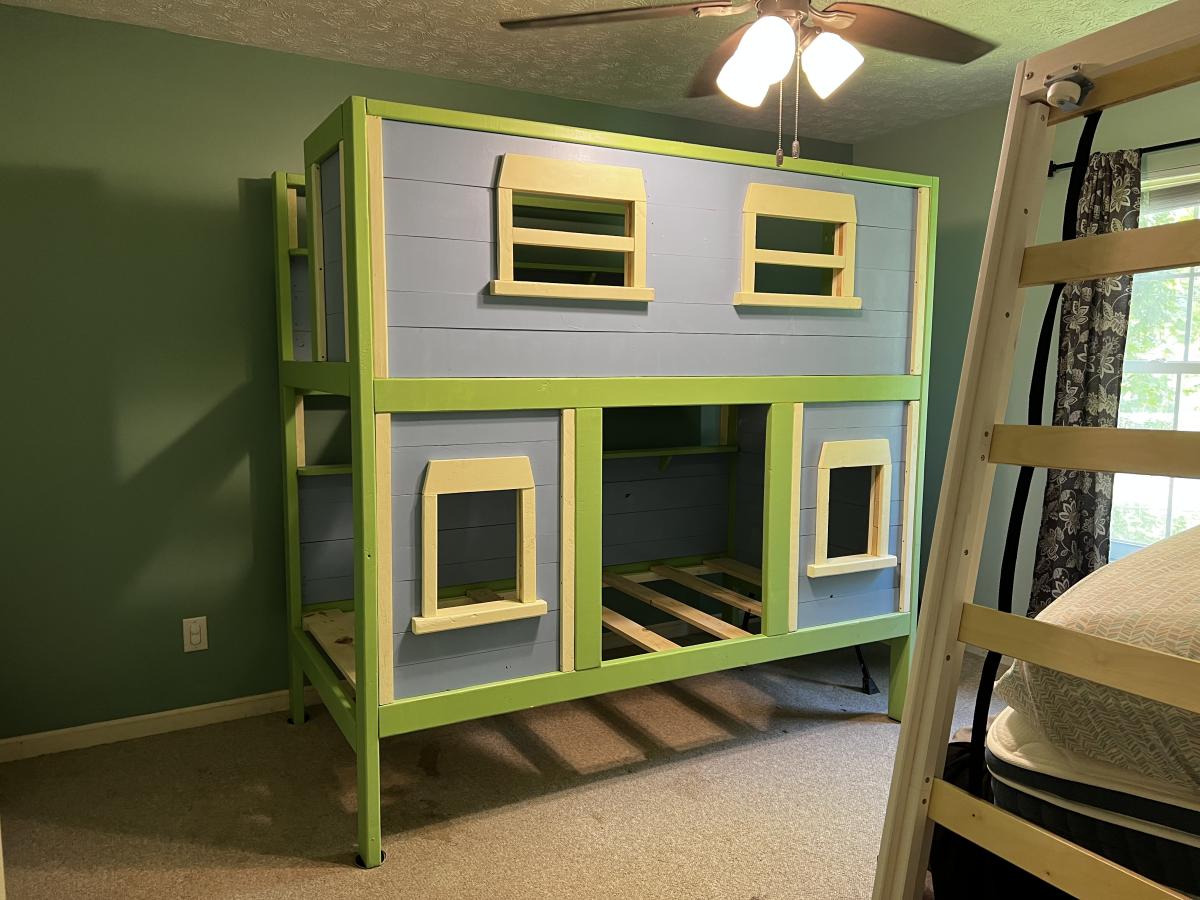
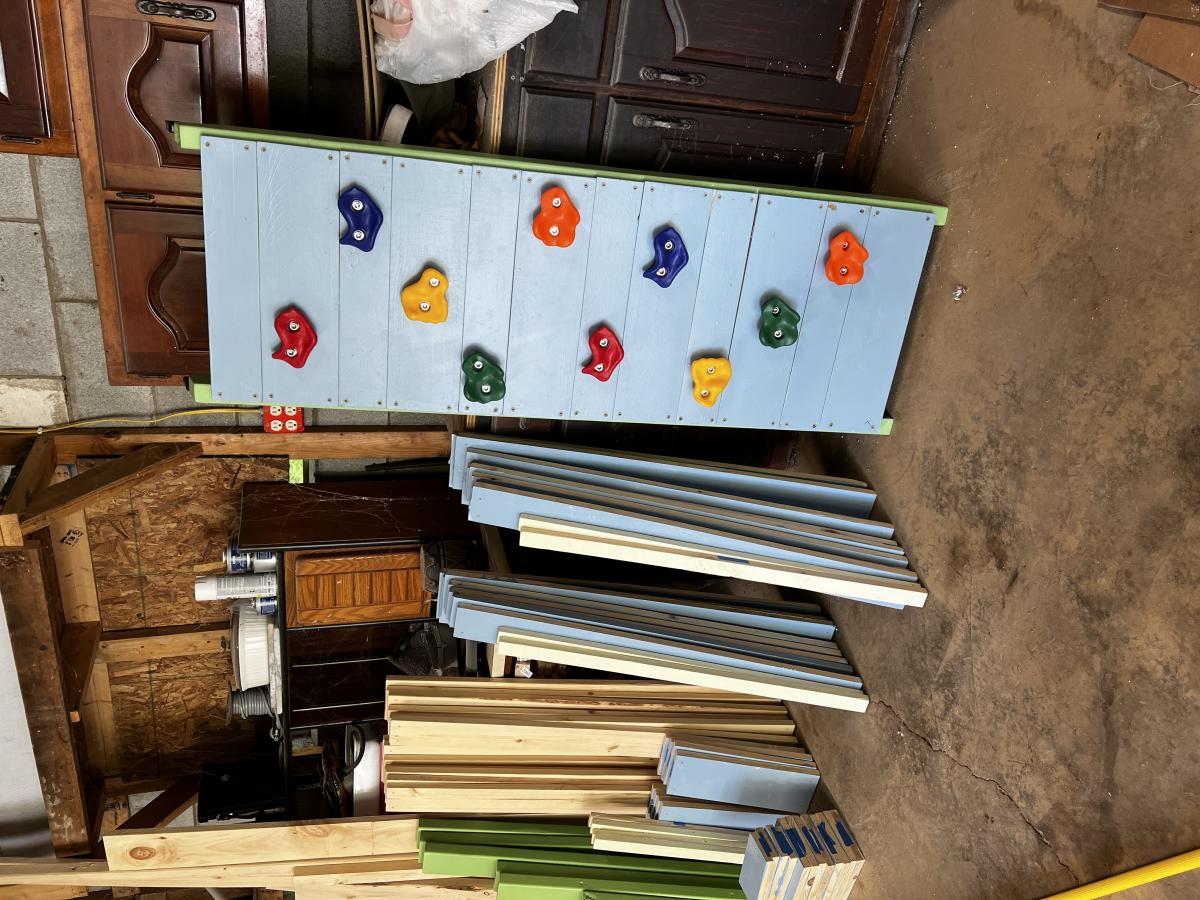
My oldest boy has been begging for Bunkbeds. With his birthday coming up, I searched to purchase some bunks. I didn’t really like what I found and remembered this site. I fell in love with the sweet pea bunk bed and knew I had to make it for my boys.
It took about a month for me to complete. But I was working about 3 hours daily. One during nap time and two after bed time.
Overall, the plans were very clear. There was one part I can’t remember where the measurement was wrong. Definitely read the plans to make sure. I’m sorry I can’t remember where it was at the moment. These beds are awesome! They are so cozy and fun. Both of the boys love it and my oldest definitely thinks I’m the best mom ever! Thank you for the free plans!
Sat, 05/20/2023 - 16:20
WOW, this is amazing, thank you for sharing! I'm sure they love it.
Comments
Mrs.duff24
Fri, 12/30/2011 - 10:26
I love these! You did a great
I love these! You did a great job !!
Mrs.duff24
Fri, 12/30/2011 - 10:26
I love these! You did a great
I love these! You did a great job !!