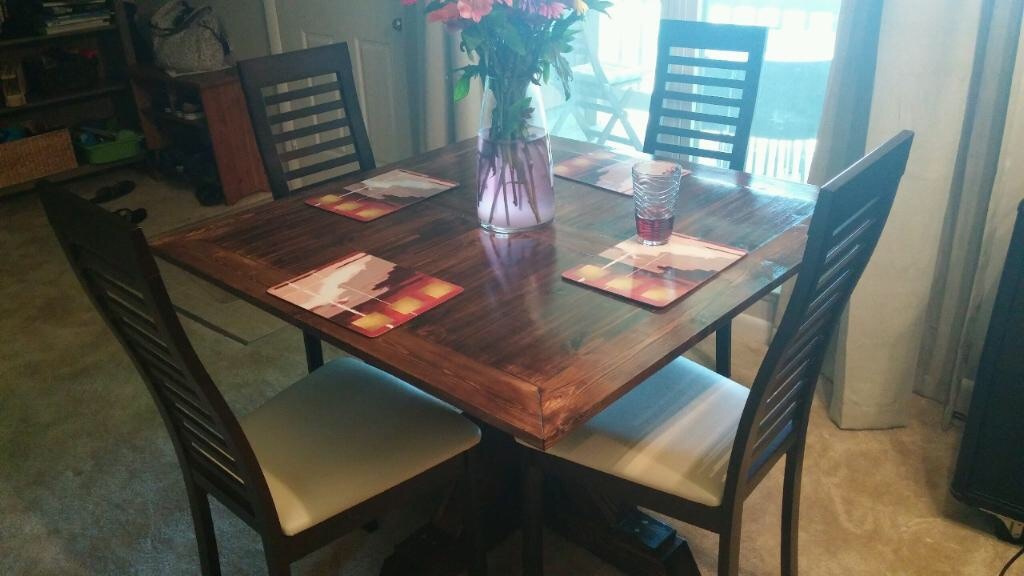
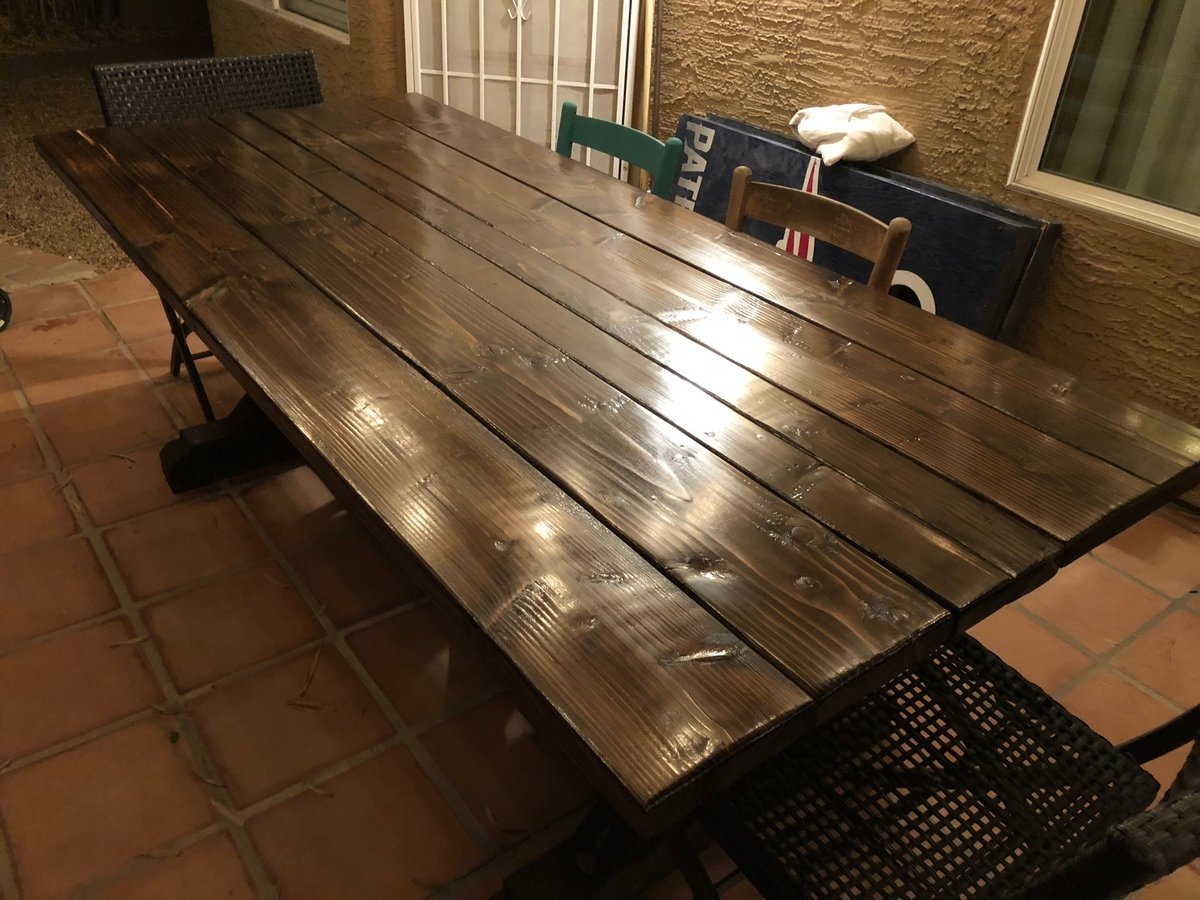
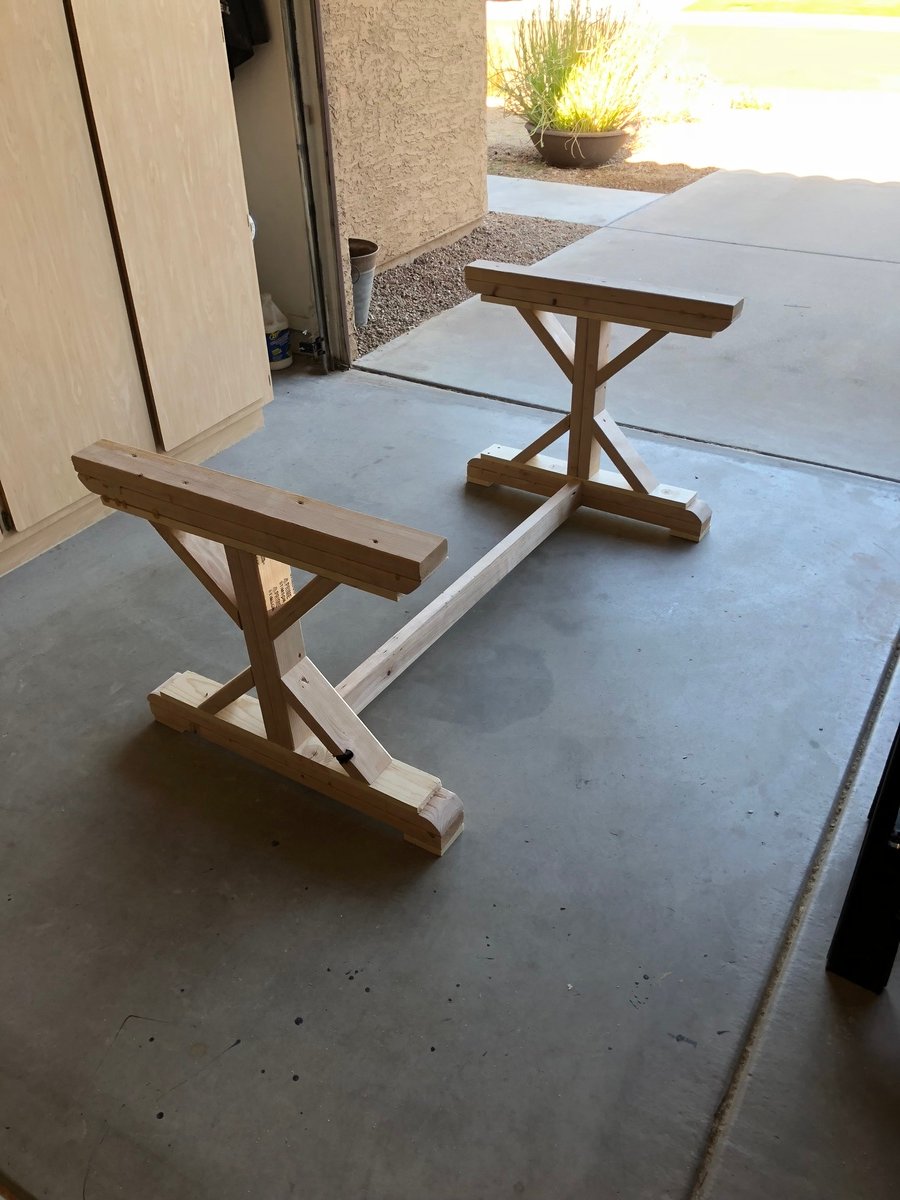
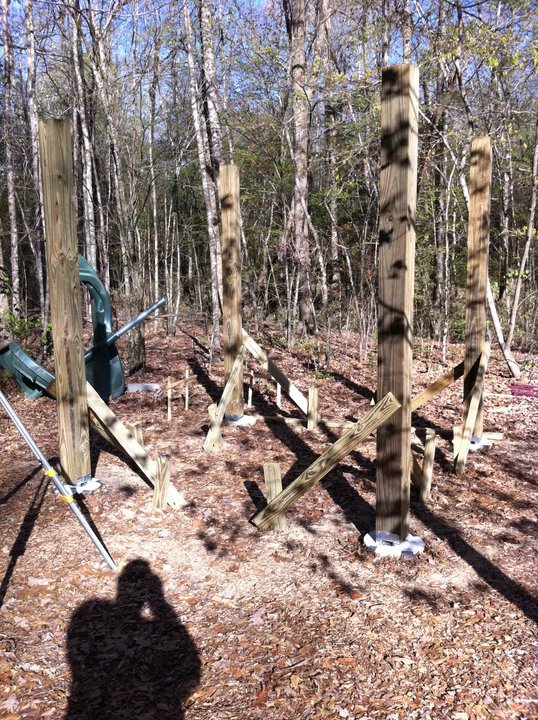
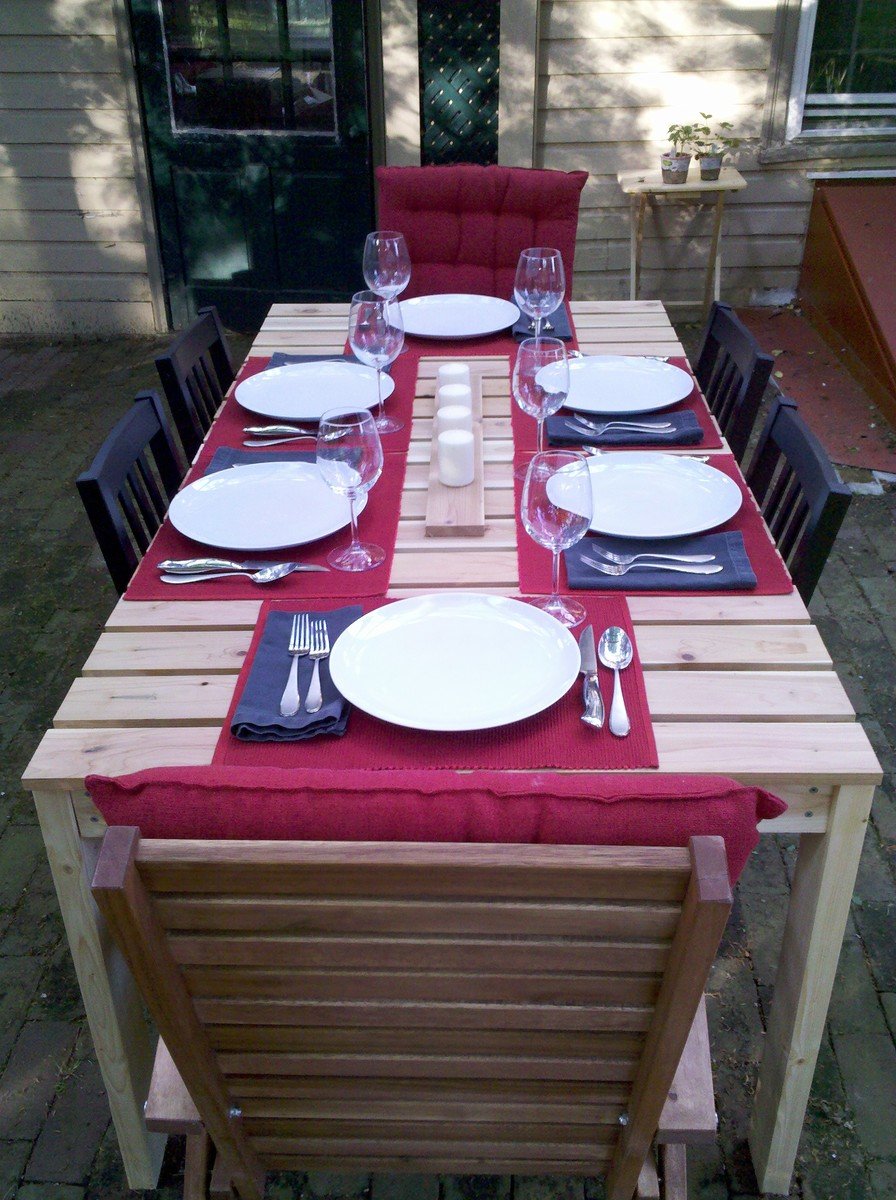
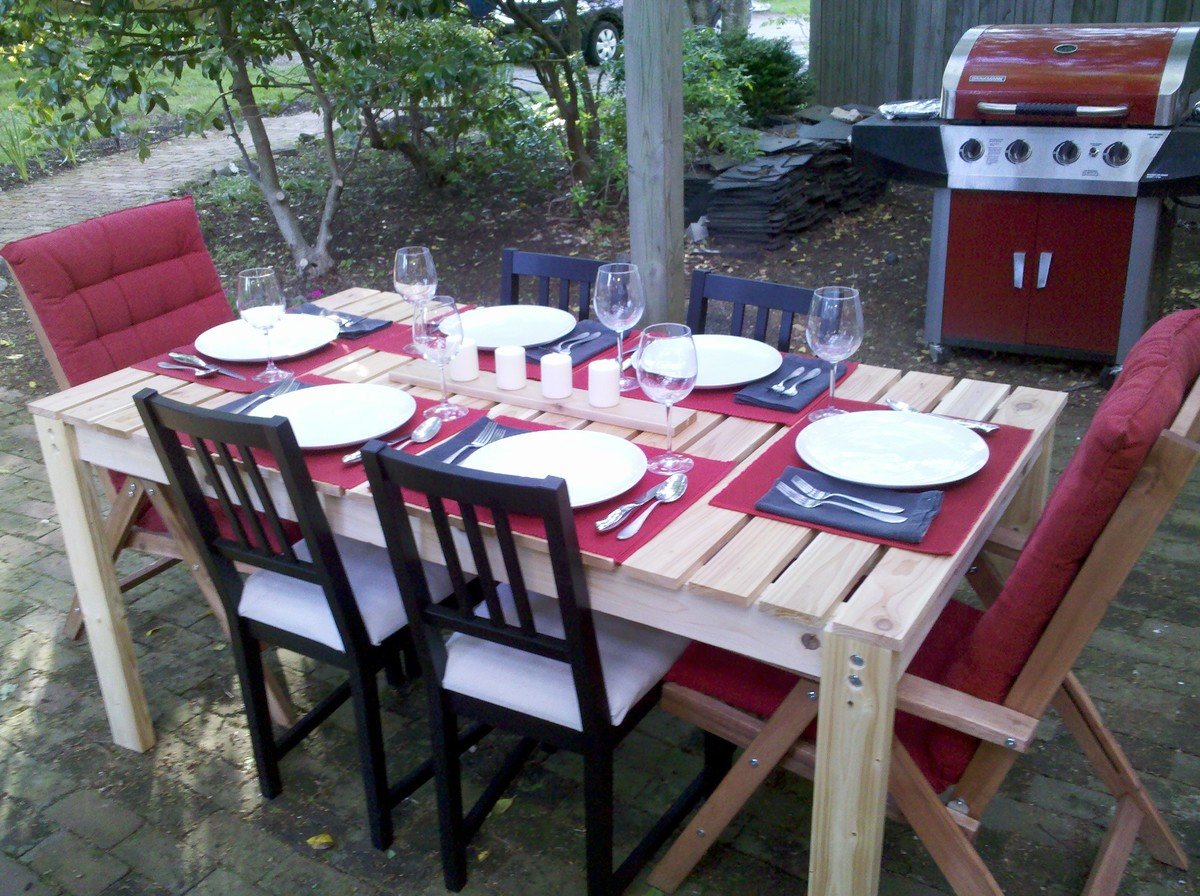
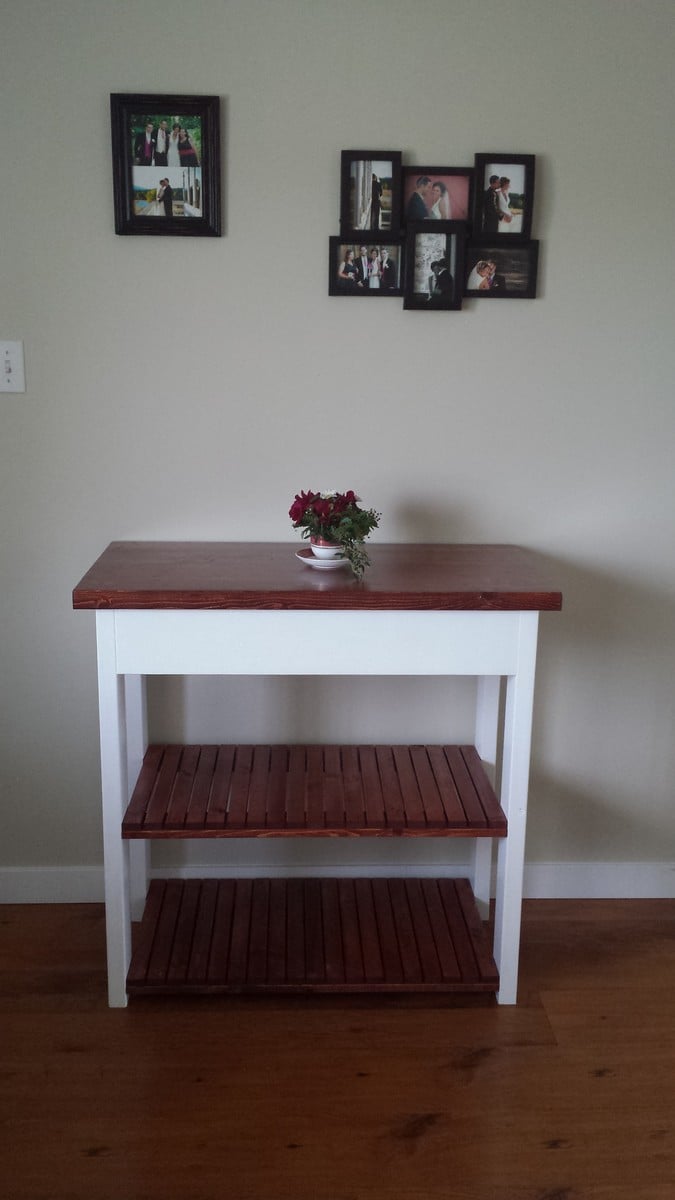
We needed an outdoor table for our patio, and this one fit the bill!
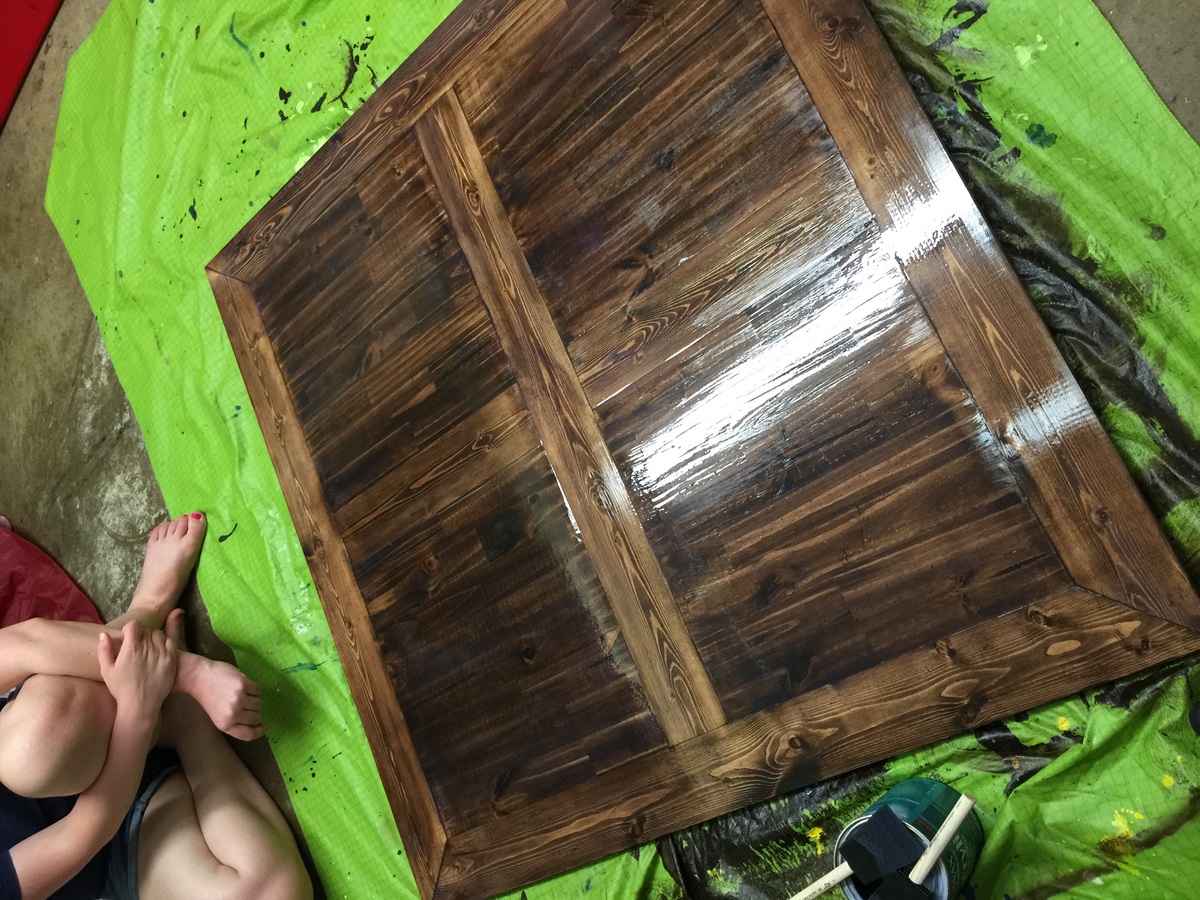
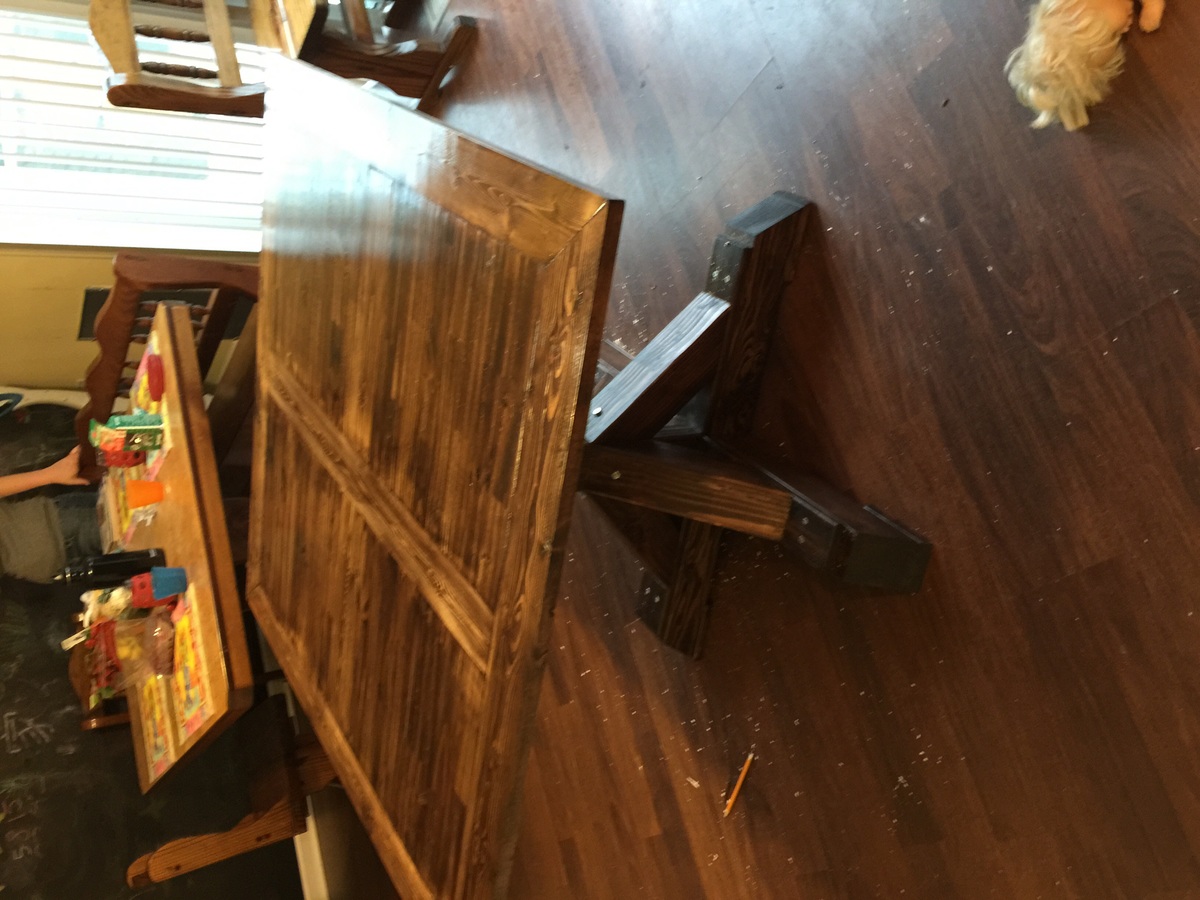
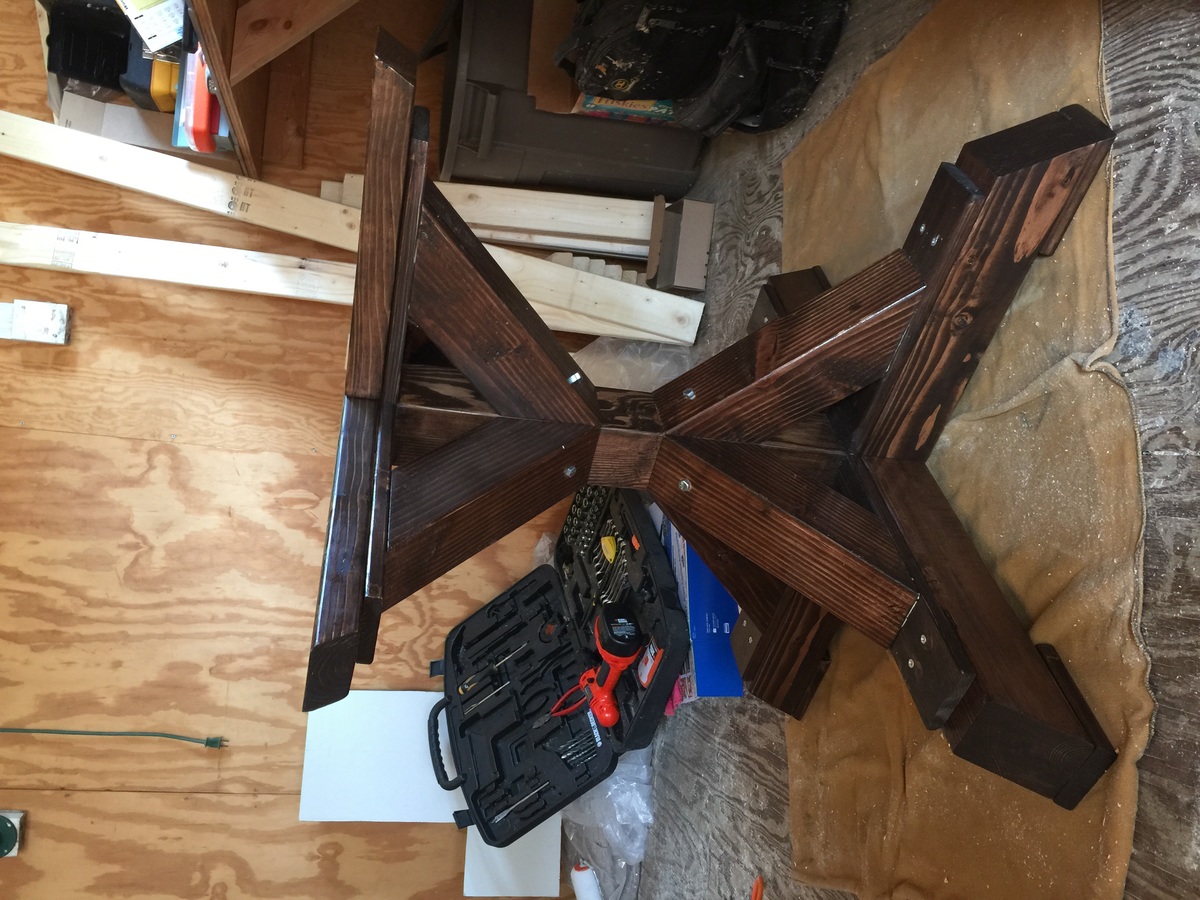
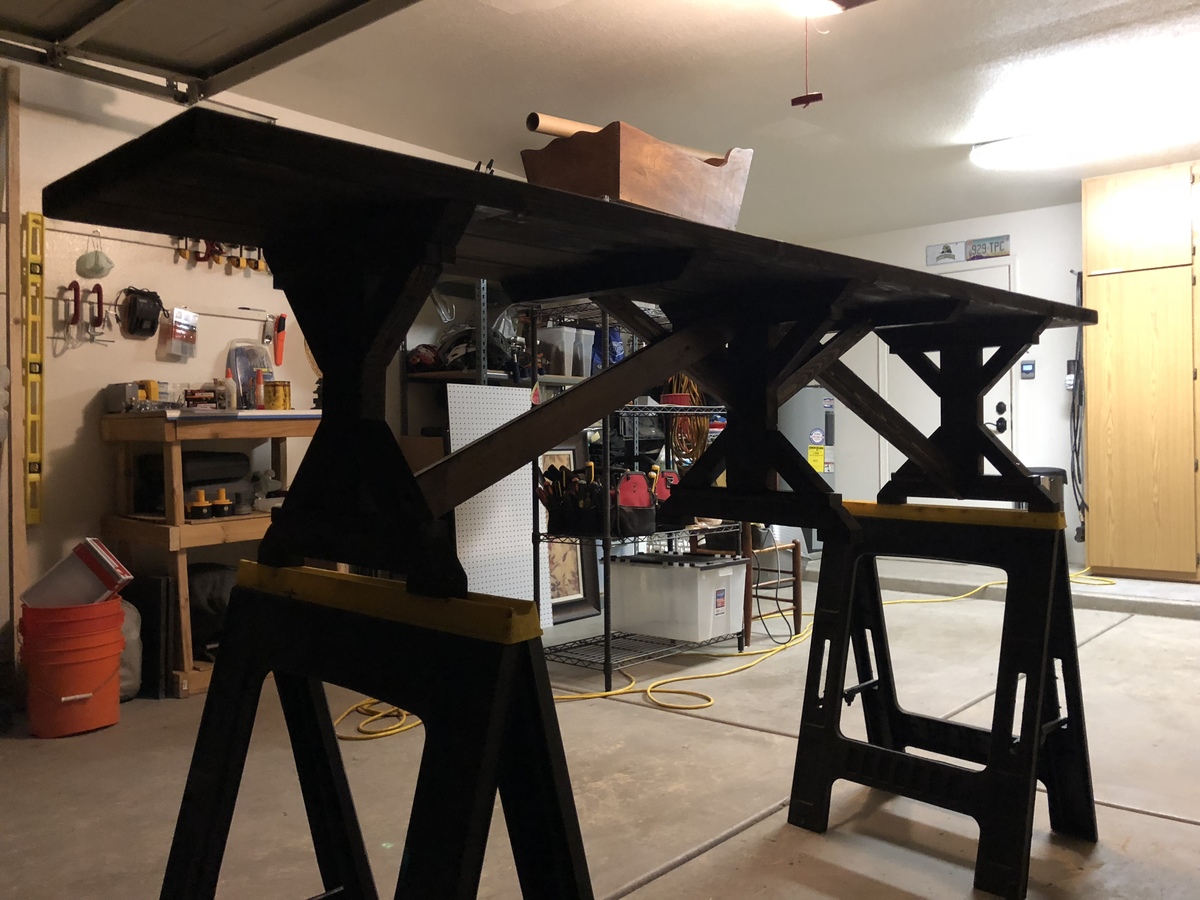
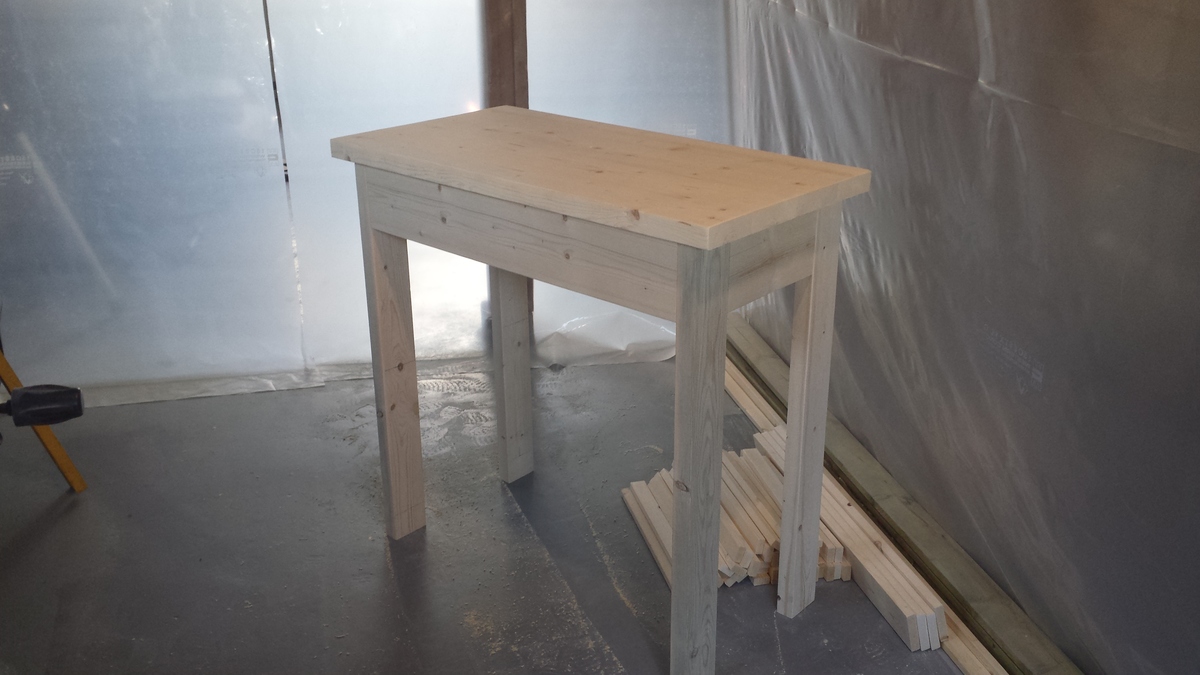
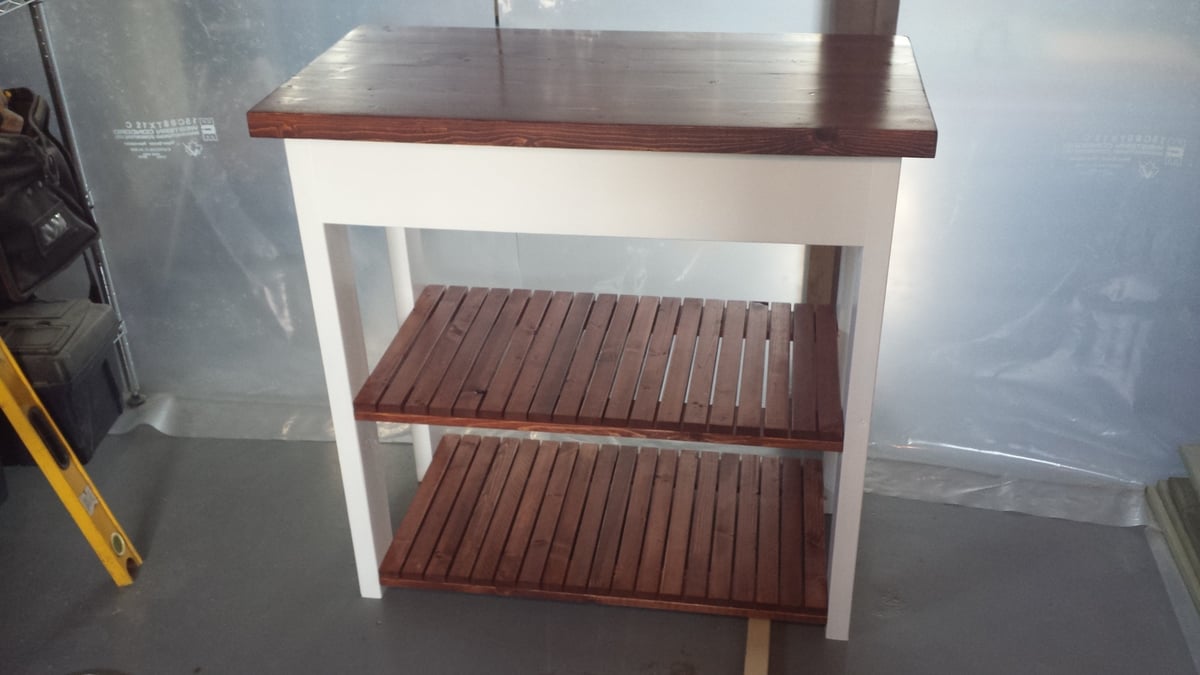
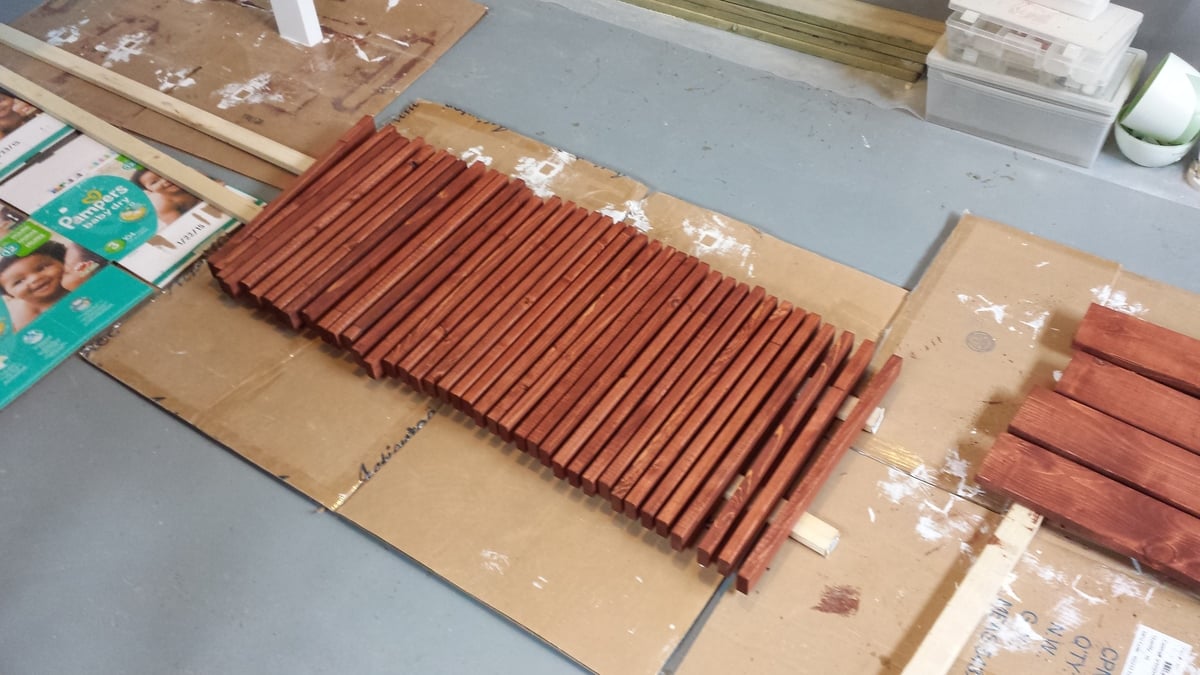
I loved the photos that others have put out of their own tables, but I was concerned about eating off of a table that was stained and varnished with petrochemicals. In order to avoid the toxic finish, I built the top and stretchers out of cedar wood, which I sanded down to 220 grit, and gave a light coat of tung oil finish. The legs are untreated 2x4s that I sanded down and gave a heavy coat of tung (e.g. seven applications.)
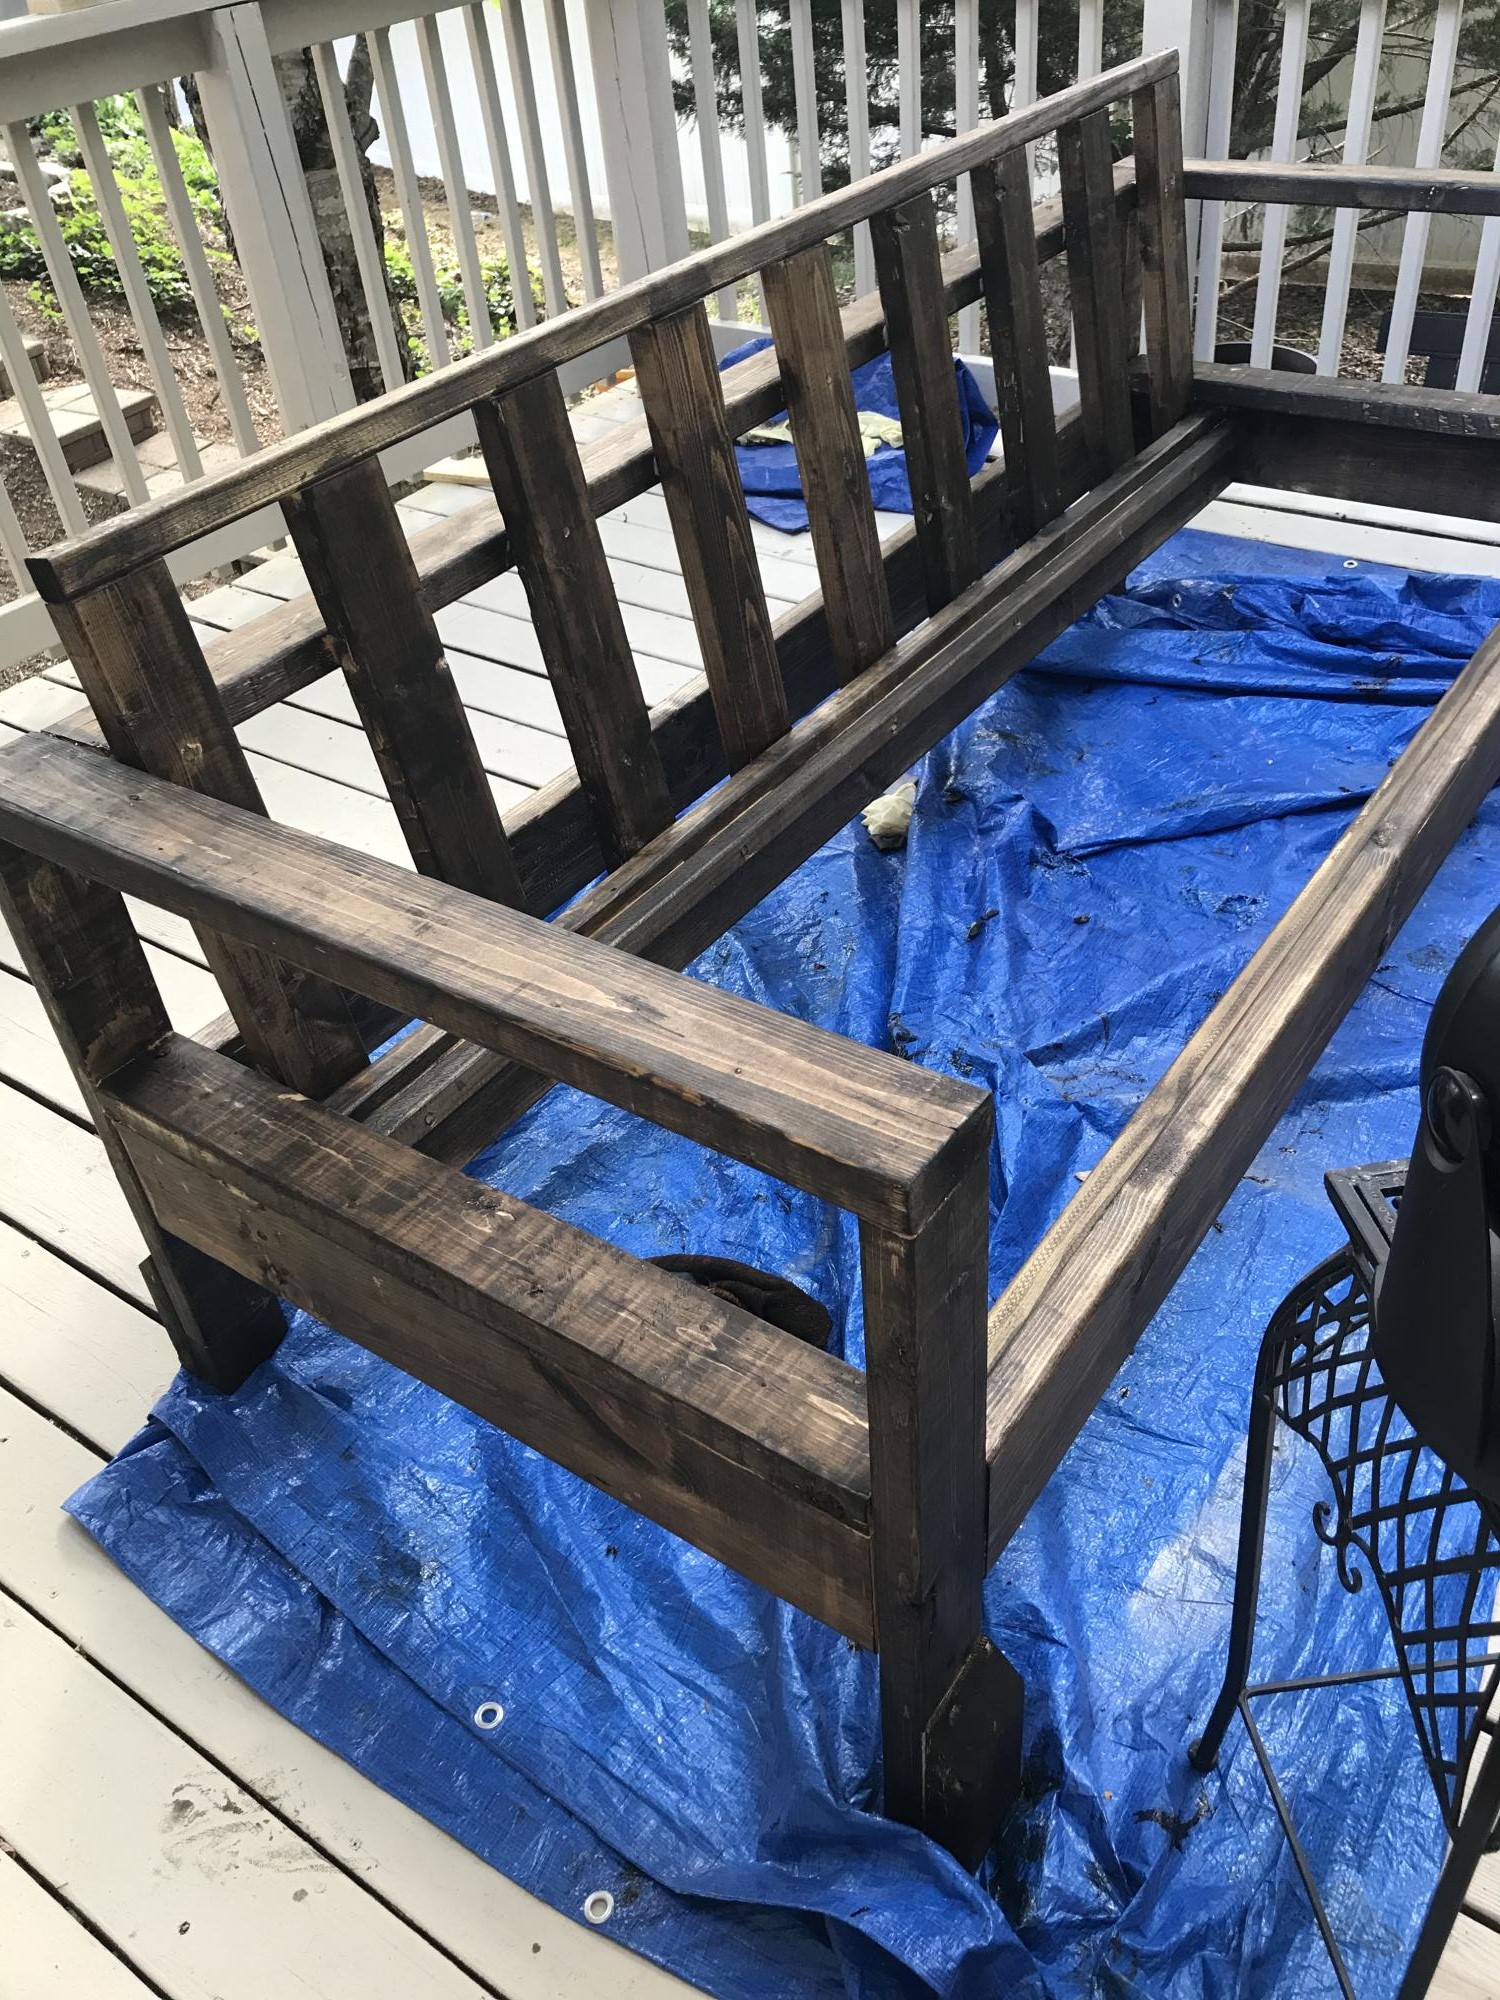
To ensure the legs remain in good condition, I intend to foot them with sheet metal casings when I remove them at the end of the season.
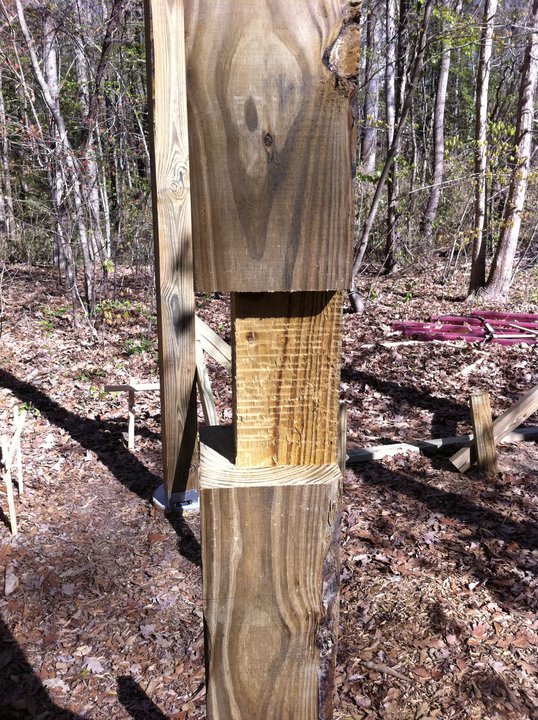
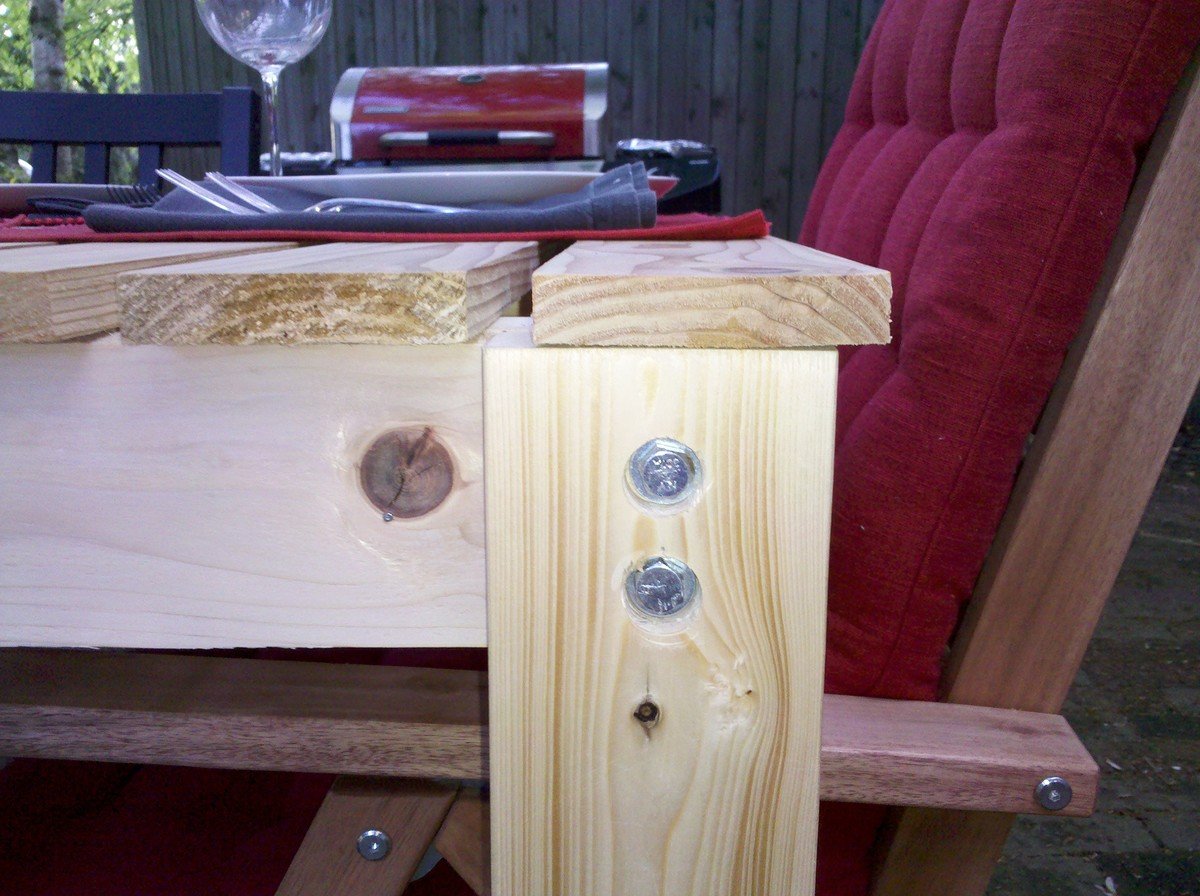
I also took Ana's advice, and attached the legs using bolts, so that I can disassemble the table and throw it in the garage over the winter. There's a close-up of how I inset the bolt-heads with a spade-bit below.