X Desk with Exotic Wood
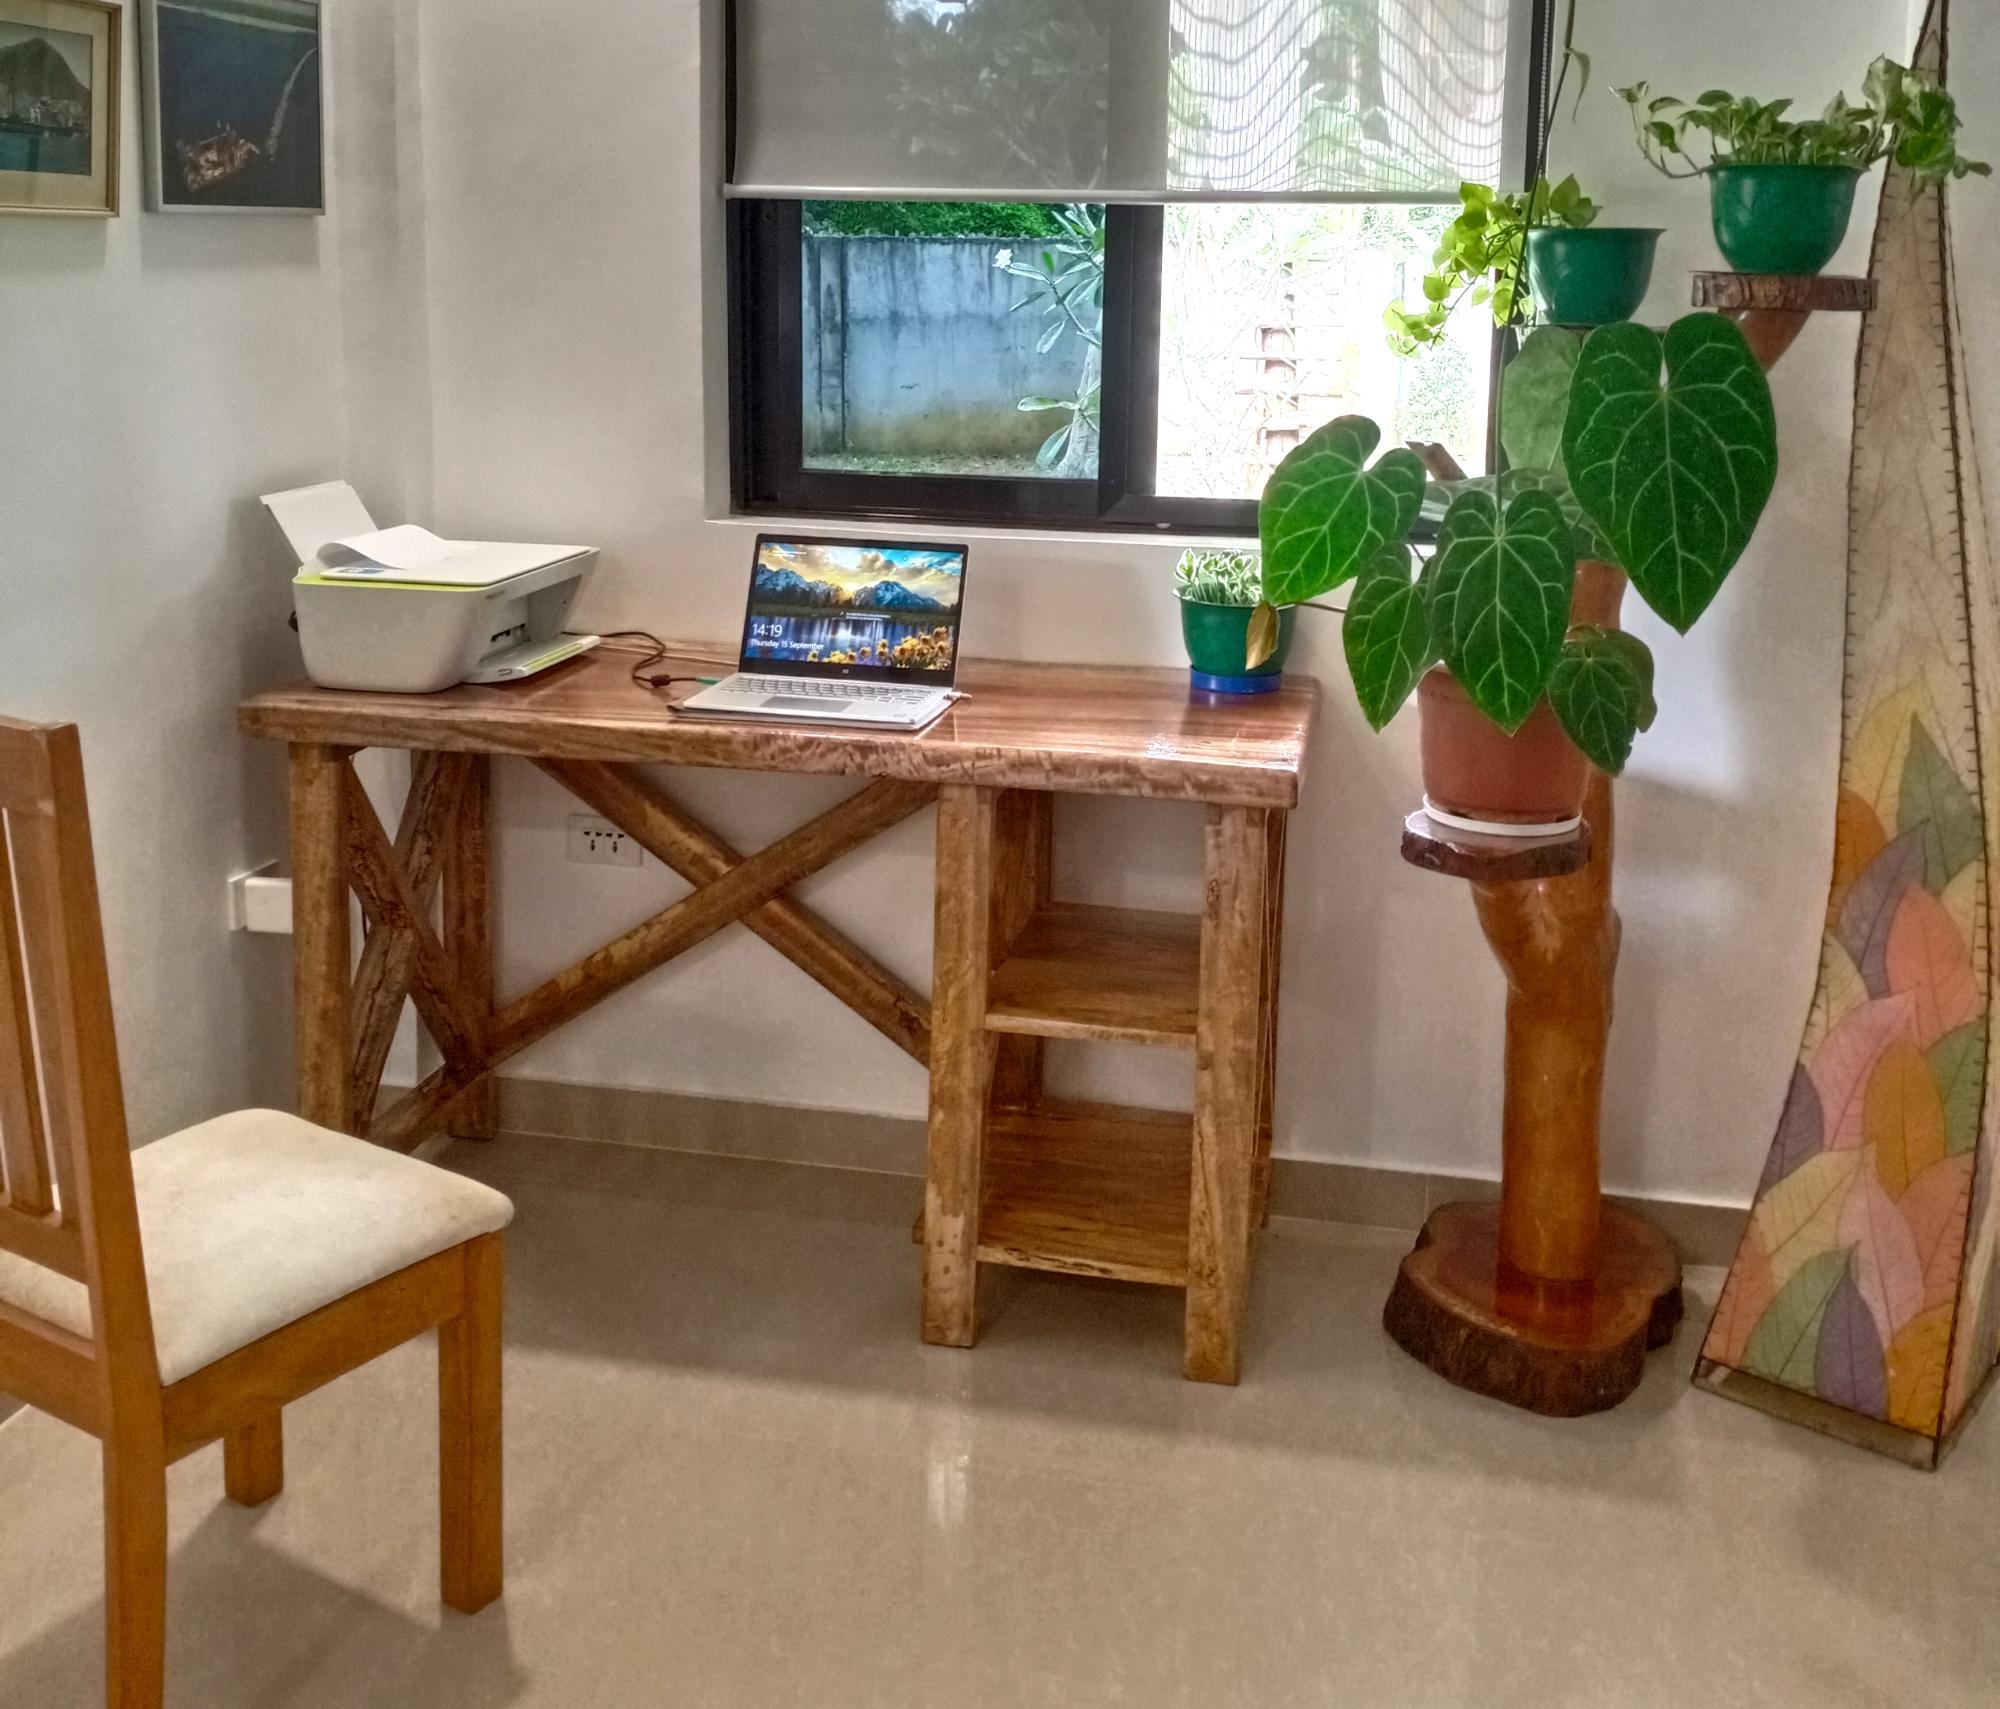
Desk from Mango wood and the top is acacia
@douwe_adema
Built from Plan(s)
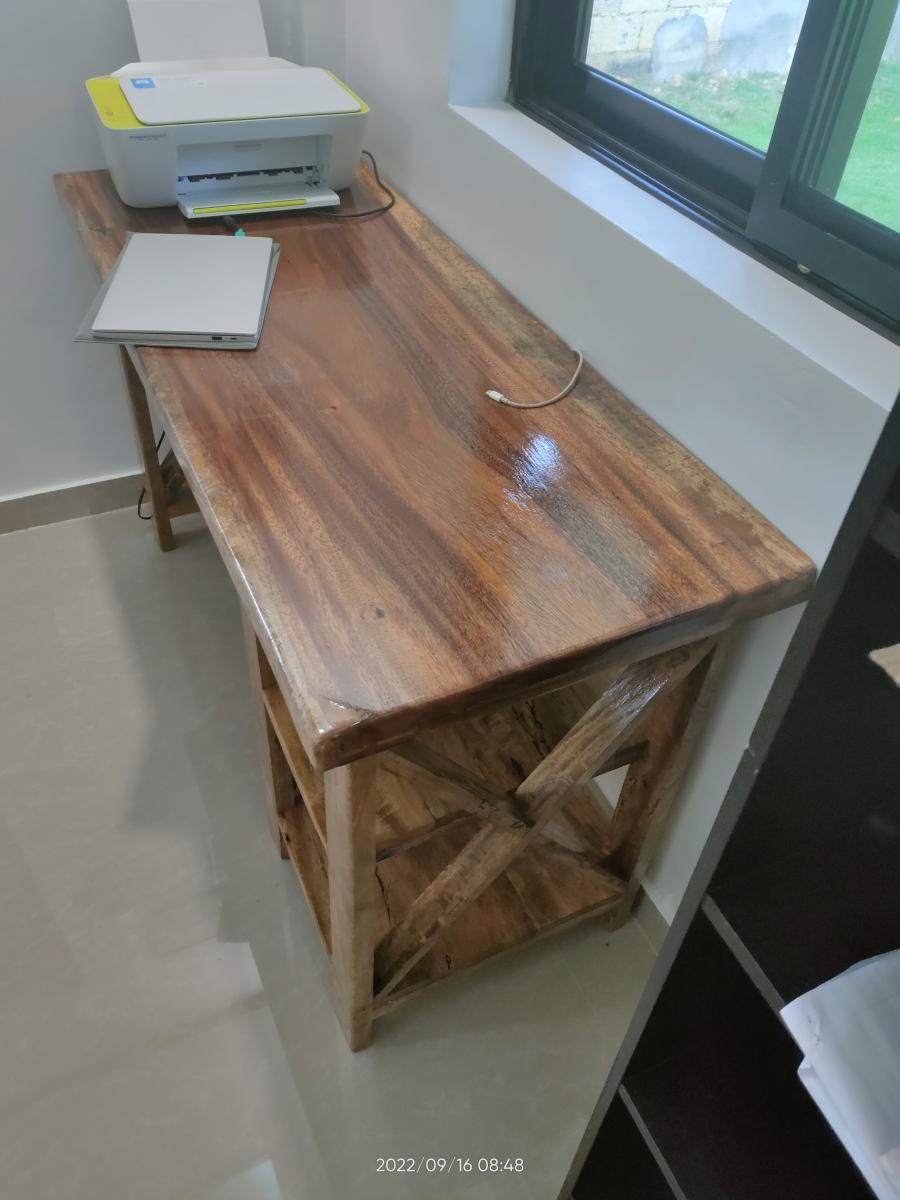
Desk from Mango wood and the top is acacia
@douwe_adema
This project was my first from Ana White's plans and my first wood working project on my own. I spent quite a bit of time w/ my dad as a young boy helping him w/ woodworking projects and have been looking forward to doing one on my own.
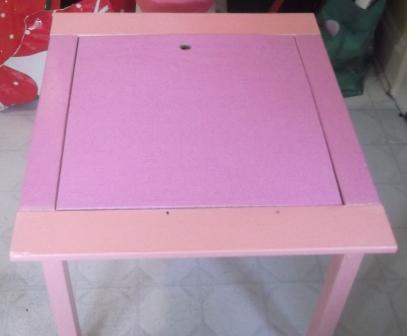
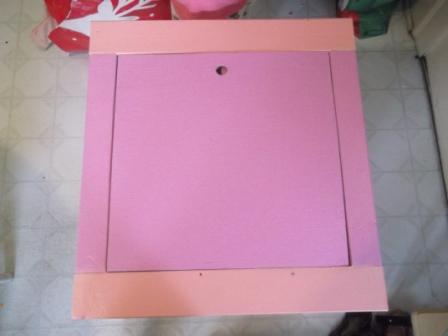
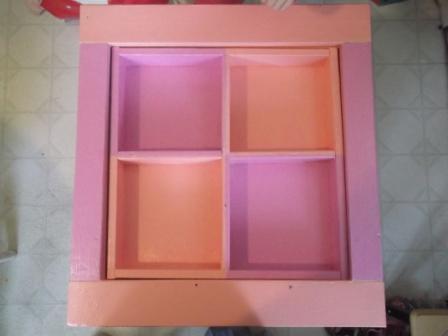
My daughter is a crazy artist of four years old and she makes more art in a month than we know what to do with. Along with that comes piles of crayons, markers, paper, and so on all over her room, so this table was for her to try and keep organized.
The only real modification from Ana's original plans was that I used plywood for the cover instead of a clear piece of plastic b/c I figured the wood would hold up better under a four year old's abuse.
Sat, 08/02/2014 - 09:46
Yes, i actually had to put two pieces glued together in order to get the correct height to fill it in. It's a little heavy, but my daughter really loves the table and it doesn't seem to be too much of a problem.
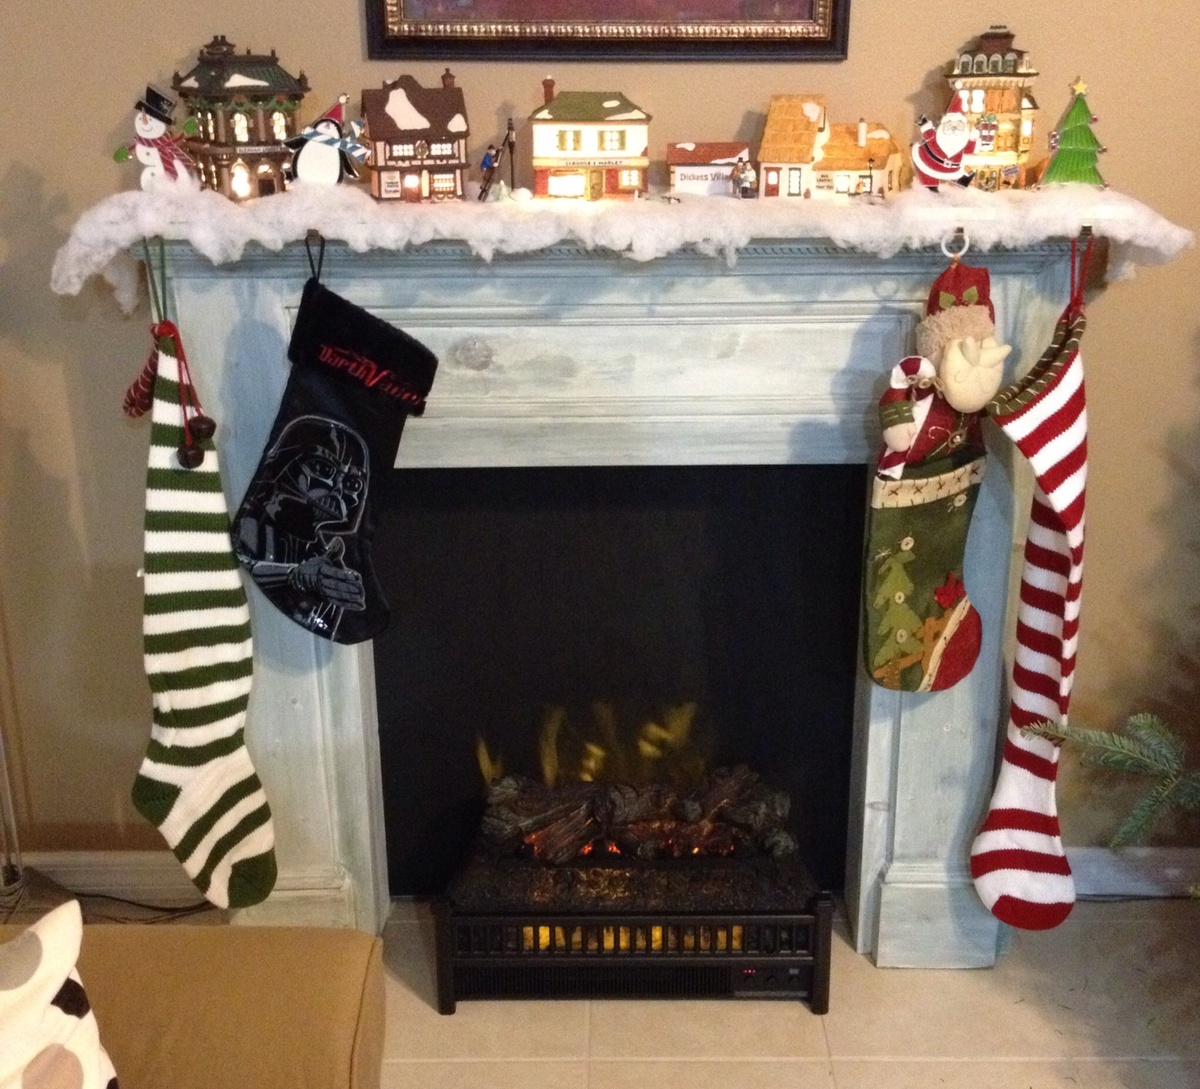
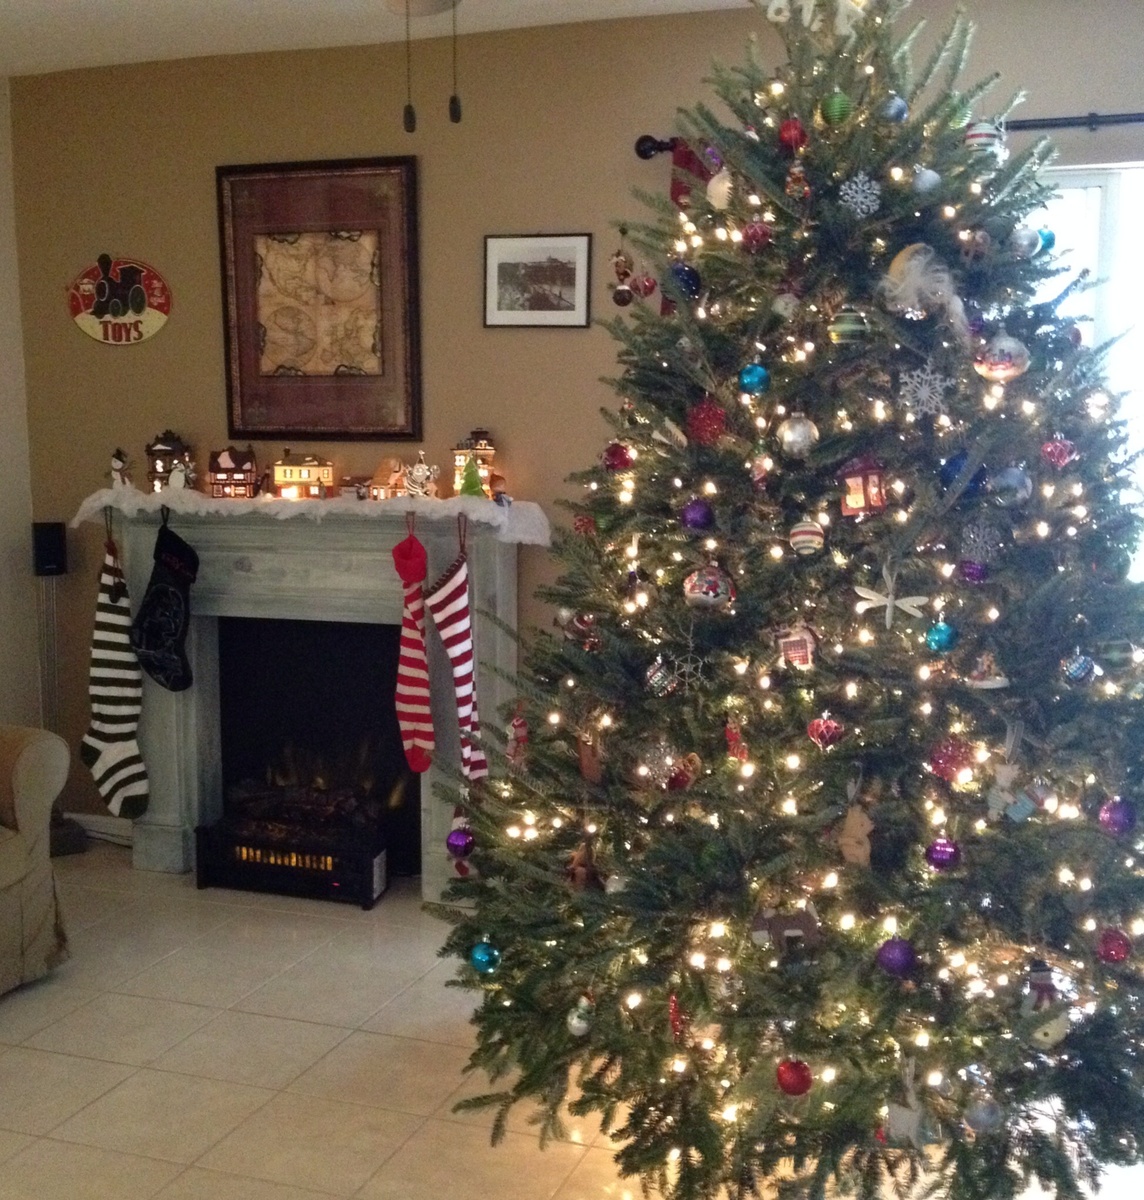
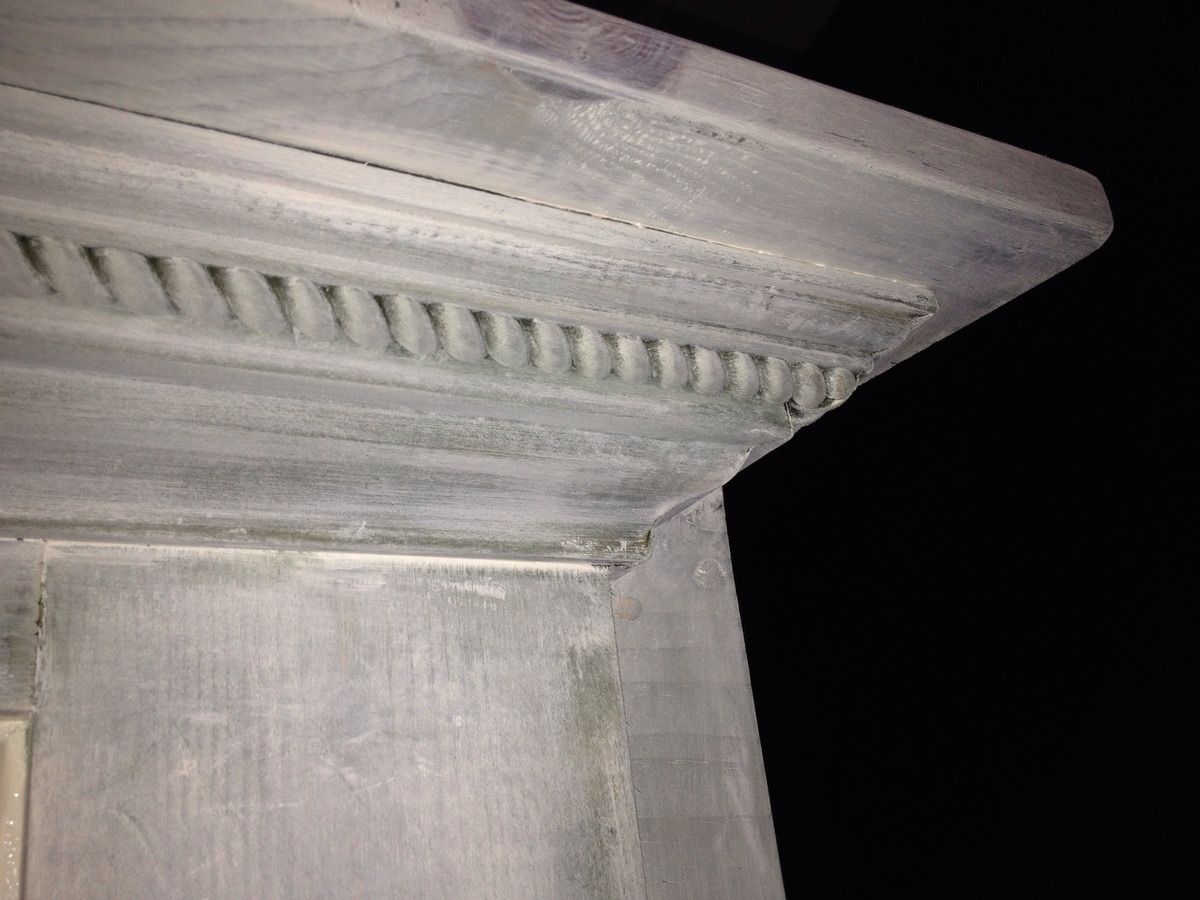
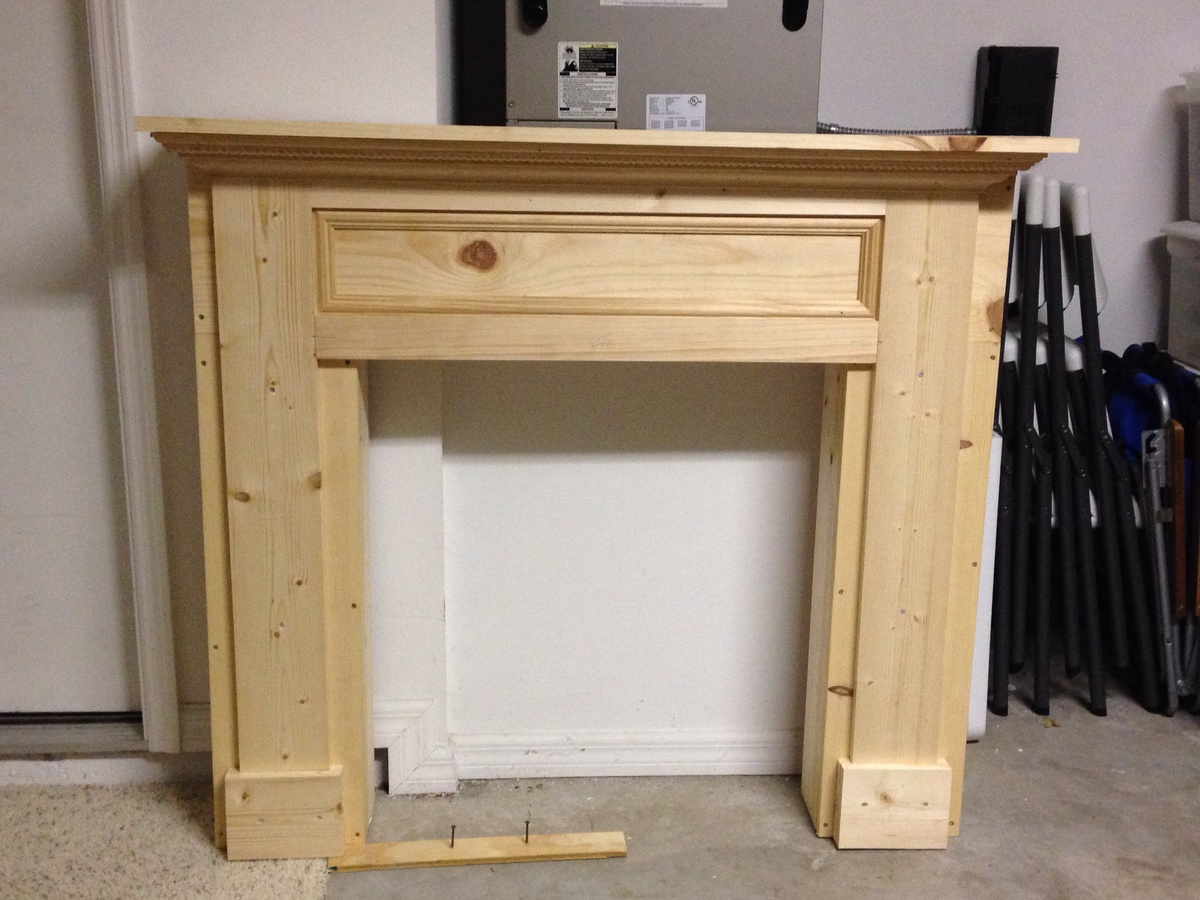
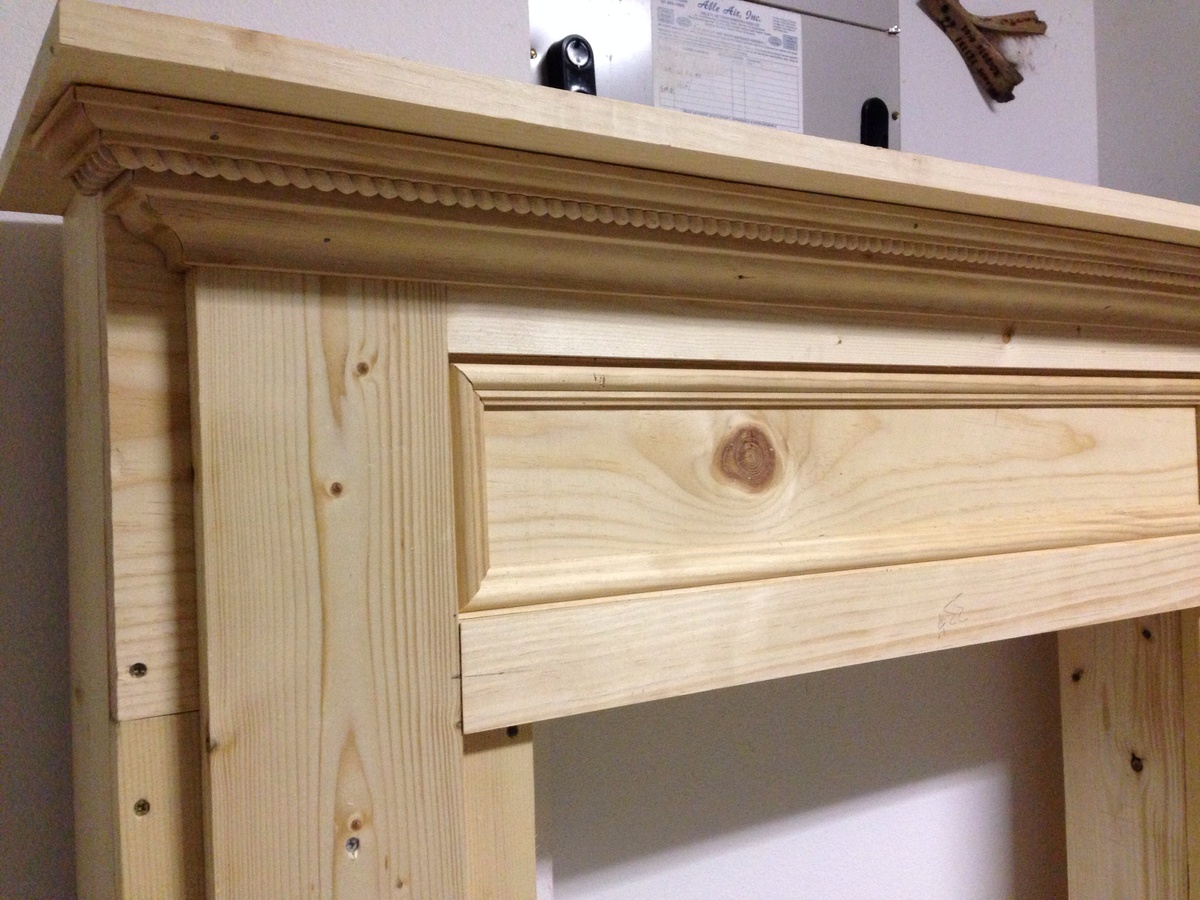
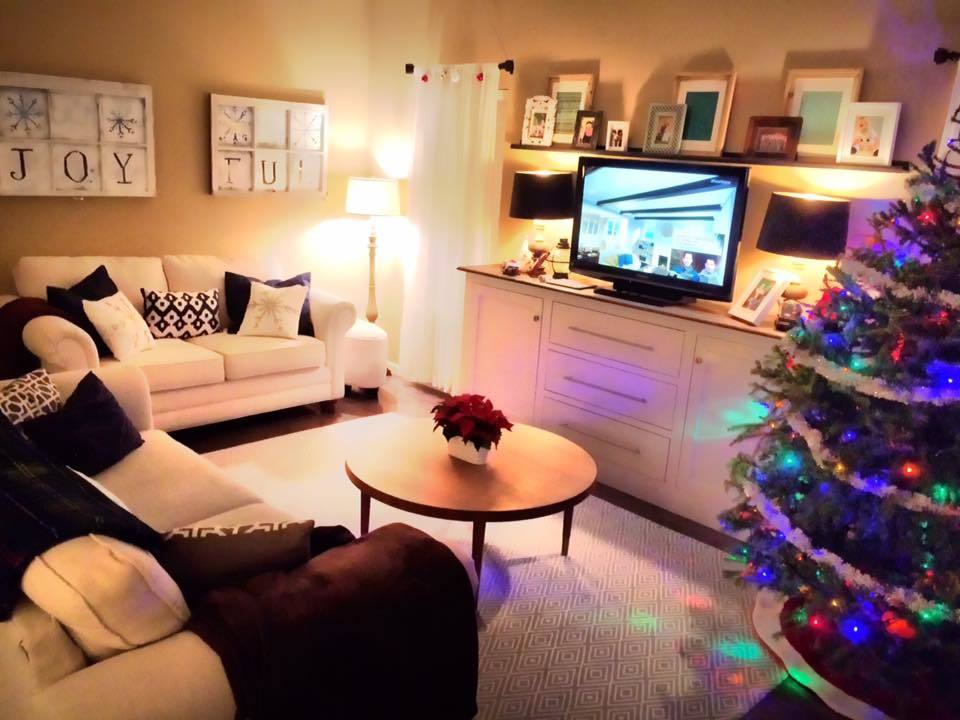
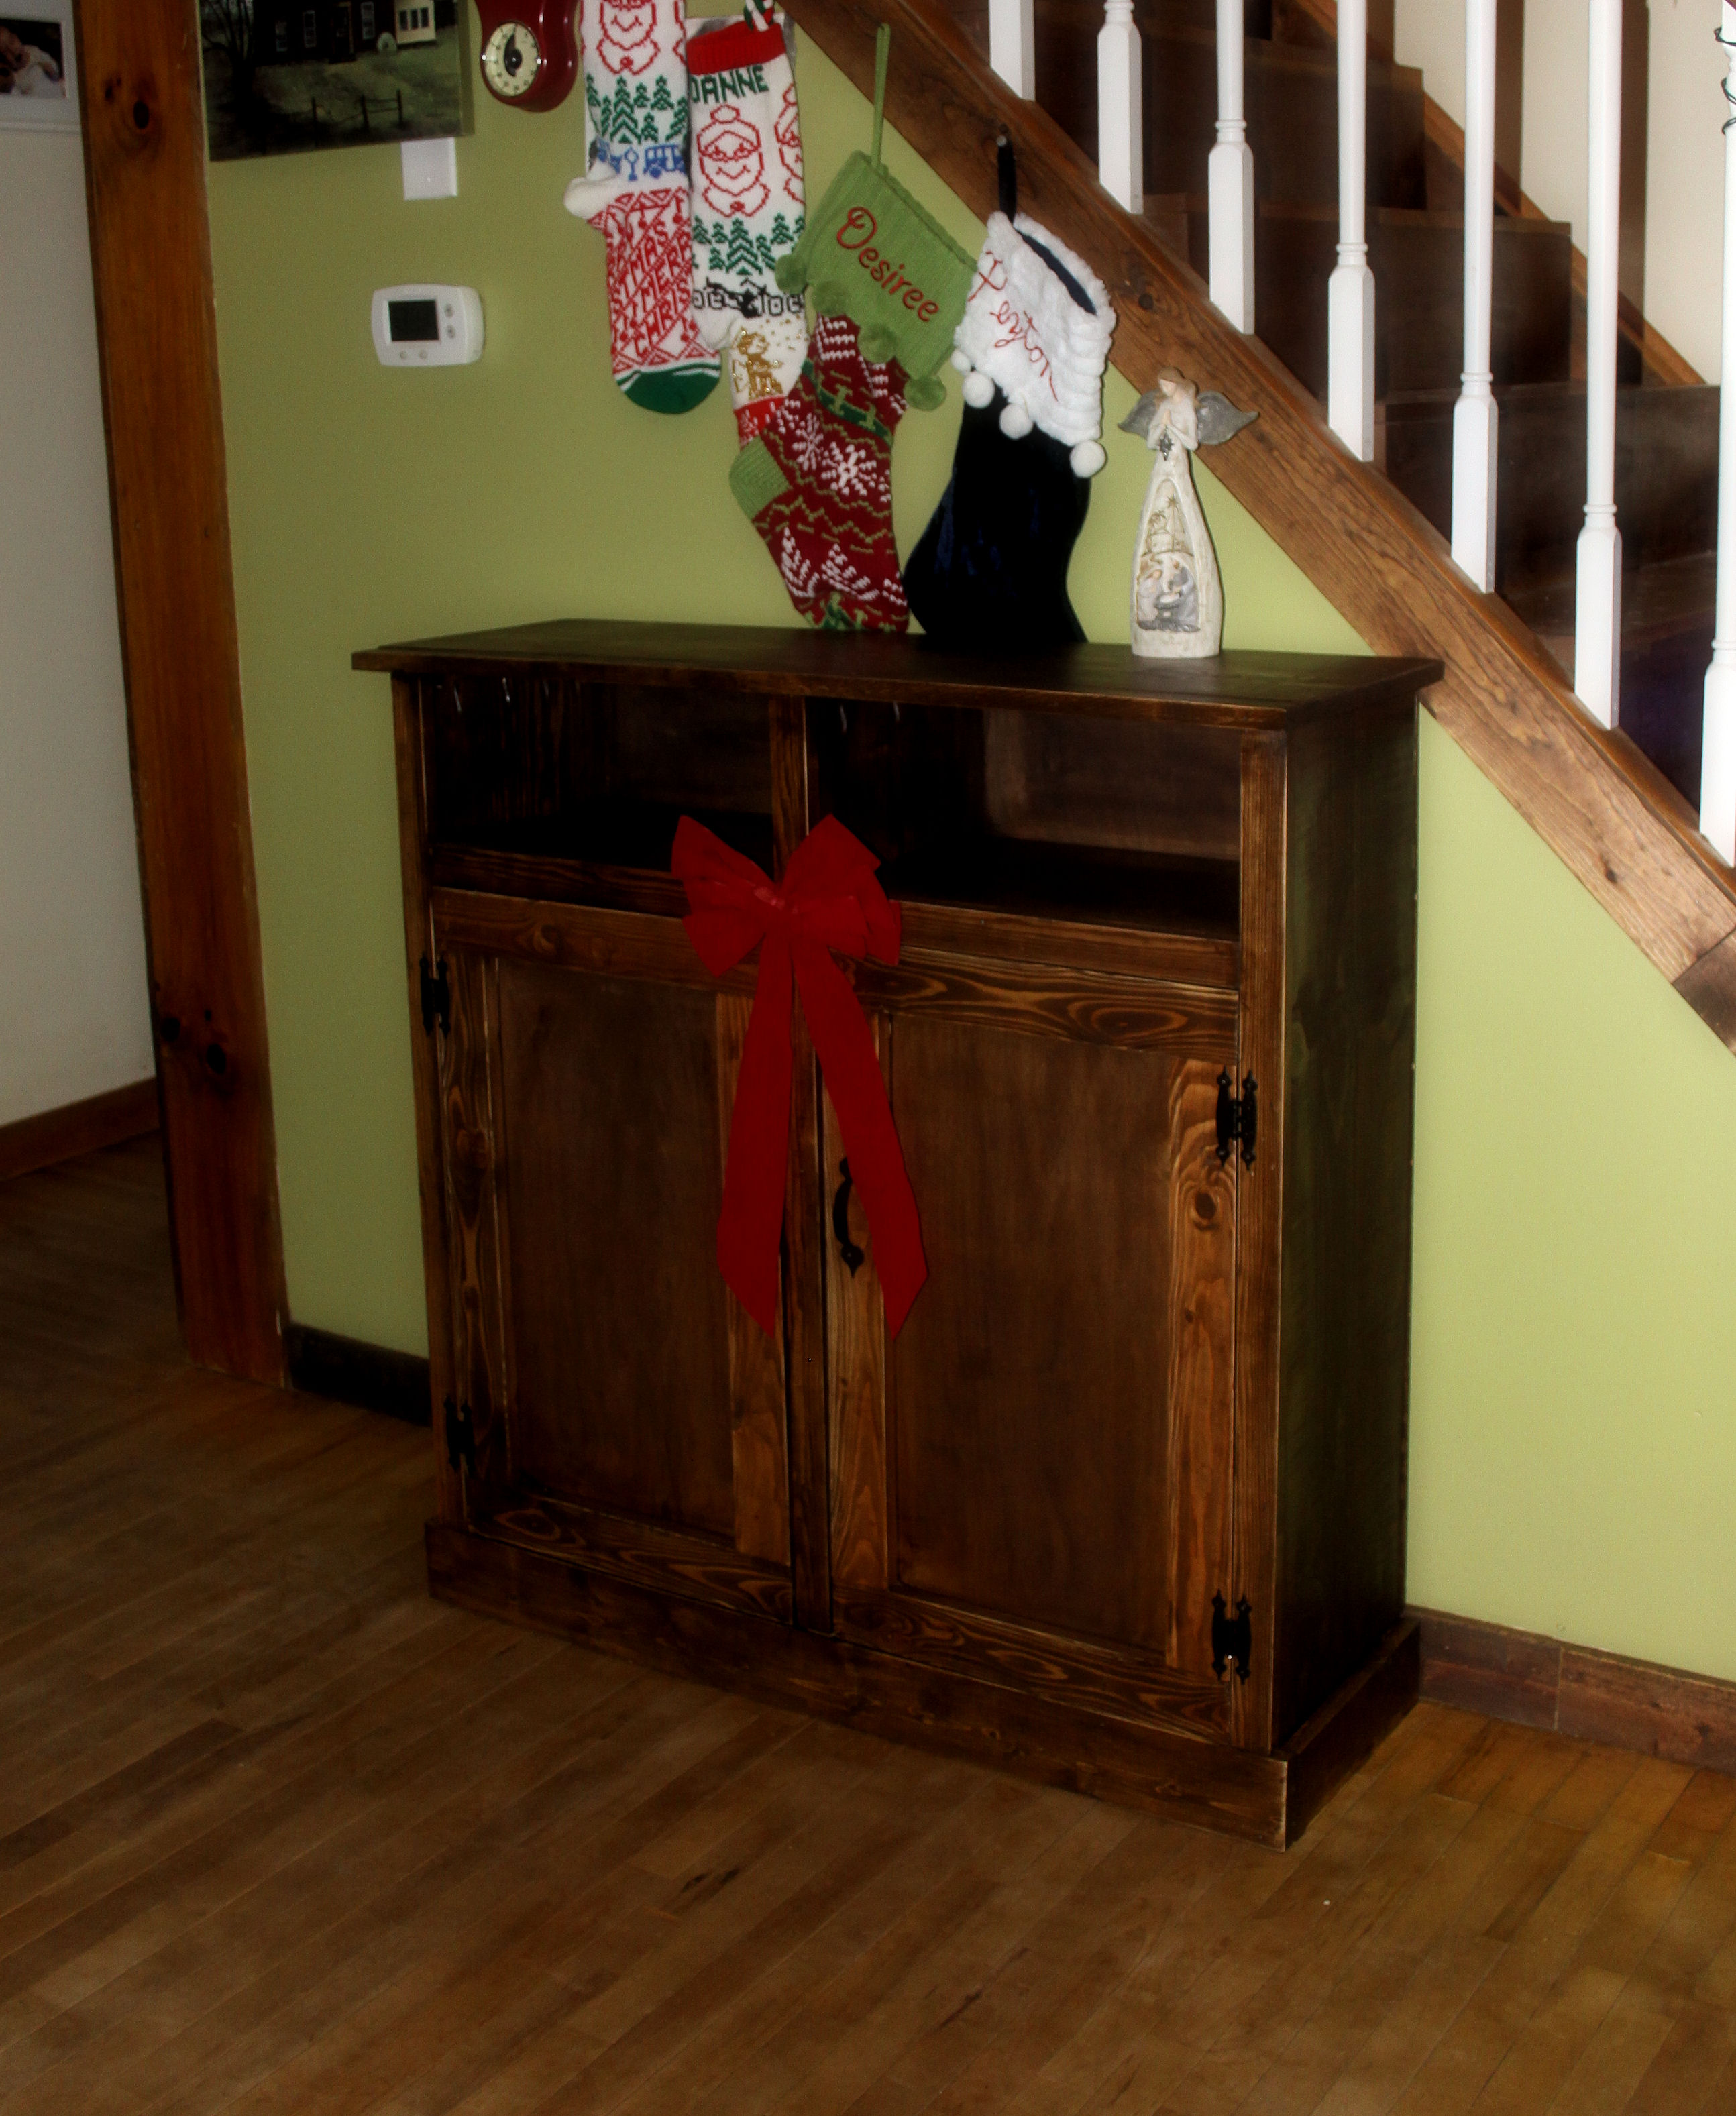
We wanted to have a mantel for hanging the Christmas stockings this year and this fit perfectly! We modified the plans a bit by substituting 1x6's for the sides and a 1x12 on the top in order to gain a little more shelf space and to accommodate the LED fire logs. We added a piece of plywood painted black to mask the color of the wall and to give the "flames" a surface to reflect off of. We are debating giving a more realistic appearance by covering with mortar and brick tiles rubbed with charcoal. Thanks for the plan and for making these holidays special as the kids now believe Santa has a chimney to come down!
First furniture project. It was a little intimidating - but once you get the cabinet squared everything else is just about precision cuts and patience to get the finish you want. Inset drawers are tough because they really show any mistakes.
Completed over 3 weekends.
My wife loves it! Our plan is to use this as the base of the built-in, and surround the TV with shelving up to the ceiling. Applying the concepts to this build will allow me to custom build the top unit, probably at some point next year.
Cheers!
Built for my youngest sister in law.
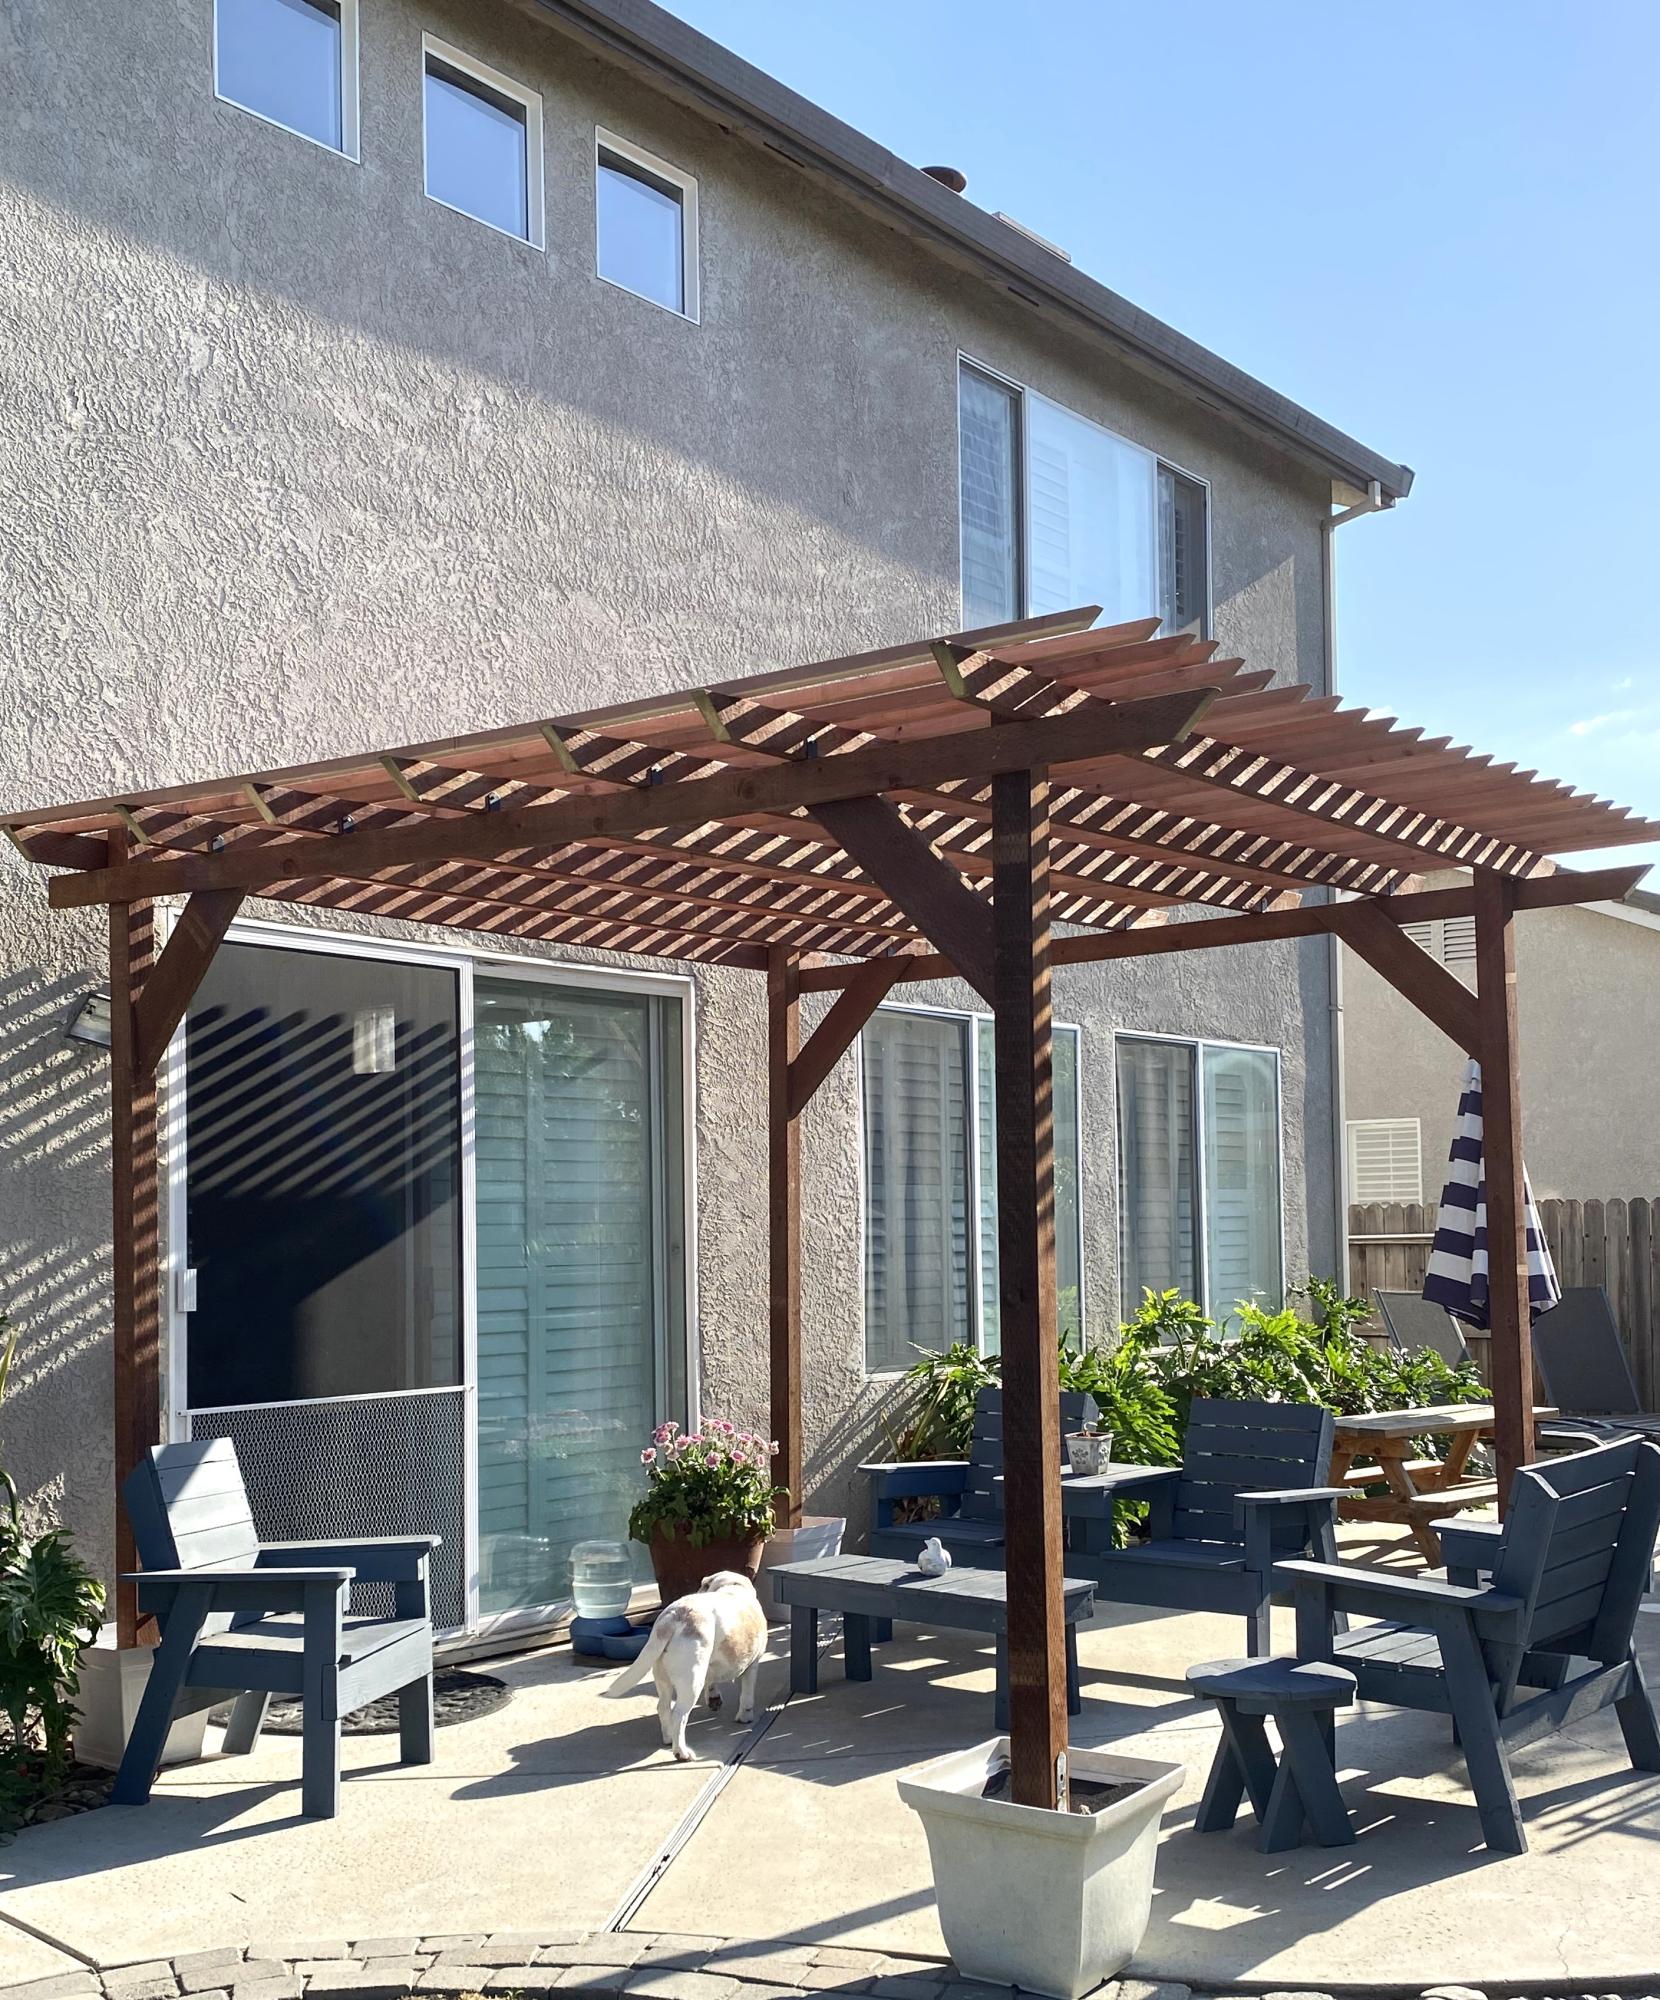
I built this pergola in 3 days and added mason jar solar lights.
Vonda Jones
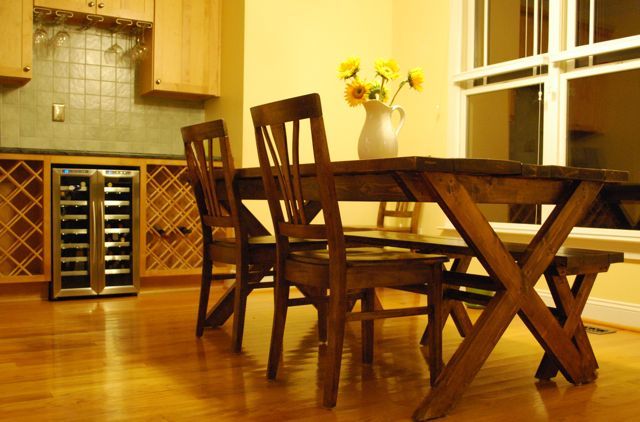
I was looking for plans to build a table like this and found Ana's site.
Wed, 02/15/2012 - 10:16
I love this project. Well done! You have inspired me to do something similar for our breakfast room.
Fri, 02/17/2012 - 19:26
I would make the bench first if I could do it again--good practice. You can't fit a lot of people around it but it is good for a small space.
Mon, 04/30/2012 - 04:55
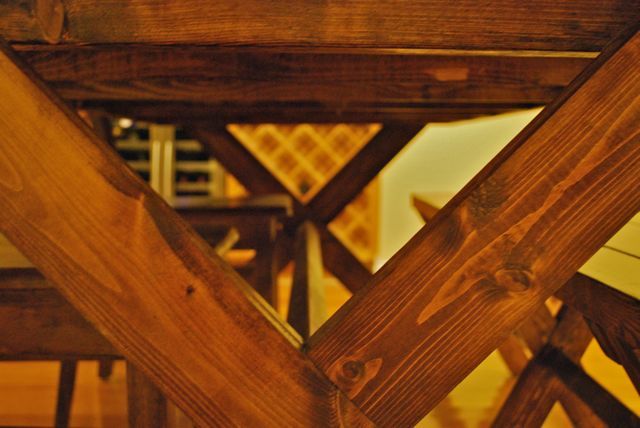
How did you fasten the tabletop to the base? Did you screw it from under and attach along every cross beam? Or screw from the top and fill the holes with putty? All the way across or just on the ends...this step in the directions is very vague...
I had been eyeing this for awhile but, doors scare me. This is my daughters Christmas gift. It was a fairly easy quick build.
I am pleased with it.

Tue, 12/24/2013 - 22:24
Doors scare me too, but seeing what a great job you've done encourages me to give it a try. Looks beautiful. I like how the hardware ties in with your choice of stain. Nice work!
Val @ artsybuildinglady.blogspot.ca
Wed, 12/25/2013 - 10:21
The measurements for each door is a bit different because I wasn't careful with the trim. I used shims on all sides of the door to keep it straight and spaced to attach the hinges. Big plus is they open and close :-)

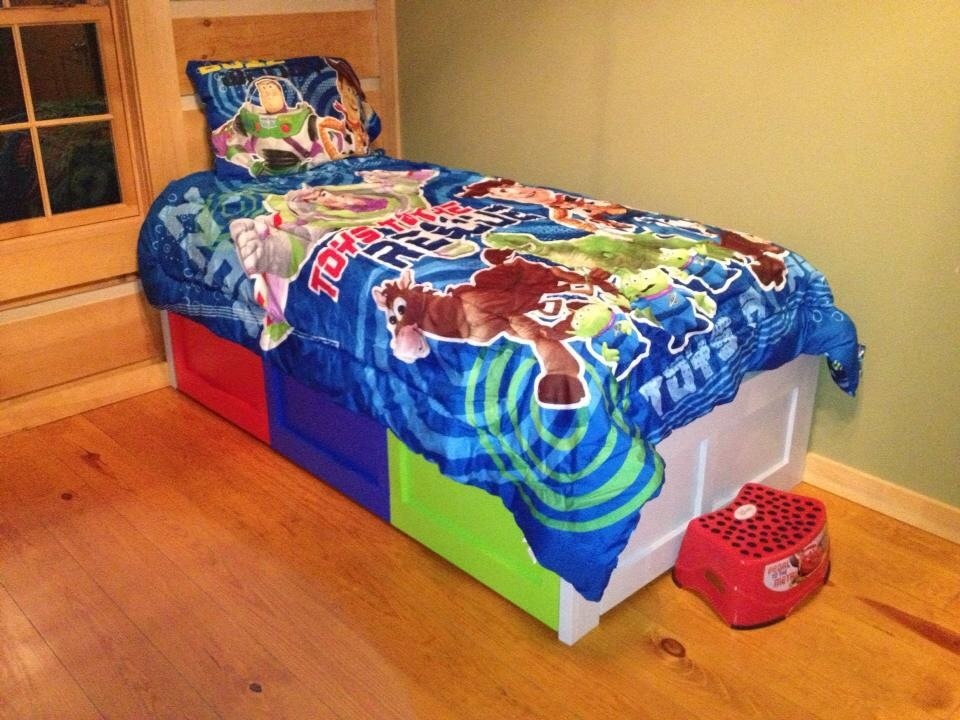
My husband and I had a lot of fun building this bed for our 3 yr. Old son. We are very proud of how it turned out. There were a few changes we made on our own as far as bracing was concerned, so our measurements changes just a little. The plans were easy to follow. I'm already searching Ana's site for our next project.
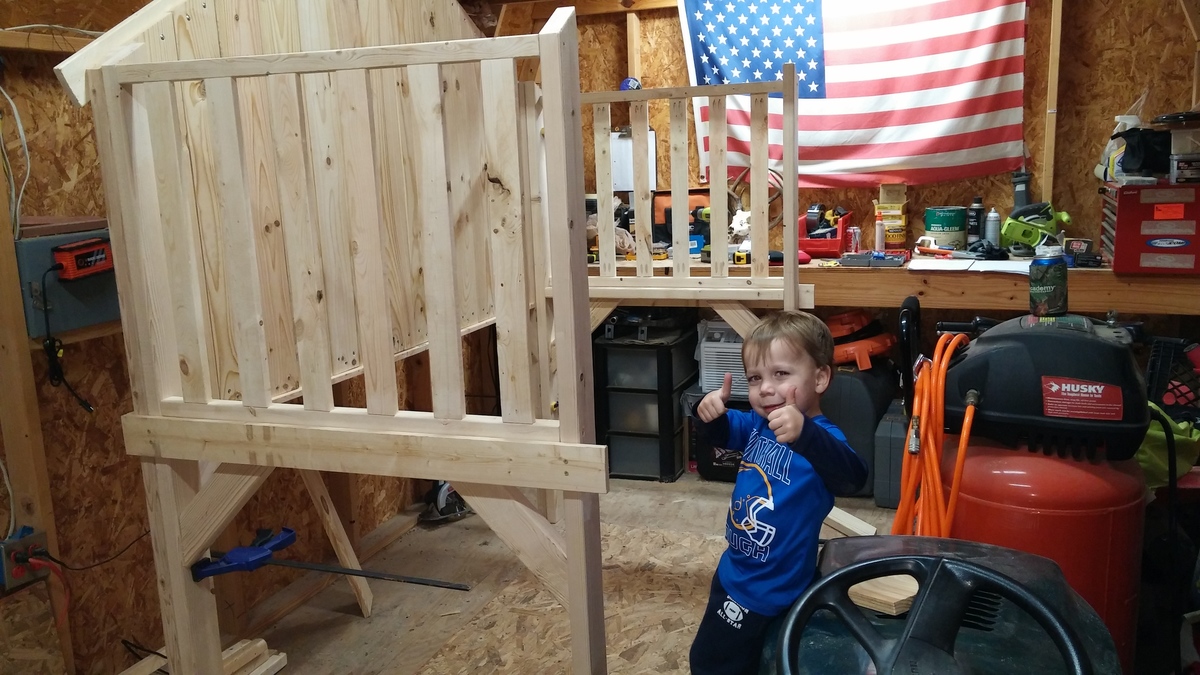
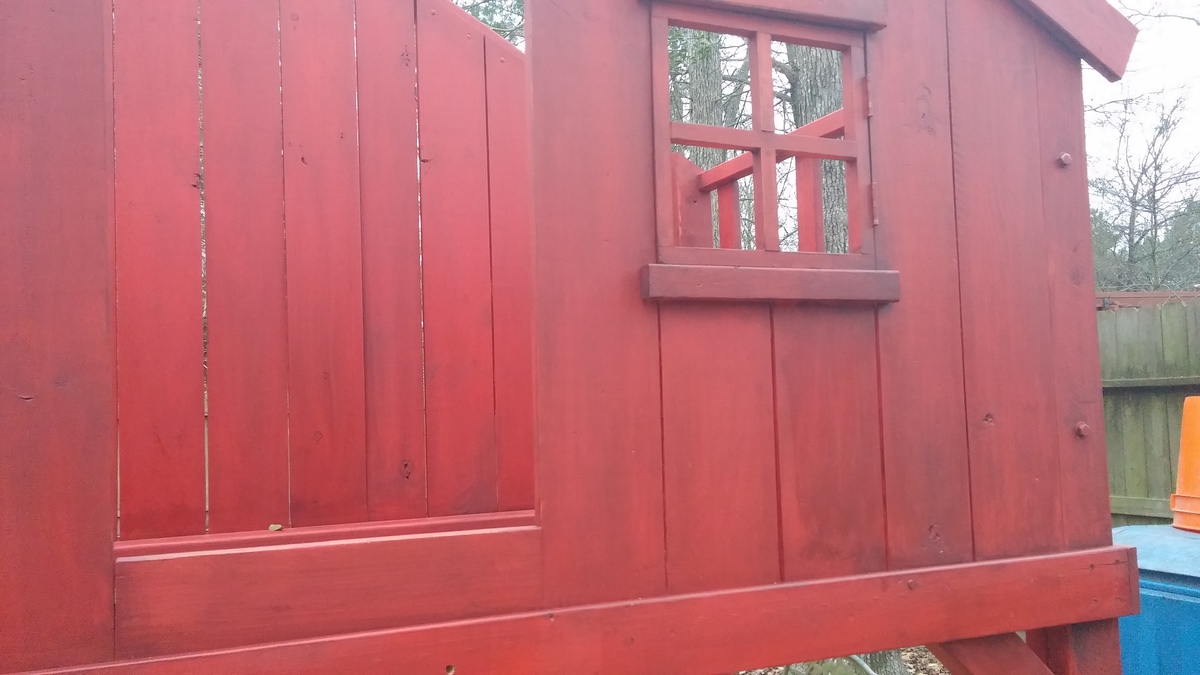
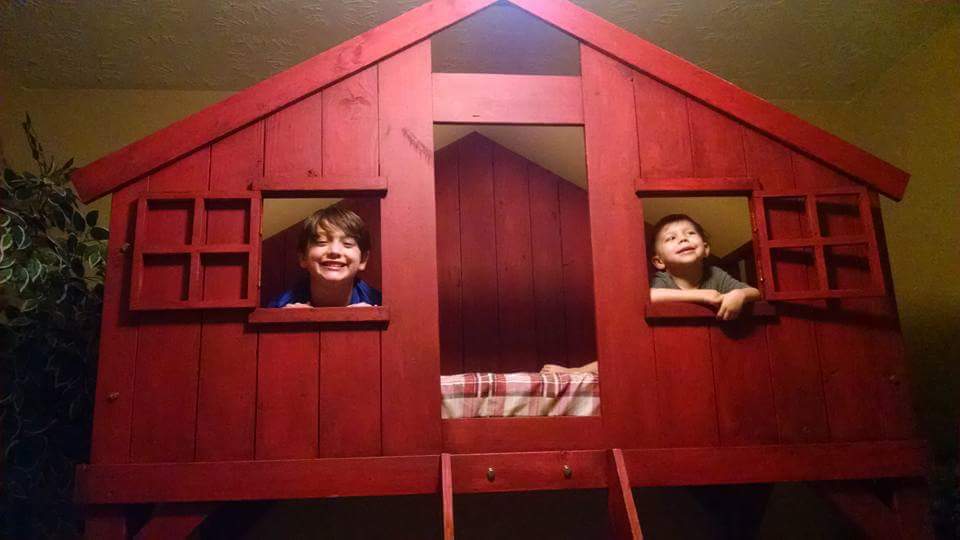
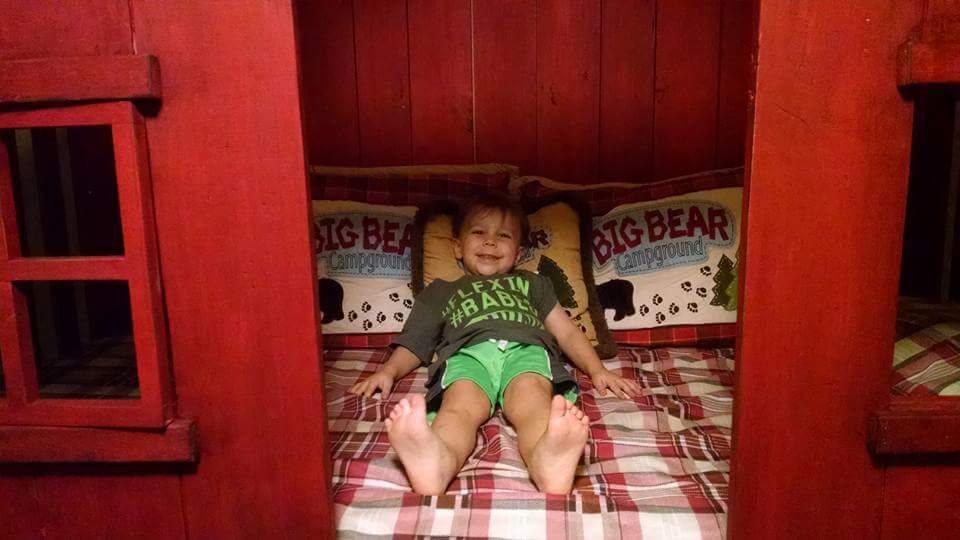
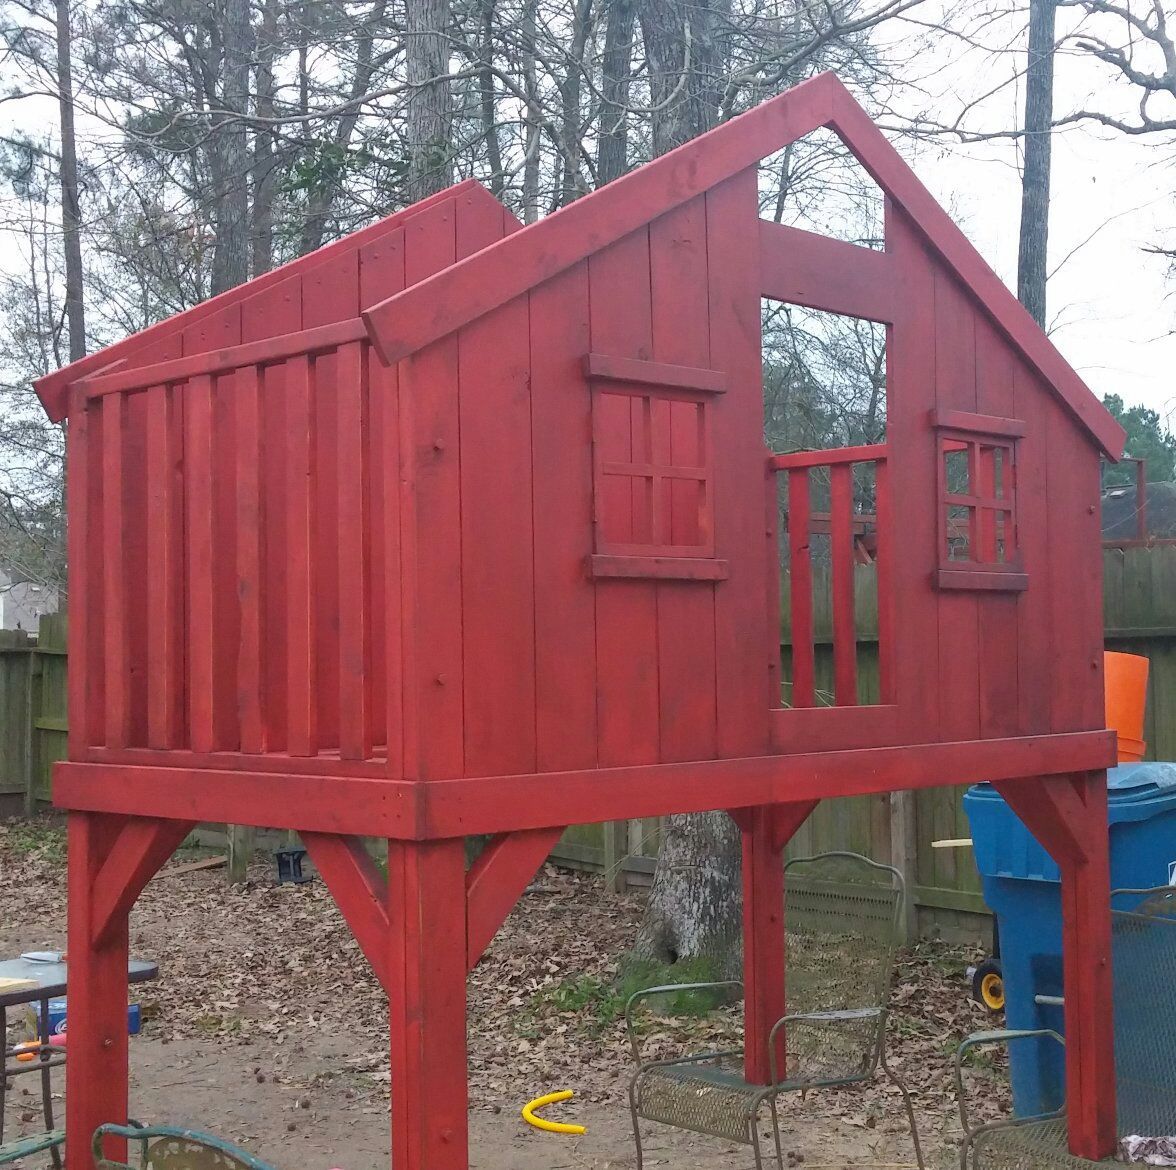
This was a great build and easy to do.
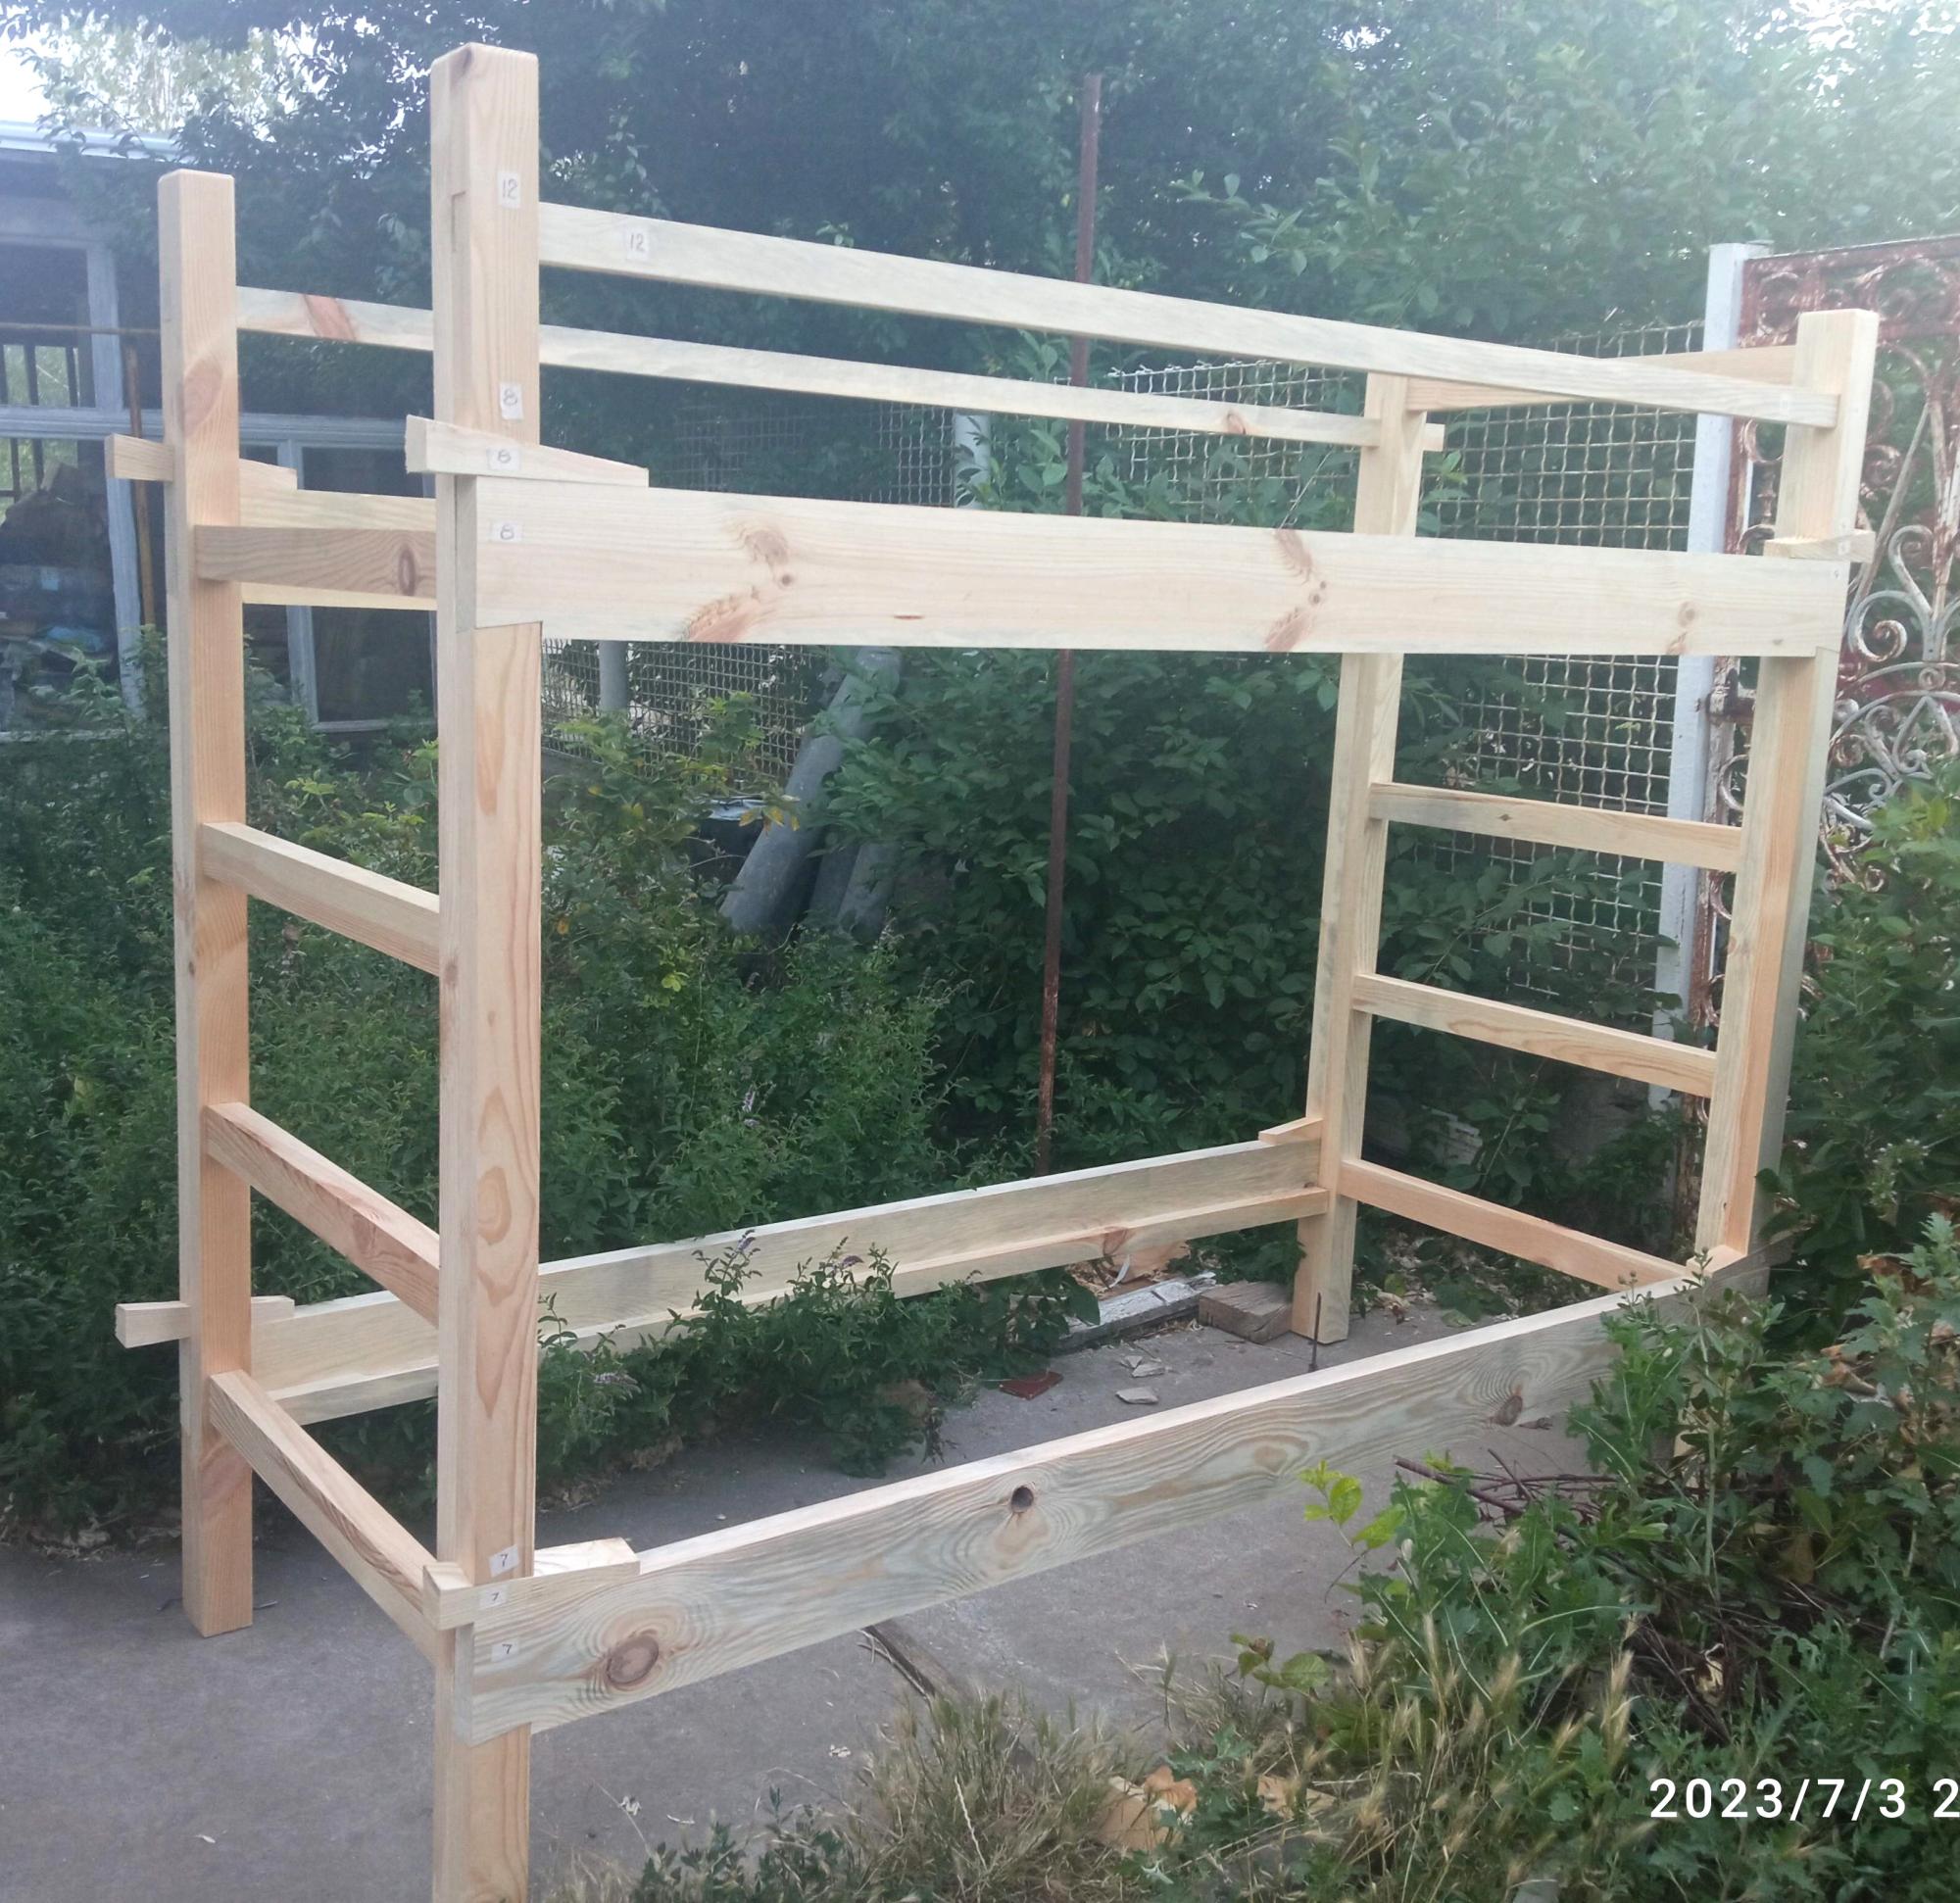
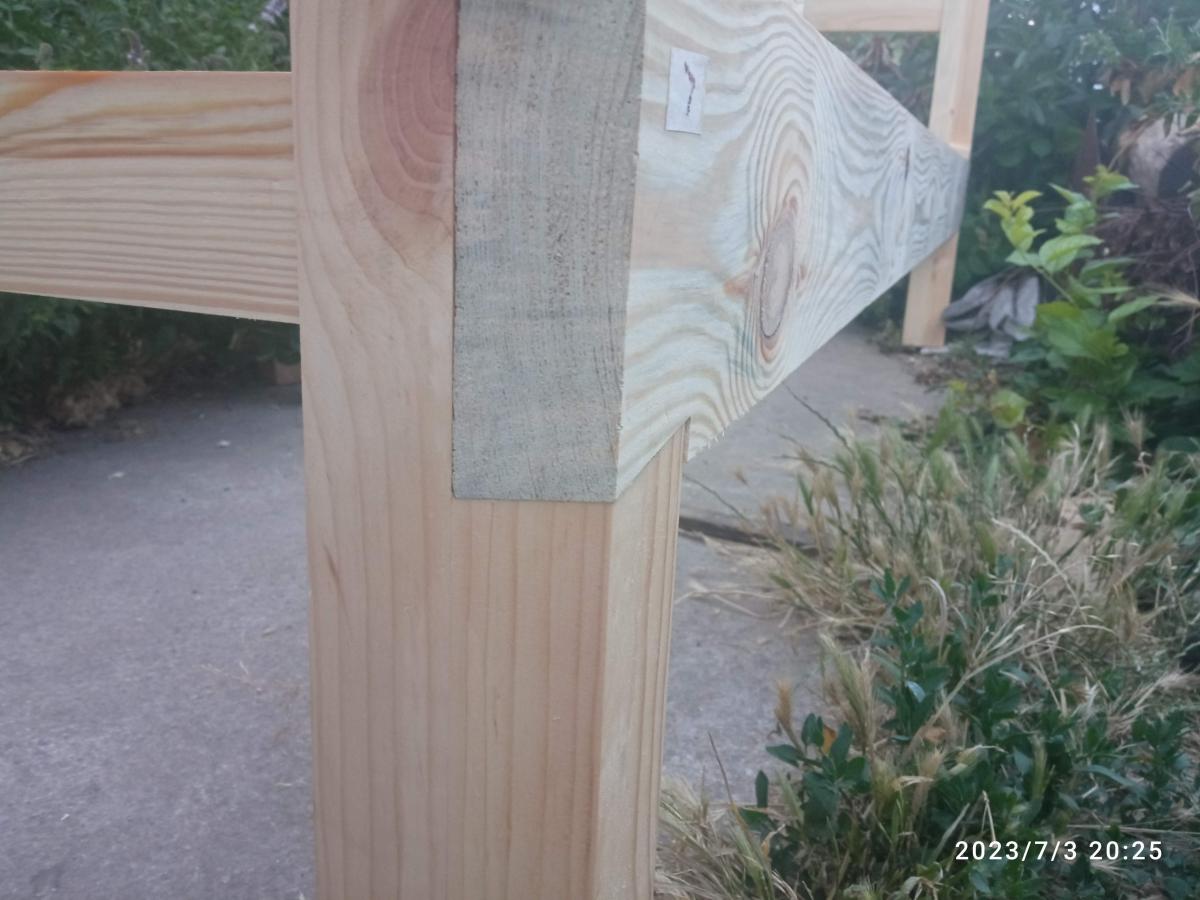
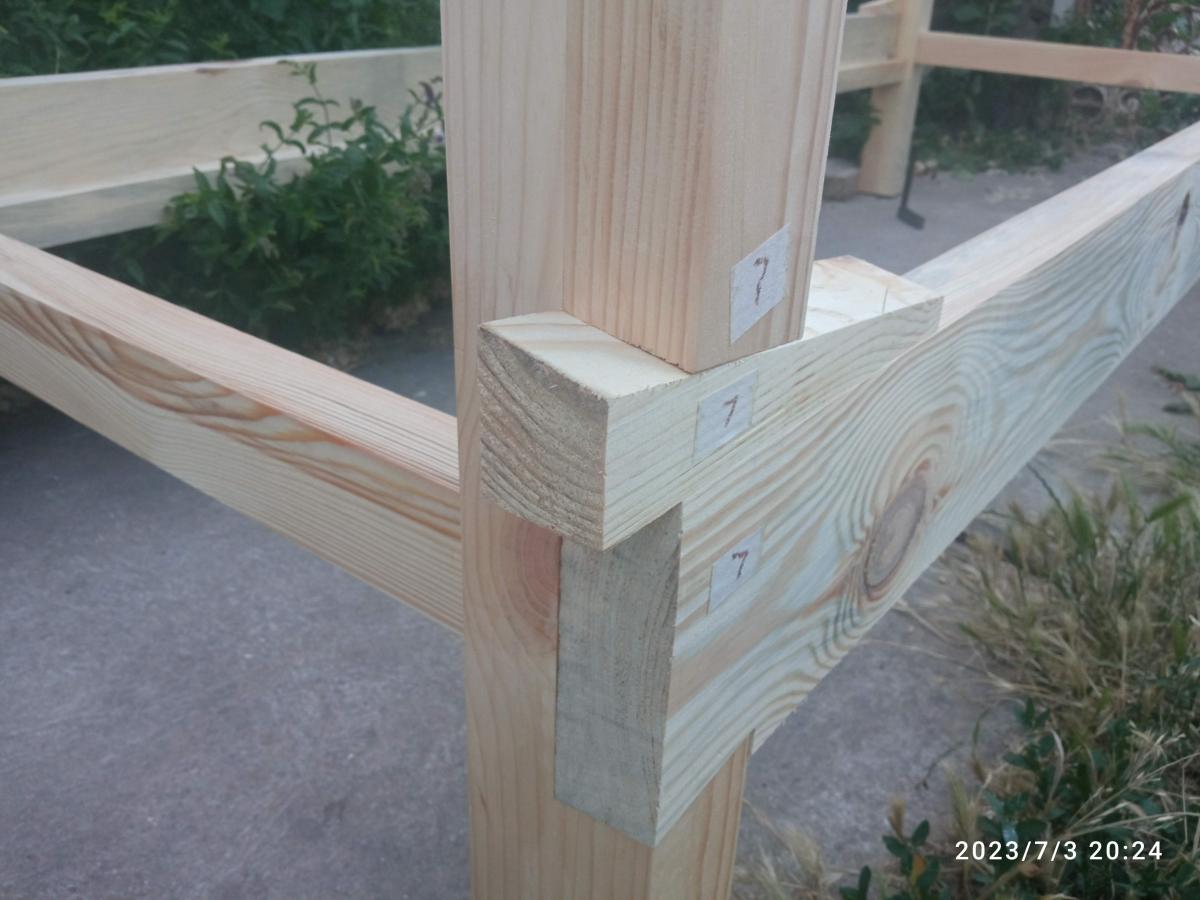
This double bunk bed has been inspired by Your plans for modern bunk bed - Side Street. To facilitate quick assembling - disassembling of beds for relocation dovetails joints with double inclined tails and wedges have been made. Because the beds has been made for orphanage/"kids in difficult life situations" I changed spacing between headboard and footboard rails to let footboard serve as ladder and in this manner reduce costs and time of construction, save place for installation, avoid tripping hasard. Thank You very much for detailed and simple plans.
Andriy Pronin, Ukraine

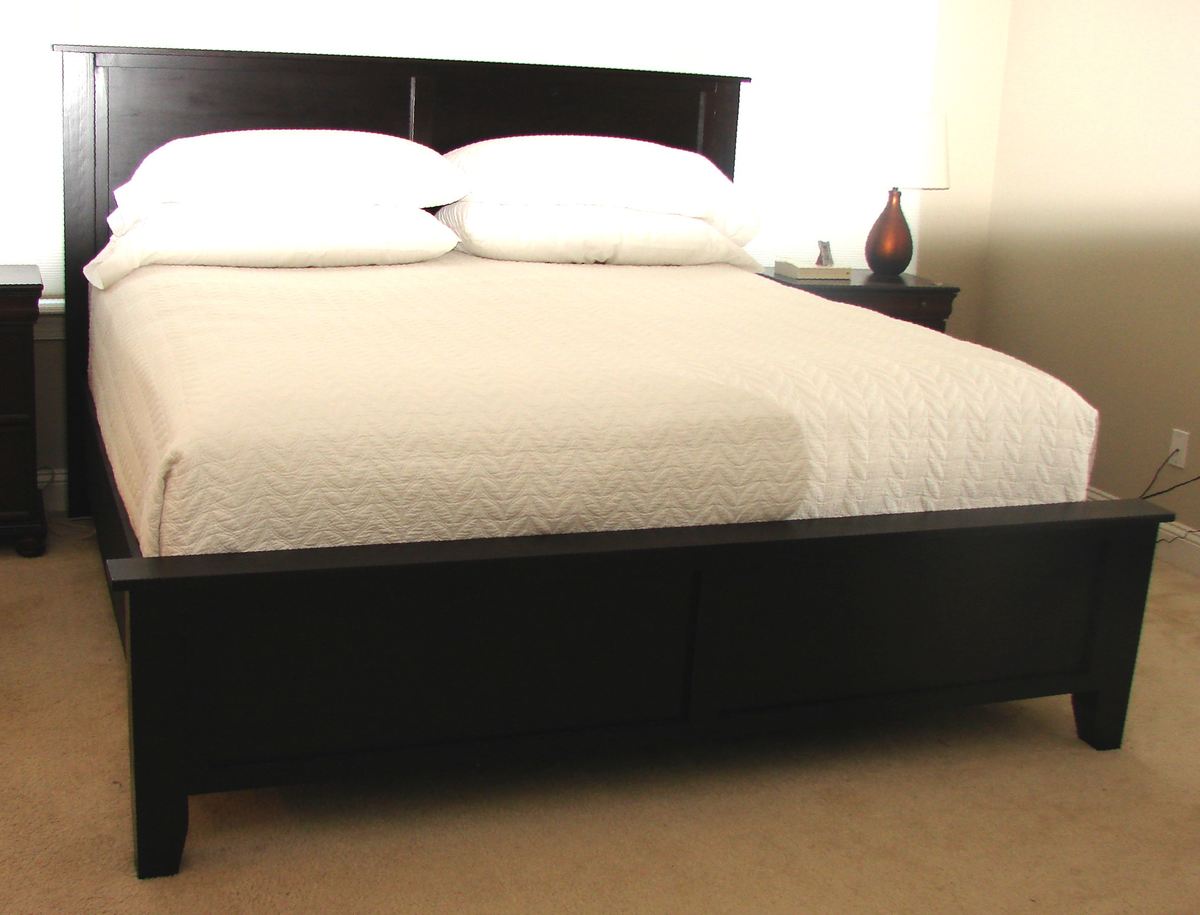
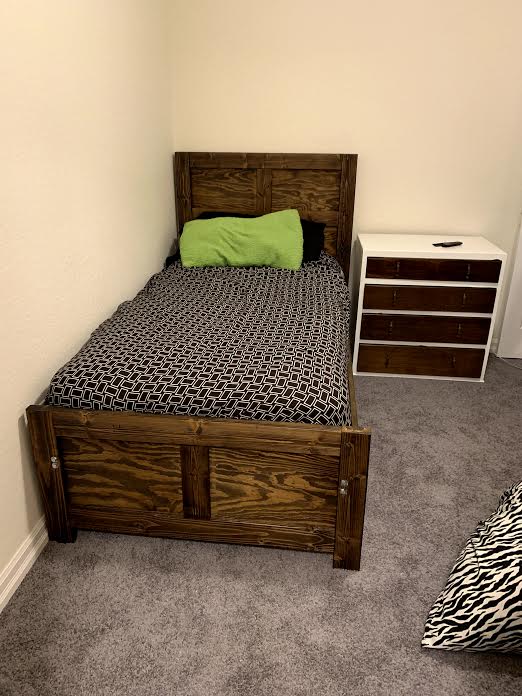
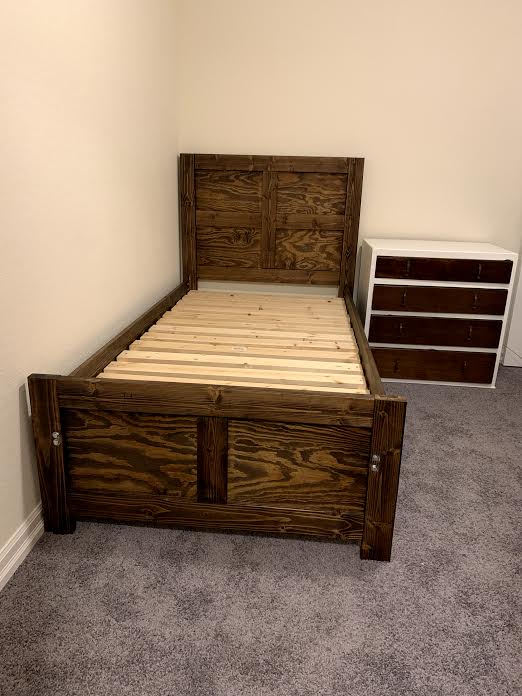
This is a modification of the Farmhouse bed with a panel headboard and footboard rather than individual boards. It currently fits around the mattress/boxspring/metal frame. When we buy a new mattress, we will then add the joists, etc.
The headboard and footboard are both 72" wide. We had the guys at blue do a rip cut at 72" which ensures that both pieces are exactly the same measurement (for square.) Then, they turned the plywood a quarter turn and cut at 15" for the footboard. This left a 33" high headboard. It is 3 inches larger than the original plan, but it doesn't require a second cut and you don't see it anyway. The trim is just a 1x3 with a 1" overhang. (I might make it just a 3/4" if doing it again.)
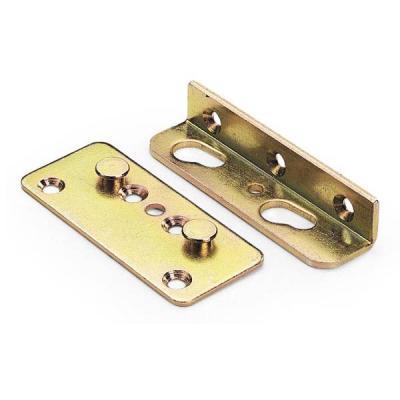
The side boards are 1x12 cut at 80 1/4", but you may want to add a little if your comforter is really thick or if your mattress is much longer than ours at 79 1/2". We used non-mortised (no cutting into the wood) bed rail hardware from Woodcraft, so we could easily take it apart. These were placed 1 1/8" in from the inside edge of the 4x4 post. They were placed on the very edge of the side rail so it would butt up against the post. The 1 1/8" gives us plenty of room to shove the bedding down inside the side rail.
We glued and nailed 1x2s from the back for the trim on each piece.
Wed, 02/22/2012 - 05:18
Looks beautiful! We are currently making this bed with the exact samce change to use panels instead of boards and then one board down the middle, except we made our footboard and headboard higher.
Wed, 02/22/2012 - 07:32
I would love to have the footboard higher, but my husband is 6'4" with large feet, and he asked that I make sure that he could sleep on his stomach with his feet dangling down without touching the footboard! We actually measured it. Make sure you post yours when it is done.
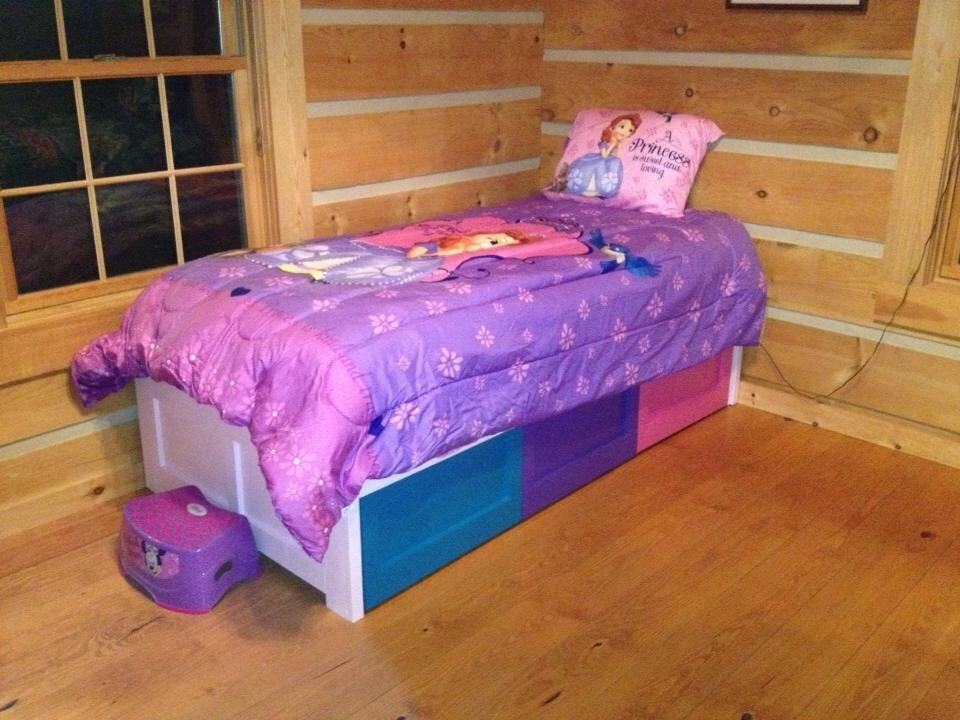
Thanks for the free plans! Our children loved their new beds for Christmas! The beds were pretty easy to make and we decided to paint the beds fun colors for the kids.
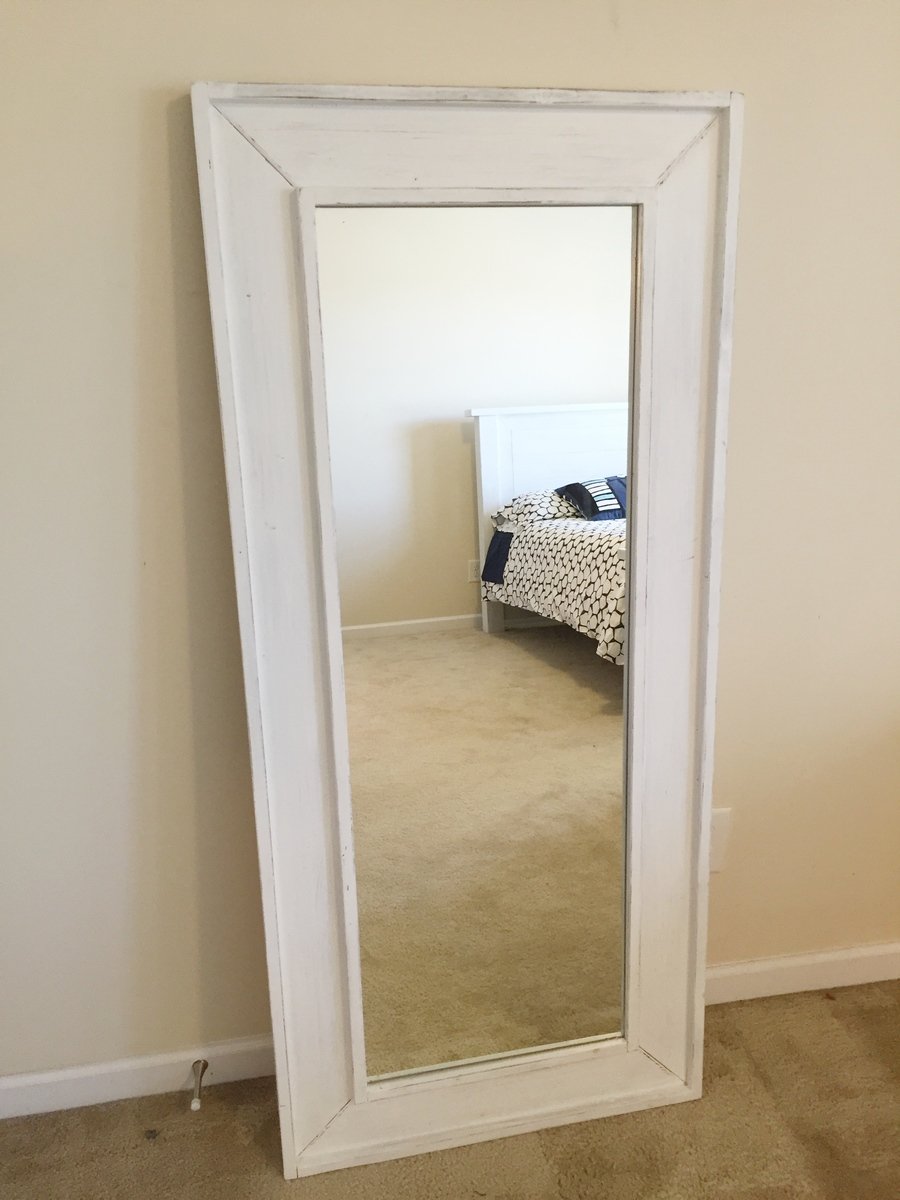
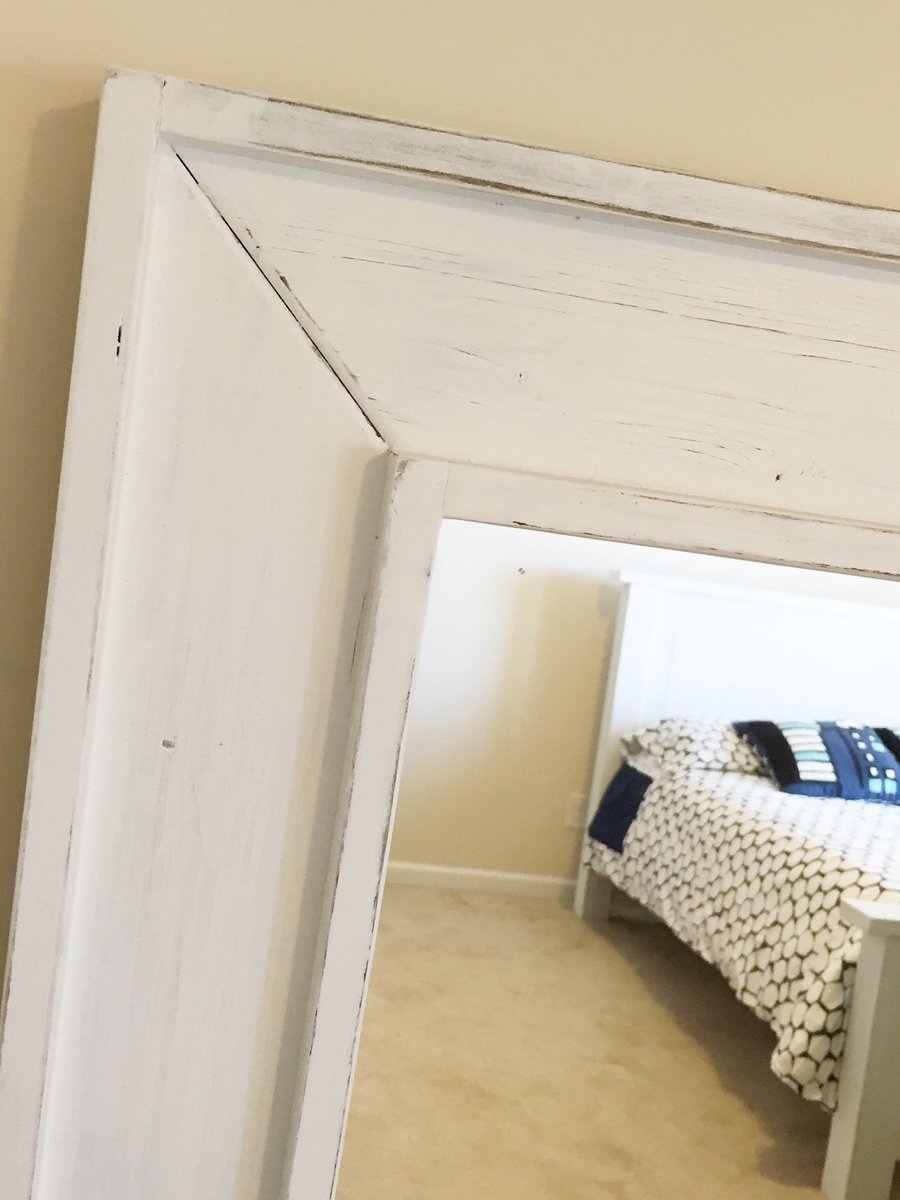
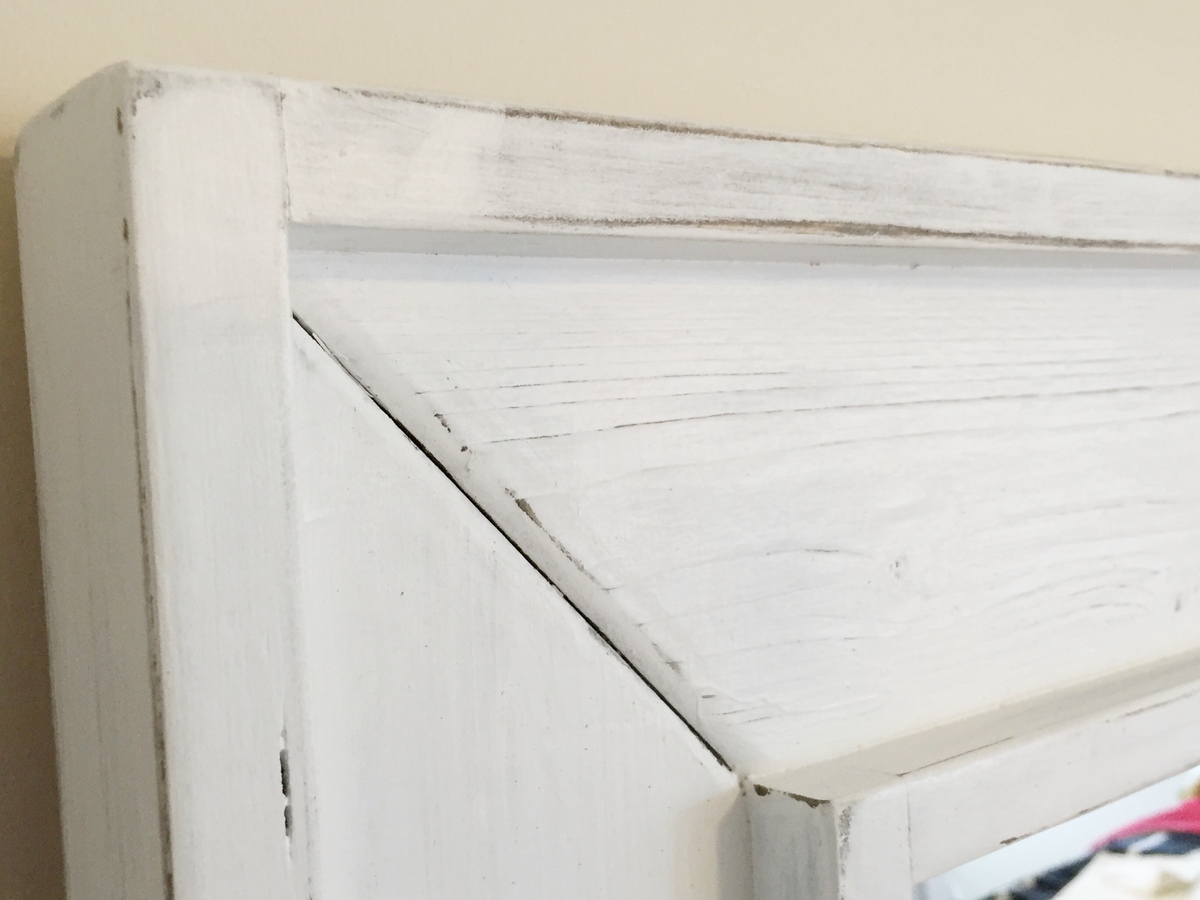
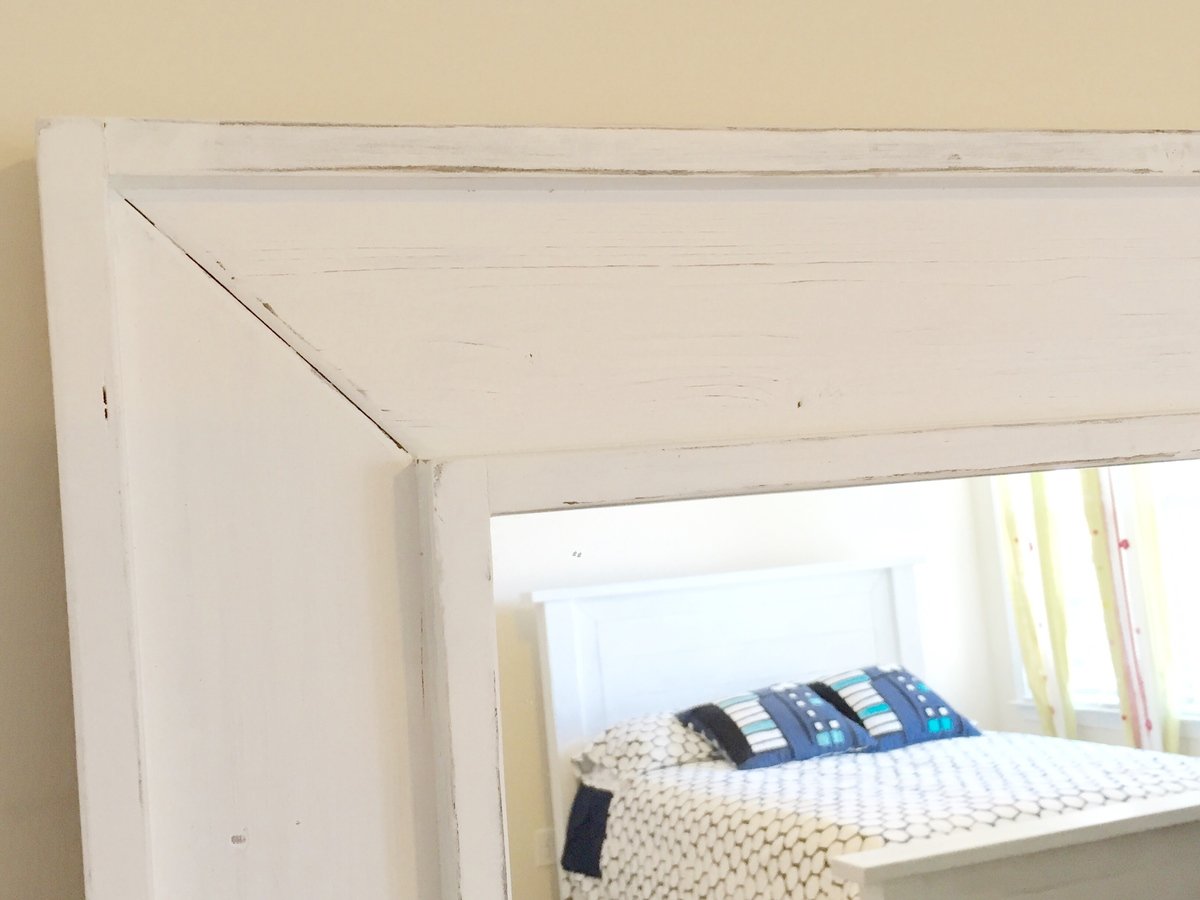
Full length mirror made from a cheap $10 unframed mirror from IKEA. Trimmed out with some 1 by 3, 1 by 4 and 1 by 2. Stained black and then painted white. sanded between coats of white to show some of black through and give antique worn look.
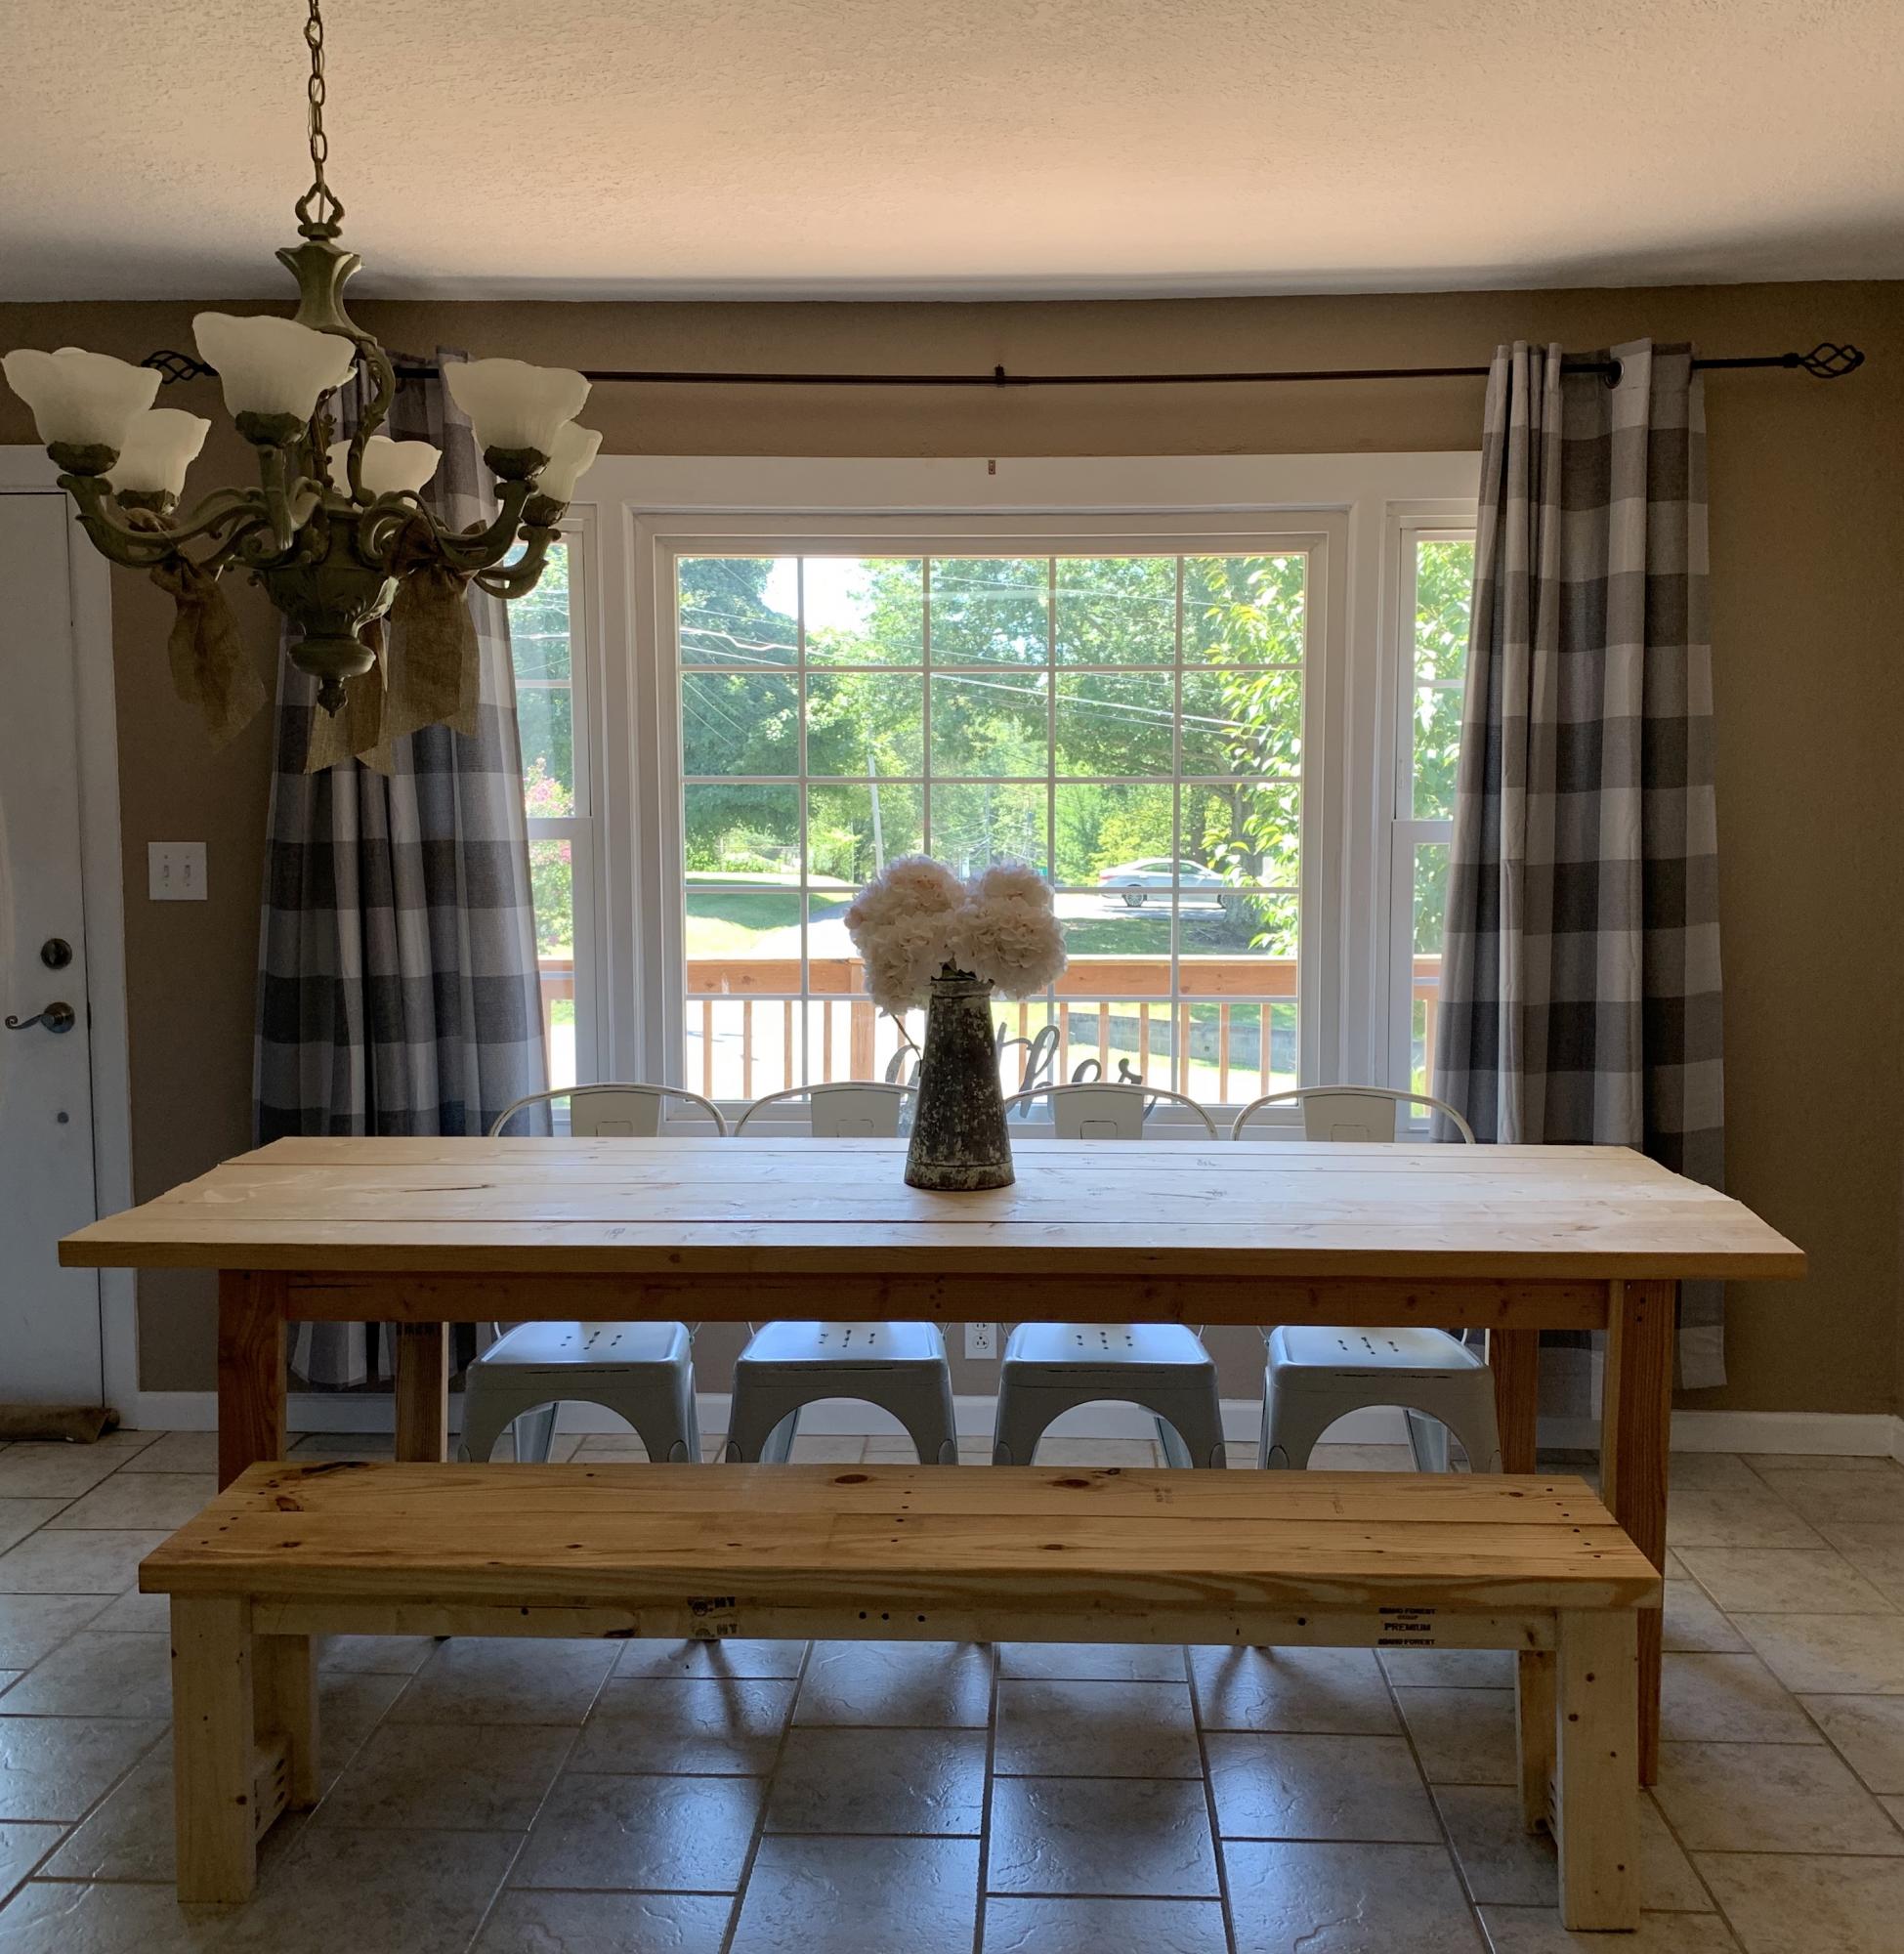
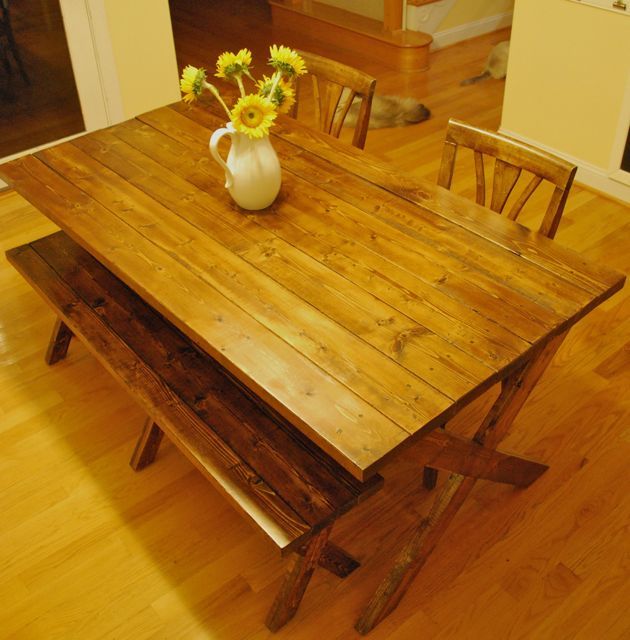
The table was my first ever built and I am beyond thrilled!! The 8 ft table is beautiful and sturdy and fits perfectly in my kitchen in front of my picture window. I bench is equally beautiful and sturdy. I can’t wait to start my next project!!
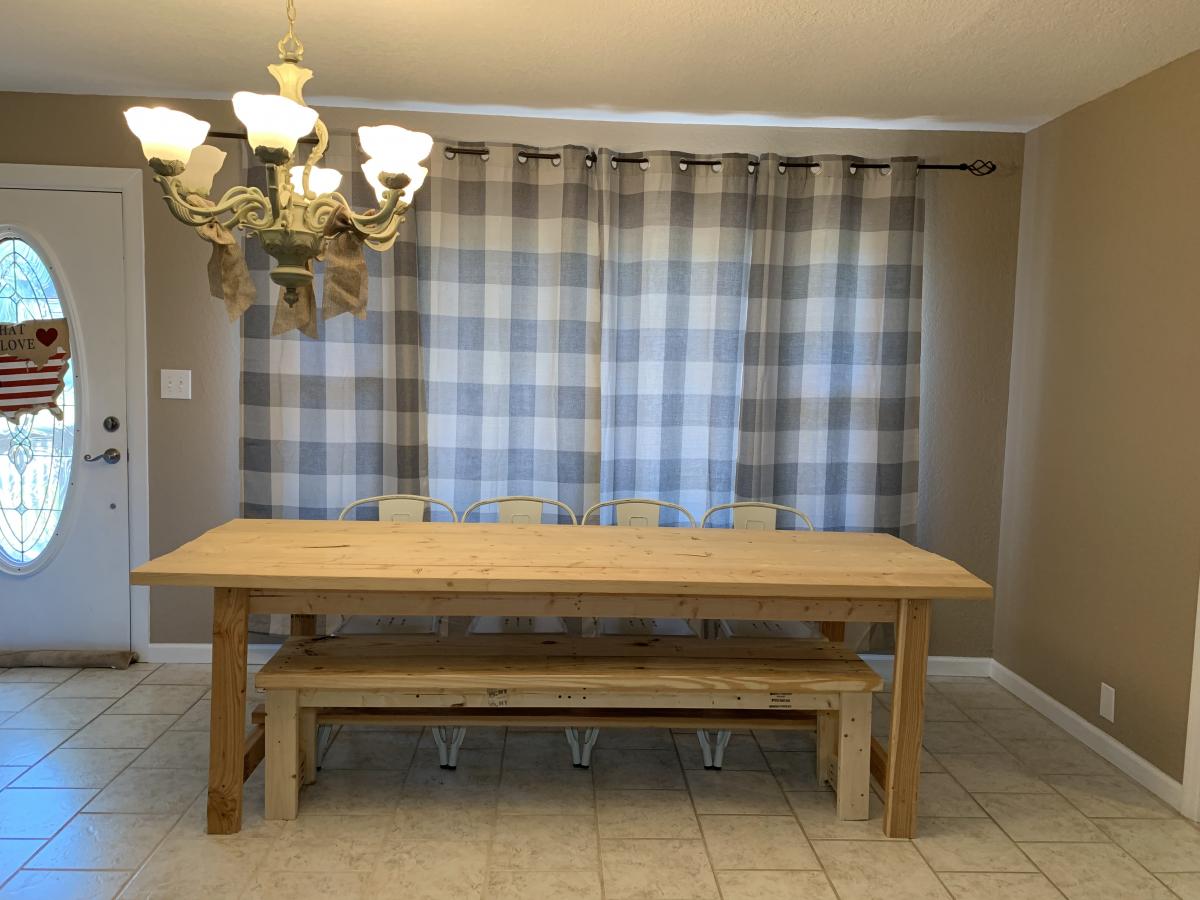
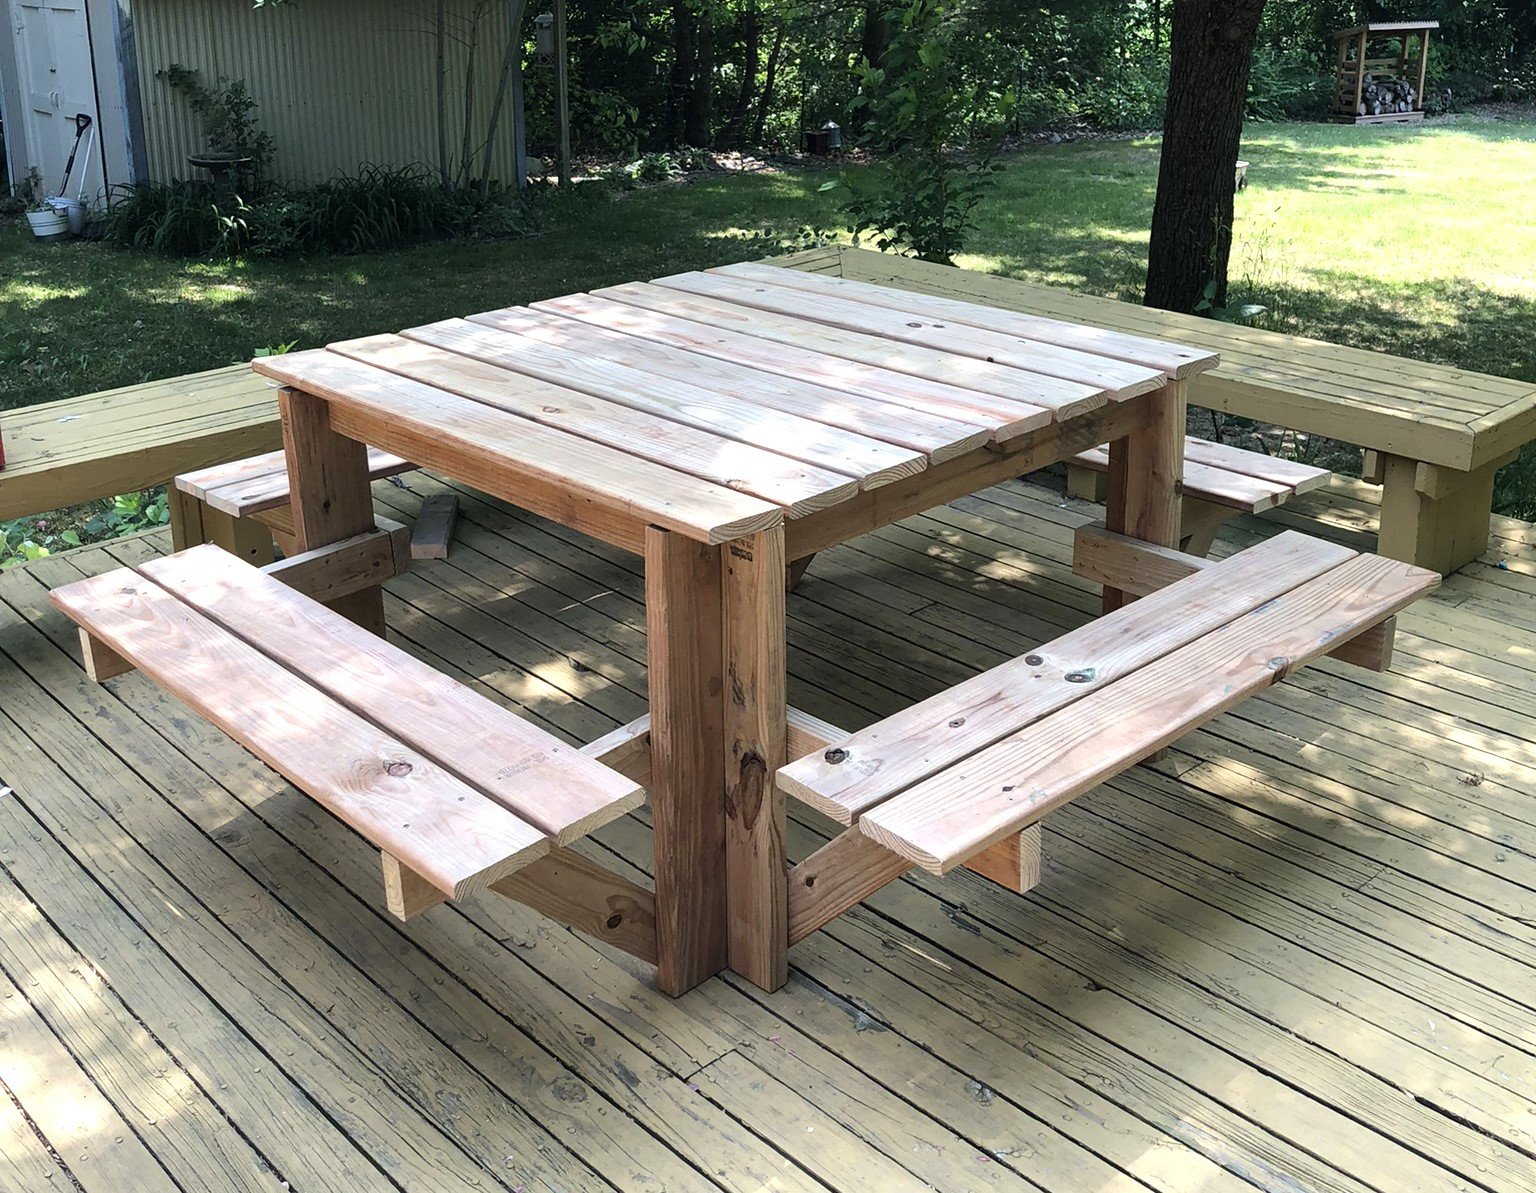
I used deck boards instead of 2x6 for the top and seats; this lightened the table overall while negating the need to sand and finish the boards.
I also used a cedar-tone treated board so staining wasn't necessary.
Kelly S.
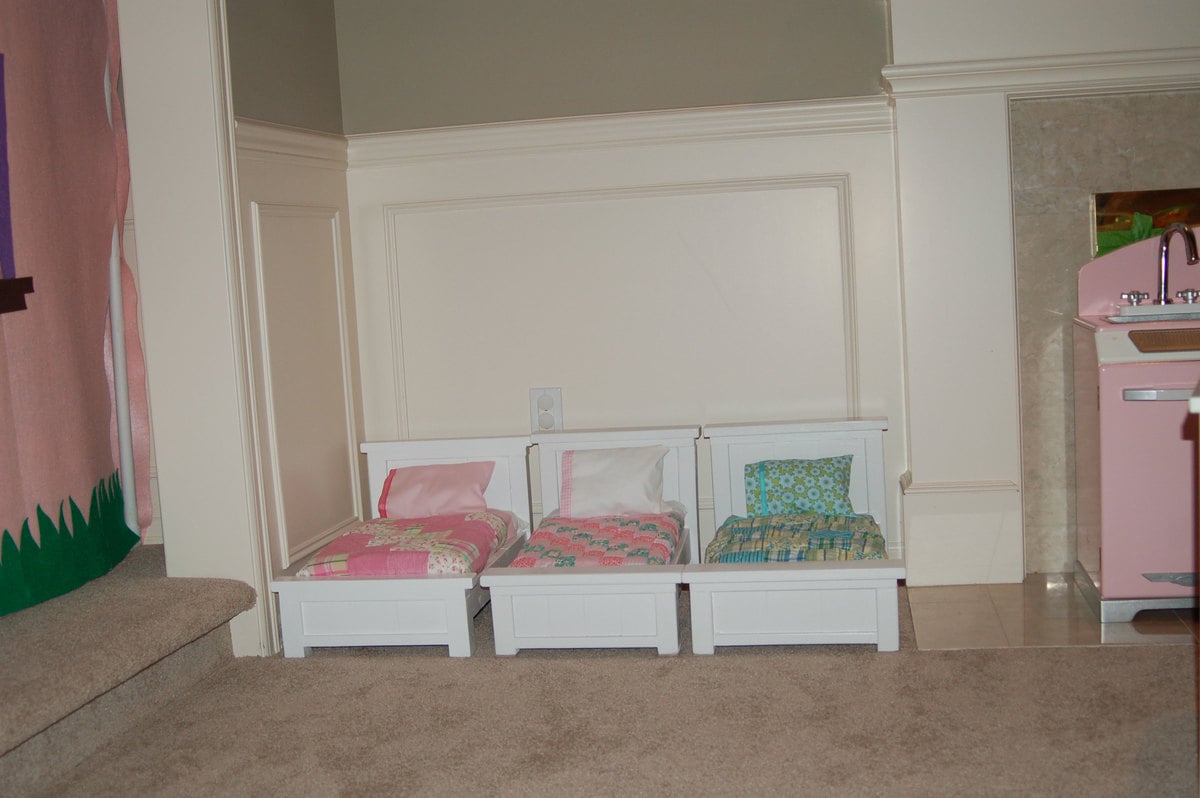
I made these three farmhouse doll beds for my daughters. Initially, I made two beds following the plan as written but started feeling like they would take up too much space. My girls are close in age (4 and 2 yo twins) so waiting for one to outgrow something and passing it on isn't an option.
I gave the first two regular sized beds away as gifts and made three narrow versions that I saw on another blog http://thatsmyletter.blogspot.com/2011/02/b-is-for-bed-5.html Her bedding is still the gold standard in my eyes. LOVE IT!
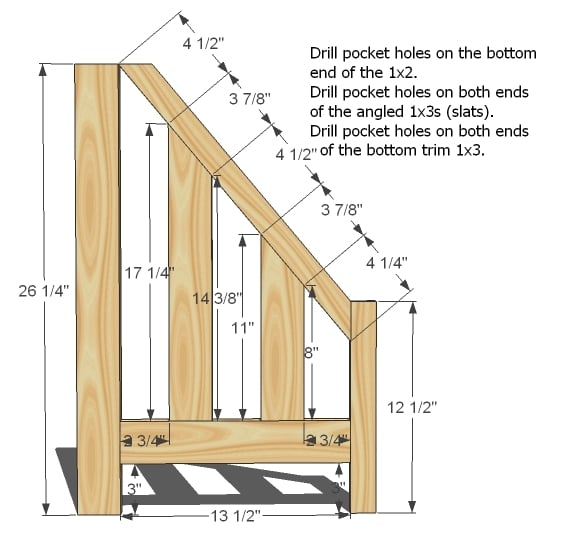
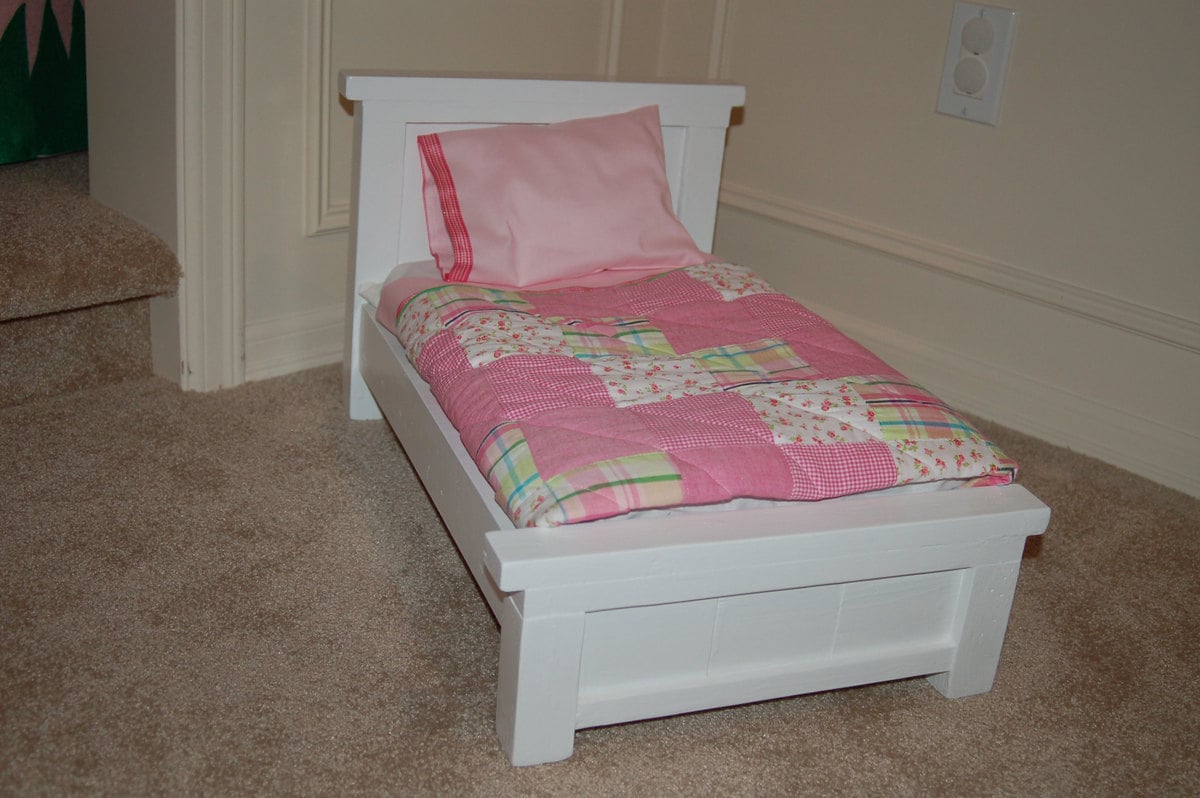
On two of my beds, I left off one 1x2 slat, and on the other I used 3-1x3's. The width of the 3 beds are slightly different. Heck, I think I am incapable of making two things exactly the same. lol The girls love them so that's all that matters. For the bed that used 3-1x3s, I didn't write down the width of the top boards. I measured and cut as I assembled.
I put an extra 1x2 mattress support in the middle because I knew they would sit on them and used masonite to hold the mattress. Seems strong enough so far.
Before painting, I used lots of wood filler and caulk to hide some flaws. By the way, I feel like painting the beds is the hardest part. So many little grooves, nooks, and crannies. I recently bought a Graco 3900 HVLP paint sprayer. Painted a half wall and 6 long pieces of trim in 30 minutes today---love it! If I make another bed (or anything for that matter), I'm totally going to spray it.
Oh and I have to confess that after the first two beds, I got too impatient to use just screws so I used the nailer, glue, and used a few screws at key points. It made things go so much quicker, and the beds still feel quite sturdy. If my kids manage to break them, I'll make them new ones. :-)
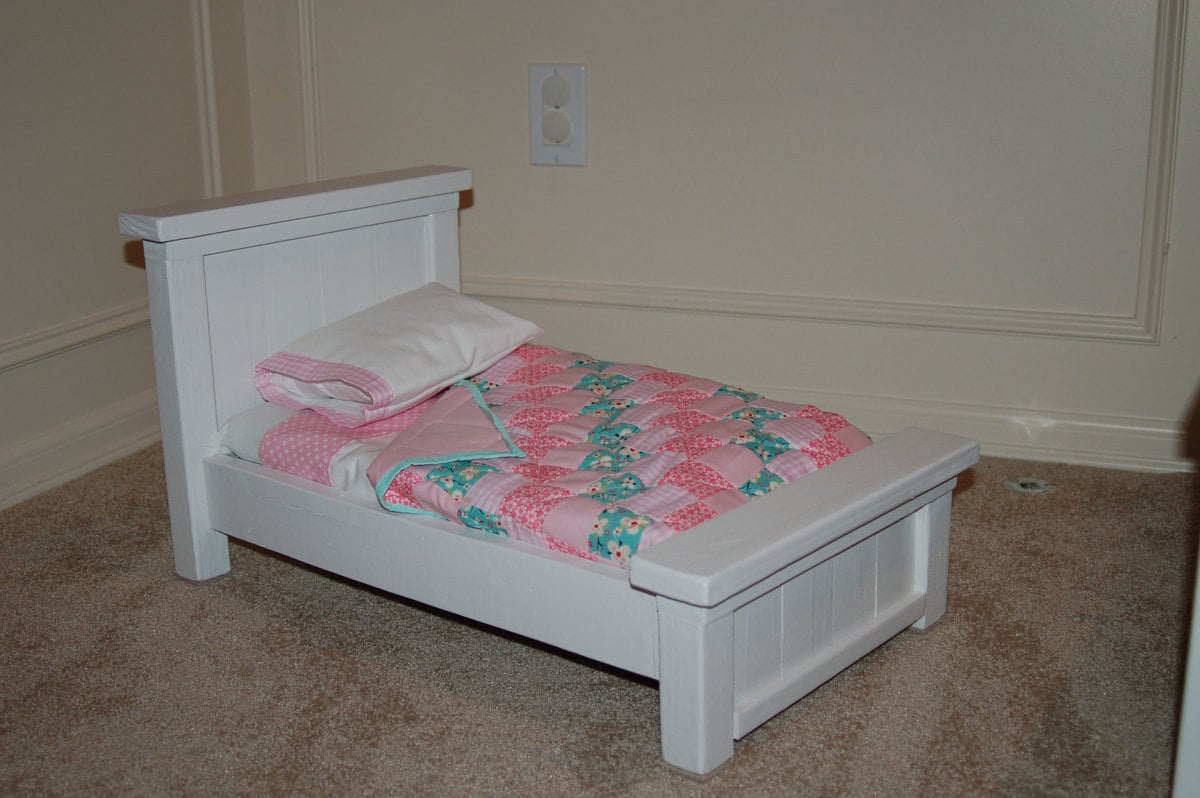
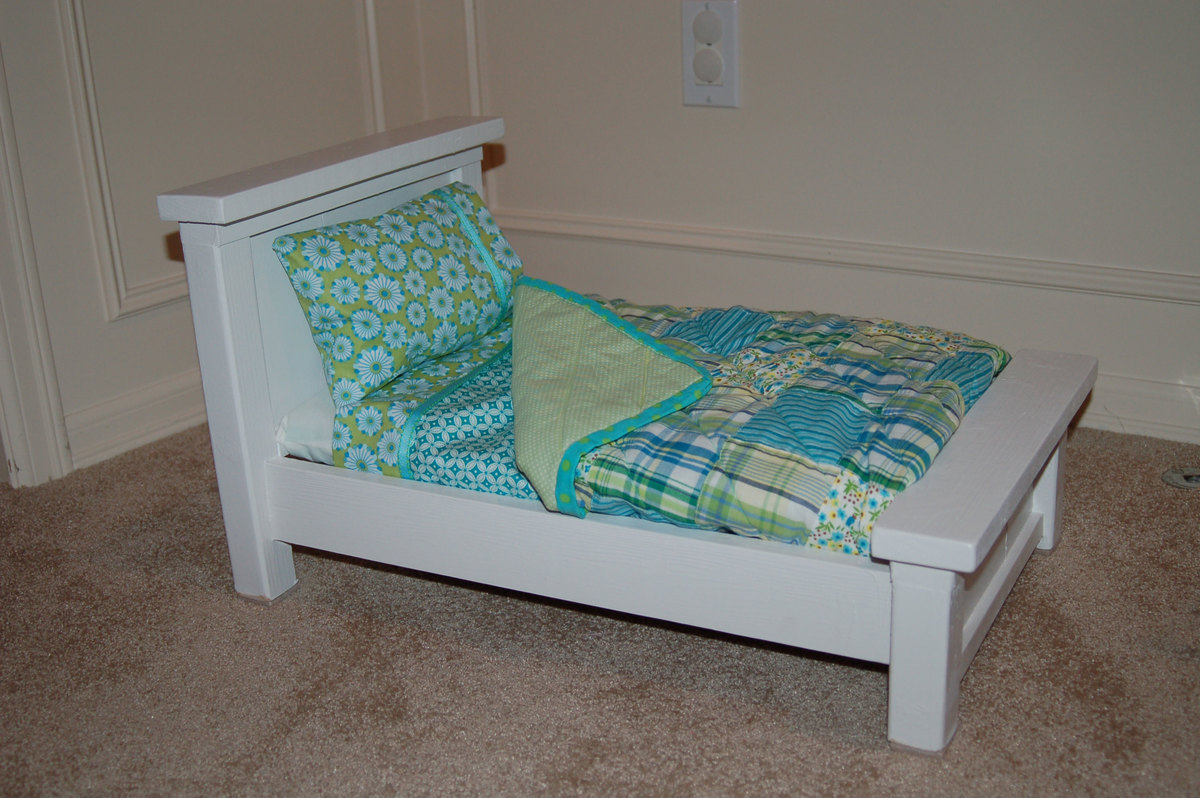
I used 1" foam and muslin for the mattress & cover and fabric that I obsessively buy and hoard for everything else. The middle quilt is an actual quilt. I cut the squares and all---first time for that too. The other two are made of pre-made patchwork fabric from Joann's.
Thank you to everyone for sharing your creations, and thank you, Ana, for the plans. I am so inspired!
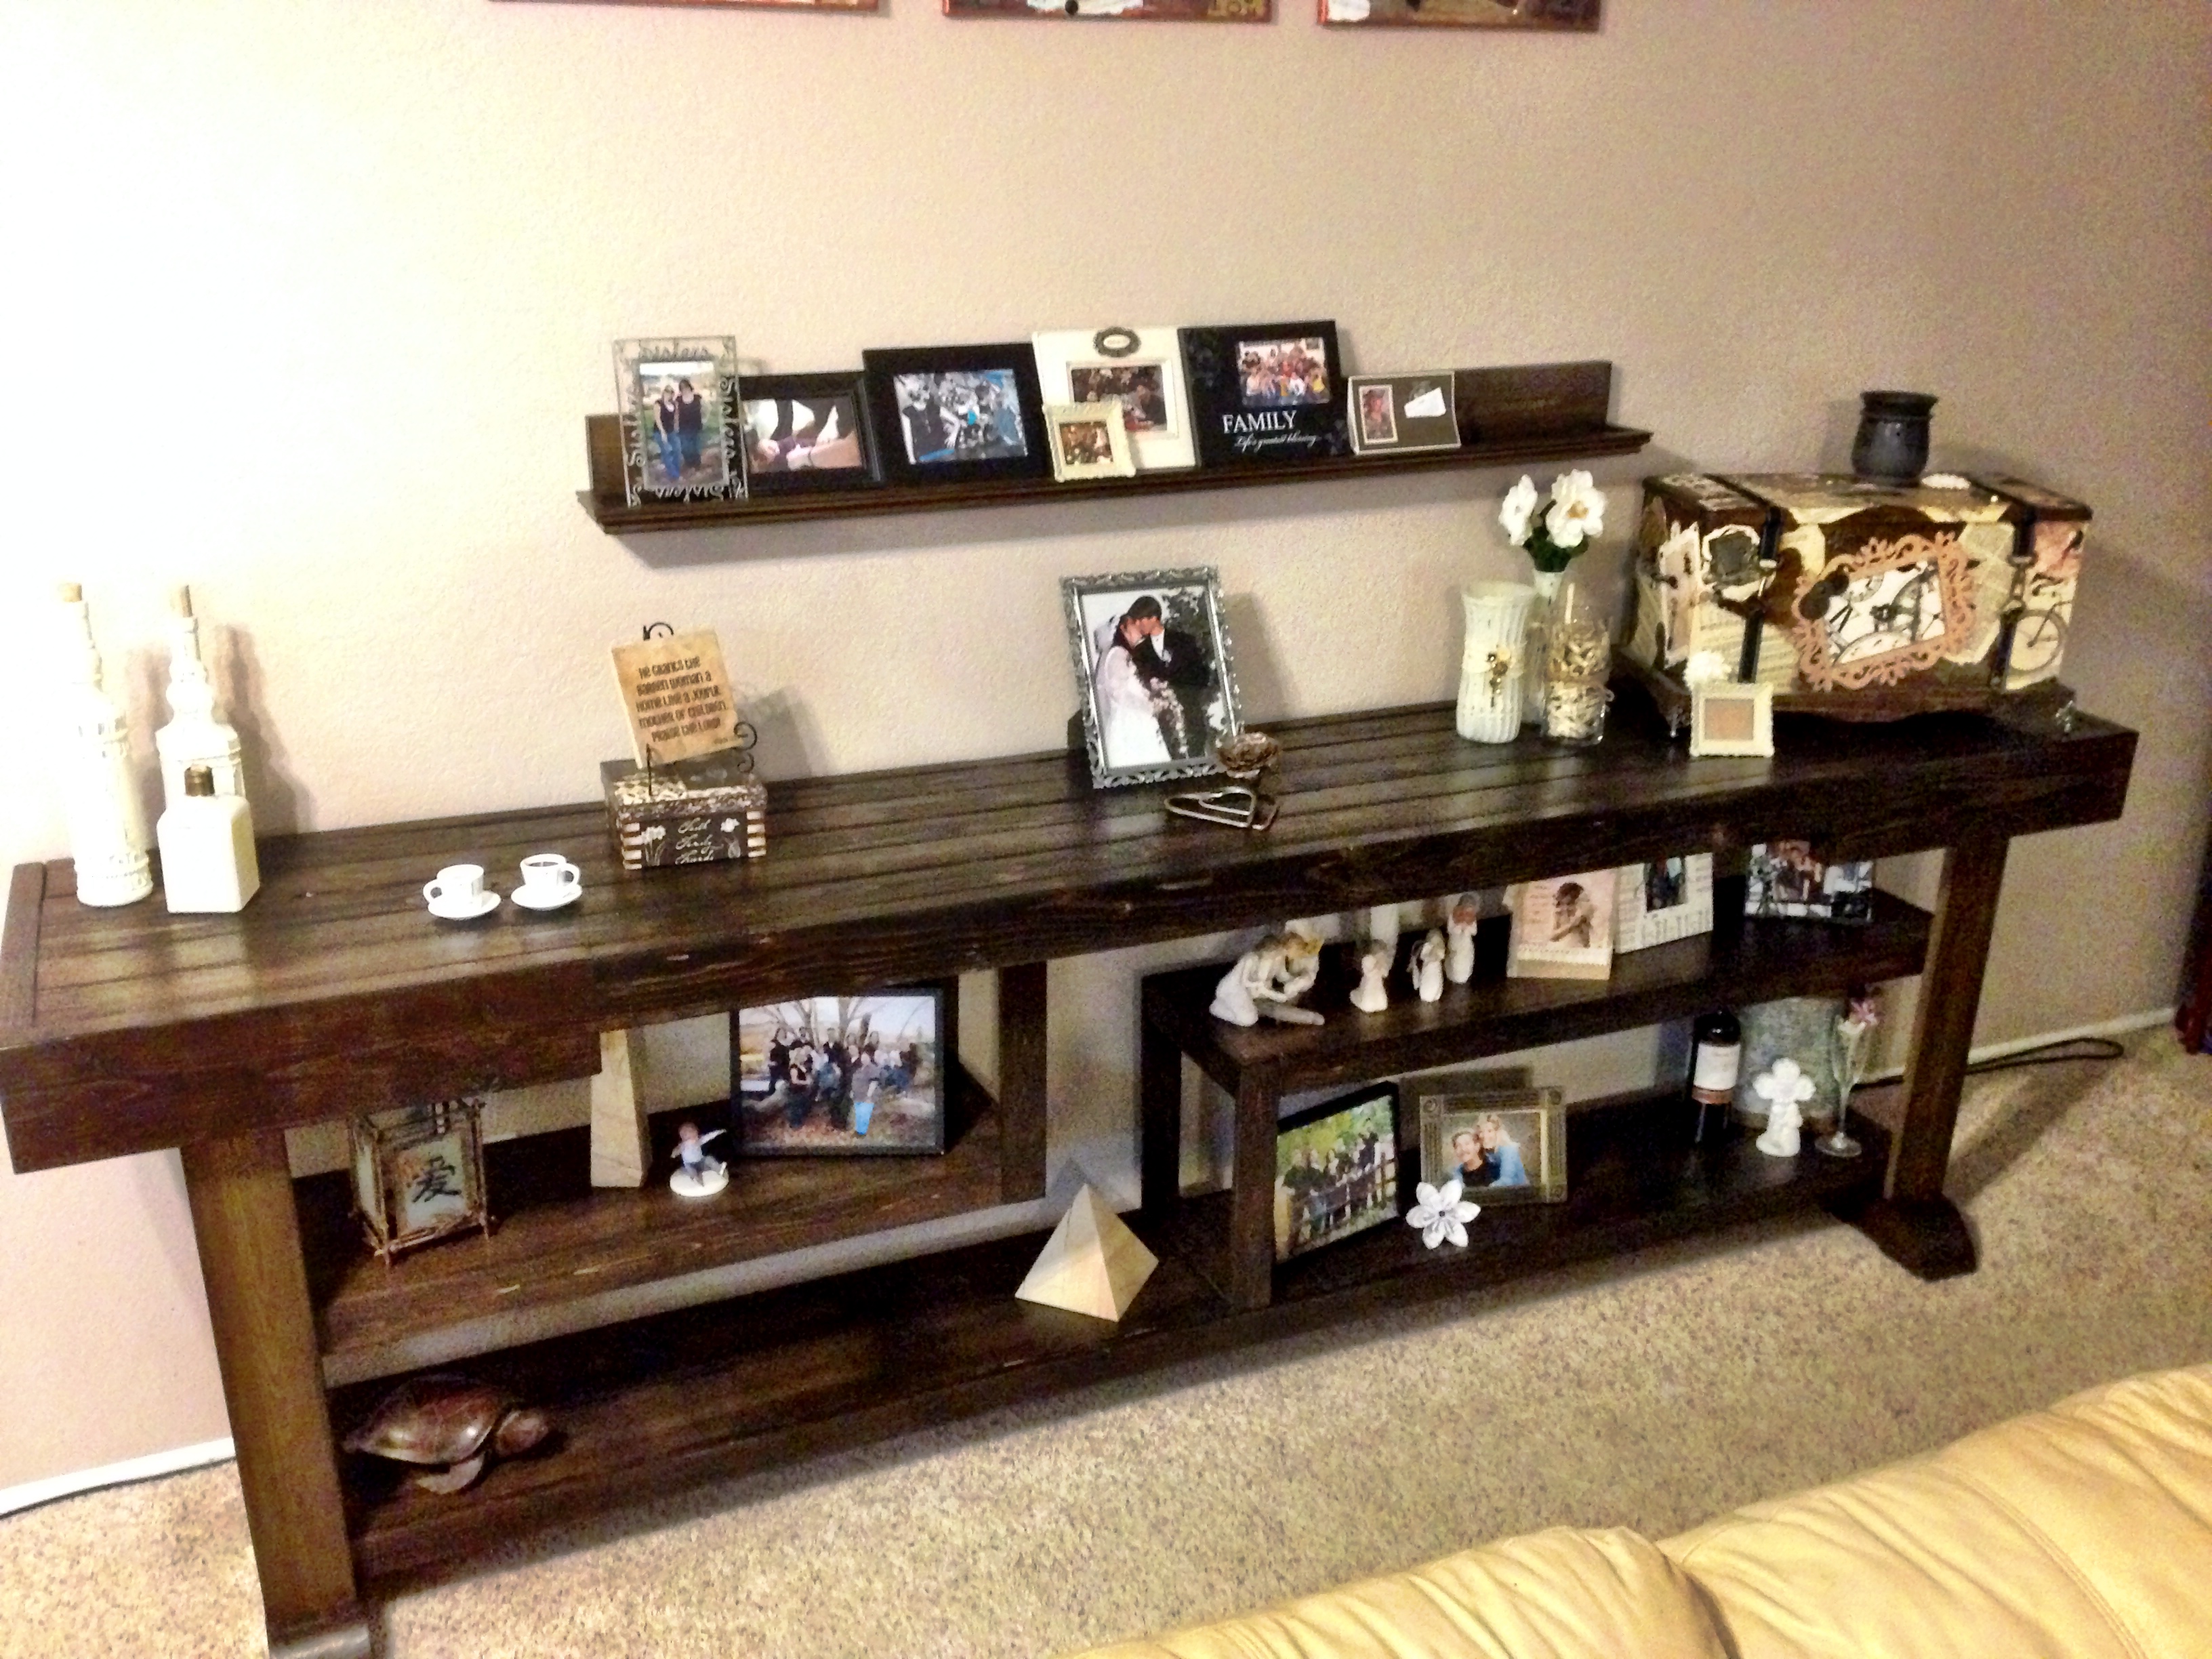
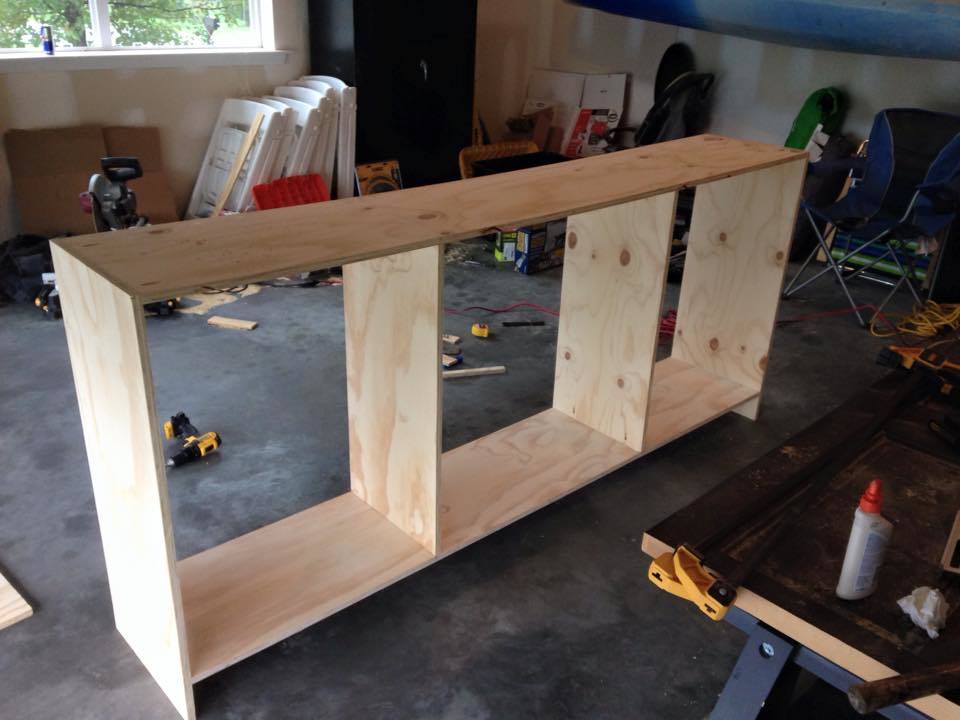
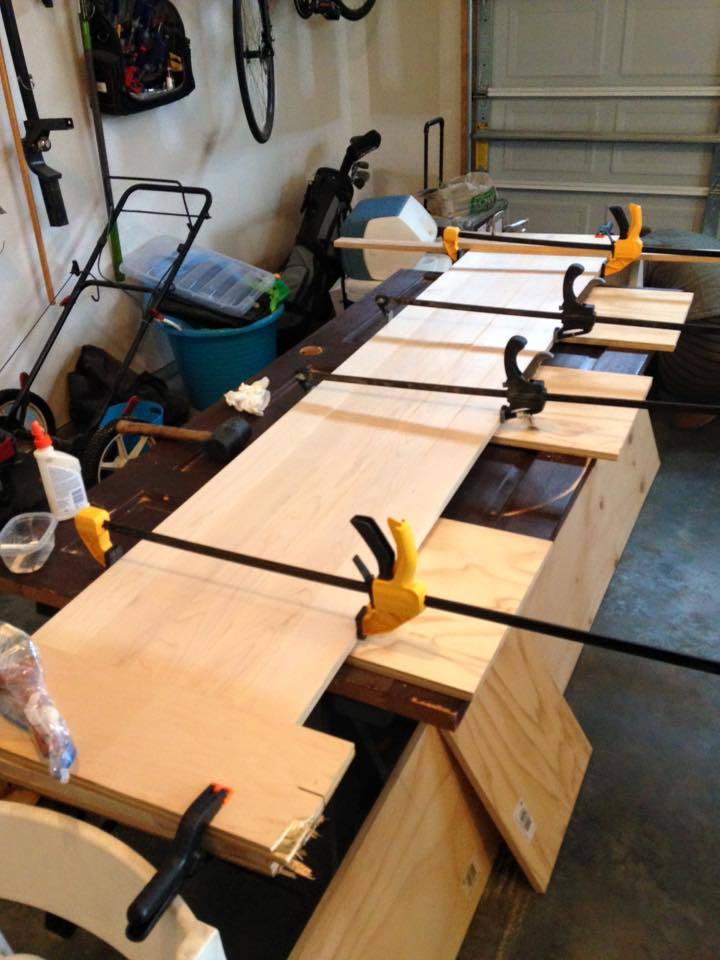
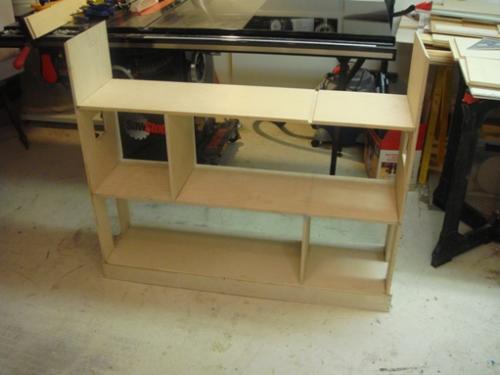
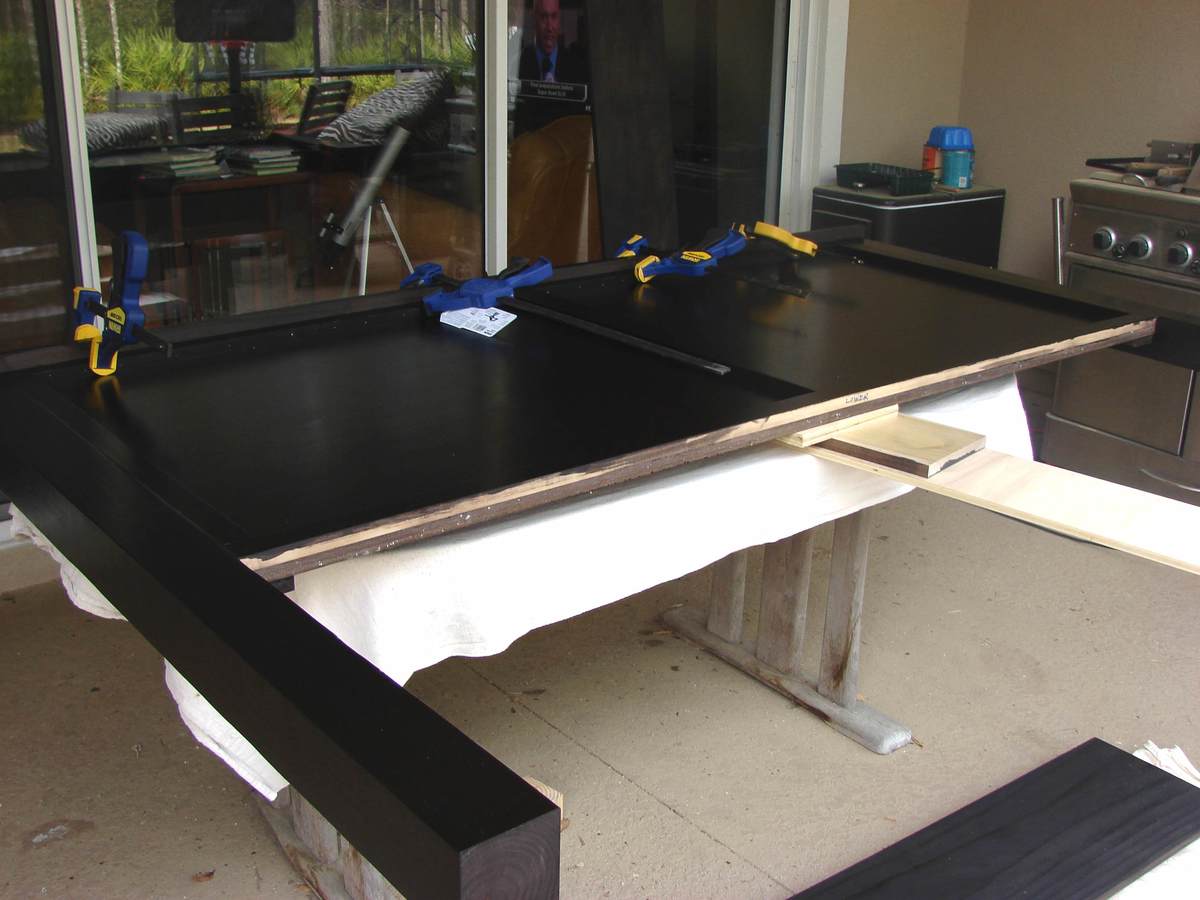
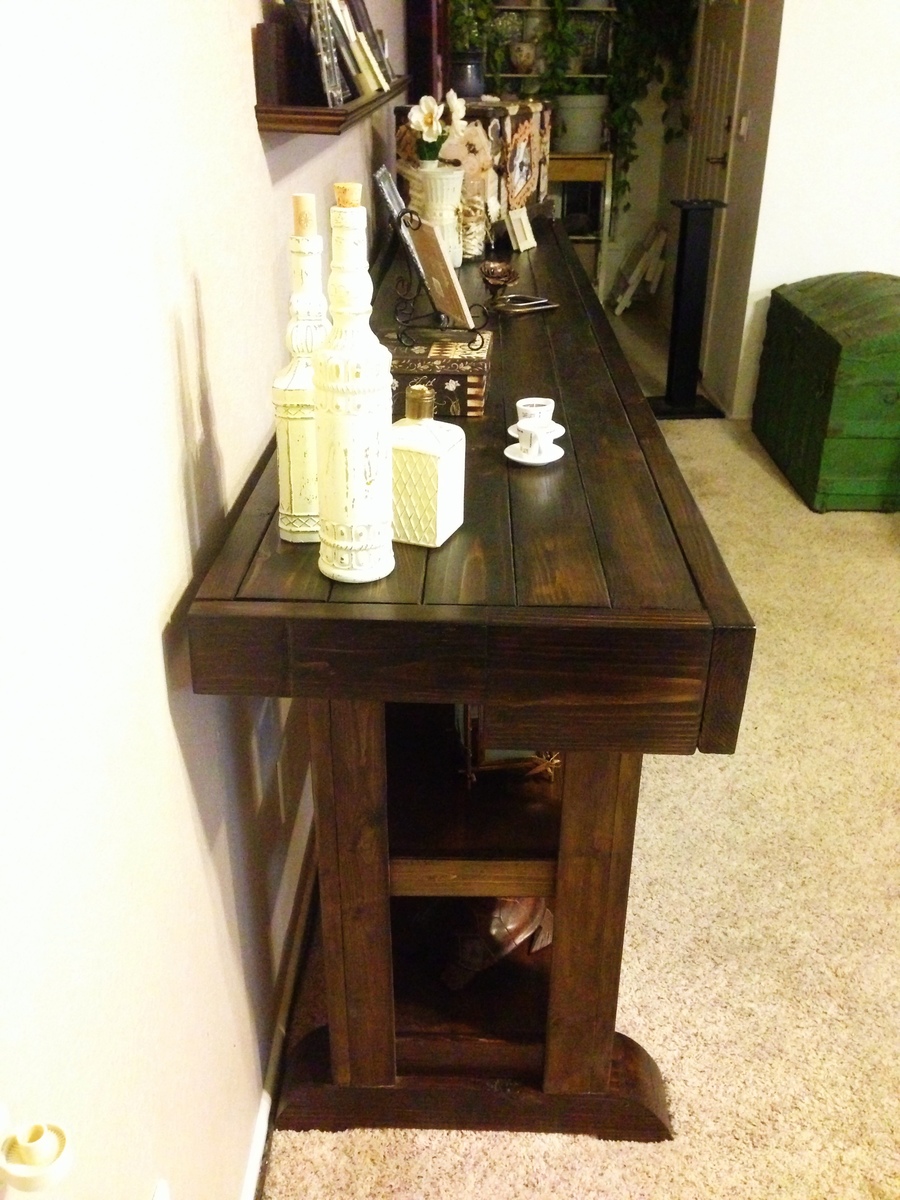
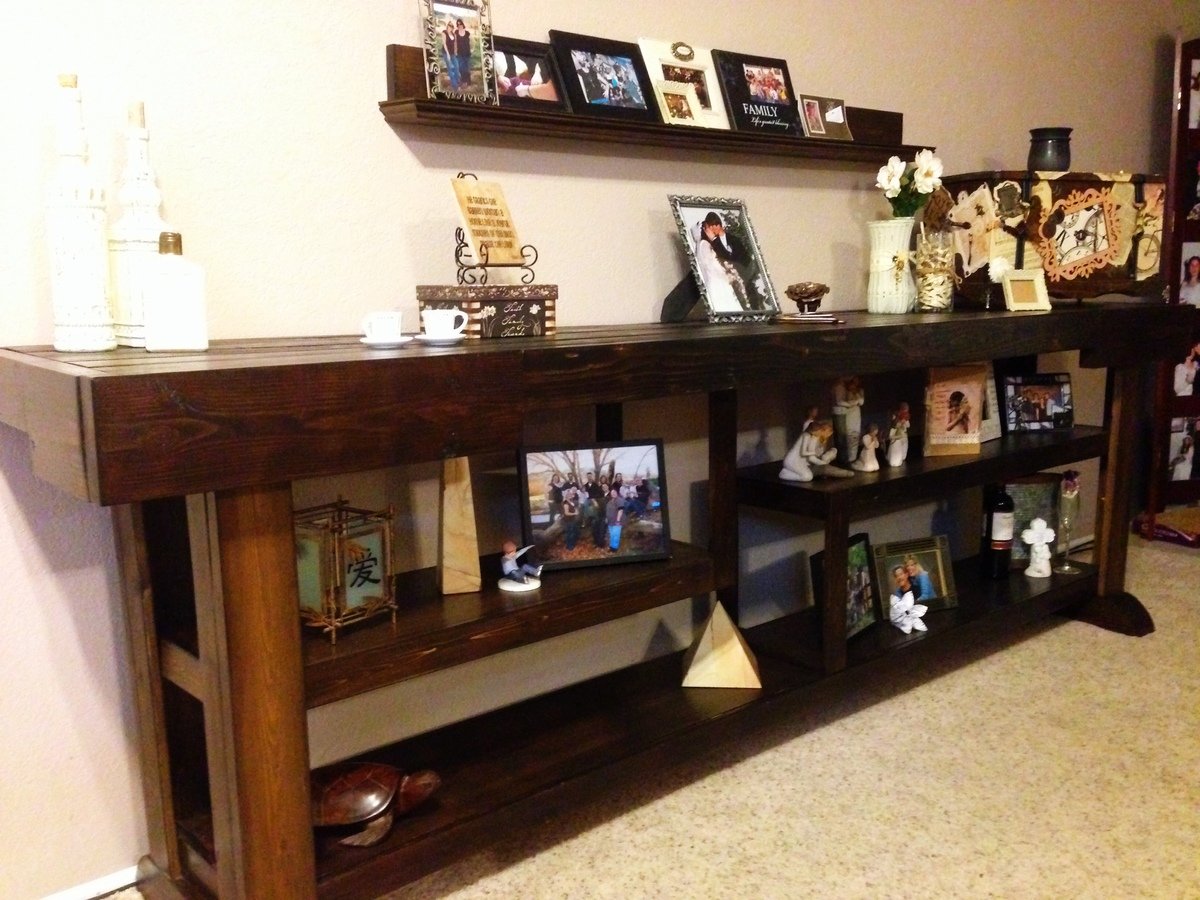
Well after a successful first project building a Wine Console for my sis-in-law it was time to tackle a project for my own home. We have a huge back wall in our living room that used to be covered by a cheap set of "DVD/CD Organizer" shelves. I hated them from the day I bought them, but they were cheap and they did what we needed. So for my next project I wanted to replace them with something classier.
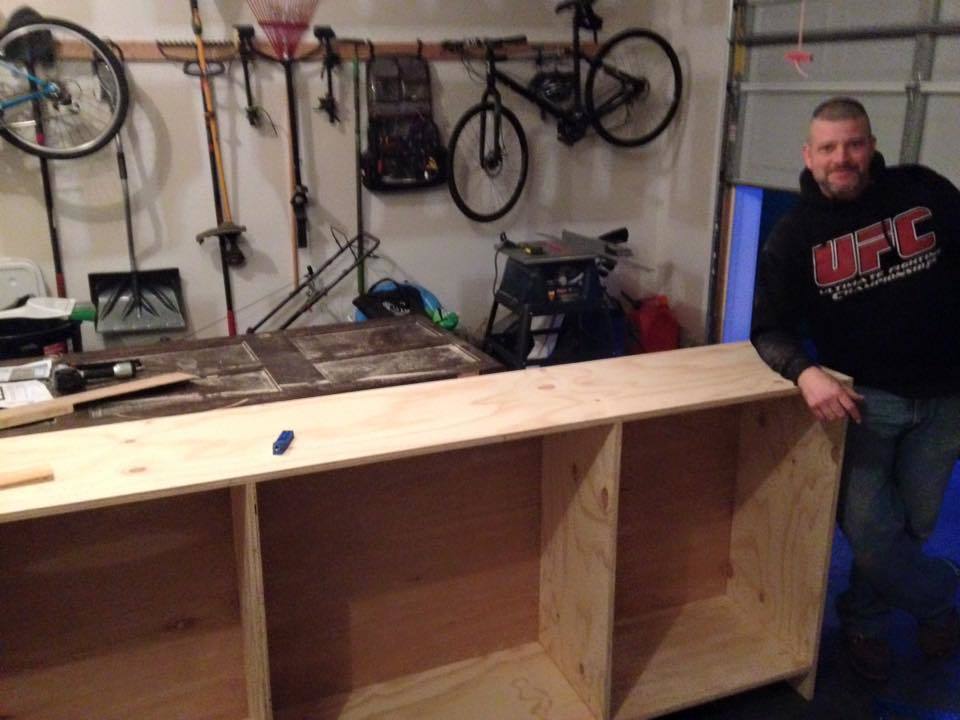
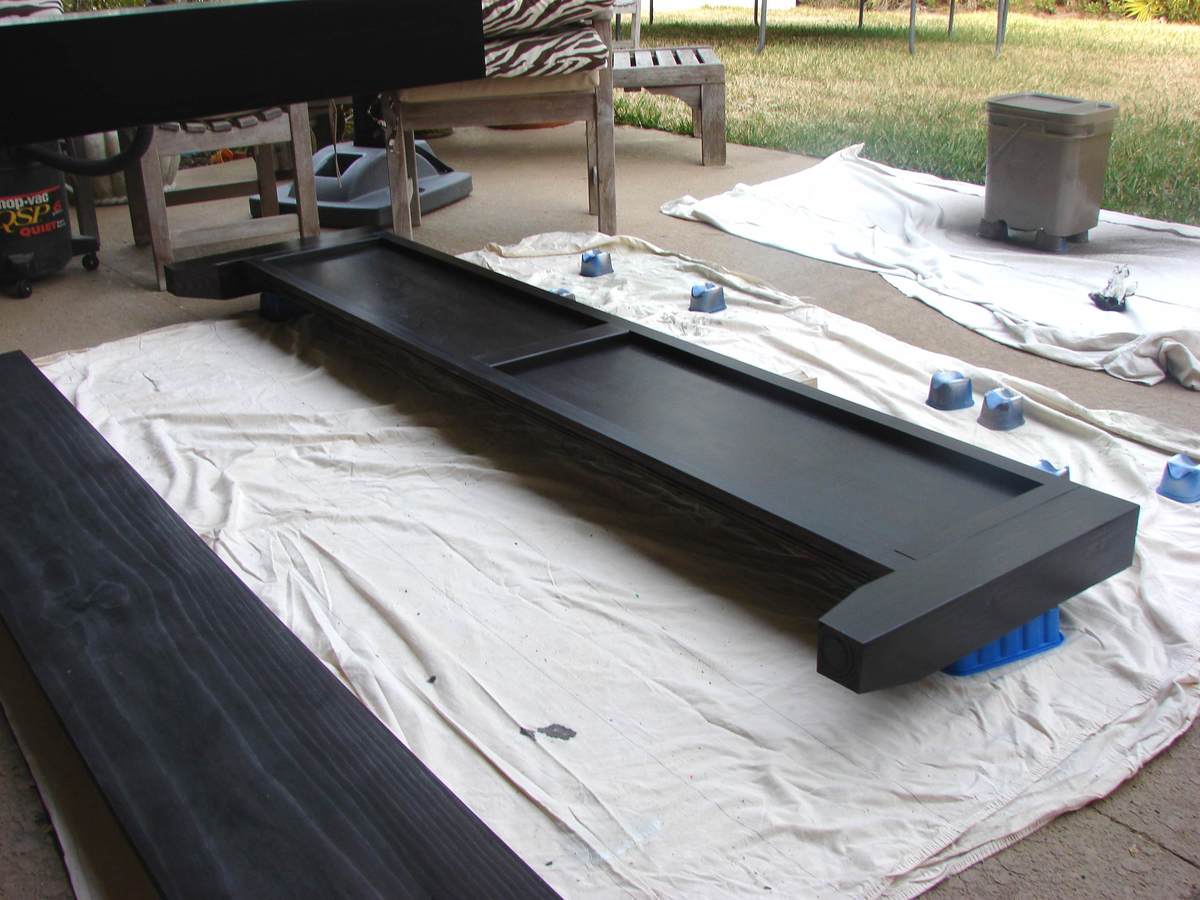
The basic concept is based off the same workbench console that I used to build the wine table but with some major modifications. First off, it's 9 and a half feet long to better fit the size of the wall. I also wanted to add some shelves for more display space. The wife likes non-symmetrical design styles so I offset the shelves with one hanging from the bottom of the tabletop and the other resting on the bottom shelf.
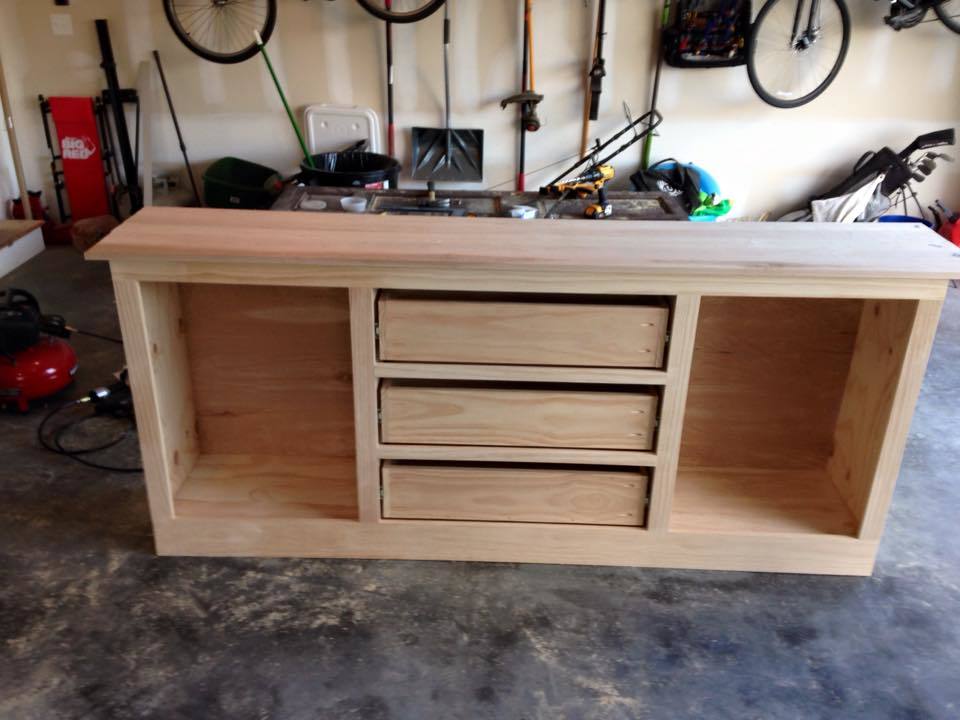
I just finished it and moved it in so we're still trying to figure out what to put on it. Personally I like a more minimalist approach while my wife loves picture frames so I made a deal. You can see a guest appearance of the first of two $10 gallery shelves that I plan on putting the rest of our pictures on. Stained the same color as the table it looks great on the wall right above it.
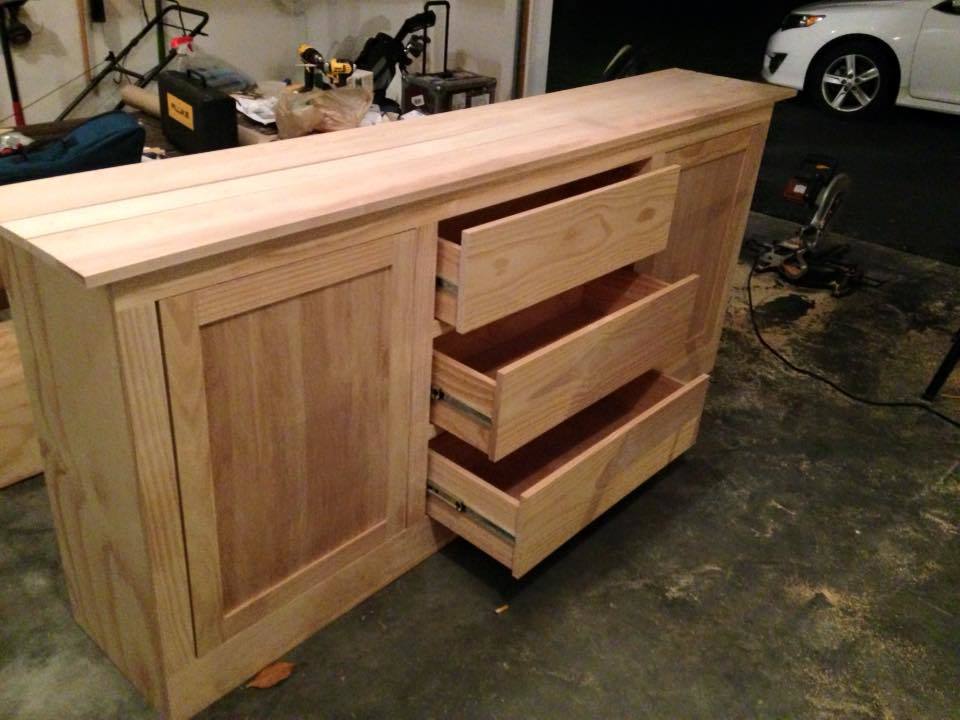
It's all made from good ol' Home Depot pine and finished with 3 coats of Varathane's Kona Stain-Poly applied with a brush.
Sun, 12/29/2013 - 21:22
What a unique and creative design you did with the shelves! Looks good!
Val @ artsybuildinglady.blogspot.ca
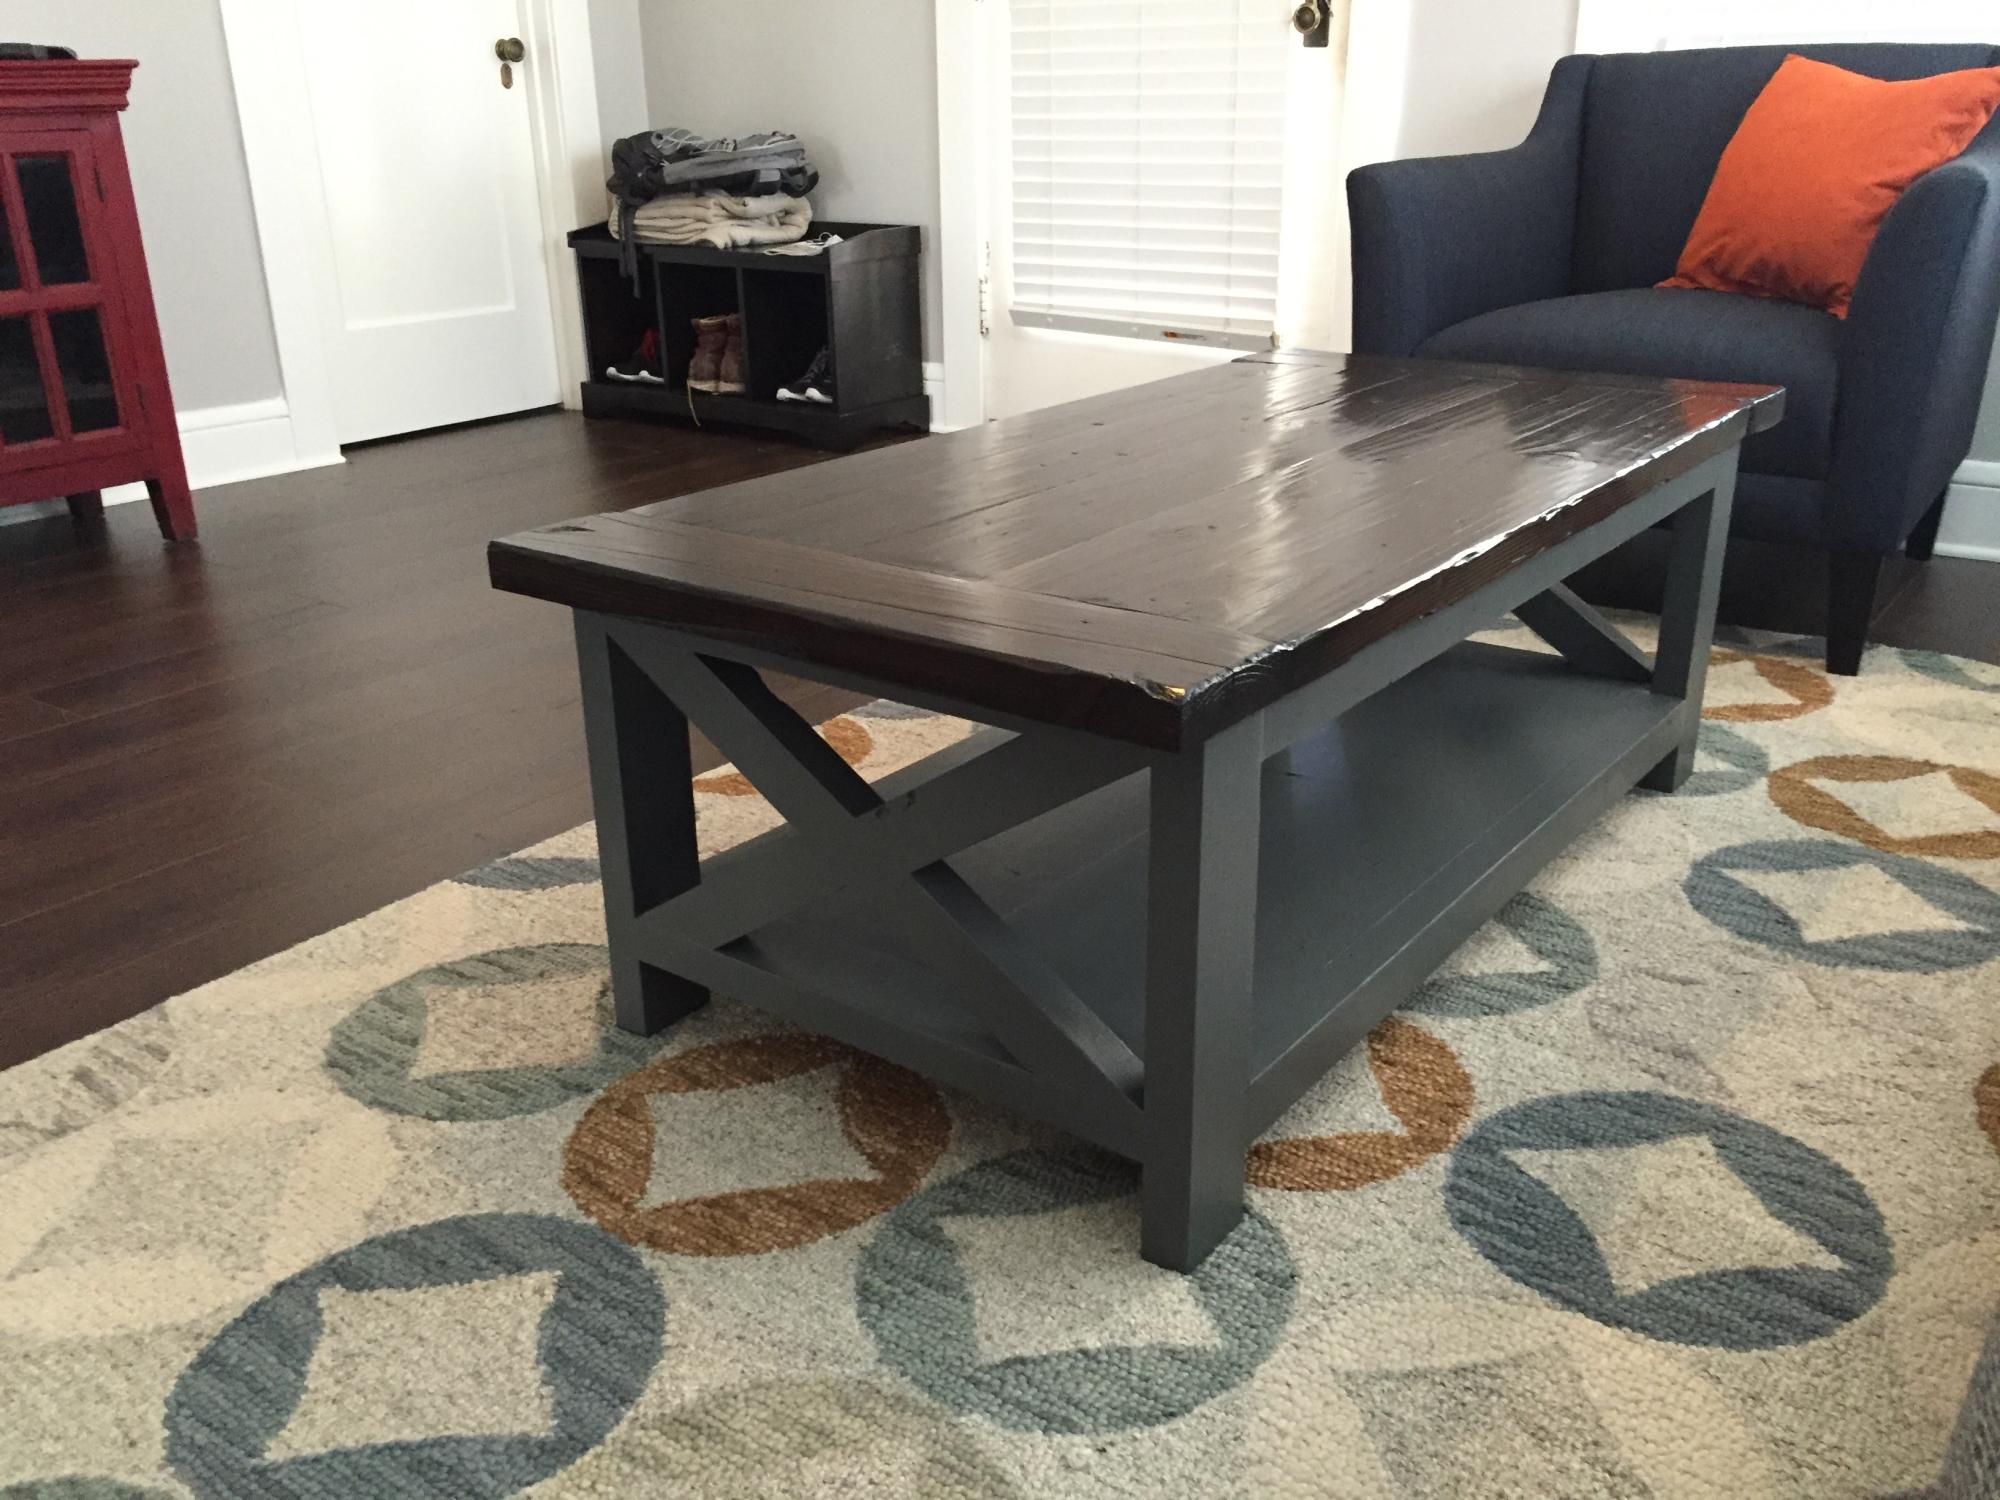
Followed the plan, pretty straight forward.

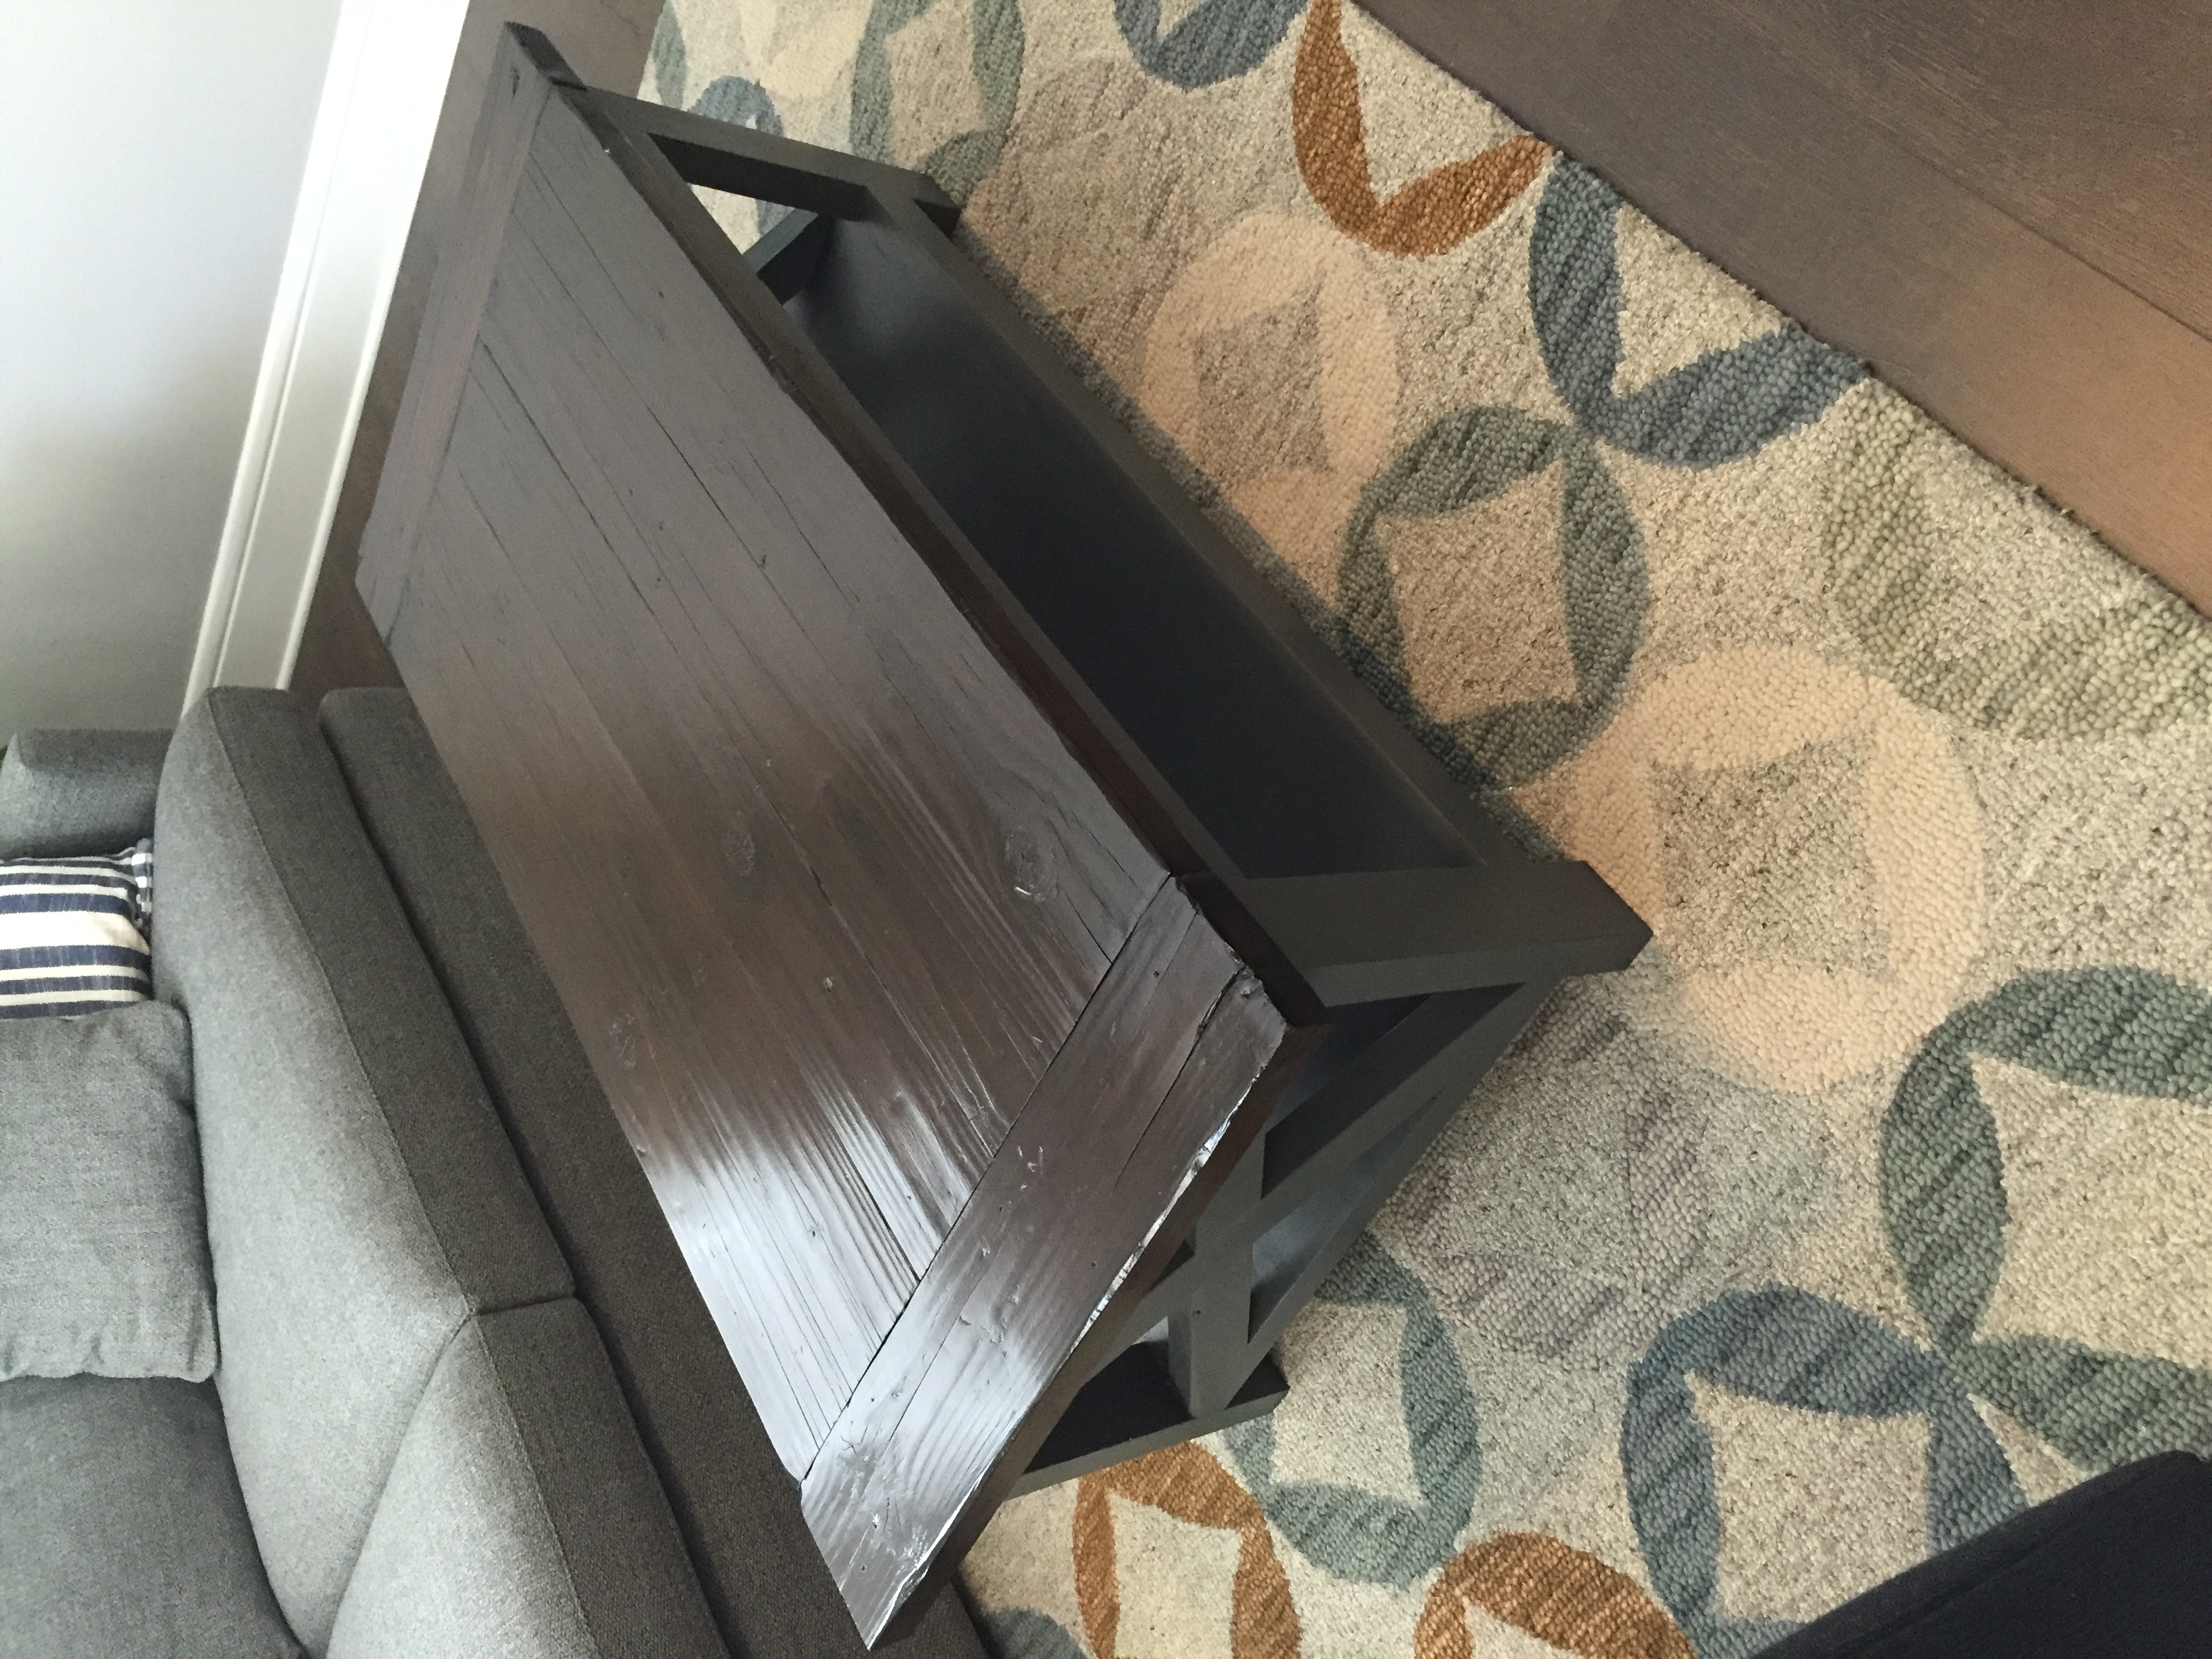
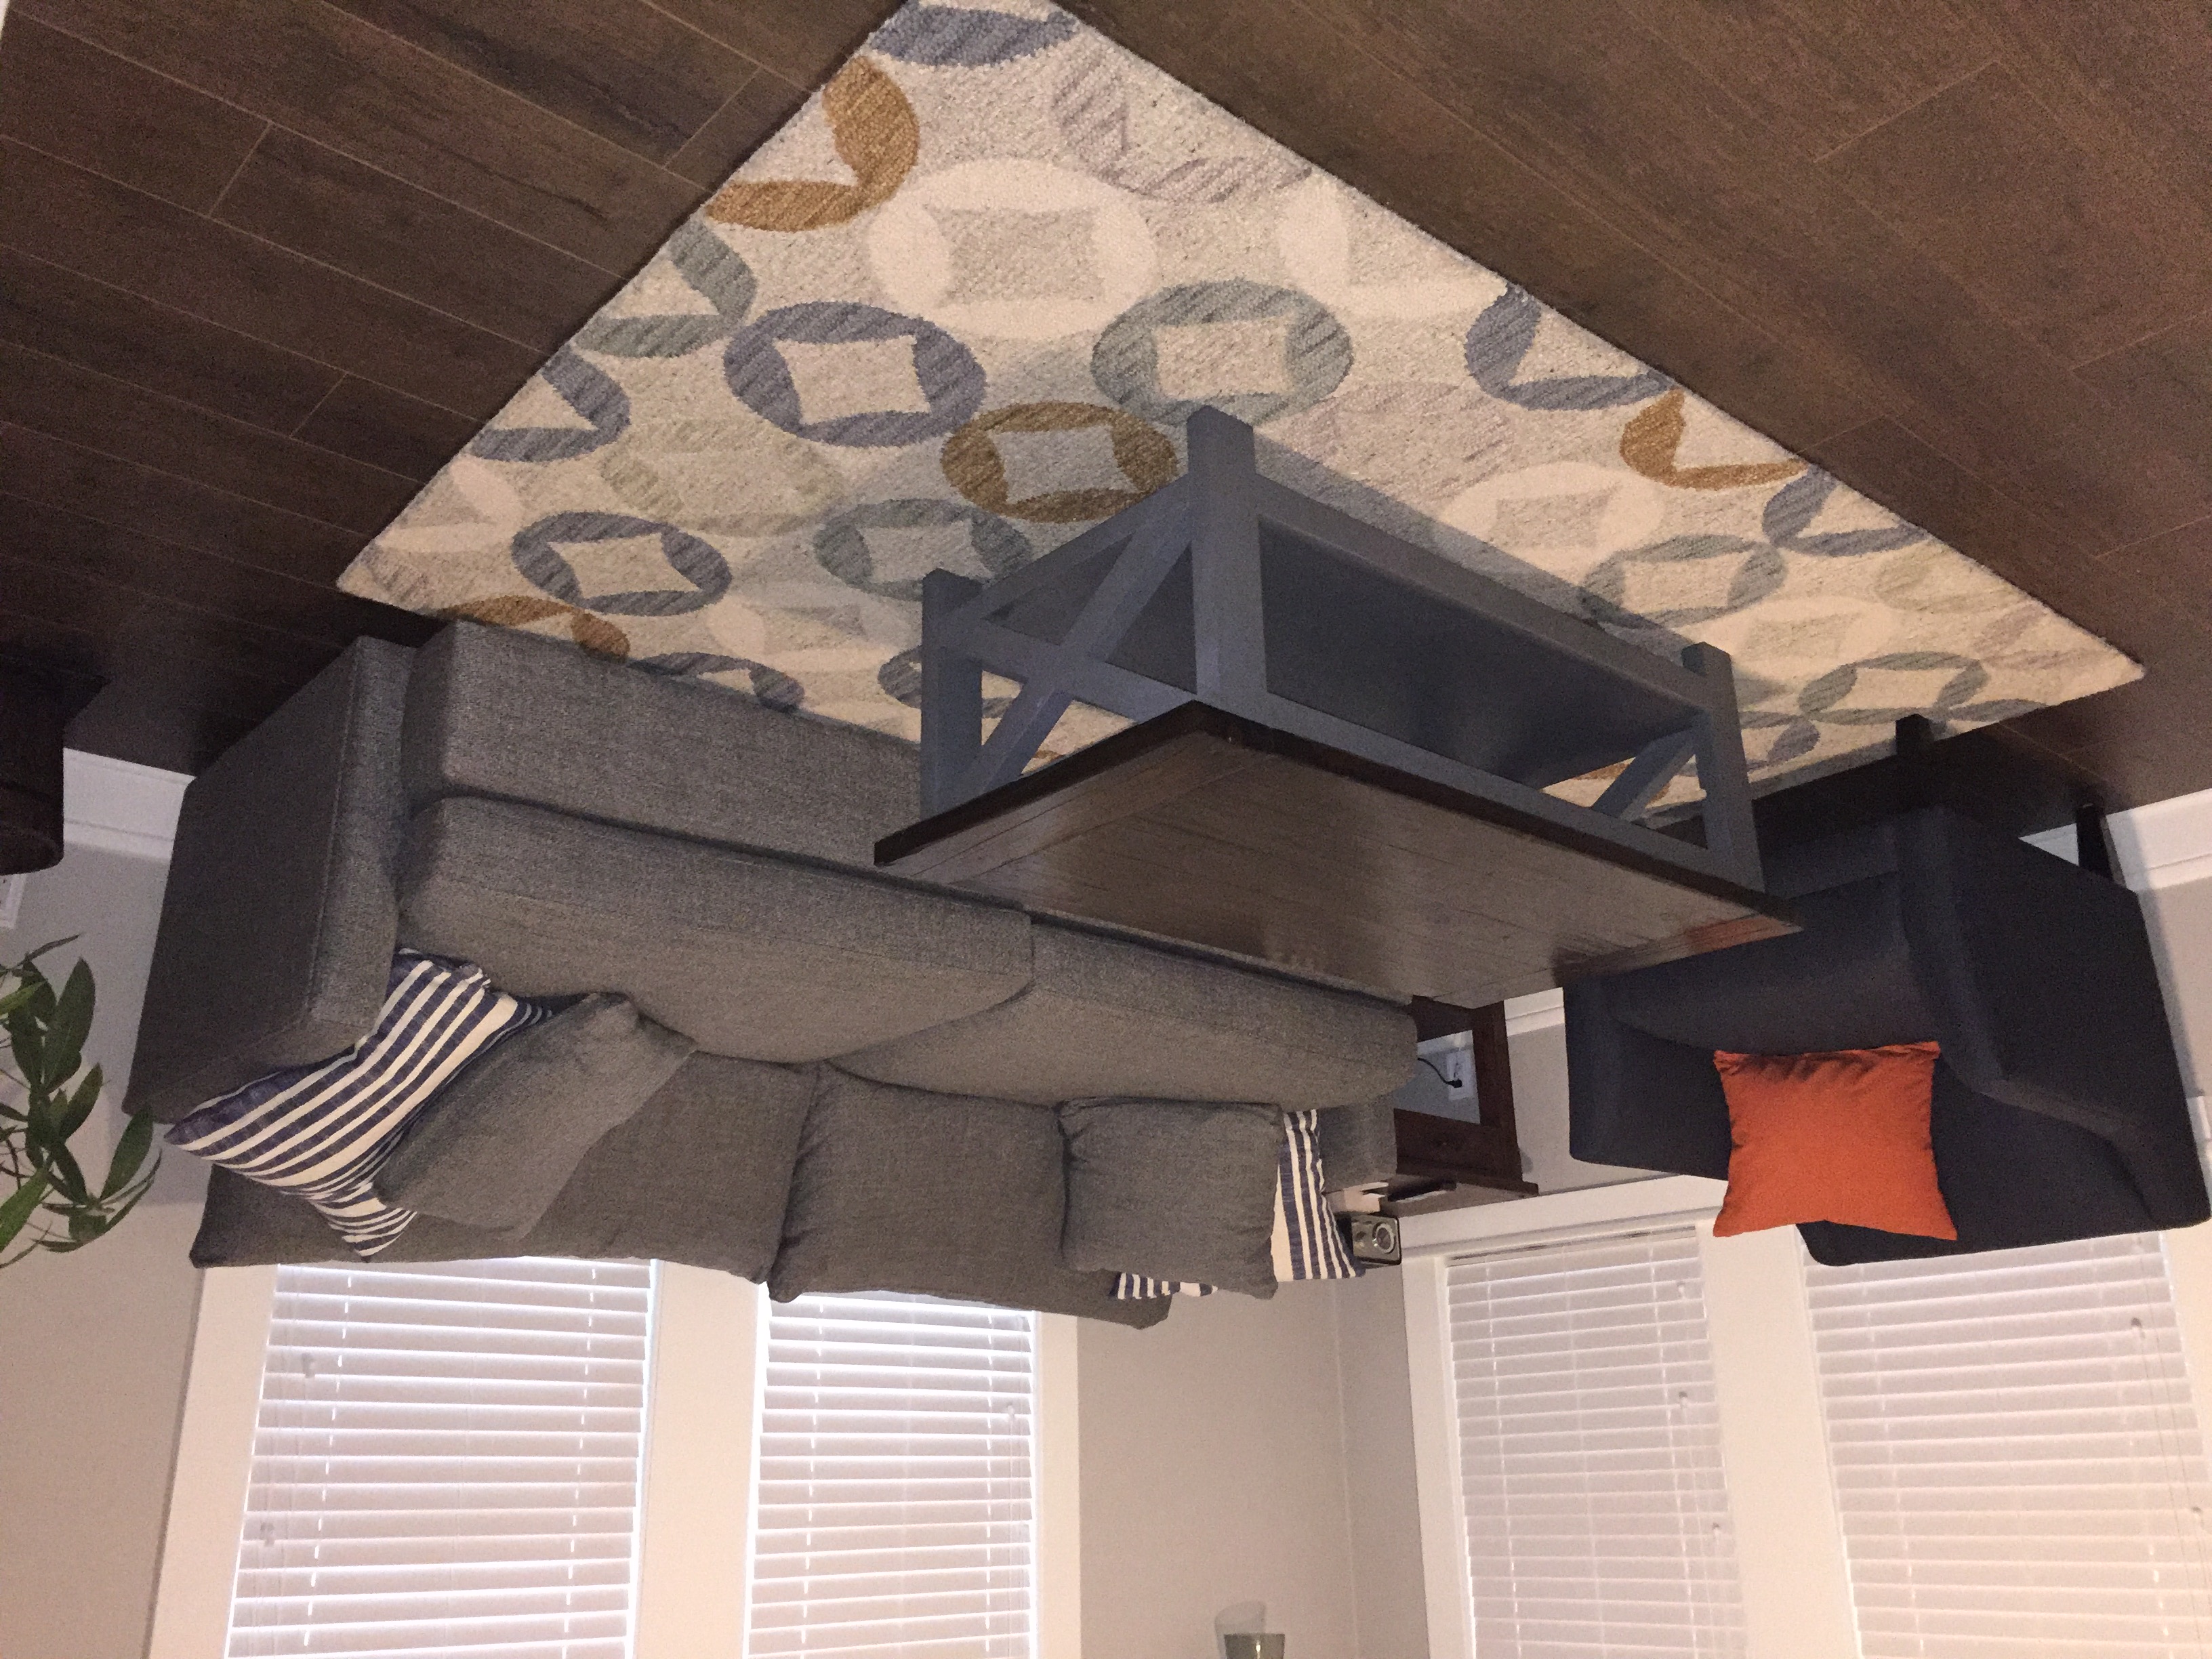
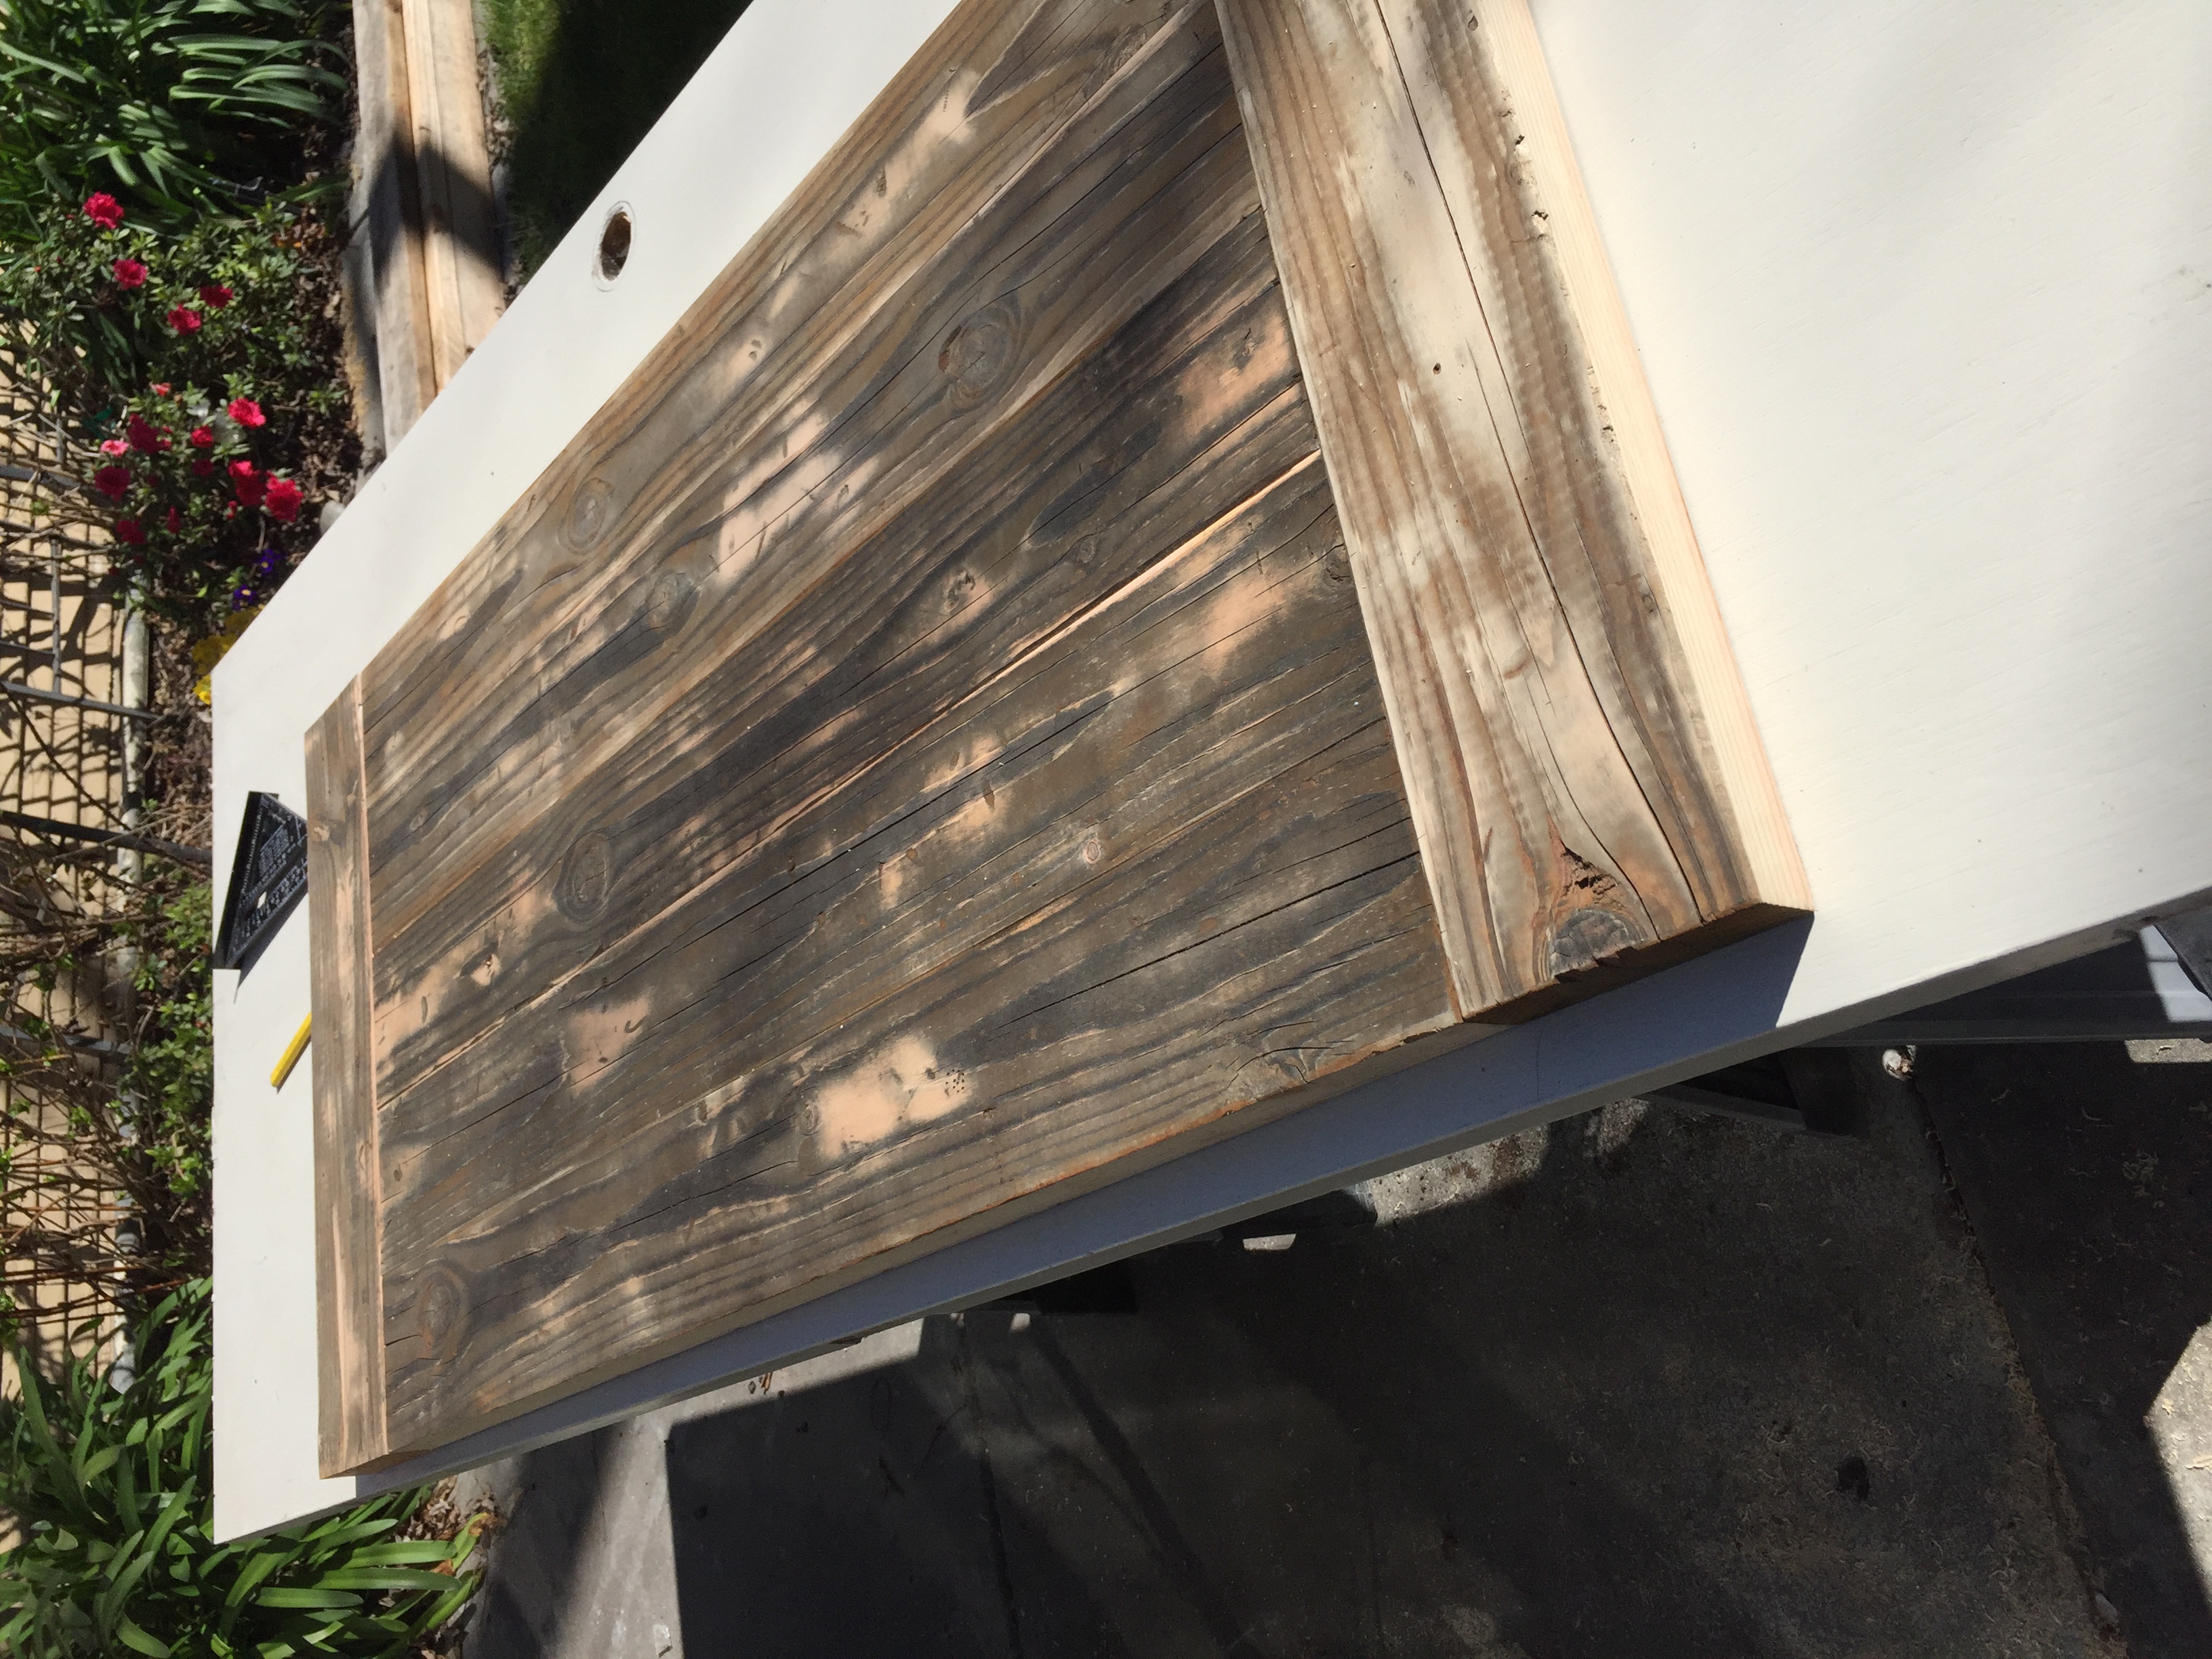

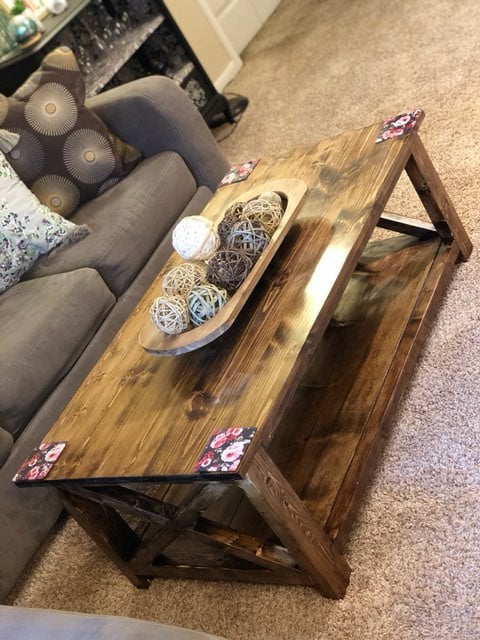
Love this coffee table. I built it for my daughter and she was very happy.
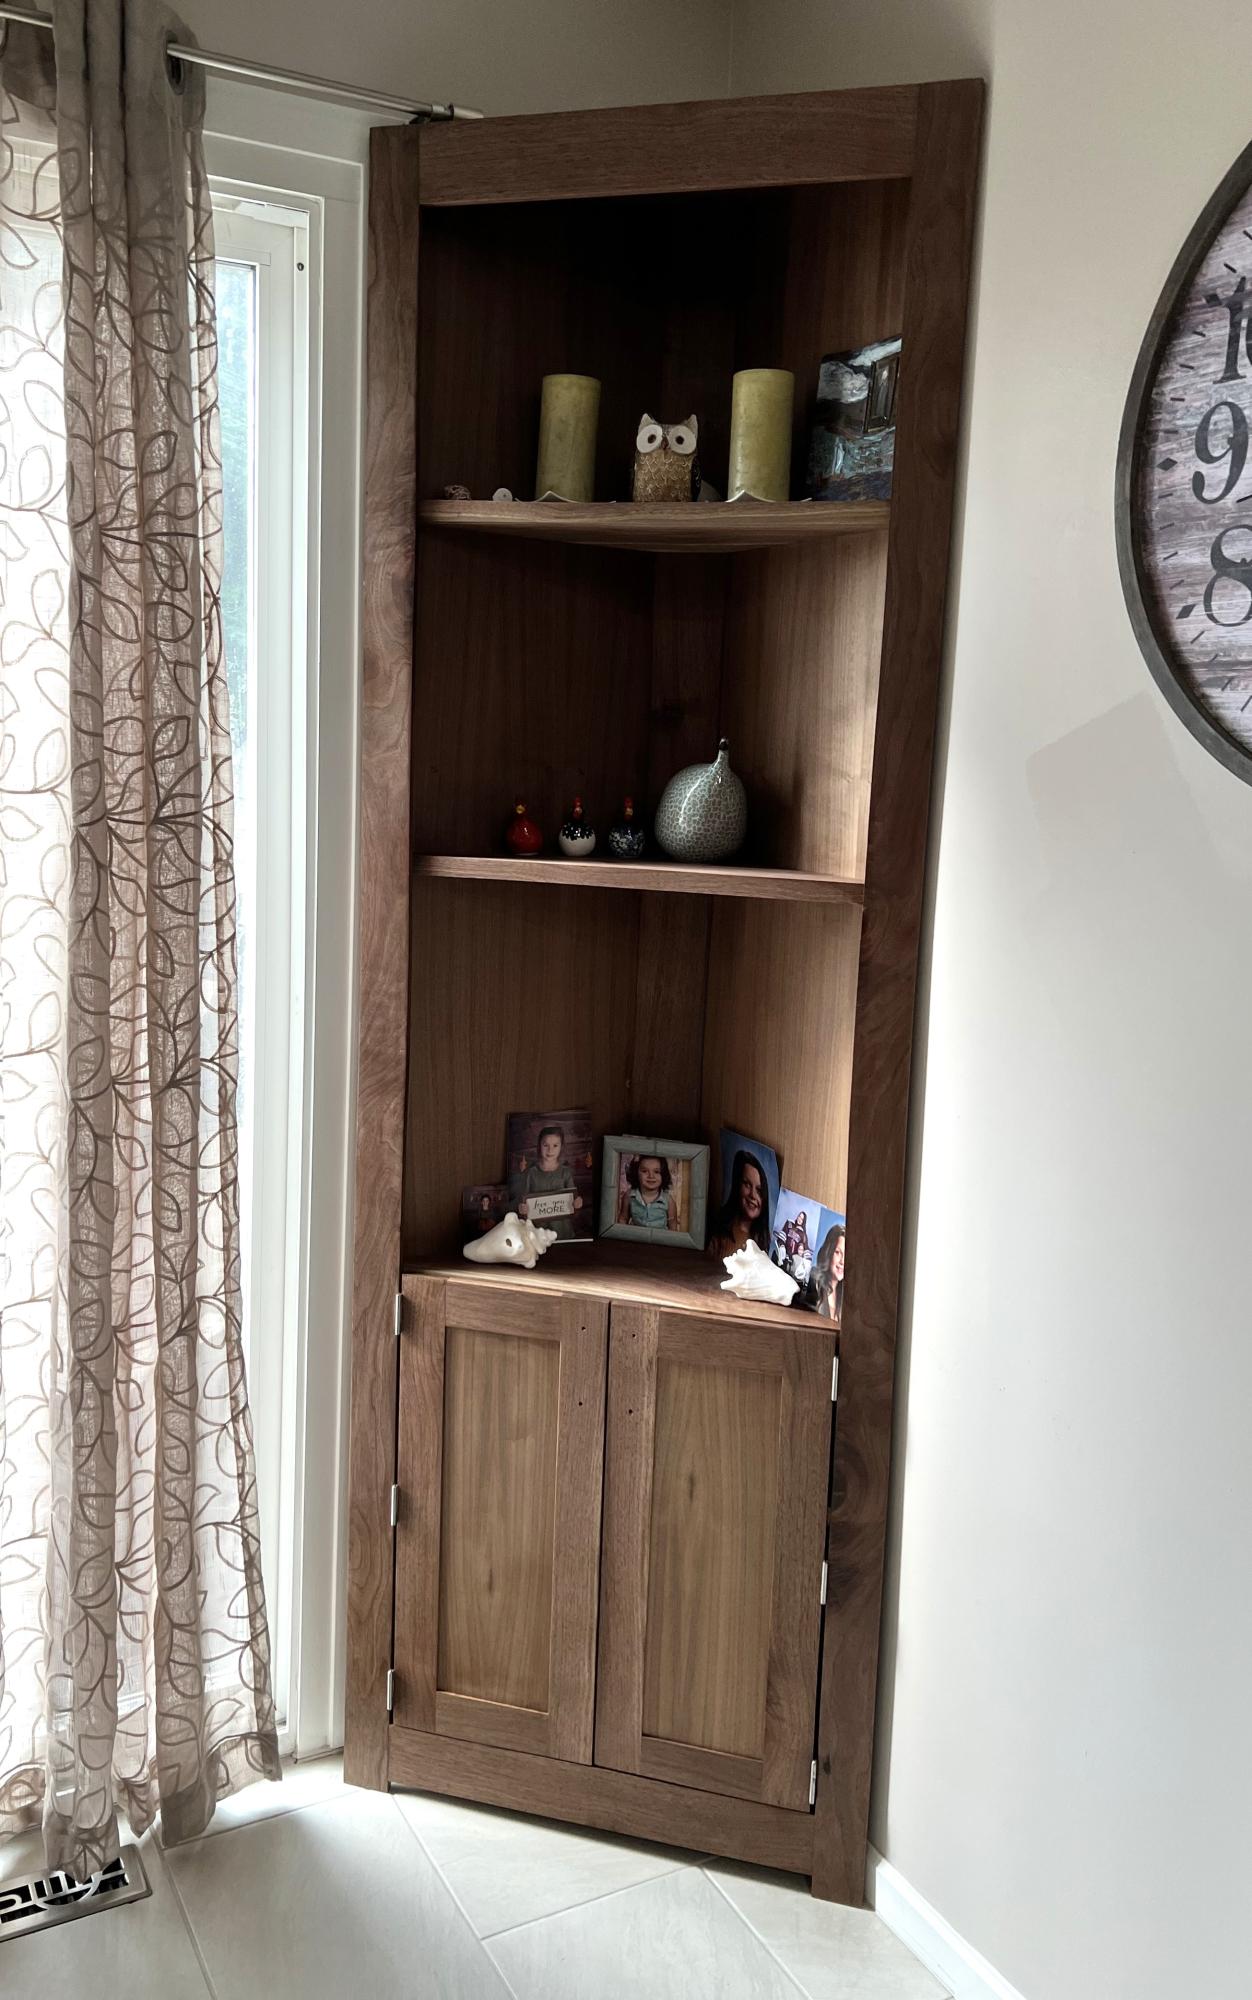
I made this out of walnut, no stain just a clear poly coat to protect the wood.
Jennifer