Community Brag Posts

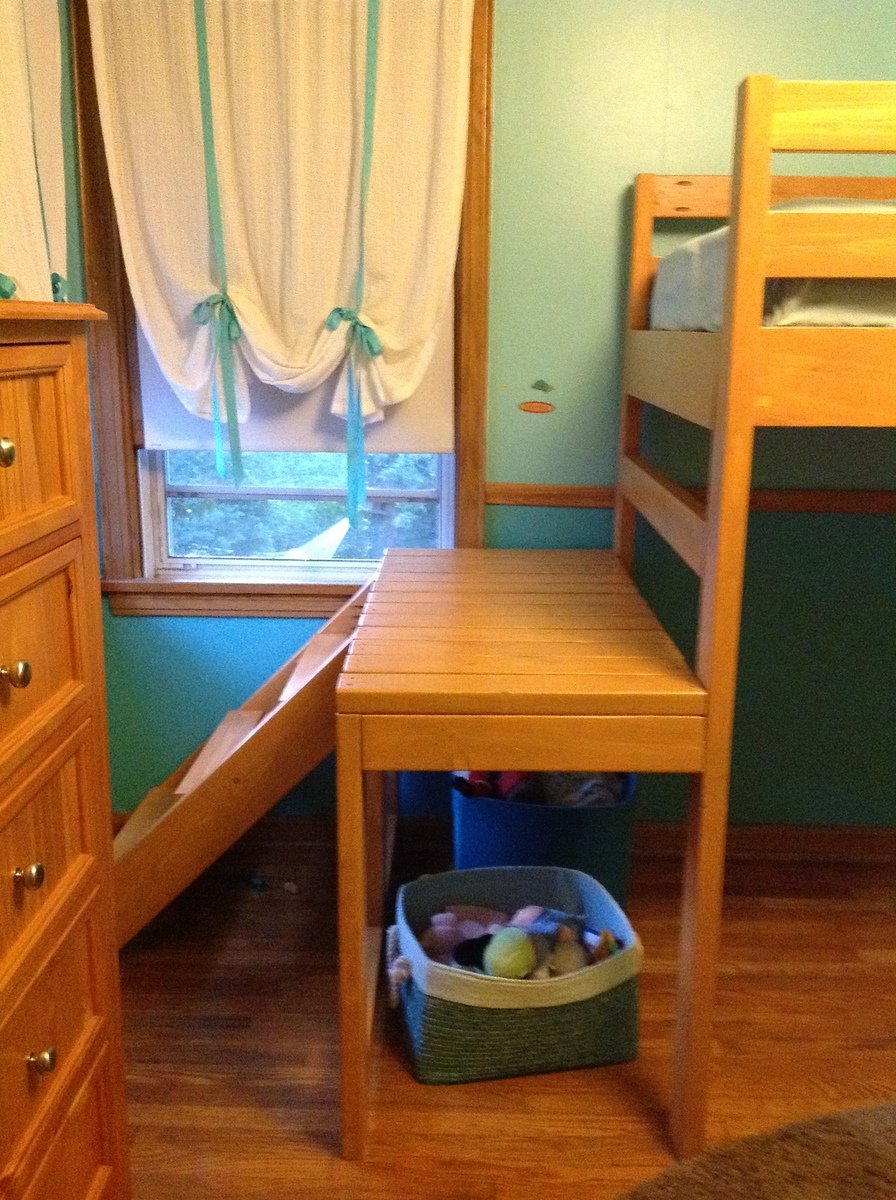
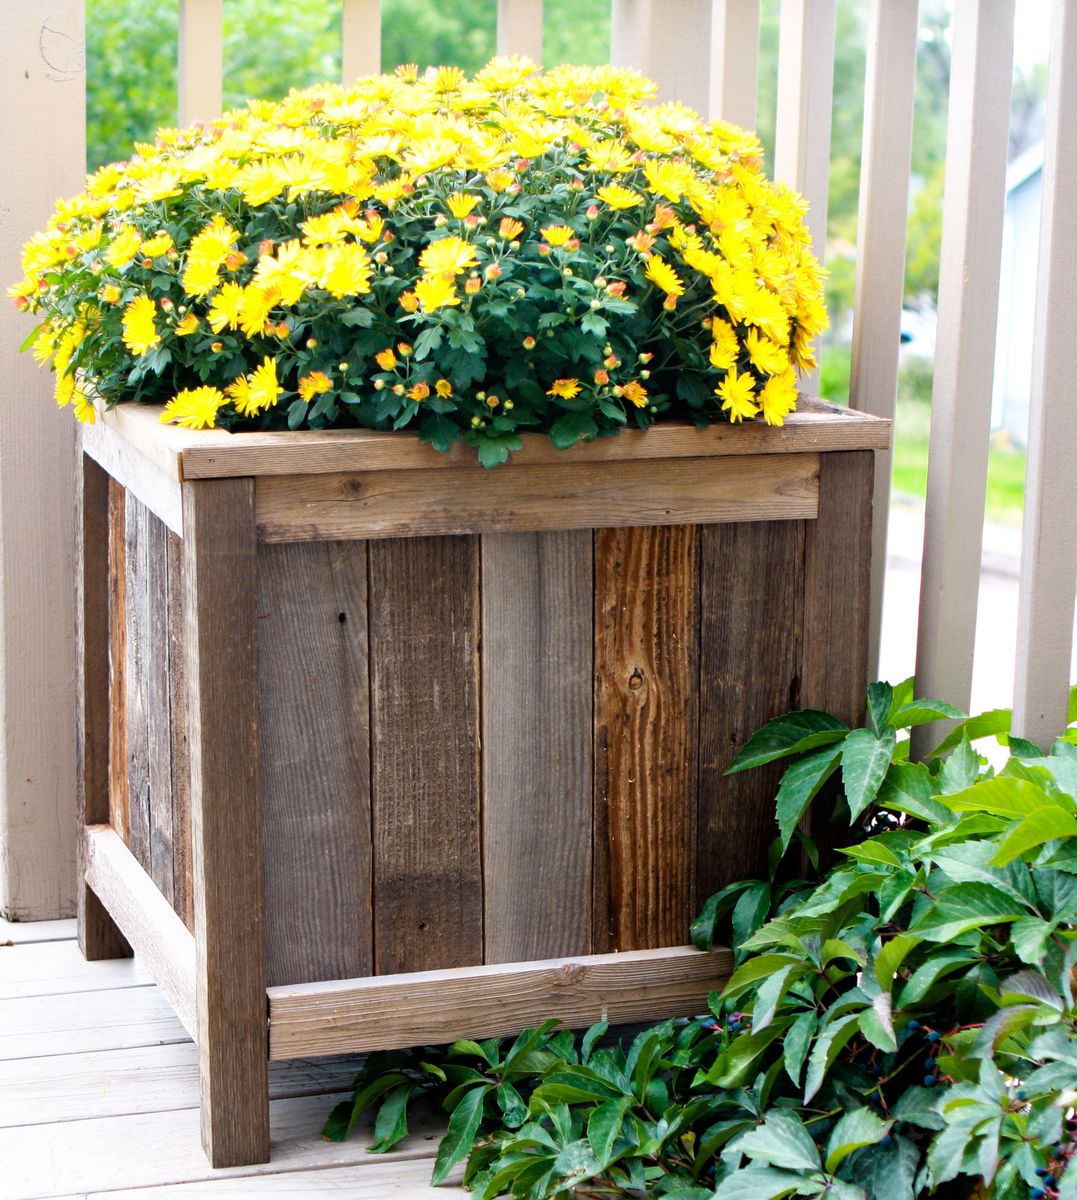
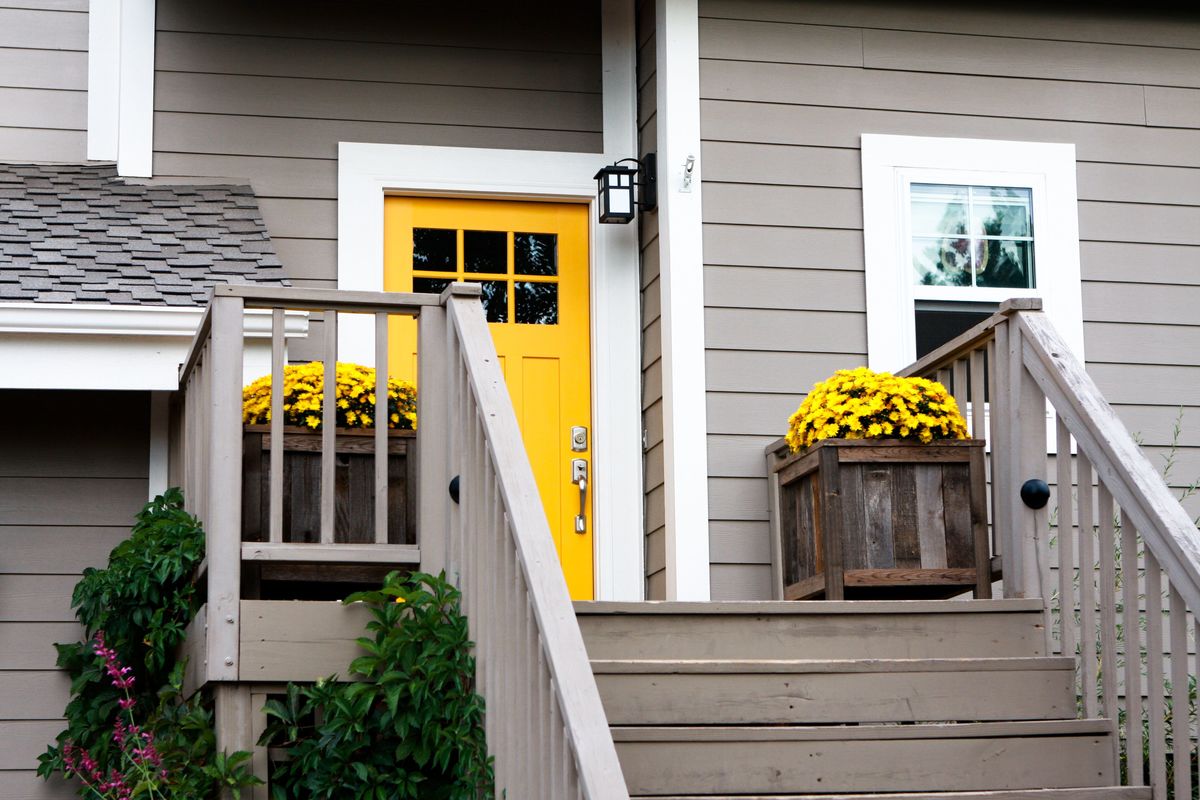
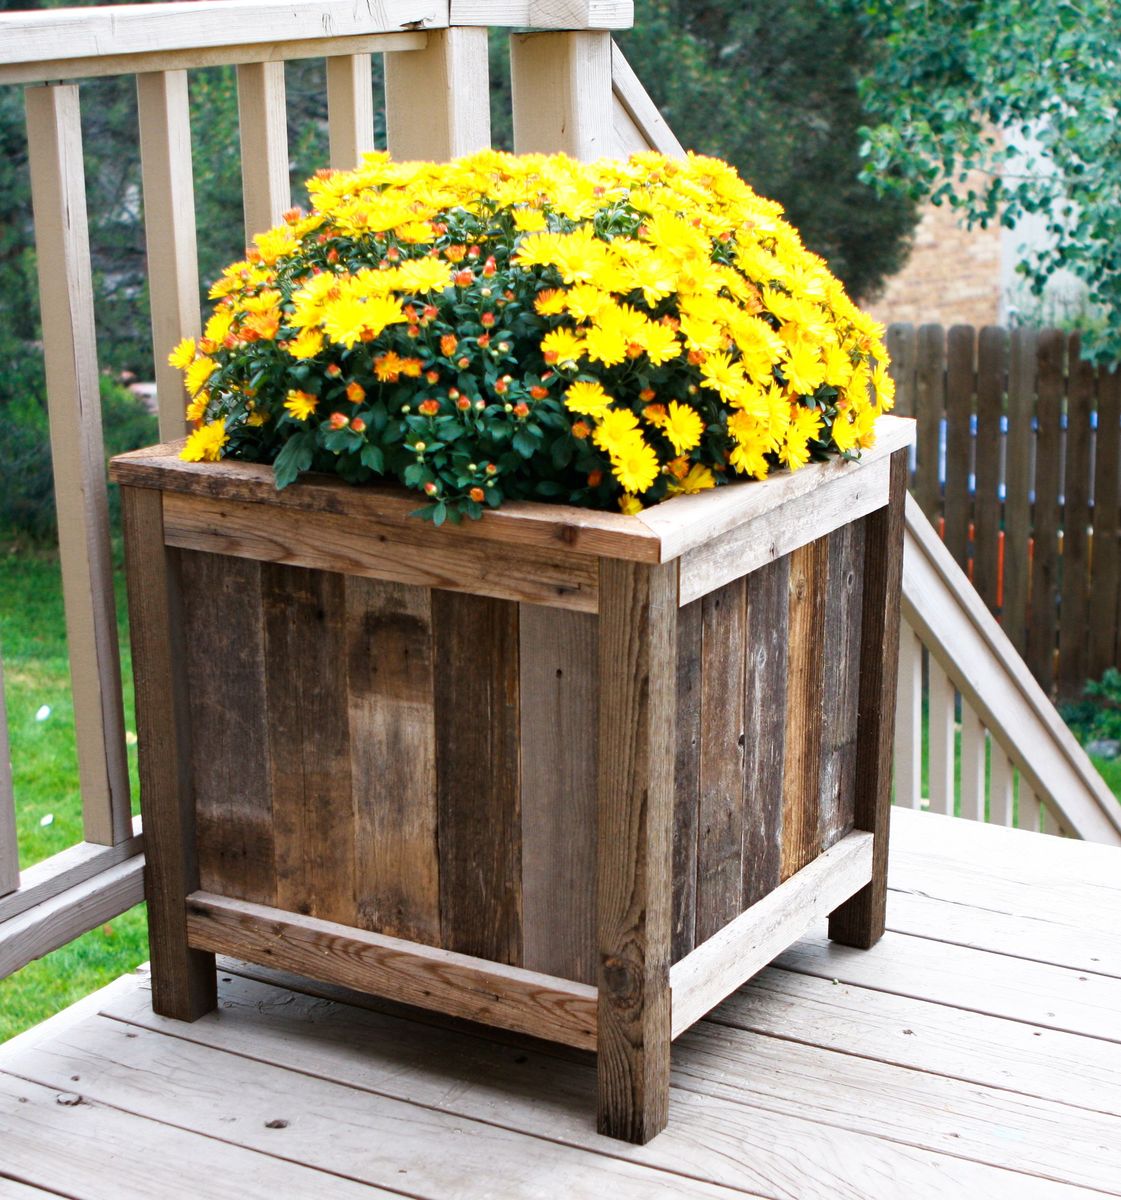
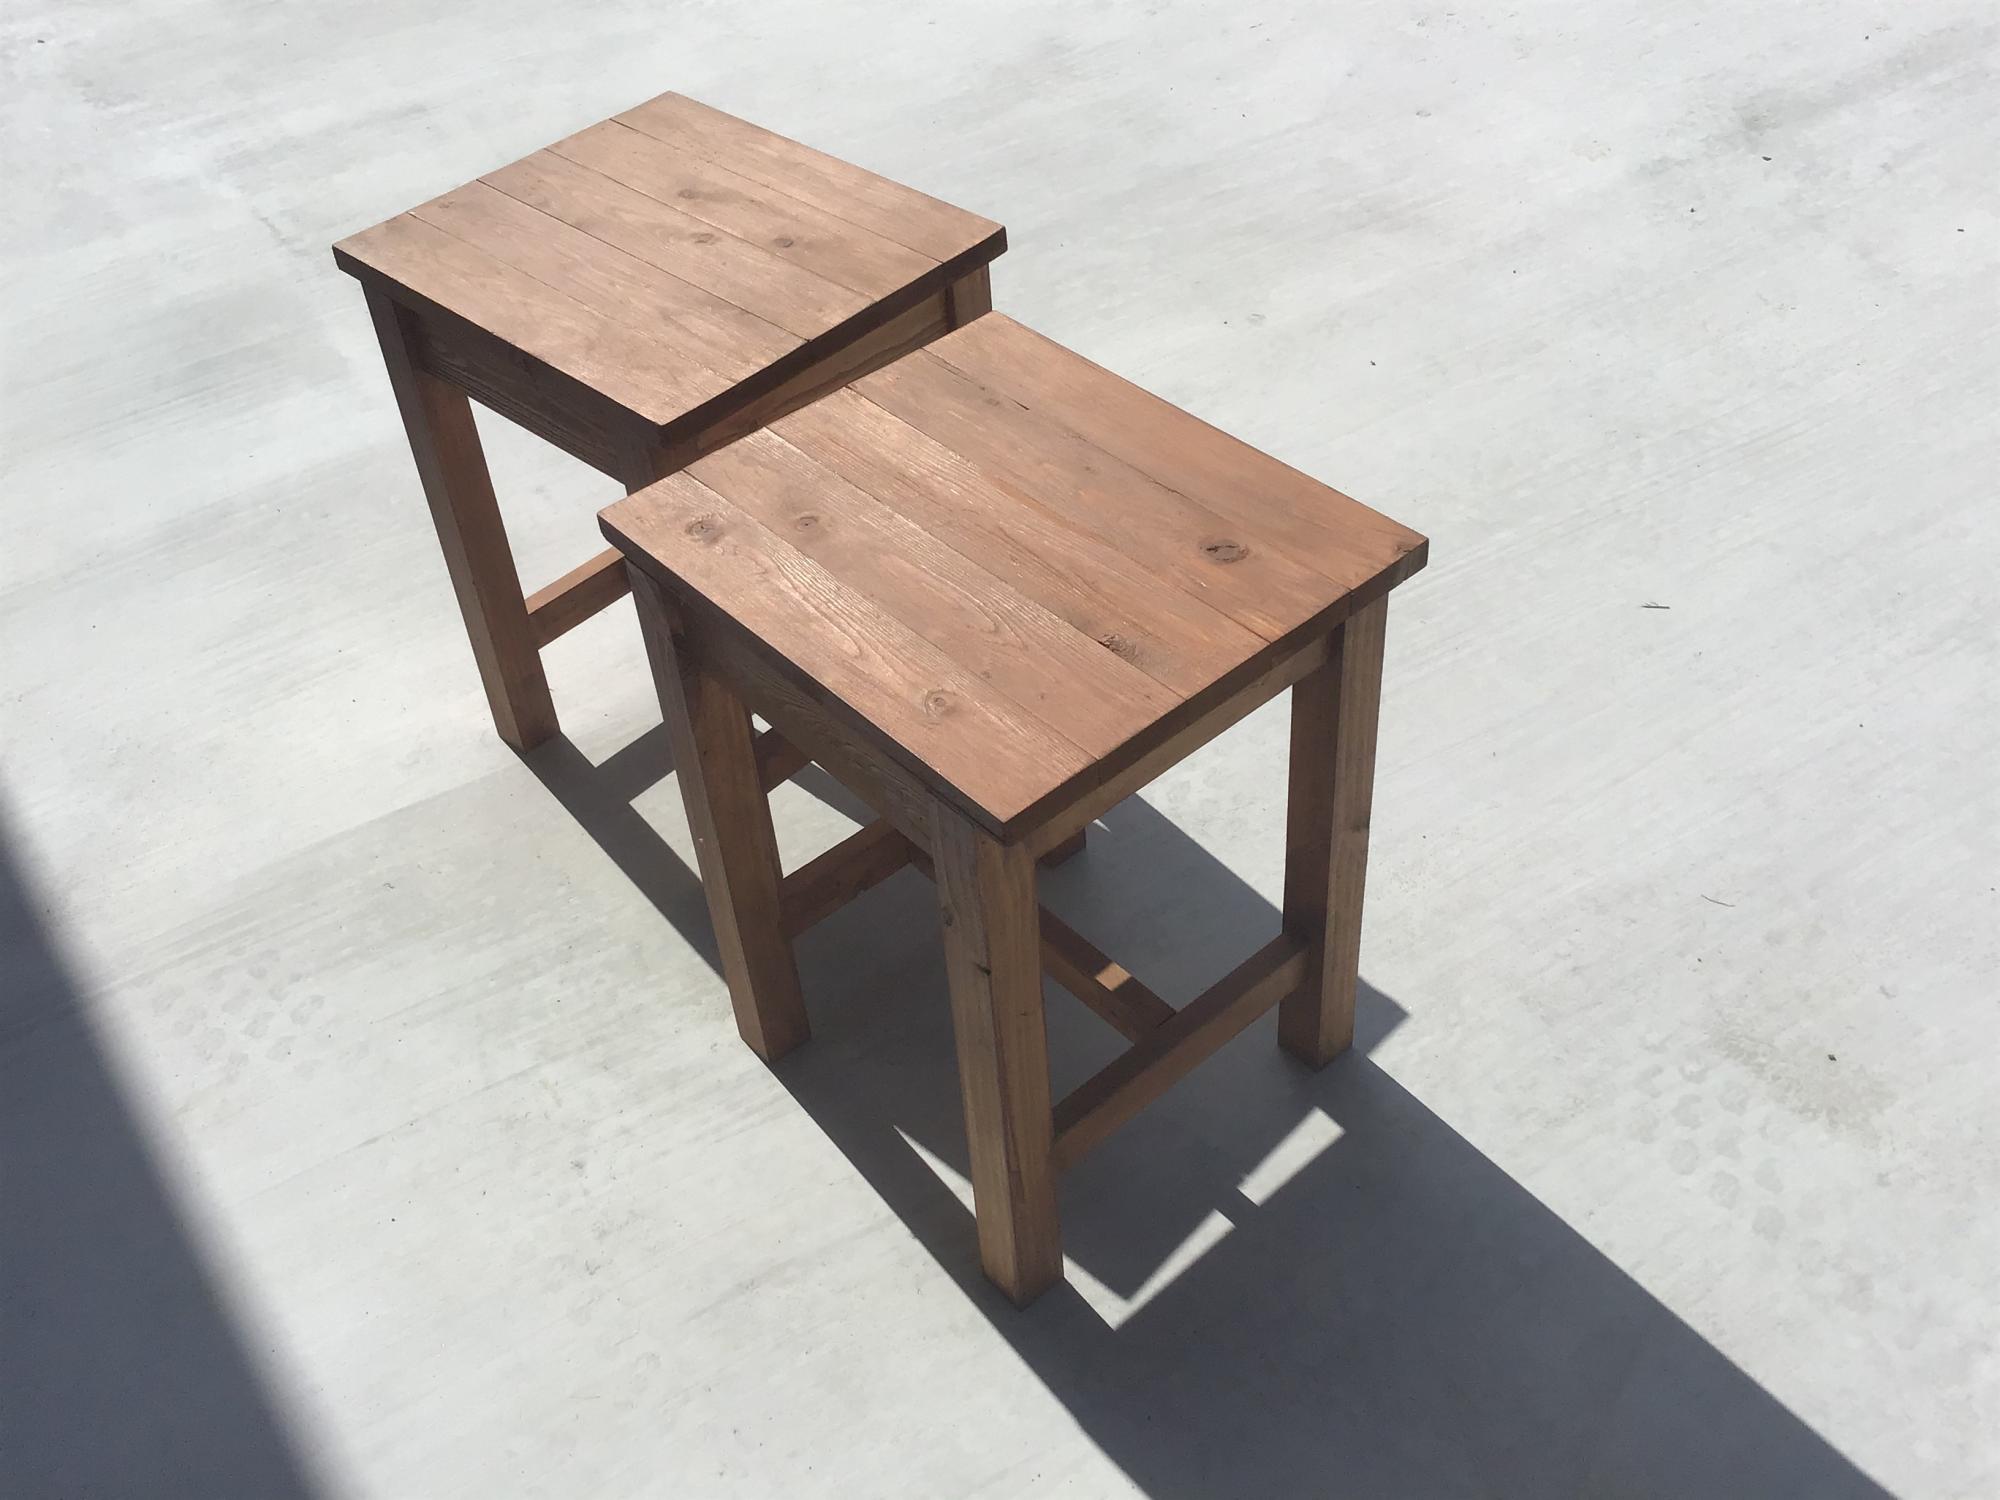
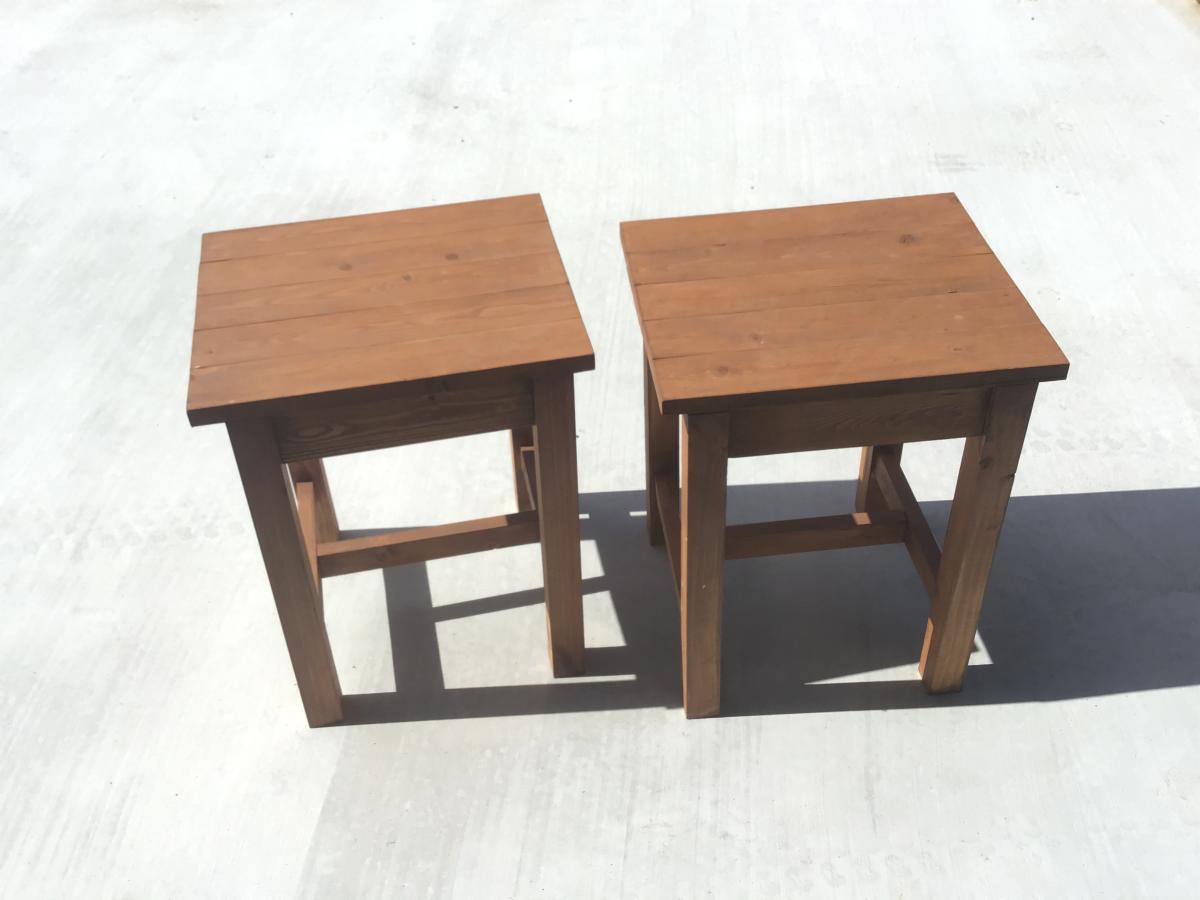
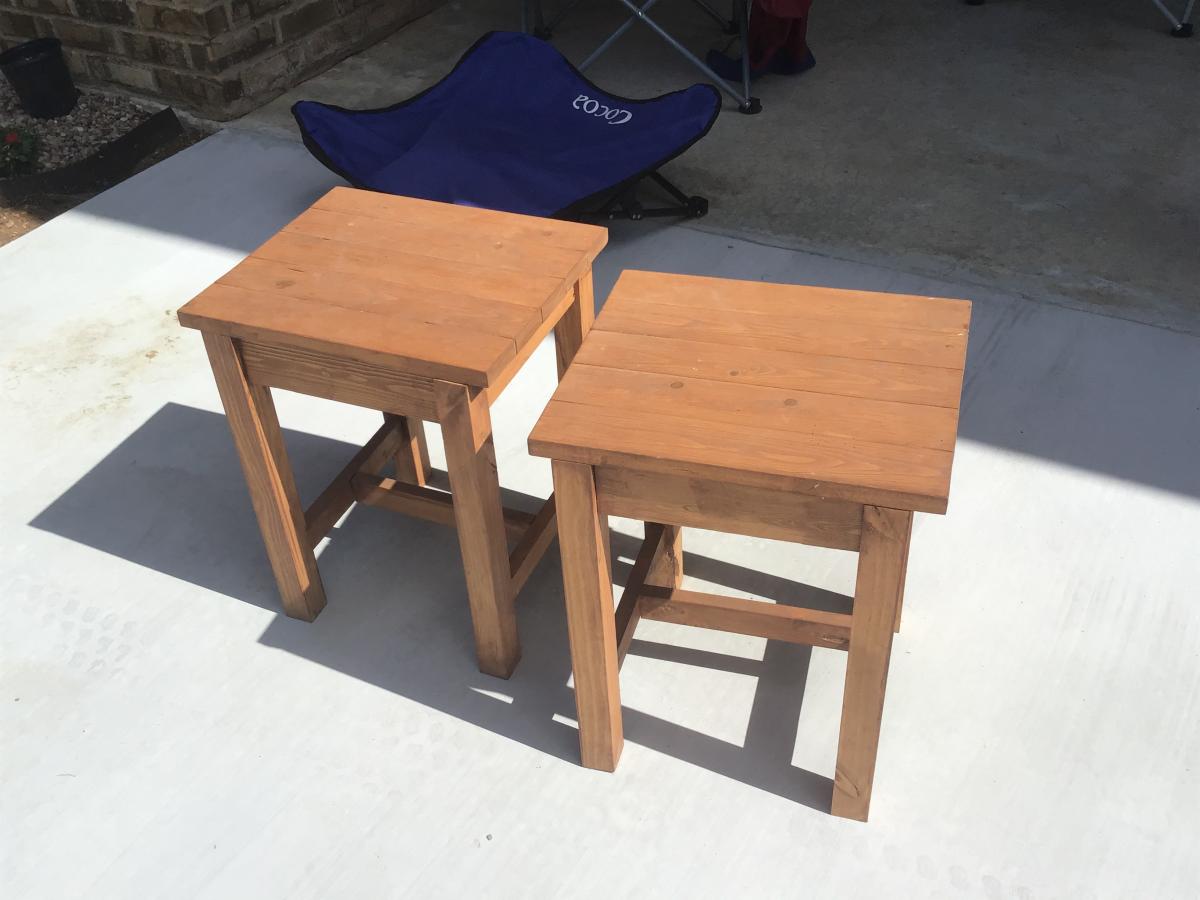
Corner Table for stair landing

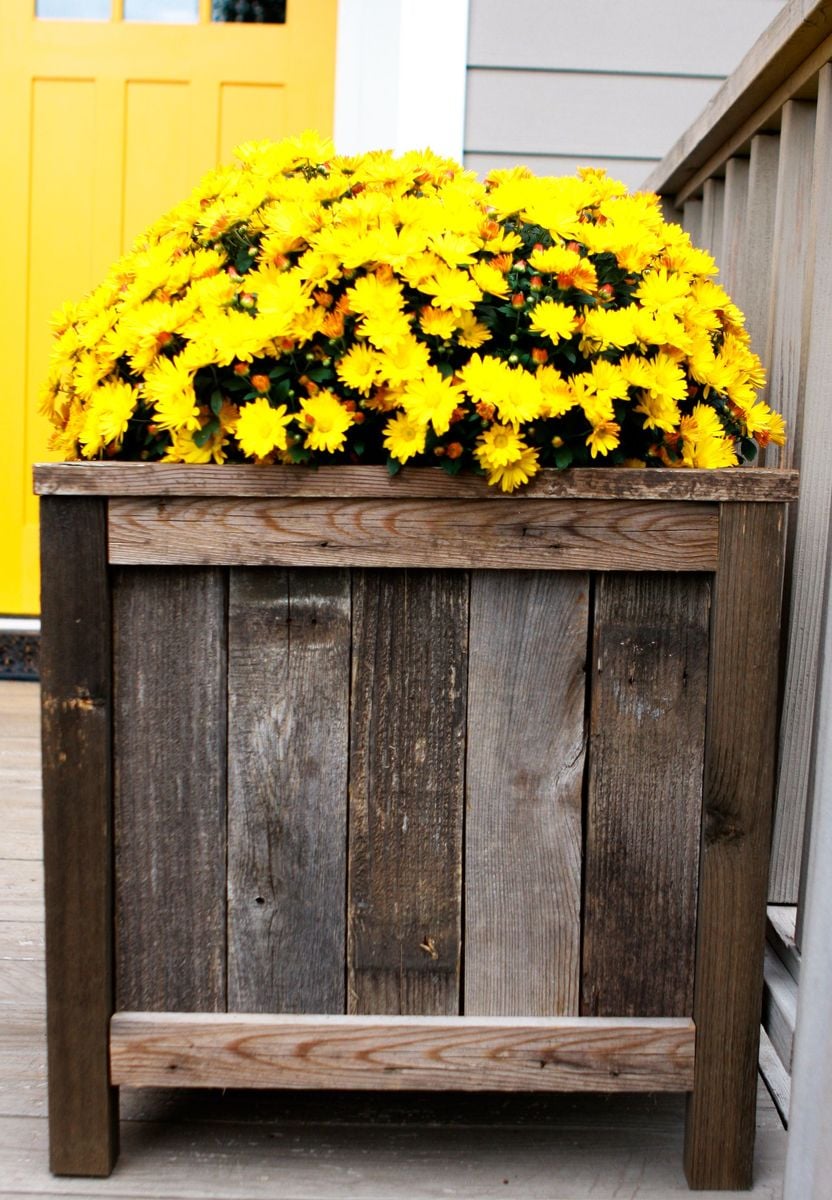
Project for corner of stair landing at my house. Made in an afternoon using poplar wood -- no finish, only water based matte finish polycrylic. No plan used, please let me know if you would like plan supplied.

Estimated Cost
$30
Estimated Time Investment
Afternoon Project (3-6 Hours)
Finish Used
Topcoat only - water based polycrylic
Recommended Skill Level
Intermediate

Comments

Miniature Hope Chest

Submitted by JoanneS on Tue, 10/28/2014 - 18:59

This build is a gift for a friend who is retiring.  It is made from scrap wood and left over finishes, so the only things I had to purchase were the moulding, hinges and “bling”.

Used Georgia’s Jewelry Box plan, with these mods:  made it a little longer with no overhangs; added stop moulding trim around the top and bottom; added some lattice squares for “feet;” added a small sliding tray in aromatic cedar (1/4” cedar closet lining for the tray, stop moulding for the rails), and some self-adhesive rhinestone flourishes (found these at Michaels). 

This would be an afternoon build.  The finish took longer than the build - probably 2 or 3 hrs  (filling, sanding, painting, and attaching the hinges and  “bling”).   It took me much longer to decide how to decorate it, than it did to actually build it ;)

Some squares of sticky-back felt were also added to the bottoms of the feet.

I’m very pleased to say that this gift was a big hit!

Built from Plan(s)
Estimated Cost
$15
Estimated Time Investment
Afternoon Project (3-6 Hours)
Finish Used
Finish is 3 coats of Ace Royal semi-gloss in Crushed Peanut, sanded between coats, and the rhinestones are a champagne gold color. Also added some crystal clear super glue (I used Loctite) around the rhinestones with a tiny artist brush, to make sure the stones stay in place.
Recommended Skill Level
Beginner

Comments

JoanneS

Fri, 10/31/2014 - 15:24

Thank you for the nice comment!  :)  I might build some more of these for Christmas gifts.

:)

Murphy Bed

Submitted by Anonymous (not verified) on Mon, 02/13/2017 - 19:21

More difficult build then I'm used too. Modified it to fit a full mattress but I think it turned out great! It's a lot cheaper to build than most Murphy beds to purchase out there on the market. Enjoyed these plans. Thank you Ana!

Estimated Cost
$250
Estimated Time Investment
Weekend Project (10-20 Hours)
Finish Used
Dark walnut
Recommended Skill Level
Intermediate

2x4 Modern Adirondack Chair and Loveseat

Submitted by SofiaTaz on Sun, 12/06/2020 - 12:51

We loved the Modern Adirondack Chair pattern so much that we adapted it to have a matching love seat. It turned out beautifully!

Estimated Cost
$200 CAD
Finish Used
Dark walnut stain
Recommended Skill Level
Starter Project

Comments

Farmhouse X Table

Submitted by Shugh on Tue, 02/28/2017 - 10:38

I really enjoyed making this plan.  Only disappointment was the red stain finish I chose, live and learn.

The plans were helpful and accurate!! 

Another thing I goofed up on and learned was on the 45's on the legs, I cut along the length instead of the width at first, wasted a 2x4 lol That was a good lesson to learn though.  Shouldn't happen again any time soon...

Built from Plan(s)
Estimated Cost
A lot of cost was in the stain and poly not shown here... wood cost was pretty low, around $100 if I remember rightly.
I'm working on the matching bench next, got the wood last night for $35 (Cdn)
Estimated Time Investment
Day Project (6-9 Hours)
Recommended Skill Level
Beginner

Round X Base Pedestal Dining Table

Submitted by bRick on Thu, 12/18/2014 - 18:05

We wanted a round table that would seat a full Monopoly game. To do this we needed about a 5' diameter tabletop.  The base was made consistent with the plans.  

A few tips on the base:

  1. Get your angles as close to 45° as you can.  Otherwise, there will be much sanding and puttying in your future.  
  2. If you want to hide your lag screw like I did, I used a spade bit to recess an area for the screw head.  Then I glued in a plug made from dowel and sanded flush.  

If you want to make a round tabletop, here is what I did (there may be better methods).  Keep in mind this was for a ~60" diameter table, I was assuming that the perimeter arc pieces would be about 4.5" wide and that I would cut the inner circle at a 50" diameter.

  1. Picture 1 - I built two 5' slabs of (7) 2x4s pocket-holed together.  
  2. Picture 2 - Then I cut two pieces from each slab that would later make up the 90° "pie slice" pieces.  Make sure to remove the screws that will be in the way your saw blade. Also, you just have to concern yourself with the angle since the radius will be dealt with later.  There is a lot of wood waste with this method, but I think it avoided headaches. 
  3. Picture 3 - I assembled (screwed and glued) the "pie pieces"to the cross pieces. The length of the cross pieces don't matter much since they will also be to cut to a specified radius.  Since I would be cutting a 50" diameter circle, the large cross piece had to be at least 50" and the two small pieces had to be at least 22.25" (subtracting the 2x6 width).  
    1. Picture 3 - I mounted my router to a piece of MDF and drilled a hole at the necessary distance to cut a 50" diameter circle. This distance is 25" + half of the bit diameter.  Since I used a 1/2" straight bit, my point was 25.25" from the center of the router bit.  I screwed this jig to the center of the tabletop assembly so the router could pivot and cut a circle.  As for logistics, I rested this assembly on some scrap wood and kneeled on the tabletop as I was cutting it.  It took a large number of passes with the router since I was cutting through 1.5" of material. 
  4. Picture 4 - The perimeter pieces required some time and geometry. I found that I would need (8) 23" 2x8 pieces (the 23" is approximate because I was a little off for some reason, though I can't recall why).  From those pieces, I used the same router jig to cut the perimeter arc pieces. You will need to make two new radius holes in teh jig to accomplish what you need.  To cut the inner arc you need a hole set at 25" - half of the bit diameter (24.75" for me).  To cut the outer arc, I used a hole that was 29 5/8" from the center of the router bit.  You may need to do some fine tuning to these pieces to get them to fit correctly, but for me it pretty minor.  I trimmed a couple pieces with a miter saw but that was it. 
  5. The rest is screws and glue. 
Estimated Time Investment
Week Long Project (20 Hours or More)
Finish Used
Sanded using 60, then 120 grit. The stain was Rust-Oleum's Ultimate Wood Stain in Dark Walnut. The top coat was General Finishes water-based polyurethane in flat. One coat of stain, six coats of poly, while sanding with grade #0000 steel wool after every other coat.
Recommended Skill Level
Intermediate

Comments

ILoveDIYing

Sun, 03/08/2015 - 10:23

Hi, your table is beautiful! I was wondering if you had to increase the size of your base since your table top is 60". I'm going to be building a round one the same size and wanted to make sure it would be stable at the current size.

bRick

Fri, 03/13/2015 - 20:36

The only modification I made to the base was the to the lengths of the 2x4 pieces that make up the "X" that sits between the base and the tabletop. In the plans, this "X" is made of (1) 32" piece and (2) 14.5" pieces. I believe I increased these to 36" and 16.5", respectively. Truthfully, I don't think this modification added much value.

I did some calculations and at a 60" diameter, it would've taken over 100 lbs placed at the edge of the table. This was also a function of the weight of the table. The heavier the table, the more stable it will be.

Momma Gladden

Sun, 04/05/2015 - 19:21

I want to put a concrete top on this base and increase the diameter to 72". Would I need to increase the size of the base to accommodate the larger and heavier top? Thank you

bRick

Tue, 04/14/2015 - 20:20

It all depends on how much your tabletop weighs. I'm going to take a wild guess that your tabletop will weigh around 500 lbs (~28 sq. ft. at ~18 lbs/sq. ft.). For reference, I think my wood top weighed about 80 lbs. I will also assume the wood base weighs 50 lbs. Using these assumptions, the result is a worst-case scenario (weight placed at edge of table, tipping between two table legs) of tipping at 300 lbs. The lighter the tabletop, the less stable it will be. Since your concrete table is likely to weigh a lot more than my wood top, it will be a lot more stable.

That addresses the design and assumes none of the wood or connections (screws) fail under the increased load (weight of concrete). I can't speak very confident to this aspect. Though I can venture a guess. I will guess that it will be stable under no load, but there will increased loads when under uneven stress (i.e. somebody leaning on one side of the table). Honestly, I don't know how valuable any further speculation would be.

X3cougsp

Tue, 09/06/2016 - 08:14

Can the pedestal hold a 66"- 72" top?  I've been searching for a table that seats 6 comfortably with an occasional squeeze for 8.  I think a 60" would work but my husband thinks 72".  We are struggling to find exactly what we want and are now investigating DIYs .  This is a beautiful table!!  

In reply to by X3cougsp

bRick

Wed, 10/05/2016 - 17:16

This is a conversation that we had in our house as well. My personal opinion is that 60" is big enough for 6 people and good enough for 8 people. What we did to "dry run" it was I cut a board to 72" and set it up at table height and we sat at oppposite ends of the board. I asked my wife if it was too big and we both agreed that not only would really shrink the room, but it also was too big for regular use. We currently have 6 chairs around this on a regular basis. As for the stability of the table itself, you may want to increase the width of the base. I say this because 74 lbs at the edge of the table (in between legs) will cause the table to tip, which is probably a force that will be exceeded by someone leaning on it. 

bRick

Thu, 12/22/2016 - 20:58

I used the jig that I made the large circle but made a couple new radii. The inner edge was the round piece radius minus half of the bit diameter. The other radius is as wide as you want to make it. 


I fixed this jig to my work bench and set it up so that I would be cutting each piece identically. I have a picture that I'll add that shows it better than I can explain it. 

In reply to by Omally83

bRick

Sat, 01/21/2017 - 07:46

I believe my approach was that I cut the 2x8s to the length that would produce the arc length I was looking for. So basically the outer edge was going to (if my jig did its job) be exactly as long as I needed it to be. With that in mind, I used a piece of yarn tied to the pivot point on the jig that I was using and used that to tell me where I needed to make the cut. 

Otherwise, I could've used trig to figure it out but I was all angled out by that point. With 8 border pieces they should each cover 45 degrees (360/8) and the other two angles should be equal ((180 - 45))/2=67.5) resulting in a 67.5 degree angle. The trouble in using that method is it doesn't account for all the little screw-ups that may have thrown off certain measurements. Plus, the yarn-thing was pretty easy. 

SueInVA

Sat, 01/23/2021 - 14:17

We made the table base for a 60" solid walnut top (used the wider measurements). When people get up from the table, my husband thinks the base twists when they push off. Has anyone else noticed this or have a suggestion on how to make the table not twist? Thanks, Sue

Napoleon Vanity retrofit

Submitted by JoanneS on Sun, 02/17/2013 - 14:35

This is our 20-year-old bathroom vanity, retrofitted to resemble the Napoleon Sink Console. This old cabinet is the standard builder size from the 90’s -- 30” wide x 29 ½” tall x 21” deep – fits a 31” x 22” sink top. The 2 outside drawers are working drawers, and the 2 inside are faux (just fronts). It was a weekend project. Since the sink stayed in place, I had to figure out something for the drawers to slide on. I had 3 sticks of ¾” x ¾” S4S in the garage, so I used these and fashioned a frame to hold the drawers, and also used it on the sides of the drawers as slides (figured the frame out as I went along). I used up some scrap 1x12 to cut the drawer faces and supports at the inside back of the cabinet. Since the space was so tight, I used some scrap 1x2 as bracing attached to the original frame, and attached the added face frame to that. The doors are ½” x 1 ½” craft board and ¼” birch plywood. The drawers are 3/8” x 3 ½” craft board with some ¼” plywood on the bottoms. I re-used the existing hinges and used some knobs from a multi-pack (available from Target) and some left over paint that was on hand. I bought about $30 of materials in addition to my scraps.
Now that I’ve got this one under my belt, it’ll be easier to do this in the other 2 bathrooms. I’ll probably use some 1x2’s instead of the s4s if I have to go out and buy the materials for the next one, it’ll just have slightly different measurements.

Built from Plan(s)
Estimated Cost
$30
Estimated Time Investment
Weekend Project (10-20 Hours)
Finish Used
Ace Royal semi-gloss paint, in Wishbone
Recommended Skill Level
Intermediate

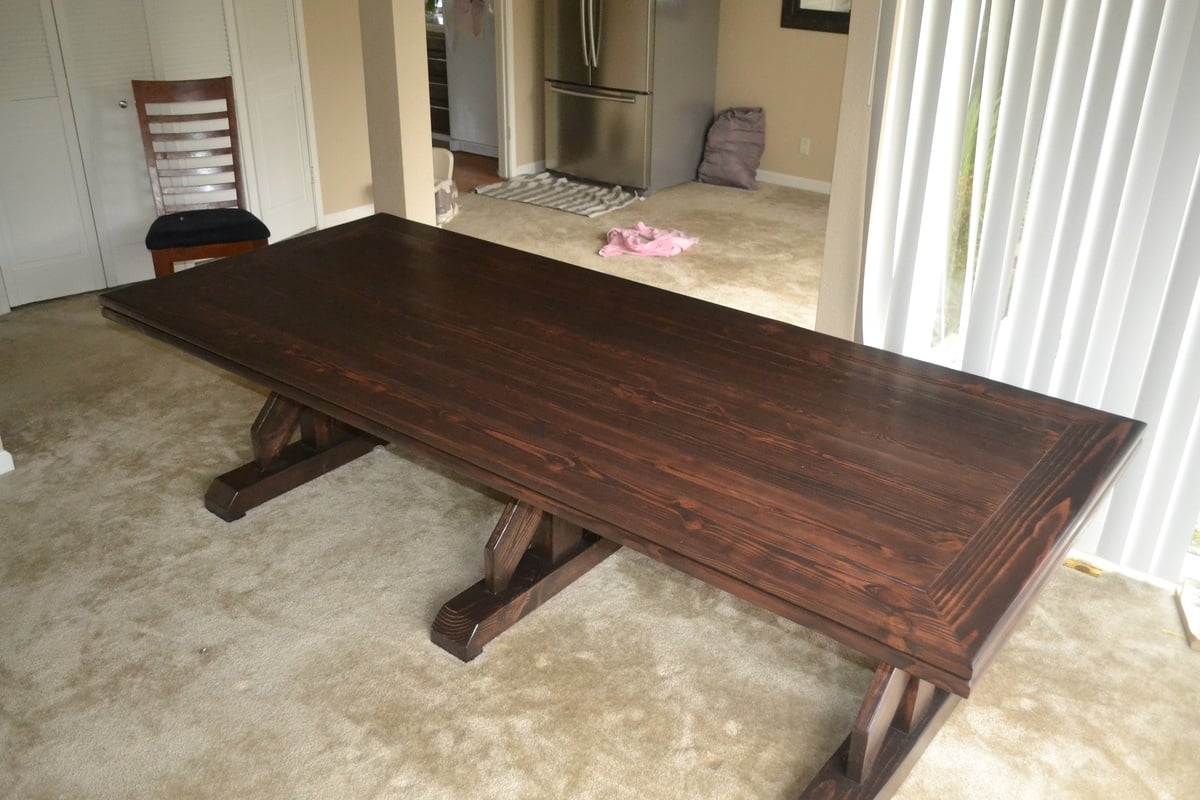
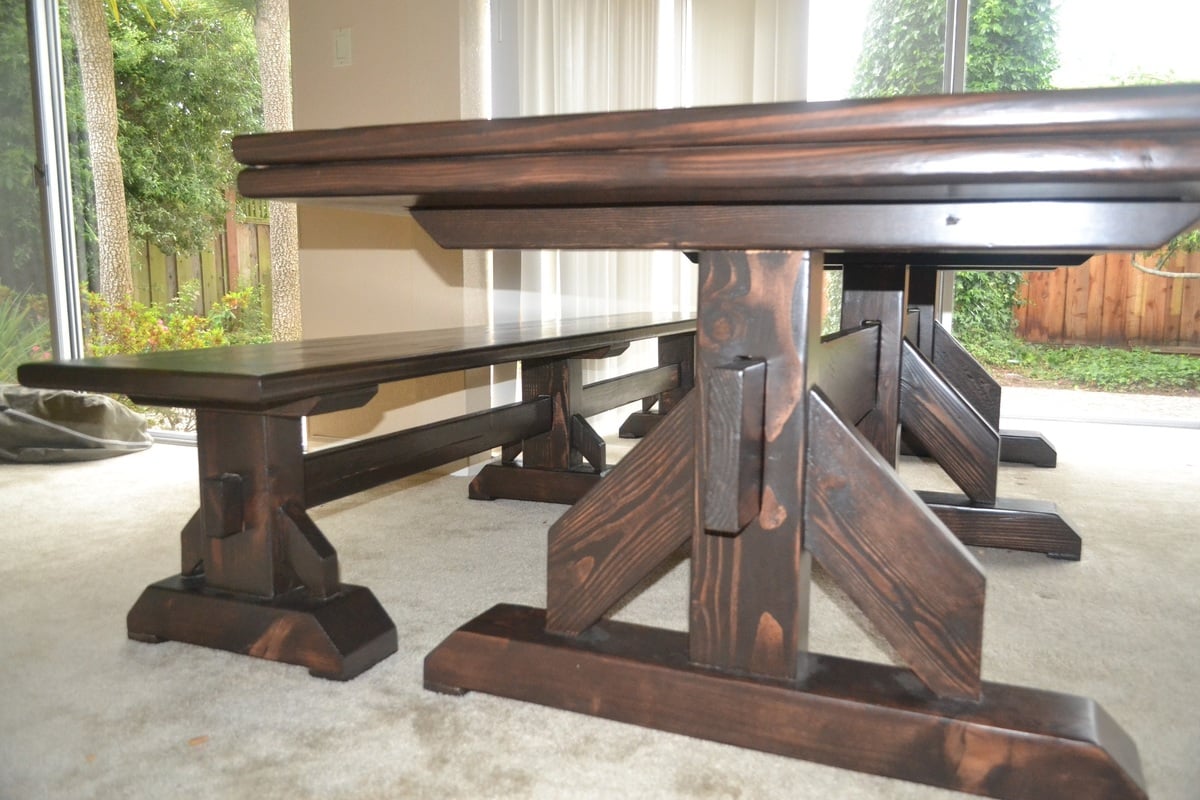
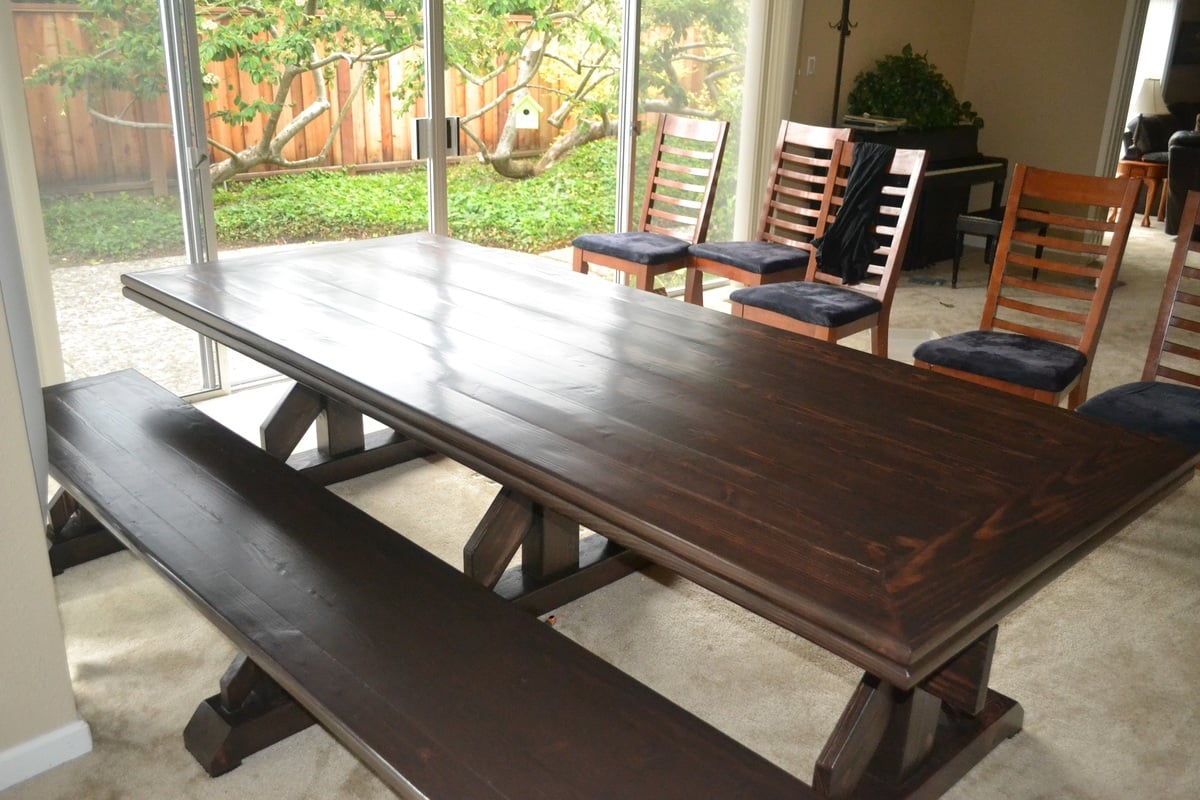
4x4 truss table with bench

Submitted by jeff.meyer on Sun, 03/07/2021 - 06:30

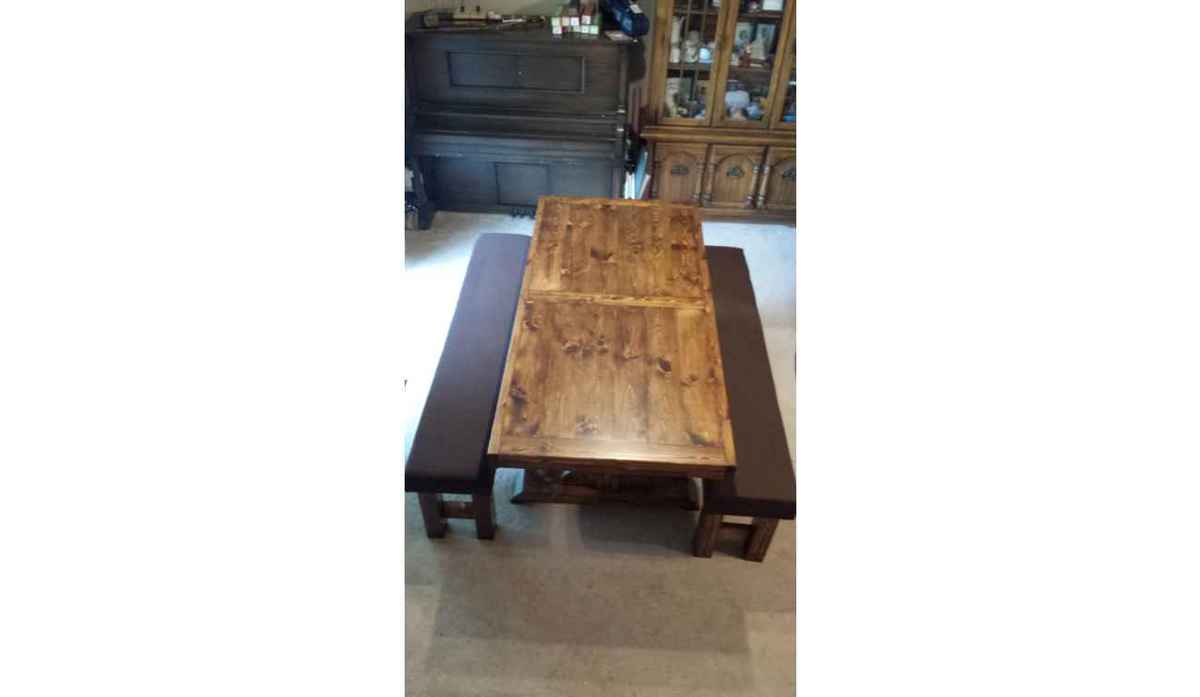
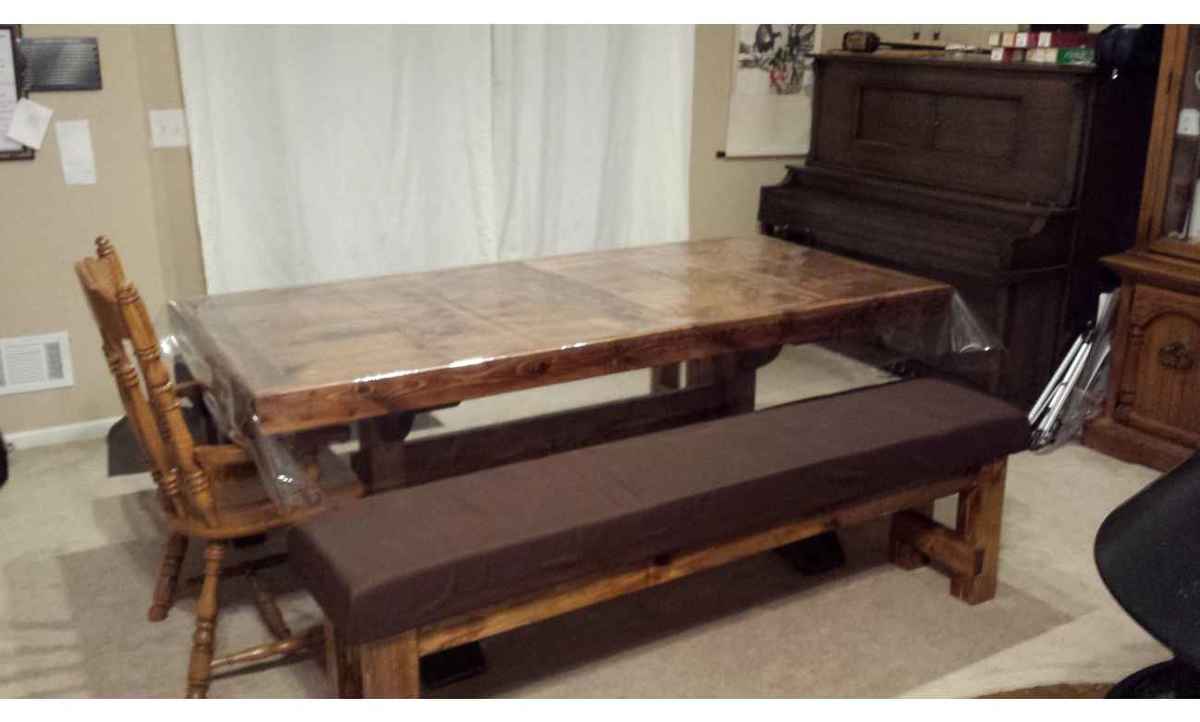
Ana White 4x4 truss table with matching bench.

Estimated Cost
250
Estimated Time Investment
Day Project (6-9 Hours)
Finish Used
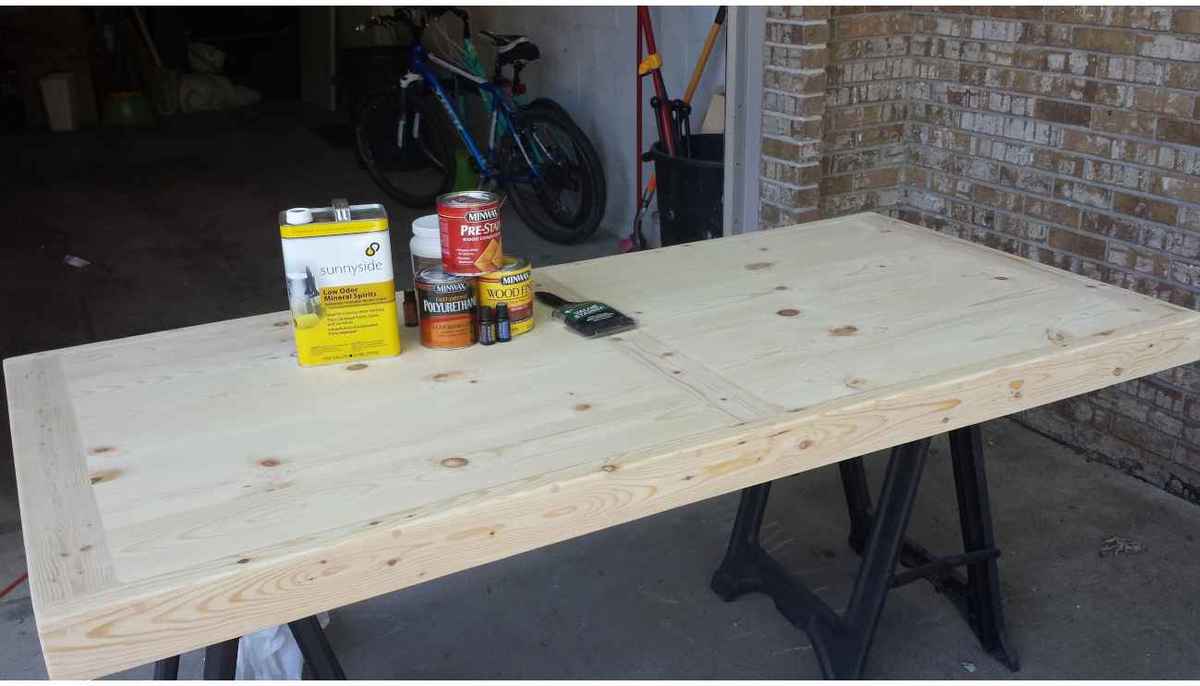
dark walnut stain and 3 coats of lacquer
Recommended Skill Level
Intermediate

Comments

Dollhouse Bookcase

My Father built this amazing dollhouse for my daughter as a Christmas present. I loved the tall open look of this design and knew it would be perfect for my four year old! Instead of leaving the doorways open, we added dollhouse windows and doors to make this "bookcase" more into an actual dollhouse. The adorable mice and furniture are from the Danish toy company, Maileg. We hid the dollhouse in the home office on Christmas morning and had my daughter find it as her last present. She fell in love with it and immediately started playing! She has one talented Grandpa and I am so glad to have something like this in our family to be cherished for generations.

Built from Plan(s)
Estimated Time Investment
Weekend Project (10-20 Hours)
Recommended Skill Level
Intermediate

Comments

The Mail Boss

Submitted by jkjackson on Sun, 03/14/2021 - 10:35

This is the most functional piece of furniture ever designed! I included a shelf on the shredder/recycle bin side to create a shoe cubby which, effectively, took care of the biggest clutter culprits in our entry.

Built from Plan(s)
Estimated Cost
$250
Estimated Time Investment
Week Long Project (20 Hours or More)
Finish Used
Behr paint from Home Depot
Recommended Skill Level
Advanced

Comments

Easter Baskets for the grandkids.

Submitted by Anonymous (not verified) on Sat, 04/15/2017 - 13:37

Great idea for a quick project and it'll definitely make the grandkids happy.

Estimated Cost
Cheap.....you could you any scraps you have lying around.
Estimated Time Investment
Afternoon Project (3-6 Hours)
Finish Used
Spray Paint
Recommended Skill Level
Beginner

Vegetable Bin

Hand-made vegetable cupboard. Fun and easy project.

Built from Plan(s)
Estimated Cost
$75
Estimated Time Investment
Weekend Project (10-20 Hours)
Finish Used
Minwax Provincial
Recommended Skill Level
Beginner

Comments

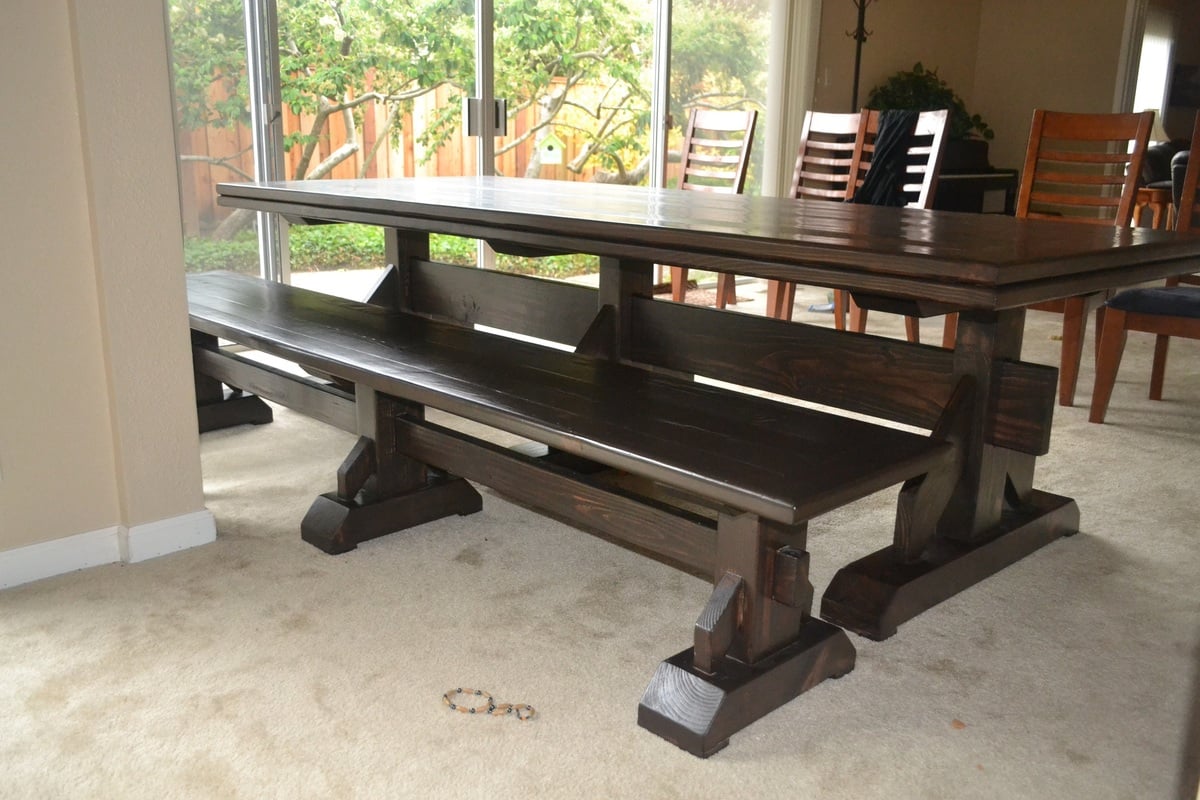
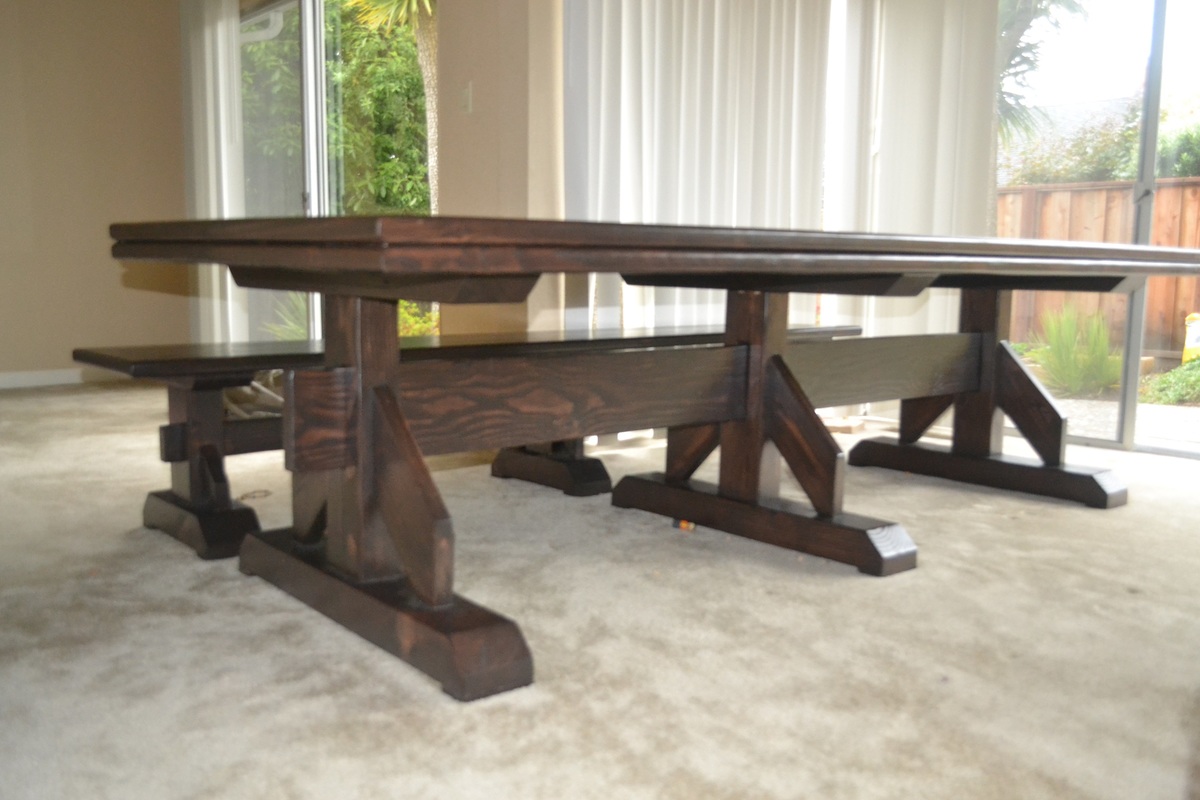
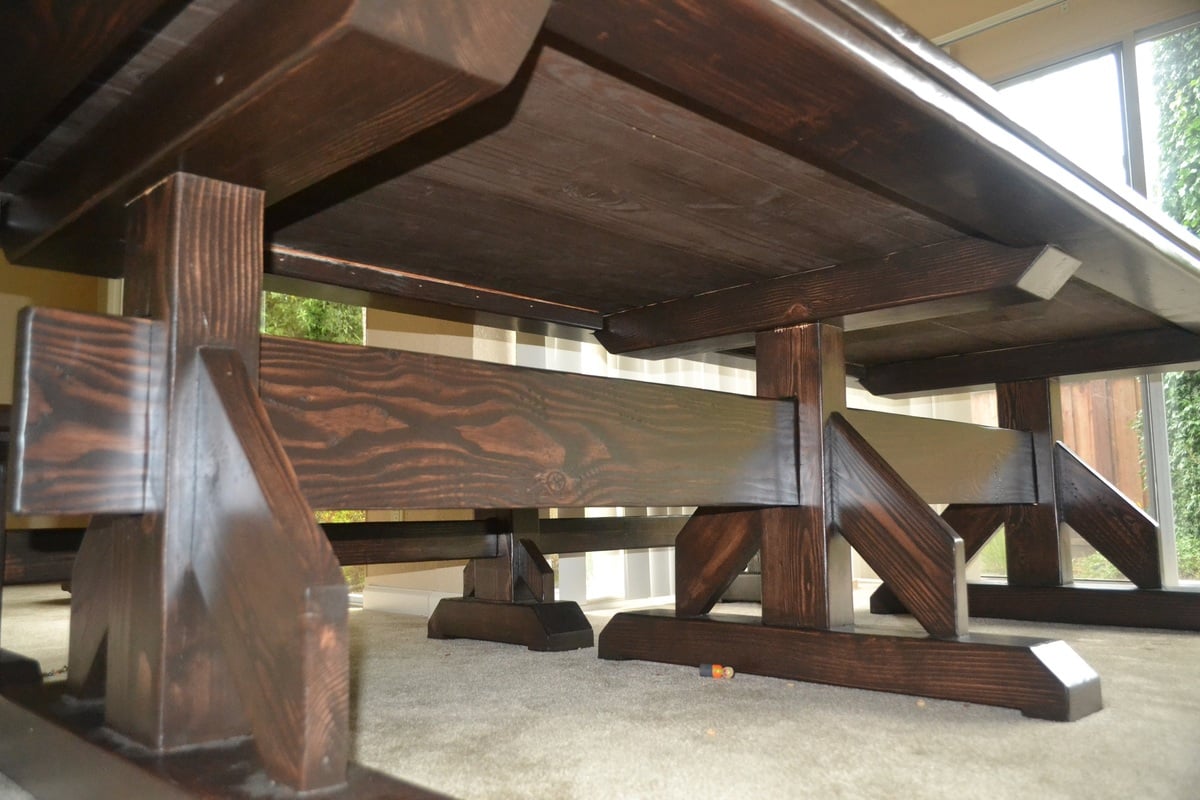
4x4 Truss Beam Table

My wife and I built the 4x4 Truss Beam Table and 4x4 Truss Bench.  We used Rustoleum Dark Walnut Stain and Satin Polyurethane.  The only difference from the plans jointing the edges.  We didn't like how simply screwing the 2x10s together left cracks due to the rounded edges.  We ran the 2x10s (and 2x8s for the bench) through the jointer 3 times on each edge.  This eliminated the cracks for a nice smooth table top finish.  We distressed it with a hammer, screws and a file, then put one coat of stain and 3 coats of poly on it.  We bough IKEA chairs.  My wife reupholstered the smaller chairs and made the covers for the end chairs.  Enjoy!

Estimated Cost
$150
Estimated Time Investment
Week Long Project (20 Hours or More)
Finish Used
Rustoleum Dark Walnut and Satin Polyurethane
Recommended Skill Level
Intermediate

Comments

HawgDriver43

Tue, 03/03/2015 - 16:13

Thanks! We just used #2 yellow pine for the 4x4s, the 2x10s for the table top, and the 2x8s for the bench top. This is just the standard construction type material. The only place we could find non-pressure treated 4x4s in our local area was Lowes. Hope this helps!

4x4 Truss Beam Table

This is my 2nd table built from plans on the site. I built the pocket hole farm table originally and our family used it for 2 years and then I sold it to another family to enjoy! I built this one a full foot longer and used a 2×10 in the center to widen it. We host large gatherings so I wanted the additional space. The dark walnut came out beautiful if darker than the plan table. We love it!

Built from Plan(s)

Comments

Painter's Ladder Shelf for Back Yard

Submitted by Anonymous (not verified) on Mon, 10/04/2021 - 11:49

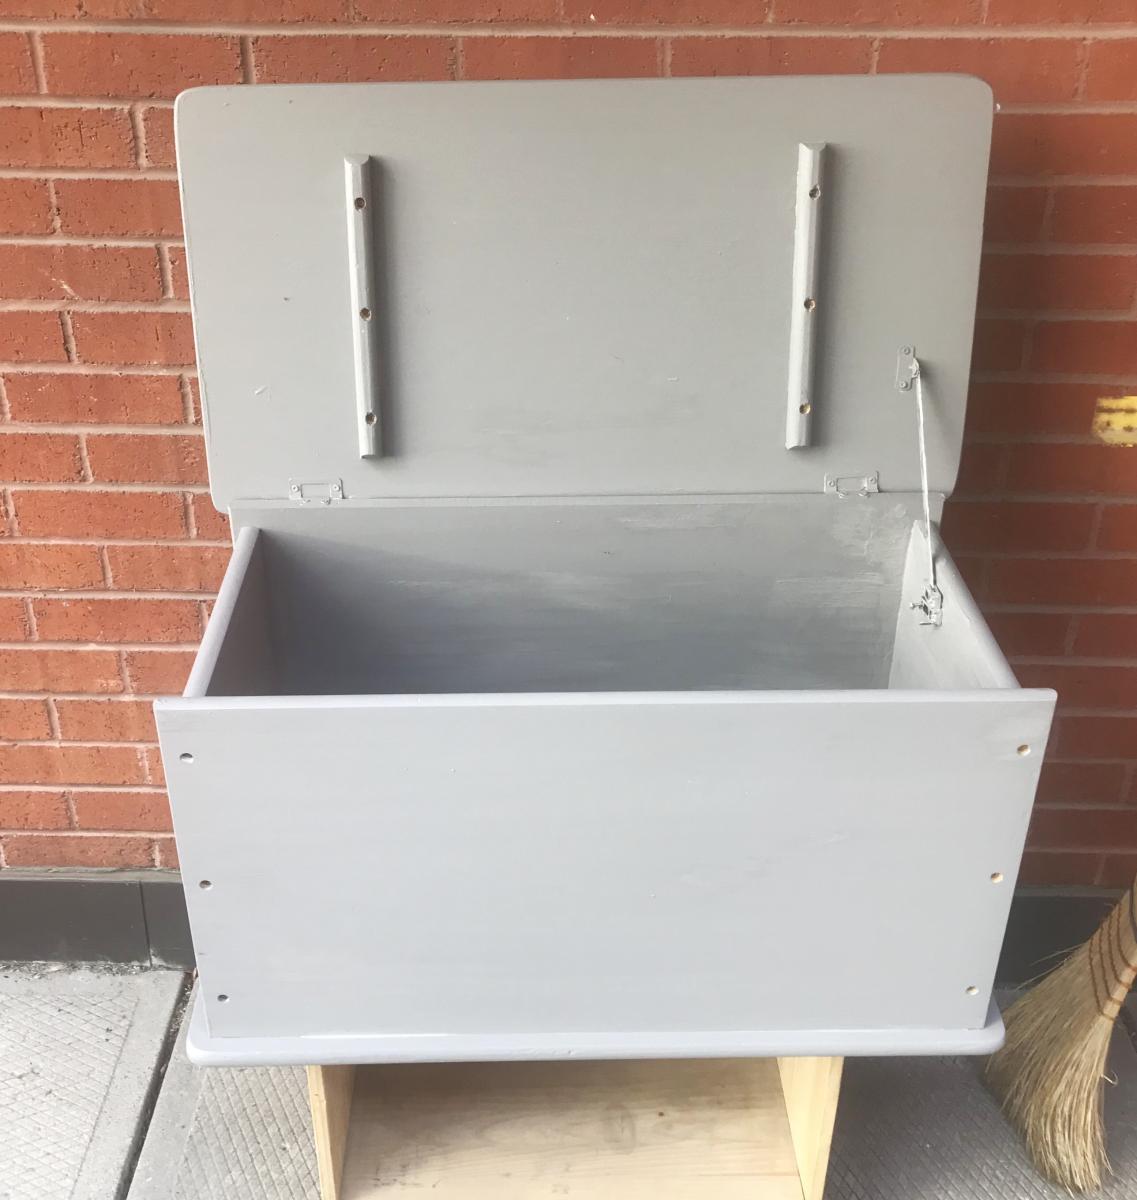
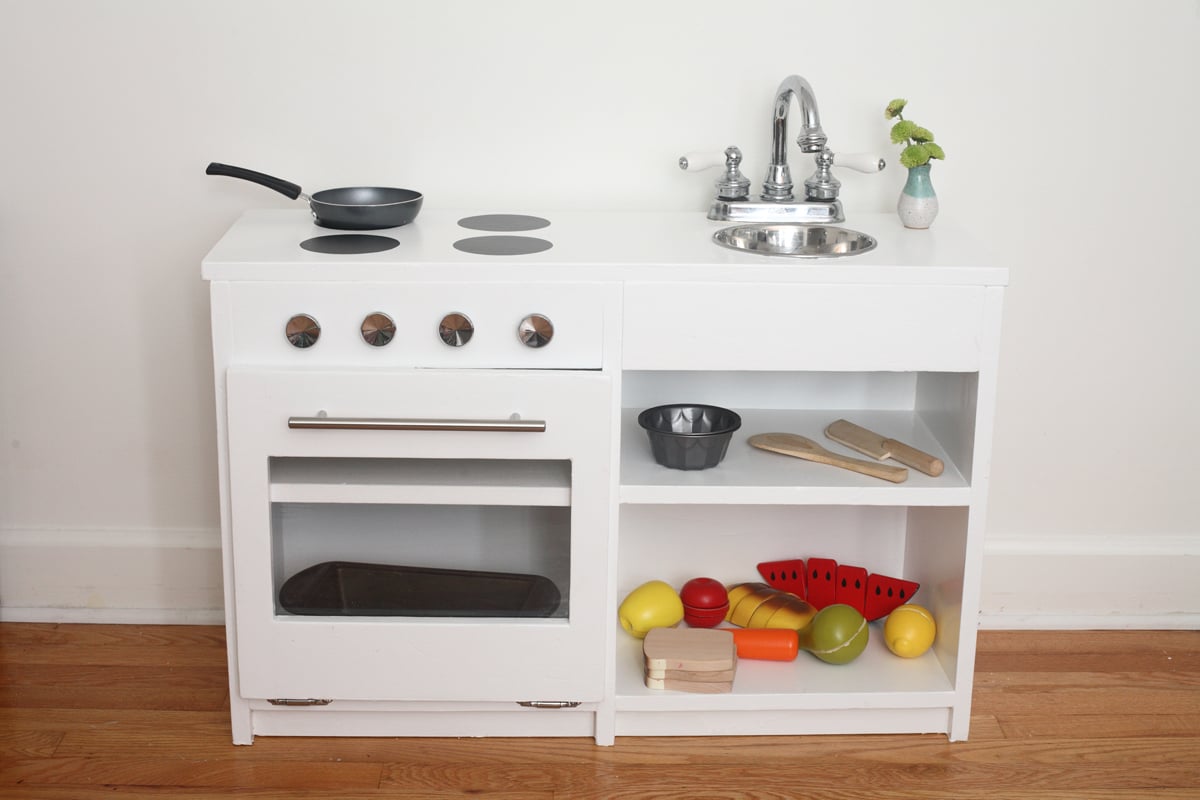
I came up with the idea of having something on my back porch to hold all my outdoor stuff.... things I wanted handy, like Pool Towels, Gardening tools and gloves, Sunscreen and Bug Spray. I started looking around for something to buy and finally decided to look for something to build. I was looking on the HGTV website when I found this and thought it was perfect. I'm not sure what exactly made me take it one-step further, but I found a small link embedded in the article and I clicked on it, and a love affair was born. I found the Ana-White website with tons and tons and tons of plans to make all the things I've dreamed about making. So, I signed up, printed the plans and got to work. First time I have built from plans and had to work slowly and not rush to complete it the same day. Snuck away in the evening, after dinner and cleanup, and spent about an hour a night in the garage with the heat and the mosquitos. BTW, tucking dryer sheets in your clothing does really keep the critters at bay. And here is the finished product .... doing exactly what I had planned and fitting perfectly in the location I wanted. On to the next project..... I have several printed out and haven't decided which to start on..... Is it the toy box for my son's toys that scatter around the living room.... or the queen-sized Farmhouse bed for my daughter who has been begging for more sleep room. Or the bookshelves for my room..... So may choices.... and I love that about this webiste.
Built from Plan(s)

Comments

Picnic Table

Submitted by Medickep on Mon, 05/06/2013 - 07:39

My wife started looking at expensive patio sets, which I thought were not worth the price, so I decided to build a picnic table. This is not the cheapest table out there, but it's built to last for years!! I used a high quality cedar as I got a price cut from a friend. I also used deck screws, so there would be no rusty screws!! The table top measures 7' long and looks like one you would see at a state park, notHome Depot!

Estimated Time Investment
Weekend Project (10-20 Hours)
Finish Used
Cabot Australian Timber oil: For this project I went with an oil project so I wouldn't have to sand it every year, like so many in my area with their decks. With this product, you simply clean the table and reapply!!
Recommended Skill Level
Beginner

Comments

Medickep

Thu, 09/05/2013 - 13:04

Thank your hanks for the kind words! This was my first real project and I was pleased with the results!

Gerry Czerniawski

Thu, 08/25/2016 - 09:48

Really like the picnic table - do you have plans for this? (I'm new to this site so apologies if they are here but I just could not see where?).

best wishes

Gerry

Adirondack chair

Easy and fun. Don't worry yourself over the angle on the left side of the stringer. The 15 degree one matters, the other, not so much. Buy an extra 1x4 unless you want to spend a pile of time figuring out how to cut them to maximize the space!

Built from Plan(s)
Estimated Cost
$35
Estimated Time Investment
Afternoon Project (3-6 Hours)
Finish Used
None yet.
Recommended Skill Level
Beginner

Tilt Out Garbage Bin

Submitted by stephie_00 on Thu, 04/23/2015 - 19:16

Modified the plan to use pallet wood and stained it classic grey for a weathered look.

Estimated Cost
$50
Estimated Time Investment
Weekend Project (10-20 Hours)
Finish Used
Min wax Classic Gray oil-based stain
Recommended Skill Level
Intermediate

Comments

Post Office / Bank

I used Ana's Library Base Plan and modified it slightly to include cubby holes on the bottom and an acrylic "window" at the top to create a post office for my daughter. This now also gets used as a "bank" and a "fast food window"! Lots of fun!!

Estimated Time Investment
Weekend Project (10-20 Hours)
Finish Used
Paint, Stain
Recommended Skill Level
Intermediate